Leyland Mini 1000 1980 Restoration Project
#301

Posted 01 September 2012 - 07:45 PM
Hugh
#302

Posted 01 September 2012 - 09:05 PM
#303

Posted 05 September 2012 - 09:30 PM
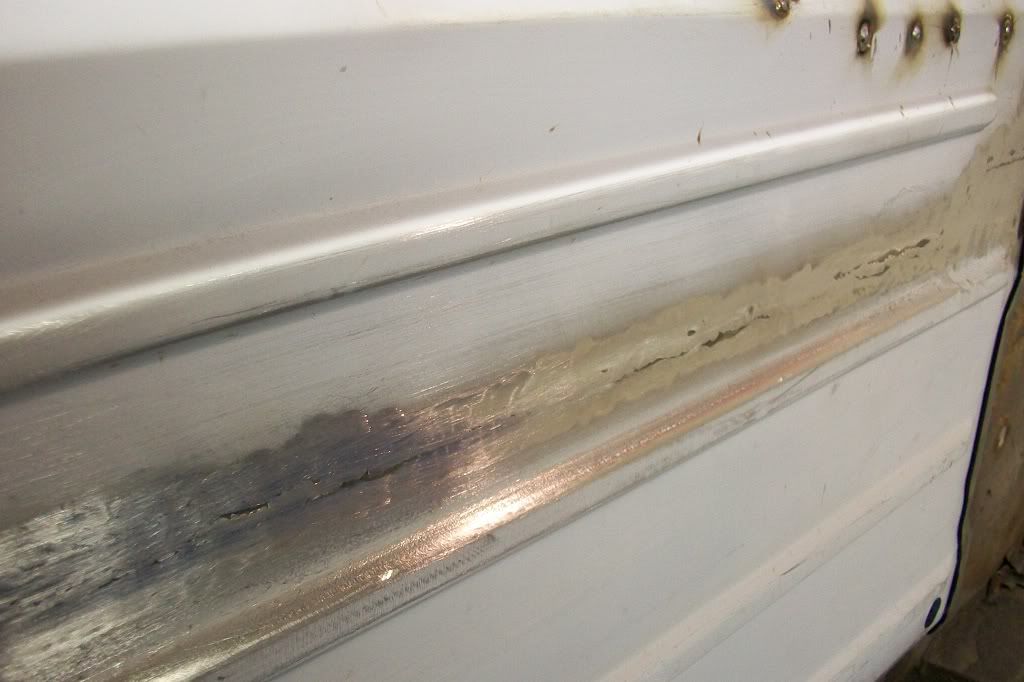
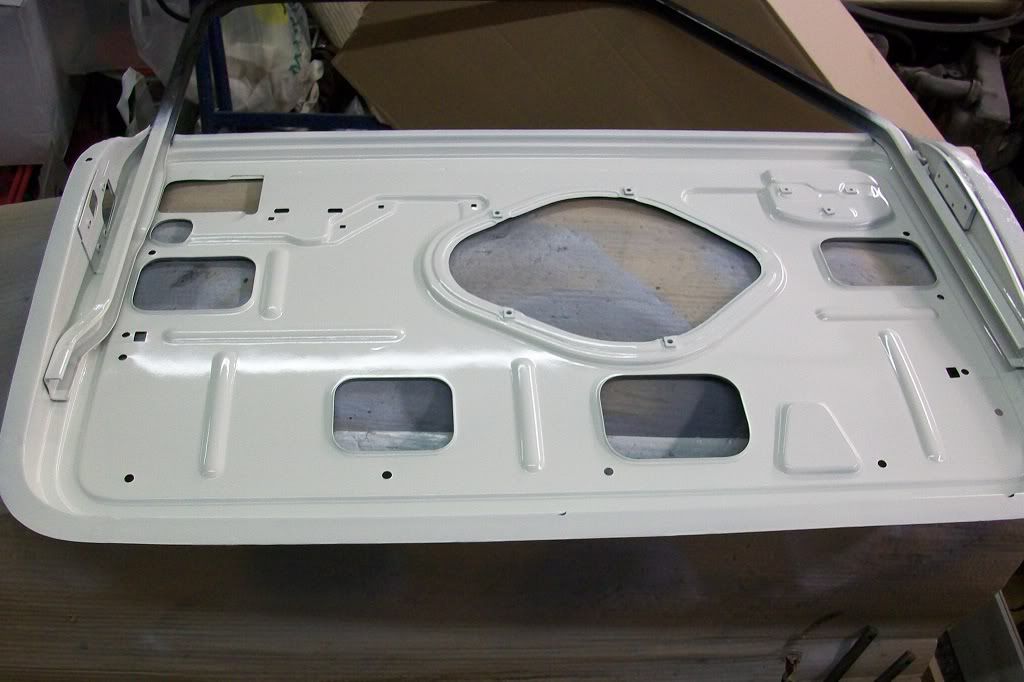
Progress has slowed down on the drivers door due to some heavy rust issues that are taking time to sort, but got the bottom leveled up with a skim of filler.
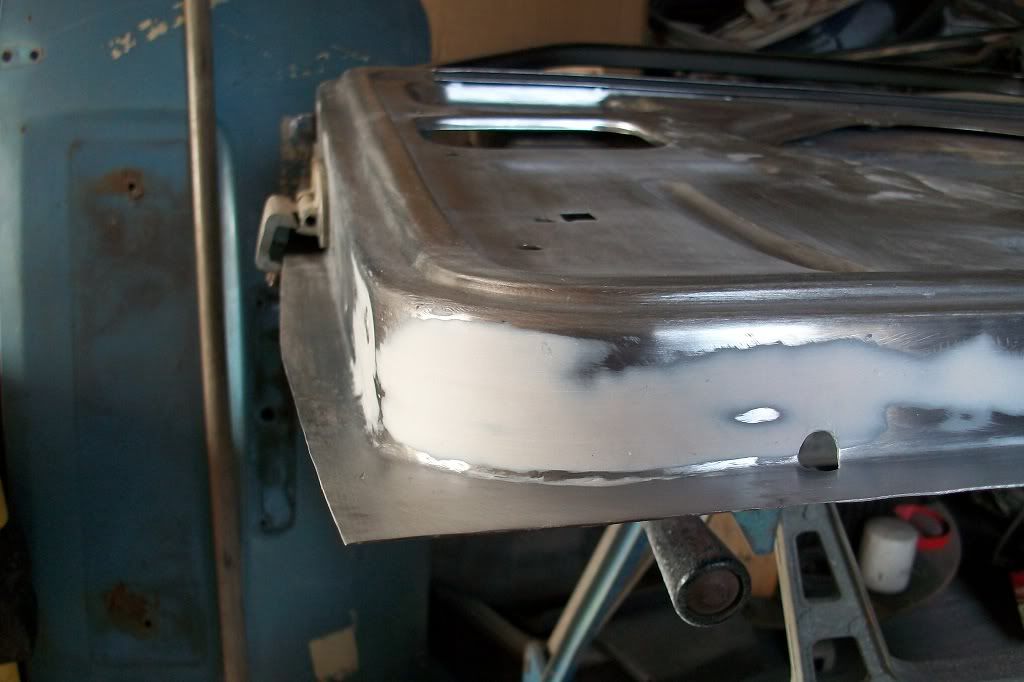
Primed up.
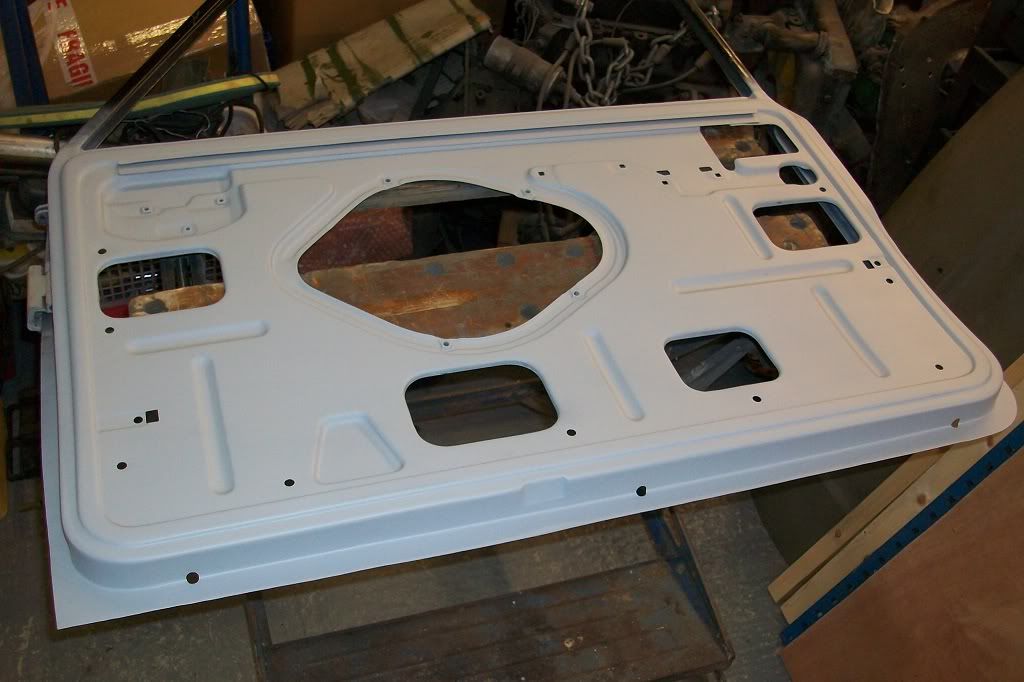
Inside cleaned down to bare metal and etch primed also.
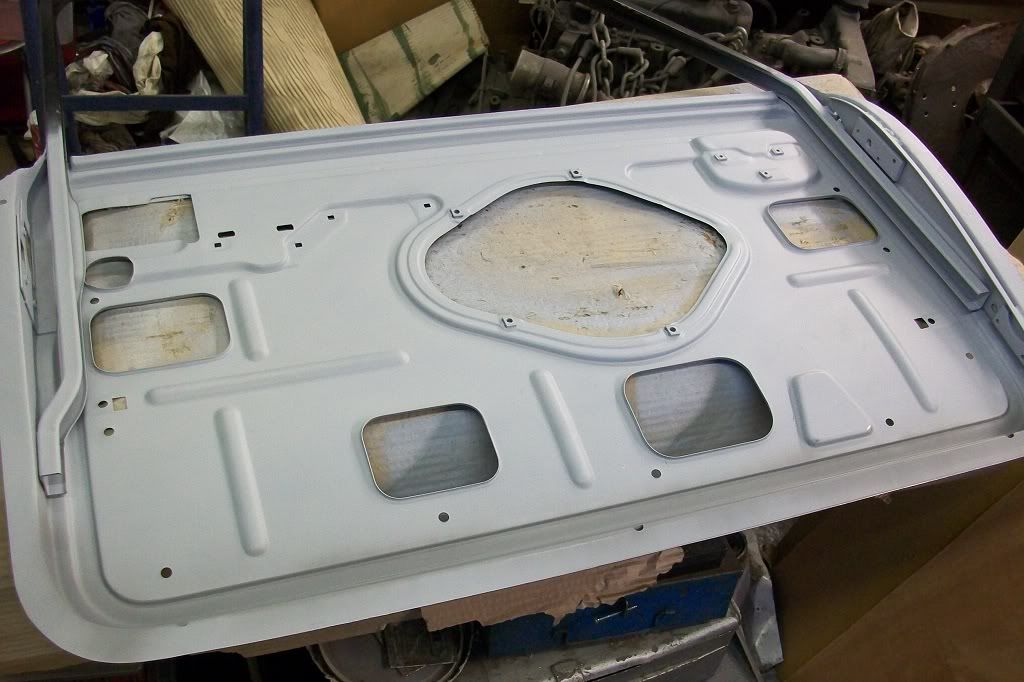
Got some paint on the inside where it will be hard to get to later.
Started to repair the boot lid next. The lid I'm using is in relatively good condition apart from the outer skin has dents, ripples and rust.
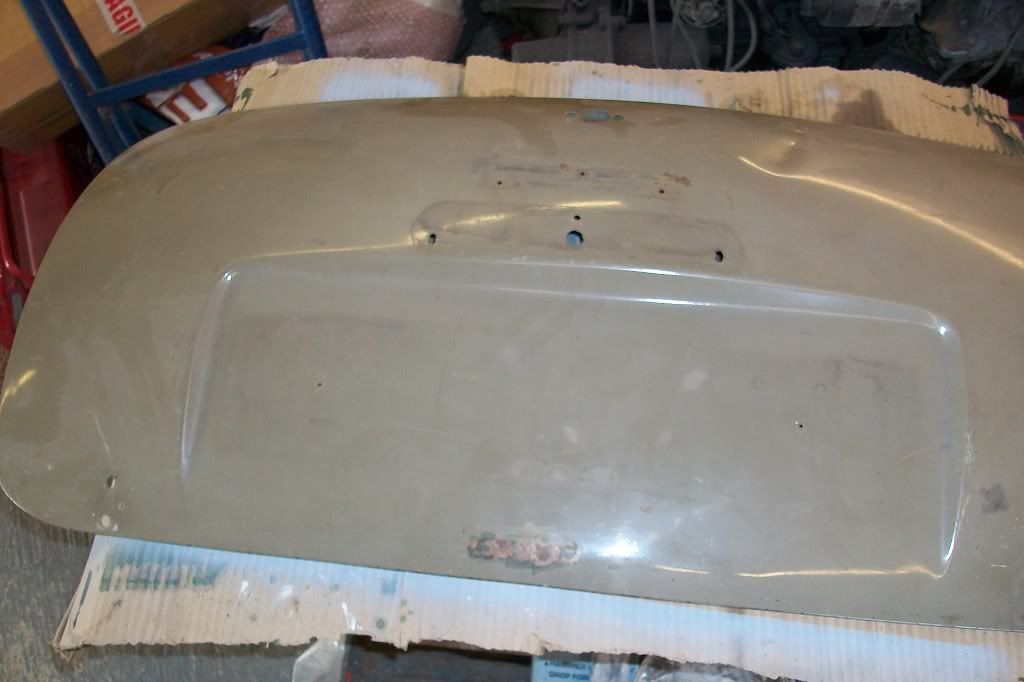
Got the old skin off and the frame only has slight rust at the bottom.
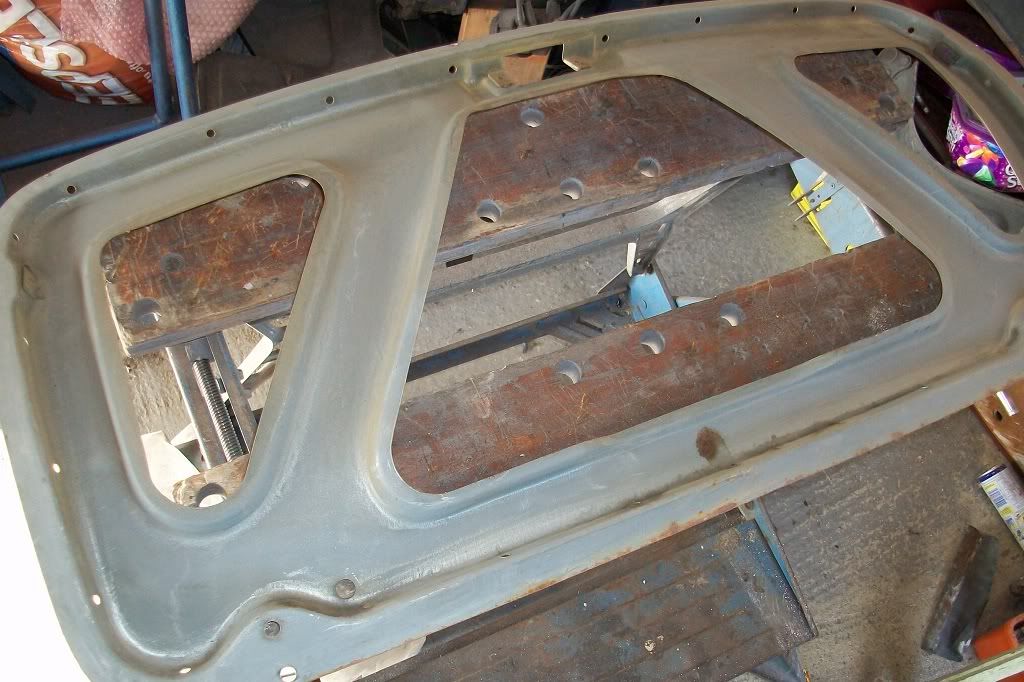
Cleaned to bare metal.
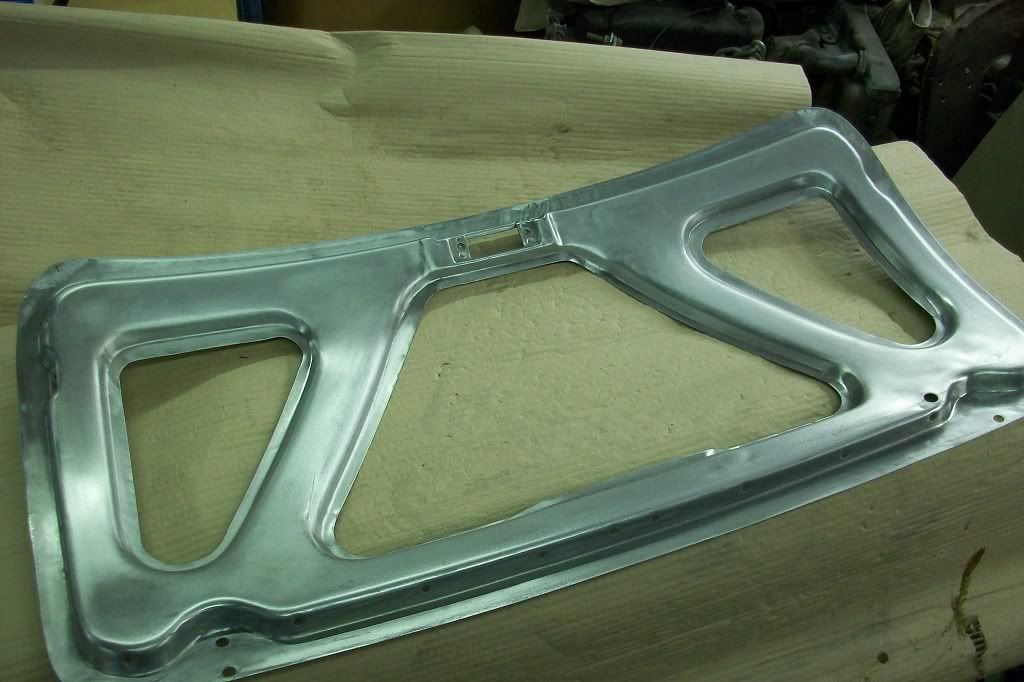
Primed and painted the inside.
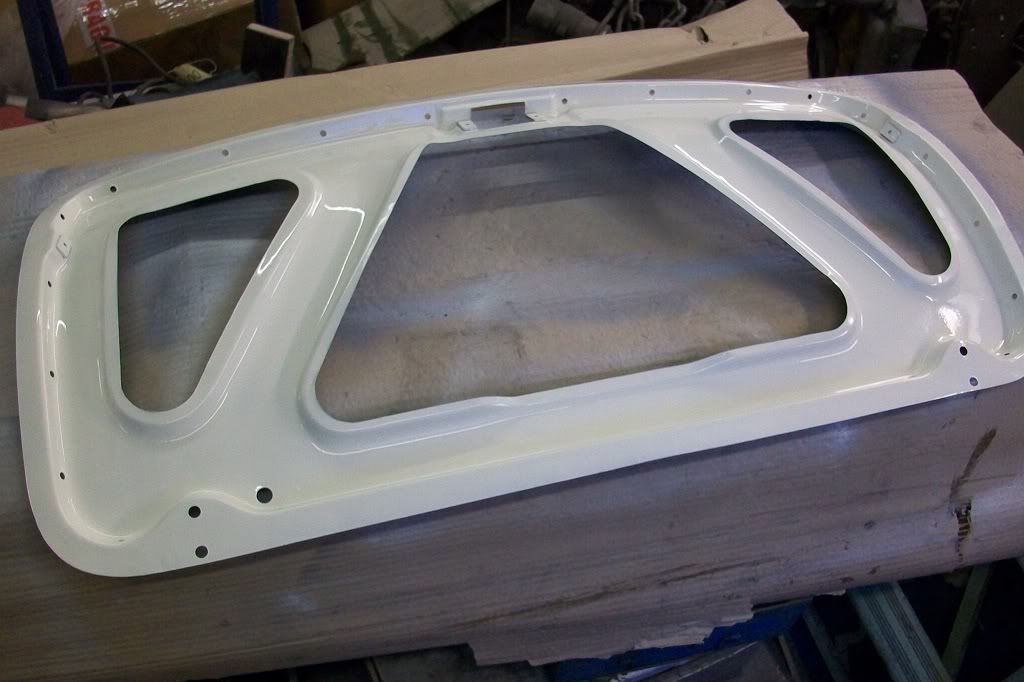
New skin fitted. A few marks on the outer surface will need some filler but not too bad otherwise.
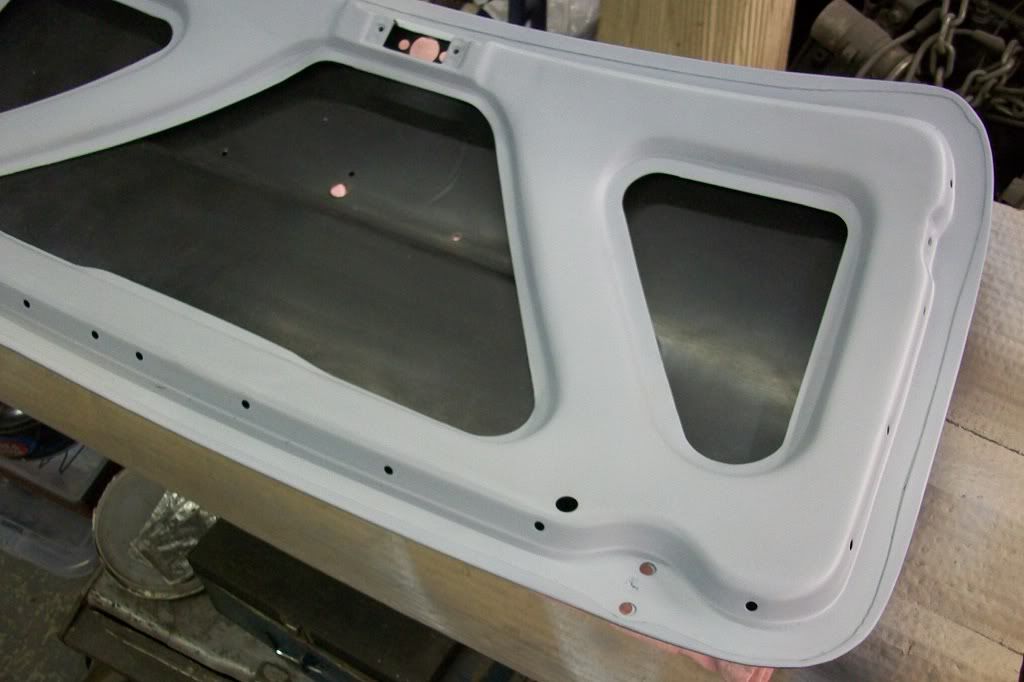
Will attempt to get the door finished this weekend, in between going to Stanford Hall if I can.
Thanks.
Edited by minifcd, 05 September 2012 - 09:32 PM.
#304

Posted 05 September 2012 - 10:22 PM
#305

Posted 09 September 2012 - 08:27 AM
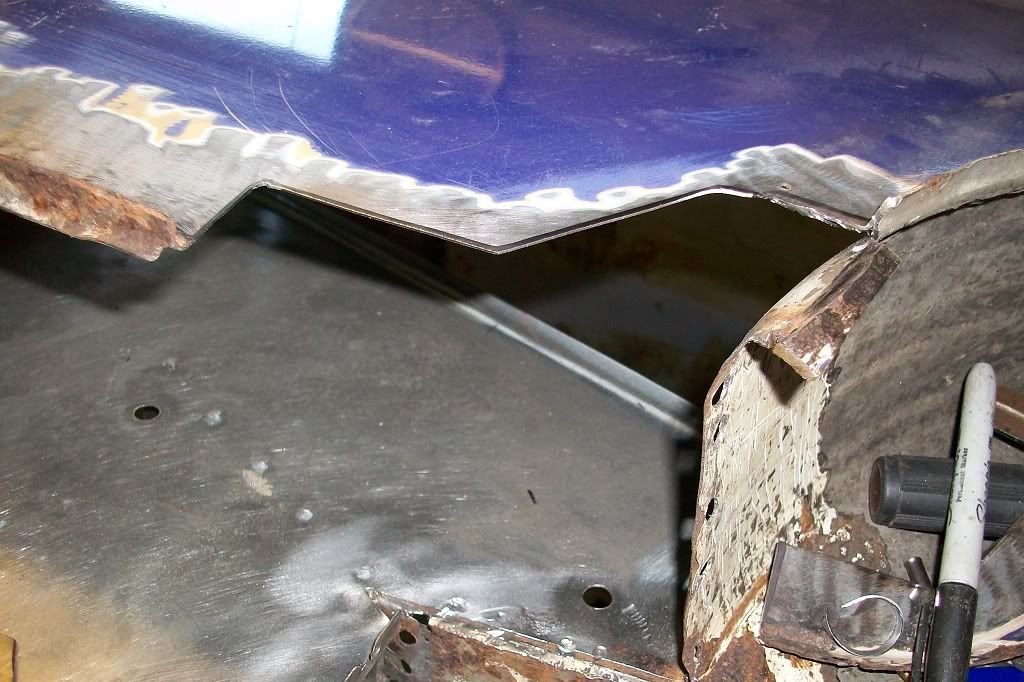
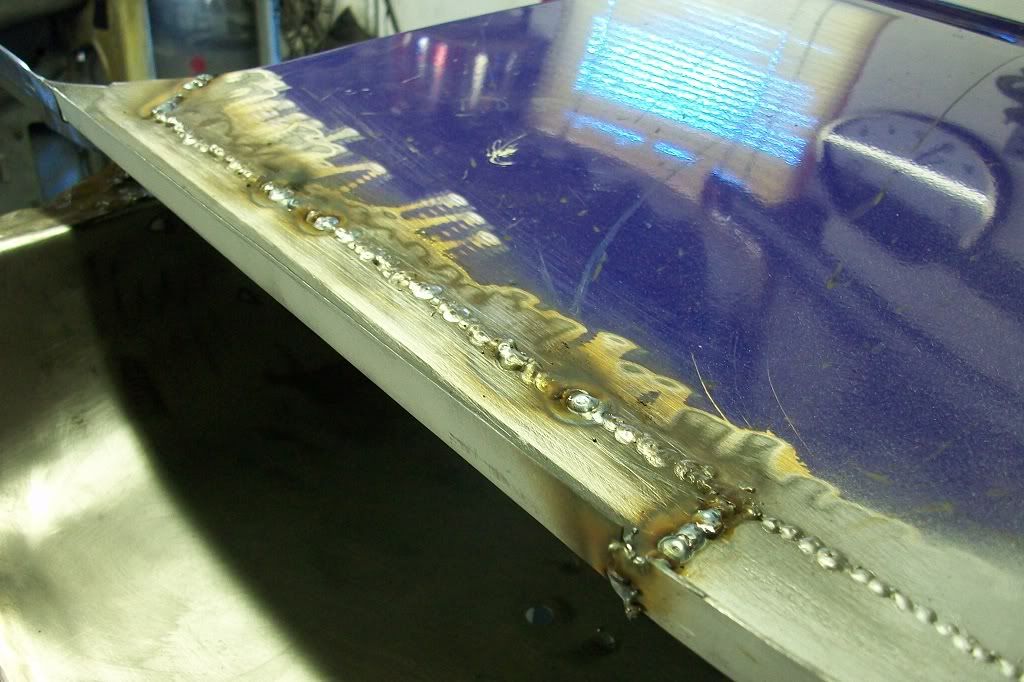
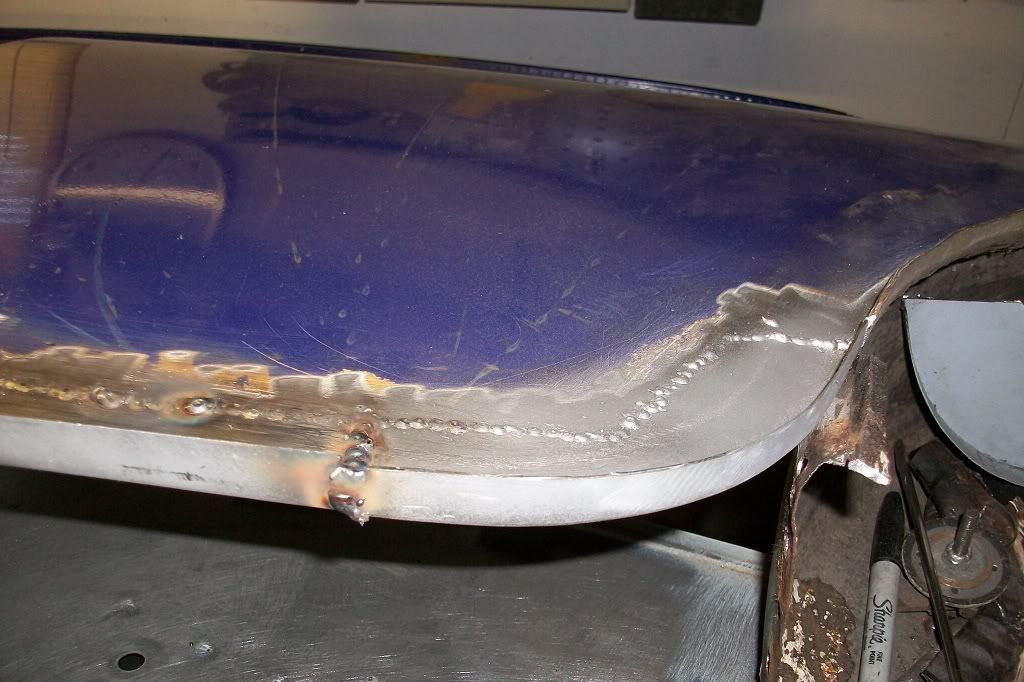
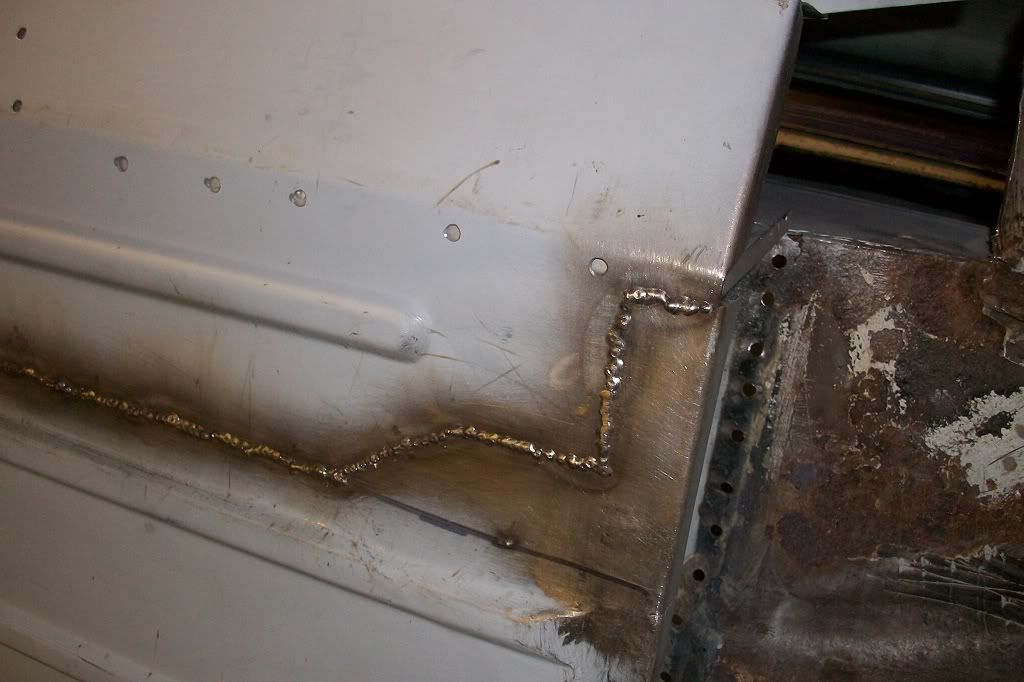
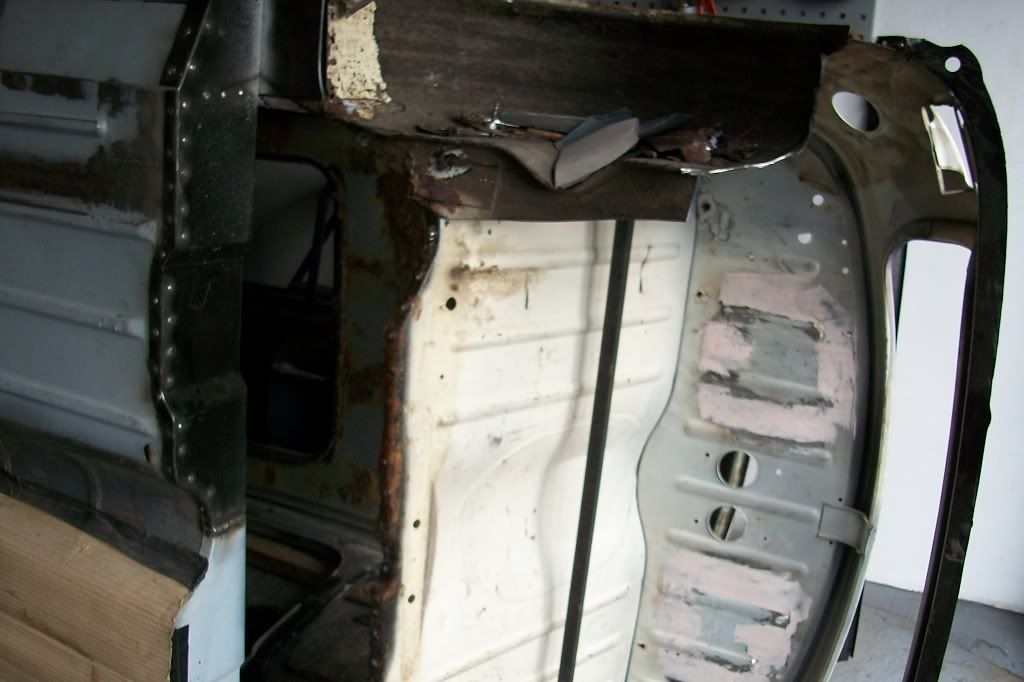
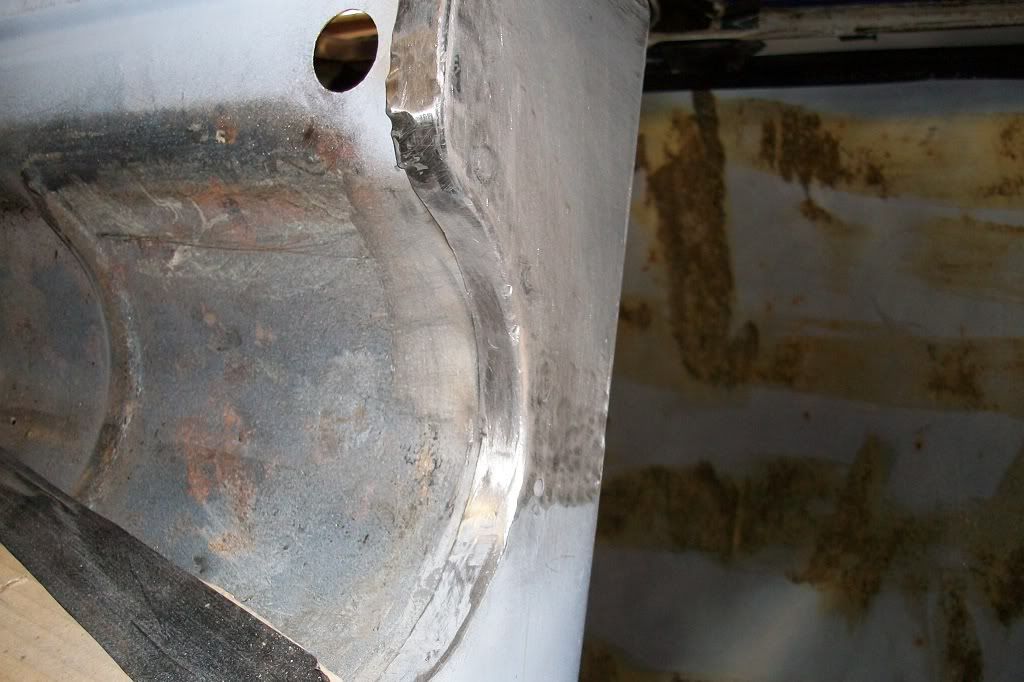
Hi again. So next installment, I cut out the the lower part of the rear quarter panel and made up two pieces to repair it and welded in.
Not very pretty at the moment but gets better when ground down. Forgot to take some more pictures though.
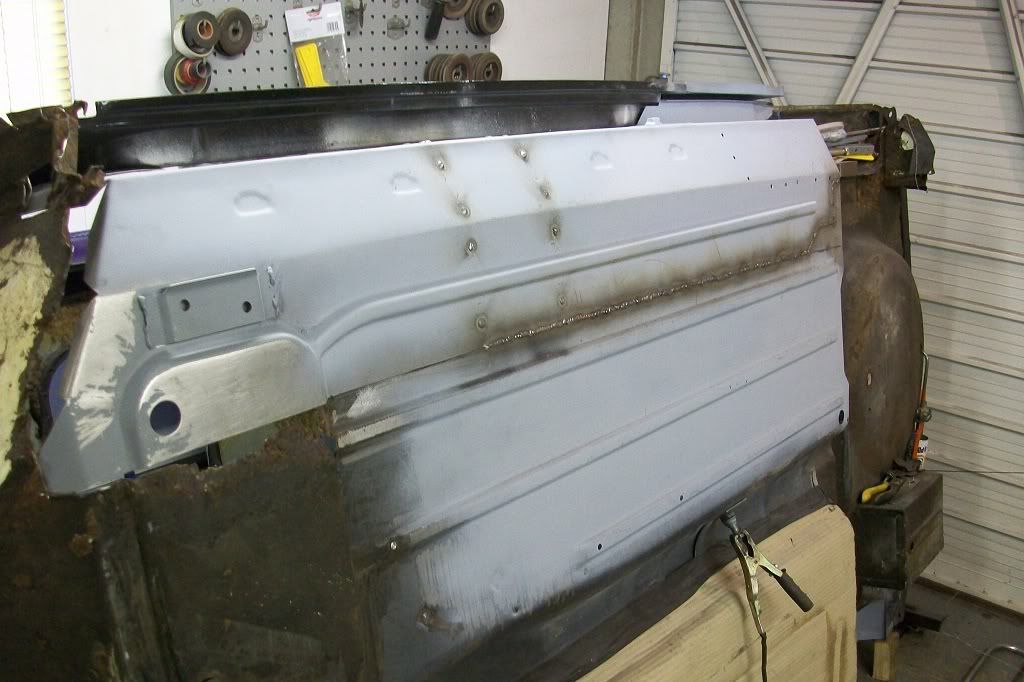
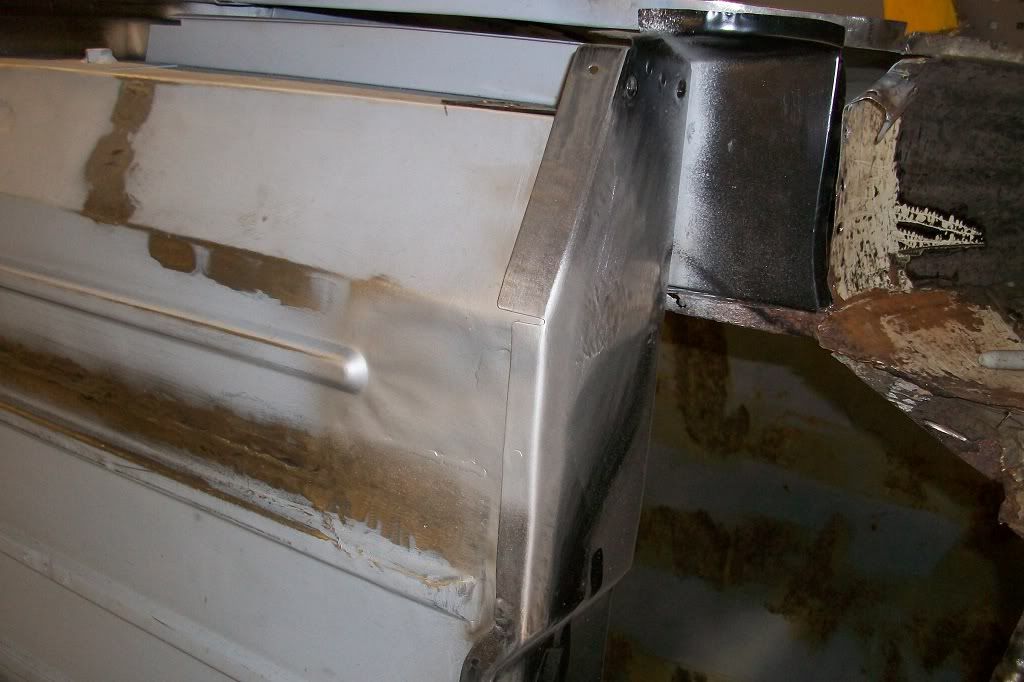
Next the floor/sill panel was fitted. Again, the same as the other side, trial fitting, tweeking, spot welding the companion box closing panel on, and then finally welding in so haven't included all the pictures this time.
This end was staggered due to the repair I made to the heal board lip.
Plug welded to the companion box, butt welds ground down and the other heal board half test fitted. The wheel arch closing panel was clamped in place to the heal board and then removed complete with heal board to weld the two together.
Next I fitted the rear subframe for alignment (no picture) and plug welded the heal board in place. Then cut out the boot floor.
Ground down the welds.
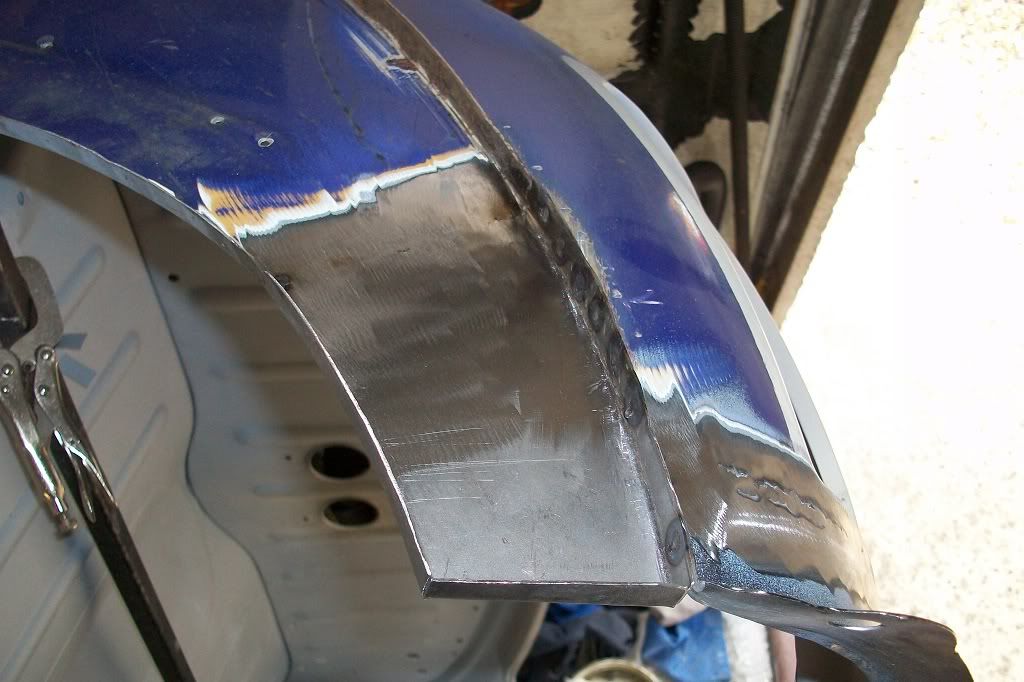
Next made this by folding from one piece and shrinking/stretching the edges to get the slight curve of the panel. But, the eagle eyed among you will have noticed that the forward edge doesn't have the correct curve, (too straight) so a little cut and stitch will be required latter.
Thats it for now. Thanks.
Loving the feed mate! Very inspirational I must say, and a little sicking if I'm honest haha! Your a very talents chap. How do you prevent heat distortion. I can't see any on your welds! Especially at the bottom of your 1/4 panel / wheel arch repaid! Very interested to know :)
Kind regards, Dominic
#306

Posted 11 September 2012 - 11:10 AM
Although I wish I has seen it earlier and used your technique for repairing the door flanges. I've just had to do my van doors both corners and lower edge had gone. However I didn't think to do it how you have, I butt welded them edge to edge and it was a right pain in the ass .
Ow well live and learn I guess.
Looking forward to following this one.
#307

Posted 11 September 2012 - 11:30 AM
You're doing a great job restoring this baby!
#308

Posted 11 September 2012 - 07:04 PM
Loving the quality of the rebuild.................
Do you place any tackwelds when fitting the boot lid skin on to the frame, or is it just crimped up all round?
Adam
#309

Posted 11 September 2012 - 07:12 PM
#310

Posted 11 September 2012 - 07:52 PM
Dominic, I minimise heat distortion whilst welding thin metal by doing lots of tack welds and allowing to cool between each one. Takes forever but does the job. Everyone has different methods but this works for me.
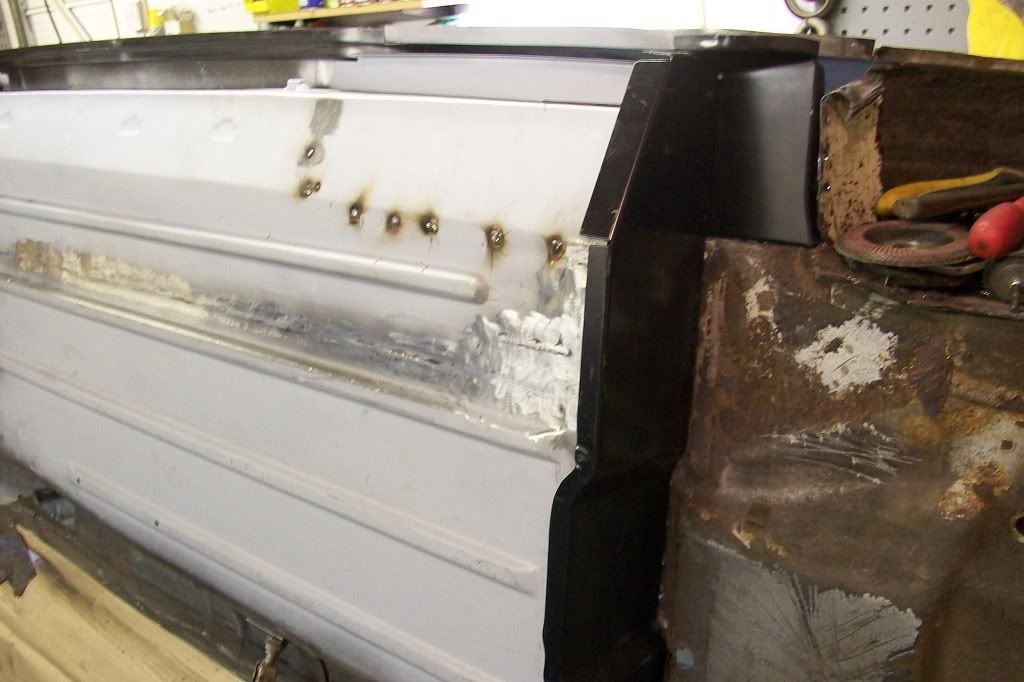
Bushey Trader, there are two welds on the boot skin holding it in place in the same position as the skin I removed. These are spot welds and are located inbetween the bolt holes for the boot hinges so they are not seen when the hinge is in place. You can just see one in the last picture I posted of the boot skin repair.
Neil, the boot skin is available from Mini Spares as part number BMP102 (Heritage) for all Mk3 on models .
#311

Posted 11 September 2012 - 07:55 PM
#312

Posted 12 September 2012 - 11:23 AM
whens the next installment?
#313

Posted 12 September 2012 - 08:31 PM
Thanks.
#314

Posted 12 September 2012 - 10:06 PM
#315

Posted 29 September 2012 - 10:28 PM
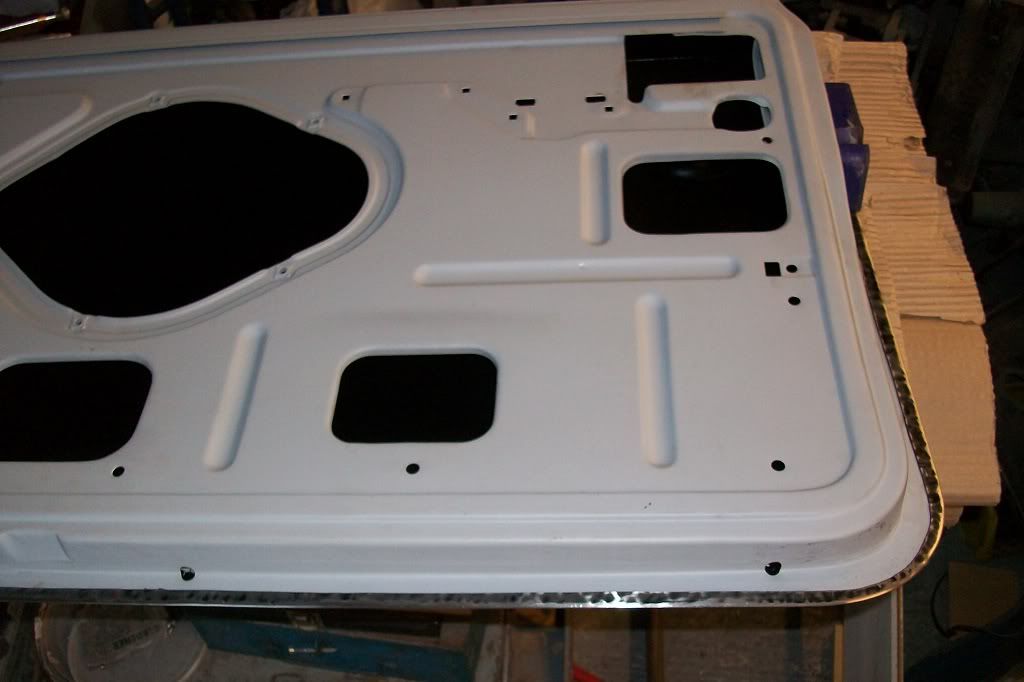
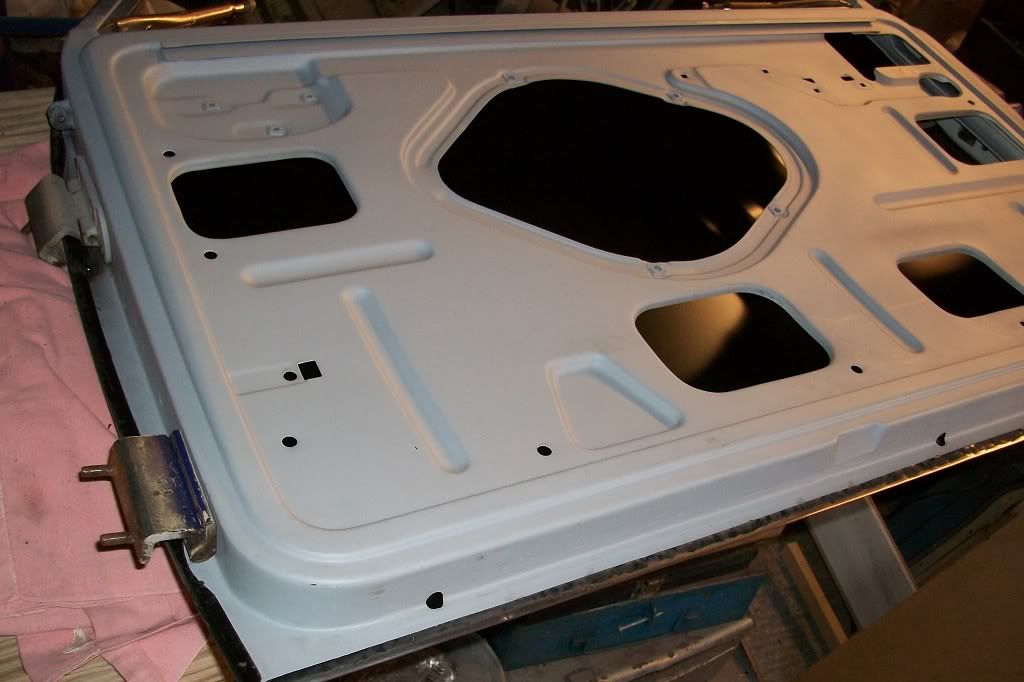
Drivers door frame got some paint on the inside...
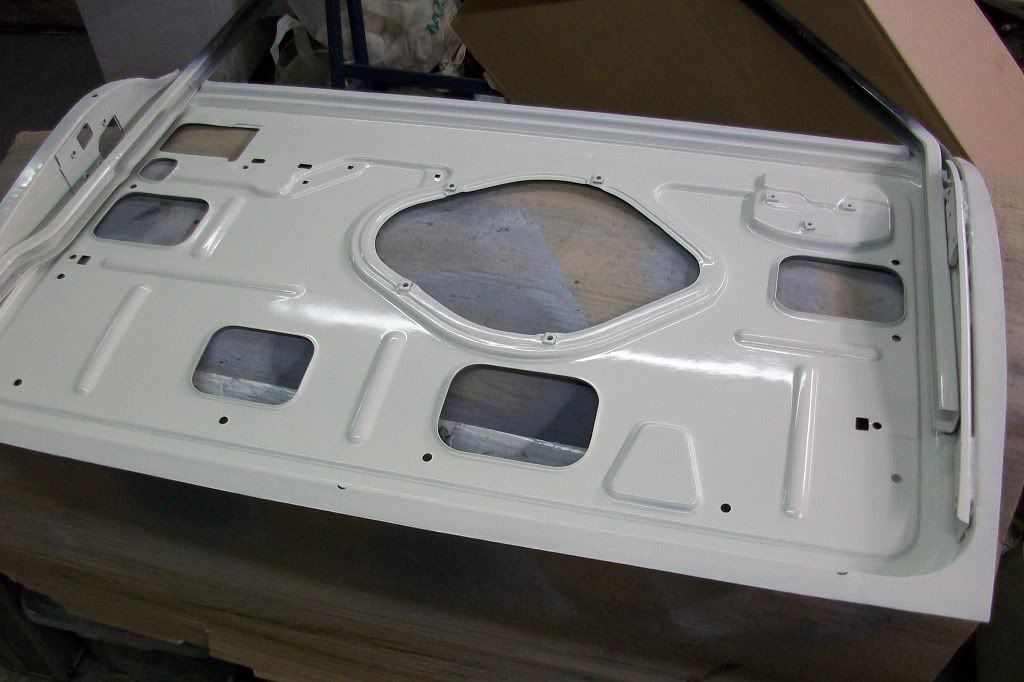
...and then got the skin fitted.
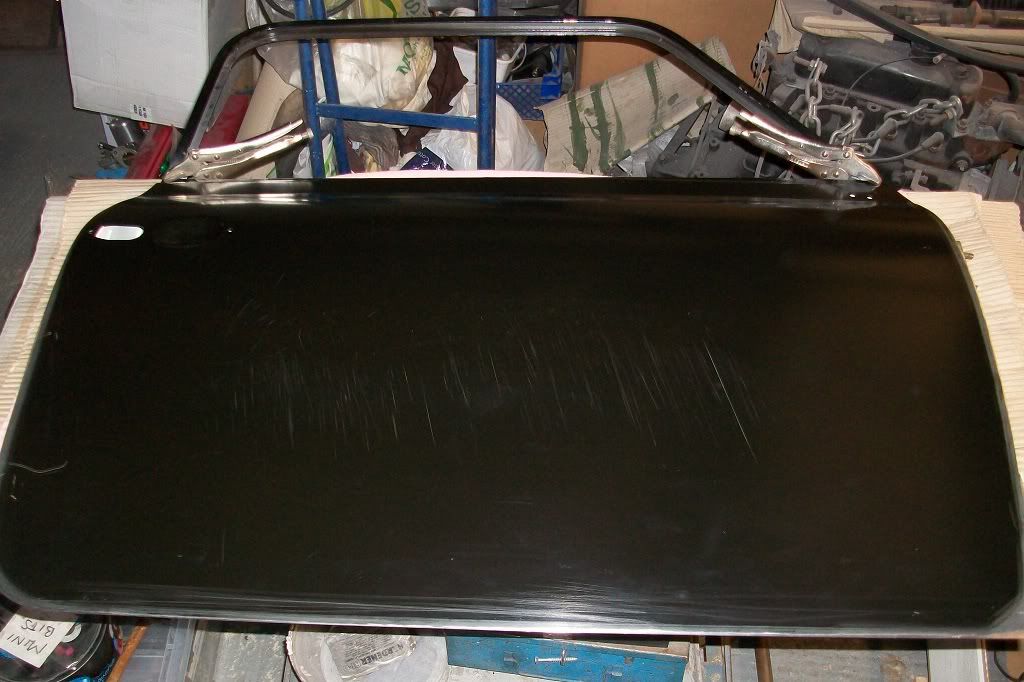
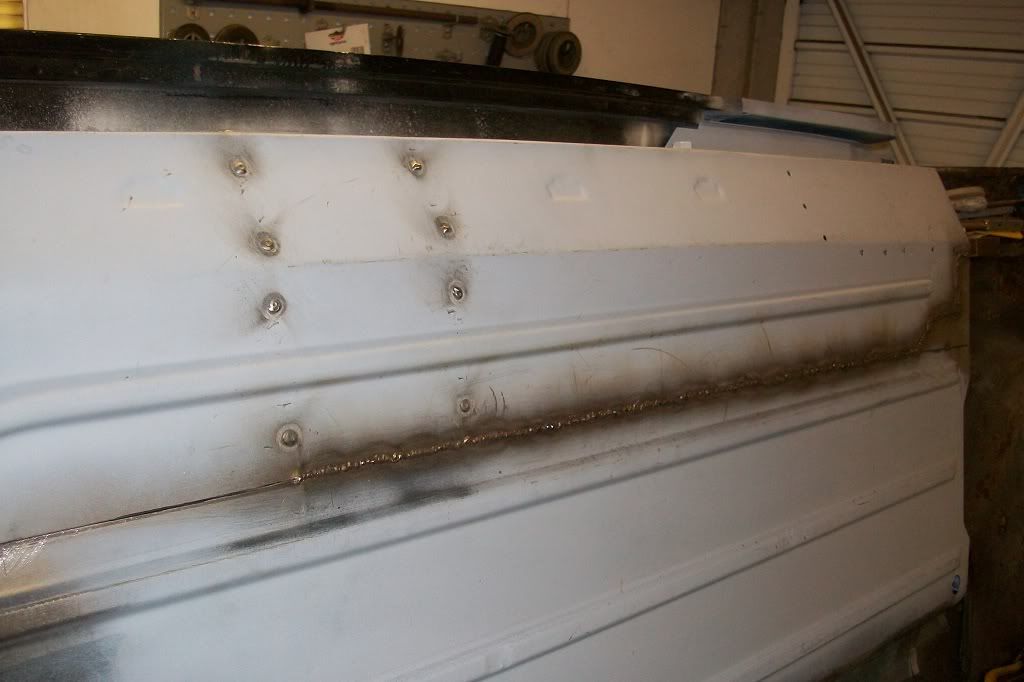
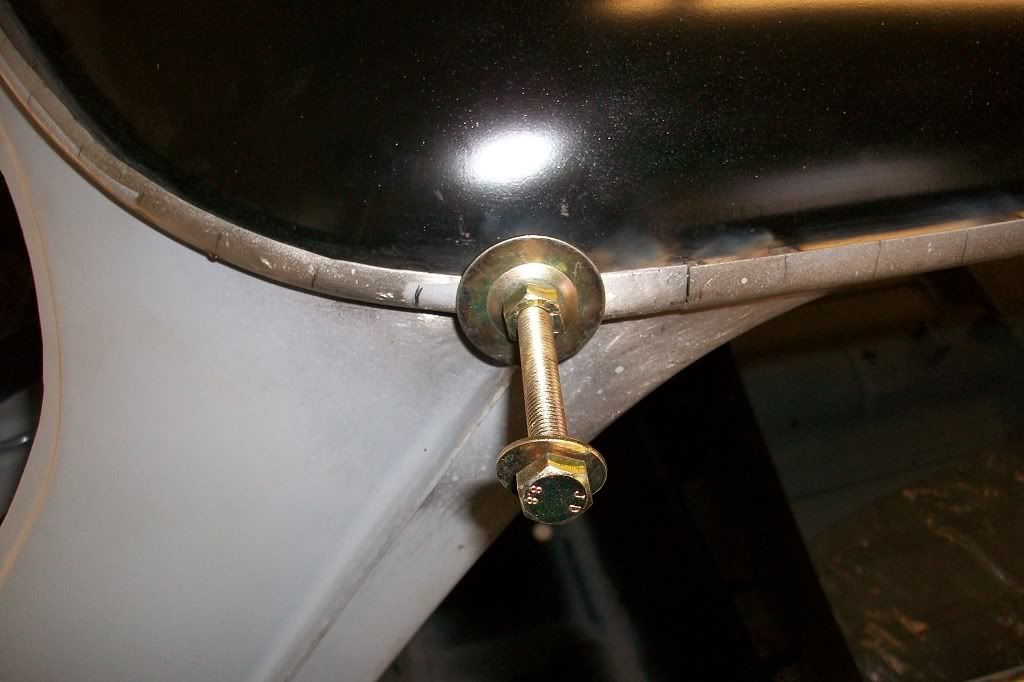
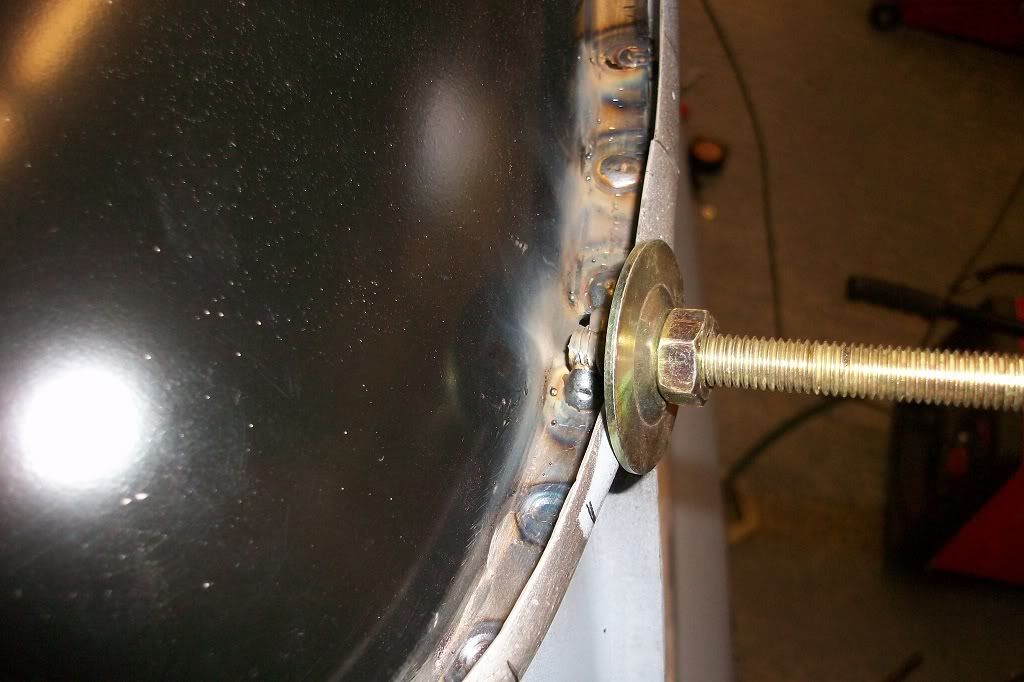
Then I finally got to have a look at a problem I came accross when fitting the roof. The drivers rear corner had too big a gutter gap as the skin didn't cover enough of the gutter lip to be able to spot weld. I left a few spot welds out here until I could work out how to tackle it. Eventually came up with this idea. Tack welded a bolt to the roof skin through the drain hole and wound a nut up against a washer to pull it all together.
When it was pulled back into shape, I drilled holes and plug welded quickly. Needs tidying up but the gap is good now.
Thanks.
2 user(s) are reading this topic
0 members, 2 guests, 0 anonymous users


