Jump to content


Photo
- - - - -

Leyland Mini 1000 1980 Restoration Project


  • Please log in to reply
393 replies to this topic

#286 racinggreenmatt

racinggreenmatt

    On The Road

  • Noobies
  • PipPip
  • 37 posts
  • Location: Rickmansworth

Posted 08 July 2012 - 07:48 PM

Your doing a lovely job Scott. I was just reading back on this, did you use a heritage front panel and wings? Just wondering which the best ones to use are because the heritage ones are considerably more expensive than the cheaper ones. Is there a massive difference?
Matt

#287 minifcd

minifcd

    Mini Mad

  • Members
  • PipPipPipPip
  • 246 posts
  • Location: Stamford

Posted 08 July 2012 - 09:22 PM

Yes Matt, I used Heritage front panel ALA8619 and Heritage wings 14A7240 and 14A7241. After using non genuine wings on my first mini and having a nightmare of a job to get them to fit at first, I decided to give Heritage a try. These weren't without their own problems at the scuttle join but were miles better. Actually, nearly all of the panels are Heritage apart from the inner sills and footwell repairs.

Thanks

#288 racinggreenmatt

racinggreenmatt

    On The Road

  • Noobies
  • PipPip
  • 37 posts
  • Location: Rickmansworth

Posted 09 July 2012 - 06:15 PM

Ok lovely, cheers Scott, il cough up and get heritage panels!

#289 hughJ

hughJ

    Soldiering Along

  • Members
  • PipPipPipPipPipPipPip
  • 727 posts
  • Location: Highlands, Scotland

Posted 09 July 2012 - 06:22 PM

Hello Scott

Havn't been here for some time - that door repair is to your usual extreme standard which makes me feel so amateur. Great!

Hugh

#290 minifcd

minifcd

    Mini Mad

  • Members
  • PipPipPipPip
  • 246 posts
  • Location: Stamford

Posted 13 July 2012 - 08:58 PM

Thanks Hugh. Just wish I could make a bit more progress. Haven't had much time free just lately, but hope to get some work done tomorrow afternoon.

#291 minifcd

minifcd

    Mini Mad

  • Members
  • PipPipPipPip
  • 246 posts
  • Location: Stamford

Posted 09 August 2012 - 08:58 AM

Well, its been nearly a month since I last updated this, as I haven't had a lot of time to do any work. Finally found some time to get a move on with the doors so this is where I am now.

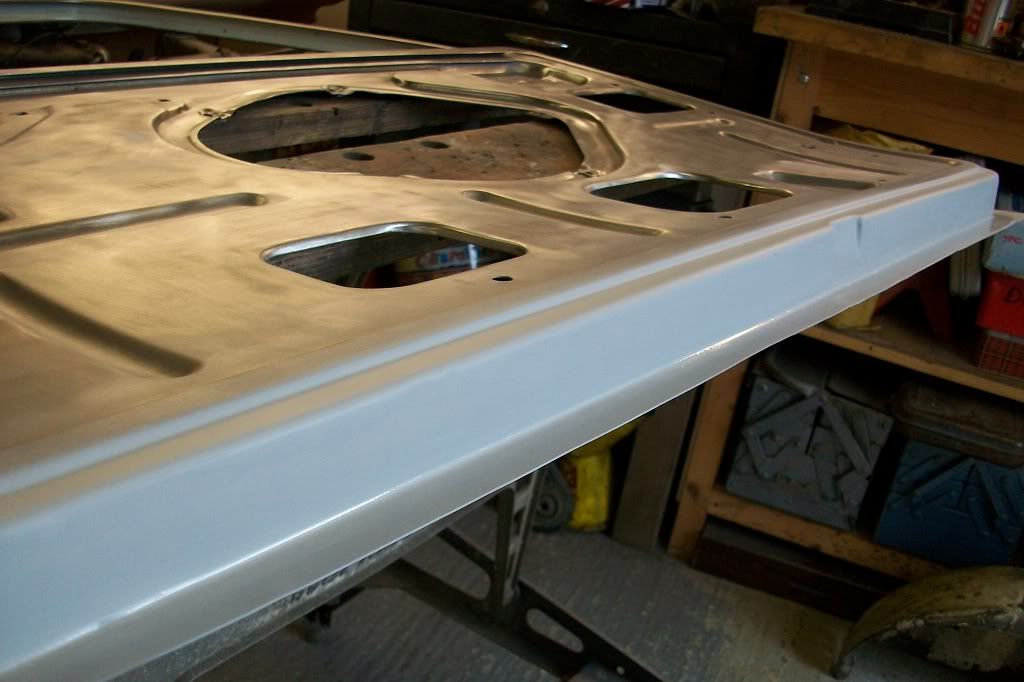
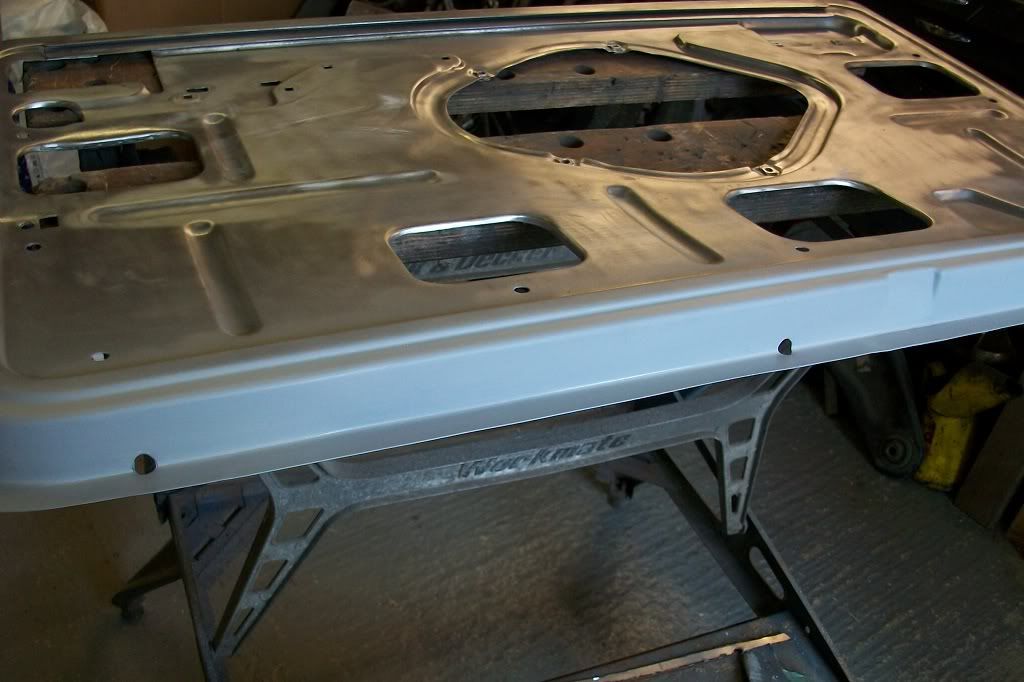
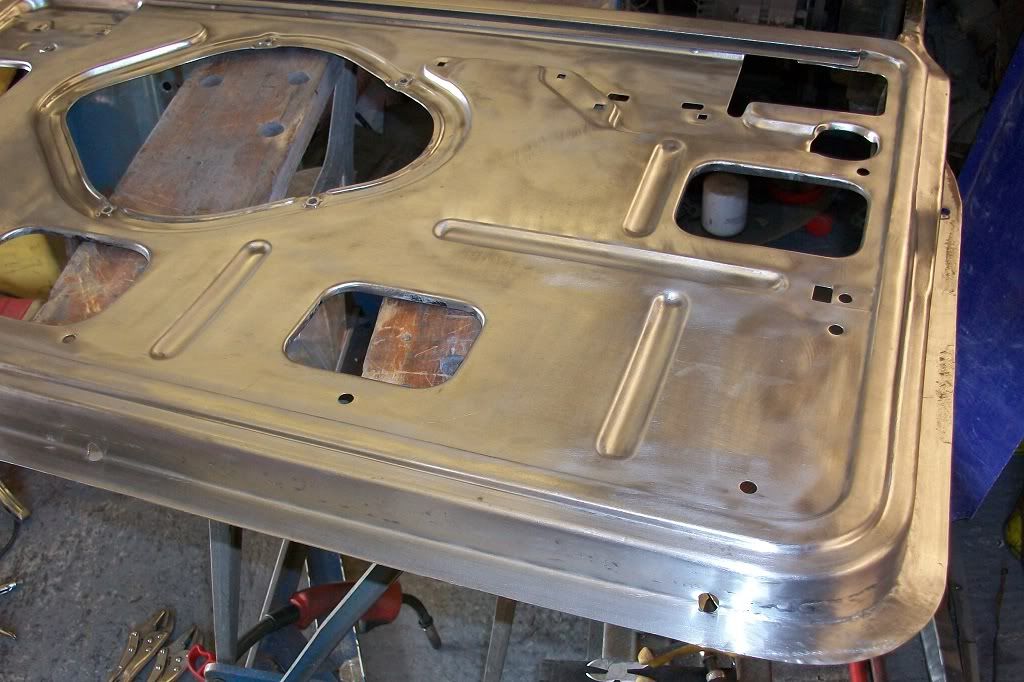
Got a thin skim of filler on the bottom of the door to tidy it up and then primed.
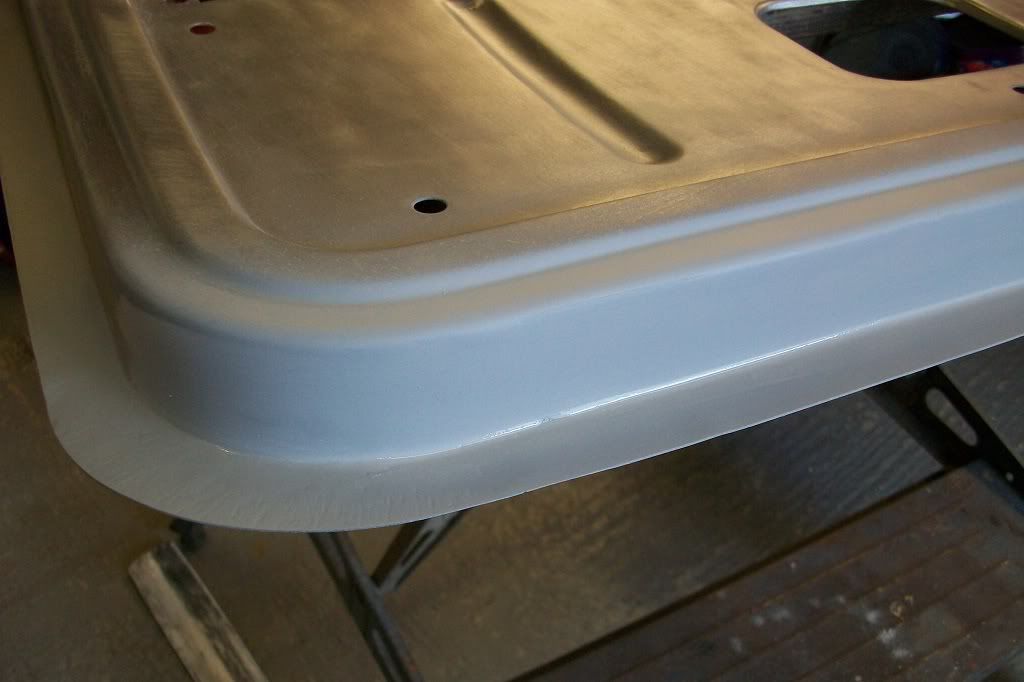
Posted Image

Posted Image

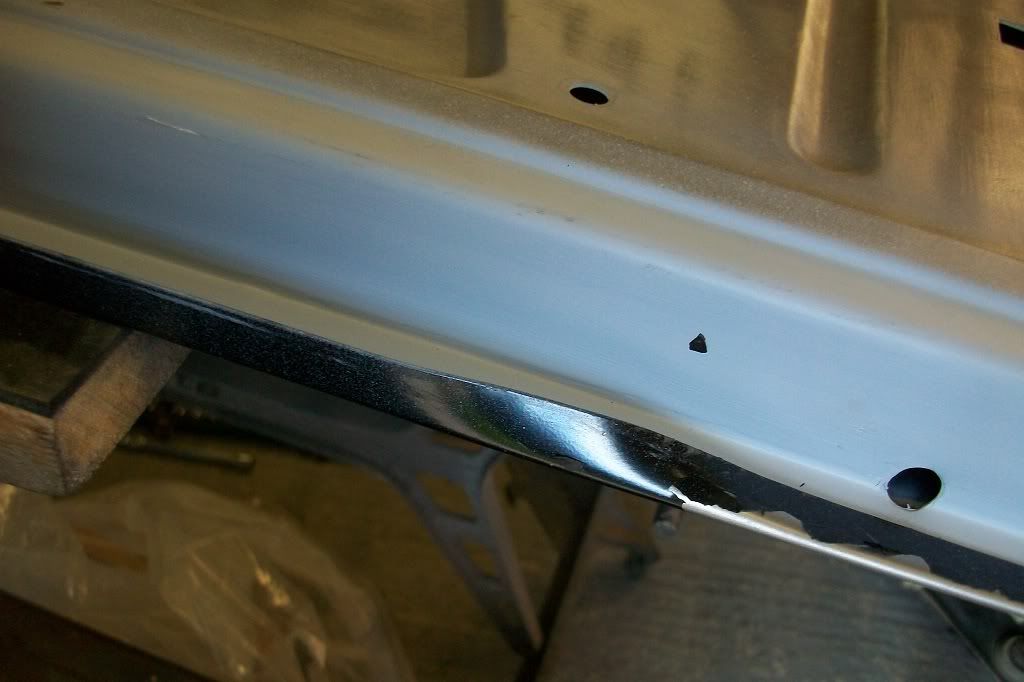
Then I realised I hadn't put the drain holes back in! So using what was left of the old door bottom as a guide, I measured and drilled them to roughly the same positions.
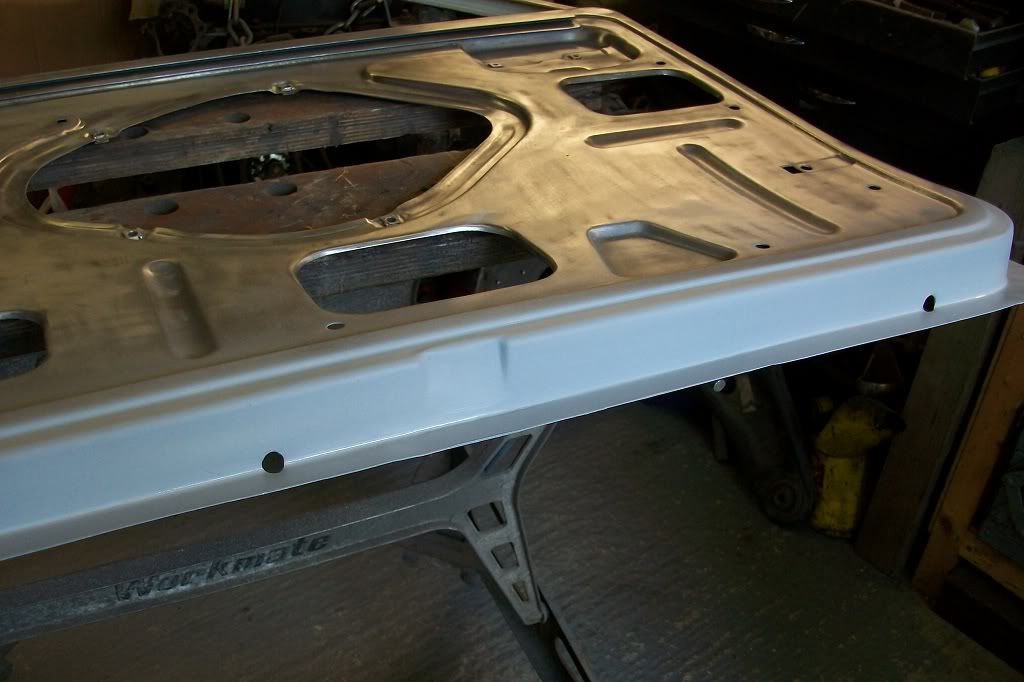
Posted Image

Posted Image

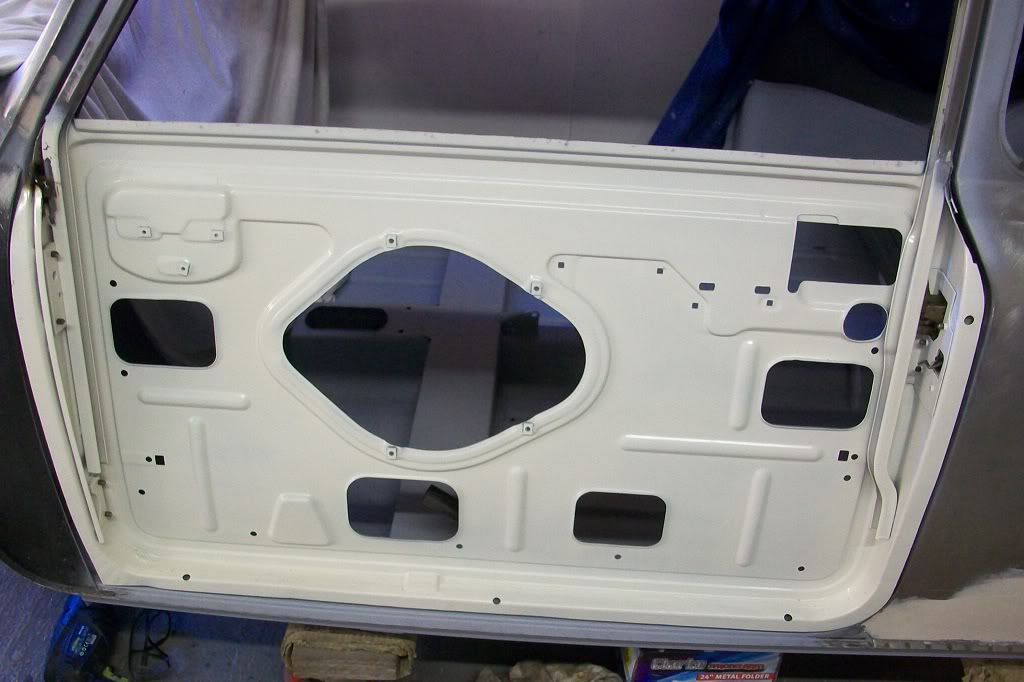
Primed and painted the inside of the door frame and then trial fitted the frame to the shell.
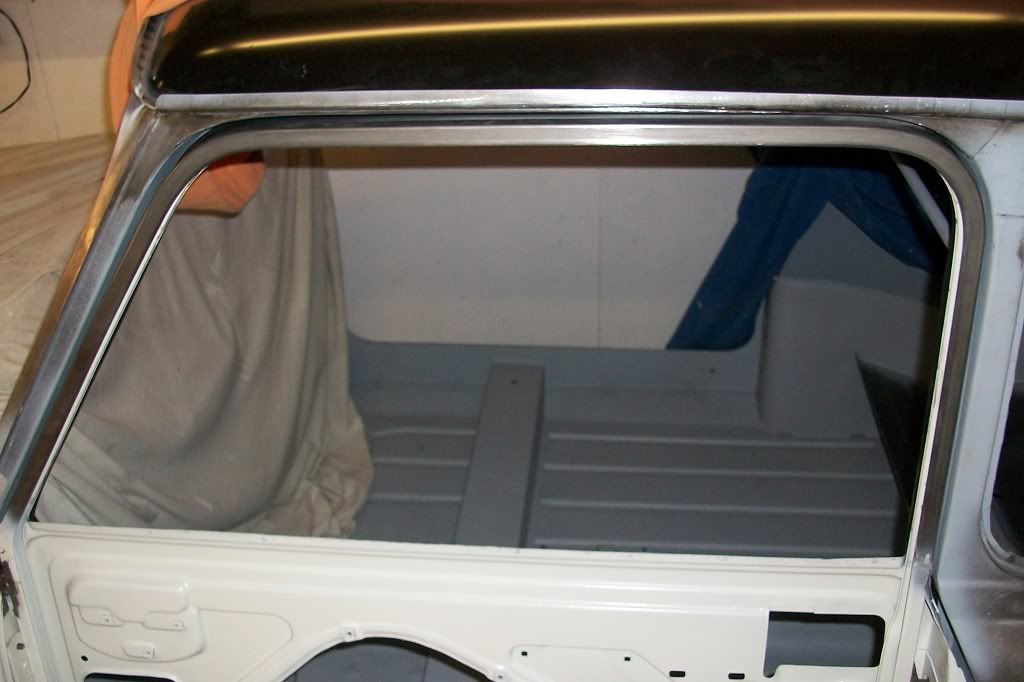
Posted Image

Posted Image

A minor bit of welding was needed to the check strap mount on the inside of the door frame, but once happy, I started to fit the skin (CZH3301 Heritage).
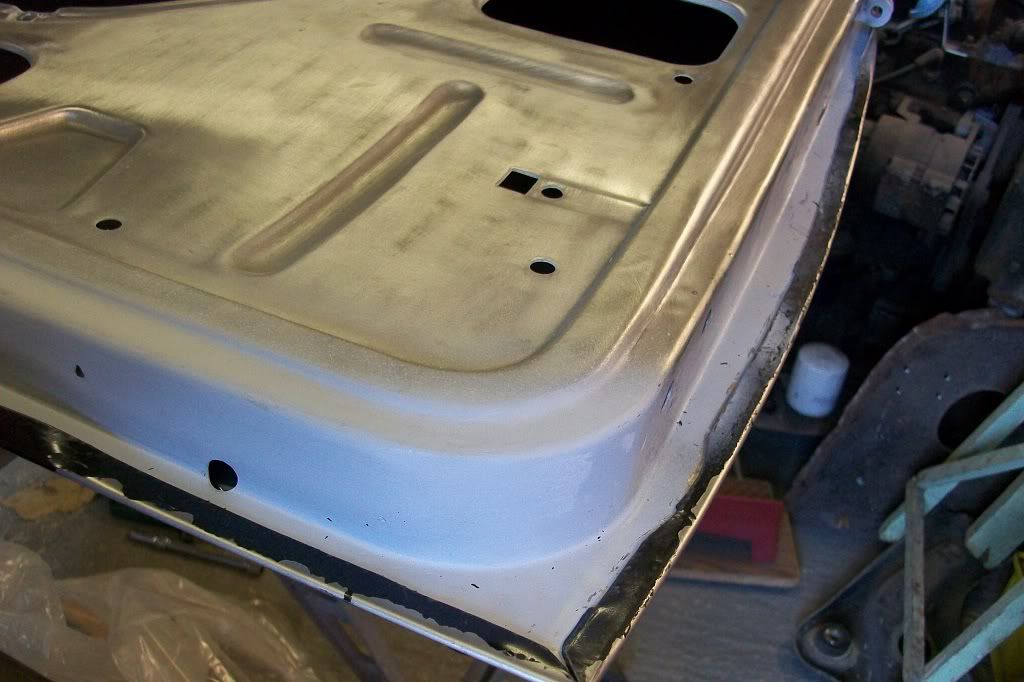
Posted Image

Posted Image

The door initially fitted quite well but had to spend the best part of an hour shimming the door hinges, tweeking and adjusting to get the gaps about right. Needs some work at the top of the A panel as the gap is a bit small, but at least one skin is on!
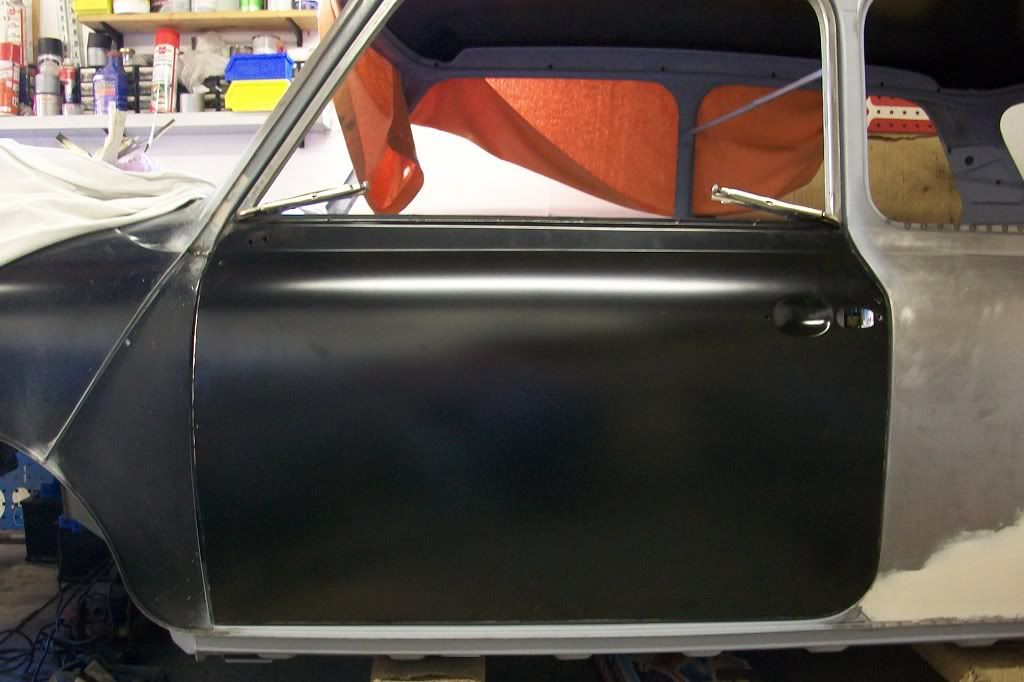
Posted Image

Starting to tackle the drivers door now. That looks like even more fun!

Thanks.

#292 hughJ

hughJ

    Soldiering Along

  • Members
  • PipPipPipPipPipPipPip
  • 727 posts
  • Location: Highlands, Scotland

Posted 09 August 2012 - 07:28 PM

Scott - very, very nicely reclaimed door. I'm glad even you take time out from Minis. Always enjoy your posts.

Hugh

Edited by hughJ, 09 August 2012 - 08:43 PM.


#293 minimuk

minimuk

    Camshaft & Stage Two Head

  • Members
  • PipPipPipPipPipPipPipPip
  • 1,946 posts
  • Location: Midlands

Posted 09 August 2012 - 08:24 PM

Nice one Scott, sometimes it is good to have a few days away from it all, Hugh can verify that to, door look's ace andwith the Heritage panel on nearly done...

now don't wait for another month.... ;D

#294 minifcd

minifcd

    Mini Mad

  • Members
  • PipPipPipPip
  • 246 posts
  • Location: Stamford

Posted 09 August 2012 - 10:47 PM

Thanks Hugh and minimuk. Yeah, the summer time always brings other events to go to and jobs to do, so the mini gets pushed to the back of the list. But I'm back in the game and cracking on!

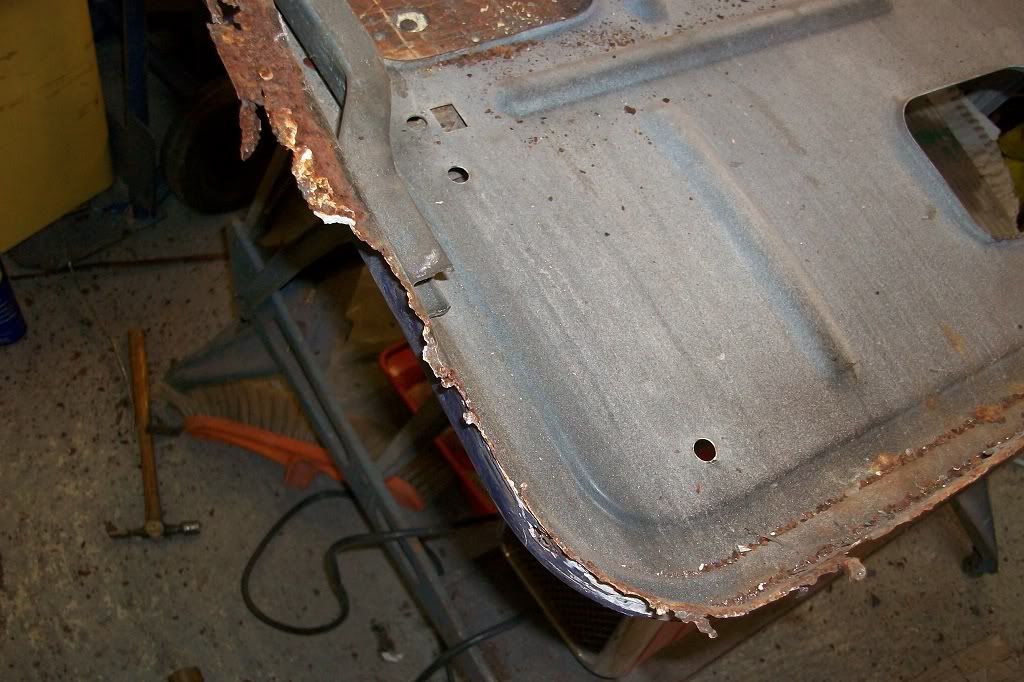
Started stripping the other door down to the bare frame.
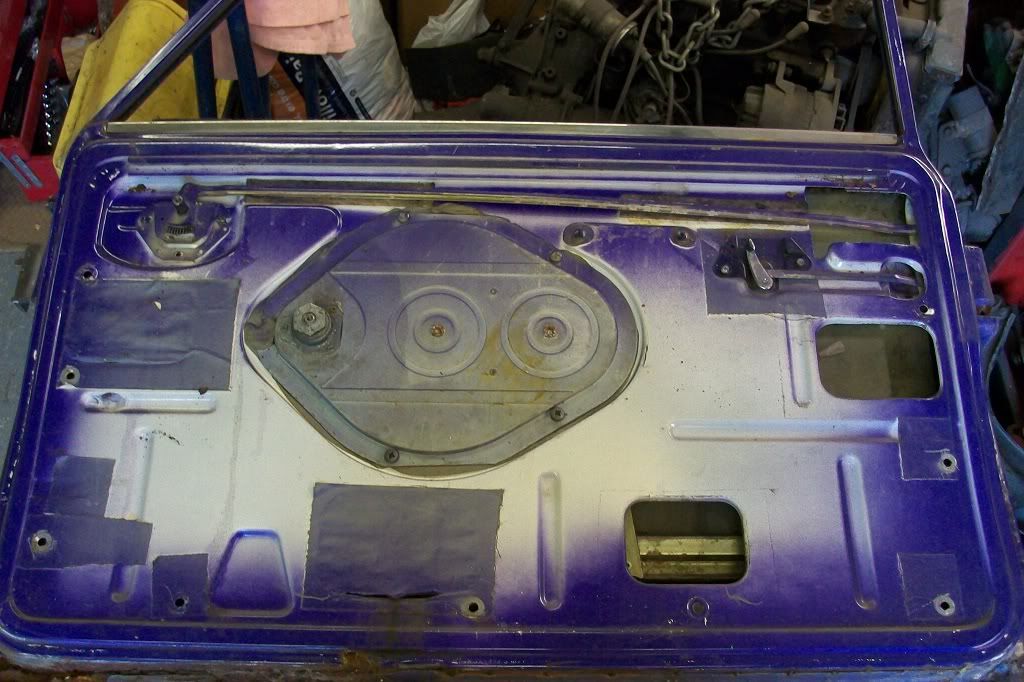
Posted Image

Unfortunately someone had been here before and had done a "running repair" to keep it going. Piece of angled steel tacked on and a lower door skin repair had been added.
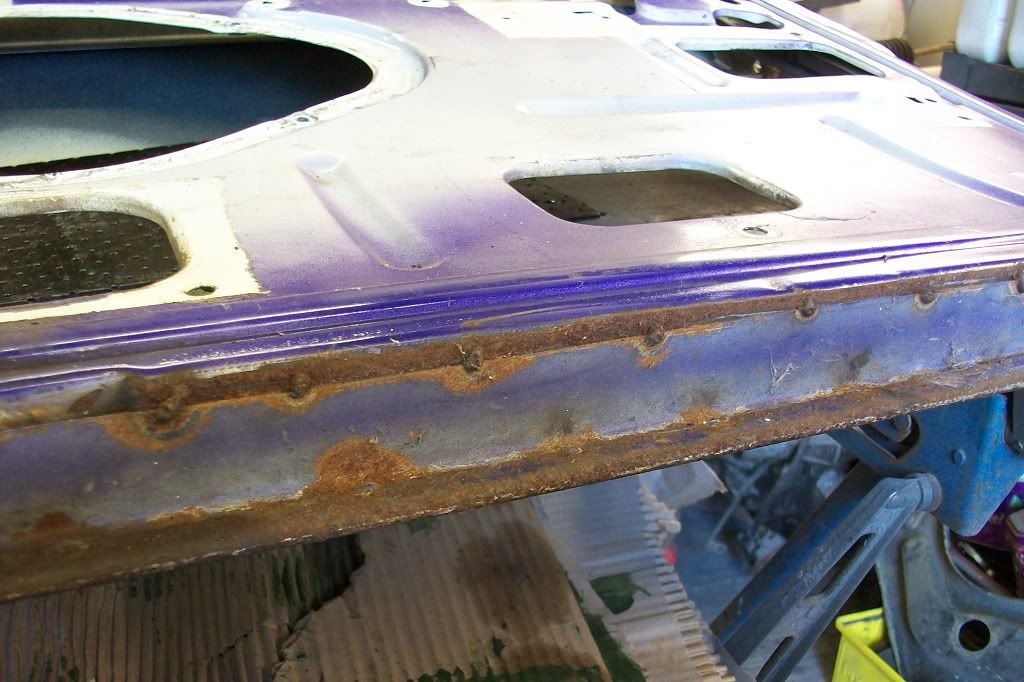
Posted Image

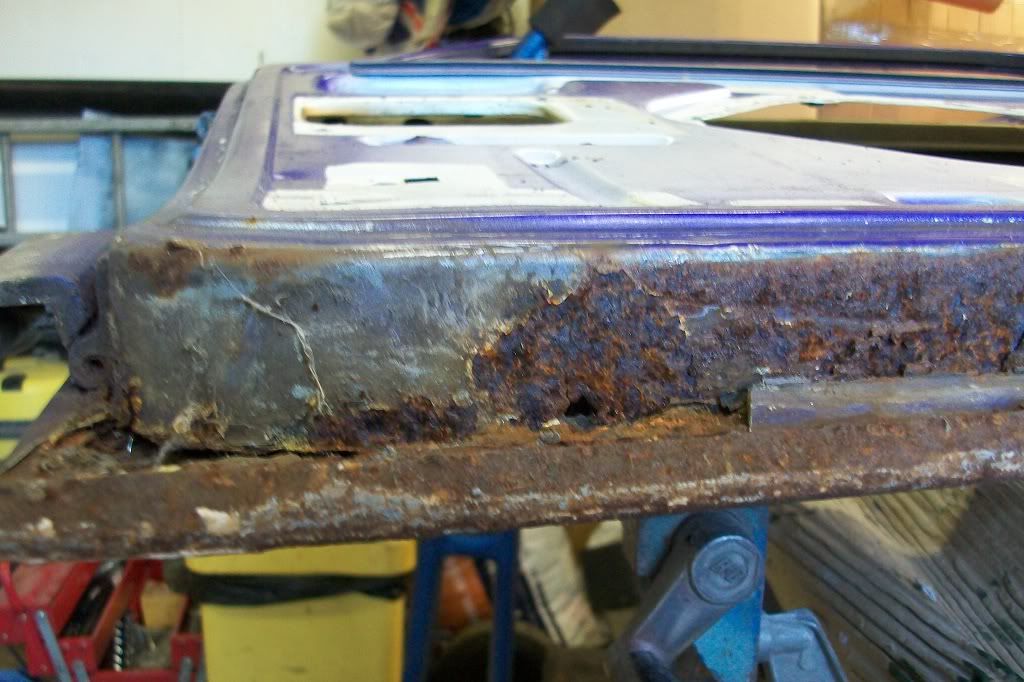
The rust had caused the folded lip of the skin to swell to nearly half an inch thick and had completely rotted the lip of the frame away.
Posted Image

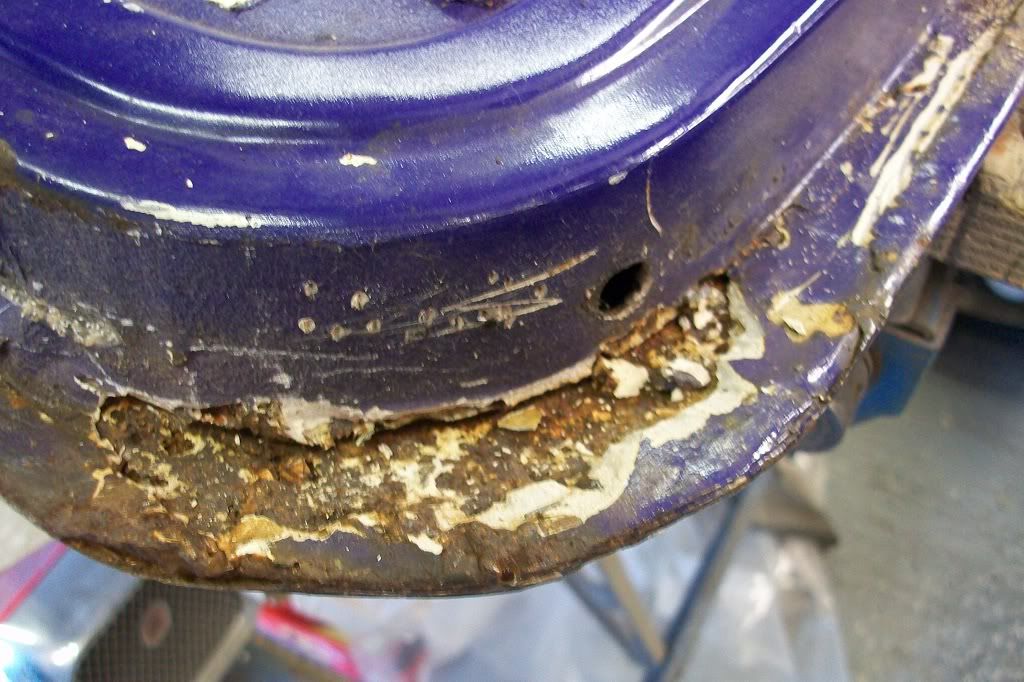
The other corner was constructed from 50% filler and 50% rust!
Posted Image

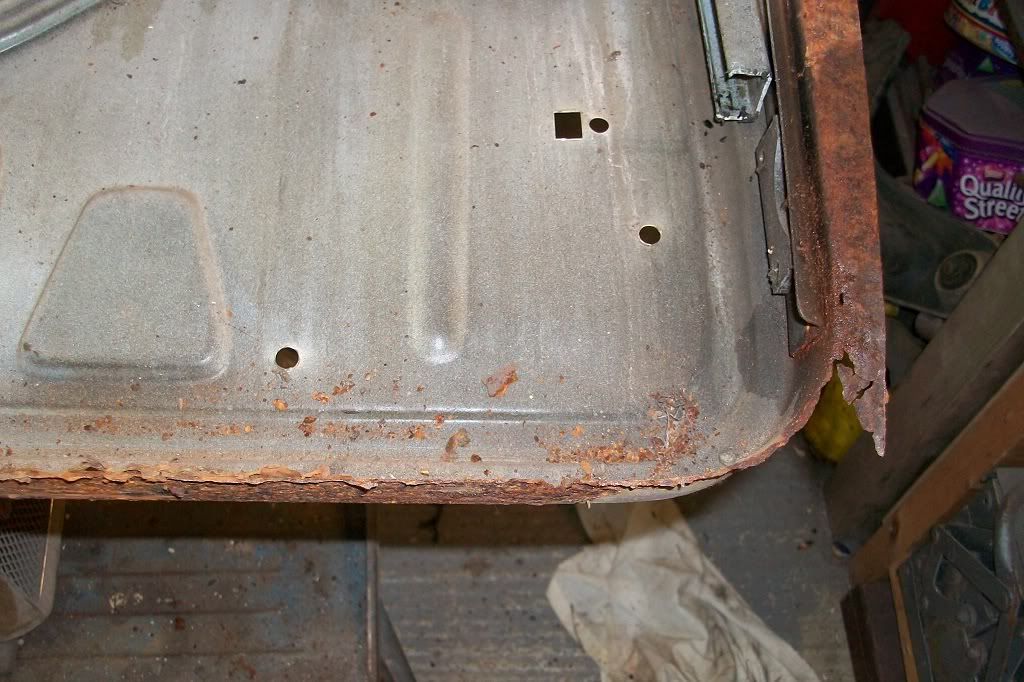
Got the skin cut off and it soon became obvious that the frame would need extensive repairs to the bottom, both corners, and both sides nearly to the top.
Posted Image

Posted Image

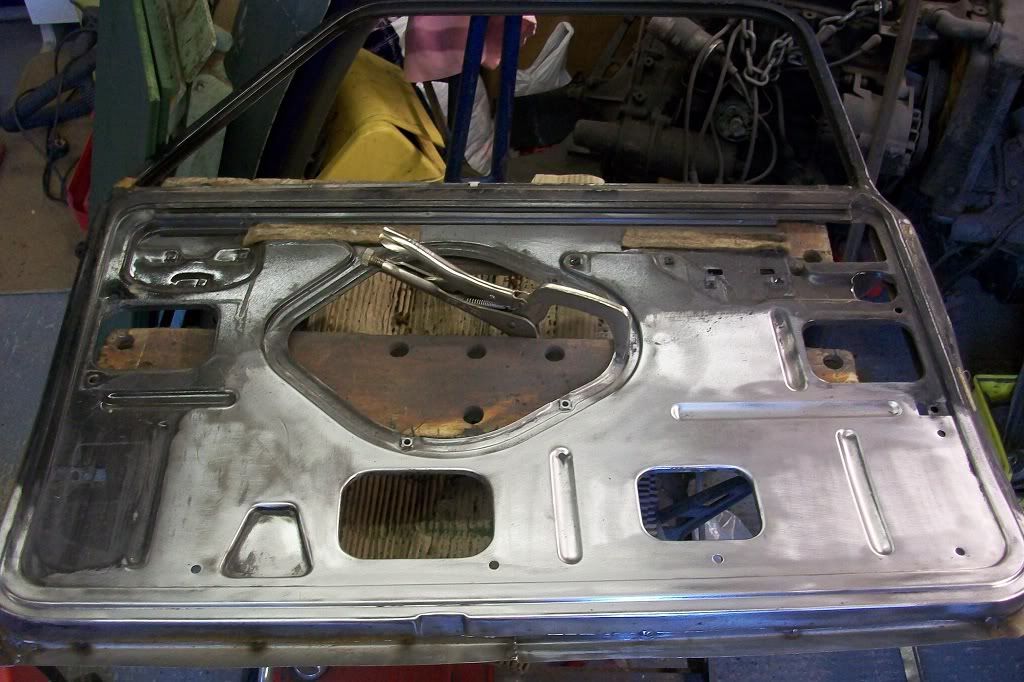
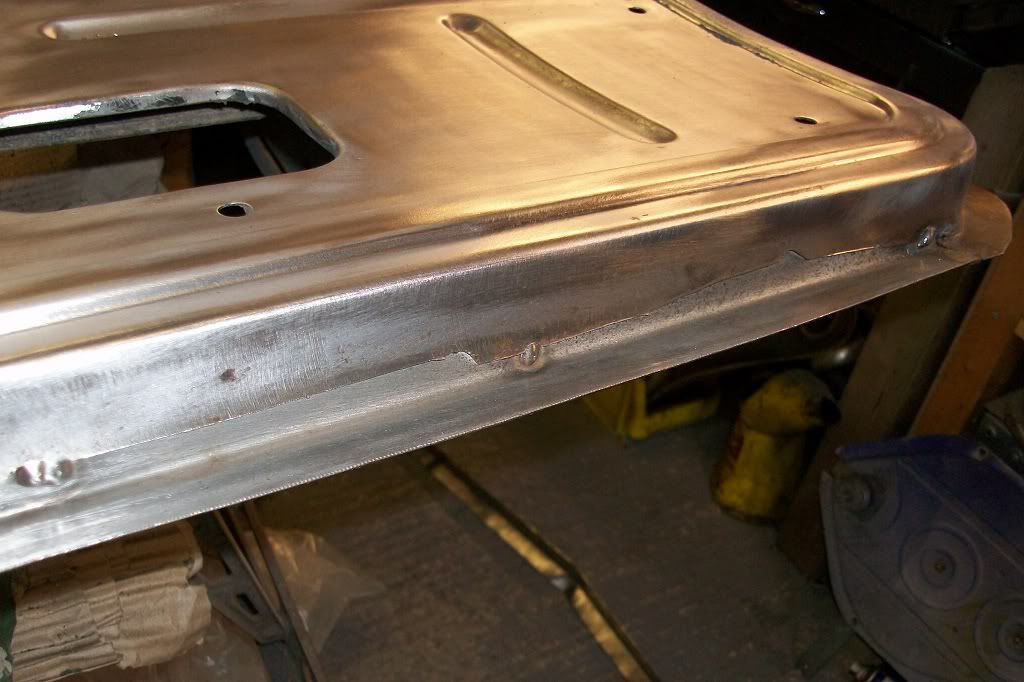
Although it could be repaired (eventually), I wanted a quicker outcome, so looked through my "stock" for a better frame and found this one with the skin already removed. This too had seen an attempt by someone to repair it at some point, but was in a much easier state of repair.
Posted Image

Posted Image

I will remove this previous repair and make a new piece to make use of this door instead.
Posted Image

Posted Image

Thanks all, more repairs to do tomorrow!

#295 minimuk

minimuk

    Camshaft & Stage Two Head

  • Members
  • PipPipPipPipPipPipPipPip
  • 1,946 posts
  • Location: Midlands

Posted 10 August 2012 - 11:04 PM

like that Scott, daring indeed, mine are a bit crusty like yours, need to clear my mind before doing them.Not the first ones for me but always a challenge, your pictures do help to have a go at it again soon. ;D

#296 minifcd

minifcd

    Mini Mad

  • Members
  • PipPipPipPip
  • 246 posts
  • Location: Stamford

Posted 15 August 2012 - 09:09 PM

Thanks Minimuk. Here is the update from last weekend. Only just got round to uploading the pictures.

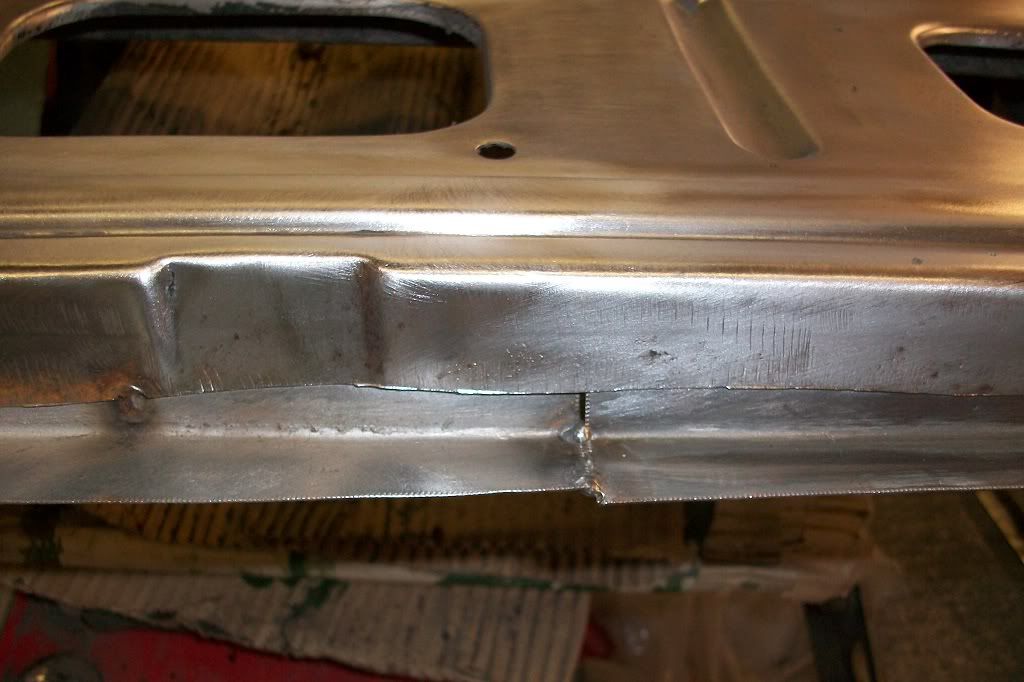
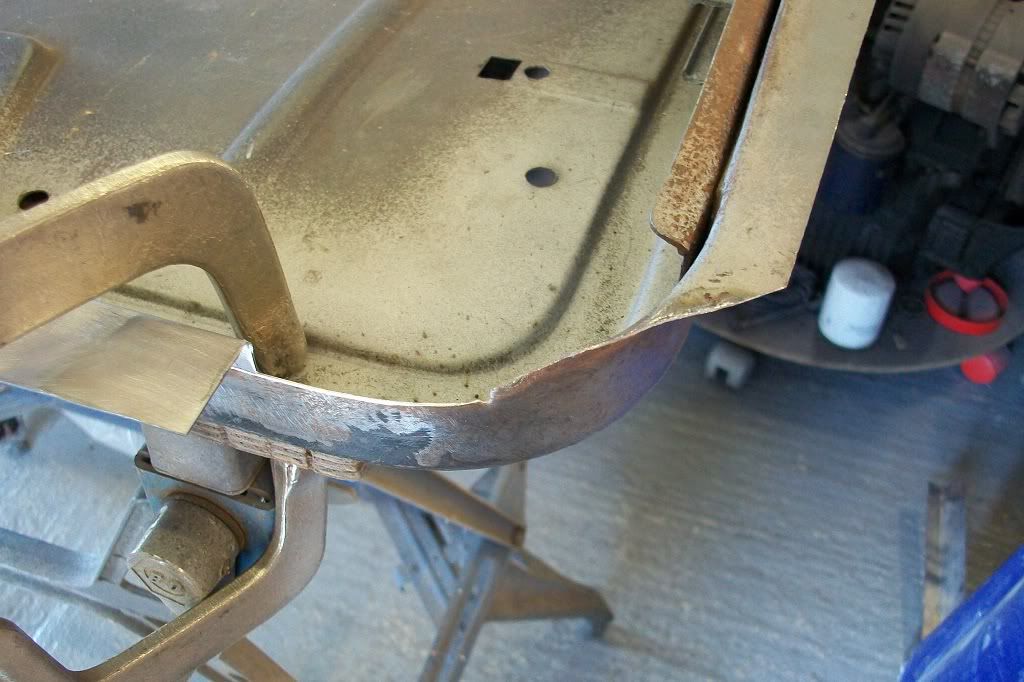
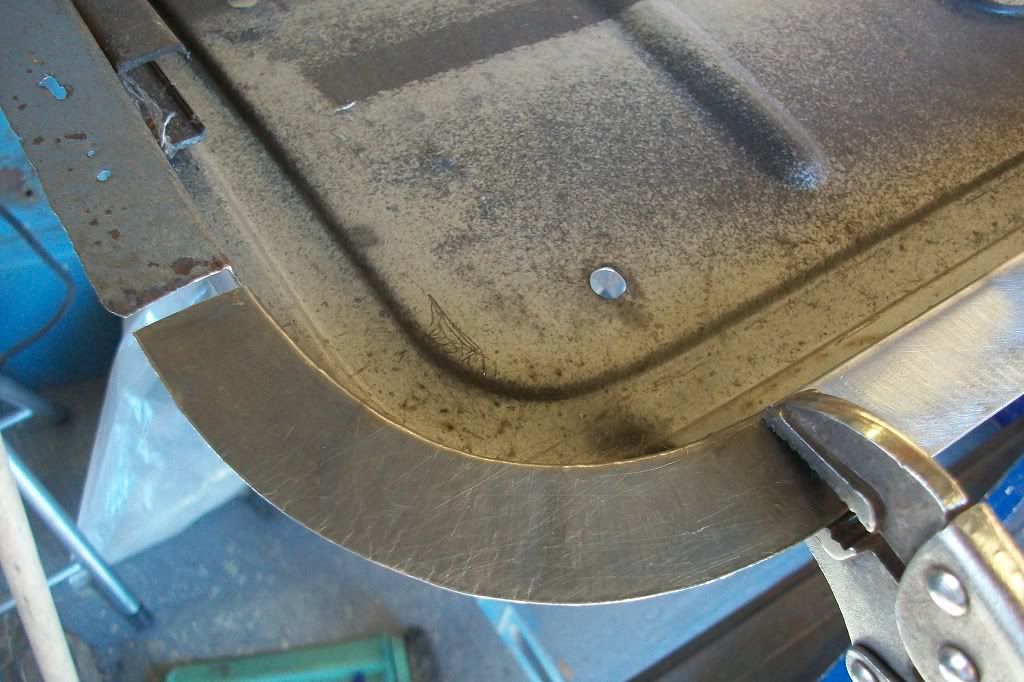
Used the repair piece I made as an example in an earlier update, to repair the curved corner.
Posted Image

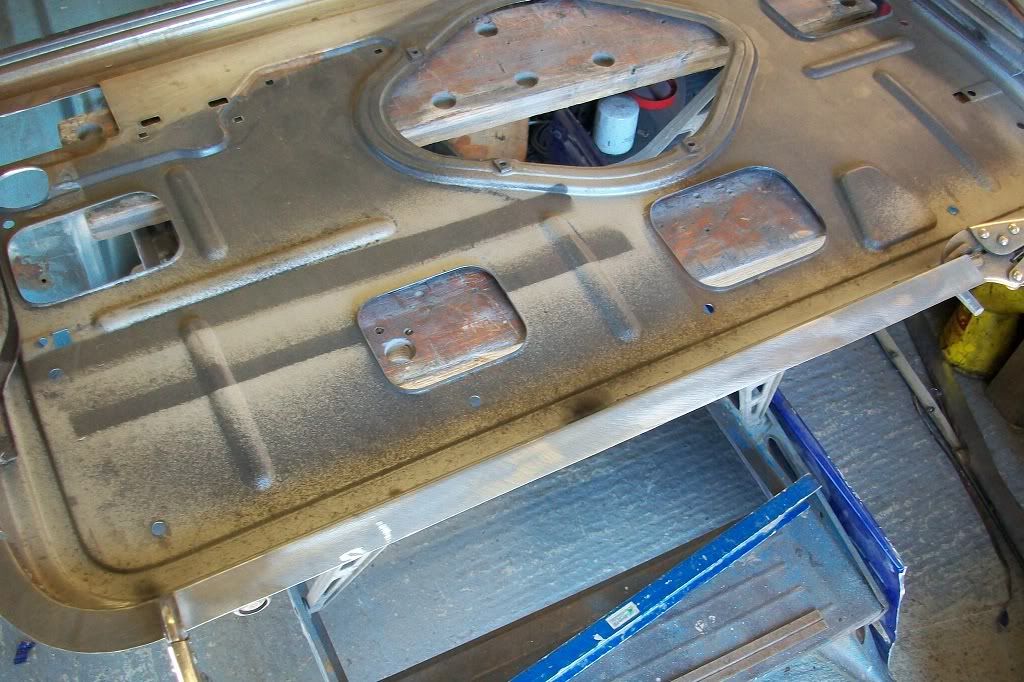
Straight piece made (folded in a metal folder).
Posted Image

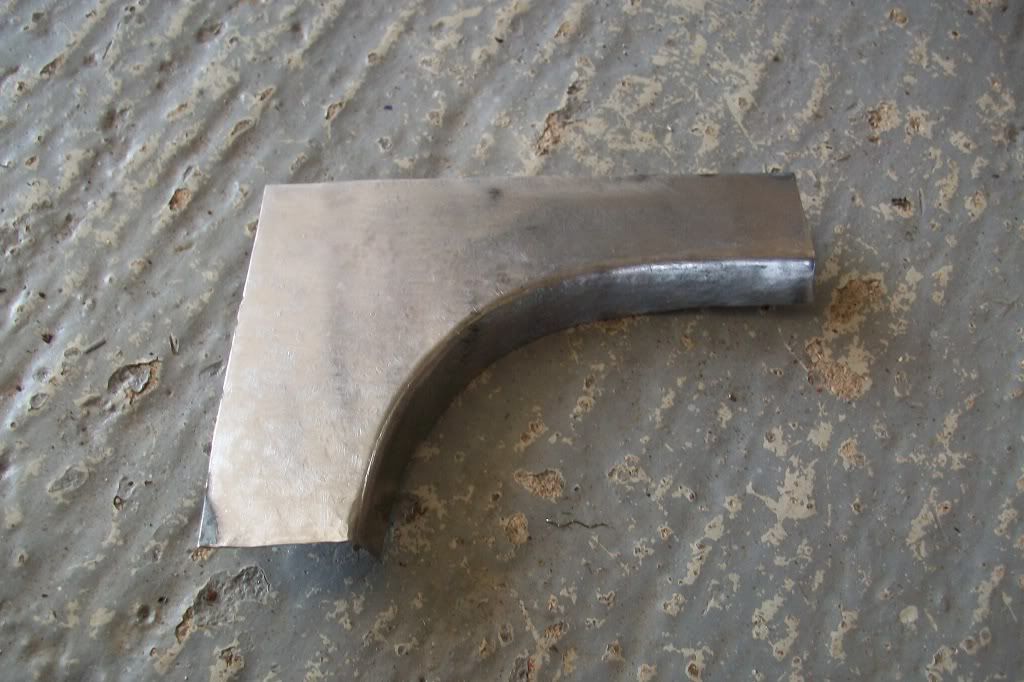
New repair piece made for the front "square" corner of the door. Much harder to make than the curved piece, as the extra metal makes it harder to stretch when forming.
Posted Image

Posted Image

Tacked in place. Fits quite well.
Posted Image

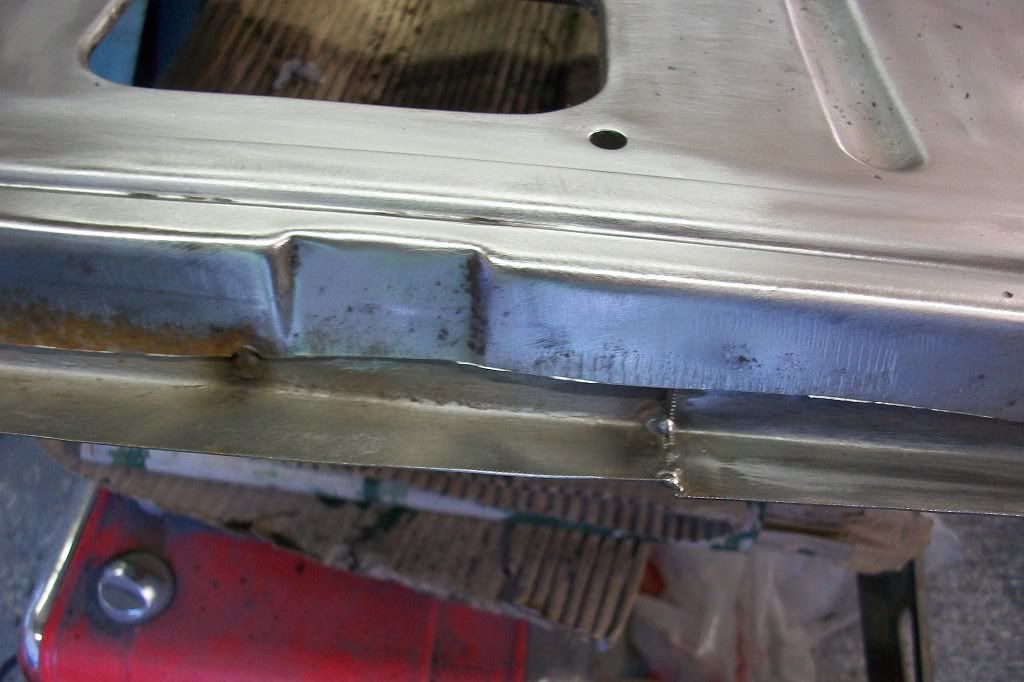
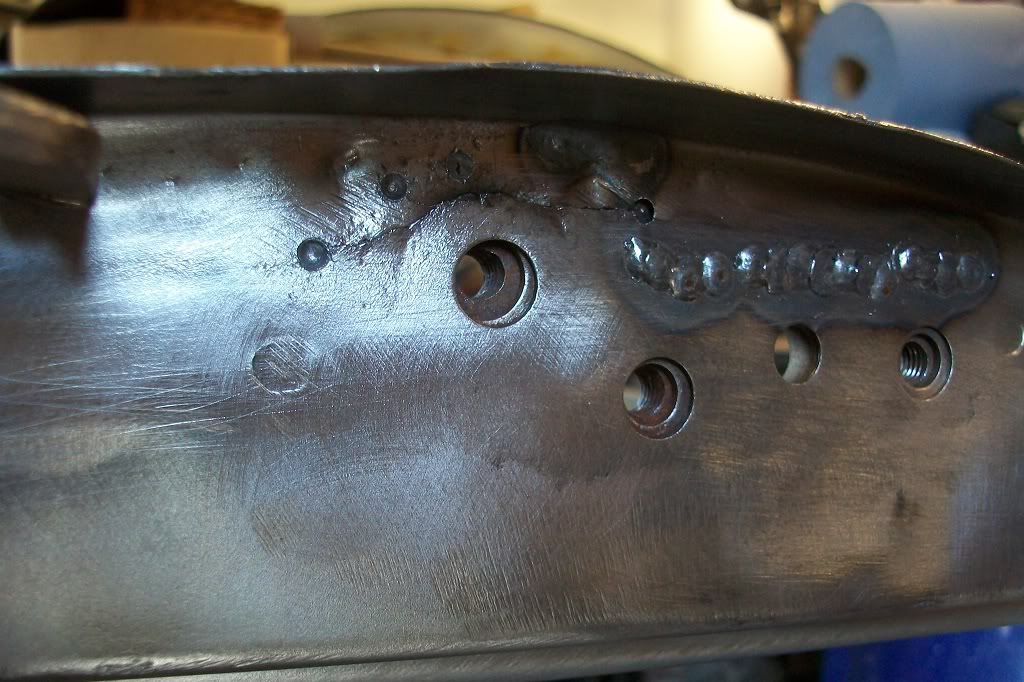
Found quite a few cracks in the frame around the hinges, so drilled the end of each crack and welded up.
Posted Image

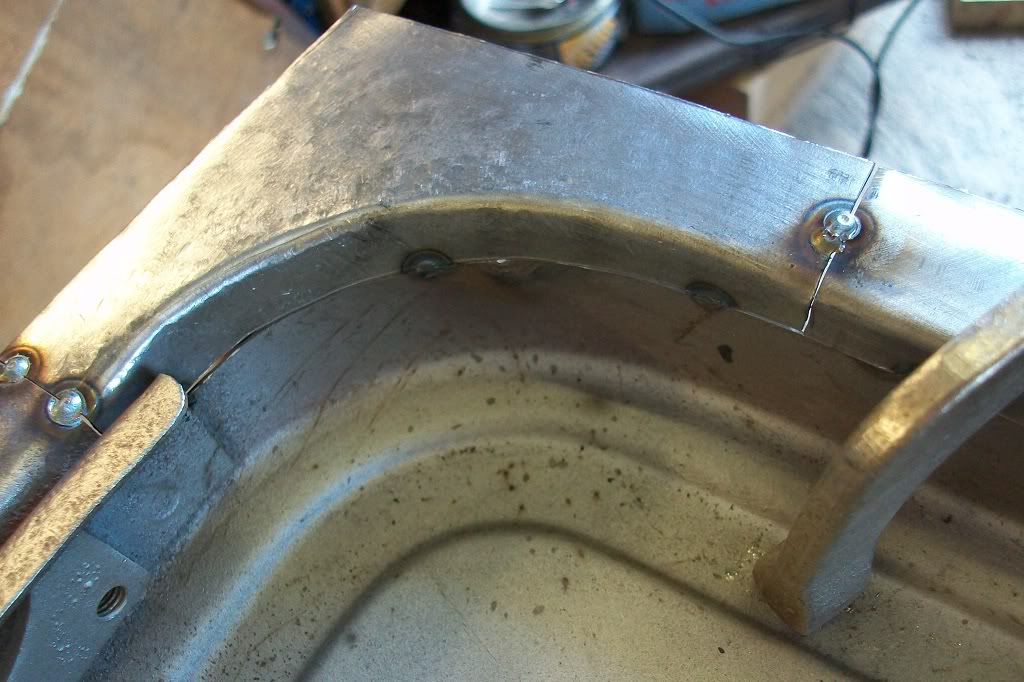
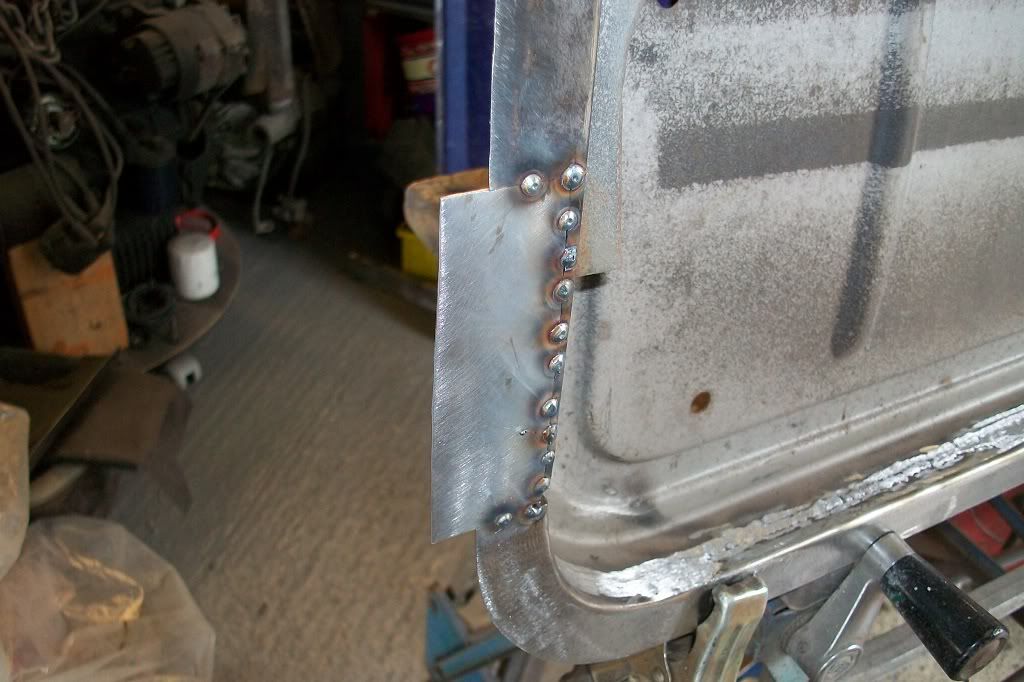
Repairs to the side lip. All the repair pieces were made from the metal of the old door skin. Keeps the costs down and recycles good metal!
Posted Image

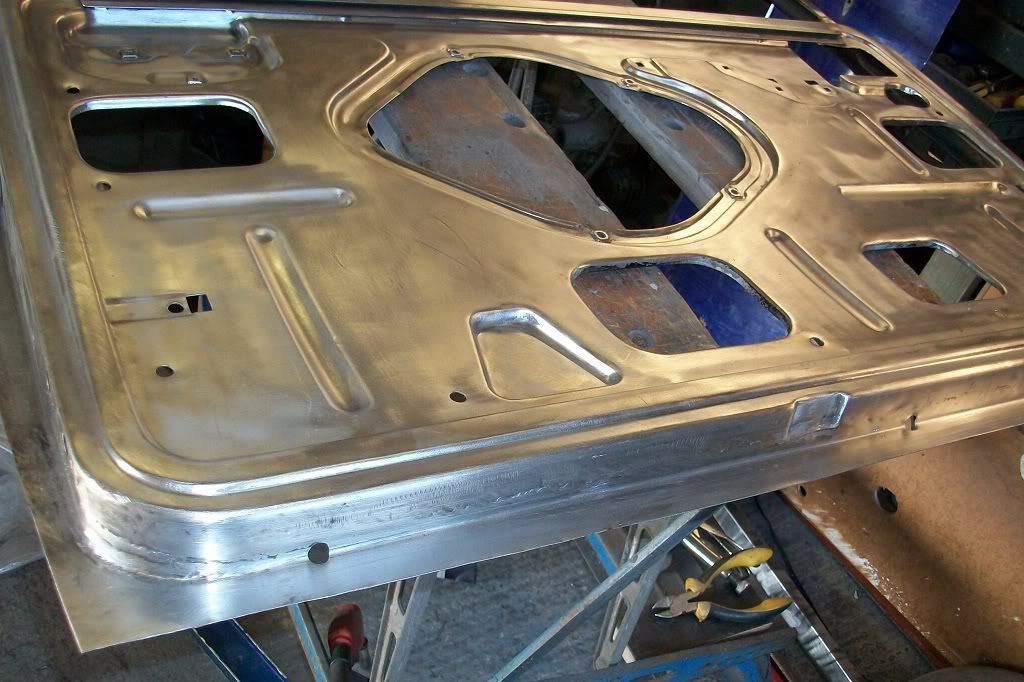
The door frame repaired! I even remebered to put the drain holes in this time!
Posted Image

Posted Image

Just need to fit the skin now.

Thanks.

Edited by minifcd, 15 August 2012 - 09:54 PM.


#297 grahama

grahama

    Up Into Fourth

  • Members
  • PipPipPipPipPipPipPipPipPip
  • 2,442 posts
  • Location: Warrington
  • Local Club: None in my area !!

Posted 15 August 2012 - 09:54 PM

Looking at your passenger door, which is mint by the way, the drv door will be fine, you only have a couple of strips to weld in !!! Knowing your work it will look as new.

Graham

#298 twistedtorment

twistedtorment

    Stage One Kit Fitted

  • Noobies
  • PipPipPip
  • 60 posts
  • Location: Surrey

Posted 15 August 2012 - 10:31 PM

I've just read this entire thread and i have to say its incredibly inspiring. I did my first bit of welding today and can clearly see ive got a loooooong way to go! I am using a gasless atm which is very hard going but have to start somewhere! I hope one day i can achieve your level of repair!

#299 hughJ

hughJ

    Soldiering Along

  • Members
  • PipPipPipPipPipPipPip
  • 727 posts
  • Location: Highlands, Scotland

Posted 16 August 2012 - 08:06 PM

Scott again just staggered at your care and precision. That is a beautiful door frame repair. Even the fit of your fabricated panels is amazing. Almost making me feel I was welding again (almost!).

Hugh

#300 timothy9601

timothy9601

    On The Road

  • Noobies
  • PipPip
  • 49 posts
  • Location: Birmingham, United Kingdom
  • Local Club: Unknown

Posted 01 September 2012 - 05:47 AM

Thanks Hugh.
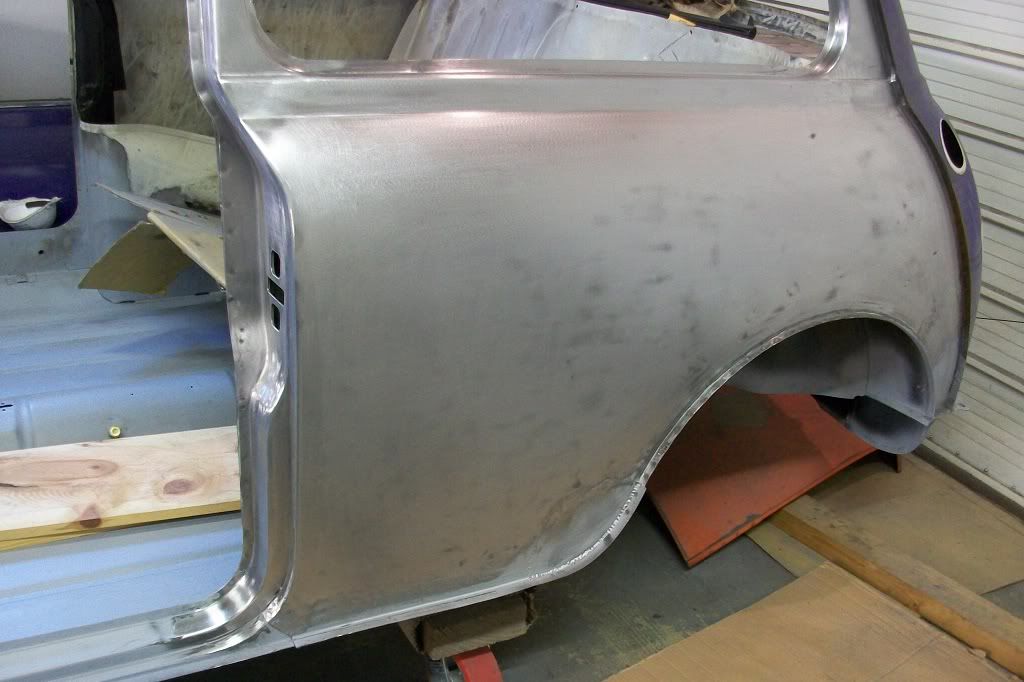
A little more progress. Rear quarter panel cleaned down to bar metal.
Posted Image

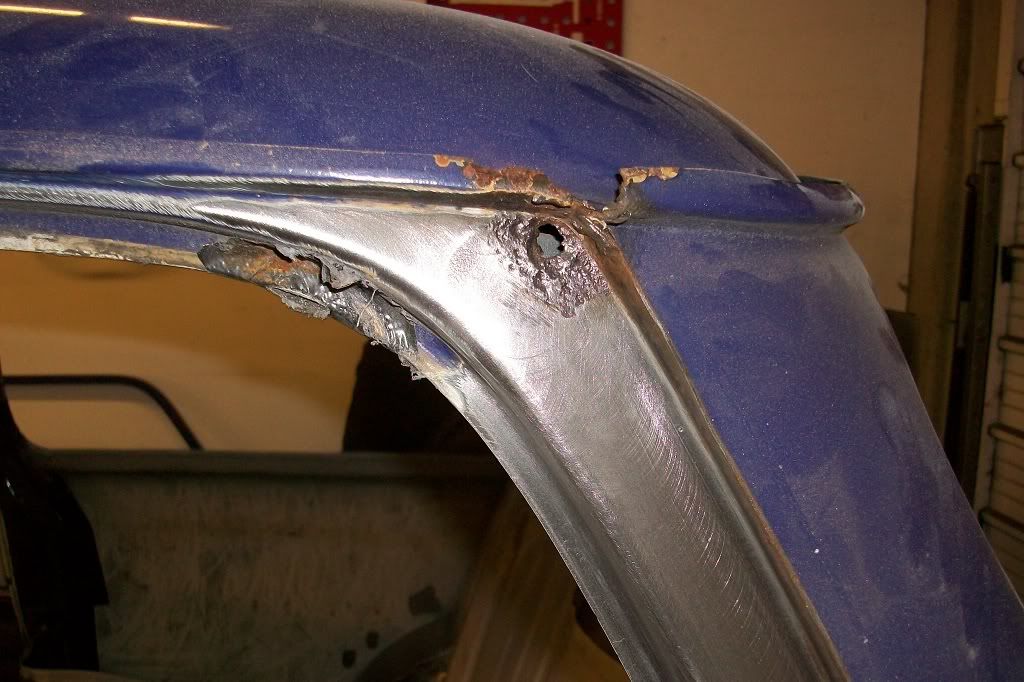
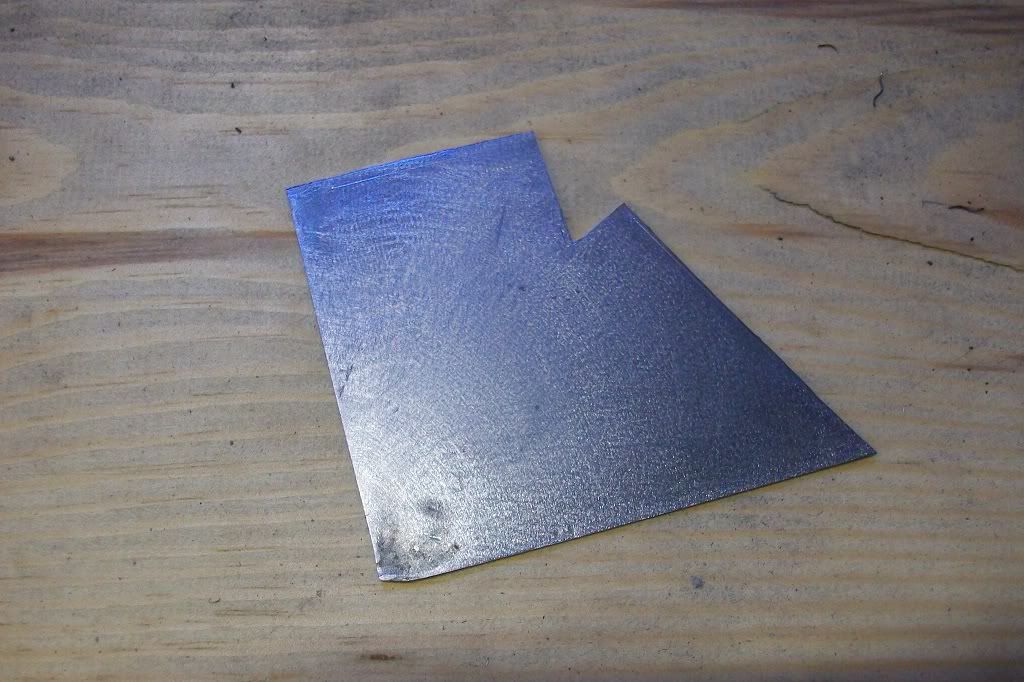
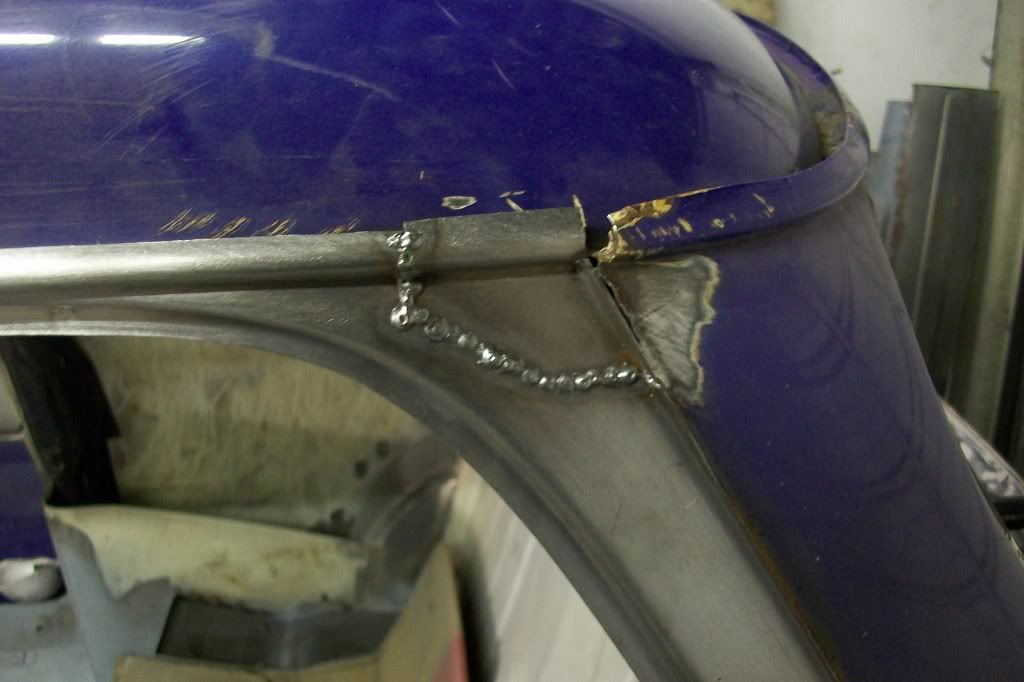
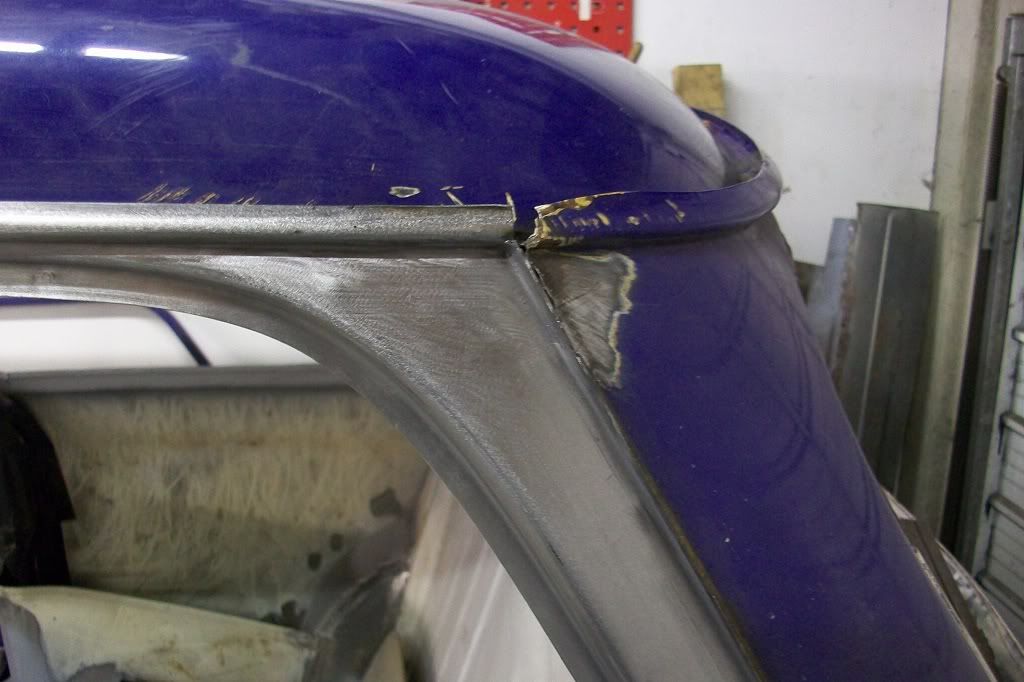
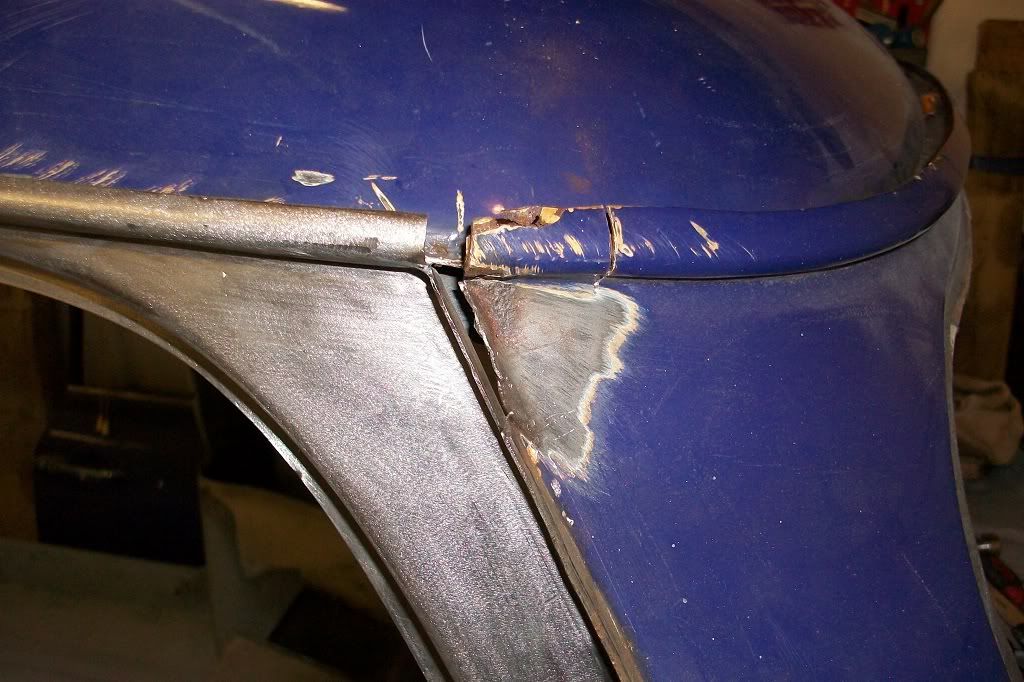
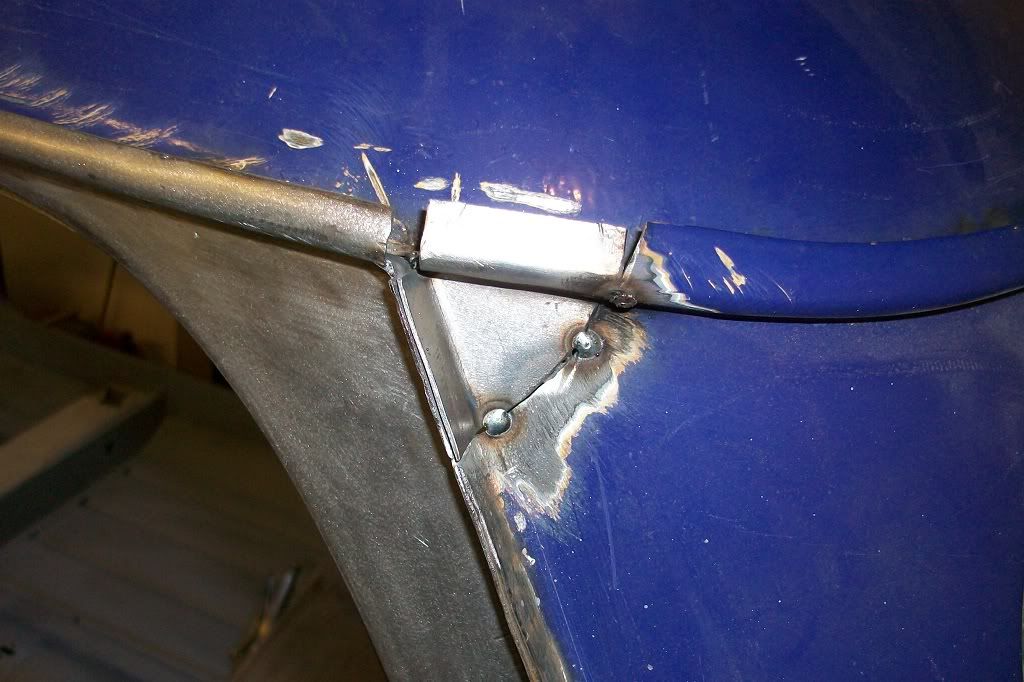
Then, whilst cleaning around the "C" pillar, I found this little hole.
Posted Image

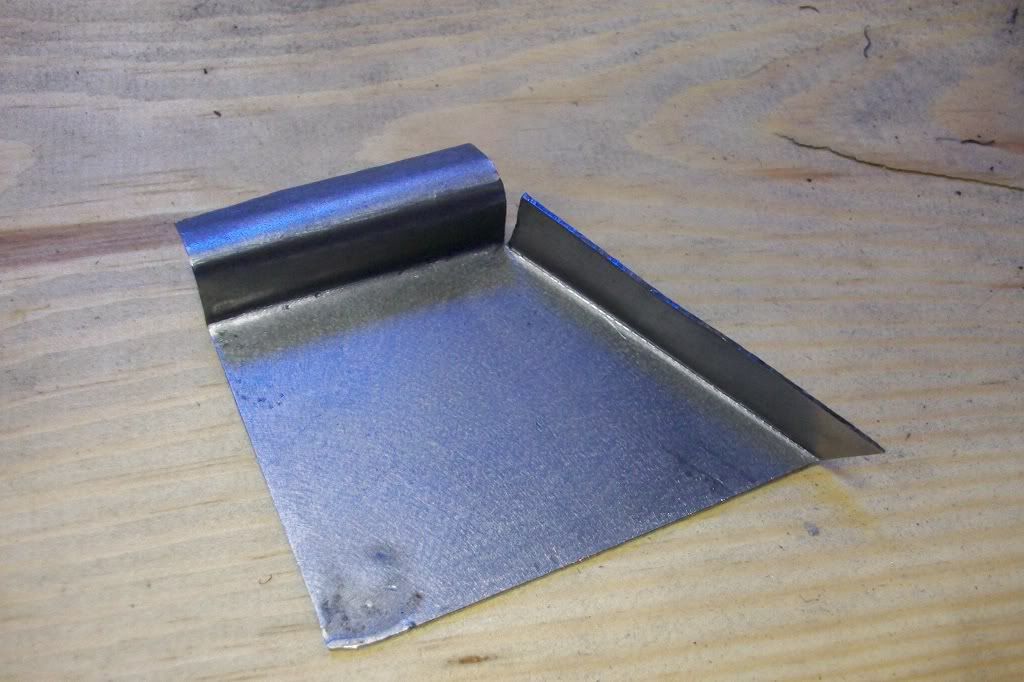
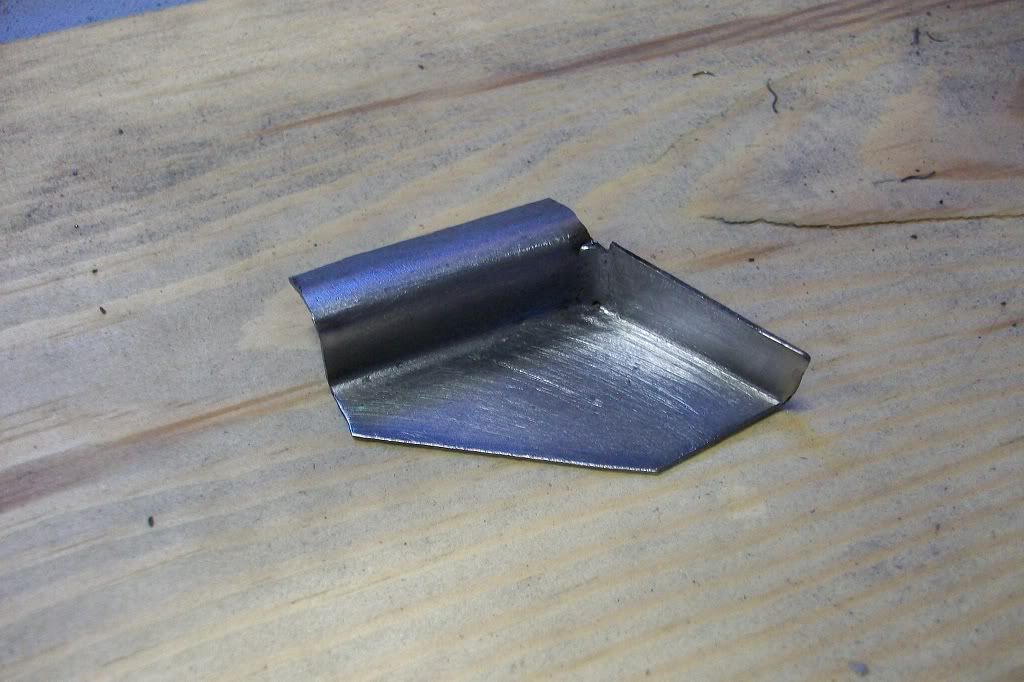
Made another repair piece.
Posted Image

Posted Image

Posted Image

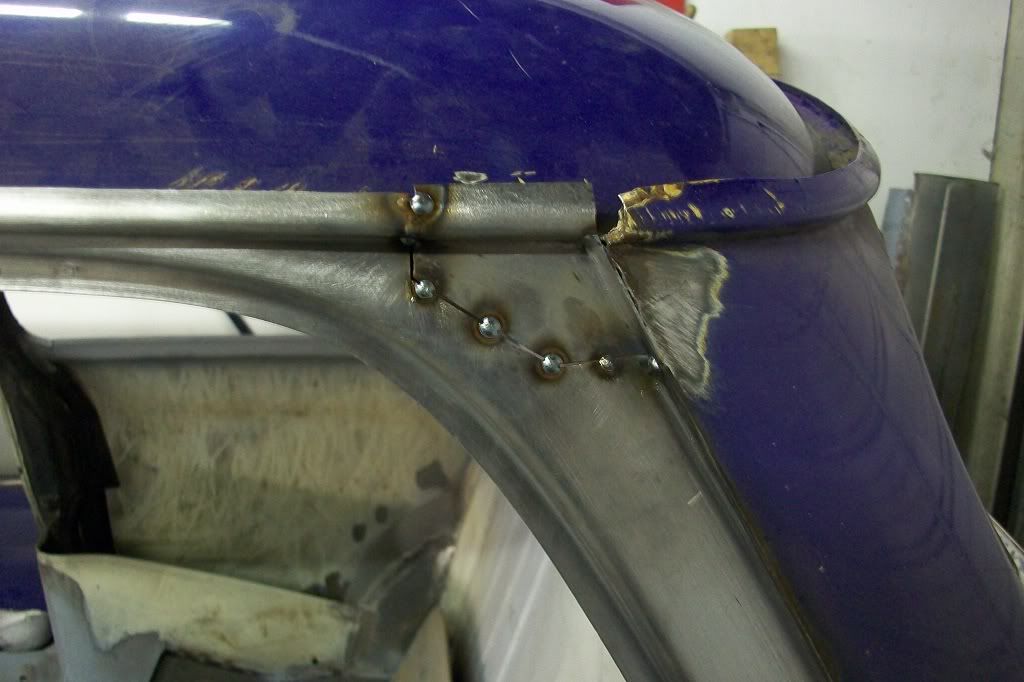
Trimmed and tacked in place.
Posted Image

Welded up.
Posted Image

Cleaned down.
Posted Image

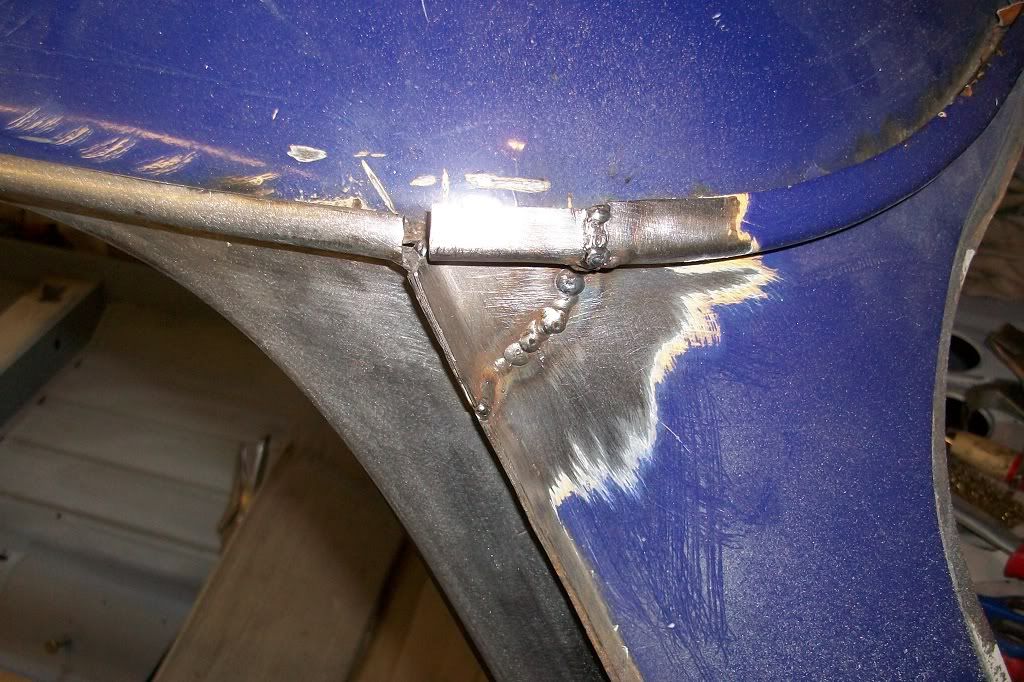
Then had to do the same to the rear panel upper corner.
Posted Image

Small piece made and tacked in.
Posted Image

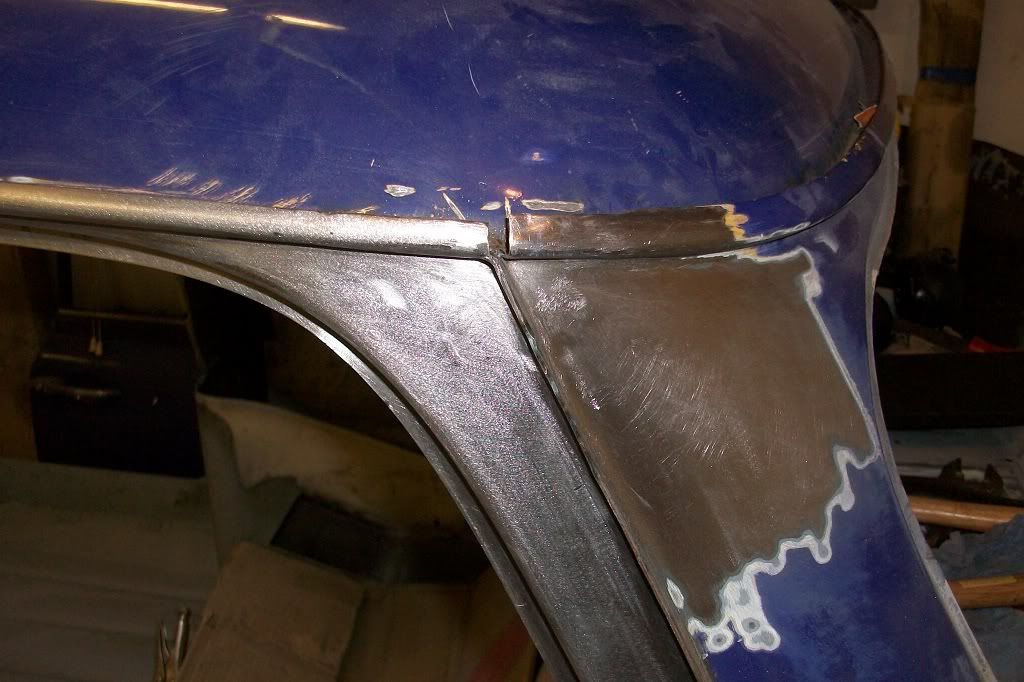
Welded up.
Posted Image

Finally, ground down.
Posted Image

Thanks for looking.

Thanks a lot m8, you have just sorted my problem for me....


1 user(s) are reading this topic

0 members, 1 guests, 0 anonymous users