Leyland Mini 1000 1980 Restoration Project
#256

Posted 20 May 2012 - 09:26 PM
Cheers
Chris
#257

Posted 26 May 2012 - 08:24 PM
deebo
#258

Posted 26 May 2012 - 09:05 PM
Hugh
#259

Posted 27 May 2012 - 07:54 PM
Thanks
#260

Posted 27 May 2012 - 09:38 PM
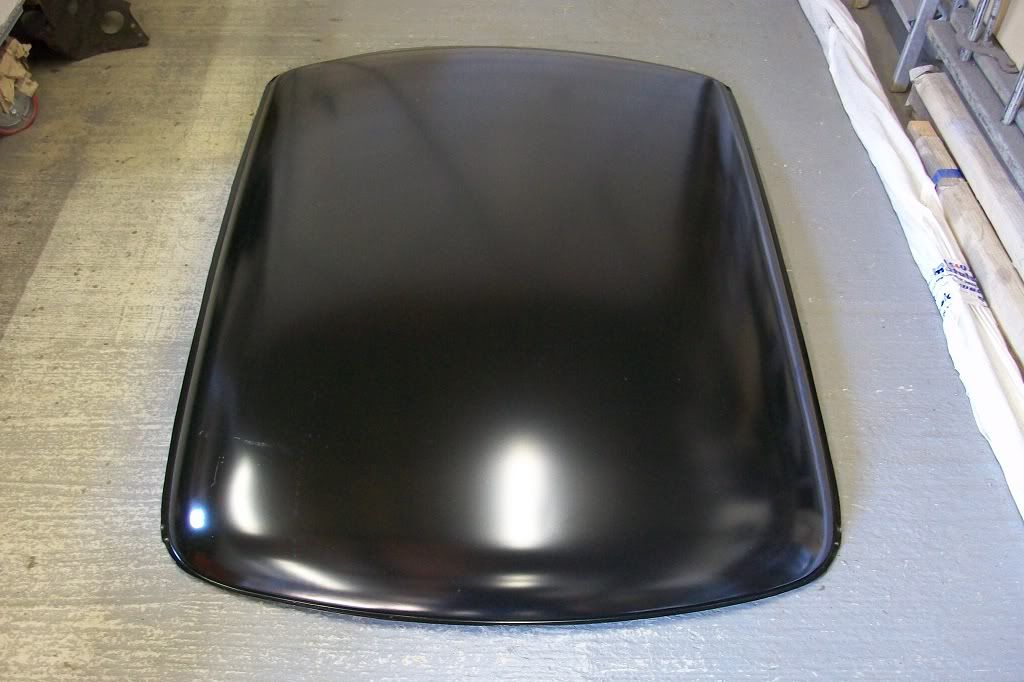
The new roof was unpacked from the massive cardboard box it has been stored in for the last year, standing in the corner of the garage. Heritage panel 14A5503. The price of this panel has increased significantly since I bought this one!
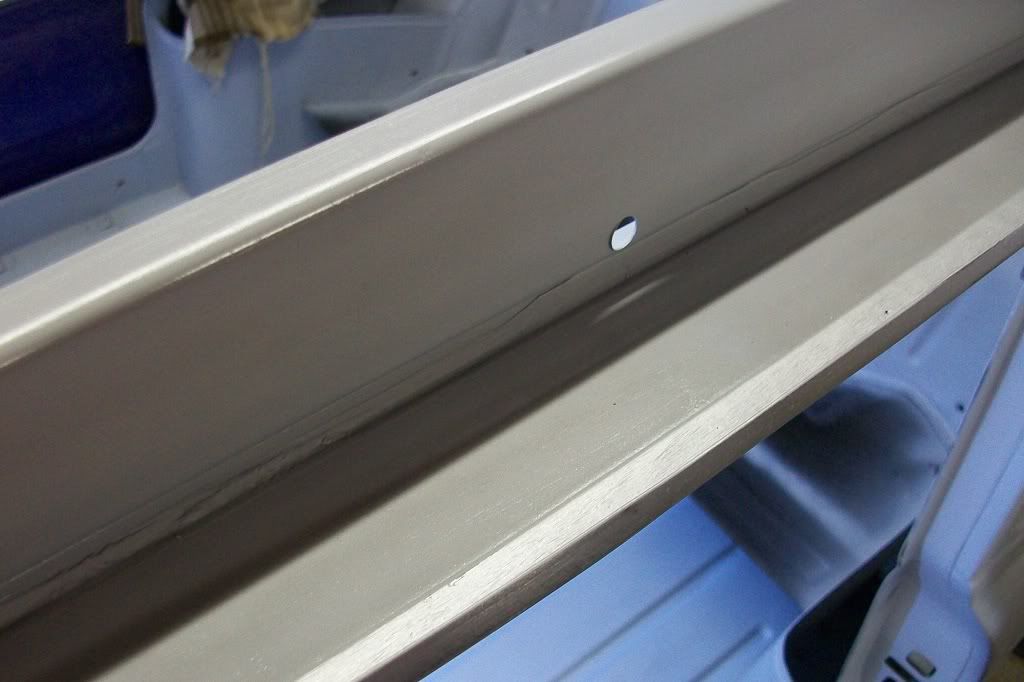
This is the inside of the gutter closing panels after I sealed them up, zinc primed the gutter lip and primed and painted the rest, to add some protection. Just some spare paint I had on the shelf.
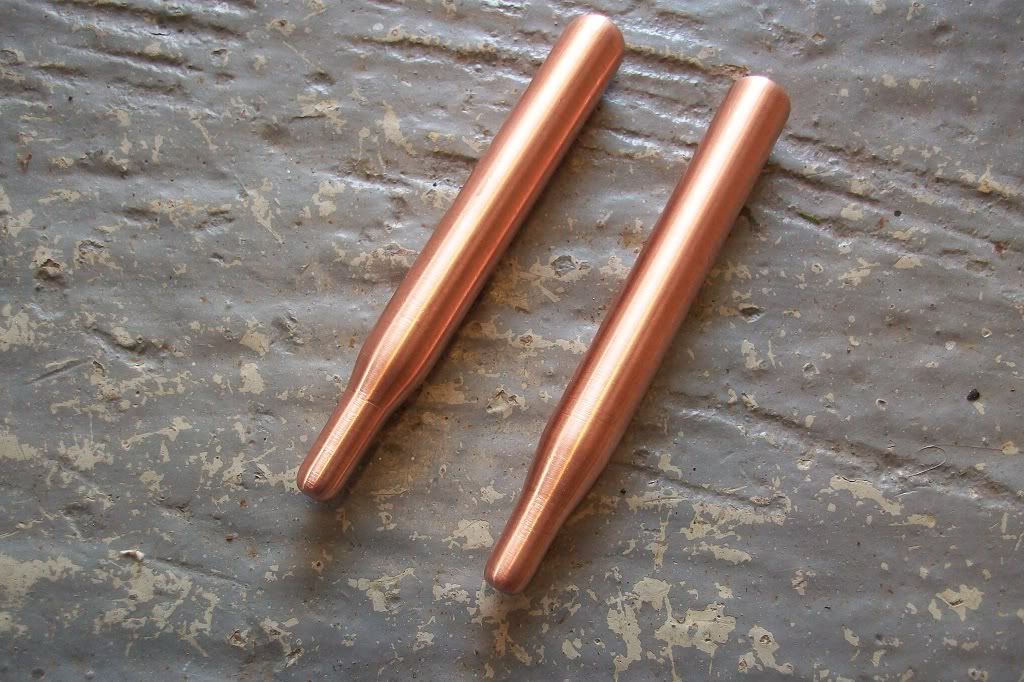
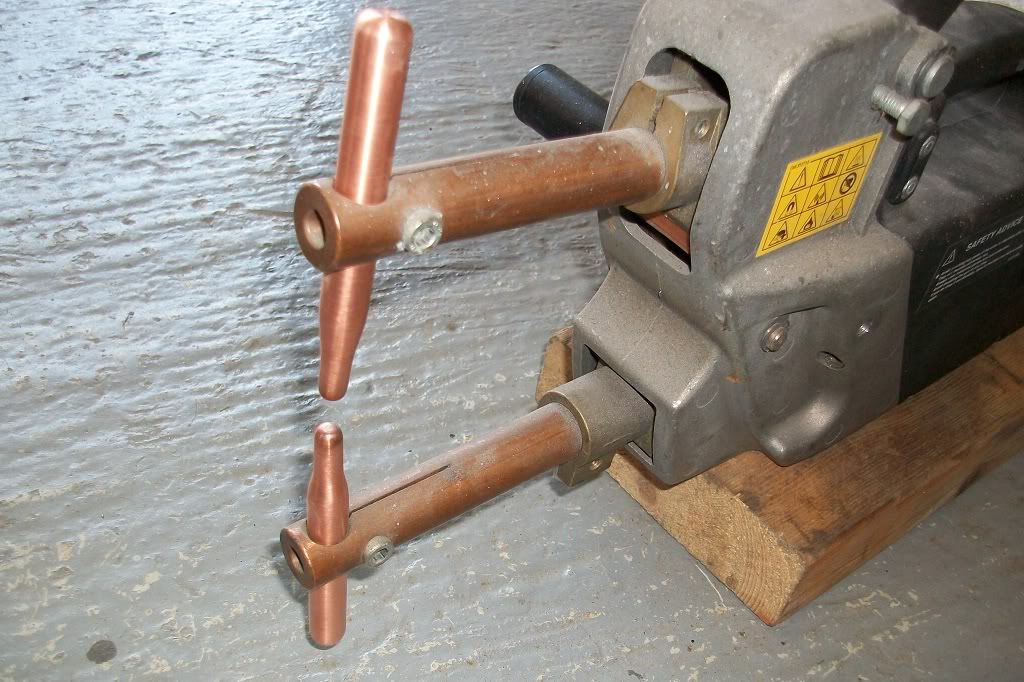
To use my spot welder, I had to make some new spot weld electrodes, small enough to get into the gutter. Used some 12mm copper round bar purchased from eBay and narrowed down to 6mm.
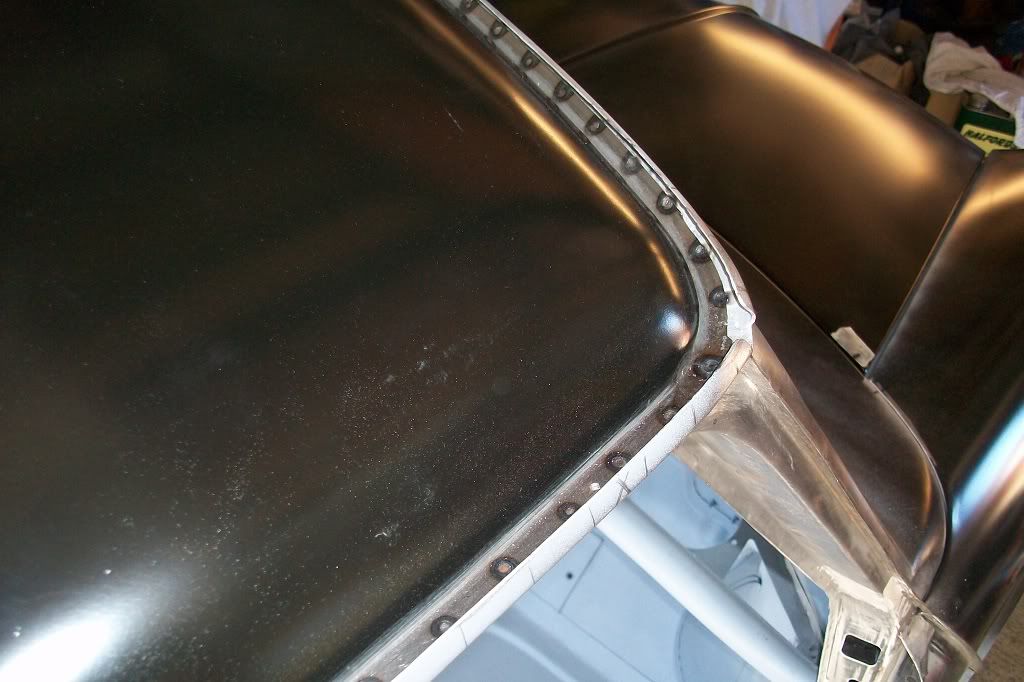
Then approximately 202 spot welds later (I think) the roof was on. Took me the day to do them all, allowing time for the spot welder to cool every few minutes and for my arms to recover!
Using my other mini as a comparison, I set the front and rear gutter spacing to 10mm and the sides to 13mm. They look pretty even.
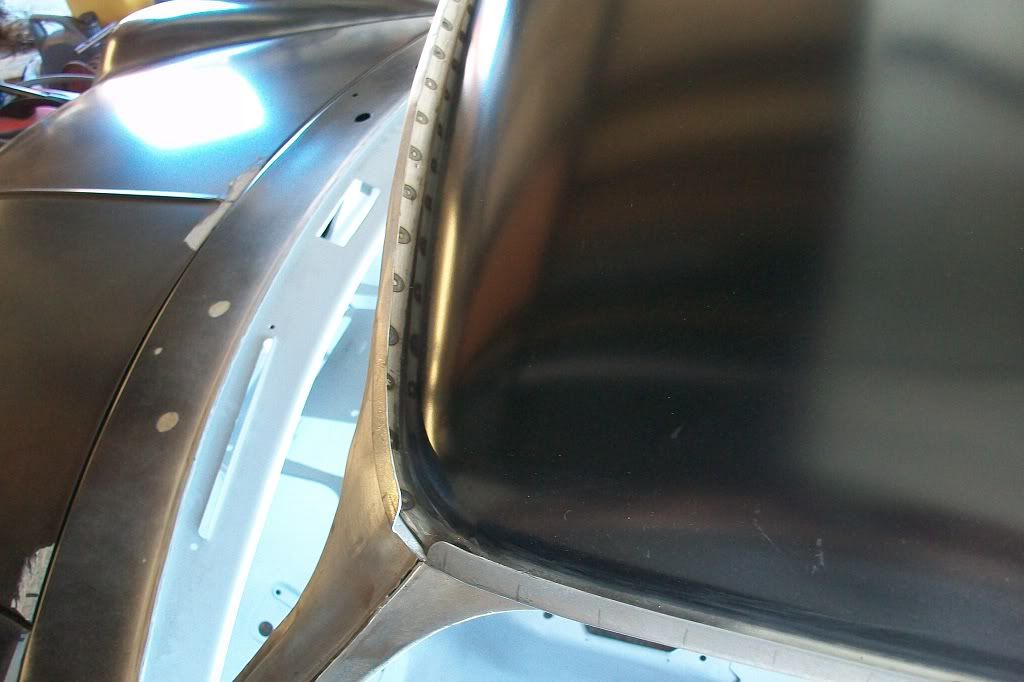
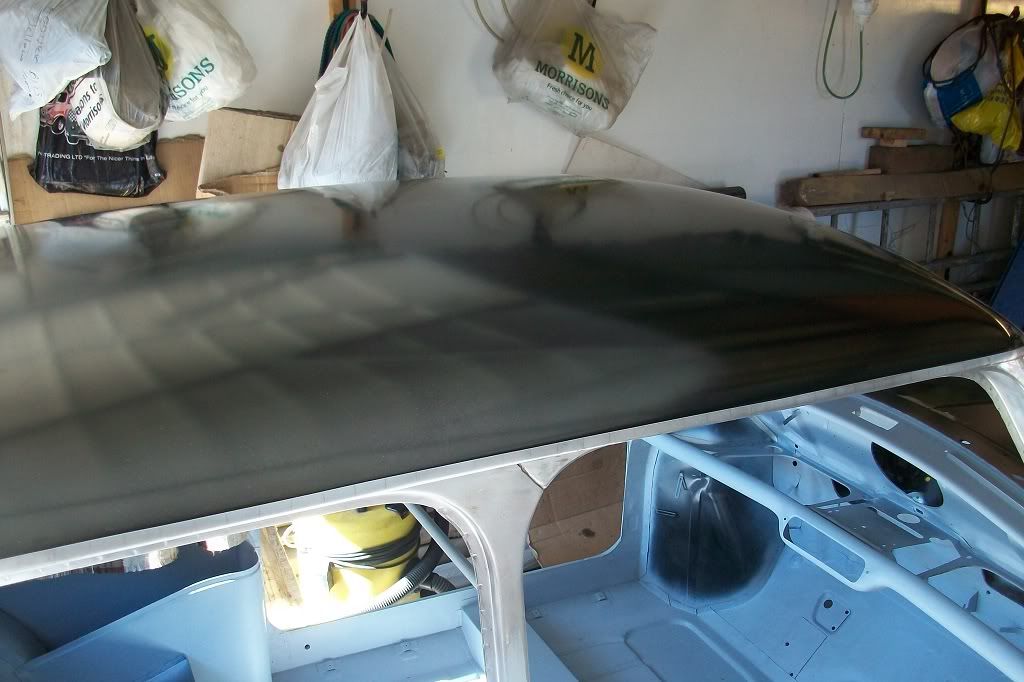
Had a few of the spot welds blow out on the under sides so will have to MIG these up, but not too bad.
Thanks
#261

Posted 27 May 2012 - 10:27 PM
#262

Posted 28 May 2012 - 08:16 AM
I see this and think 'cor, i'd love for my projects to be in that state' Then i go up and look at them and they look horrendous!
Superb work as always.
#263

Posted 28 May 2012 - 09:30 AM
Graham
#264

Posted 28 May 2012 - 11:25 AM
can i ask a question. will you run a bead of sealer around the welds or is the welding enough
#265

Posted 28 May 2012 - 12:04 PM
Hugh
#266

Posted 28 May 2012 - 06:30 PM
Graham, yes, I didn't know myself if narrowing down the electrodes would work until I tried it, but the contact area is still the same and I turned the timer setting down to around 2.5 which gives a very short "BUZZ" time. This all actually helped keep the spot welder cool, so I could do a few more than normal before needing to let it cool down. I tried different timer settings on some scrap metal bits and then tested to see if they could be broken apart easily. They all held and the only way to separate them was to twist the two bits of metal to shear the spot weld, so I see no way of the roof suddenly flying off when driving along!!
Thanks Danny and Hugh. Yes I will seam seal inside the gutter lip before paint. The spot welds, being spaced every inch, will not make the seams water tight and even the factory used seam sealer to seal the gutters. The factory however, roller welded their roofs I believe which is why their spot welds are more like 1/4 inch or even 1/8 inch apart. Theres no way I'm going to that extent! 200 spot welds is enough, never mind 800! I will seam seal inside the gutter and smooth it round with my little finger, if all goes to plan.
#267

Posted 30 May 2012 - 04:09 PM
deebo
#268

Posted 22 June 2012 - 09:53 PM
#269

Posted 24 June 2012 - 07:23 PM
Sorry I haven't updated for nearly a month. As with many other people's projects on this forum, at this time of the year there always seems to be something else to do at weekends and so the mini gets pushed to the bottom of the list.
Anyway, got started on one of the doors. Got it stripped down to carry out the repairs and as you can see, when the previous owner carried out a quick respray, they didn't bother removing anything first. They painted over everything, and I mean everything!
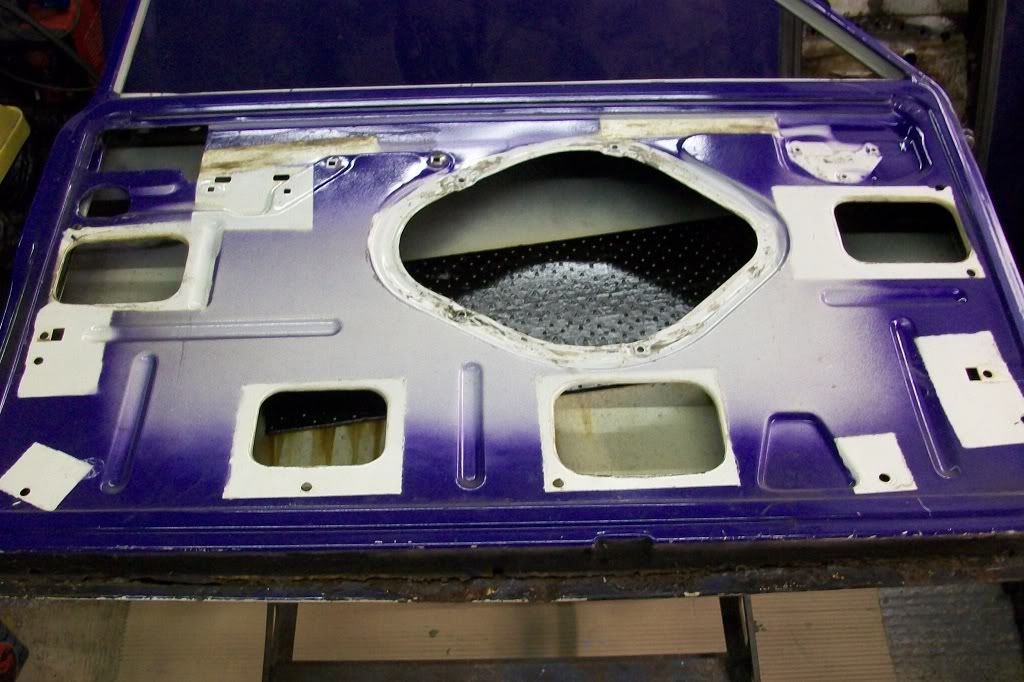
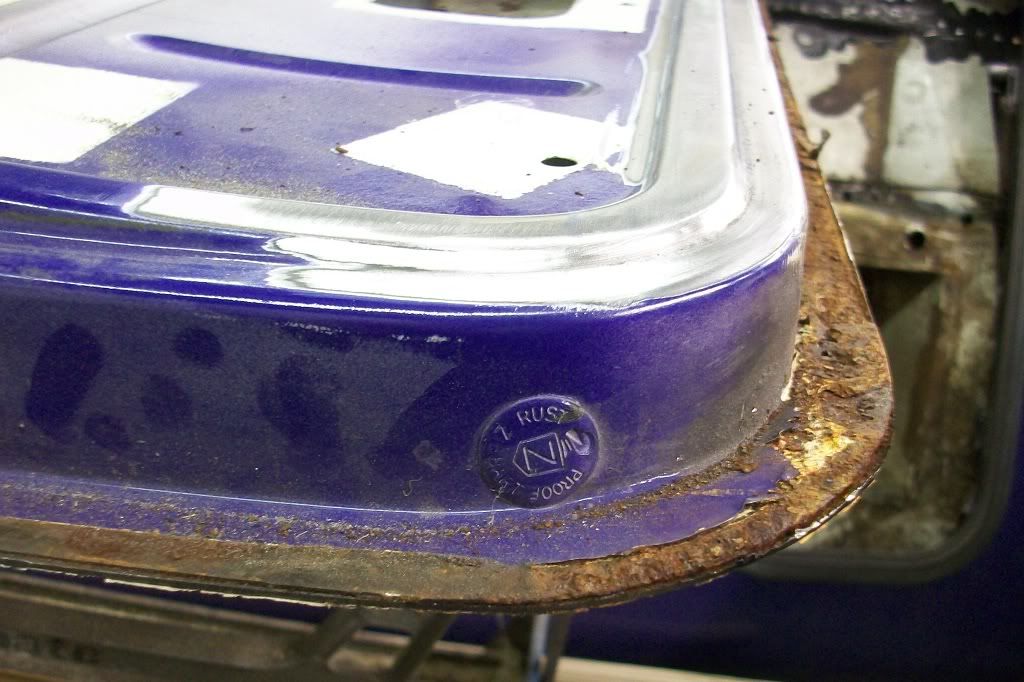
Bottom of the door a bit rotton.
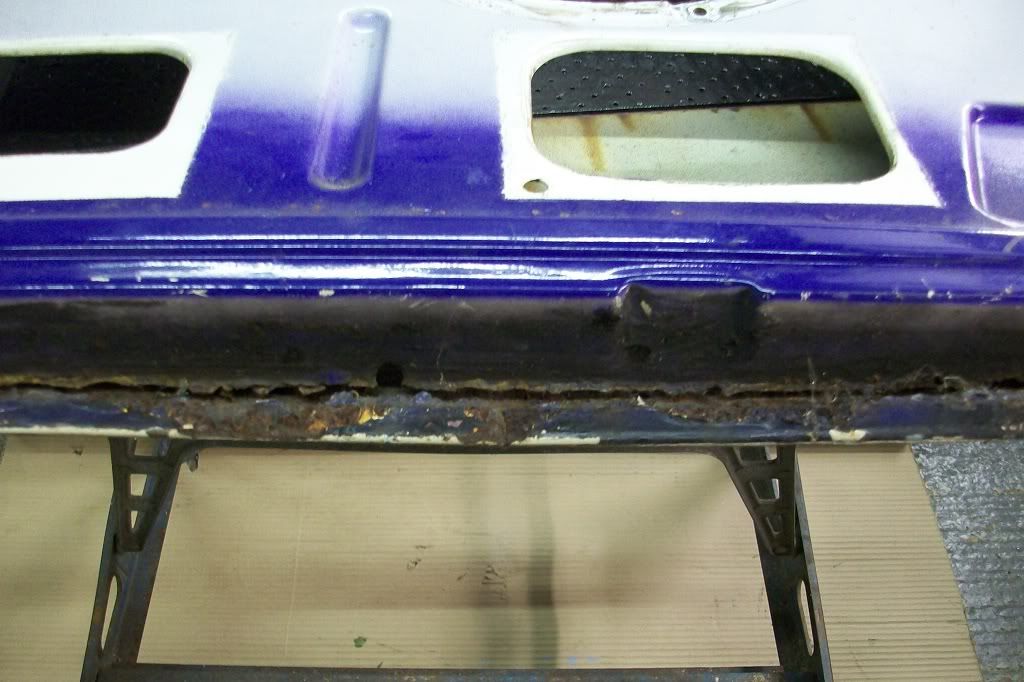
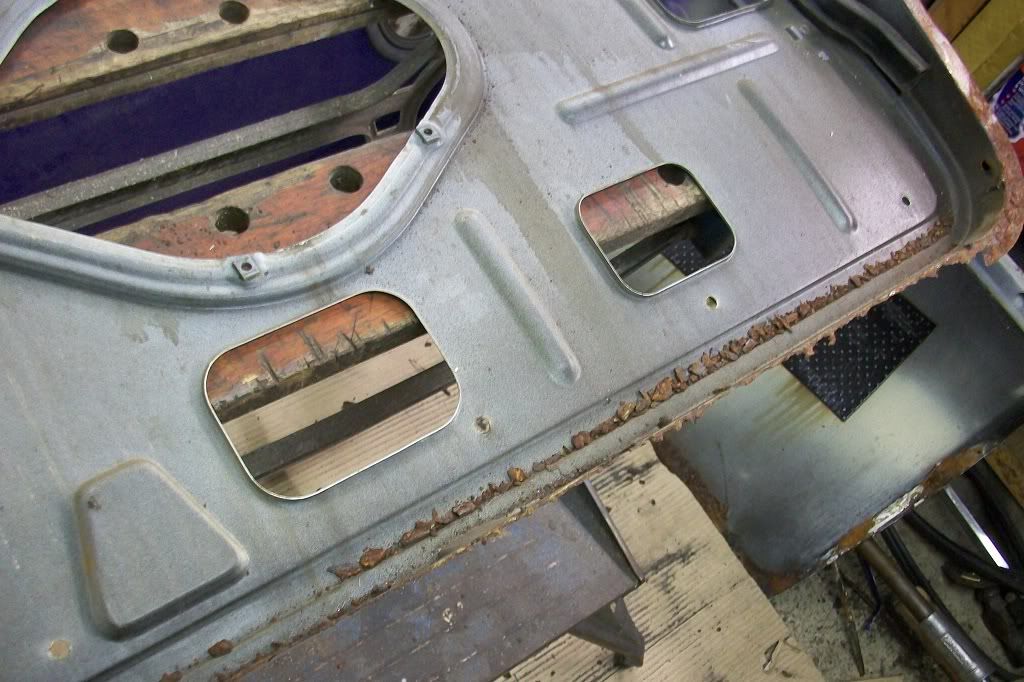
I ground along the edge of the door skin and then used a thin flat chisel to separate the skin.
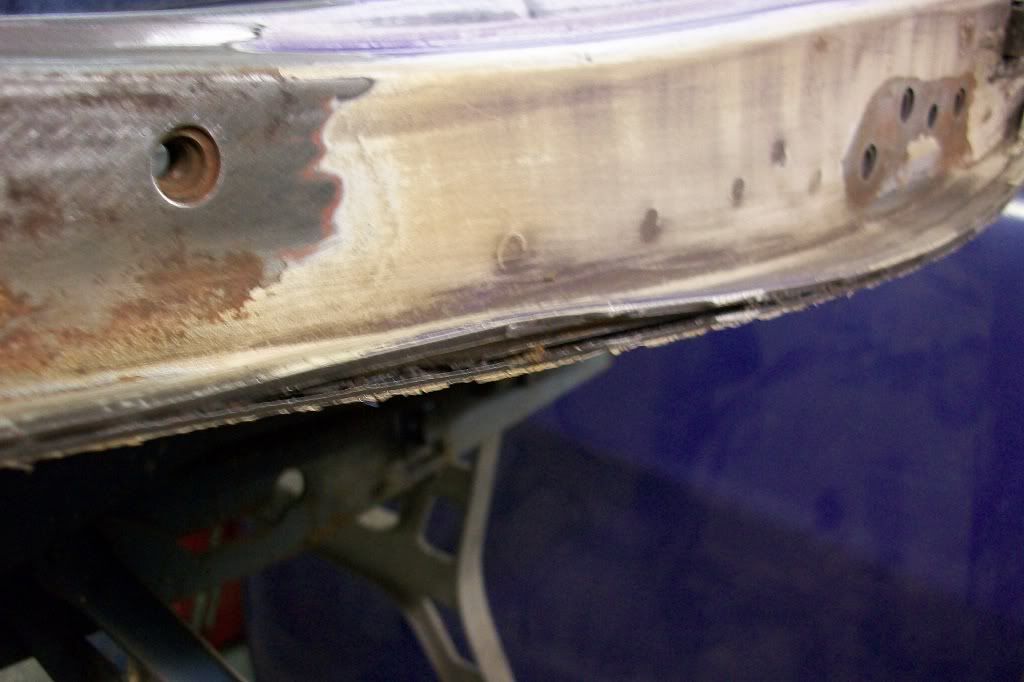
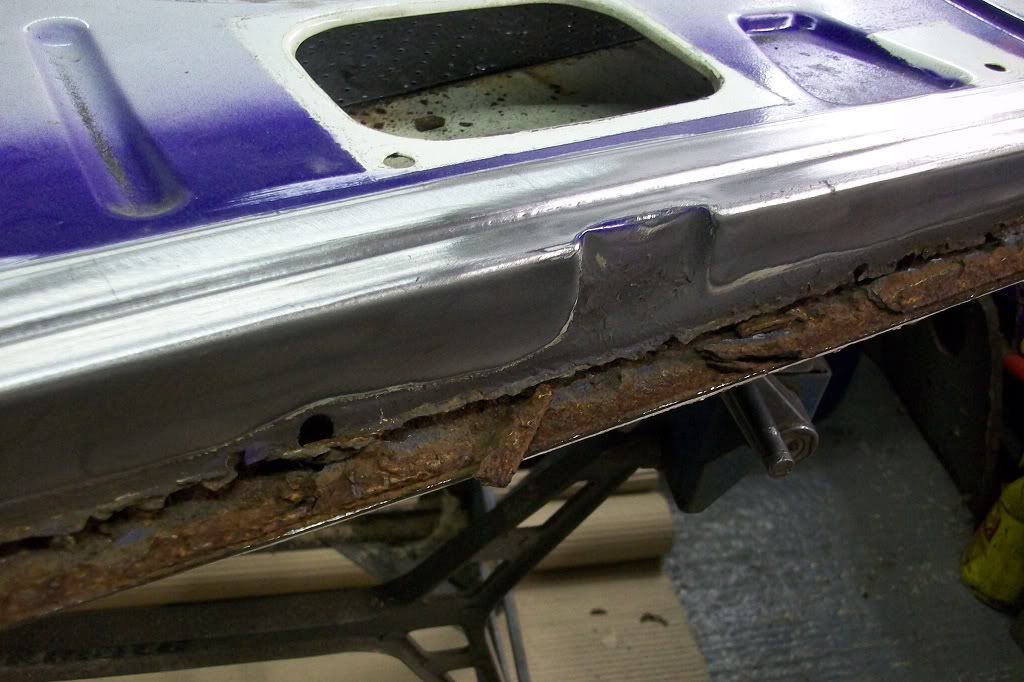
Had been Ziebarted at some point. You can tell that worked! Probably done after the rust had set in.
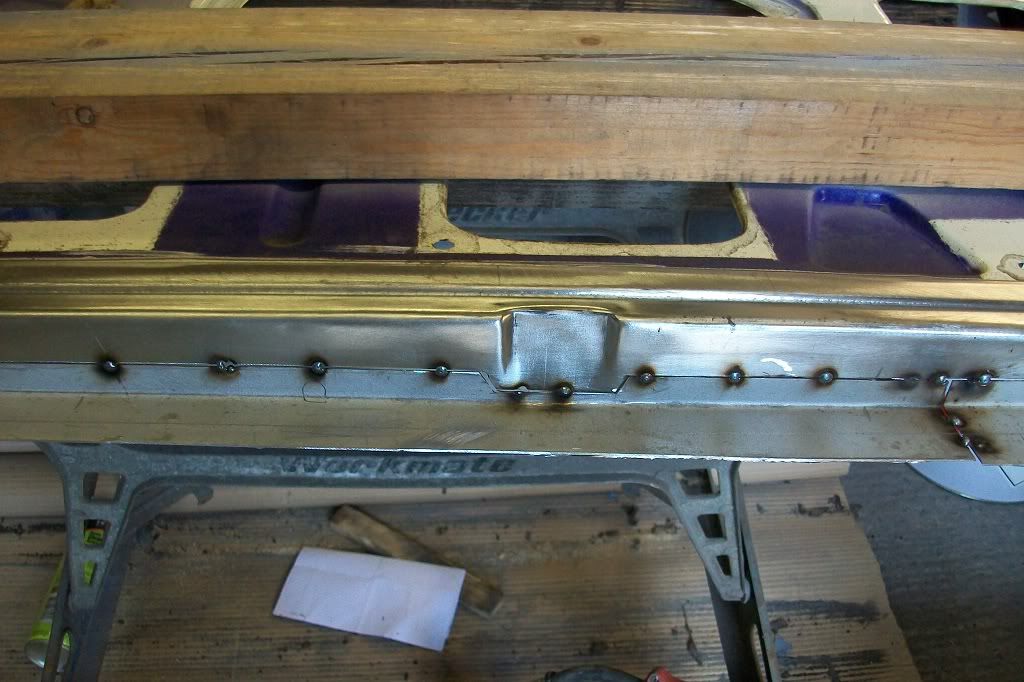
Measurements taken and a repair piece made.
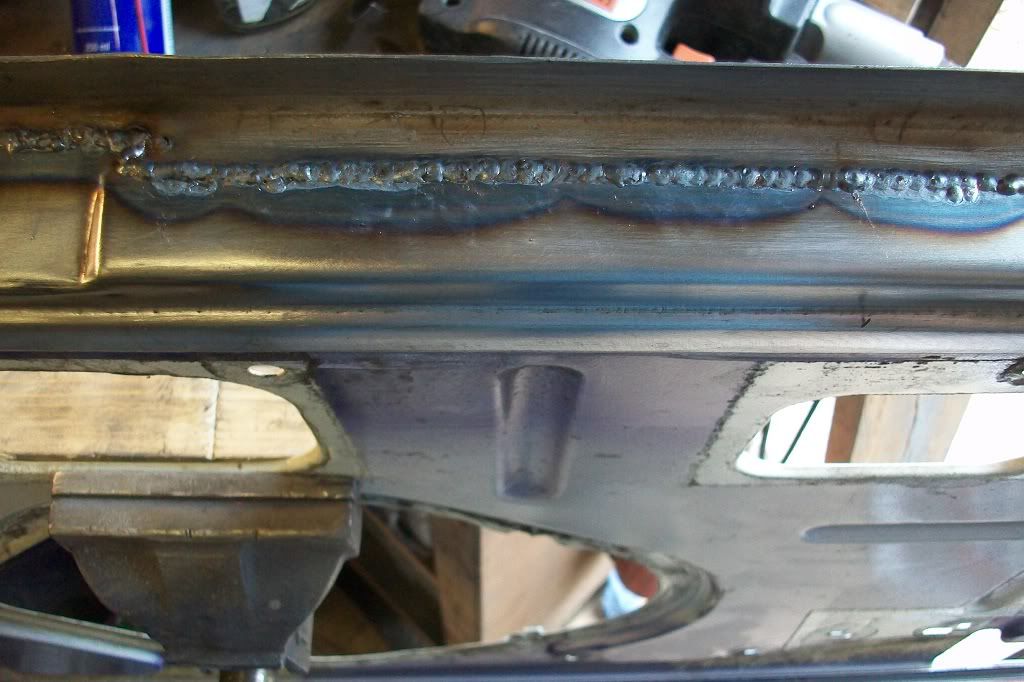
Corner repair made by cutting a piece to shape and folding the inside of the curve up with vise grips. This distorts the metal so had to stretch it back to shape by hitting with a cross pein hammer.
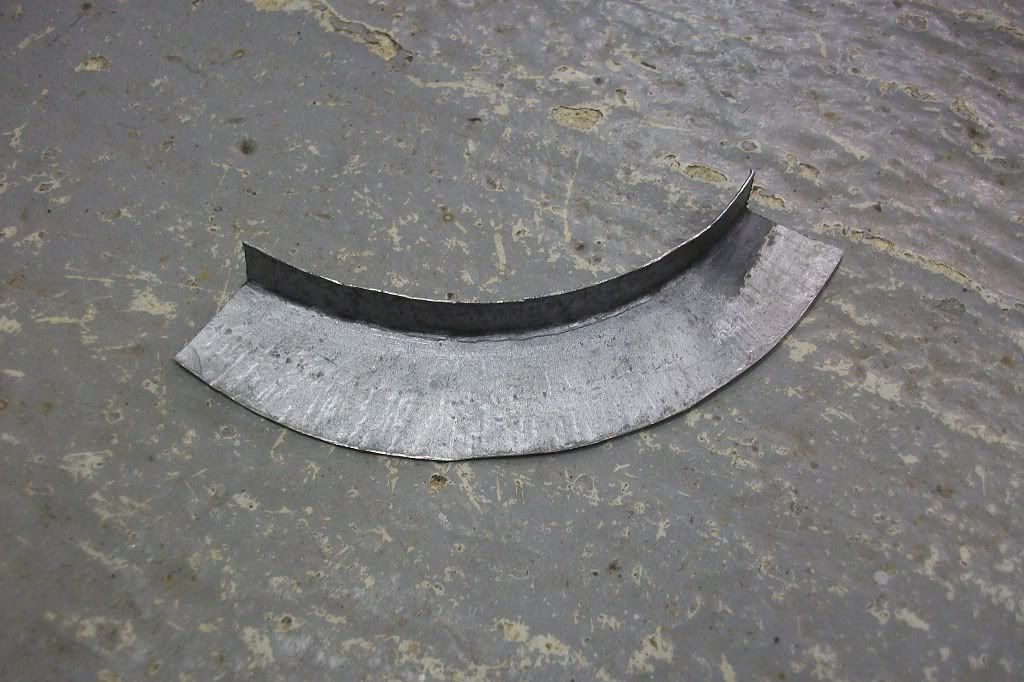
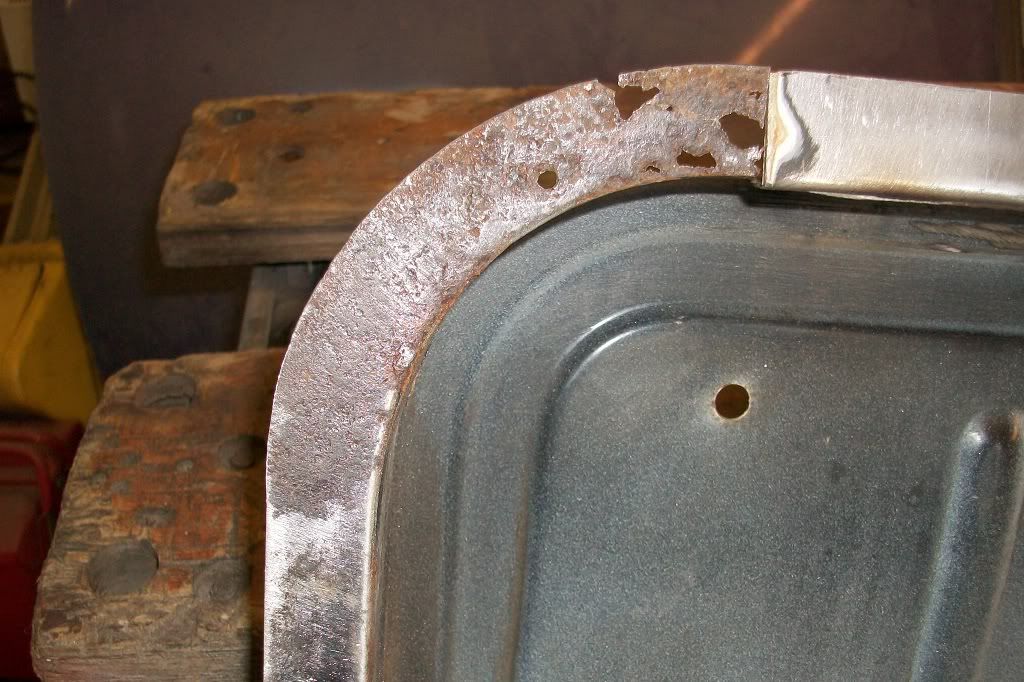
I much prefer welding on the curve like this instead of right on the back edge of the corner where possible. It gives a much nicer corner.
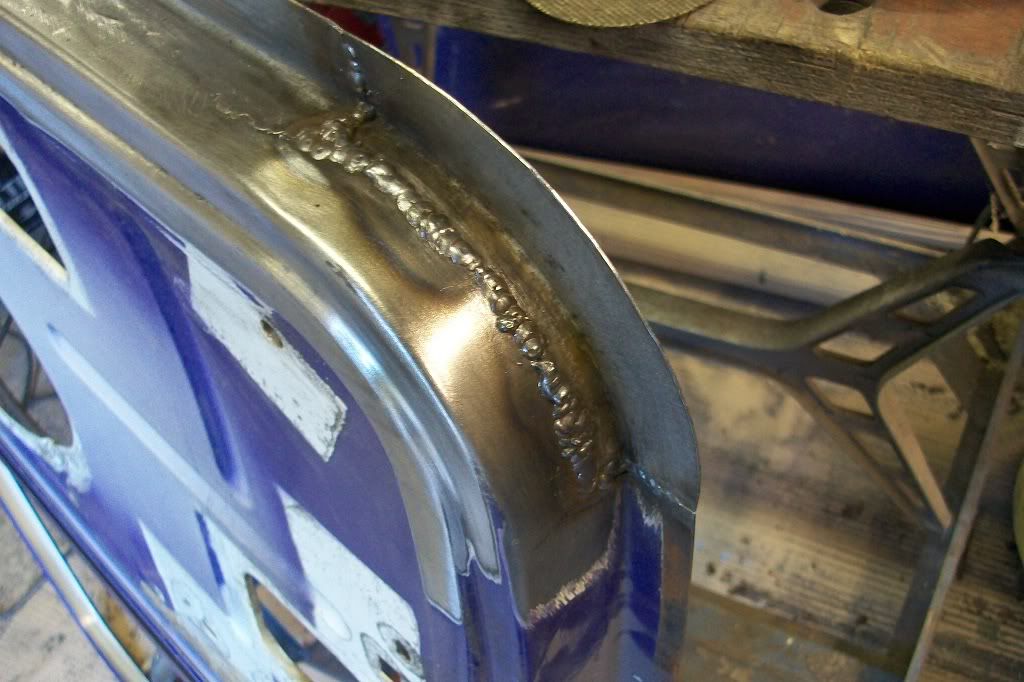
Will need a skim of filler at some point. Metal is so thin its not easy to work with.
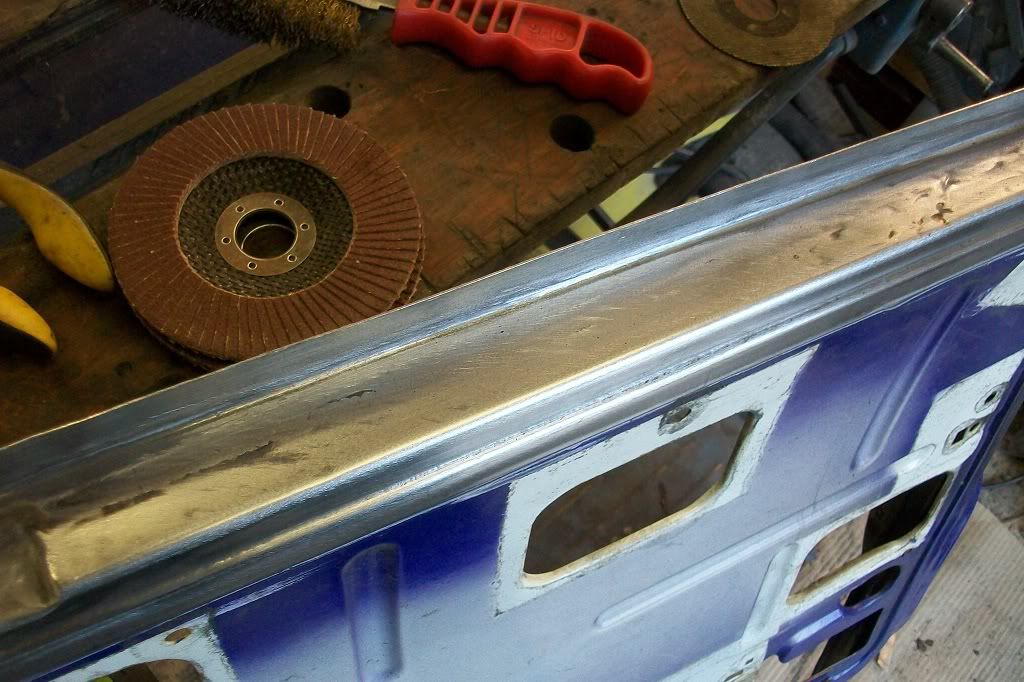
Then got the paint stripper out to strip back to clean metal. Did the larger areas first with the clean and strip disc. The purple came off really easy. Wasn't even primed or keyed underneath.
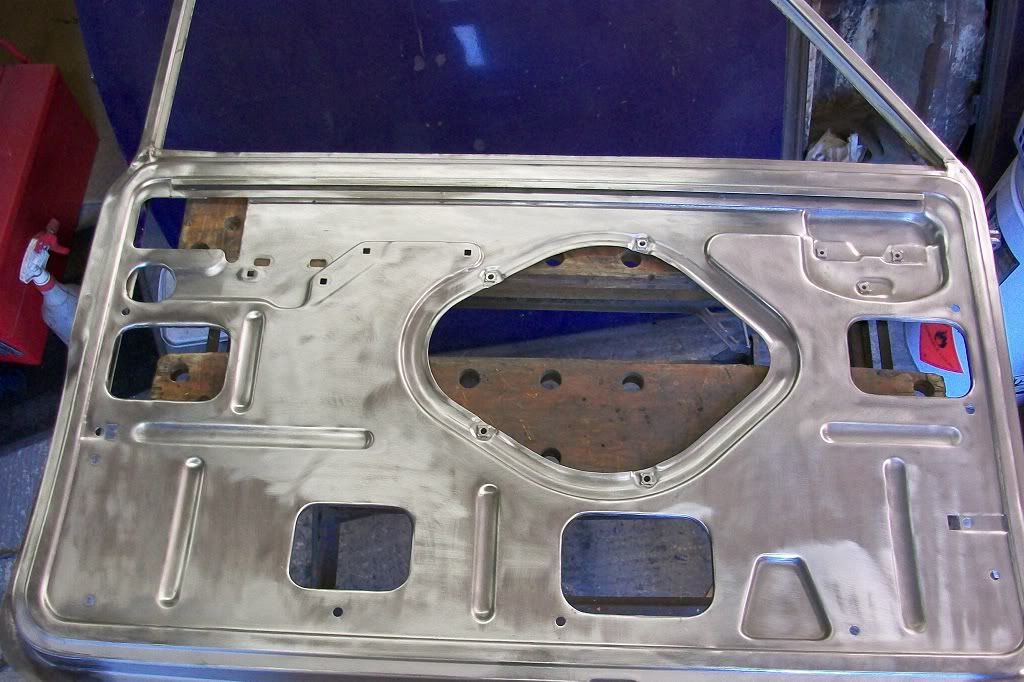
Thats as far as I got this weekend. Got some more repairs to do next time before I can get the skin on.
Thanks for looking.
Edited by minifcd, 26 June 2012 - 10:40 PM.
#270

Posted 24 June 2012 - 09:05 PM
2 user(s) are reading this topic
0 members, 2 guests, 0 anonymous users


