Jump to content


Photo
- - - - -

Leyland Mini 1000 1980 Restoration Project


  • Please log in to reply
393 replies to this topic

#241 grahama

grahama

    Up Into Fourth

  • Members
  • PipPipPipPipPipPipPipPipPip
  • 2,442 posts
  • Location: Warrington
  • Local Club: None in my area !!

Posted 06 May 2012 - 07:44 AM

Very impressive. I like your thought process towards your problems, they produce great results. As always your finishing is great, well done on more tricky repairs.

Graham

#242 minimuk

minimuk

    Camshaft & Stage Two Head

  • Members
  • PipPipPipPipPipPipPipPip
  • 1,946 posts
  • Location: Midlands

Posted 06 May 2012 - 09:24 AM

Amazing work again,...You are definately the guttering expert, thought and patientce,when is that roof being offered? or are you keep finding more little niggles ;D

#243 minifcd

minifcd

    Mini Mad

  • Members
  • PipPipPipPip
  • 246 posts
  • Location: Stamford

Posted 06 May 2012 - 10:31 PM

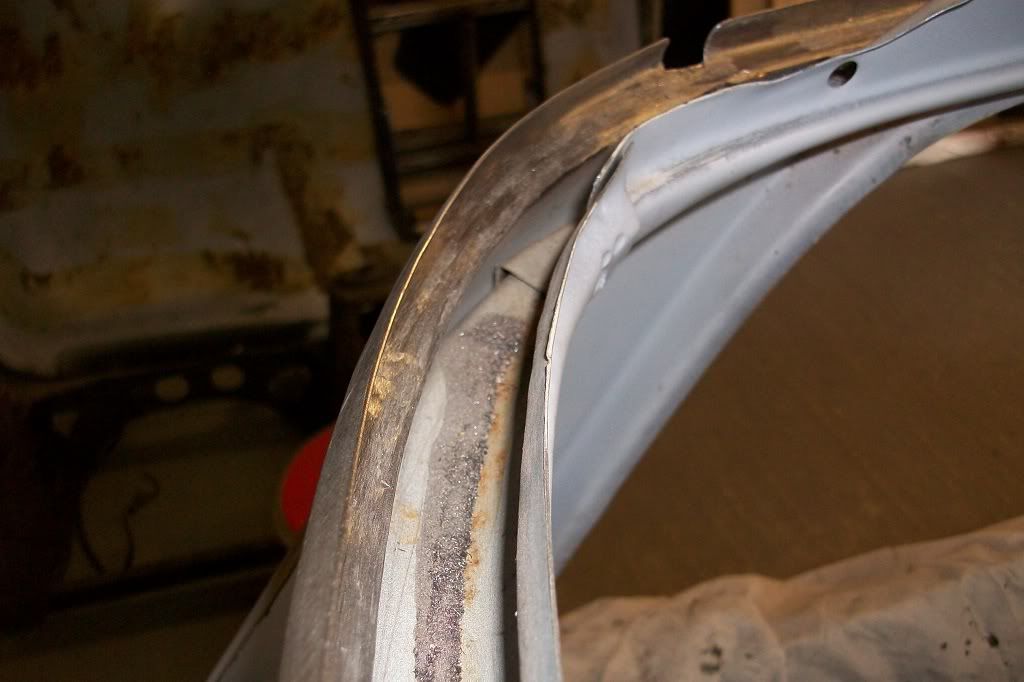
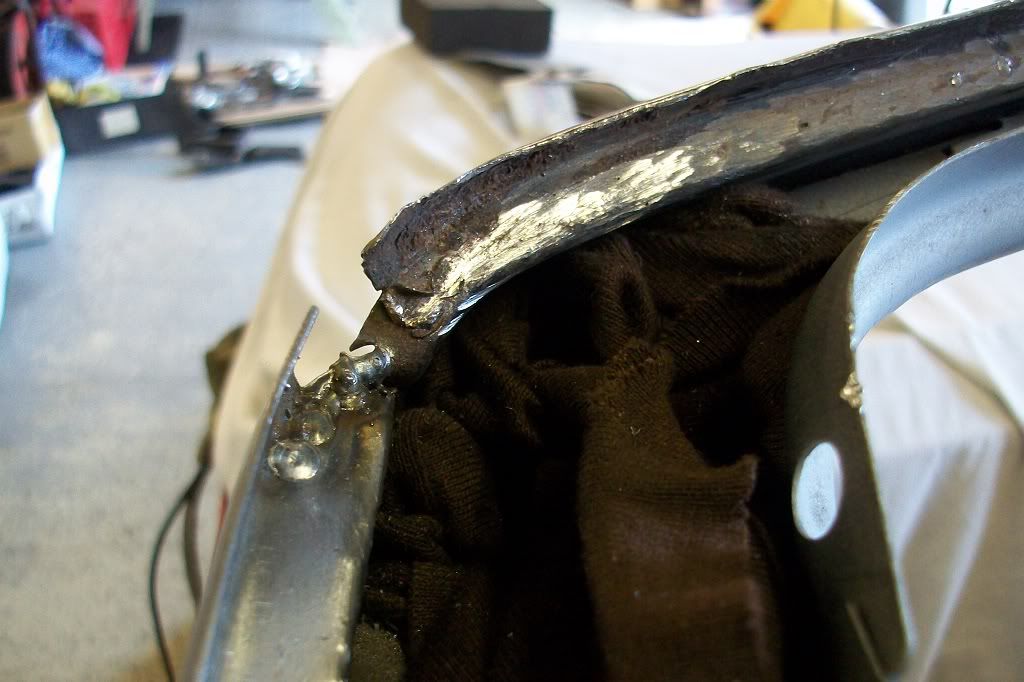
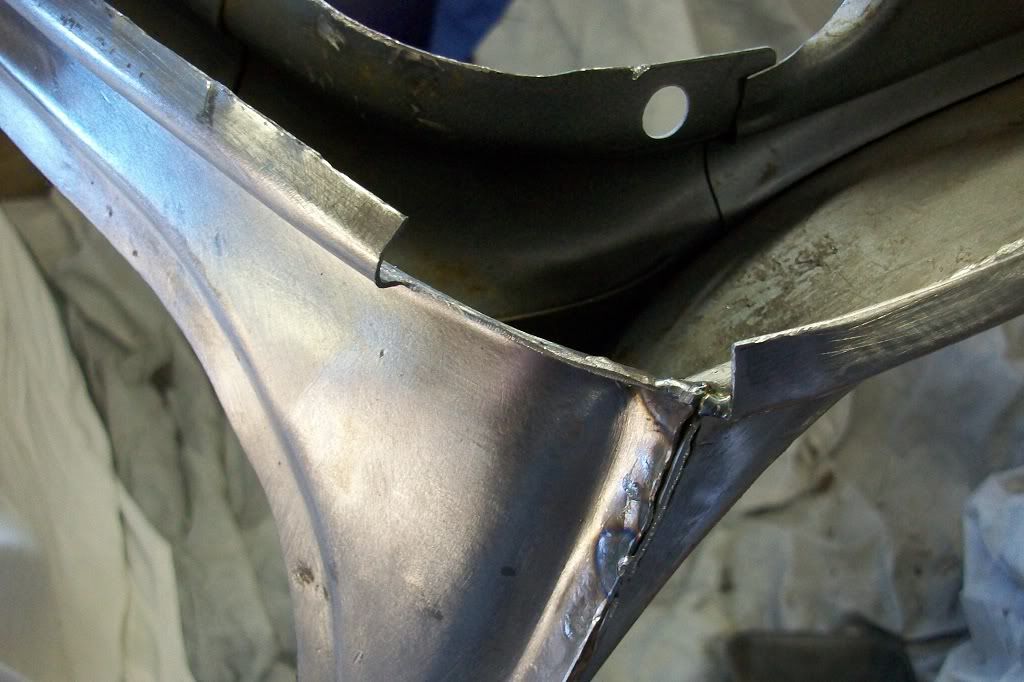
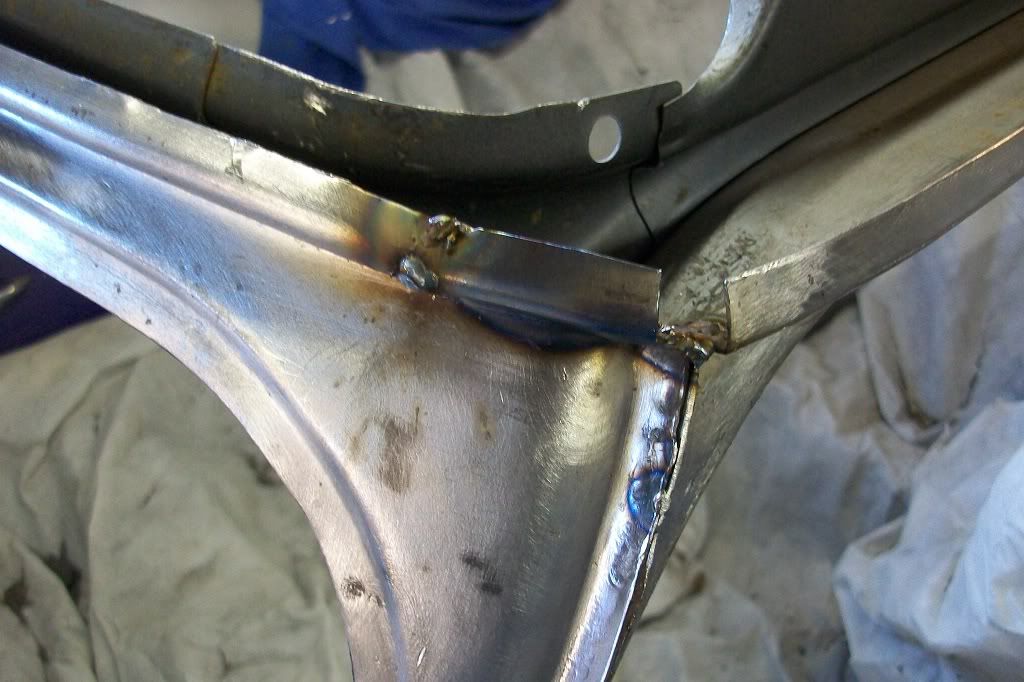
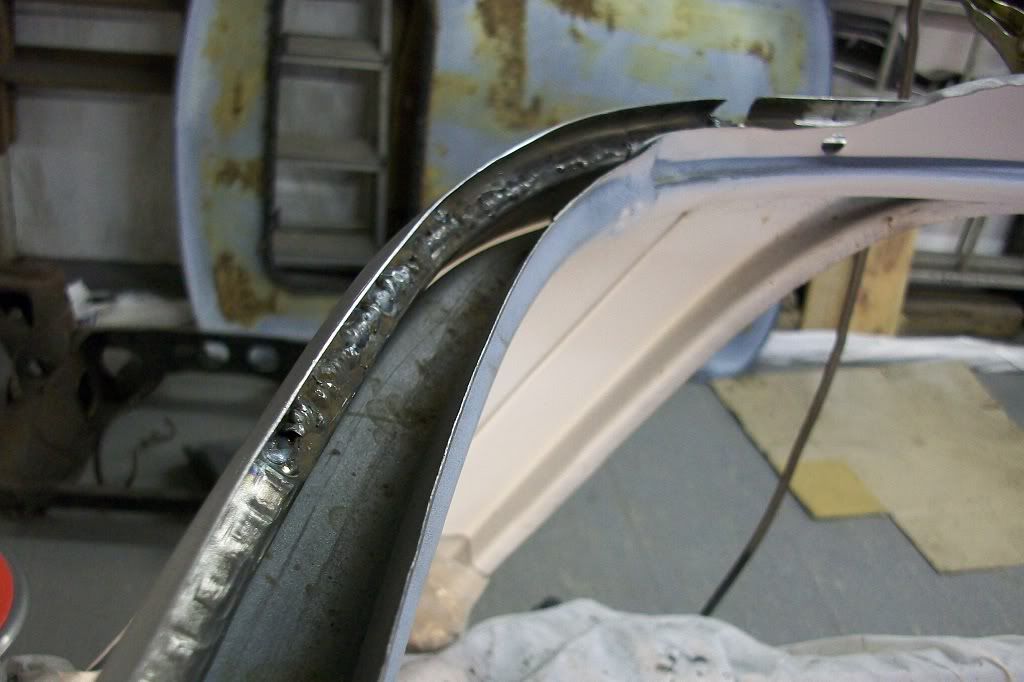
Thanks Graham and Minimuk. I've finally finished the gutter repairs!!! Did the last bit today and ground it all down.

So ground down the inside of yesterdays repair first.
Posted Image

Posted Image

Then sorted the final bit on the passenger's side front corner.
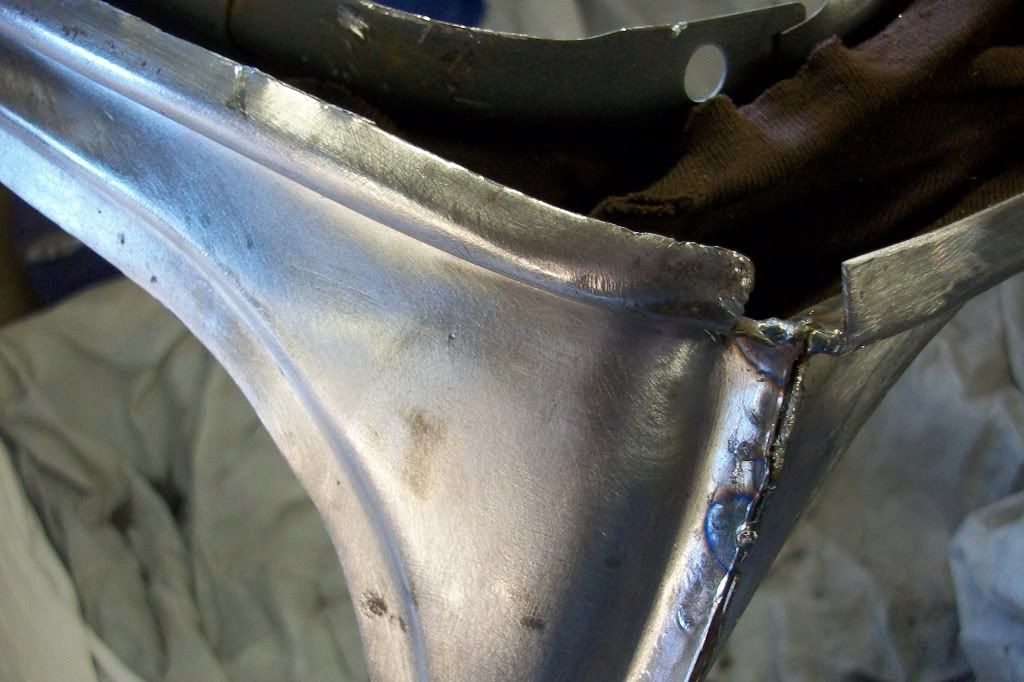
Posted Image

Posted Image

Posted Image

Final piece made up and welded in.
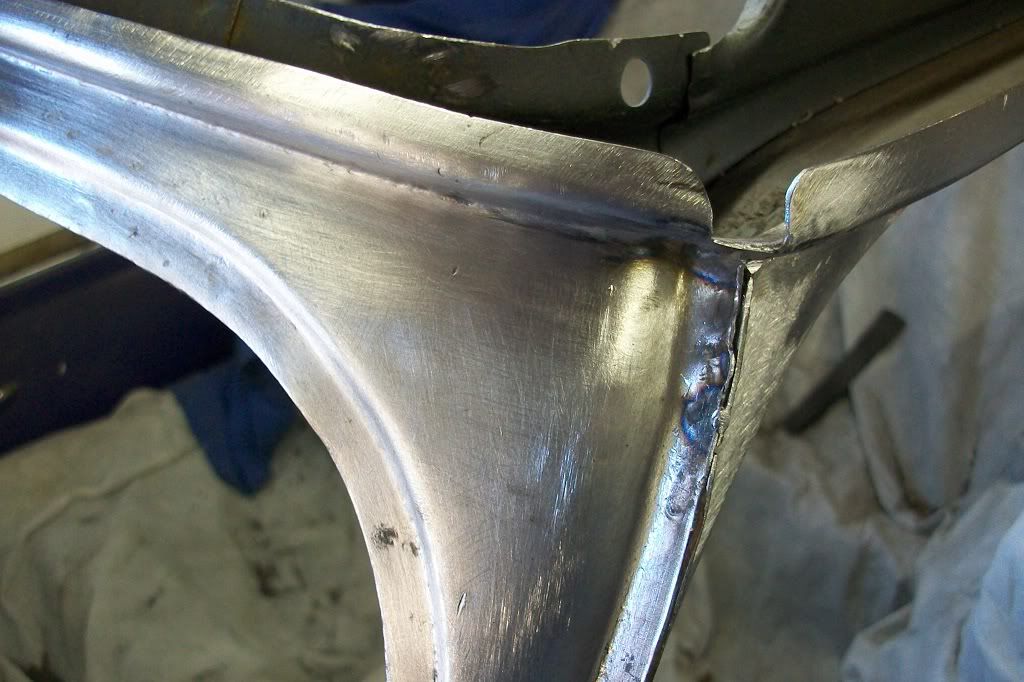
Posted Image

Posted Image

Gutters all done, at last!!

Thanks

#244 RossKnight

RossKnight

    One heck of a member

  • Members
  • PipPipPipPipPipPipPipPipPip
  • 2,539 posts
  • Location: Hampshire or Surrey
  • Local Club: JKSA MOC

Posted 06 May 2012 - 10:35 PM

Great work, time to plonk the roof on now and stick it down? :P

#245 CBJ805T

CBJ805T

    Speeding Along Now

  • Members
  • PipPipPipPipPip
  • 435 posts
  • Location: Kenilworth

Posted 07 May 2012 - 12:00 PM

Hi Scott, none of your photos are viewing - it says "photobuket this image exceeds bandwidth with too many views" Just checking everyone was getting the same when view this thread?? gutted if your pics have been taken down, it usually answers my "how the frick does that fit to that" questions =]

Chris

#246 minifcd

minifcd

    Mini Mad

  • Members
  • PipPipPipPip
  • 246 posts
  • Location: Stamford

Posted 07 May 2012 - 05:17 PM

Don't worry, I've exceeded photobuckets monthly bandwidth of 10GB of picture views. :( Good news is, as I signed up with photobucket on the 7th of the month, they'll all be back tomorrow!! So you haven't got too long to wait. Didn't get much done today anyway. Just started stripping the passenger's door down, ready to start repairing the bottom and to eventually re skin. Sorry for the inconvenience guys.

#247 Brams96

Brams96

    Up Into Fourth

  • Members
  • PipPipPipPipPipPipPipPipPip
  • 2,308 posts
  • Local Club: Kentish Mini Club

Posted 08 May 2012 - 05:23 AM

You might need to start another account then you can post twice as many pics :-)

#248 racinggreenmatt

racinggreenmatt

    On The Road

  • Noobies
  • PipPip
  • 37 posts
  • Location: Rickmansworth

Posted 08 May 2012 - 06:09 PM

Hi Scott, just after a bit of advice please mate. Im getting to the stage where i want to get my shell on its side, have you got any tips on how to do this without damaging anything!? I.e. what to rest it on and where etc.
Cheers mate
Matt

#249 hughJ

hughJ

    Soldiering Along

  • Members
  • PipPipPipPipPipPipPip
  • 727 posts
  • Location: Highlands, Scotland

Posted 08 May 2012 - 06:34 PM

Hi Scott - your gutter repairs are incredibly impressive. Its our privilege to have watched you doing these careful, patient, invisible repairs. looking forward to the next phase! Scott - I got rid of my gas cylinder today!! Delighted.

Hugh

#250 minifcd

minifcd

    Mini Mad

  • Members
  • PipPipPipPip
  • 246 posts
  • Location: Stamford

Posted 08 May 2012 - 06:34 PM

Hi Matt, take a look at Page 2, post #21, 2nd picture. I use two lengths of wood about 1 1/2 inches thick, one on top of the other and position below the sill seam and then 1 length of wood 1 1/2 inches thick positioned below the roof gutter (not in picture). By doing this the shell is angled backwards so there is no way it will tip over. To roll it you will really need three people, two to lift it and one to check its sitting in the right place on the wood as you roll it. The sill needs to sit close to the rear edge of the piece of wood, or you'll find it will touch the rear quarter panel and could crease it. Then when you get it over, you may need to put some wedges between the sill seam and the wood at the front and rear, because as the sill seam is curved, the shell tries to rock if you don't. Hope that makes sense as I don't really have any other pictures of it.

#251 racinggreenmatt

racinggreenmatt

    On The Road

  • Noobies
  • PipPip
  • 37 posts
  • Location: Rickmansworth

Posted 08 May 2012 - 07:57 PM

Yea that makes sense. Cheers Scott much appreciated! Good luck with the rest of your build. Il be watching this thread!

#252 Sleeping Park Lane

Sleeping Park Lane

    Mini Mad

  • Noobies
  • PipPipPipPip
  • 132 posts
  • Location: Reading

Posted 14 May 2012 - 03:08 PM

Wow - I've just sat and read this entire project - truly inspirational work and an absolute credit to you.

I reckon there will be loads of folk bookmarking this thread for reference on their own rebuilds - I know I have! Passing on some of your techniques such as the gutter repairs will save lots of headscratching for the rest of us; thank you.

Keep up the great work Scott.

Cheers,
Steve

#253 deebo

deebo

    Stage One Kit Fitted

  • Noobies
  • PipPipPip
  • 61 posts
  • Location: southampton

Posted 17 May 2012 - 10:44 AM

scott i would never of guessed the rot on that gutter from the outside, it looked fine. you gonna do the doors then roof? or the other way around. keep up the good work man, hope the doors arent too bad :)
dom.

#254 minifcd

minifcd

    Mini Mad

  • Members
  • PipPipPipPip
  • 246 posts
  • Location: Stamford

Posted 20 May 2012 - 08:26 PM

Thanks for your comments Steve. I hope this project helps you and others answer a few questions, as that the reason for me posting it. This forum helped me out whilst building my first project and now i'd like to think this can help others. Thanks Deebo, I agree, the gutter looked fine from the outside. Just the rot on the inside made it really thin. It was a pain to do but I think it was worth it.

This is a mixed update from last weekend and this weekend as I didn't get time to post it last week. So last weekend I got the inner gutter lip primed with weld through zinc primer, ready to spot weld the roof on, then masked this off when dry, and flooded any seams with weld through zinc primer several times. The idea being that this will be drawn into the seam through capillary action to add some protection. Then primed the inside of the gutters with etch primer. When dry I seam sealed around the seams.
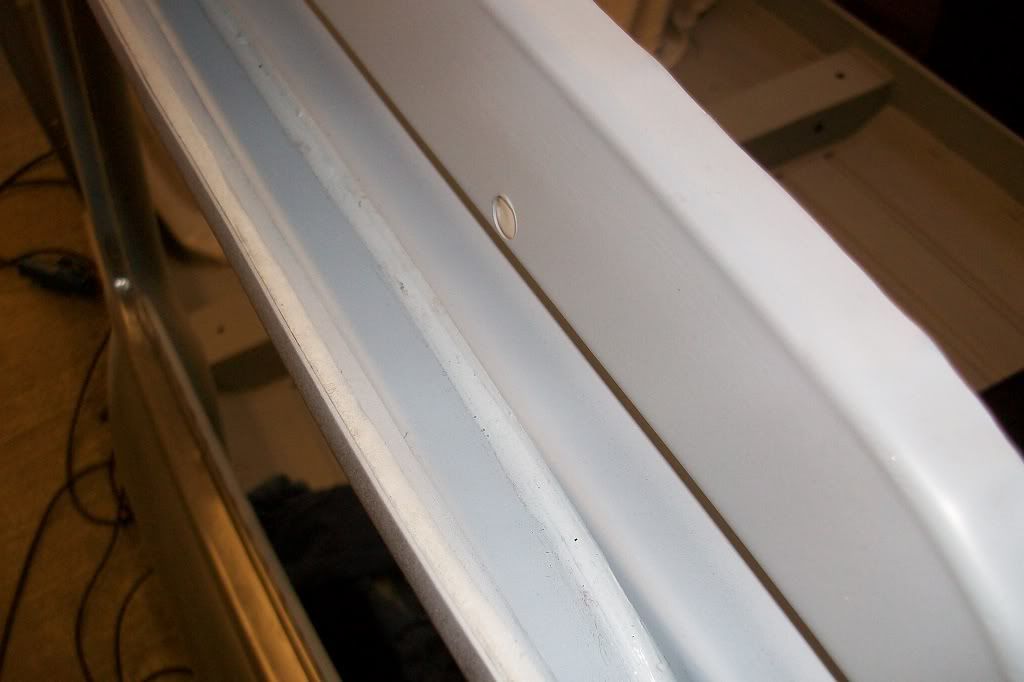
Posted Image

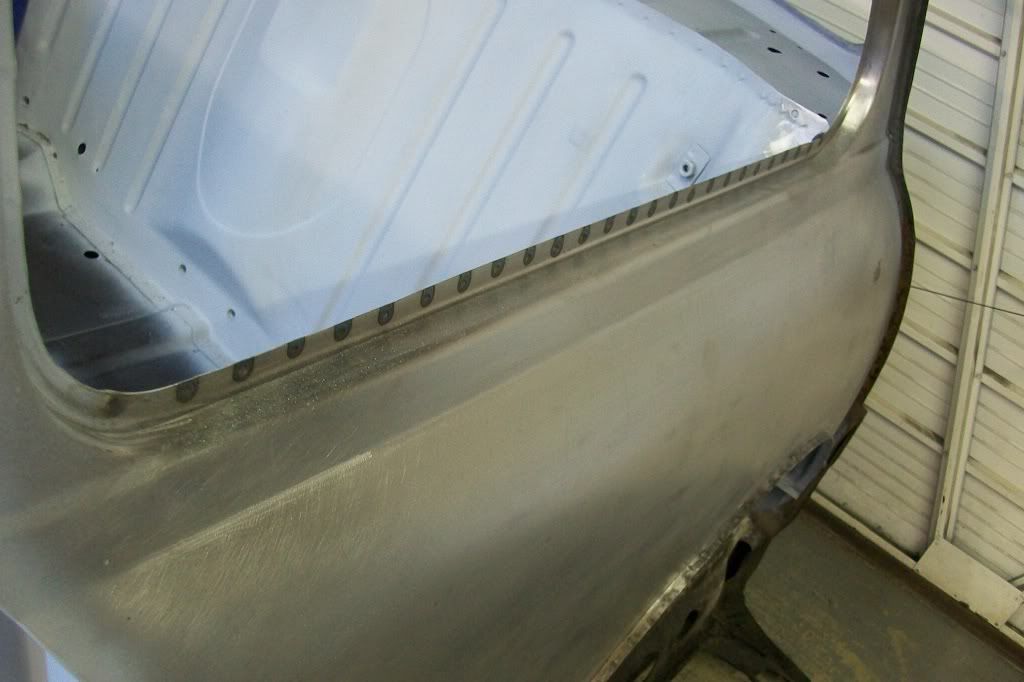
Then cleaned the e-coat off of the new waist rail edges.
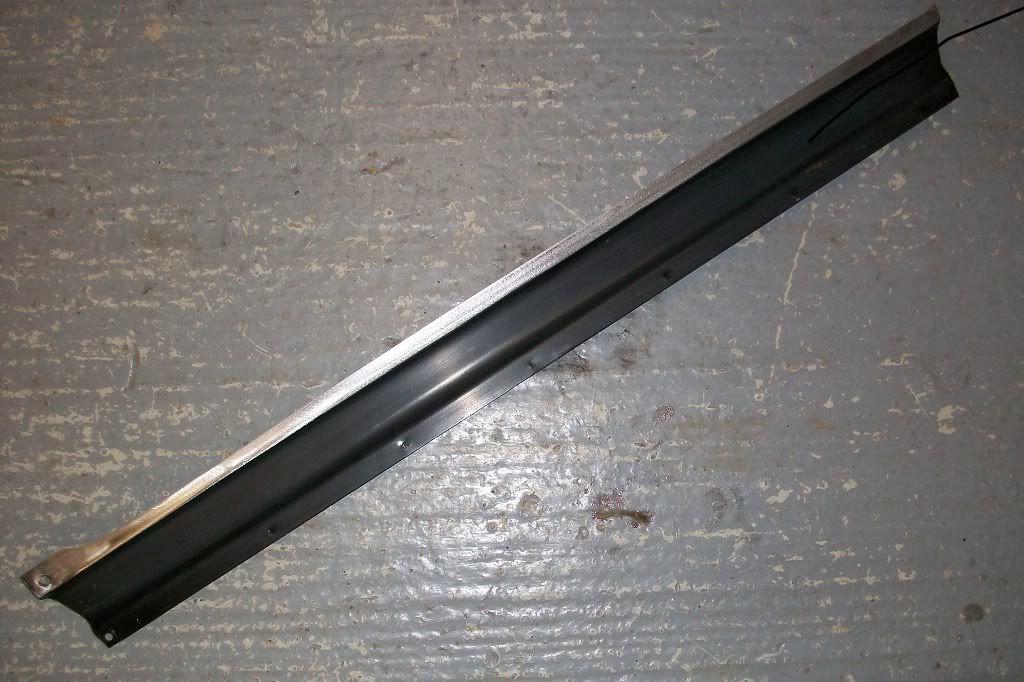
Posted Image

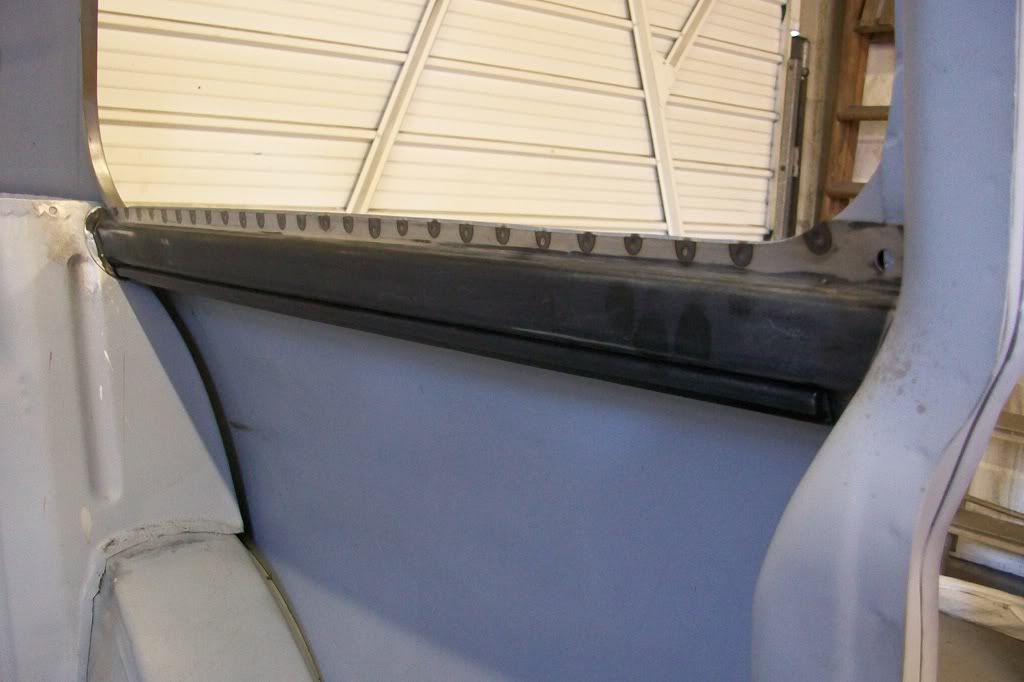
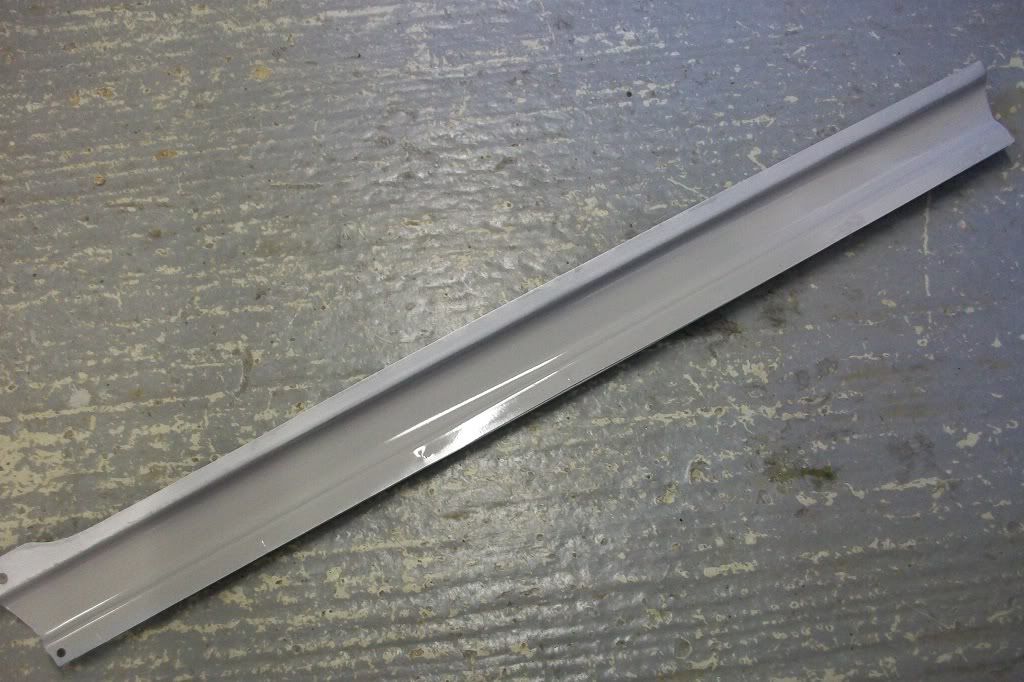
Then primed and painted the inside of the waist rail where it will be hard to paint, with some grey I had lying around.
Posted Image

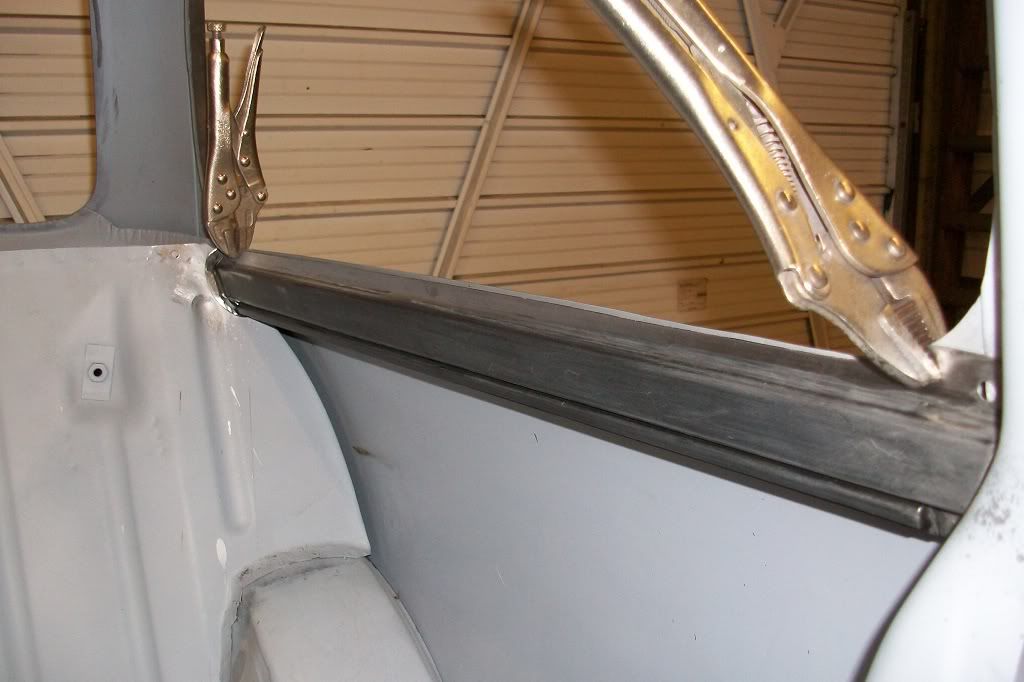
Clamped in and spot welded.
Posted Image

Posted Image

Posted Image

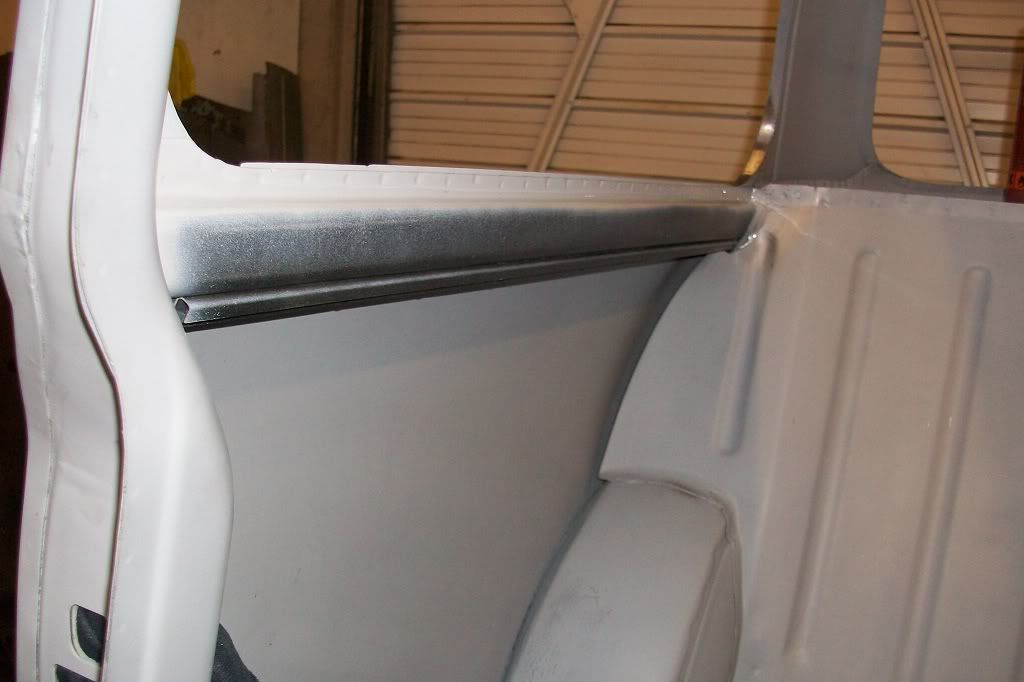
Other side done as well.
Posted Image

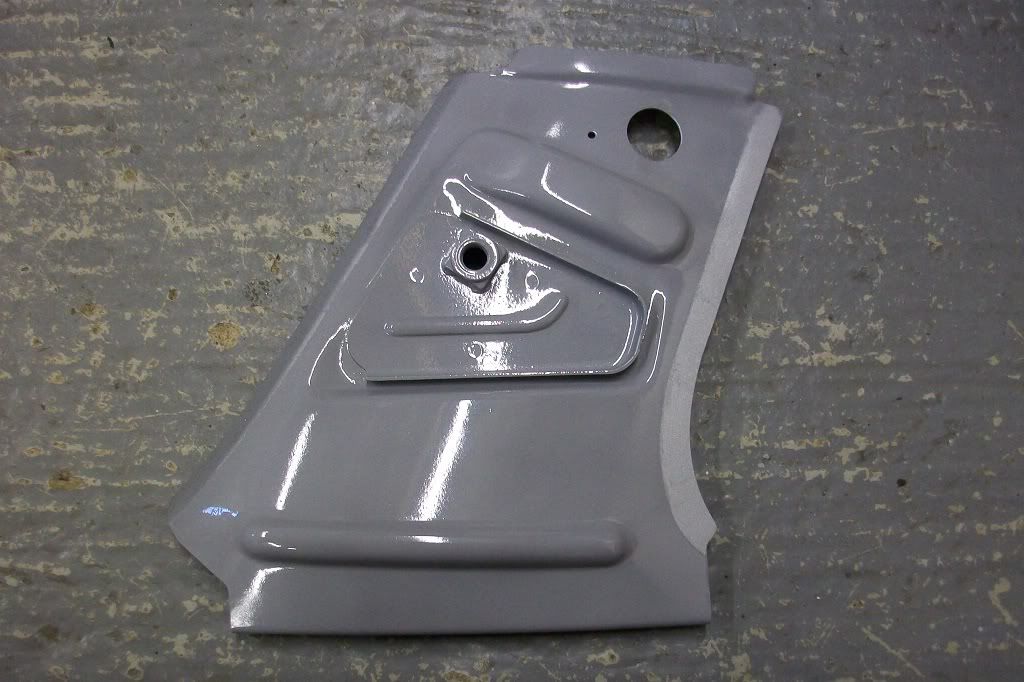
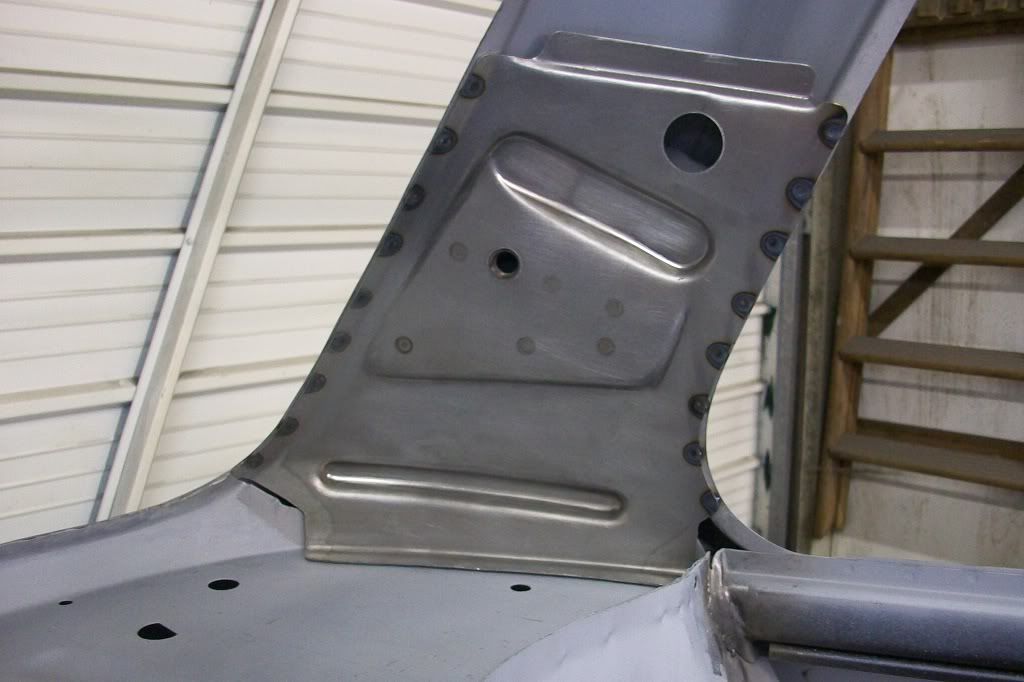
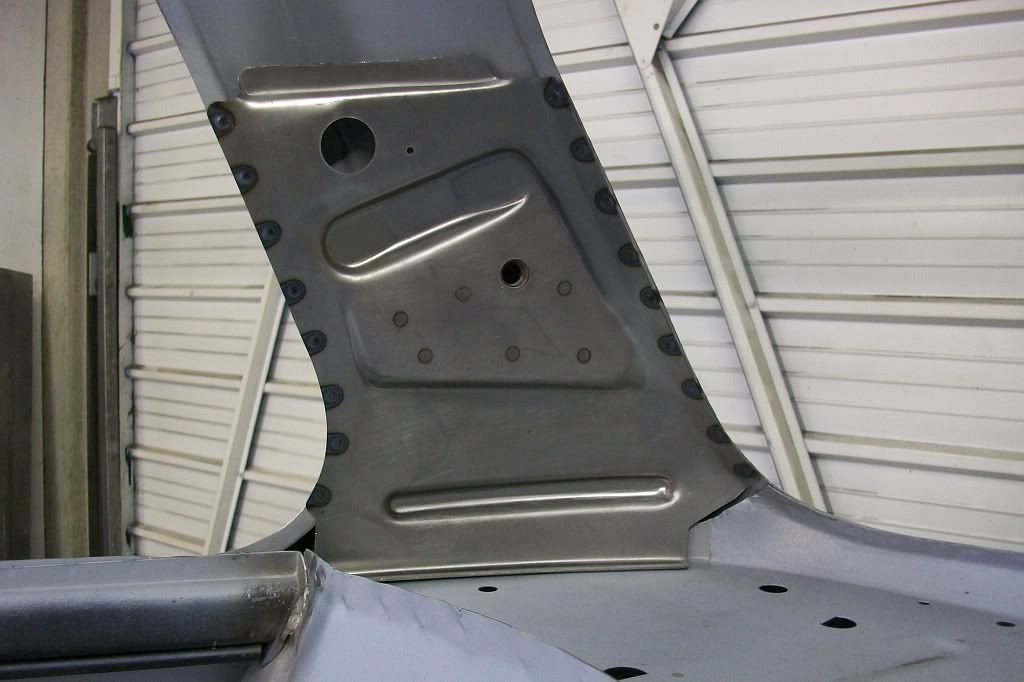
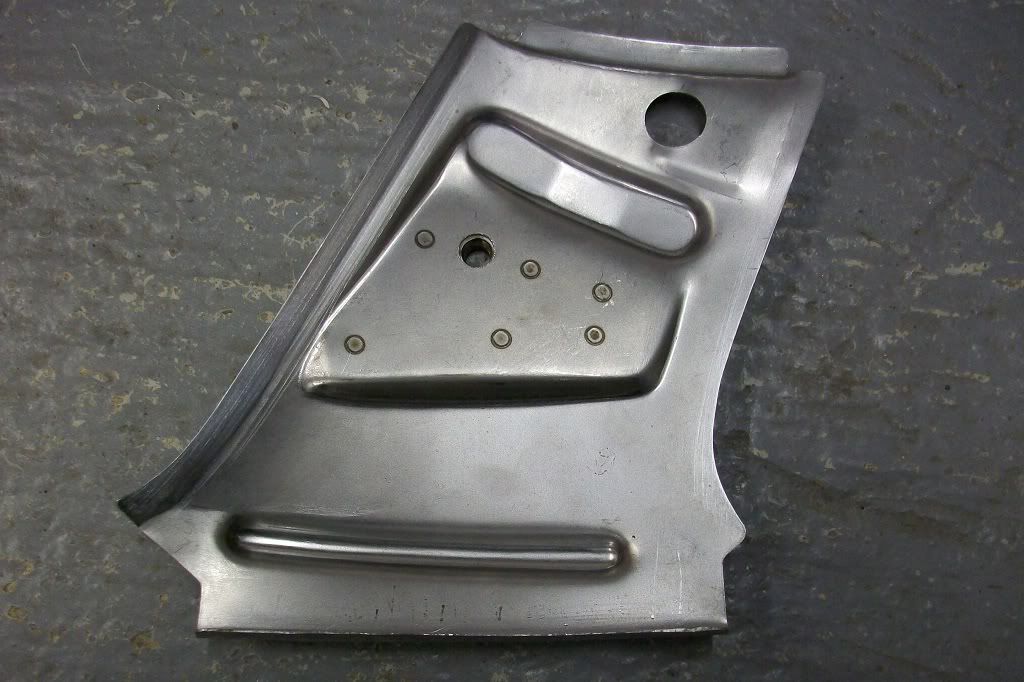
This weekend I spot welded in the C pillar seat belt brackets, Heritage ALJ360120 and ALJ360130.
Posted Image

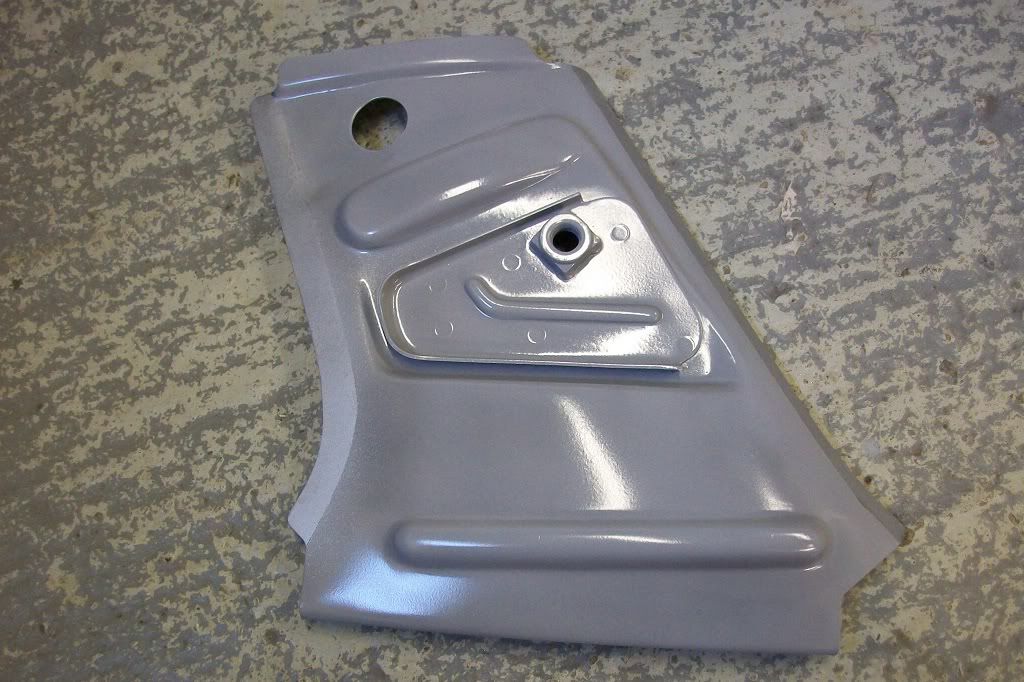
Again, seam sealed behind bracket, zinc primed edges to be welded, masked off and primed and painted the back of bracket and inside of C pillar.
Posted Image

Posted Image

Spot welded in.
Posted Image

Posted Image

I've got this next week off so hope to get lots more done!

Thanks

#255 grahama

grahama

    Up Into Fourth

  • Members
  • PipPipPipPipPipPipPipPipPip
  • 2,442 posts
  • Location: Warrington
  • Local Club: None in my area !!

Posted 20 May 2012 - 09:19 PM

Excellent work as always, that spot welder you have certainly makes for a neat job, much better than my plug welded efforts !! Next car maybe lol !!

Graham


2 user(s) are reading this topic

0 members, 2 guests, 0 anonymous users