Jump to content


Photo
- - - - -

Leyland Mini 1000 1980 Restoration Project


  • Please log in to reply
393 replies to this topic

#211 Renny

Renny

    Stage One Kit Fitted

  • Noobies
  • PipPipPip
  • 61 posts
  • Location: Place

Posted 04 April 2012 - 10:12 PM

Thanks! i shall try your technique! good luck with your project :D

#212 minifcd

minifcd

    Mini Mad

  • Members
  • PipPipPipPip
  • 246 posts
  • Location: Stamford

Posted 07 April 2012 - 08:54 PM

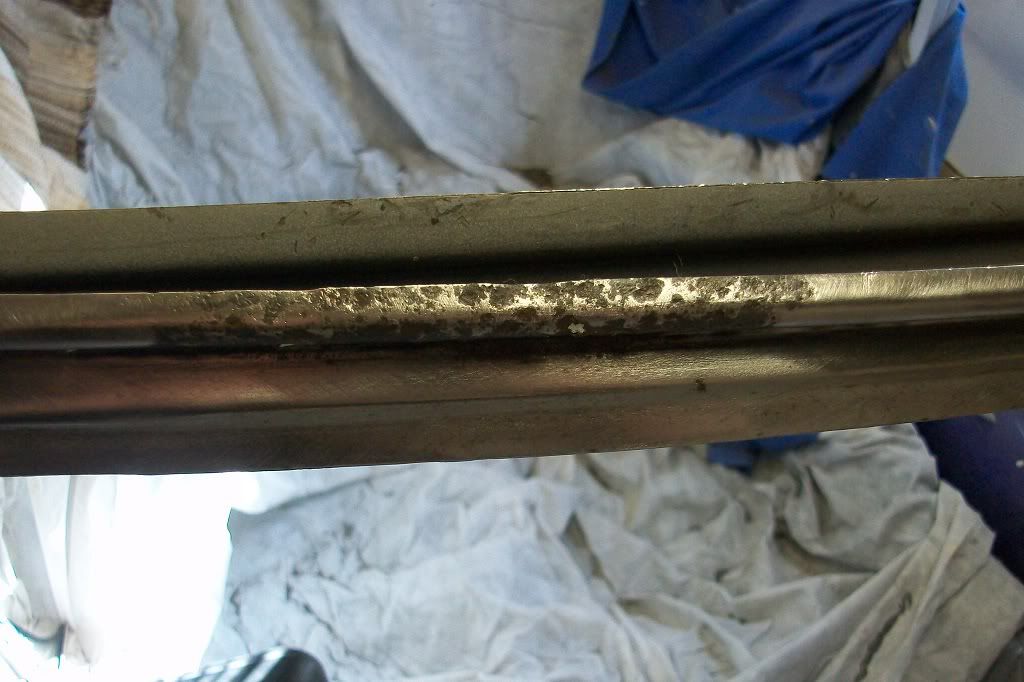
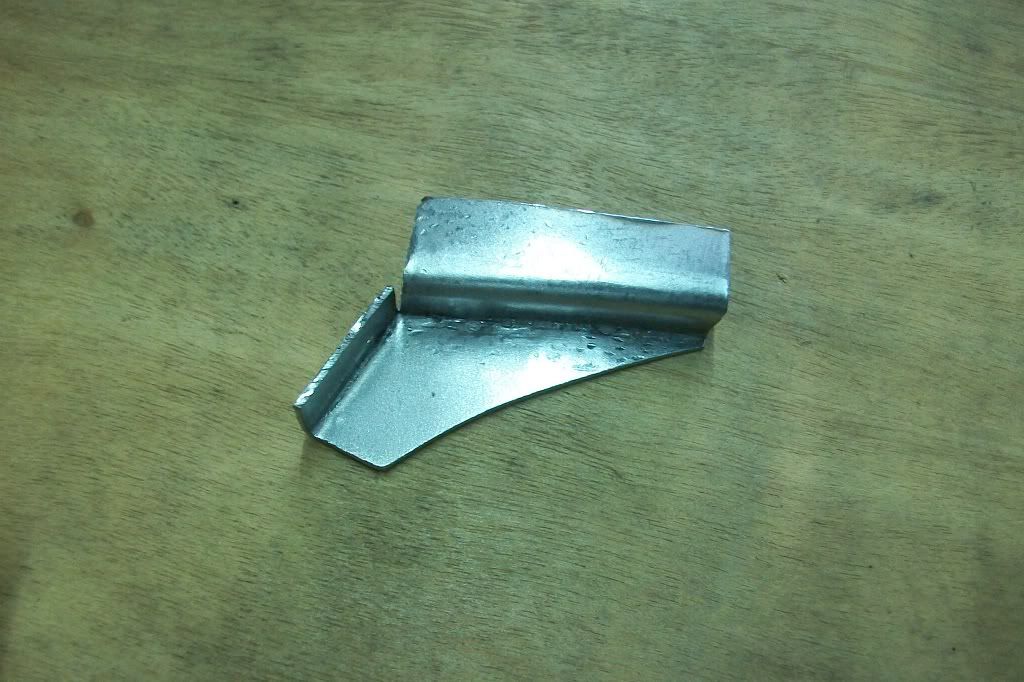
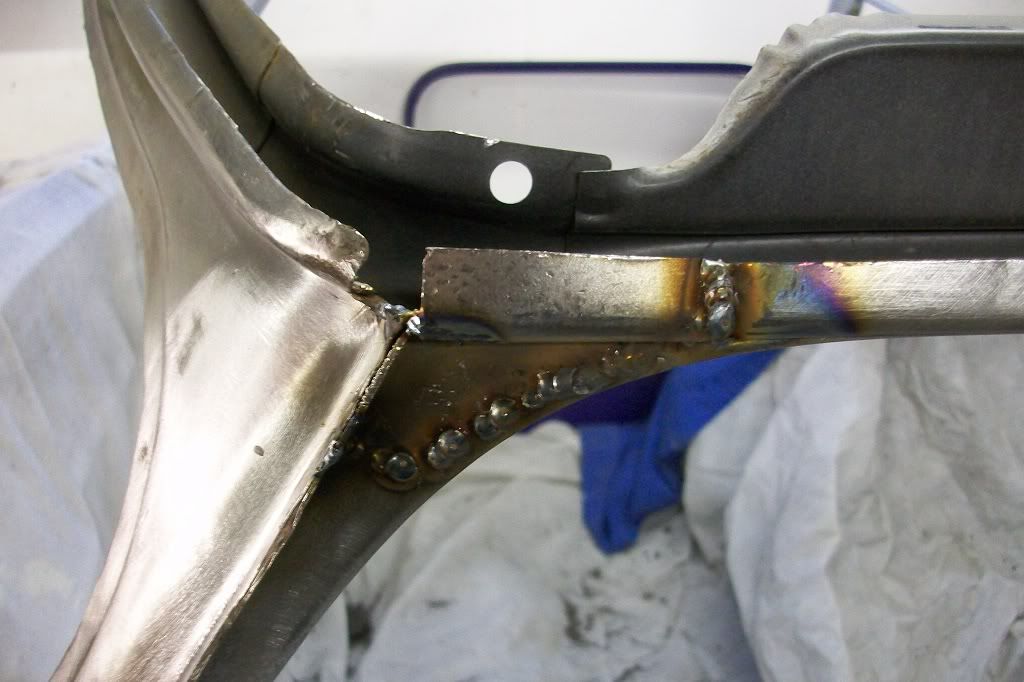
Not much progress again today i'm affraid, more boring repairs that I wish I was nearing the end of. More gutter repairs and the whole afternoon to do this bit above the front screen on the drivers side.
Posted Image

Got quite a curve to this bit.
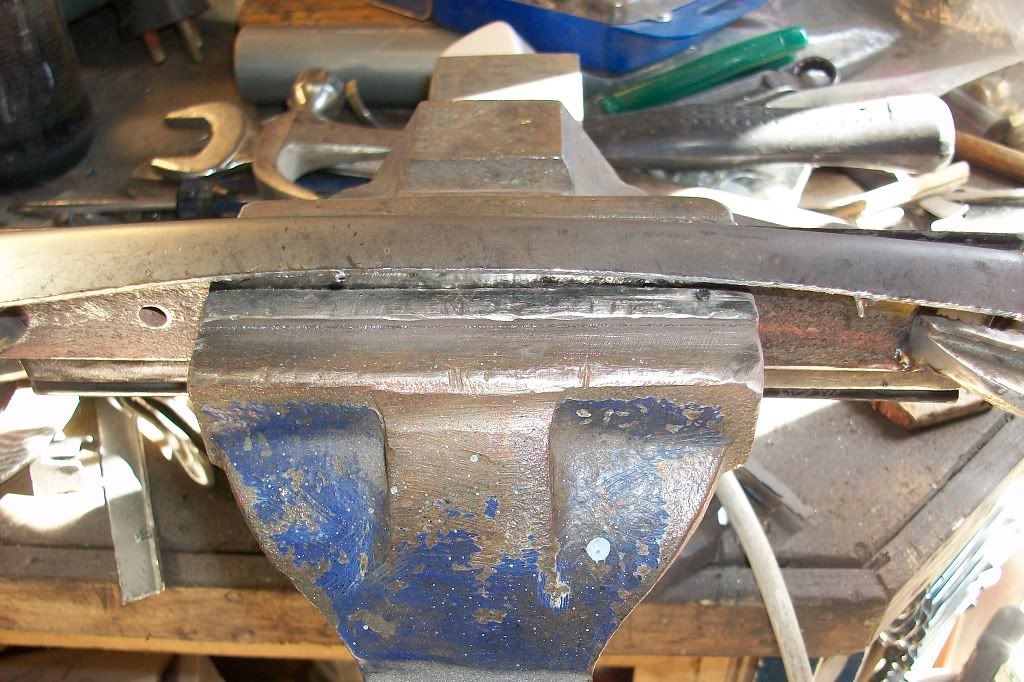
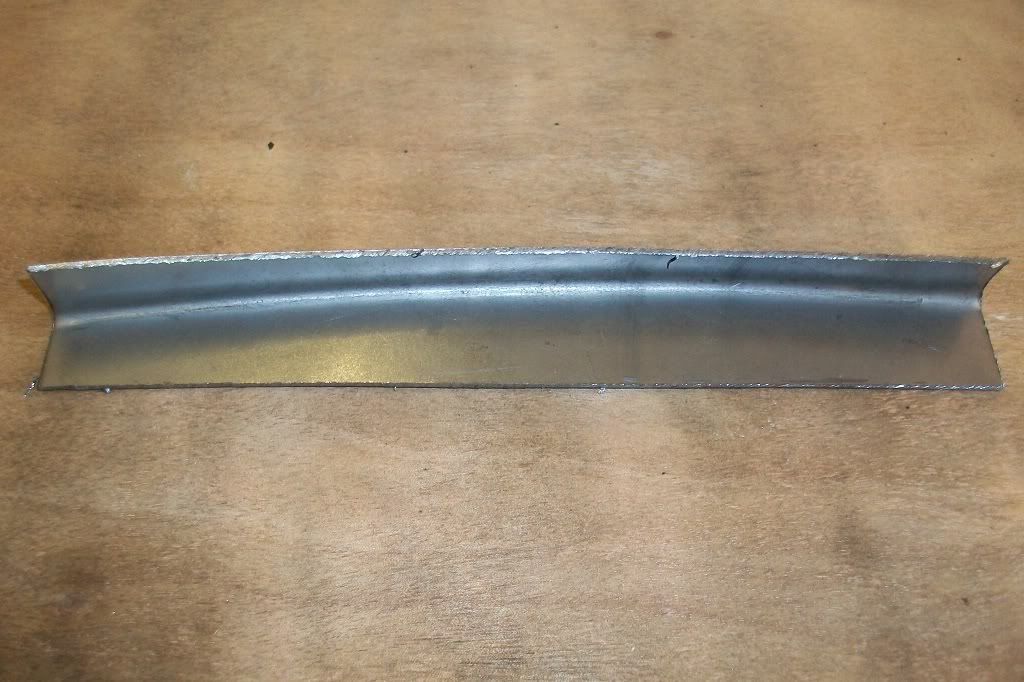
Posted Image

Posted Image

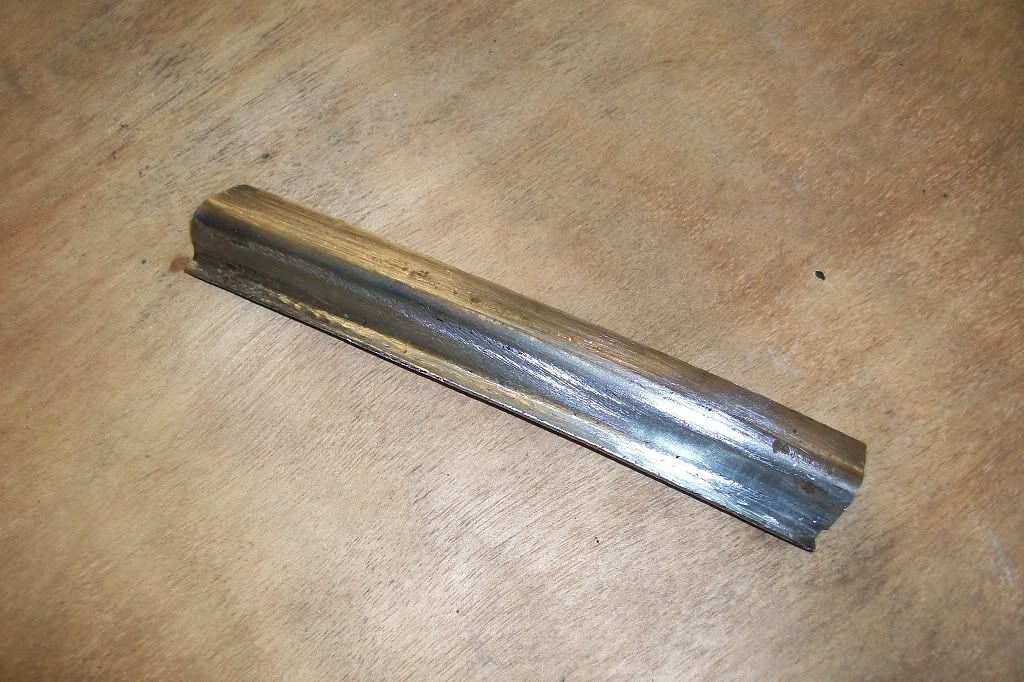
Small piece welded onto the back. I couldn't find any better way to go about this due to the way the metal curves, shrinks and stretches.
Posted Image

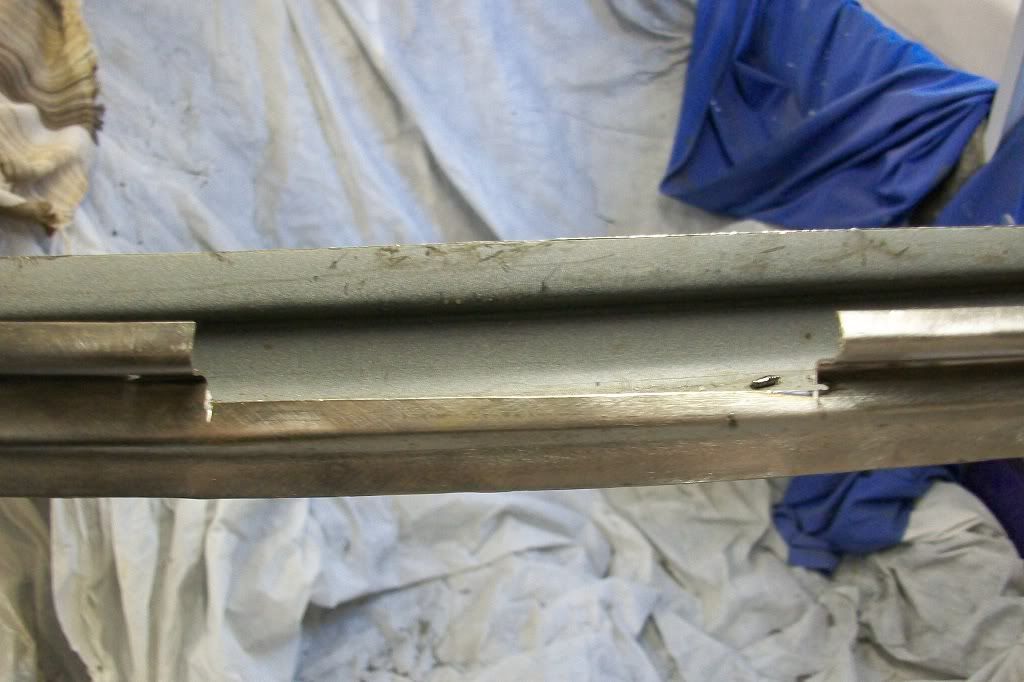
Rust chopped out.
Posted Image

Welded in.
Posted Image

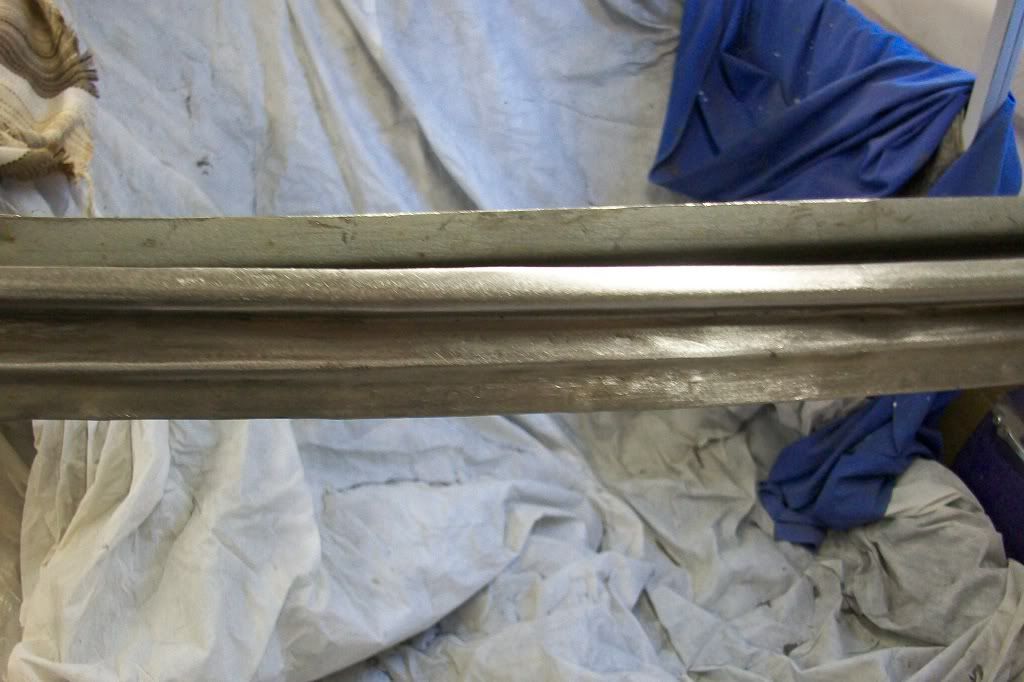
That was the easy bit! Rest of afternoon spent grinding and blending it together. Worst bit so far.
Posted Image

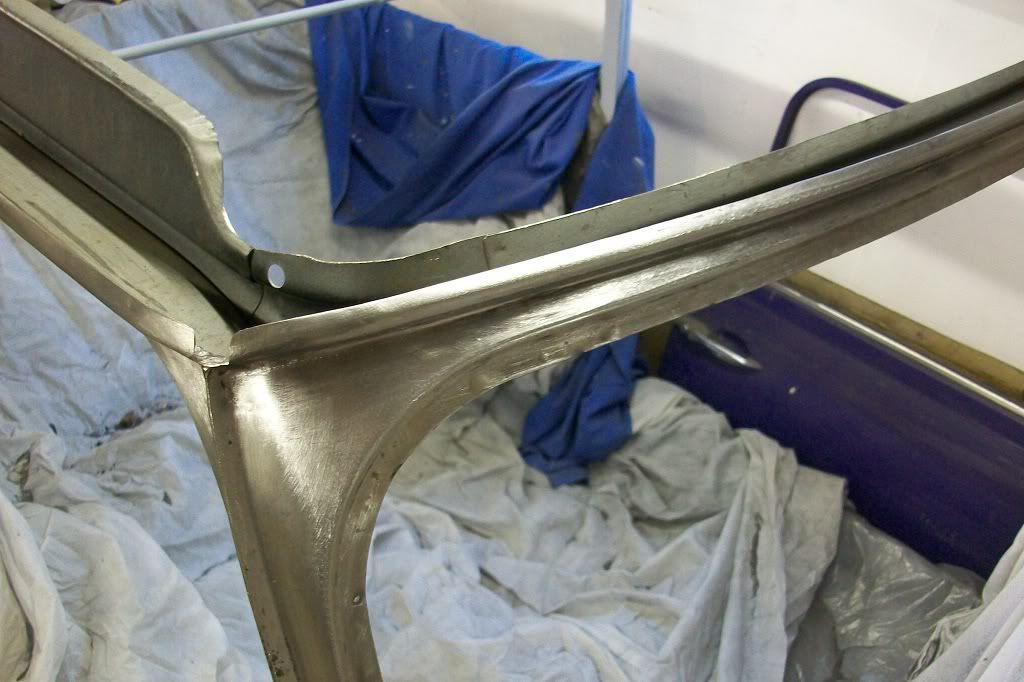
Thats the drivers side and front corner all finished.
Posted Image

Got the other side to do and a bit on the rear left corner that I have know idea how to tackle at the moment.

Thanks for looking.

#213 minimuk

minimuk

    Camshaft & Stage Two Head

  • Members
  • PipPipPipPipPipPipPipPip
  • 1,946 posts
  • Location: Midlands

Posted 07 April 2012 - 10:52 PM

roof next,....looking great your repairs, you are a good teacher! I am learning......

#214 racinggreenmatt

racinggreenmatt

    On The Road

  • Noobies
  • PipPip
  • 37 posts
  • Location: Rickmansworth

Posted 08 April 2012 - 08:37 PM

Hi Scott, very impressed with your work. Ive just started welding as ive started stripping down my 89 mini to replace the floors and everything else etc!
I was just wondering how you get your welds so flat? They almost look like puddle welds theyre so smooth! Mine seem to stick up quite high which takes an absolute age to grind down!
Regards
matt

#215 johansjogren

johansjogren

    Just On Tickover

  • Noobies
  • Pip
  • 5 posts

Posted 08 April 2012 - 10:51 PM

Fantastic work! Impressive! Your car will look awesome! Greetings from sweden

#216 RossKnight

RossKnight

    One heck of a member

  • Members
  • PipPipPipPipPipPipPipPipPip
  • 2,539 posts
  • Location: Hampshire or Surrey
  • Local Club: JKSA MOC

Posted 09 April 2012 - 12:22 AM

Usually when I read long project logs I just flick through and look at the pictures, I read every post in this thread, really informative and I feel I learnt a lot. You fabrication work is amazing, this will be one very, very solid mini! Well done and good luck with the roof.

#217 Brams96

Brams96

    Up Into Fourth

  • Members
  • PipPipPipPipPipPipPipPipPip
  • 2,308 posts
  • Local Club: Kentish Mini Club

Posted 09 April 2012 - 11:40 AM

EPIC! Just read the whole thread also & now bookmarked it for future reference. You're doing an amazing job Scott & I hope I can eventually get somewhere close to your skill level with my repairs. Awesome!

Scott

#218 minifcd

minifcd

    Mini Mad

  • Members
  • PipPipPipPip
  • 246 posts
  • Location: Stamford

Posted 10 April 2012 - 10:55 PM

Thanks Minimuk, Matt, JohansJogren, RossKnight and Brams96. Reading your comments the other day, really helped me get a move on with the gutter repairs. Matt, its mainly down to getting amps and wire speed set correctly to the gauge of steel your welding. You may also be too far away from the metal with the nozzle. What welder do you use? I use a Clarke 151TE Turbo and for sheet metal repairs I find setting No.2 - MIN - Wire speed 7.5 works the best and I tend to use small pulse welds (lots of tack welds).

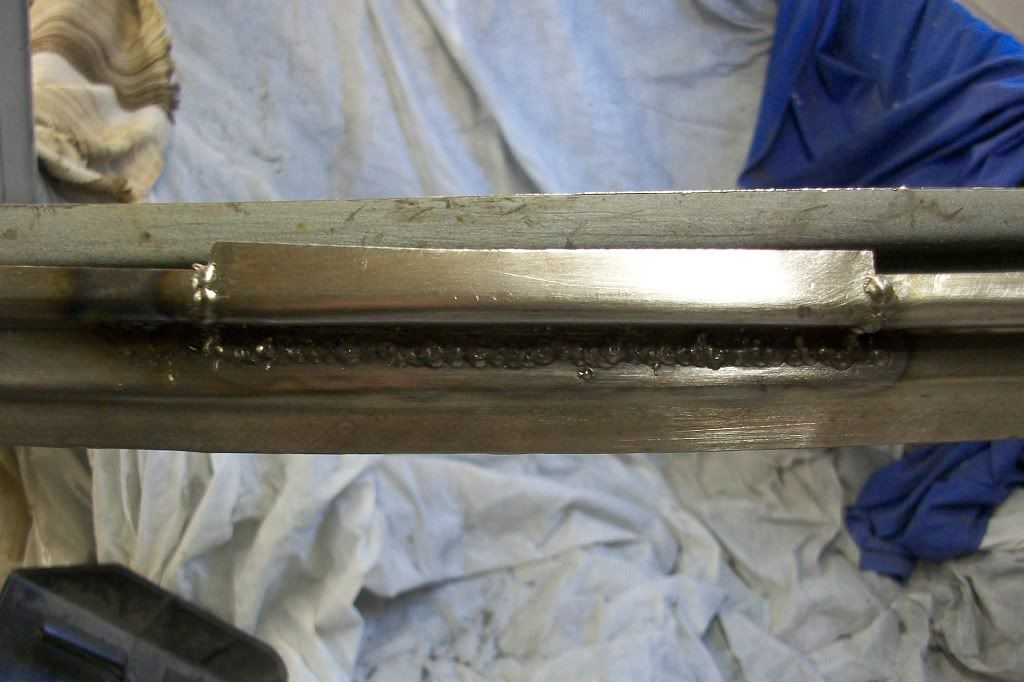
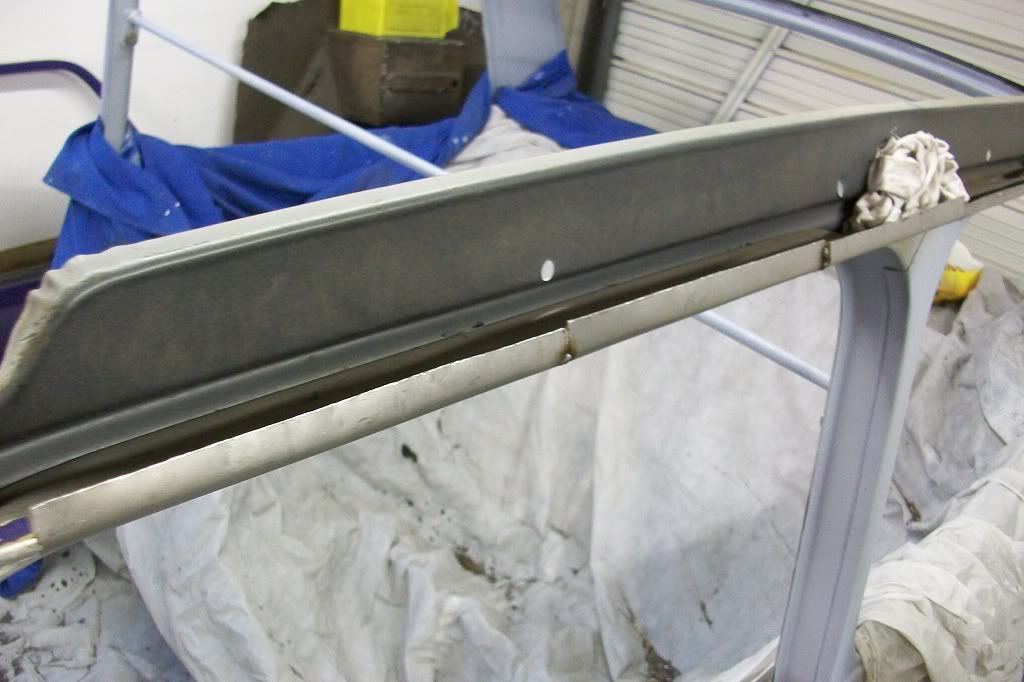
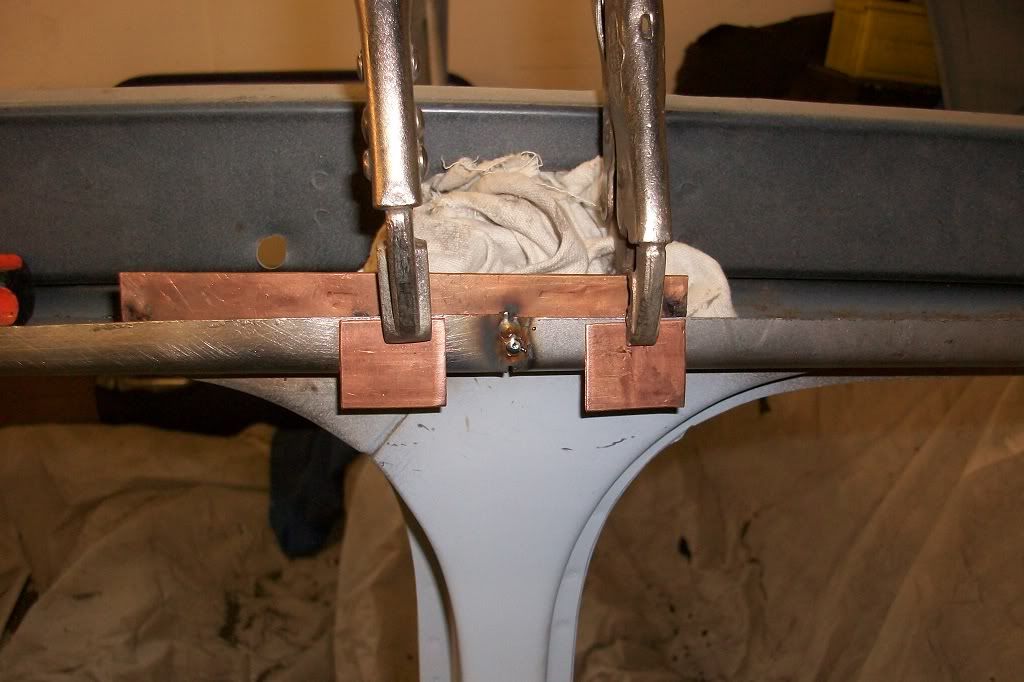
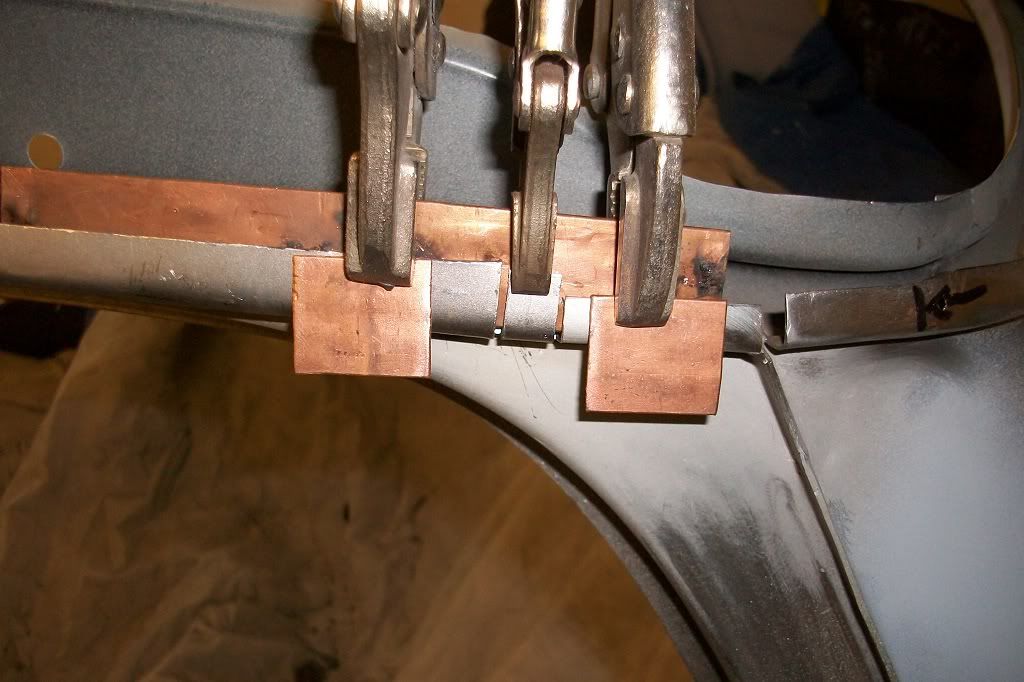
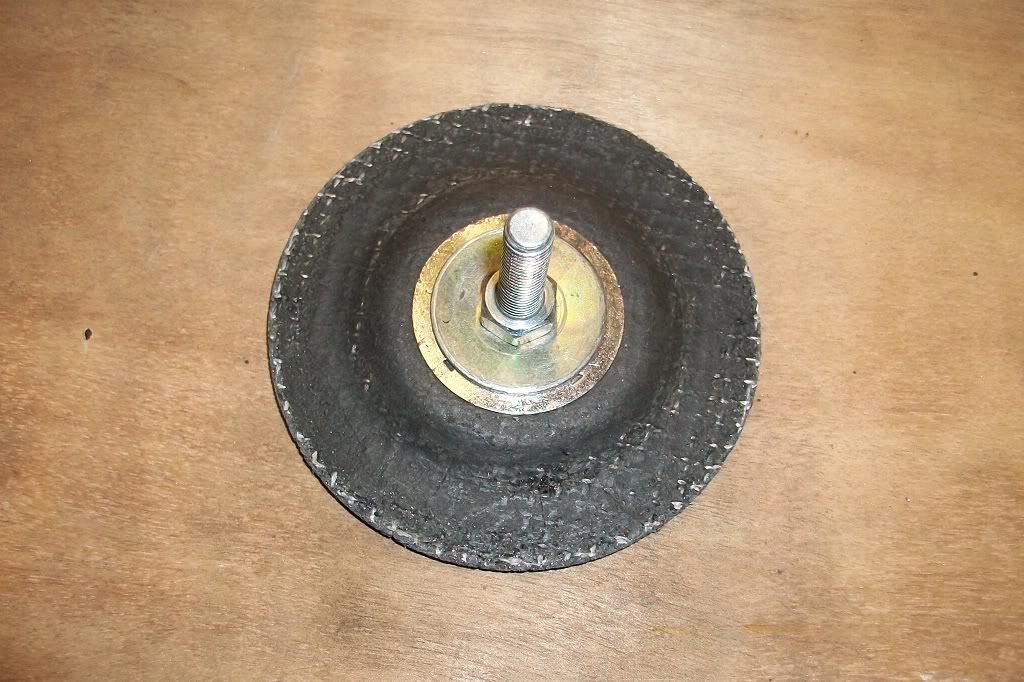
Anyway got the inside of the gutter all ground down. I found the best tool to be my home made drill mount with a 2 mm cutting disc at a slow speed on the drill.
Posted Image

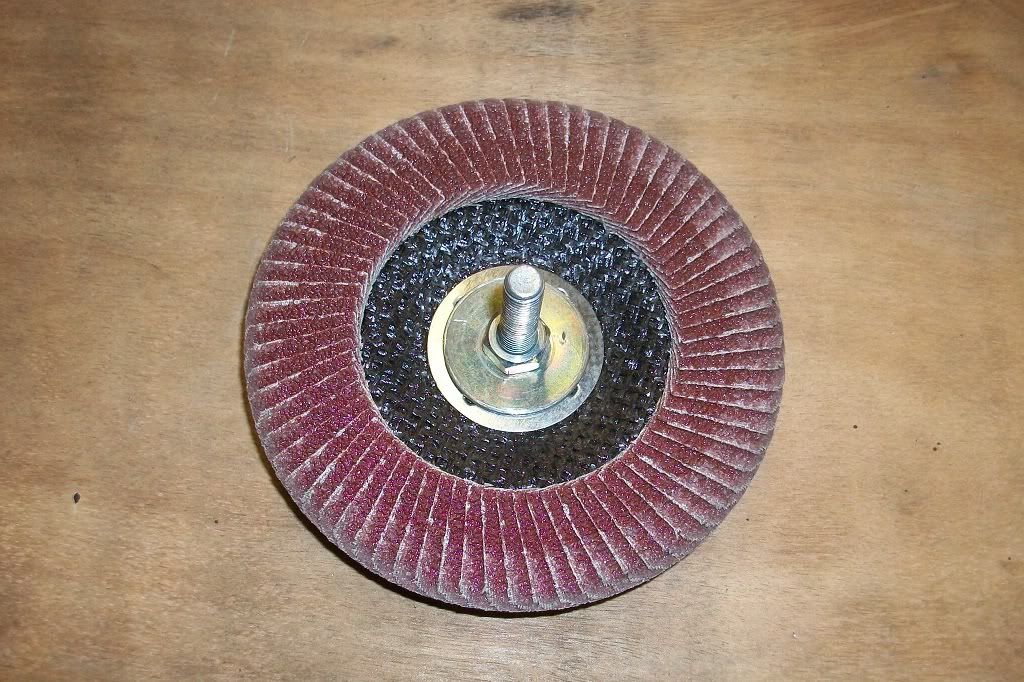
And for the vertical lip on the inside, the same, but with a flap disc facing towards the drill and with the drill running in reverse.
Posted Image

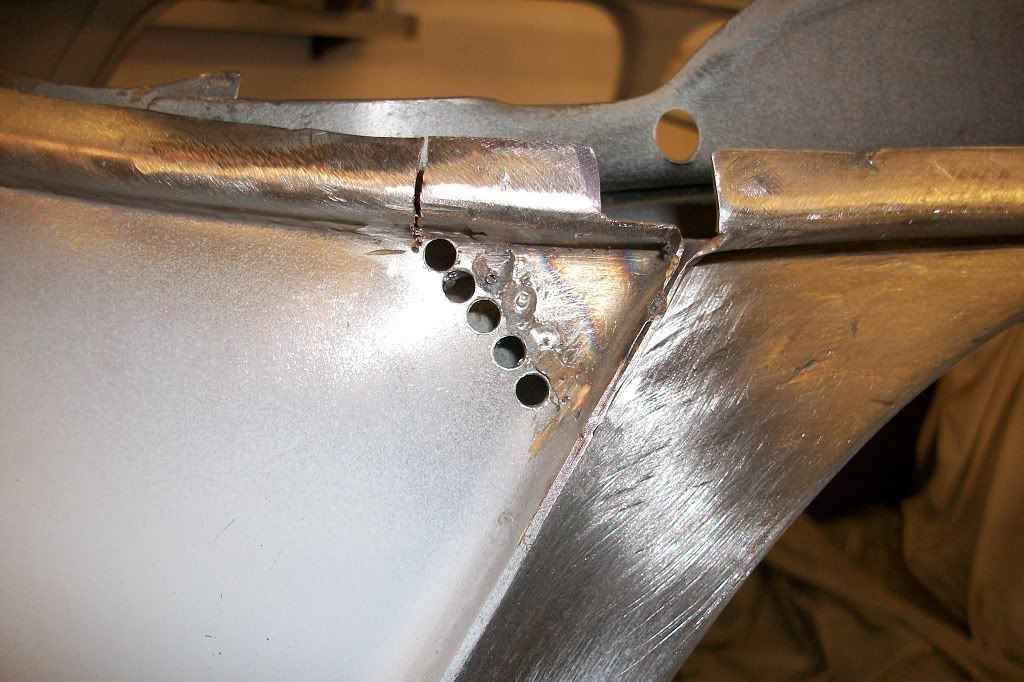
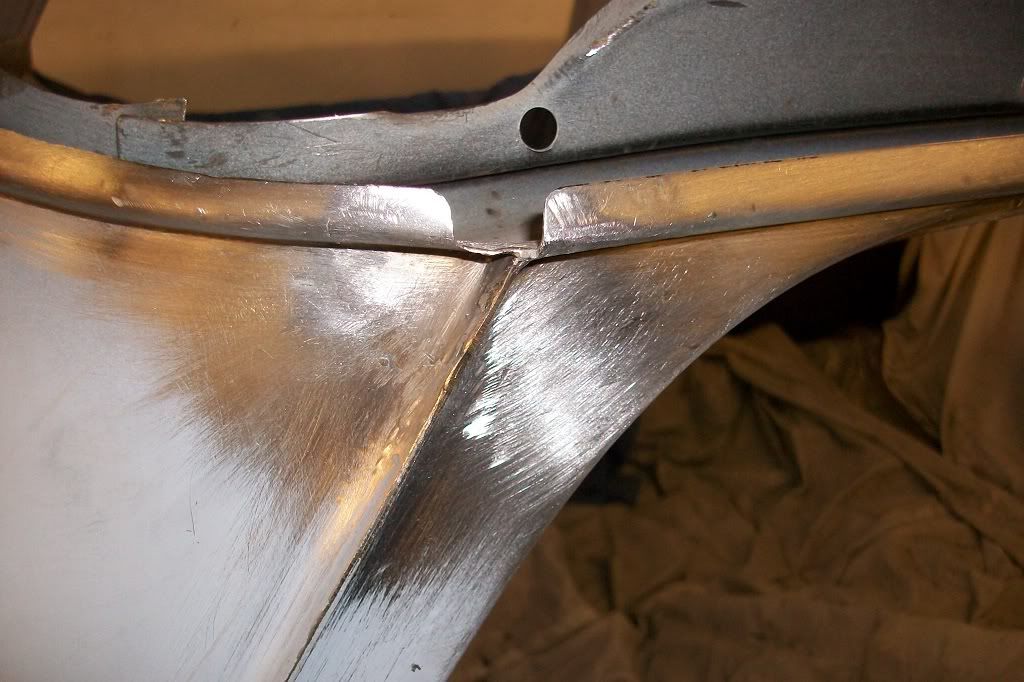
I wasn't very happy with a previous repair to the rear panel, at the C pillar, on the drivers side and it would have been hard to grind down. So chopped it out by drilling holes close together to remove it, as I couldn't get the cutting disc in.
Posted Image

Made a new piece, welded in and ground down.
Posted Image

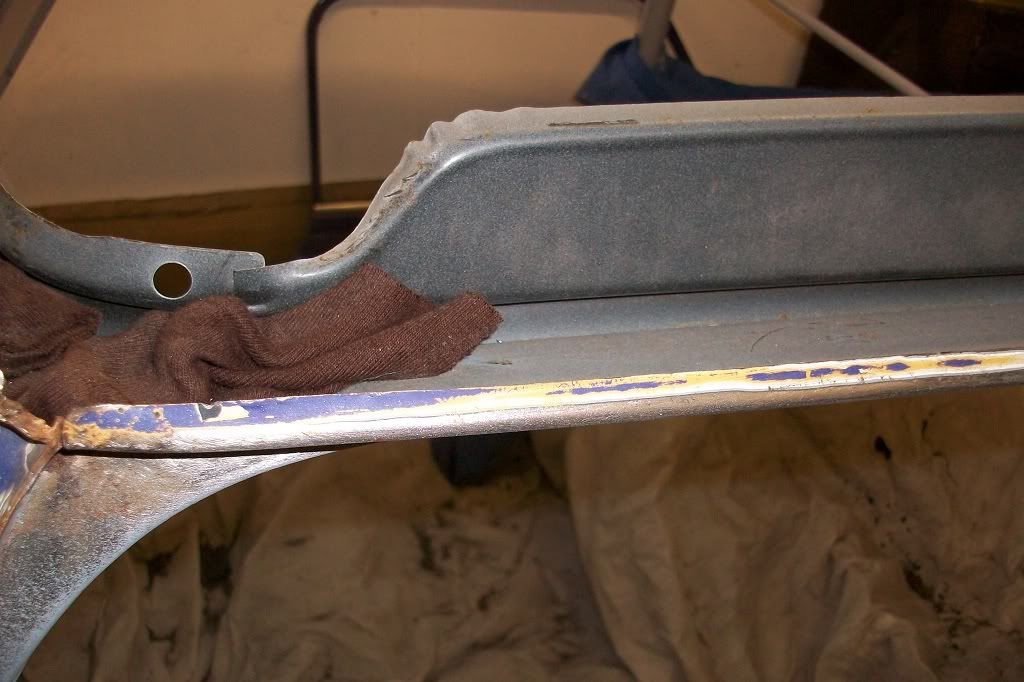
Then finally got the shell turned around to start on the other side. Again, doesn't look too bad on outside, but rotten on inside.
Posted Image

Repair pieces made and tacked in.
Posted Image

Posted Image

Had to put a small piece in here.
Posted Image

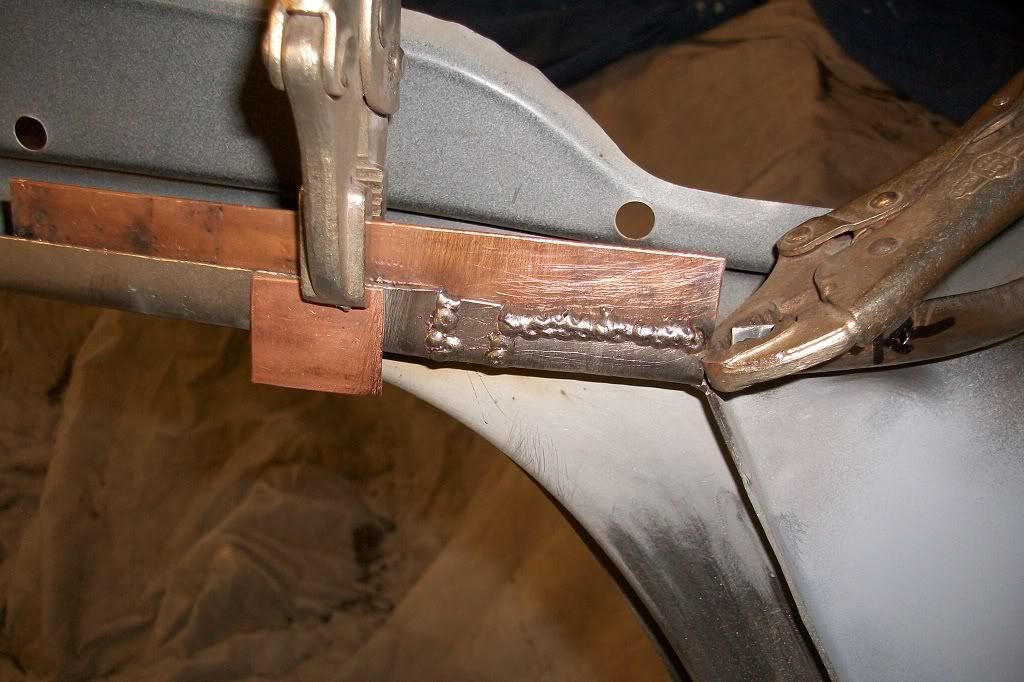
Had to weld a bit on to the top edge of the gutter at the rear edge to build it up.
Posted Image

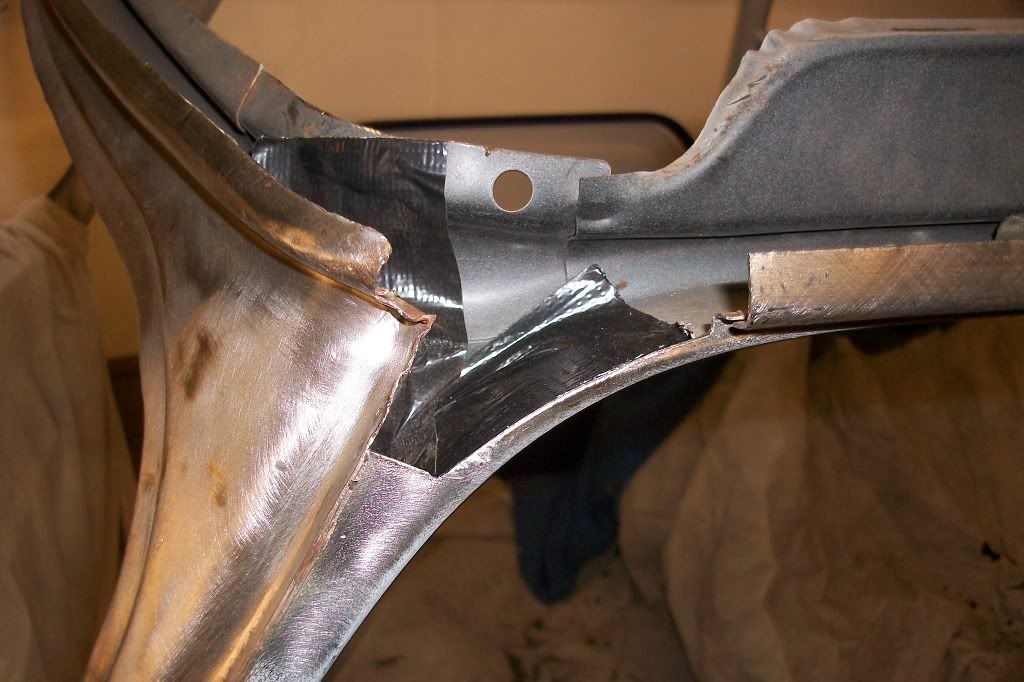
Then on to the front passengers corner. Chopped out. Used some gaffa tape to stop debris falling down the pillar.
Posted Image

Piece made.
Posted Image

And welded in.
Posted Image

Will attempt the big grind down next weekend if all goes well.

Thanks.

Edited by minifcd, 10 April 2012 - 10:58 PM.


#219 minimuk

minimuk

    Camshaft & Stage Two Head

  • Members
  • PipPipPipPipPipPipPipPip
  • 1,946 posts
  • Location: Midlands

Posted 10 April 2012 - 10:59 PM

as always, great work, I sure you like to see the back of it by now, and get that roof on,,, ;D

#220 racinggreenmatt

racinggreenmatt

    On The Road

  • Noobies
  • PipPip
  • 37 posts
  • Location: Rickmansworth

Posted 11 April 2012 - 04:58 PM

Cheers Scott, appreciate the advice. Ive got a Clarke 135 turbo. Ive been using setting 1 MIN, i'l put it up to 2 tomorrow and give it a go.
Thanks again, keep up the good work!
Matt

#221 PaulColeman

PaulColeman

    One Carb Or Two?

  • Members
  • PipPipPipPipPipPipPip
  • 712 posts
  • Location: Bedford

Posted 11 April 2012 - 08:25 PM

Nice work - you must have the patience of a saint!!

What sort of welder have you got?

Cheers, Paul.

#222 minifcd

minifcd

    Mini Mad

  • Members
  • PipPipPipPip
  • 246 posts
  • Location: Stamford

Posted 11 April 2012 - 08:41 PM

Thanks guys. I would love to see the end of these gutter repairs and hopefully this weekend i'll be almost ready for the roof.

Paul, my welder is a Clarke 151 TE Turbo.

#223 deebo

deebo

    Stage One Kit Fitted

  • Noobies
  • PipPipPip
  • 61 posts
  • Location: southampton

Posted 24 April 2012 - 06:09 PM

looking good, gonna be the most solid shell in creation when your finished lol

#224 Brams96

Brams96

    Up Into Fourth

  • Members
  • PipPipPipPipPipPipPipPipPip
  • 2,308 posts
  • Local Club: Kentish Mini Club

Posted 25 April 2012 - 06:09 AM

Again, awesome welding job! How are you sealing the inside of the weld repairs to the pillars? Are you painting inside or seam sealing or both?

#225 vindam

vindam

    Starting My Mini Up

  • Noobies
  • Pip
  • 1 posts
  • Location: New Zealand

Posted 25 April 2012 - 12:45 PM

Awesome work! Majority of people would give up with this kinda of repair. High level of skills and dedication! Thumbs up!


2 user(s) are reading this topic

0 members, 2 guests, 0 anonymous users