Jump to content


Photo
- - - - -

Leyland Mini 1000 1980 Restoration Project


  • Please log in to reply
393 replies to this topic

#196 minifcd

minifcd

    Mini Mad

  • Members
  • PipPipPipPip
  • 246 posts
  • Location: Stamford

Posted 28 March 2012 - 07:49 PM

Graham, "shabby repairs", I know, I know! I must try harder! :D Sorry a can't help it!
Cheers deebo and Mini Mad Craig. Thanks for your comments.
CBJ805T - thanks and yes, I have been using etch primer over the bare metal. I use Upol Acid No.8 Etch Primer in rattle can form and have had no trouble when used to paint other components with various top coats from different paint brands. I used it on my first mini with no trouble but only time will tell, when the body finally goes for paint. I work at the garage where it will be painted anyway, although in the workshop, not the bodyshop, so I can keep an eye on how it all goes! I am using it mainly to prevent rust from re-forming now, whilst i'm doing the body repairs, so if there is any question on compatibility when it comes to paint, i'll just sand it down again. I have complete trust in our painter, so if he's not happy with it before paint, then off it comes.

Thanks.

#197 CBJ805T

CBJ805T

    Speeding Along Now

  • Members
  • PipPipPipPipPip
  • 435 posts
  • Location: Kenilworth

Posted 29 March 2012 - 11:42 AM

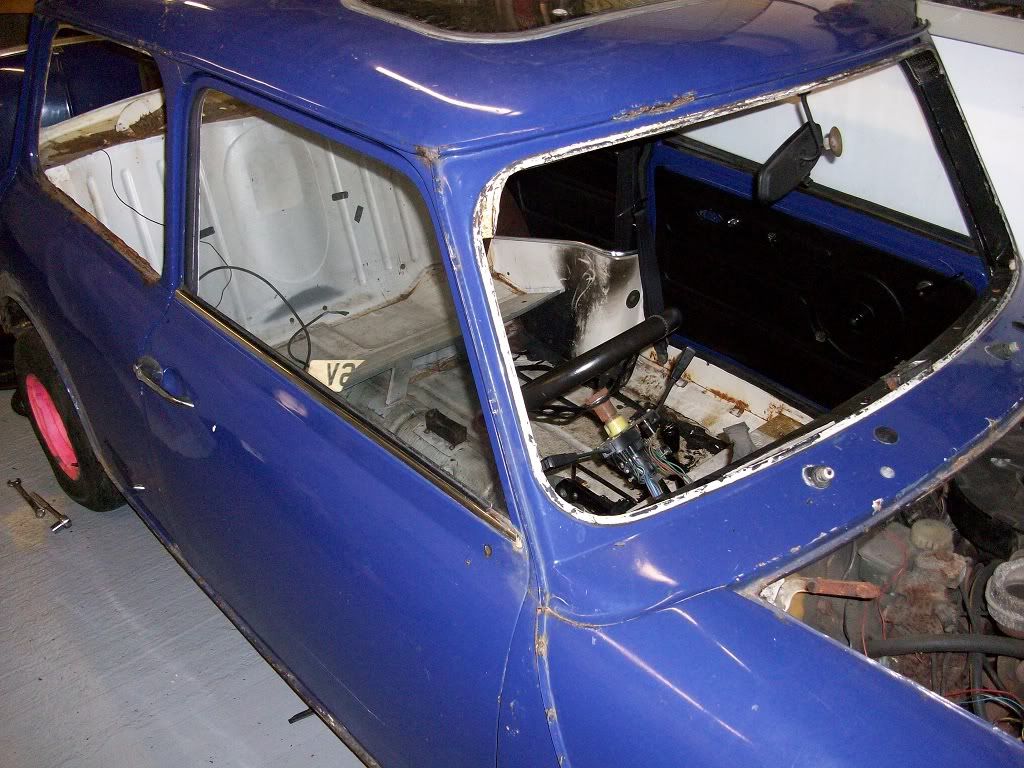
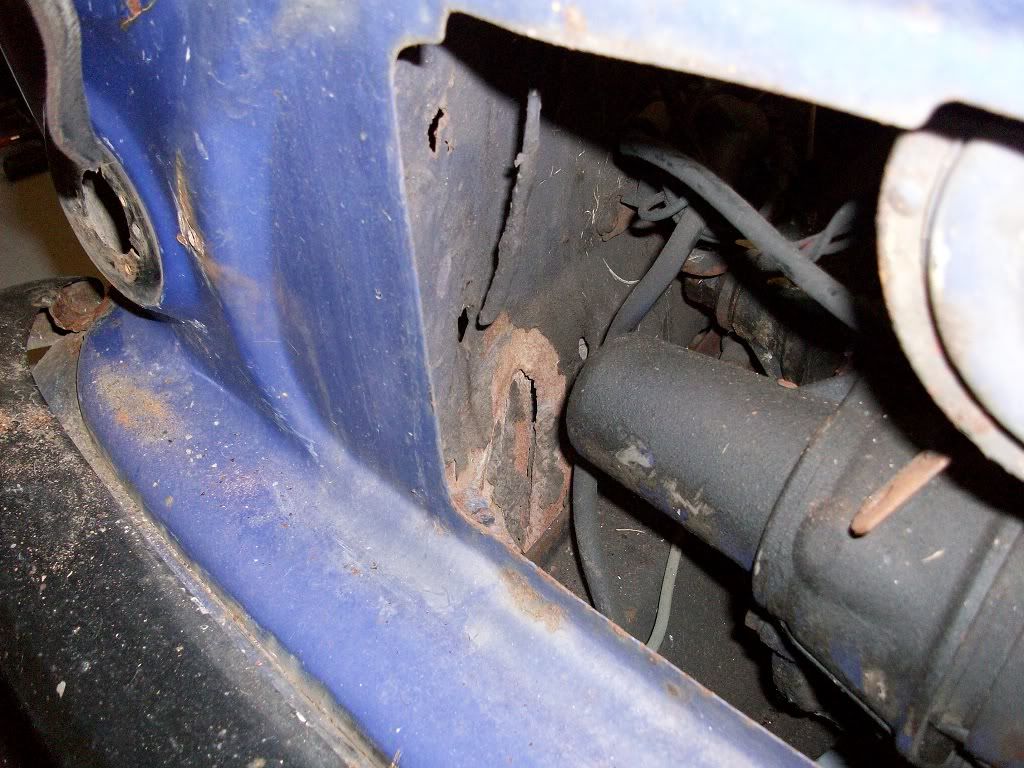
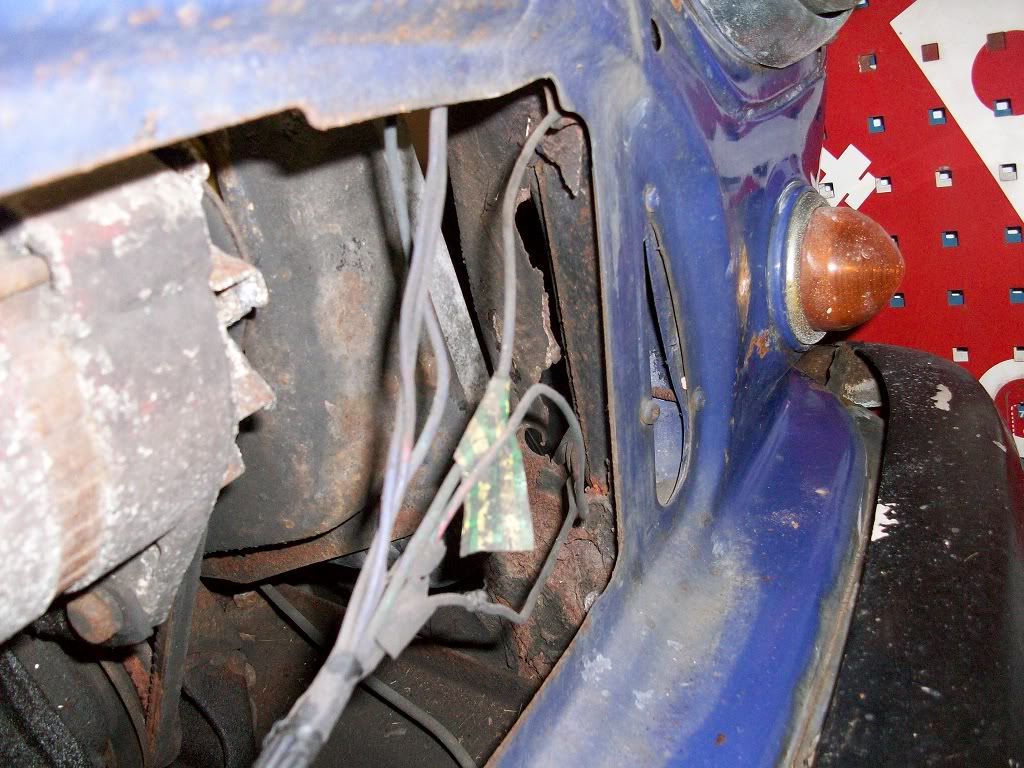
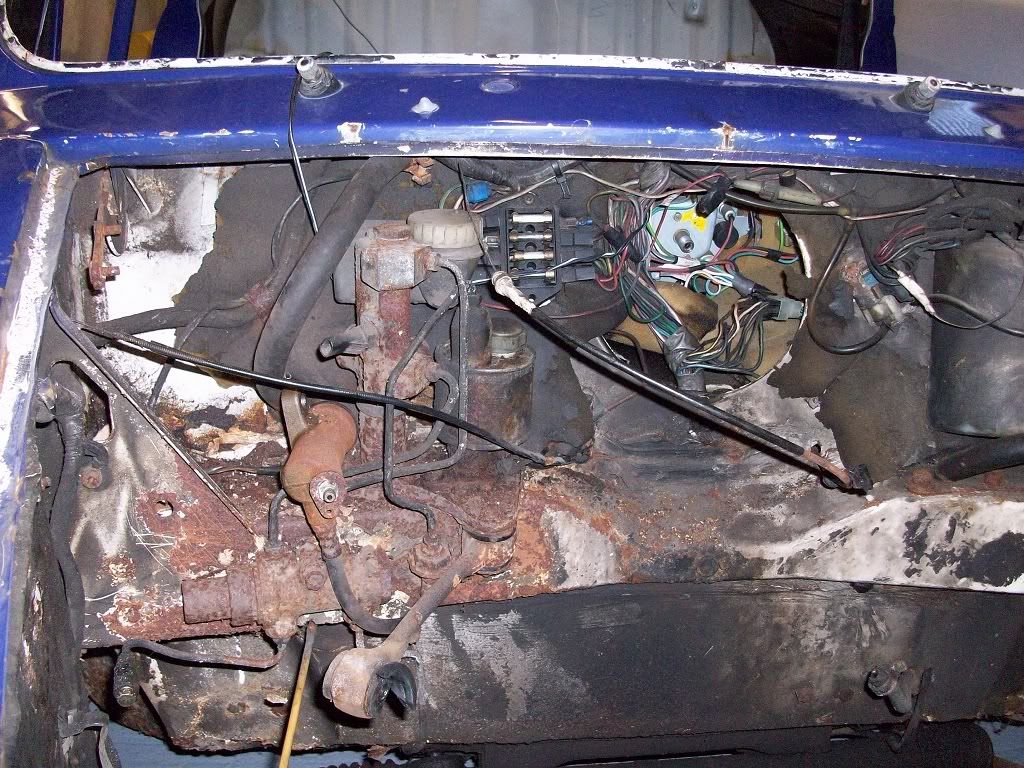
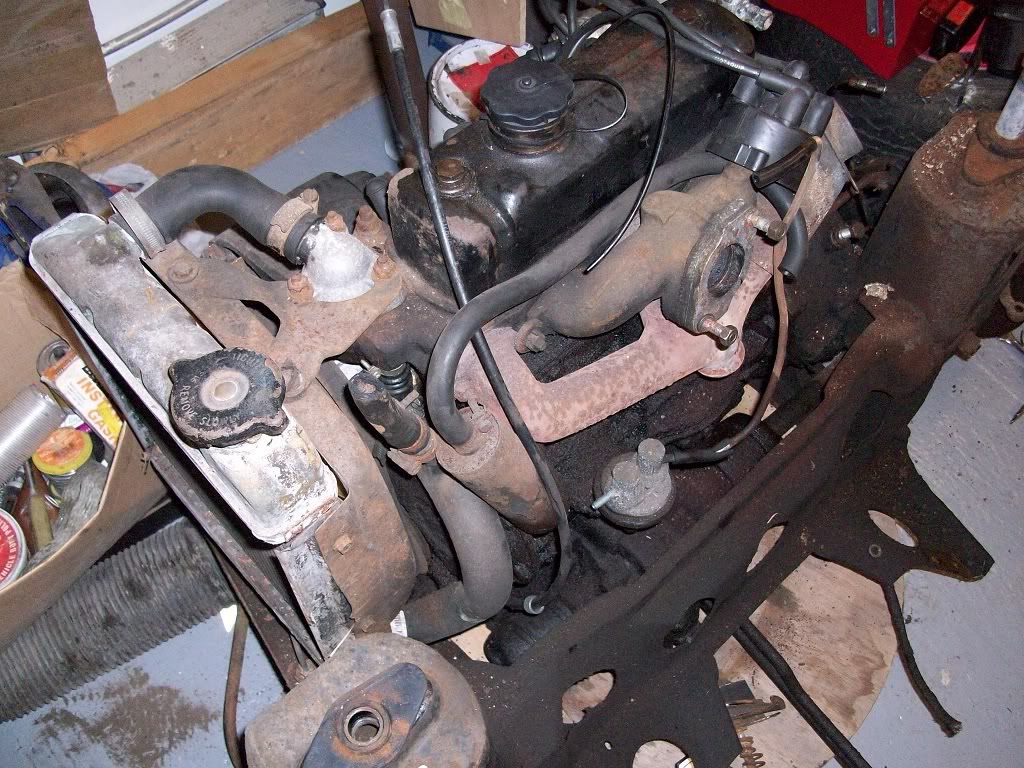
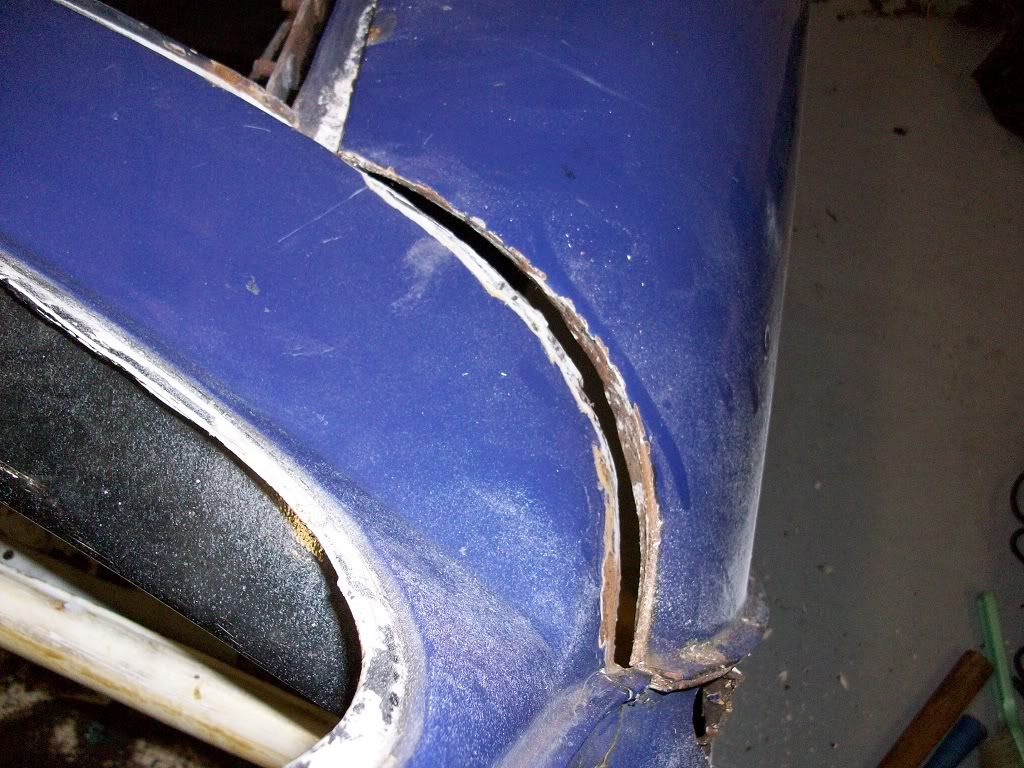
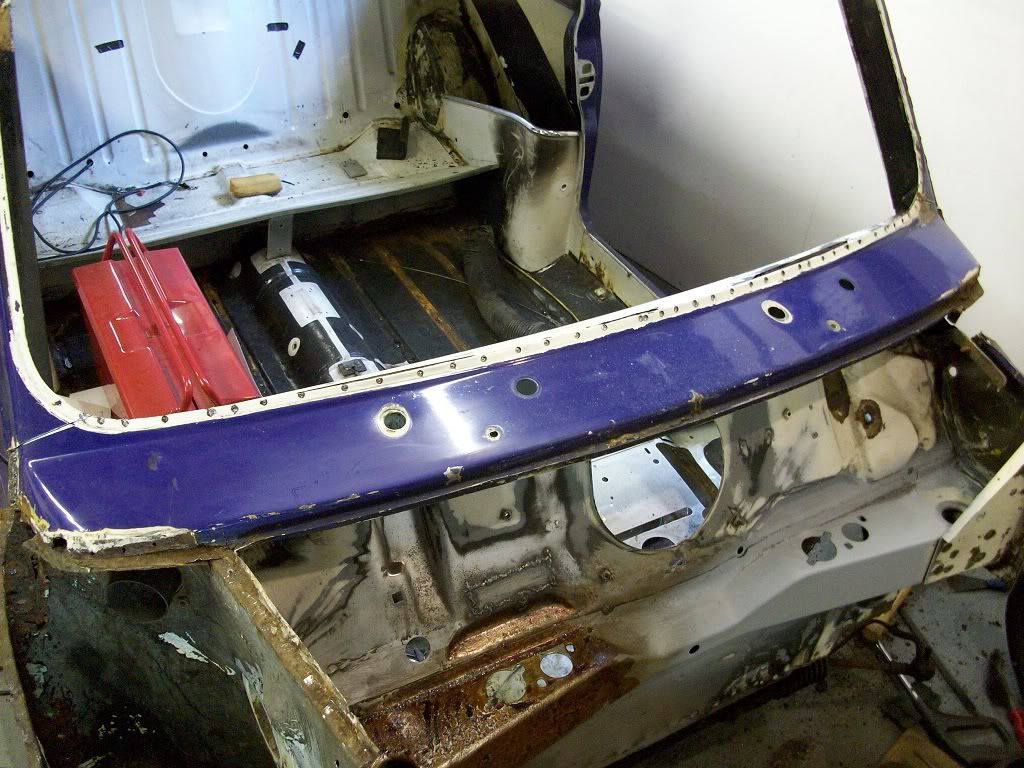
A few more pictures after removing the interior, the windows and the engine. The front panel and wings had all been replaced at some point and the photos show just how badly! The front panel wasn't attached at the bottom of either of the inner wings, there were only a few tacks holding the entire front end together and after knocking the filler out of the scuttle to wing join you could quite literally get your finger through it! I managed to remove the front with nothing more than a hammer and srew driver to break the tack welds.

Posted Image

Posted Image

Posted Image

Posted Image

Posted Image

Posted Image

Posted Image


Hi Scott, what are you using to remove your spot welds? I just noticed the once you had to remove on the scuttle, and I'll have to be doing the same soon. I've been using a draper spot weld cutting bit (http://www.drapertoo...spot-5168-67074) but its wanders all over the place so is very hard to control and with only 1 wing's worth of spots drilled, I've already broken some teeth of 2 of the heads - as this rate the spot drill will cost more than the panels =]

thanks for any advice

Chris

#198 minifcd

minifcd

    Mini Mad

  • Members
  • PipPipPipPip
  • 246 posts
  • Location: Stamford

Posted 29 March 2012 - 11:12 PM

Hi, Its just a regular spot weld drill bit 8mm. I've gone through quite a few of them during the build though. I've never tried the type you use but have always wondered how well they work.

#199 BusheyTrader

BusheyTrader

    Speeding Along Now

  • TMF+ Member
  • PipPipPipPipPip
  • 481 posts
  • Location: Bushey
  • Local Club: Nope

Posted 31 March 2012 - 11:22 AM

I've been using a draper spot weld cutting bit (http://www.drapertoo...spot-5168-67074) but its wanders all over the place so is very hard to control and with only 1 wing's worth of spots drilled, I've already broken some teeth of 2 of the heads - as this rate the spot drill will cost more than the panels =]

A tap with a centrepunch on the spot weld will help the tip of the cutter centre itself and stop wandering across the panel. The tiniest mark with a small diameter drill bit at low revs can have the same effect......

Hope this helps

#200 hughJ

hughJ

    Soldiering Along

  • Members
  • PipPipPipPipPipPipPip
  • 727 posts
  • Location: Highlands, Scotland

Posted 31 March 2012 - 07:19 PM

Scott - super job on the roof and gutters. Always in awe of your work.

Hugh

#201 minifcd

minifcd

    Mini Mad

  • Members
  • PipPipPipPip
  • 246 posts
  • Location: Stamford

Posted 01 April 2012 - 10:12 PM

Thanks BusheyTrader, top tip with centre punching the spot weld first. I would buy one of those spot weld cutters to try it, but unfortunately I have no more spot welds to drill out myself.
Thanks Hugh, as always your comments are most welcome.

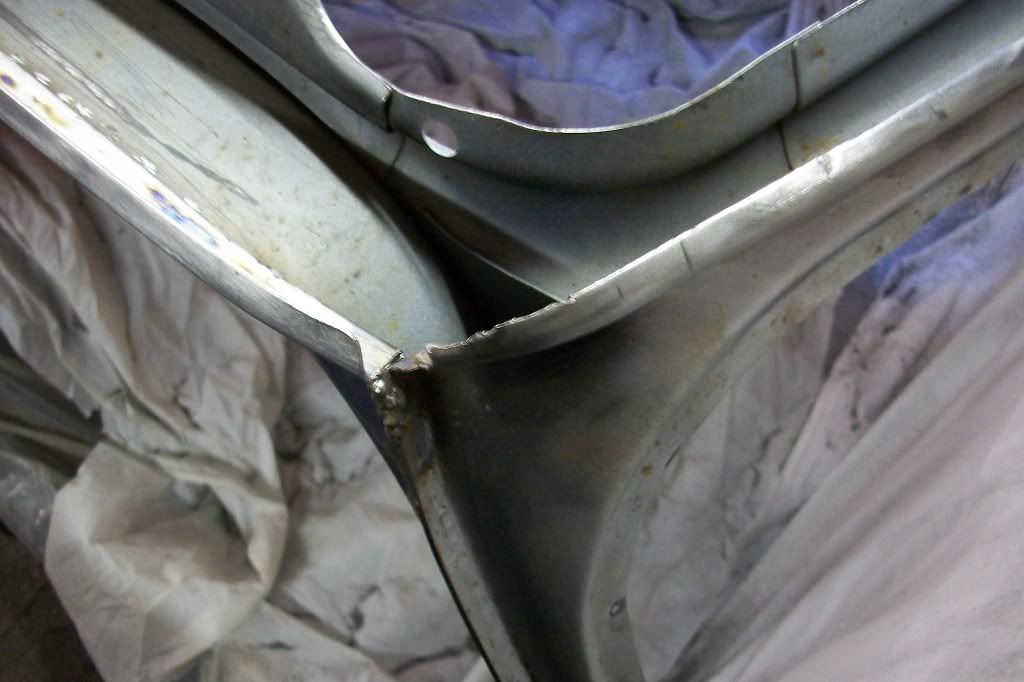
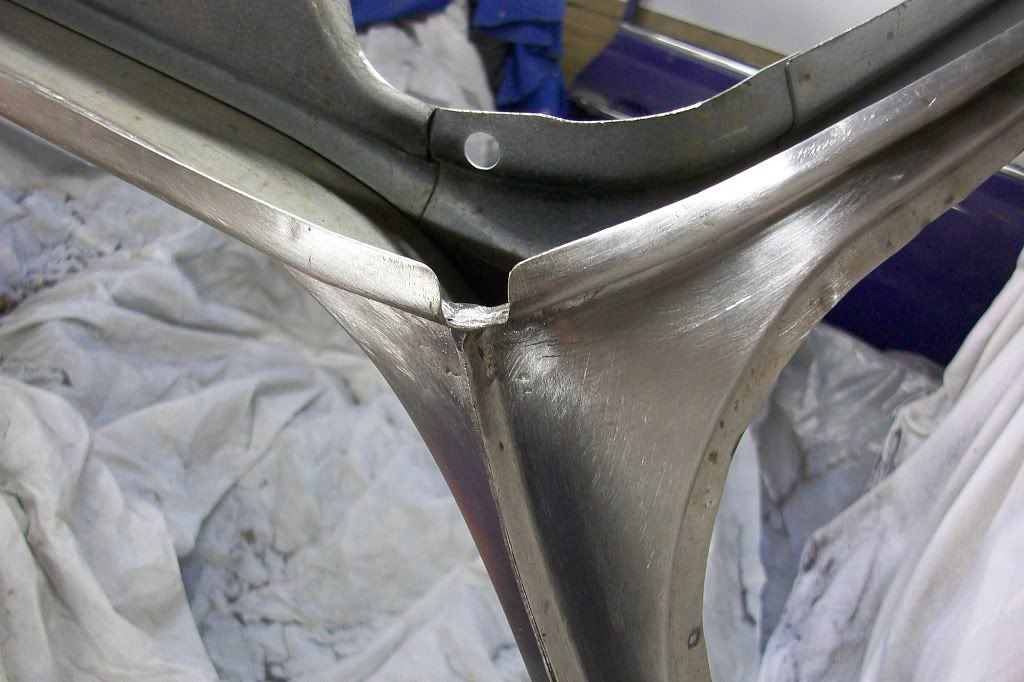
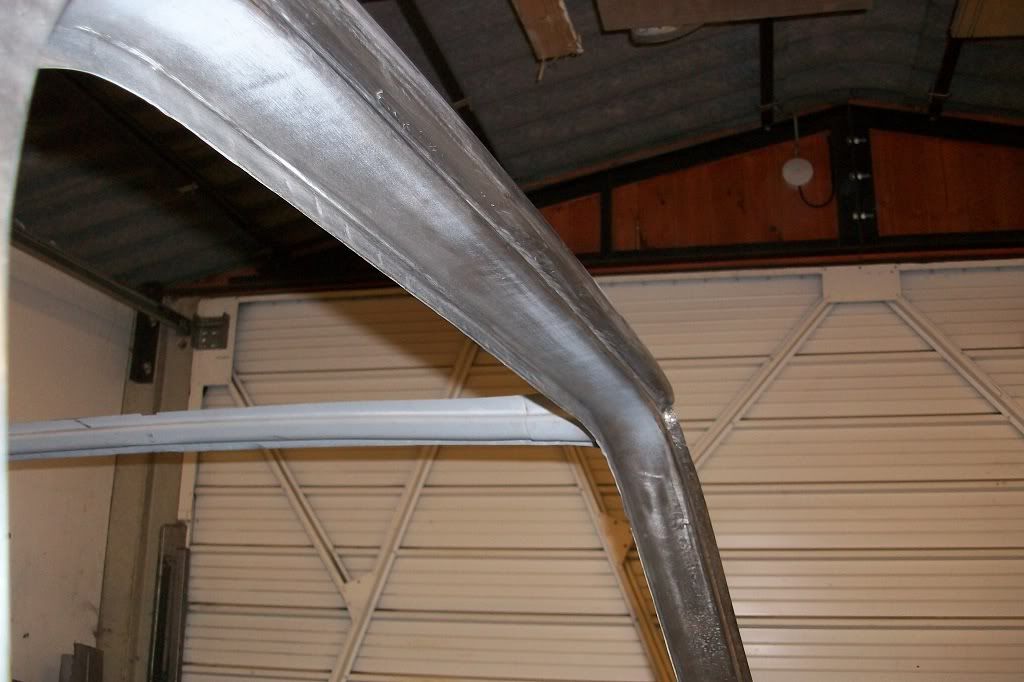
Didn't get a lot done over this weekend but here is what I did anyway. Had a go at sorting the drivers side front corner of the gutter. Mainly rotten on the inside.
Posted Image

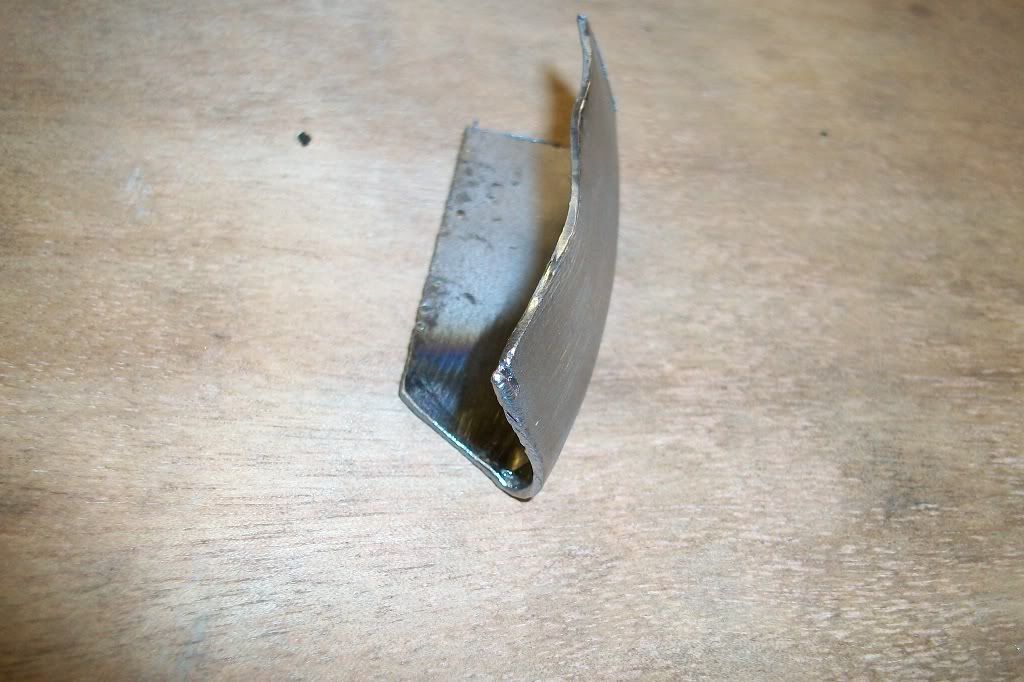
Made a small repair piece with the most curve of all the pieces so far. Ignore the ripples in it at the moment, thats just because of the way it curves and its need to shrink.
Posted Image

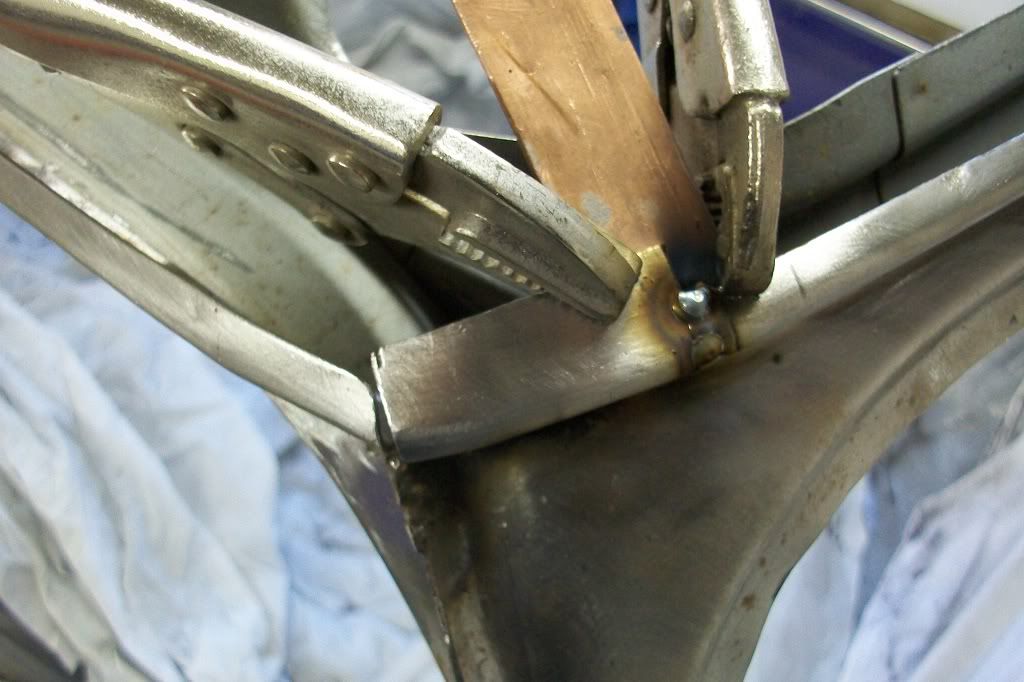
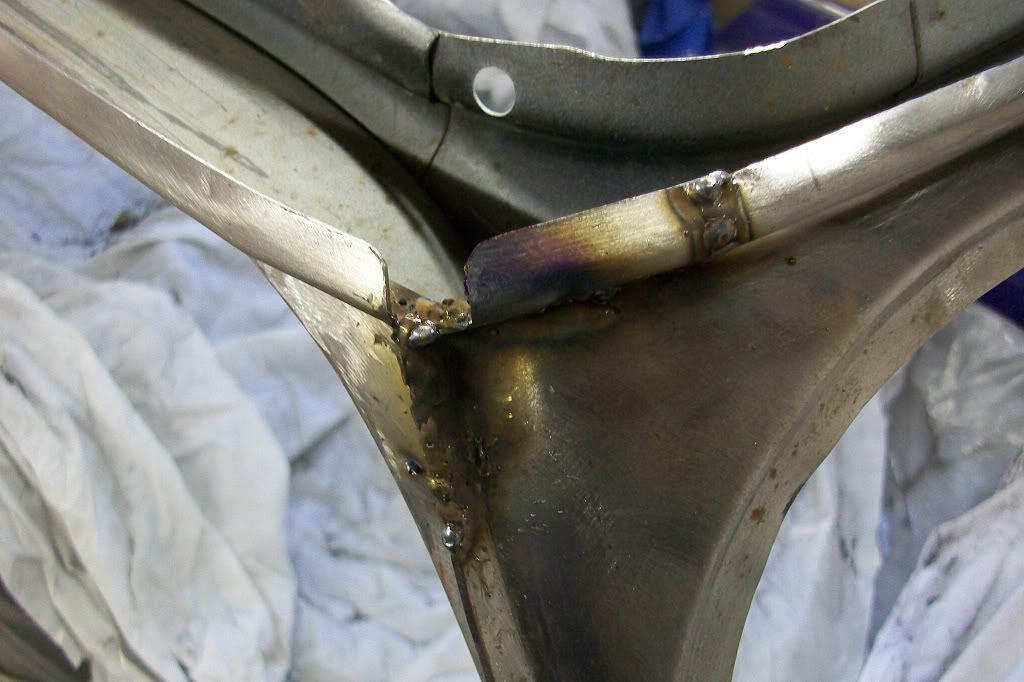
I'll let the pictures tell the story here.
Posted Image

Posted Image

Posted Image

Then I finished up the day by cleaning the rest of the welds down under the gutter above the door.
Posted Image

Thats it, thanks.

#202 mini-luke

mini-luke

    Postman Pat

  • Traders
  • PipPipPipPipPipPipPipPipPip
  • 2,362 posts
  • Location: Hereford

Posted 01 April 2012 - 10:15 PM

Good as new! The gutter repair is very impressive.

#203 minifcd

minifcd

    Mini Mad

  • Members
  • PipPipPipPip
  • 246 posts
  • Location: Stamford

Posted 01 April 2012 - 10:20 PM

Thanks mini-luke. Its proving to be a challenge though!

#204 minimuk

minimuk

    Camshaft & Stage Two Head

  • Members
  • PipPipPipPipPipPipPipPip
  • 1,946 posts
  • Location: Midlands

Posted 01 April 2012 - 11:34 PM

nice one, nearly ready for the new roof, good luck

#205 grahama

grahama

    Up Into Fourth

  • Members
  • PipPipPipPipPipPipPipPipPip
  • 2,442 posts
  • Location: Warrington
  • Local Club: None in my area !!

Posted 02 April 2012 - 07:13 AM

Proving a challenge??? You are hiding your difficulties very well then lol. This mini is going to be mint when done.

#206 hughJ

hughJ

    Soldiering Along

  • Members
  • PipPipPipPipPipPipPip
  • 727 posts
  • Location: Highlands, Scotland

Posted 02 April 2012 - 07:43 PM

You keep doing it Scott. So good. The welding is awkward but its your grinding that impresses me! You are able to grind without damage!! Great to see it

Hugh

#207 minifcd

minifcd

    Mini Mad

  • Members
  • PipPipPipPip
  • 246 posts
  • Location: Stamford

Posted 02 April 2012 - 09:51 PM

Thanks Minimuk, Graham, Hugh. The challenging part really is making the repair sections. With so many different curves, it seams I need to make a former for every bit. For example, the last repair on the corner required another former with a much sharper curve and the front gutter repair I'm doing now requires another one too. I will get to fitting the roof at some point.

#208 deebo

deebo

    Stage One Kit Fitted

  • Noobies
  • PipPipPip
  • 61 posts
  • Location: southampton

Posted 02 April 2012 - 09:53 PM

looks spot on, fancy re-welding my car......lol probably done enough to last you a lifetime by now :D

#209 Renny

Renny

    Stage One Kit Fitted

  • Noobies
  • PipPipPip
  • 61 posts
  • Location: Place

Posted 03 April 2012 - 12:12 PM

Wow....your pictures make this look so easy! :D wish i was as good at this as you are! This might sound like a dumb question but how do you manage to get your welds so smooth? ive been using a grinder but im finding it hard to get them smooth, no way near as smooth as your getting yours!

#210 minifcd

minifcd

    Mini Mad

  • Members
  • PipPipPipPip
  • 246 posts
  • Location: Stamford

Posted 03 April 2012 - 07:27 PM

I use a flap disc on the angle grinder and apply hardly any pressure when grinding down. Just sort of tickle the weld and be very steady with your movements. That way you take a very small amount off at a time and don't overheat the metal too much. As with the roof gutters, I have found its best to take the weld down untill its just above the surrounding metal, then use a fine flat file to level everything together. Then use a block with some 80 grit emery paper to sand slightly and finish off where possible with the DA sander to blend together.


1 user(s) are reading this topic

0 members, 1 guests, 0 anonymous users