
Leyland Mini 1000 1980 Restoration Project
#151

Posted 06 March 2012 - 09:00 AM
fair play to you. amazing word as always
#152

Posted 11 March 2012 - 08:29 PM
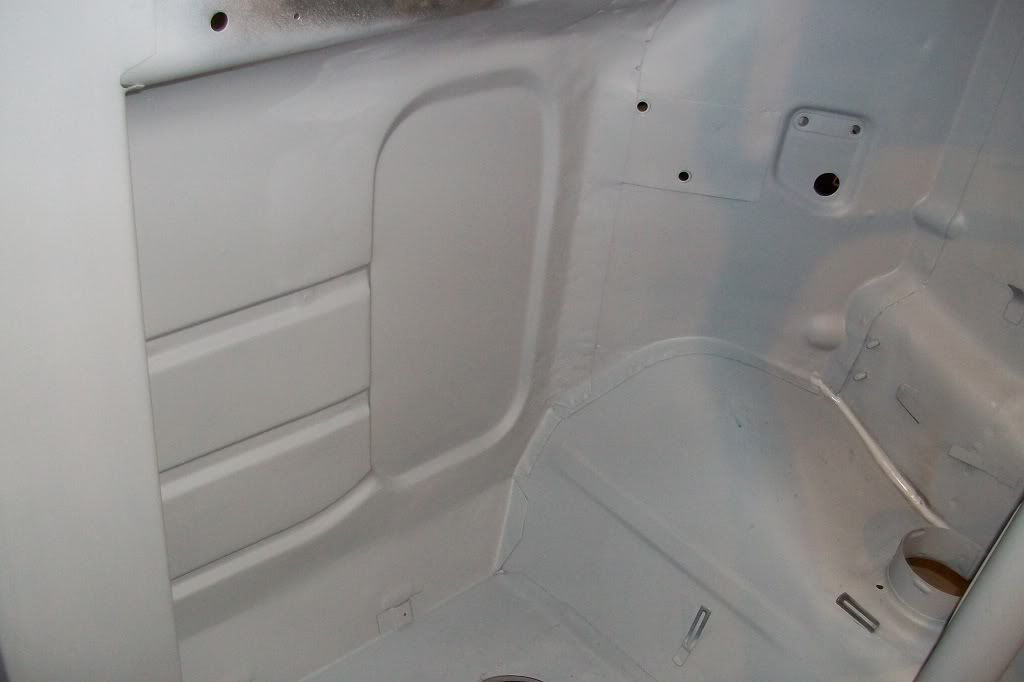
A few more pics for you all. I wanted to post this last night but for some reason couldn't log in to photobucket? Probably doing site maintenance. Anyway, finished off priming up the inside and seam sealed to keep the dust out and tidy it up a bit.
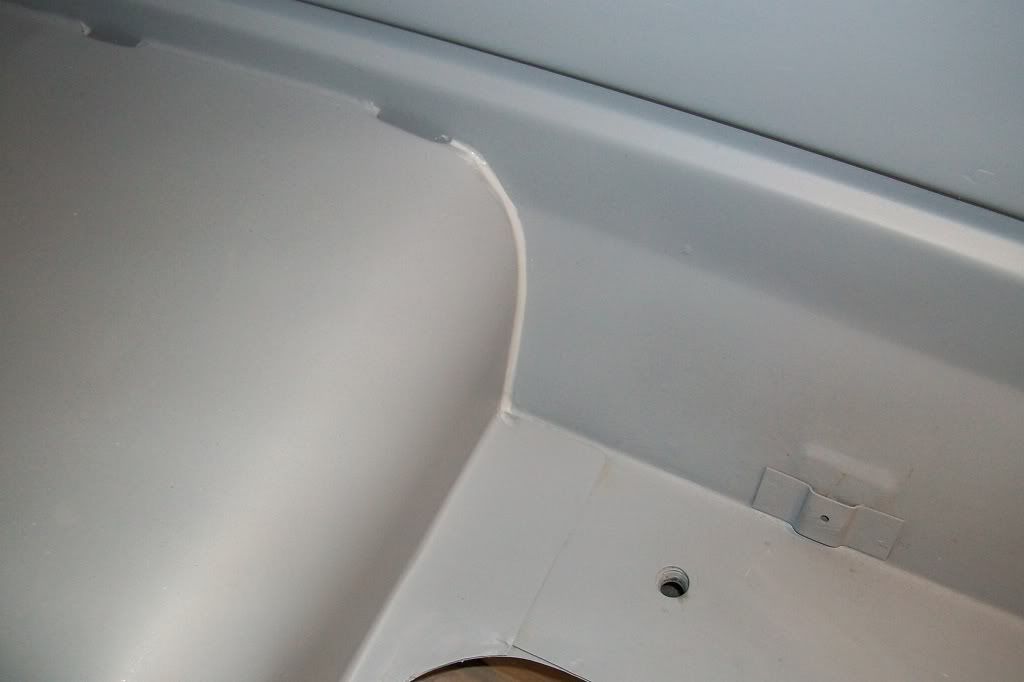
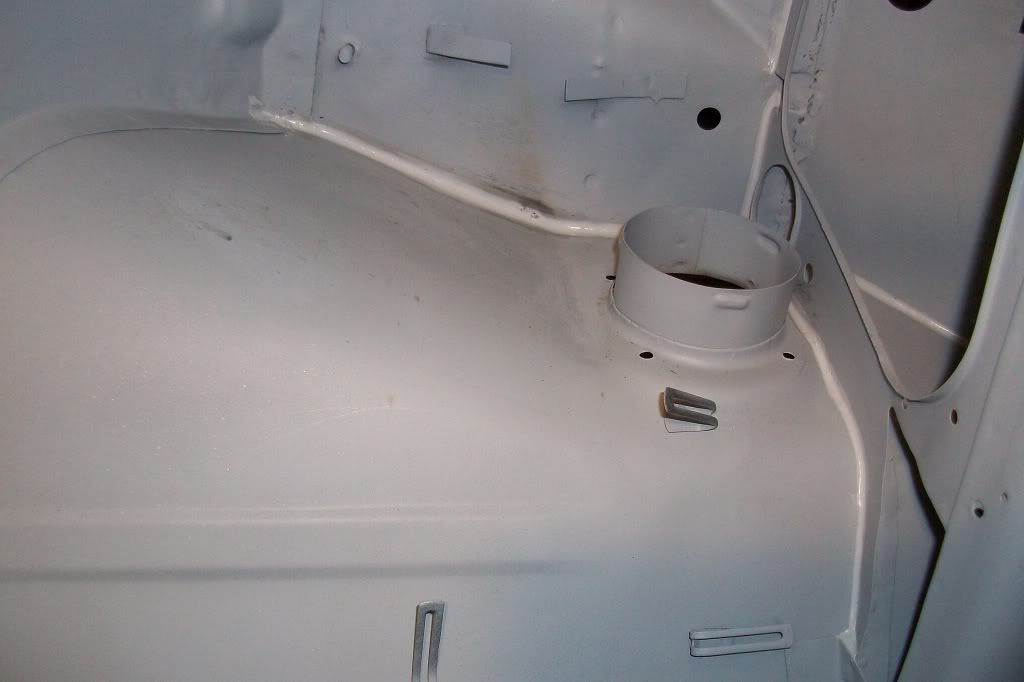
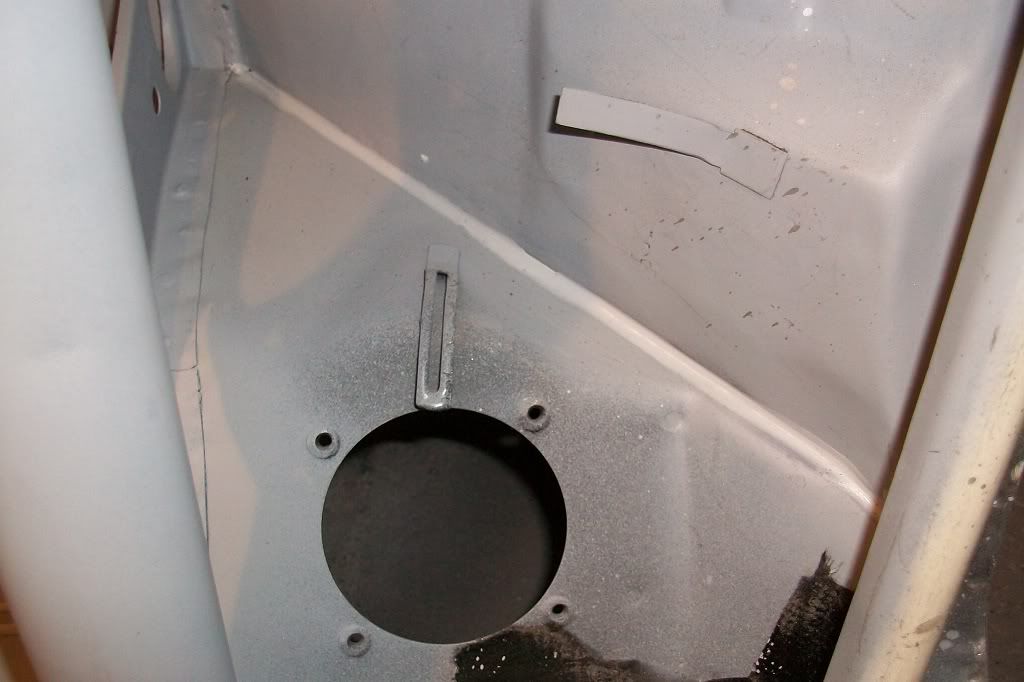
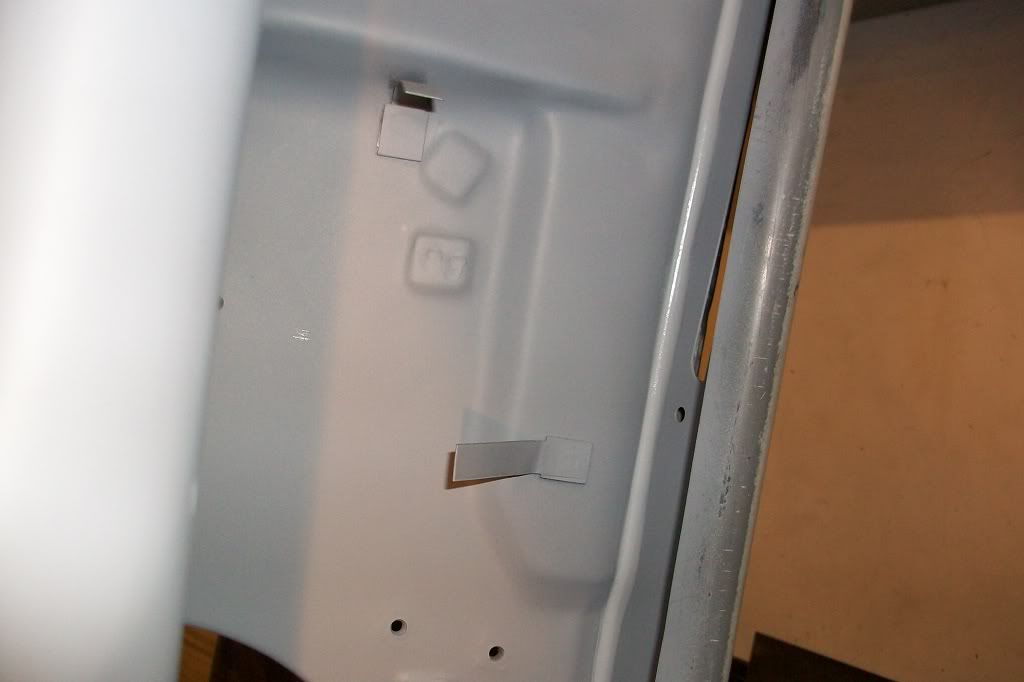
Moved to the underside next to finish off seam sealing and priming.
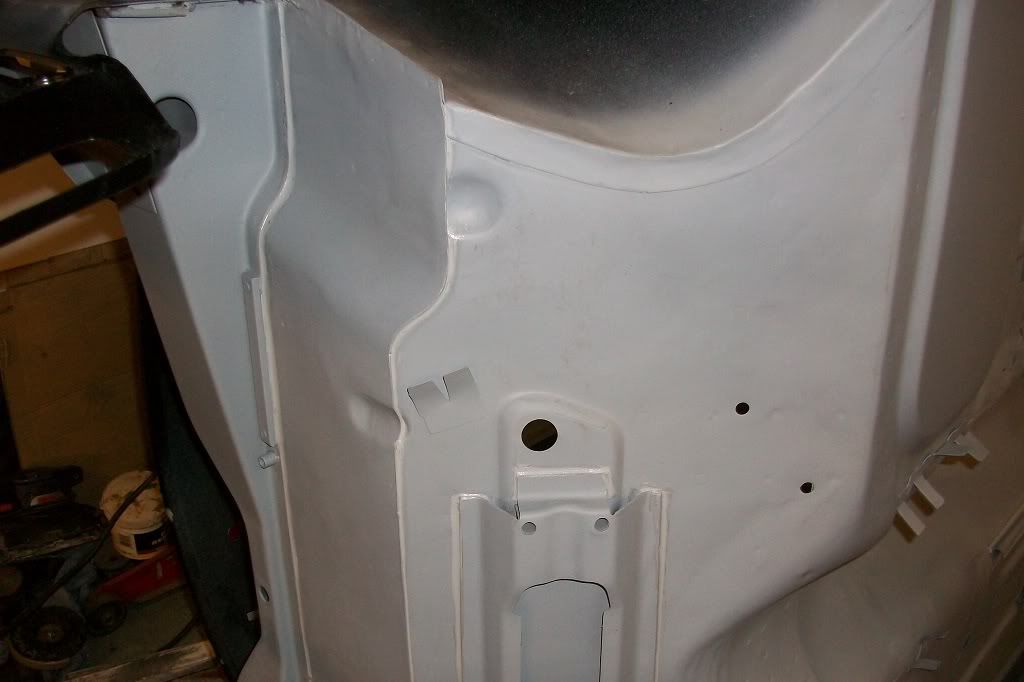
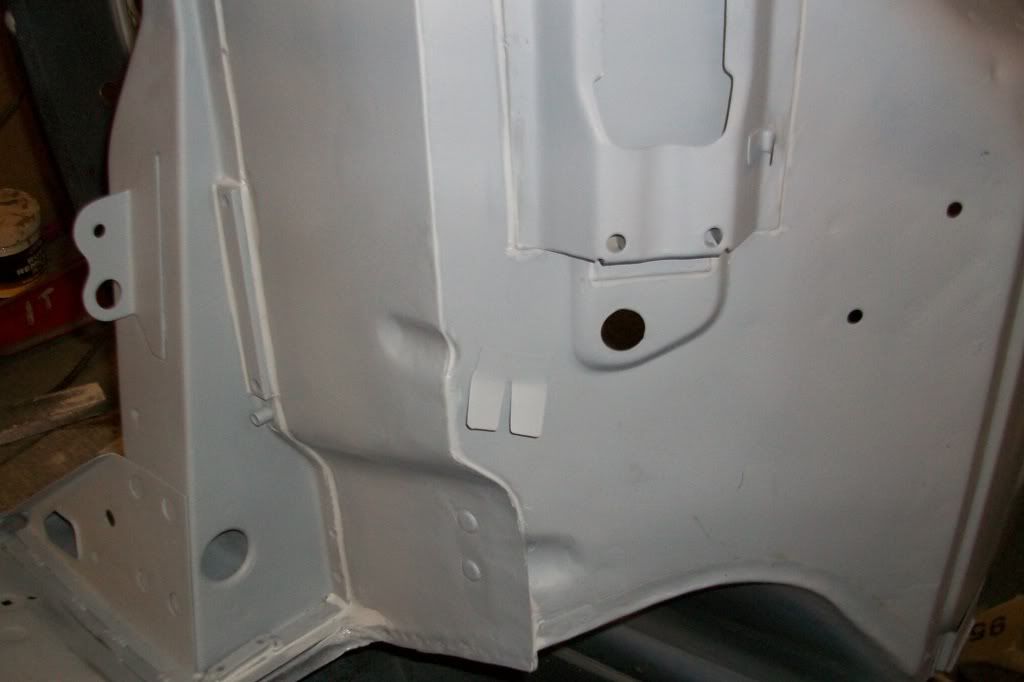
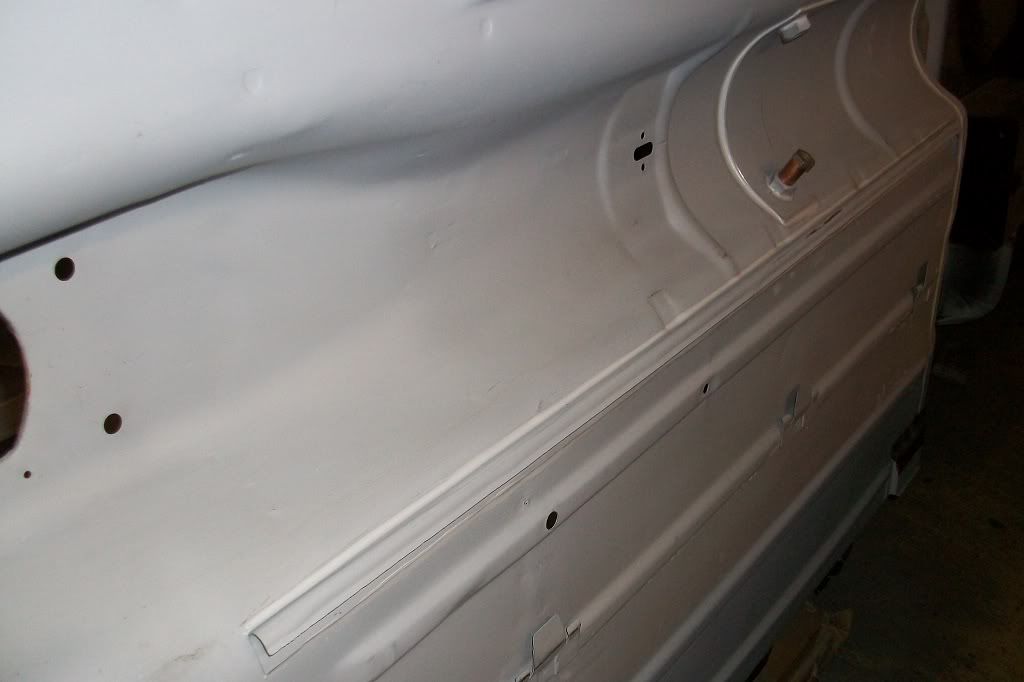
Got the shell back the right way up.
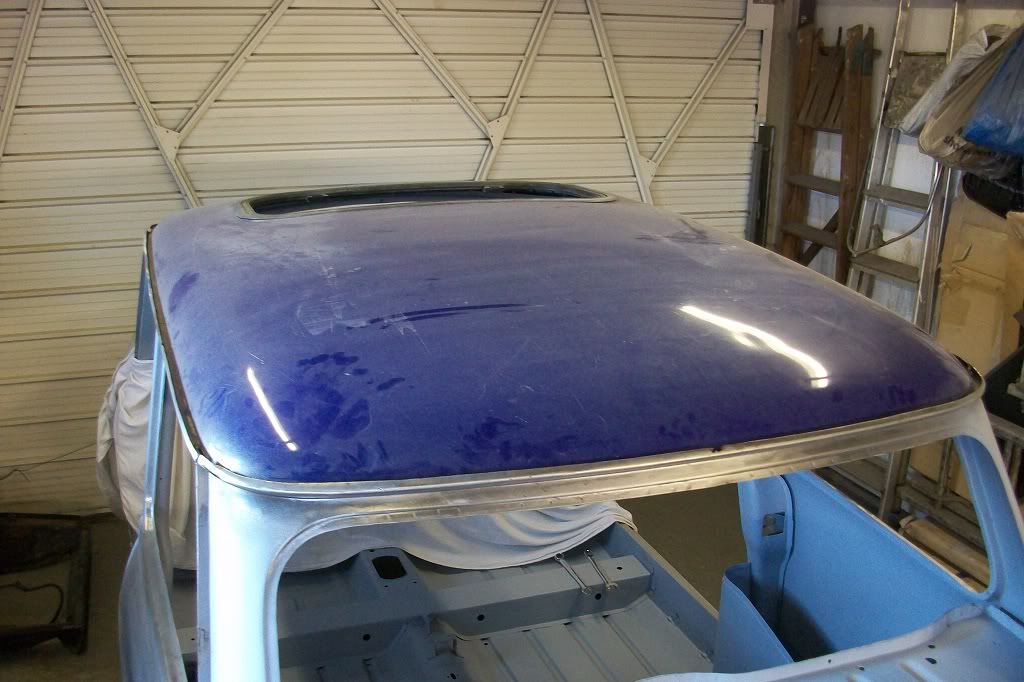
Then this happened!!
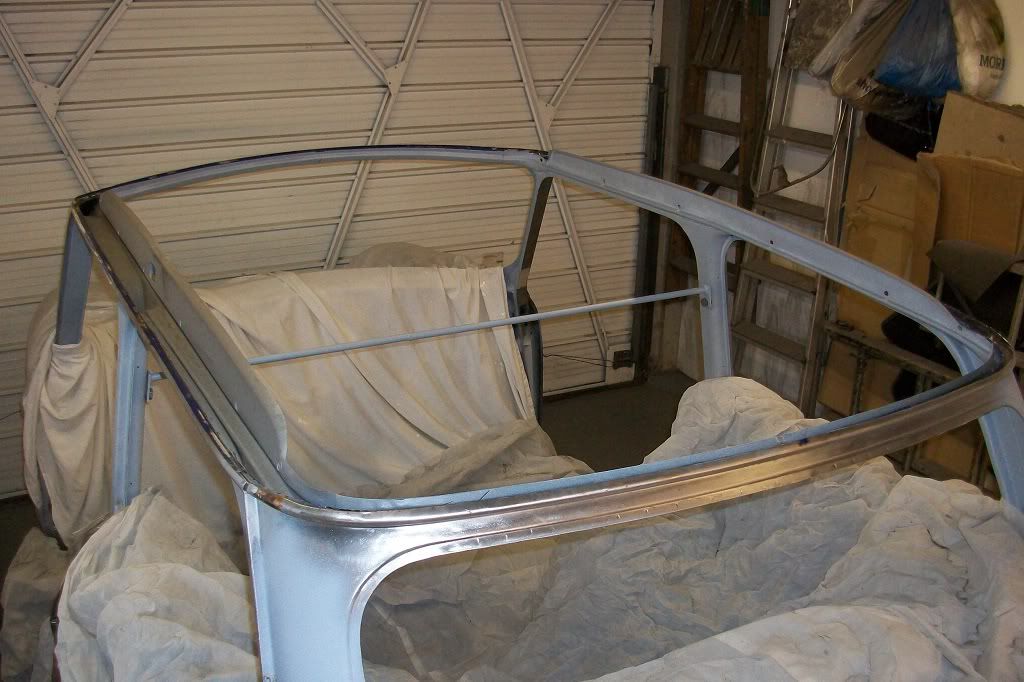
This is now only a week behind so i'll try and get another update later this week to finally get up to date.
Thanks.
#153

Posted 11 March 2012 - 09:54 PM
nice work as always, but how are you getting back to bare metal so well in the awkward places, rear seat back for example, with all the non flat areas ??
Graham
#154

Posted 12 March 2012 - 12:00 AM
Thanks.
#155

Posted 12 March 2012 - 12:40 PM
#156

Posted 12 March 2012 - 03:27 PM
Very nice work, Why have you taken the roof off ?
At a guess I'd say he didn't like the sunroof.
Great work by the way!!
#157

Posted 12 March 2012 - 07:46 PM
#158

Posted 12 March 2012 - 08:49 PM
Hugh
#159

Posted 12 March 2012 - 08:53 PM
#160

Posted 12 March 2012 - 10:22 PM
#161

Posted 12 March 2012 - 10:28 PM
#162

Posted 12 March 2012 - 11:47 PM
#163

Posted 13 March 2012 - 07:00 PM
#164

Posted 13 March 2012 - 09:45 PM
#165

Posted 13 March 2012 - 11:19 PM
Nope, a new Heritage roof will be fitted back in place of the large hole! Its ready and waiting to be fitted.
how do you clean the gutter before fitting the new roof?
2 user(s) are reading this topic
0 members, 2 guests, 0 anonymous users


