Leyland Mini 1000 1980 Restoration Project
#136

Posted 25 February 2012 - 09:18 PM
#137

Posted 25 February 2012 - 10:21 PM
Hugh
#138

Posted 27 February 2012 - 09:49 PM
I have just used the pics of your inner sill to heel board reinforcing bracket as reference to make my own as it had rotted away. I was wondering... is the captive nut on yours needed for anything, or is it there just for maximum authenticity? :)
#139

Posted 27 February 2012 - 11:19 PM
http://www.somerford...d-cabriolet.pdf
Its just me being fussy!
#140

Posted 29 February 2012 - 12:37 PM
#141

Posted 29 February 2012 - 08:12 PM
#142

Posted 01 March 2012 - 11:38 PM
Howard
#143

Posted 02 March 2012 - 12:53 AM
keep up the good work
#144

Posted 02 March 2012 - 07:52 PM
Thanks orangeboy, glad you like. My floor wasn't too bad so I used M-machine inner sills/floor to first groove and then a cheap foot well panel to repair. It would definately be quicker and easier to replace the half floors though and I would recommend M-machine for these too.
I am still a few weeks behind with the updates on this as I have just started to replace the roof, so stay tuned to see the outcome. Another update to come soon.
#145

Posted 03 March 2012 - 07:34 AM
I've bookmarked your thread as I know I'll be referring to it through my rebuild. Great stuff.
Adam
#146

Posted 03 March 2012 - 12:15 PM
at that stage of my project that was thinking of getting the car blasted however watching your work looks like i could get just as good a finish doing it myself. any info would be great thanks
#147

Posted 03 March 2012 - 12:20 PM
#148

Posted 03 March 2012 - 12:41 PM
It's unreal..
#149

Posted 04 March 2012 - 12:29 PM
Hi youngson. I'll try and get some pictures of what I use at some point and put them on here.
Minuki and Dog, thanks.
Just a few pictures for you. Nothing special but whilst the shell is still on its side, I made some new tabs for the brake and fuel lines and welded them in place.
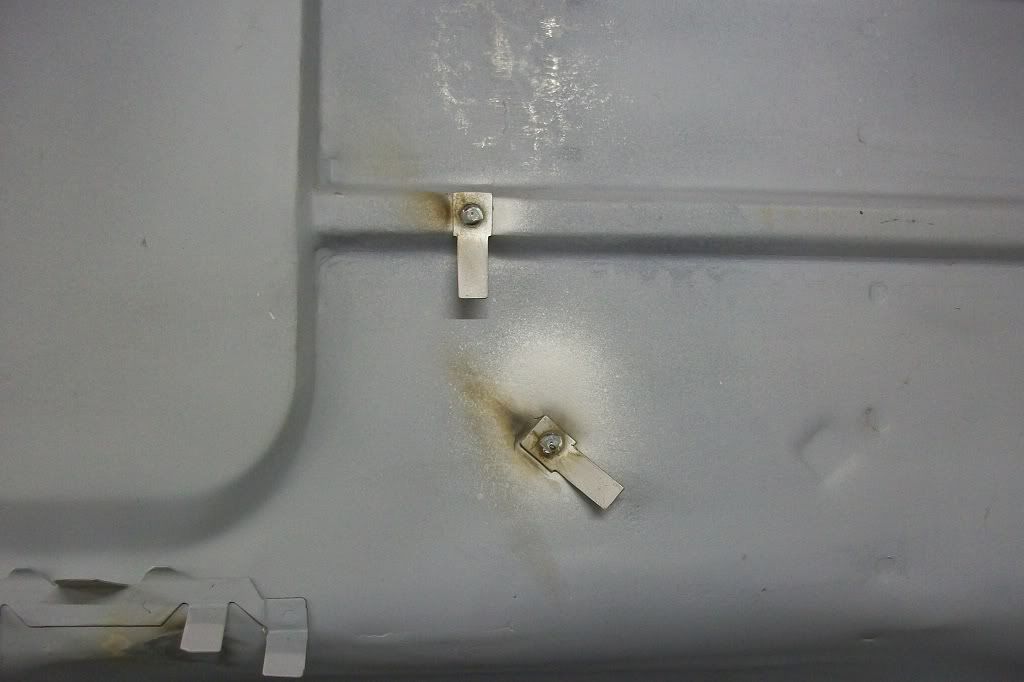
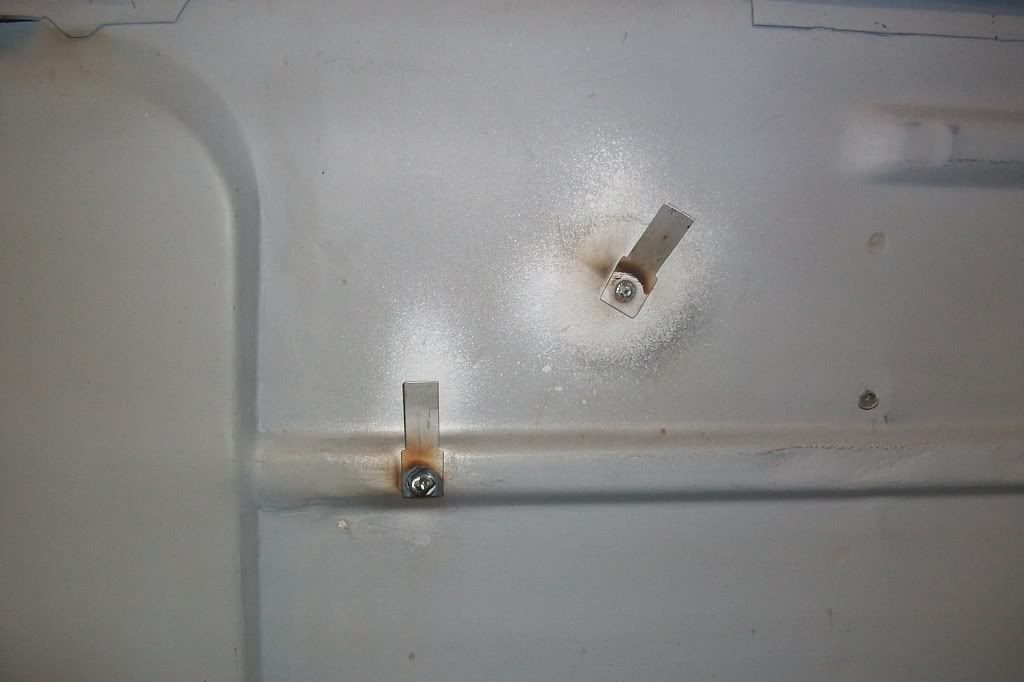
Made new tabs for the top of the toe board.
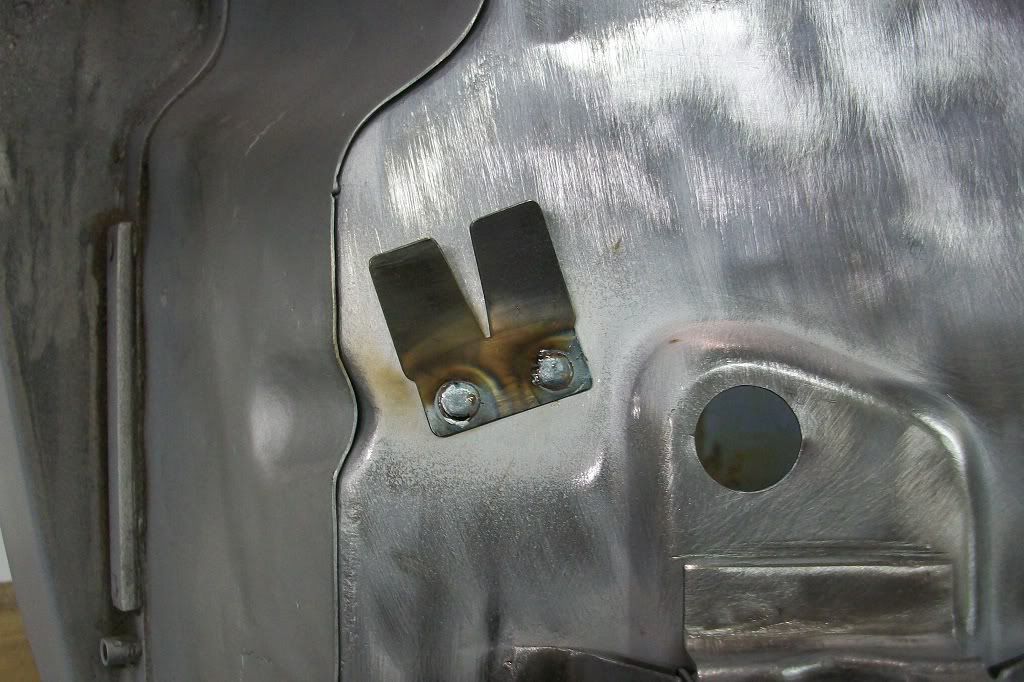
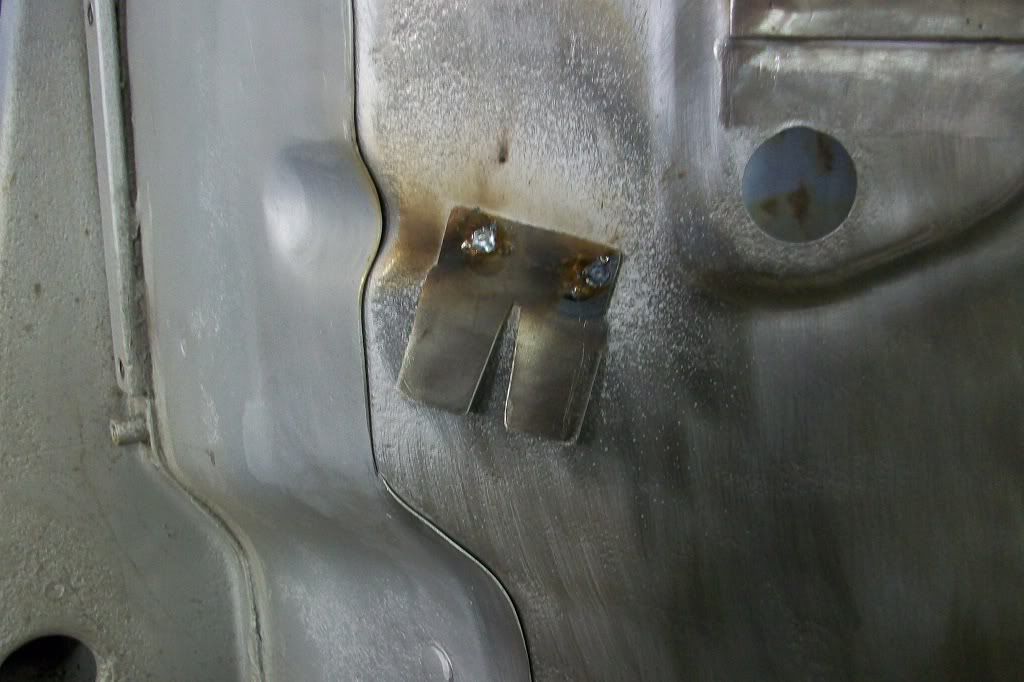
Ground down.
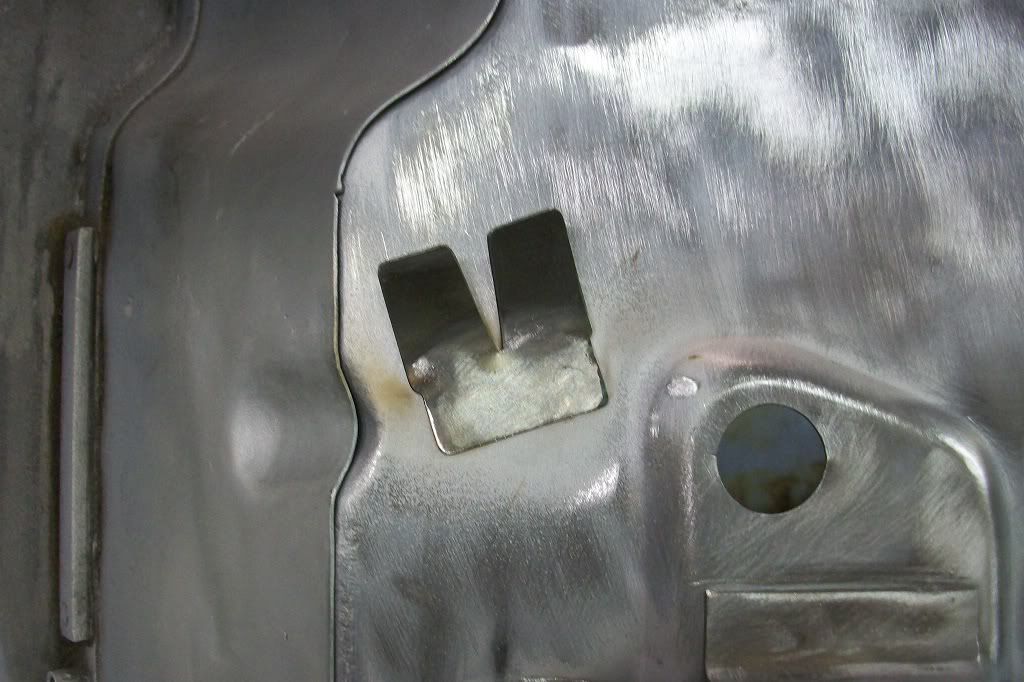
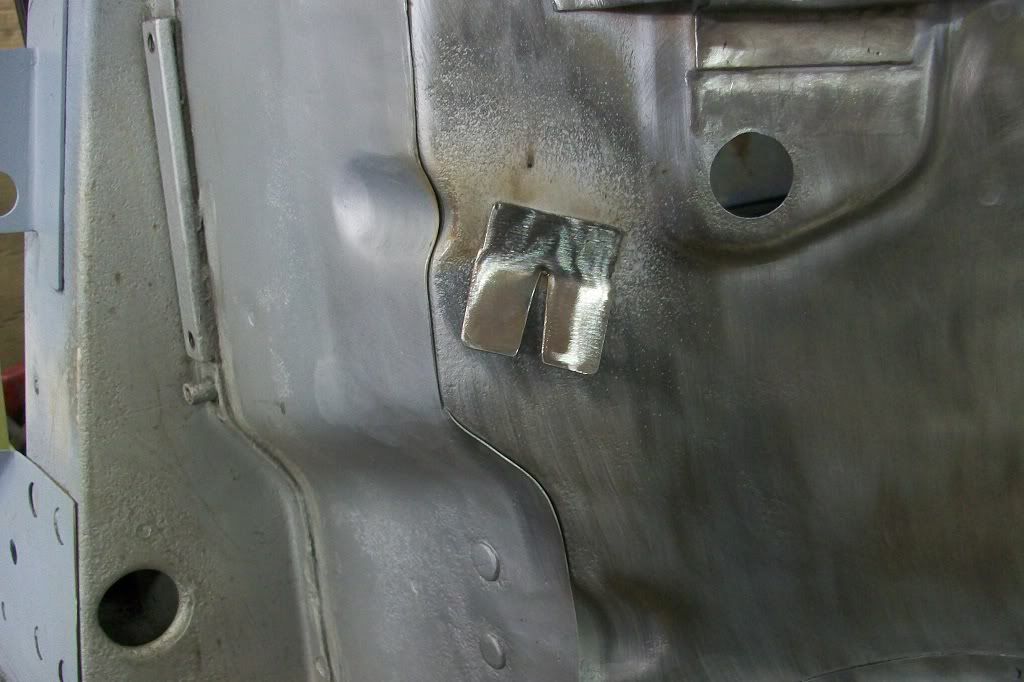
I'll get a few more pictures on later.
Thanks.
#150

Posted 05 March 2012 - 10:52 PM
Cleaned the seat back, down to bare metal.
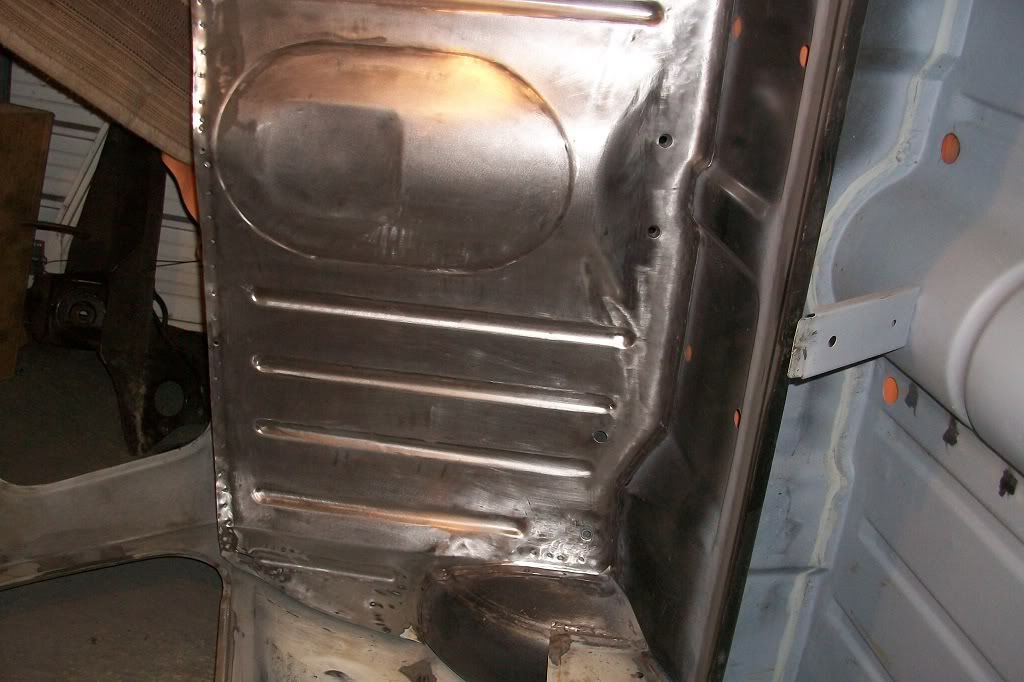
Then got some etch primer on.
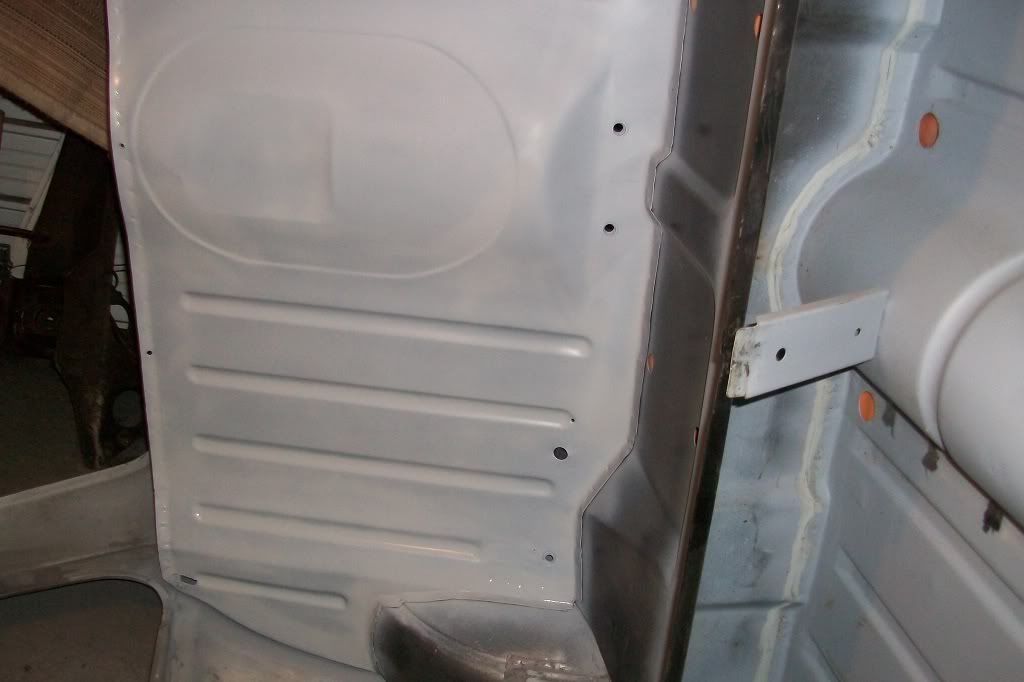
A picture of the seat belt bracket I made on the seat back, inside of the boot. Forgot to take this picture when I actually fitted it.
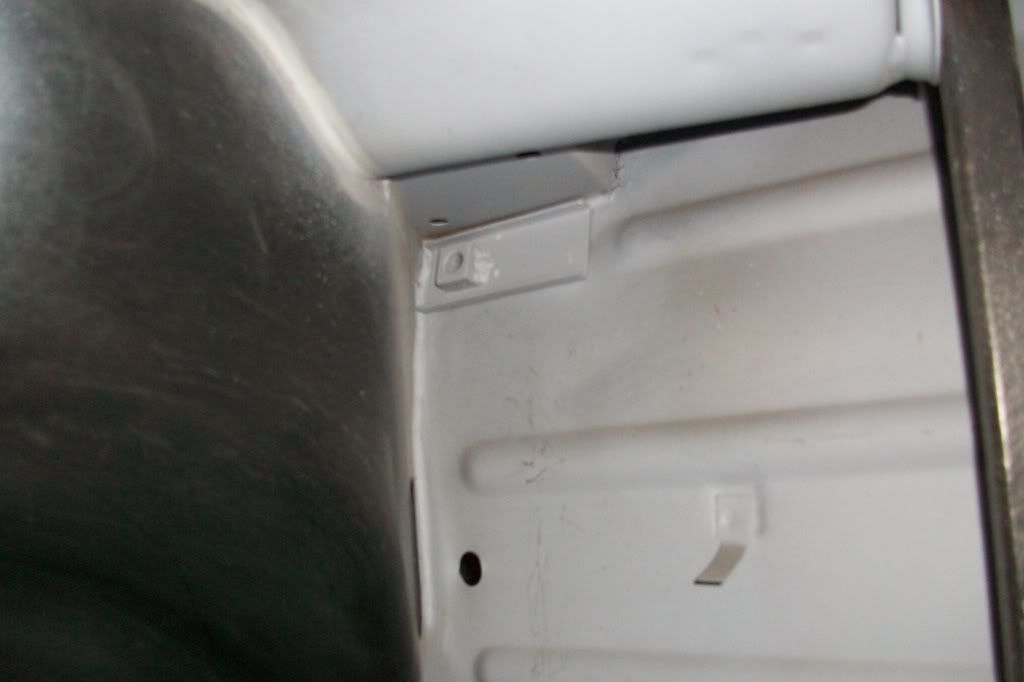
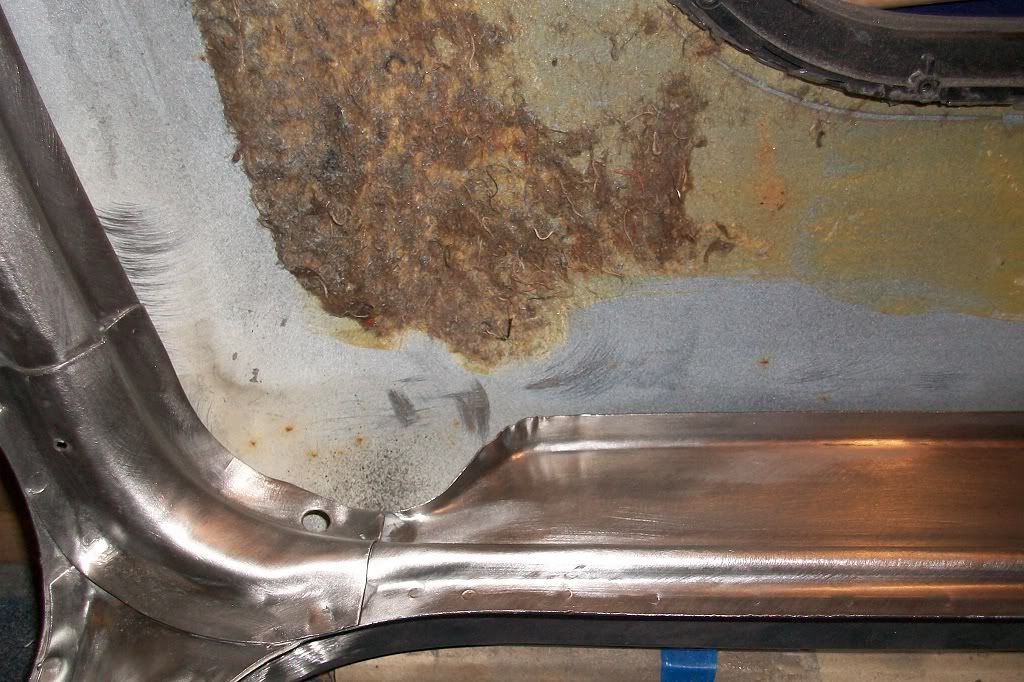
Then got all of the metal work around the inside of the roof cleaned down to get rid of the glue from the head liner.
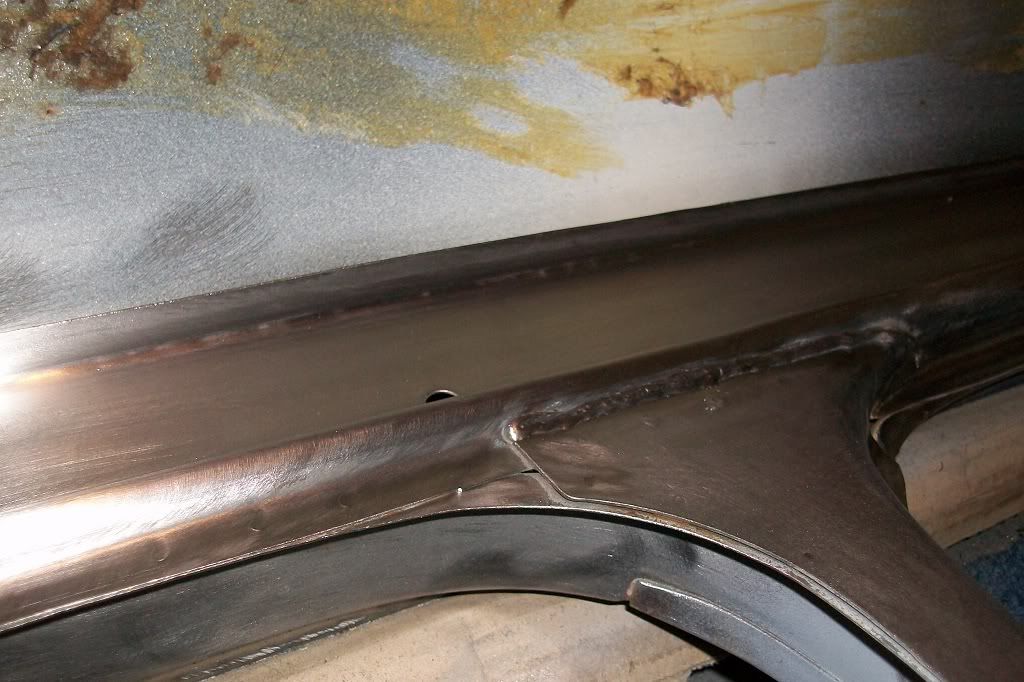
Cleaned the bulk head next.
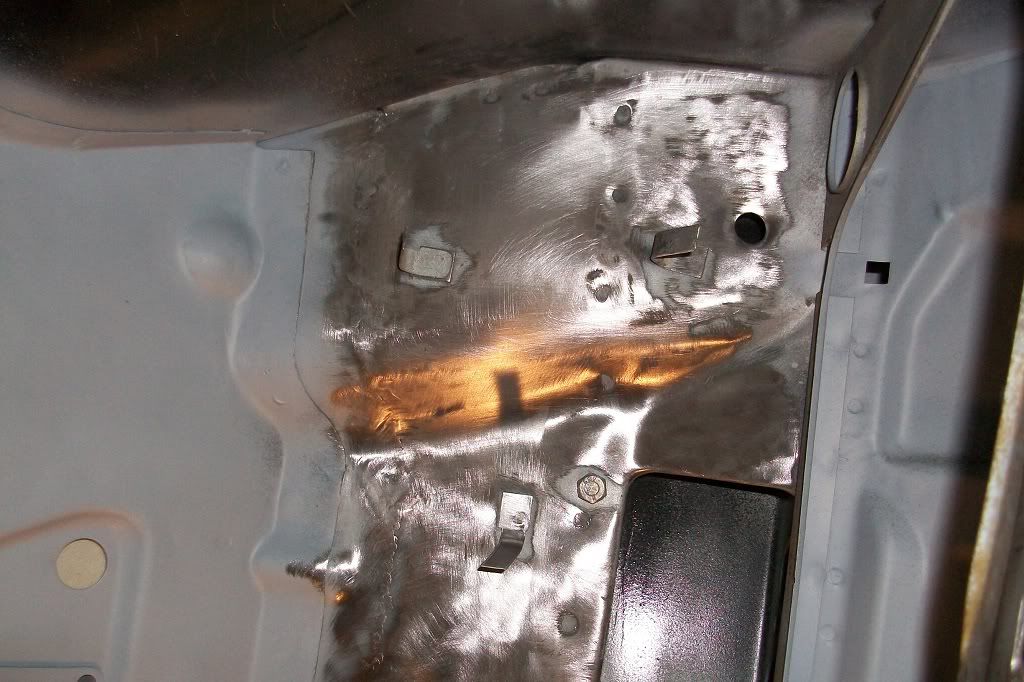
Next I tidied up some of the welds and had a hole near to an edge that needed filling, so tried the copper trick. 15mm copper water pipe hammered flat and the end squared off. Clamped in place and weld away. When copper removed ground down to leave a nice edge.
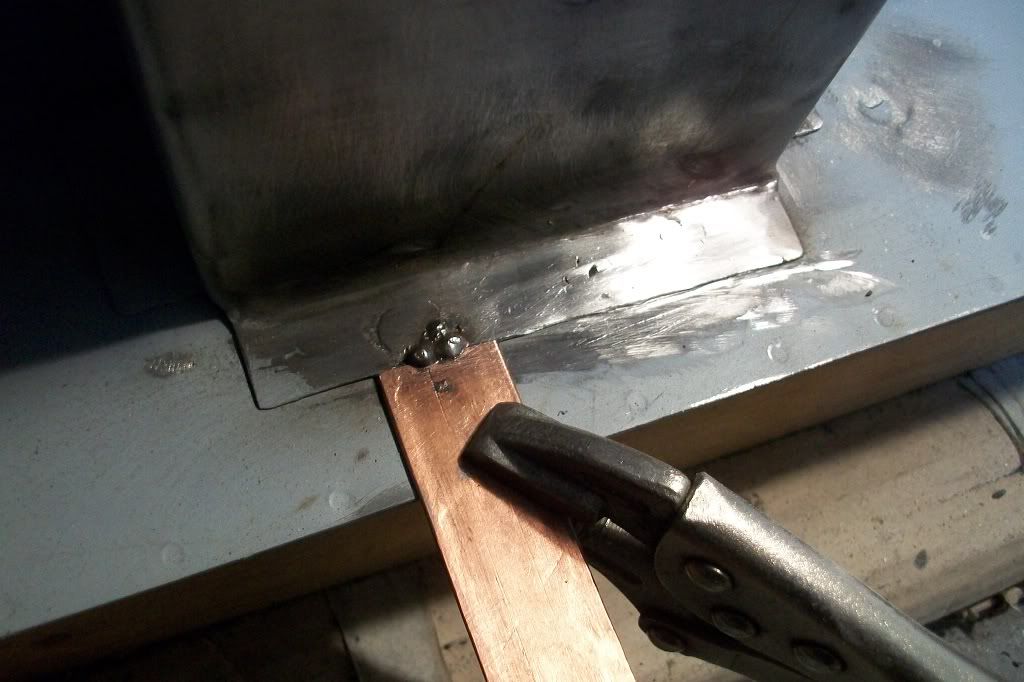
Replaced a tab on the bulk head and then set about etch priming the floor.
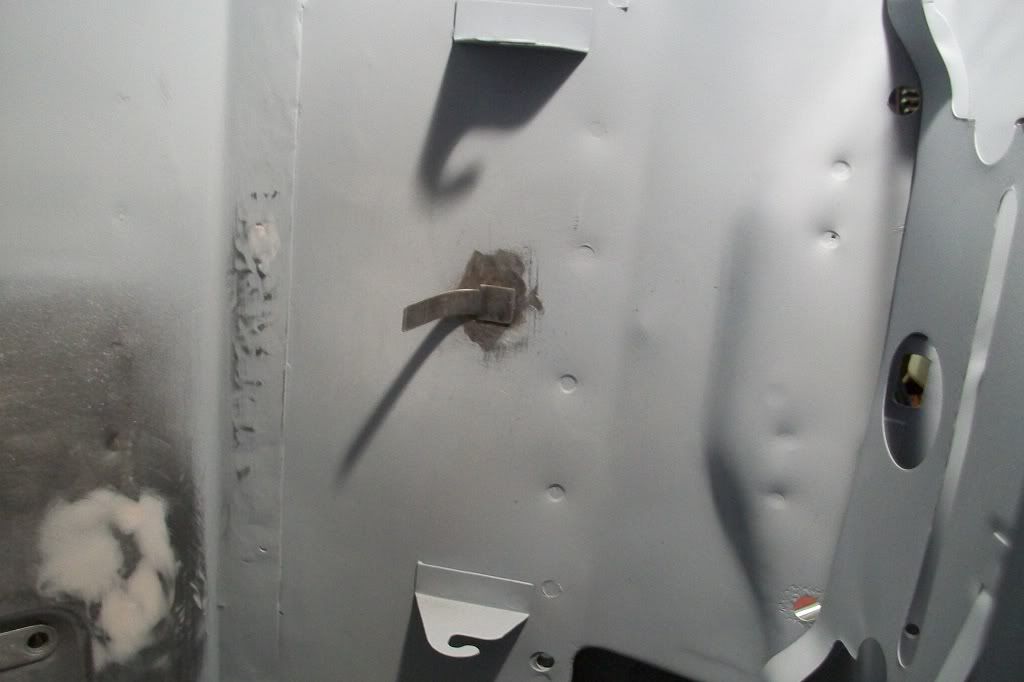
Almost ready to put the shell back on its floor now.
Thanks.
1 user(s) are reading this topic
0 members, 1 guests, 0 anonymous users


