Jump to content


Photo
- - - - -

The Restoration Of Neil’S Mini Classic Mpi


  • Please log in to reply
9 replies to this topic

#1 dfraser

dfraser

    Mini Mad

  • Noobies
  • PipPipPipPip
  • 121 posts
  • Local Club: Minis in Inverness

Posted 23 August 2011 - 10:57 PM

Hi Folks, it’s been a while since I’ve posted a project, but I’ve a feeling that’s going to change. I’ve gone self employed, so have some Mini projects to fill ‘dead’ time (that’s just my excuse to get into the guts of Minis and feed my obsession). Anyways… I have four Minis to restore, a Tahiti Blue 1998 Mini Classic (the first in line for resto), a Tahiti Blue 2000 W reg Sportspack Cooper, a Racing Green 1996 Cooper, & a Red 1994 Sprite Auto. All except Neil’s Mini will be for sale once restored, and the standard will be high quality, so I hope you enjoy the journey with me…

By the way, Neil is my younger brother.

Ok on with Neil’s Mini. This has been very typical of late Rover Minis, and has succumbed to rust in the expected zones, when he first bought it, it was tidy, and had recently been tidied up. It’s just a shame that the tidying up consisted of bucket loads of filler – as you’ll see as we progress.

The spec is to make his Mini immaculate with some tasteful mods, but to get it like new again is the main aim. I will be using genuine Heritage panels, and will be cutting no corners. I’ll try to let the pics do most of the talking as I tend to waffle on a bit…

Anyway, this is how it looked before work started, Tahiti blue with white roof & mirrors, coded arches, deep dish 12” Superlights, half leather Balmoral seats, 3 + 1 dials in the walnut dash (ruined by leaks – as usual in these Minis), beige carpets. Mechanically standard and in decent order to be honest.

[u][url=
Posted Image
Posted Image
Posted Image
Posted Image
Posted Image

Starting the strip down...

Posted Image

Can you see the mushrooms? The sound proofing was soaking, and had been for months...

Posted Image

Posted Image

Rusty wings - the tidy up job had erased the join line between the wing and front panel - I'm not a fan of that look I'm afraid.
Posted Image
Posted Image

Nothing to do with the Mini, but this is 5 minutes away from where I am fixing the Mini up (Strathconnon), at another Brother's house which is also a Holiday house (www.strathconon.org)...
Posted Image

Inner wing rusty...
Posted Image

Front wings removed, notice the generous use of filler
Posted Image
Posted Image

I removed fiberglass from the inner wings, whoever repaired this previously used it instead of welding in repairs, I found more on the inside later on...
Posted Image
Posted Image

I peeled this piece of metal back - it was secured by filler and fibre glass - not a sufficient repair by any stretch of the imagination...
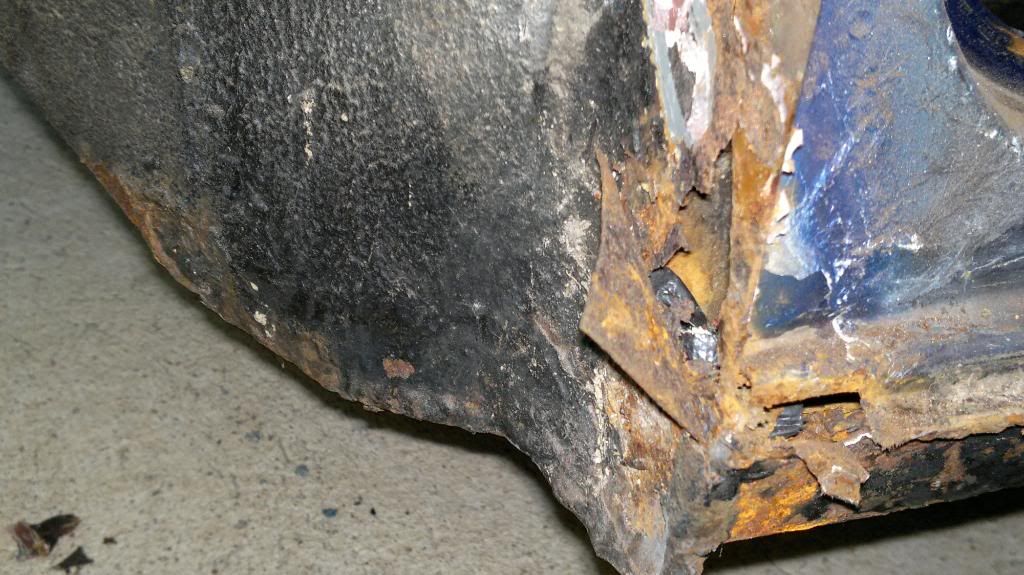
Posted Image

If you look closely near the centre of the picture here, you will notice some metal strapping - the sort of stuff you use to secure wires to walls. This was used in this instance to give some strength to the filler I think... what is it they say? There's wiser eating grass!
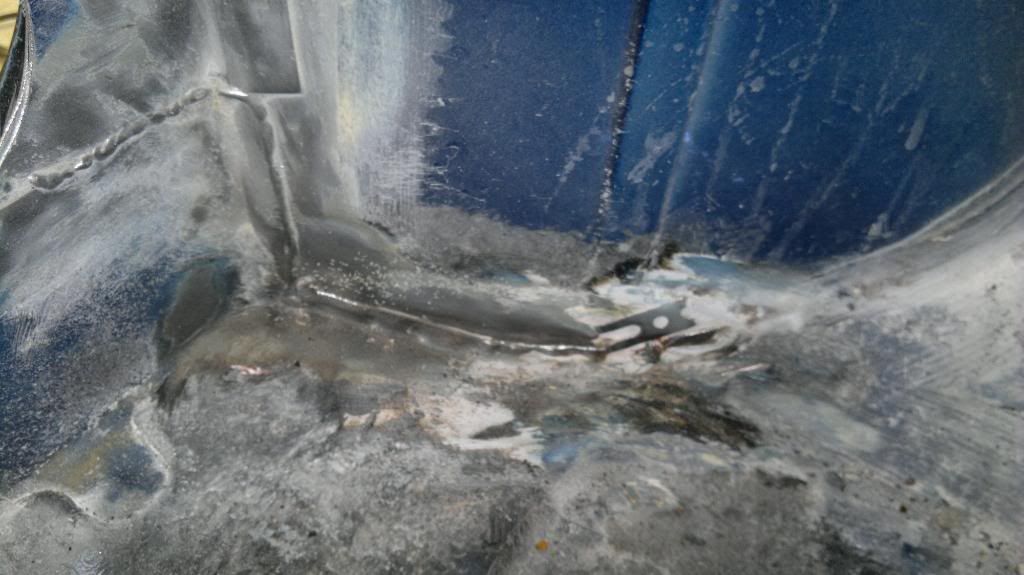
Posted Image

And last pic until I make more progress, this is the NSR floor where filler has been used to fill the channel in the floor, for some reason best known to said repairer - eek!
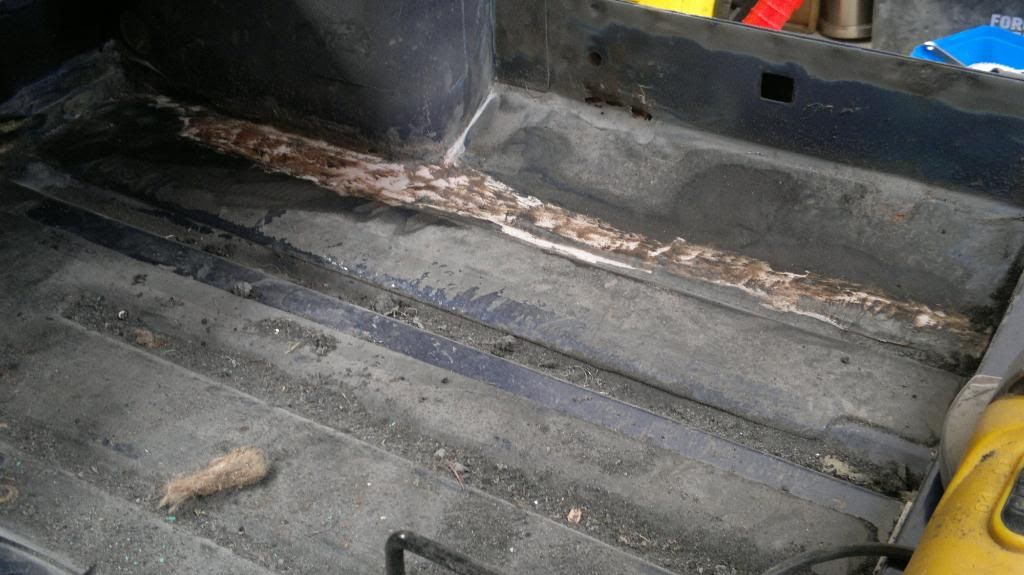
Posted Image

I've braced the shell and built a rotation spit - more details in my next post once I get back up to the Mini to do a couple of days more work on it. I'm fitting a whole new floor & boot floor, so watch this space for more pics.

Edited by dfraser, 24 August 2011 - 07:07 AM.


#2 bcjames

bcjames

    Up Into Fourth

  • Members
  • PipPipPipPipPipPipPipPipPip
  • 2,728 posts
  • Location: Leicestershire

Posted 24 August 2011 - 11:50 AM

You can do mine after if you like, it's just succumbing to the mpi rust spots. I also had mushrooms growing it in at one point :P I look forward to seeing this one progress.

#3 dfraser

dfraser

    Mini Mad

  • Noobies
  • PipPipPipPip
  • 121 posts
  • Local Club: Minis in Inverness

Posted 15 September 2011 - 09:37 PM

Ok so i've had 2 more sessions on the mIni. I have to cram a lot of work in while I get the chance because it's miles away from my home... Easy to forget what I've done in the previous session, but here goes... So got the rotation spit (got it from Handling solutions on ebay) built and connected up - that took me about a day, but it was a satisfying result.
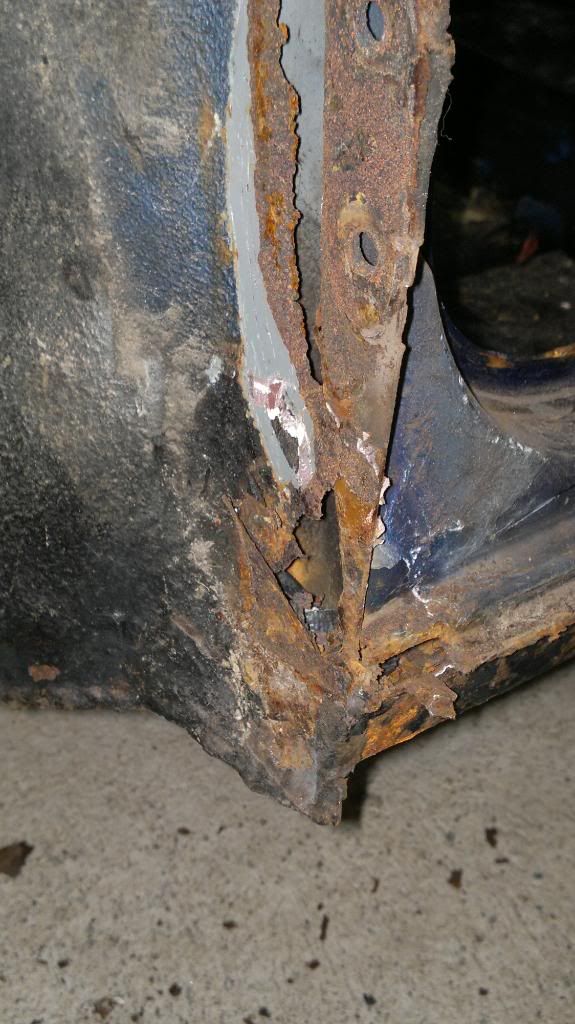
I'm finding that the Mini is rustier than you can see. It's also been subjected to pretty shoddy repair work, and generally things are just bad enough to warrant replacement, but still strong enough to make removal hard work. Since the breif is to have this Mini like new again, the Mini will be treated to as many panels as required - but I'm sure you know all that, and are itching to see the pictures...

Mini now mounted on the spit...
Posted Image

Posted Image

Posted Image

Floor is scabby, and the cover sills are... well not my favourite addition if poorly prepared as you will see.

Posted Image

Posted Image

Posted Image

The battle to remove the boot floor was won in the end - not a small job, but it'll be worth it.

Posted Image

OSR wheel arch is in a bad way so it's just as well to completely replace it when I'm doing this level of restoration. Strangely, the NSR arch is completely rust free.

Posted Image

Posted Image

So off it comes!

Posted Image

The rear section of the main floor removed.

Posted Image

I thought the heelboard was good enough, but when I saw the inside of it, I saw that the rust was spreading, and it would be just as economic to replace it. So I put in an extra brace and cut it out.

Posted Image

Here's the rest of the floor coming out. Pretty strange sight (and scary) sight to see no bottom section on this Mini, but I've taken loads of measurements, and you can see all the bracing, so that should stand me in good stead.

Posted Image

I thought I took a full picture of the removed floors, but don't seem to have it, no worries, I'm sure you'll catch it again.
I won't have much opportunity to get to the Mini for a few more weeks, but I've got a shiny new rear subframe to spray and rebuild in the meantime. I also took the old floor away so I can remove the necessary brackets and crossmember in readiness for the next visit.
Plenty other bits to clean and paint too.

I'm using 2 grinders for working on the MIni... It's really handy and time saving because it stops me constantly swapping the cutting & grinding discs over. Strange thing to mention maybe, but maybe it's just my tip of the day!

#4 dfraser

dfraser

    Mini Mad

  • Noobies
  • PipPipPipPip
  • 121 posts
  • Local Club: Minis in Inverness

Posted 31 December 2013 - 09:44 AM

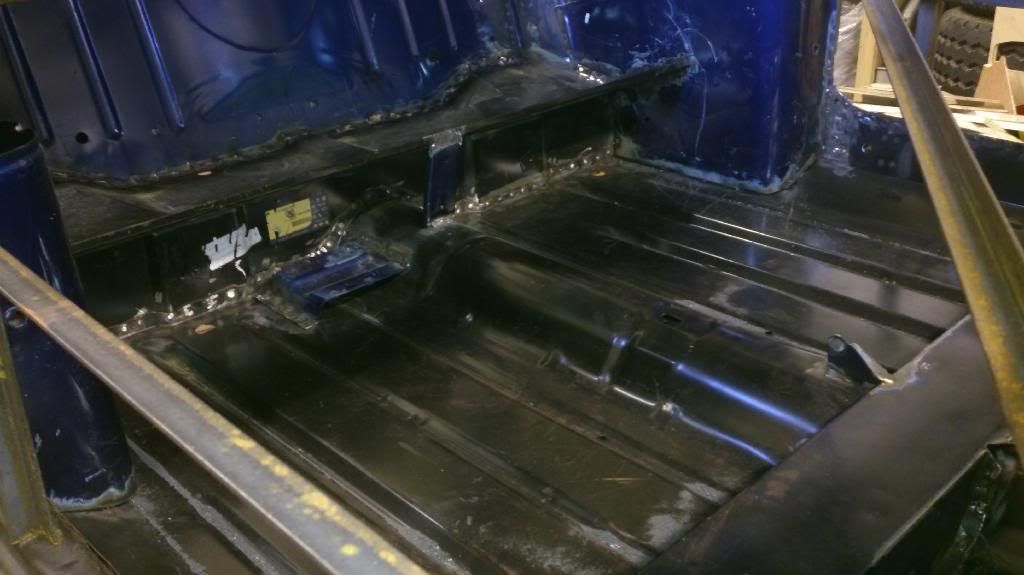
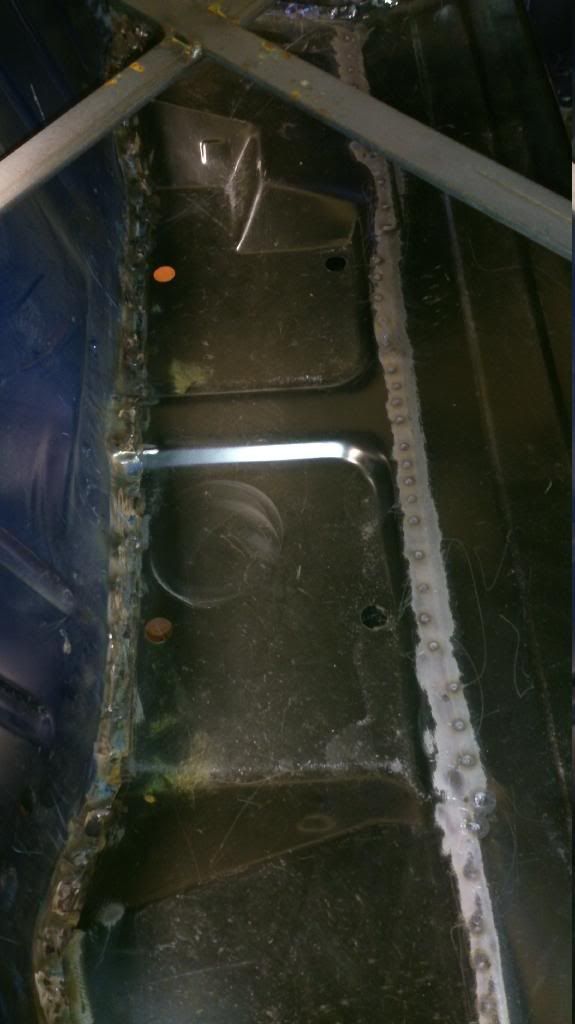
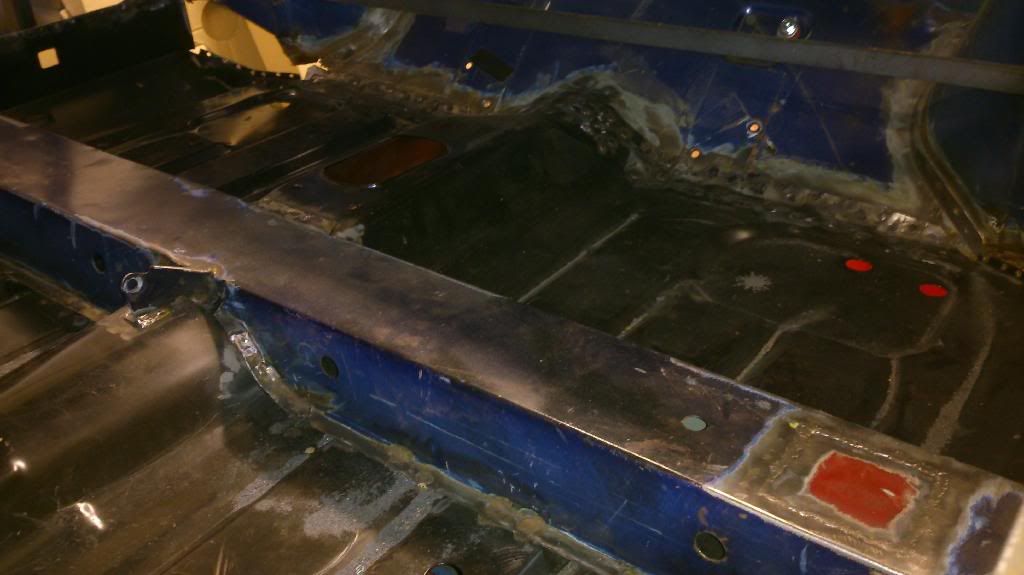
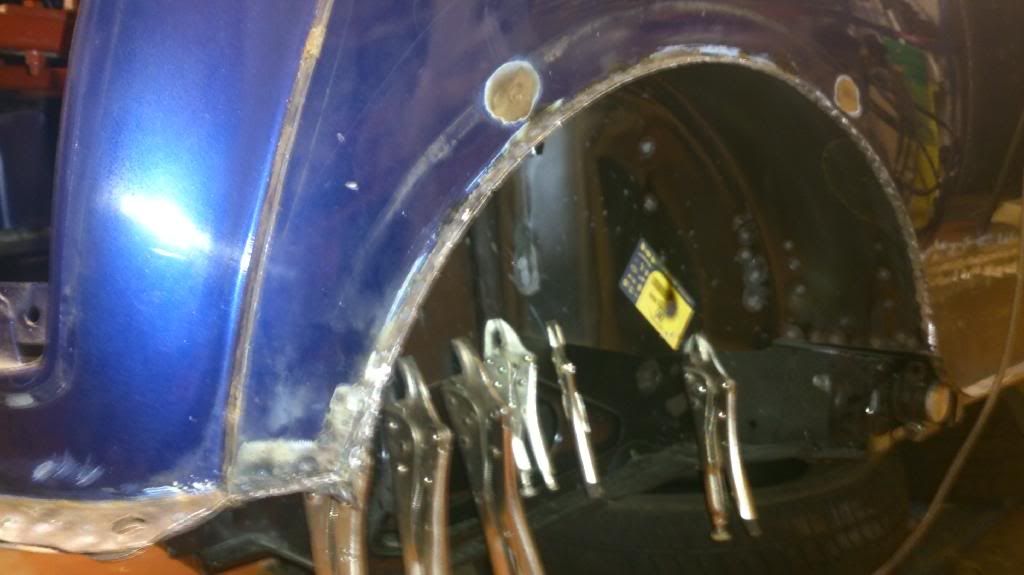
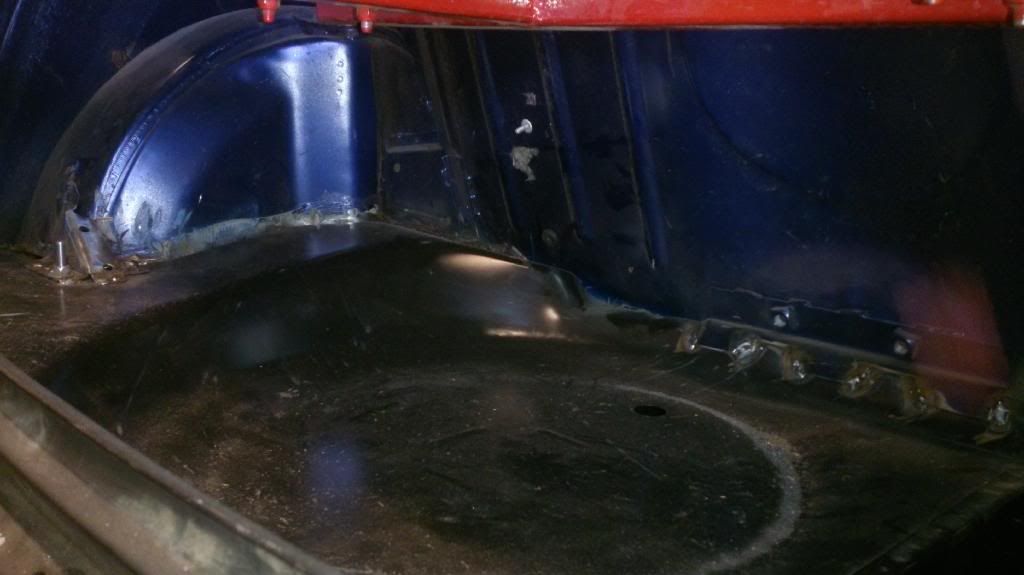
Right, so after a bit of a break from this project due to work commitments - still a young businesss in setting up phase (Inverness Campervans), I have now managed to get it set up on the rotation spit in my workshop.  I get a few surprised people who come into the workshop expecting to see a campervan getting converted.  So last time I left it, the  main floor was welded in but the boot floor was only held on by grips.  fast forward a year and a bit, and I have just got the boot floor completely welded in and most other welds dressed down.  I have also now got a spot welder, and it's coming in handy already, though it can't be used for everything unfortunately.  I thoroughly recommend one for your project for tidiness and speed!


I'll let the latest pictures do the talking from here.  Comments welcome...


DSC_0613.jpg


DSC_0619.jpg


DSC_0614.jpg


DSC_0616.jpg


DSC_0612.jpg


#5 Marco1972

Marco1972

    One Carb Or Two?

  • Members
  • PipPipPipPipPipPipPip
  • 822 posts
  • Location: Birmingham

Posted 31 December 2013 - 06:26 PM

Nice project

Always amazes me how the later cars rusted so badly

Keep it up following this one..

#6 miniman267

miniman267

    Speeding Along Now

  • Noobies
  • PipPipPipPipPip
  • 452 posts
  • Location: bath
  • Local Club: mendip minis

Posted 31 December 2013 - 09:24 PM

they rust more because the metal is so thin good luck with the project


#7 Spaceibiza

Spaceibiza

    Mini Mad

  • Members
  • PipPipPipPip
  • 232 posts
  • Location: Nottingham

Posted 31 December 2013 - 11:56 PM

It's a real shame. You see so many late cars looking really sorry for themselves these days. Nice to see this one getting a new lease of life!

#8 dfraser

dfraser

    Mini Mad

  • Noobies
  • PipPipPipPip
  • 121 posts
  • Local Club: Minis in Inverness

Posted 01 January 2014 - 12:37 PM

Thanks guys, yes Rover made them look really fab in and out, but it's such a shame they were so lax with the rust proofing.  I have a W reg which is in an absolutely shocking state.

Due to do a half day or so tomorrow on it...


#9 dfraser

dfraser

    Mini Mad

  • Noobies
  • PipPipPipPip
  • 121 posts
  • Local Club: Minis in Inverness

Posted 04 January 2014 - 08:05 PM

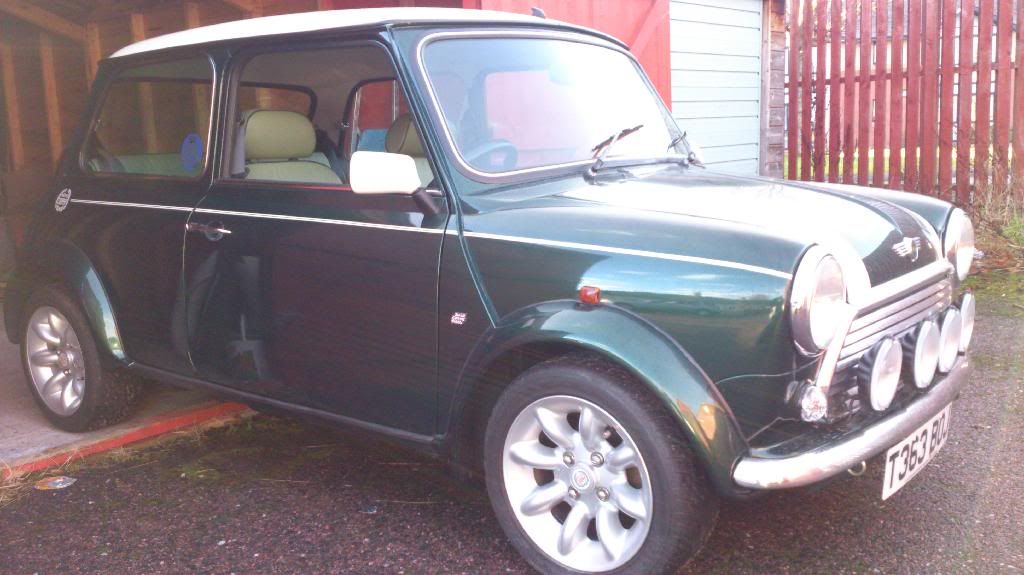
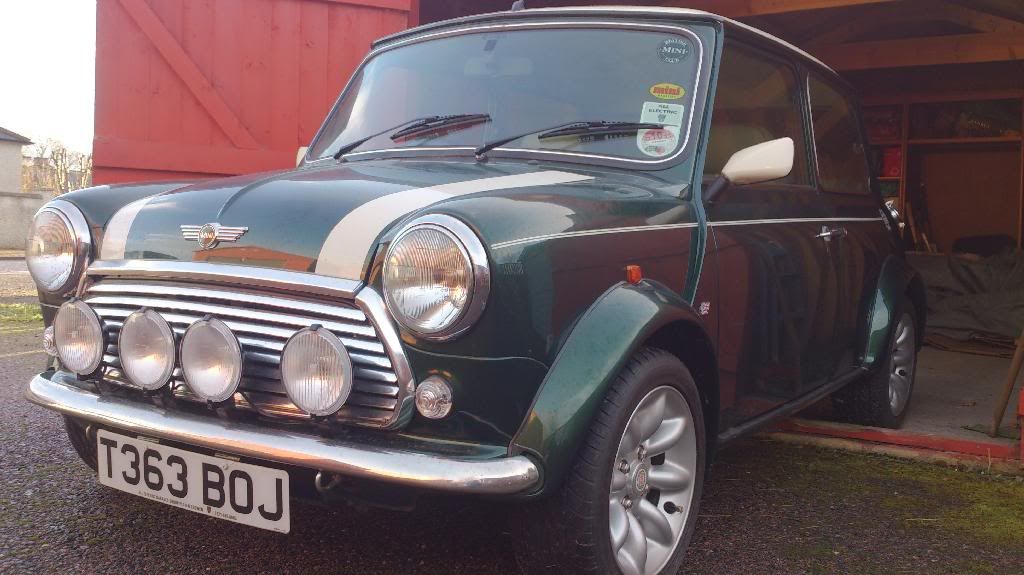
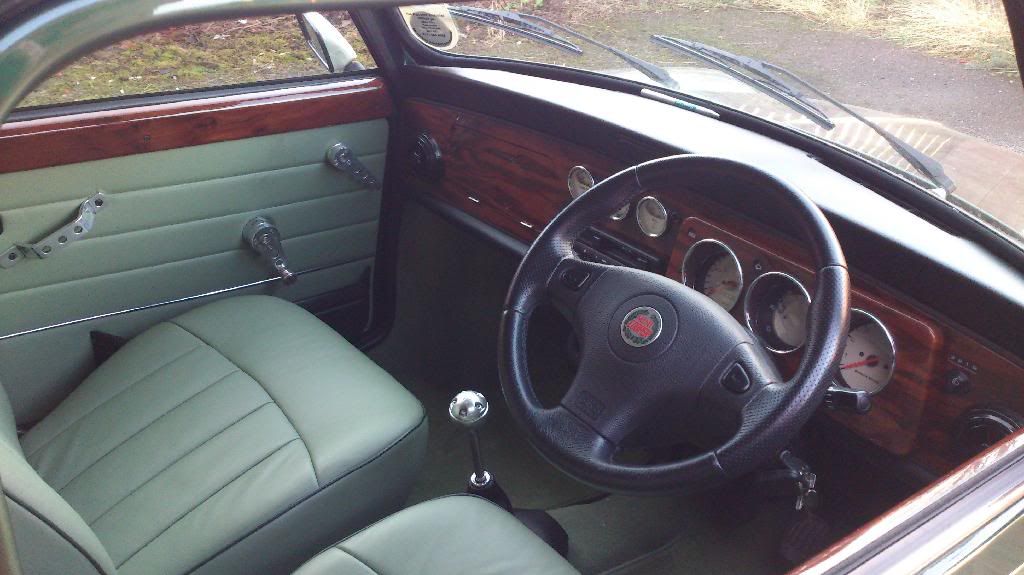
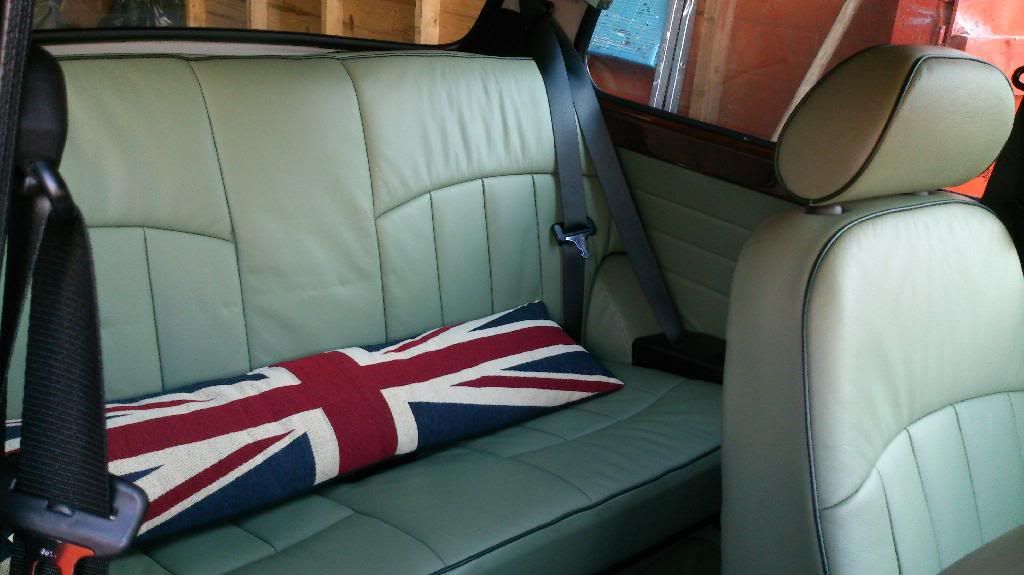
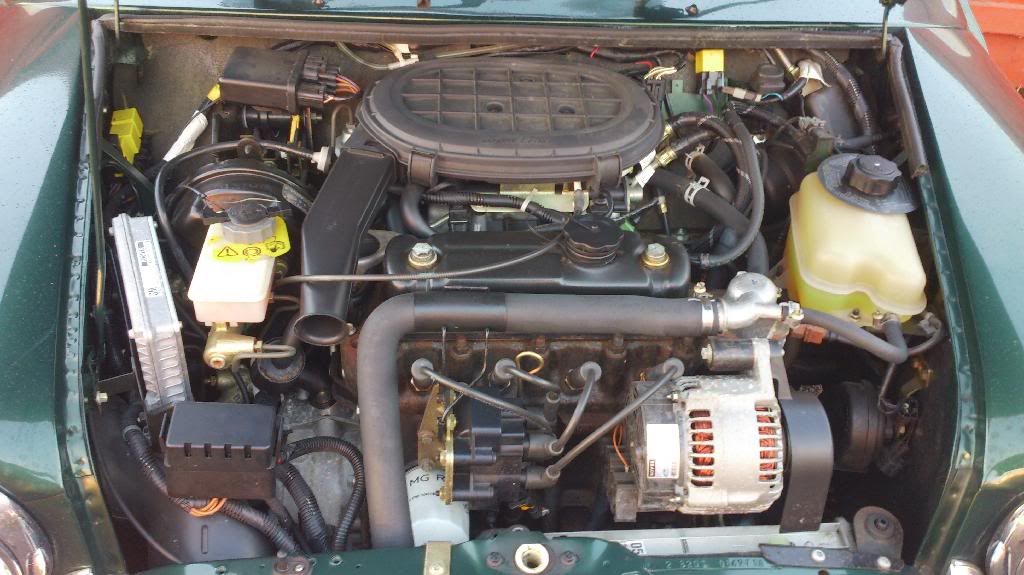
Hi folks, I haven't managed to do any more work worthy of an update as such, but posting a couple of pics of my 1999 Mini Cooper.  Wanted to check up on it and get a couple of reference pics for the current project.  I'm the second owner (since 2009), 4,700 miles.  Heaps of paperwork, original order form and receipts etc.  It's factory fresh!

Enjoy... 


DSC_0629.jpg


DSC_0628.jpg


DSC_0630.jpg


DSC_0647.jpg


DSC_0635.jpg


Sorry but it's not for sale.

David


#10 Petrol

Petrol

    One Carb Or Two?

  • Members
  • PipPipPipPipPipPipPip
  • 967 posts

Posted 05 January 2014 - 10:26 PM

Neil’s car looks in pretty good shape for an MPI, the subby on mine was dust! Look forward to the updates. Your 99’ Cooper is absolutely mint, talk about inspirational! Thanks for sharing the pics

Pete


1 user(s) are reading this topic

0 members, 1 guests, 0 anonymous users