#361

Posted 15 May 2012 - 10:03 PM
#362

Posted 15 May 2012 - 10:05 PM
Just having trouble shimming up the ball joint as I want them perfect
Once they are done the front wheel can go on
#363

Posted 20 May 2012 - 06:06 PM
Pictures -
Got the first skim of filler on the A-Panel -
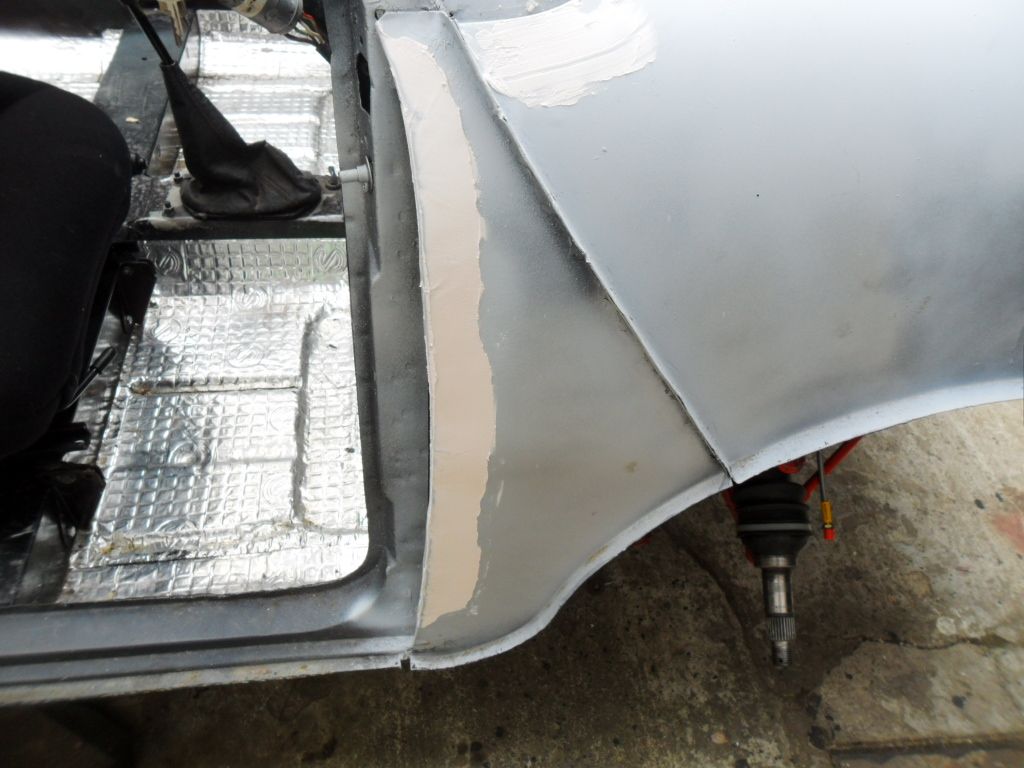
Im so glad i decided to de bumper the rear as you cant really tell but it is coming along very nicely
Also bolted the first wheel on just because i can -
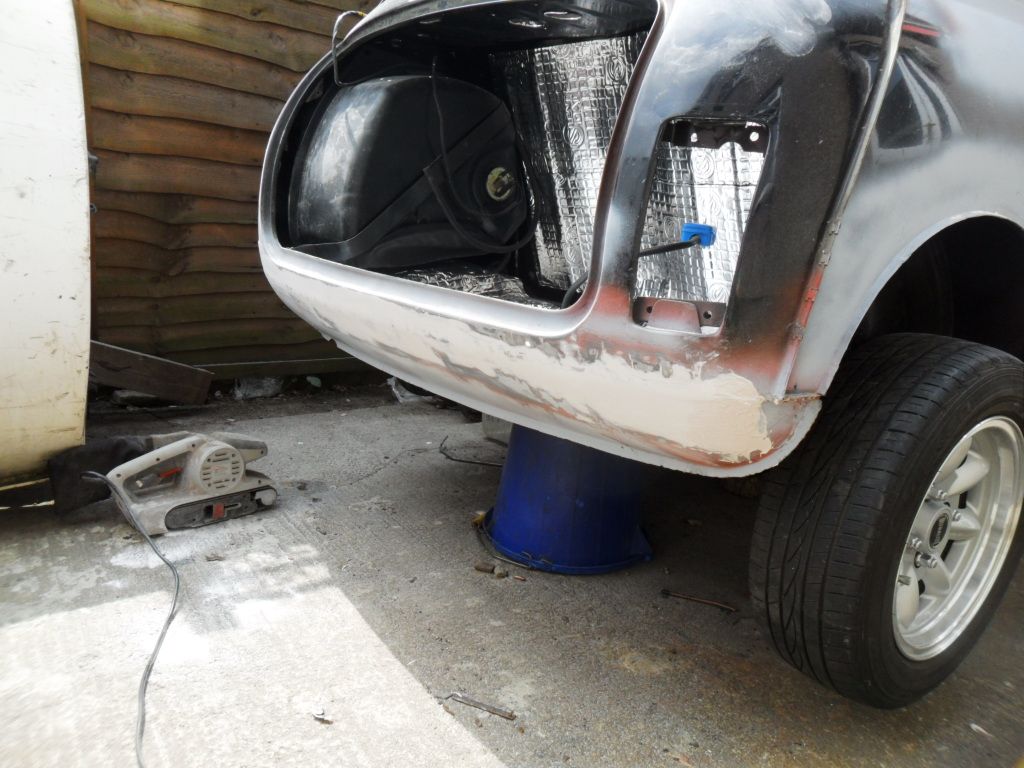
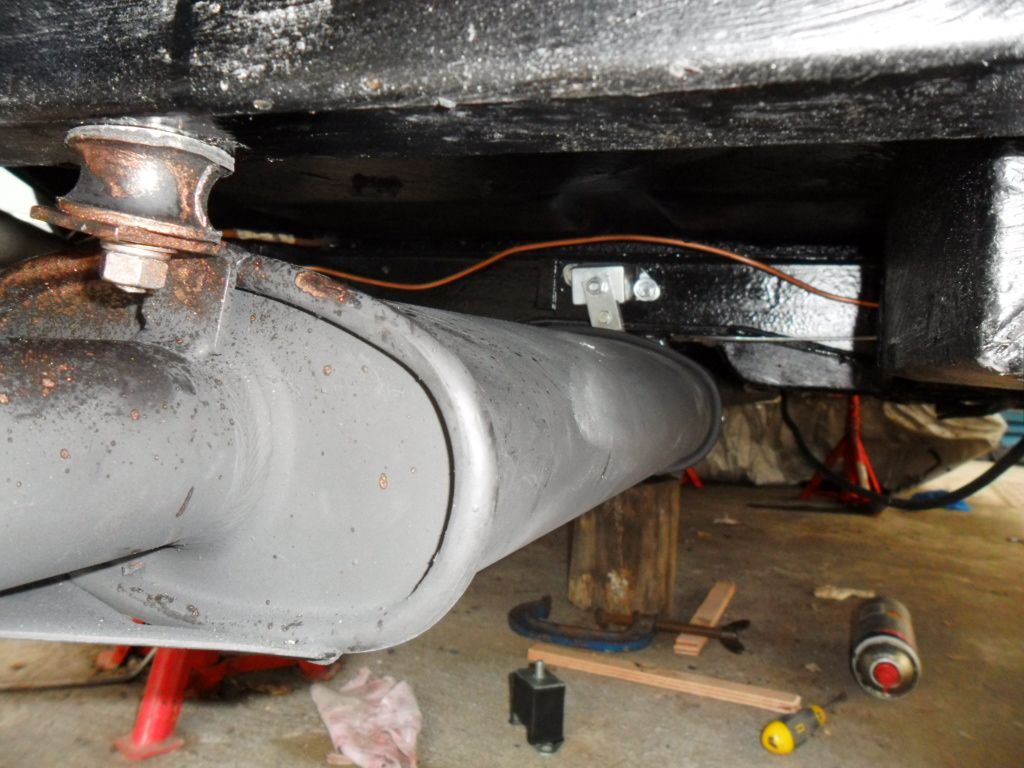
Mounted the exhaust for the first time and found that i did not like how far it sticks out -
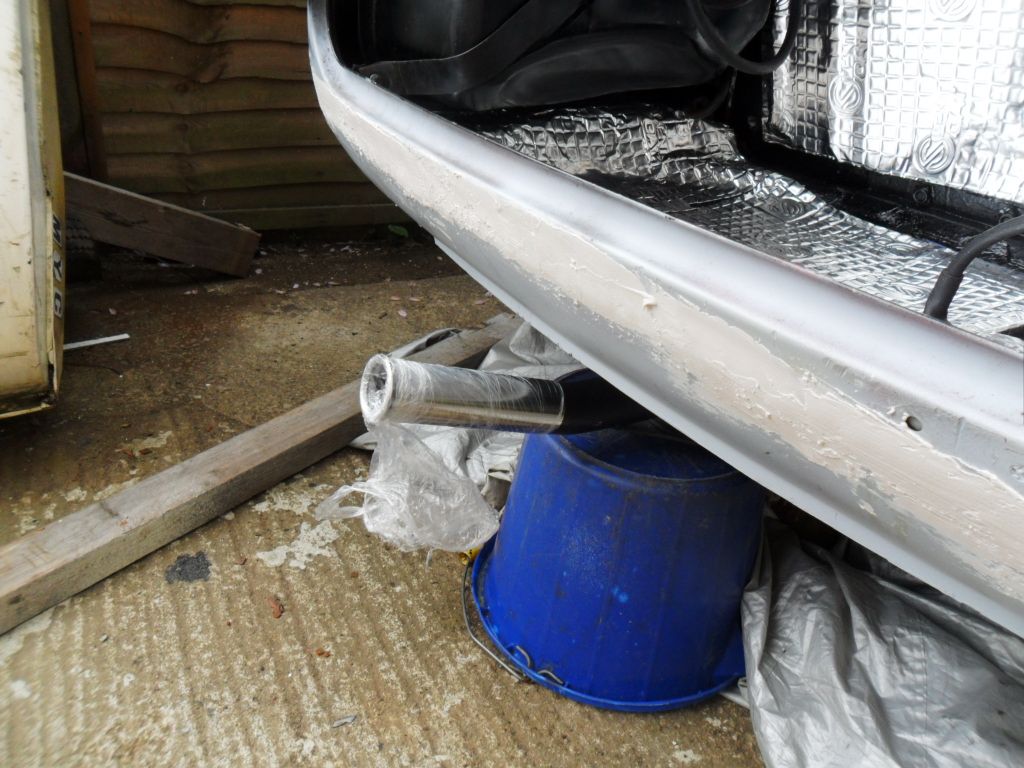
So some cutting and welding was in order, We cut a good 4 inch chunk out and welded it back up -
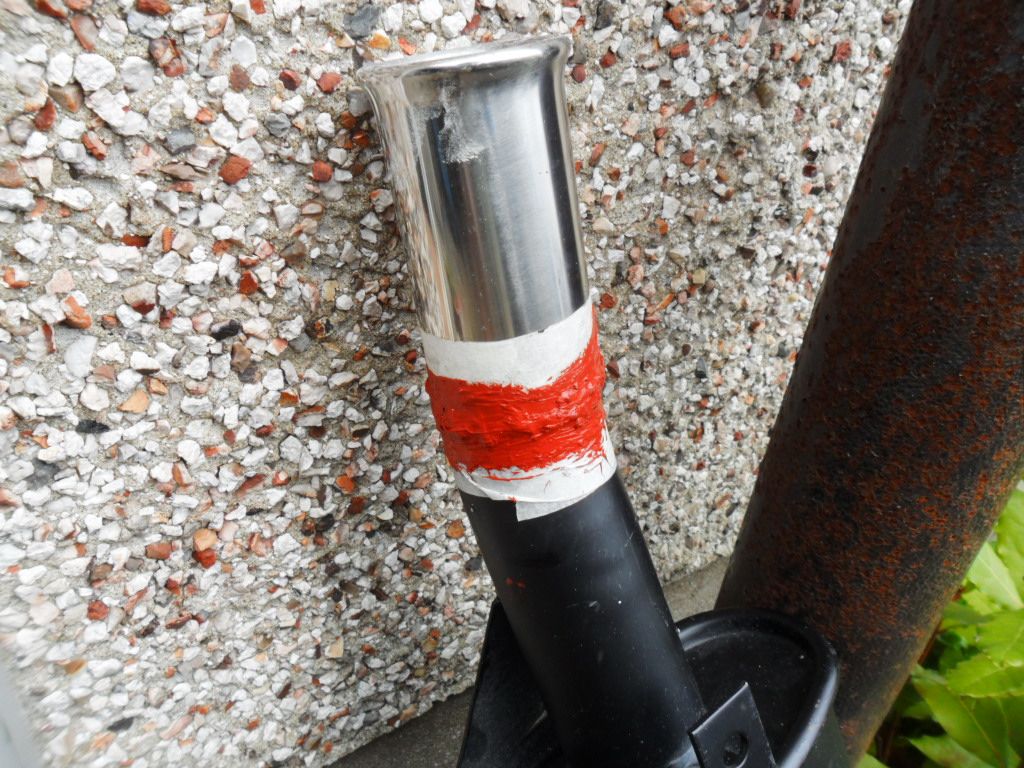
Put a nice layer of high temp sealant on it to make sure it was as leak free as possible
And this is how it is now and i think its perfect -
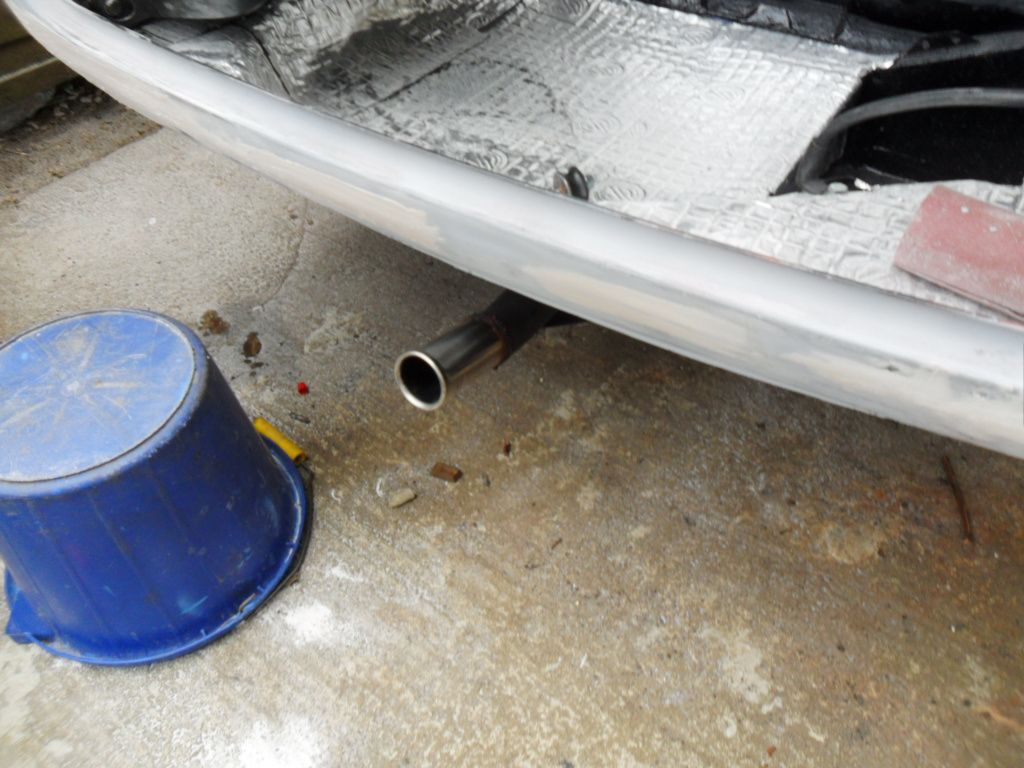
All mounted up. Its copper grease you can see not rust -
The hinges for my seats came so i bolted it in to look at the fit and it is very snug, I like it ! -
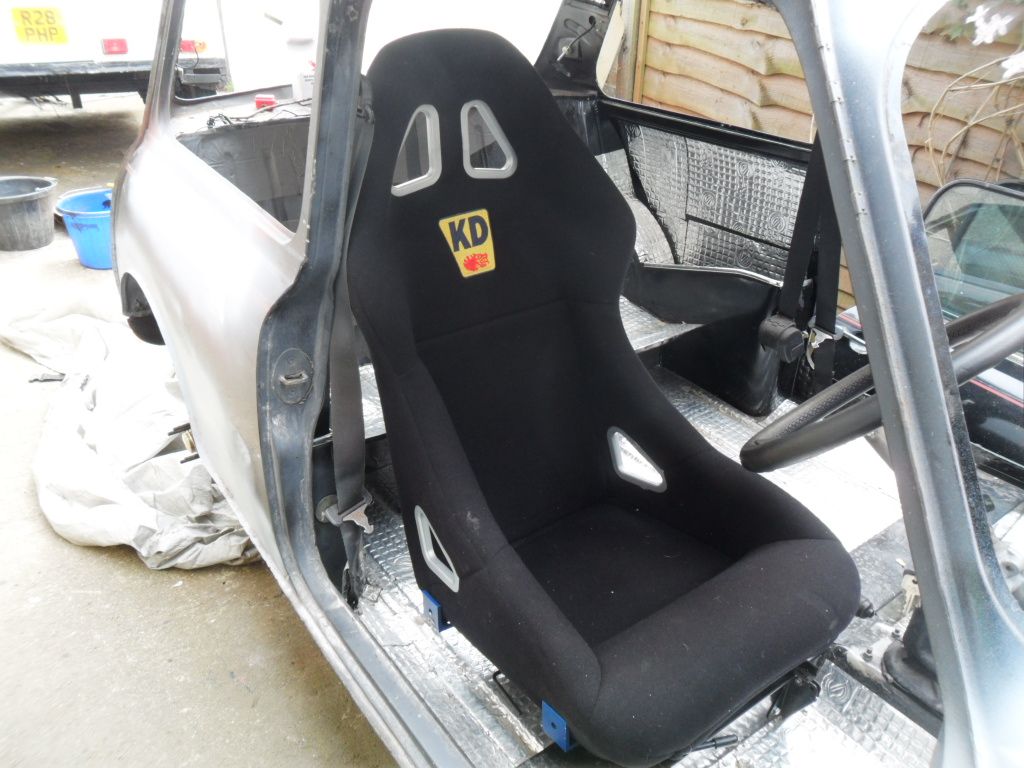
Would love to hear your thoughts
Just finishing off the wiring this evening so with any luck the next update will be a video of the car starting up for the first time
Andrew.
#364

Posted 20 May 2012 - 07:29 PM
Rhys
#365

Posted 20 May 2012 - 08:14 PM
like the debumpered minis, mean looking, but I would have left the exhaust, just my thoughts, to late now tho lol !! Are you fillering over primer or taking the areas to bare metal first?? Comming along nicely !
Graham
#366

Posted 20 May 2012 - 08:34 PM
#367

Posted 20 May 2012 - 08:47 PM
And thanks Graham, I was ummming and arrrring about the exhaust but decided I didn't want it out that far so I cut it down,and I put a light coat of etch on before filler.
I got all my panels from ebay
#368

Posted 23 May 2012 - 10:50 PM
#369

Posted 23 May 2012 - 11:01 PM
I Havnt added up all the receipts yet as I know it will scare me.
It is easily over £2000 though
Andrew.
#370

Posted 25 May 2012 - 03:59 PM
#371

Posted 25 May 2012 - 04:18 PM
Rhys
#372

Posted 25 May 2012 - 06:57 PM
It's coming soon .....
#373

Posted 25 May 2012 - 09:28 PM
Spent most of the morning replacing every single spade and bullet connector etc
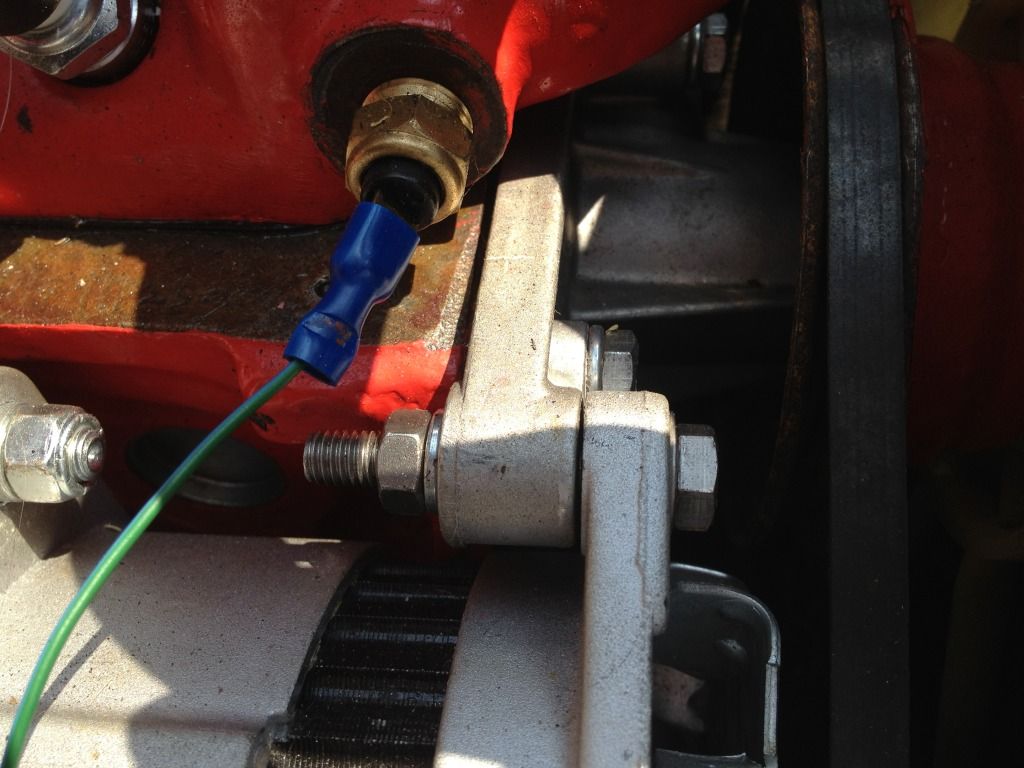
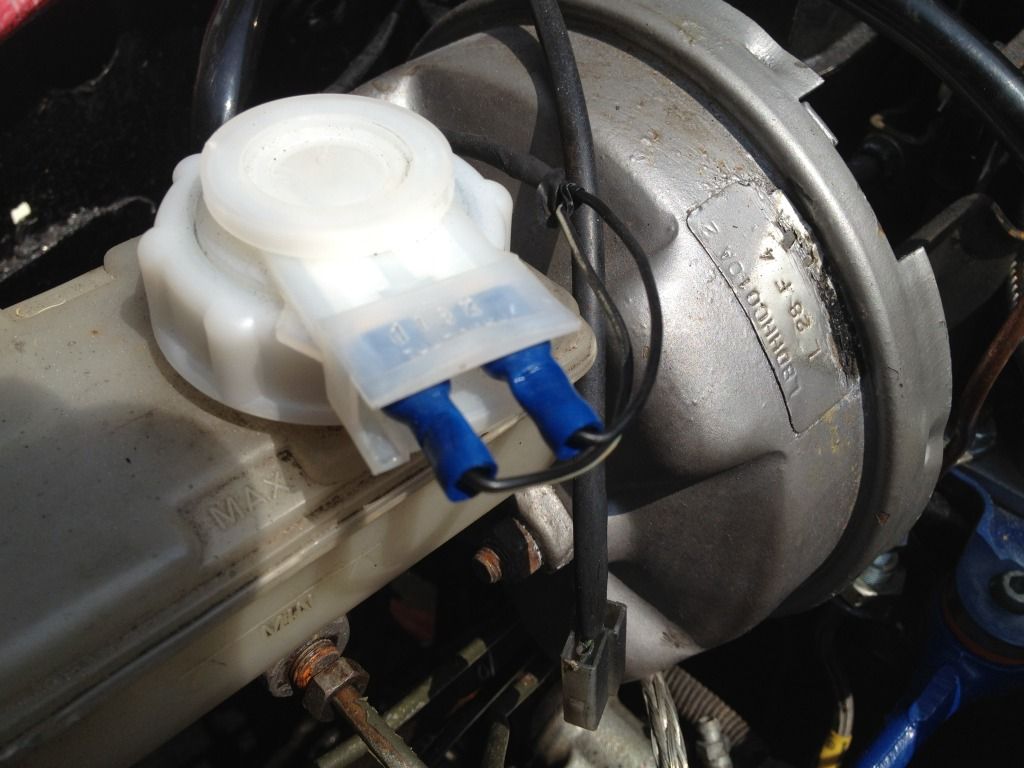
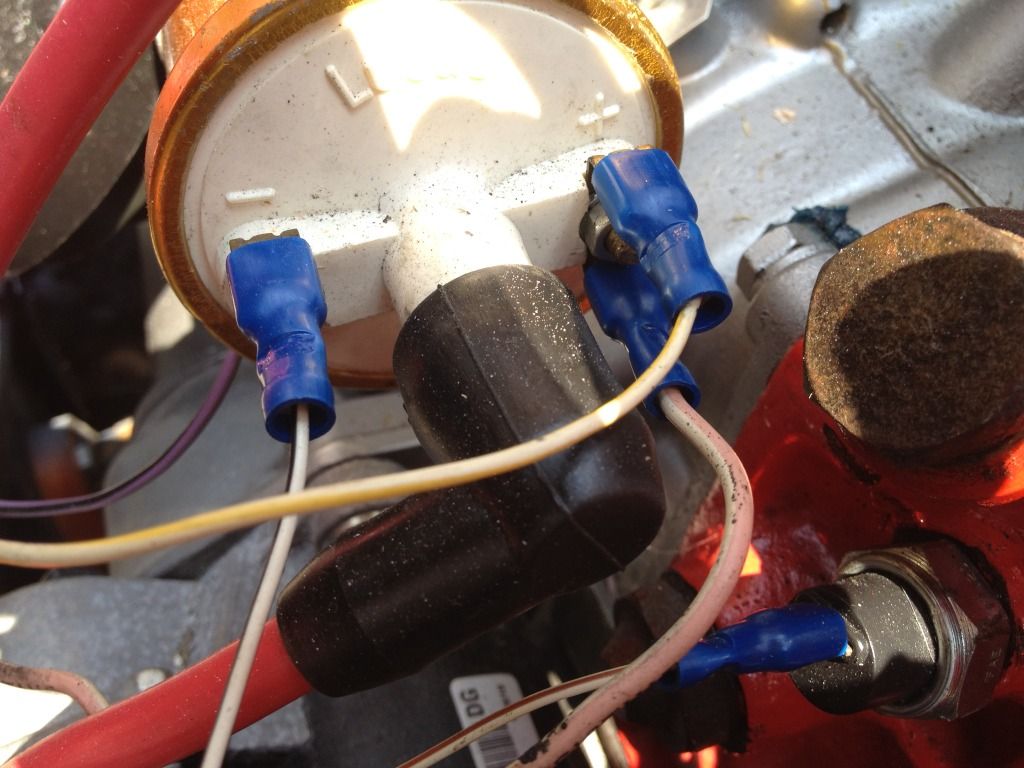
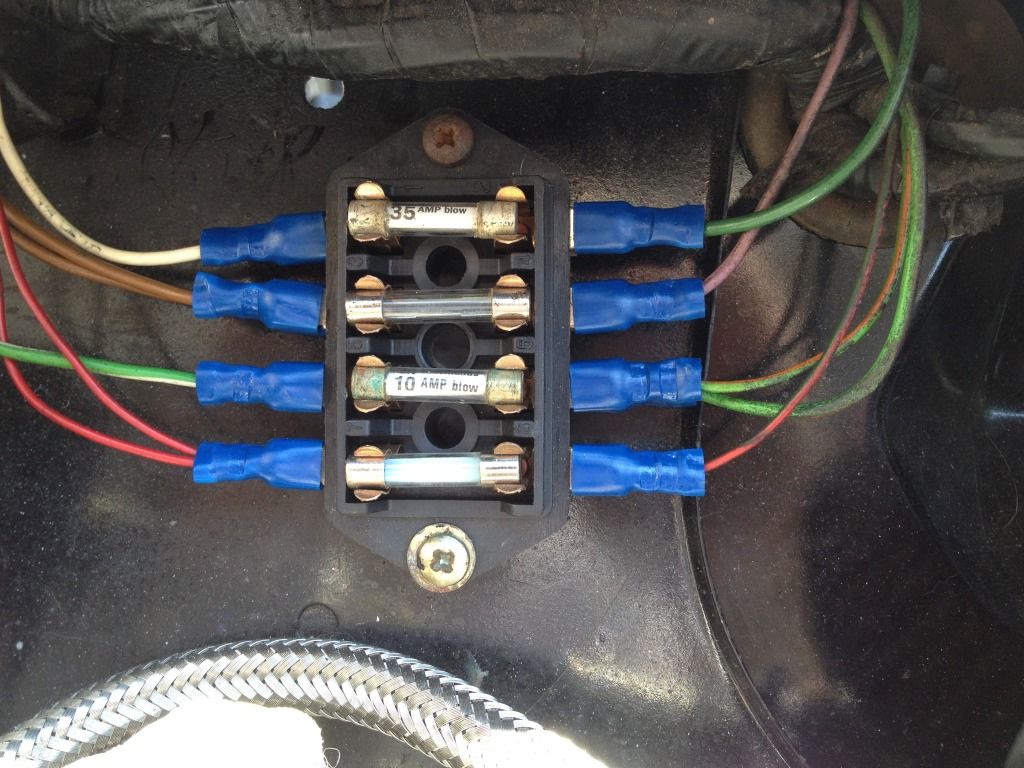
Then we spent most of the afternoon trying to start her with no luck.
We were confident we had everything in the right order, Ht leads, timing etc but she just wouldn't run.
It was later on in the evening i read over the Haynes manual and realized what a stupid mistake we made. It was the HT leads in the wrong order.
And yes you guessed it the second i switched them over she burst straight it to life.
I filmed every ( About 20 of them ahaha ) attempted start up so this is it. The first time she started since about 8 months ago.
I need to adjust the carb as it is reeving way to high and i also need to retrieve all the bits that fell down the engine bay we she started aha.
Im so glad i now have a working car.
Would love to hear you views.
Thanks
Andrew.
#374

Posted 25 May 2012 - 10:24 PM
#375

Posted 25 May 2012 - 10:46 PM
I need to take the carb off tomorrow to sort out a leak do I'll get another video up off her running properly
Also tagged with one or more of these keywords: roundnose
Projects →
Mini Saloons →
Mini Cooper Project - Finally StartsStarted by piphatch , 08 Jan 2025 |
|
|
||
Projects →
Mini Saloons →
1965 Austin Mini Restoration - Canadian Mk1Started by DoubleEh , 14 Nov 2022 |
|
|
||
Projects →
Mini Saloons →
Project Joe - 1991 Mini Mayfair 998Started by Eggers , 02 Jun 2022 |
|

|
||
Projects →
Mini Saloons →
Mpi Dashboad ProblemStarted by mikeprez , 22 Dec 2021 |
|

|
||
Projects →
Mini Saloons →
1978 Oew - Willy The MiniStarted by smalltreegrower , 11 Nov 2021 |
|

|
2 user(s) are reading this topic
0 members, 2 guests, 0 anonymous users


