#286

Posted 10 April 2012 - 08:23 PM
#287

Posted 10 April 2012 - 08:53 PM
#288

Posted 10 April 2012 - 08:54 PM
#289

Posted 10 April 2012 - 08:58 PM
#290

Posted 11 April 2012 - 12:50 PM
#291

Posted 11 April 2012 - 01:17 PM
#292

Posted 11 April 2012 - 07:46 PM
Just interested to see how you're going to fit your seats! Are you making your own frames or are you just going adapt the ones they came with?
So am i haha, I think were going to buy standard Mini ones and weld them on under neath.
Looking good buddy
Thanks very much, There will be a new update in 5 Mins ones photobucket has finished uploading
#293

Posted 11 April 2012 - 08:00 PM
Pictures -
Subframe partially built back up with all new pipes -
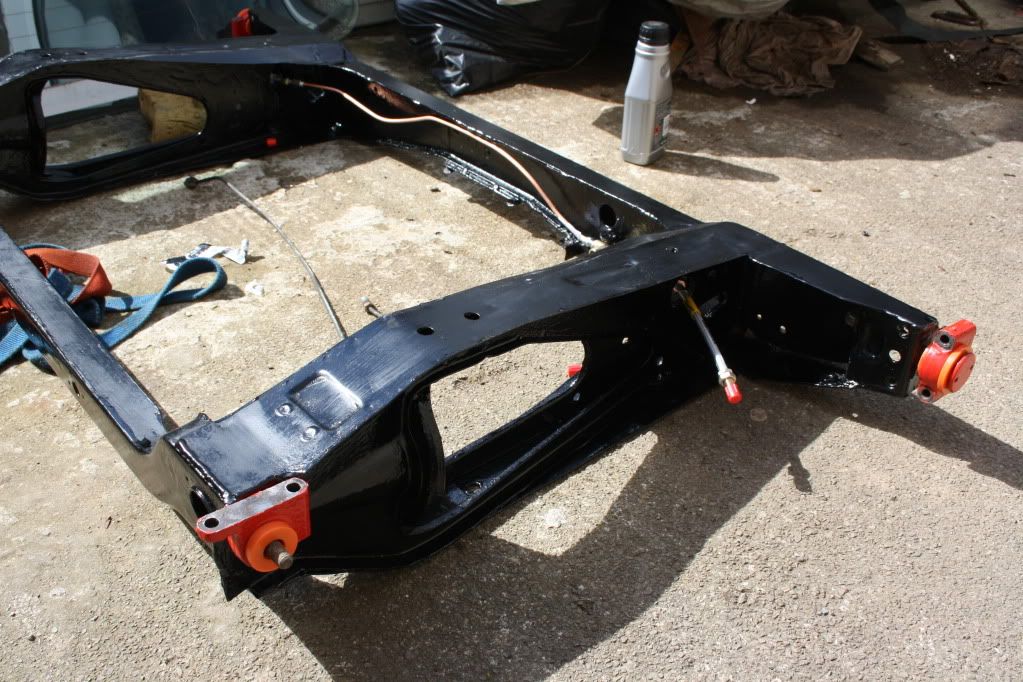
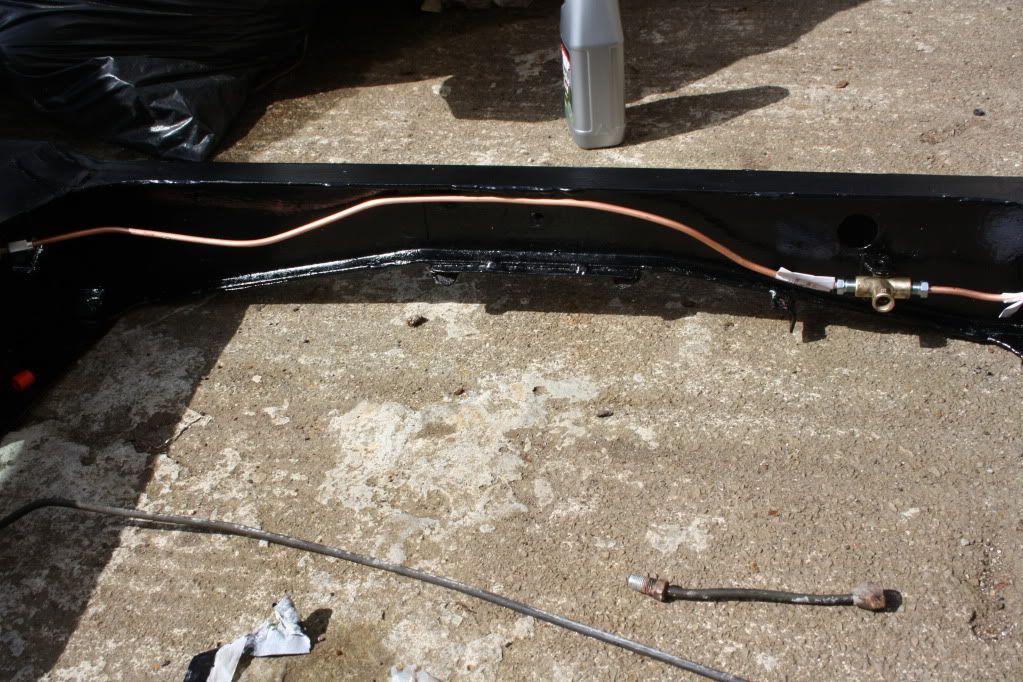
Heel board and boot floor now have a nice coat of chassis black -
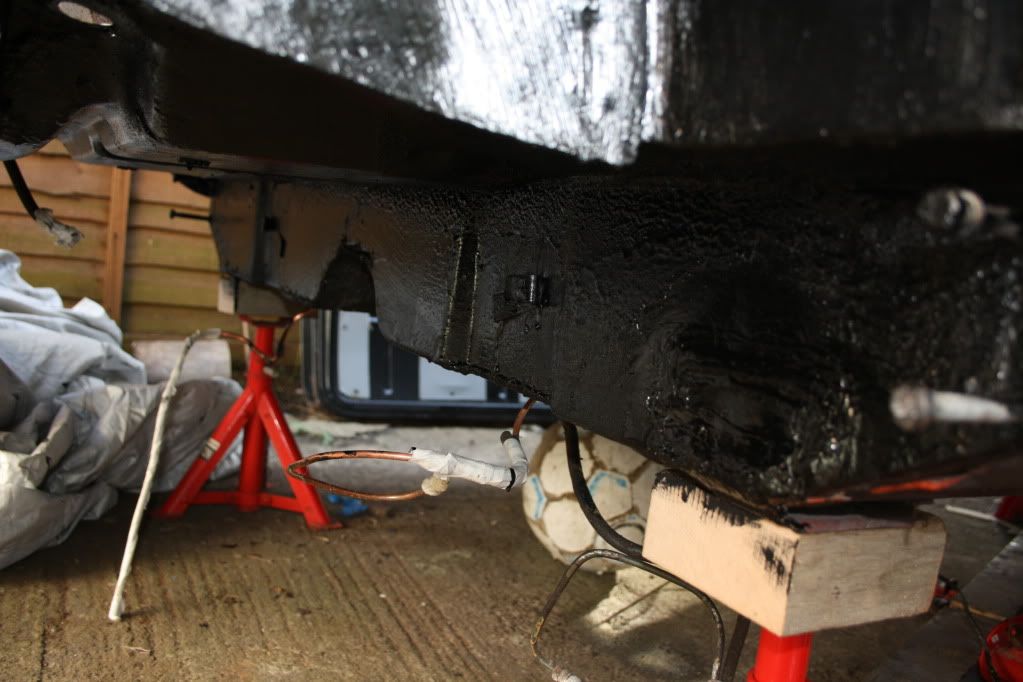
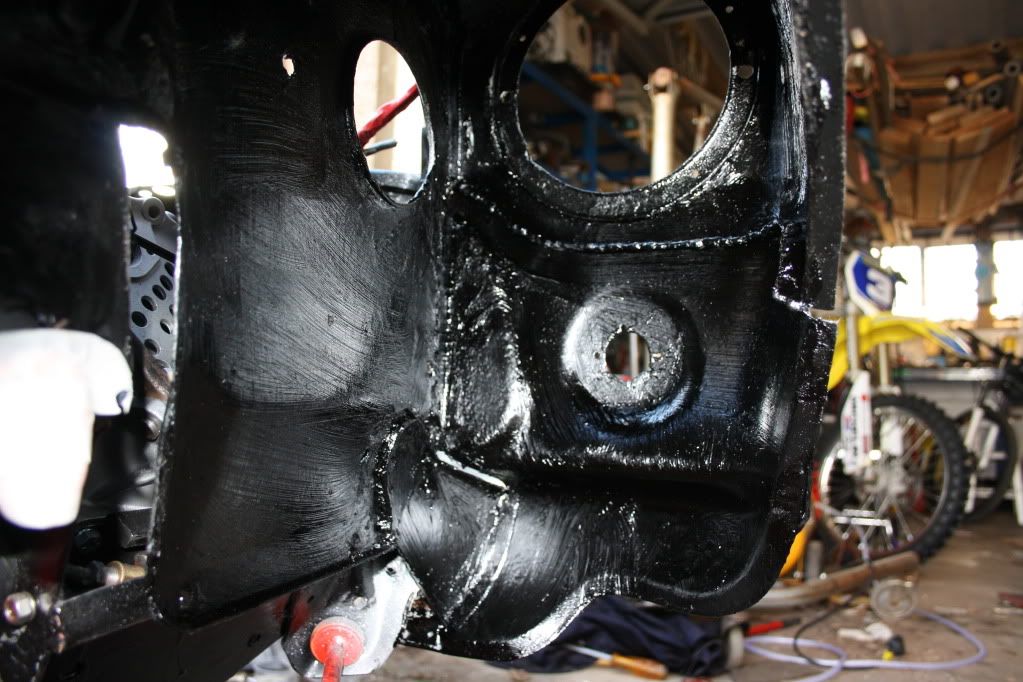
Arch in underseal -
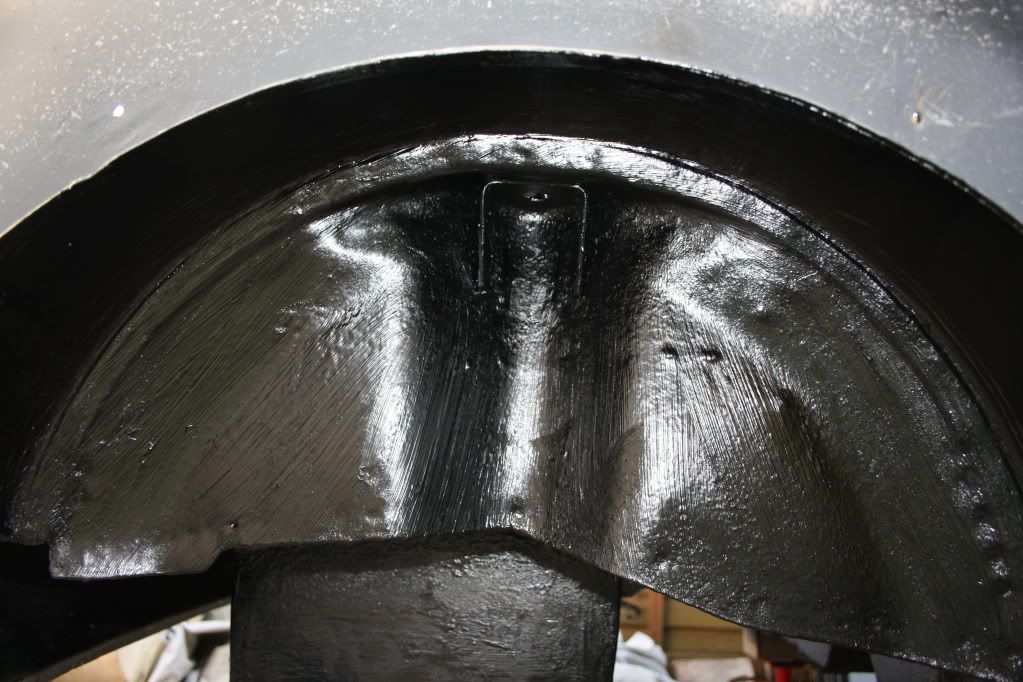
And the front arch -
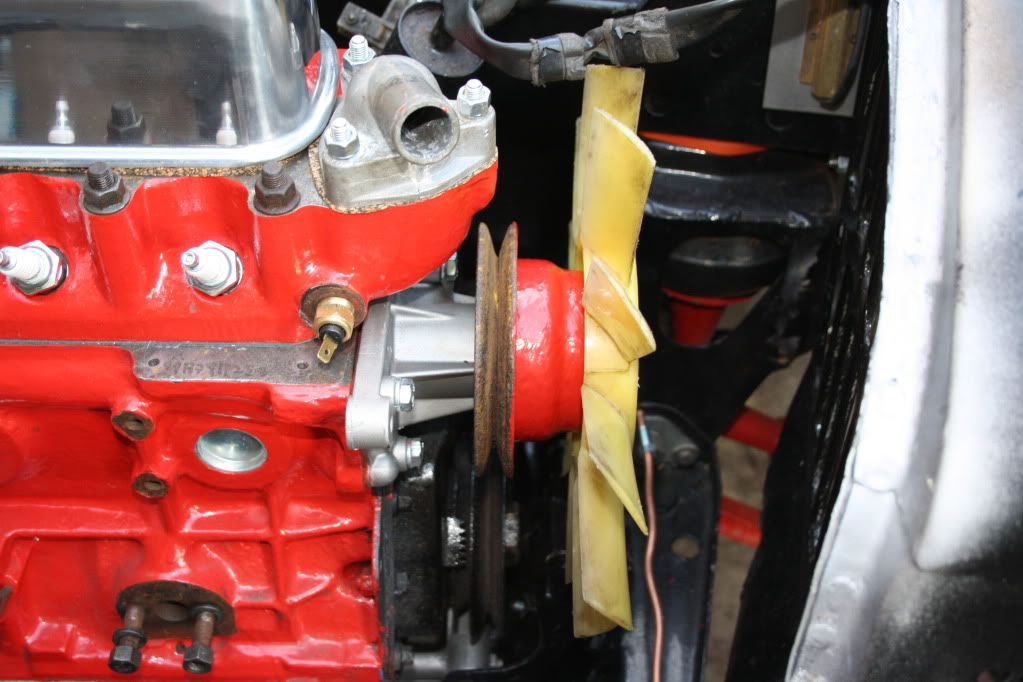
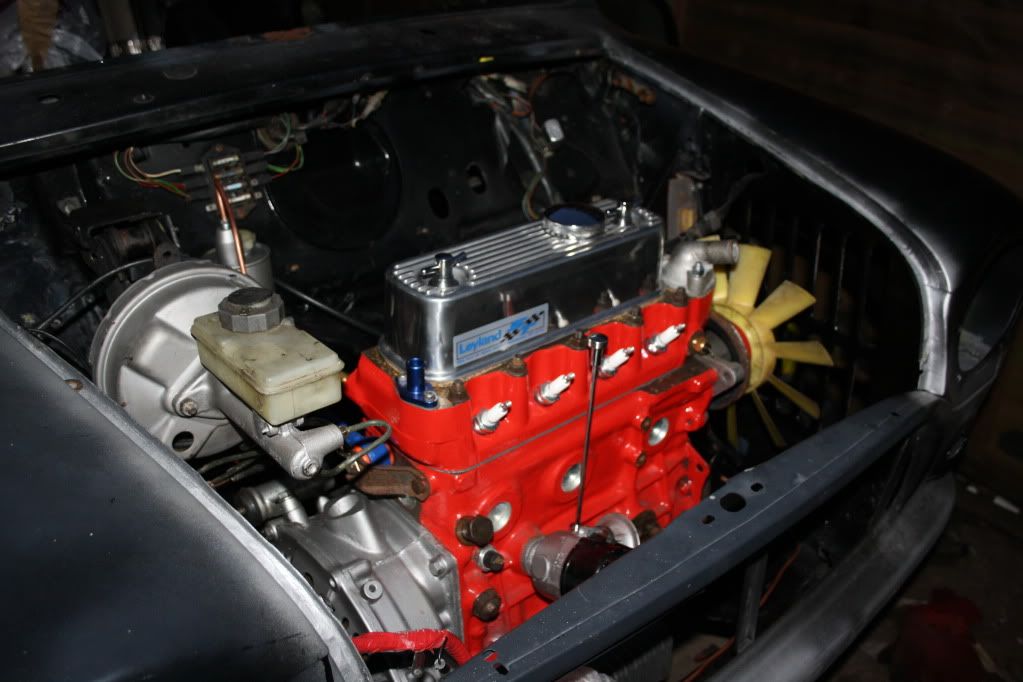
Thermostat housing on and the fan -
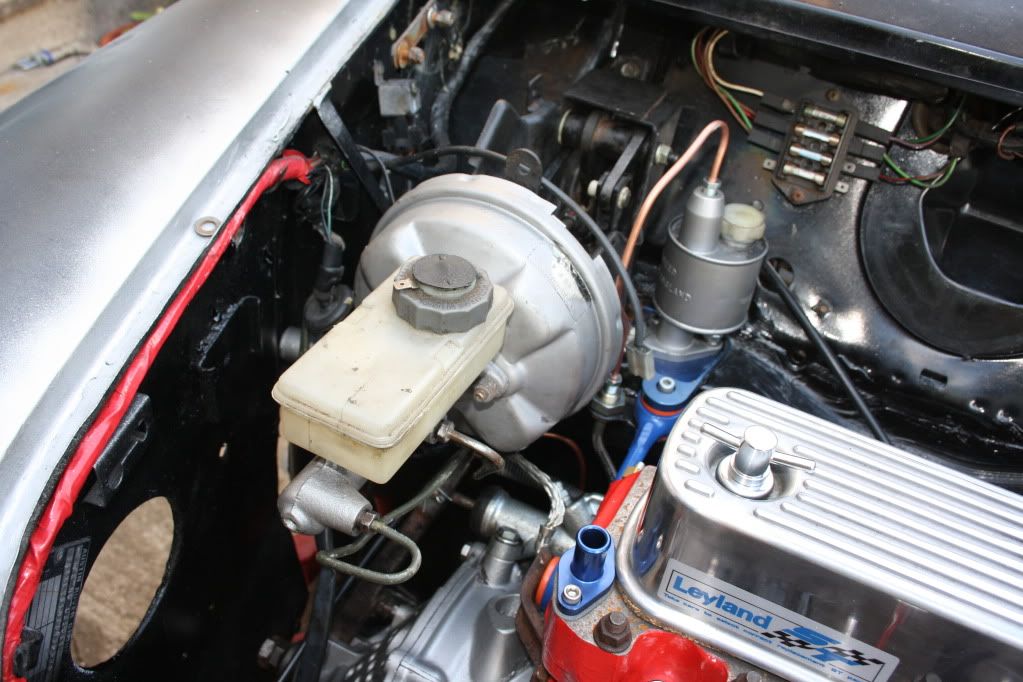
Attached the servo and connected it all up -
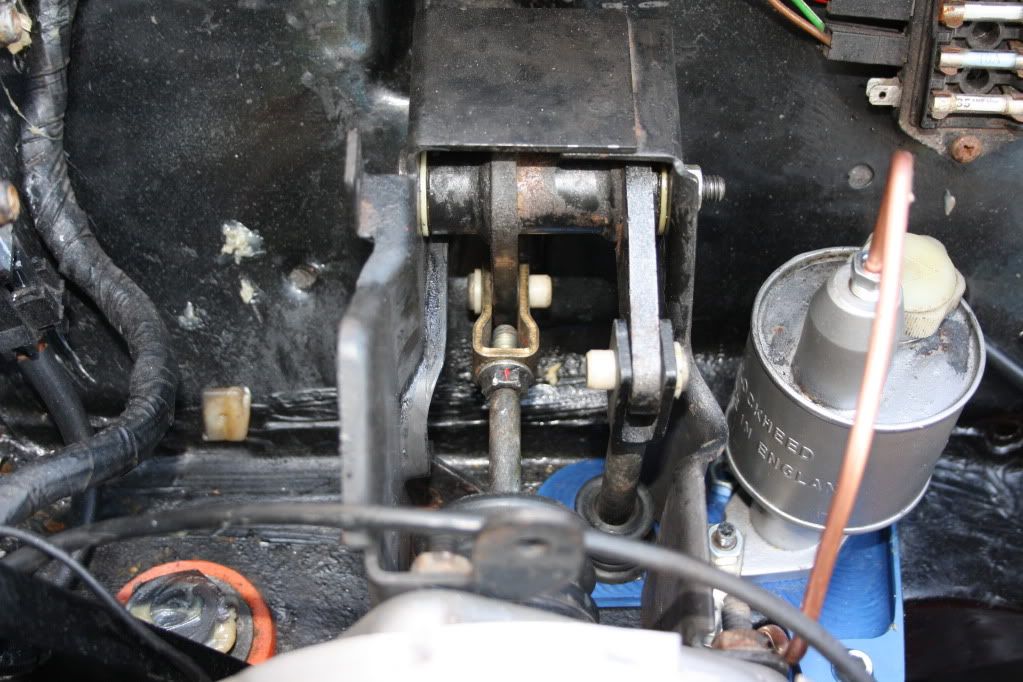
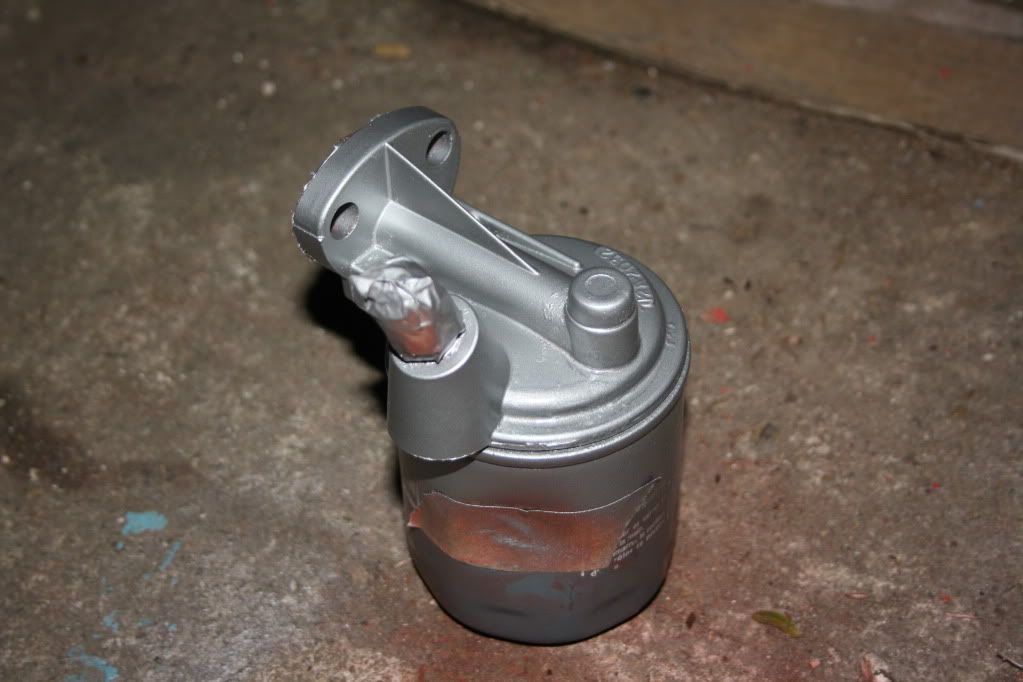
Sprayed the filter housing -
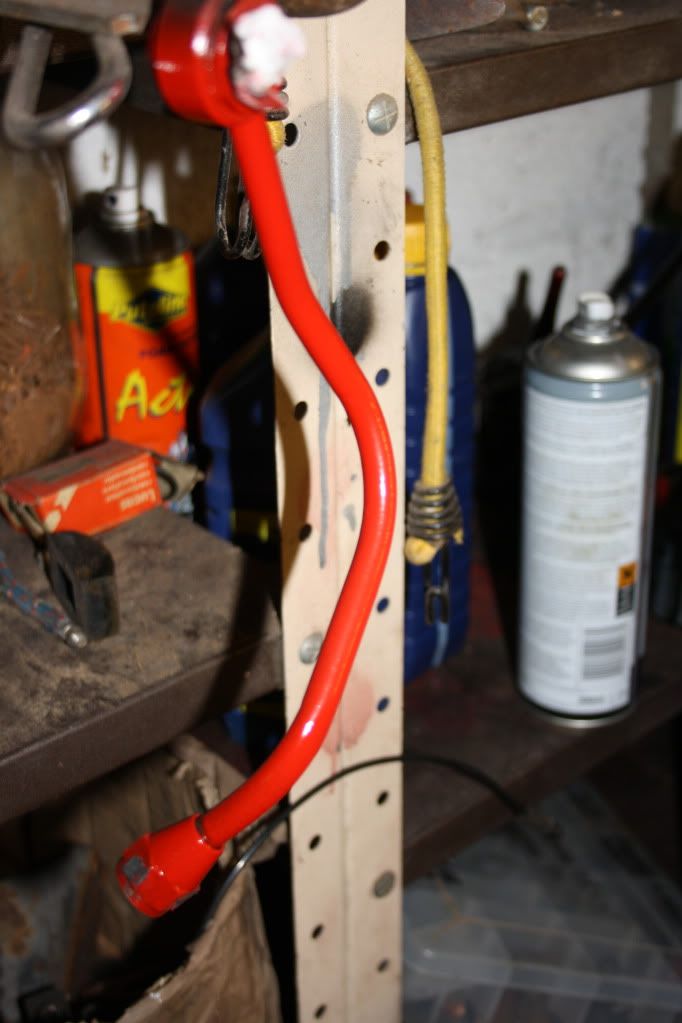
How shes standing now -
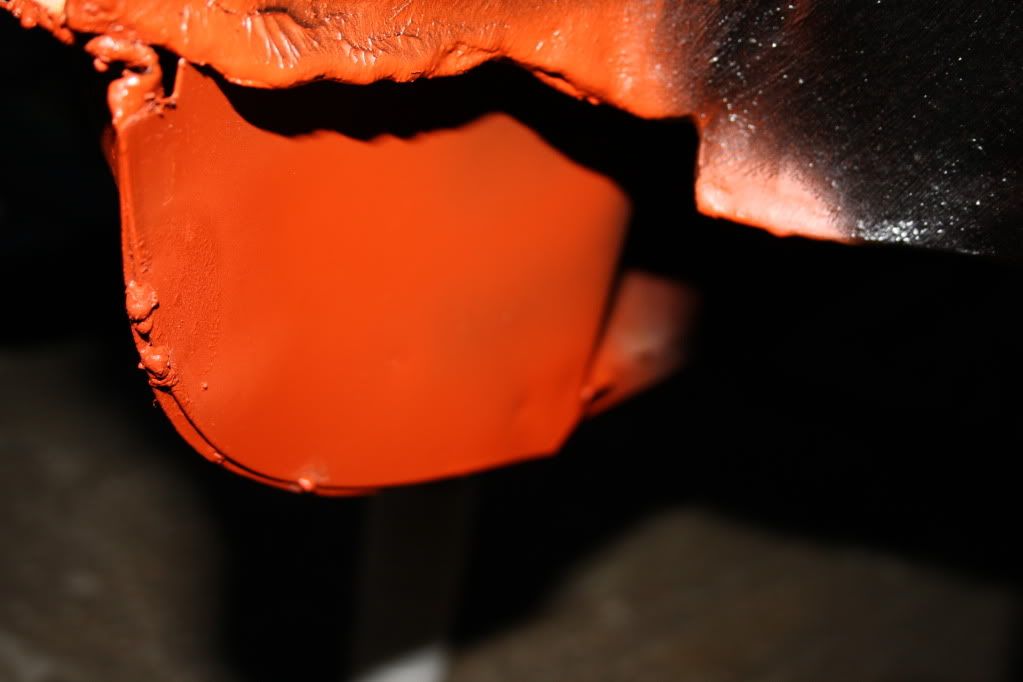
Tacked the first closing pannel on -
Thats about it car wise for now, However -
I ordered a 2 Meter role of real suede as i had something pretty cool in mind. Ive always likes how some luxury cars have suede dash boards and dash rails so i thought why not do it with mine, So here are my results -
I covered up the ashtray hole as i wont be using that -
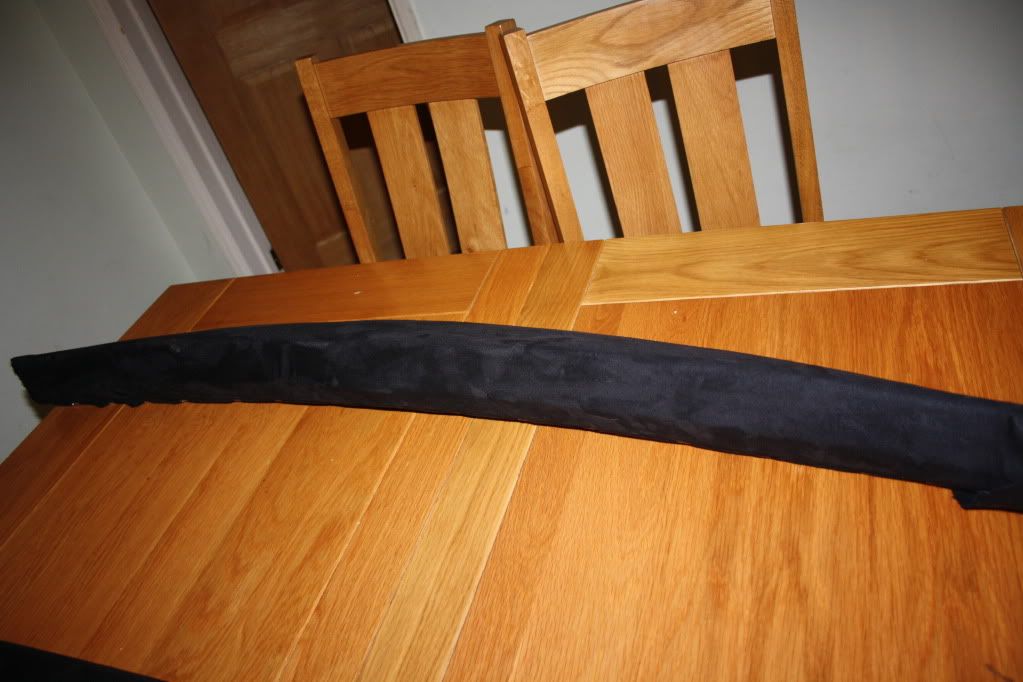
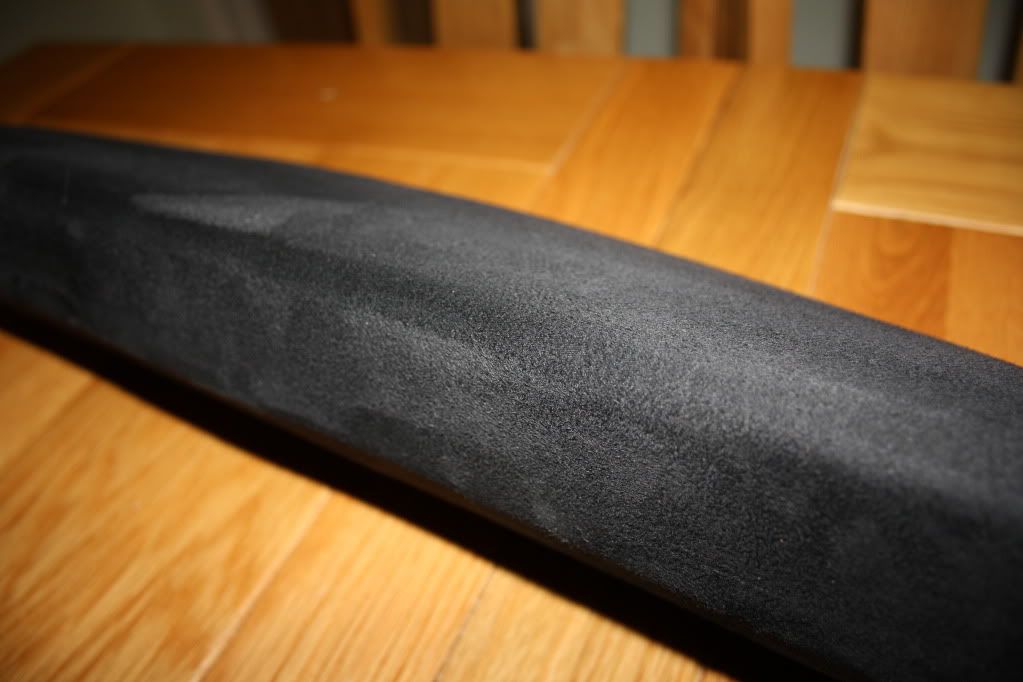
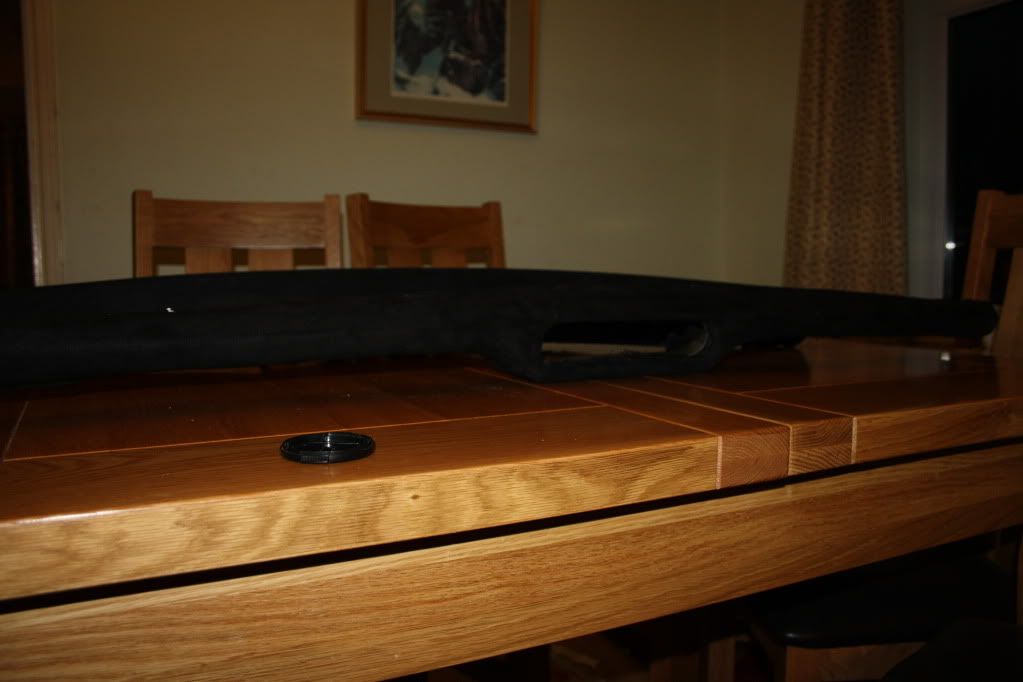
The photos really do not do them justice. They just feel and look so good and it only took me 2 Hours and cost me around £40 for material and glue etc.
I would love to know what you all think after this rather sizable update .
Andrew.
#294

Posted 11 April 2012 - 09:22 PM
#295

Posted 11 April 2012 - 09:41 PM
#296

Posted 12 April 2012 - 11:39 AM
#297

Posted 12 April 2012 - 12:03 PM
#298

Posted 12 April 2012 - 06:59 PM
Heres a before and after of my hub . Im really please considering how bad it was
Before -
After -
Just read the project from start to finish, doing a great job. The engine and subframes look mint
Just a little point, did you tap over the tab washer on the front ball joints as in the pictures it doesn't look as though you have.
(Could be wrong just checking )
I'll keep watching this one.
#299

Posted 12 April 2012 - 07:30 PM
The tabs have not been done yet as I have not finished shimming them up, So yes you were right
Good spot ;)
Andrew.
#300

Posted 13 April 2012 - 09:10 PM
Pictures -
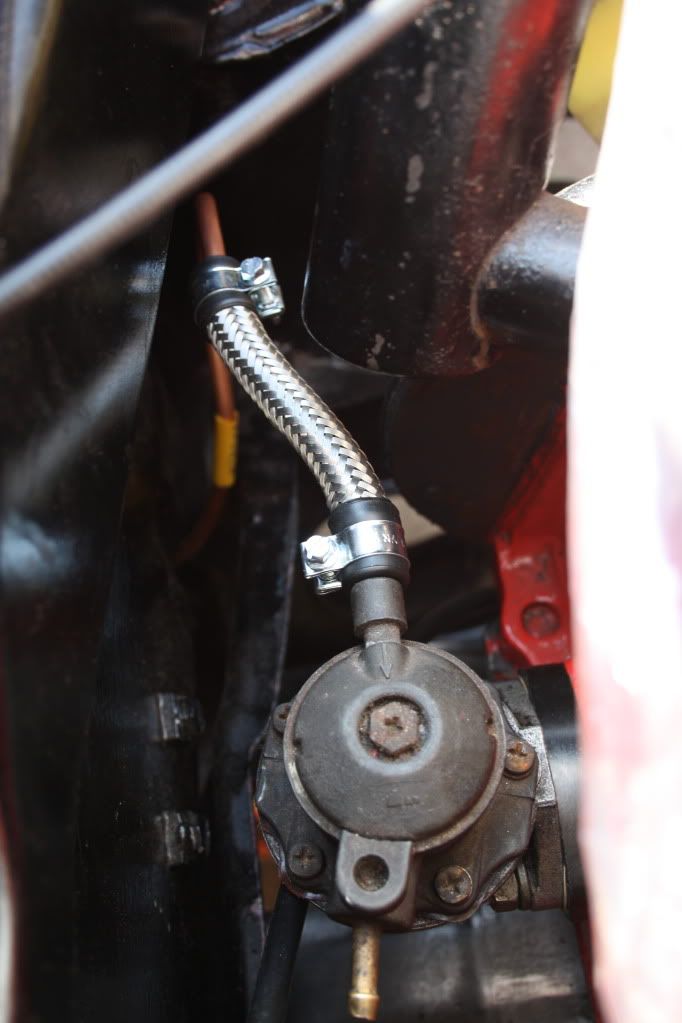
Fuel pump on with some sexy braided fuel line ( Not that you will see it anyway ) -
Three way junction hooked up -
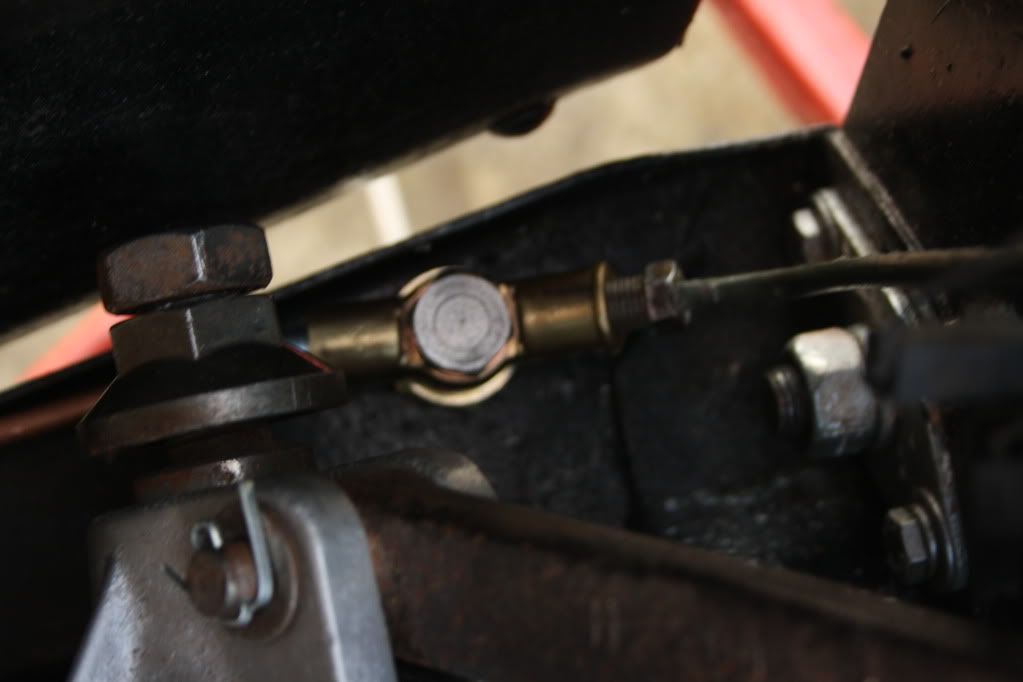
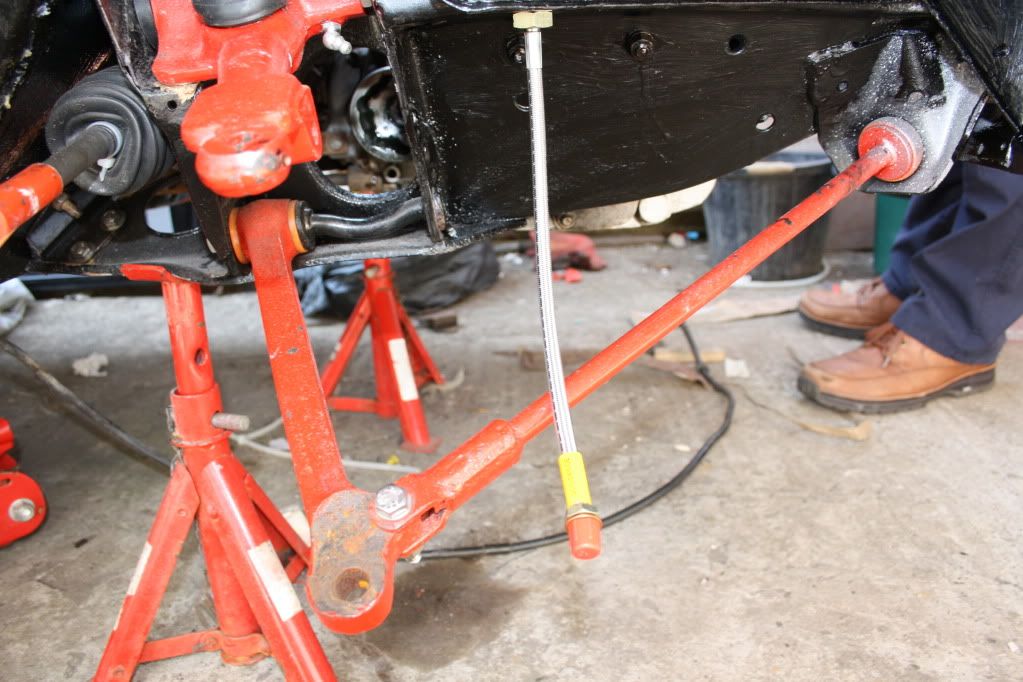
Braided front hoses arrived -
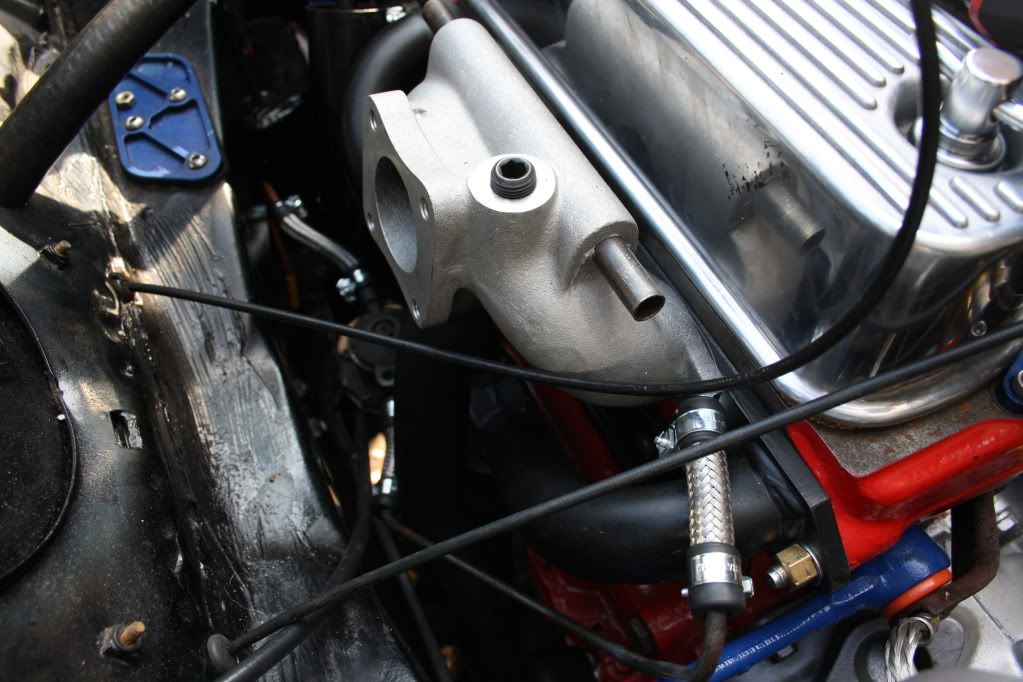
Stage 1 Inlet and Exhaust manifold fitted -
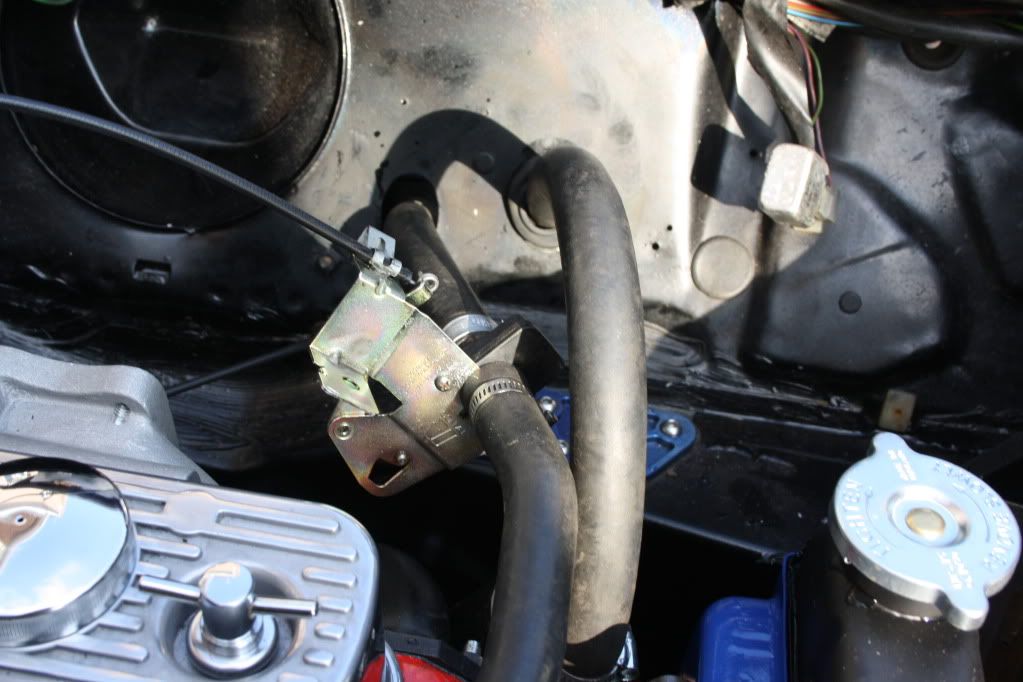
New heater valve hooked up -
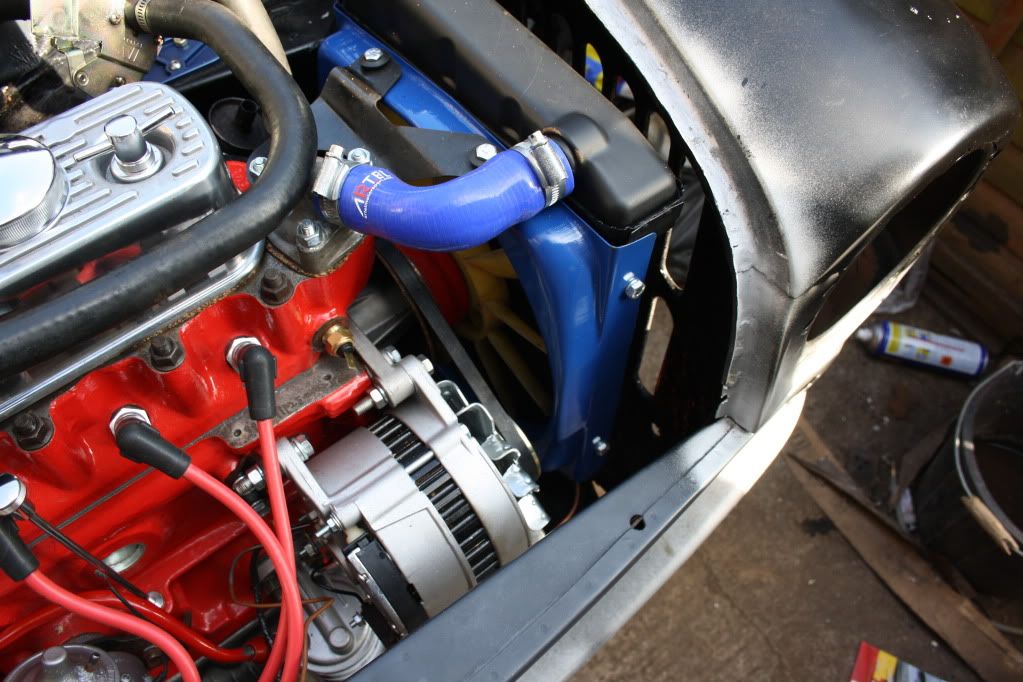
Radiator and alternator all connected -
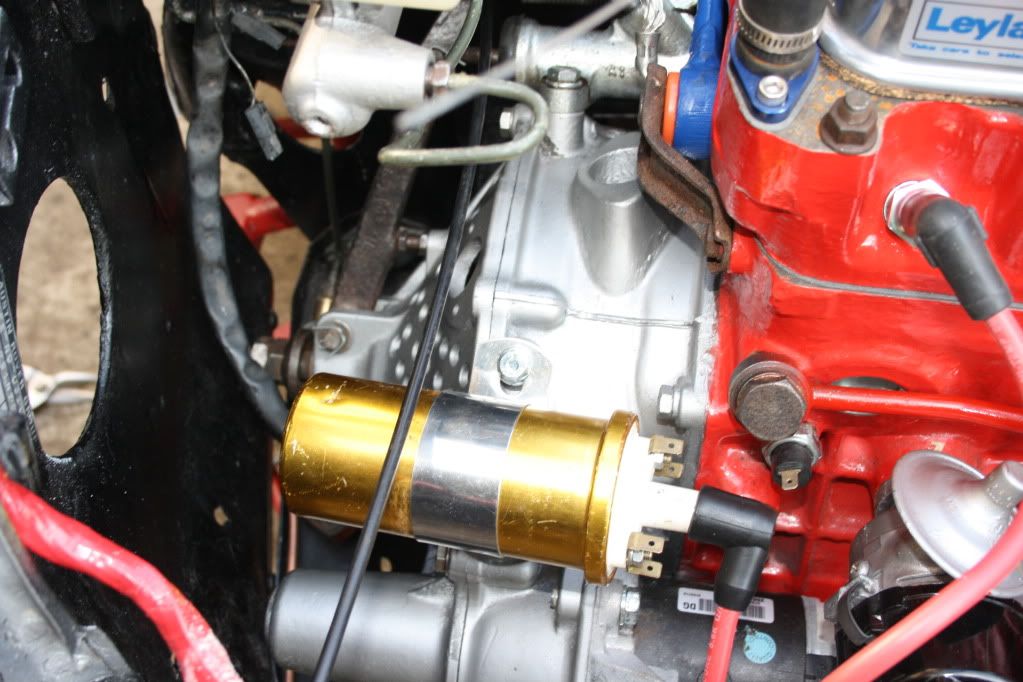
New Lucas coil -
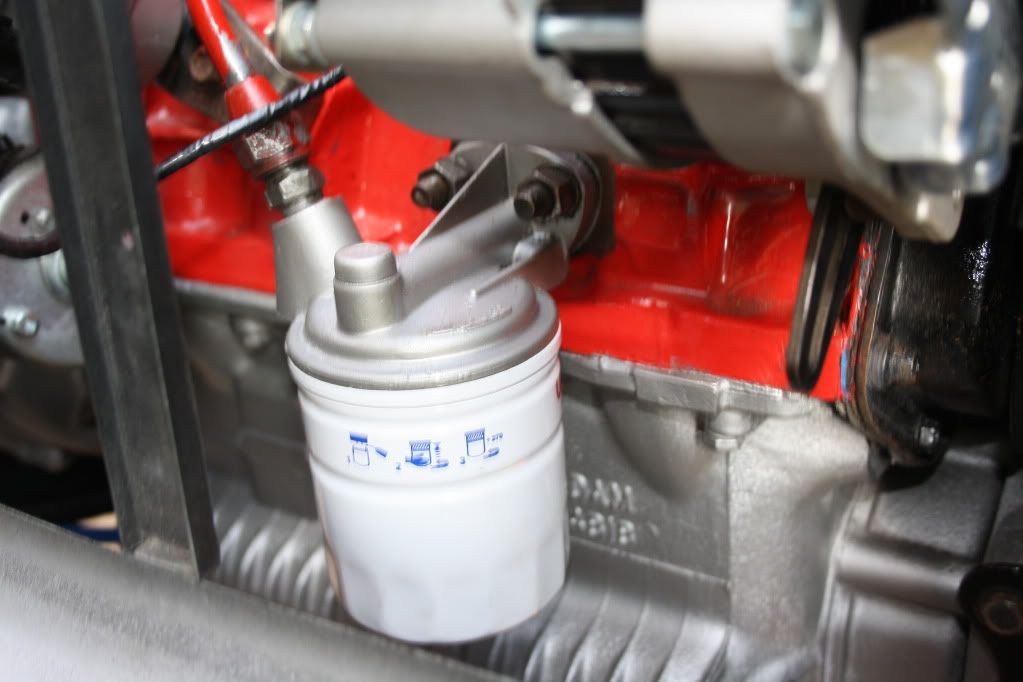
New oil filter is a must -
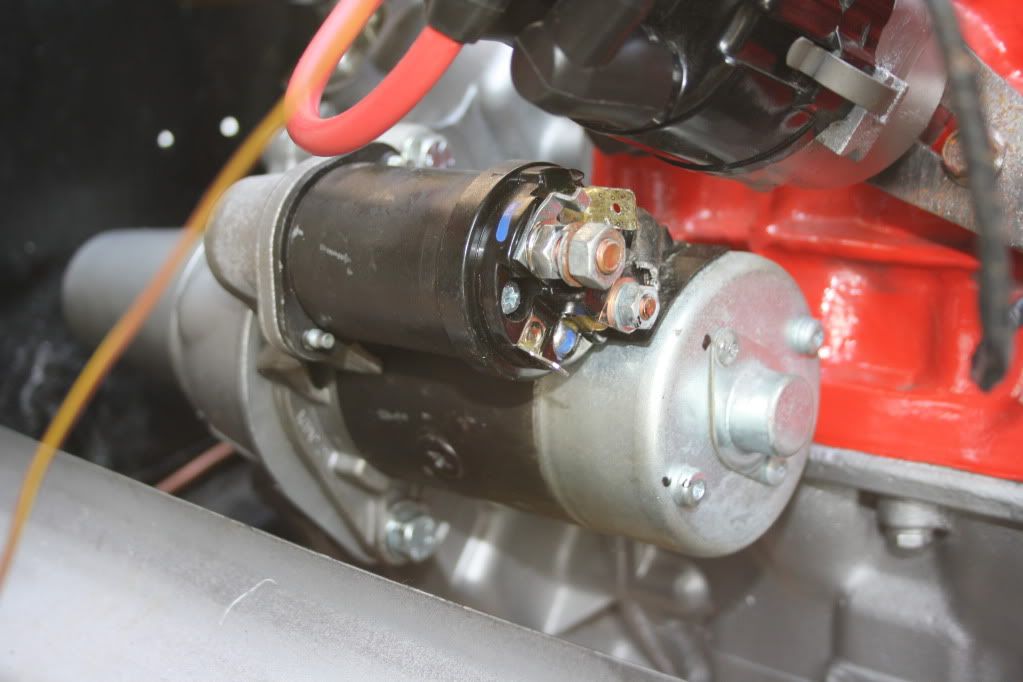
Brand new starter motor -
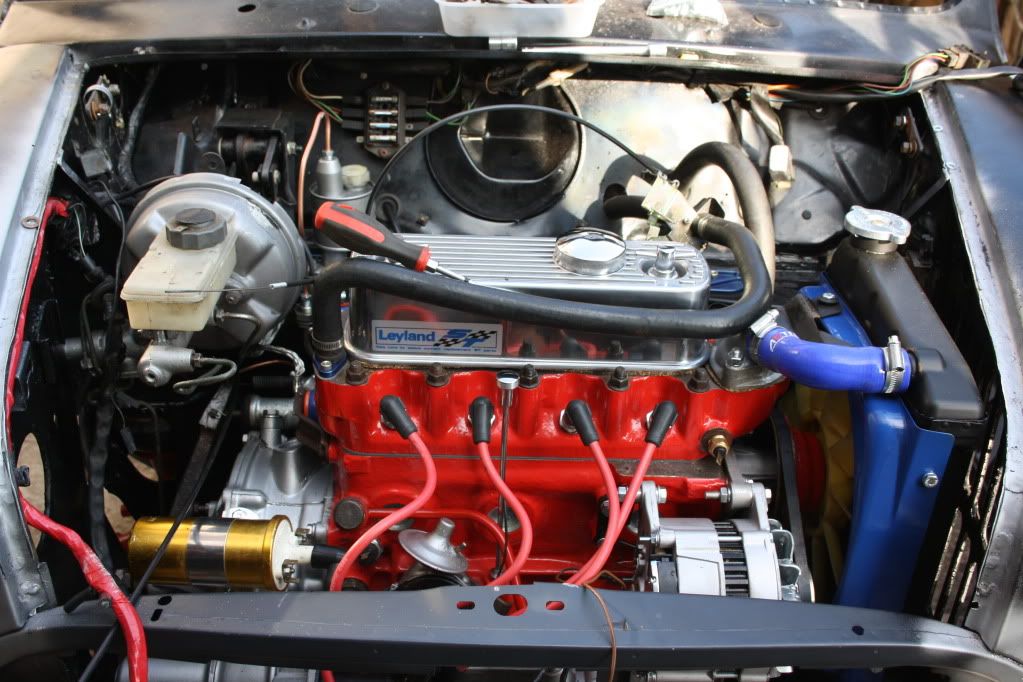
As she stands at the moment, Just got the carb to fit -
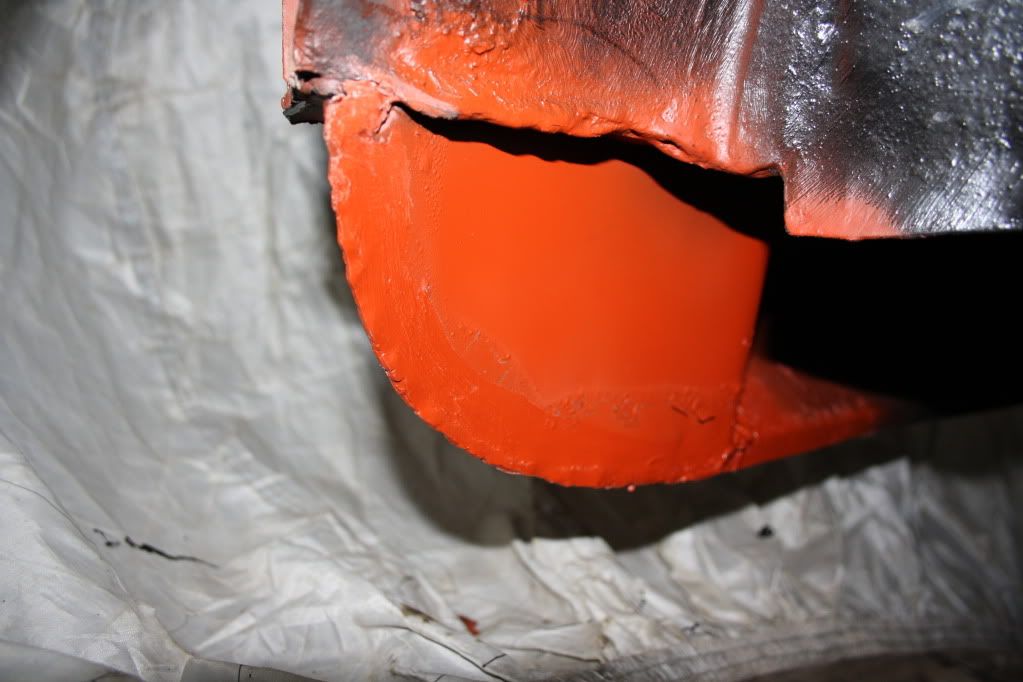
New closing panel welded on -
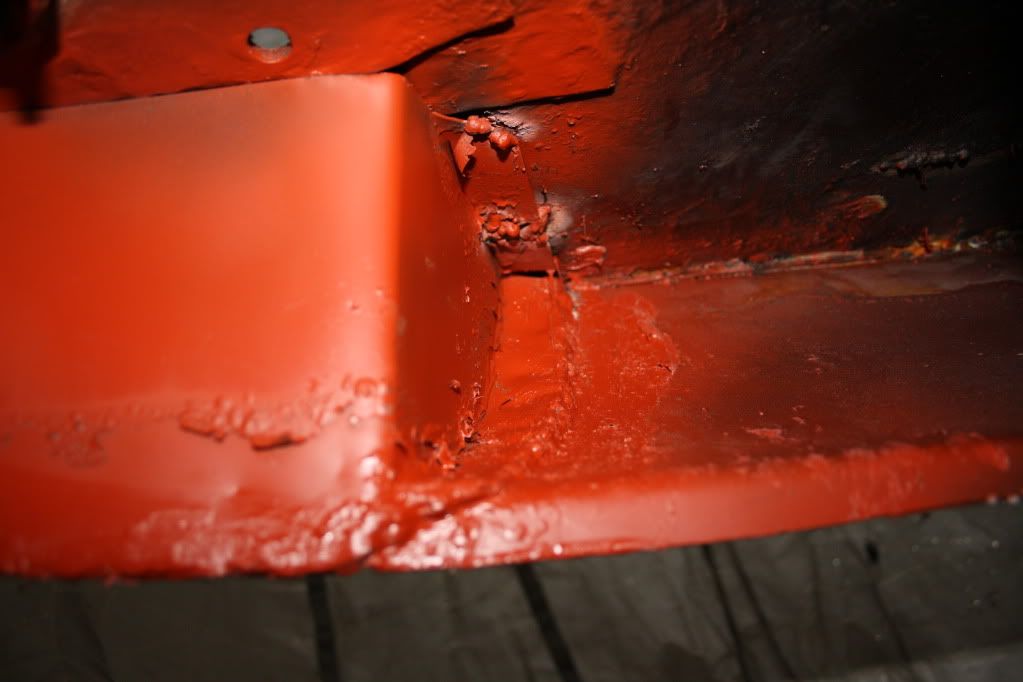
I now need to weld the other closing panel on and then finish de bumpering the valence.
Once this is done i can put the rear sub frame on, put the fuel tank in and then fire her up
All comments are very welcome as usual
Andrew.
Also tagged with one or more of these keywords: roundnose
Projects →
Mini Saloons →
Mini Cooper Project - Finally StartsStarted by piphatch , 08 Jan 2025 |
|
|
||
Projects →
Mini Saloons →
1965 Austin Mini Restoration - Canadian Mk1Started by DoubleEh , 14 Nov 2022 |
|
|
||
Projects →
Mini Saloons →
Project Joe - 1991 Mini Mayfair 998Started by Eggers , 02 Jun 2022 |
|

|
||
Projects →
Mini Saloons →
Mpi Dashboad ProblemStarted by mikeprez , 22 Dec 2021 |
|

|
||
Projects →
Mini Saloons →
1978 Oew - Willy The MiniStarted by smalltreegrower , 11 Nov 2021 |
|

|
1 user(s) are reading this topic
0 members, 1 guests, 0 anonymous users


