#256

Posted 31 March 2012 - 07:13 PM
Hugh
#257

Posted 31 March 2012 - 07:16 PM
Aha, I probably should be doing Alevel revision but ow well this is more fun.Andrew boy - slow down!!! You just make me so ashamed how little I get through. Most interested in your sound deadening. I may copy you.
Hugh
And go for it, silent coat is excellent. It's very easy to work with and does the job
Andrew
#258

Posted 31 March 2012 - 07:51 PM
we are at similar stages aren't we, i am using water proof laminate flooring under lay as sound deadening in Cliff, it is fairly similar to the stuff you've got
keep it up bud
Rhys
PS: me too
#259

Posted 31 March 2012 - 08:00 PM
looking good pal, i like the de-bumpered look but i want to keep my 30 as standard as possible
we are at similar stages aren't we, i am using water proof laminate flooring under lay as sound deadening in Cliff, it is fairly similar to the stuff you've got
keep it up bud
Rhys
PS: me too............oh well i'll do my home work tomorrow
Thanks very much
Yeah im not going original with my build but it's all personal choice
#260

Posted 31 March 2012 - 08:06 PM
Graham
#261

Posted 31 March 2012 - 08:17 PM
I know I've been busy.Not seen you for a little while Andrew, or have I missed ur updates ??? Anyhoo, coming along at a fair pace, nice work along the way too. Keep it up and the pics comming.
Graham
Thanks very much for the nice comments, You know how much I appreciate them
Andrew
#262

Posted 02 April 2012 - 09:23 PM
Nothing special but it all has to be done
Pictures -
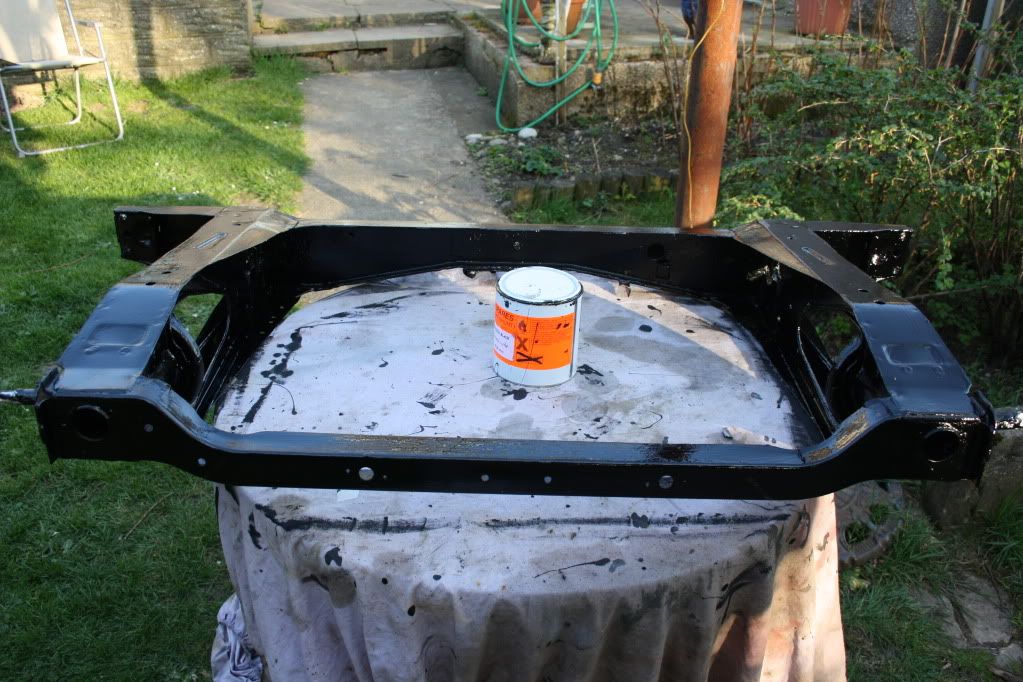
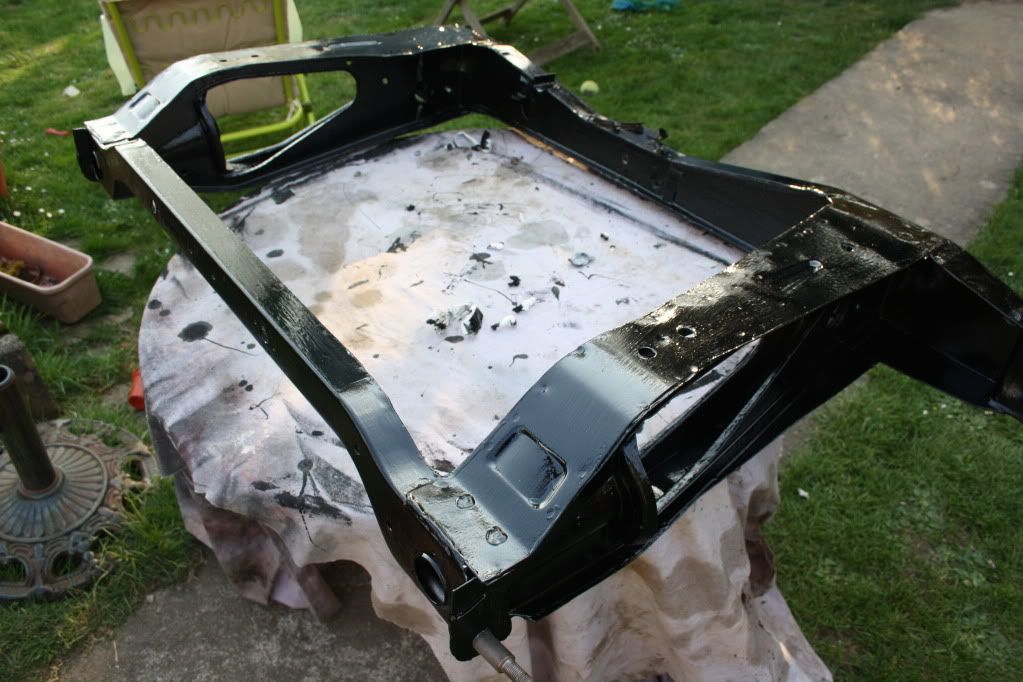
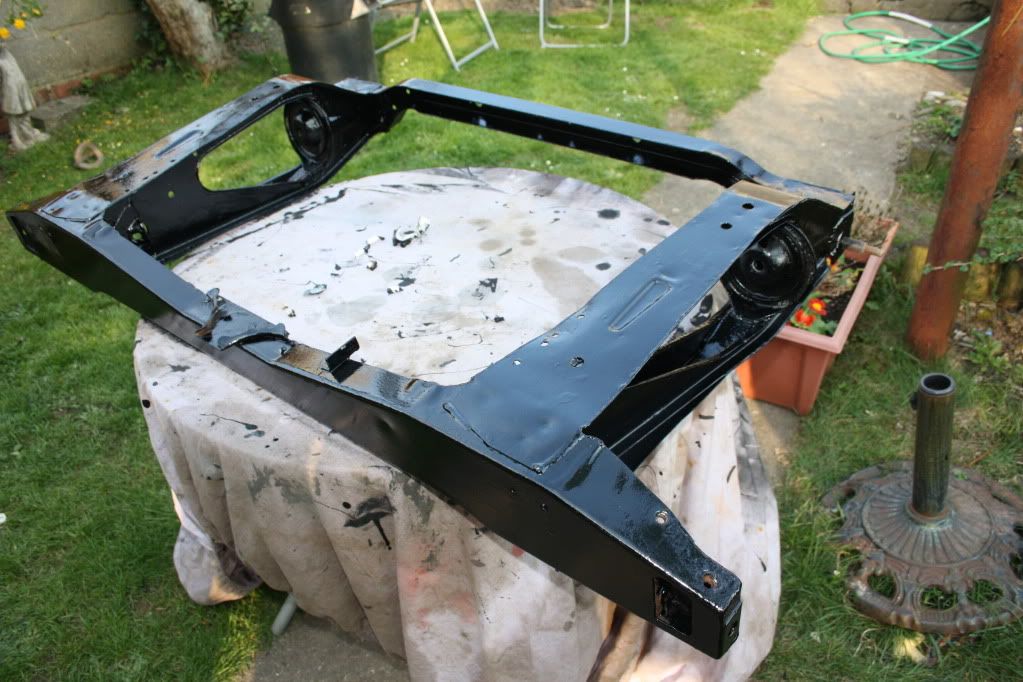
Finally got the rear subby all cleaned up and in its first layer of Chassis black -
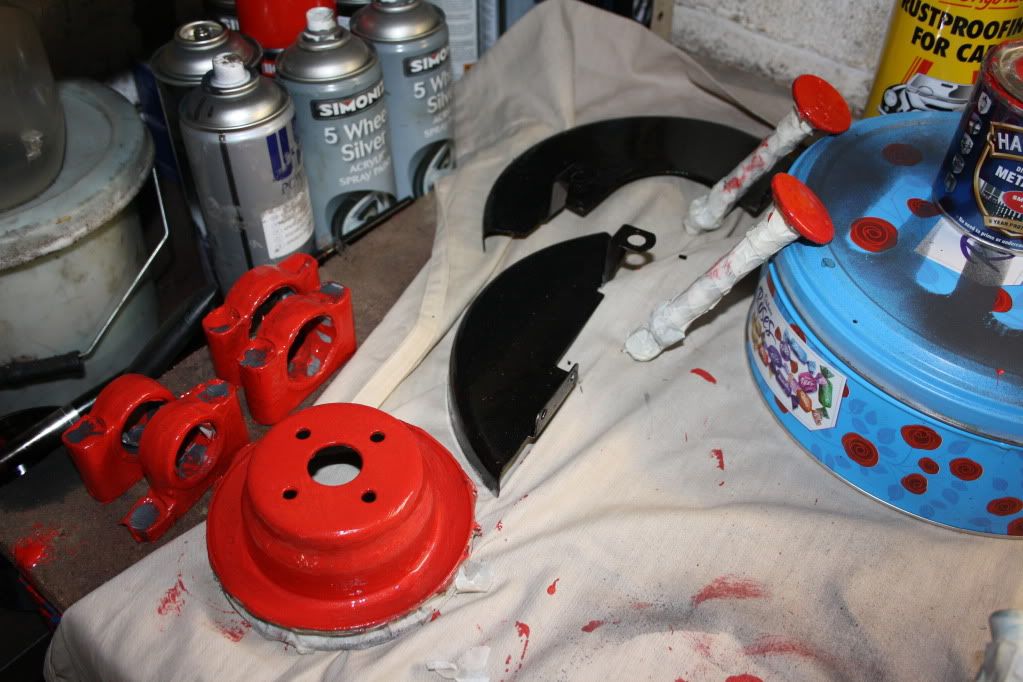
Rear sub frame mounts all masked off -
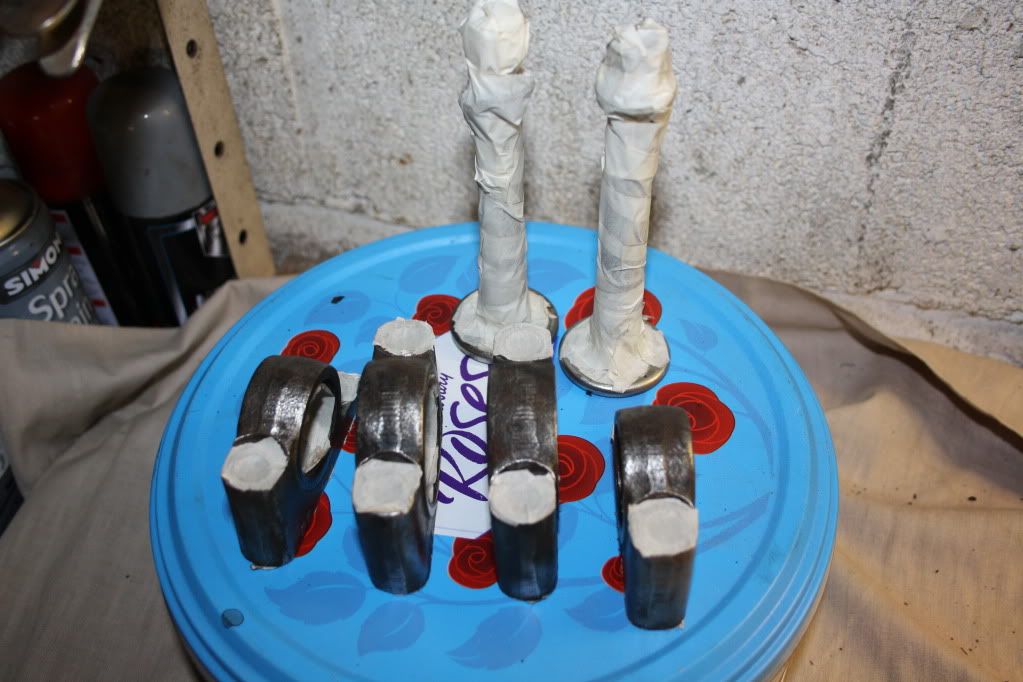
Radius arms in etch primer -
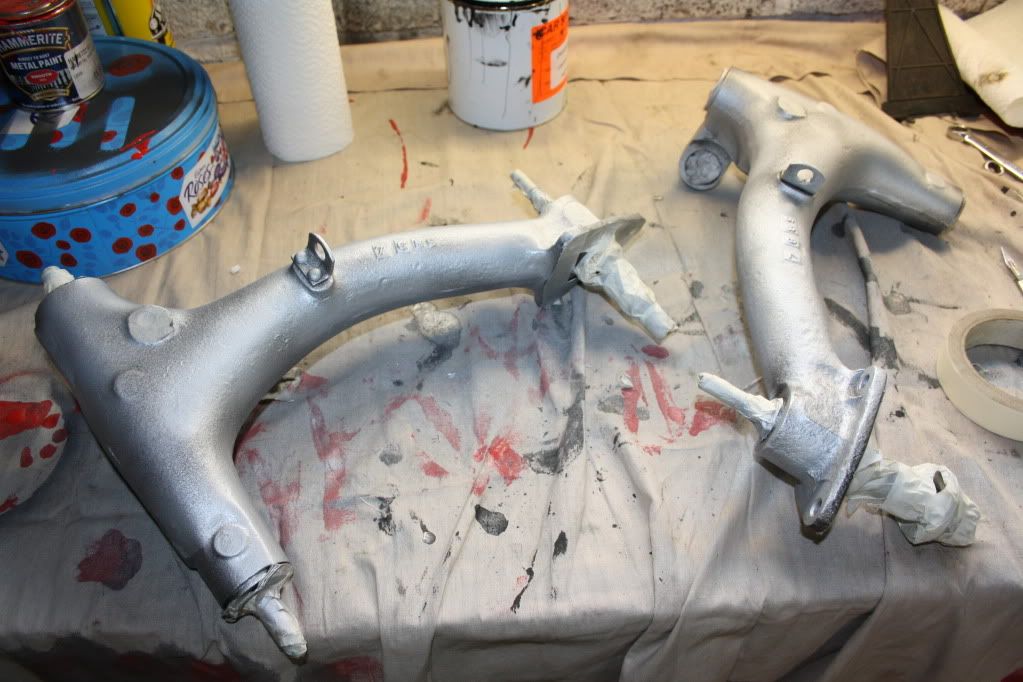
First few layers of paint -
After 6 layers the sub frame is finished, ready to be rebuilt and covered in under seal -
All comments very welcome as usual
There should be another update up tomorrow as i have a day off school
Andrew.
#263

Posted 03 April 2012 - 04:44 PM
Photos to come later tonight
#264

Posted 03 April 2012 - 05:35 PM
#265

Posted 03 April 2012 - 05:53 PM
Here is today's update
Pictures -
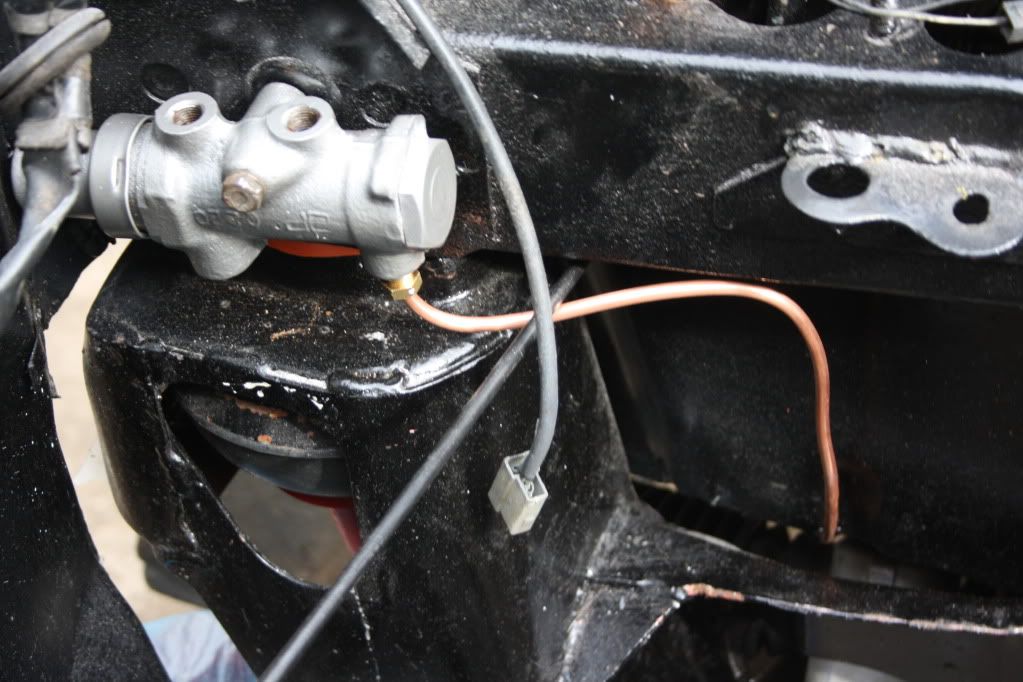
Got the front to back brake line in -
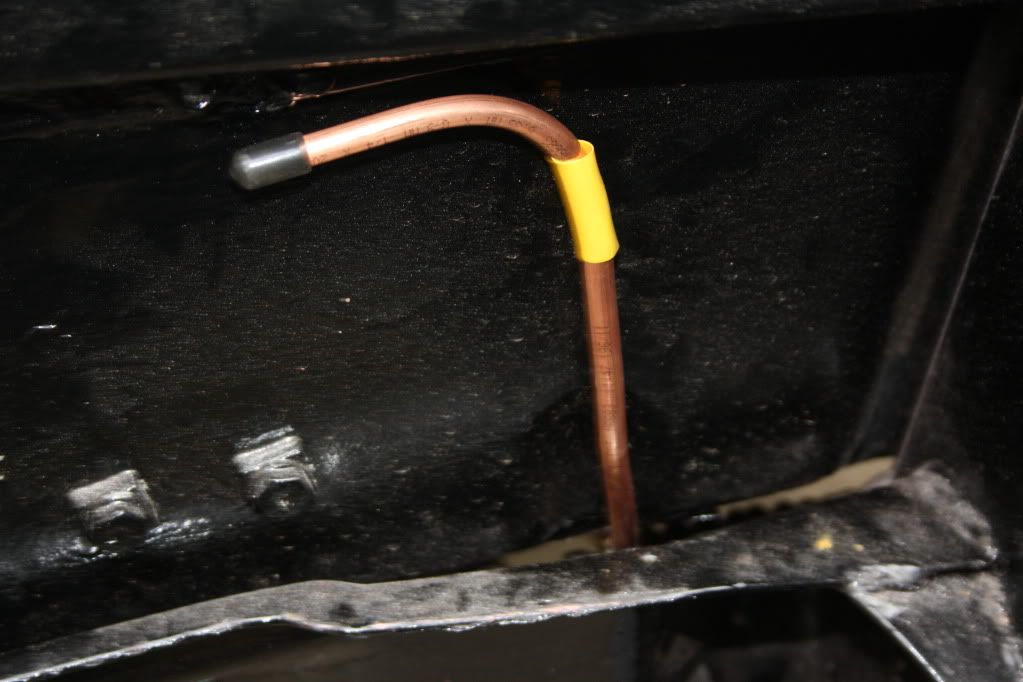
Got the fuel line in -
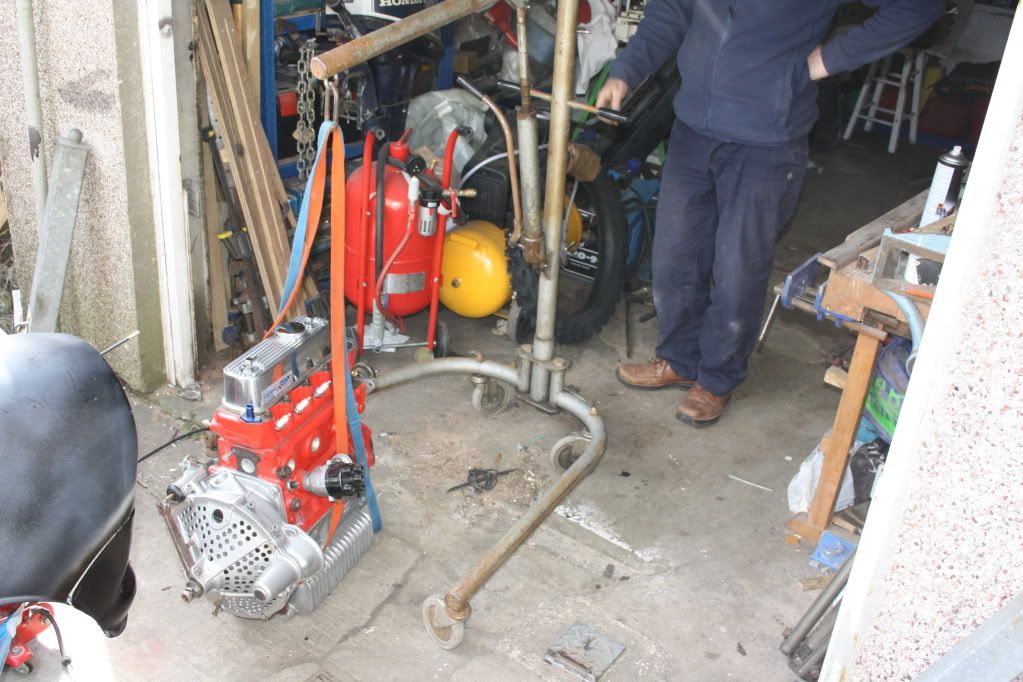
Engine getting ready -
Almost there -
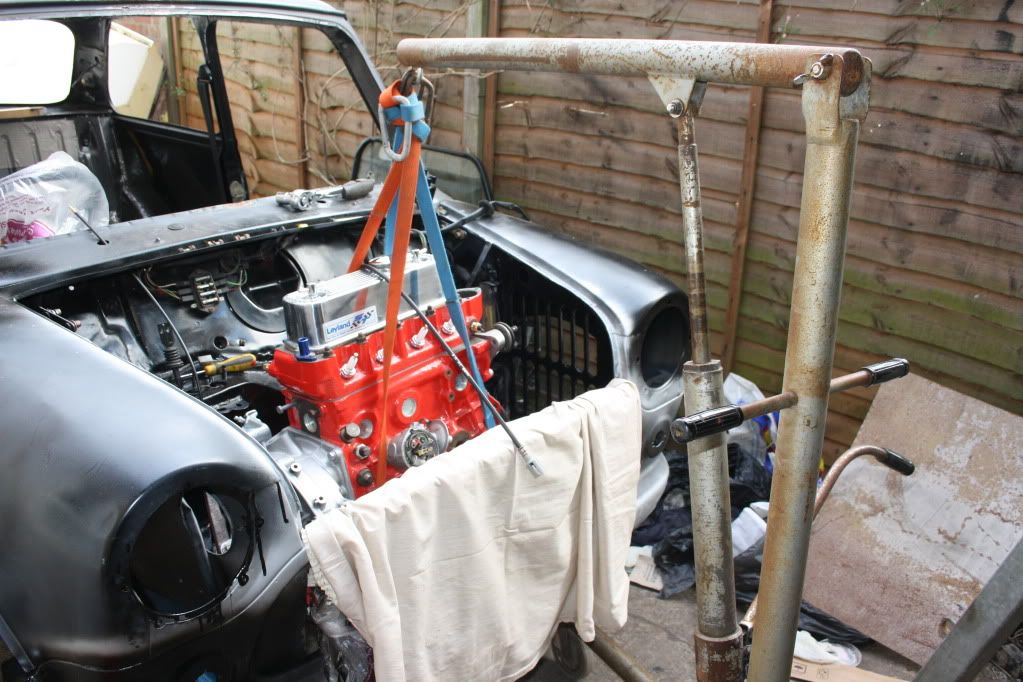
All tucked up and reunited after 6 months in a new home ( Here is a before and after )
Before -

After -
It started raining so i had to cover it up but you get the gist -
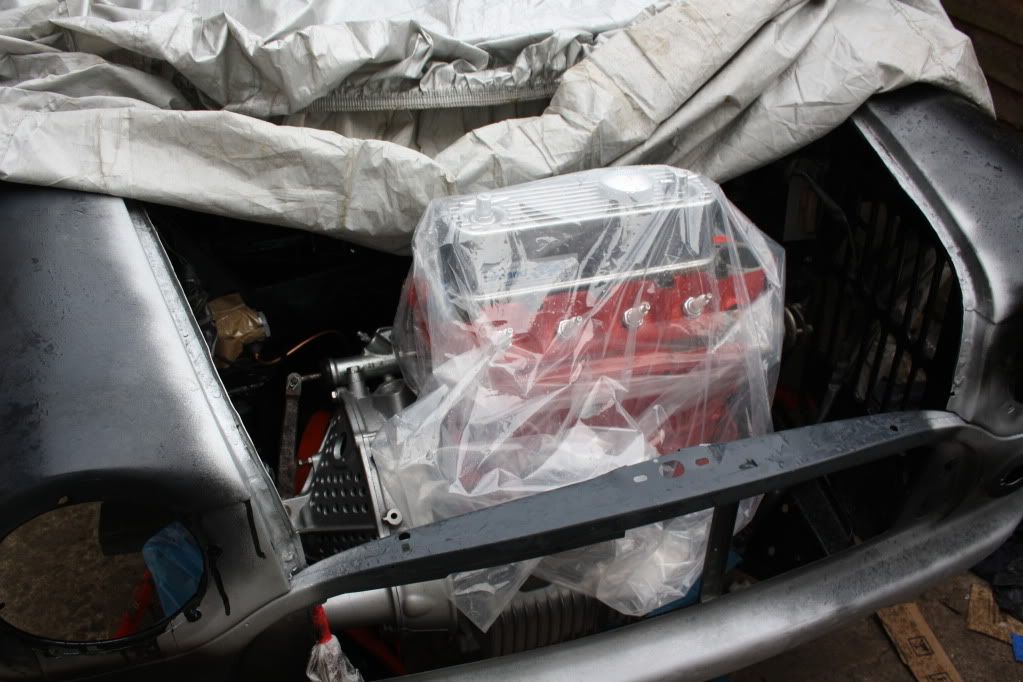
I would love to hear what everyone thinks
More updates very soon
Andrew.
#266

Posted 03 April 2012 - 05:59 PM
#267

Posted 03 April 2012 - 06:03 PM
Its great to know your watching
Andrew.
#268

Posted 03 April 2012 - 06:23 PM
Hugh
#269

Posted 03 April 2012 - 06:31 PM
I'm just really keen to get things done for when I'm driving
Andrew
#270

Posted 03 April 2012 - 07:18 PM
Also tagged with one or more of these keywords: roundnose
Projects →
Mini Saloons →
Mini Cooper Project - Finally StartsStarted by piphatch , 08 Jan 2025 |
|
|
||
Projects →
Mini Saloons →
1965 Austin Mini Restoration - Canadian Mk1Started by DoubleEh , 14 Nov 2022 |
|
|
||
Projects →
Mini Saloons →
Project Joe - 1991 Mini Mayfair 998Started by Eggers , 02 Jun 2022 |
|

|
||
Projects →
Mini Saloons →
Mpi Dashboad ProblemStarted by mikeprez , 22 Dec 2021 |
|

|
||
Projects →
Mini Saloons →
1978 Oew - Willy The MiniStarted by smalltreegrower , 11 Nov 2021 |
|

|
1 user(s) are reading this topic
0 members, 1 guests, 0 anonymous users


