ahh thats a good idea


Road Rally Mini Project
Started by
minisi35
, Jun 11 2011 03:24 PM
609 replies to this topic
#466

danny1
-

- Members
-

- 1,321 posts
In the navy you can sail 7 peas
- Local Club: bumpstart
Posted 30 April 2013 - 08:33 PM
#467
minisi35
-
- Members
-
- 723 posts
One Carb Or Two?
- Local Club: british mini club shropshire
Posted 30 April 2013 - 10:45 PM
Looking good!...So how many gearboxes do you have laying around for the need to write 3.4 on that one?

I wish my pockets were that deep !! That's how they marked it when it was reconditioned
#468
minisi35
-
- Members
-
- 723 posts
One Carb Or Two?
- Local Club: british mini club shropshire
Posted 30 April 2013 - 10:52 PM
Rally515 is spot on. The last event I did in my cooper we retired as the coil packed in and we hadn't got the spare with us. This left us for 4 hours and waiting for recovery!!whats the idea behind runnign to coils, will they both be conected up?
Most of the problems I've had on events I've tried to make things quicker and easier In this car , such as the coils, having the fuses, relays, brake/fuel lines inside etc
Edited by minisi35, 30 April 2013 - 10:53 PM.
#469
minisi35
-
- Members
-
- 723 posts
One Carb Or Two?
- Local Club: british mini club shropshire
Posted 01 May 2013 - 09:50 PM
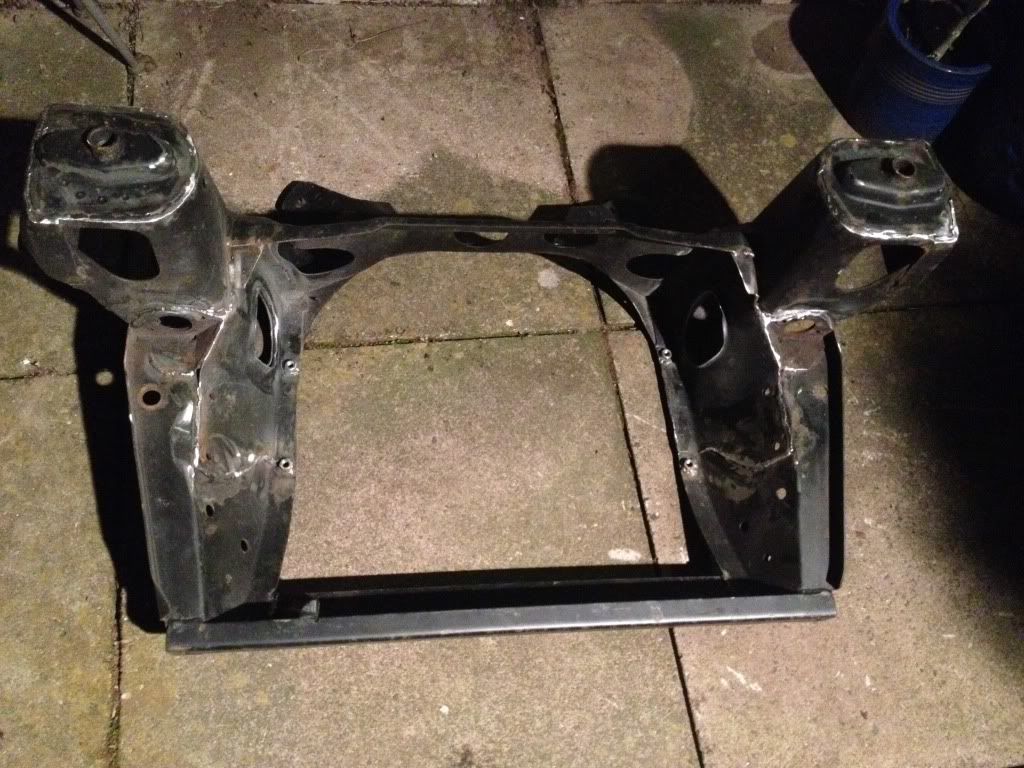
And carrying on from my previous comment this was last nights work, one seam welded subframe ready for paint. You can see I've welded the nuts in place for the sump guard as on my old mini they were just nut and bolt which took an age to fit and remove
#470
keefr22
-

- Members
-
- 591 posts
Super Mini Mad
Posted 01 May 2013 - 09:55 PM
You can see I've welded the nuts in place for the sump guard as on my old mini they were just nut and bolt which took an age to fit and remove
Good thinking!
#471
minisi35
-
- Members
-
- 723 posts
One Carb Or Two?
- Local Club: british mini club shropshire
Posted 03 May 2013 - 06:54 AM
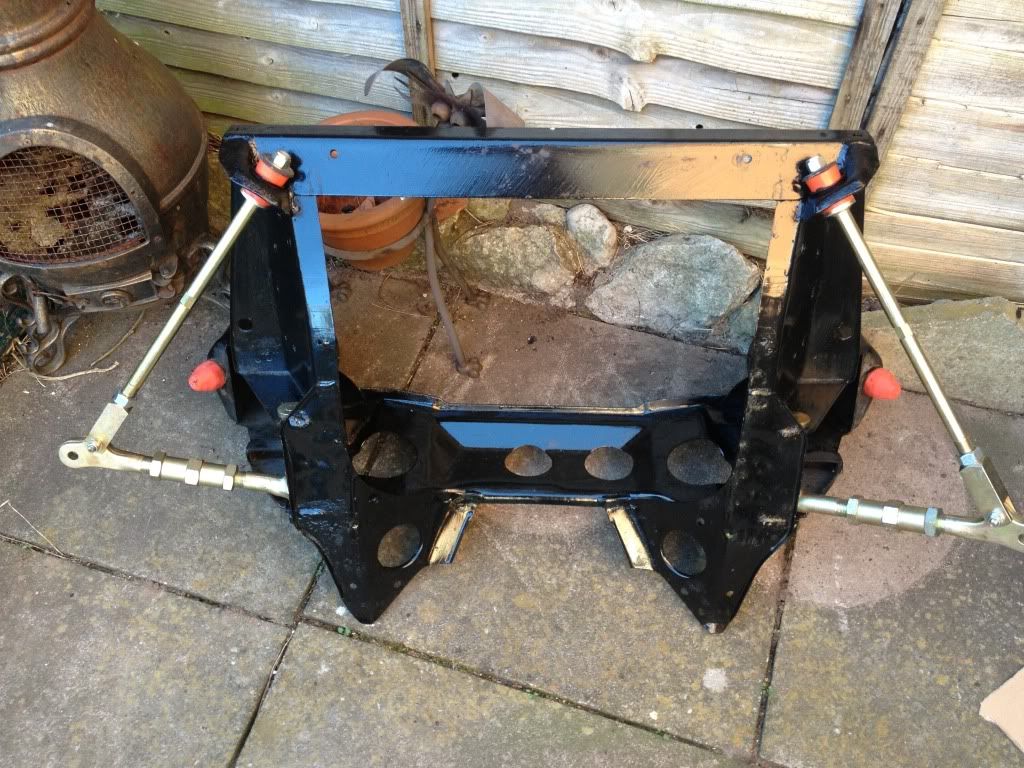
Such a good day weather wise yesterday that I managed to get the subframe painted and dried
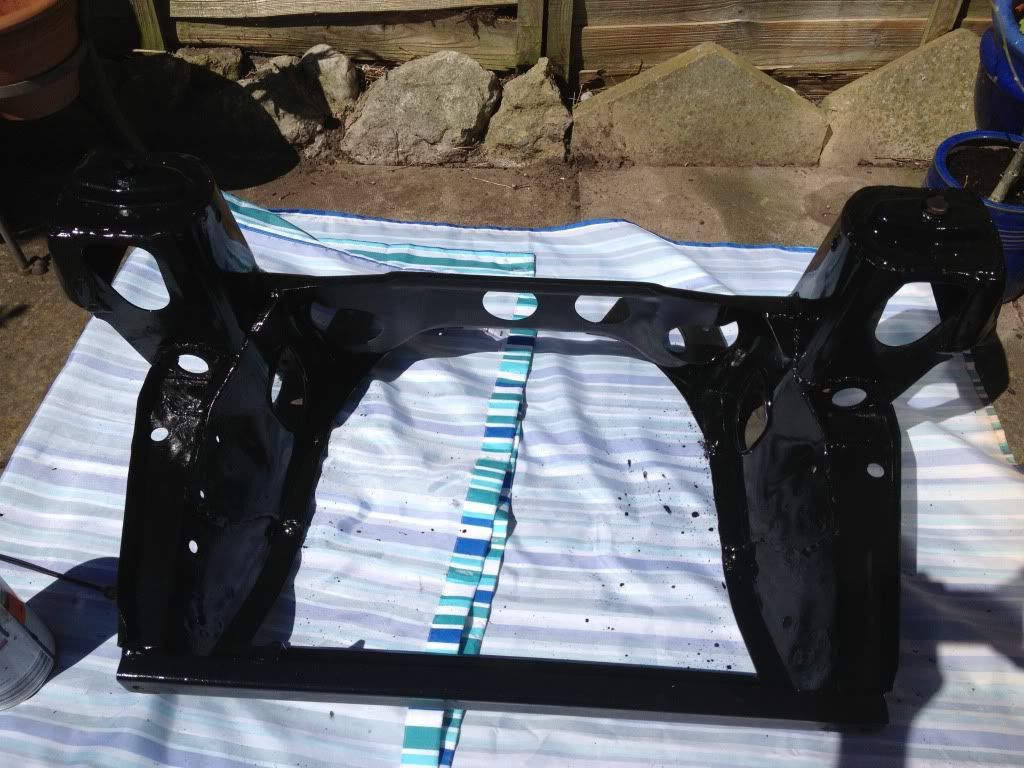
This is the part that's been holding up the engine side but it's here and fitted now
This is the part that's been holding up the engine side but it's here and fitted now
#472
minisi35
-
- Members
-
- 723 posts
One Carb Or Two?
- Local Club: british mini club shropshire
Posted 06 May 2013 - 10:46 AM
More work done, it shall go to the himley hall show somehow!!!
Had a couple of hours free yesterday to start sorting the suspension bits
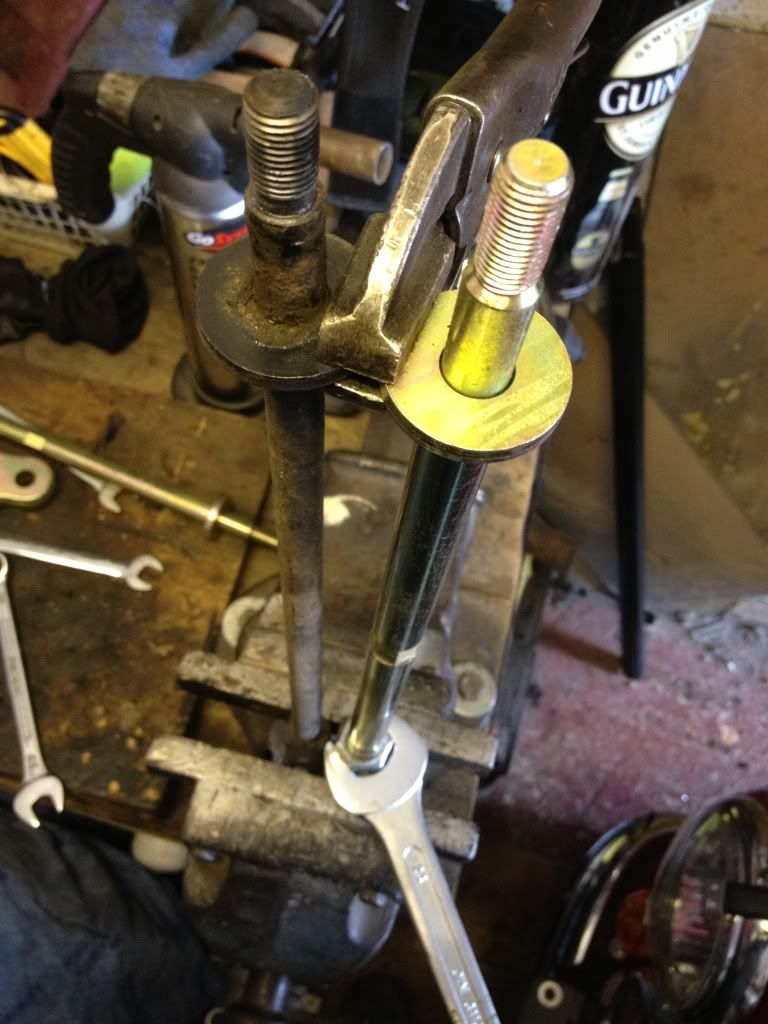
First I had to adjust the front tie bar lengths. I had an old one and the new one to set the size
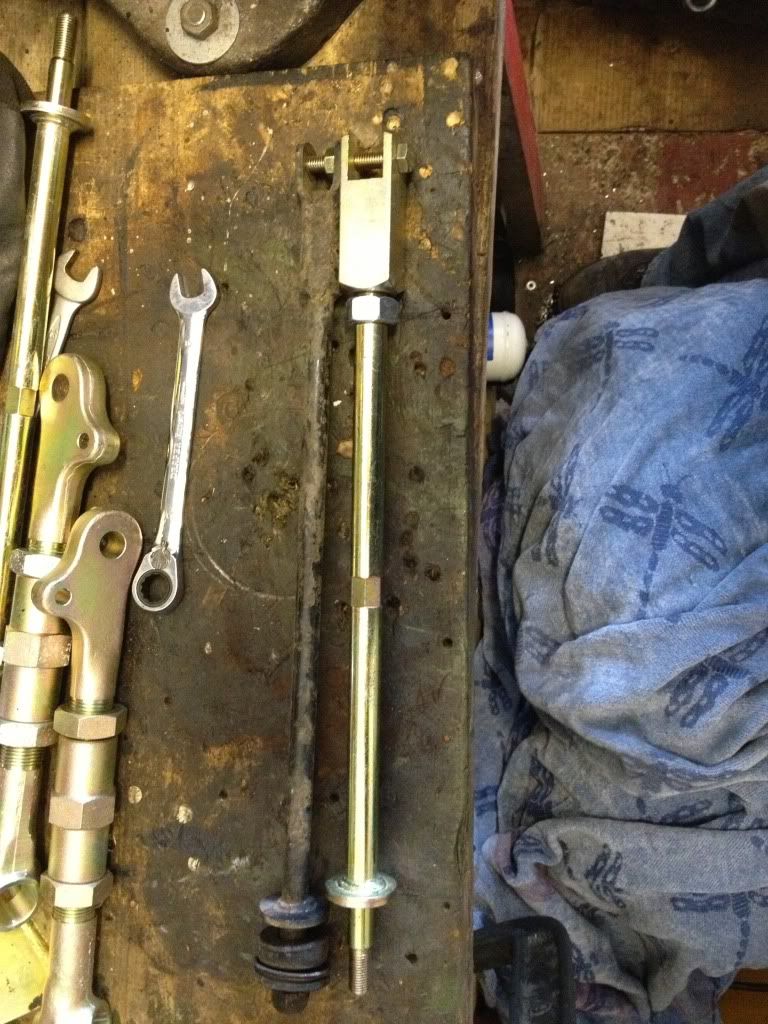
I used a long 13m bolt to bolt the 2 arms together then put them in the vice and adjusted them to match
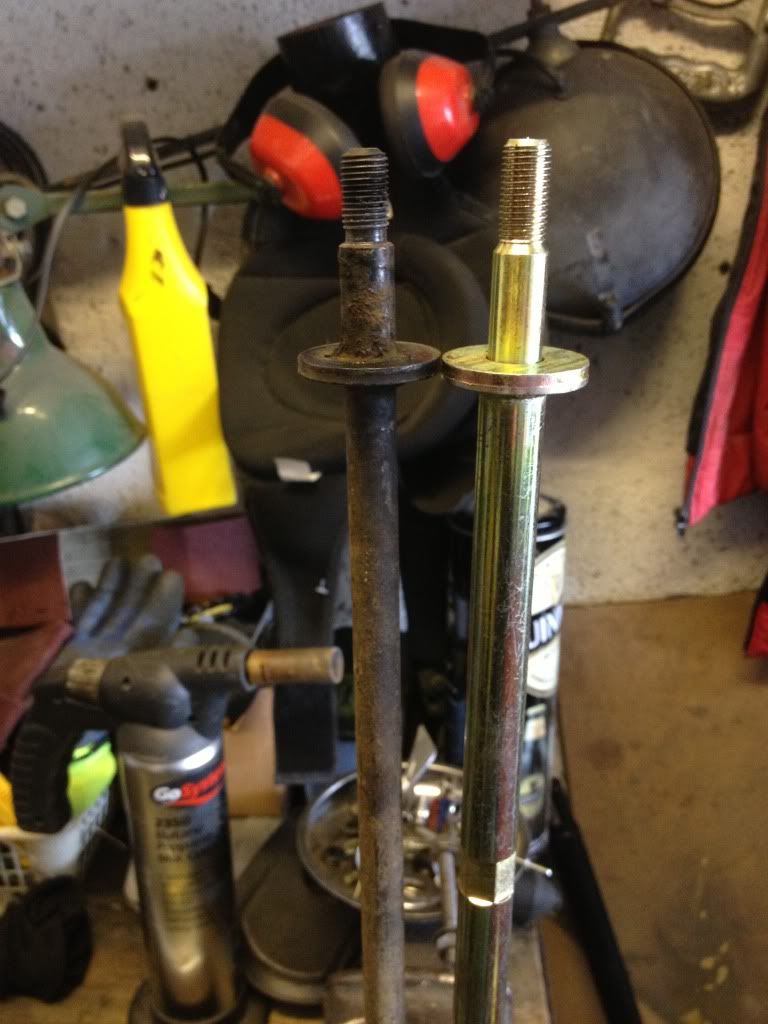
The lower suspension arms were done roughly the same way but with more measuring. I used my old negative camber arms to match the new ones. Then built them onto the subframe. I have the top arms to finish by pressing in the bearings then its ready to go on the car
Had a couple of hours free yesterday to start sorting the suspension bits
First I had to adjust the front tie bar lengths. I had an old one and the new one to set the size
I used a long 13m bolt to bolt the 2 arms together then put them in the vice and adjusted them to match
The lower suspension arms were done roughly the same way but with more measuring. I used my old negative camber arms to match the new ones. Then built them onto the subframe. I have the top arms to finish by pressing in the bearings then its ready to go on the car
#473
minisi35
-
- Members
-
- 723 posts
One Carb Or Two?
- Local Club: british mini club shropshire
Posted 10 May 2013 - 06:28 AM
The car won't be ready for himley hall show  , spent 2 whole days on it and to be honest it's got at least another weeks worth to yet.
Old subframe out
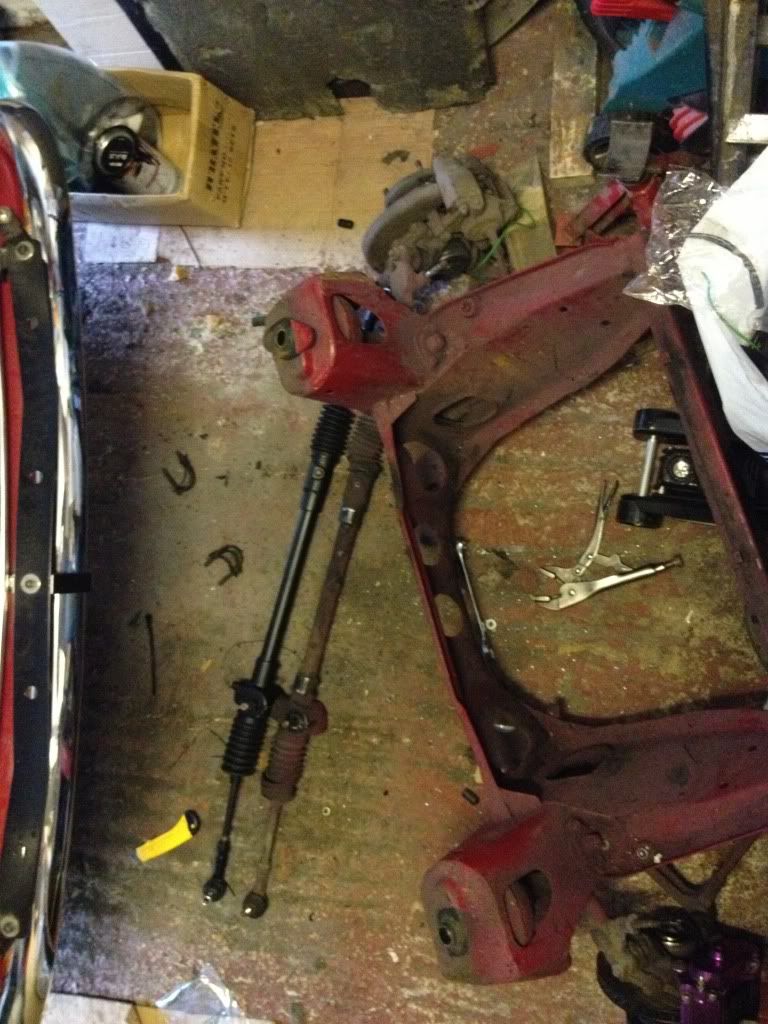
New one in, with a new steering rack
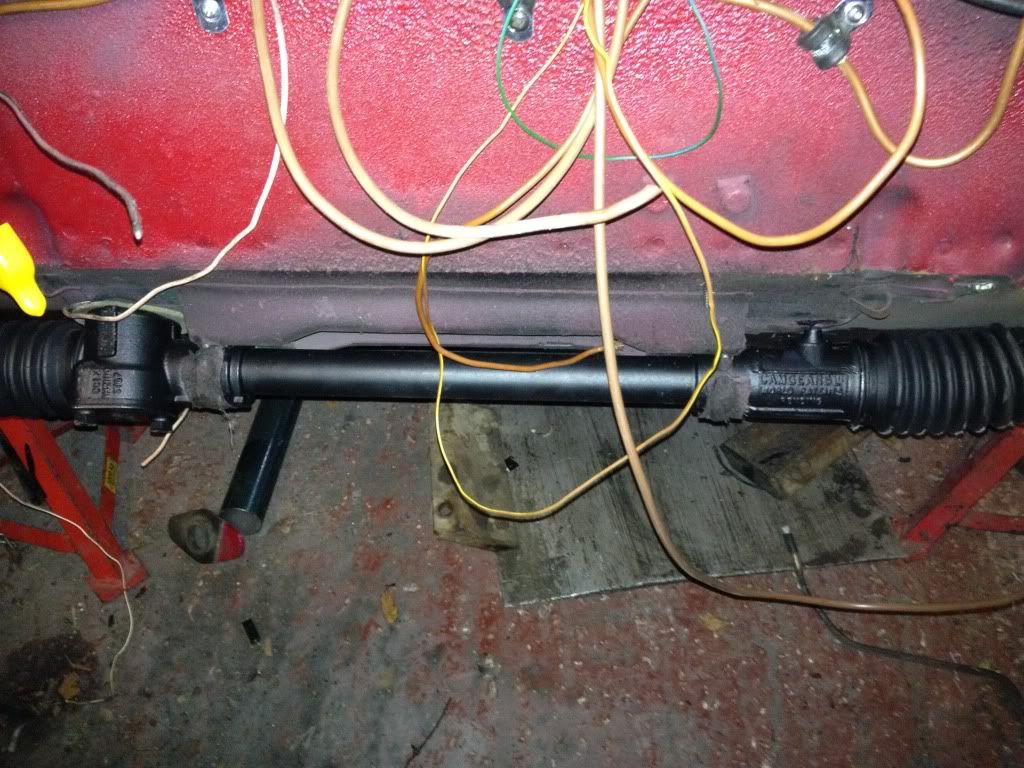
, spent 2 whole days on it and to be honest it's got at least another weeks worth to yet.Old subframe out
New one in, with a new steering rack
#474
minisi35
-
- Members
-
- 723 posts
One Carb Or Two?
- Local Club: british mini club shropshire
Posted 12 May 2013 - 09:40 PM
Well the car want ready for the himley hall show but we went and got a load of bits to finish the build.
Things like this held me back!!!!!!
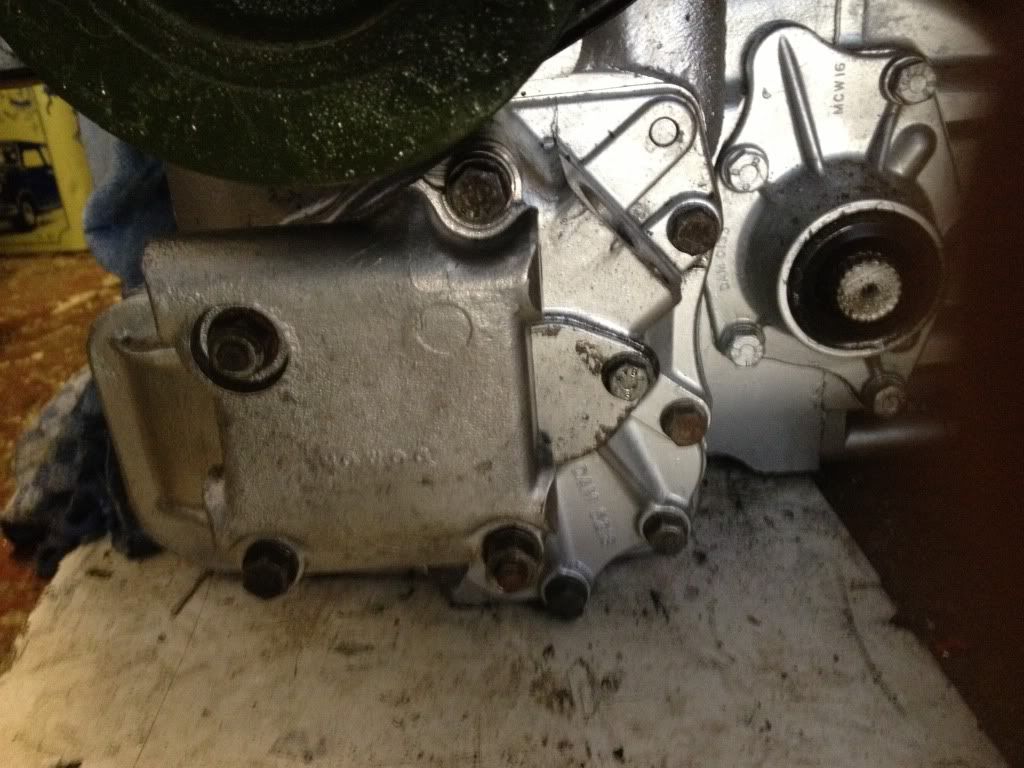
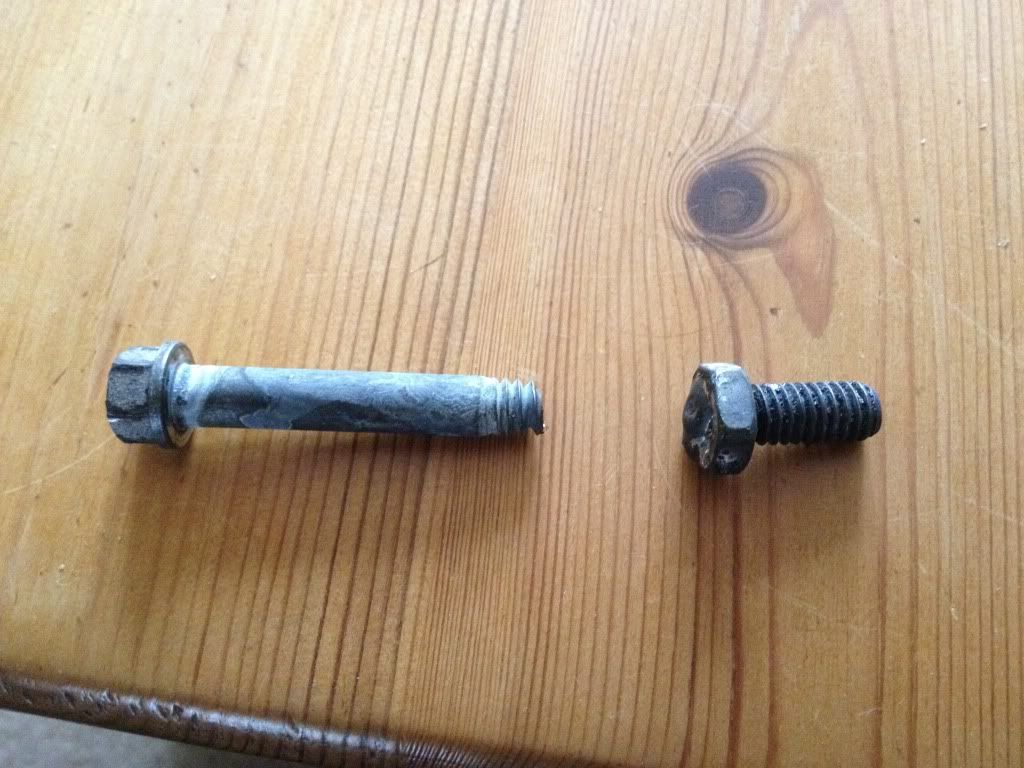
On Friday night I put the new Minispares 4pin diff in the car. All was going well until the last bolt which as I tightened it didn't feel quite right, next thing "snap" it broke off in the gearbox casing!! So stripped it all back apart to see the damage. Luckily it had left one thread sticking out....
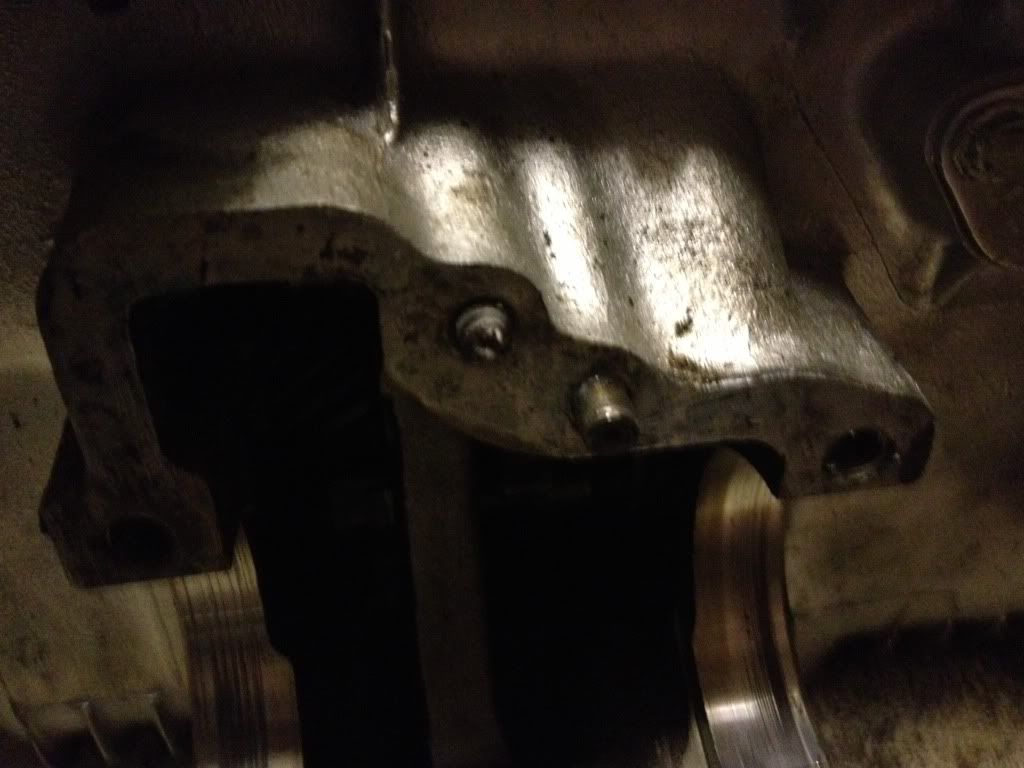
Thought I was well and truly in the muck, then rememberd someone saying about welding a nut too the remaining thread, so I did
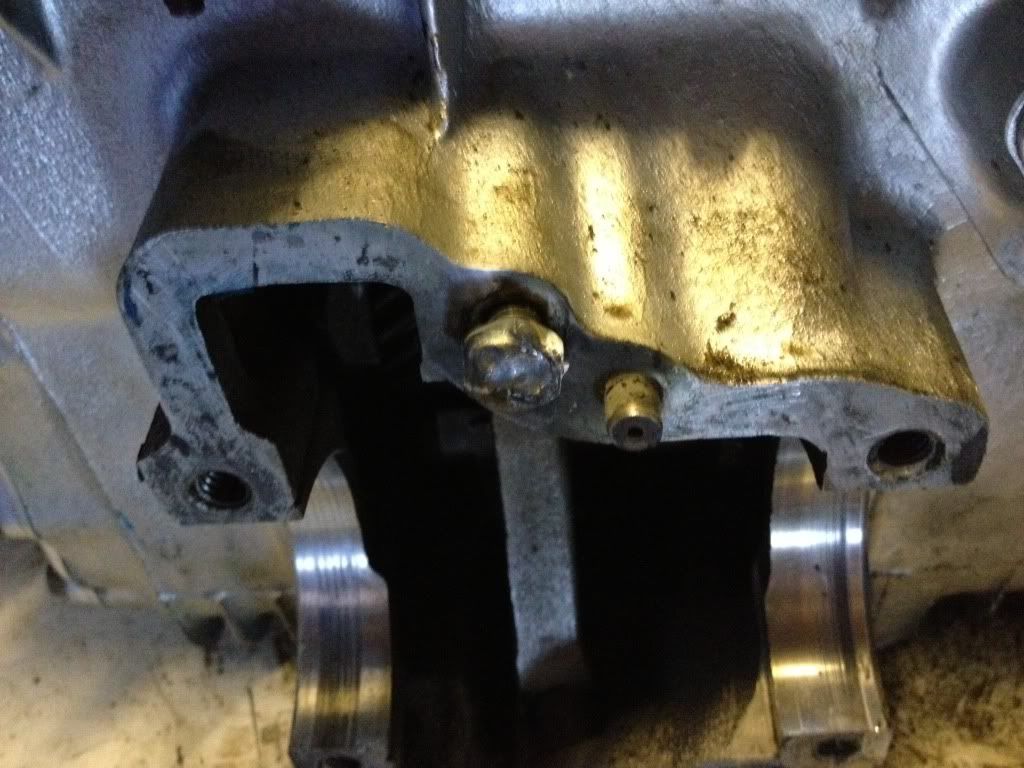
It only worked!! The bolt came out good as gold
Anyway I did a couple of more jobs before I decided I'd spent too many hours in the garage and I'm having a weekend off!
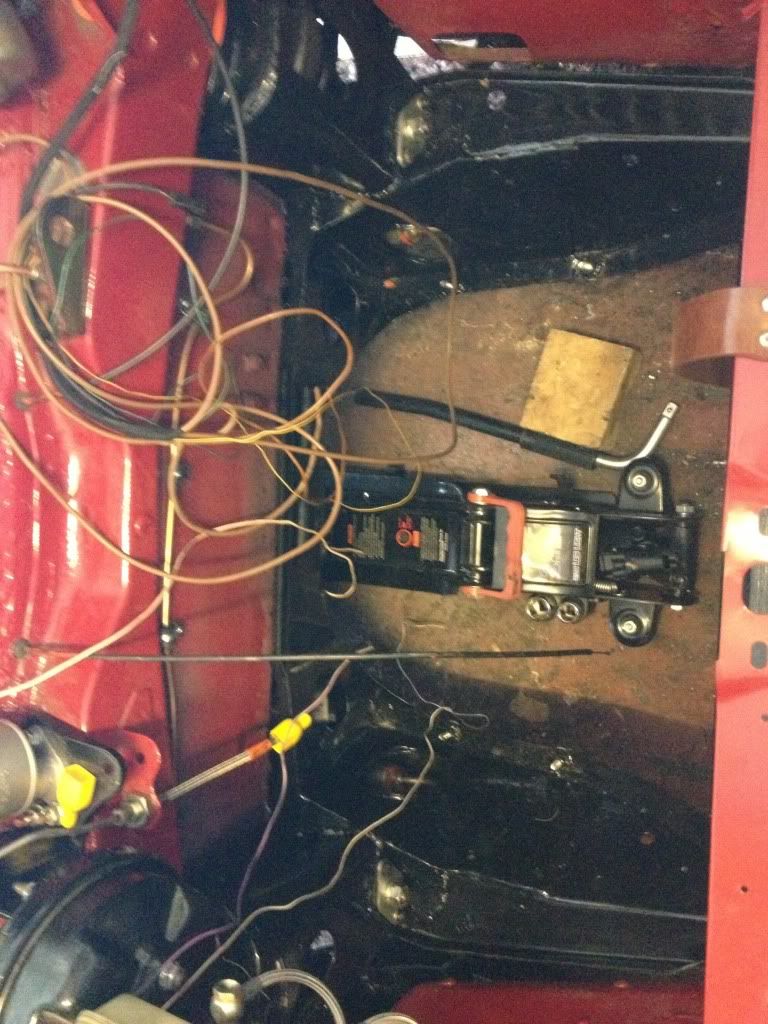
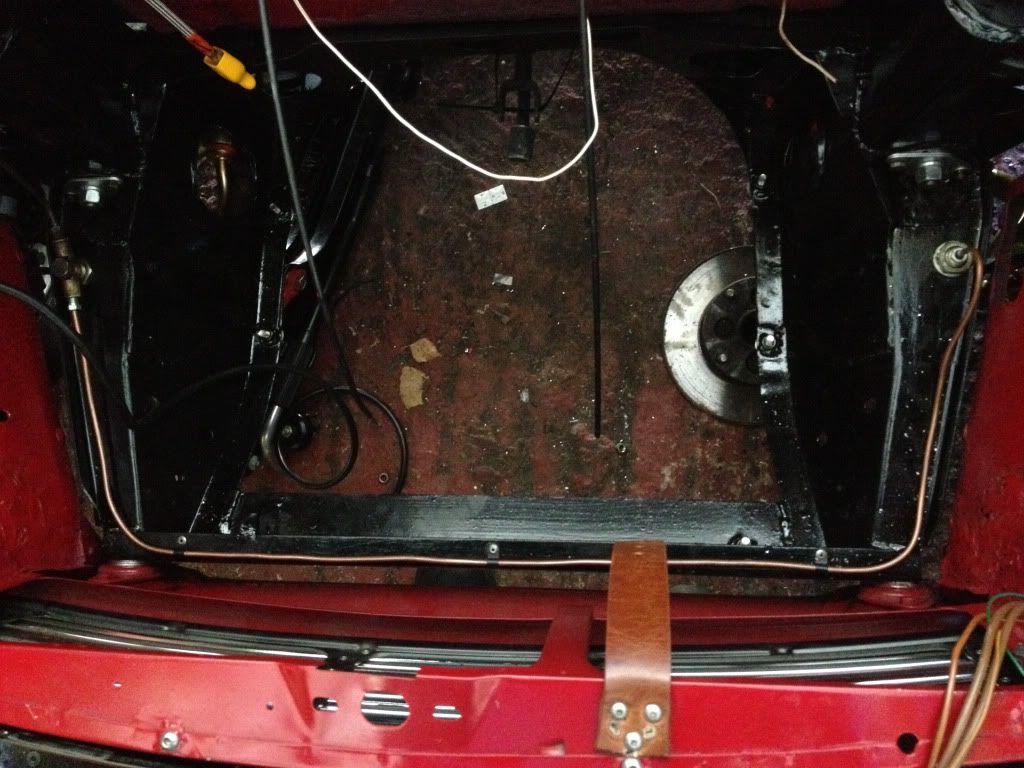
A bit more cable tidying
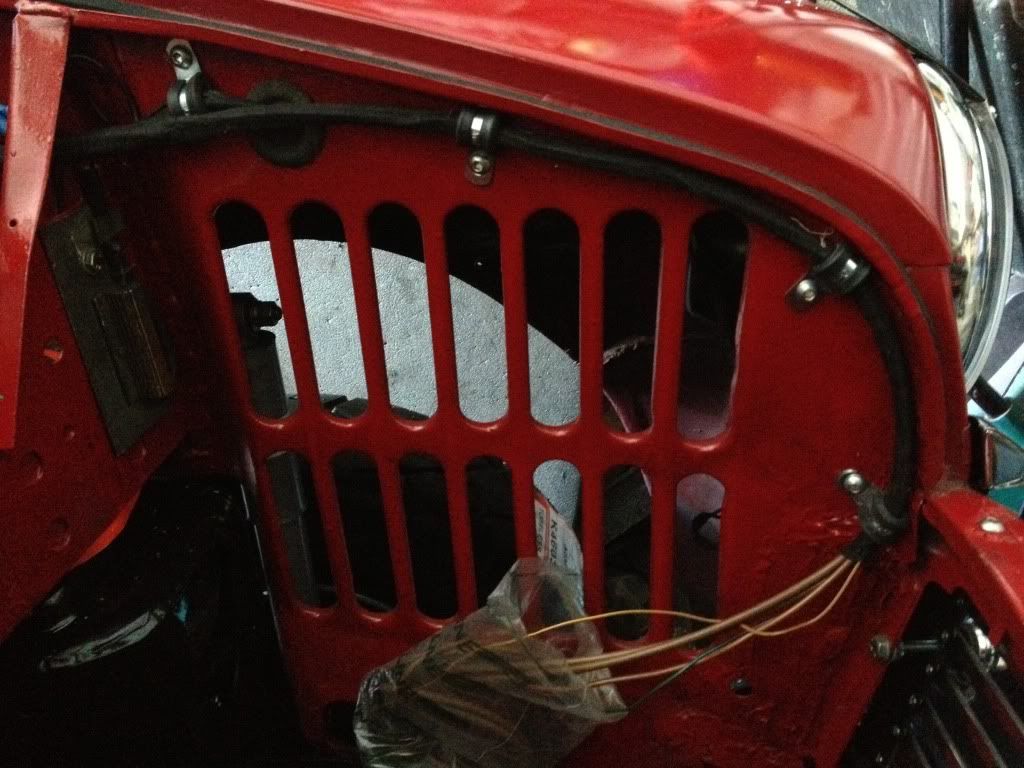
Battery lead hole drilled and grommeted
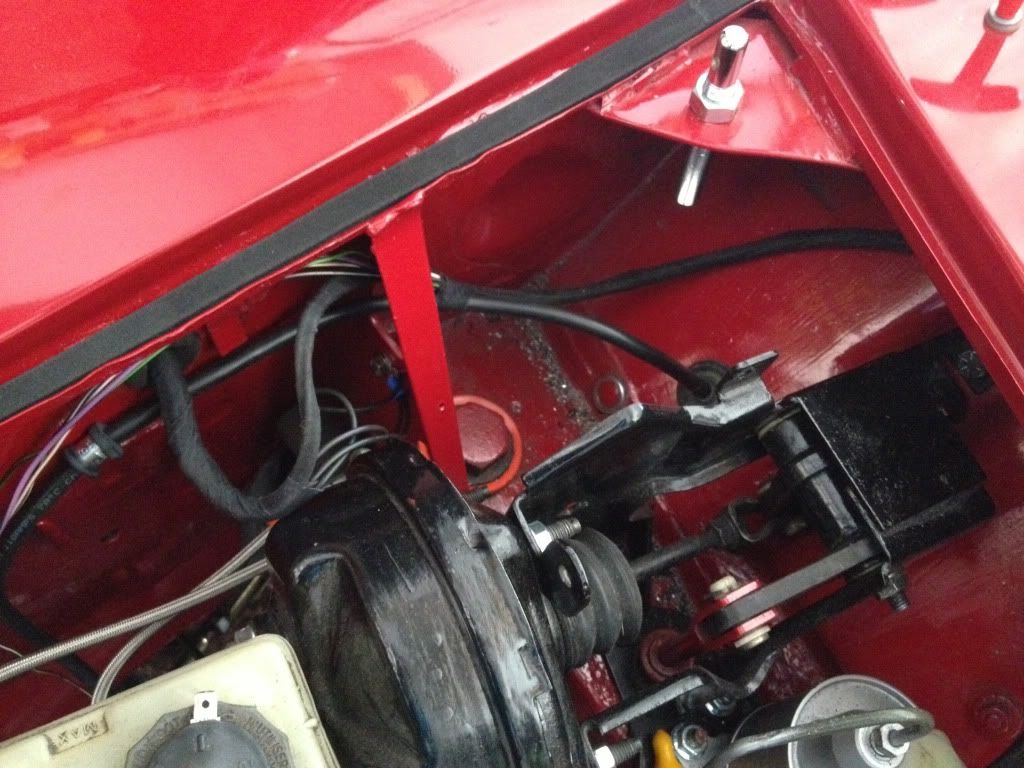
Gear selector now bolted in and the steering column refitted

New brake pipe made, connected and secured
Things like this held me back!!!!!!
On Friday night I put the new Minispares 4pin diff in the car. All was going well until the last bolt which as I tightened it didn't feel quite right, next thing "snap" it broke off in the gearbox casing!! So stripped it all back apart to see the damage. Luckily it had left one thread sticking out....
Thought I was well and truly in the muck, then rememberd someone saying about welding a nut too the remaining thread, so I did
It only worked!! The bolt came out good as gold
Anyway I did a couple of more jobs before I decided I'd spent too many hours in the garage and I'm having a weekend off!
A bit more cable tidying
Battery lead hole drilled and grommeted
Gear selector now bolted in and the steering column refitted
New brake pipe made, connected and secured
#475
keefr22
-
- Members
-
- 591 posts
Super Mini Mad
Posted 12 May 2013 - 09:59 PM
Luckily it had left one thread sticking out....
Thought I was well and truly in the muck, then rememberd someone saying about welding a nut too the remaining thread, so I did
It only worked!! The bolt came out good as gold
That was lucky! Great tip though, I shall remember that!
I really like how neat & tidy your work always looks. I wish the guy that built ours had been half as methodical...!!
#476
rally1380
-

- Members
-
- 1,893 posts
Camshaft & Stage Two Head
- Location: Cheshire
Posted 13 May 2013 - 07:16 AM
All looks great Si.
One last push........
#477
minisi35
-
- Members
-
- 723 posts
One Carb Or Two?
- Local Club: british mini club shropshire
Posted 14 May 2013 - 09:27 PM
Big step forward tonight with help from my good friend Rob the engine is bolted in!!!!!! :)

#478
keefr22
-
- Members
-
- 591 posts
Super Mini Mad
Posted 14 May 2013 - 11:38 PM
I really would like to get ours looking that good one day!
#479
minisi35
-
- Members
-
- 723 posts
One Carb Or Two?
- Local Club: british mini club shropshire
Posted 17 May 2013 - 06:39 AM
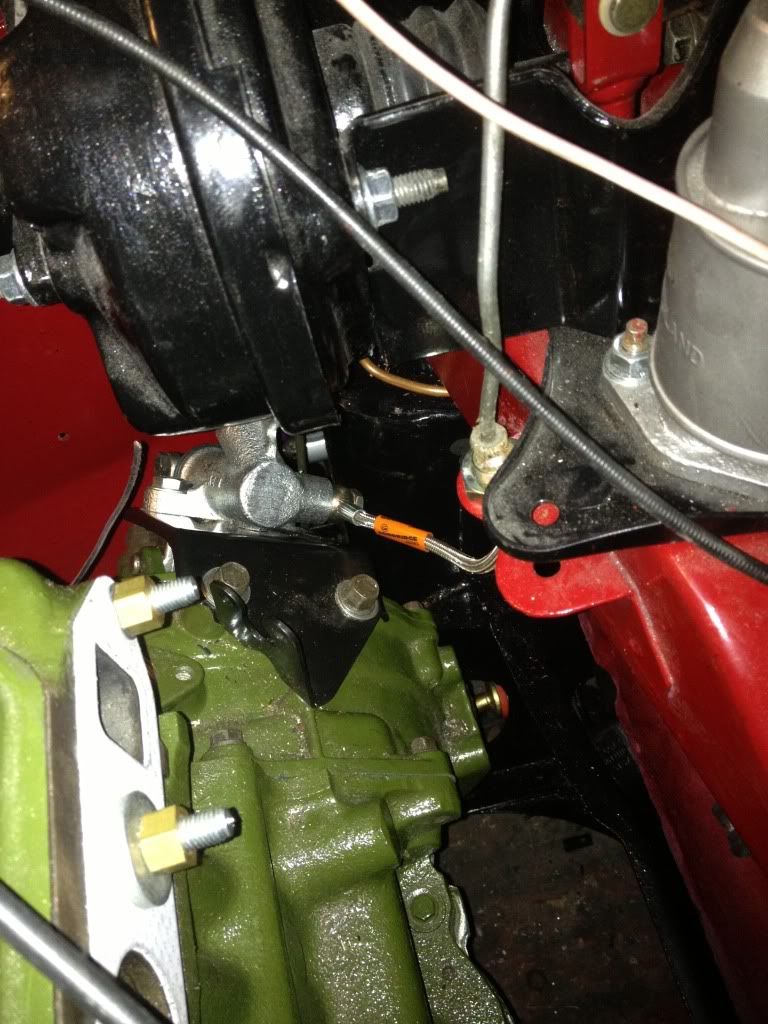
Few more jobs done
Clutch slave cylinder on and connected
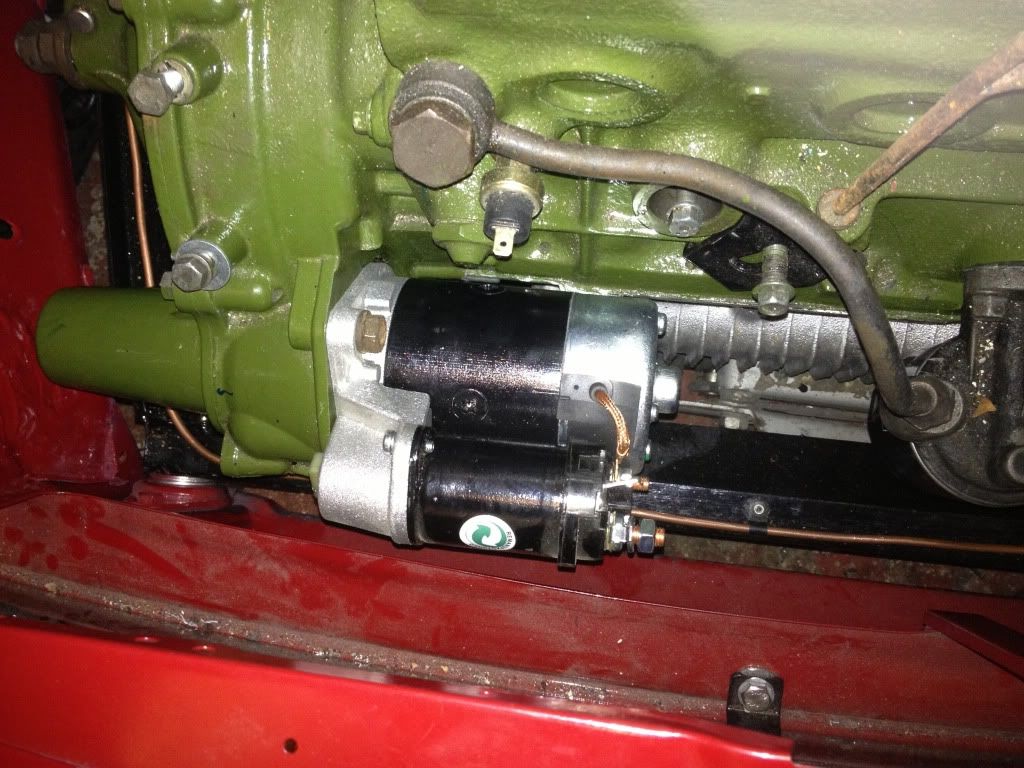
Starter motor on
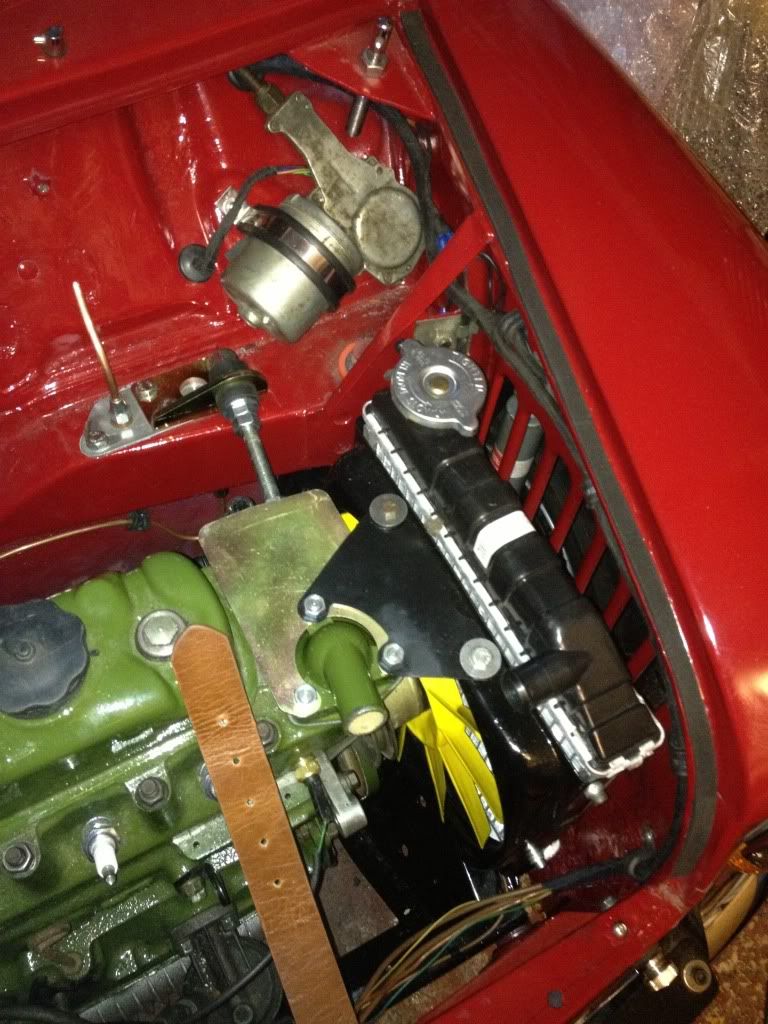
Radiator and engine steady fitted and connected
Clutch slave cylinder on and connected
Starter motor on
Radiator and engine steady fitted and connected
#480
minisi35
-
- Members
-
- 723 posts
One Carb Or Two?
- Local Club: british mini club shropshire
Posted 20 May 2013 - 08:46 PM
Tonight's work and its been a crap night!!!
First of all I connected up the starter motor and battery. All worked but the lights!! Spent the next hour checking all the earths , connectors and switches only to find that the new ignition switch( that was on the column which I had bought 2nd hand) was dodgy. Old switch fitted and job sorted !!
Then test fitted the carbs I bought which fit ok , just need to work out the plumbing

Then rememberd I hadn't fitted the speedo cable. Without the exhaust manifold it's easy to get to the speedo drive down the back ( if your tall like me). First problem was I couldn't get the cable to locate!! Luckily the 3/8th bolt came out easy and the speedo drive just needed opening out to accept the new cable, bolted it back in job done!
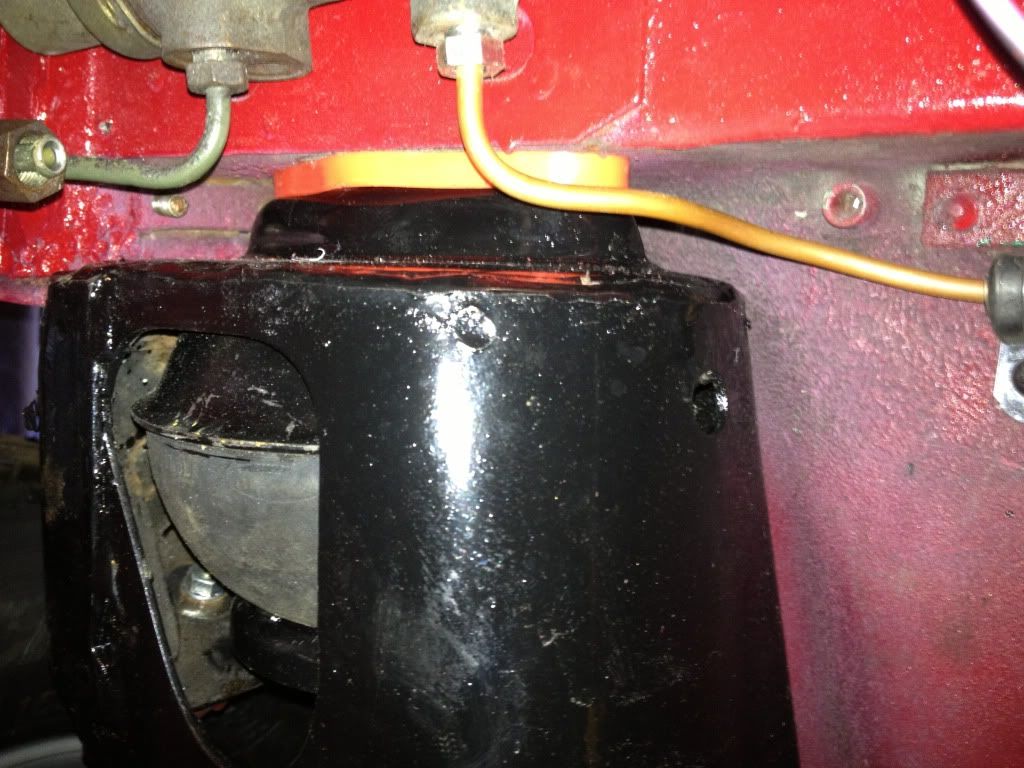
Then the other end!!!! The old saying of measure twice cut once! Well I did that and cocked up my calculations well and truly!
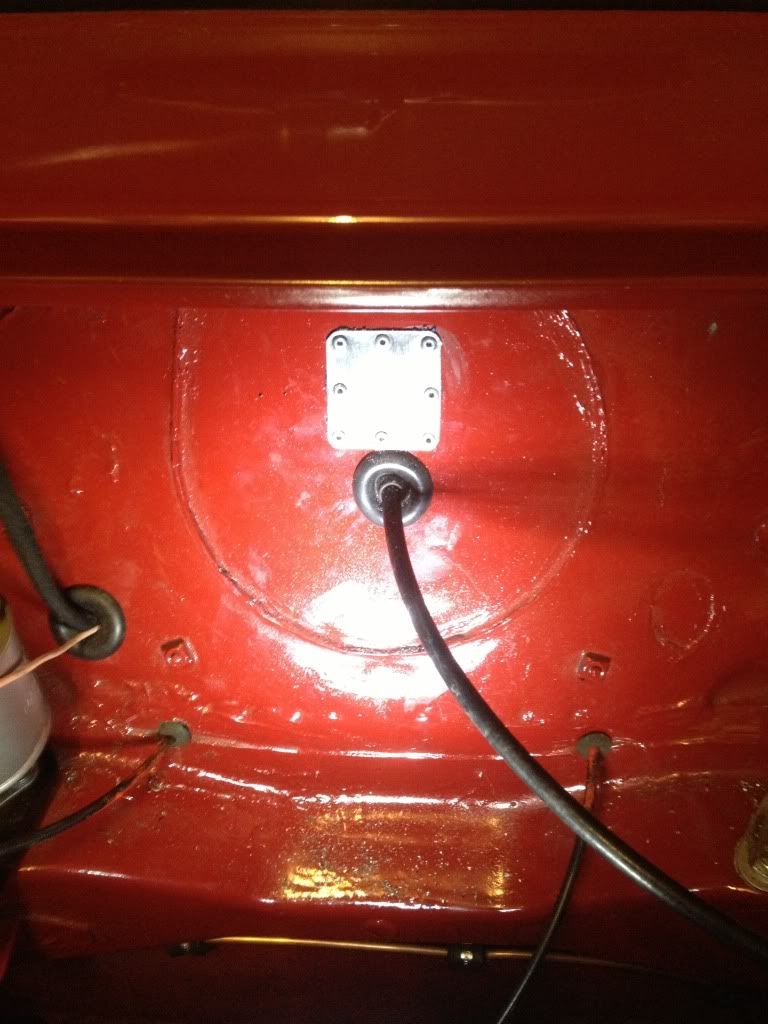
Drilled the hole in the wrong place, what a numpty
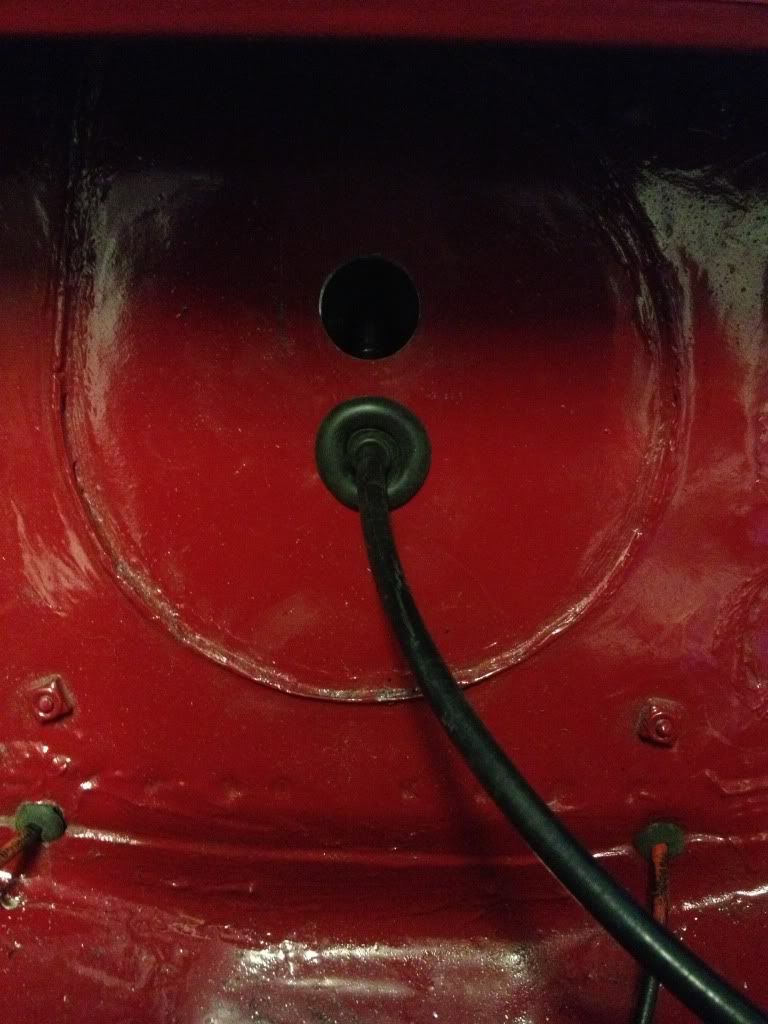
One plate made and sealed in place with high temperature sealant. As its alloy I'm leaving it as a feature lol
First of all I connected up the starter motor and battery. All worked but the lights!! Spent the next hour checking all the earths , connectors and switches only to find that the new ignition switch( that was on the column which I had bought 2nd hand) was dodgy. Old switch fitted and job sorted !!
Then test fitted the carbs I bought which fit ok , just need to work out the plumbing
Then rememberd I hadn't fitted the speedo cable. Without the exhaust manifold it's easy to get to the speedo drive down the back ( if your tall like me). First problem was I couldn't get the cable to locate!! Luckily the 3/8th bolt came out easy and the speedo drive just needed opening out to accept the new cable, bolted it back in job done!
Then the other end!!!! The old saying of measure twice cut once! Well I did that and cocked up my calculations well and truly!
Drilled the hole in the wrong place, what a numpty
One plate made and sealed in place with high temperature sealant. As its alloy I'm leaving it as a feature lol
Edited by minisi35, 20 May 2013 - 08:47 PM.


1 user(s) are reading this topic
0 members, 1 guests, 0 anonymous users


