Cheers Marc.
Yeh cannot let the Volvo feel left out.
No you sure cant, i am having to tend to both my wagons now the clubby and volvo.... The old girl doesnt like to be left out.

Posted 02 July 2015 - 05:30 AM
Cheers Marc.
Yeh cannot let the Volvo feel left out.
No you sure cant, i am having to tend to both my wagons now the clubby and volvo.... The old girl doesnt like to be left out.
Posted 09 July 2015 - 09:00 AM
Right stag-do's out the way and pretty much recovered now. Although I still have the paint balling bruises!
In other news.....
Bought some P Clips for attaching various pipes and bits.
This misses has work on Saturday so that give's me 9am-4:30pm to get cracking on the van.
Plan of action is make the bracket to hold the connector for the wiring, get the loom back in so I can decide where the connector goes and if I have time drop the engine back in.
Posted 10 July 2015 - 04:19 PM
can't wait
Posted 11 July 2015 - 07:23 PM
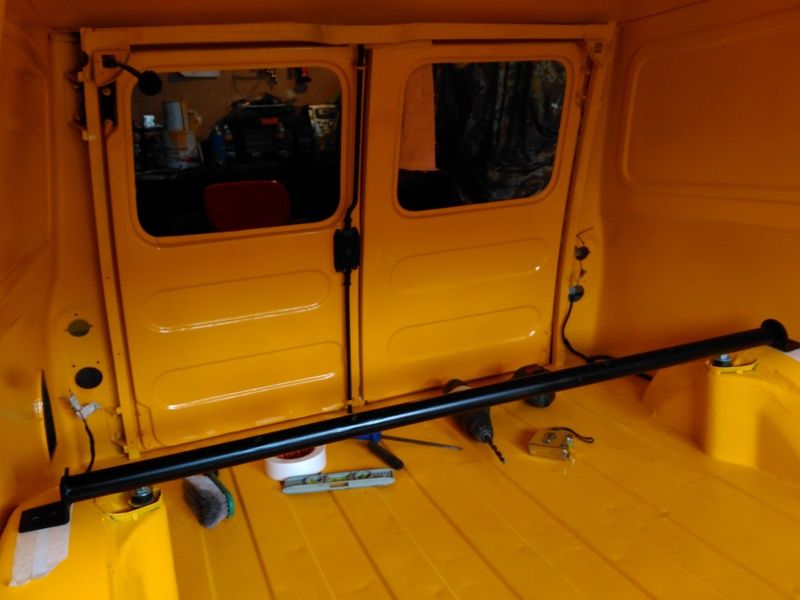
Wires, wires, wires I'm sick of them already! Took ages to get the loom in this morning even using the string trick it still took some doing getting the rear in.
On to the front headlight loom. I spent sometime looking at my IP 65 connector and I think I've come to the conclusion that it isn't going to work. Due to the fact that the wires are thicker than the spurs on the connector. I'll have a look at it again another day but I think I might have to revert to a lawnmower connector. Also my bracket idea wasn't going to work as I need to split the loom near the subframe as a posed to the brace bar.
Most of it looks to be in the right place but I cannot tell until the engine is in place.
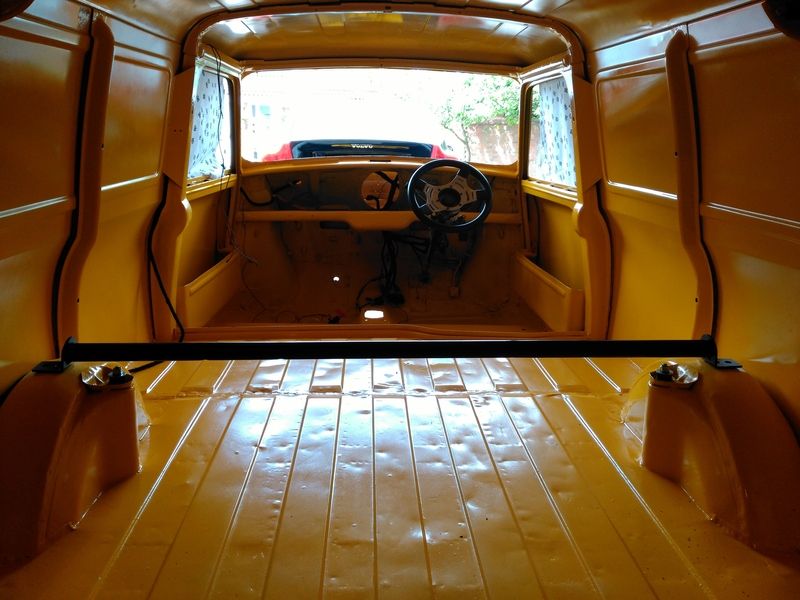
Room with a view.
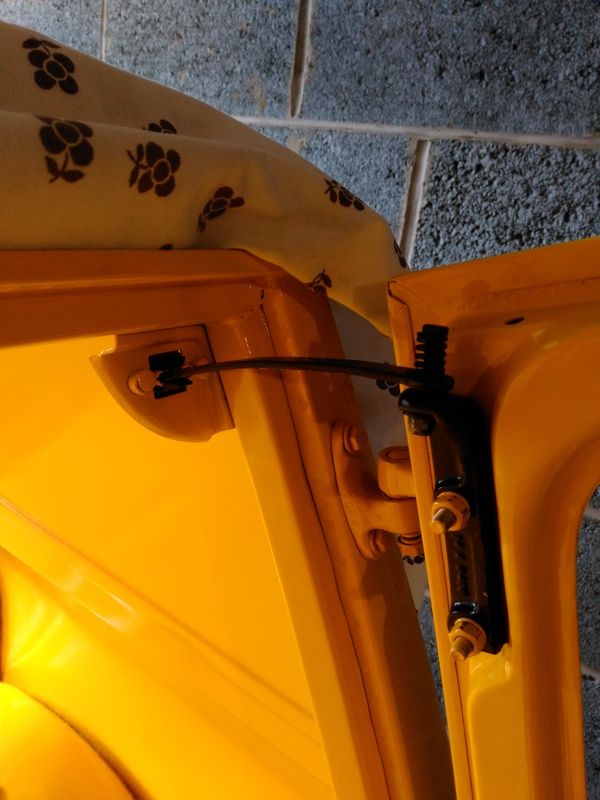
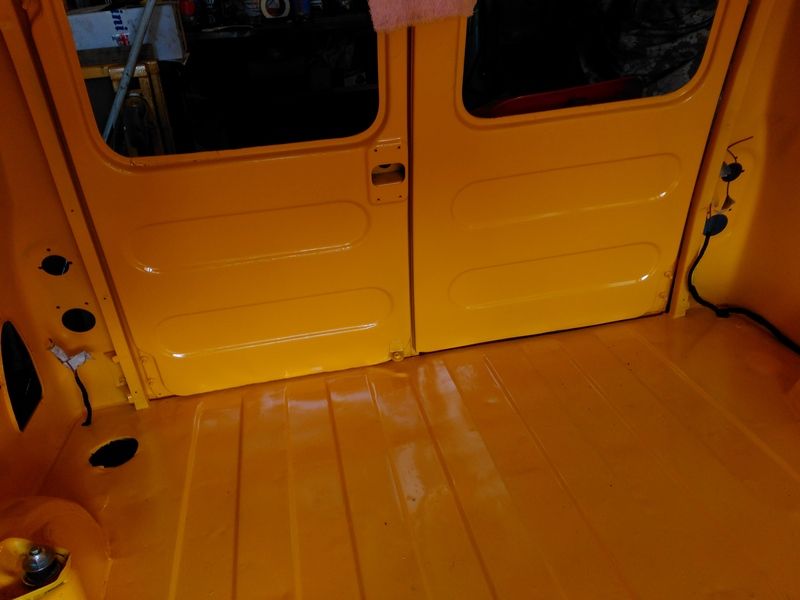
Then moved onto getting the rear loom in round the door frame. I used the string trick to pull it through, If you don't know it basically tie a nut to the end of a piece of string and feed it through the top of the door, tie the string to the loom and pull it through. Still, its more difficult than it sounds!
The rear of the loom was cut off when I got the van and not labelled very well... I say that... It wasn't labelled at all! I couldn't work out for the life of me where all the wires went. There seemed to be far too many for a pair of brake/tail lights, indicators, fuel sender and number plate lights.
Turns out the van also needs a rear fog light or at least it had one fitted along with a spot lamp.
So I whipped out the haynes plus some help from some chaps on facebook and stripped it all back.
Looking much better now. I'm left with on green brown wire that I cannot seem to trace on the wiring diagram though...?
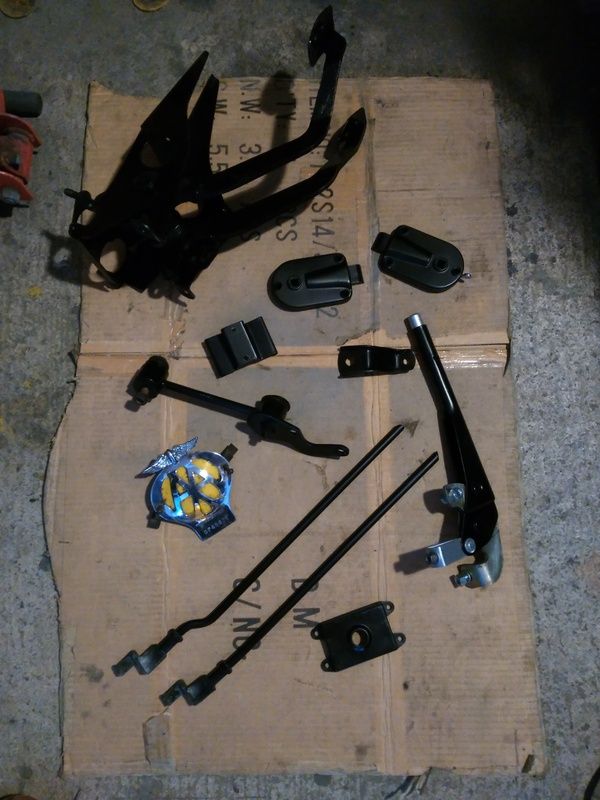
I've also brought some homework for the week. Cleaning up the rear light brackets, rear door lock, drivers door lock and the washer bottle so that they can have a nice lick of black paint.
Posted 11 July 2015 - 07:28 PM
![]()
Posted 13 July 2015 - 10:13 PM
Posted 14 July 2015 - 08:39 PM
Posted 15 July 2015 - 01:21 PM
In other news....
Just realised my threads broken 100k views!!!! Massive. Still a way off catching Tupers though ![]()
I really should get it finished now.
Edited by SAL 821X, 15 July 2015 - 01:23 PM.
Posted 17 July 2015 - 07:58 AM
Advice if I may young man.... My twin door window slide channels rusted after first wash and its a ******* of a job to replace so make sure you buy one that dosnt rust! Dont buy shiny bits cheap at shows like headlight backing rings and rims, wiper arms, door handles and rear qtr bumpers as they go red rusty very quick. If Mini owners keep buying and supporting crappy traders selling low quality crap the quality will never improve. I learnt my lesson and I always say this to anyone building a mini, Buy better quality OEM from say Mini Spares and enjoy the tmf+ discount! aye it works out better in the end.
Edited by Gadgets, 17 July 2015 - 08:00 AM.
Posted 17 July 2015 - 09:30 AM
Advice if I may young man.... My twin door window slide channels rusted after first wash and its a ******* of a job to replace so make sure you buy one that dosnt rust! Dont buy shiny bits cheap at shows like headlight backing rings and rims, wiper arms, door handles and rear qtr bumpers as they go red rusty very quick. If Mini owners keep buying and supporting crappy traders selling low quality crap the quality will never improve. I learnt my lesson and I always say this to anyone building a mini, Buy better quality OEM from say Mini Spares and enjoy the tmf+ discount! aye it works out better in the end.
I hear ya Garry. ![]()
Posted 17 July 2015 - 12:57 PM
Nice.I'd say wings
Posted 17 July 2015 - 02:30 PM
I'm leaning towards the wings too.
Posted 17 July 2015 - 09:34 PM
Posted 18 July 2015 - 08:23 PM


0 members, 1 guests, 0 anonymous users