
Austin Mini Van Bare Metal Rebuild
#1081

Posted 20 October 2014 - 08:09 PM
#1082

Posted 26 October 2014 - 12:50 PM
So cleaned up the coil bracket and starter motor. Need to hand paint the black parts of the starter as the masking tape pulled the paint of when I painted the silver.
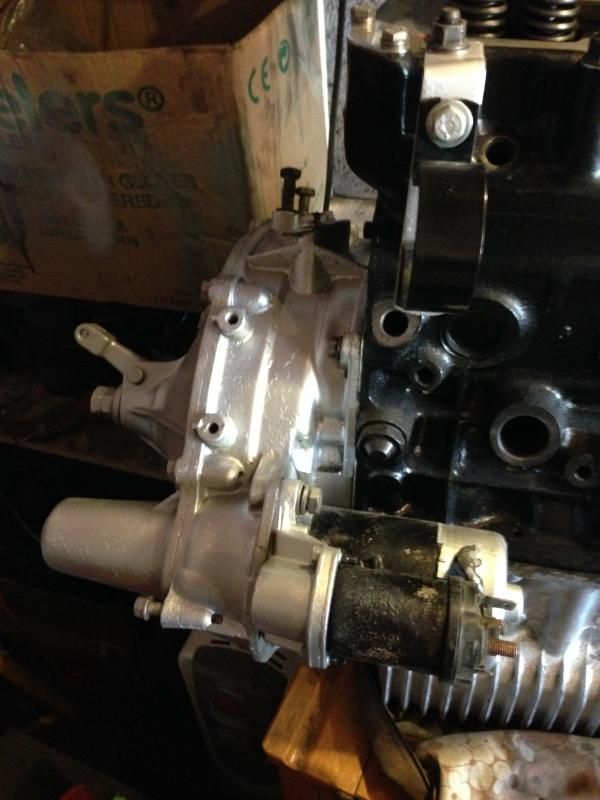
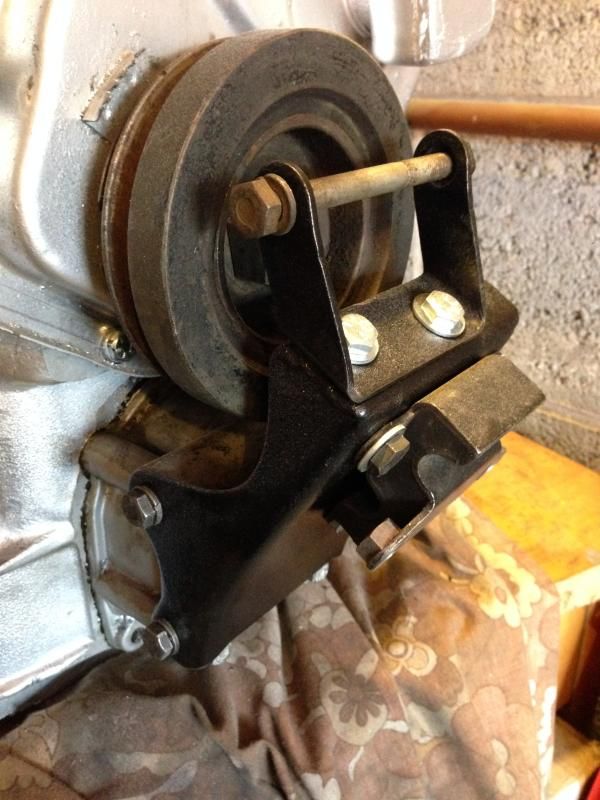
Put the engine mount on the right hand side. I cannot find the bolts for the left so I'll have to get some new ones.
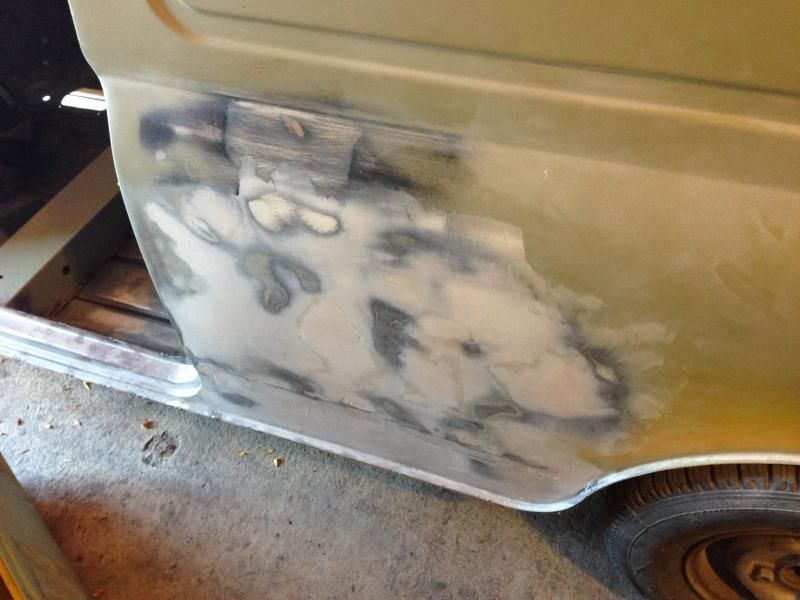
Sanded the quarter down but still not quite flat.
Did some welding to finish off the door step.
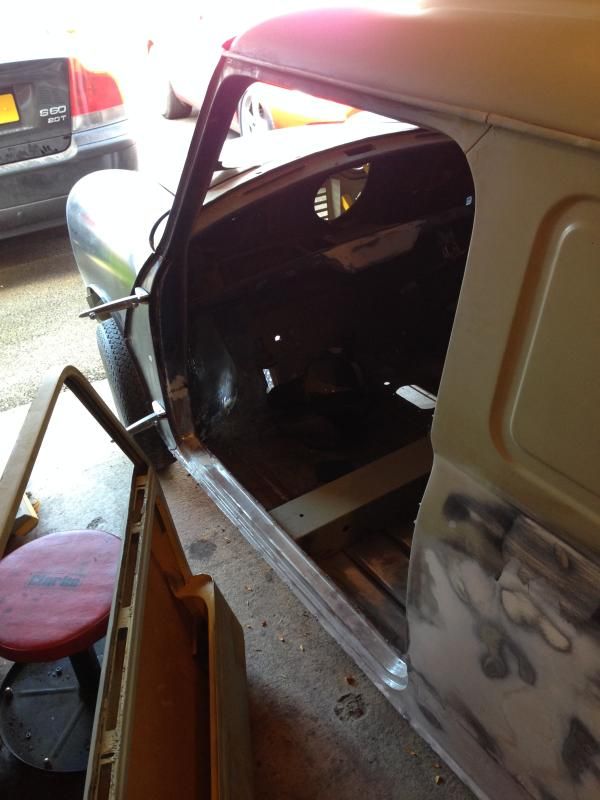
Going to order the rear door seals to see if it makes the door fit any better.
#1083

Posted 26 October 2014 - 07:14 PM
getting closer mate..you'll soon be done ![]()
#1084

Posted 27 October 2014 - 10:43 AM
Cheers pal... Sadly things will be slowing up again now until I can get some cash together.
#1085

Posted 27 October 2014 - 04:49 PM
know the feeling..mines stopped altogether now to make room for my daughters mini..
#1086

Posted 03 November 2014 - 11:42 AM
Well managed to find a really decent looking left hand rear door on ebay over the weekend. It finished yesterday early evening, I only feel asleep after having a massive sunday lunch and missed it! balls..... went for £26 as well.
No progress this weekend as I've been busy but popped over to take a picture of the slave bracket.
Is this for a pre verto clutch?
The bolts have rusted solid so going to have to get a new bracket and cylinder.
Edited by SAL 821X, 03 November 2014 - 11:46 AM.
#1087

Posted 03 November 2014 - 11:46 AM
Yeh that's for a Verto
#1088

Posted 03 November 2014 - 12:03 PM
I'm a bit confused, looking at pictures on mini spare the bracket is for a Verto clutch but the slave is Pre Verto??
#1089

Posted 03 November 2014 - 04:08 PM
is this the bracket you need if so i might have one if you do let me know thanks
http://www.minispare...px|Back to shop
Edited by iToNiiCz, 03 November 2014 - 06:09 PM.
#1090

Posted 04 November 2014 - 06:58 AM
Just spent the last couple of hours catching up from where i left it nearly a year ago now. Sadly i have sold my minivan on but glad to see your plugging away at this one and doing it all properly. The bodges i uncovered in mine were unbelievable.
Just a tip, a problem i had with my pressed steel valance like your one was after a year or so some rust started to come through from the gap between the grill and valance. My front panel was a standard van one but consisted of a van gill welded in to a saloon front, but only in a couple of places, i seam sealed from the front but missed the back. Meant i had to cut it off and derust it only a year after painting. Was not happy!
#1091

Posted 04 November 2014 - 10:06 AM
I remember your driveway antics well MM... shame you had to let the van go but needs must and all that.
Great suggestion I hadn't thought about doing the inside on the front panel! I shall do that before it gets painted then.
Cheers,
Matt
#1092

Posted 04 November 2014 - 10:11 AM
is this the bracket you need if so i might have one if you do let me know thanks
Cheers Pal...
For the sake of 20quid I might just ask for a shiny new one for Chrimbos. ![]()
#1093

Posted 04 November 2014 - 11:46 AM
ok
#1094

Posted 10 November 2014 - 09:17 AM
Unfortunately no pictures over the weekend as I forgot my phone when I went over to the garage.
I had a big long list of things I wanted to get finished off... that didn't happen!
I decided to chop the nearside scuttle end off as it looked messy and there was a big gap between the wing. After measuring up and cutting the end off things escalated somewhat! Once the bulkhead beneath revealed itself it had been badly patched and completely rotten, I was able to just pull the patches away with my hand it was that bad. So, this meant that I had to spend some time repairing that before putting the scuttle end back on. I still need to dress the welds and skim some filler on.
I also got a new flywheel bolt but I cannot get the old on out at the moment. I even tried welding a nut to the bolt but that didn't work either. ![]()
Hey-ho onwards and upwards!
#1095

Posted 15 November 2014 - 06:40 PM
The scuttle is finished now though, just needs a skim of filler.

This is the type of seal I have. Which I assume is correct?

Fit without the seal.

1 user(s) are reading this topic
0 members, 1 guests, 0 anonymous users


