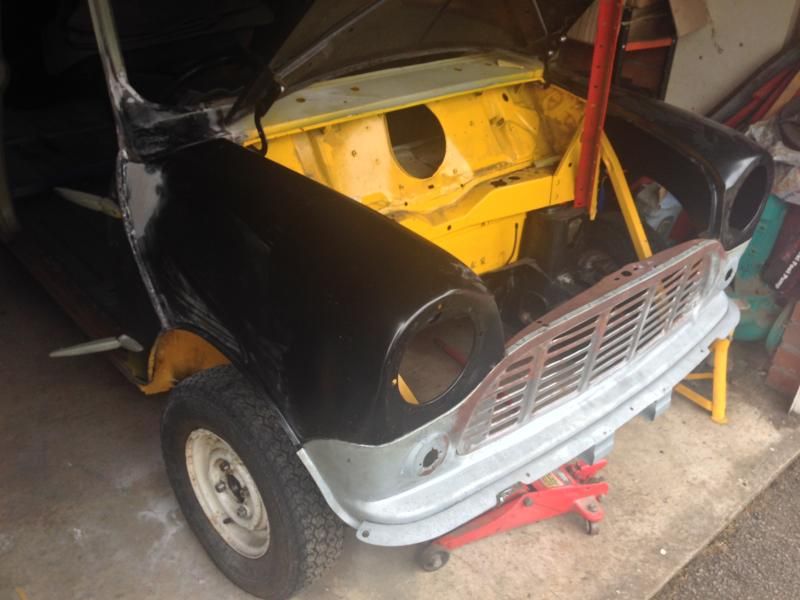
I knew the bonnet was seperate and although he will probably need to get the the engine alot, he hopefully won't need to keep taking the front off!

Austin Mini Van Bare Metal Rebuild
#1036

Posted 03 September 2014 - 11:16 PM
#1037

Posted 04 September 2014 - 08:31 AM
Depends how many engines it has when it's finally on the road Ben. ![]()
#1038

Posted 04 September 2014 - 11:02 PM
Hopefully only the one for a wee while lol
#1039

Posted 06 September 2014 - 06:39 AM
Another full day on the van today so plan of action is:
Drivers side front end latch
Sort bonnet alignment
Sand back the rear quarter
Finish out any little bits of welding
That should be achievable.
#1040

Posted 06 September 2014 - 06:28 PM
Another full day on the van today so plan of action is:
Drivers side front end latch
Sort bonnet alignment
Sand back the rear quarter
Finish out any little bits of welding
That should be achievable.
How'd it go mate?
#1041

Posted 07 September 2014 - 07:23 AM
Bonnet is better though it's still a couple of milimetres pround on the drivers side still.
Managed to sort the loadbed door bolt out though just need to dress the welds.
Couldn't get any pics though as my phone died.
I'll try and nip over in the week.
#1042

Posted 08 September 2014 - 05:27 AM
#1043

Posted 08 September 2014 - 06:37 PM
I was driving my van this weekend and the hood popped for no reason while I was driving. I need to take some pointers from you and fix that fitment haha
#1044

Posted 20 September 2014 - 06:38 PM
couple more hours in today.
I think I'm coming to the point where I can do no more though without painting it myself and I just haven't the room.
Spent the day cleaning up some parts ready to be powder coated in the next week or so.
Picture update tomorrow,
I now really need to A get some money together to pay for paint and B find someone to paint it.
#1045

Posted 23 September 2014 - 09:22 AM
Ok so bit late on the pictures as I was watching the foxes spanking Man United over the weekend.
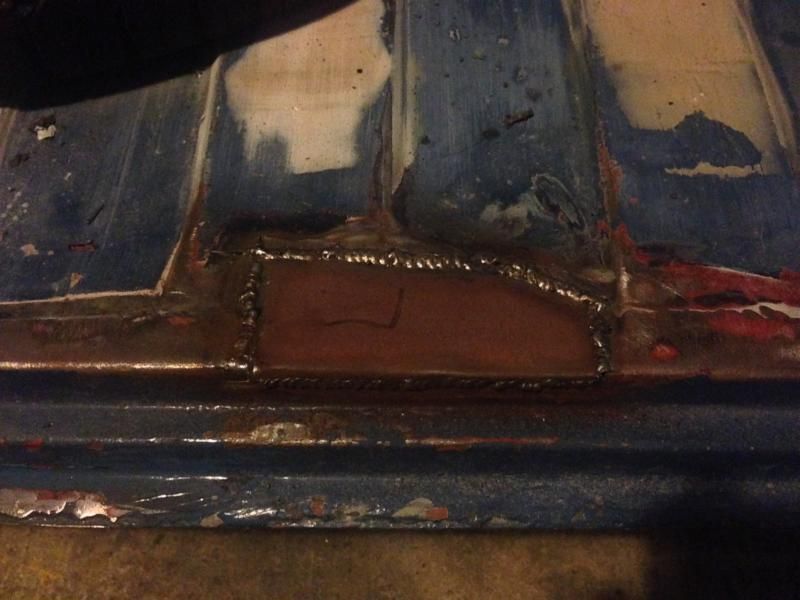
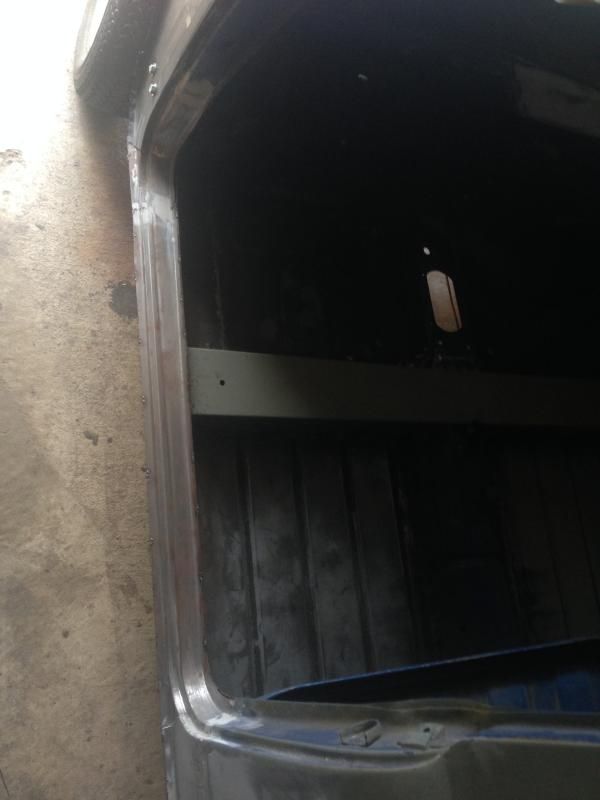
Repaired the load bed. There should be a plate on the underside but when I cut it out it was shot so didn't re use it.
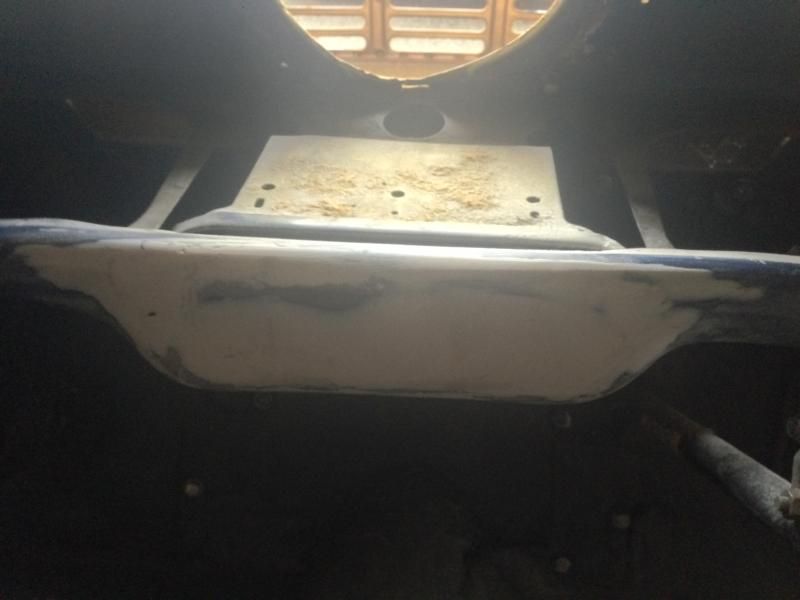
Still need to Etch prim the front panel.
Smoothed off the centre panel ready to drill some holes in it for my switches.
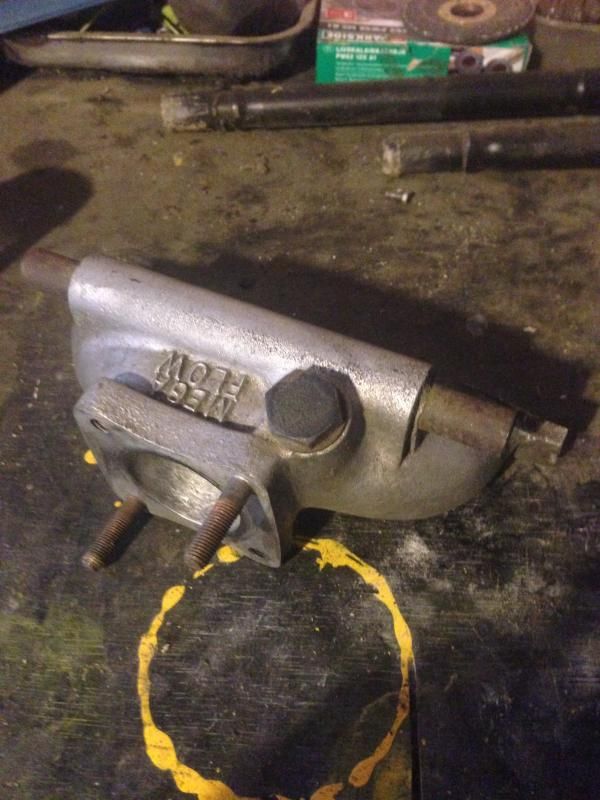
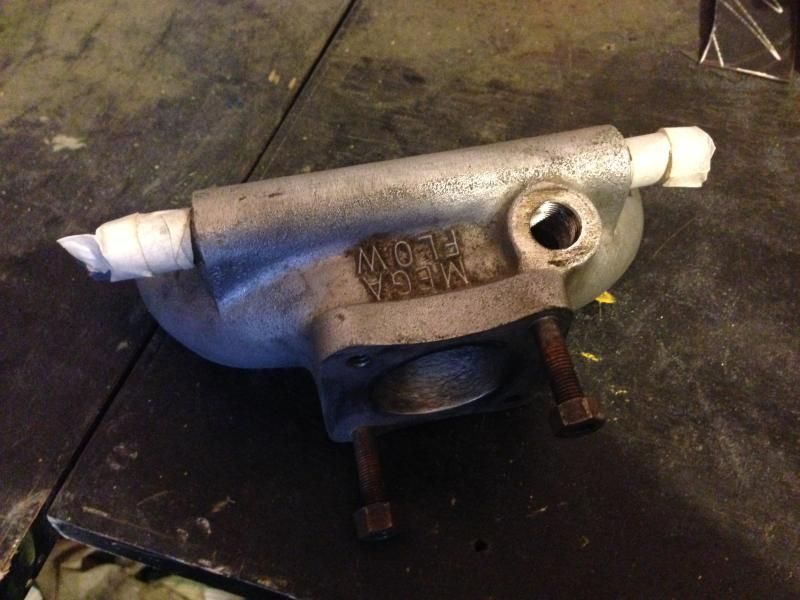
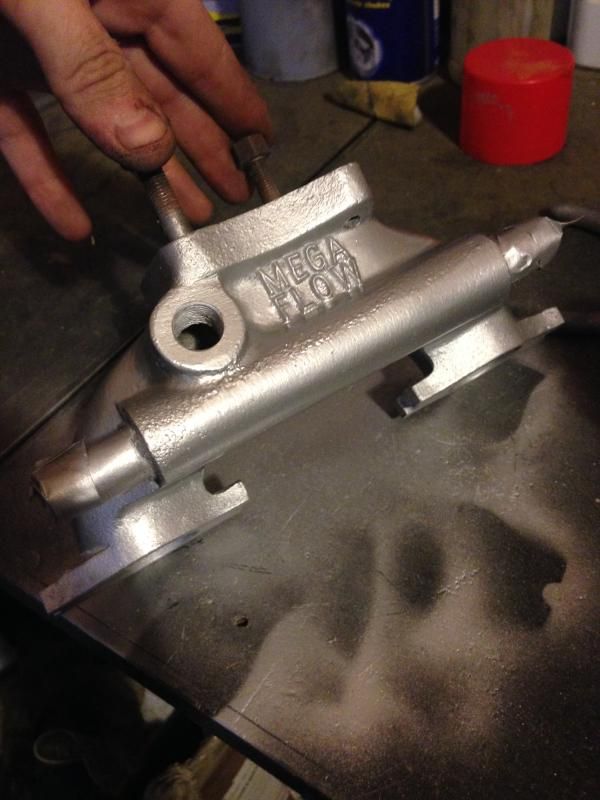
Cleaned up the inlet manifold ready for a lick of silver paint.
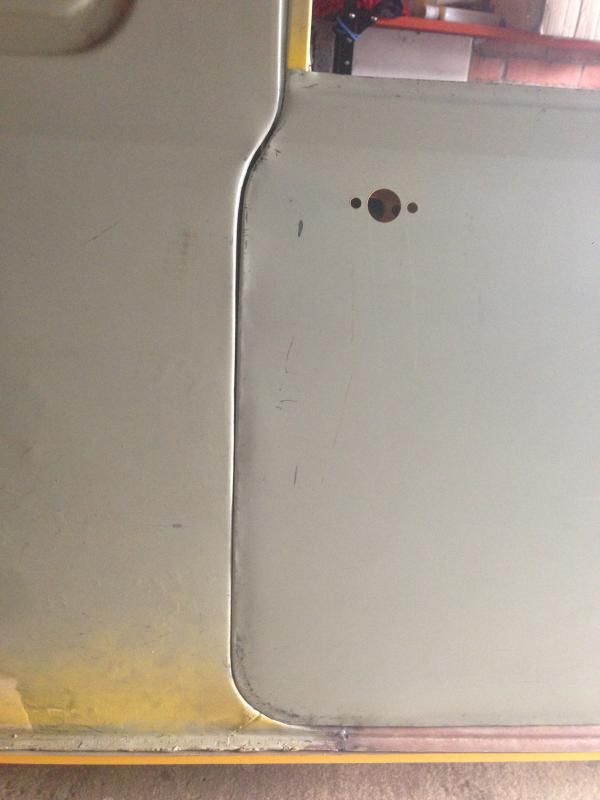
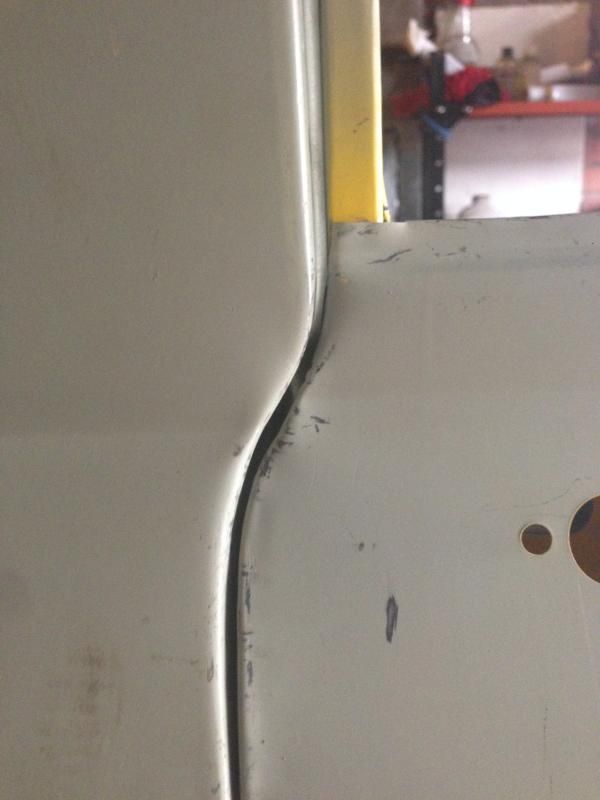
First go at re skinning doors. Harder than it looks! it's a bit ripply round the edge so I'll have to skim it.
Slight problem that the swedge line is quite far out. Not really sure what to do about this? cut the skin and try and line it up?
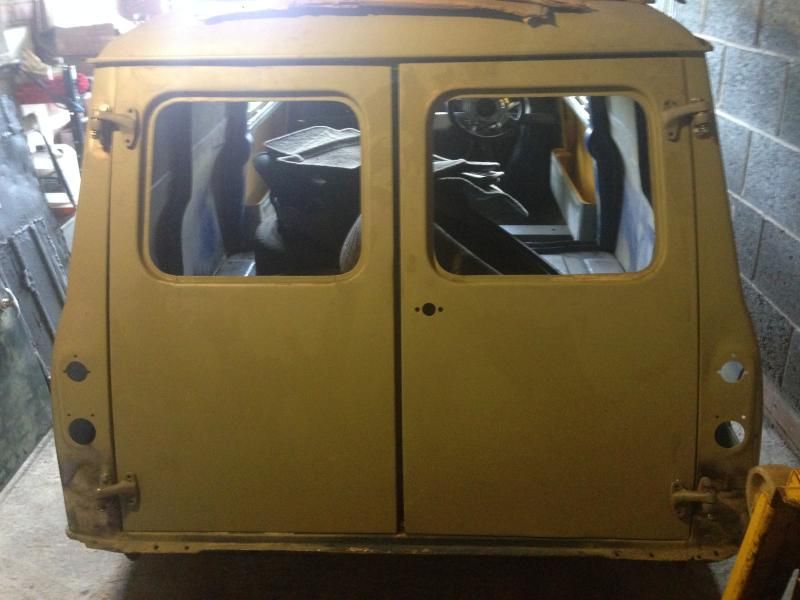
Still haven't got the bolts for the rear doors so I tried to line them up by eye... Bloody great gap in the middle though and the left door looks like it might be twisted. The top left corner of the door sticks out.
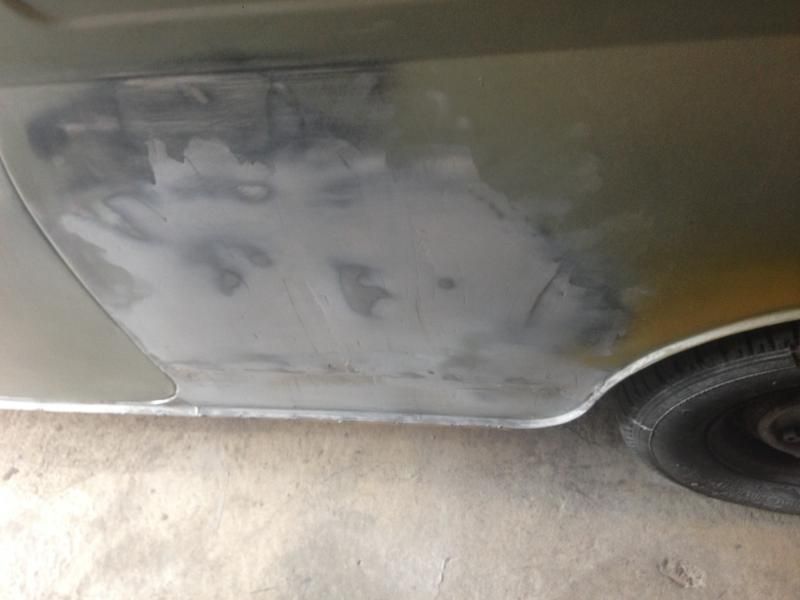
Sanded down where I'd skimmed some filler over the quarter as it was rippled... Reckon I'll need to do it again as it looks sh*t!!!
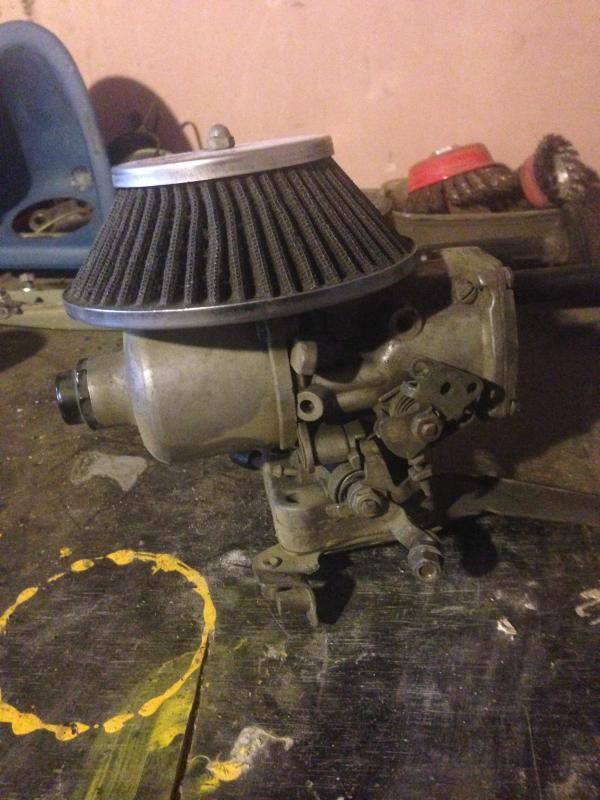
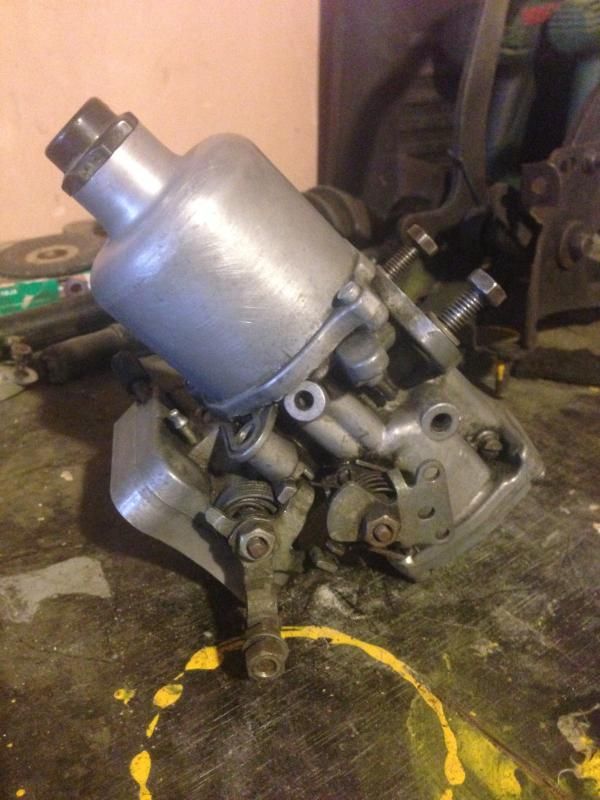
Then took the carb apart and cleaned it up abit.
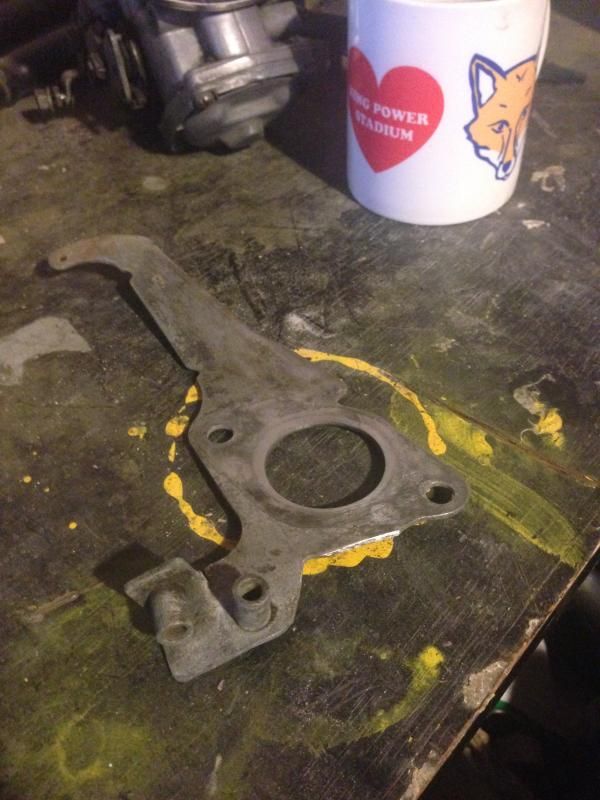
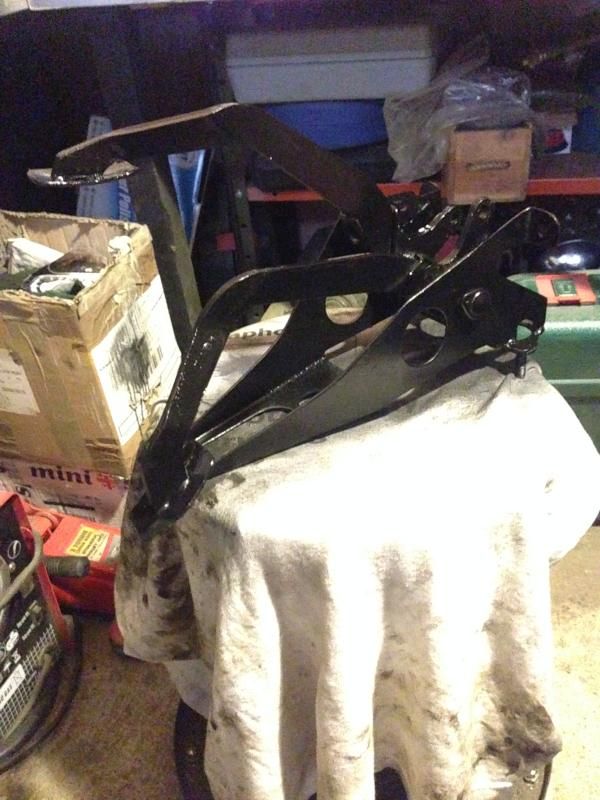
Accelerator return spring thingy ready to be powder coated.
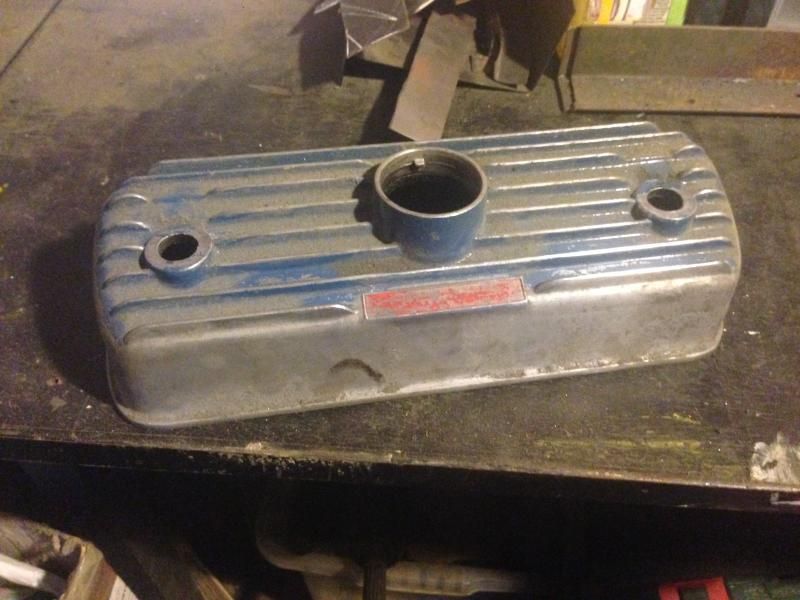
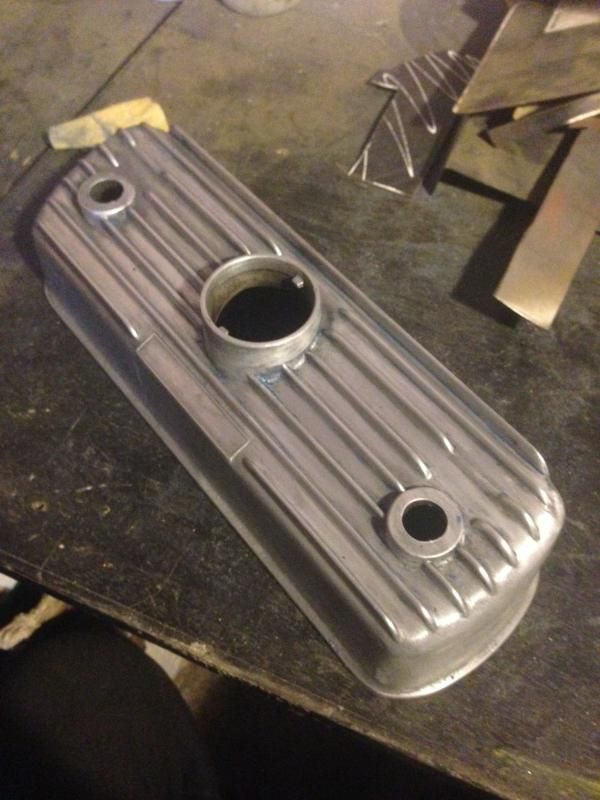
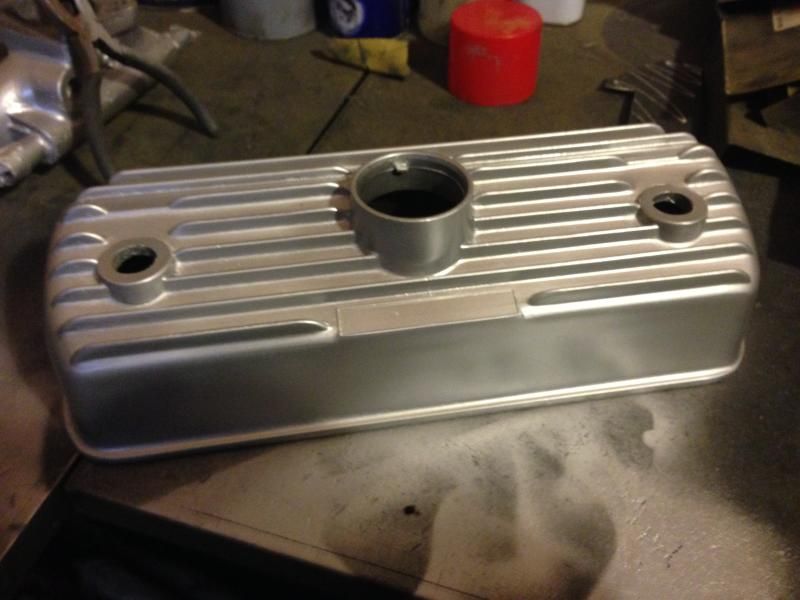
Cleaned up the rocker cover as I'd like it polished... Might end up being silver though as it a right pain in the arse!
Then rubbed the filler down and stuck the passenger door in.
#1046

Posted 23 September 2014 - 09:32 AM
Looking good mate!
There is an art to skinning doors which takes years to perfect so i don't think you did too badly for a first go. You should have seen the first skin i did!
Not too sure what to do about the swage line as if you cut it, you will never have a straight swage that runs the whole length of the door. I was going to say that perhaps the skin is too high on the frame but the gaps look about right so can't be that. Where did the skin come from?
Perhaps try to take the bottom of the door forwards and the top slightly forwards too and this will effectively drop the back of the door down which will improve it and open the gap up at the bottom/back edge of the door.
What's the door to a panel gap like? If wide enough, you could drill out the hinge bolt holes on the a panel slightly and move the door forwards like that.
That's what i would try anyway
Cheers
Ben
Edited by Ben_O, 23 September 2014 - 09:37 AM.
#1047

Posted 23 September 2014 - 10:03 AM
Thanks for the vote on confidence Ben ![]()
I bought the skins at Stanford Hall some years ago from a trader that does doors... Might have been the "Mini door company" but I cannot be sure as I can't quite remember but the name rings a bell. I do remember the old fella saying it's the skins they use but I guess they all say that! haha.
I need some new hinges on both side so doing to wait till I get them.
Your right though I think I might be able to shift it forward a bit as there is room on the A panel I think.
I also wont take the grinder to it then.
#1048

Posted 23 September 2014 - 10:42 AM
That's your best bet
Hopefully the a panel will enable you to take the bottom of the door further forward than the top as that's the only way you will drop the back of the door.
If that works then you should have nice decent gaps!
God luck with it mate
Ben
1 user(s) are reading this topic
0 members, 1 guests, 0 anonymous users


