Austin Mini Van Bare Metal Rebuild
#676

Posted 20 January 2014 - 02:56 PM
#677

Posted 20 January 2014 - 04:35 PM
Looking more and more likely I will do it that way from the poll I started in tech section.
#678

Posted 20 January 2014 - 08:27 PM
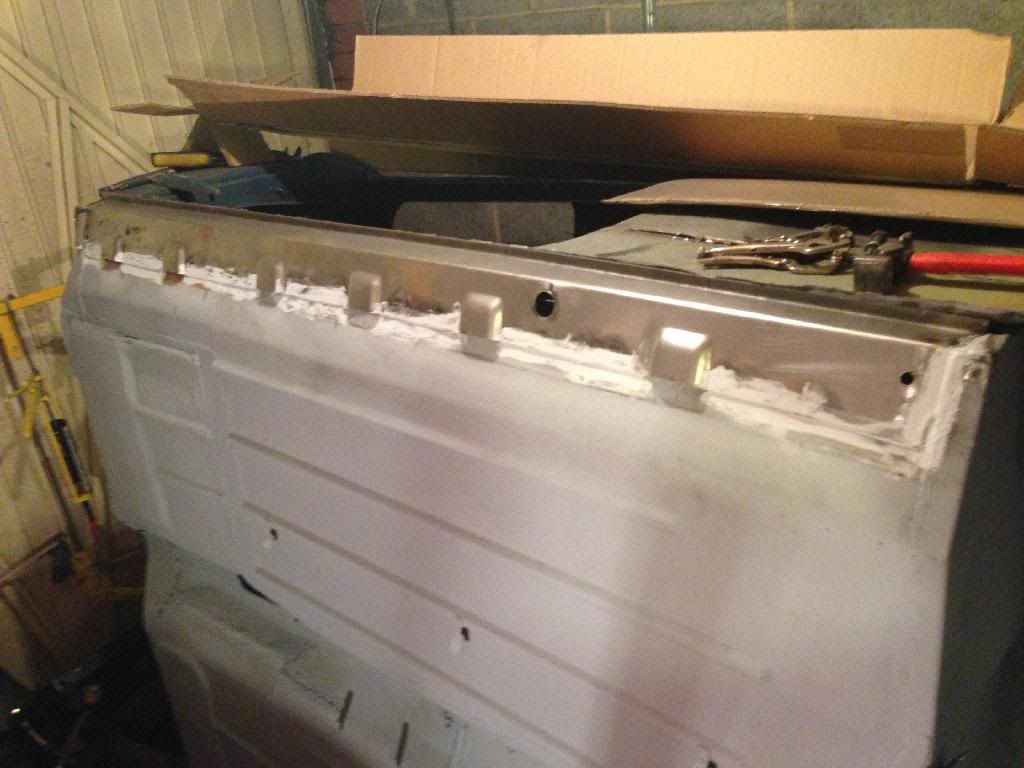
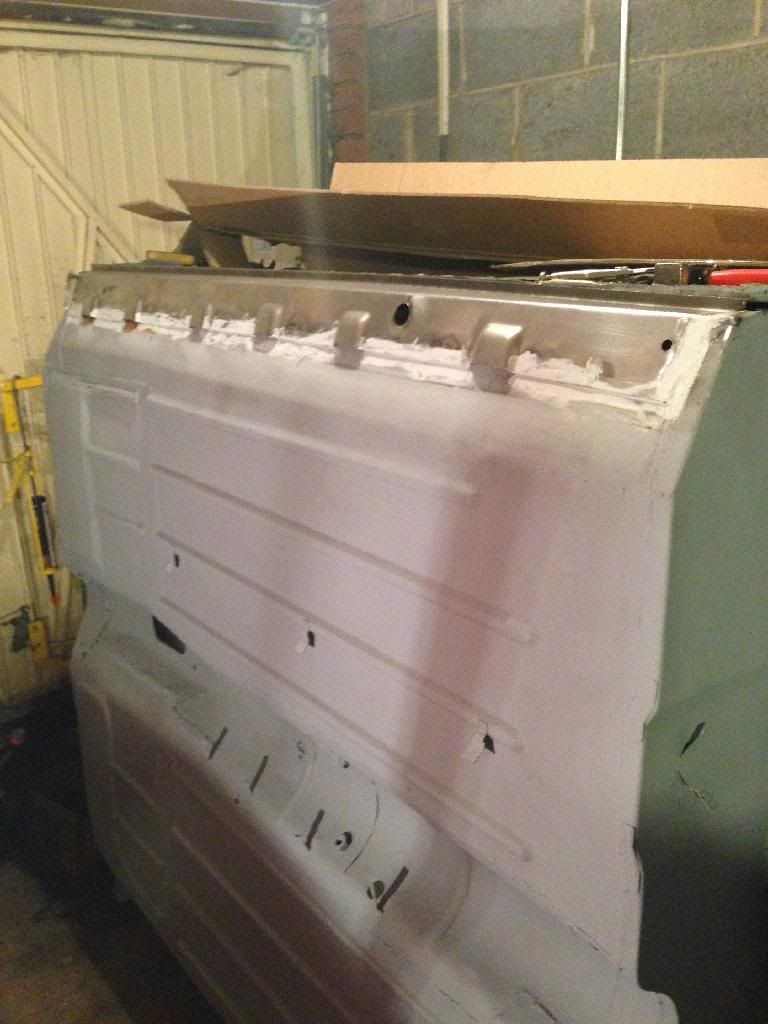
Its personal choice, if it where me I'd plug weld it as its the closest to how they where originally fixed, a bead of seam sealer should stop any water ingress.
How I done mine mate 5 holes between vents don't take that long to drill out lol
#679

Posted 21 January 2014 - 10:58 AM
Great to see this build thread, and a man who knows his etch primer, seam sealer and stonechip!
Just about finished doing my lads '74 saloon weldathon so will be able to crack on with my van in a few weeks; just got to paint underneath a hornet, build some engines, get the race car ready for the new season, and so on!
#681

Posted 21 January 2014 - 10:34 PM
#682

Posted 21 January 2014 - 10:49 PM
#683

Posted 21 January 2014 - 11:26 PM
Looking good there bud :) keep going :) i am jealous of all ur vans lol
#684

Posted 22 January 2014 - 08:44 AM
Good job ! Sorted the doorstep/rear quarter yet then???
I've left that for the time being as I haven't got the panel yet and will use the sill as a plump line as the step/quarter isn't in the right place anyway. Think I'll probably wait till it back upright again to do that though might make it a bit easier.
Did you spot weld or seam then bud lol
Went with the traditional plug welds in the end Hoody.
Edited by SAL 821X, 22 January 2014 - 08:53 AM.
#685

Posted 22 January 2014 - 08:47 AM
Once the seam sealer has dried fully, I'll rub it down with some 120 on the areas on the panels to tidy it up.
I didn't have a paint brush so had to use the end of my finger as an applicator. ![]()
Edited by SAL 821X, 22 January 2014 - 08:54 AM.
#686

Posted 22 January 2014 - 01:14 PM
Once the seam sealer has dried fully, I'll rub it down with some 120 on the areas on the panels to tidy it up.
I didn't have a paint brush so had to use the end of my finger as an applicator.
not long to go, are you painting it yellow underneath or you just going black with it?
#687

Posted 22 January 2014 - 02:04 PM
'just going with black' now way man! Yellow it is.
Not sure when this will be as we move house in a week and haven't even thought about packing let alone started.
So might be slow going for a few weeks now.
Edited by SAL 821X, 22 January 2014 - 02:20 PM.
#688

Posted 22 January 2014 - 05:41 PM
Haha thought you might say that yellow with the black frames is going to look really good mate :)
Good luck with the move....
MM
Edited by minimissions, 22 January 2014 - 05:42 PM.
#689

Posted 23 January 2014 - 10:34 AM
(DISCLAIMER: This will give the game away but if some one copies it first at least I'll know it works or not)
So here I am sat at my desk with my morning coffee musing removable front ends. This is how I'm planning on making the front end removable, yet looking as standard as possible, hence no mounting points on show where they normally go on the A Panels.
Crudely draw diagram as follows.....
I've been researching various types of internal release mechanisms for some time and found that the MG ZS / Rover 45 bonnet release would probably suit this purpose best. This is a twin release mechanism so that I can mount them either side of the wings for extra strength and have the release in the car hidden away somewhere.
They look a lot like this + the locking pins.
The front panel will mount on bonnet pins through the holes in the lower valence.
All I should need to do it fabricate some L shaped mounts that attach the pin on the wing and the locking plate on the A panel.
This should allow me to lock the front end at the A panel so it cannot be removed. Then when you come to remove it, pop the release in the car, undo the bonnet pins and it should come off in a upward and forwards fashion.
At least that's how I think it will happen.
Seems pleasurable on paper at least?
#690

Posted 23 January 2014 - 12:11 PM
this will be neat if it works for you!
MG ZS / Rover 45 bonnet release parts will rocket in price!
1 user(s) are reading this topic
0 members, 1 guests, 0 anonymous users


