Austin Mini Van Bare Metal Rebuild
#16
Posted 30 June 2011 - 01:50 PM
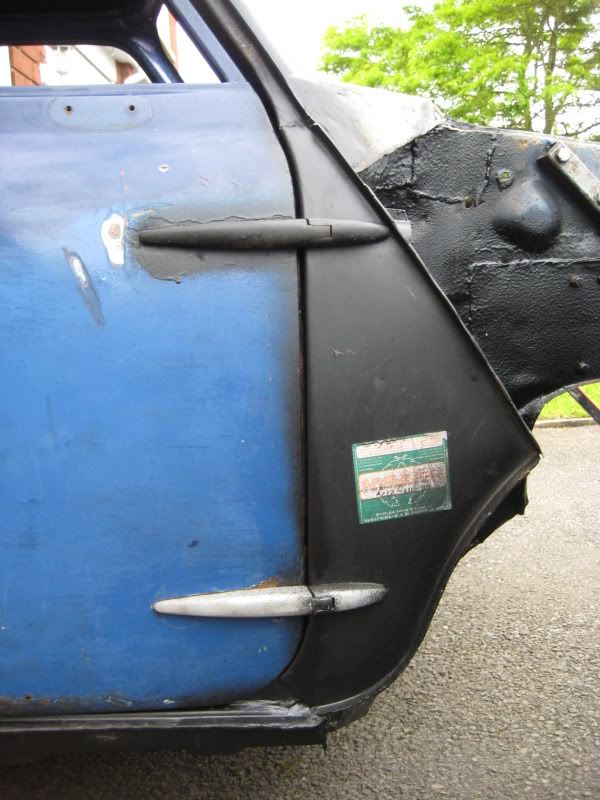
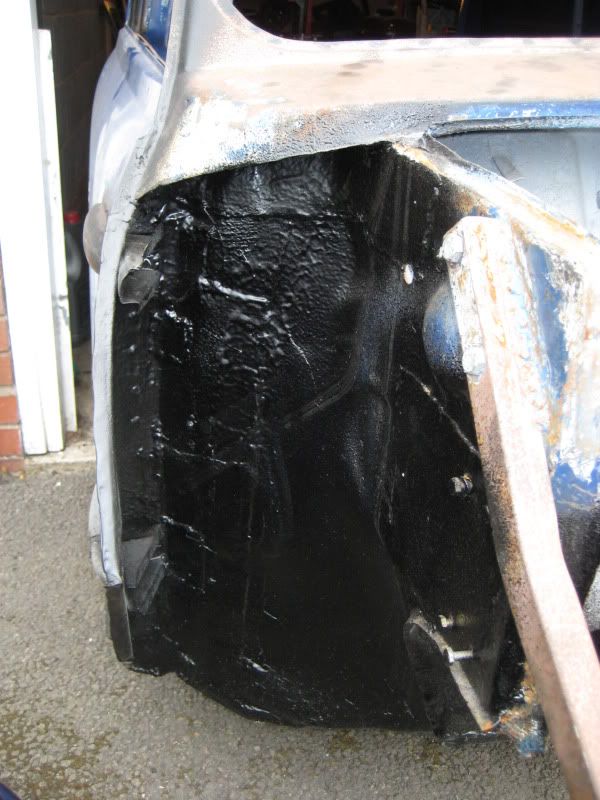
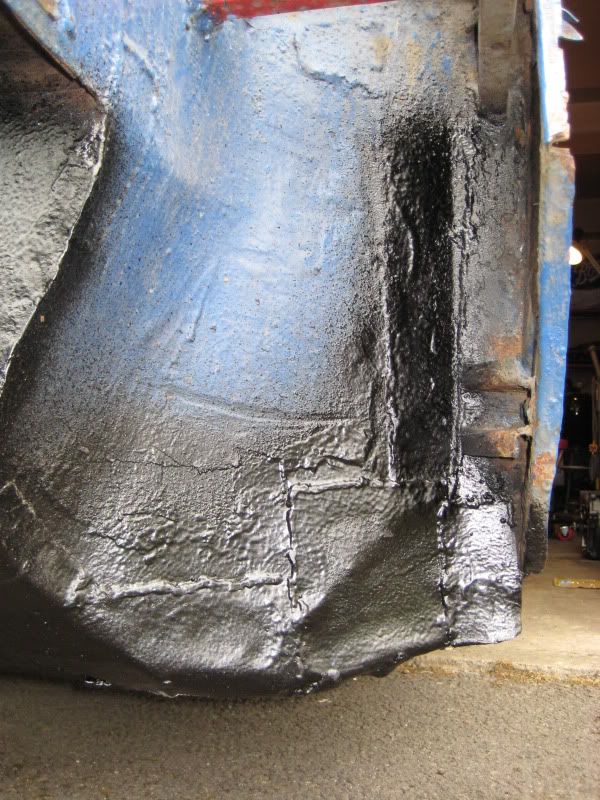
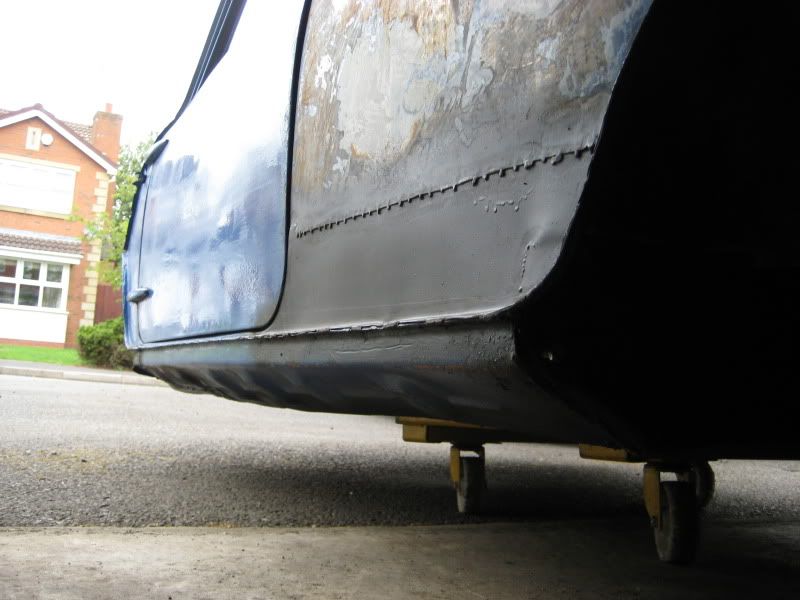
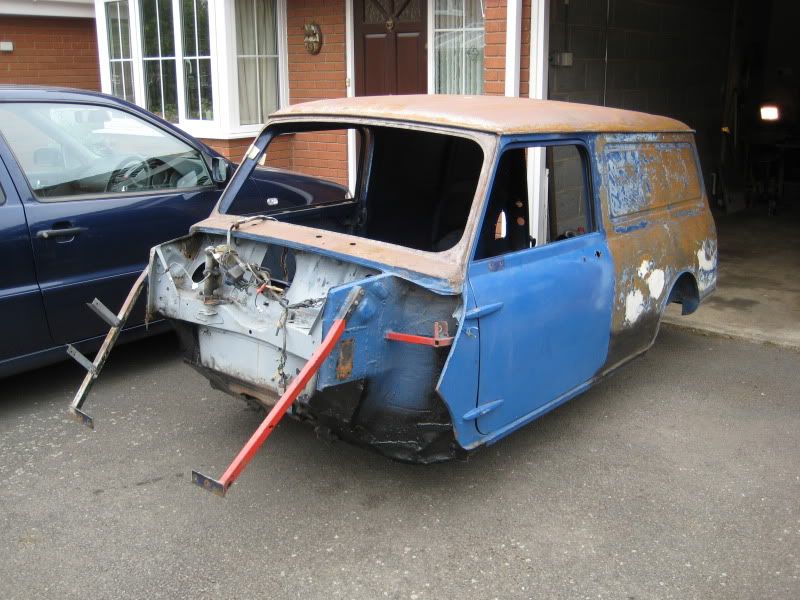
Rolled it out the garage to take some pics though for those who might be interested.
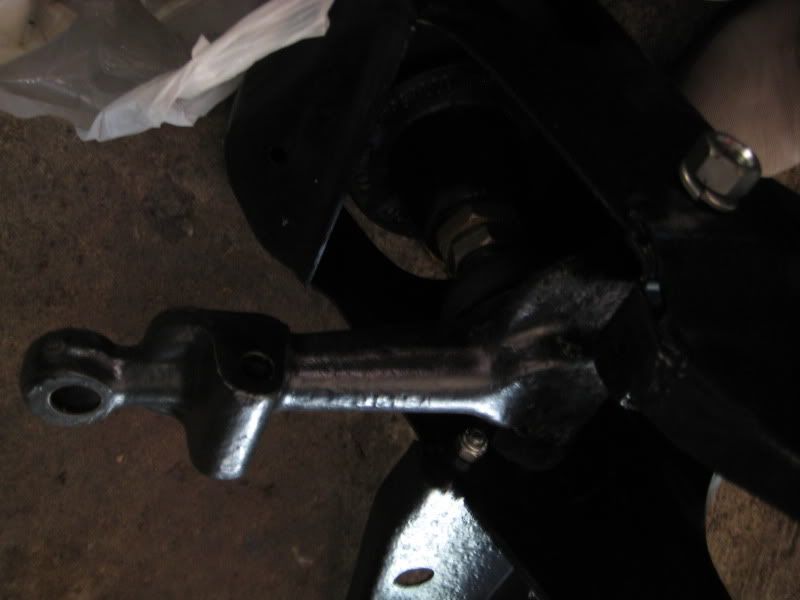
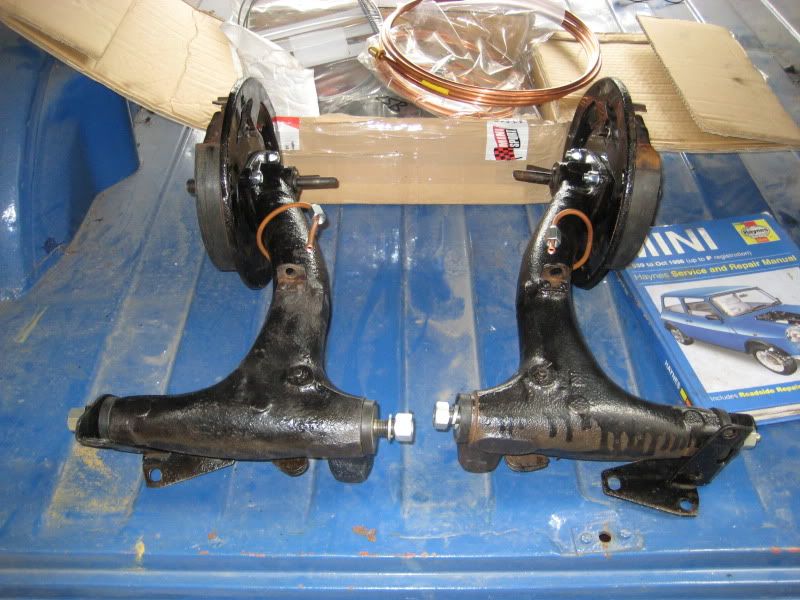
Also been working on rebuilding the radius arms
#17
Posted 30 June 2011 - 02:43 PM
What's going on with that massive patch of welding on the Passenger side read quarter?... those welds look like they're sitting on top of the panel instead of penetrating through to whatever's behind :S
#18
Posted 30 June 2011 - 04:22 PM
the rear quarters only been tack welded too, could do with seam welding really, dont mean to pee on your bonfire mate, but i suppose you get what you pay for good luck with it!
#19
Posted 11 July 2011 - 11:54 AM
#20
Posted 11 July 2011 - 08:33 PM
#21
Posted 11 July 2011 - 08:39 PM
#22
Posted 11 July 2011 - 08:47 PM
YetI
#23
Posted 13 July 2011 - 01:32 PM
Not much has happened bodywork wise as i've been quite busy, I dont have a garage where I live so the cars stored at my mothers which is 30odd miles away, so its differcult to tinker on it as I only get the weekends when im free.
Regards the welding. The rear quater is being done again as im not happy with it after posting in the bodywork section and quite a few people saying that its not upto scratch.
Other than that the engine is in being rebuilt and painted so that will be another thing crossed off the list.
Other major things are the prep, paint and wiring....! so still some way off yet (
And yes the image of the van in my siggy, is the image of how it will look in my head ive had the last 10 odd years now...
Good things come to those who wait and all that.
#24
Posted 13 July 2011 - 04:03 PM
Good Luck with it.
#25
Posted 13 July 2011 - 07:55 PM
looks awesome!!! one thing though, open up those oversills with some holes in the vents else the condensation inside them will rot the sills out in a few years.
dont want to see another van rust away!
keep up the good work buddy
Ben
Hi Ben,
Not 100% sure what you mean by oversills? there geniune new sills from somerfords, the old panel was removed and this new one put in its place.
By vents do you mean the bumps?
Happy to drill some holes in if it means she stays solid for years to come.
Their not genuine sills!
Do your self a favor if your planning on keeping the van for a few years and cut them off now and use proper ones
#26
Posted 02 August 2011 - 08:07 PM
Alex
#27
Posted 02 August 2011 - 08:19 PM
Even though those sills may have come from Somerfords they are not original fit sills, they are repair sills ideal for covering dodgy repairs and they are not as strong as the original short sills.
I'm sorry if this is sounding like a dig at your car its not i just hate seeing people pay money for something that to be honest is not that clever. At least you have cut the rot out of the flitches so nothing is hiding.
#28
Posted 03 August 2011 - 07:57 AM
Your right though guys, the more I look at it and understand about bodywork from reading stuff on here. The more I think they havnt really dressed the welds at all this will be something I'm going to look into hopefully I can tidy most of it up.
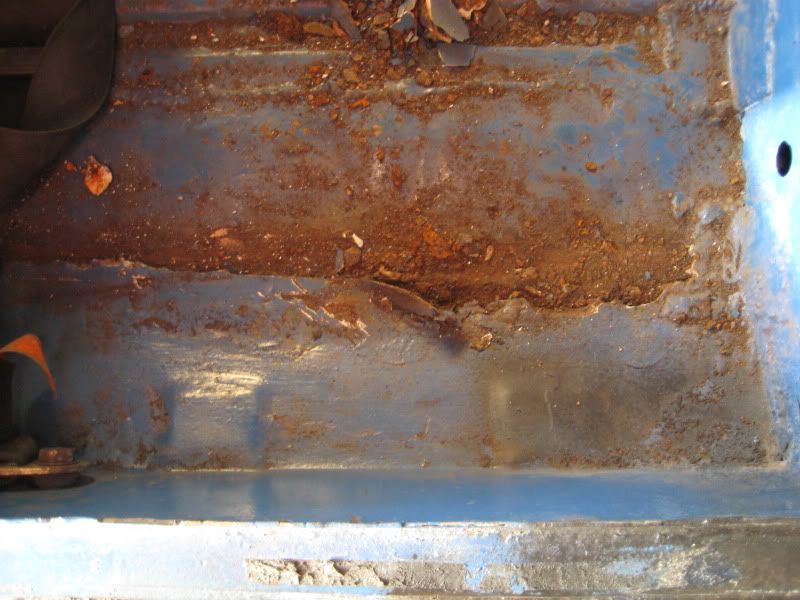
You'll proberly be please to know that it looks like the sill might have to come off again away. Having a nose over the inside last night, it looks like I'm going to have to replace the drivers rear floor pan as its coming away from seams of the seat tunnel..... I hadn't noticed it before now.
Ow well, having never done something like this before it's all abit of a learning curve.
I've got a welder now though. So if you want a job doing right "DO IT YOURSELF!" as they say.
Just means its going to take me even longer, as I now need to learn how to weld first. LOL
On the plus side my engines back and looking shinier than a shiny thing.
#29
Posted 13 September 2011 - 11:13 AM
Had a few days off last week as I should have been going away, that didnt happen so got some work done on the van instead. I've not done much to the bodywork recently as I've been consentrating on getting it back on its wheels at the moment.
New solid lower subframe mounts.
Adjustable Tie-bars with Poly bushes.
Wiring looms out. Its been really hacked about so I will end up replacing most of it I think.
Primed most of the bulkhead and rear tubs.
Rebuilt the top arms with new pivot kits. Only got one side in though as the cones nackered on the other.
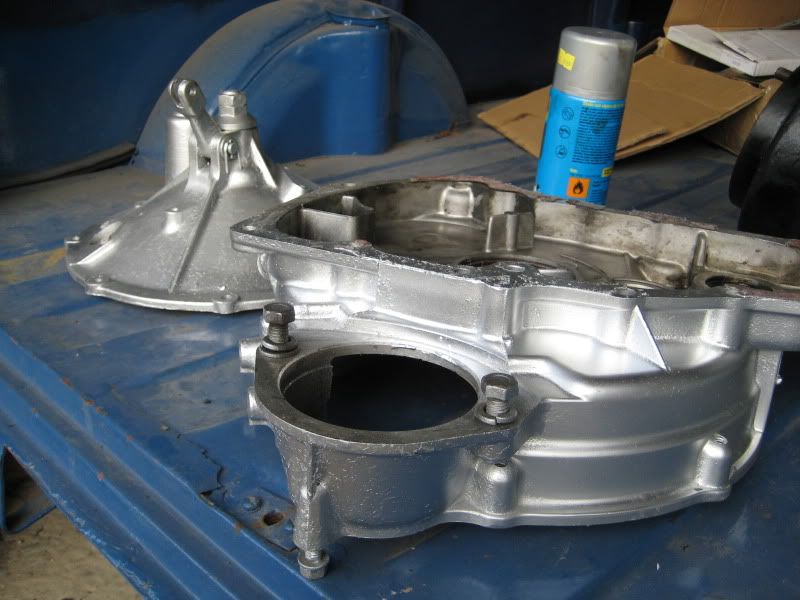
Sprayed the flywheel and clutch housing silver. Also did the gearbox but forgot a picture.
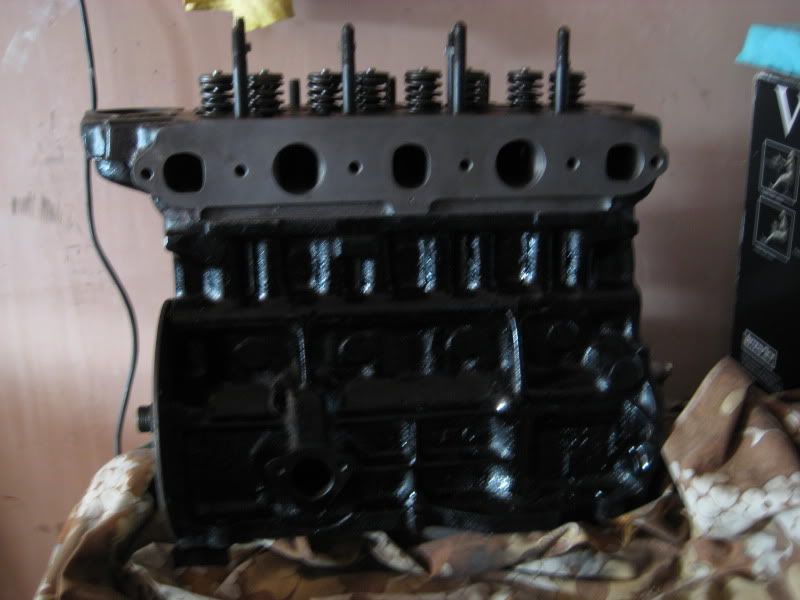
Put the new swift tune cam, followers and oil pump in the engine. Dropped the head on for the time being, need to torgue down the bolts.
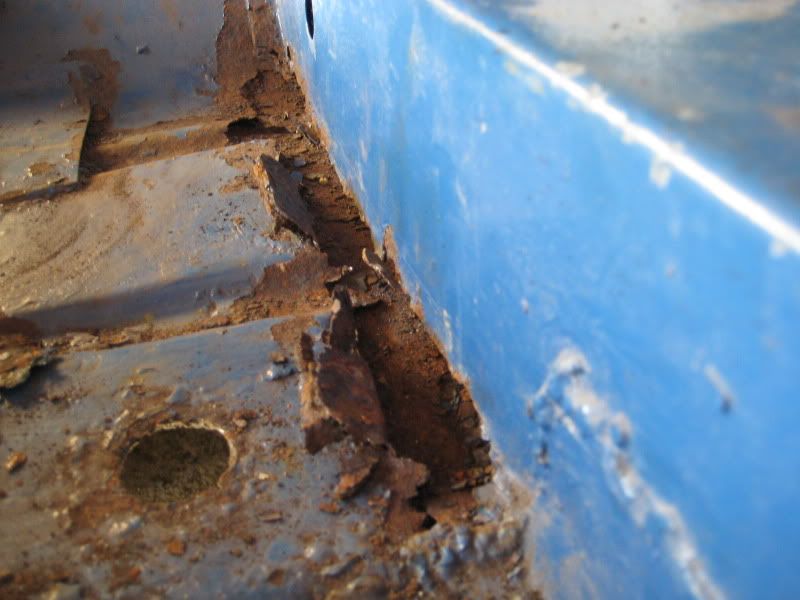
While I was in the back of the car taking the loom out I found this.
Think it need a new rear floor pan and a cross tunnel.
So I think that will be the next job to do.
#30
Posted 14 September 2011 - 04:46 PM
1 user(s) are reading this topic
0 members, 1 guests, 0 anonymous users