Jump to content


Photo
- - - - -

Mini- Mini Restoration


  • Please log in to reply
83 replies to this topic

#31 mini_in_progress

mini_in_progress

    Super Mini Mad

  • Members
  • PipPipPipPipPipPip
  • 641 posts

Posted 24 April 2012 - 04:20 PM

well between the showers i had a play with the welder since its my day off :) but not down at the car :( my welds are penitrating mint, but there almost flat!? ive seen loads of welds on here and they look loads better than mine..... but guessed its fused the 2 pieces together alright lol... might have to have a go welding this boot floor in friday if the weather is decent!.......

#32 mini_in_progress

mini_in_progress

    Super Mini Mad

  • Members
  • PipPipPipPipPipPip
  • 641 posts

Posted 30 April 2012 - 01:27 PM

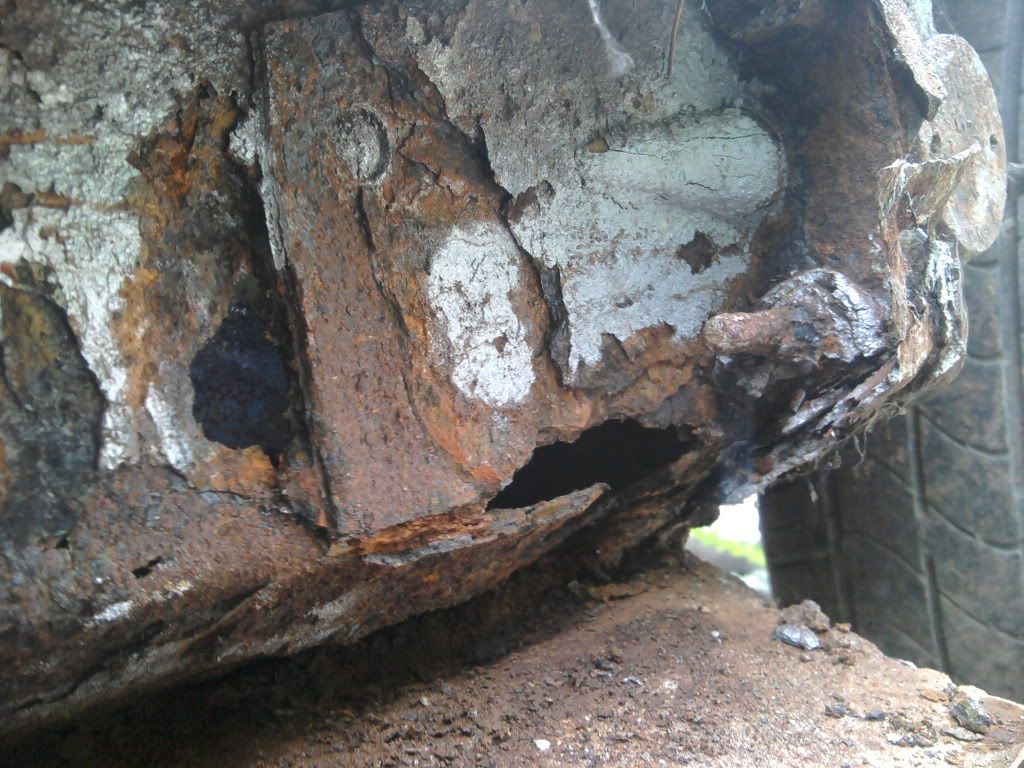
well, i didnt want to have to remove the rear subby but looks like i have very little choose :( :( :(


Posted Image


wish me luck, im goin to attempt the removal of them bolts now......

#33 pickuptruck1994

pickuptruck1994

    Speeding Along Now

  • Members
  • PipPipPipPipPip
  • 366 posts
  • Location: somerset
  • Local Club: Weston Mini Muckers

Posted 30 April 2012 - 01:50 PM

before i removed my rear sub frame i made some little holes in the back of the sills and just filled it up with wd40 left it for an hour or so and came back to it tightened it then undone it a little bit at a time and tightening it a little each time you loosen it off as this will help to clear the threads on the bolt and also inside the nut.
good luck
jordan

#34 mini_in_progress

mini_in_progress

    Super Mini Mad

  • Members
  • PipPipPipPipPipPip
  • 641 posts

Posted 30 April 2012 - 01:57 PM

thanks for the advise mate, that picture is of the outer sill removed as you can see i dont think there is much of the mount or bolts left :( :( :(

#35 pickuptruck1994

pickuptruck1994

    Speeding Along Now

  • Members
  • PipPipPipPipPip
  • 366 posts
  • Location: somerset
  • Local Club: Weston Mini Muckers

Posted 30 April 2012 - 07:48 PM

if i was you just chop it all out back to solid metal and replace will new sheet metal, cut the end of the heel board off as it looks like it has past it fabricate one up and weld a stiffener on the new part for the subframe mount. but when welding new stiffener put the subframe back in to make sure you get it all lined up drill your holes and weld nuts to the stiffener for the subframe bolts. just a ruff way i would do it to help you out. or get and heel end panel but still use the subframe to line every thing up again
remember it always looks worse before it gets better
cheers
jordan

#36 mini_in_progress

mini_in_progress

    Super Mini Mad

  • Members
  • PipPipPipPipPipPip
  • 641 posts

Posted 30 April 2012 - 09:07 PM

if i was you just chop it all out back to solid metal and replace will new sheet metal, cut the end of the heel board off as it looks like it has past it fabricate one up and weld a stiffener on the new part for the subframe mount. but when welding new stiffener put the subframe back in to make sure you get it all lined up drill your holes and weld nuts to the stiffener for the subframe bolts. just a ruff way i would do it to help you out. or get and heel end panel but still use the subframe to line every thing up again
remember it always looks worse before it gets better
cheers
jordan


cheers mate, im going to get inner sills, 4 1/2" outer sills and heel board ends ordered .... just been and pulled subframe off and snapped 3 bolts out them 4 and had to saw the brake pipe off and found the rubber fuel pipe had a slice out of it from rubbing on the boot floor hole all these years.... didnt get any pics tho so will do that tomorrow, gotta try and clean the underseal off from everywhere to assess damage......... someone only undersealed after it rotted away........ :blink: :unsure:


also i think now the subbys off premature to my plans im going to try and accumilate parts to fully referb it maybe powder coat too, braded brake hoses, poly bush set etc..... we will see what the prices are like before i get carried away and how well it all welds up....... lol

#37 mini_in_progress

mini_in_progress

    Super Mini Mad

  • Members
  • PipPipPipPipPipPip
  • 641 posts

Posted 03 May 2012 - 02:27 PM

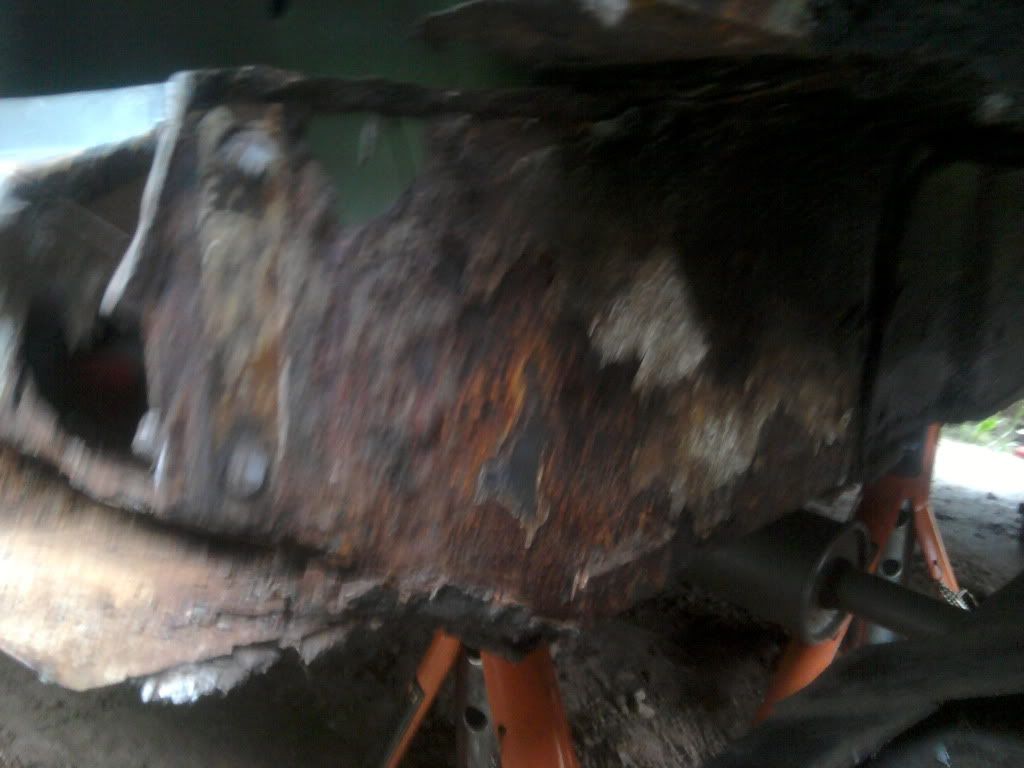
well its raining ....again.... so not much progress, but i got some pictures, first the ns heelboard, both bolts snapped and its really rotten......

Posted Image

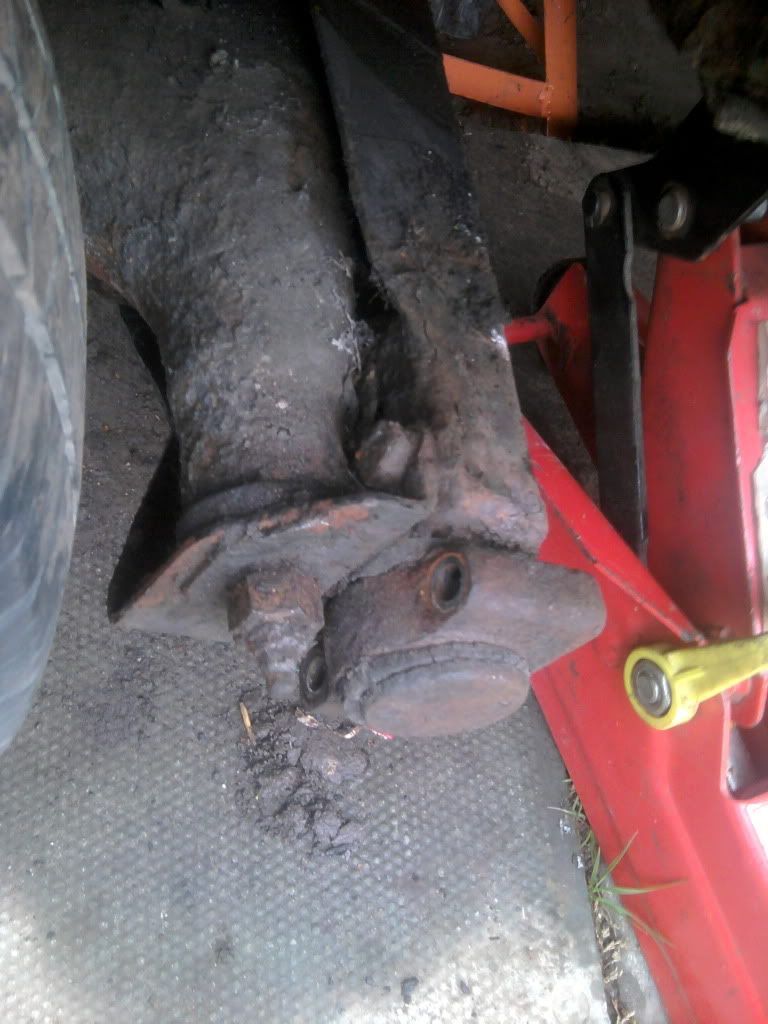
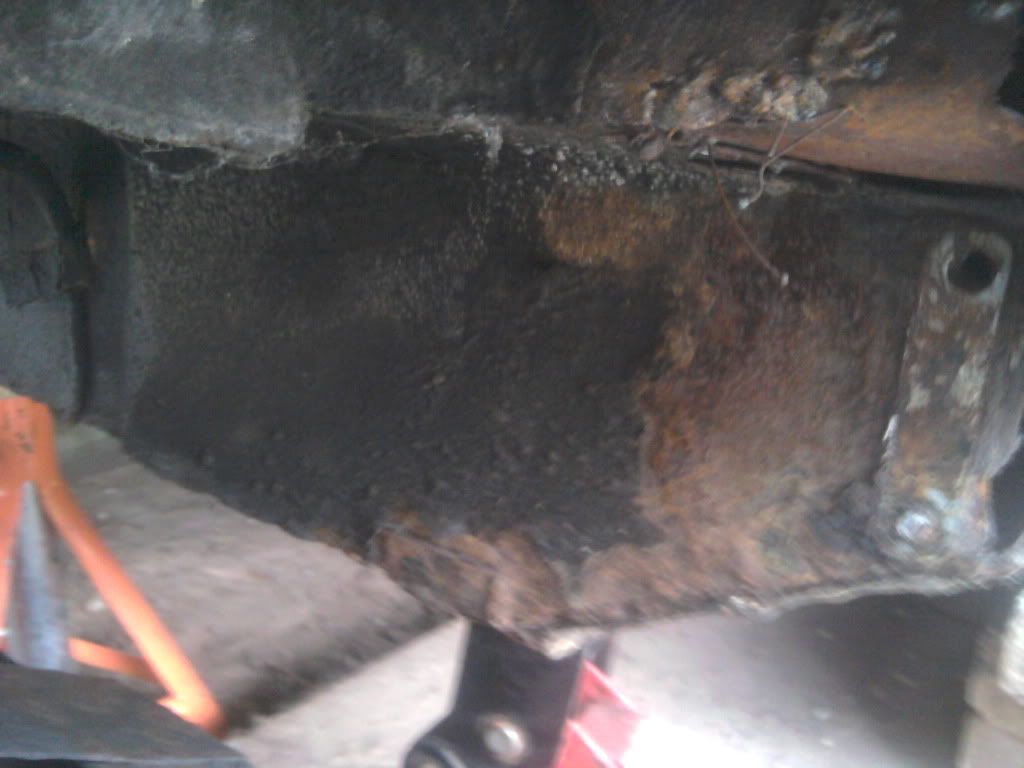
next the offside, no big holes yet and only the bottom bolt snapped, still needs cutting out and repairing tho.... just a case of cleaning everything back and seeing how much needs chopping out
Posted Image

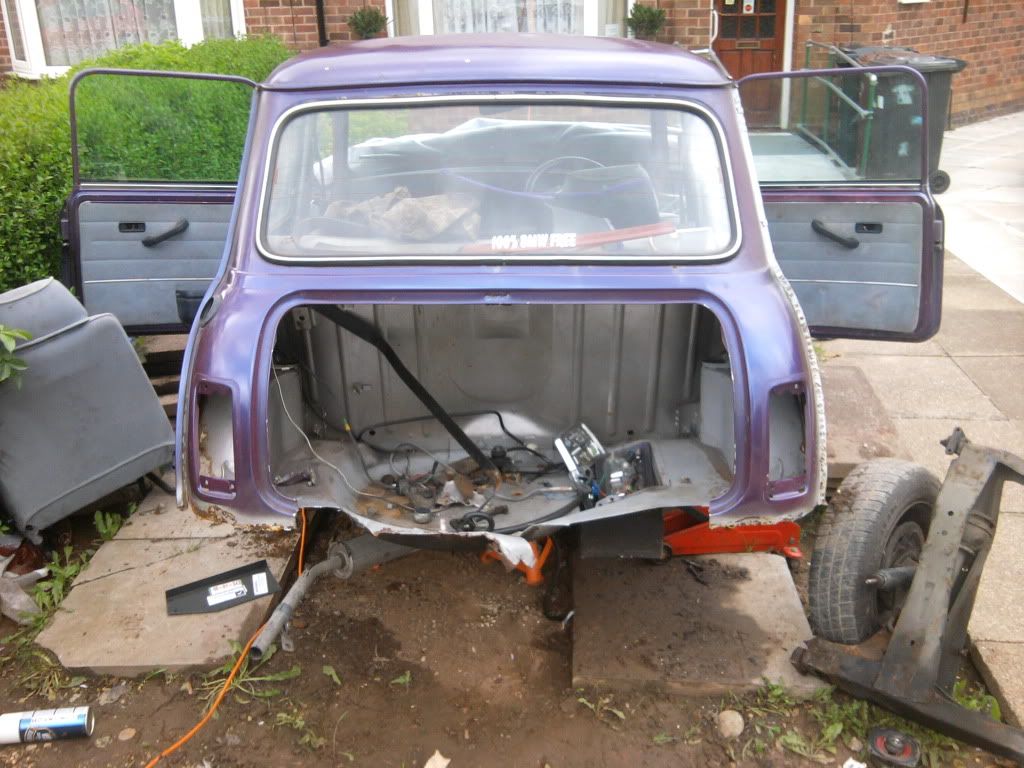
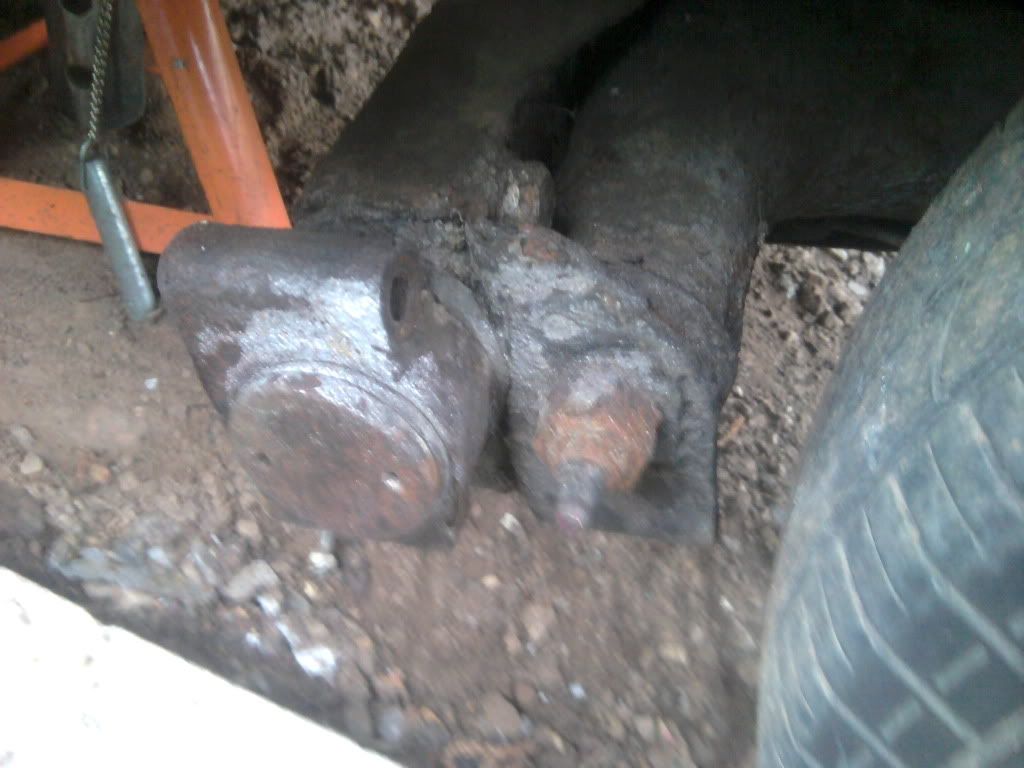
the subframe looks virtually new, just needs the holes straightening and welding up where the tow bar was bolted too :mmkay: :mmkay: :mmkay: and might take the arms out and chean them up and replace the old rubber bushes with poly ones and new grease nipples and look to see if i can replace the brackets with a stainless one as they dont look to great ..
Posted Image

Posted Image

guess ill have to strip it all down and find out how good the bits are!

#38 mini_in_progress

mini_in_progress

    Super Mini Mad

  • Members
  • PipPipPipPipPipPip
  • 641 posts

Posted 10 May 2012 - 09:37 PM

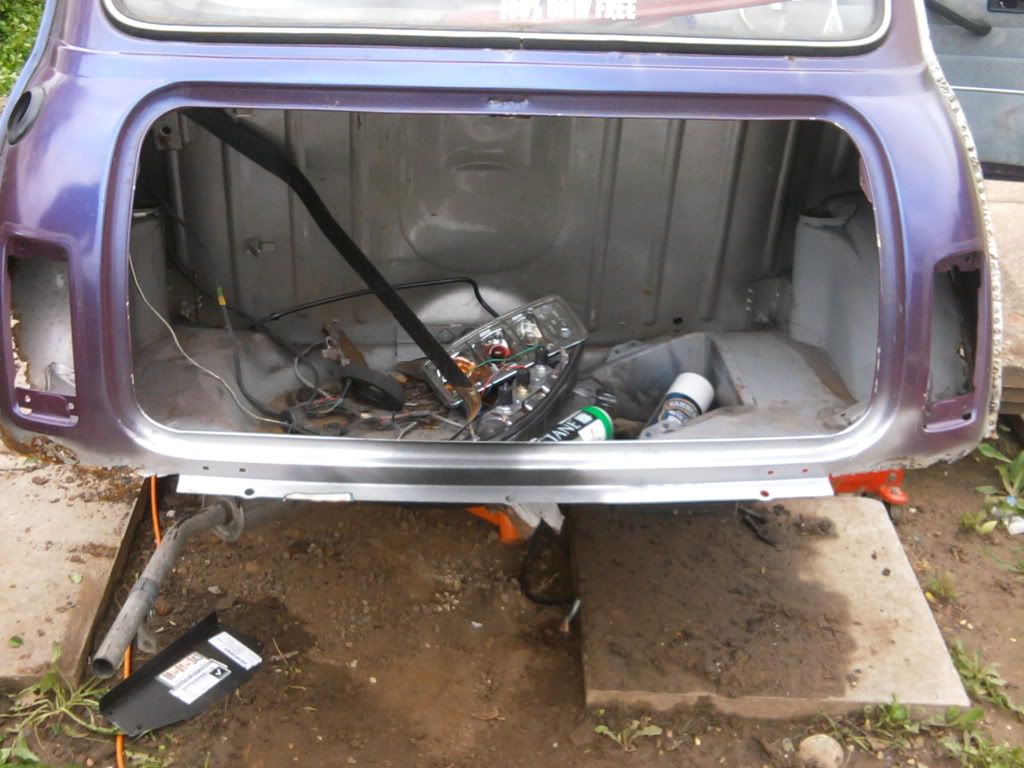
well had a little play today, cut a little more of the boot floor out,...........


Posted Image

then replaced the hinge panel,

Posted Image

i also started welding the boot floor in too but no pic of that till tomorrow,
i also bought a complete inner sill and rear heal board repair panel for the ns so ill have a go at that soon too...all i can say is.... wahoo progress

dave

#39 tedmatly

tedmatly

    On The Road

  • TMF+ Member
  • PipPip
  • 45 posts
  • Location: dorset

Posted 10 May 2012 - 10:14 PM

keep going, you will get there, good work, all the nooks and crannies is where it counts

#40 mini_in_progress

mini_in_progress

    Super Mini Mad

  • Members
  • PipPipPipPipPipPip
  • 641 posts

Posted 10 May 2012 - 10:21 PM

cheers mate, yup i just cant wait to get it looking nice and want to be driving her haha will get some more done tomorrow hopefully have the boot floor all done and valance on on next update :D.....

#41 matty1303

matty1303

    Mini Mad

  • Members
  • PipPipPipPip
  • 197 posts
  • Location: Norfolk

Posted 11 May 2012 - 08:08 AM

Looking good buddy keep it up

#42 mini_in_progress

mini_in_progress

    Super Mini Mad

  • Members
  • PipPipPipPipPipPip
  • 641 posts

Posted 11 May 2012 - 03:05 PM

cheers matt :)

first of all just a pic of the subframe as its missing :P
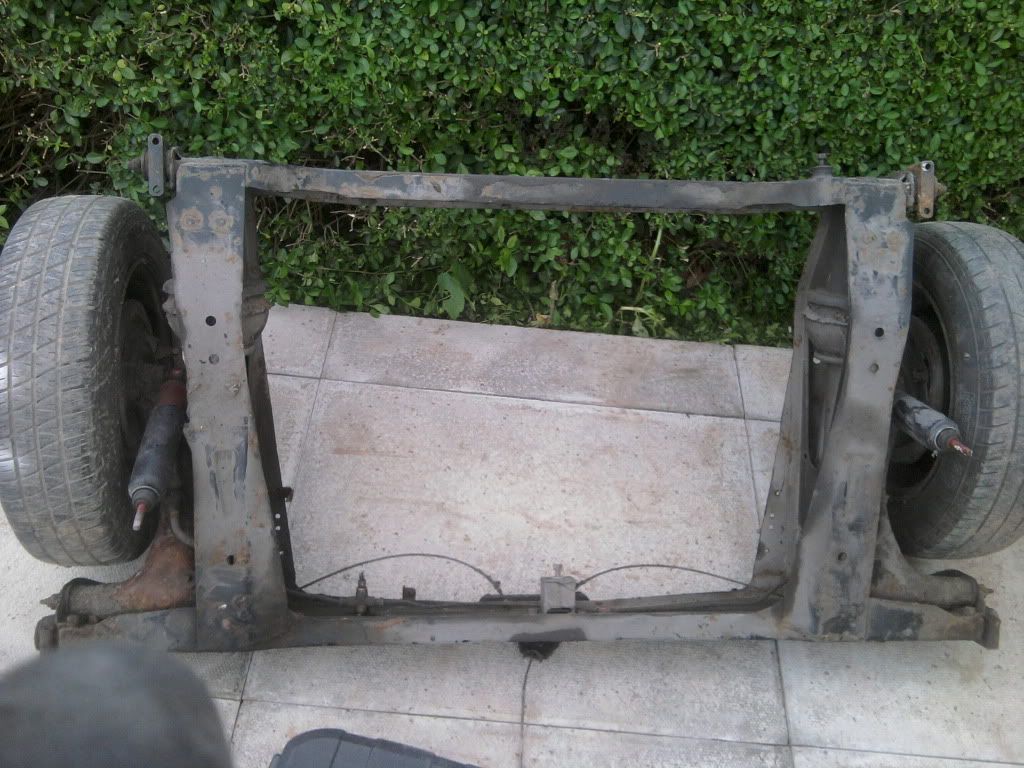
Posted Image

also thres a clip missing off the radius arm, dont know what it does yet but theres a clip on the iother one lol
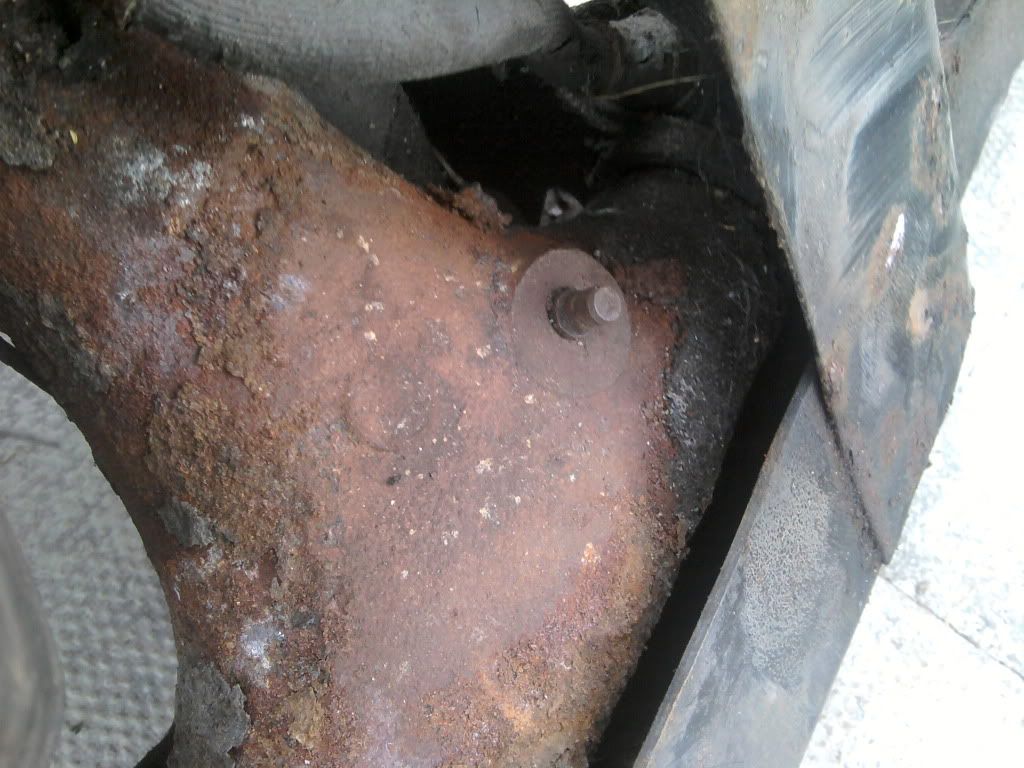
Posted Image


and today......

well welding the boot floor in was awfully hard so i cut it into 3..... then started welding...... what a mess it was as the floor was so thin then i pulled the back end out and spot welded it to the floor....and yes i know the bumper holes dont line up on the cheapo panels :P
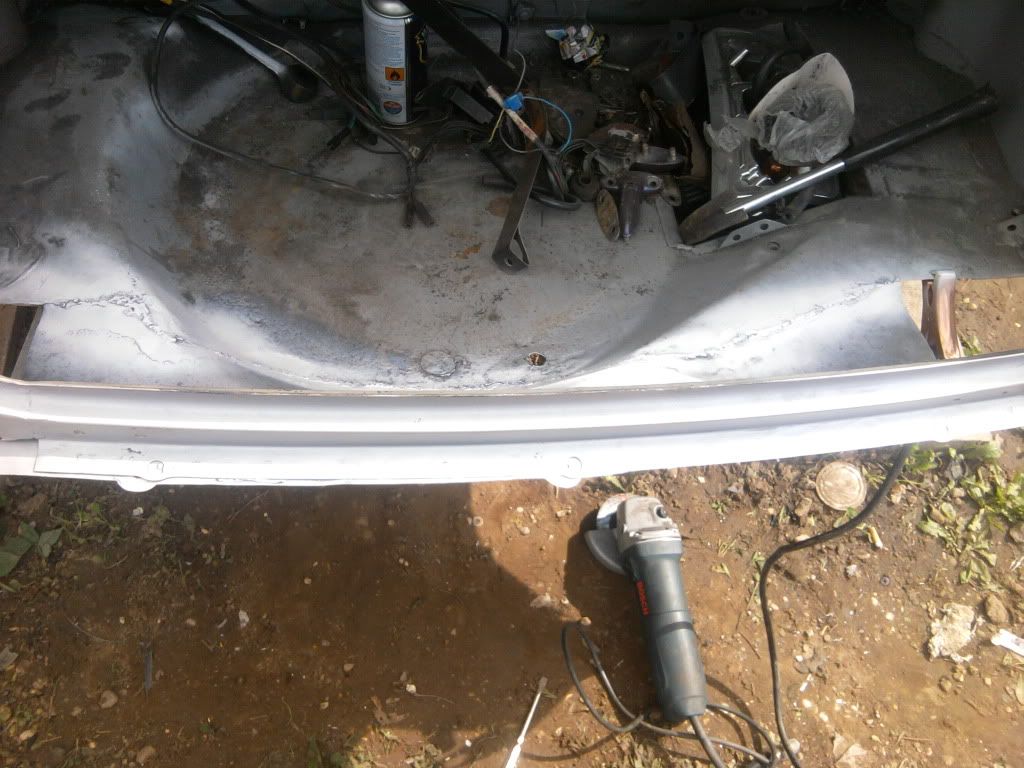
Posted Image

also knocked this little panel up

Posted Image

Edited by mini_in_progress, 11 May 2012 - 03:05 PM.


#43 mini_in_progress

mini_in_progress

    Super Mini Mad

  • Members
  • PipPipPipPipPipPip
  • 641 posts

Posted 14 May 2012 - 07:57 PM

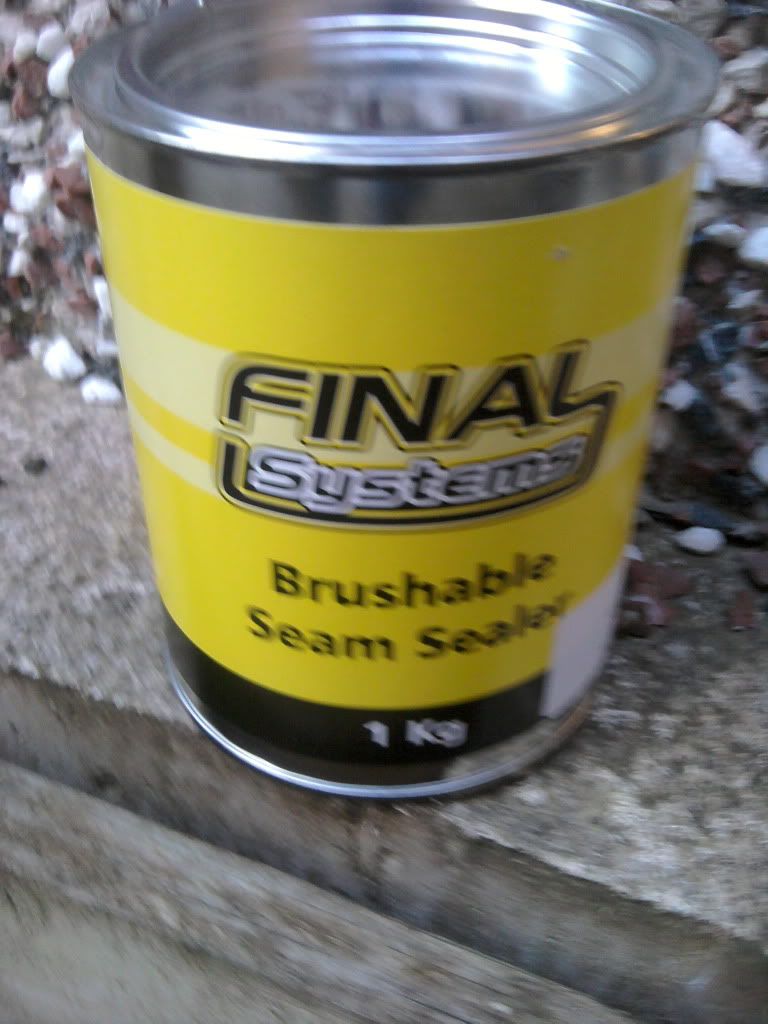
well thought id better buy some of this today.........

Posted Image


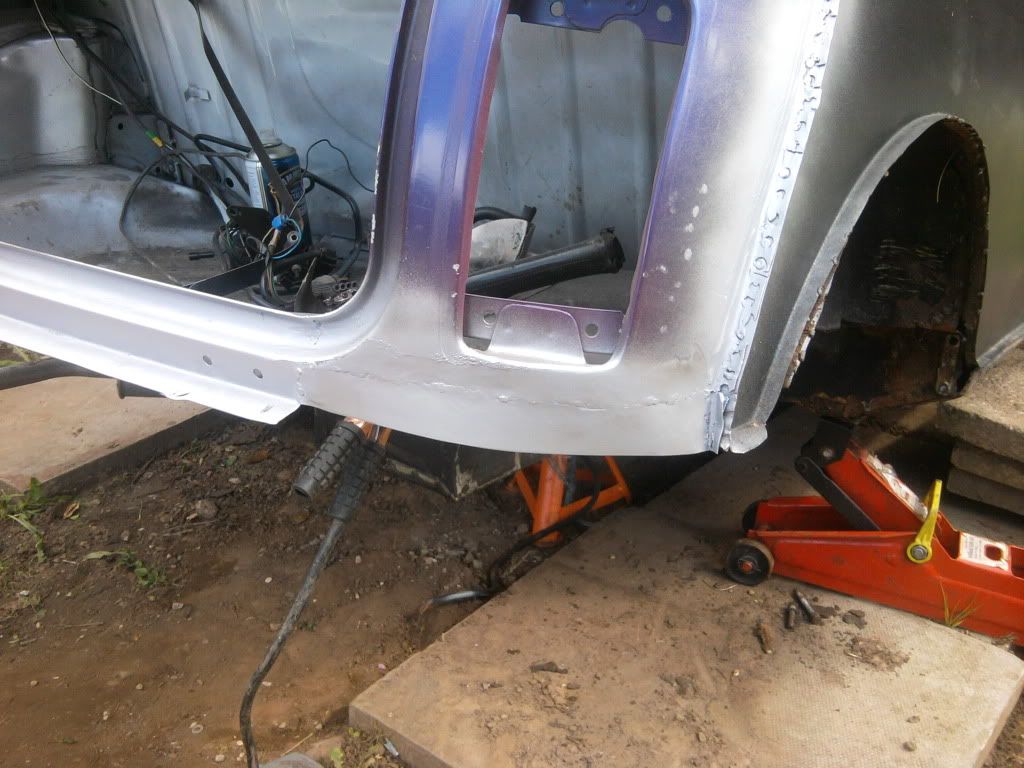
yes its seam sealer, and then i wanted to seal something so thought as i had the cheapo valence closers id weld them onto the valance and seal them up....
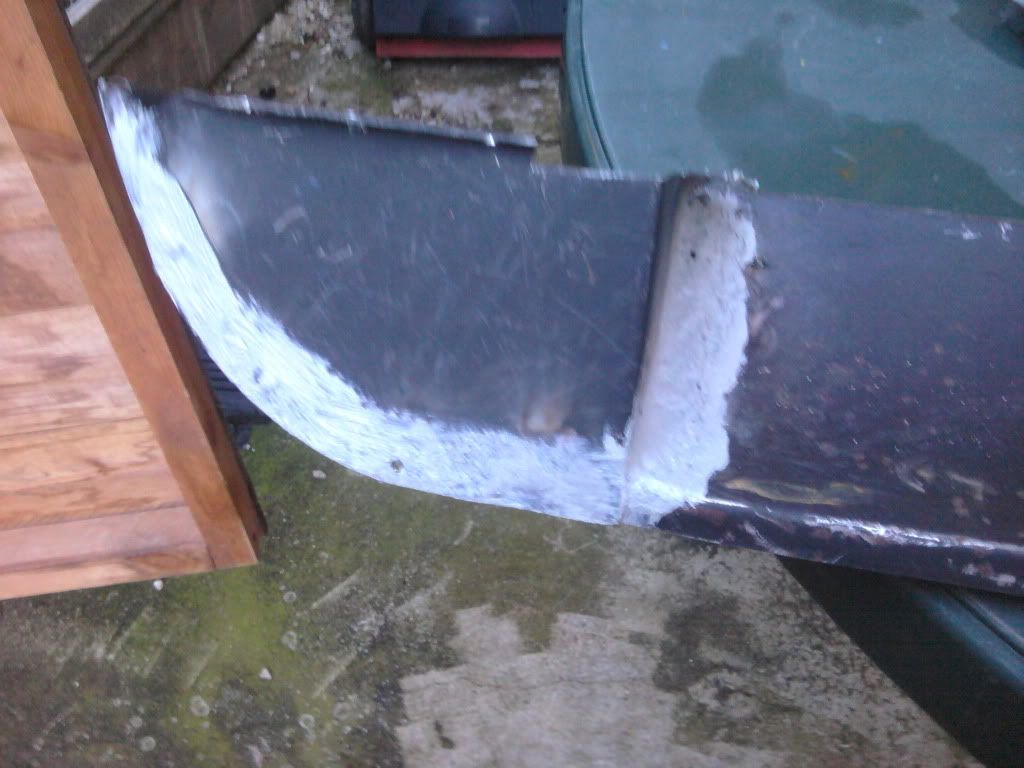
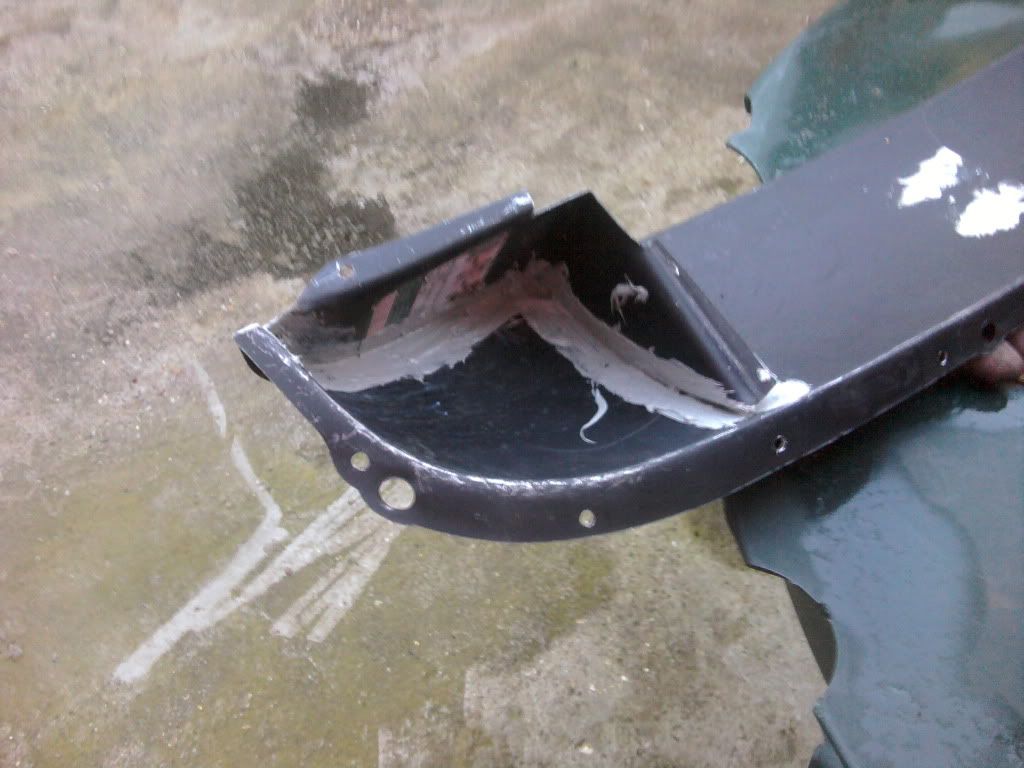
Posted Image

Posted Image

then i wanted to try out my other purchase and stop it rotting from the closers out and did the rear of the valence too
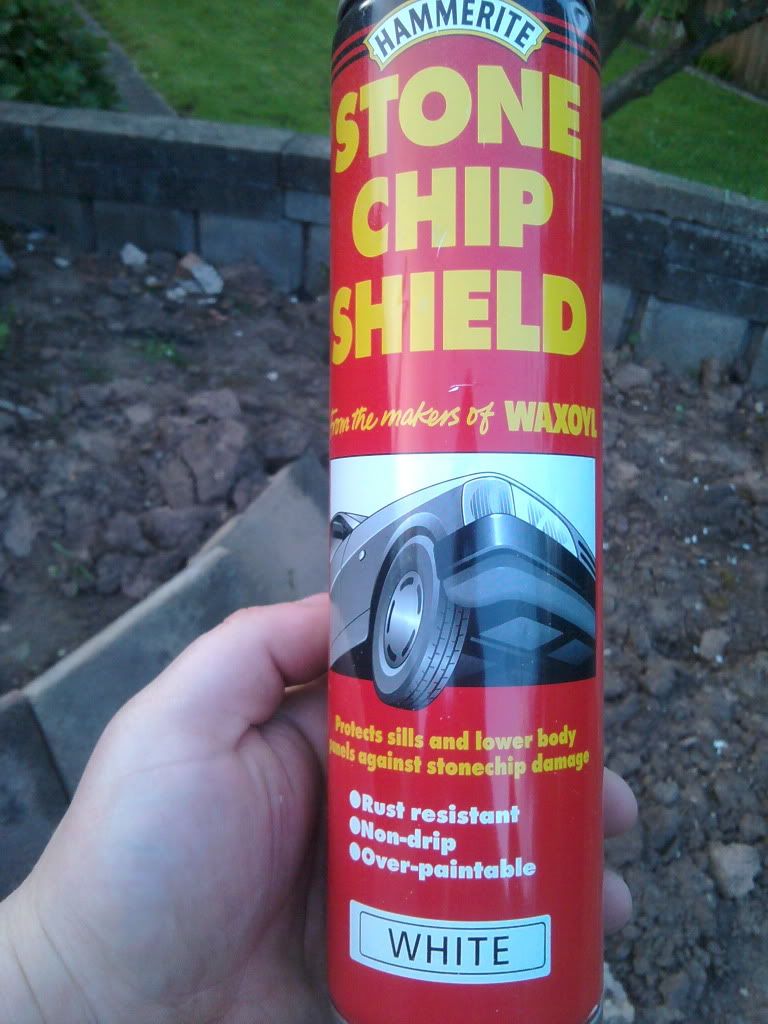
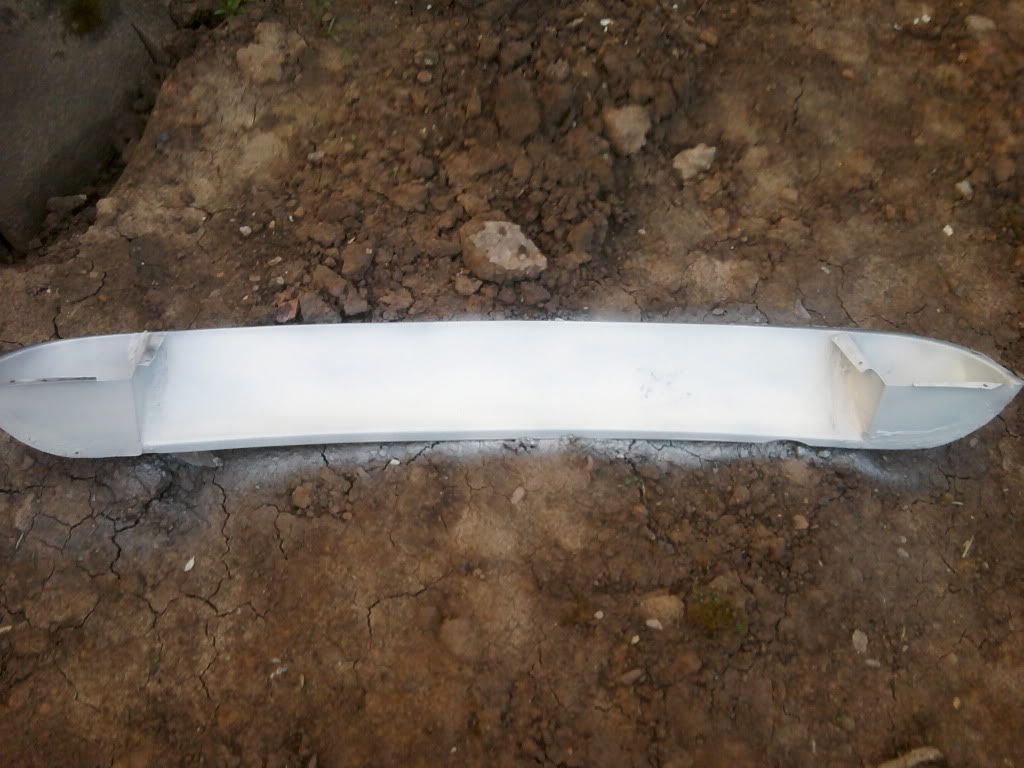
Posted Image

Posted Image

only a little update but hopefully ill have the boot foor done this week and have this on too :) ..... one can hope :P


dave

Edited by mini_in_progress, 14 May 2012 - 07:59 PM.


#44 mini_in_progress

mini_in_progress

    Super Mini Mad

  • Members
  • PipPipPipPipPipPip
  • 641 posts

Posted 29 August 2012 - 06:35 PM

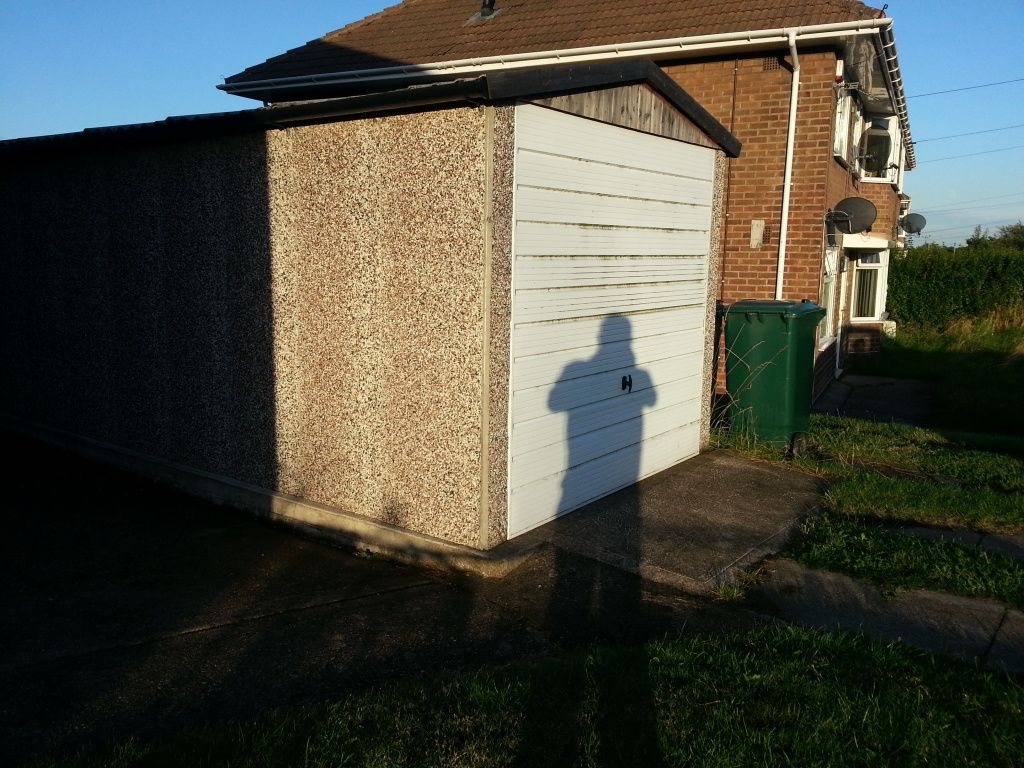
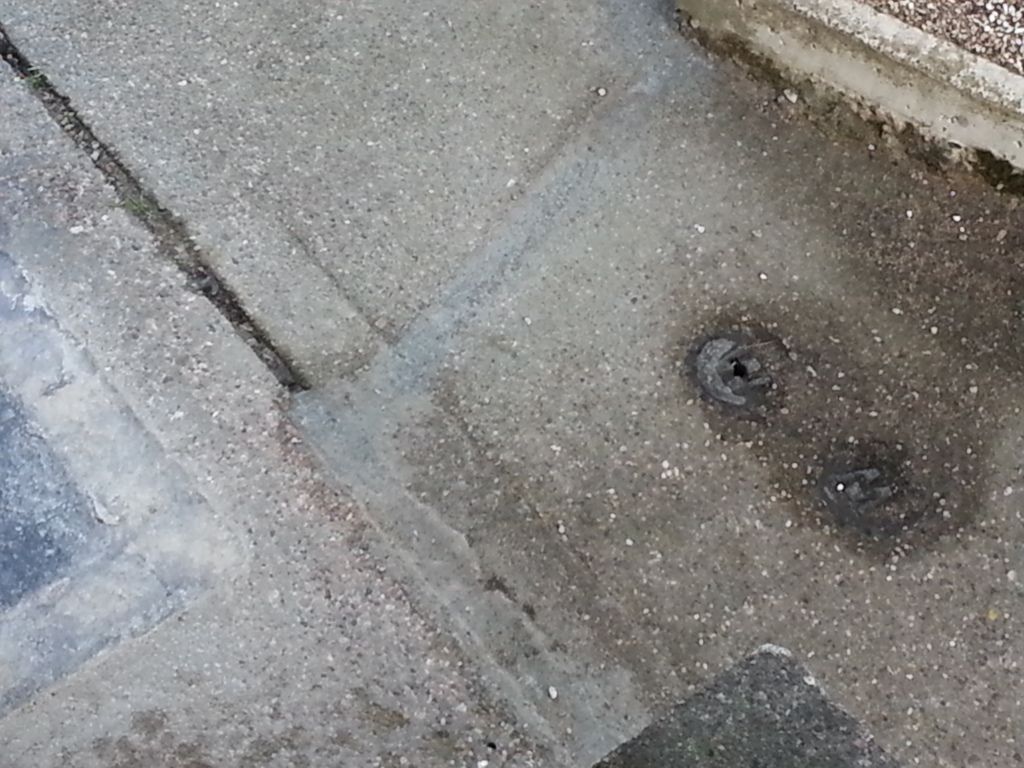
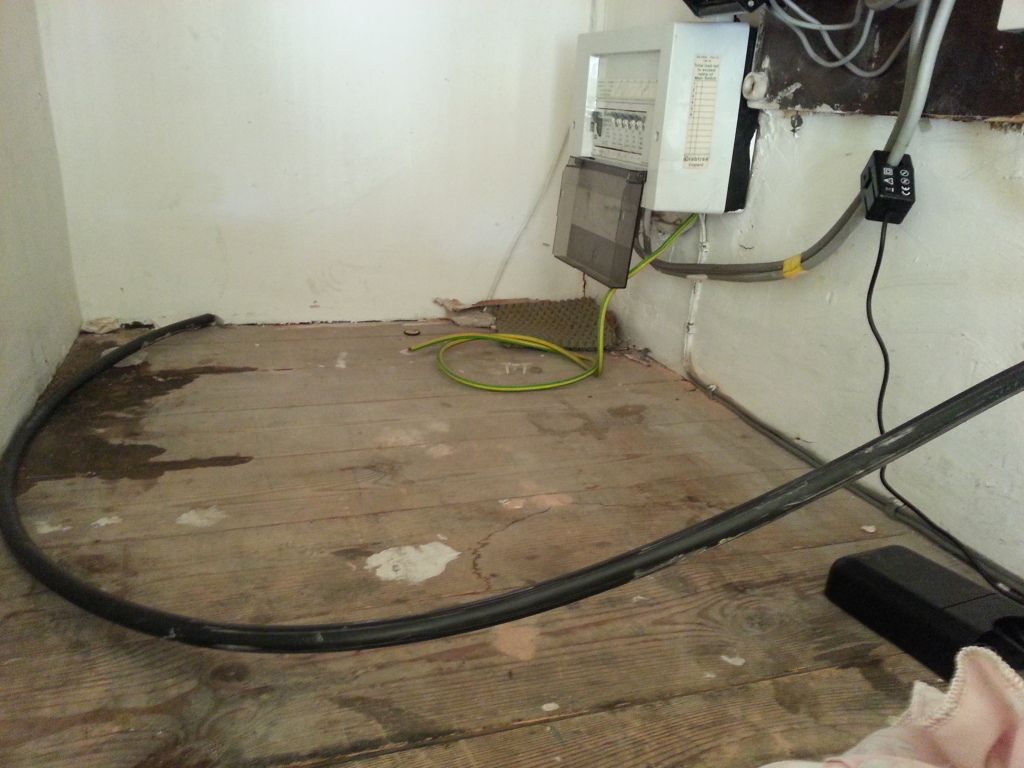
well an update to say ive done nothing yet but will do soon.... the awsome mrs has let me run a power cable to her garage under the path and is letting me stick the mini in there :)

Posted Image

Posted Image

Posted Image

well i cant wait to give you guys some regular updates....

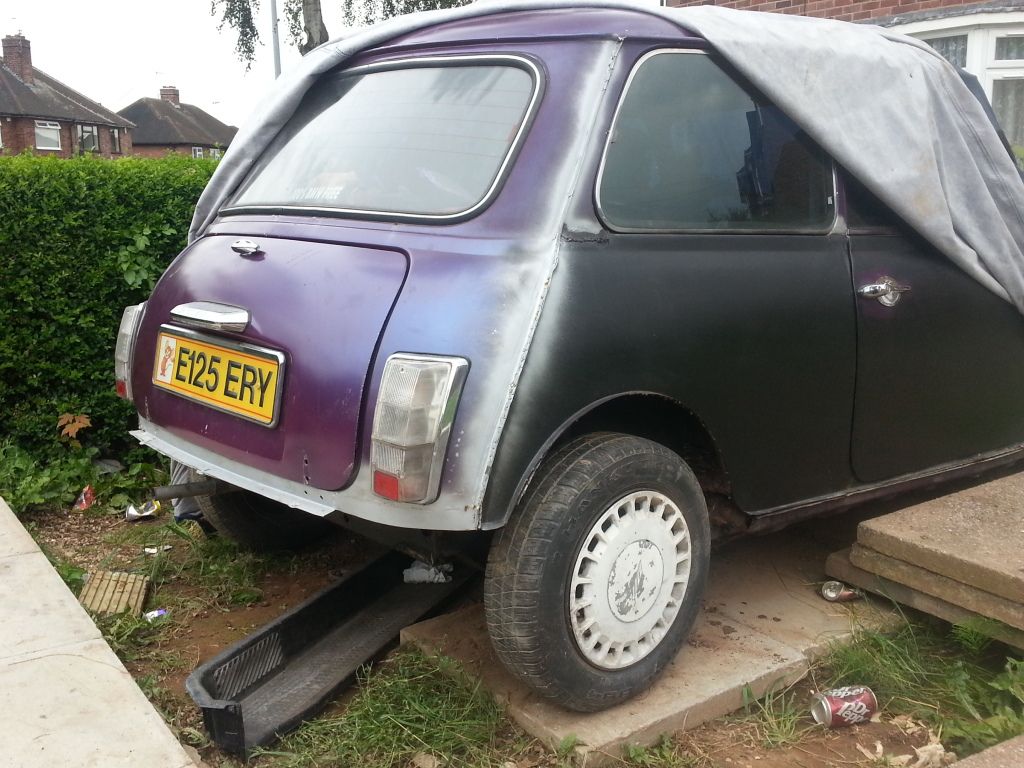
and so i can move it ive had to bodge to rear subby on to move it so put the lenses in for a pic while i was at it....
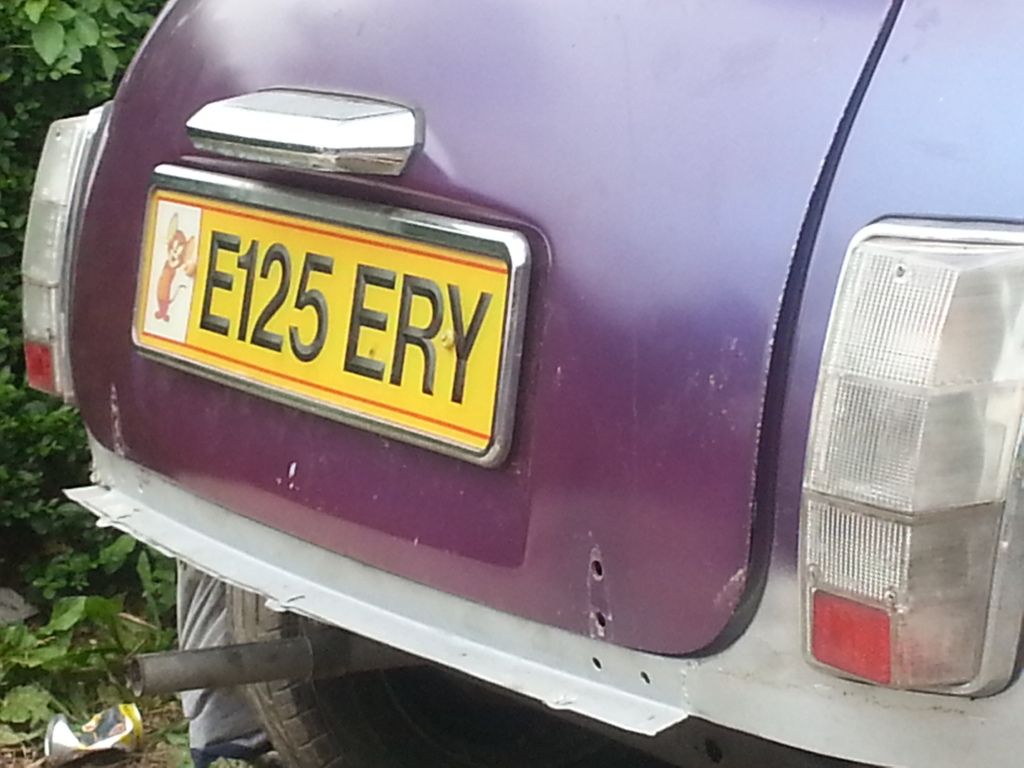
Posted Image

Posted Image

cheers guys.......

a very excited dave!

#45 matty1303

matty1303

    Mini Mad

  • Members
  • PipPipPipPip
  • 197 posts
  • Location: Norfolk

Posted 30 August 2012 - 07:55 AM

Lucky you now you have some cover you can get cracking! Im in the same boat as you been saving to finish off the front end been a while since I last updated


2 user(s) are reading this topic

0 members, 2 guests, 0 anonymous users