
Pootles Latest Rebuild
#46

Posted 19 July 2012 - 06:53 PM
#47

Posted 21 July 2012 - 06:35 PM
Yesterday was the final day of working on Pootle, progress made, gear linkage fitted (but only due to Gaz, I got it a bit wrong
So today was the day that Pootle was coming home.
So 1st job was to get him outside
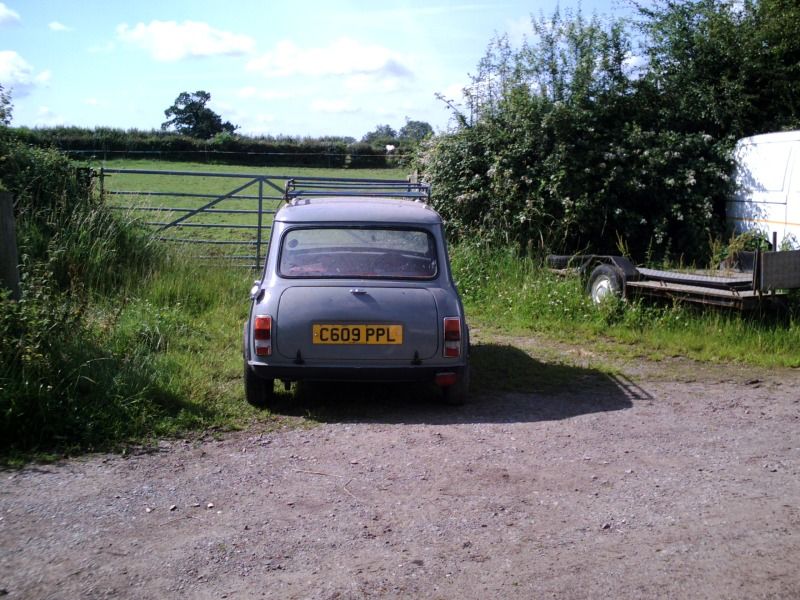


he was very grubby (the joys of parking in a barn) so a quick wash was in order
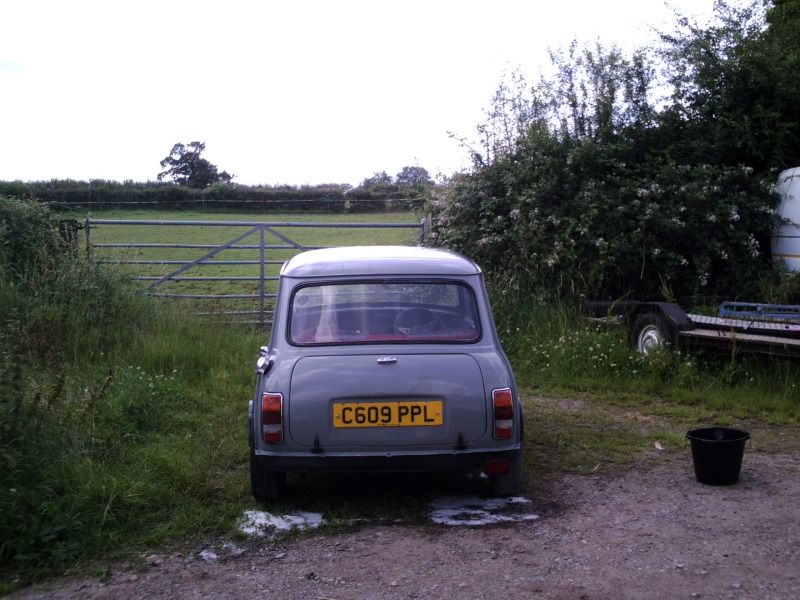

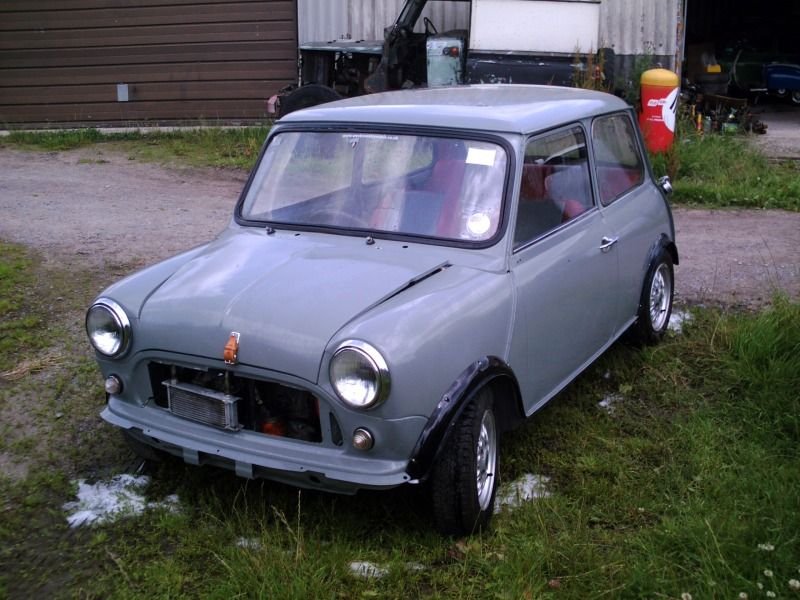
much better
Then an afternoon spent wiring the towbar in on Gary's new sprinter so we could tow him home (Cheers Gary
So it was time to get him loaded up and head home

And now he is back, resting in my garage, waiting for me to get om and finish him

Edited by craig 1010cc, 21 July 2012 - 06:36 PM.
#48

Posted 09 February 2013 - 06:50 PM
Part of the interior that has been giving me the most trouble finalising the design has been the dash. I knew I wanted a retro look, and I loved the works dash pod's, but getting it laid out right has been a struggle. But I have finally got there (I think
I've also been collecting more bits too. I wanted to have a set of stop watches on the passenger pod, and mini sport have recently started to make replica mounts. They offered them with or without the 'pea' lights (to iluminate them), but the ones they use are nasty chromed ones, not in keeping with the works look at all. So some time was spent researching what was originally used and it turned out that they are aircraft instrument lights and I managed to find a pair of MoD surplus ones for less than the price of 1 minisport one :)
So today I've been assembling the panel, fitting up the lights and trying the stopwatch (need to find another or possibly a watch so I have the time ;) ) and working out were to cut the pod
I've come to the conclusion that the easiest and neatest solution is to strip it right down and then to drill through and bolt everything through the pod and the mount
Anyway, we all like pic's
Pea lights installed
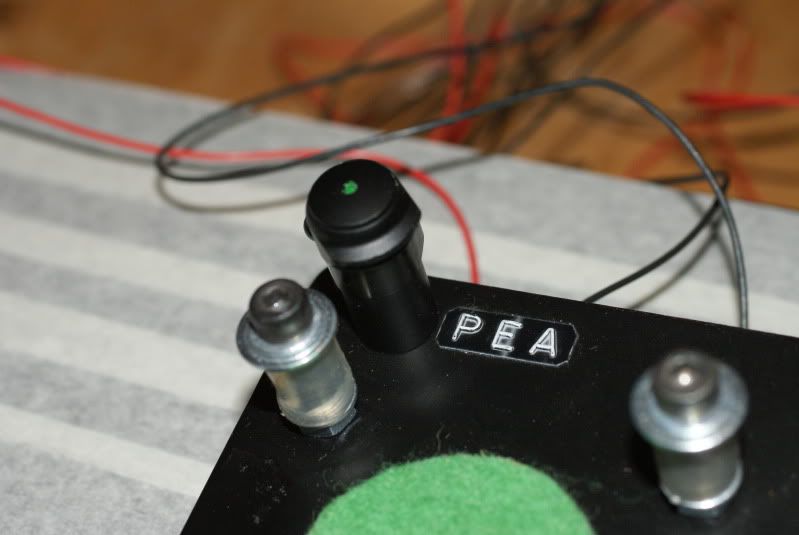

Stop watch in (need to adjust the position of the posts as its set of a 55mm watch and I've got a 50mm one)

and it roughly in position on the pod (taped up to stop scratches)
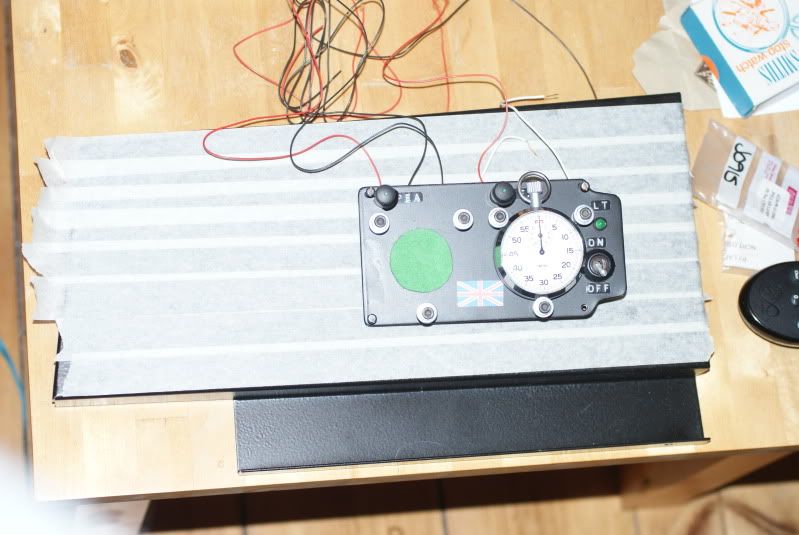
Hopefully tomorrow I should get this drilled and bolted and maybe even cut the Drivers pod for the oil, water and rev counter (Speedo is now going in the centre of the dash in a new panel to be built)
#49

Posted 10 February 2013 - 05:57 PM

#50

Posted 10 February 2013 - 07:49 PM
Cheers Darren
#51

Posted 10 February 2013 - 10:42 PM
#52

Posted 07 April 2013 - 04:56 PM
Its far to cold to venture out to the garage, so I thought it was time that I man up and cut the holes in the drivers pod for the dials. I've been putting it off for a while, but finally plucked up the courage to start drilling. 1st issue was the 52mm hole cutter I've got was blunt, so had to resort to chain drilling and filing out the holes with the dremmel (great fun). But I think it came out ok :) Still need to find/re-make the retaining straps for the dials, but I'm happy with how they look
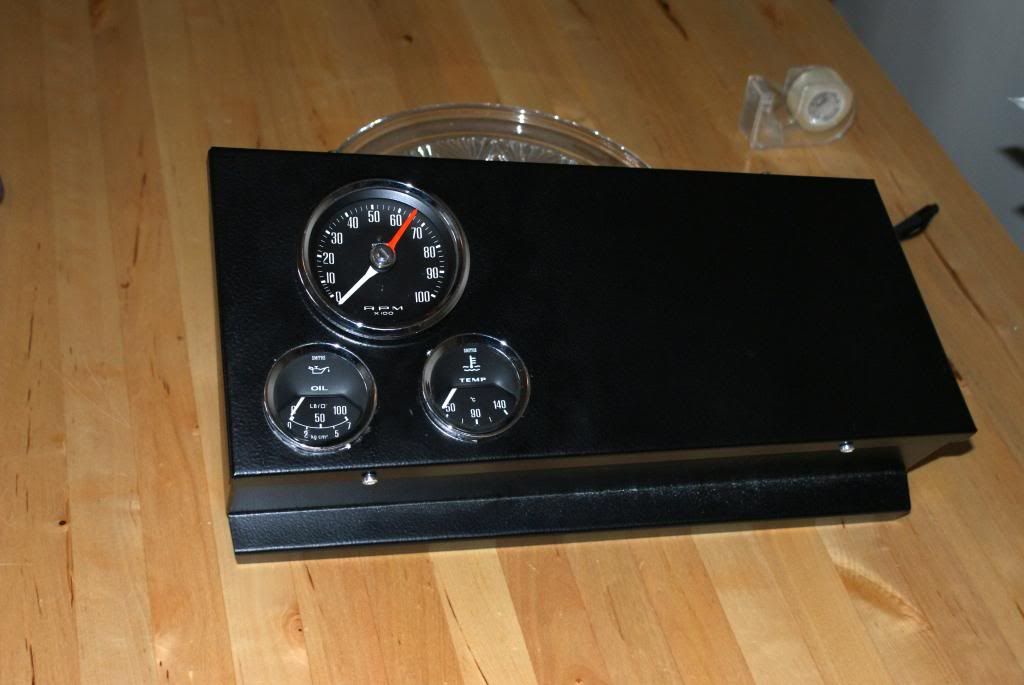
So I got the passenger pod out of storage to get an idea of how they will look

Pretty chuffed with that :)
I've also brought another set of 10's with good Yoko A008's on them (should be arriving this week, but not sure if I'll just be using the tyres or the rims too), and will be putting in an order with minispares after payday to get the next batch of parts to start getting closer to the road soon :)
#53

Posted 06 May 2013 - 06:08 PM
Must be a bank holiday, some progress ![]()
Well, stuck an order in to minispares the other week for the next stage of bits, so thought I should get on and do something with them ![]()
1st off was the new steering column, the splines had gone on the original and I replaced the rack as a precaution, but had been using one of Gaz's spares. So a new one was delivered and (after a trip out to buy the right sized socket to get the steering wheel off) it was stripped and rebuilt with ought any great drama ![]()
Fitting was another matter. 1st off had to clear the space infront so I could get him outside, but trying to get the new column onto the splines was a real struggle. Seems that they are closed up new and need spreading to go over but stay a snug fit. Its still not on 100% (need to dig out a suitable bit of wood and the lump hammer to help drive it home) but its fine for pushing in and out of the garage ![]()
Also had a play with the gears. Before we brought him home I could only get 1st and 3rd which I thought was down to the engine and subframes only being losely in at the mo, but some working through of the gear linkage has got all the gears ![]() 1 less thing to worry about
1 less thing to worry about ![]()
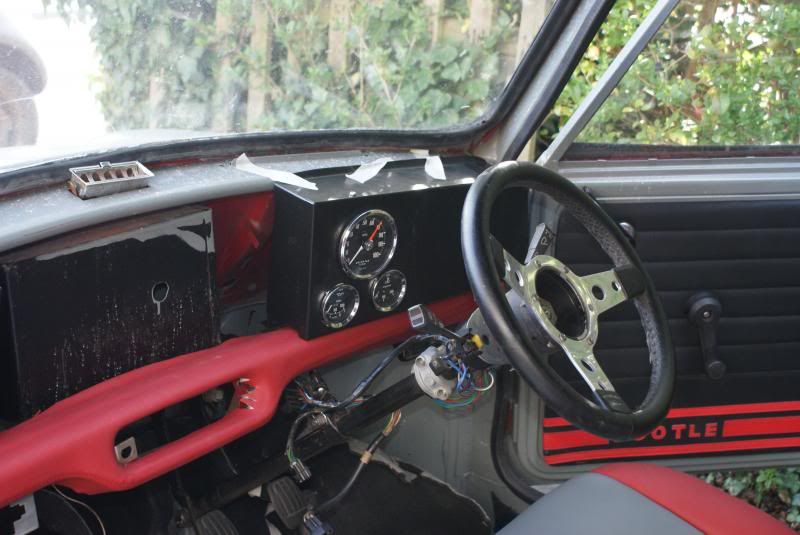
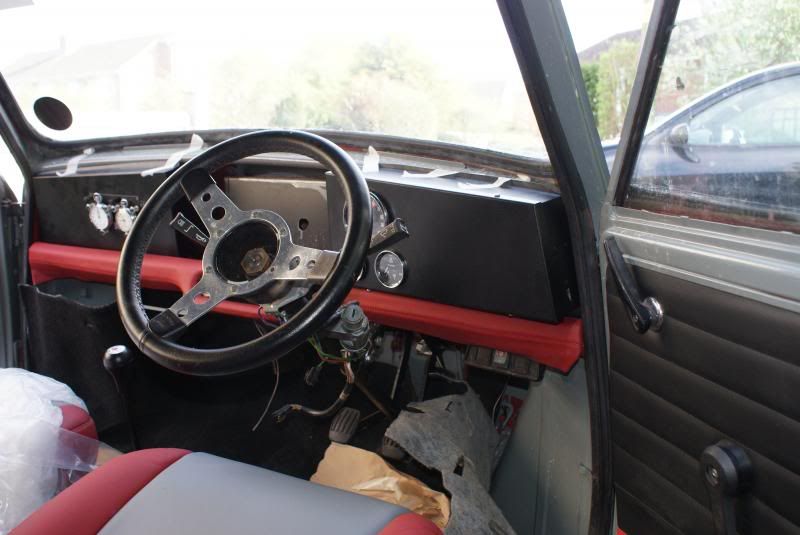
So feeling on a good streak, decided to mock out the dash pods. 1st thing was to fit in place the padded lower dash rail, which looks like it'll need some of Rusty's magic to get it sitting right. Then out with the masking tape to hold the pods in place. Pretty happy with them, the drovers pod is sitting high and the passenger side is sitting low, but once the lower dash rail is sitting right then I think a lot of that will sort its self out. But the dials are sitting perfect in the line of sight from drivers seat ![]() and the watch I've sourced works really well with the stopwatch
and the watch I've sourced works really well with the stopwatch ![]()
So, pics's now I guess ![]()



#54

Posted 21 July 2013 - 07:23 PM
Shhhhhh, don't tell anyone but a little more progress has been made this weekend :shhh:
Decided it was too hot to do battle in the garage, so over the last 2 days I've dragged out the wiring loom (which has sat in a big tub 1/2 finished for the last 18 months) and I've finished off replacing the bullet connector wiring extensions with proper colour coded soldered in ones and re-wrapped 90% of the loom (used about 20m of black tape so far ![]() ). I've still got the 2 x 8 blade fuse boxes which will be mounted up on the dash by the speedo (final bit I've got to make on the dash is the panel that goes between the 2 works dash pods which they'll mount onto) and the wiring for the stereo, cigarette lighters and other dials will be on their own seperate looms which I'll build once the main loom is back installed. But its another thing (nearly
). I've still got the 2 x 8 blade fuse boxes which will be mounted up on the dash by the speedo (final bit I've got to make on the dash is the panel that goes between the 2 works dash pods which they'll mount onto) and the wiring for the stereo, cigarette lighters and other dials will be on their own seperate looms which I'll build once the main loom is back installed. But its another thing (nearly ![]() ) ticked off the list
) ticked off the list
#55

Posted 30 May 2014 - 09:40 AM
#56

Posted 30 May 2014 - 05:30 PM
nice job look forward to up dates........................andy ![]()
#57

Posted 02 June 2014 - 06:32 AM
Cheers Andy :)
I've dug out the wiring loom, spent a few hours looking at it trying to remember all I had done last year and I think its not far off ready to go in. 1 of the jobs stopping that was that the lower dash rail needed fitting, so this afternoon I dragged Pootle outside so I could do that and also have a bit of a sort through in my garage. Still lots to do on the sorting front, but its a step closer
#58

Posted 03 June 2014 - 09:43 PM
More progress, loom's 1/2 installed now, headlight looms are in and connected (although I need to change the side lights to suit the H4 headlights I've got) and my new elecy dizzy and coil turned up today as well ![]()
Of to Somerfords on my way home for the next batch of goodies (and one from minispares on route too), at some point I'll have to actually stop buying bits and fit them all ![]()
Am dithering on wheels, do I stick with the reverse rims, or do I go with the deep dish 10x6 wellers I've got stashed away ![]()
Edited by craig 1010cc, 03 June 2014 - 09:46 PM.
#59

Posted 04 June 2014 - 06:00 PM
sorry if this is a stupid question, what is a pea light???
YetI
#60

Posted 04 June 2014 - 06:02 PM
sorry if this is a stupid question, what is a pea light???
YetI
I think its one of those really small and specific direction lights for map reading or shining onto switches for rally minis, minisport sell them as monte carlo items i think.
1 user(s) are reading this topic
0 members, 1 guests, 0 anonymous users


