Jump to content


Photo
- - - - -

Pootles Latest Rebuild


  • Please log in to reply
75 replies to this topic

#31 craig 1010cc

craig 1010cc

    One Carb Or Two?

  • Members
  • PipPipPipPipPipPipPip
  • 1,165 posts

Posted 30 October 2011 - 07:07 PM

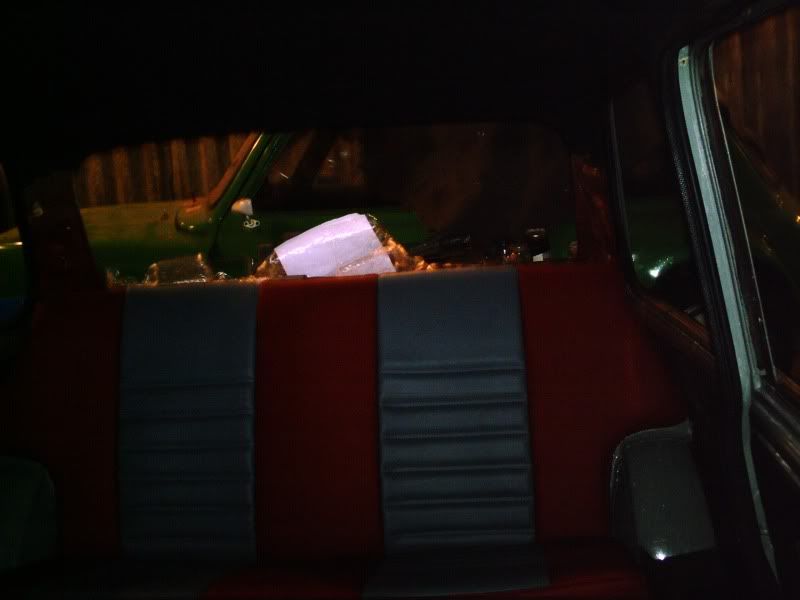
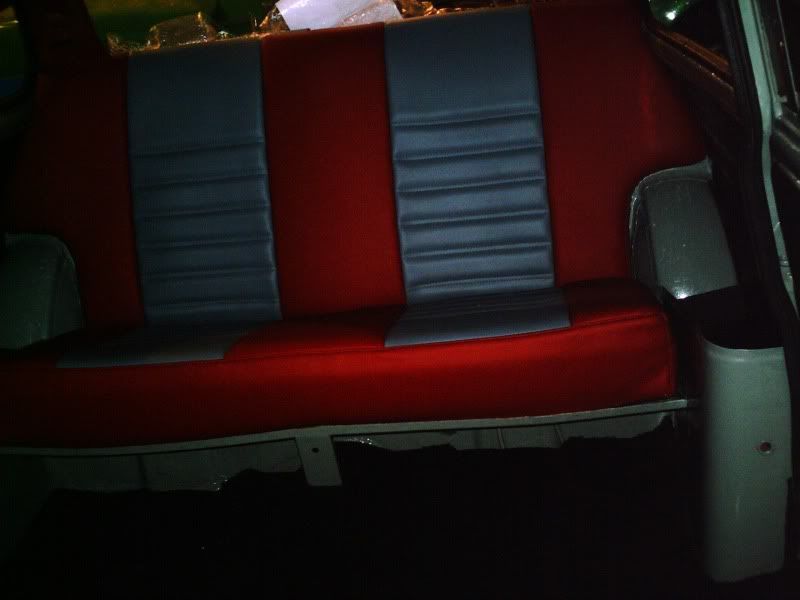
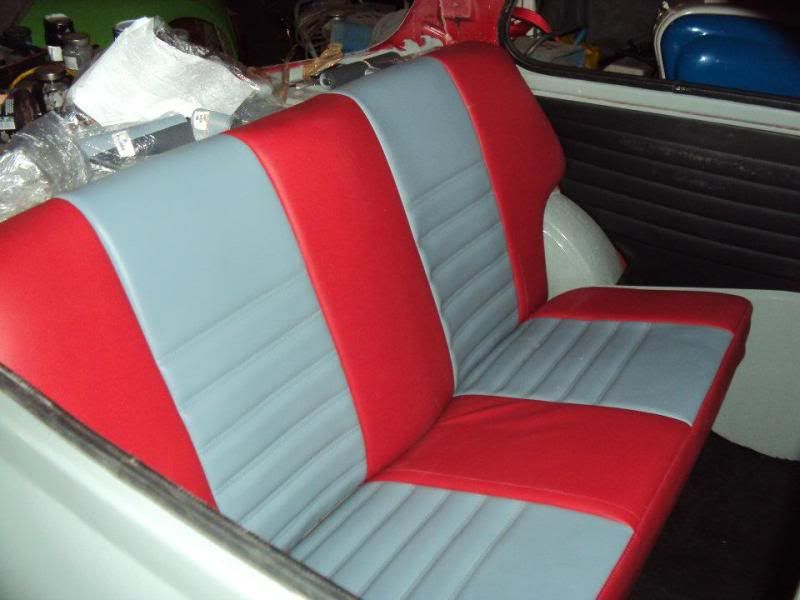
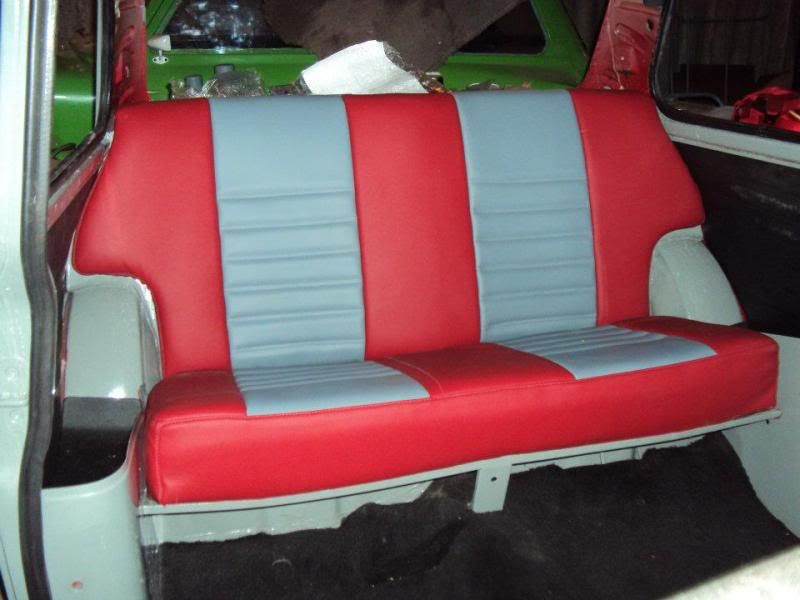
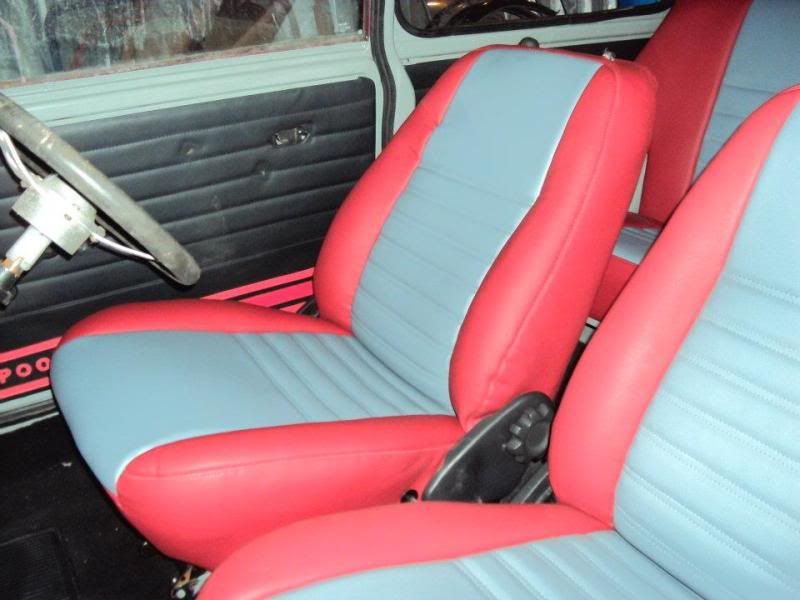
new headlining fitted, seats are in and I'm well chuffed :)

Posted Image
Posted Image
Posted Image

Sadly my camera fails if it needs to flash, but hopefully the pic's Chris took will come out good :)

The Mk2 rear light seals do seem to be available from a few places, was surprised at how different they where to the mk5 ones

Edited by craig 1010cc, 30 October 2011 - 07:12 PM.


#32 R.S.P

R.S.P

    Super Mini Mad

  • Members
  • PipPipPipPipPipPip
  • 501 posts
  • Location: Teesside
  • Local Club: Durham mini club

Posted 30 October 2011 - 09:14 PM

Love the interior retro with comfort :thumbsup:

#33 craig 1010cc

craig 1010cc

    One Carb Or Two?

  • Members
  • PipPipPipPipPipPipPip
  • 1,165 posts

Posted 30 October 2011 - 10:35 PM

That's the plan, best of both worlds :) Should get some decent pic's of it next weekend (lack of lighting in the lock-up is an issue this time of year :( )

#34 craig 1010cc

craig 1010cc

    One Carb Or Two?

  • Members
  • PipPipPipPipPipPipPip
  • 1,165 posts

Posted 31 October 2011 - 12:37 PM

Some decent pic's from rusty (at least 1 of us had a decent camera :P)
Posted Image
Posted Image
Posted Image
Posted Image
:D

#35 Risky

Risky

    Mini Mad

  • Members
  • PipPipPipPip
  • 213 posts
  • Location: Zegge (The Netherlands)

Posted 31 October 2011 - 08:13 PM

Looks very nice!

#36 craig 1010cc

craig 1010cc

    One Carb Or Two?

  • Members
  • PipPipPipPipPipPipPip
  • 1,165 posts

Posted 31 October 2011 - 08:28 PM

Cheers, the interior is bar far the nicest single part, so will have to raise the game on the rest of him I guess :P

#37 craig 1010cc

craig 1010cc

    One Carb Or Two?

  • Members
  • PipPipPipPipPipPipPip
  • 1,165 posts

Posted 11 November 2011 - 05:38 PM

well, time for a small update. Last weekend saw all the glass going in to make the shell water/dust tight (and keep my nice new interior clean :) ), it will all have to come out again in the near future, but its safe and dry now :)

Posted Image
Posted Image

Today saw a couple more steps towards a water tight shell (well as water tight as a mini gets :P) so the original back lights were refitted (haven't got the body seals for the mk2's at the mo) along with the tank and the numberplate. So that along with the boot seal should keep the boot nice and dry :)

Posted Image
Also got the bonnet latched bolted up, still need to find the spring though :(

Posted Image
Posted Image

So ticking the jobs off slowly. hopefully have the engine bay water tight (into the cabin) soon as well so that he can go out side if needed

#38 Risky

Risky

    Mini Mad

  • Members
  • PipPipPipPip
  • 213 posts
  • Location: Zegge (The Netherlands)

Posted 11 November 2011 - 06:29 PM

Starting to look like a Mini once again ;)

#39 craig 1010cc

craig 1010cc

    One Carb Or Two?

  • Members
  • PipPipPipPipPipPipPip
  • 1,165 posts

Posted 13 November 2011 - 03:41 PM

He is indeed, makes working on him feel like I'm getting some where at the Mo :)

#40 craig 1010cc

craig 1010cc

    One Carb Or Two?

  • Members
  • PipPipPipPipPipPipPip
  • 1,165 posts

Posted 03 March 2012 - 05:35 PM

Shhhh, don't tell anyone, but there has been some progress on pootle :P

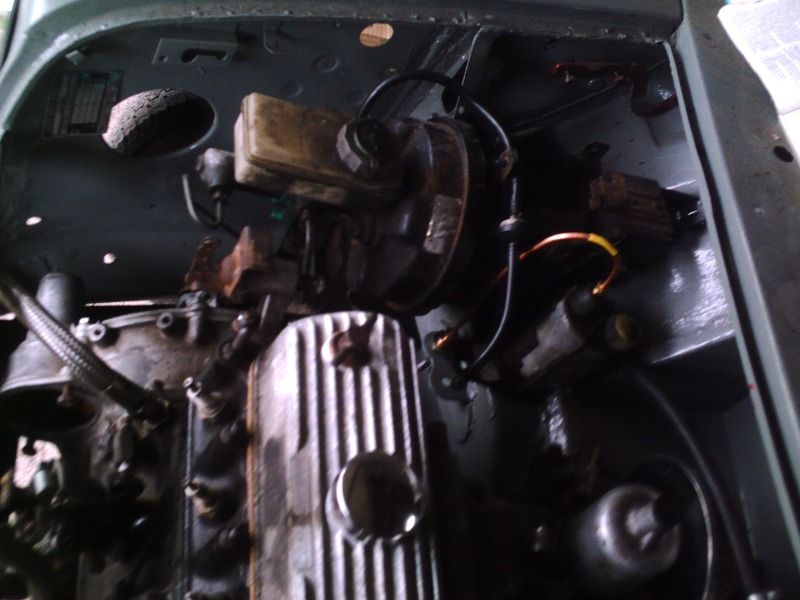
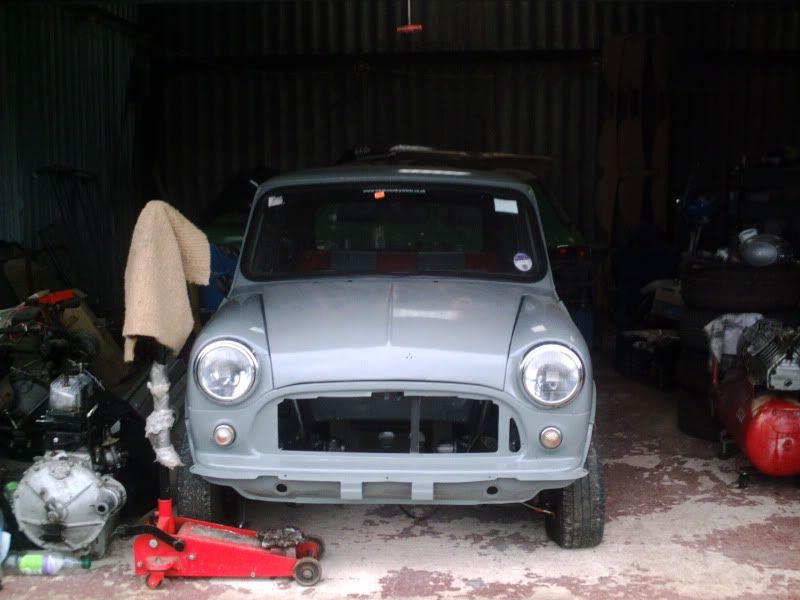
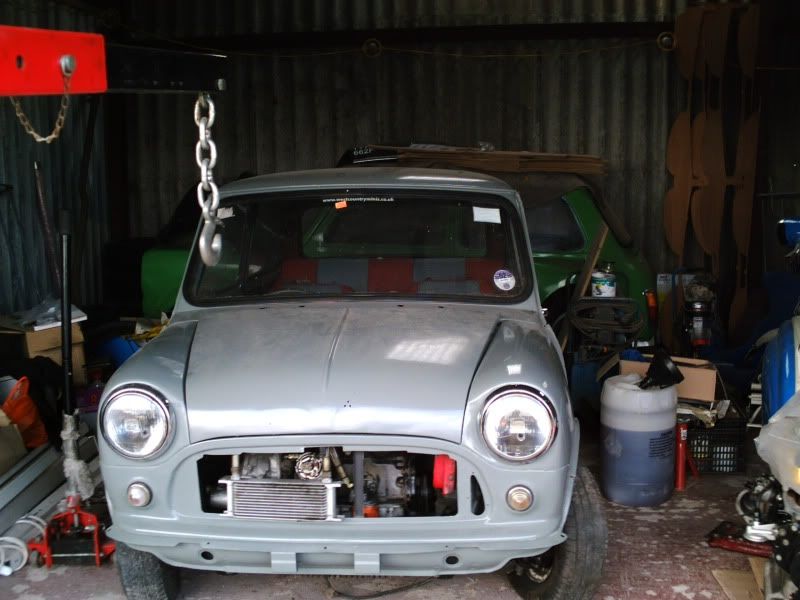
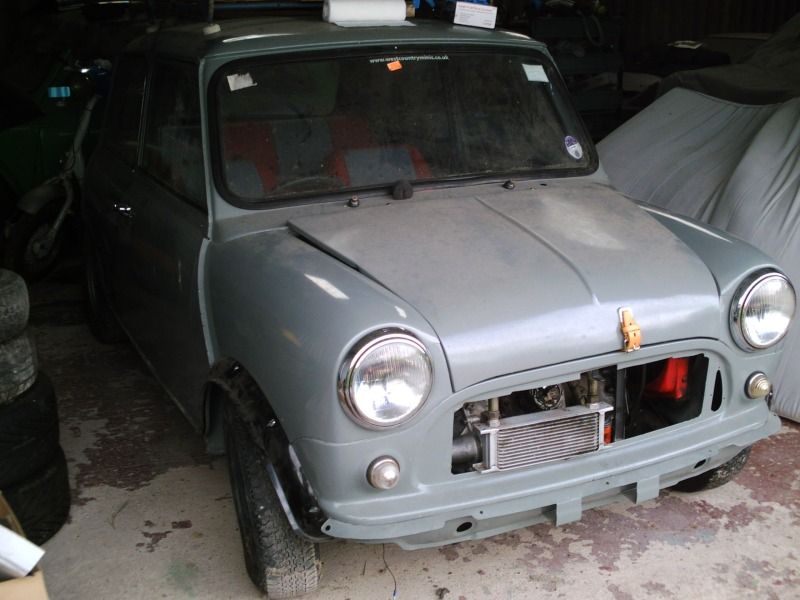
With the lockup now equipped with an engine hoist it seemed rude not to use it. A bit of a sort out in the lockup was needed 1st, and then removal of the bonnet and the brake master/servo and we were ready to go :) Got the rope around the engine and it lifted nice and square, so far so good. Then the 1st problem, the hoists legs were fouling on the bottom arms. No probs, lift the front up and stick some axle stands under and jobs a good'n the hoist goes under :) and shortly afterwards the engine was sitting in the subframe.
Then the fun began, fitted mini engines with 2 new engine mounts is always a pain, but today it was really being :( after a bit of juggling, we got the flywheel end mounts bolts in and done up a little (left lose enough to allow the engine to be rocked), but the rad end wasn't having any of it. We tried levering, using ratchet straps to pull the engine down, but it wouldn't get close. in the end we gave in and fitted a used (but good) engine mount, and after much hammering we had it bolted it :D

So with that completed, I started to bolt a few of the engine bits on. Some (like the oil cooler) will have to come back off in the near future, but mean that I can work out where to mount stuff.

So a frustraiting day, but thanks to Gaz, a productive one :D

Posted Image

Posted Image

Posted Image

Posted Image

#41 hughJ

hughJ

    Soldiering Along

  • Members
  • PipPipPipPipPipPipPip
  • 727 posts
  • Location: Highlands, Scotland

Posted 03 March 2012 - 06:31 PM

That is turning out one nice little car!

Hugh

#42 craig 1010cc

craig 1010cc

    One Carb Or Two?

  • Members
  • PipPipPipPipPipPipPip
  • 1,165 posts

Posted 20 May 2012 - 04:34 PM

decided to spend a little bit of time on some work for Pootle this afternoon and started to plan out the dash. Because I kept the webber box in, this makes running the centre clocks a bit more tricky, so for Christmas Rosie brought me a works dash set from minisport and I've been working out how to do it since.

So today i broke out the CAD (morris had convieniantly finished a box of whiskers last night :lol: )

So out with the pens and the scissors and this is what I have come up with

before
Posted Image

template
Posted Image

unbolt the top to check the dials actually fit
Posted Image

and it should look something like this
Posted Image

Not sure of the best way to cut the holes out, I have a hole saw that will do the temp and oil pressure, and the bezzel on the rev counter sits on top so the edge doesn't need to be perfect, but the speedo will be a bit more 'fun' :( I suspect it will be a case of drill a chain of holes and then get busy with the dremmel

#43 craig 1010cc

craig 1010cc

    One Carb Or Two?

  • Members
  • PipPipPipPipPipPipPip
  • 1,165 posts

Posted 17 July 2012 - 07:19 PM

Hmm, been a while since I've updated/ done much :( Well, Pootle is coming home now I've sold my Cooper as my garage is free, so no 60 mile round trip to the lockup to wok on him :)

Last week I spent a bit of time working through what bits I have and haven't got, found some I had forgotten about too :)

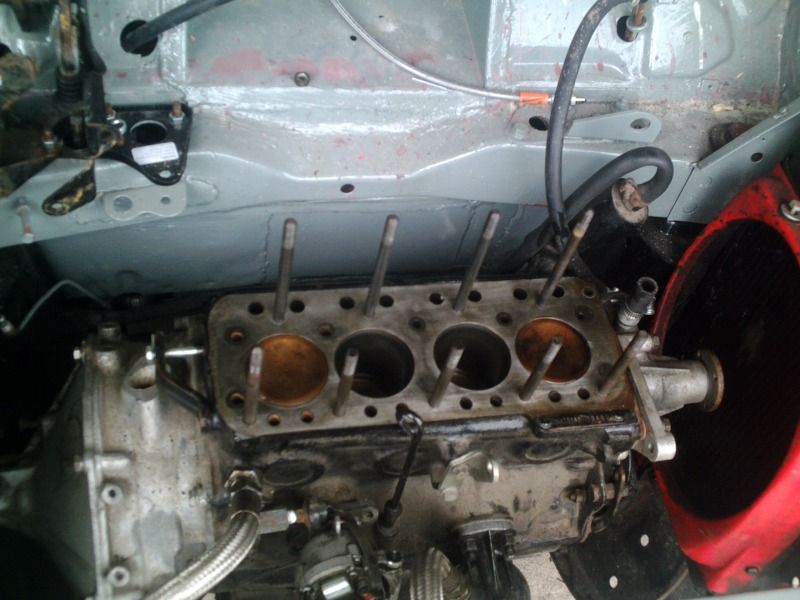
So the main task I wanted to get done was to get the engine all back together, so that needs the head actually bolting on :P So 1st task was to lift the head back off (sat on the block to stop cack getting into the bores) and clean up the block face (after pulling the studs out).

Also whilst the head was off it was easier to fit the fuel pump blanking plate and the water pump :)
Posted Image
Posted Image

Then found out I couldn't find the bypass hose :X Luckily there is an old rover dealer near by, and they had one on the shelf (they had to try about 6 different part numbers first :P), was surprised how much stiffer it was compared to the hoses from Moss ect (and not the flexi type ones either)

So with that fitted and the studs back in the block we were looking like this
Posted Image

So then it was the turn of the head for a quick clean up
Posted Image

And on it went. Nearly made a clanger, was just about to start bolting it down when I realised that the pushrods were still in the card sheet I used to keep them in order :oops:

Also realised that I had left my torque wrench at home so its all just nipped up at the min and will be torqued down tomorrow.

So then went through and started to dummy build up the engine, more than anything to confirm whats missing and that everything fits.

So that left the engine looking like
Posted Image

Last night I made a bit more progress, got the head torqued down, so 1 more job completed :) Also bolted up the heater tap (with a new gasket of course :P) and then tried to get the clutch arm out of the spare wok cover. Wasn't playing ball so had to leave that with some pen oil over it, hopefully be able to get it swapped over tomorrow.

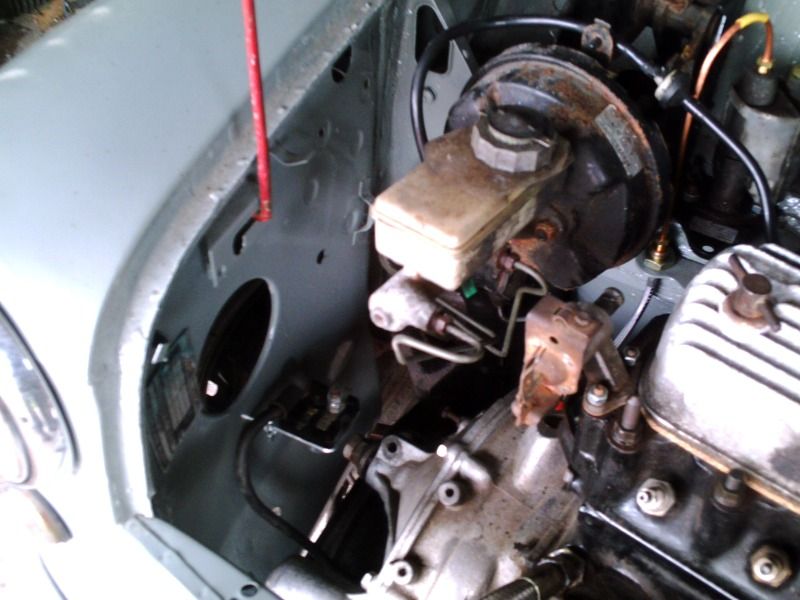
So I fitted the clutch master and pipe work and refitted the brake master. Still got to work out how to bolt on the pressure valve and make the final pipe.

So will be back up for a few hours tomorrow evening, hopefully make a bit more progress
Posted Image
Posted Image

#44 craig 1010cc

craig 1010cc

    One Carb Or Two?

  • Members
  • PipPipPipPipPipPipPip
  • 1,165 posts

Posted 18 July 2012 - 07:35 PM

wow, 2 updates of progress in a week, I think i need to sit down :P

So a couple of productive hours this evening, not quite the jobs I intended doing, but happy that they are done :)

1st job was to fit the arches, and then the new bonnet strap (as it was there and I had the drill out :P) which also meant bolting the bonnet back on (useful for trailering on Saturday anyway)

Posted Image
Posted Image
Posted Image

With that done I then fitted the washer jets (I found them in a box whilst looking for something else :P) and the it seemed logical to fit the wiper motor
Posted Image

Final job of the day was to fit the starter solinoid and then reconnect the battery wire
Posted Image

Then on went the door outer weather strips (help keep the inside dry :P)

Not a bad evenings work

#45 grahama

grahama

    Up Into Fourth

  • Members
  • PipPipPipPipPipPipPipPipPip
  • 2,442 posts
  • Location: Warrington
  • Local Club: None in my area !!

Posted 19 July 2012 - 08:50 AM

Comming along nicely pal, well done.


1 user(s) are reading this topic

0 members, 1 guests, 0 anonymous users