Jump to content


Photo
- - - - -

Pootles Latest Rebuild


  • Please log in to reply
75 replies to this topic

#1 craig 1010cc

craig 1010cc

    One Carb Or Two?

  • Members
  • PipPipPipPipPipPipPip
  • 1,165 posts

Posted 26 April 2011 - 07:51 PM

Thought it was about time I posted up the (latest :)) rebuild of Pootle. He's been with us for nearly 15 yrs now (was the wifes 18th birthday present) and has changed a bit over the years.

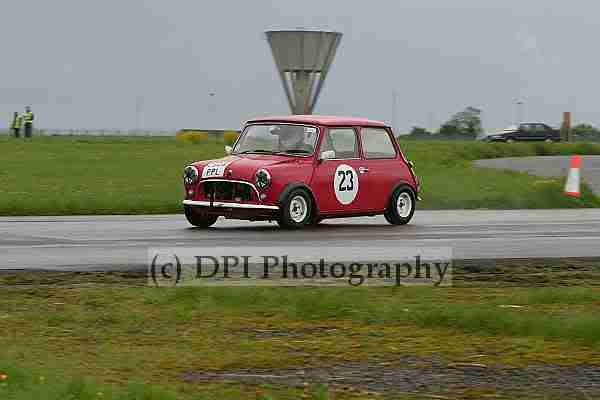
He started as a stock 85 Ctiy E (one of the very last to have a centre speedo) which during the 1st 4 yrs we had him he had 3 2nd hand 998s fitted. his paint was getting pretty flat (and had cracked on the roof) and a door and A panel where starting to bubble, so the 1st rebuild went underway. In 4 weeks I fitted a new BMH door/A panel, resprayed him in tarten red and had a friend build up a rob walker 1014cc bottom end and a stg1 kit. Coupled this with a Italian job interior and a Mk1 grill some chrome handles and bumpers he was looking good again :thumbsup: Sadly he then had to go into storage for a year (brought our 1st flat and only space to park my MPI cooper), but with our wedding looming, I decided that I wanted to arrive in Pootle. So he was dug back out, new rear subframe fitted, hi-los and GAZ shocks, set of 10" reverse rims (and 7.5" S brakes + super minifins) and he was ready to take me in style :)

I then used Pootle for fun and a couple of sprints and trackdays after fitting stg3 head and swapping the RC40 for a maniflow (made 62BHP, was well chuffed)
Posted Image
And was also used as my daily for a bit.

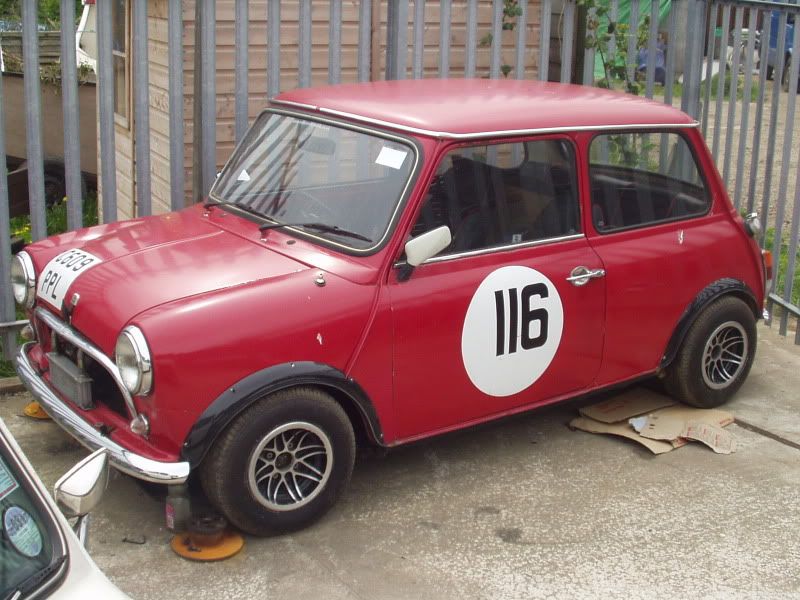
But then got a clubby to restore and he was parked up again, stirpped of his engine (went in the clubby) and the interior and sat in a corner of a mates lockup for a couple of years
Posted Image

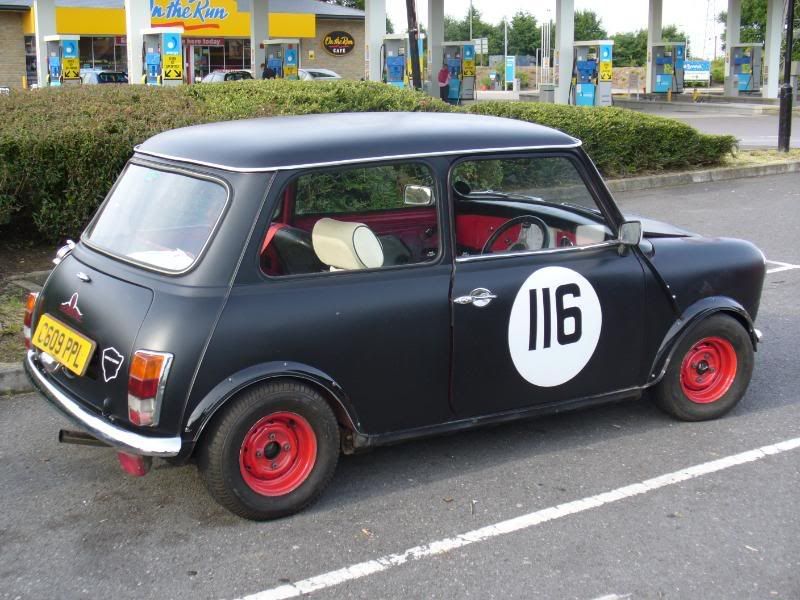
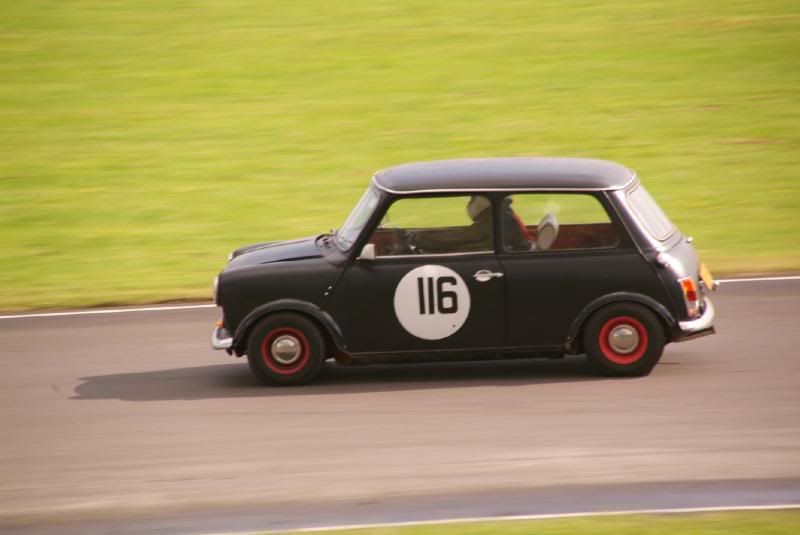
Then got the itch for a track car again, so he was rebuilt again, this time with a 91 BHP 1275 (with a webber 45 ;) )and a satin black paint job
Posted Image
Posted Image

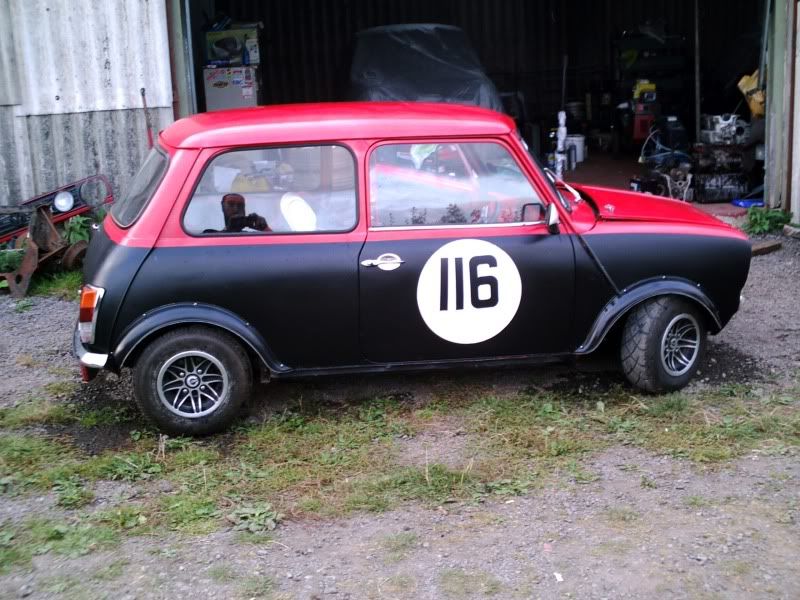
The following year, I changed the look again with some red matalflake
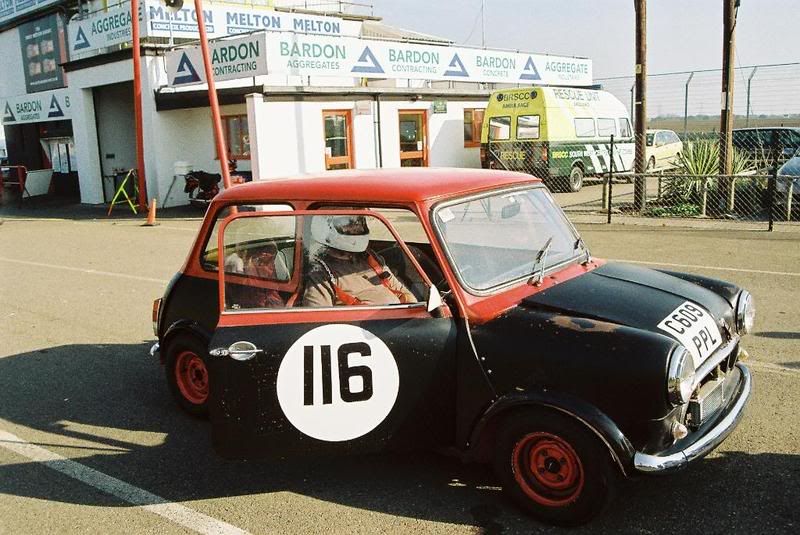
Posted Image

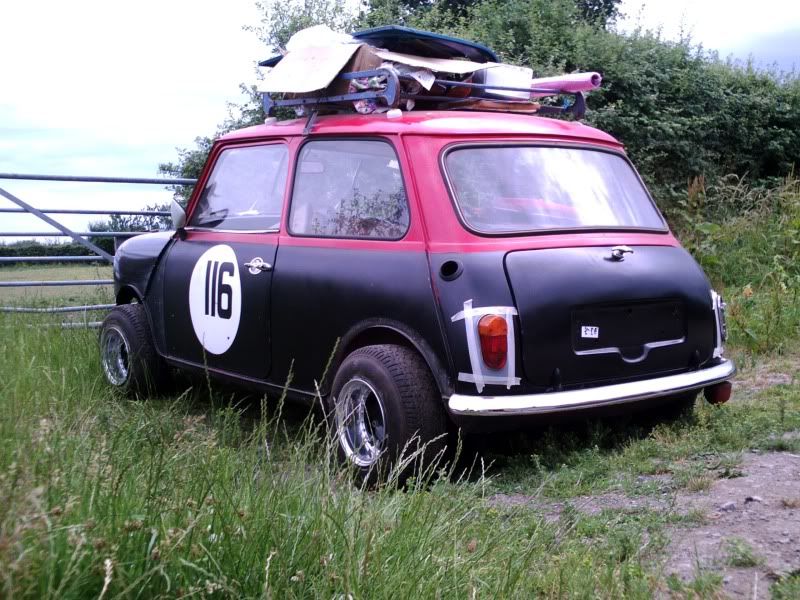
Then embarked on the Vaux conversion (2.0 8v)
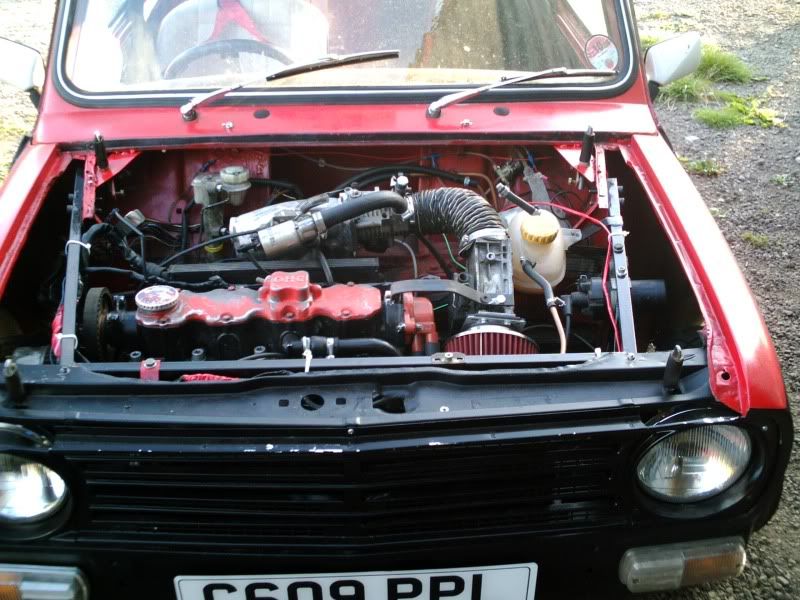
Posted Image
Posted Image
Which was a really nice conversion, but I soon decided that for Pootles long term (for home manitance and future legislation), A series was the way forward so another rebuild was required

so 1st job was to remove the vaux conversion
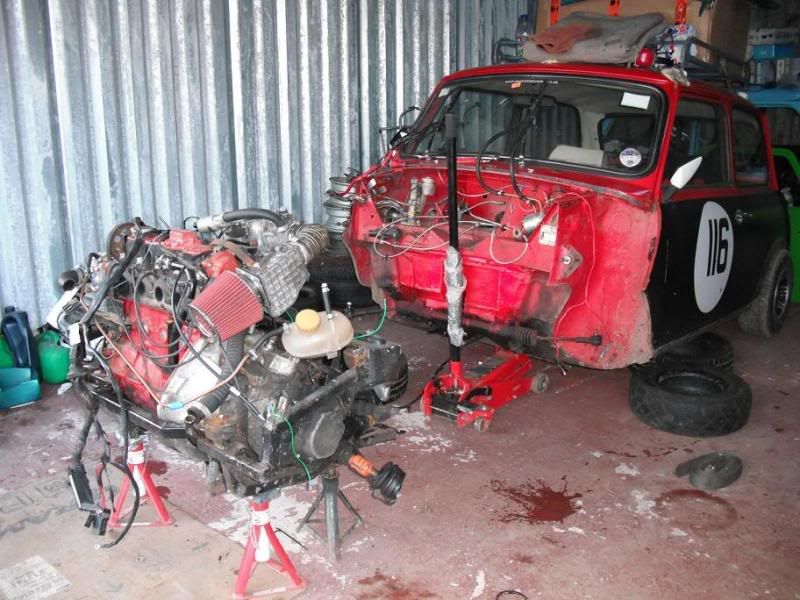
Posted Image

then bolt in a 'new' front subby and weld the new front end on
Posted Image

repair the hole where the vaux gear linkage box went
Posted Image

and weld in some 'new' inner wings
Posted Image
Posted Image

He breifly sat on these as well,
Posted Image
but they had to go :thumbsup: (but I think I prefer him on reverse rims anyway)

And that was where I got upto last summer. Then lost all enthusiasm for him and he sat in the lock up until a few weeks ago ;)

#2 yeti21586

yeti21586

    He's A Lumberjack And He's OK

  • TMF+ Member
  • PipPipPipPipPipPipPipPipPip
  • 3,724 posts
  • Name: Chris
  • Location: Hampshire
  • Local Club: None

Posted 26 April 2011 - 07:56 PM

what ya doing? As In plans???? I'm builiding hopefully a fast 1098, what have you got planned for t'engine???


YetI

#3 ajperry

ajperry

    Speeding Along Now

  • Members
  • PipPipPipPipPip
  • 316 posts
  • Location: Wokingham
  • Local Club: Thames Valley Mini Club

Posted 26 April 2011 - 09:15 PM

Posted Image


What wheels are those??!! they look like super deep awesomeness!
.... also really like the paint scheme!

Edited by ajperry, 26 April 2011 - 09:16 PM.


#4 craig 1010cc

craig 1010cc

    One Carb Or Two?

  • Members
  • PipPipPipPipPipPipPip
  • 1,165 posts

Posted 27 April 2011 - 08:10 AM

what ya doing? As In plans???? I'm builiding hopefully a fast 1098, what have you got planned for t'engine???

At the moment, it will just be a stg1 1098, all that funds will allow, but maybe next year a cam and head might find its way in :P The basic plan is for a fun road car. Style wise, it will be rustoleum grey gloss (rollered :P) with mk2 rear lights, a custom bootlid (the MK1 boot has also been sold) on grp2's with cooper reverse rims. Inside Retro retrims will be doing his works on a set on MPI cooper seats, headlining/custom sunvisors. Still need to work out the dash though. Mechanicaly, its on hi-los, Gaz lowered shocks, -1.5 bottom arms and camber brackets in the rear, mini sport ally 4pots and Xdrilled 7.5" discs with super minifins. So keeping the track based suspension and brakes ;)


What wheels are those??!! they look like super deep awesomeness!
.... also really like the paint scheme!


I like the paint as well, not bad for rattle cans :P I think it worked better on the clubby front though. The rims where a set of 10x7 force converted splitrims which I sold to someone on here

So, having decided that it is time to get on and get Pootle back on the road as he has sat tucked away in the back of the lockup for the last 10 months I took last week and this week off work (you've got to love all the bank holidays :P).

1st job was to collect a 'new' front subby to strip, repaint and rebuild. Its now at the point that it is a bare frame waiting for a degrease (tomorrows job :P)

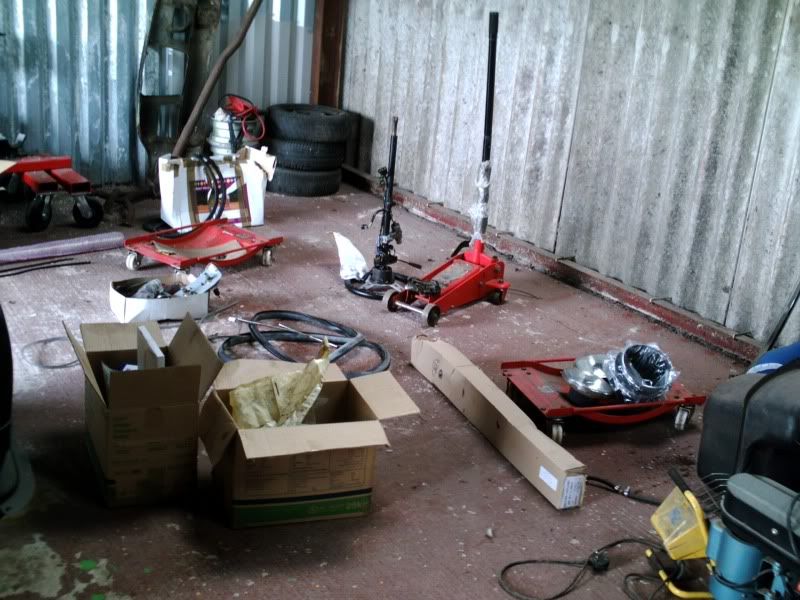
Then it was time for a swap round in the lockup so that I can get good access to Pootle over the next few weeks
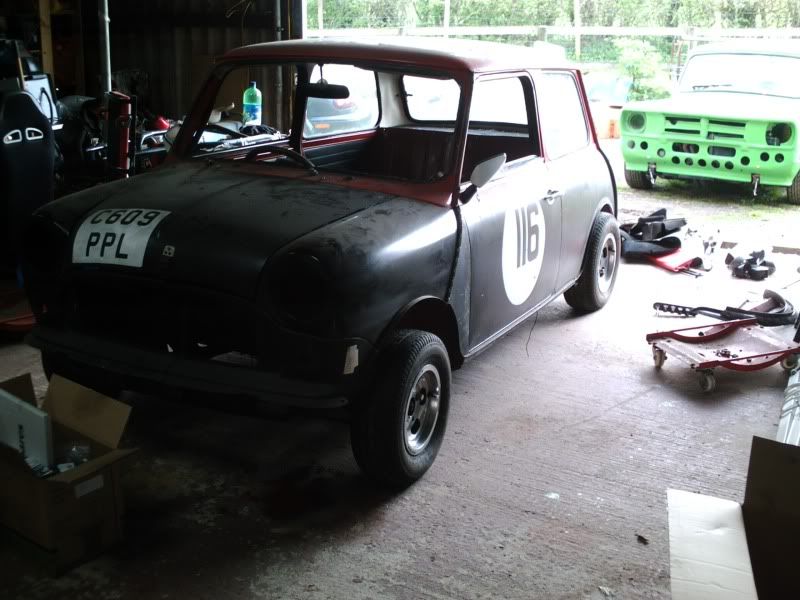
Posted Image

Next job up was to empty out Pootle of all the parts I have been gathering for the last year and to then sort them out into boxes that had some sort of logic to what was in them (and what stuff was no longer needed)
Posted Image

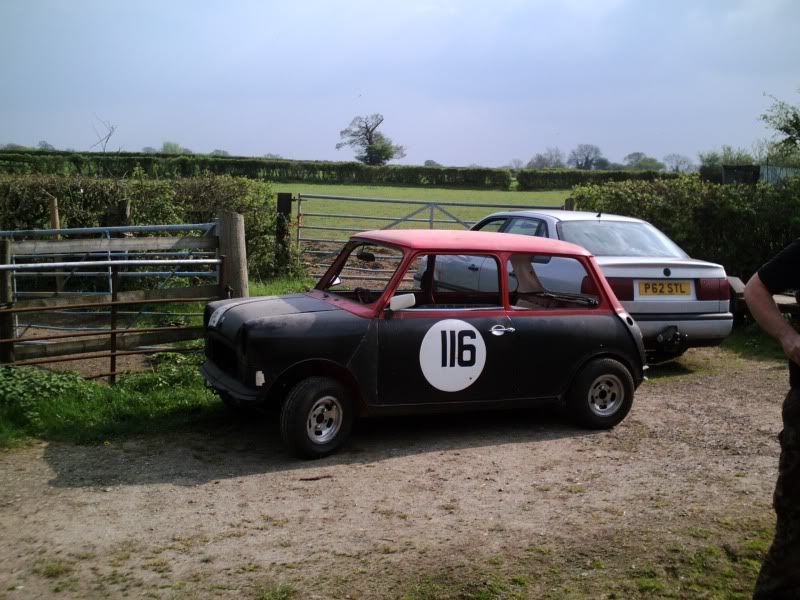
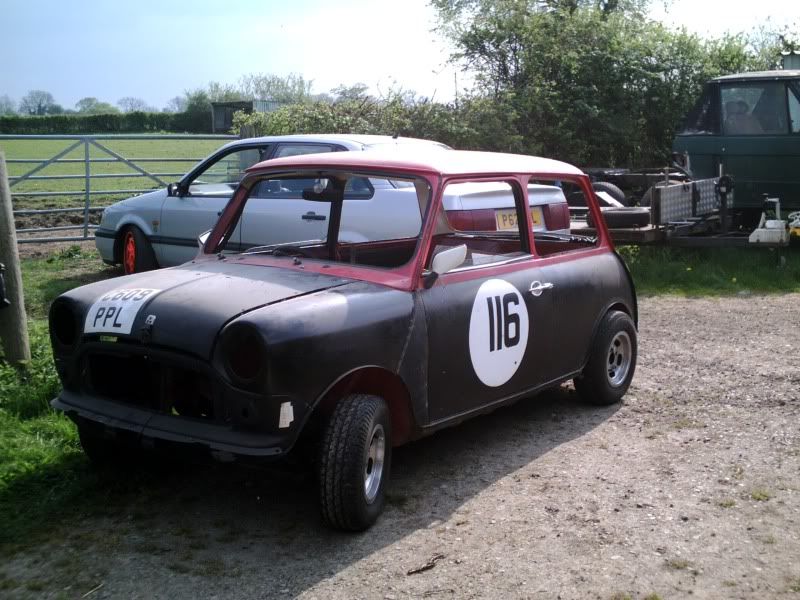
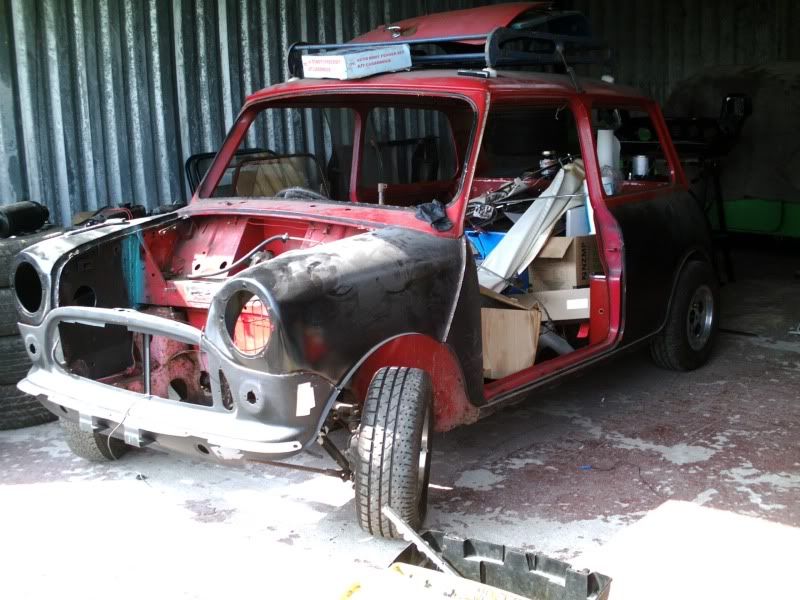
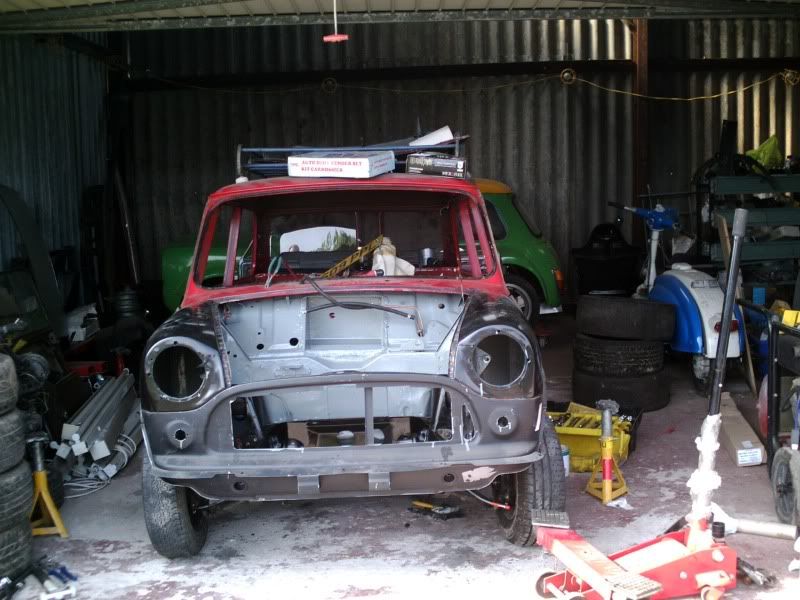
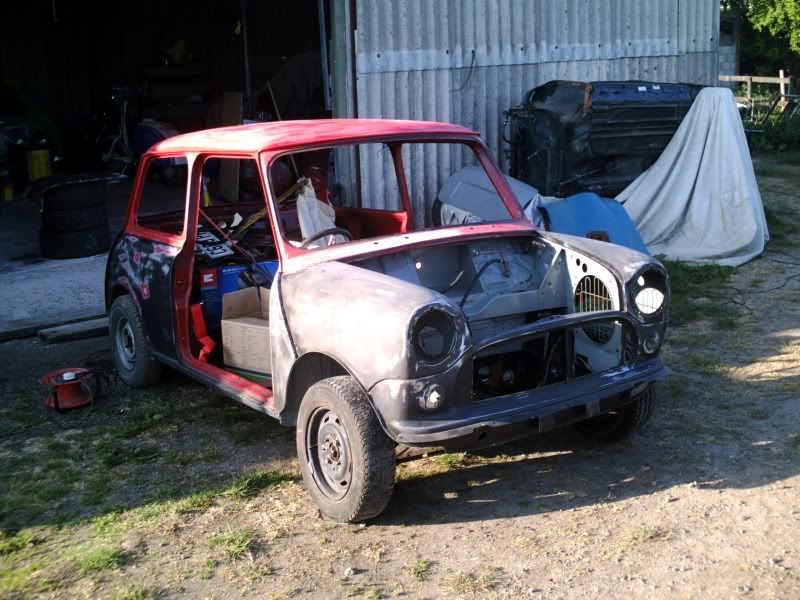
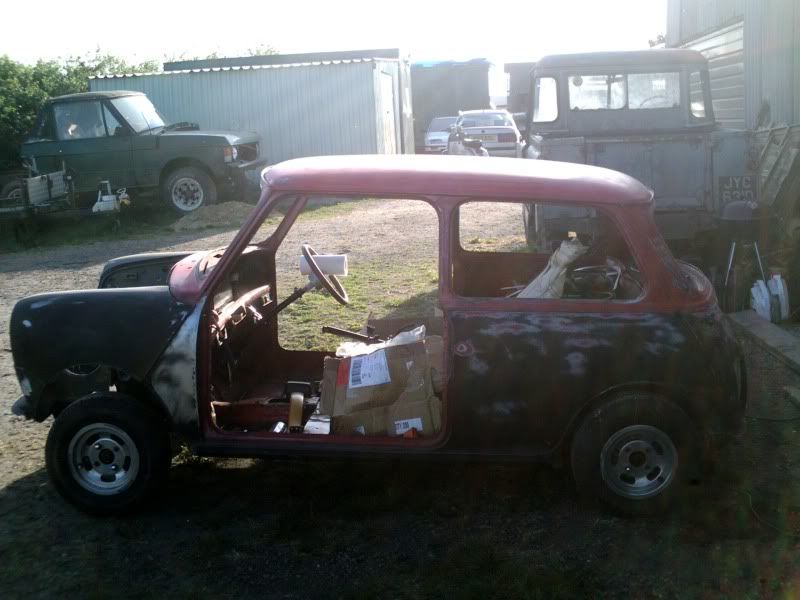
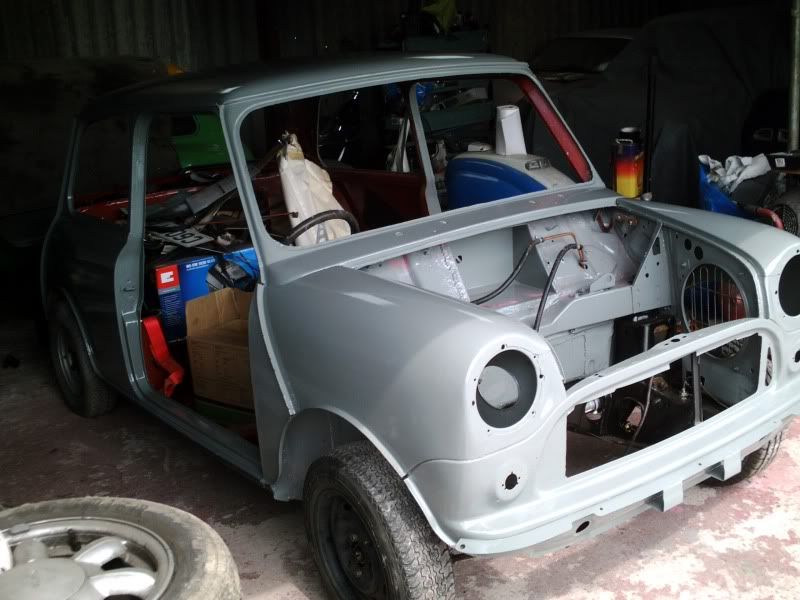
Then I decided that the remaining windows needed to come out at some point so it may as well be today. then pushed him outside into the sun (for the 1st time in 10 months :( )

Posted Image
Posted Image

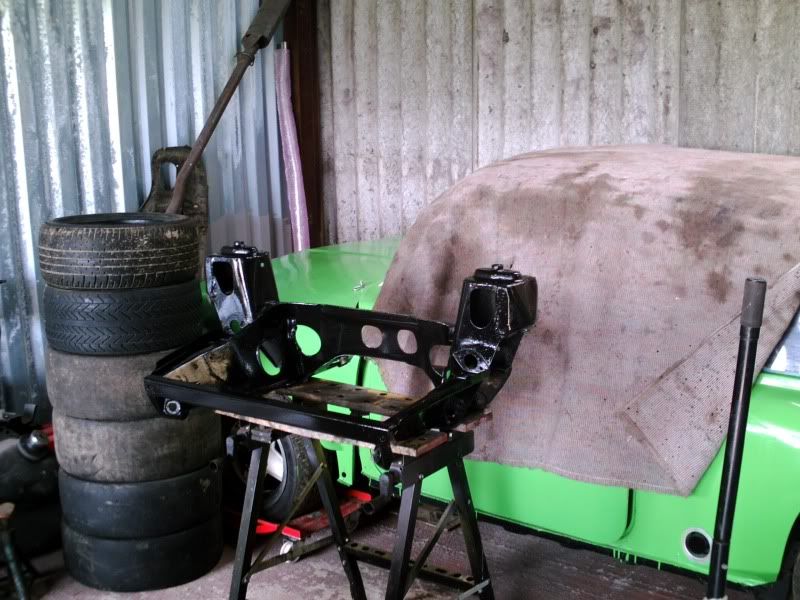
The 'new' front subby is now painted
Posted Image
so should be ready to be built up tomorrow (finally get to fit my -1.5 arms :P)

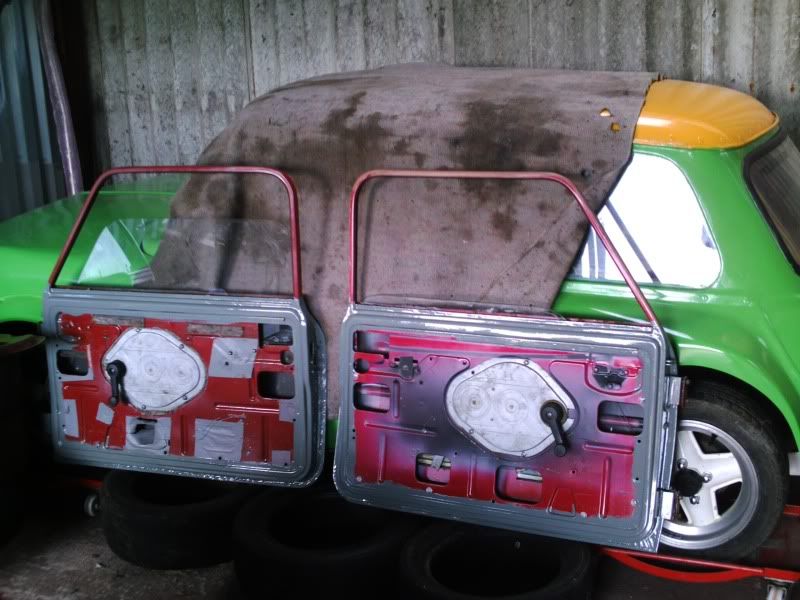
Then whilst the paint was drying, time to continue the dis-assembly :P The doors, boot and bonnet are now stripped bare inc removing the race numbers that have been on the doors for about 7 years :P
Posted Image
as you can see, I masked them up when I did the satin black paint job :oops: but I think the red door circles work quite well :wub:

I also cracked on with stripping the scuttle and the anything un-boltable
Posted Image

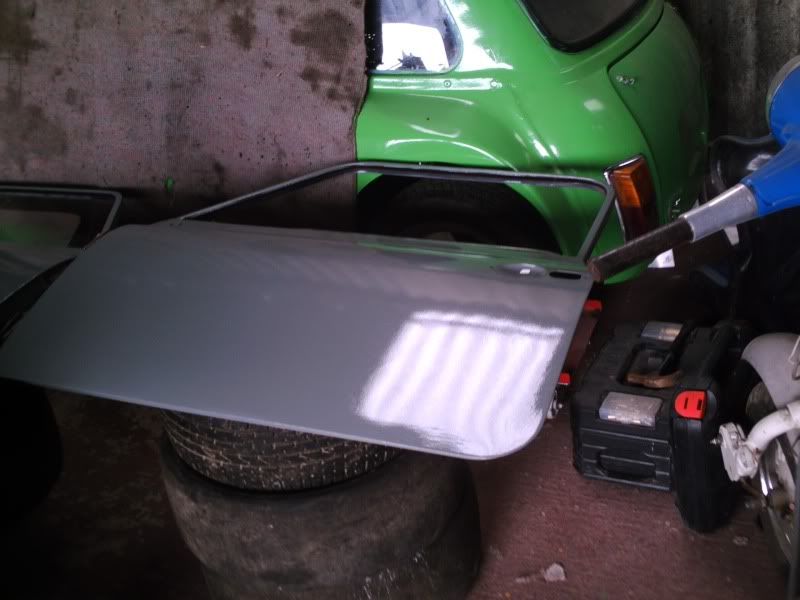
Then started to prep the inside of the doors and got the 1st coat of grey onto them. Will need more practice and coats to get a good finish though, but its getting there (plus I think I over thinned the paint as well)

The doors have 2 coats of paint on teh onside face, and aren't looking too bad
Posted Image
(the upper frame will be painted when I paint the outside)

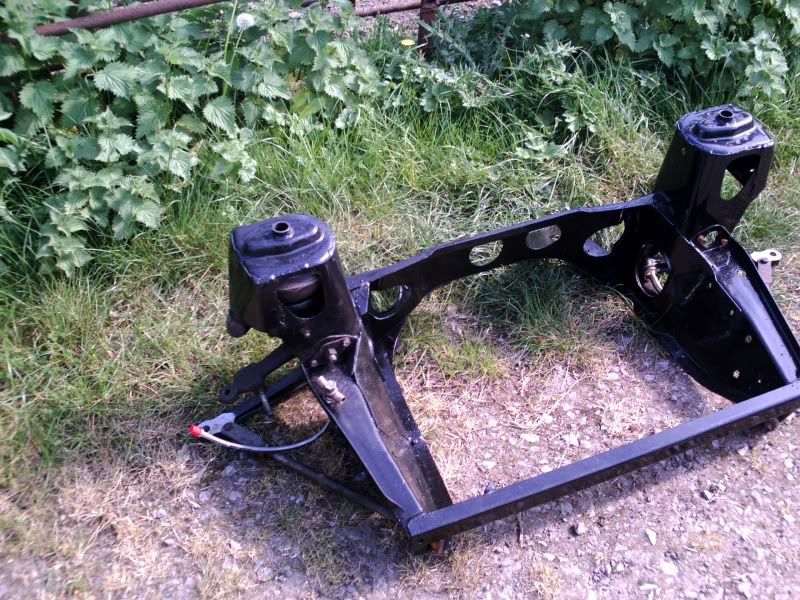
The subframe is 1.2 rebuilt (awaiting a new bump stop before I can put the 2nd doughnut, hi-lo and top arm in). Spent an hour in the sun today trying to slavage a bumpstop from a mk1 subby only to find out that they are different :thumbsup:
Posted Image

But then it was time for the old subframe to be removed so that I could get ready for the final welding on the wings and then will be able to prep and paint the engine bay
Posted Image

And with the subframe out. the rack can be removed and the bulkhead fully stripped
Posted Image

Edited by craig 1010cc, 27 April 2011 - 08:17 AM.


#5 craig 1010cc

craig 1010cc

    One Carb Or Two?

  • Members
  • PipPipPipPipPipPipPip
  • 1,165 posts

Posted 27 April 2011 - 08:13 AM

Well, the welding and grinding on the front end is now completed. Had to spend a bit of time getting the settings on the welder right (1st couple of welds weren't that good), but with the power turned up, the welds where good :P

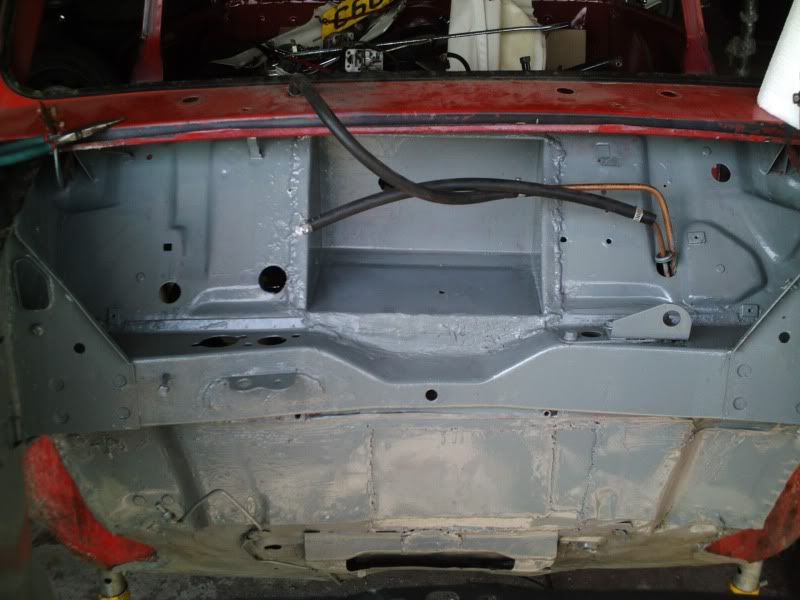
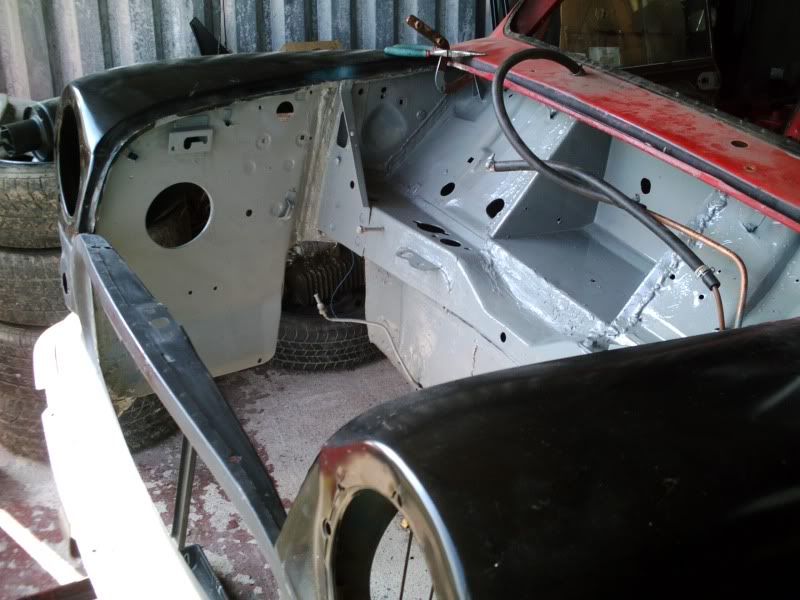
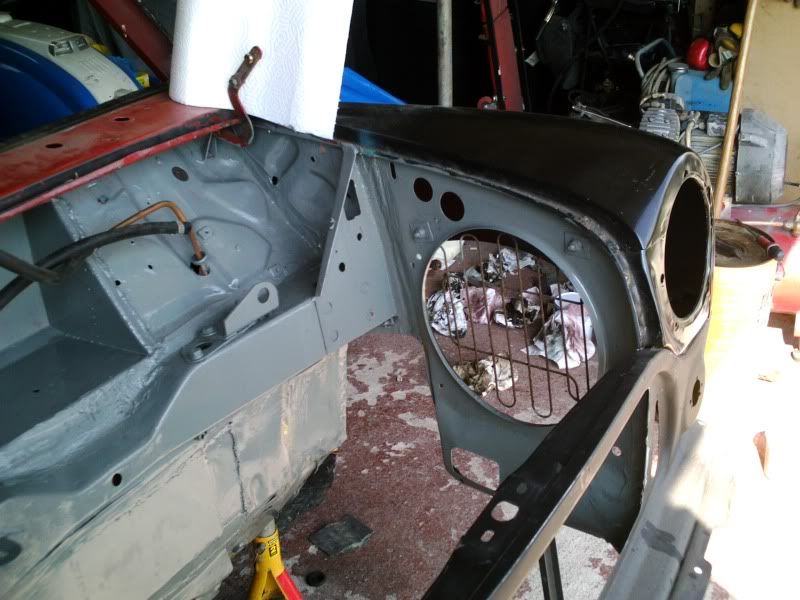
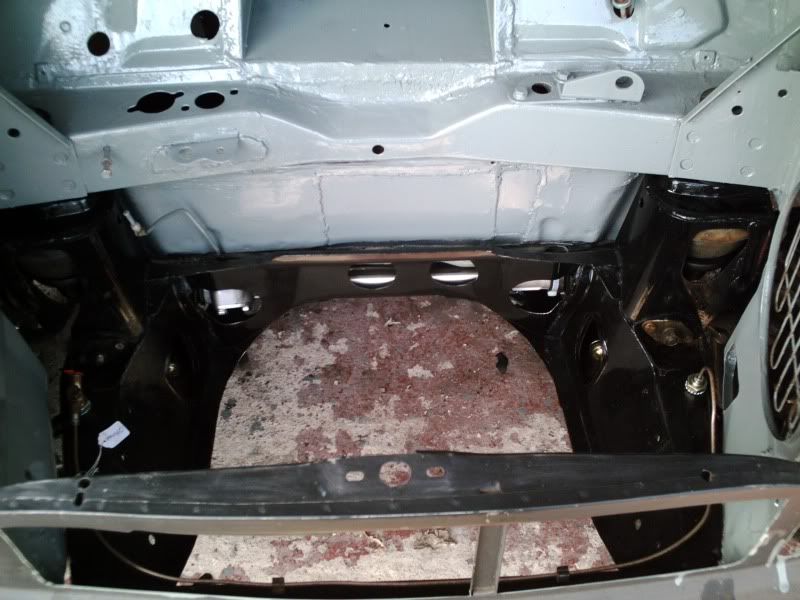
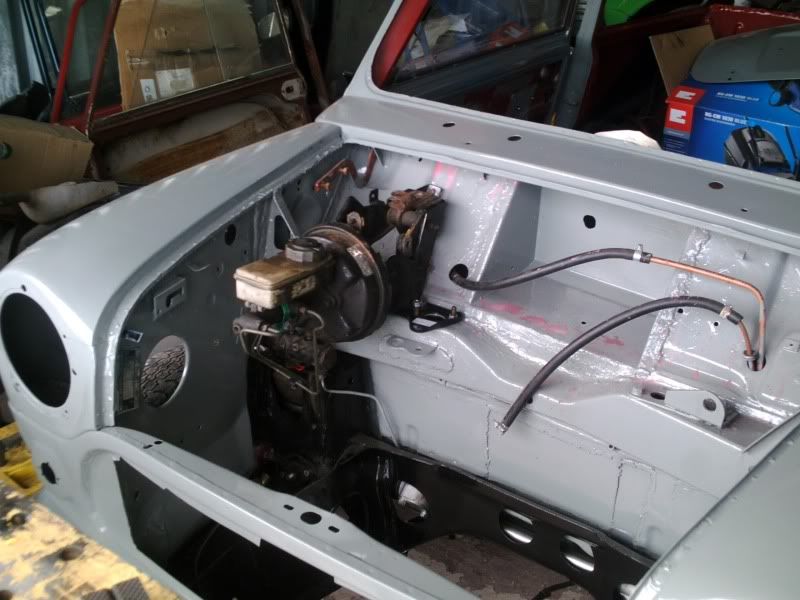
So then on with the messy business of degreasing the engine bay :P Not a fun job, but with that completed i could crack on with final prep. It is quite a difficult area to prep, but got there in the end. So it was time to brake out the paint again :P Used about 15% thinners, and although it seemed a bit thin, 1st go with the rollers and it was going on nicely :(

Posted Image

Posted Image

Posted Image

So, 1st coat is now on, 2nd (and final hopefully) will be going on Tuesday so that I can get the new steering rack in and the new subby lifted back in to make the shell rolling again to push outside for final prep. Still lots to do before the paint goes on mind........... :P
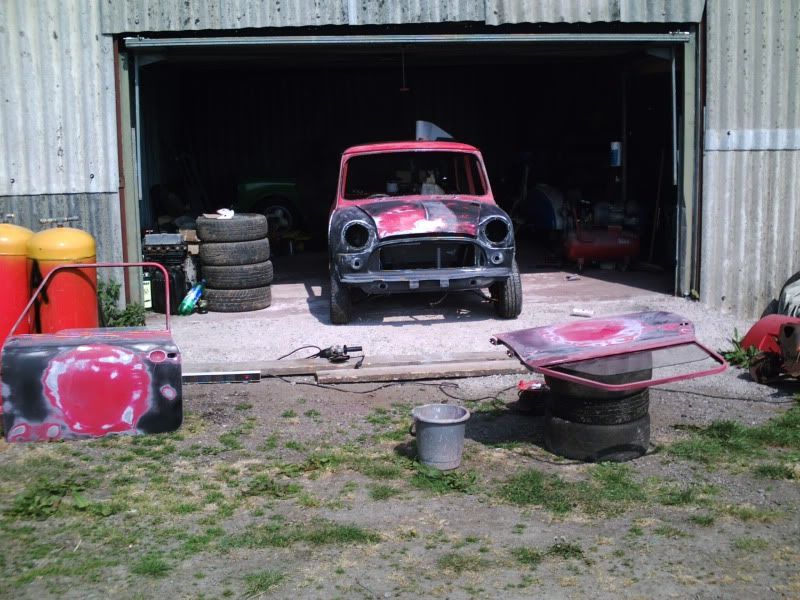
Another day and a bit more progress :P

PIc's from Sundays work, the engine bay looking nice with its 2nd coat all hardened off :P
Posted Image

and the bootlid out in the sun to harden off bit (few imperfections that I want to resolve before the 2nd coat goes on)
Posted Image

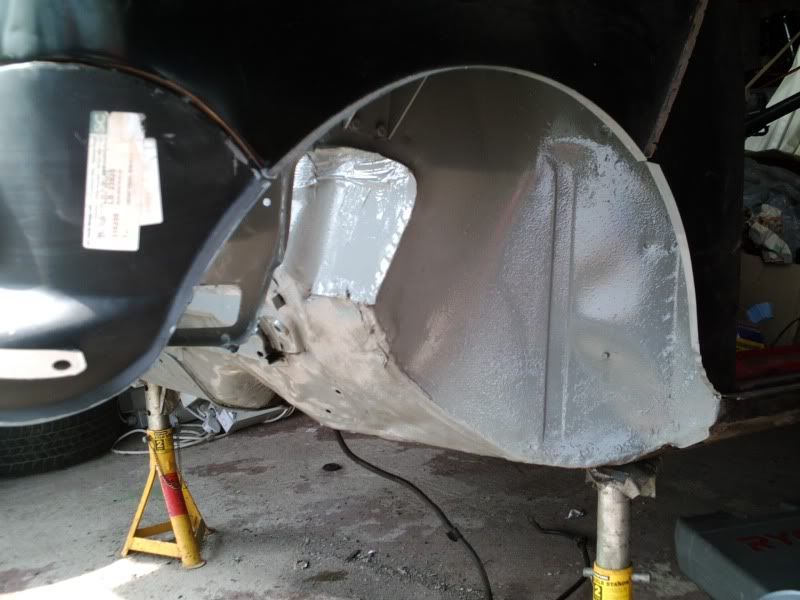
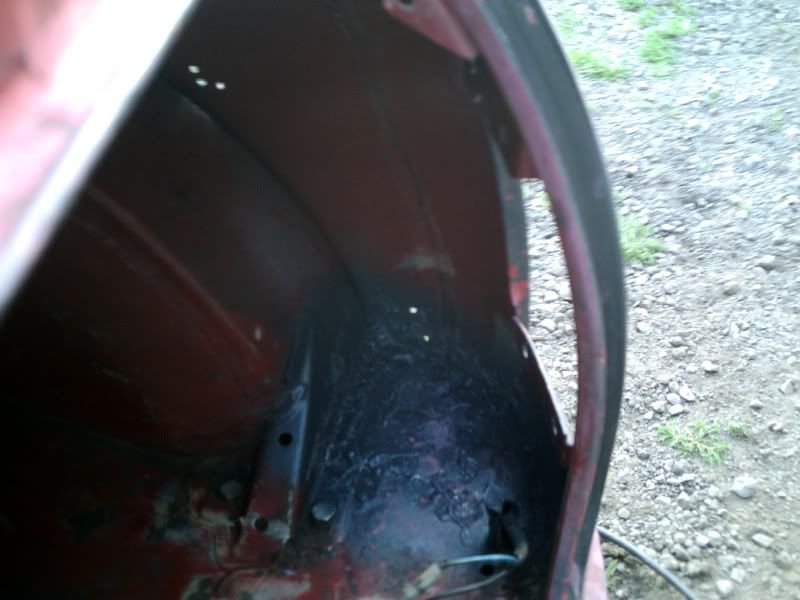
So todays progress, 1 job was to paint the inner wings/ underside of the wings/front panel. What a pain of a job that was (not to mention painful as I headbutted the wheel arch a couple of times whilst trying to get into the right position to get the paint in the to tricky bits leaving a few slices across my head :oops: )
Posted Image

Also called into Moss this morning to get the bumpstop and a couple of other bits. This meant I could crack on and finish building up the front subframe :thumbsup:
Posted Image

So on with building up the mechanicals. Next in was the new rack. what was annoying was that even though I brought a brand new rack and a pair of track rod ends, neither come with the locking nuts so I am going to have to salvage them from the old rack :P
Getting the new rack in too a bit of gentle coaxing with the mallet, but was soon enough bolted in
Posted Image

Then time to refit the subby. Went in very smoothly (for once :wub: )
Posted Image

And then time to drop back onto all 4's again
Posted Image

so not a bad days work.

And that's me upto date. Will be heading back up this afternoon should see the last of the welding completed (got a small patch in the boot floor to go in) and then it is time to prep the shell for paint ;)

#6 MINI-TURBO

MINI-TURBO

    Mini Mad

  • Members
  • PipPipPipPip
  • 230 posts
  • Location: newmarket

Posted 27 April 2011 - 02:35 PM

looks like a good project mate, keep the pics coming :wub:

#7 craig 1010cc

craig 1010cc

    One Carb Or Two?

  • Members
  • PipPipPipPipPipPipPip
  • 1,165 posts

Posted 28 April 2011 - 08:29 AM

Cheers

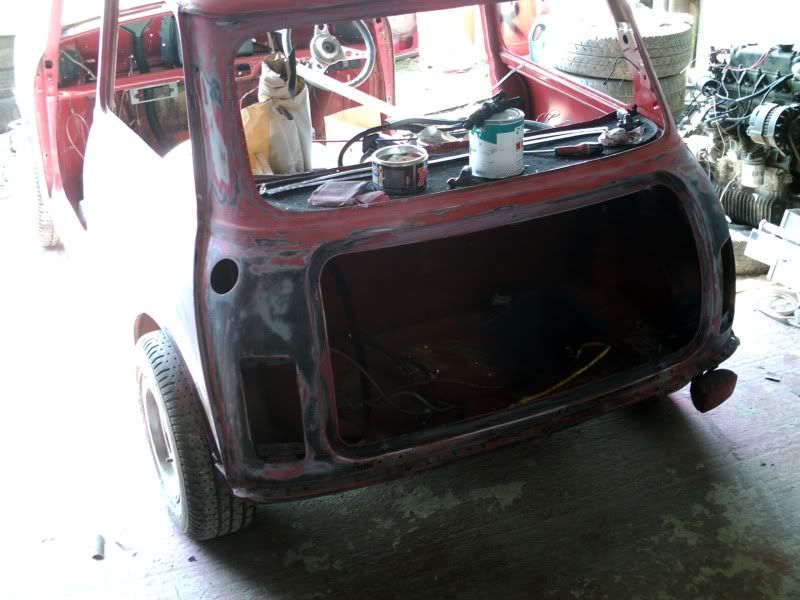
Had a mixed day yesterday, 1st job was to weld a small patch in the corner of the bootfloor which went in very nicely
Posted Image

Then it was out with the wire brush to clean back and check the sills. A messy job as there was a lot of layers of stone chip ect covering them, but they where still in good shape. The drivers side has had 2 patches over the years (1 I didn't know about so that's been there at least 15 years :)) but is holding up well so they have received a fresh coat of stone chip :w00t:

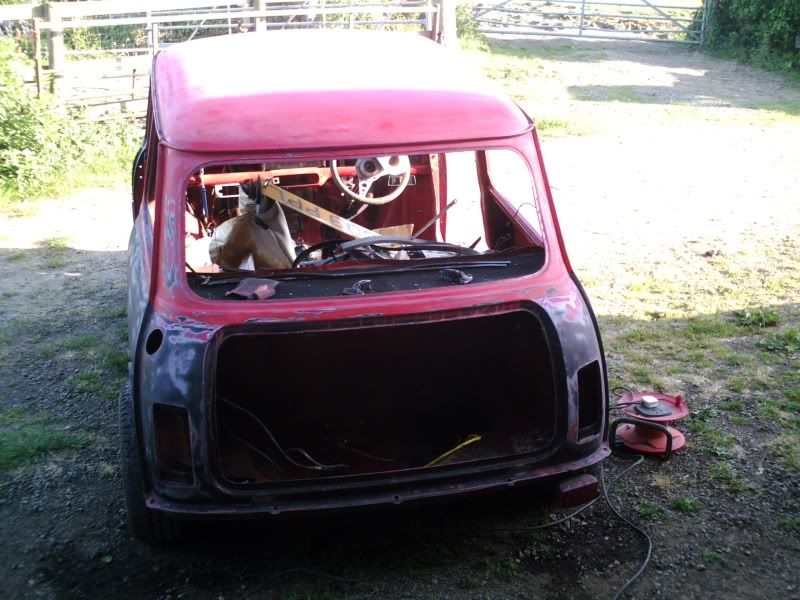
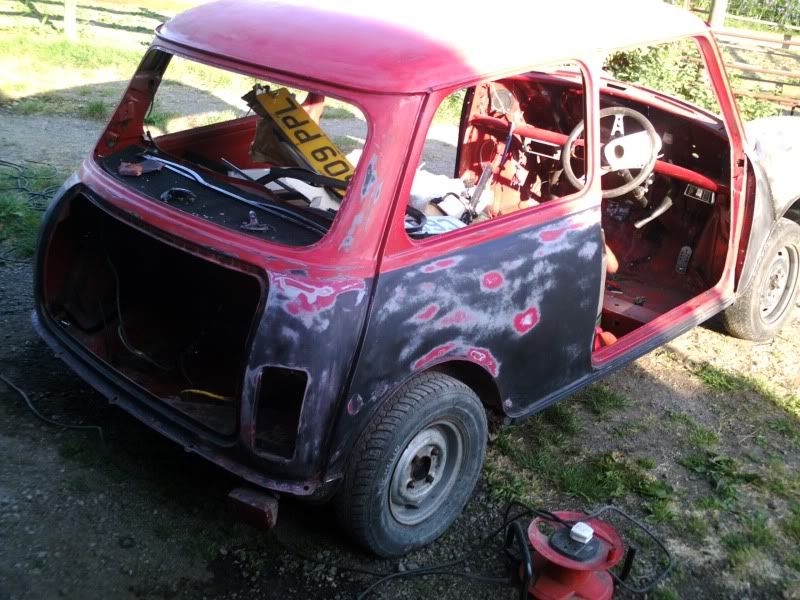
Then it was time to break out the DA and start prepping the shell. Initially this didn't go well as I'd got it set far to slow, but with the speed turned up the satin black areas prep'd nicely. where I had painted over the satin black in the red metalflake it didn't go so well. As soon as it breaks through the the black below it seems to smear black paint over the top.
Posted Image
So will have to finish the red off by hand :)

Anyway, we're about 50% of the way there I think
Posted Image
Posted Image
Posted Image
Posted Image
Posted Image

#8 danie garry

danie garry

    I love BMW minis

  • Members
  • PipPipPipPipPipPipPipPipPip
  • 2,296 posts
  • Location: malmo
  • Local Club: IMOC-Irish Mini Owners Club

Posted 28 April 2011 - 10:32 AM

moving along nicely! did you have any problems spraying over the halfords paint?? i had reactions all over the place because of the stuff!!

#9 craig 1010cc

craig 1010cc

    One Carb Or Two?

  • Members
  • PipPipPipPipPipPipPip
  • 1,165 posts

Posted 28 April 2011 - 02:59 PM

Not had any in the past, but then I've also not had any issues with the DA either?? Very odd.

Having a day off from it today, but back on it over the weekend (escaping the wedding :) )

#10 Tomf

Tomf

    Baby Tom

  • Traders
  • PipPipPipPipPipPipPipPipPipPip
  • 6,440 posts

Posted 28 April 2011 - 03:02 PM

Looks good buy why did you move away from the vaux conversion?

#11 craig 1010cc

craig 1010cc

    One Carb Or Two?

  • Members
  • PipPipPipPipPipPipPip
  • 1,165 posts

Posted 28 April 2011 - 03:07 PM

Looks good buy why did you move away from the vaux conversion?


2 fold, at some point I will be leaving the lockup and so will only have my single garage with no power to maintain him. With so many bespoke parts on the vaux conversion, I wouldn't be able to fix it at home. Plus the risk that I might in the future have to IVA it. Just couldn't afford to do that (or have the facilities to do the work).

It was a corking conversion, and I really wished I could have kept it, but had to think about the long term.

#12 craig 1010cc

craig 1010cc

    One Carb Or Two?

  • Members
  • PipPipPipPipPipPipPip
  • 1,165 posts

Posted 30 April 2011 - 02:16 PM

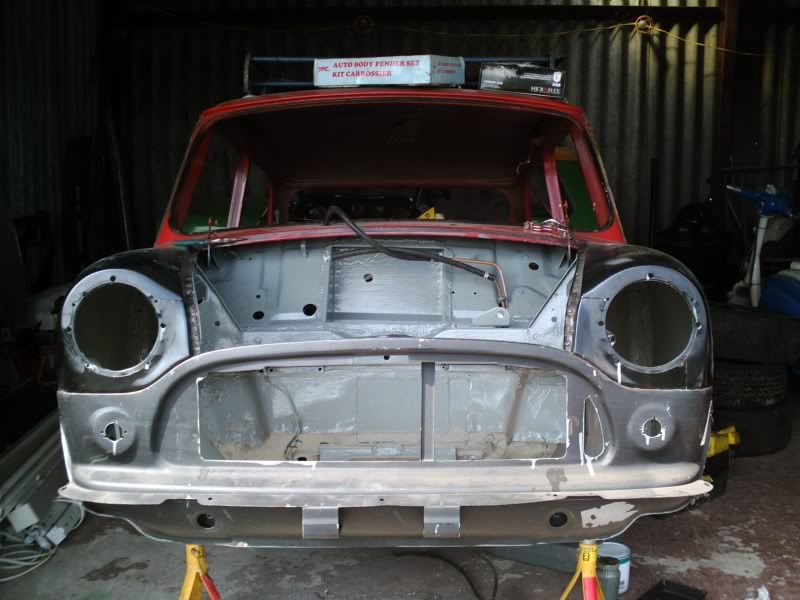
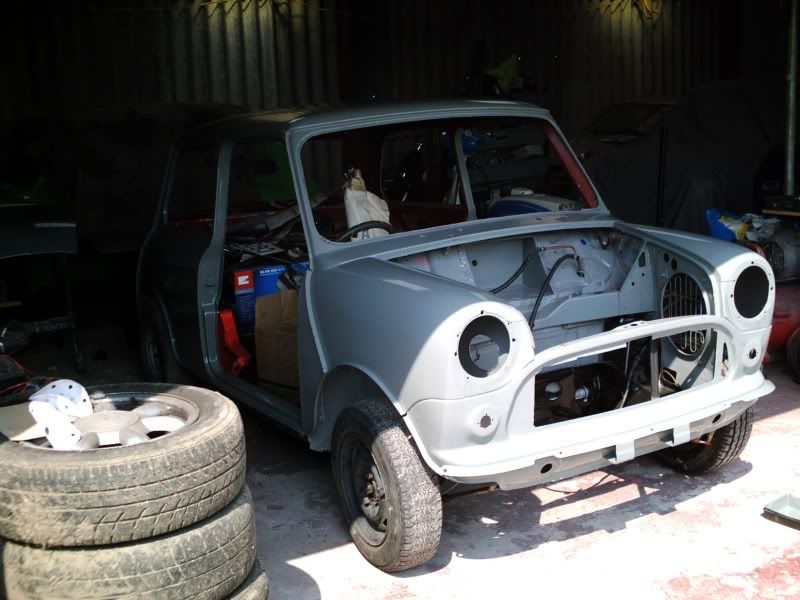
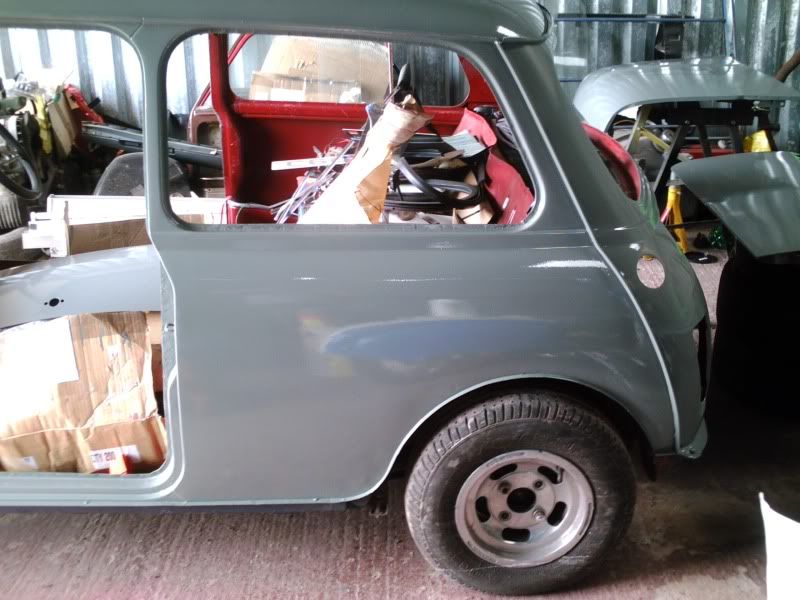
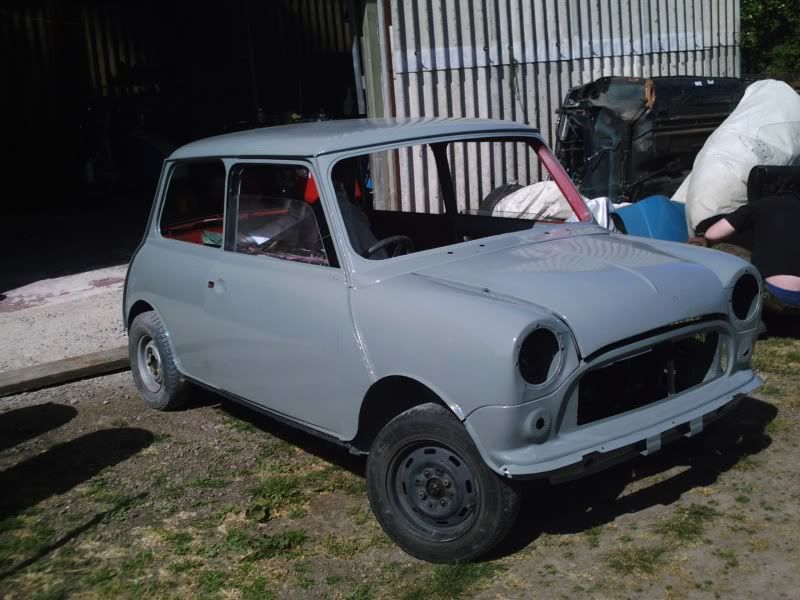
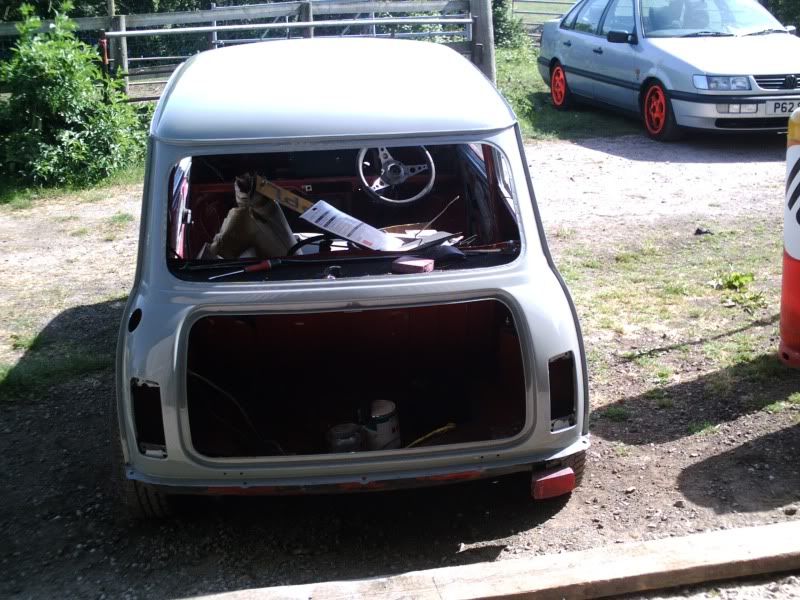
So, the last few days have been prep, more prep and a bit more prep. But this morning I only had a tiny bit left to do (still took a couple of hours :) ). So that left Pootle looking like this

Posted Image

Posted Image

Finally ready to be cleaned down and panel wiped :(

With that out the way, there was nothing else but to mix up some more paint. Mixed it a bit to thick really for the warmth today (closer to 10%) but it went on OK (was getting a bit tacky as I finished off the front valance) and a nice big gust of wind blew in as soon as I started painting :P But that is the joy of painting in a barn I guess :P

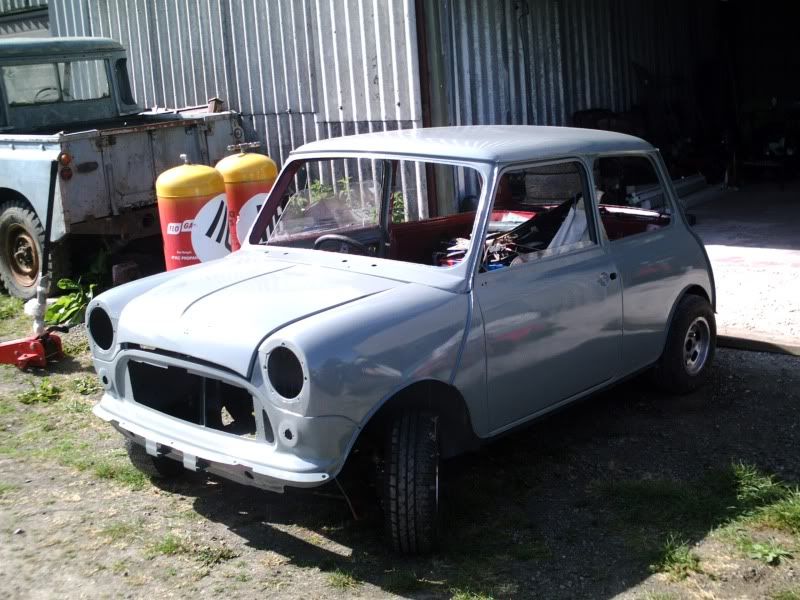
So, the 1st coat is done, back tomorrow for the 2nd one

Posted Image

Posted Image

Posted Image

Posted Image

#13 craig 1010cc

craig 1010cc

    One Carb Or Two?

  • Members
  • PipPipPipPipPipPipPip
  • 1,165 posts

Posted 01 May 2011 - 02:01 PM

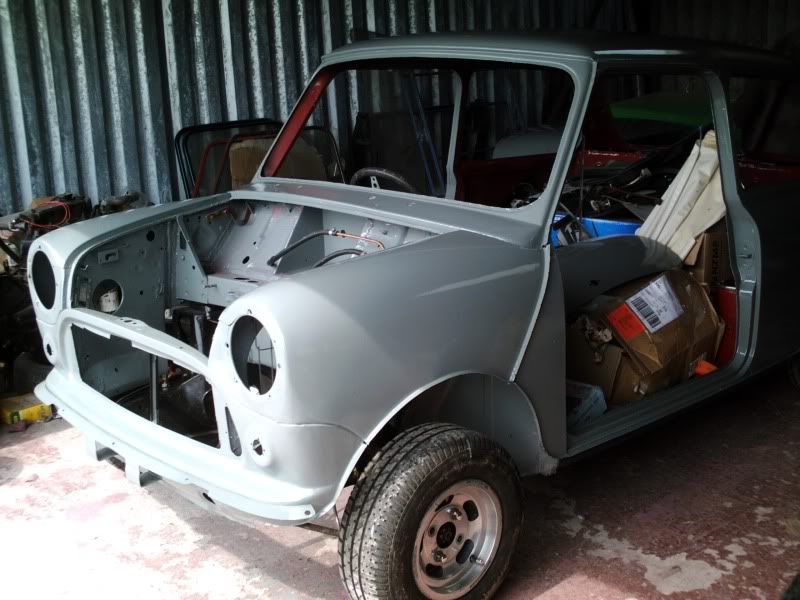
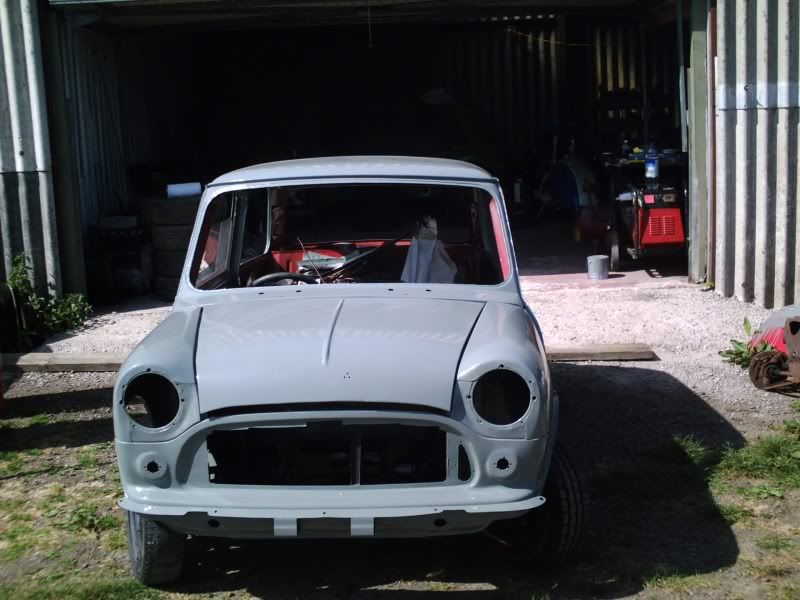
Well, 2nd coat went on this morning. The 1st coat hadn't gone on as well as I had hoped (especially the doors and the bonnet), but this one seems to have gone on much better. Prob helped as it was a bit cooler and that I used more thinners in the mix this time (20%). I can see though that there is going to be a fair amount of flatting and polishing going to be needed once its all hardened off properly :P

Posted Image
Much better shine this time
Posted Image

Posted Image
Posted Image
Posted Image

3rd coat tomorrow....... :)

#14 craig 1010cc

craig 1010cc

    One Carb Or Two?

  • Members
  • PipPipPipPipPipPipPip
  • 1,165 posts

Posted 02 May 2011 - 07:17 PM

Well, was far to windy to stick the 3rd coat on today, so we bolted the doors on instead :wub: Not as silly as it sounds, means that I can now paint with the lockup door closed, but also keeps the bolt-ons out of harms way

Shine wise, the paint is looking very good, but it is going to need allot of flatting off before it is a nice smooth finish :roll:

Posted Image
Posted Image
Posted Image
Posted Image

#15 craig 1010cc

craig 1010cc

    One Carb Or Two?

  • Members
  • PipPipPipPipPipPipPip
  • 1,165 posts

Posted 07 May 2011 - 04:27 PM

have made a bit more progress, got the pedal box in (which wasn't plain sailing as 1 of the tabs had been bent so stopped it going in square), just got 1 brake pipe to make and then it can come back out to be painted
Posted Image

And today was starting to get the engine finished off. Decided that it made sense to drop the engine in before the final coat of paint is rollered on (in case we scratch anything it is then easy enough to sort)

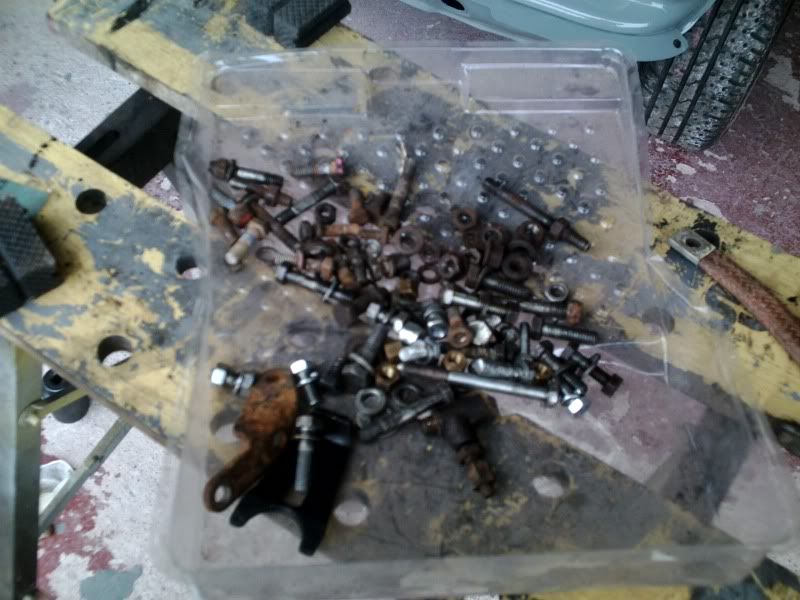
So I dug out the boxes of nuts and bolts and brackets we'd removed from the scrap engine and started to work through what went where
Posted Image

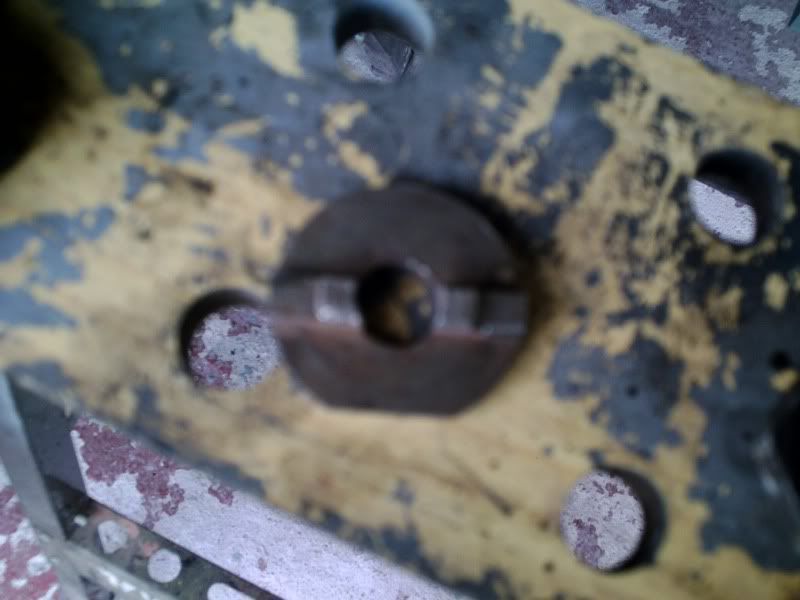
Got stumped for a while bolting the flywheel up, the original 'washer' from the scrap engine (where we also got the flywheel from) was damaged
Posted Image
Posted Image
luckily Keith was about and found a good one. But it wouldn't sit in the flywheel?? So he had another rummage and turned up a smaller one without the flat on it. Fitted perfectly. Seems there are 2 types.
So was able to get the flywheel bolted up and torqued up, but couldn't fit the pressure plate as I couldn't find the right bolts (must be another box of them some where) so the engine was tucked back away in the corner till next week. Really want to have the engine ready to go in by next weekend


1 user(s) are reading this topic

0 members, 1 guests, 0 anonymous users