Jump to content


Photo
- - - - -

1982 Austin Mini - Project Who?


  • Please log in to reply
852 replies to this topic

#106 JonnyAlpha

JonnyAlpha

    Up Into Fourth

  • Members
  • PipPipPipPipPipPipPipPipPip
  • 2,748 posts
  • Location: North Devon
  • Local Club: Exmoor Minis

Posted 12 August 2014 - 07:10 PM

Another full day today but very little visible progress sadly as I spent most of the day making up a panel for the Rear Seat / Boot Floor.


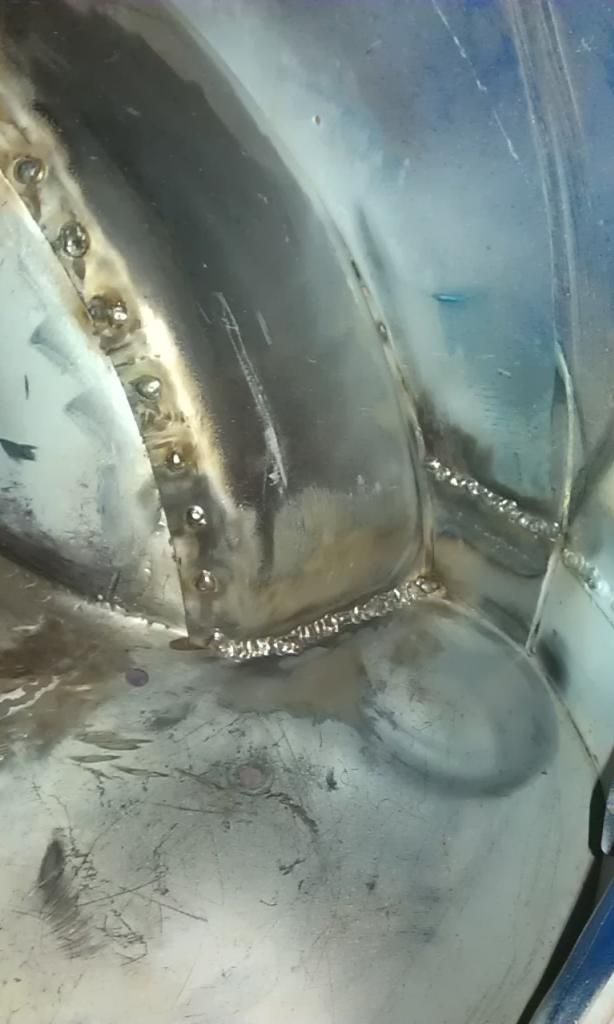
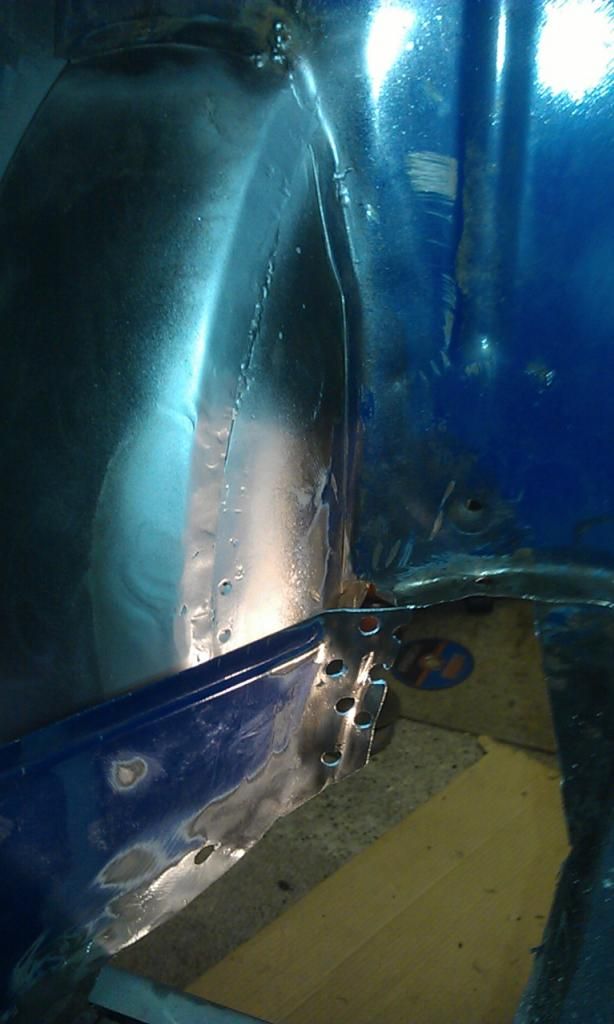
Before I could make this panel however, I had to clean up and weld the rear of the Companion Bin to the Rear Arch.


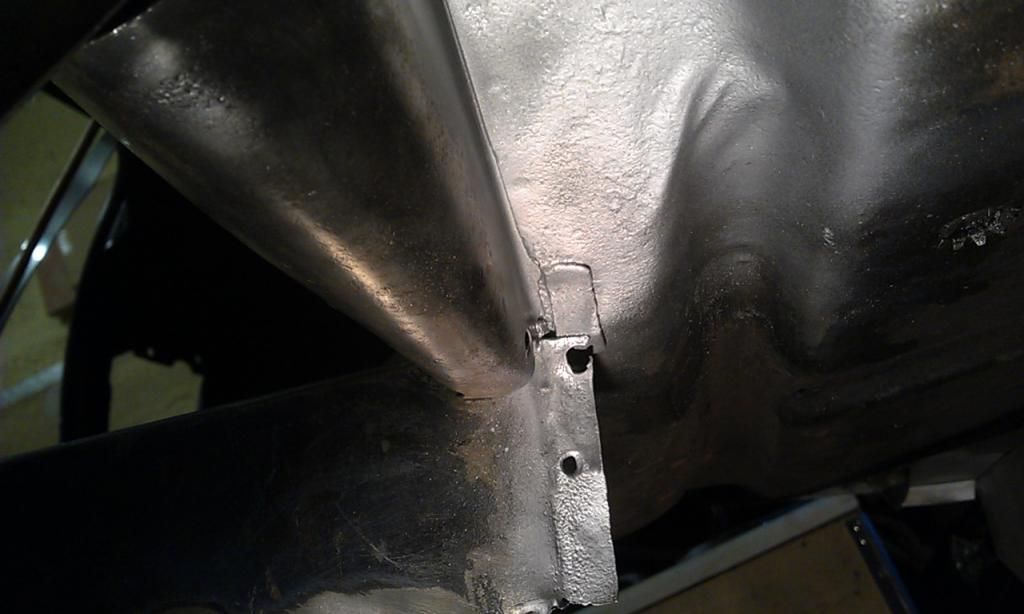
Here it is all cleaned up ready to weld:
 

IMAG6307_zps5f482aee.jpg


Got it welded in but no photo.


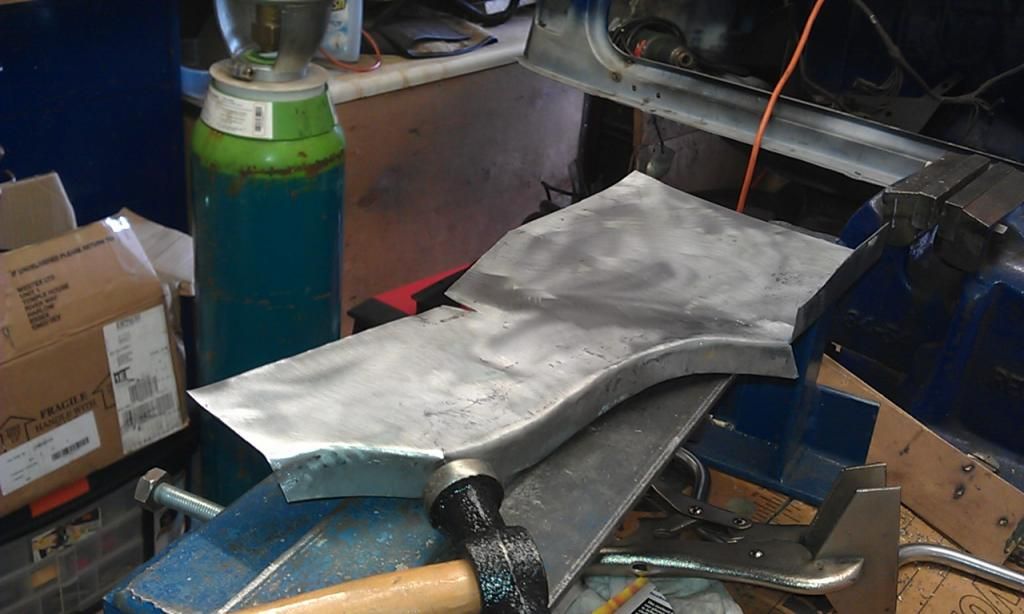
Next I made a cardboard template for the patch and spent most of the late morning / mid afternoon knocking this up and getting it to fit nice and snug. If it doesn't fit its no point welding it:
 

IMAG6312_zps5c4f4f06.jpg


I then marked up where to drill the spot weld holes and then punched and drilled them, just need to spray the mating areas with Weld Through Primer.

While I was test fitting it I noticed that I needed to repair the bottom rear edge of the Companion Bin, the piece between the Rear Seat and Subframe Close Out Panel, the bottom had rotted away and was removed when I cut out the Seat and Heelboard.


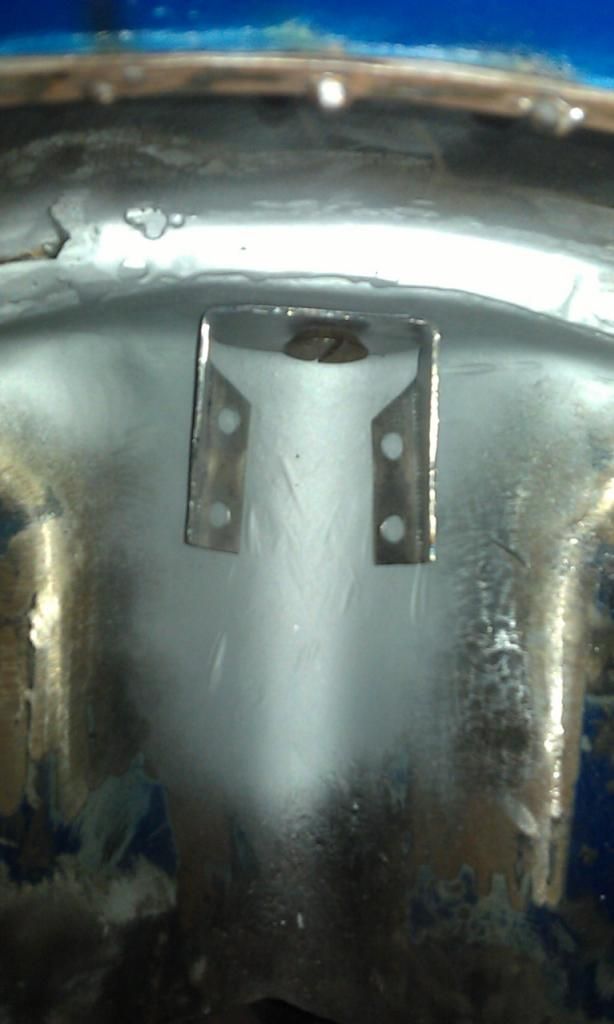
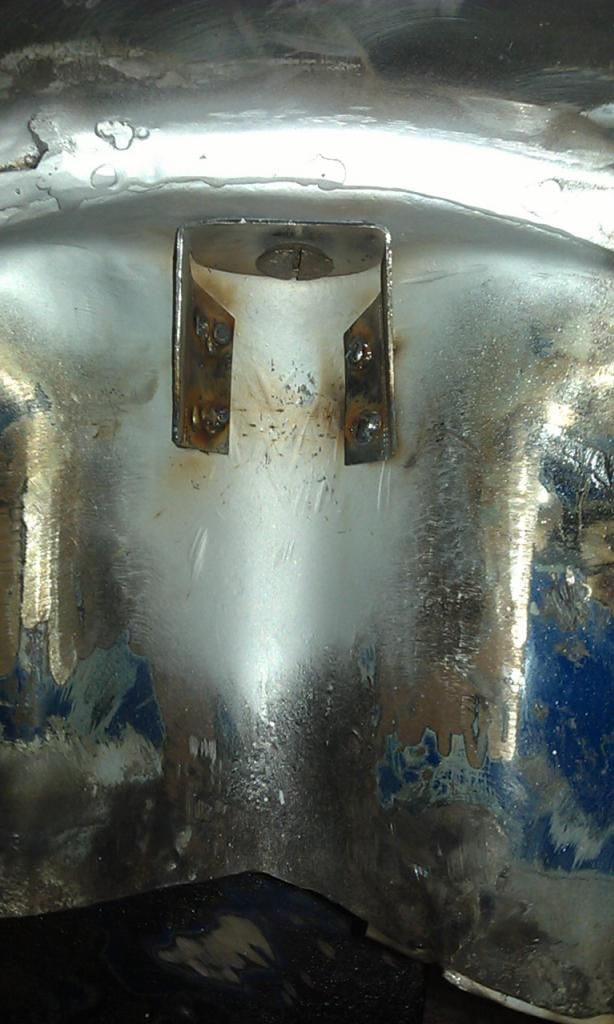
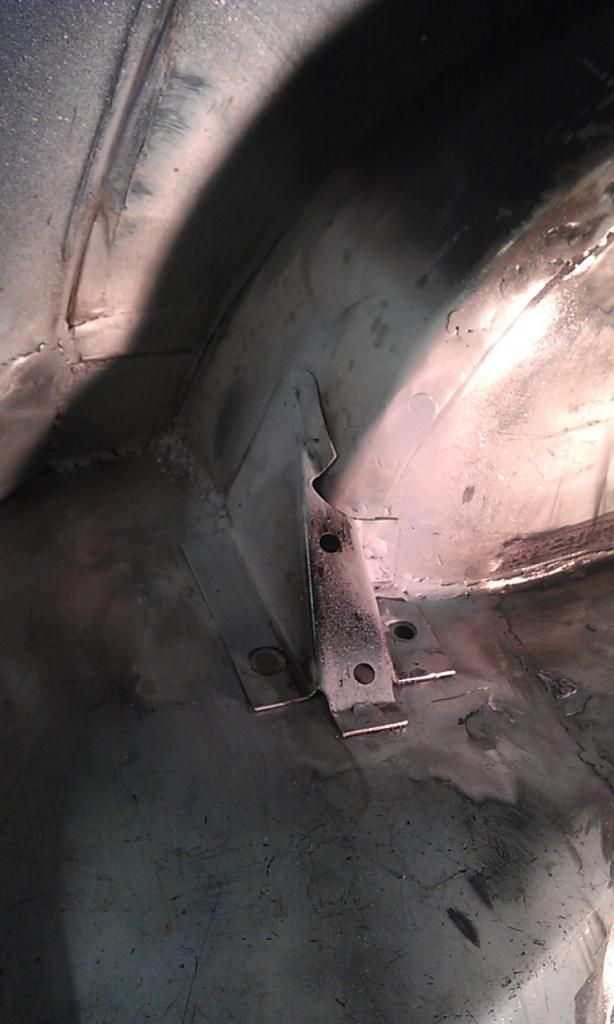
Just as I thought I was ready to weld everything up I realised that I had not cleaned up inside the Rear Seat to Wheel Arch Bracket, it contained a lot of surface rust. It was a real pain to clean up as it is such a small area but I got there in the end.


After I cleaned it I needed to go over the underside of the Boot Floor where I would be welding with a Fleece Disc to remove any surface rust.


I set the Angle Grinder to permanent on and set about the task, just before I finished I caught an edge and the grinder flew out of my hand and as it was still on it flew off across the garage, I chased after it and managed to grab hold of the flex and hauled it back and switched it off.

It was like a scene from Tom and Jerry, luckily no damage was done to me or the garage but the Fleece Disc was split in half, sadly these are about £7 a shot and I now need to buy another :-(


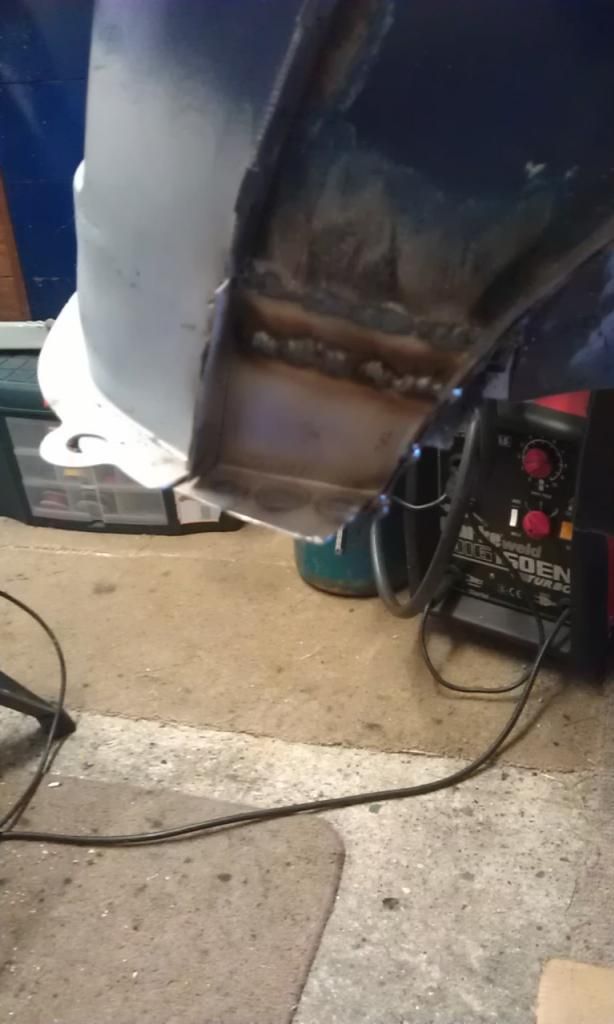
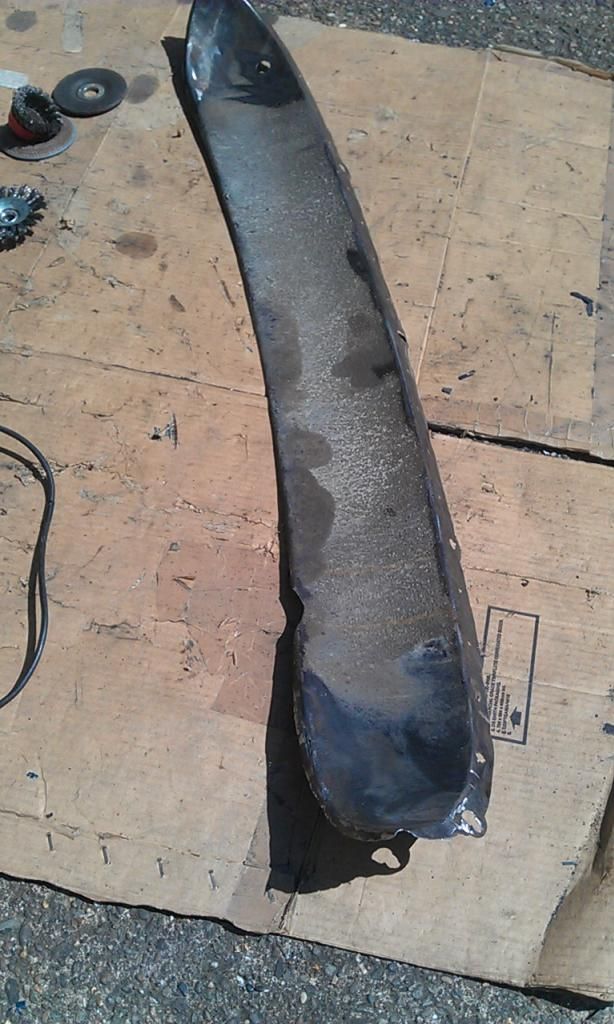
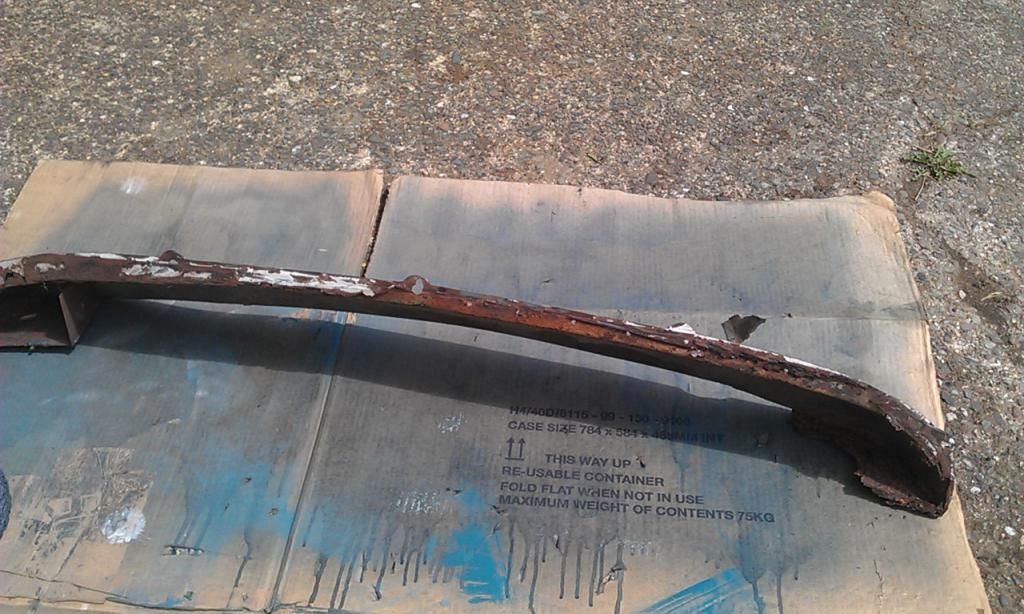
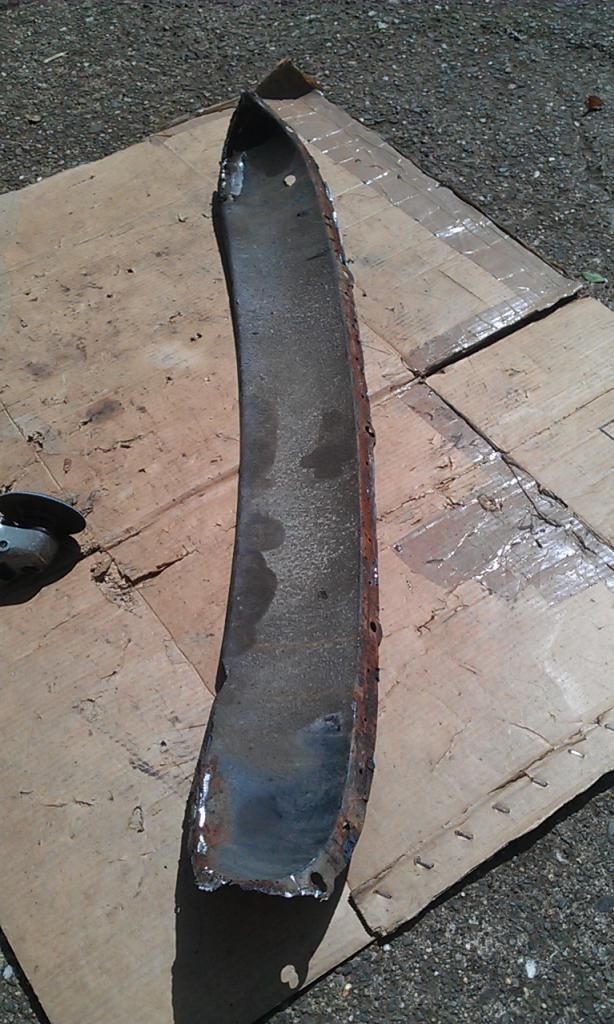
After this episode and while I was waiting for the Primer to dry for a change I decided to have a go at cleaning up the Rear Valance as I would soon be in a position to weld it back on.


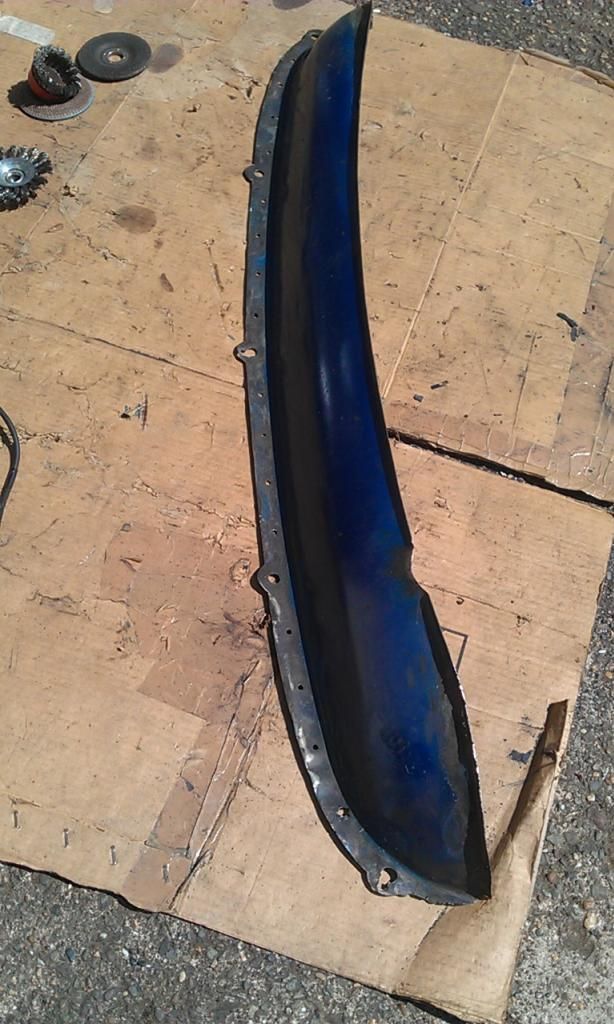
It was in a right state with half the back end of the Boot Floor still attached to it, as well as someones attempt at a home made Closing Panel:
 

IMAG6309_zpsf09a0416.jpg

Managed to get all the excess metal off and the Rear Valance is salvageable thankfully, just needs a clean up with a Flap Disc to remove the last of the welds and a Twisted Knot and finish off with a Fleece Disc, when I get a new one :-)


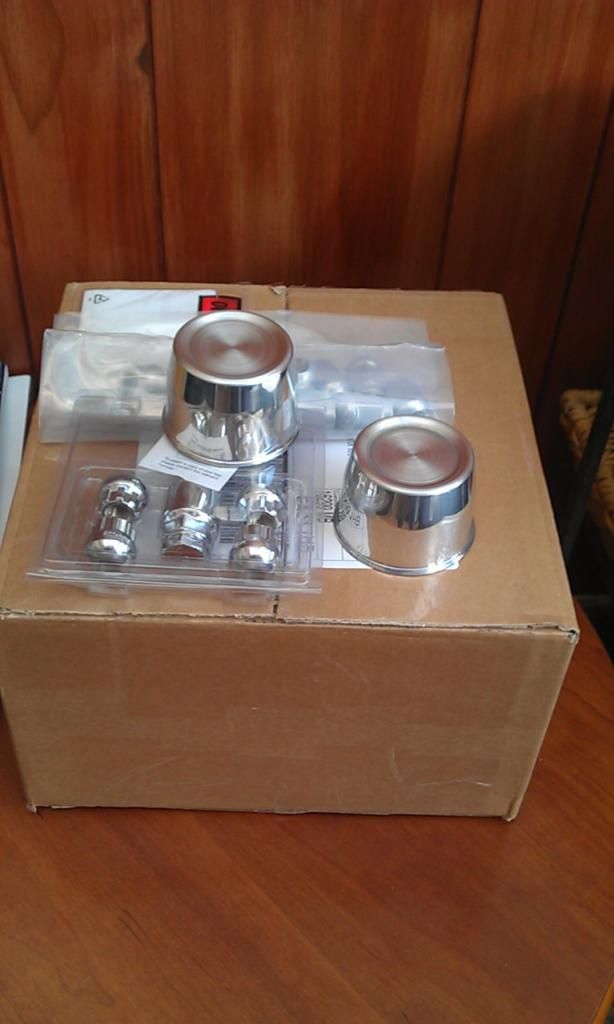
Oh and the Postman delivered another package - the Chrome Wheel Nuts and Alloy Centre Caps for my 5 x 10 Wellers (Not refurbished yet!!!)
 

IMAG6315_zps8da76801.jpg


#107 DiscoDarren

DiscoDarren

    Mini Mad

  • Noobies
  • PipPipPipPip
  • 136 posts
  • Location: Billinghay, Lincolnshire

Posted 12 August 2014 - 11:36 PM

Some brilliant fabrication in your project. Wish I had the skills you have to be able to make everything yourself. I will continue to watch this thread with great interest, keep up the good work

#108 JonnyAlpha

JonnyAlpha

    Up Into Fourth

  • Members
  • PipPipPipPipPipPipPipPipPip
  • 2,748 posts
  • Location: North Devon
  • Local Club: Exmoor Minis

Posted 13 August 2014 - 09:04 AM

Some brilliant fabrication in your project. Wish I had the skills you have to be able to make everything yourself. I will continue to watch this thread with great interest, keep up the good work

Darren;


Thanks for the praise, trust me about 6 months ago all I had ever made out of metal was an unfinished Optic Stand for my CSE Metal Work project and that was in 1982. I picked up most of the knowledge from the Retro Rides Panel Making Thread and the Mig Welding Forums.

It takes time to complete something and is a lot quicker albeit more expensive to buy a ready made panel but It's very satisfying to be able to make a complex piece and it fits :-)

Edited by JonnyAlpha, 13 August 2014 - 09:04 AM.


#109 JonnyAlpha

JonnyAlpha

    Up Into Fourth

  • Members
  • PipPipPipPipPipPipPipPipPip
  • 2,748 posts
  • Location: North Devon
  • Local Club: Exmoor Minis

Posted 13 August 2014 - 07:41 PM

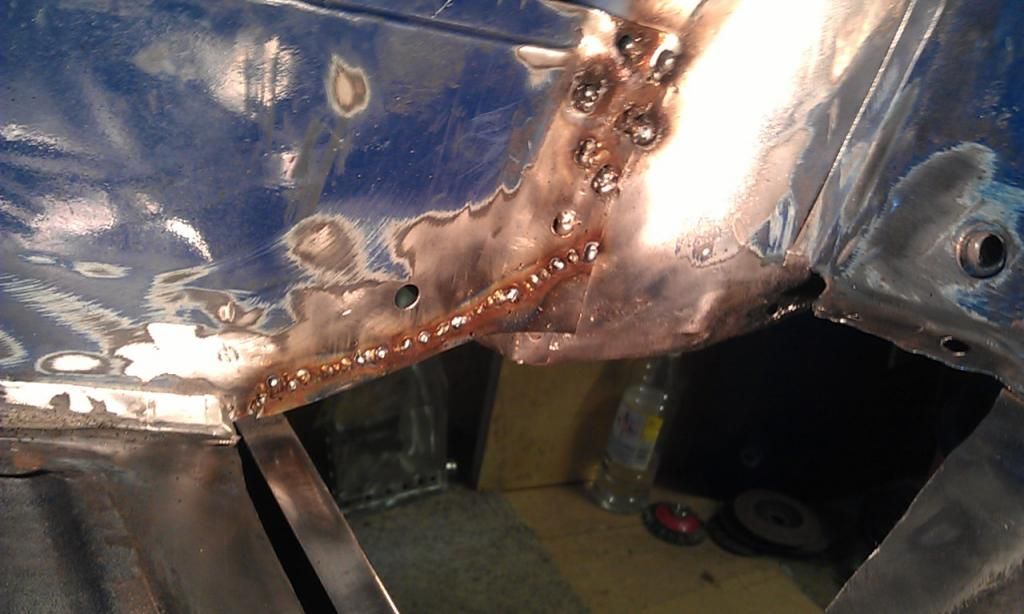
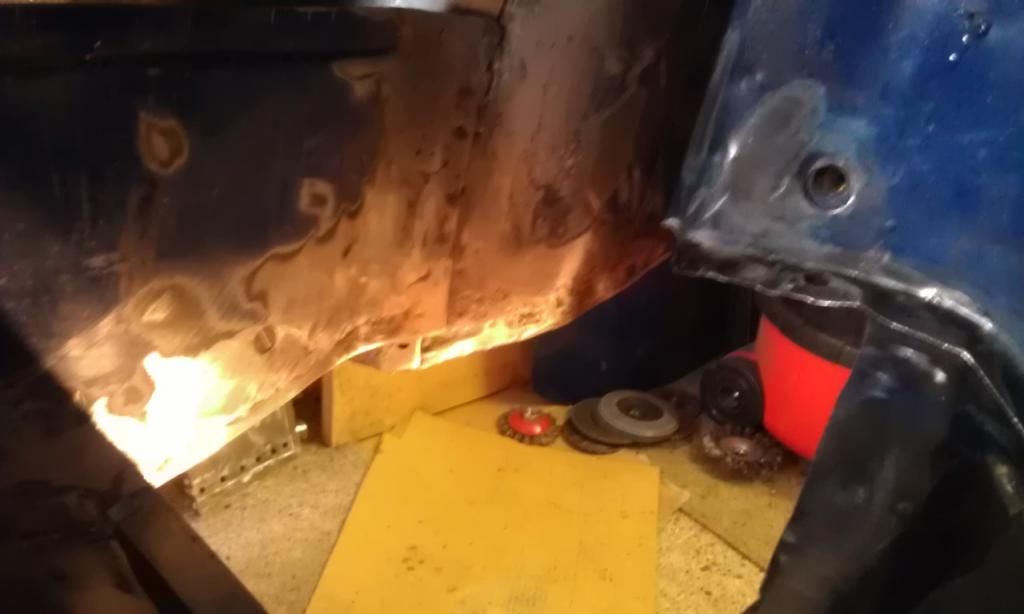
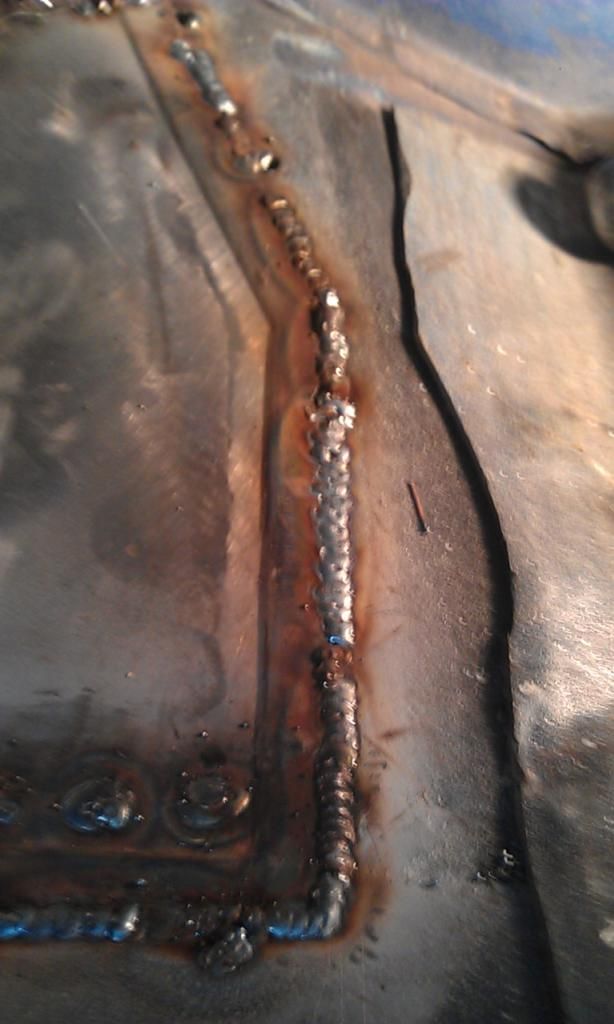
Yesterday I made the repair piece for the bottom of the Companion Bin and this morning I welded it in place:


IMAG6318_zpsecdd162e.jpg


Then cleaned up all the welds ready to fit the Seat / Boot Floor panel:


IMAG6319_zps86dea00c.jpg


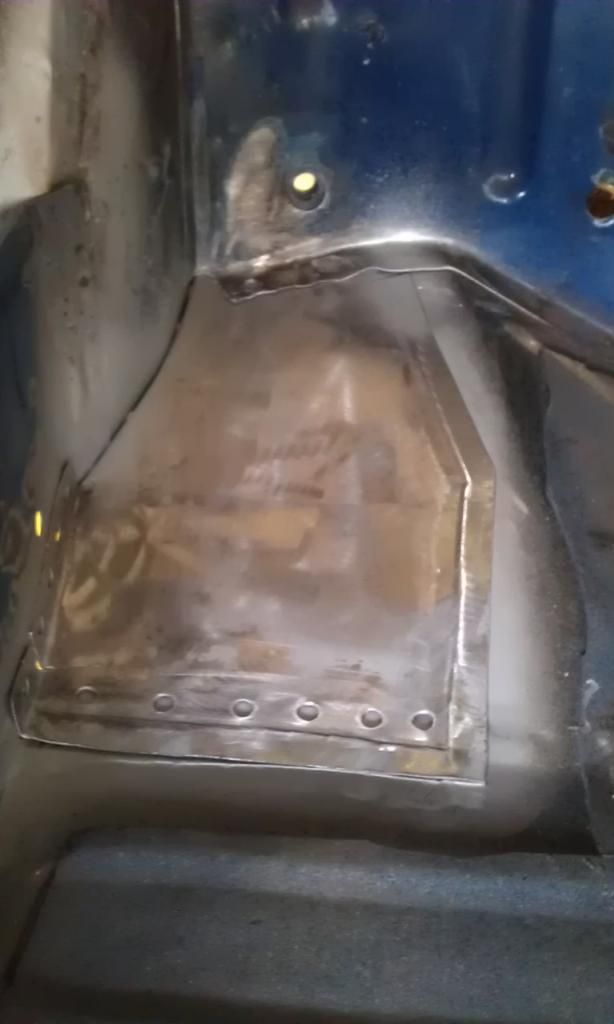
Here its is dry fitted, just needs a little tapping:


IMAG6321_zps20574f12.jpg


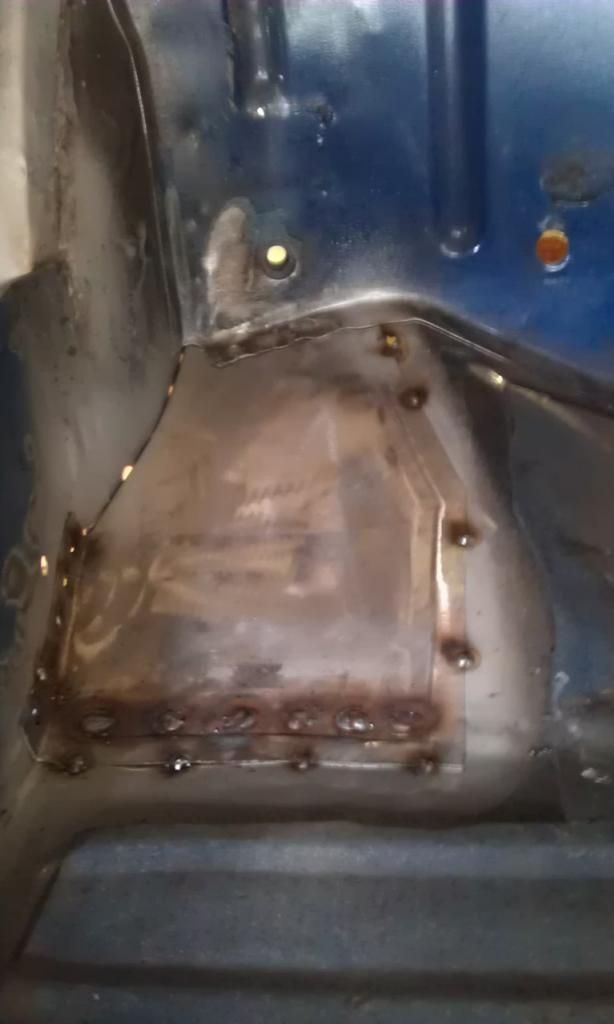
Whilst holding it in place I tacked it in and welded up the spots welds where the Seat sits on the Heelboard:


IMAG6323_zps59204258.jpg


Then it was a question of stitch welding the whole thing in place, had a couple of small blow throughs which i'll fix up Friday when I get a helper to hold some brass sheeting underneath.


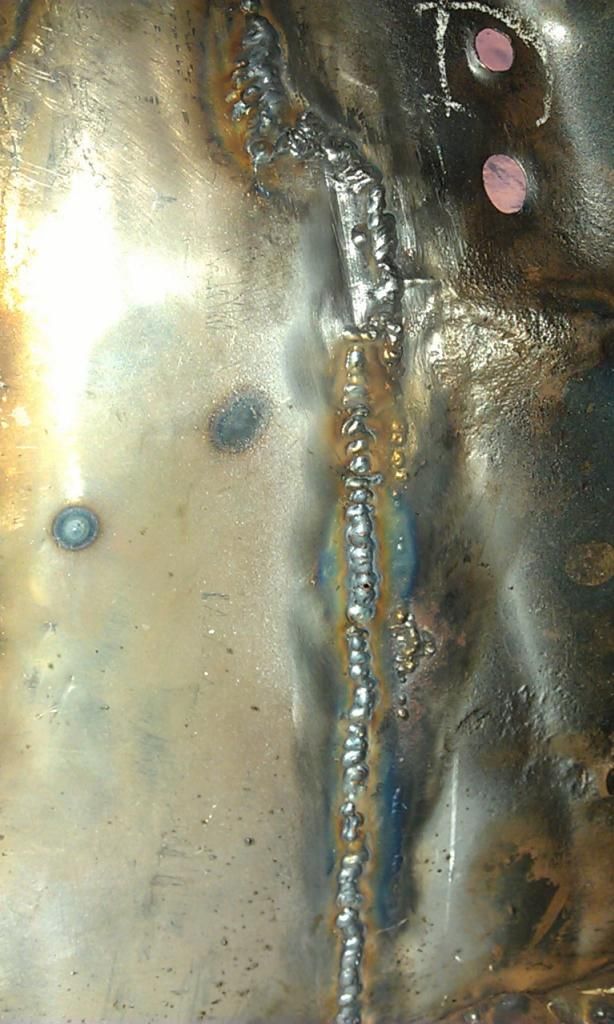
Close up of the stitch welding, some of my best :-)


IMAG6325_zps61fac33e.jpg


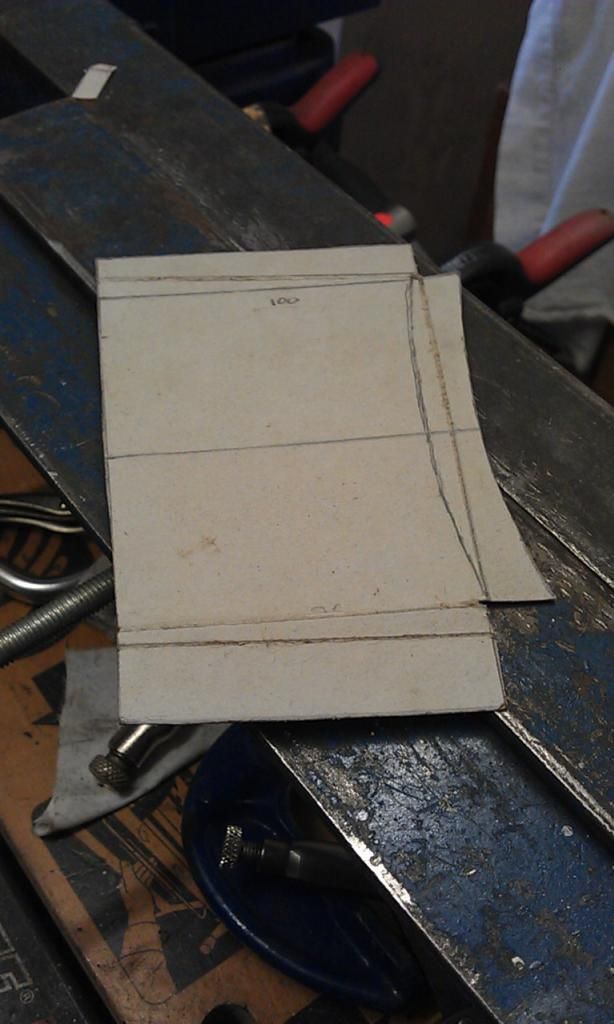
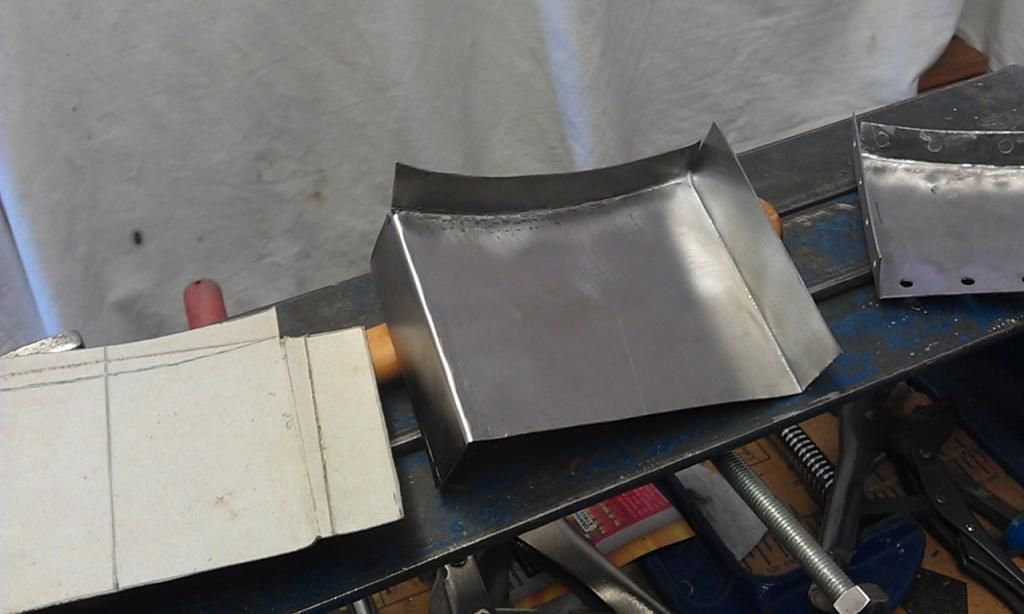
Next using the template from yesterday I started to make the RH Subframe Mounting Closing Panel, the template fitted with a little adjustment and upside down of course.


IMAG6330_zpsa86e0803.jpg


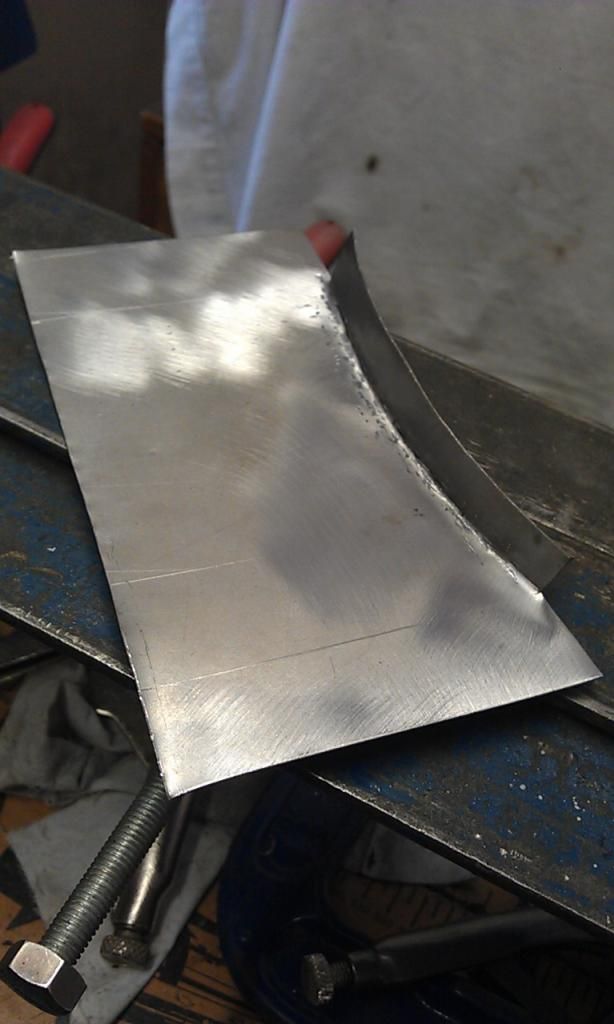
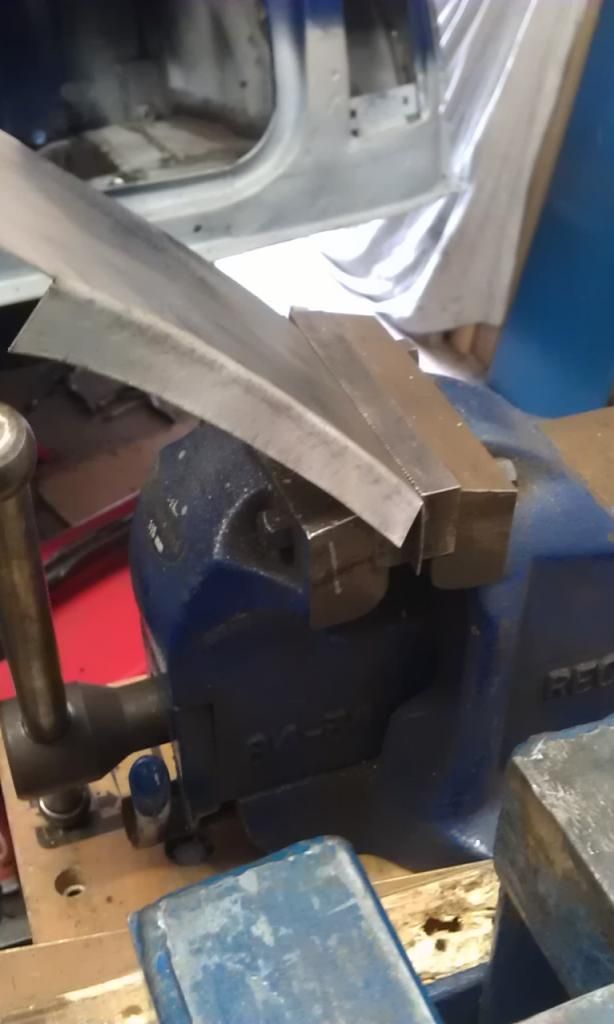
Marked and cut out the piece and made the curved fold using Mole Grips:


IMAG6326_zps372c663a.jpg


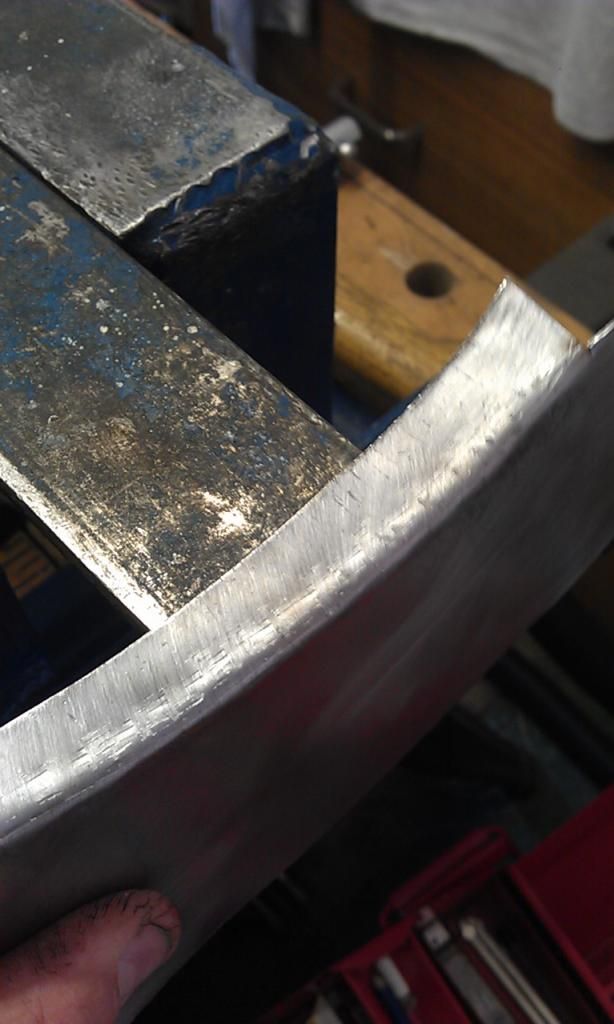
Then smoothed out the fold using a Cross Pein Hammer on my TonyBMW Bender:


IMAG6329_zps717561ba.jpg


My poor old thumb has taken a battering these last few days :-(


Then made the folds using my vice:


IMAG6331_zpsd7d8d1d2.jpg


And here it is:


IMAG6332_zps01a69cfd.jpg


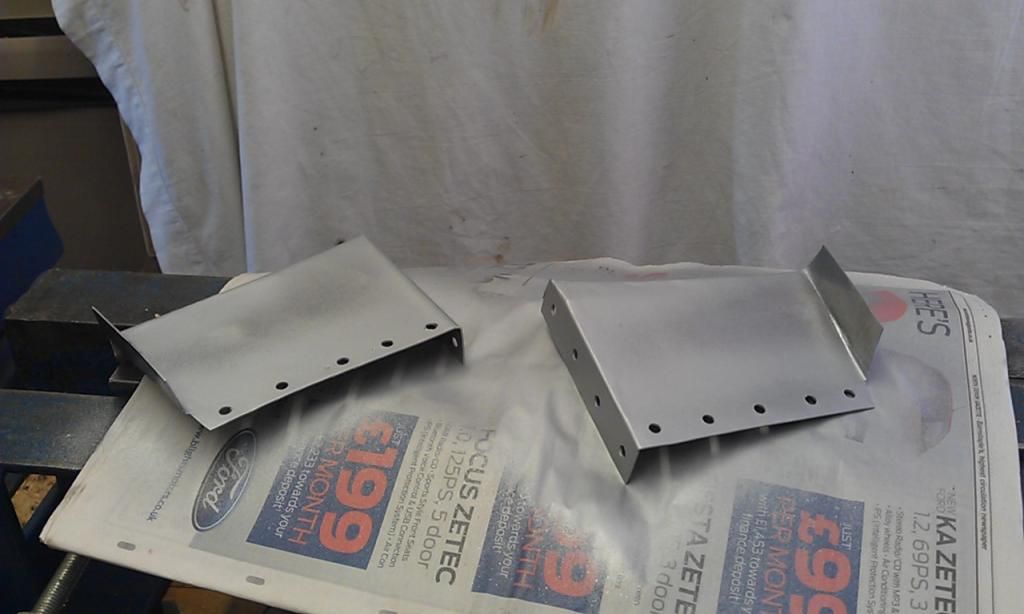
Just needs trimming, test fitting, trimming and drilling. Here it is sprayed up ready to weld in:


IMAG6333_zpsccc5fb0d.jpg


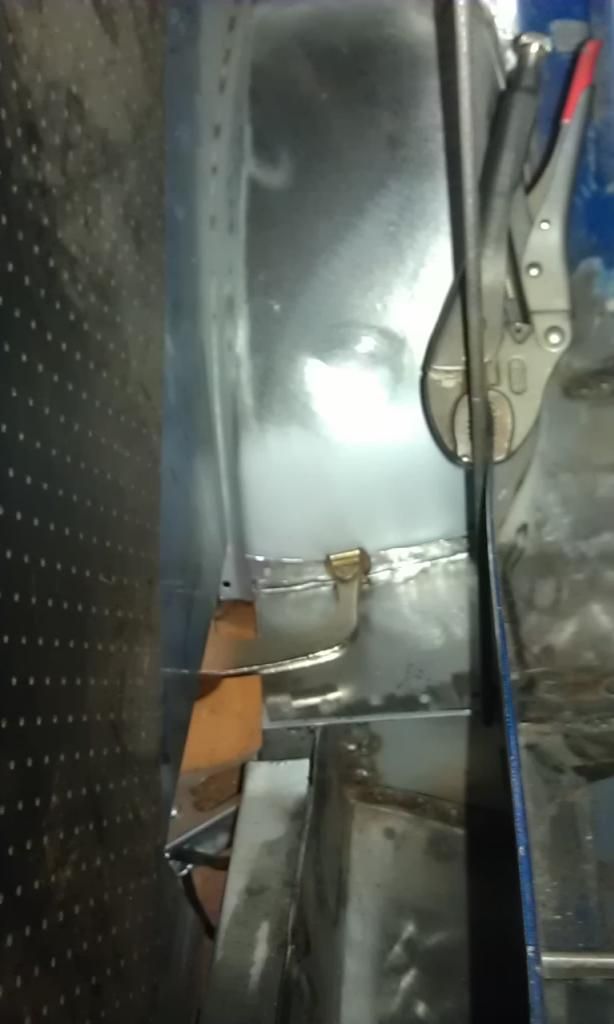
Clamped in place and a little more tapping home:


IMAG6334_zpsfe3b9ab7.jpg


And using a little more gymnastic welding positions here it is all done:


IMAG6335_zps98155af2.jpg


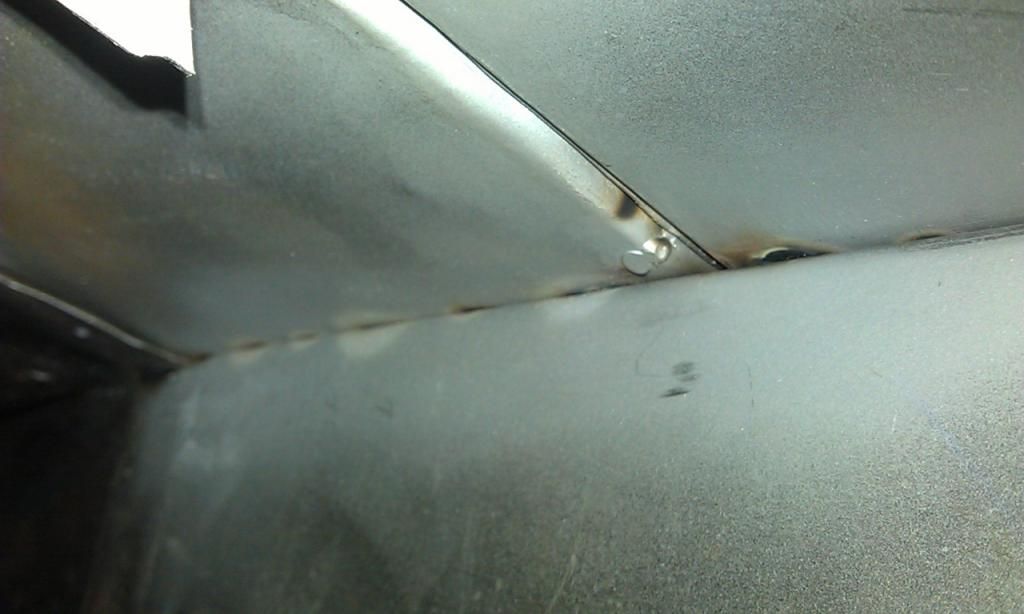
To get it up tight to the inside edge of the Companion Bin I drilled a 3mm hole and used a Self Tapping Screw.


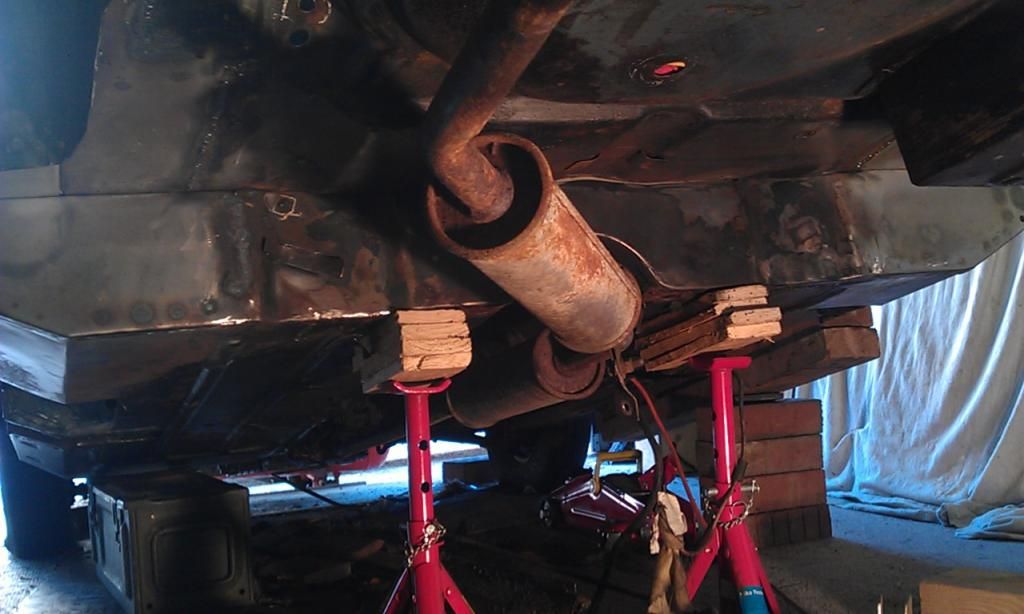
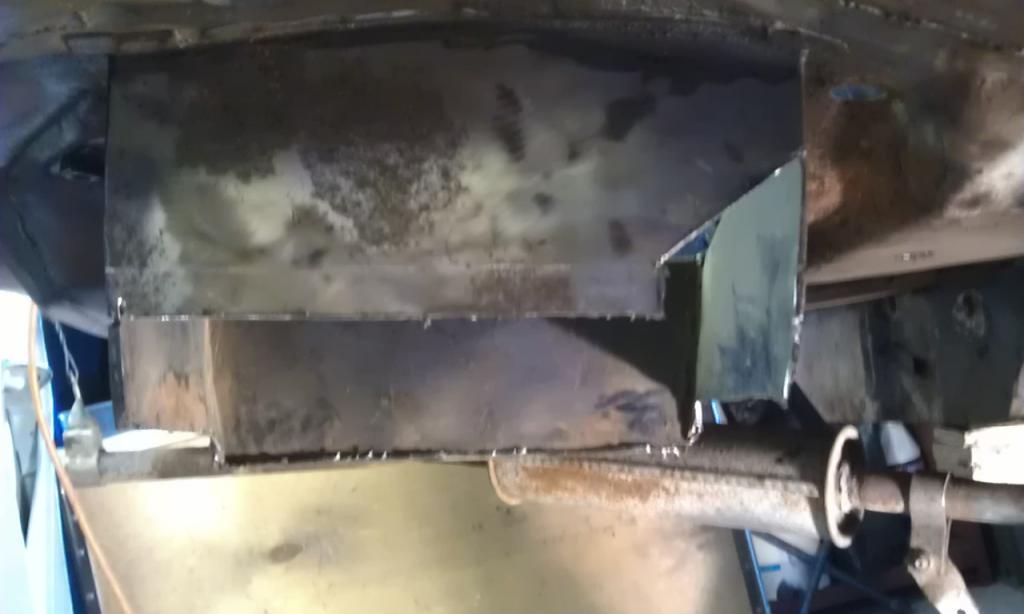
And here is the join from underneath showing both repair panels, there is a little light coming through the join up against the Heelboard, all it needs is a little more welding under the seat:


IMAG6338_zpsb6539dba.jpg


Just need to weld up the area where the panel is in the Boot, its already tacked in though:


IMAG6340_zps2e97d4fb.jpg


Slowly, slowly getting on :-)


#110 Ben_O

Ben_O

    Mill Road Garage

  • Paint Doctor
  • PipPipPipPipPipPipPipPipPipPip
  • 9,785 posts
  • Location: Isle of Wight

Posted 13 August 2014 - 08:31 PM

wow great progress mate!


Your welding is great in those photos. Nice one :-)


#111 JonnyAlpha

JonnyAlpha

    Up Into Fourth

  • Members
  • PipPipPipPipPipPipPipPipPip
  • 2,748 posts
  • Location: North Devon
  • Local Club: Exmoor Minis

Posted 14 August 2014 - 07:06 PM

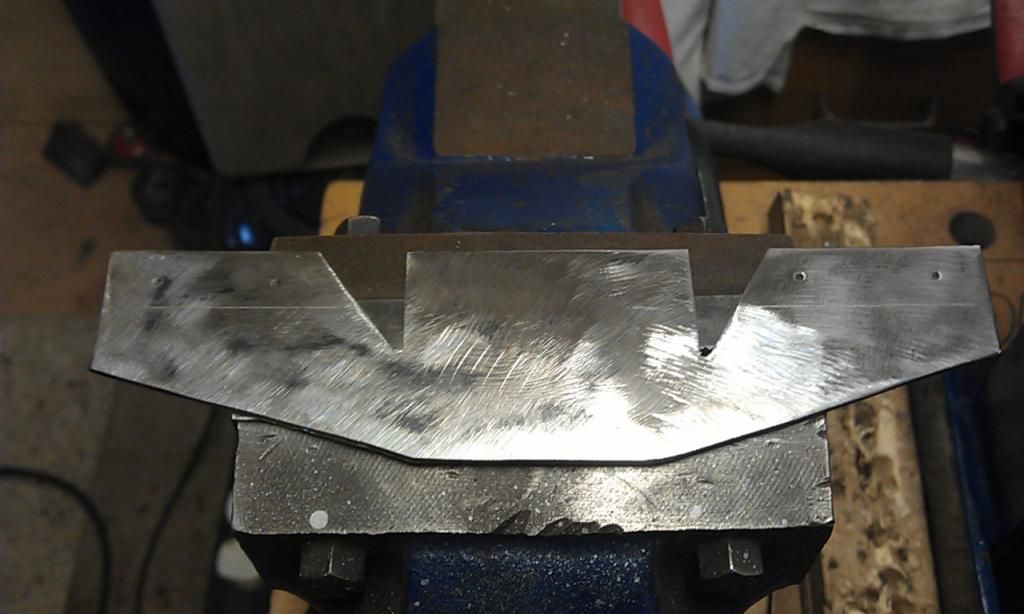
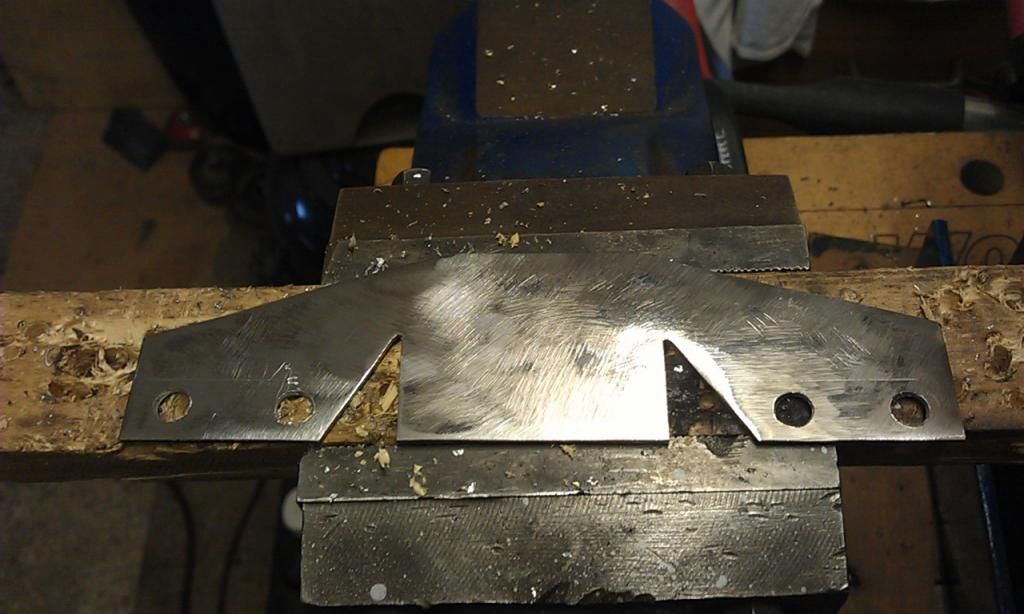
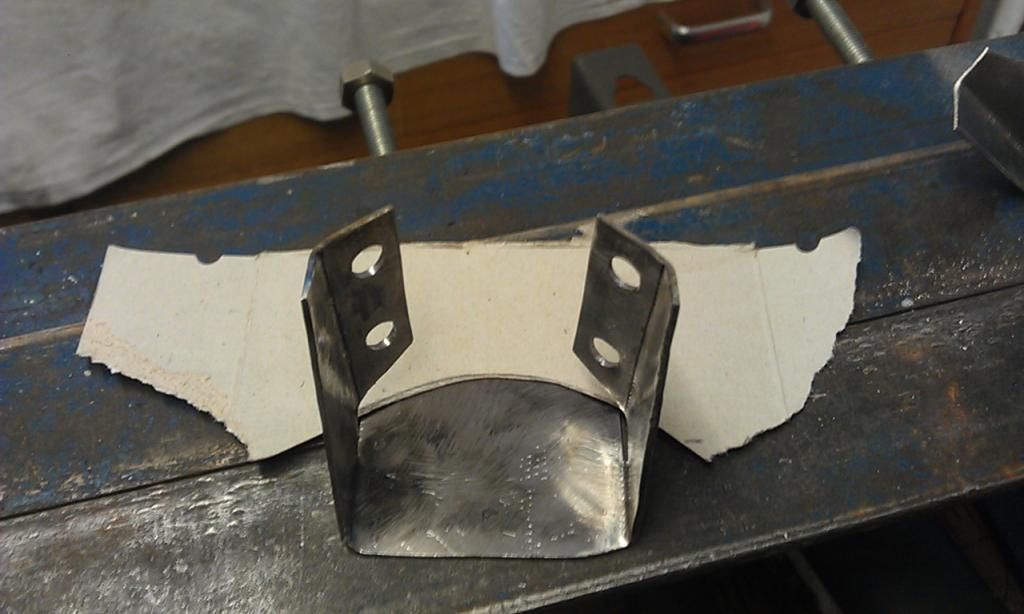
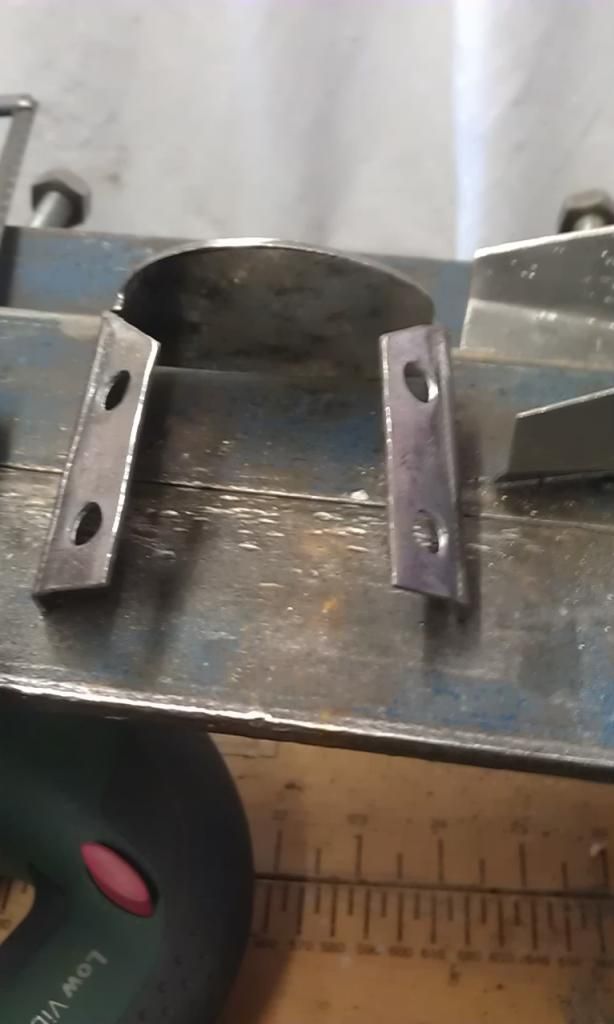
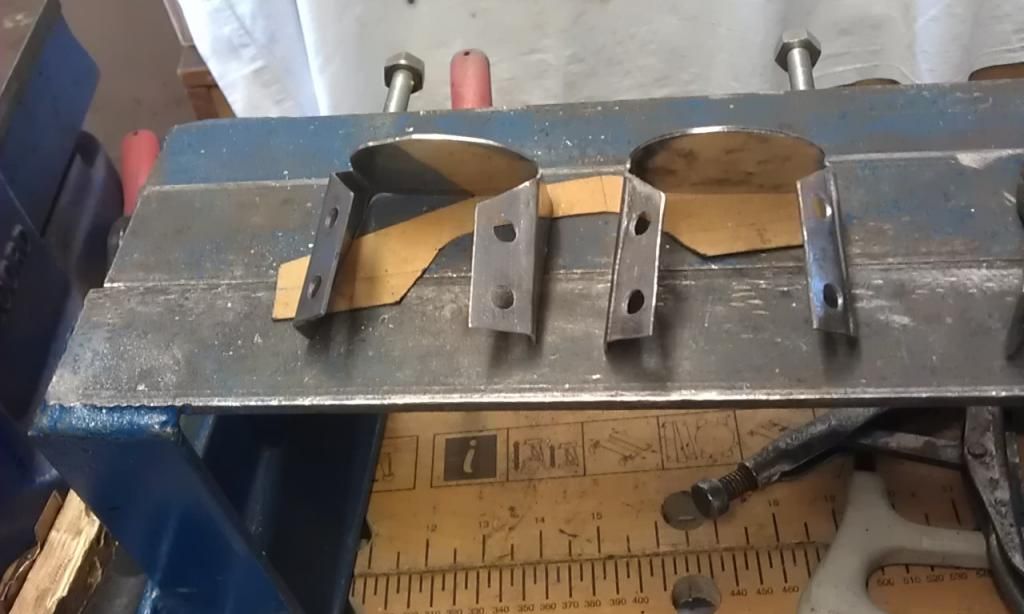
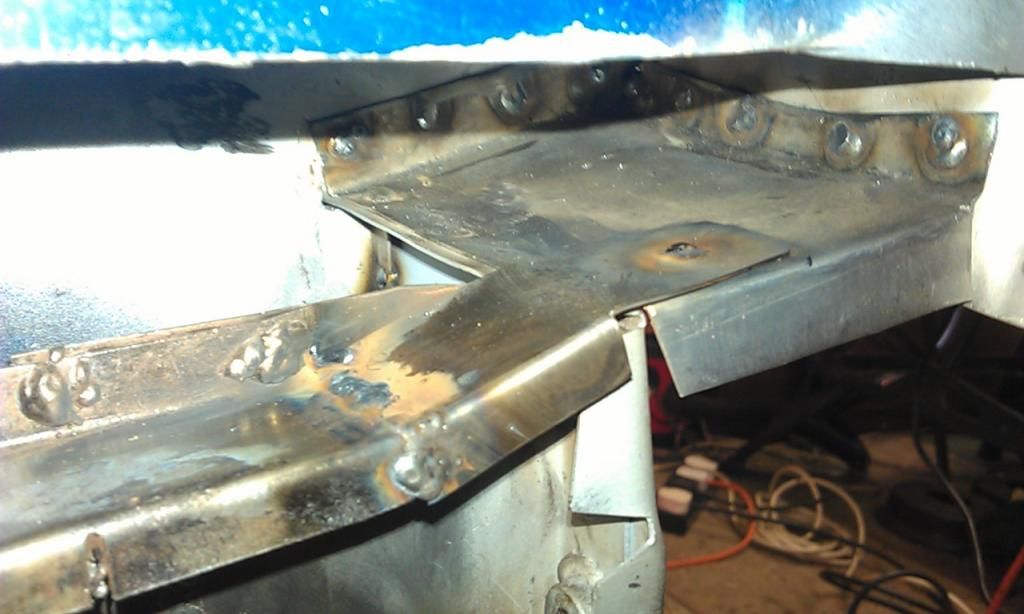
Spent some time this morning fabricating a couple of bits that I need, first up the Rear Shock Absorber Rear Arch Mounting Support. The originals had rotted at the top so I remove them.

I had already made one but at the time I only had the originals to make a pattern from, later I spotted a picture on the Minispares Web Site and realised I had made it wrong :-(


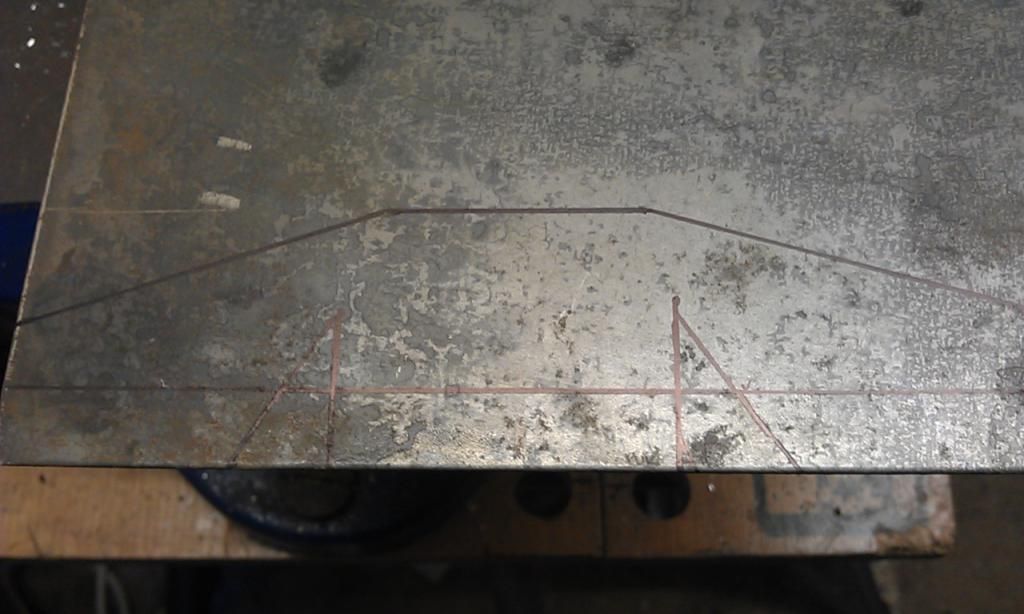
Using the original template modified to suit I marked up a piece of 1.5mm metal:


IMAG6343_zps43fec2a4.jpg

Then I cut it out and cleaned it up:


IMAG6344_zpsefcf7459.jpg


And drilled the holes for spot welding:


IMAG6345_zpsbbe01044.jpg


And made the folds and using a template of the radius of the arch I trimmed the inner edge:


IMAG6346_zpsa5601416.jpg


IMAG6347_zps294d6642.jpg


x 2


IMAG6348_zpsfbf00d55.jpg


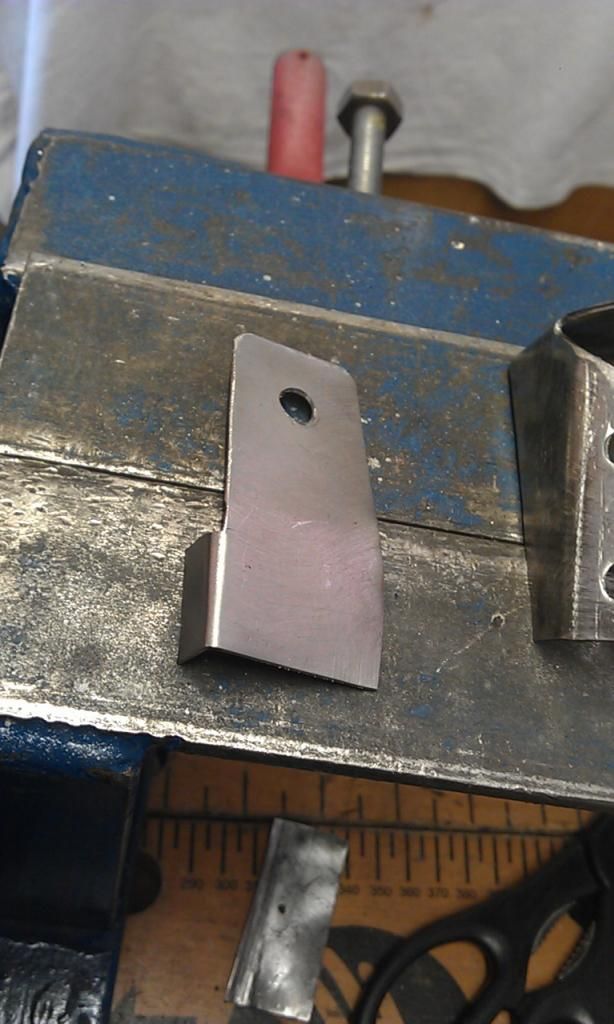
Next I made the piece that will be welded to the end of the Inner Sill to Subframe Closing Panel Stiffener:


IMAG6349_zps40e4fcd6.jpg


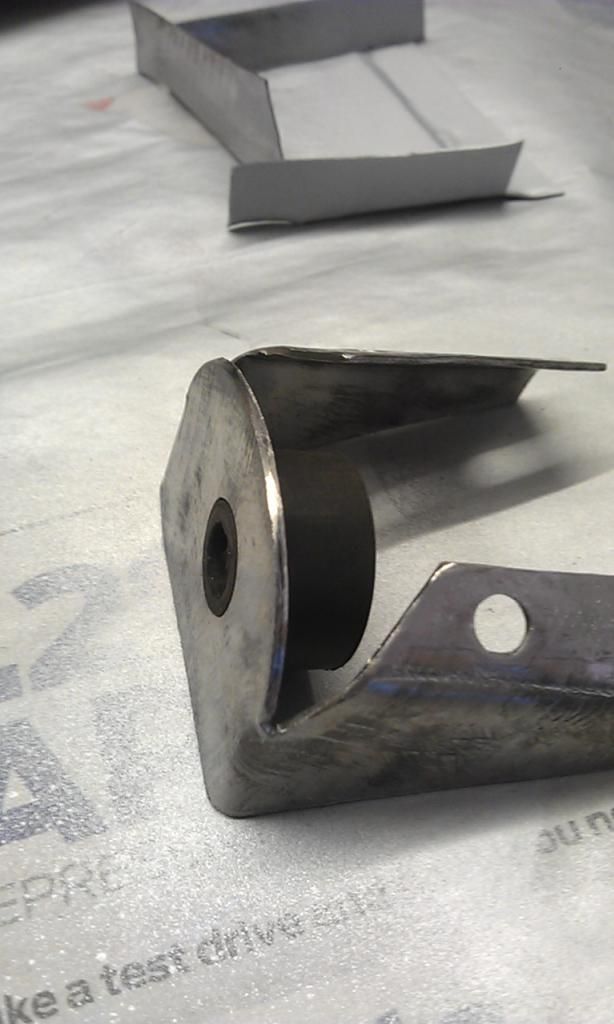
Next I marked and drilled a hole for the Shock, I never had a drill exactly large enough but finished off the hole with a  round file, here's a test fit of the Shock Mount:


IMAG6350_zpsd729536c.jpg


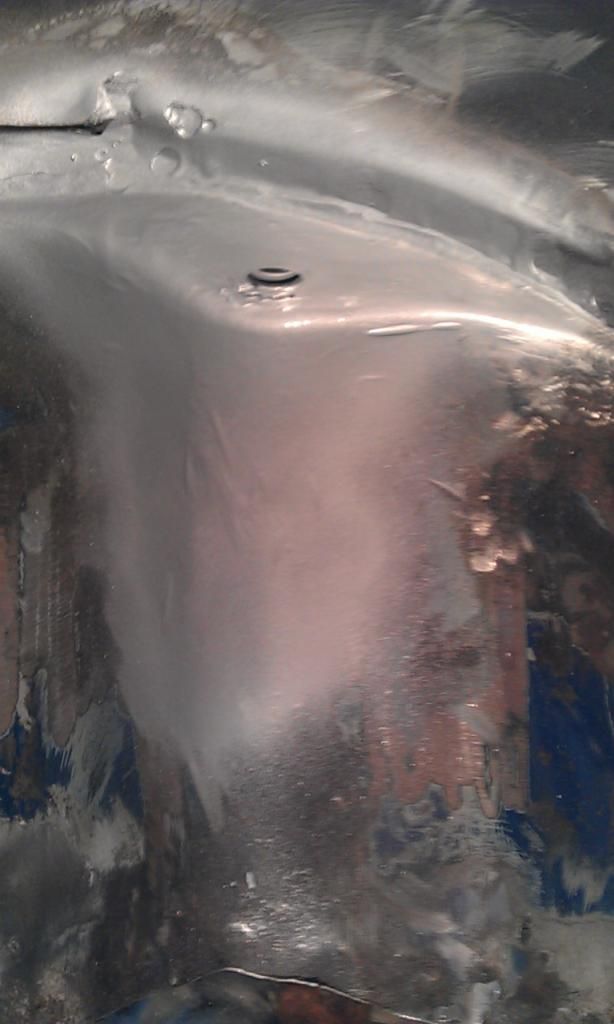
Then I cleaned up the Mount Area and sprayed it with weld through primer:


IMAG6351_zps5ed8405c.jpg


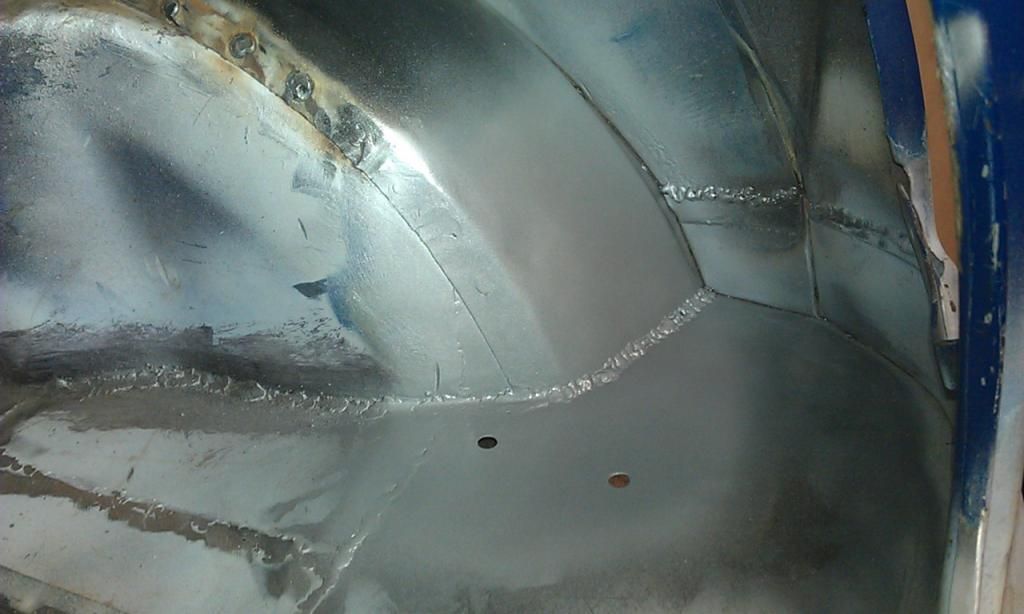
While I was waiting I welded up the Floor to to the Rear Arch, in this pic you can also see the bottom panel repair I also made and welded in today:


IMAG6352_zpsbc9ab26e.jpg


Here it is from the outside:


IMAG6353_zps0d7116c7.jpg


More in a mo.


#112 JonnyAlpha

JonnyAlpha

    Up Into Fourth

  • Members
  • PipPipPipPipPipPipPipPipPip
  • 2,748 posts
  • Location: North Devon
  • Local Club: Exmoor Minis

Posted 14 August 2014 - 09:12 PM

Sorry, stopped to watch the Secret Life of Walter Mitty - good film.


Anyway, I had to think of a way of holding the Shock Mount Bracket in place and in the end a bolt from my vice did the trick, it had a tapered head which would centralise the hole and it fitted a treat:


IMAG6354_zpsd4775cb7.jpg


Then using my trusty Ball Pein Hammer to press the metal I spot welded the holes:


IMAG6355_zps13152531.jpg


The bottom RH one did not weld to the the Rear Arch so I had to drill it out and start again:

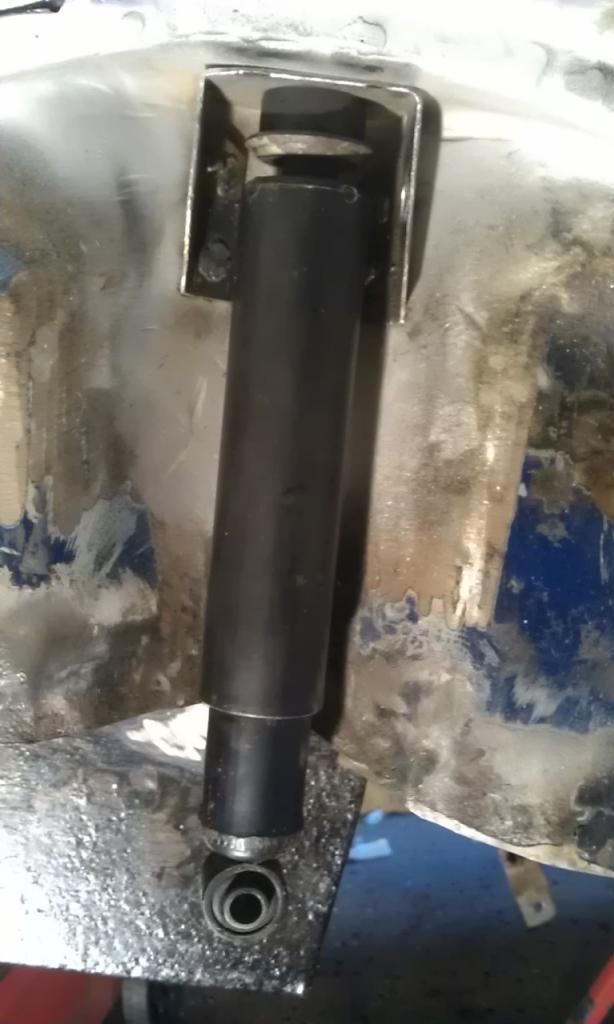
Once it was all welded I took a shot of the Shock in place:


IMAG6358_zps1c61ae4f.jpg


Better than the original, not sure wether to weld the top section?


#113 JonnyAlpha

JonnyAlpha

    Up Into Fourth

  • Members
  • PipPipPipPipPipPipPipPipPip
  • 2,748 posts
  • Location: North Devon
  • Local Club: Exmoor Minis

Posted 15 August 2014 - 07:07 PM

So still hard at it trying to get the back end finished.

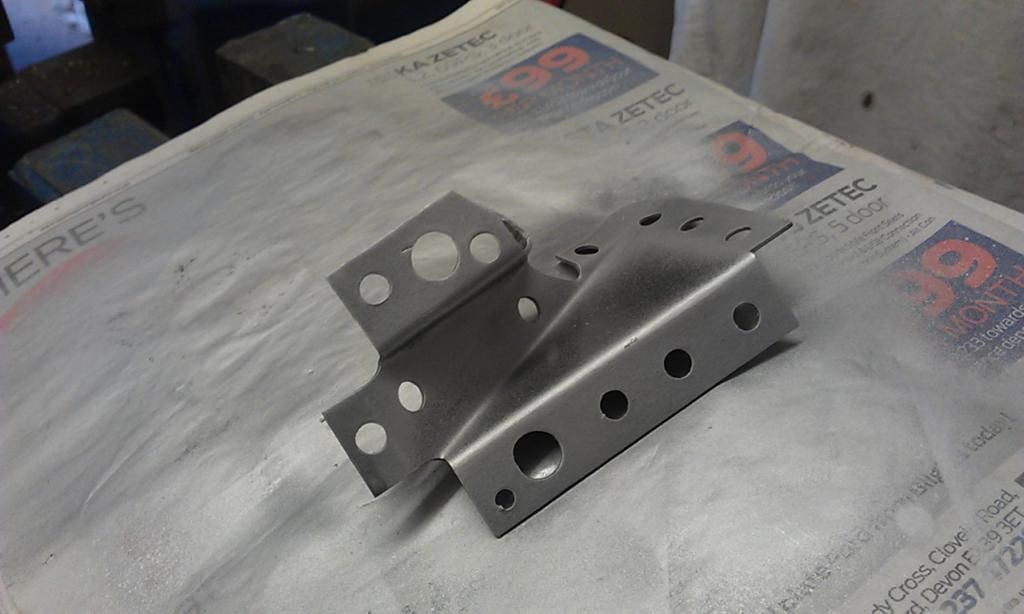
After test fitting and adjusting the Rear Arch to Subframe Mount Bracket I cleaned up and sprayed weld through primer ready for it to be welded in:


IMAG6362_zps0c877e28.jpg


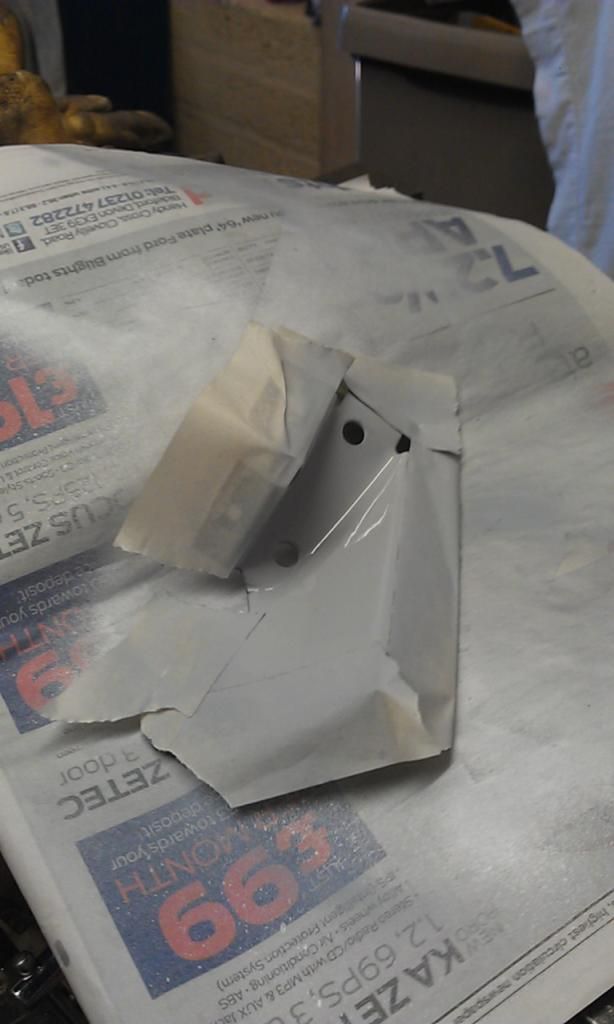
Then I cleaned up all the paint off of the bracket (its a Magnum one with paint that wipes off with thinners) and masked up the mating areas on the bracket and sprayed the inside with U-POL Etch Primer.


IMAG6364_zps297d73e4.jpg


While this was all drying I did a bit more tidying up of the Rear Valance, before:


IMAG6365_zpsdcb55aca.jpg


And after:


IMAG6366_zps4e938f37.jpg


IMAG6367_zpsa0e11157.jpg


Luckily its in pretty good shape and will only need a small repair (damage caused by me taking of the welds, bizarely whoever fitted this rear valance spot welded along the edge and not through the spot weld holes, none of them had any weld in?


Then I welded in the Rear Arch to Subframe Bracket, sadly I forgot to take a pic showing all the Spot Weld holes, needless to say following advice from Sonnik4 on this forum I drilled and spot / plug welded it along all but one joining areas, the small upright fold at the front was seam welded.


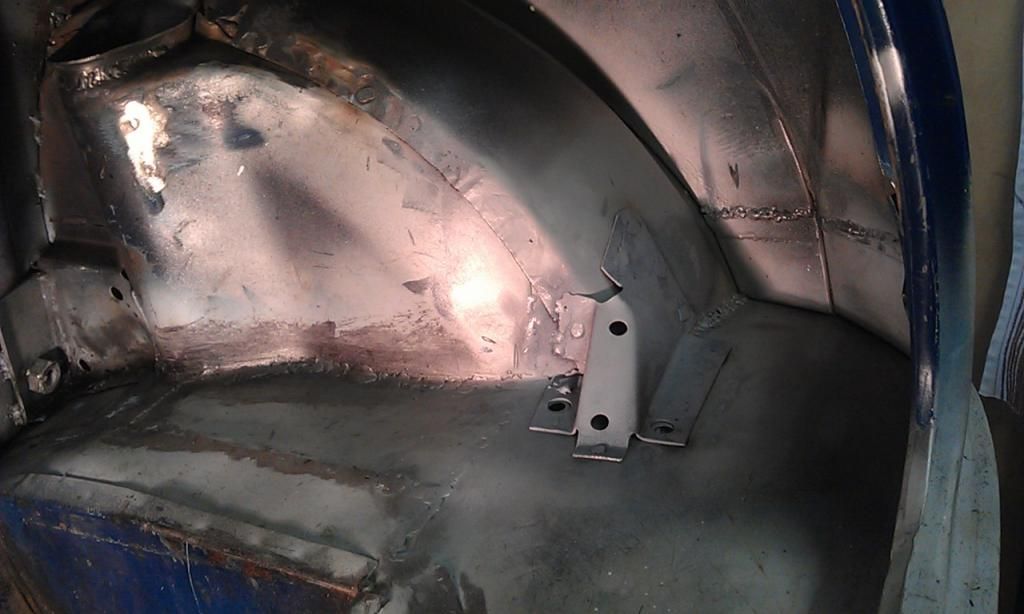
To get the RH one to fit I had to weld up one of the Bolt Holes and re-drill it, the bracket also isn't sitting flush this is because the inner part of the Arch is out by about 1 inch, good job i'll be running on 10 Inch Wheels and not 13's :-)


Here's the bracket welded in and dressed down, as it had been cleaned to bare metal I also dusted it with some Acid Etch Primer just to stop it surface rusting.


IMAG6369_zps68b1a3b5.jpg


I also did a spot more welding on the top inner edge of the Rear Arch either side of the Shock Mount as I wasn't happy with it.


Next I cleaned up the LH side ready for the same bracket, but before doing so I had to fill a gap between the rear of the Arch and the Boot floor with a small patch and then weld it all in:


The finish was pretty good:


IMAG6371_zpsfb54110e.jpg


All sprayed up:


IMAG6372_zps48d80569.jpg


Here's the LH bracket all drilled up and sprayed:


IMAG6373_zpsee132fb9.jpg


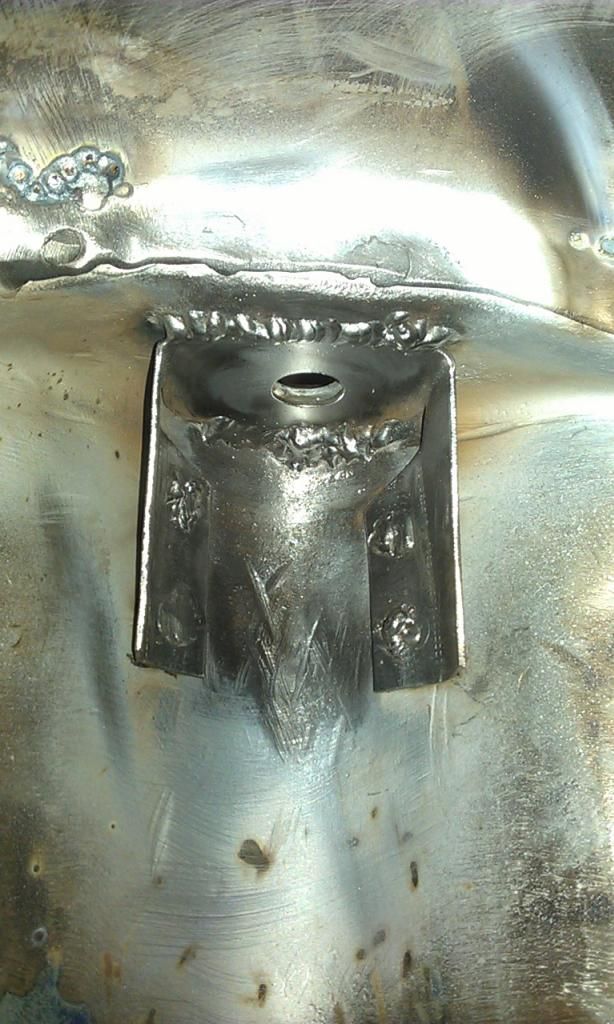
Oh and following some advice on another thread I posted I added a bit more weld to the Shock Mounting Bracket:


IMAG6375_zpse9b80812.jpg


Nearly there honest :-)


#114 JonnyAlpha

JonnyAlpha

    Up Into Fourth

  • Members
  • PipPipPipPipPipPipPipPipPip
  • 2,748 posts
  • Location: North Devon
  • Local Club: Exmoor Minis

Posted 19 August 2014 - 07:13 PM

Iv'e been away for a couple of days so no progress on the Mini but managed a few hours today in between visitors :-)

The last job I did was prep for welding in the LH Rear Arch to Boot Floor Support Bracket so started by welding that in.


First off I checked that it fitted OK, this one was spot on, then I keyed the inside and sprayed it with primer. Then I cleaned the paint from the areas to be welded and marked and drilled spot weld holes and sprayed the mating areas with weld through where required.


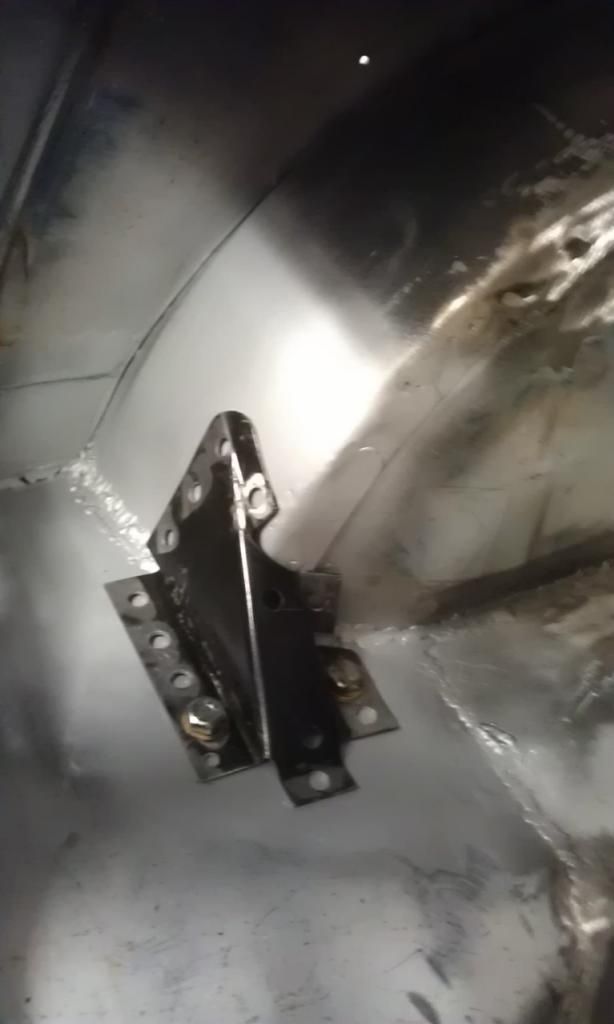
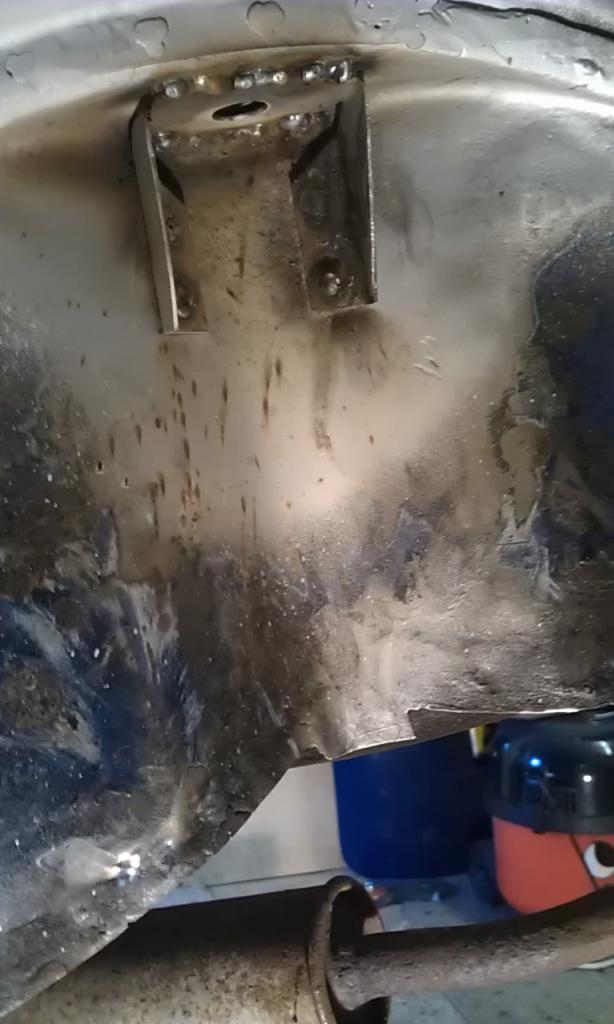
Here it is bolted in place ready to weld:


IMAG6377_zps25cf4a7a.jpg


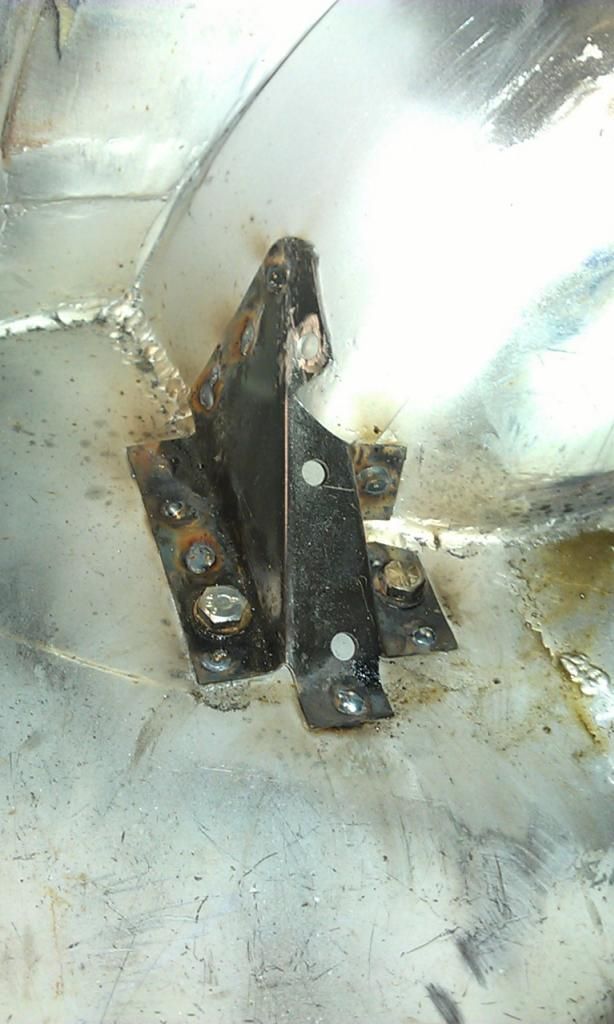
And here it is once it was welded:


IMAG6378_zps5a05090d.jpg


Then I ground down the welds and dusted it with primer to avoid surface rust until it gets painted properly. Just spotted that I did not Seam Weld the small flange behind the LH Subframe Bolt.  


IMAG6399_zpscb5e22f7.jpg


Then I finished welding in the Boot Floor repair patch, here's just a shot from underneath:


IMAG6400_zpsacb522f6.jpg


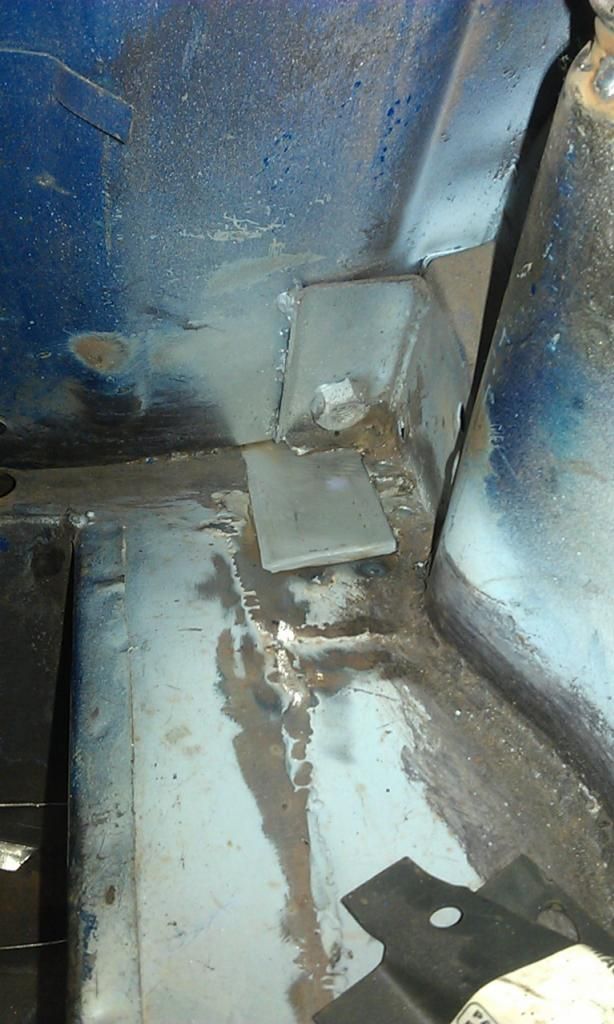
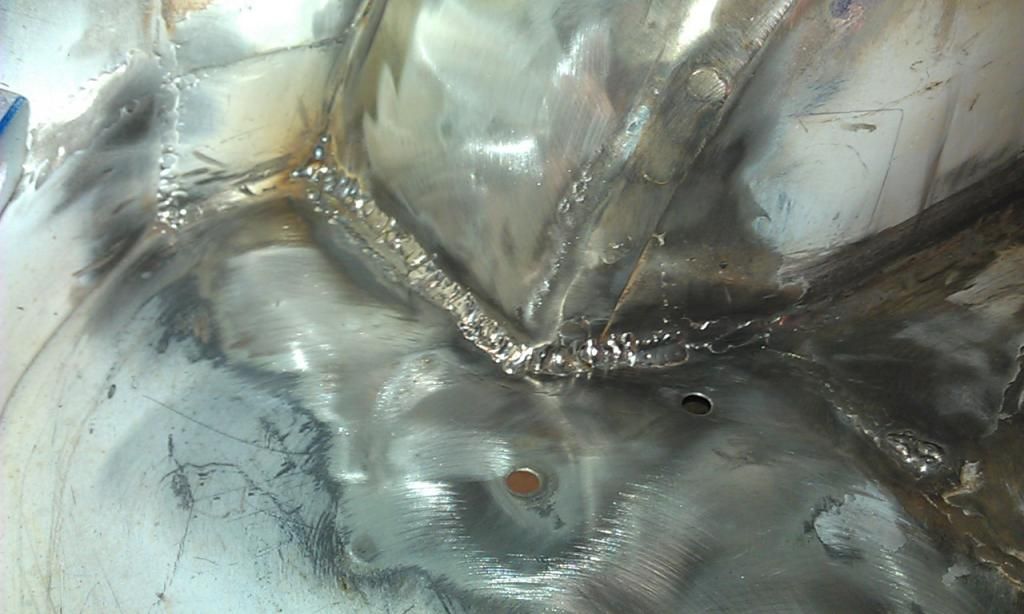
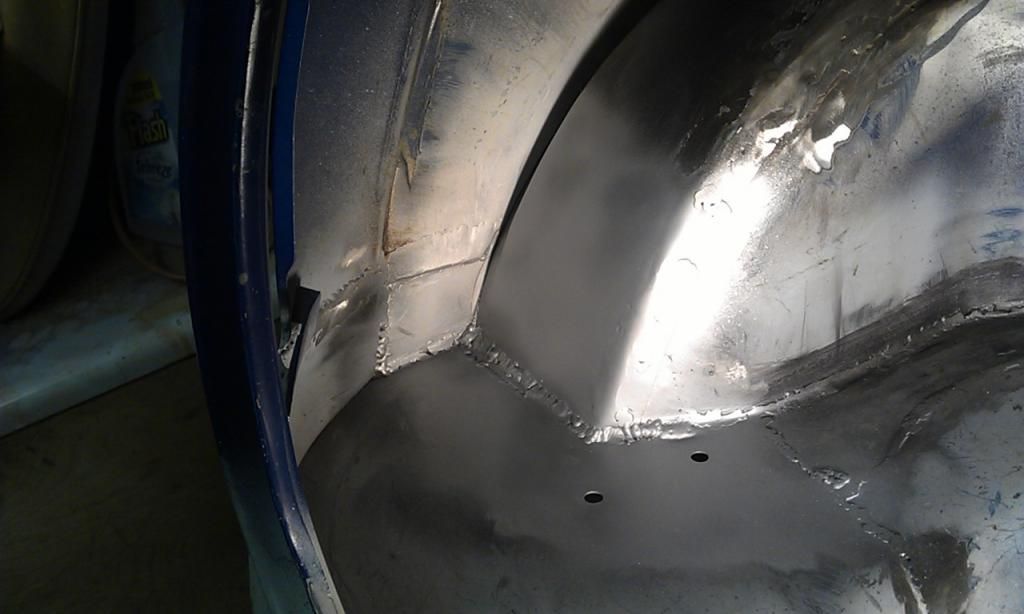
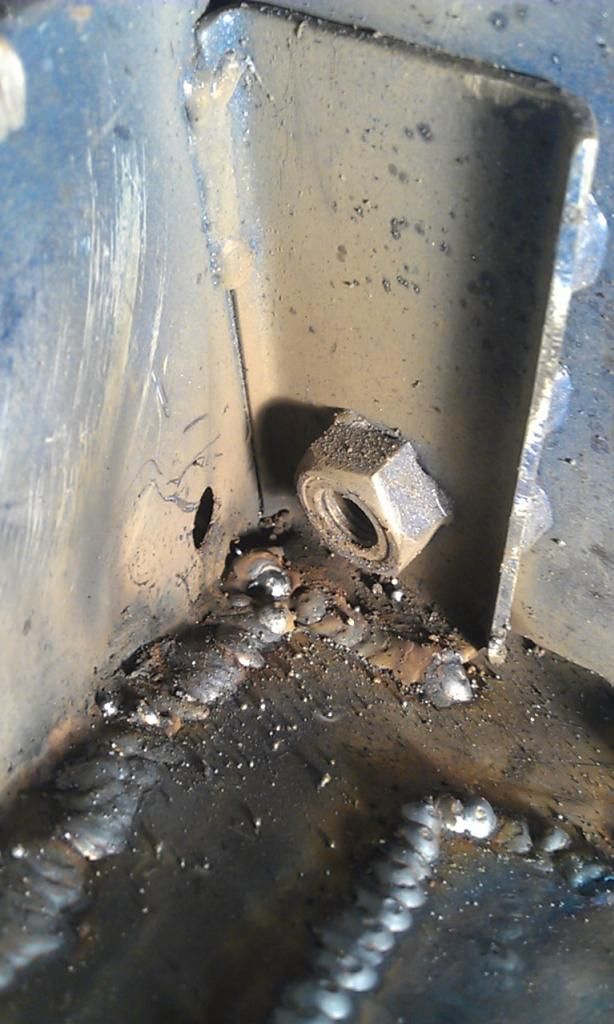
And here is a shot inside the Boot, just like the RH side I wanted to make sure that I did some decent welding where the Rear Seat Belt bottom mount meets the Boot Floor, I was happy with this:


IMAG6401_zps5b935df3.jpg


I had already prepped the Rear Arch Shock Absorber Mounting Bracket and I managed to get it bolted into place today but stopped for a cuppa and was then seconded by the missus to go for a walk down the beach, have to keep her happy :-)


#115 JonnyAlpha

JonnyAlpha

    Up Into Fourth

  • Members
  • PipPipPipPipPipPipPipPipPip
  • 2,748 posts
  • Location: North Devon
  • Local Club: Exmoor Minis

Posted 20 August 2014 - 07:27 PM

Had to go out shopping to get some new rig to start my new job but managed to get a couple of hours in the garage this afternoon.


Got the LH Rear Shock bracket welded in all around:


IMAG6410_zps9dcc6c91.jpg


Also got the LH Subframe Closing Panel welded in (another homemade panel:


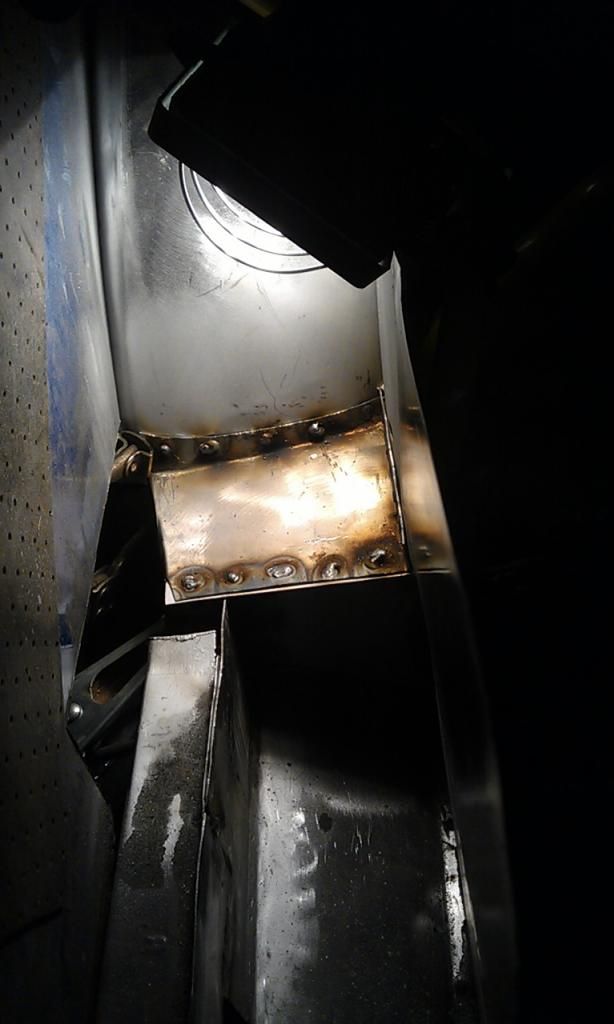
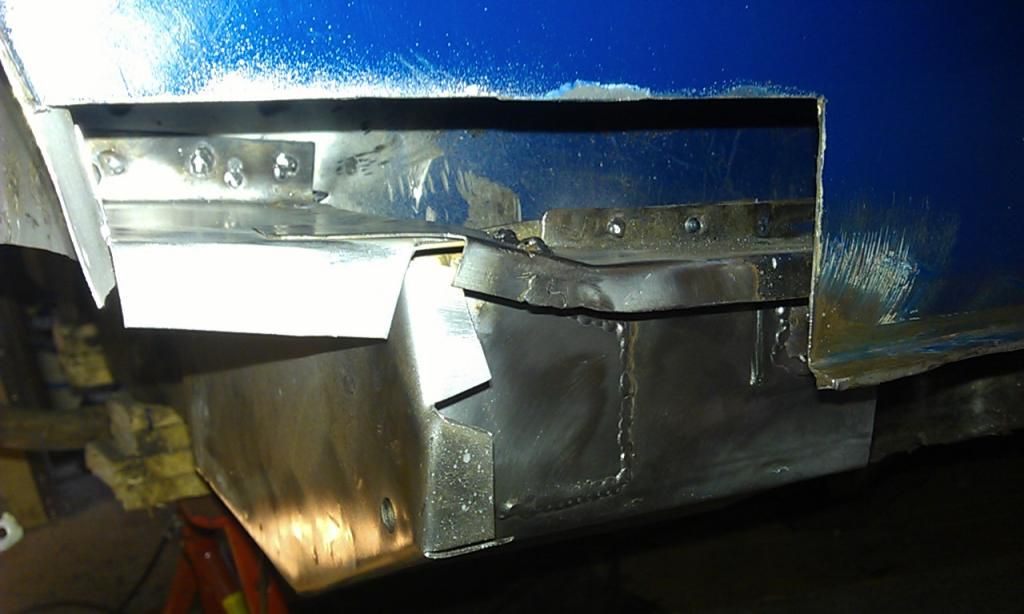
IMAG6409_zpsf067b100.jpg


Next I welded in the repair piece that I made for the RH Inner Sill strengthener:


IMAG6413_zps4d8a6c8f.jpg


Then I set about making the same piece for the RH one, once it was made and test fitted I started to weld it in:


IMAG6416_zps80f53700.jpg


IMAG6417_zpsaefb31c5.jpg


IMAG6418_zpse8ef7095.jpg


Just remembered I forgot to spray the mating surfaces on the one above, oops :-(


Here's the RH side finished (apart from the second part of the Subframe Closing Panel:


IMAG6420_zps56f9f890.jpg


And here's the back end all but finished:


IMAG6411_zps90f2a90d.jpg


#116 minimuk

minimuk

    Camshaft & Stage Two Head

  • Members
  • PipPipPipPipPipPipPipPip
  • 1,946 posts
  • Location: Midlands

Posted 20 August 2014 - 08:13 PM

nice work and great fabrications there  ;D


#117 JonnyAlpha

JonnyAlpha

    Up Into Fourth

  • Members
  • PipPipPipPipPipPipPipPipPip
  • 2,748 posts
  • Location: North Devon
  • Local Club: Exmoor Minis

Posted 21 August 2014 - 08:48 PM

Not a lot achieved today, had to square away some Admin for my new job, then out to lunch with my darling wife and daughter (nice treat, for me that is).


So today I had to get the last piece of cra** sorted out - the battery box, after assessing what needed to be cut out and fixed I wish I had just replaced the whole thing, but being a gluten for punishment I soldiered on regardless.


Here is a pretty shoddy pic of the battery box after I removed the worst (not a lot left):


IMAG6425_zpsf1dafd3a.jpg


I did actually cut a little more off after this photo was taken.


Anyway, the plan of attack was to repair the front and back sections and then fabricate one piece to fix the sides. However I wasn't happy with the front side but didn't want to cut any more out. The front LH seam looks rusty so I took it apart by drilling out the Spot Welds, literally rolled up the front side, cleaned it up and sprayed it up with Zinc Primer.

While it was out of the way I cleaned the area of the boot floor adjacent to the front of the battery tray as well as around the whole thing.


This is a pic taken from the RH side looking to the LH side, you can see the LH upper join taken apart and folded flat and the front side piece rolled up into the battery compartment, all cleaned up and sprayed:


IMAG6426_zps32392e31.jpg

Using some copper as a backing I welded up the spot weld holes that I drilled out and dressed them down.


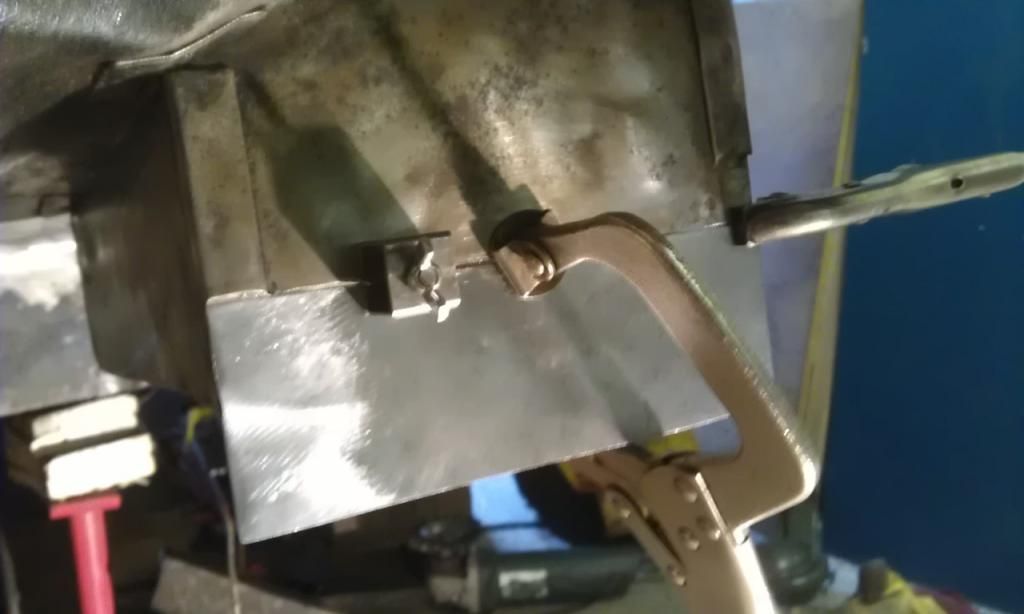
Next using some scrap I had left over I fabricated a piece to repair the rear side of the battery box, I clamped it in place using my home made panel clamp (need to make some more) and some welding clamps. Using the panel clamp leaves a small gap which helps the weld join the two pieces together:


IMAG6429_zps02eb2091.jpg


Before I welded however I removed the clamps and inserted a piece of copper behind to help spread the heat.


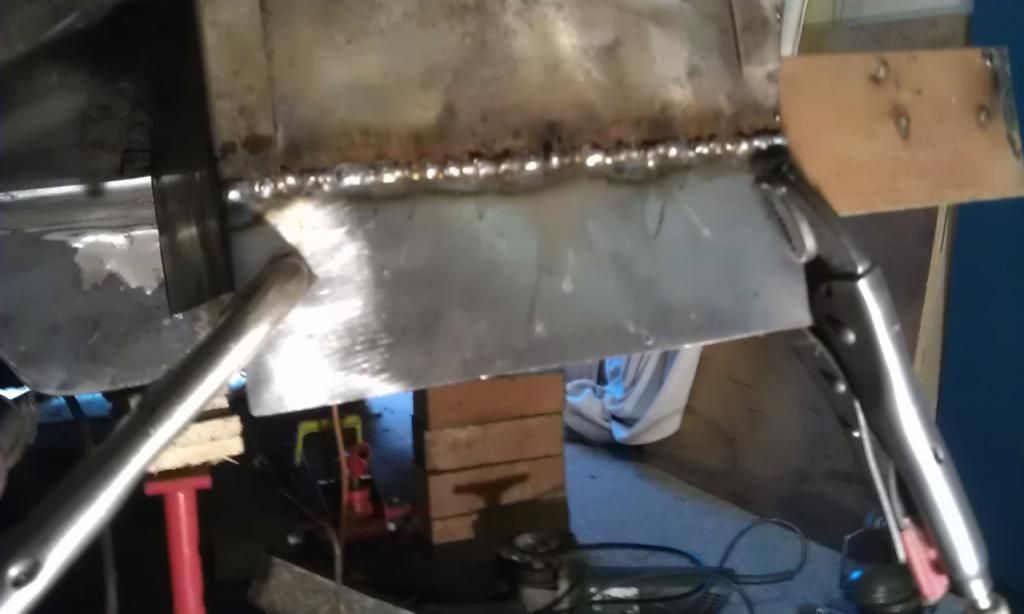
Here's the piece butt welded in place, only one small pin hole which I welded shut and no real distortion, must be improving :-) You can see the copper in this pic.


IMAG6430_zps4f5fe815.jpg


And that was all I'm afraid, hopefully tomorrow i'll get the Battery Tray finished as now the cleaning up is done the fabrication and welding should be reasonably straight forward.


After the battery box is completed I am may clean up the boot floor and paint with one coat of Epoxy Primer however, I still have to fit the Rear Valance and Closing Panels but I really want to get some paint on and I need to paint inside the Closing Panels before I fit them so I am not sure what order to tackle this?


#118 JonnyAlpha

JonnyAlpha

    Up Into Fourth

  • Members
  • PipPipPipPipPipPipPipPipPip
  • 2,748 posts
  • Location: North Devon
  • Local Club: Exmoor Minis

Posted 23 August 2014 - 09:48 PM

Still trying to get the back end finished and thought i'd do it yesterday and today but at the last minute I had an offer of borrowing the garage next door for 24 hours so I needed to try and get some bits and pieces sprayed up, problem was not everything was prepped so that held me up. In the end I achieved about 50% of what I intended but happy with the results.


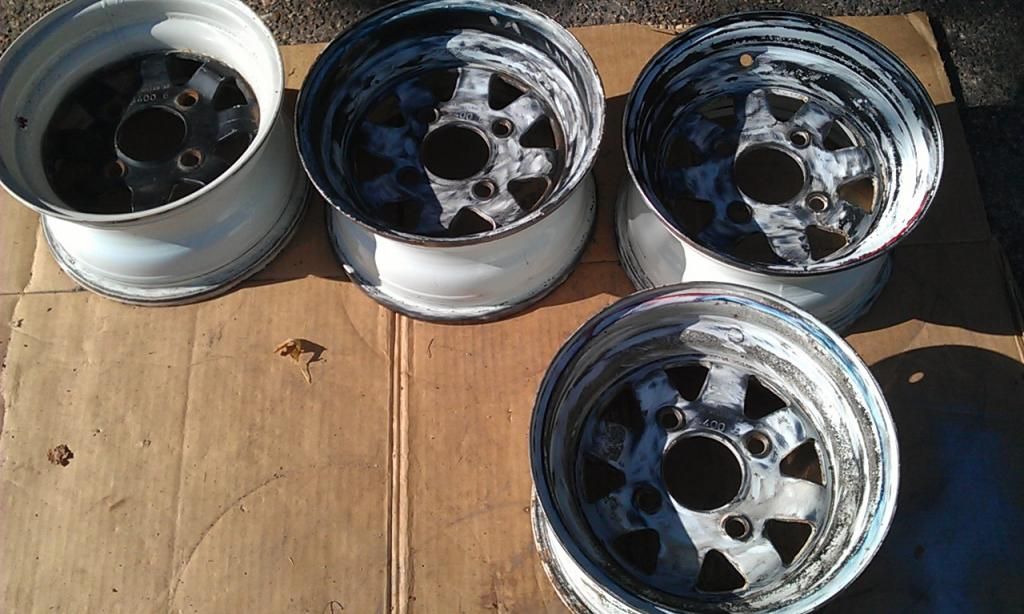
I had all my rear suspension parts that needed spraying but the Backplates were still too rusty, more on these later and I also would have liked to have got my newly acquired Wellers done :-(

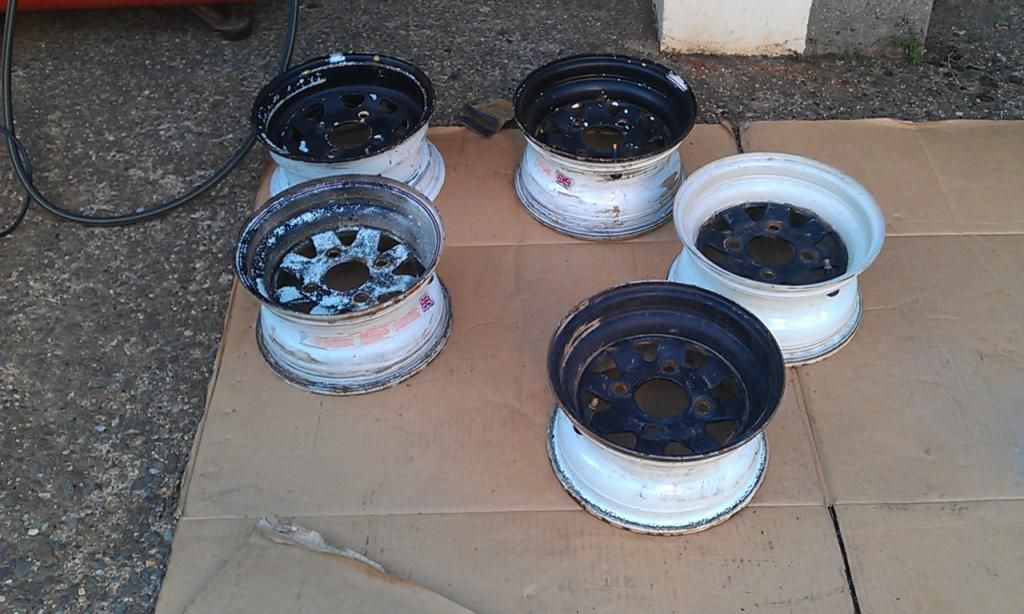
I did managed to get down to the local Garage last thing on Friday and in preparation they split them for me (took the Tyres off):


IMAG6431_zps1166ccd5.jpg


That's 4 x Weller 5 x 10s and a Manx Weller copy 5 x 10 which will be the spare.


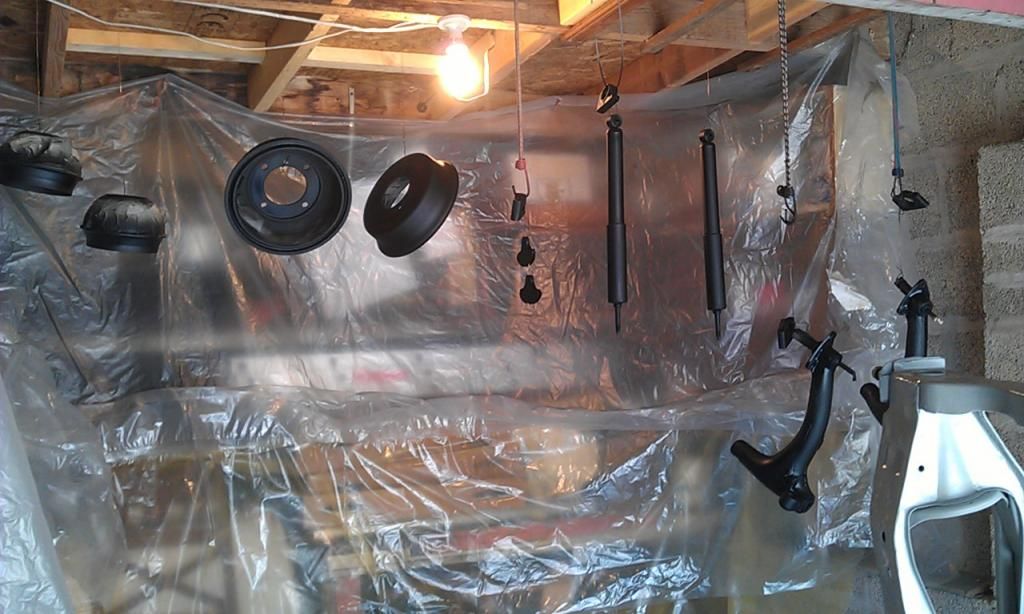
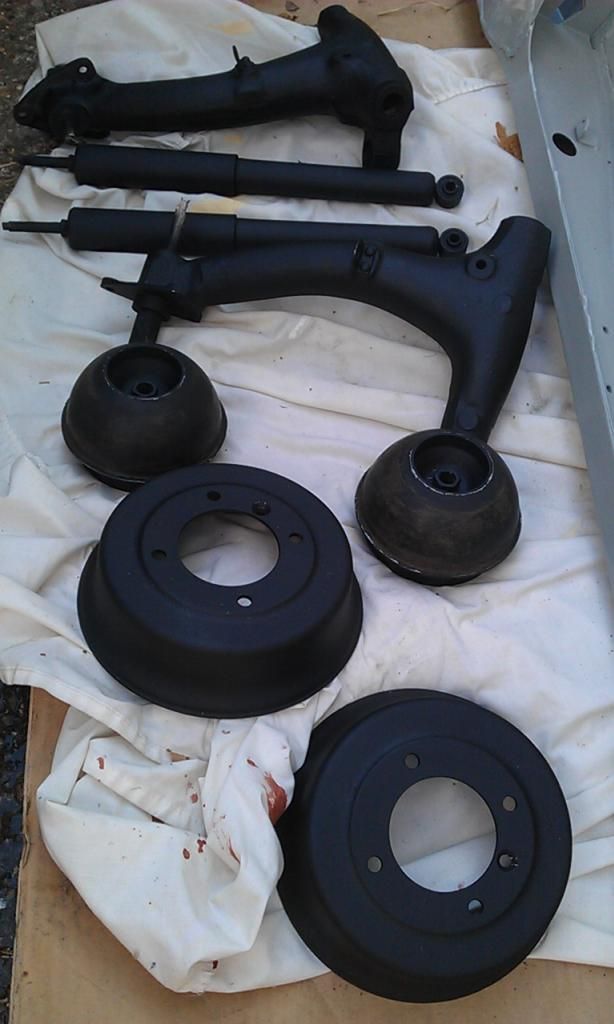
Anyway I opted to get the Rubbers, Rear Shocks, Radius Arms, Rear Drums and Subframe sprayed.


First I had to get back at the Radius Arms with a Twisted Knot Grinder as I had previously cleaned then and coated them with Rust converter, which I later found out was CR**. When I cleaned of the black coating underneath was nice and ORANGE!!!

Anyway I cleaned up the Radius Arms as I said but also used a Fleece Non Woven disc, not good in small places but on flatish surfaces is the best there is at Rust / Paint removal to Bare Metal.


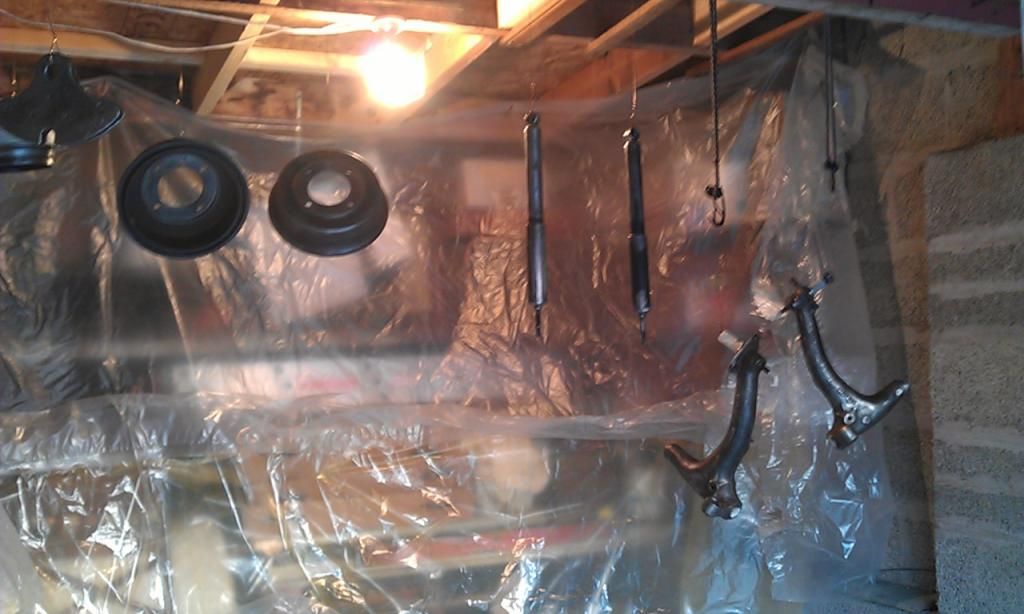
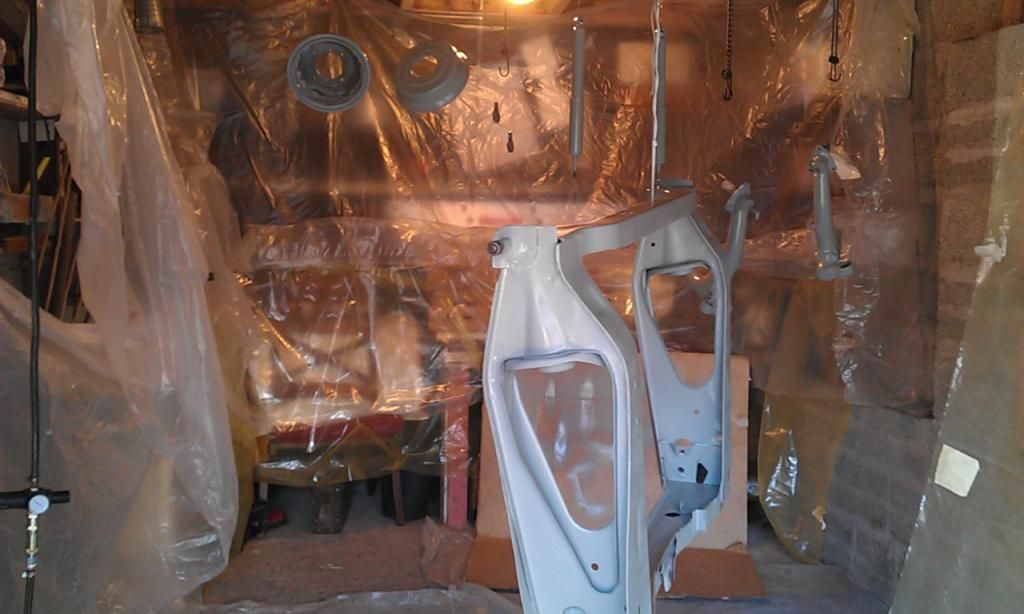
Next I had to prep the garage by covering anything that needed it in polythene, acquired from a local Matress shop :-) Then I had to hang what I could:


IMAG6432_zps92cb3396.jpg


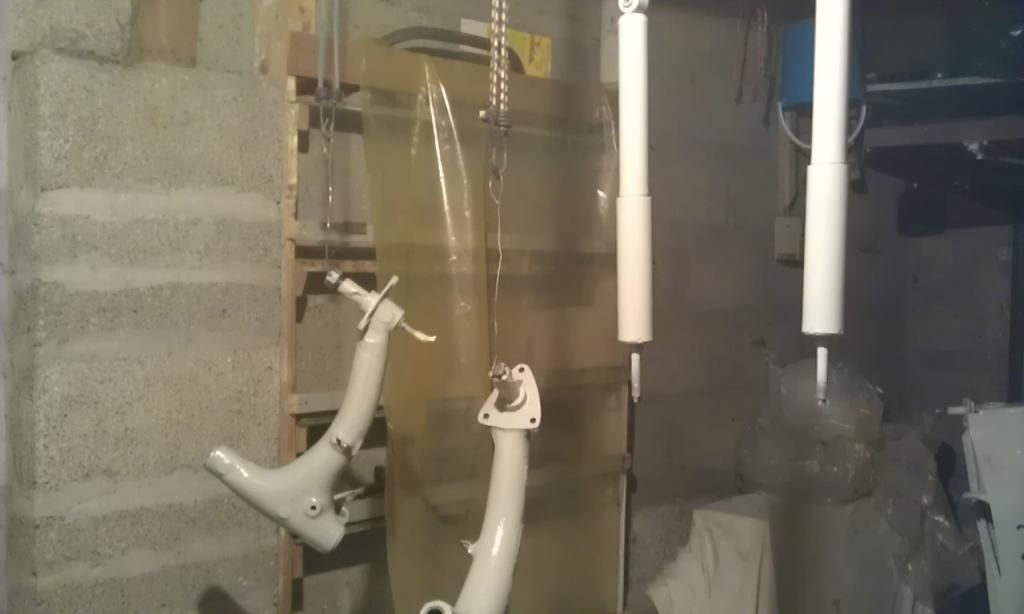
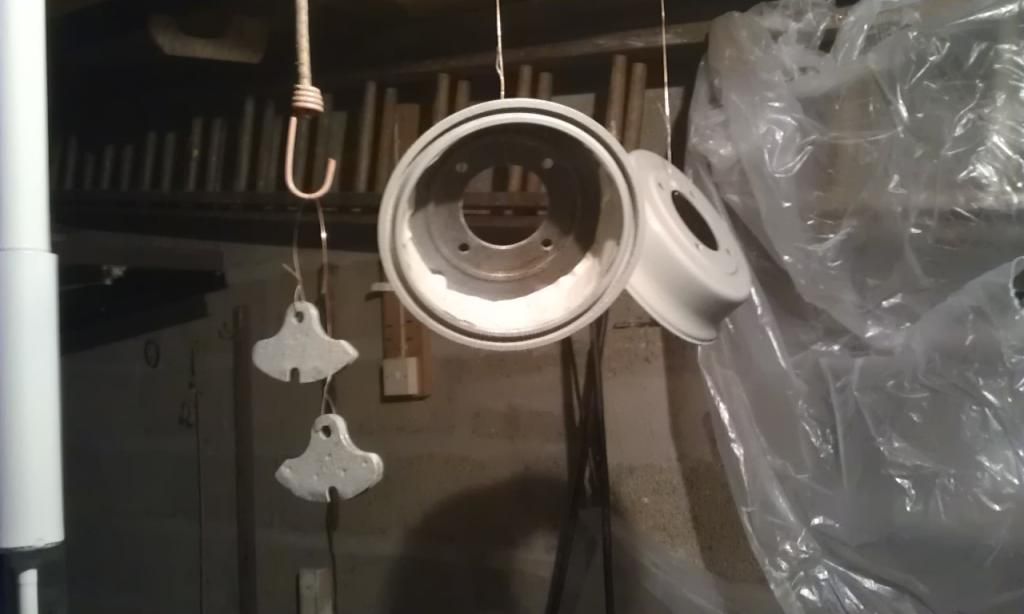
Here are some pics after a couple coats of Epoxy Wet on Wet:


IMAG6433_zpsb3c683ff.jpg


IMAG6434_zps538317d6.jpg


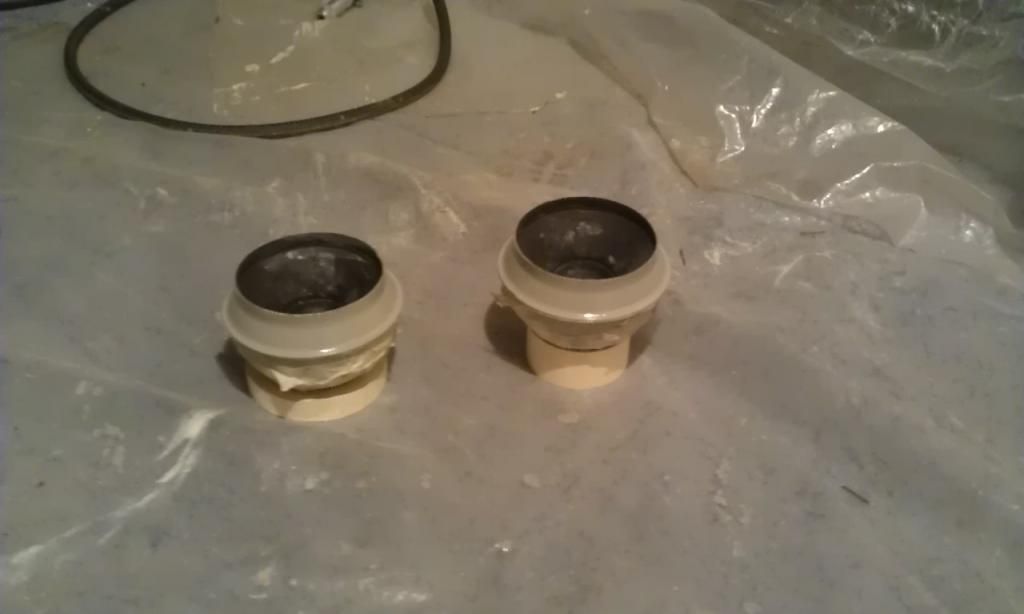
The Doughnuts fell off mid spray!!!! so ended up balanced on masking tape rolls:


IMAG6435_zpsbf101eea.jpg


IMAG6438_zps06d111cb.jpg


I really need to sort out my Air Cooler / Water Trap System, the Water Trap Regulator hanging on the left ain't good, but I have another water trap at the gun. Best of a bad job I am afraid :-(


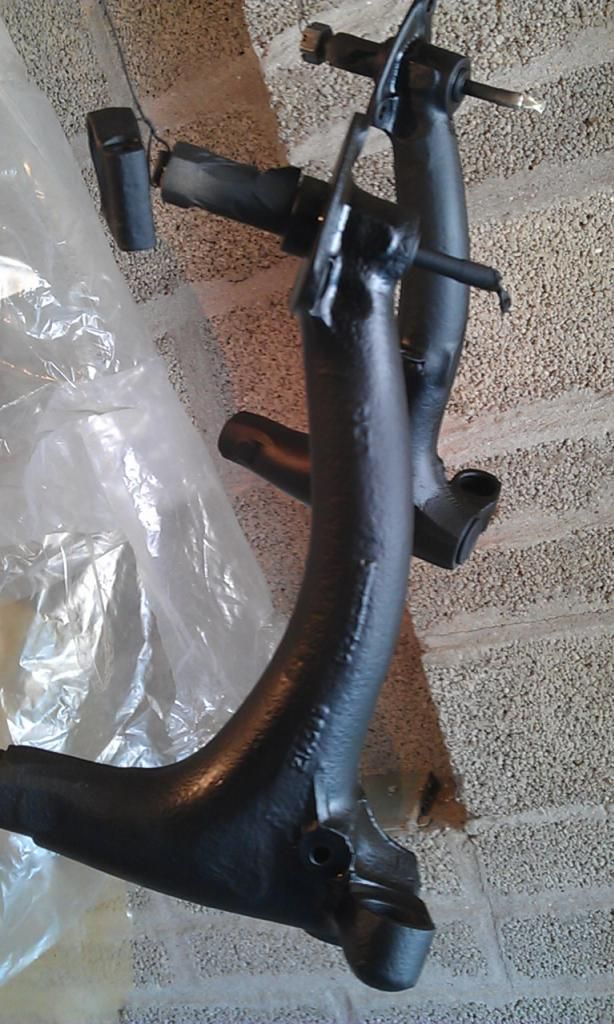
Had to do some filler on some spot weld holes on the Subframe which held me up but managed to get a couple of Top Coats of Fast Engine Paint on the Suspension Parts. I decided for a colour scheme to go with Matt Black Suspension Parts against a Gloss OEW Subframe :-)


Whilst spraying when the items where wet and shiny I thought mmmm gloss may have been OK, but once it dried it looks good (I think).


IMAG6442_zps17f70eb4.jpg


Oh also at the last minute I remembered the Trunnions, only got one coat so may need another before fitting?


Close up of the Radius Arms:


IMAG6443_zpsda9a35fc.jpg


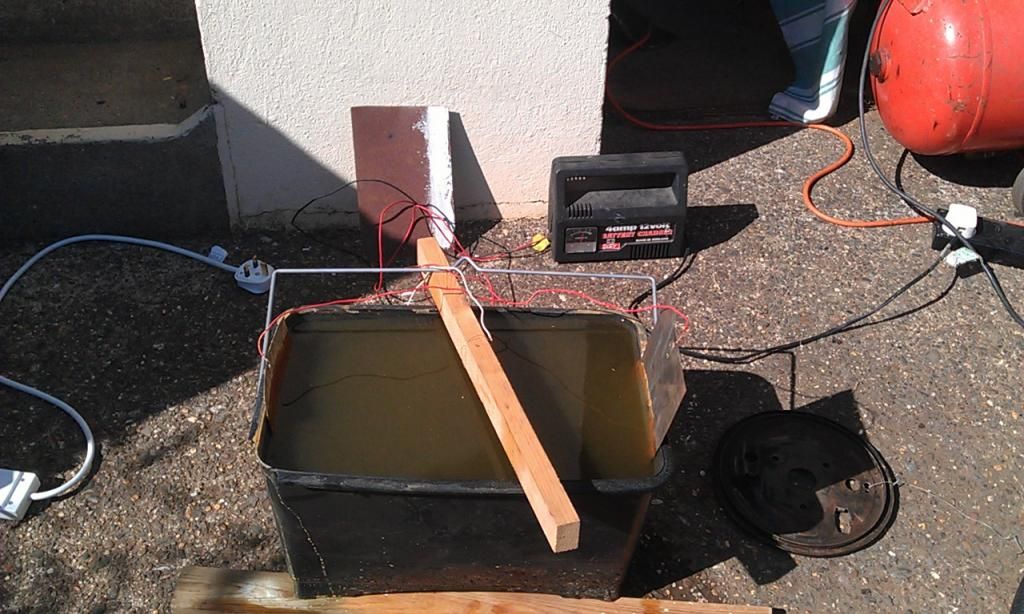
Whilst all this was going on I tried my first go at Electrolytic Rust Removal, here's my effort, started with both Backplates but removed one and did one at a time:


IMAG6448_zpsa10c3c37.jpg


Took it out a couple of hours ago and all I can say is, get rid of the wire brush!!!! This method, albeit a little effort to set up, the results are FANTASTIC. I took out the first backplate and washed it off in cold water then wire brushed any loose bits and its almost back to goo metal. As I can't paint it yet I sprayed it with WD40 as you need to protect it from rusting, put it in a poly bag.


Sorry no pics :-(


The only downside was I had to exit the garage before I had a chance to spray the Subframe and annoyingly the bits I had sprayed were not quite dry so a few marks on them when I had to lay them down :-( Still a little touch up here and there will fix any minor anomilies:


IMAG6450_zpsaf1c530f.jpg


Managed to get 3 / 5 Wheels lightly cleaned but I have decided that the only real option is shot blasting so i'll find a local next week?


IMAG6455_zpsf9b7837d.jpg


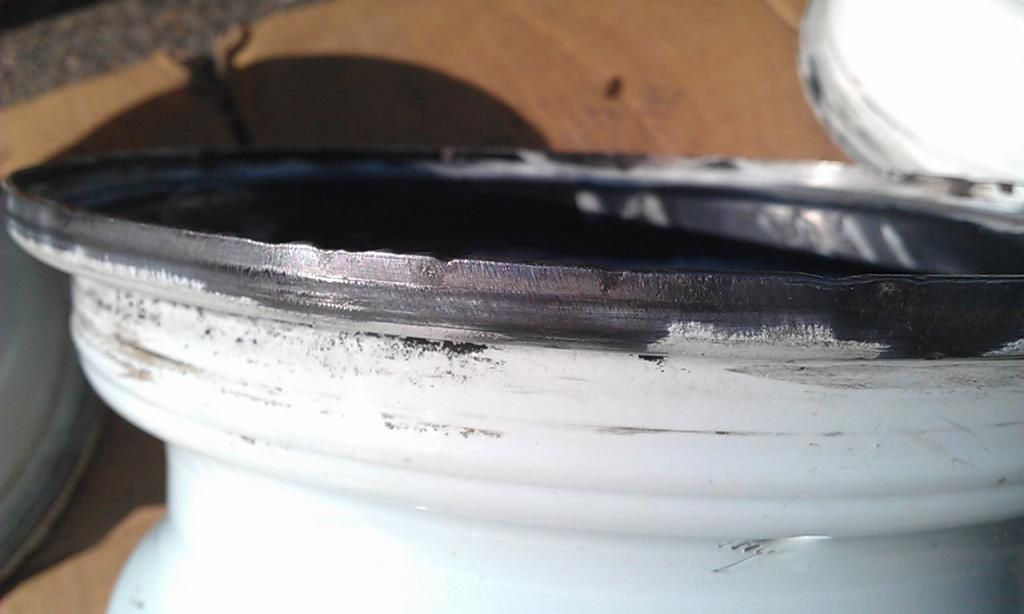
All but one wheel are OK, the odd one has some bad damage around the rim which is a real shame, I may have a go at fixing it but need to work out how.


Here are an example of the dents:


IMAG6452_zps1c0f6be0.jpg


#119 Down&Out

Down&Out

    The King Of Retro Cool

  • Traders
  • PipPipPipPipPipPipPipPipPip
  • 4,847 posts
  • Location: -

Posted 23 August 2014 - 11:38 PM

Chemical metal mat fix those wheel dents? Mended some huge wheel damage with that..


#120 JonnyAlpha

JonnyAlpha

    Up Into Fourth

  • Members
  • PipPipPipPipPipPipPipPipPip
  • 2,748 posts
  • Location: North Devon
  • Local Club: Exmoor Minis

Posted 24 August 2014 - 03:49 PM

Chemical metal mat fix those wheel dents? Mended some huge wheel damage with that..

Think I have some somewhere, how does it hold up to wheel fitting though? 


1 user(s) are reading this topic

0 members, 1 guests, 0 anonymous users