Jump to content


Photo
- - - - -

1982 Austin Mini - Project Who?


  • Please log in to reply
852 replies to this topic

#76 JonnyAlpha

JonnyAlpha

    Up Into Fourth

  • Members
  • PipPipPipPipPipPipPipPipPip
  • 2,748 posts
  • Location: North Devon
  • Local Club: Exmoor Minis

Posted 21 July 2014 - 09:26 PM

Bit more progress today,first of all I decided to finish striping the Radius Arms in order to paint them properly. 

I took off the caps using a screwdriver, starting with a thin blade and then a large screwdriver, they are just pushed on but can be quite tight. SO you have to push, or tap, the screwdriver in and twist it to lift the cap. Work around a little at a time. 
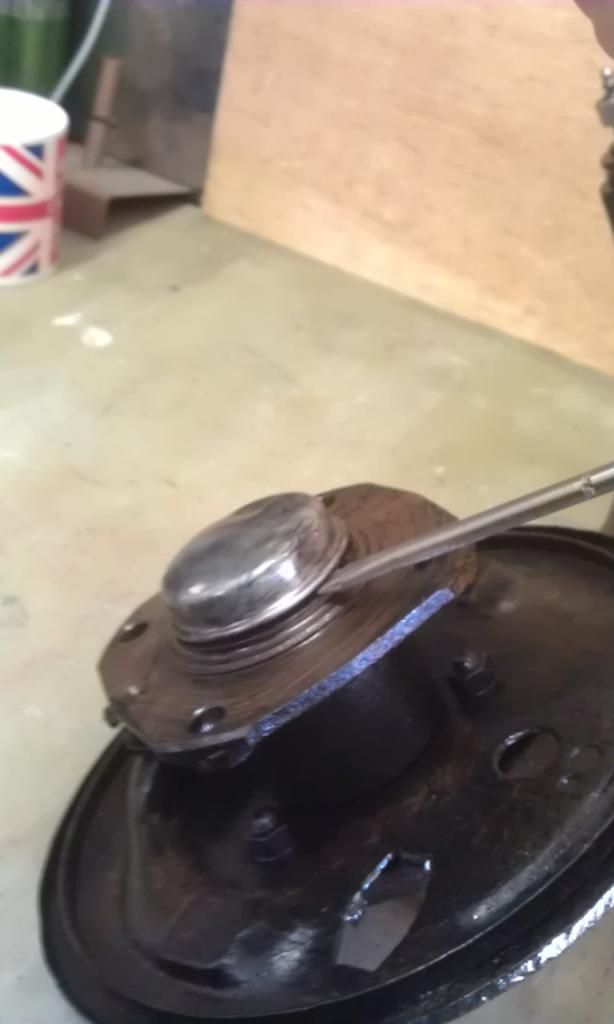
 

IMAG6009_zps6a207e78.jpg


IMAG6010_zps61e51076.jpg


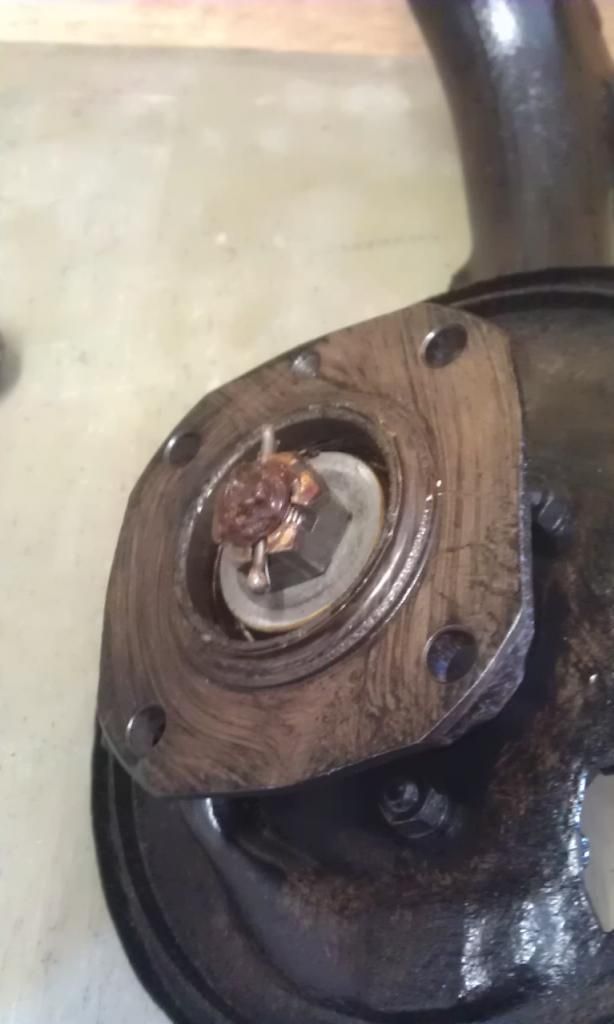
Once the cap is off straighten and pull out the split pin holding on the castle nut and then undo the nut with a socket. I worked out that one side is a Right Hand (undo) thread due to the wheel revolution direction. 


Once the nut was off the hole bearing section and wheel hub came off nice and easy - phew.
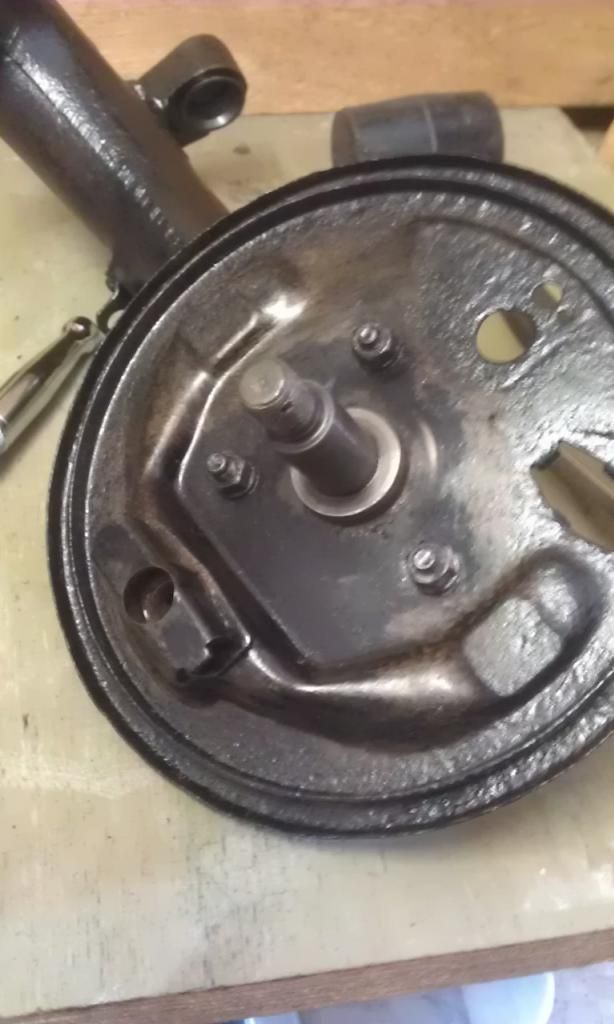
 

IMAG6011_zpseef1c088.jpg


To remove the backplate undo the three 1/2 Inch bolts, the backplate and rear cable support will separate from the radius arm.
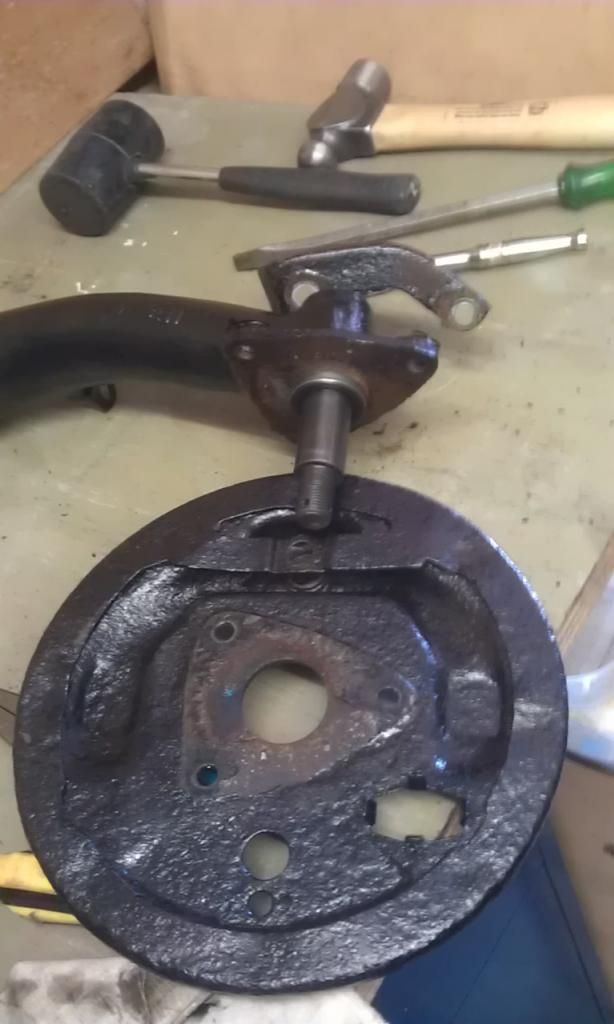
 

IMAG6014_zps23f8fe81.jpg


Next I removed the Knuckle Nylon Cups, one was stuck in solid the other came out relatively easily. To remove them I used a screwdriver to push down on the cup taking care not to touch the metal inside. I then used a pair of pliers to lever them out.
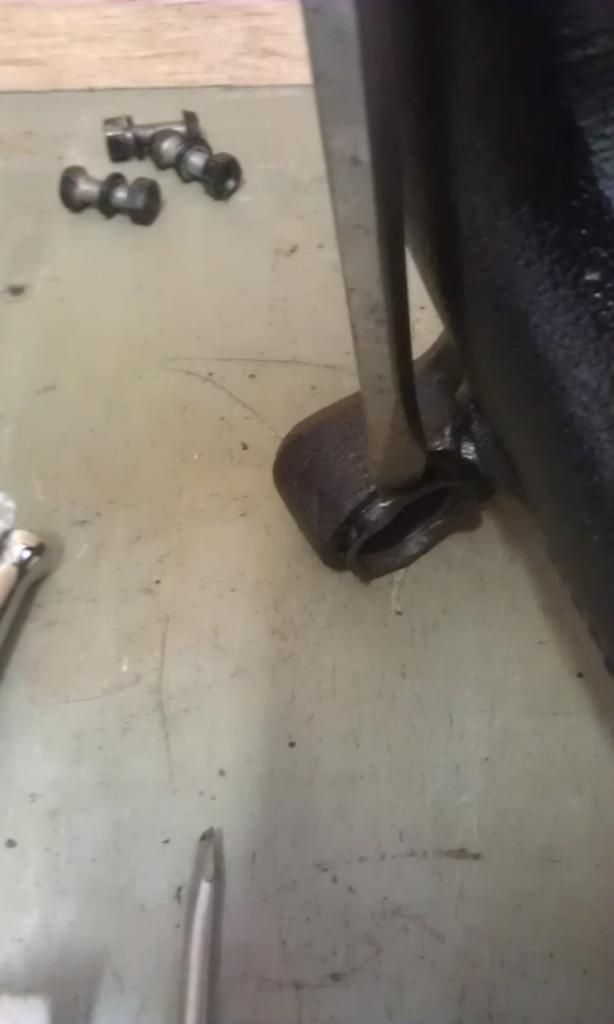
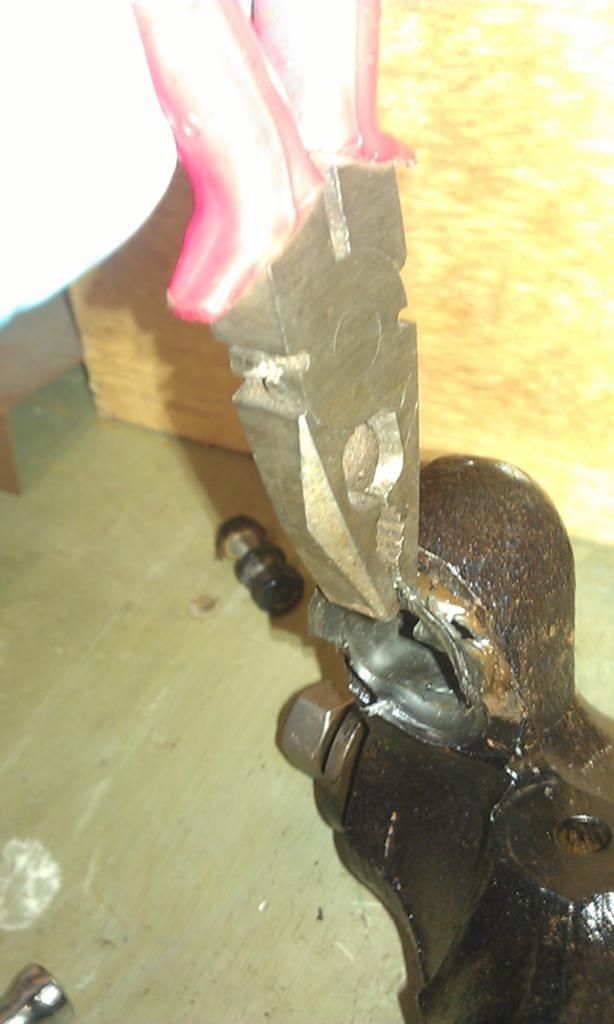
 

IMAG6015_zps904ecf47.jpg


IMAG6016_zpsa51f0f56.jpg


My knuckle sockets are in good order (thankfully).
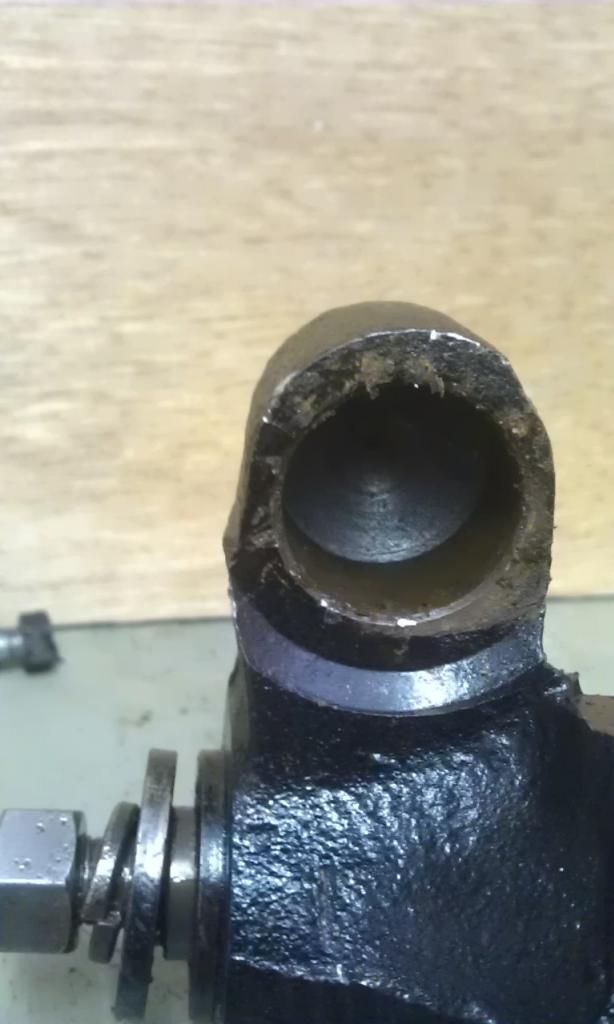
 

IMAG6017_zps643375f9.jpg


Here they are separated and ready for wire brushing:
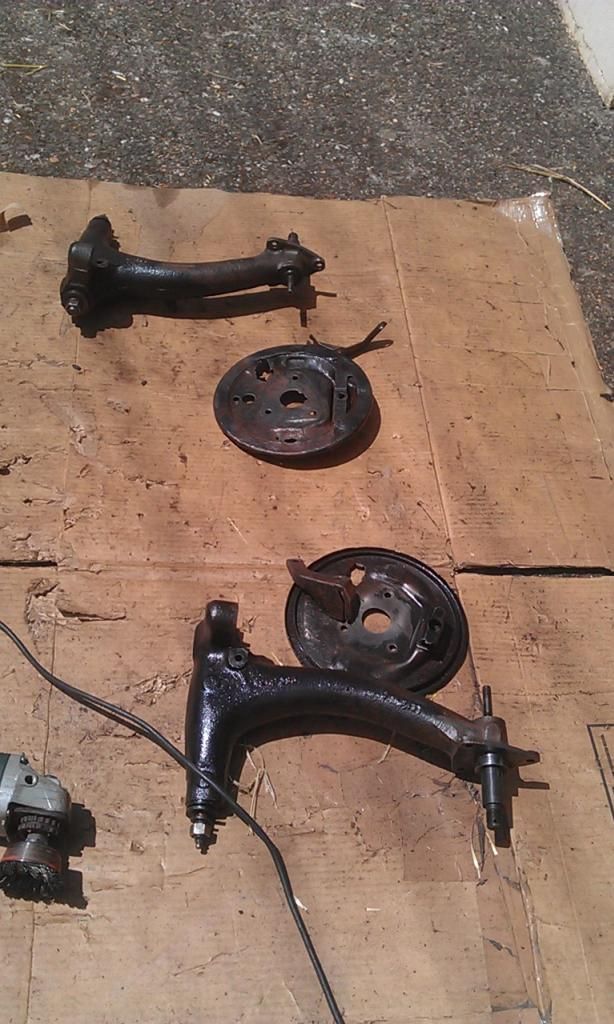
 

IMAG6021_zpsa6f21f69.jpg


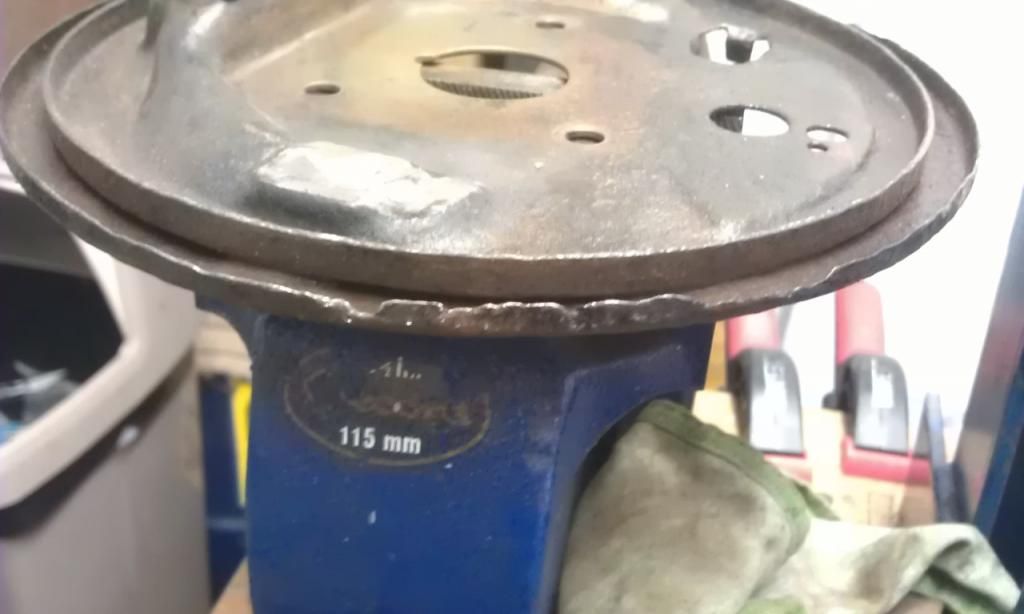
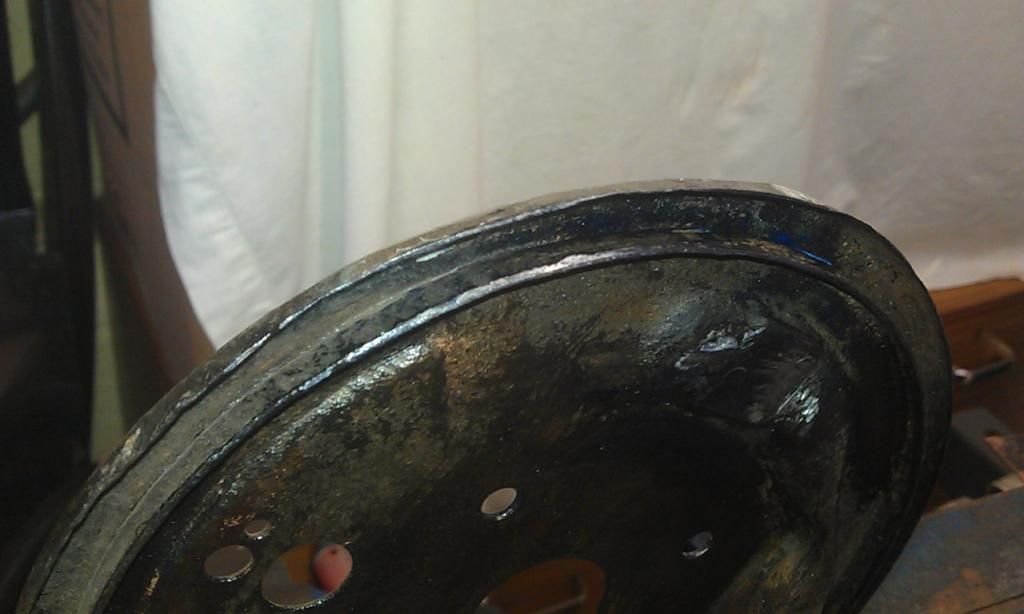
One of my backplates had a rusted through in two locations so I cleaned out the hole to good metal and made a small patch to weld in:
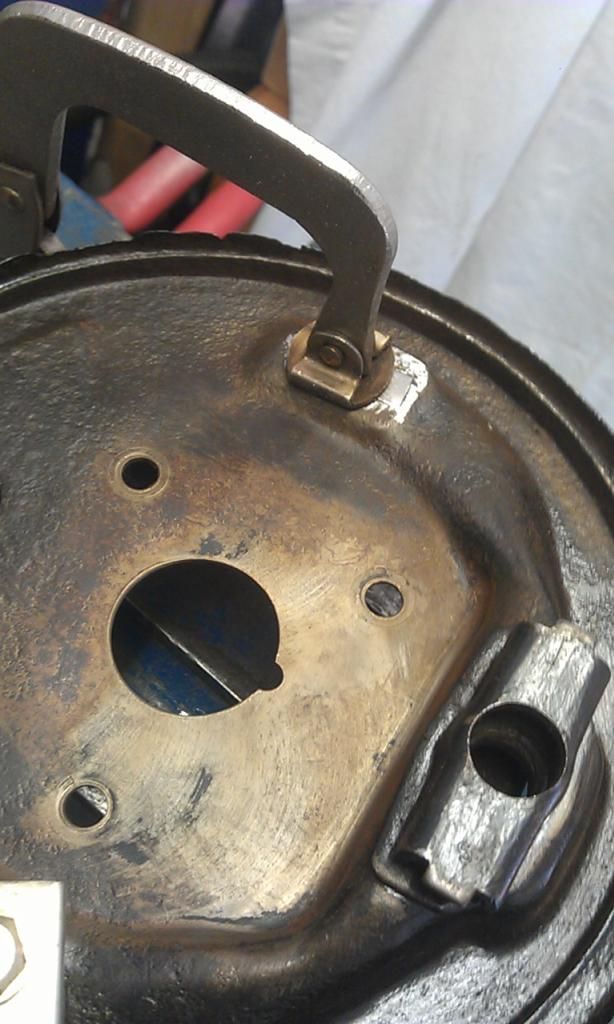
 

IMAG6022_zps67d00cb4.jpg


Here are the holes after welding and dressing - good as new:
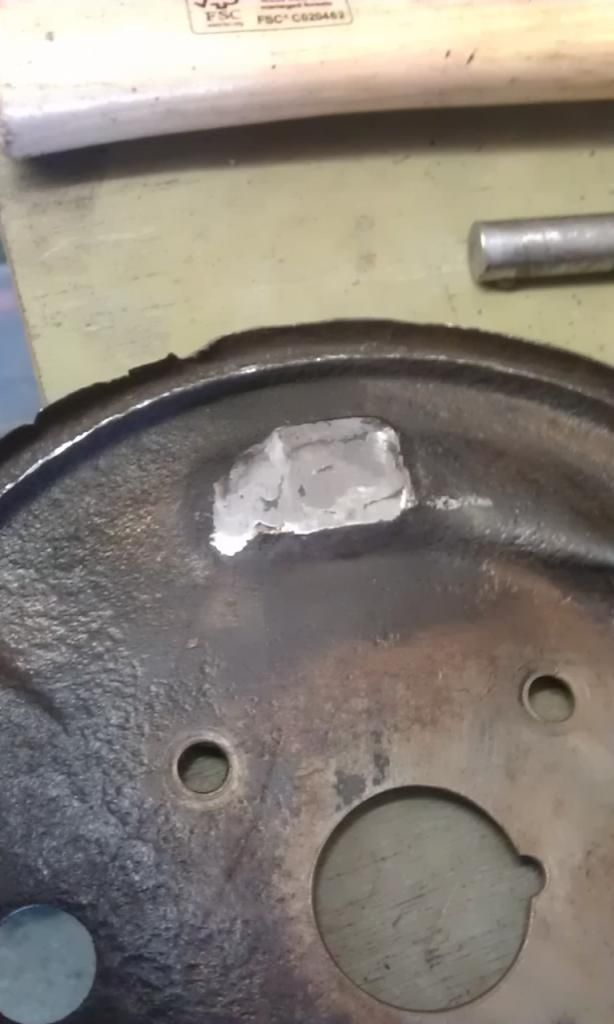
 

IMAG6023_zpsd69d554c.jpg


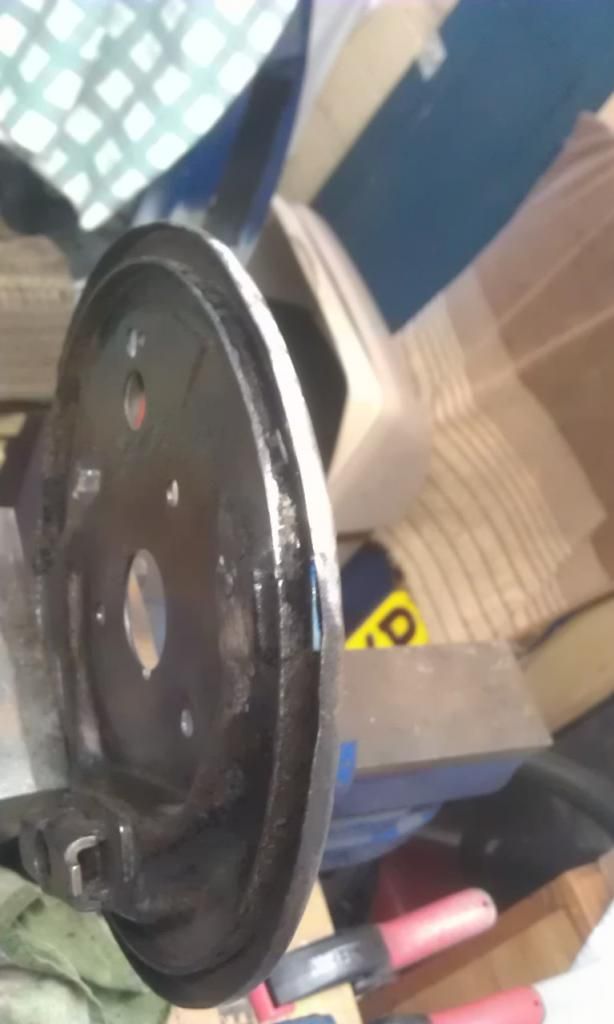
Now what to do about this bit:


IMAG6024_zps2a3ef986.jpg


Then lunch break and off to the Post Office to pick up a missed parcel, my adjustable Camber Brackets for my rear Subframe arrived, bought off of this forum:
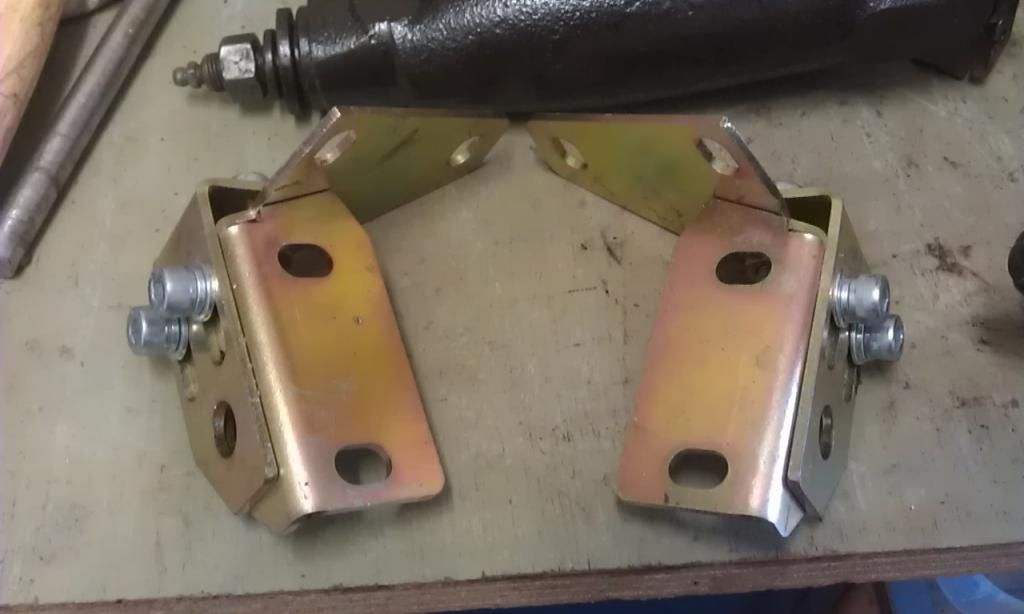
 

IMAG6027_zpsf172b34b.jpg


They'll look 'sweet as' on my newly refurbished Subby :-)

Just waiting for the Brake Pipes etc. 


#77 JonnyAlpha

JonnyAlpha

    Up Into Fourth

  • Members
  • PipPipPipPipPipPipPipPipPip
  • 2,748 posts
  • Location: North Devon
  • Local Club: Exmoor Minis

Posted 22 July 2014 - 07:43 PM

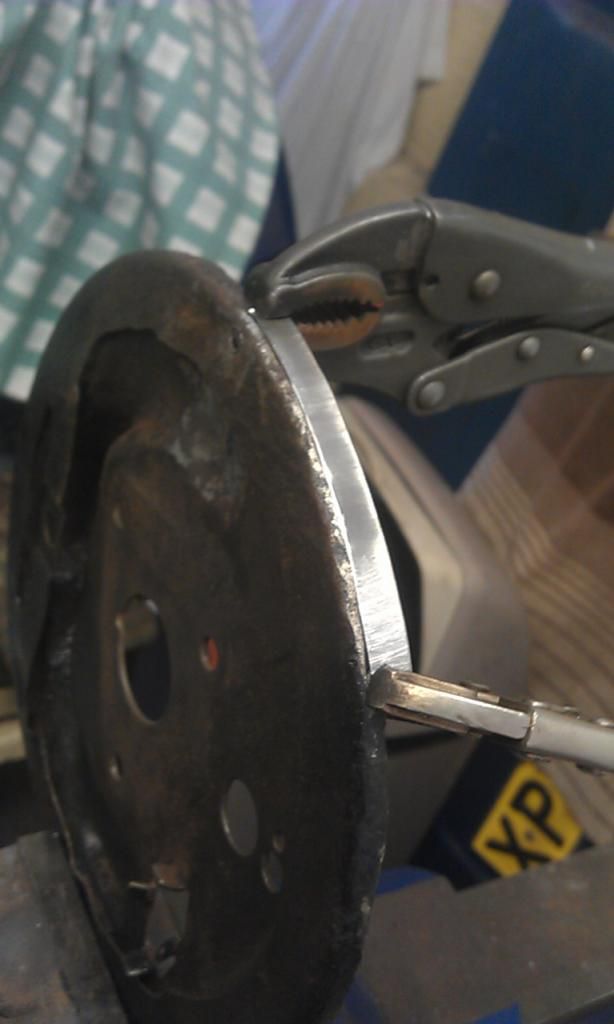
Now back to that damaged back plate, first up make a repair piece slightly higher than required to allow heat dissipation:


IMAG6028_zps38cc7dae.jpg


Then tack weld and a little gentle stitch welding and grinding an voila:


IMAG6029_zpsa14f6349.jpg


IMAG6030_zpse9ecd1c1.jpg


Now that the Radius Arms and Subframe are all ready for painting it was time to turn the heat back on the Floor Sides and Rear End.
Looking at other Project Builds like Sonnik4's Project Erm etc I have identified that my Heelboard Repair Panels aren't exactly right for the job so the need a little modifying.


Basically they don't have a bottom flange that fits under the floor and around the Inner Sill, only one at the top? Also the Captive Nuts need beefing up.


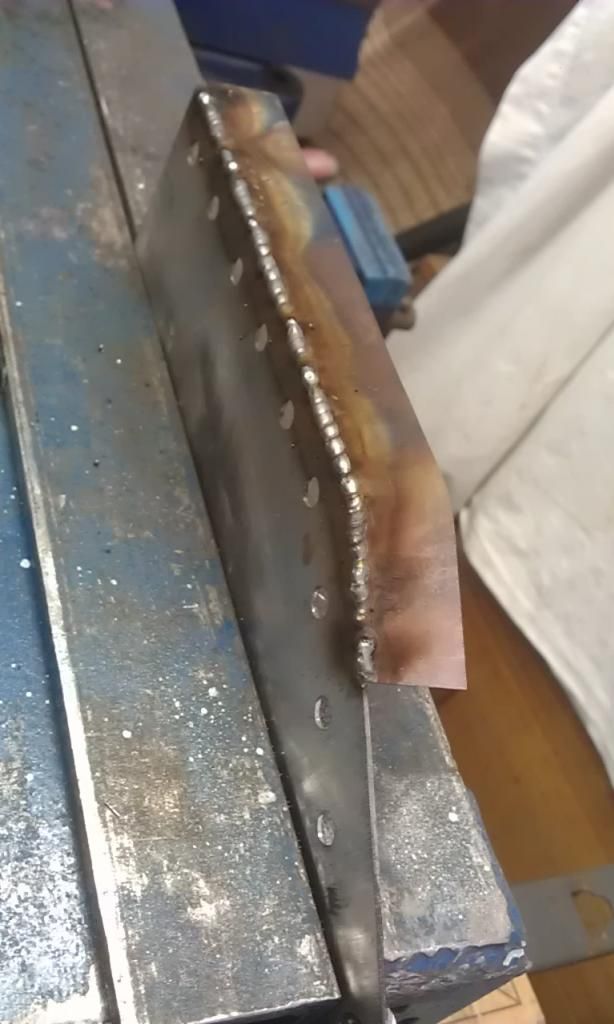
First up after trimming it to fit in place and marking and drilling holes for plug welding it to the back edge of the floor I made a flange that will enclose the Floor.


IMAG6033_zpsdab27b3d.jpg


I seam welded it internally and then ran a seam along the top edge, this baby is solid!! Well it need to be as it will be holding the Subframe.


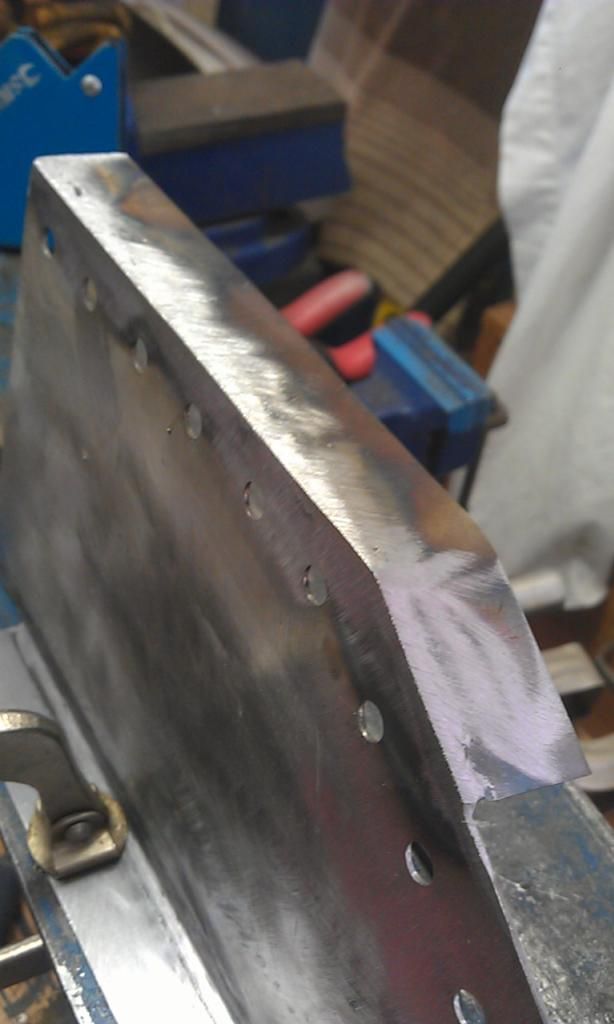
Here it is after dressing it down:


IMAG6035_zpsdbcb07b3.jpg


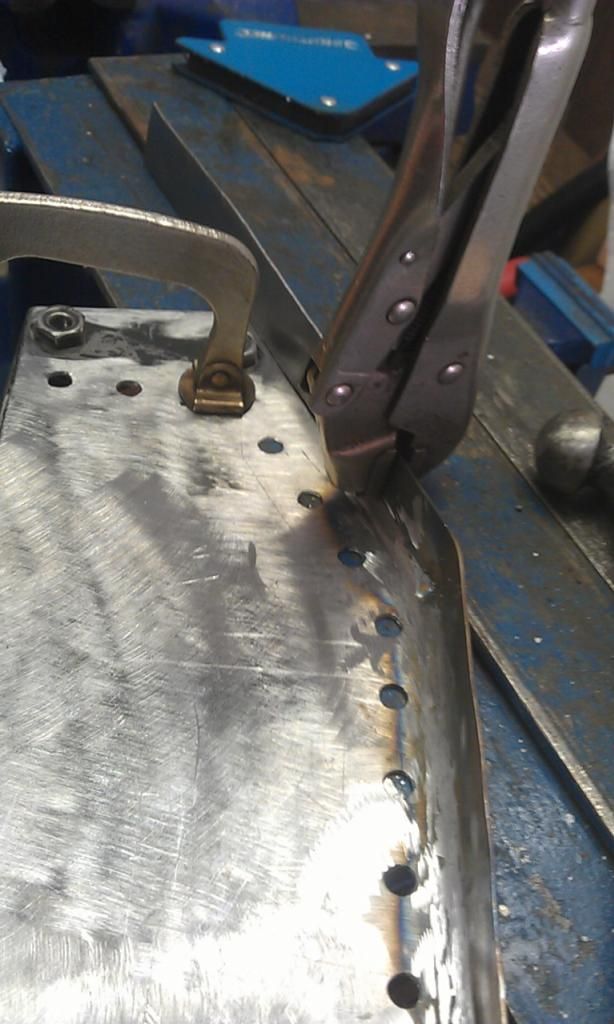
After test fitting in place along with the Sill I decided I needed to extend the flange along the edge, I made it extra long and will play with it when I fit the sill.


IMAG6036_zps48eb4b2c.jpg


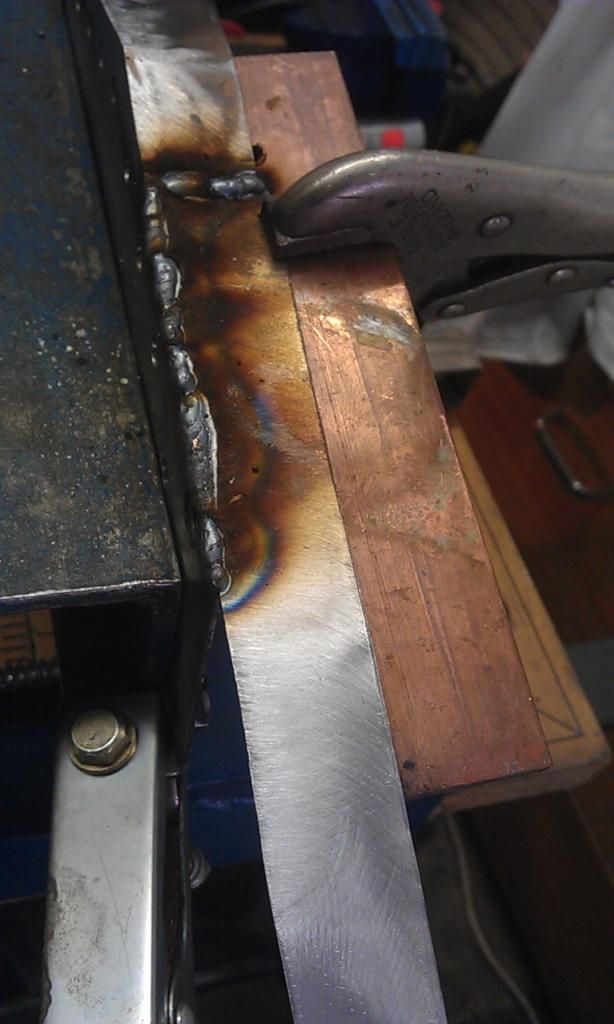
Here's a pic using a piece of copper block to avoid burning through when welding the joined edge:


IMAG6037_zpsf3c9ade2.jpg


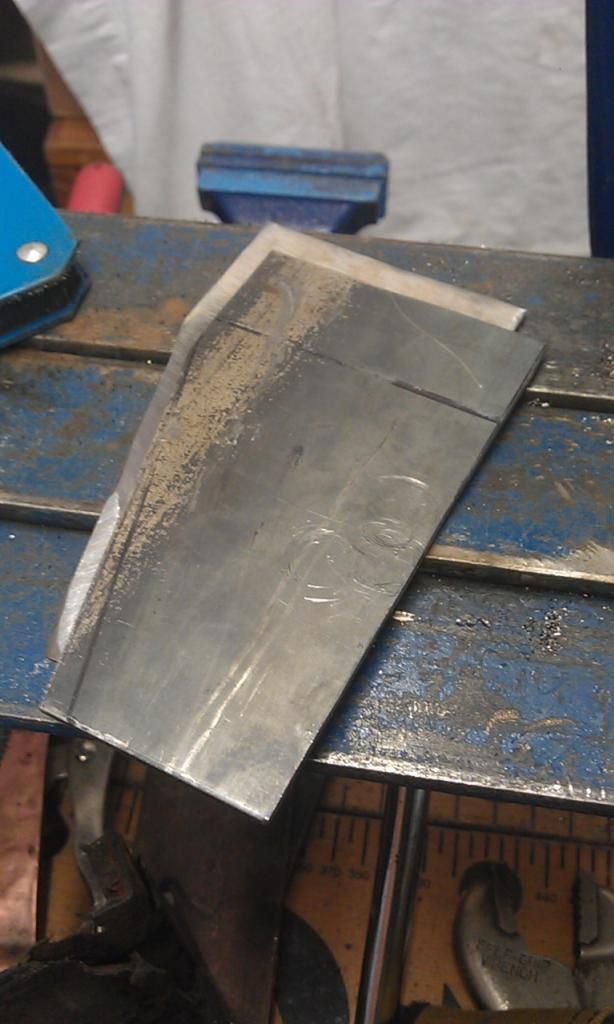
Next up I started to make the Subframe Mount Captive Nut Support Plate that ties the Heelboard / Captive Nuts to the Inner Sill for added strength. I used steel of the same gauge as the original, I think its 1.5 or 2mm.


IMAG6038_zpsb0979c84.jpg


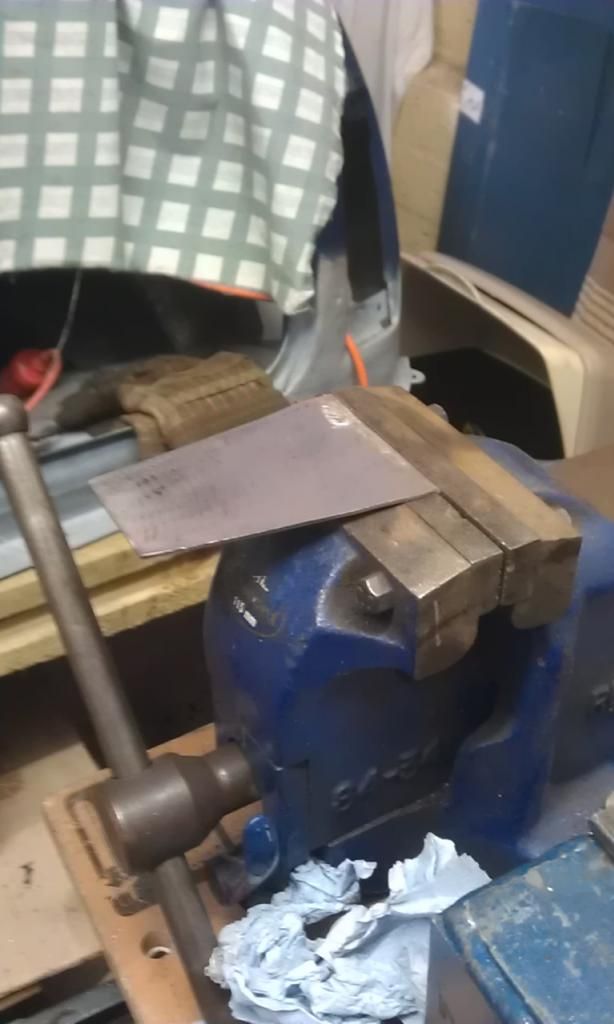
Bang in a fold:


IMAG6039_zps0e81a445.jpg


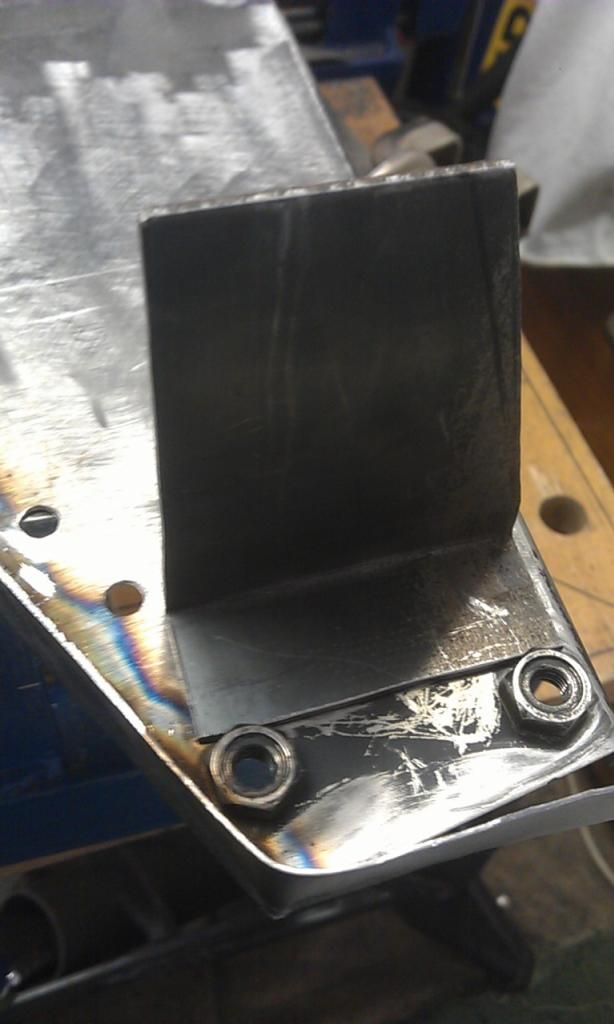
Here they are lined up to the Captive Nuts:


IMAG6040_zps1d926b18.jpg


To fit them I intend to cut a groove in the top and bottom and then weld all around, could probably also stick a plug weld in the middle between the Captive Nuts?


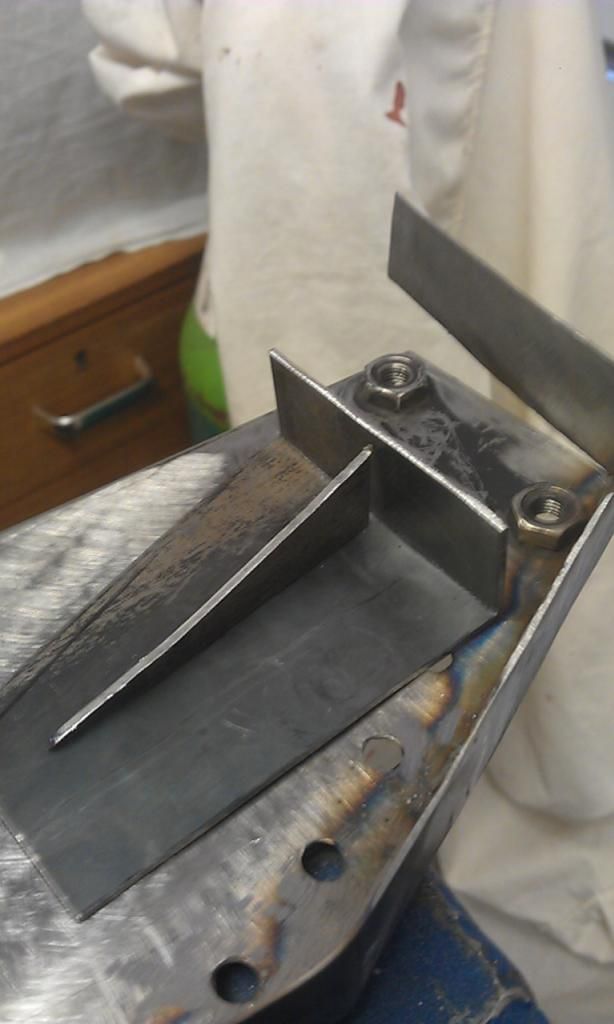
For added strength as recommended on another project build I looked at a while ago I will use the triangle piece that I cut of the edge as a support, like this:


IMAG6041_zps44f5b048.jpg


And that was todays progress, oh and the postman came again:


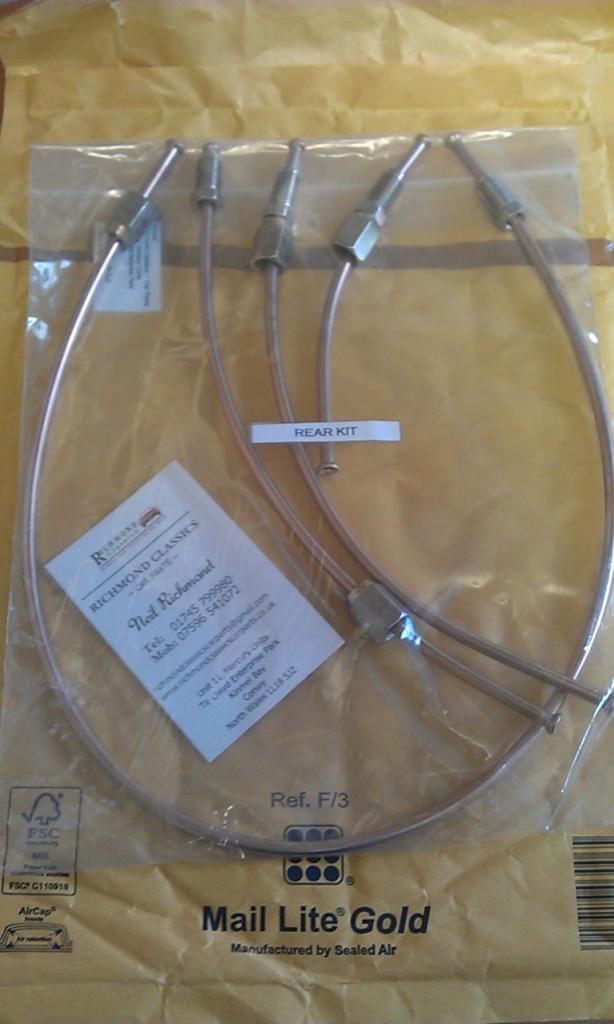
IMAG6043_zpsff9b9875.jpg


My Cupronickel Rear Brake Pipes, bit of advertising for Richmond Classics - sorry :-)

Anyone got any tips on bending these without breaking?


#78 JonnyAlpha

JonnyAlpha

    Up Into Fourth

  • Members
  • PipPipPipPipPipPipPipPipPip
  • 2,748 posts
  • Location: North Devon
  • Local Club: Exmoor Minis

Posted 25 July 2014 - 01:22 PM

Yesterday's session:

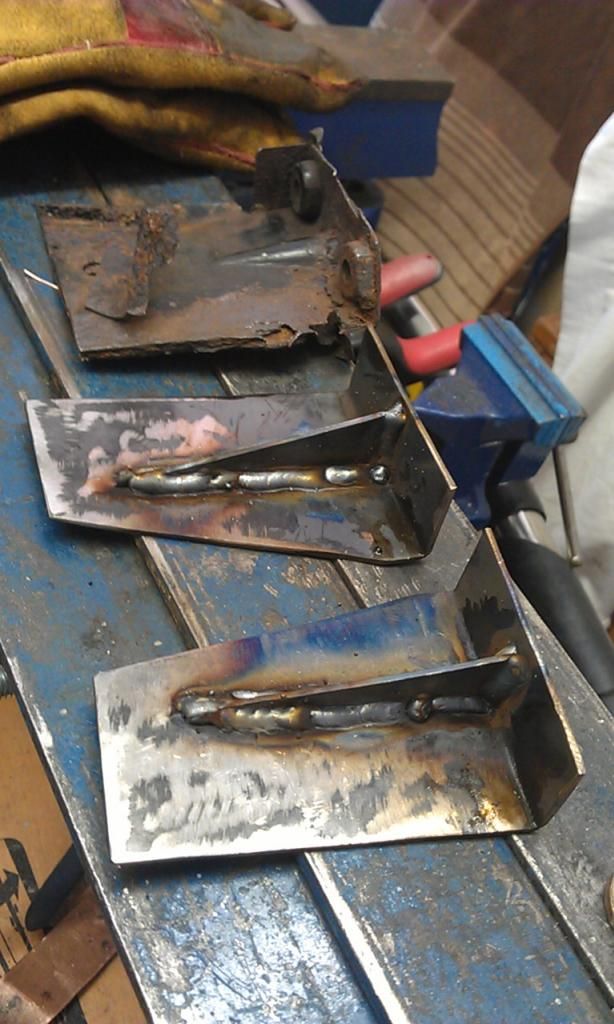
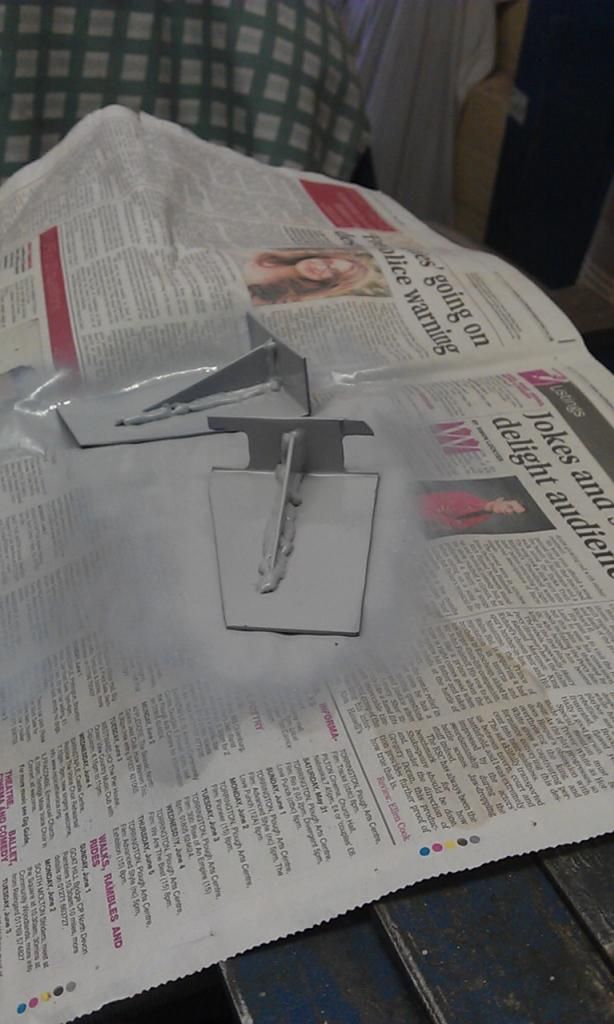
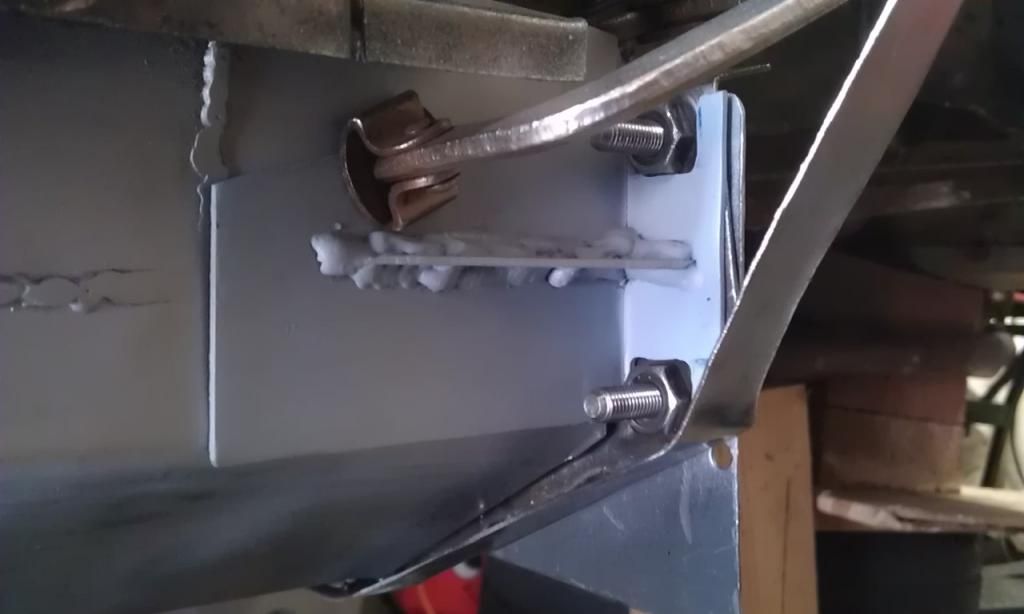
Got the two Subframe Mounting Reinforcement Brackets welded and sprayed, second pic shows the old one on the left:


IMAG6055_zps31988039.jpg


IMAG6056_zpsaacf6847.jpg


IMAG6057_zps2f1214d0.jpg


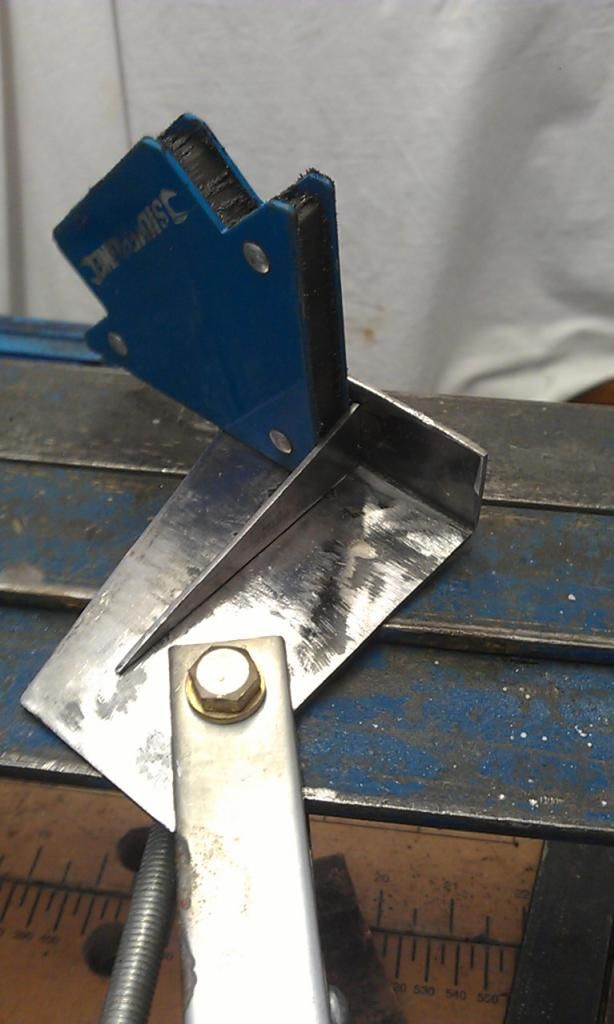
And here is the LH one clamped in place:


IMAG6058_zps4a1e3efc.jpg


I know have some trouble in that my Subframe Jig has developed a bit of elongation in the Heelboard Subframe Mounting holes, posted asking for some help in checking the alignment at the bottom of this thread here


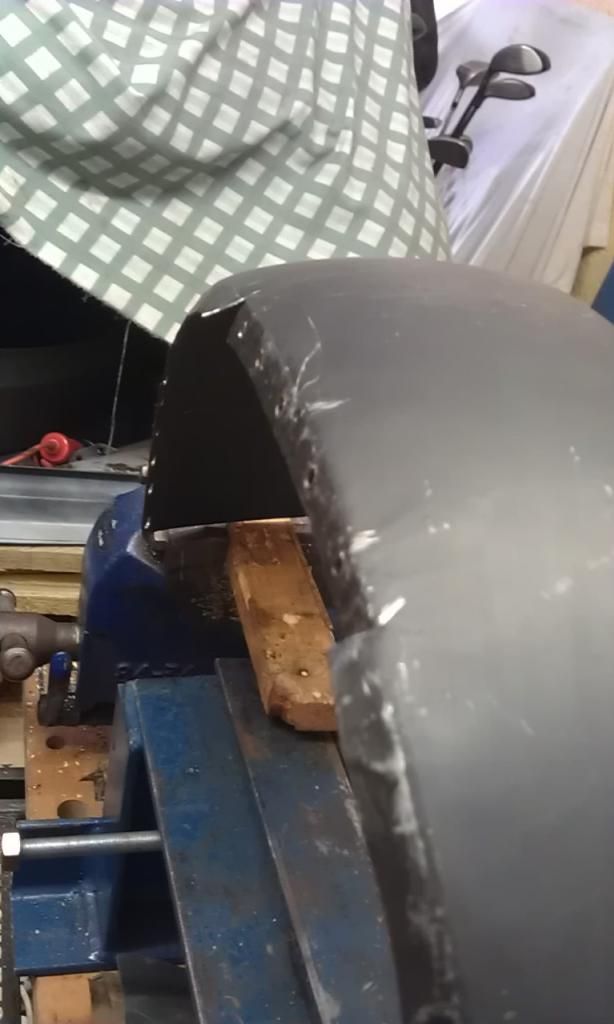
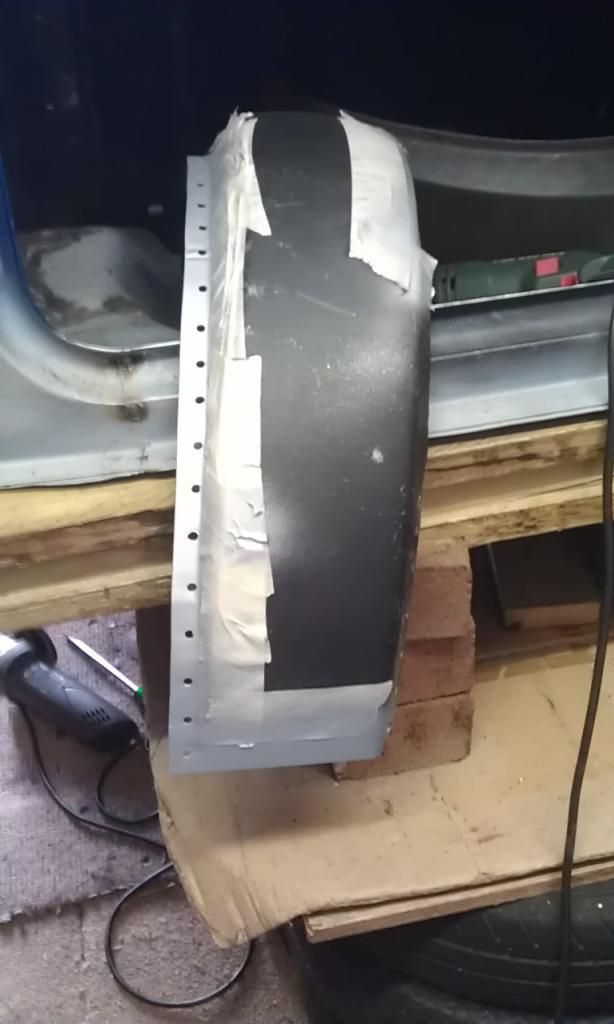
Whilst I am waiting for advice I thought I'd crack on and prep the Wheel Arch Repair Panels, as I am trying to fit the outer sections only I had to do a bit of modification to get them to fit especially where the top of the shock mount is and where the panel enters the rear seating area.


Once they fitted OK I then marked up and drilled out the million or so holes for the plug / spot welds and sprayed any areas that will meet the rest of the car with weld through primer to give some protection where metal sits on metal:


Here's the mod, basically part of the rim will sit inside the inner section as opposed to outside, it will all be welded and seam sealed (Note disused Golf Clubs in the background, don't get out of the garage at the moment :-) ):


IMAG6060_zpsb943ec4e.jpg


IMAG6061_zps509ac74b.jpg


Oh whilst shooping in Sainsbury's I couldn't resist this 40th Anniversary Special Edition for £4, watched it last night - a classic :-)


IMAG6063_zpsbbbfedaf.jpg


P.S. I must be getting more technical even I noticed a couple of errors in the film, as Michael Cane is walking through the Wksp asking questions on how the Mini modification are coming along he gets a reply saying something about a problem with the Differential, Mini's are Front Wheel Drive and don't have a Diff, do they??


#79 Ben_O

Ben_O

    Mill Road Garage

  • Paint Doctor
  • PipPipPipPipPipPipPipPipPipPip
  • 9,785 posts
  • Location: Isle of Wight

Posted 25 July 2014 - 01:58 PM

yes they do!


#80 JonnyAlpha

JonnyAlpha

    Up Into Fourth

  • Members
  • PipPipPipPipPipPipPipPipPip
  • 2,748 posts
  • Location: North Devon
  • Local Club: Exmoor Minis

Posted 25 July 2014 - 08:38 PM

yes they do!

Ah so they do, it's in the Gearbox (or there abouts) Youtube Link

In the film the guy is under the rear end though so that's what made me think???


#81 JonnyAlpha

JonnyAlpha

    Up Into Fourth

  • Members
  • PipPipPipPipPipPipPipPipPip
  • 2,748 posts
  • Location: North Devon
  • Local Club: Exmoor Minis

Posted 25 July 2014 - 08:46 PM

Spent the morning sorting out shipping for my recent Ebay purchase for my Mini - info to follow when they arrive :-)

Didn't get started in the garage until about 15:00 and it was just too damm hot to do anything so all I did was potter.


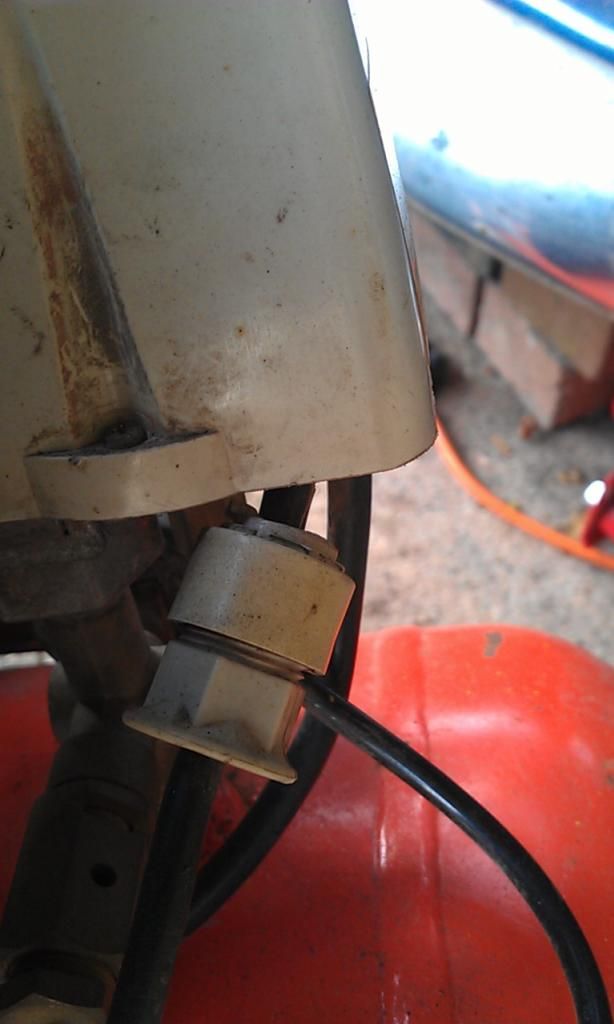
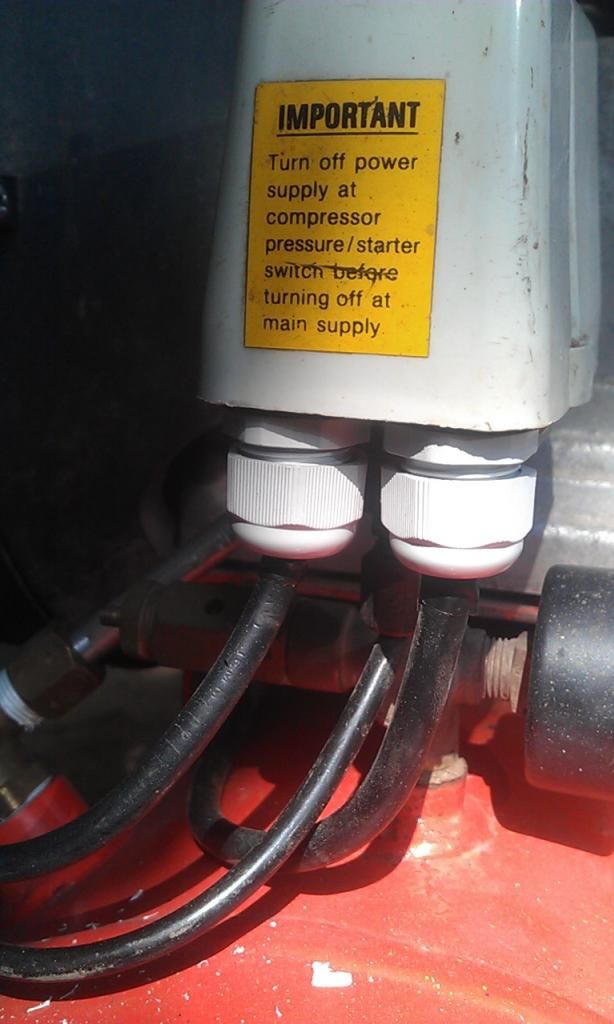
I fixed a problem on my compressor renewed the Stuffing Glands that hold the mains and capacitor cables (one was broken and showing the wires) I could only get 20mm glands so I had to modify the housing and the nuts a bit to fit.


Here's the broken one before:


IMAG5991_zps463c2ac1.jpg


And here they are fixed, its been niggling me for ages but now its done:


IMAG6069_zpsa3ae421c.jpg


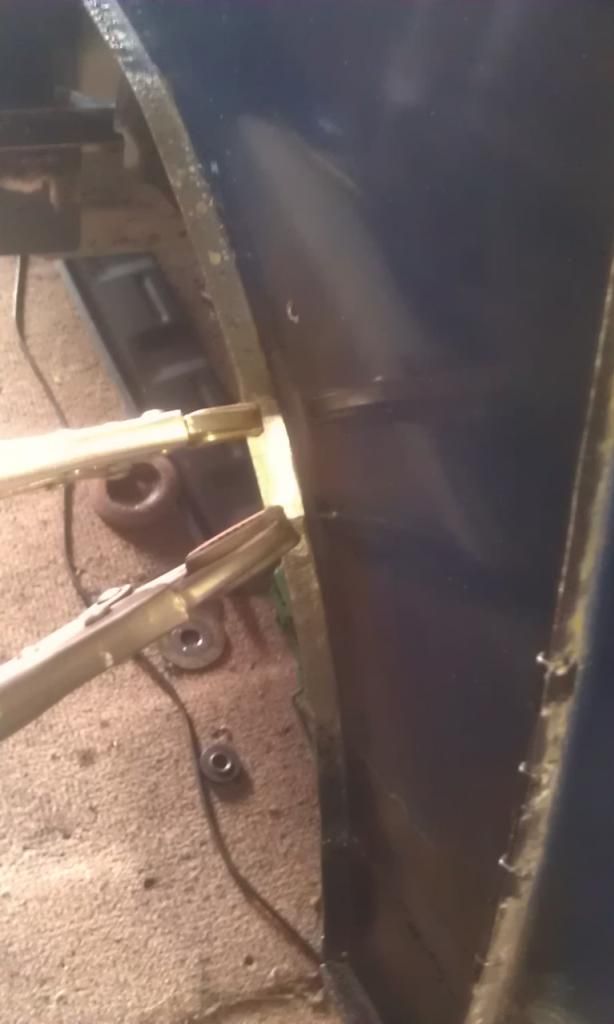
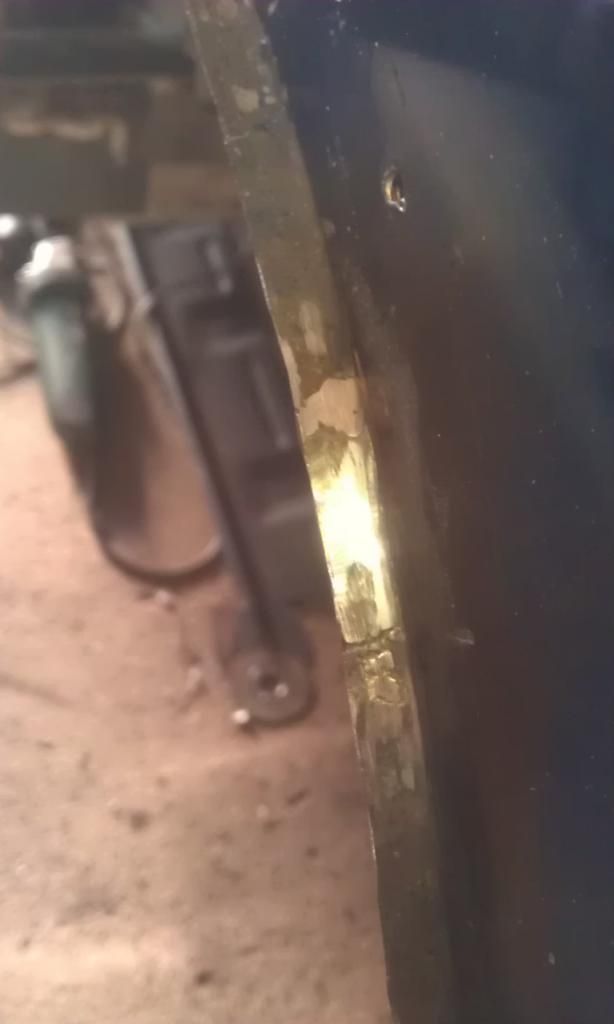
And fixed a small piece of the rear arch, it needed fixing before I weld on the rear arch inner piece that I prepped yesterday.


IMAG6071_zpsce24cfb3.jpg


Hardly visible:


IMAG6072_zps147232eb.jpg


Regardless of the heat I have to crack a full day tommorow and either finish the LH Heelboard and Sill or cut out and prep the RH side .  


#82 JonnyAlpha

JonnyAlpha

    Up Into Fourth

  • Members
  • PipPipPipPipPipPipPipPipPip
  • 2,748 posts
  • Location: North Devon
  • Local Club: Exmoor Minis

Posted 26 July 2014 - 09:52 PM

Had a few drama's today, must be the hot weather, after drilling all the nice holes in the LH Rear Mudguard I fitted it to weld it and noticed that I had not fitted it correctly when I originally marked it up, so now half the holes on the outside are too far in!!!!


MEASURE TWICE CUT ONCE!!!


So out it came and the all had to be welded shut, dressed down re-marked and re-drilled, so much for getting loads done today :-(


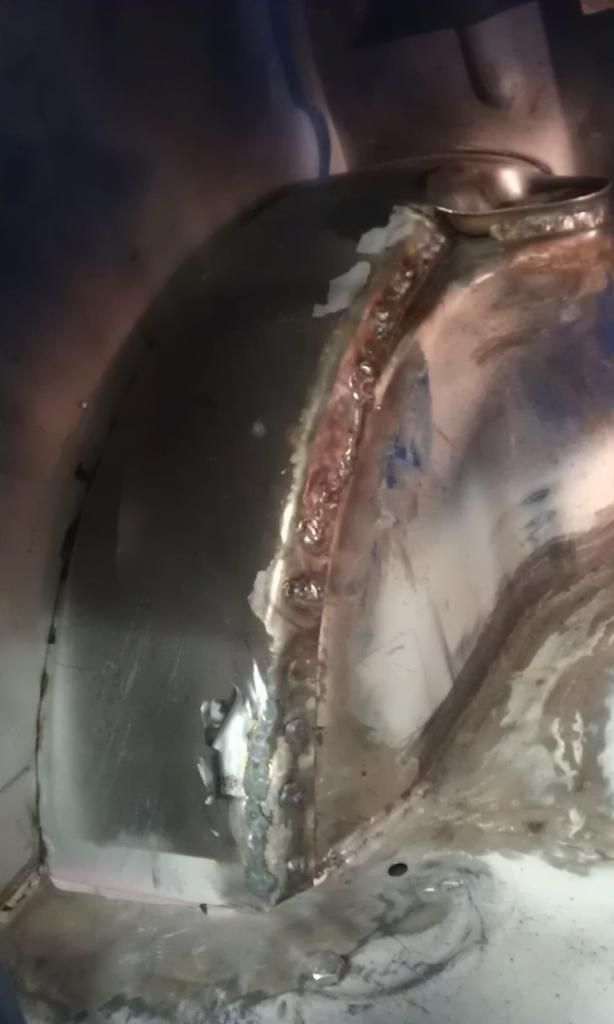
Here they are welded up (inside shot):


IMAG6076_zpsfda4ce1a.jpg


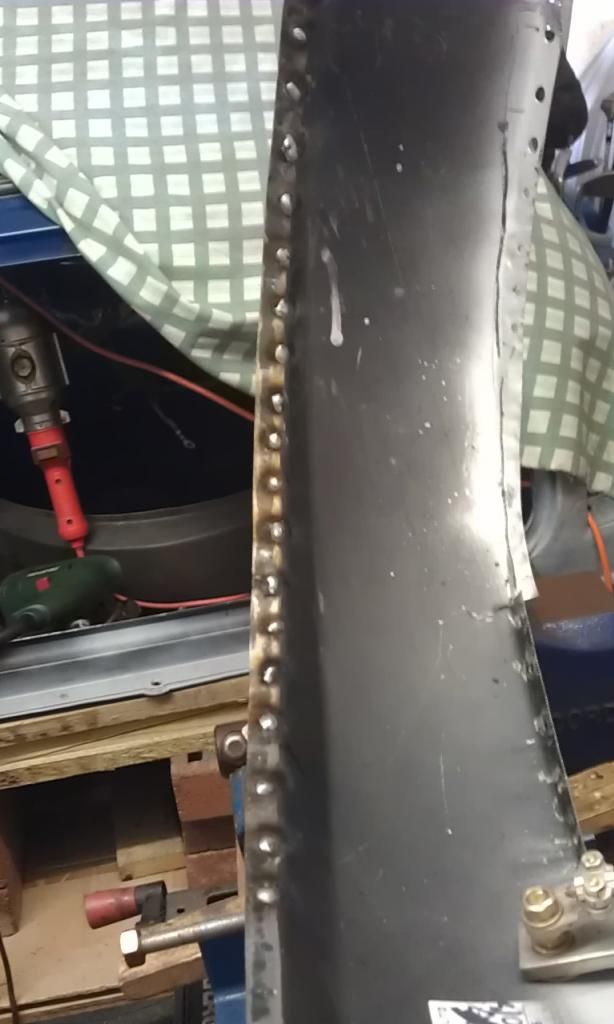
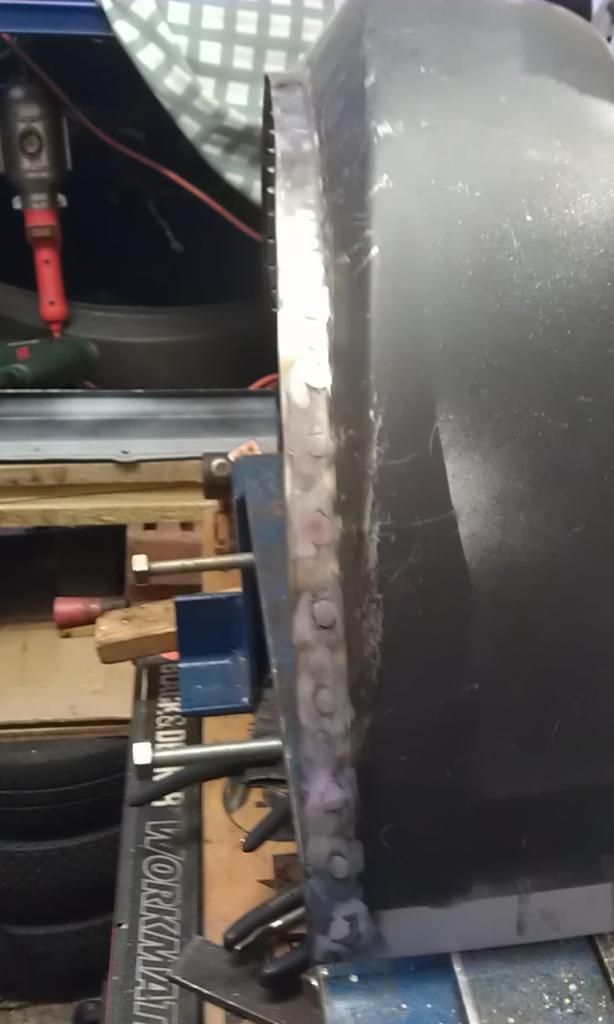
And here they are welded up and partially dressed down with a 60 Grit Flap Disc before finishing them off with a 120 Grit Disc:


IMAG6077_zps67b0518a.jpg


 I don't need plug welding practice like this :-(


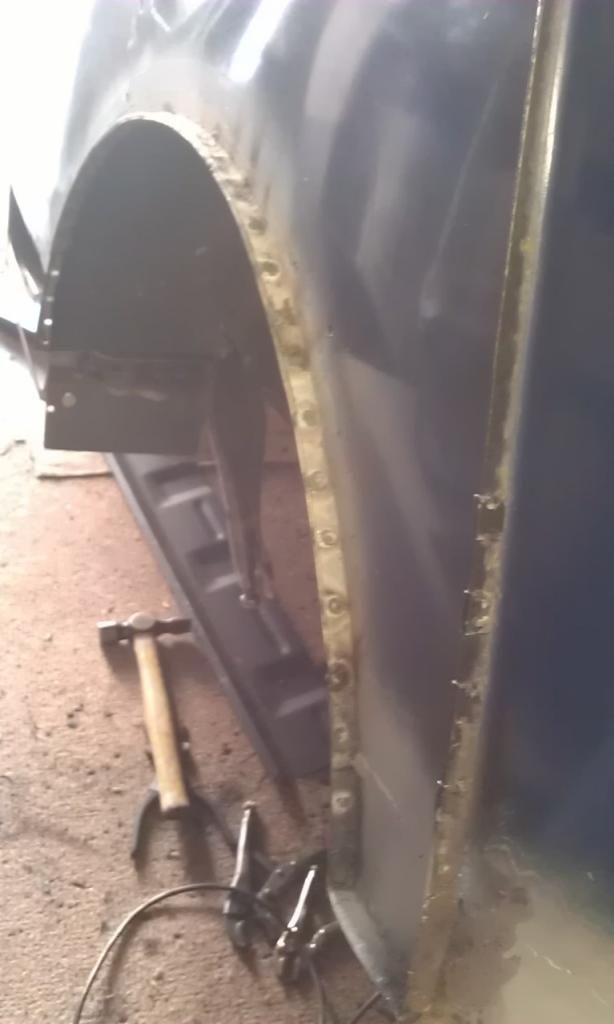
Anyway I eventually got it fitted, another hole filled, welding was a bit messy but it will clean up, arch is fine though:


IMAG6078_zpscef6c423.jpg


IMAG6079_zpsc3fd4d5f.jpg


So hot in the garage today the sweat was running into my eyes, probably didn't help my welding skills!! Slow progress but progress forward, albeit a couple of steps backwards. Just need to finish a couple of welds on the mudguard in the inside of the Mini then dress it down, clean it up and partially prime it to prevent rust.


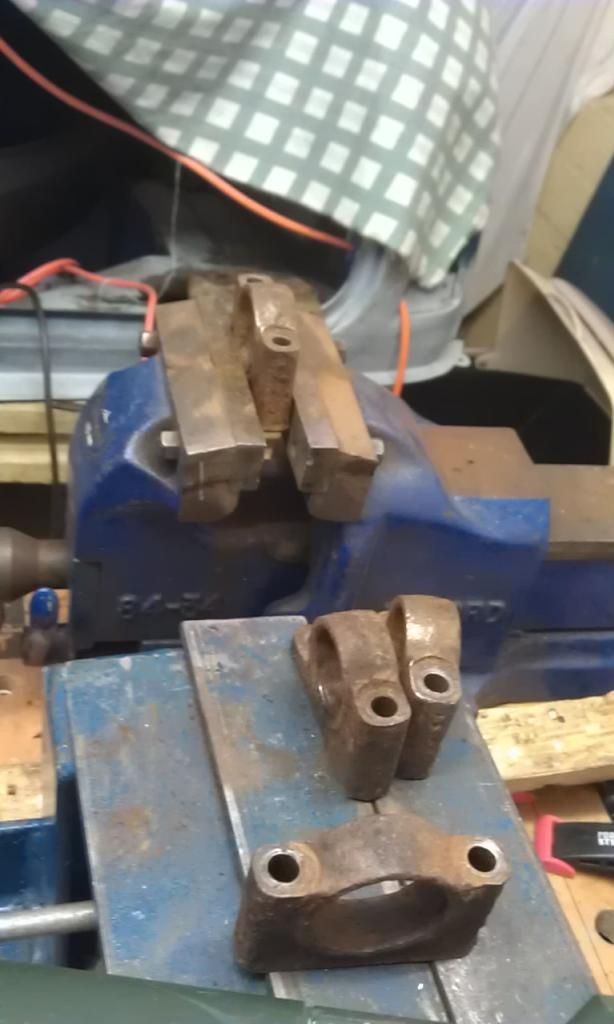
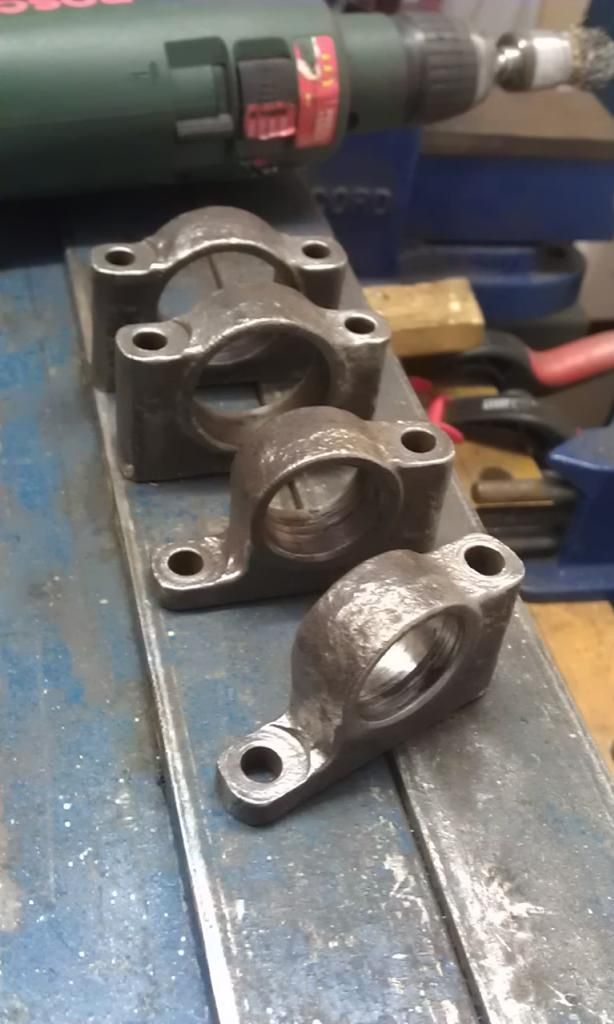
The other job I managed today was cleaning up my Subframe Mounting Trunnions, they were real bad and had to chip of some rust and was expecting them to be too far gone, but under the rust was the original cast iron. They came up pretty good from this after the initial clean:


IMAG6074_zpsf0fa61ec.jpg


To this:


IMAG6075_zps3be1ab8d.jpg


After priming and painting they'll be spot on.


#83 JonnyAlpha

JonnyAlpha

    Up Into Fourth

  • Members
  • PipPipPipPipPipPipPipPipPip
  • 2,748 posts
  • Location: North Devon
  • Local Club: Exmoor Minis

Posted 26 July 2014 - 09:57 PM

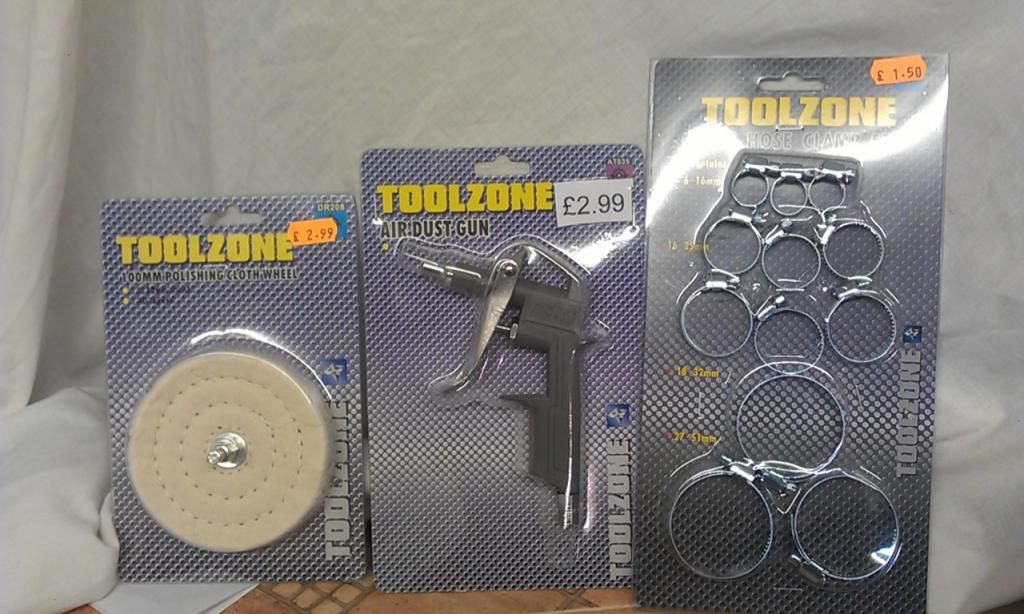
Oh forgot to add, went to our local market yesterday, they have a tool stall (two different ones that alternate), they sell mostly Toolzone Stuff, not top quality but good value for money. I only went for a couple of male 1/4 BSP quick connectors (which they sell for £1.50) and ended up picking up these bits as well as a nice new set of Files to replace my mix and match set with handles that keep falling off :-)


IMAG6073_zpsd77d0a0c-1.jpg


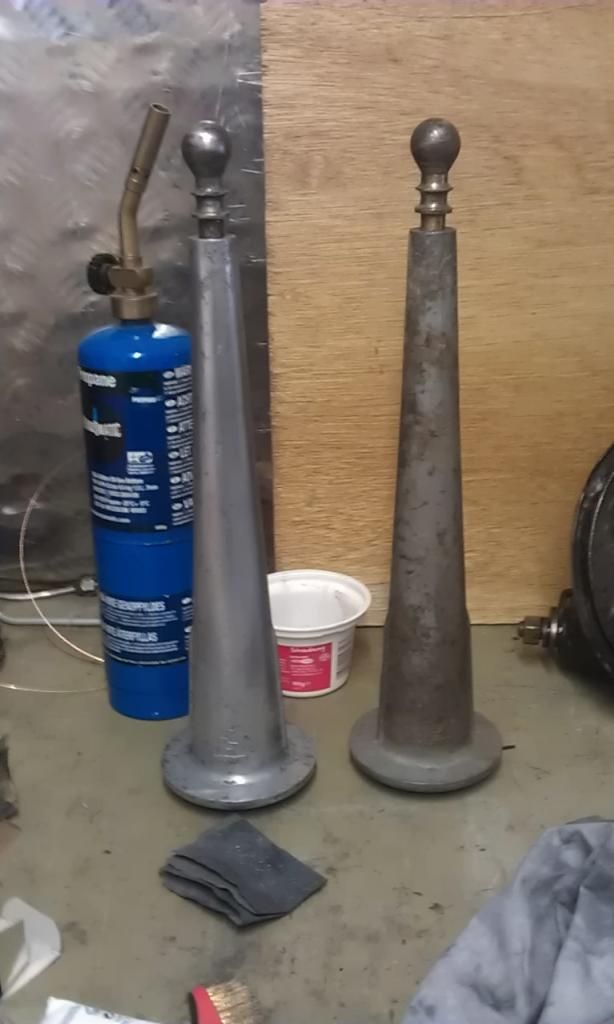
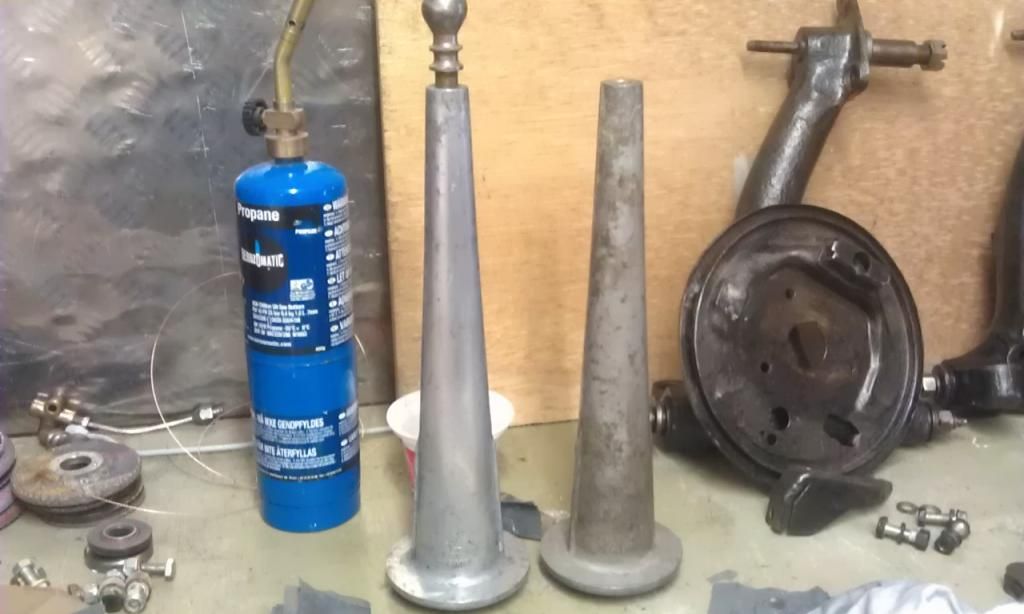
I needed the Blow Gun for my compressor and the polish disc to clean up my Rear Trumpets.


#84 rally515

rally515

    Up Into Fourth

  • Members
  • PipPipPipPipPipPipPipPipPip
  • 3,848 posts
  • Location: ask!

Posted 26 July 2014 - 11:04 PM

Nice bit of work down there, suprised you withstood the heat, I didnt!!


Are you planning on polishing up your Trumpets then (That sounds abit funky :bah: )


Cliff


#85 JonnyAlpha

JonnyAlpha

    Up Into Fourth

  • Members
  • PipPipPipPipPipPipPipPipPip
  • 2,748 posts
  • Location: North Devon
  • Local Club: Exmoor Minis

Posted 27 July 2014 - 08:46 AM

Nice bit of work down there, suprised you withstood the heat, I didnt!!


Are you planning on polishing up your Trumpets then (That sounds abit funky :bah: )


Cliff


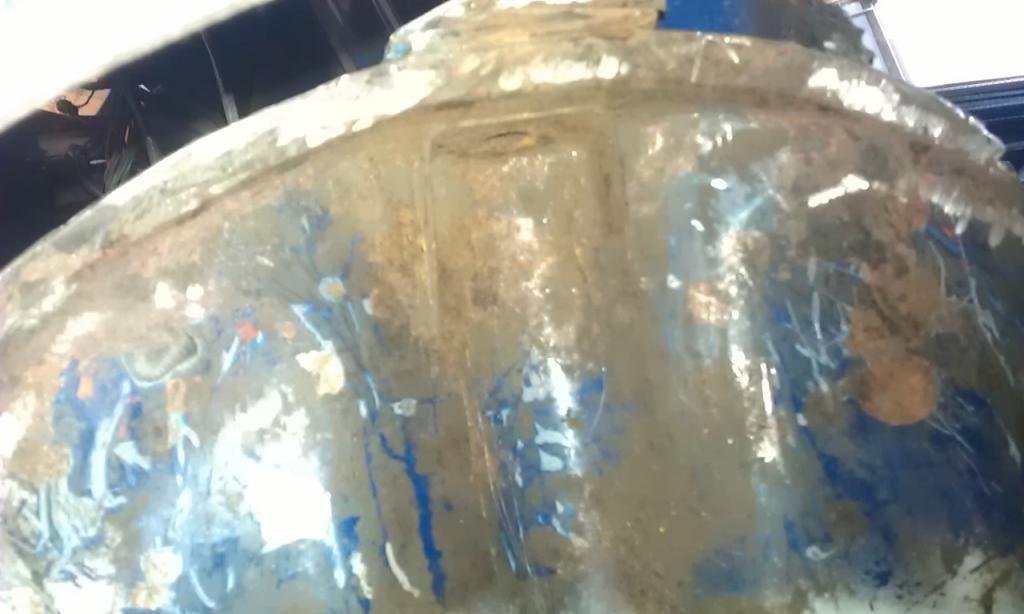
Thanks Cliff - Once I eventually prised the Trumpets out of the Rubbers :-) they had some pretty bad surface corrosion, I have removed the surface corrosion but am left with that black tarnish stain. I am going to try some Arm and Hammer Advance White Toothpaste (Youtube Trick) and give them a going over to see how they come up. If not maybe some proper Ali Polish or they'll have to be painted but i'd rather the polished metal.


#86 JonnyAlpha

JonnyAlpha

    Up Into Fourth

  • Members
  • PipPipPipPipPipPipPipPipPip
  • 2,748 posts
  • Location: North Devon
  • Local Club: Exmoor Minis

Posted 29 July 2014 - 06:59 AM

Some work I did the other day on my Trumpets.


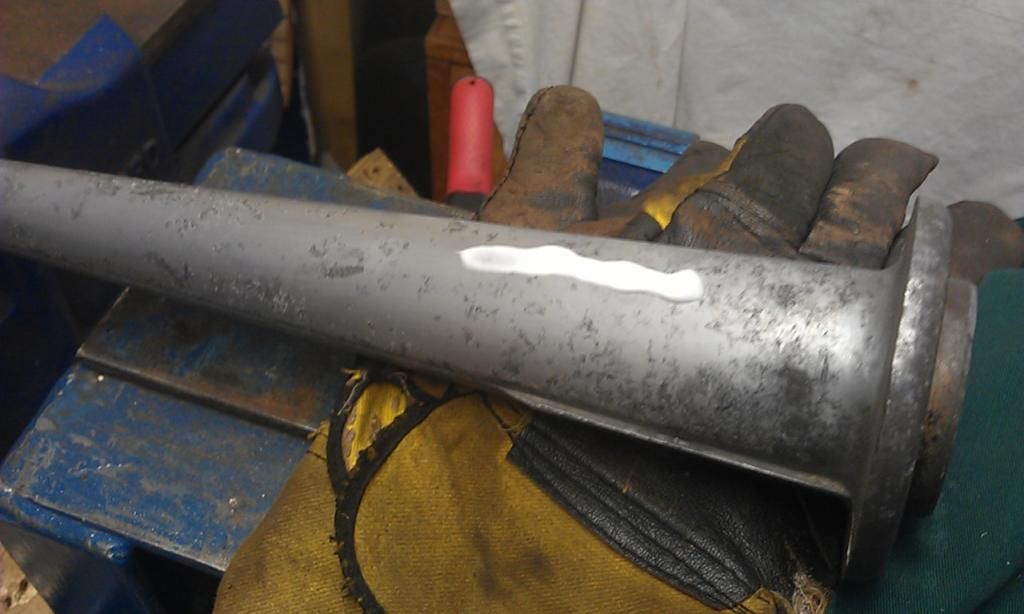
Tried a trick with Arm and Hammer - Advance White Tooth Paste but resorted back to P600 Wet and Dry in the end.


Here's the Toothpaste on one Trumpet that I had already cleaned a little previously:


IMAG6121_zps36c8c440.jpg


And here it is next to the other one after about 15 Mins Elbow Grease:


IMAG6122_zpsbc2d541d.jpg


And after buffing using the old fashioned bike hub method, I held the Trumpet on the floor with my feet and using a sawing action with a piece of rag.


IMAG6123_zps5d33ff87.jpg


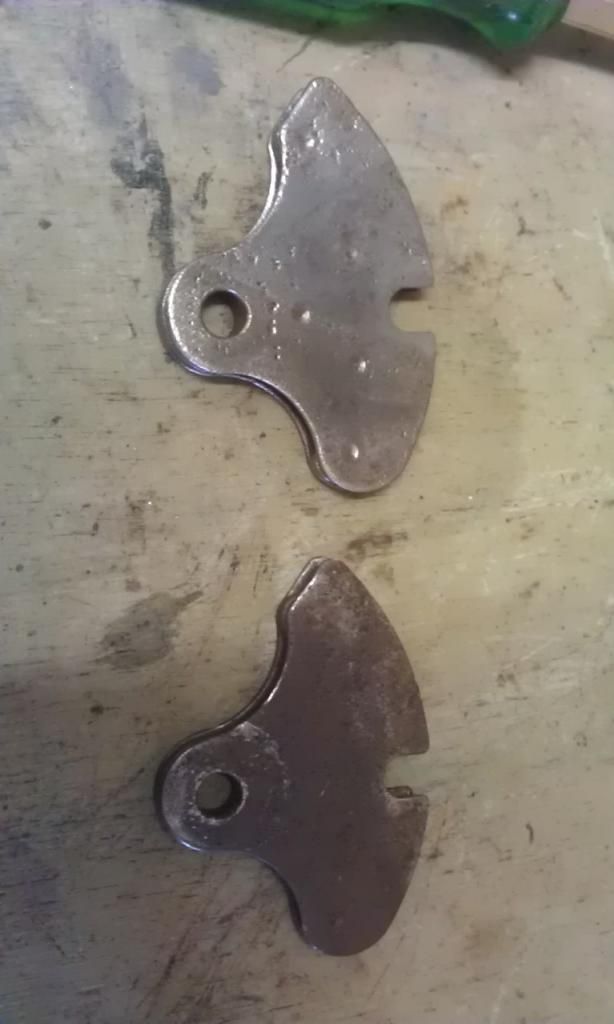
Then I decided to clean up my Handbrake Radius Arm Quadrants ready for painting:


IMAG6124_zpsa1b89e55.jpg


Top ones done bottom is not.


#87 JonnyAlpha

JonnyAlpha

    Up Into Fourth

  • Members
  • PipPipPipPipPipPipPipPipPip
  • 2,748 posts
  • Location: North Devon
  • Local Club: Exmoor Minis

Posted 29 July 2014 - 07:07 AM

Had a bit of a drama yesterday which has set me back (that's two dramas in a couple of days probably because I am rushing to get this finished)


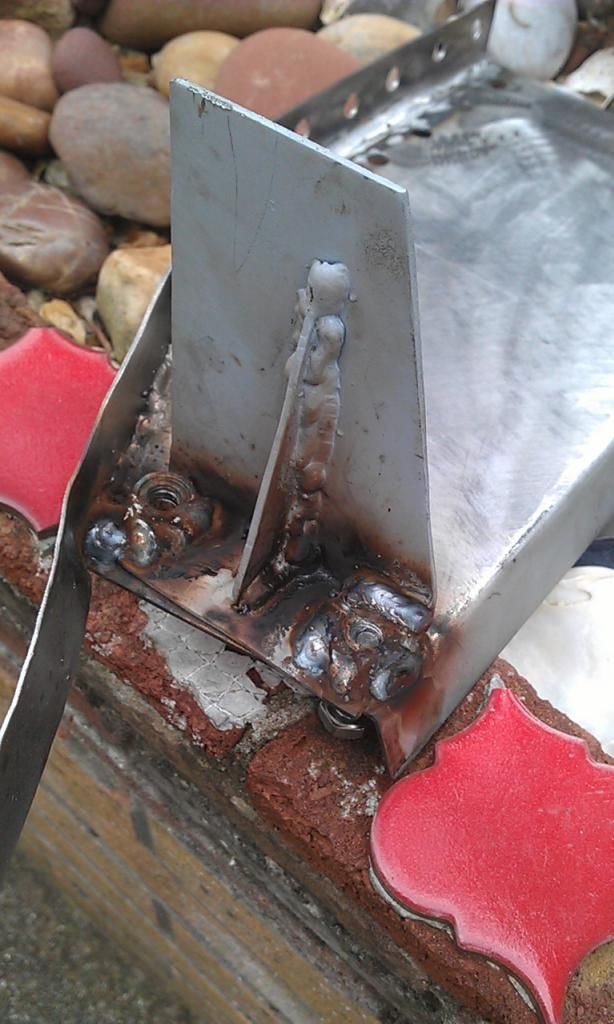
Welding on my DIY Subframe / Inner Sill Re-inforcment Brackets to my modified Mini Spares Heelboard Repair Panel, I overcooked the welds and screwed up the threads on the captive nuts :-(


Here's a link to my frustration and here's the pic of what was a damm good DIY repair piece :-(


IMAG6129_zps82faac76.jpg


So to cool down I cleaned up the Rear Mudguard / Arch that I fitted the other day, a little more welding then painting - still have the RH side one to do:


IMAG6130_zps5c9d4f5a.jpg


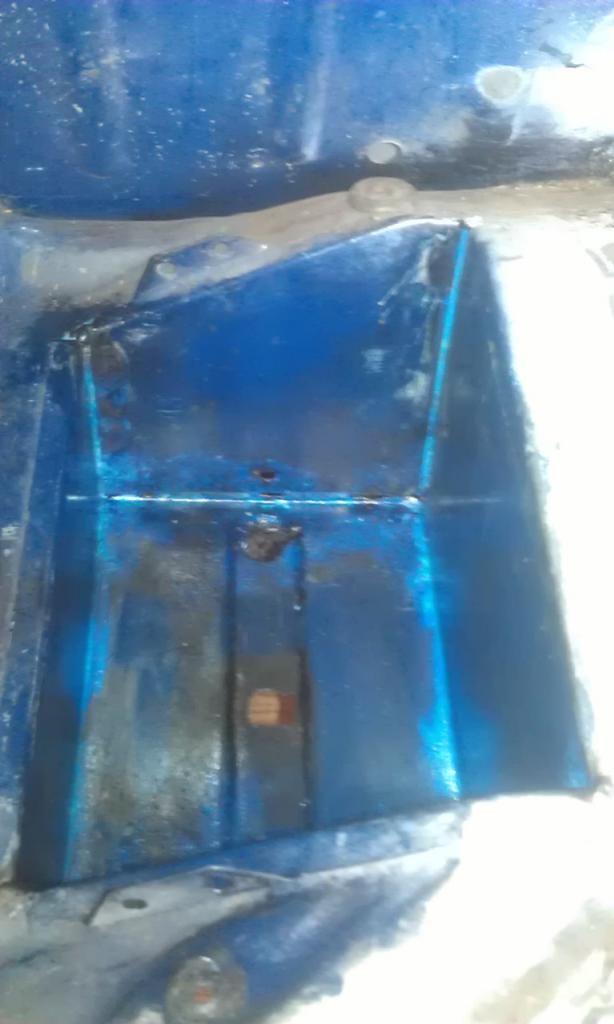
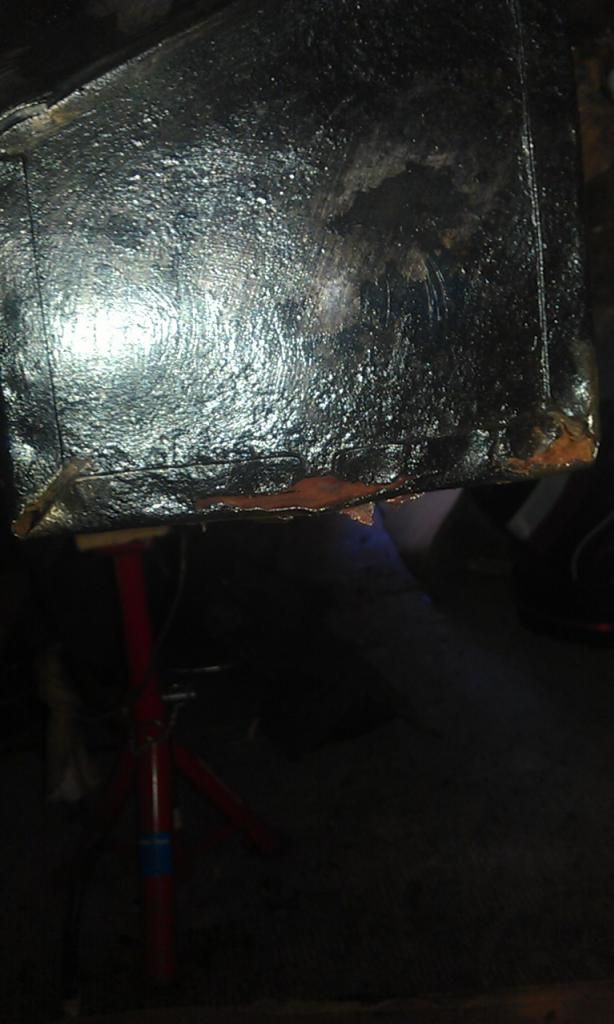
Next I cleaned up the Battery Box and worked out which bits need repairing, scrubbed it up and gave it a coating of Rust Converter:


IMAG6134_zpse55891e3.jpg


IMAG6133_zpsffd86b71.jpg


The front and rear bottom lip need some attention especially. I made the front piece last night, looks pretty good.


#88 JonnyAlpha

JonnyAlpha

    Up Into Fourth

  • Members
  • PipPipPipPipPipPipPipPipPip
  • 2,748 posts
  • Location: North Devon
  • Local Club: Exmoor Minis

Posted 30 July 2014 - 08:40 PM

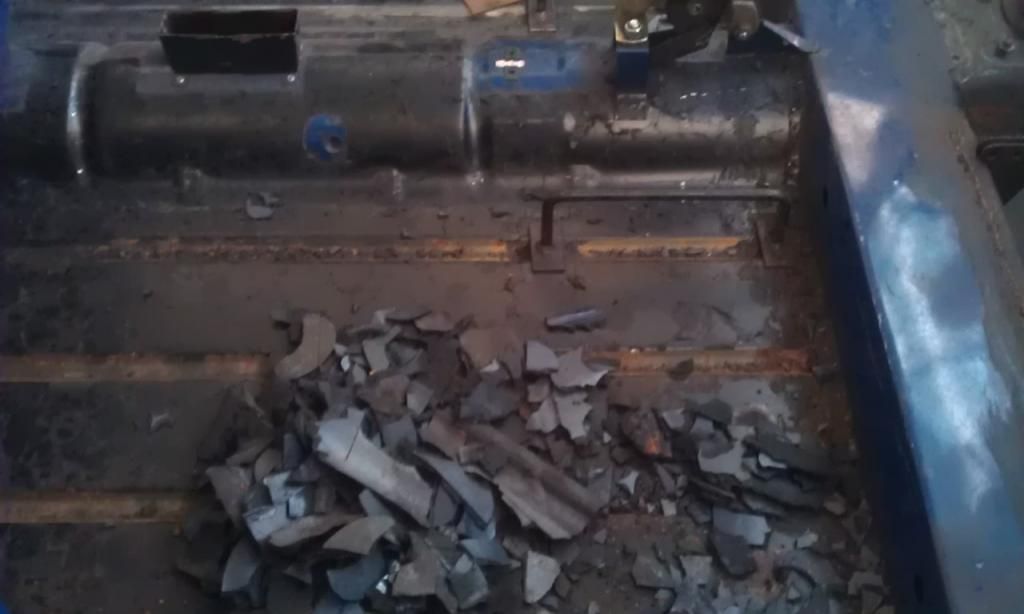
Finished a small repair to one side of the Battery Tray and a little more progress today, first I removed the sound proofing ready to repair the floor and Inner Sill.

Geeze there's a lot of this stuff:


IMAG6154_zps689722d8.jpg


Also I knew I still had the RH side Sill and Rear Arch to tackle but had been putting off, someone had already done a front Floor Pan repair and an Inner Sill repair so I thought it would not be as bad as the LH side but I had my doubts.


It would appear my doubts were right in a way, I started with the Arch, took a while but I managed to cut through a million other repairs leaving the Inner Arch Intact (mainly) with a small piece to repair.


IMAG6173_zps49ec5af7.jpg


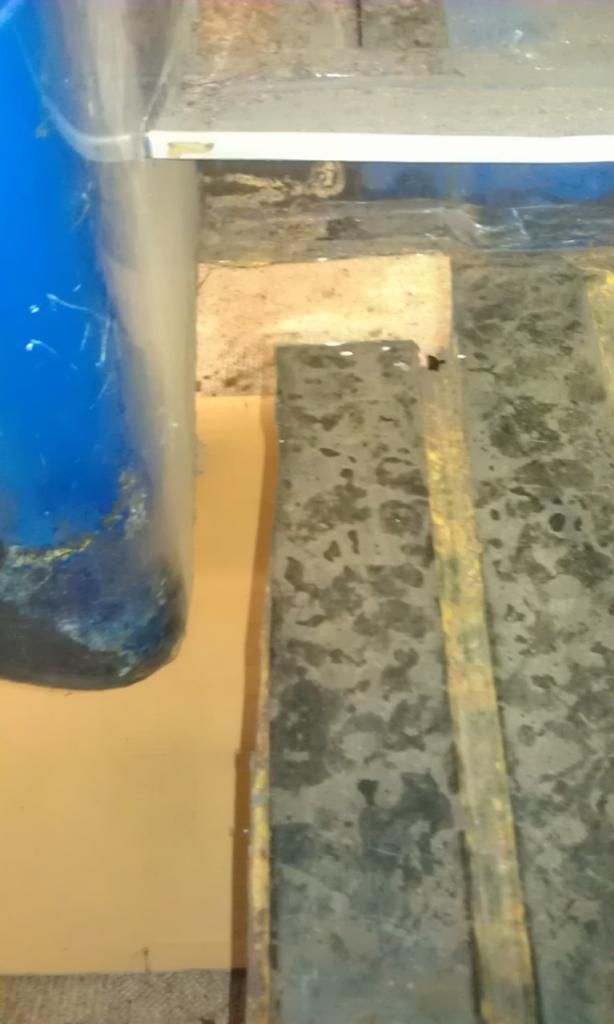
Here's a view from the missing arch looking into the passenger area:


IMAG6175_zps1014eae3.jpg


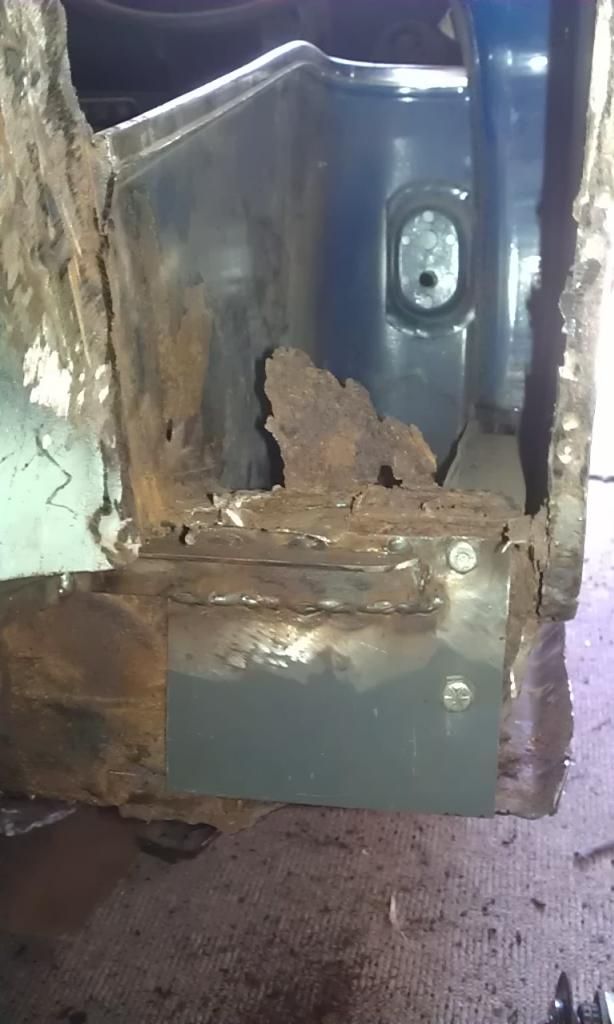
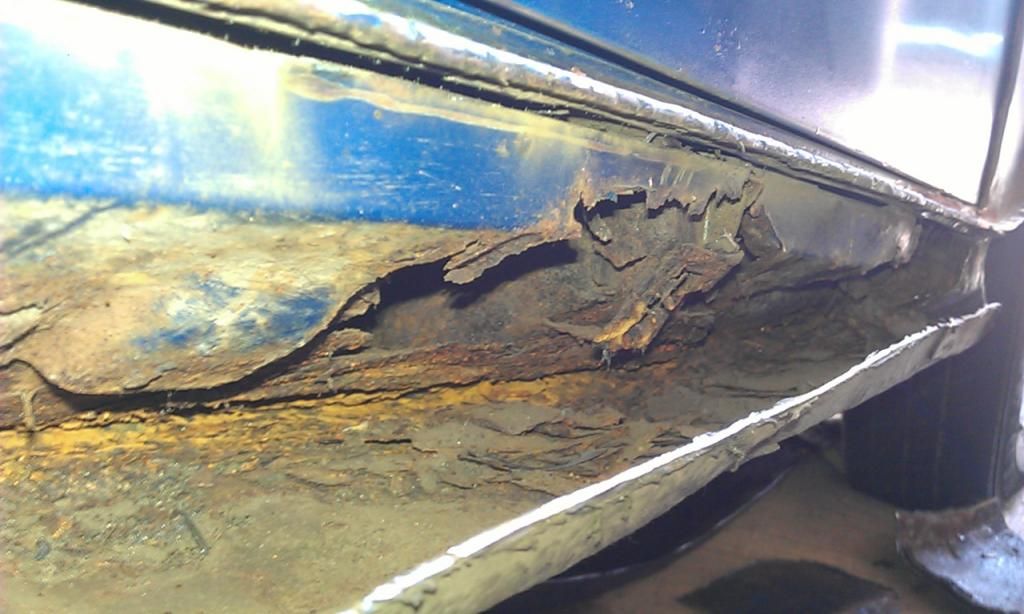
Then I cut off the Over Sill, I wasn't expecting it to be as bad as the LH side as it had had a Floor Pan and Inner Sill Repair Panel however, it would appear that all they did was slap the repair panels over the crud and hid it!!!


This is what I found:


IMAG6177_zps1454c44a.jpg


More tin worm than the RH side.


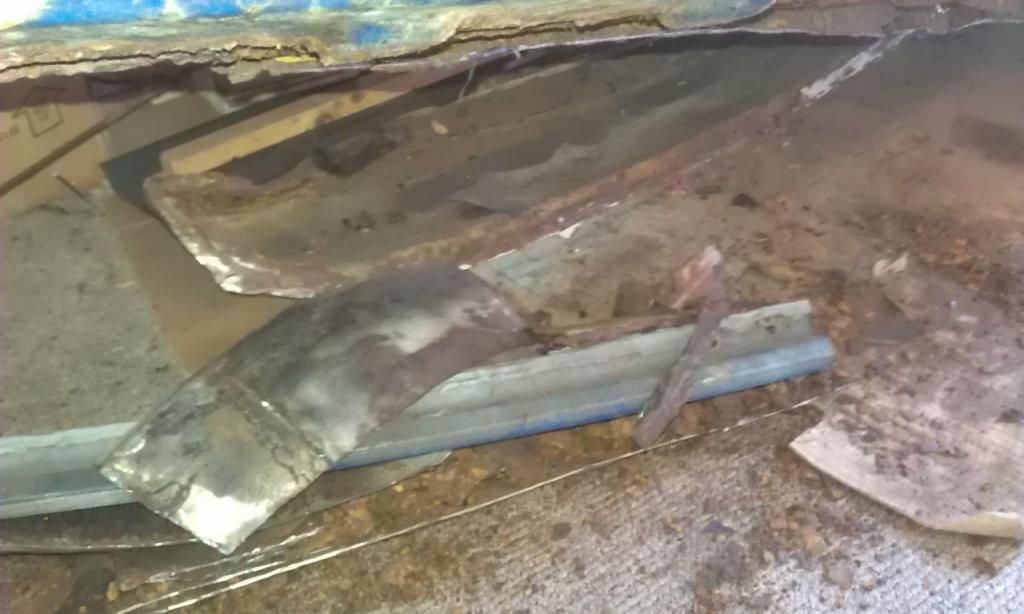
After cutting of the main bits I had a clear up under the Mini and found some of the rear end panels that I cut off a couple of years ago - thought they had been binned??


IMAG6178_zpsdadde836.jpg


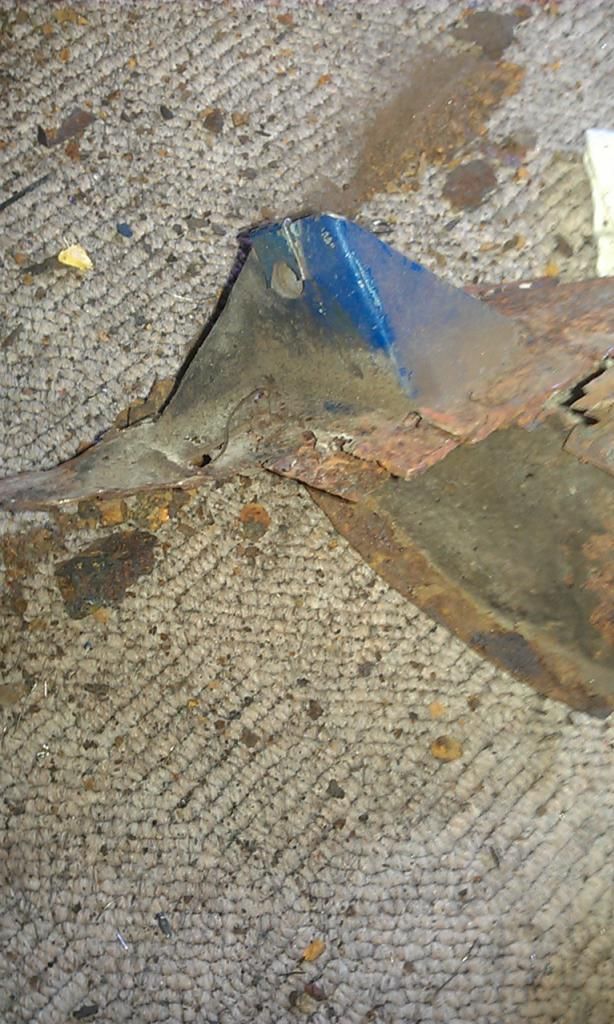
Also found the Fuel Tank securing strap bracket - damm I just ordered a new one from M-Machine :-)


IMAG6180_zpsac327c79.jpg


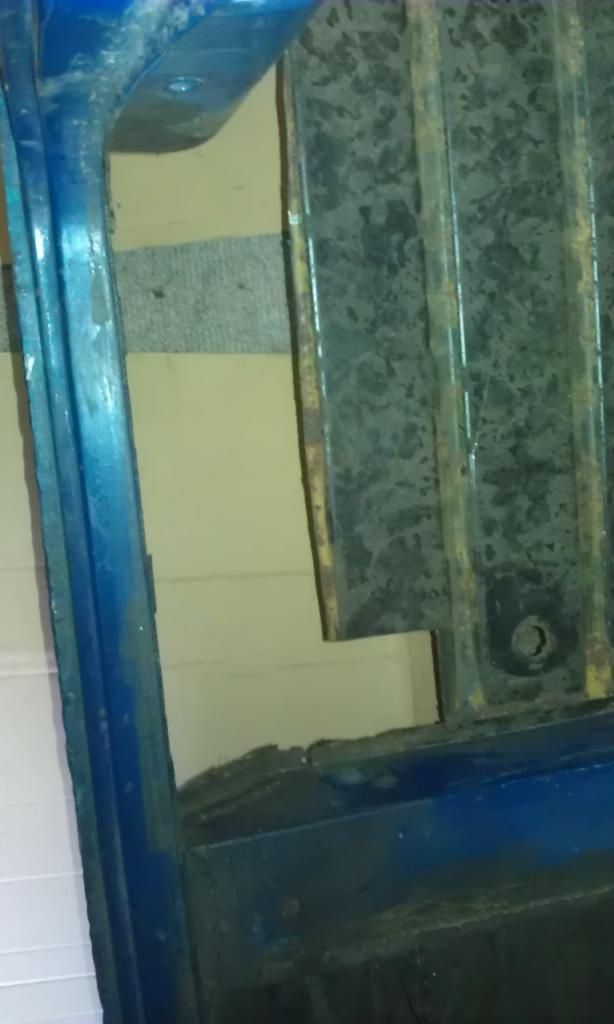
There are now more holes in my Mini but holes instead of rust is progress in my book :-)


IMAG6182_zps863652a1.jpg


IMAG6183_zpse9ef352b.jpg


IMAG6184_zps93b41167.jpg


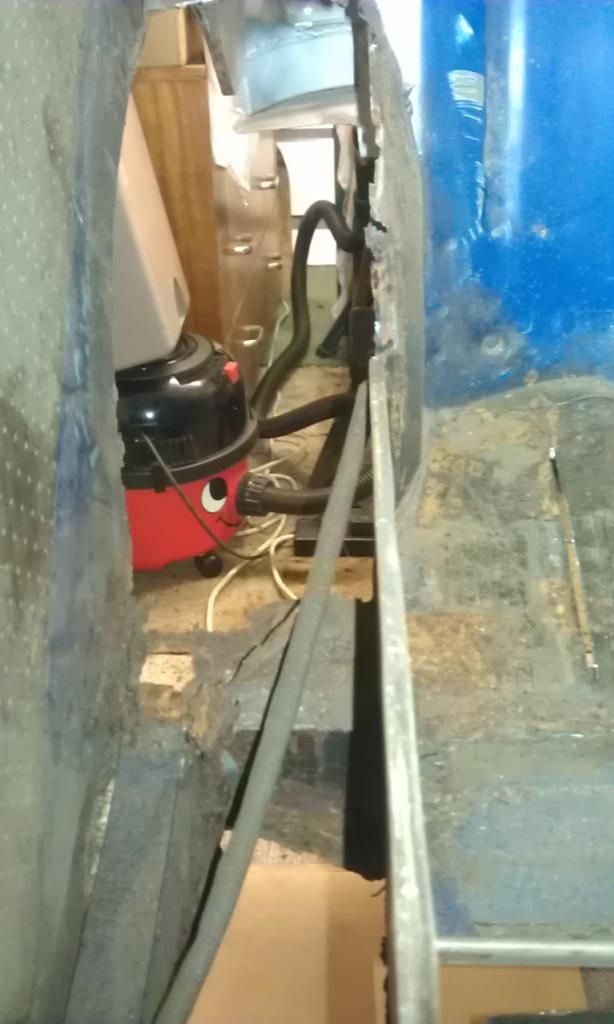
Looking from inside the Mini through the Rear Arch - Hello Henry - its a spare that we acquired that now sits in my garage and gets abused.   


#89 rally515

rally515

    Up Into Fourth

  • Members
  • PipPipPipPipPipPipPipPipPip
  • 3,848 posts
  • Location: ask!

Posted 31 July 2014 - 11:29 PM

Hi Jonny, have you braced the shell there before taking the rusty sill section out ?


#90 JonnyAlpha

JonnyAlpha

    Up Into Fourth

  • Members
  • PipPipPipPipPipPipPipPipPip
  • 2,748 posts
  • Location: North Devon
  • Local Club: Exmoor Minis

Posted 01 August 2014 - 07:38 AM

Hi Jonny, have you braced the shell there before taking the rusty sill section out ?


Funny you should say that :-) When I did the LH side I braced the inside however I also took the front floor pan out, on the RH side the floor pan was staying in as was the inner sill behind the drivers seat.

So as I was not removing as much metal I thought 'No Need' however, after getting a little zealous with the Grinder I removed more than I intended. I had also left the botom RH corner Subframe Mount as I wanted to leave one in place as a reference.


Late yesterday afternoon when lining up the LH Heelboard repair I noticed something was wrong, the metal around the RH Subframe was obviously not as strong as I thought and it had disintegrated and the LH side of the Mini had dropped!!!!


I think I have managed to resolve it by jacking up under the rear seatbelt mounting point to re-align the Subframe Mounts but its a lesson learnt!!!


2 user(s) are reading this topic

0 members, 2 guests, 0 anonymous users