Did it pass?

1982 Austin Mini - Project Who?
#601

Posted 03 November 2016 - 06:34 PM
#602

Posted 03 November 2016 - 06:34 PM
Well after some last minute prep work, like finishing the boot seal clips, securing the battery, splashing a bit of paint around the Front Subframe Tower Bolts I dropped her off at the garage:
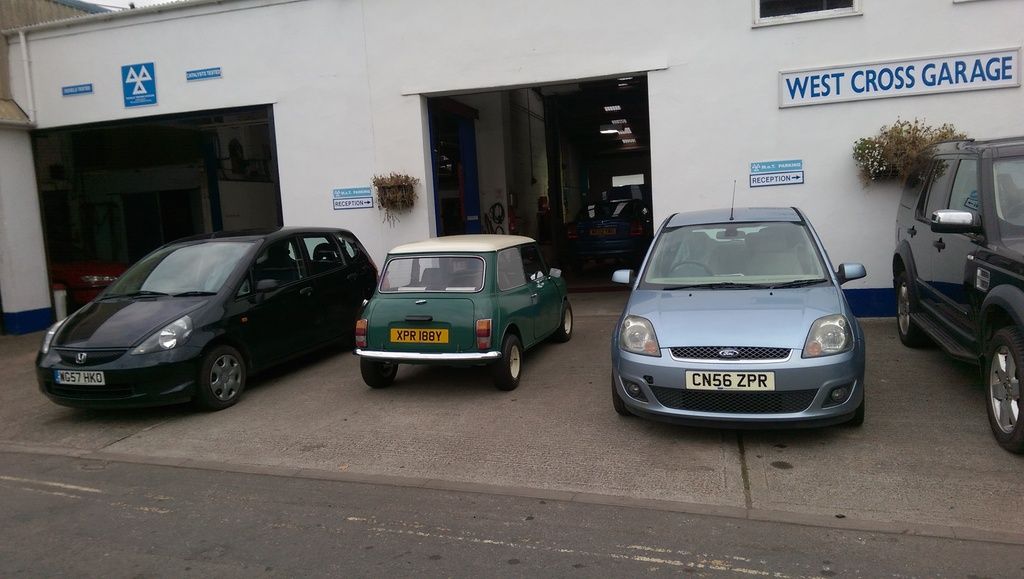
SHE ONLY WENT AND BLOOMIN PASSED - HOW CHUFFED WAS I ![]()
I asked them nicely to do the lights and they did (and charged me £26). MOT cost £54 as well (I thought MOTs were £45)
The only advisories were to fit arches on the front wheels!!
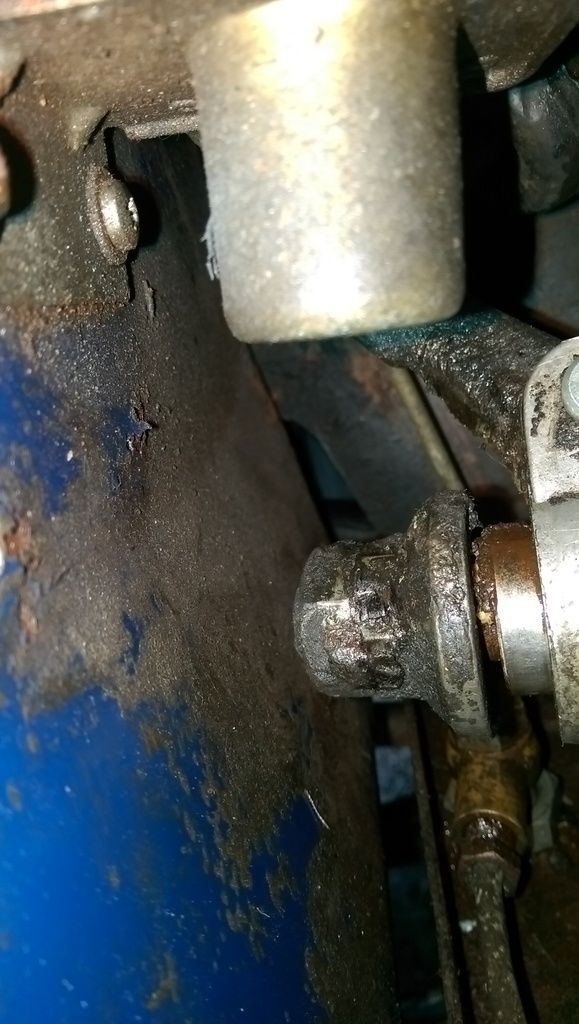
I got a little worried this morning when I looked at the Clutch Thrust spindle (the bit that comes out through the bell housing. It looks like it had come out more than usual as I could see oil on the shaft. I gave it a wiggle and there is a little rotary movement?
The release bearing probably needs replacing anyway so at some point I may lift out the engine (next year job).
Excuse the pic as it shows the embarrassing inside of the Engine Compartment that never got the full resto:
Edited by JonnyAlpha, 03 November 2016 - 06:46 PM.
#603

Posted 03 November 2016 - 06:47 PM
Did it pass?
Well hell yes ![]()
#604

Posted 03 November 2016 - 06:48 PM
Great work mate, If you have nice MOTers then they may adjust your lights for you (leave off the chrome rings). It will fail on the battery not being secure or covered, Easy enough job if you've got the metal bit to bolt it down with and just make a quick cover if you don't have one.
Didn't spot this until afterwards Alex - but funny that as last thing this morning when I had the boot open to fit the last few clips I wondered about the batter and decided to have a look for the battery strap. I was sure it had been thrown away but as luck would have it (and me being hoarder) just like the windscreen wipers I found it. Cleaned it up and bolted down the battery.
Oh good, I seem to keep everything, comes in handy though. I'm guessing it passed?
Oh yeh ![]() Most nervous day I have had in a long time whilst waiting to pick it up
Most nervous day I have had in a long time whilst waiting to pick it up ![]()
#605

Posted 03 November 2016 - 06:50 PM
Hello, just read your thread, good work!
Mine passed it's MOT with a good inch of tread sticking out, I didn't have it tested, but apparently the tester said it was fine so long as he couldn't see the first radial groove. I don't think that's right, but it's another example of those tyres being passable.
The only thing I noticed was your soldering of the wiring, I thought you were supposed to crimp as soldering makes the copper brittle and it then can fail through the vibrations from driving.
She passed the MOT ![]() and I received an advisory ref the front arches (or lack of).
and I received an advisory ref the front arches (or lack of).
Which soldering in particular. Most of the bullet connectors I have fitted I have soldered and crimped (sort of belts n braces approach) some of the bullets I have been unable to solder though.
#606

Posted 03 November 2016 - 07:00 PM
congratulations!
£26 to adjust the headlamps.... daylight robbery.
Beep Beep ![]()
#607

Posted 03 November 2016 - 10:13 PM
Hello, just read your thread, good work!
Mine passed it's MOT with a good inch of tread sticking out, I didn't have it tested, but apparently the tester said it was fine so long as he couldn't see the first radial groove. I don't think that's right, but it's another example of those tyres being passable.
The only thing I noticed was your soldering of the wiring, I thought you were supposed to crimp as soldering makes the copper brittle and it then can fail through the vibrations from driving.
She passed the MOT
and I received an advisory ref the front arches (or lack of).
Which soldering in particular. Most of the bullet connectors I have fitted I have soldered and crimped (sort of belts n braces approach) some of the bullets I have been unable to solder though.
I just saw one of your pictures you'd soldered a connector. When I was wiring my car up a few years ago the consensus was not to solder because it makes the copper wire brittle. I remembered because I tried to refit a few wires that had come off under the bonnet of my new car and realised they'd been soldered and the wires had then snapped off. No idea how much of a problem it is as I've always crimped and I don't know how old the soldering on my new car is.
#608

Posted 04 November 2016 - 10:16 AM
I just saw one of your pictures you'd soldered a connector. When I was wiring my car up a few years ago the consensus was not to solder because it makes the copper wire brittle. I remembered because I tried to refit a few wires that had come off under the bonnet of my new car and realised they'd been soldered and the wires had then snapped off. No idea how much of a problem it is as I've always crimped and I don't know how old the soldering on my new car is.
Ah yes - that was the spade connector at the fuse box. The connection had snapped off and cleaning up and soldering it on seemed the only way to repair it. I guess I could have crimped on a new spade connector. Hoping to replace the fuse box next year.
#609

Posted 05 November 2016 - 08:22 PM
Took the car for its first spin this morning and then picked the wife up from work - she is now finding the car fun ![]()
In between trips I did an oil change, changed the Oil Filter:
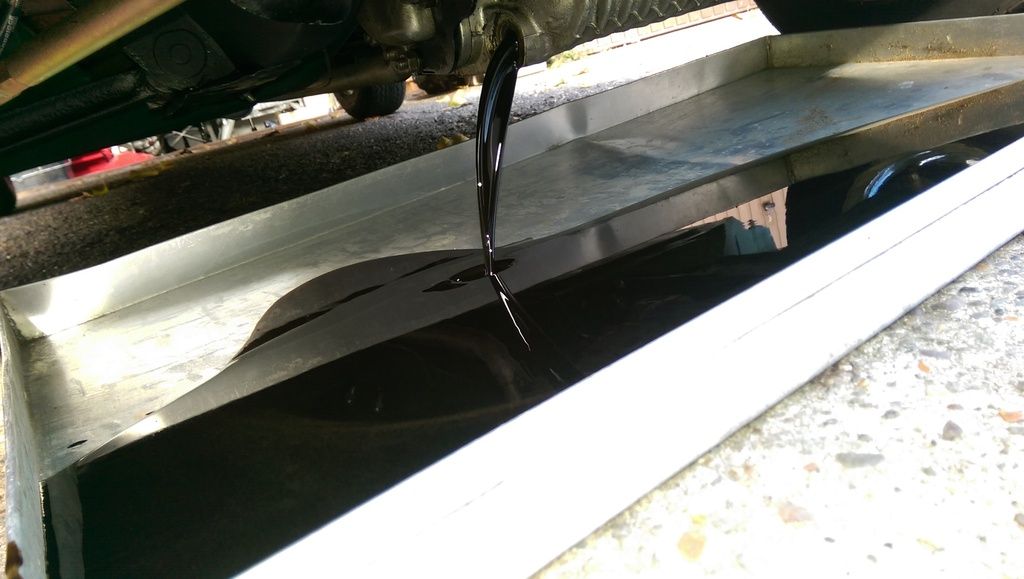
Had trouble getting the Filter off not having a wrench so resorted to stabbing it with a screwdriver!!
Here's the new one:
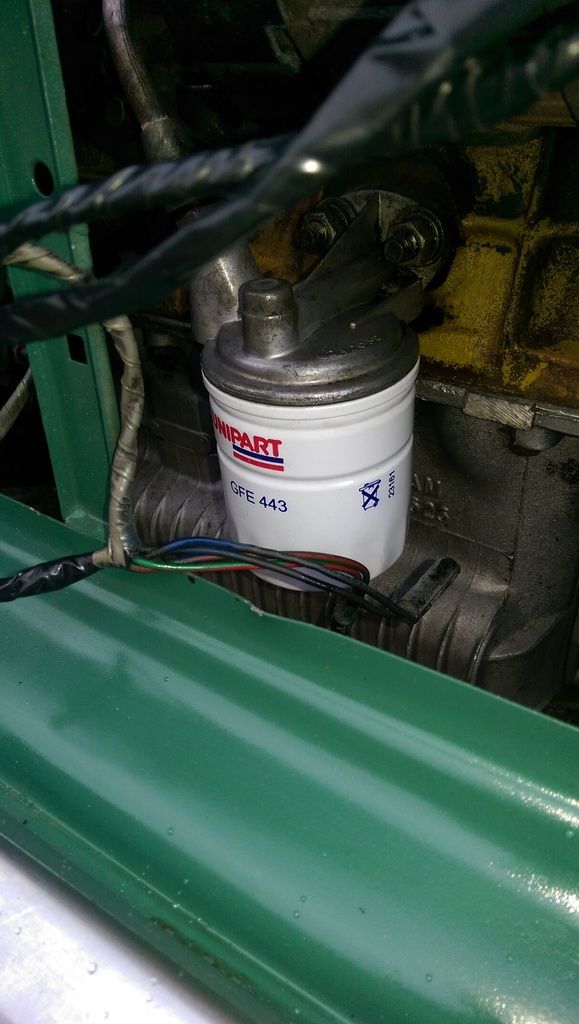
As I had to take the grill off to change the Oil Filter I installed some RIvNuts to hold the grill on.
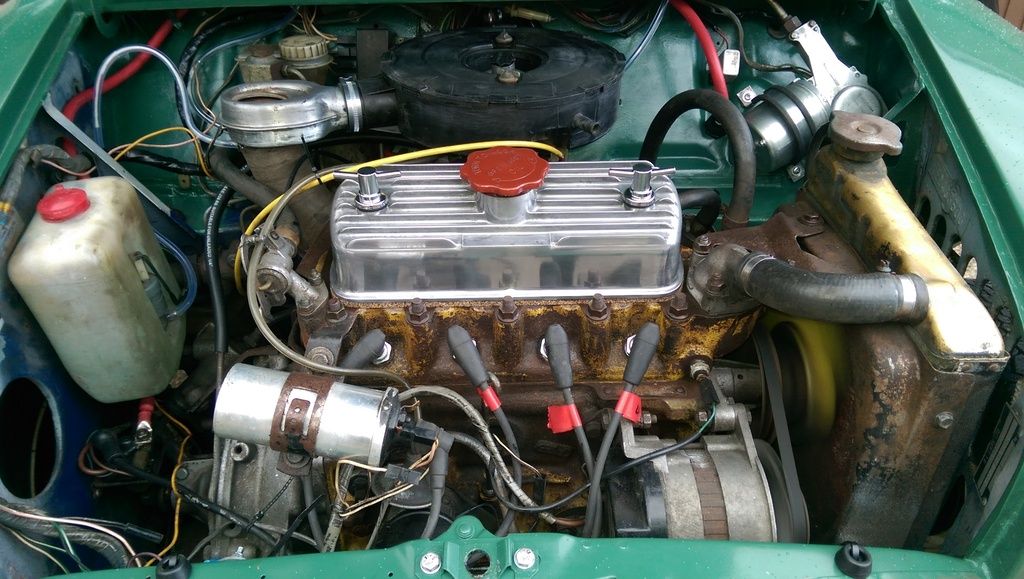
Changed the Air Filter as well.
I cleaned up the Air filter housing and the warm air extractor and fitted the Metro Rocker Cover and new T Bars from WP:
Then tried to fit the Upper Dash but didn't have much time but gave up. I could not get it far enough forward because of the Windscreen Rubber.
#610

Posted 05 November 2016 - 09:49 PM
Then tried to fit the Upper Dash but didn't have much time but gave up. I could not get it far enough forward because of the Windscreen Rubber.
A mini i did last year at work had new screen rubbers after a respray.
When it came to MOTing it, there was a small hole found in one of the scuttle closing panels so the top dash trim had to come out to weld in a new closer.
I ended up taking the screen back out to get the dash trim out because the new rubber was too thick to get it past.
So you having fun in the Mini then?
#611

Posted 12 November 2016 - 09:39 AM
Then tried to fit the Upper Dash but didn't have much time but gave up. I could not get it far enough forward because of the Windscreen Rubber.
A mini i did last year at work had new screen rubbers after a respray.
When it came to MOTing it, there was a small hole found in one of the scuttle closing panels so the top dash trim had to come out to weld in a new closer.
I ended up taking the screen back out to get the dash trim out because the new rubber was too thick to get it past.
So you having fun in the Mini then?
Definitely won't be taking the screen out ![]()
Yes it's great fun - only been out a few times when it's dry and sunny!! Rattles everywhere to fix!! Something also feels a bit loose under the front end when going over bumpy surfaces. Passed the MOT though so I am not sure what it could be?
#612

Posted 12 November 2016 - 09:59 AM
OK so a box arrived in the week:
Ah ha my new front seat covers as supplied by JCS Custom Trim Ltd.
On opening the box I was very happy with the quality of these covers:
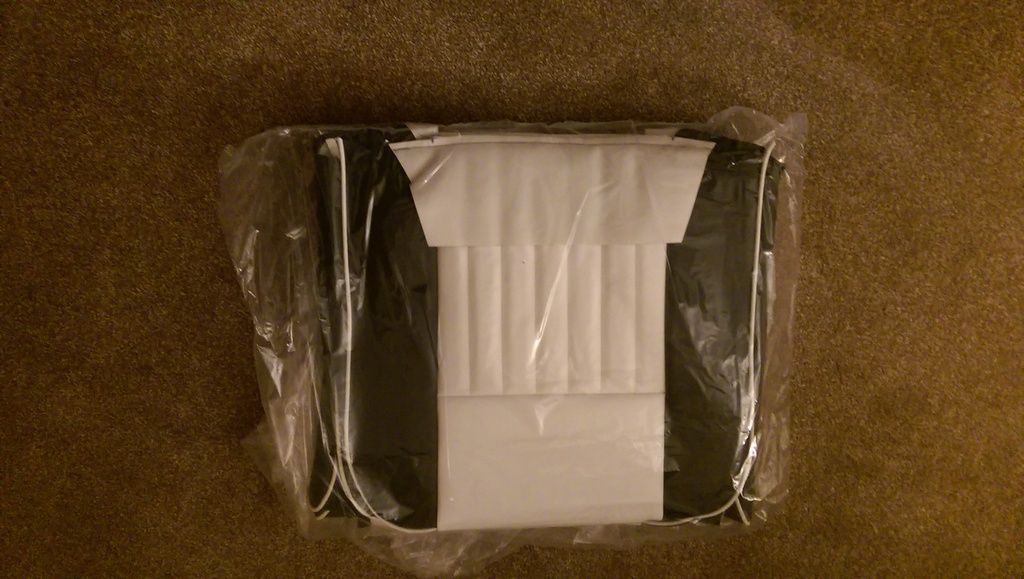
Not sure if Jon has a web site but he has a Facebook page here and I found him through this forum from an old thread here. The covers where £160 for two front non headrest reclining seats + £20 postage and on looking around this is very reasonable and compared to a local quote of £450 an absolute bargain ![]()
Finally yesterday I managed to get some time to clean up the seat frames:
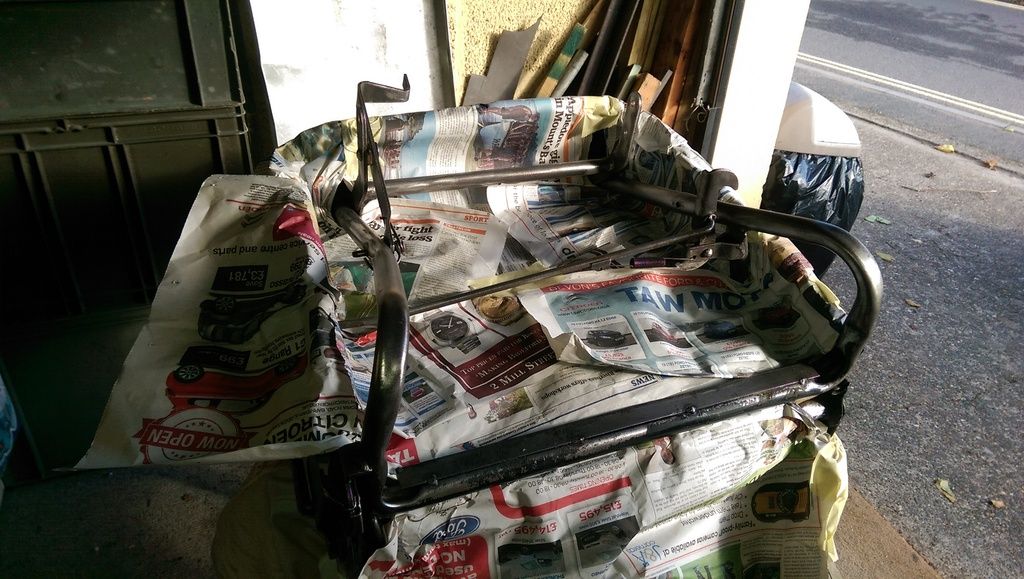
Then prime them and splash some paint on:
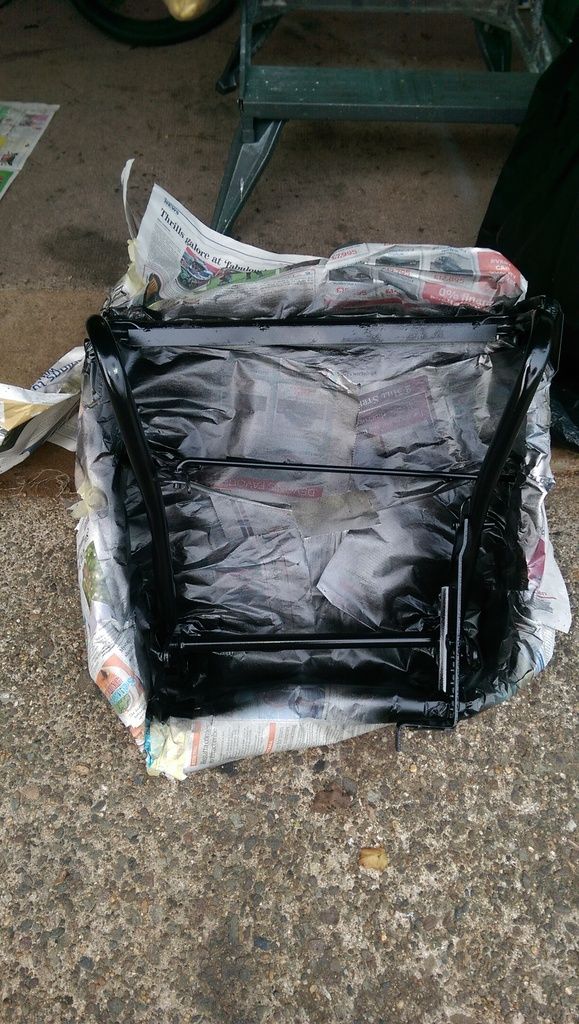
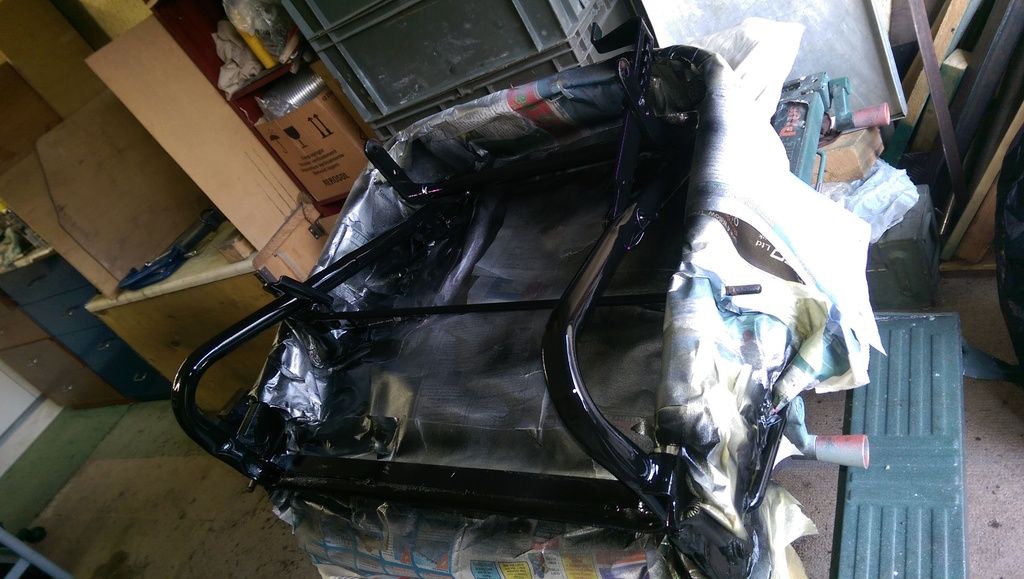
First cover partially fitted (only a couple of clips) but they look greeeeaaatttt!!!
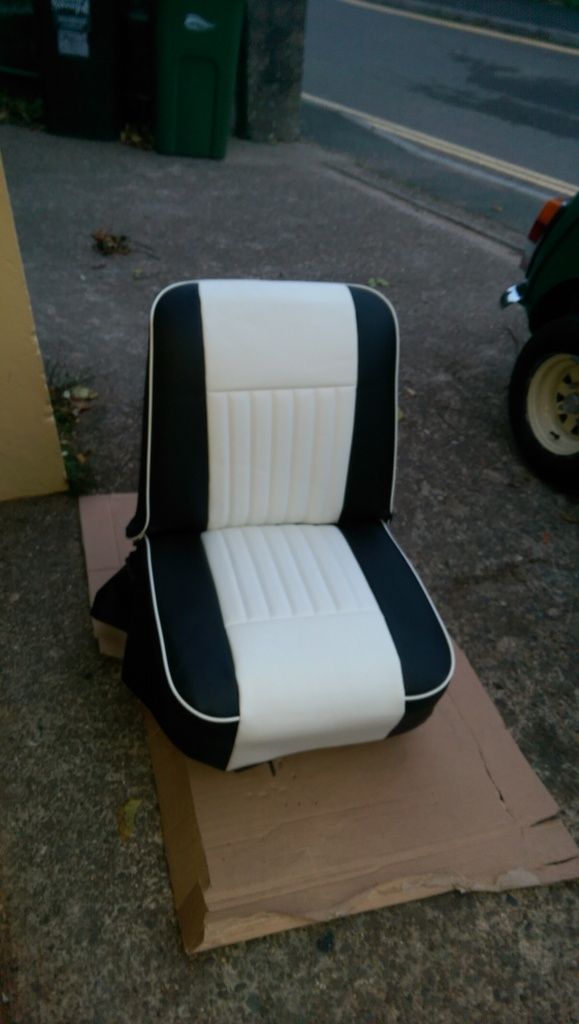
Only seems a shame to have to cut a small hole in the side for the seat release knob and I think a couple more in the side where they rivet to the hinges?
I have the clips for securing the covers onto the flat plates on the frame but I think I am missing some ring shaped clamps for holding the back cover onto one of the lower bars?
#613

Posted 12 November 2016 - 10:53 AM
Looking good ,appears to be quite a few of us at the trimming part of our restos,
as you say pity we have to cut holes in nice new upholstery, your lucky only to have
a couple, when I picked up my kit I got all the Hog clips wires and seat base clips
supplied ! Happy Days
#614

Posted 12 November 2016 - 07:19 PM
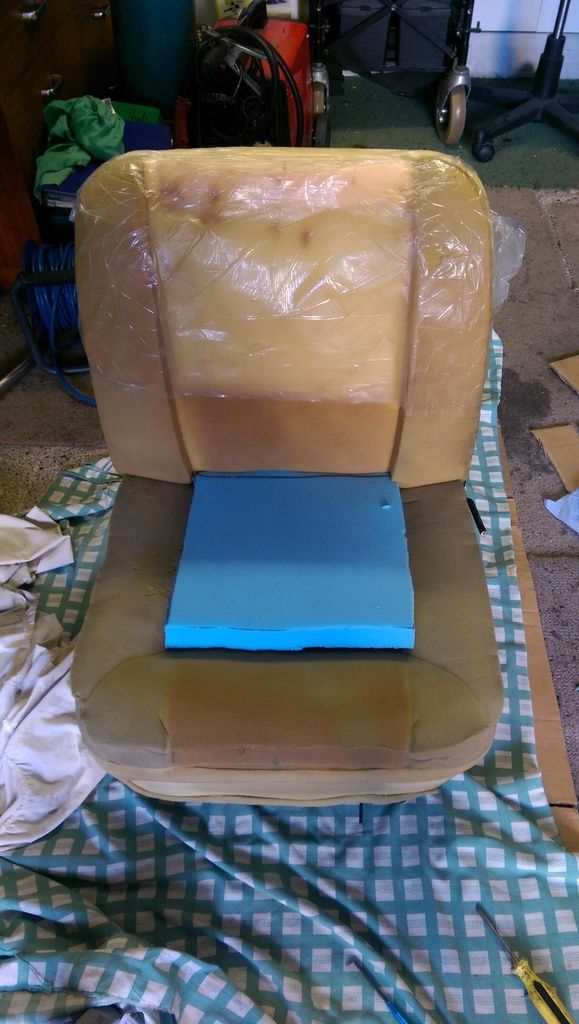
So I fitted both seat covers and thought I do a pictorial guide:
First I added some extra foam:
First on goes the base:
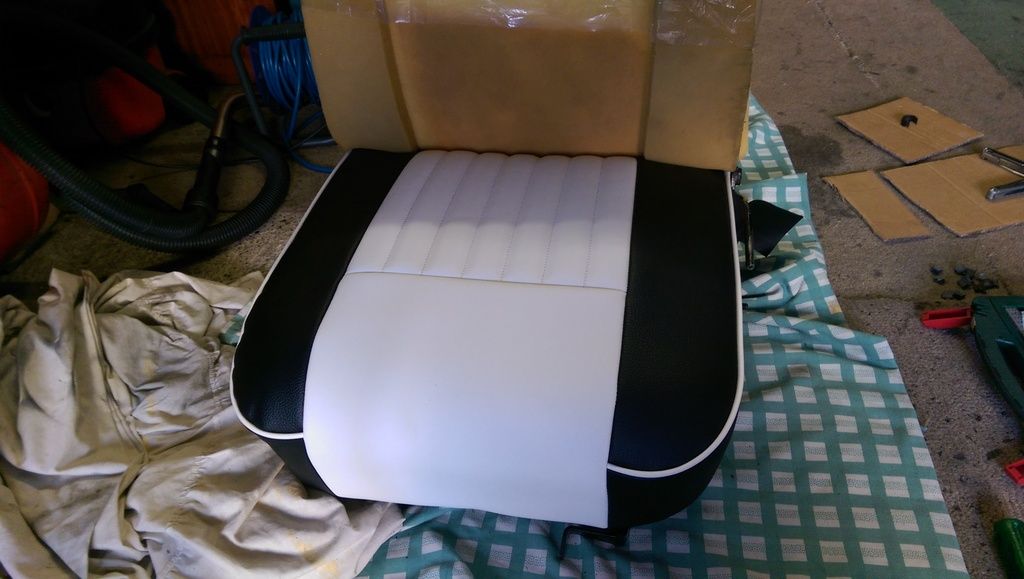
Once the cover was roughly in the correct position I stretched it from the front and back and held it in place with one clip (front and back):
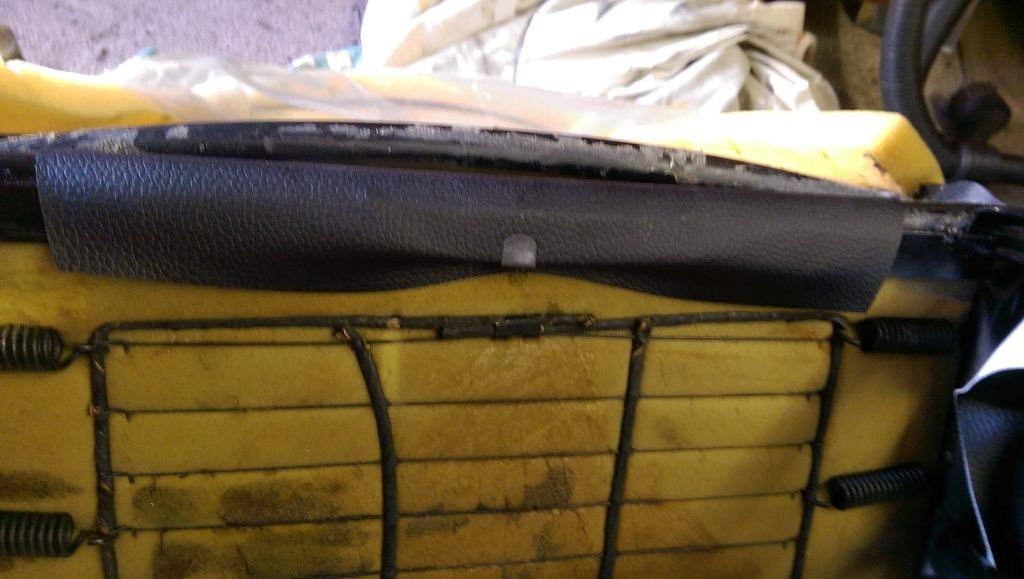
Then I put a couple of clips on either side and then added the rest of the clips on the front back and sides:
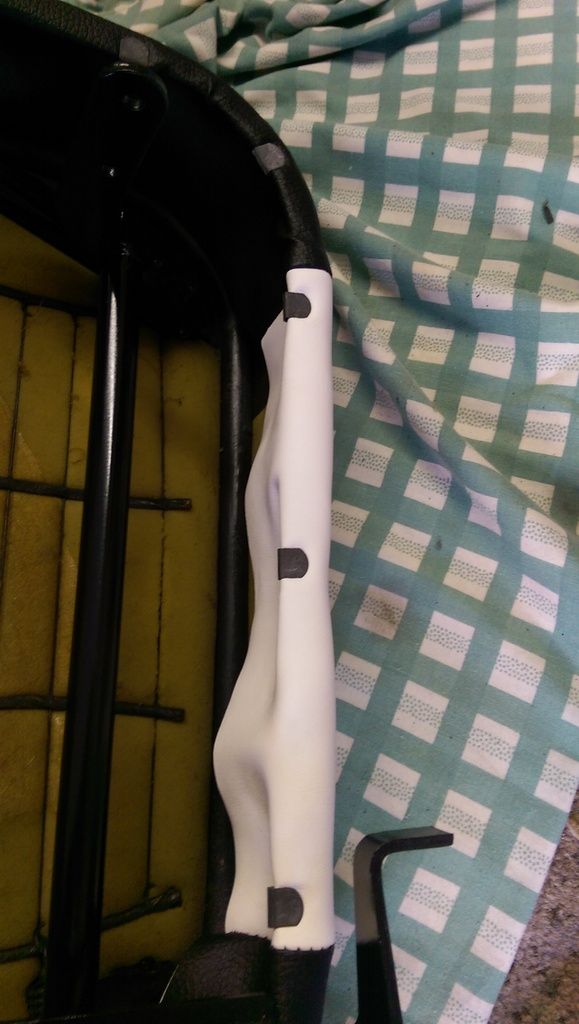
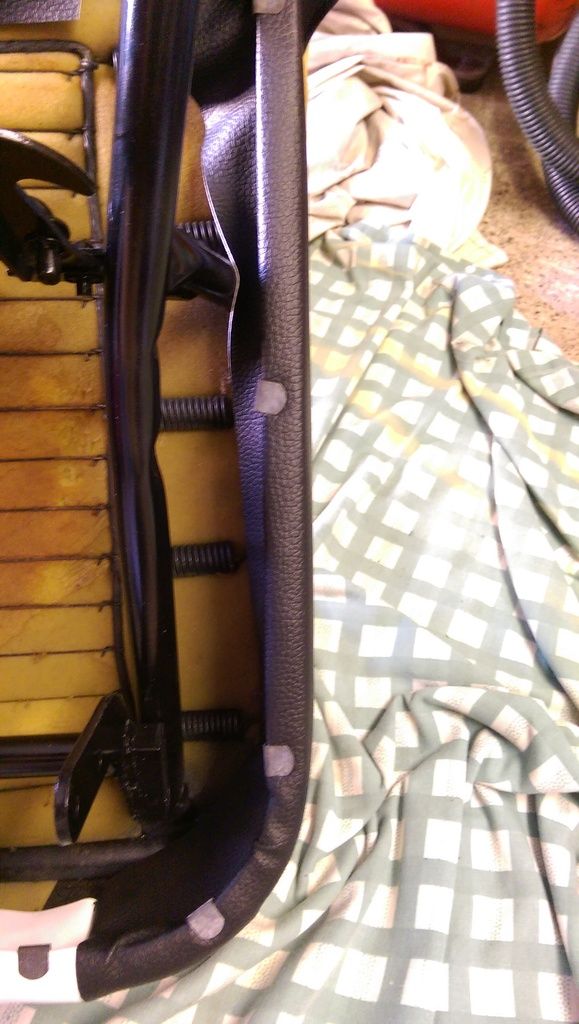
Then I put the back on and pulled it down at the sides and then wrapped the flaps at the bottom around the lower bar.
Job done (less some additional clips that I don't have):
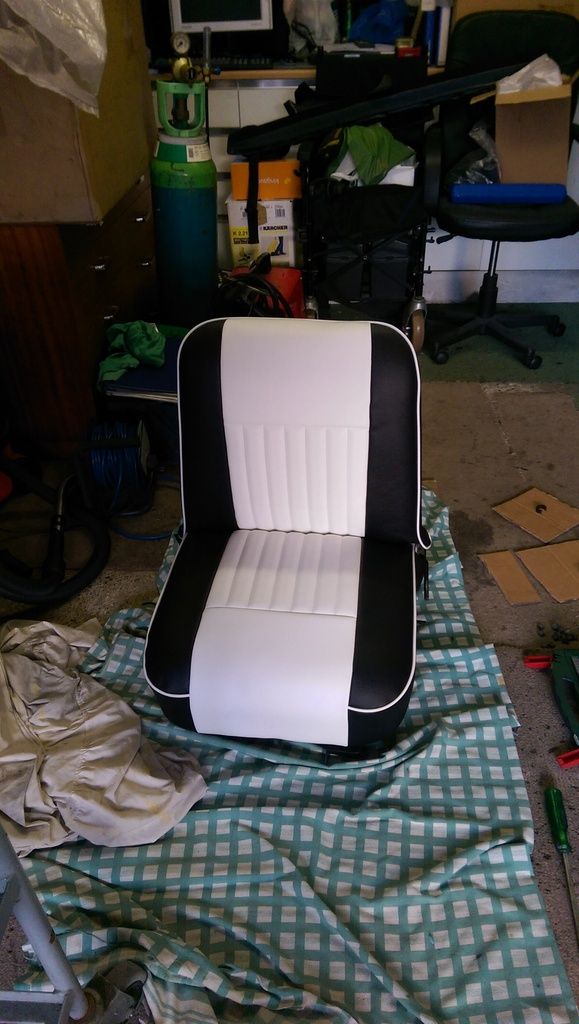
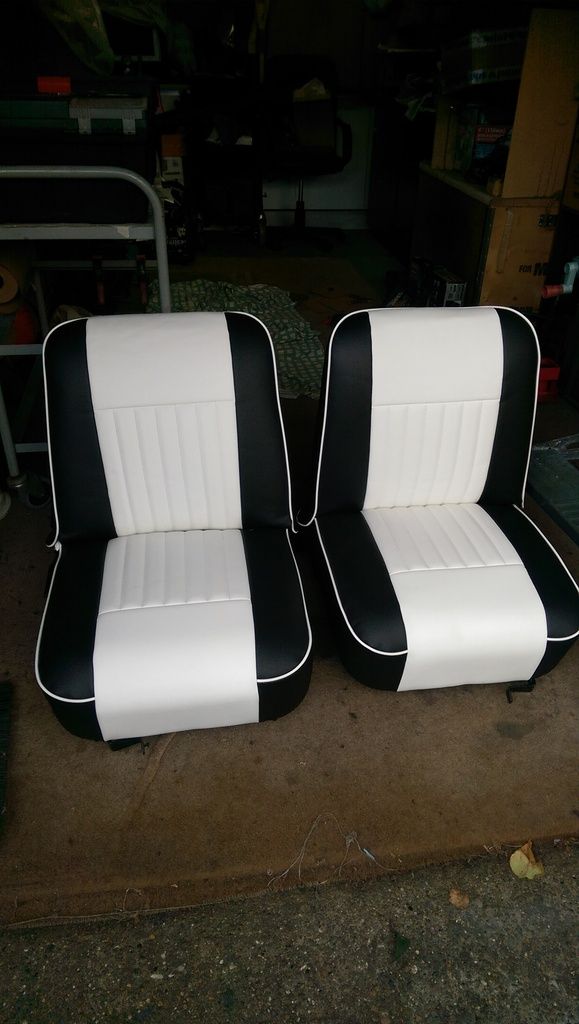
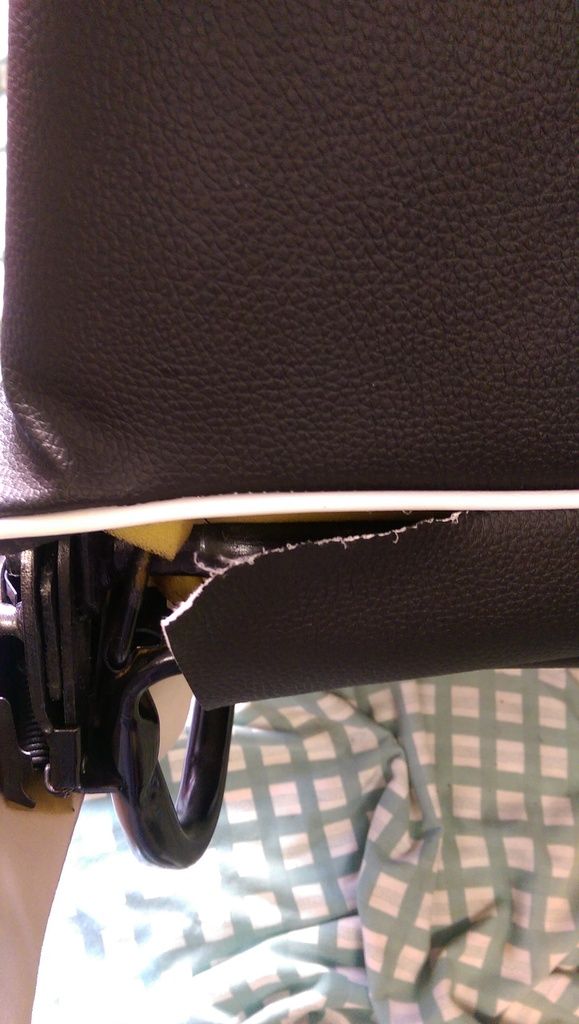
The only drama I had was that I managed to tear the bottom of the rear flap - good news is Jon has offered to repair it for free.
#615

Posted 16 November 2016 - 08:10 PM
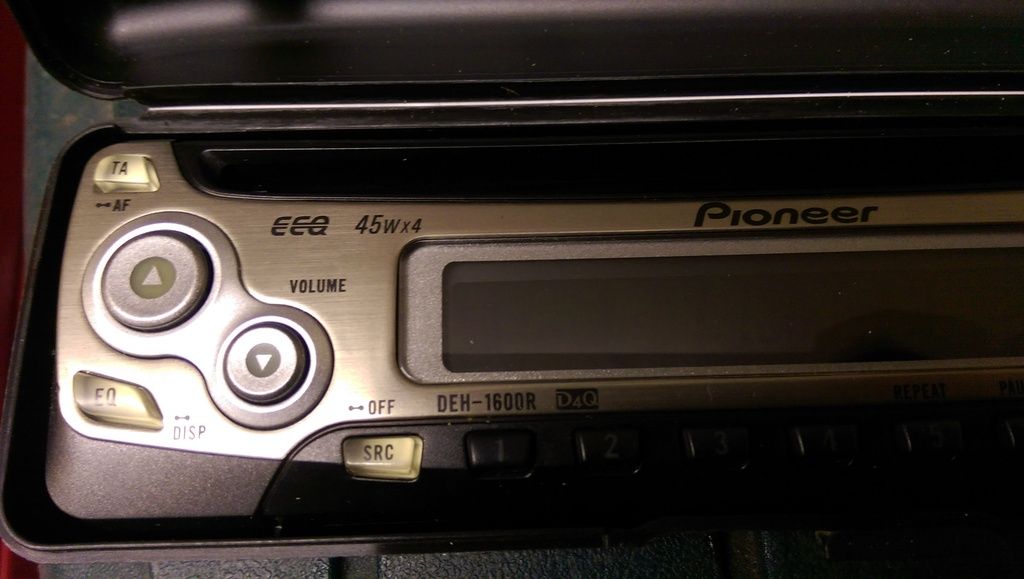
Dug out the Stereo that came with the car, it's quite a good Stereo but sadly does not have an Aux In which I could do with for my intended Multimedia project.
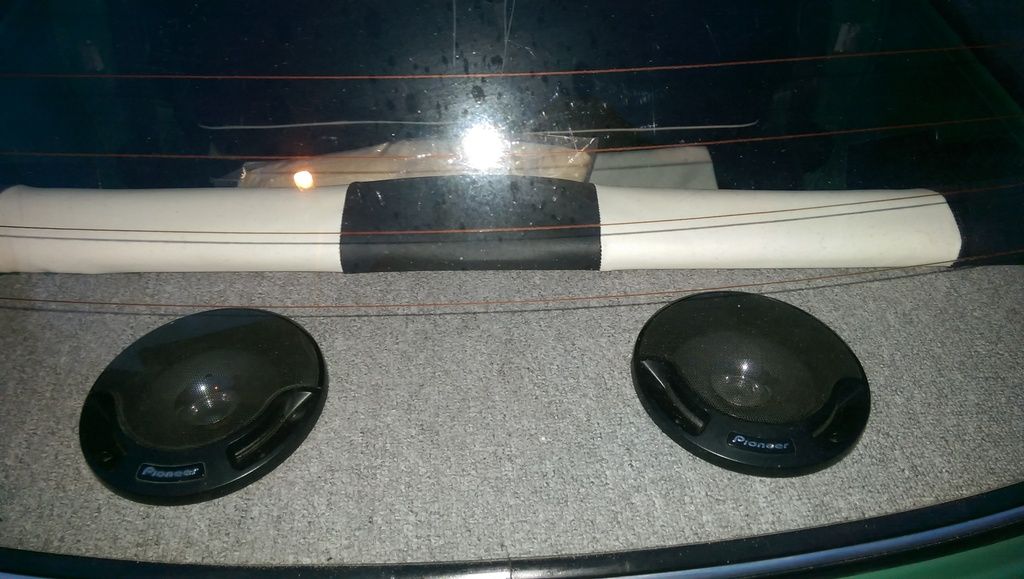
Loosely fitted the speakers, I need to find a way of securing them though.
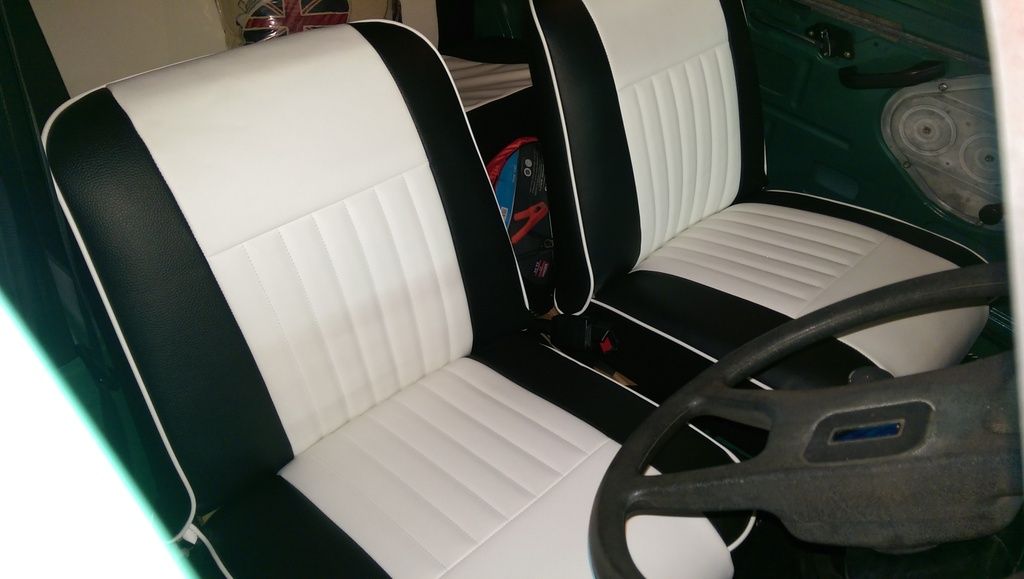
And today I managed to fit some more soundproofing to the front foot wells and got the front seats in - don't they look fab.
2 user(s) are reading this topic
0 members, 1 guests, 0 anonymous users
-
Bing (1)


