I have got a lip somewhere that was drilled off of a new bonnet.
Want me to try and fish it out?
Yes please Ben
Ill do my best. My shed is a bit of a nightmare though so might not be right away

Posted 24 September 2016 - 08:35 PM
I have got a lip somewhere that was drilled off of a new bonnet.
Want me to try and fish it out?
Yes please Ben
Ill do my best. My shed is a bit of a nightmare though so might not be right away
Posted 24 September 2016 - 09:15 PM
Posted 24 September 2016 - 10:11 PM
Looks good with the mk1 bonnet!!! You can pick up decent second hand grills at autojumbles usually but that means waiting for the next one!
Why bother with second-hand ones, when you can pick up a brand new stainless steel mk1 grill for £50 from the shows.
Posted 28 September 2016 - 03:47 PM
I have got a lip somewhere that was drilled off of a new bonnet.
Want me to try and fish it out?
Yes please Ben
Ill do my best. My shed is a bit of a nightmare though so might not be right away
Thanks Ben - no rush - until I get hold of a Mk1 Grill I will bolt on the Lip so that it is removable ![]()
Posted 03 October 2016 - 08:45 PM
Well I am back at it an am desperately trying to get this finished and MOT'd (I'm sure I said that many times before).
These last few jobs are just taking for ever.
As you can see I finished repairing the RH door and opted for a new skin on the LH door (should be arriving tomorrow). I need to repair the bottom of the door but want to use the skin as a measure?
The last few days I have been trying to work on the front end mechanics, Brakes, Engine Mounts, Front Rear Subframe Mounts, Tie Rods etc but it has been really hard. In hindsight taking out the Subframe and Engine would have made things so much easier but I just don't have the room The car would need to be in the garage and the rest outside!! And with the car in the garage I would not be able to get at my tools!!
Clean Up
I started by cleaning up the wheel station - I have given the whole thing a Jet Wash the other day but there was still loads of grime hanging around:
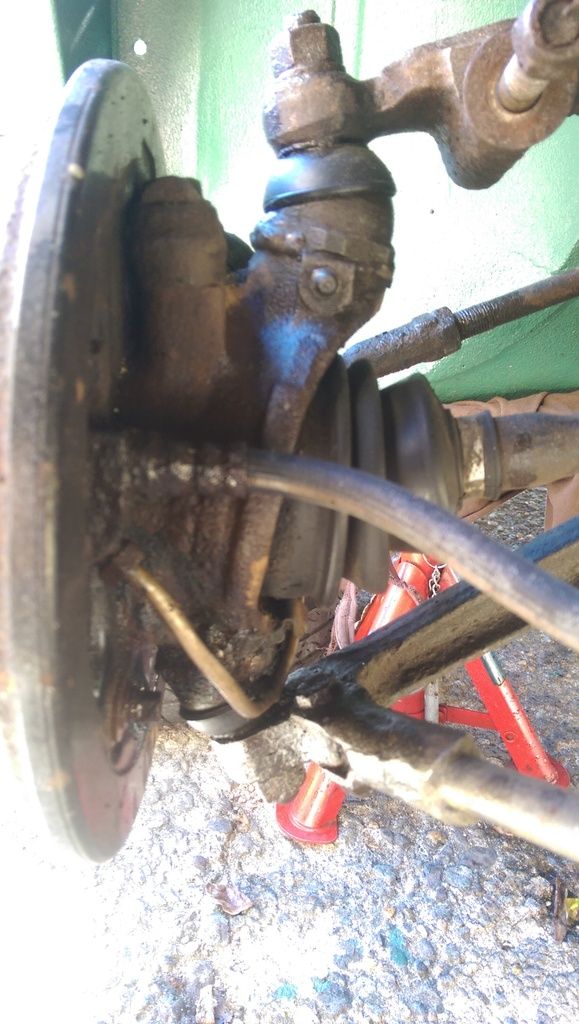
I washed the areas down with paraffin:
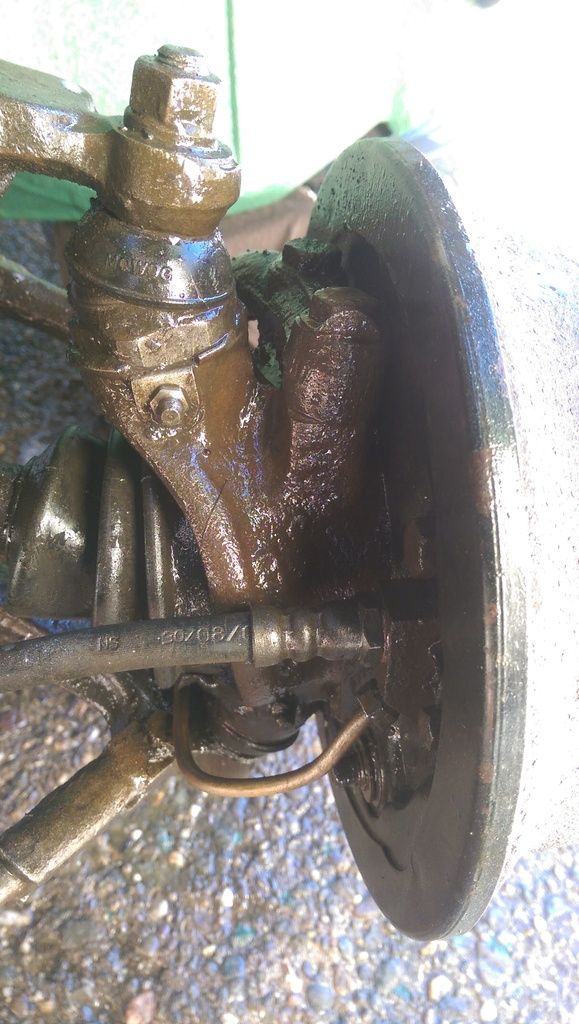
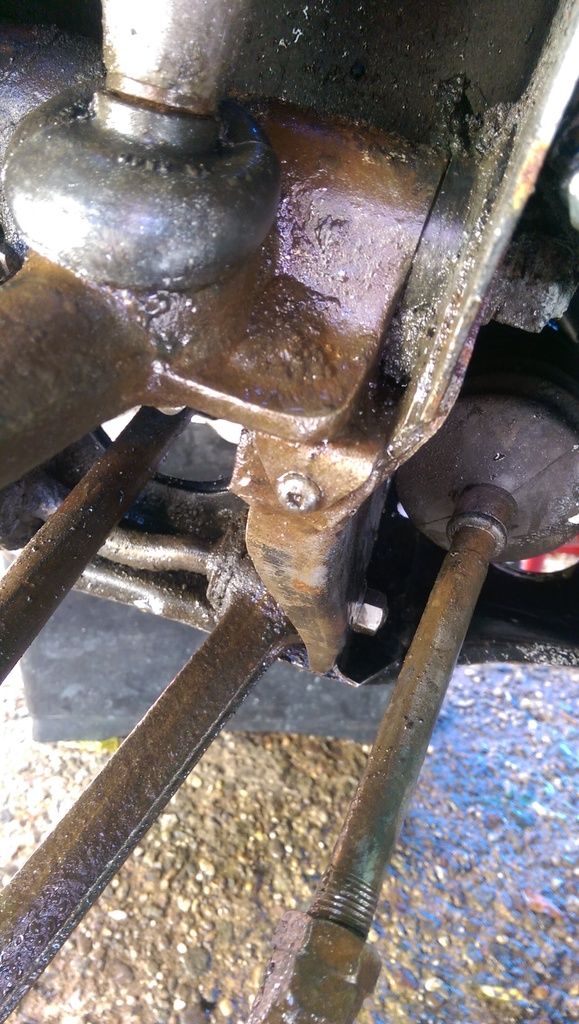
Then wire brushed it and washed it all off with hot soapy water.
I also dabbed on a bit of Engine Enamel whilst I was painting the Tie Rod Mounts - should have taken the time to Deox them first but got carried away ![]()
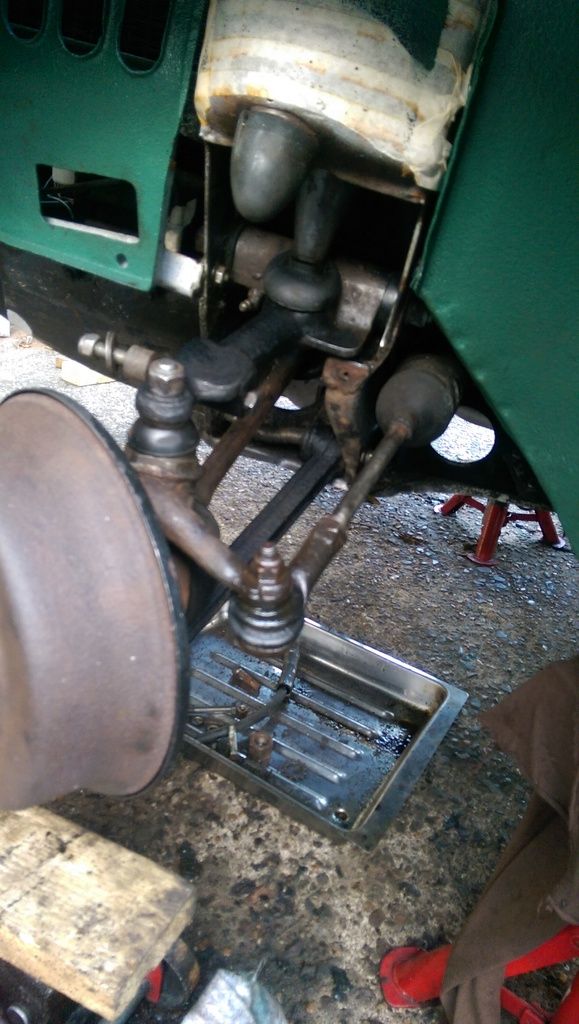
Front Tie Rods
Before starting on the Tie Rods I soaked all the nuts in WD40. Removing the Lower Arm Bolts proved tricky because the Brake Pipe appears to be in the way:
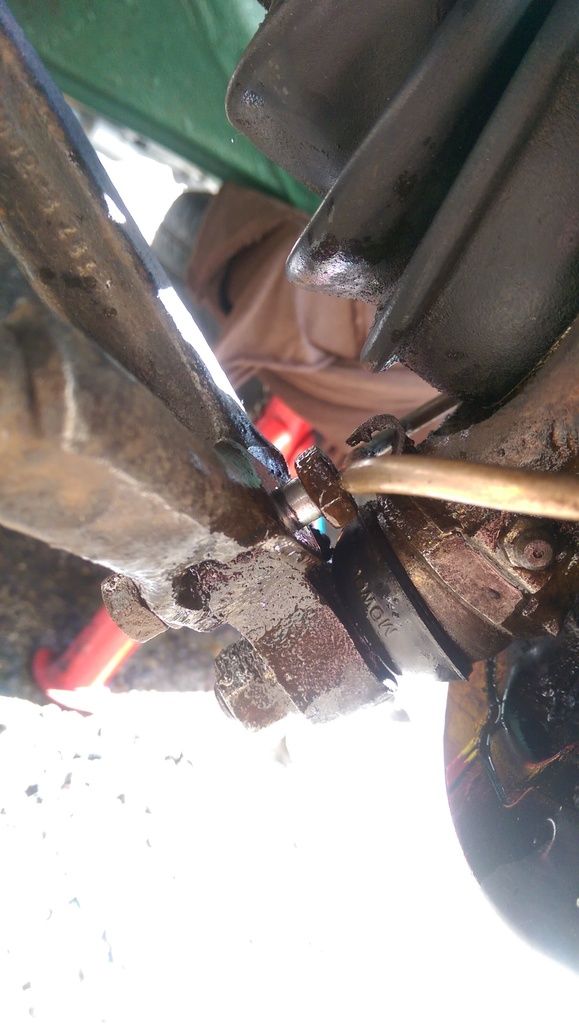
As well as moving the Brake Pipe I also had to jack up the Hub to get the clearance to remove the bolt:
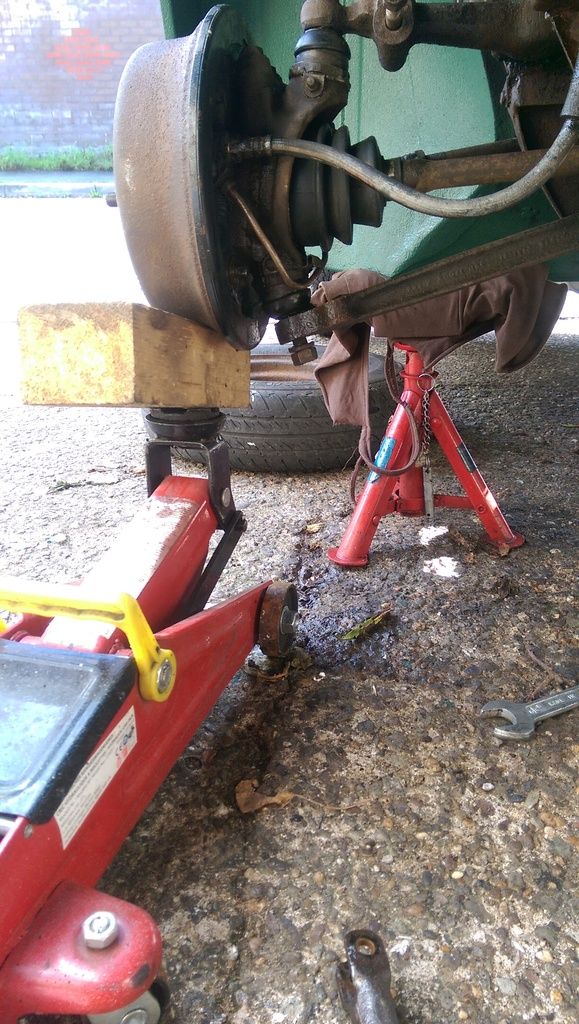
While the Tie Rod was out I cleaned up the mounting points, first with a drill and wire brush attachment:
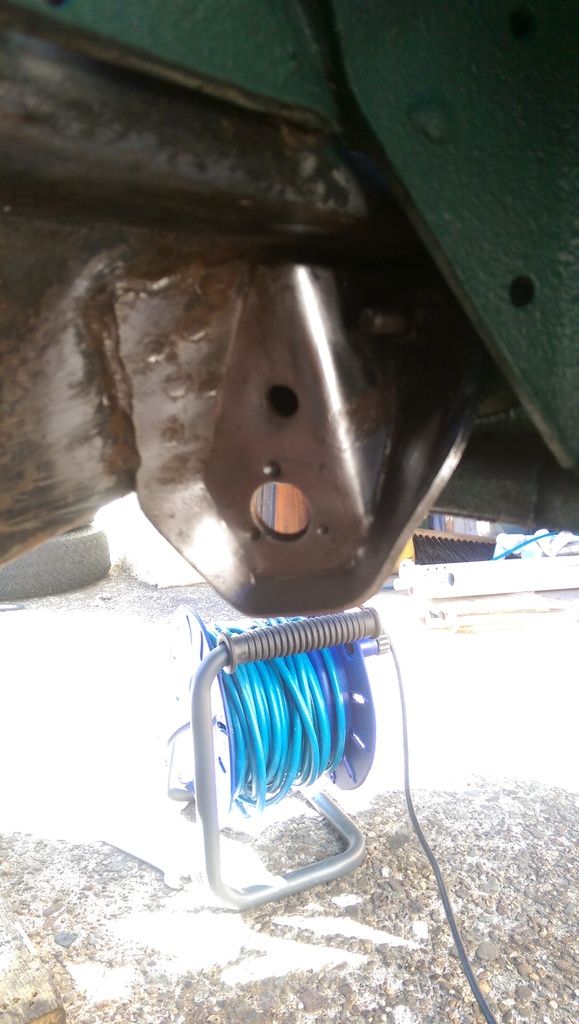
Then an Etch Prime:
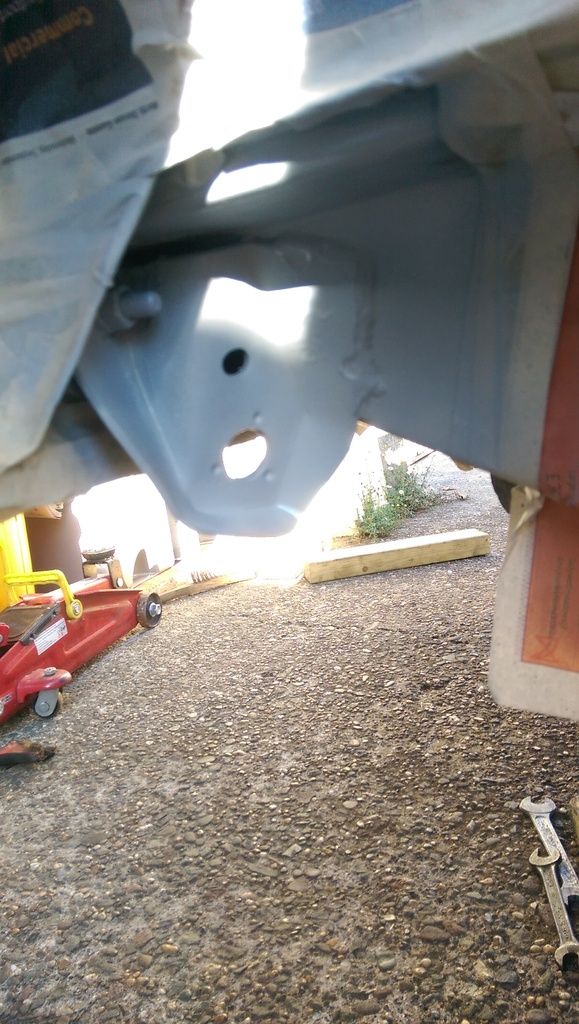
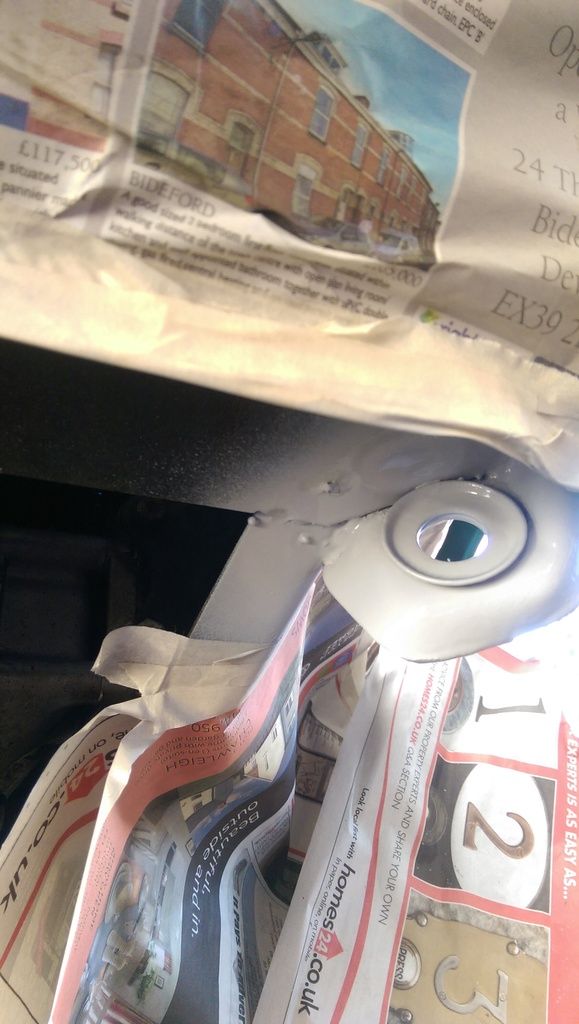
And then some Matt Black Engine Enamel:
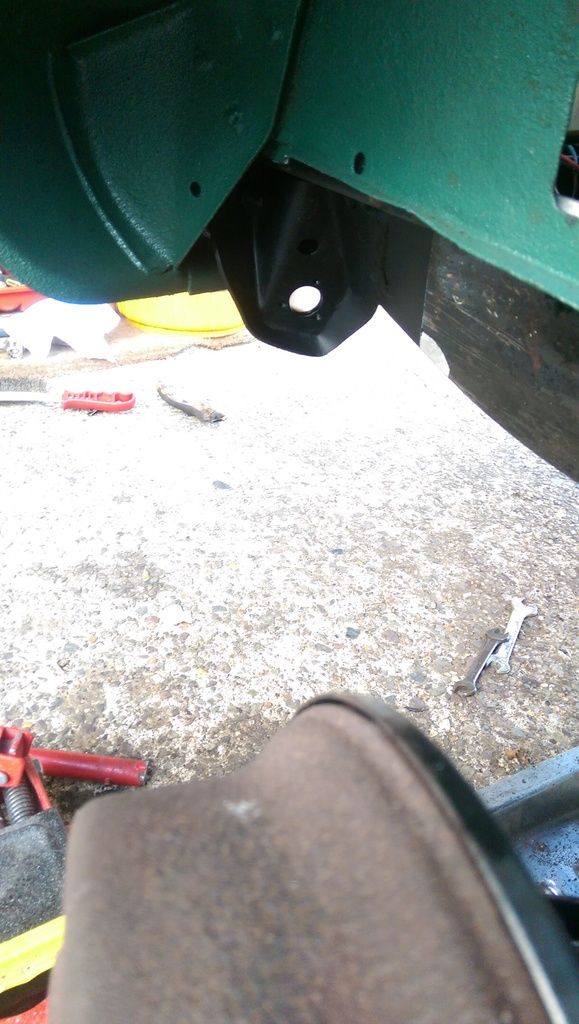
Before fitting the Tie Rods I used the old one as a template to get the size correct. I later found out that the Poly Bushes when new are larger than the old compressed rubber ones so I did a re-jig. Even so it all went Pete Tong as I had to lengthen them to get them through the front mount as the Wheel Station had slipped backwards!! I now need to work out how to calibrate the Castor.
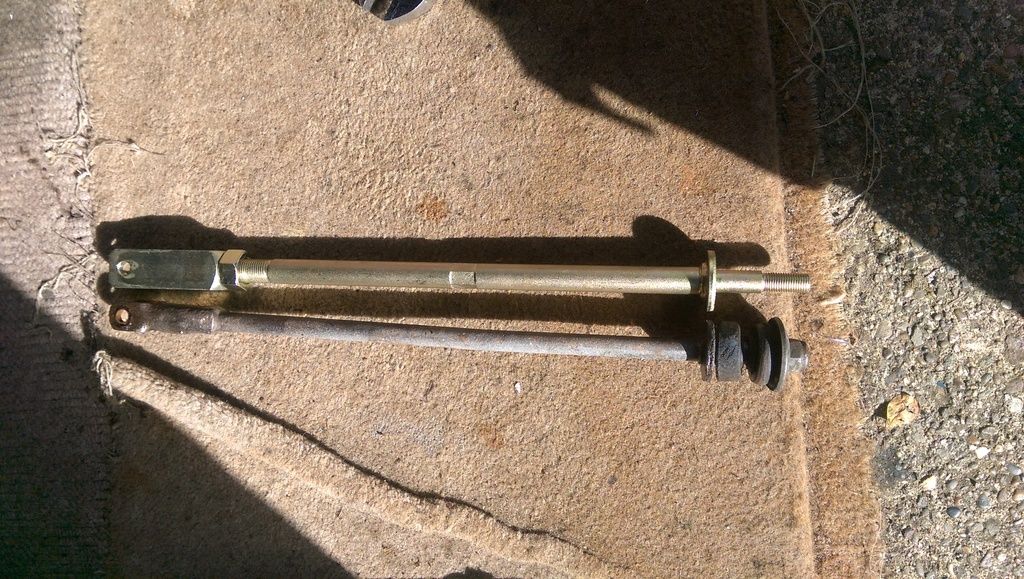
Only had Poly Bushes so they will at some point have to come off again:
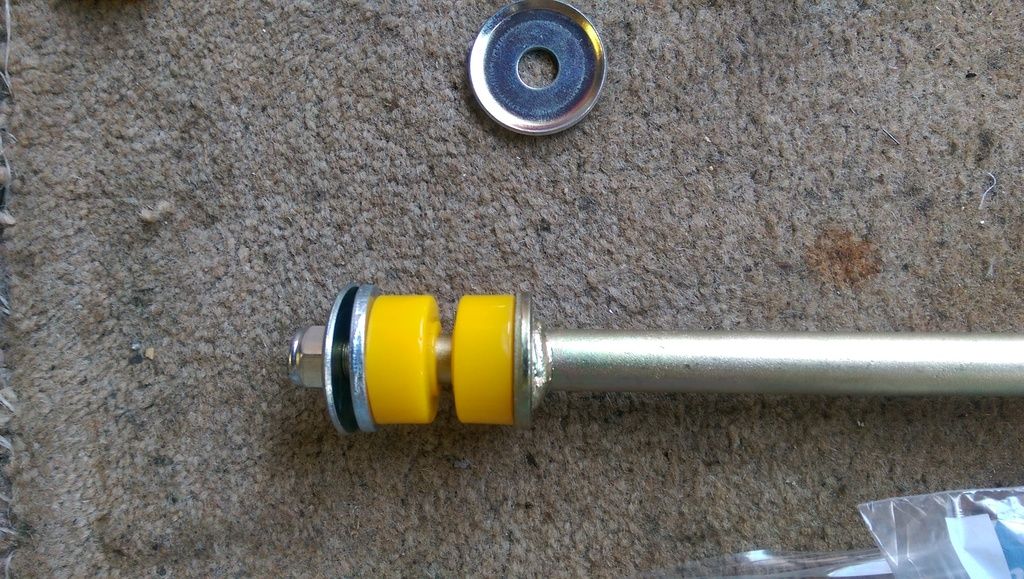
And here they are fitted. Both of the old ones were actually bent so it was a good job I changed them. The whole front end is looking much better:
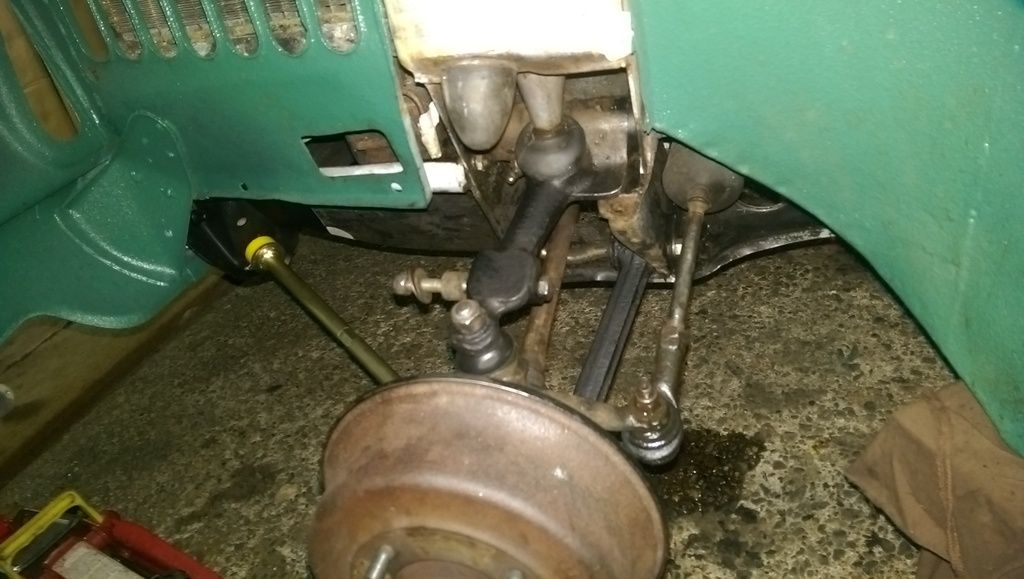
Front Flexible Brake Hoses
I have also been trying to change the Front Brake Flexible Hoses. I have finally managed to remove the LH one and am in a position to replace it but the RH one - well that is a whole different ball game!! There is just no access to see what is going on. I could not get the Large Nut under the Subframe loose with a spanner so I opted to cut the hose off. Even with an 18mm Socket it still wont crack all that is happening is that the upper union is moving and even though I can just get a socket.
I am really not sure where to go from here with this side. I should have tried a little more at it with both Engine Mounts undone but ran out of time and had to get the car back in so had to get the LH engine mounting replaced.
Some people mention removing the Clutch Thrust Arm? I may just cut a damm big hole in the Inner Wing (Even though its been painted!!)
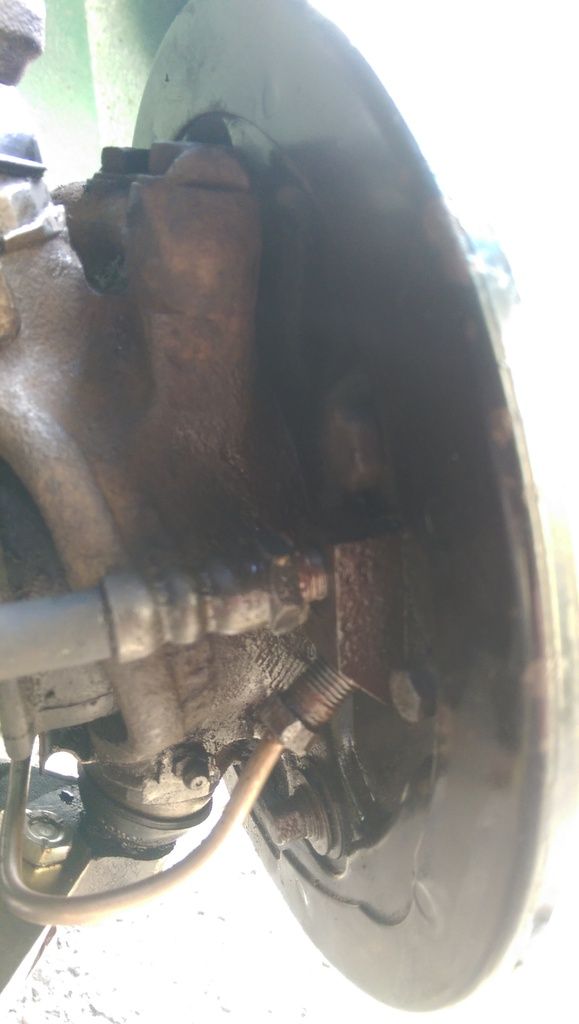
On the LH side I managed to get the Flexible Hose and Ridged pipe disconnected from the Subframe but could not find a spanner for where the Flexible Hose enters the Brake Cylinder:
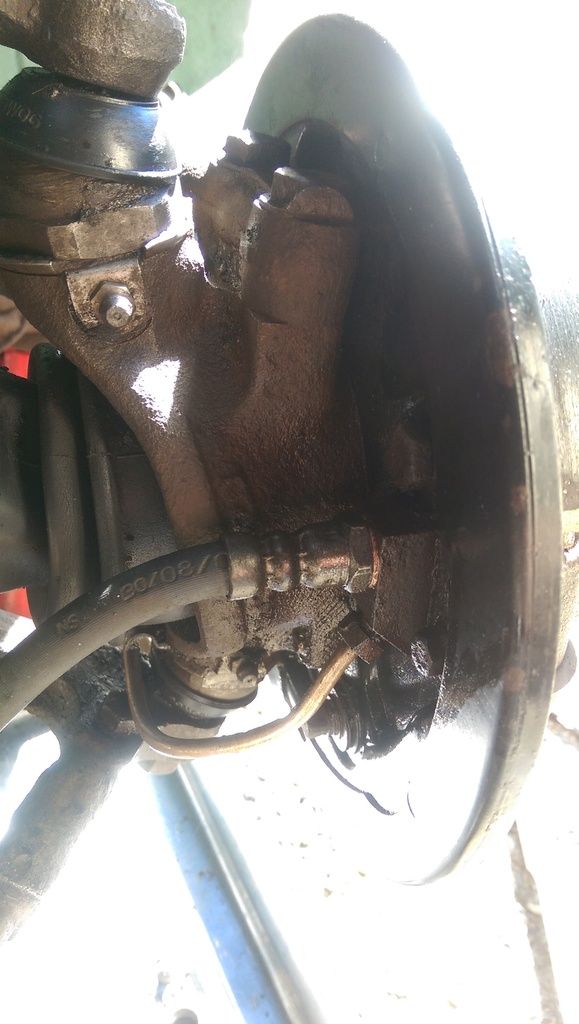
So after looking through a few other peoples collections of old spanners and still not finding one I opted down another route.
I worked out that the size need was 19/32 - a rare Imperial size. This equated to 15.08mm. So taking an old 15mm spanner I made my own.
Quick careful file in the vice
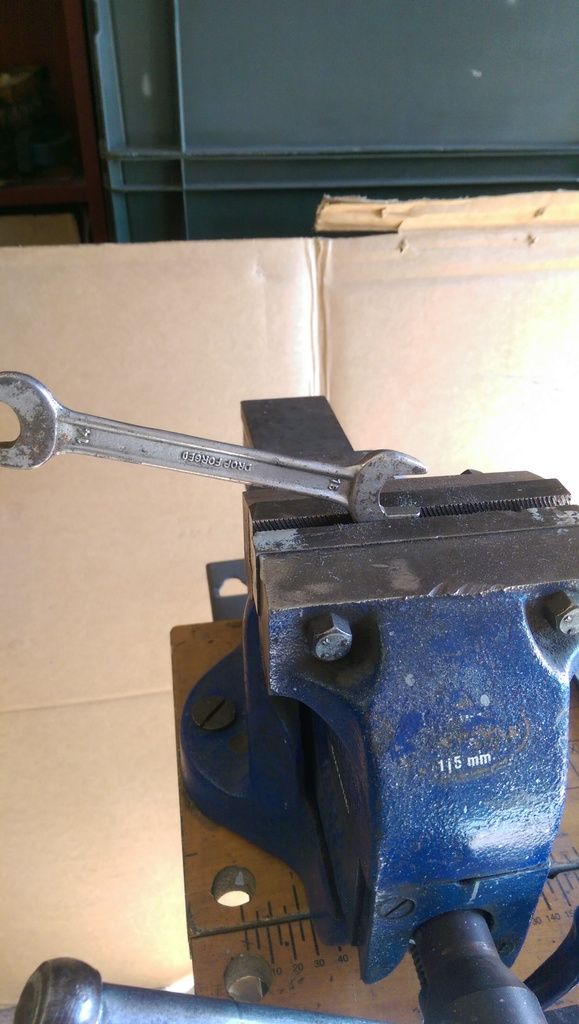
And hey presto:
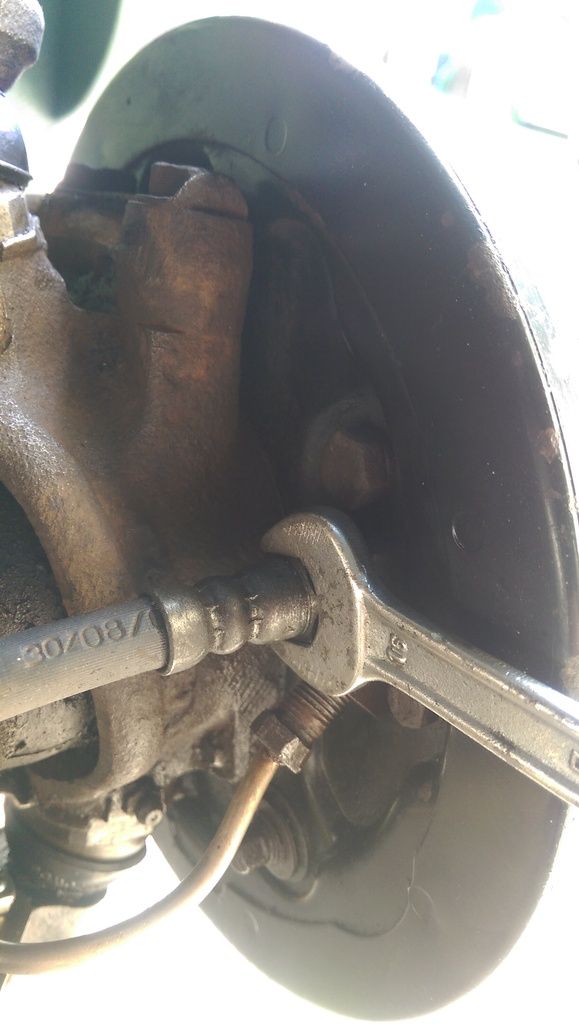
It was still pretty stiff but a little tap and off it came:
Front Lower Engine Mounts
Well again what a Bast*&^% of a job. The old LH mounting had disintegrated so it had to be changed (not sure about the RH side but I intend to change both anyway.
The only way to get enough room to get at it is to undo all of the Engine - Subframe mounting points and jack the Engine up. Even with the Engine raised slightly getting at the bolts is a painstakingly slow and painful task. With a mix of 1/2 sockets, spanners and flexible joints (mine and the socket's) I eventually managed to remove the old mounting. I gave the mounting areas a quick clean but could not paint as it would not have dried in time :-(
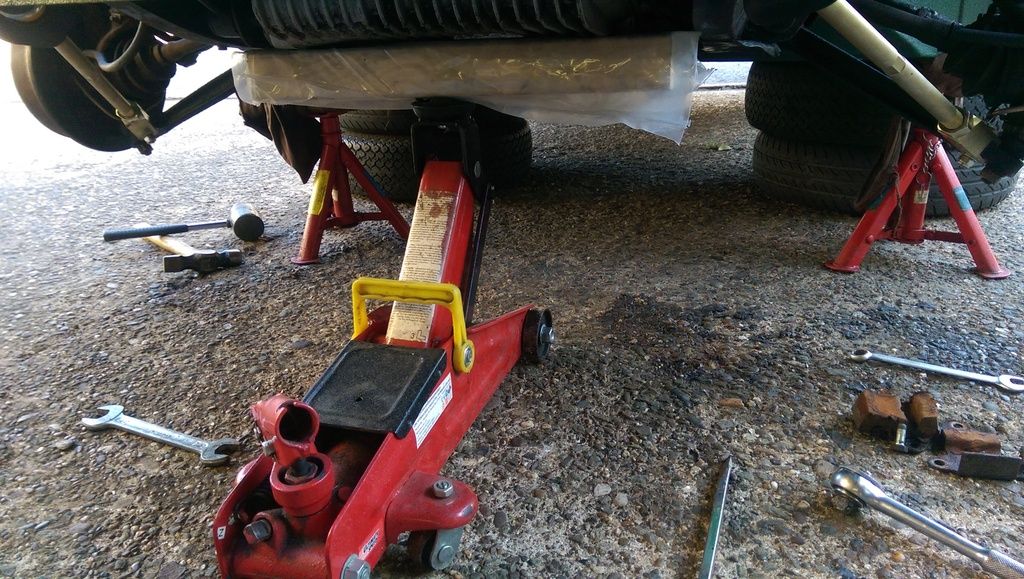
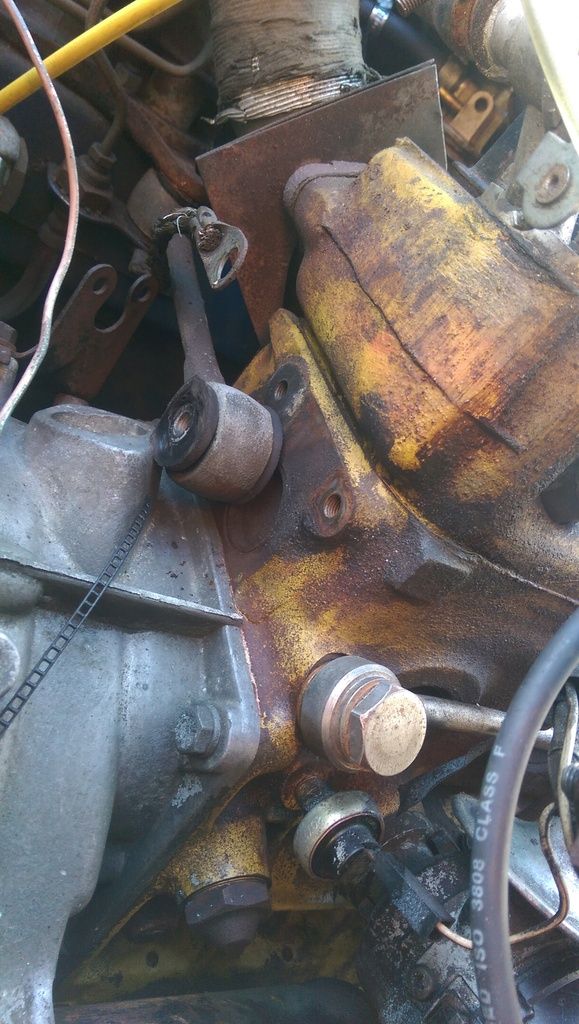
Top Engine Stay removed. I also removed the Bottom Engine stay bracket (it had snapped anyway and will be replaced)
Sadly I had forgotten to get new bolts for mounting the bracket to the Engine, so I cleaned up the old ones:
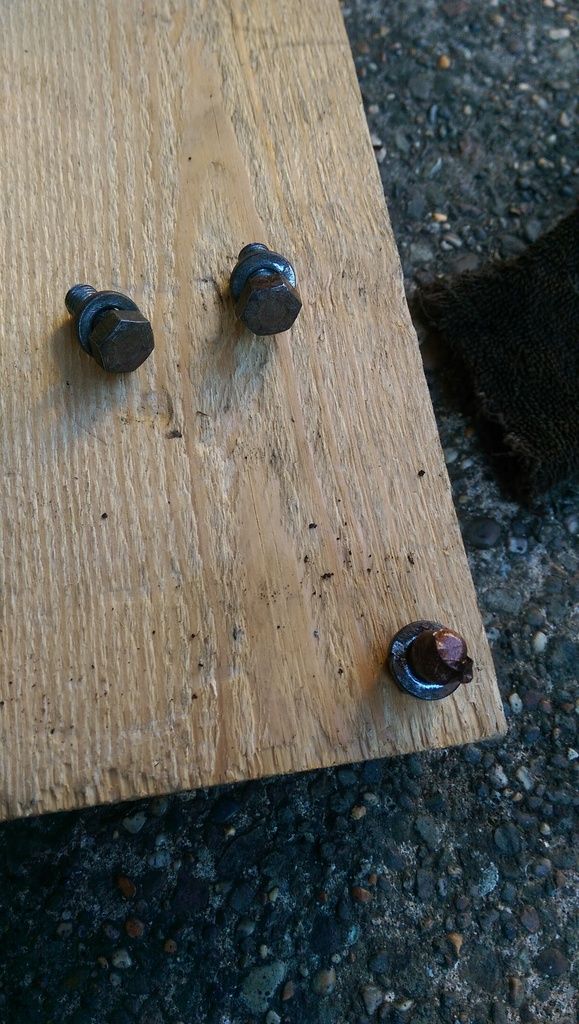
That's Copper Grease on top of one.
Getting the new mounting on was probably even harder than removing the old one but eventually with some jiggery pokery I did it. Lining up the holes in the Subframe involve replacing most of the Engine Mounting Points lowering the Engine and using a Broom Handle to shimmy the Block forward!!
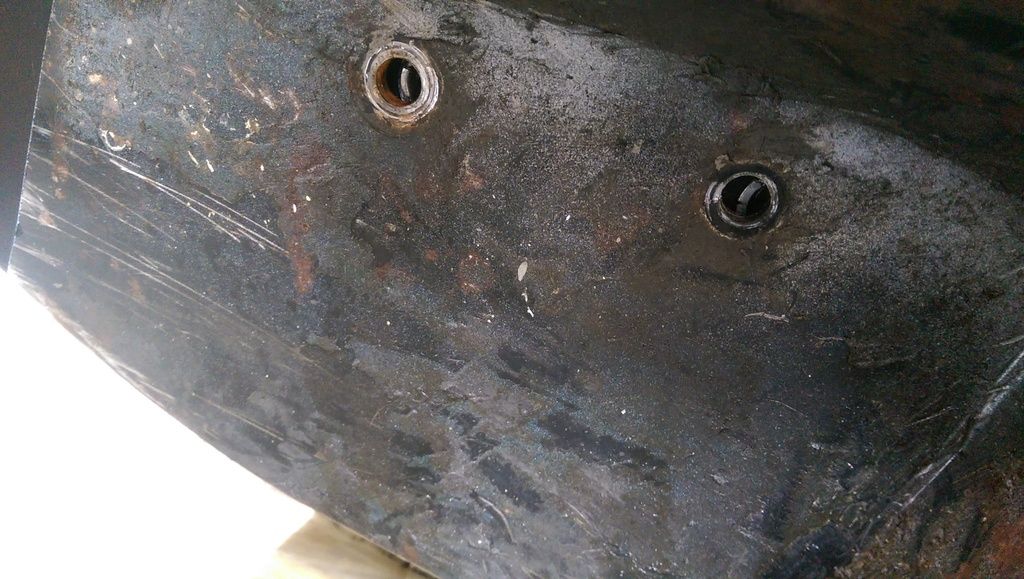
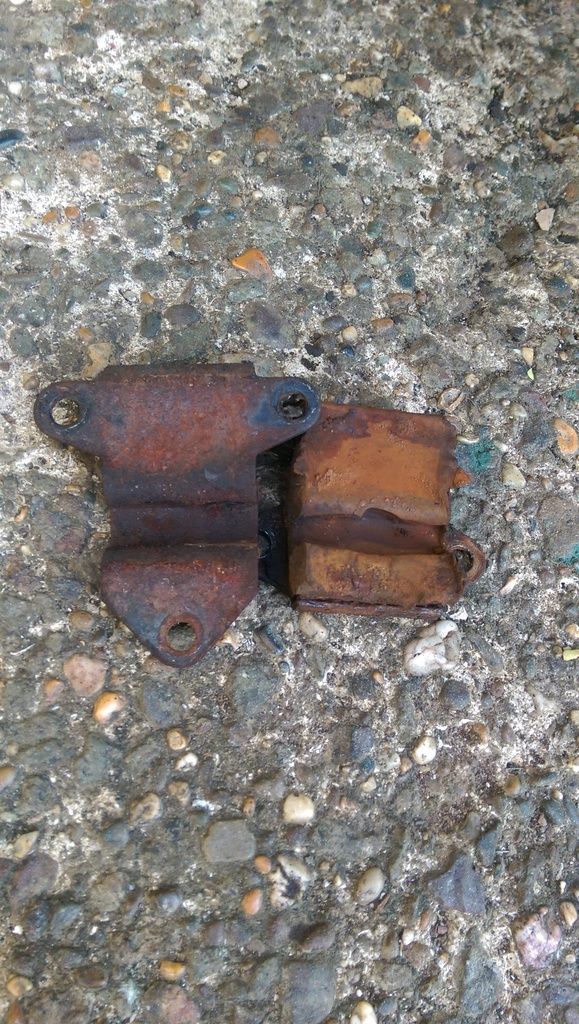
Here's the old mount - just needs a bit of glue ![]()
New LH mount fitted.
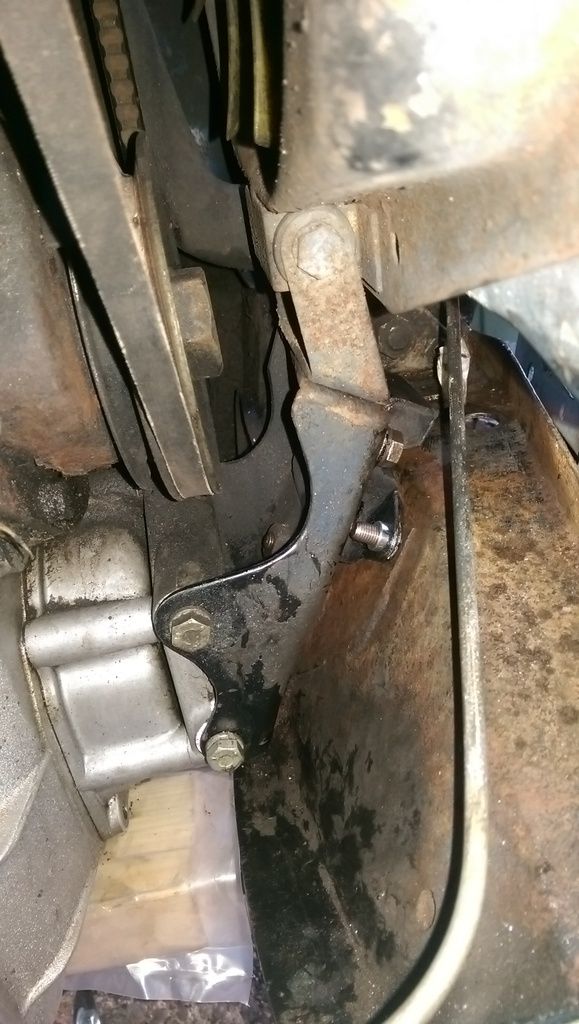
Again as with the brakes getting at the RH lower Engine Mount is going to be a pig and probably another days work!!
Posted 03 October 2016 - 08:53 PM
Keep slogging away ![]()
Posted 03 October 2016 - 08:57 PM
To get at the Rh engine mount you might be better off removing the clutch cover, witch will give you better access to the brake hose nut arrangement on the front subframe.
From memory. Lift out (or move out the of the way) the washer bottle, remove the fresh air elbow from the inner wing. With the battery disconnected remove the 2 screws holding the starter solenoid to the inner wing and shove it through the fresh elbow hole out of the way. Undo the 2 engine mount to subframe bolts and place a jack under the engine. Remove the 2, 9/16" bolts for the clutch slave and move out of the way. Remove the 2, 9/16" bolts and the long 7/16 " bolt and spacer holding the slave cylinder bracket in place. Then remove the 11 or so 7/16" bolts holding the cover on. Some will be a paint to get to and only by the open end of your stubbiest 7/16" spanner.
Edited by 1984mini25, 03 October 2016 - 09:09 PM.
Posted 05 October 2016 - 08:41 AM
Decided to concentrate on the door for the time being as it's the last item to be repaired.
After getting advice on a separate thread here I managed to strip the door:
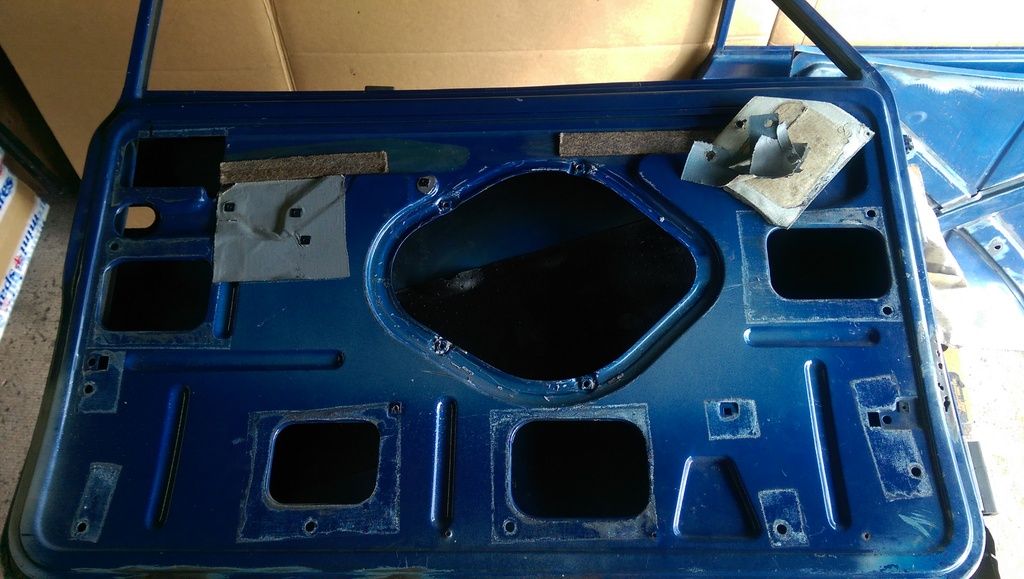
The door skin is spot welded to the frame in a couple of places one on each side at the top where it joins the window frame:
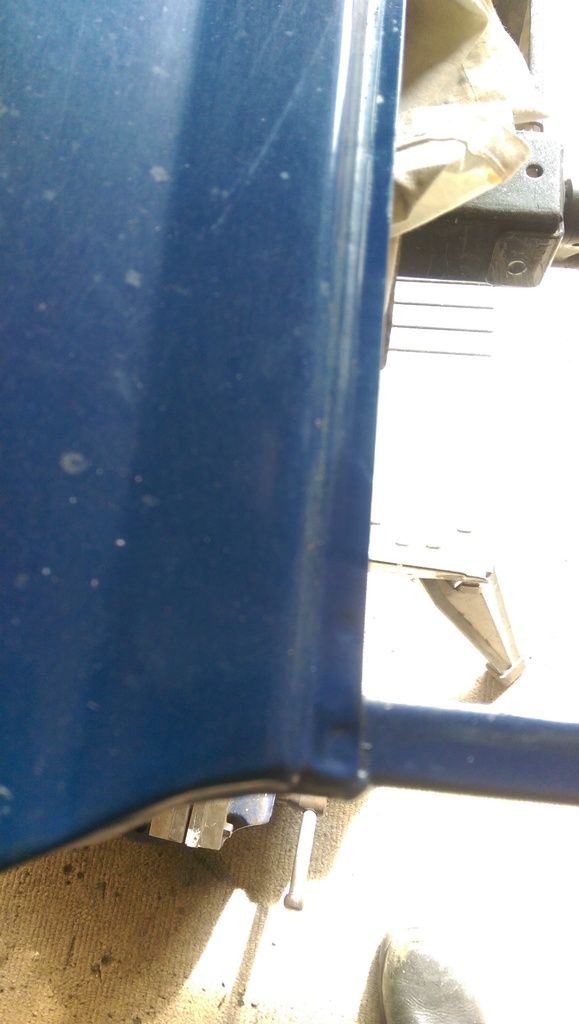
As well as a couple half way down the door skin front and back.
The skin is also seam welded front at back just below the window frame, along with a big lug of weld at the front:
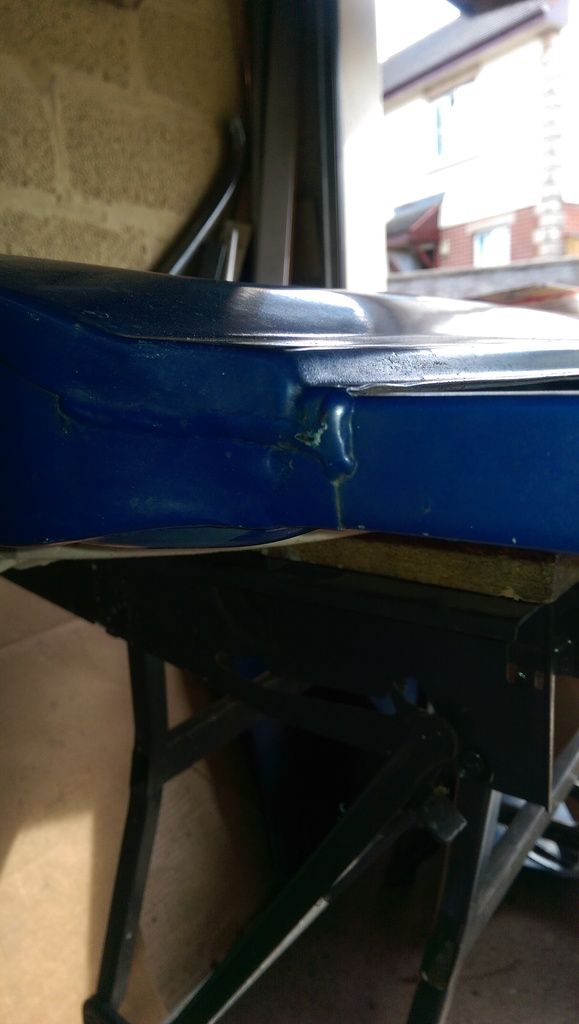
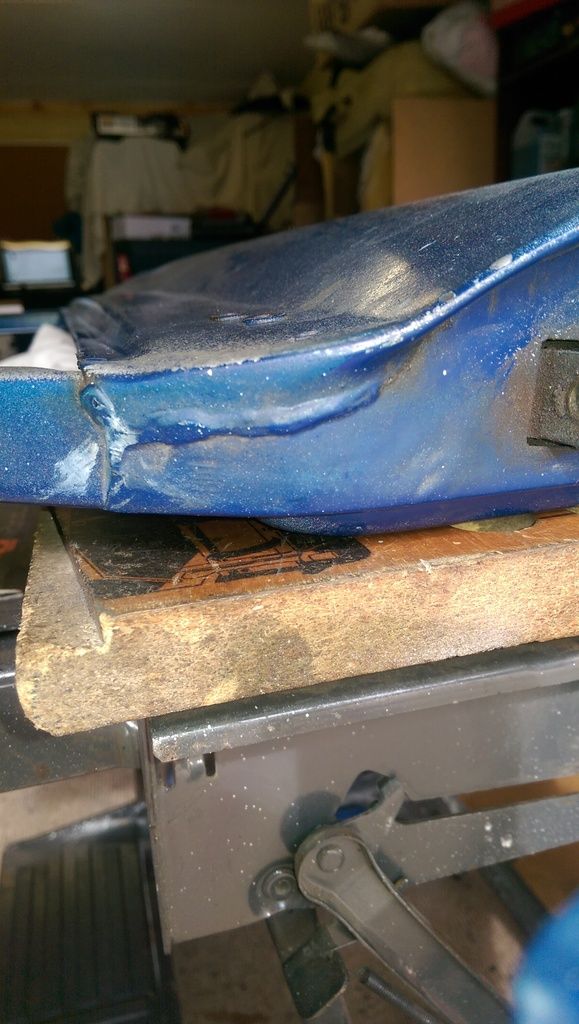
I started by grinding of the seam welds:
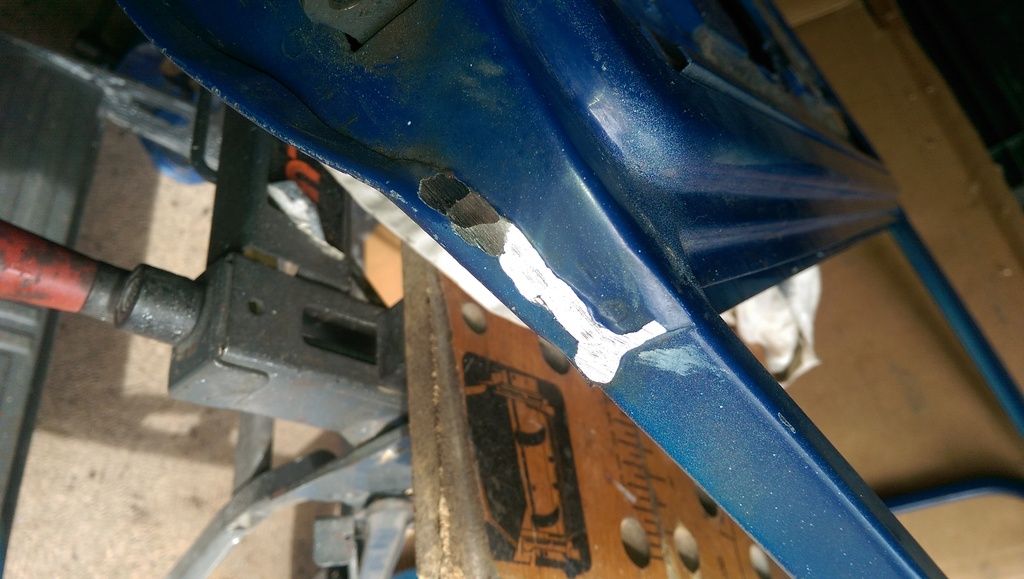
And then starting at the bottom gently lifting the flange. I used a piece of wood and then later a thick brass sheet to protect the door frame whilst levering the flange with a large screwdriver:
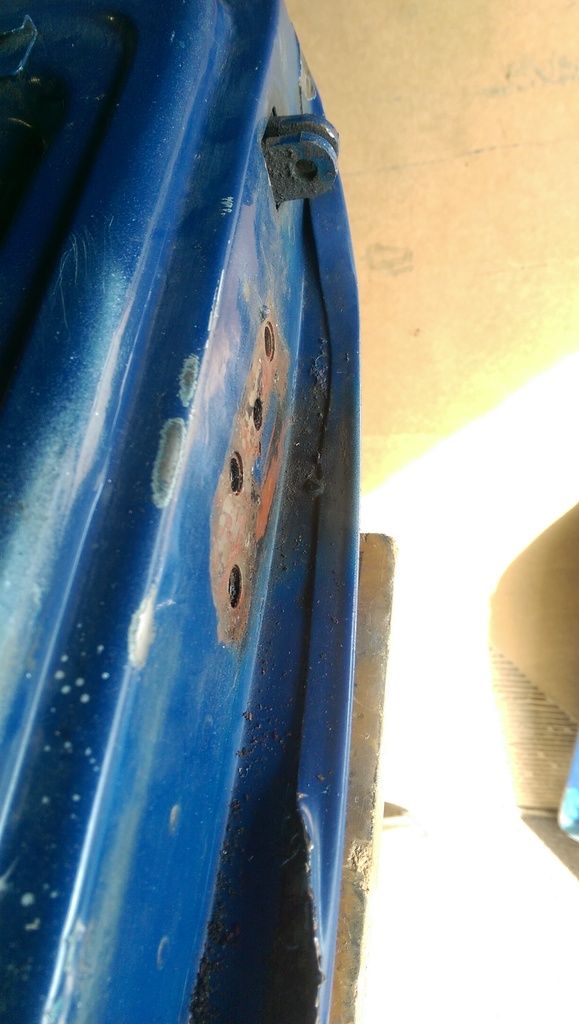
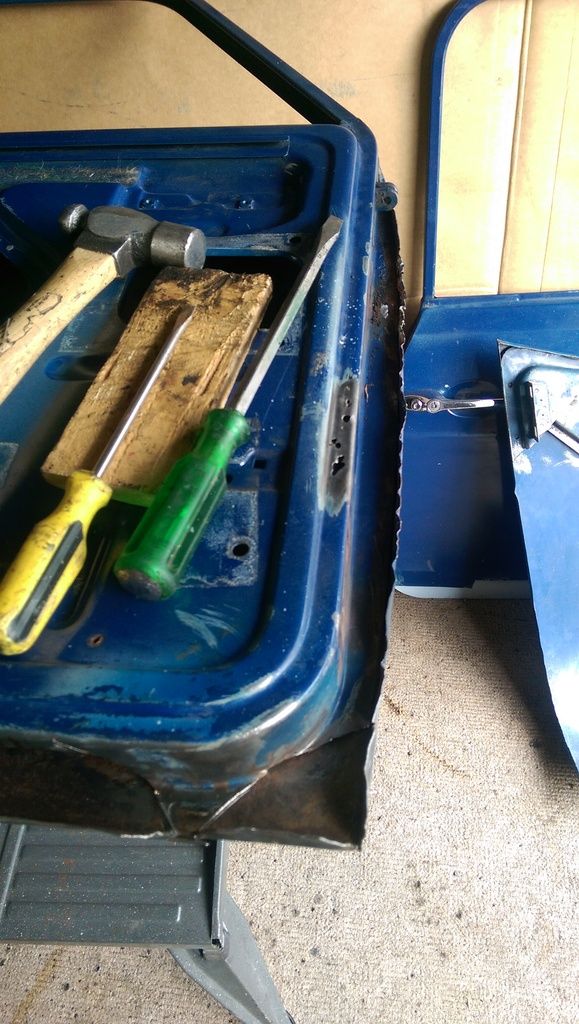
Then I ground down the seam weld some more and cut through it with a flat bladed screwdriver:
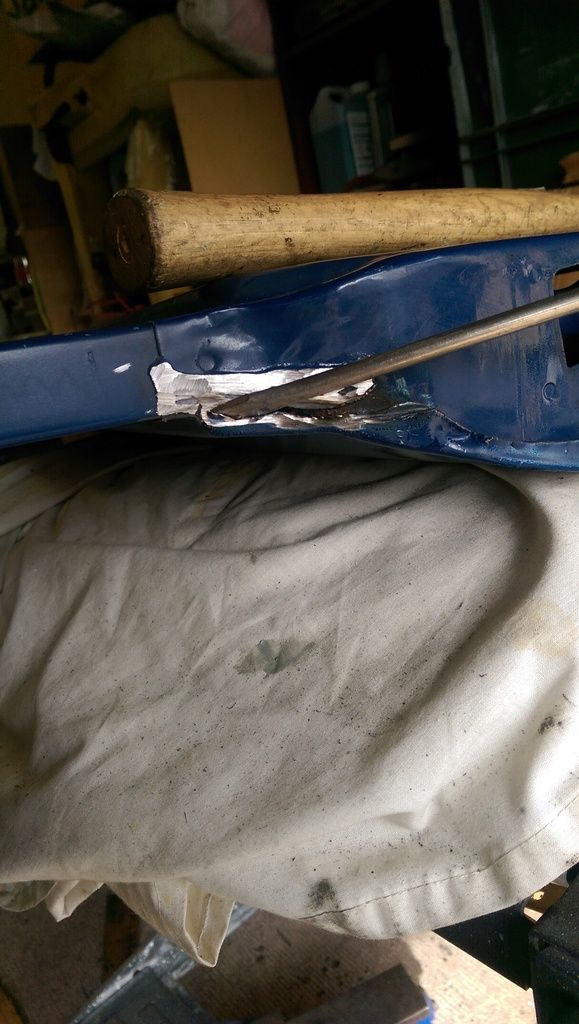
After locating the spot welds down the side of the skin I decided to cut around them, I guess I could have drilled them out as I would normally do:
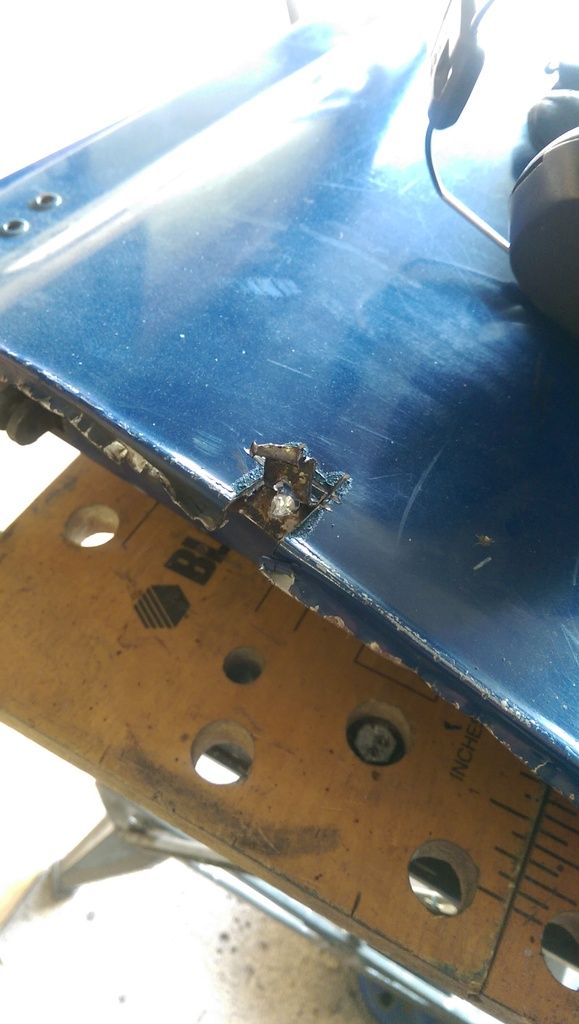
Then off came the lid!!
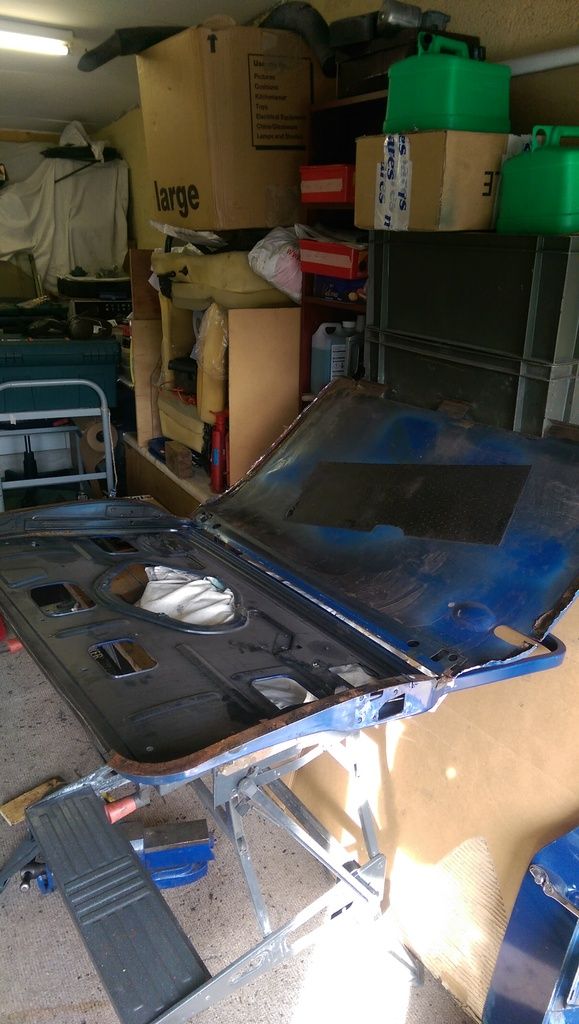
More rust lurking under the flange and on the inside as was suggested on this Forum ![]()
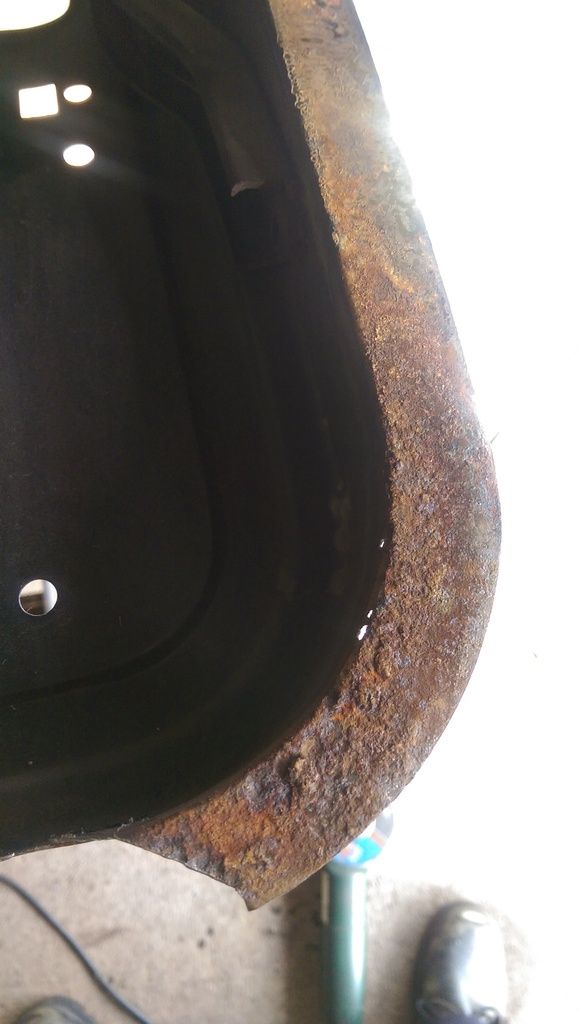
Started to clean up the underside, most was surface rust only but there are a couple of areas that will need more work / surgery:
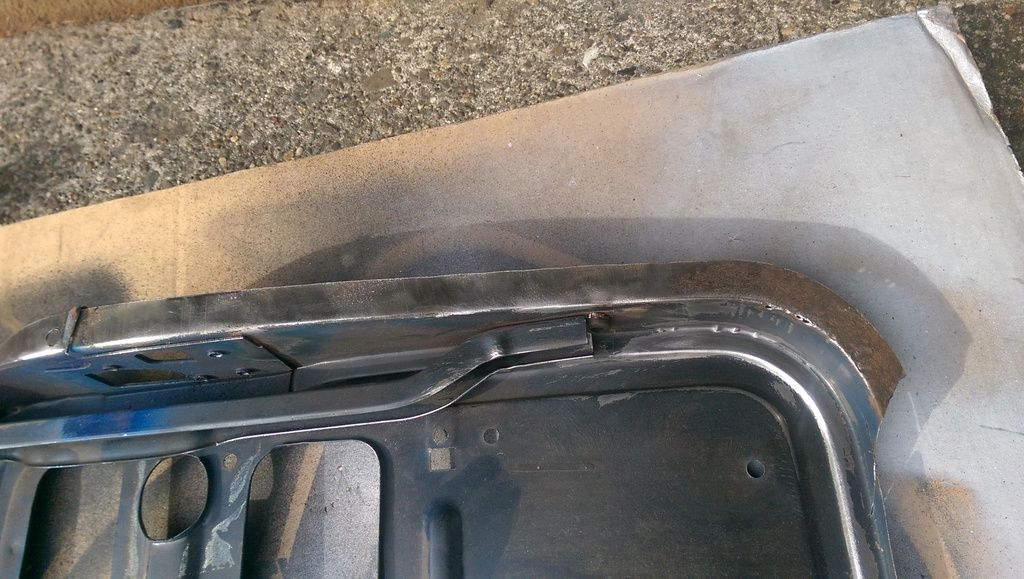
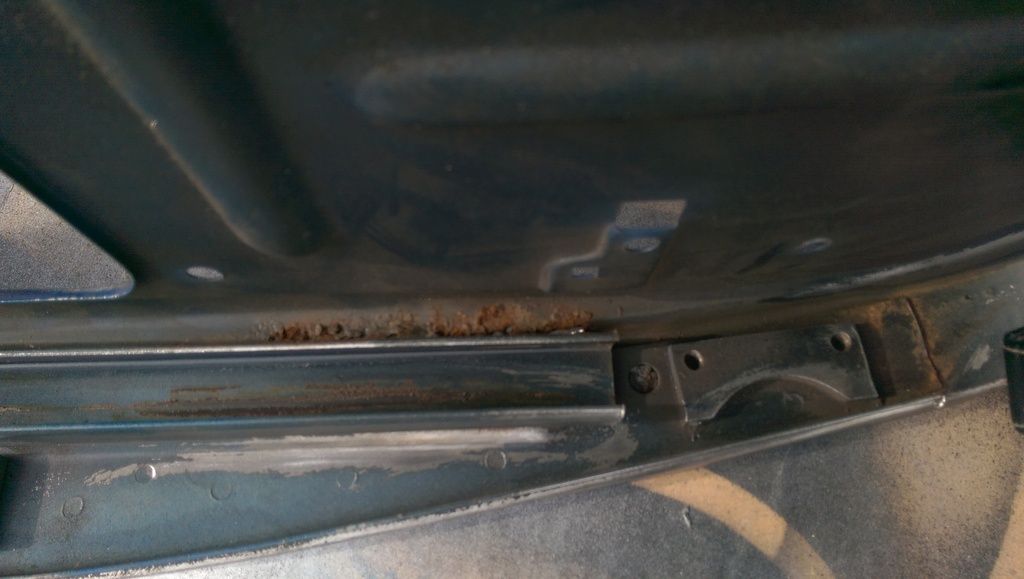
This area will need cutting out and replacing - more work!!
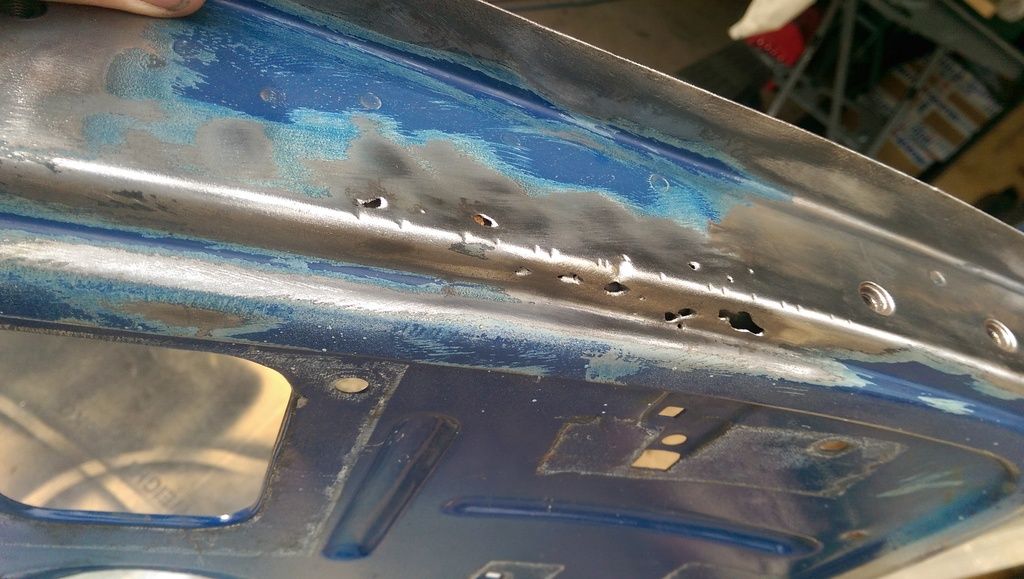
Edited by JonnyAlpha, 05 October 2016 - 08:55 AM.
Posted 05 October 2016 - 05:32 PM
For future reference, you don't need to peel the folded edge of the skin. Just run a grinder along the edge of the door all the way round far enough to grind through the fold and then the skin will just lift off.
Then you can just peel the remains off from the inside of the frame.
Looking good by the way. I have done bottom engine mounts today. Not my most favorite job..
Cheers
Ben
Posted 05 October 2016 - 06:41 PM
For future reference, you don't need to peel the folded edge of the skin. Just run a grinder along the edge of the door all the way round far enough to grind through the fold and then the skin will just lift off.
Then you can just peel the remains off from the inside of the frame.
Looking good by the way. I have done bottom engine mounts today. Not my most favorite job..
Cheers
Ben
Every day is a learning day ![]()
Posted 05 October 2016 - 07:04 PM
So more work on the door today, wanted to finish repairing the door frame but it just took too long.
I had cut out a repair piece and made a fold the other day but looking at other examples of repairs it's a little too short. But my Jigsaw has died on me so I went with it.
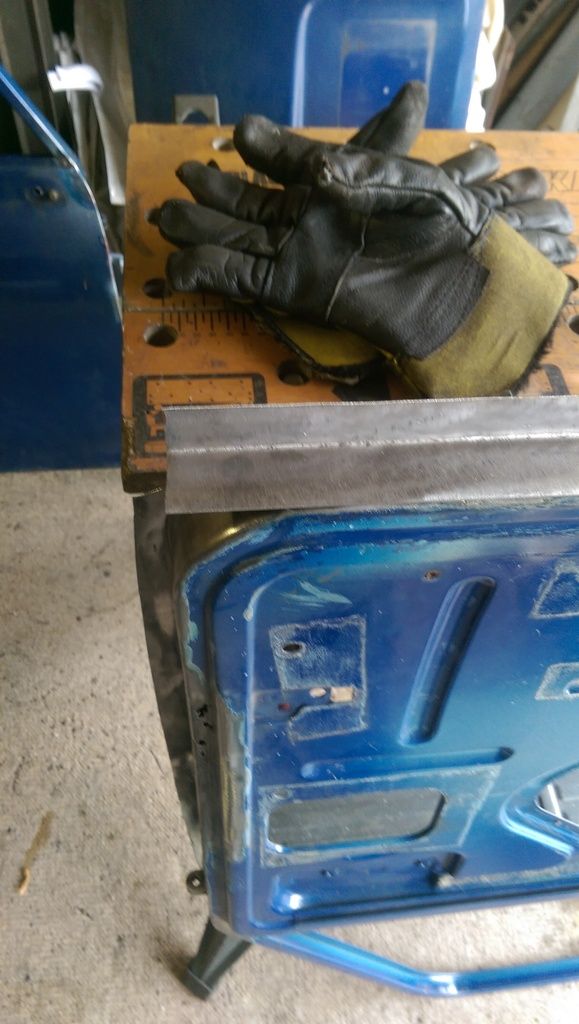
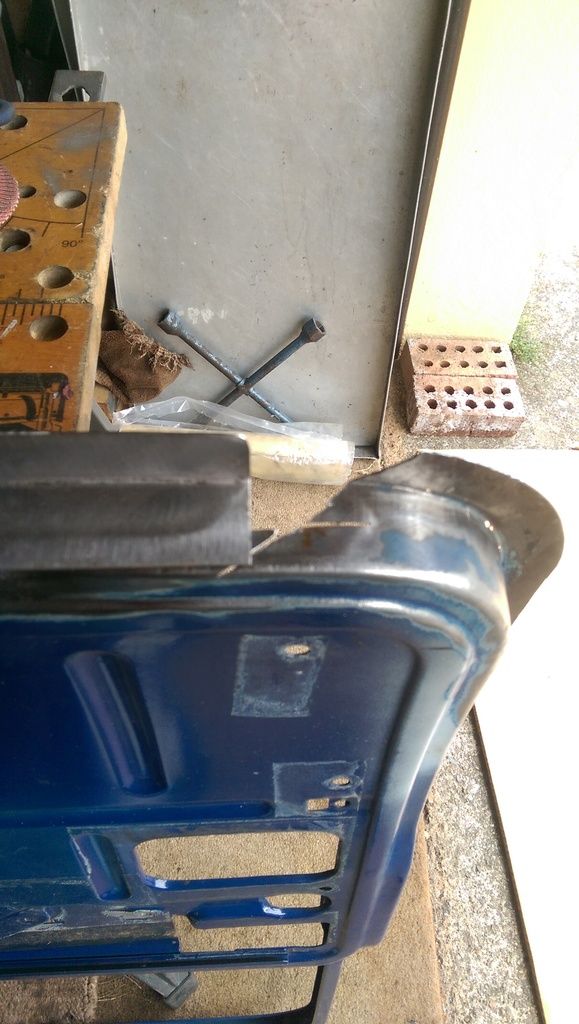
After looking at the door for a while I came up with a plan.
First of all I made and marked some measurements of how deep the flange was from the inside edge of the door.
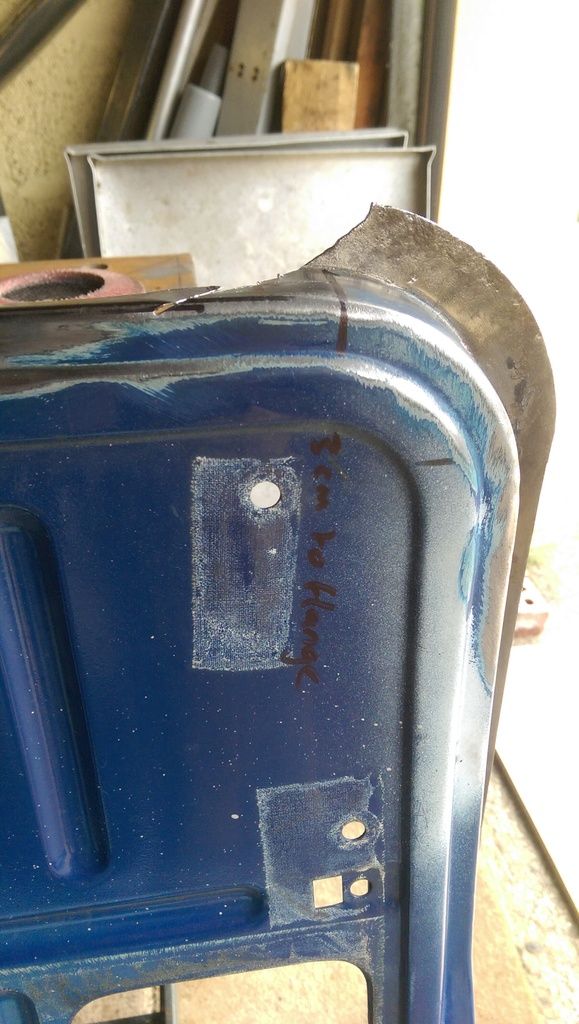
Then I marked an outline of the repair piece on the door to show what to cut out, also as the repair piece was too small I started from one end:
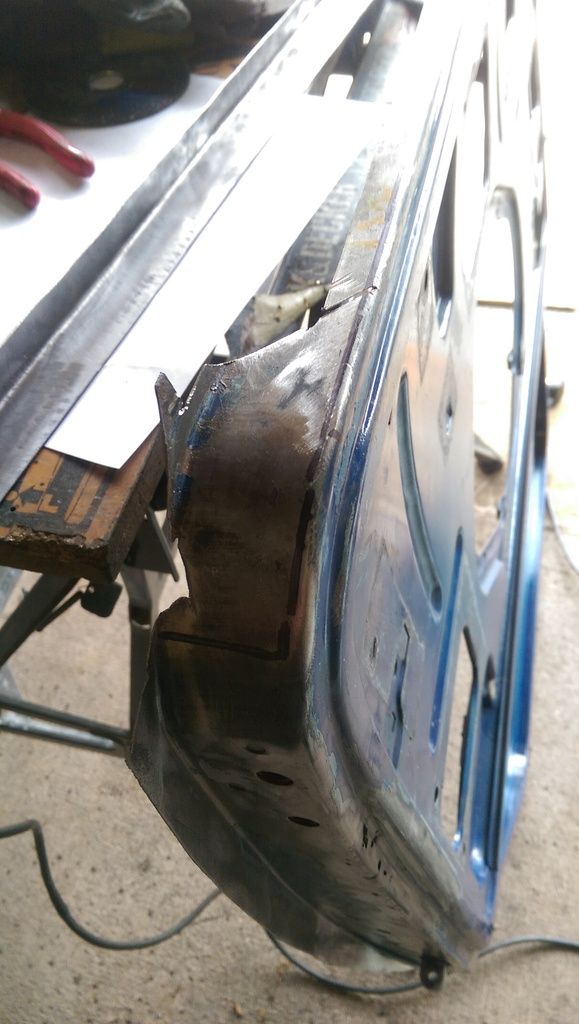
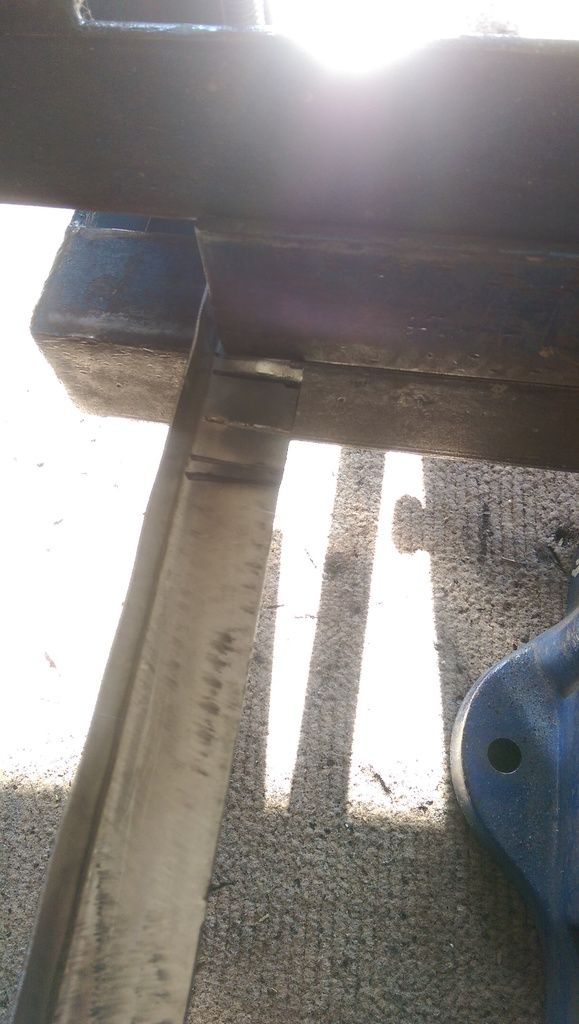
Next I marked up where the recess needs to be made on the bottom of the door and started to beat it into shape:
There were also a couple of areas on the bottom of the frame that were peppered from rust so I cut them out and patched them up:
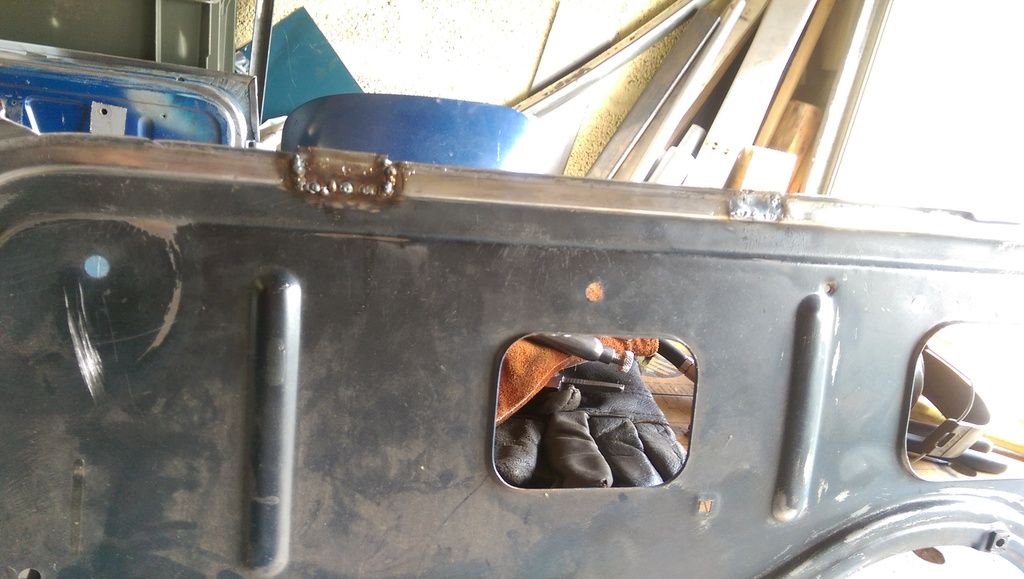
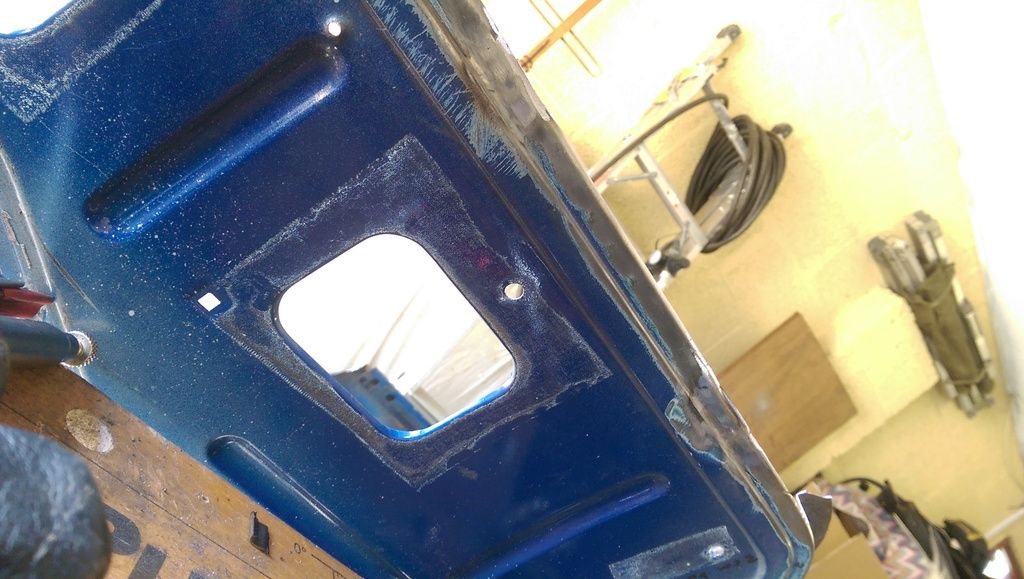
Then in went the repair piece and bit by bit I tacked it into shape:
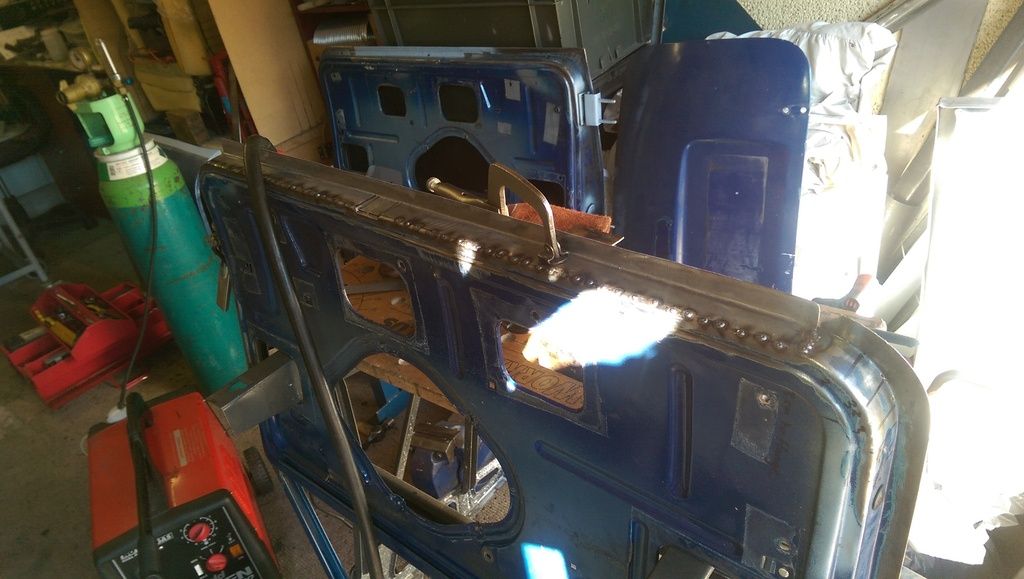
Then filled in the dots with some short runs:
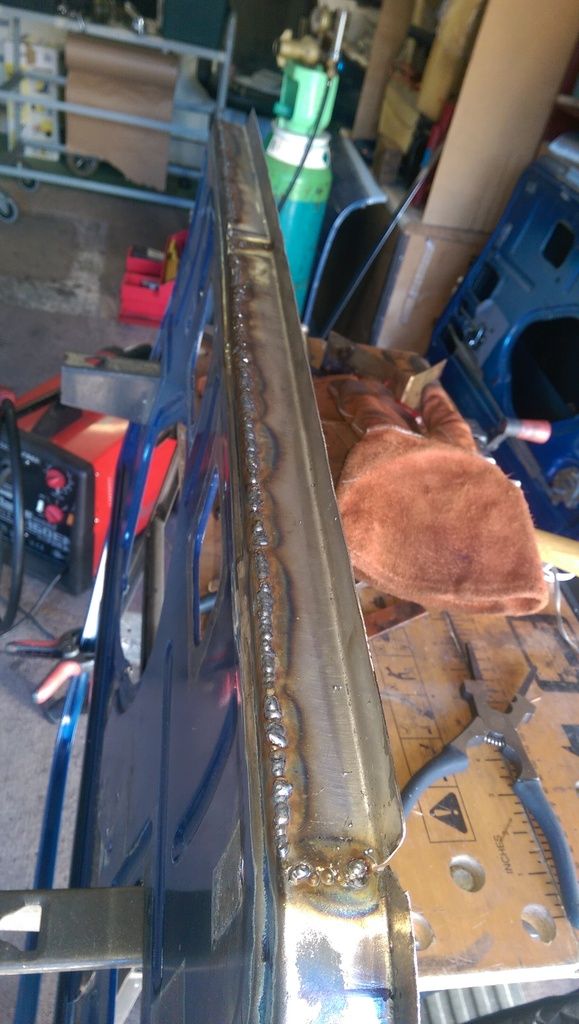
Then I dressed it all down and cleaned it up. It came out really well:
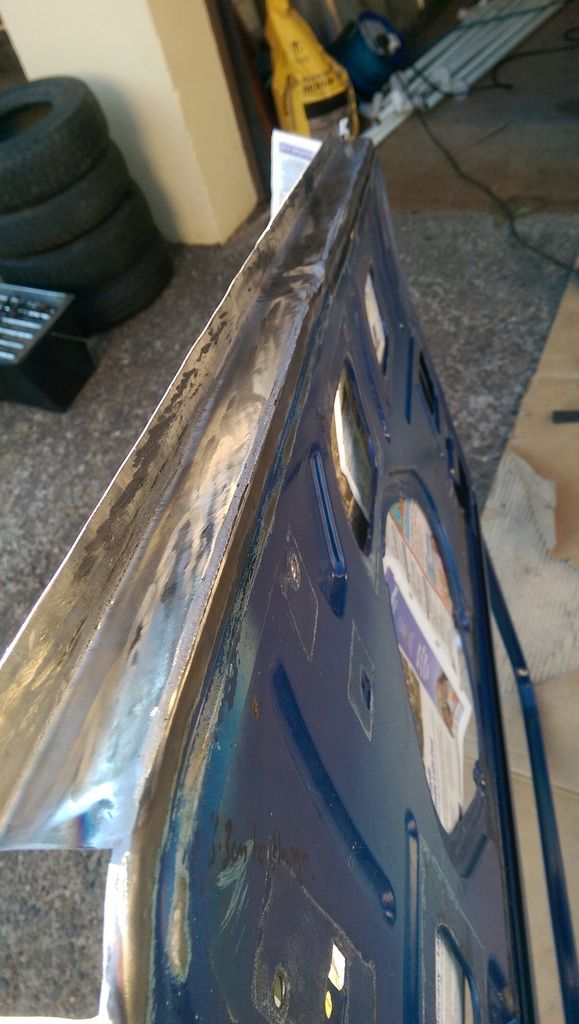
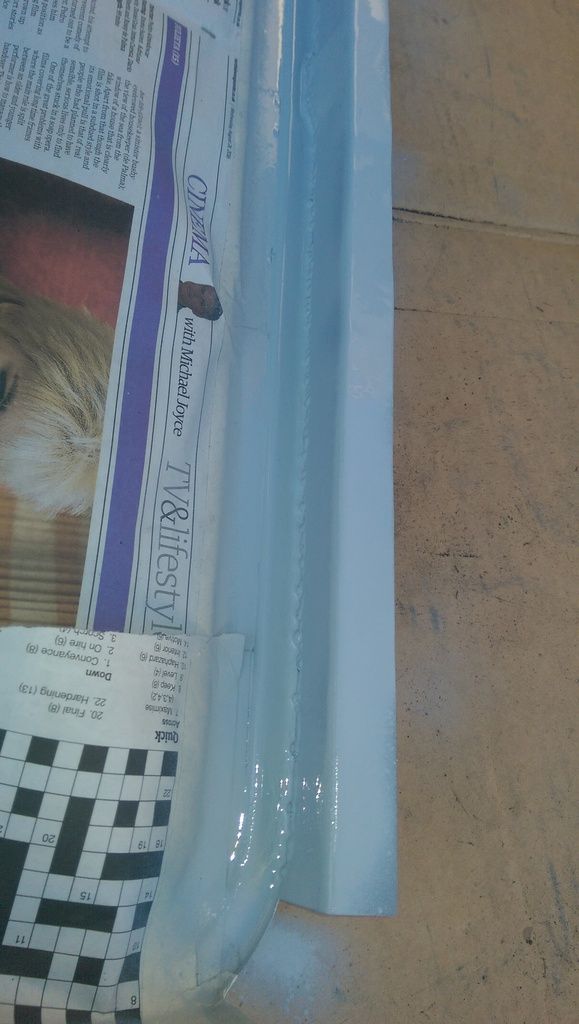
On the inside I left the welds as they were but cleaned them up with a wire brush and splashed on some Acid Etch to prevent rust in the weld before I get to paint it.
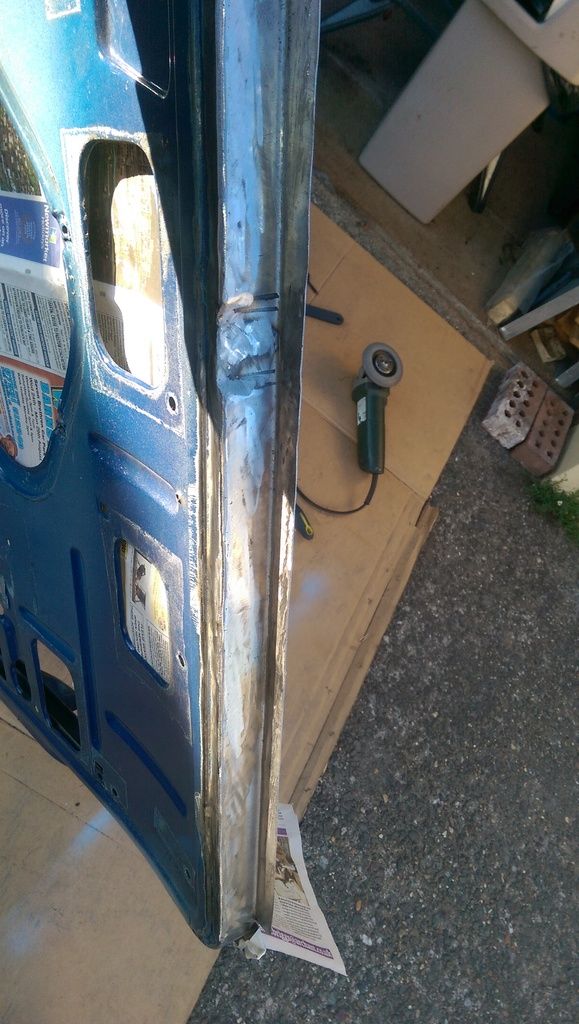
Next job is to do the front and rear edges and a patch in the middle under the hinges.
Posted 06 October 2016 - 07:36 PM
Had to go out today so only managed a few hours this afternoon. Wasn't sure what to start so I decided to have a play with my buckled wheel. I have been trying to buy a replacement and 10 inch x 5 Wellers seem to be few and far between, there have been a few sets around but I only wanted two!!
Anyway if I could manage to straighten mine I'd lose nothing as I'd at least have a set of four. My spare is a Manx copy but I'll leave it out of the boot for the MOT ![]()
No pictures but after taking the wheel on and off about 40 times and a little application of force with a 4lb lump hammer I reckon I have got the damm thing straight!!
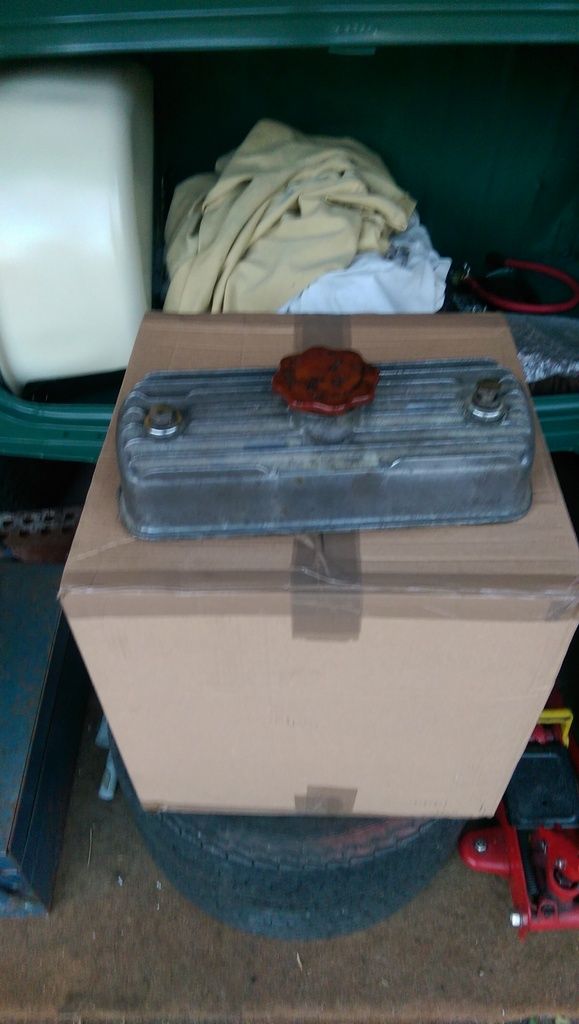
Lastly I managed to pick up an Aluminium Fin Rocker cover off of one of the many Facebook MIni sites, it's bit grubby but will polish up fine and will look great on my car:
Posted 07 October 2016 - 05:16 AM
Edited by Coxie, 07 October 2016 - 05:30 AM.
Posted 07 October 2016 - 07:04 PM
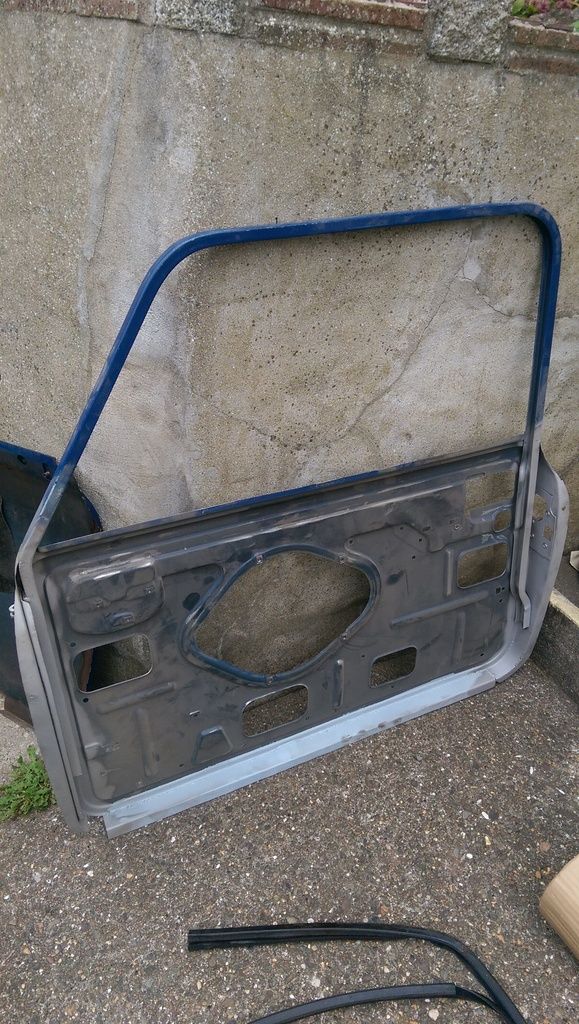
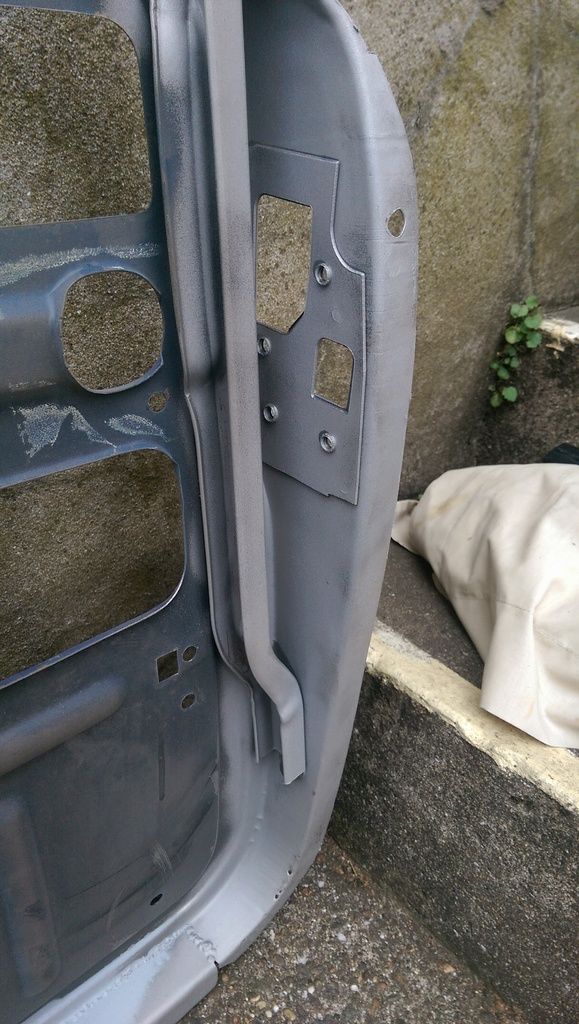
Took my doors, boot, bonnet and a few smaller bits to get sand blasted today. Not getting them completely stripped, just the inaccessible parts that I cannot get at.
Managed to get the door frame that I am fixing done whilst I waited so that I could finish repairing it in time for the rest of the parts to be back for painting. Here's the door frame:
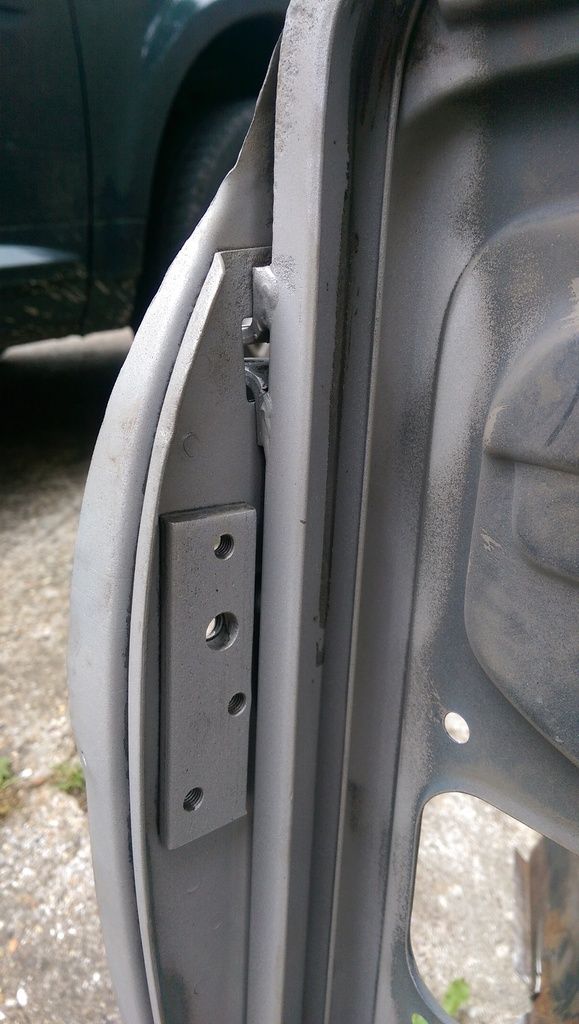
So easy with a blaster!!!
Then it was time to get cracking on the last few repairs to the doors:
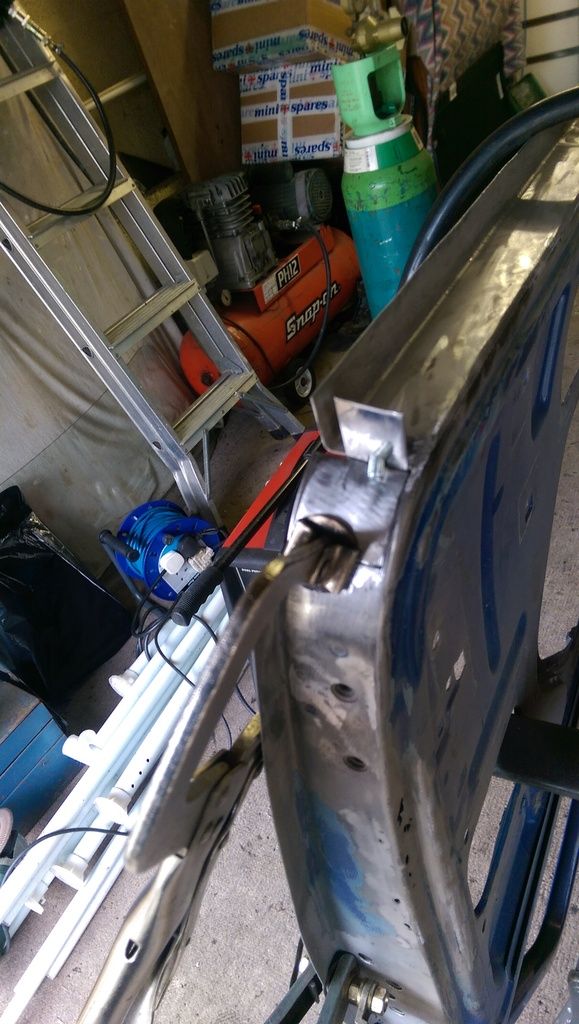
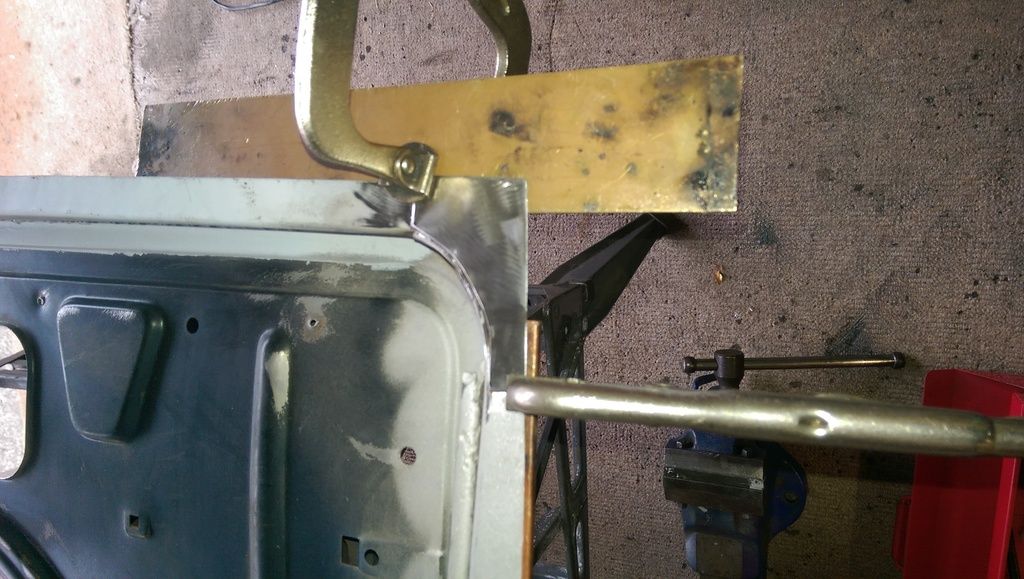
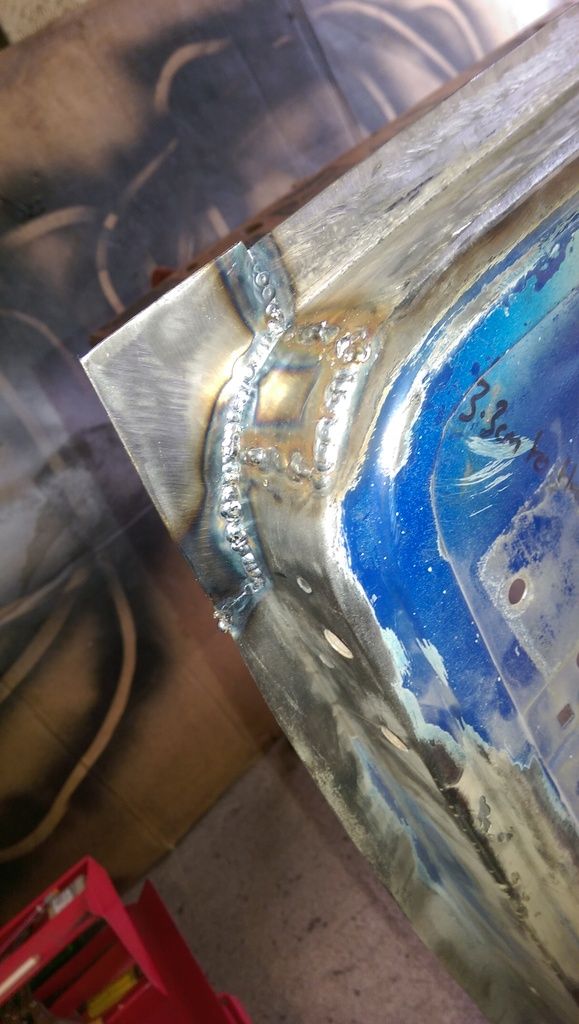
That was one corner done.
And then the other:
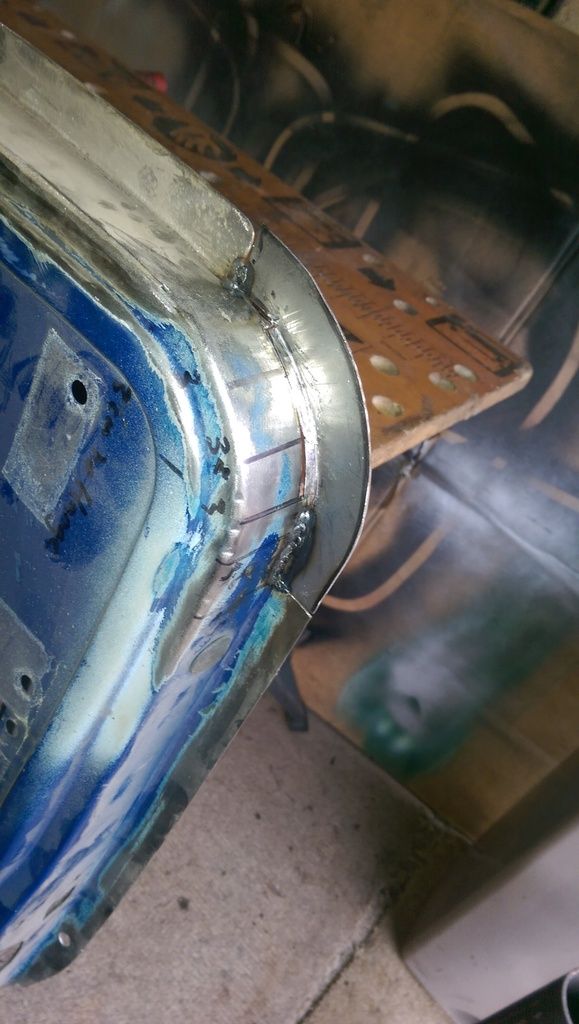
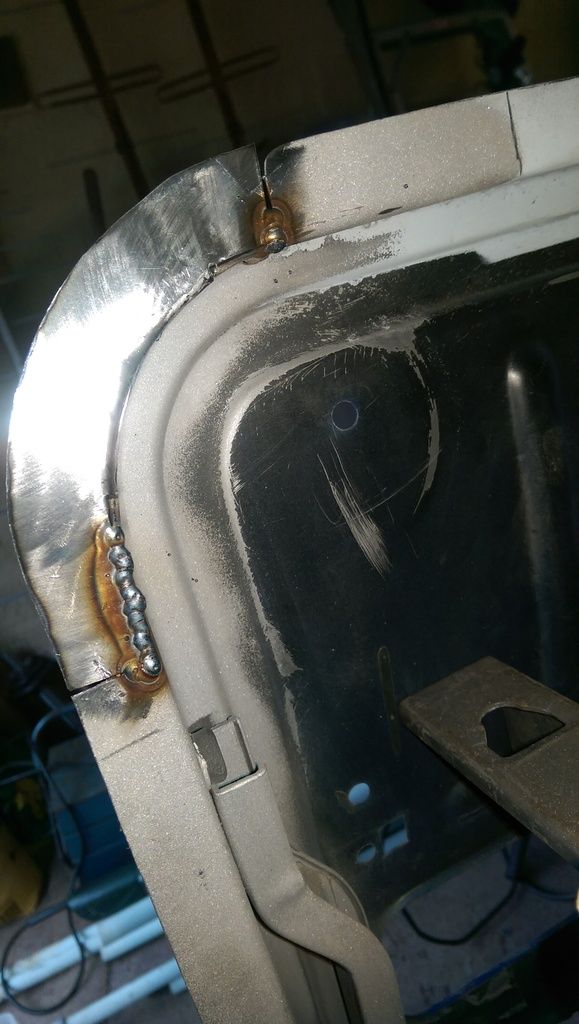
Then it was this piece of rot:
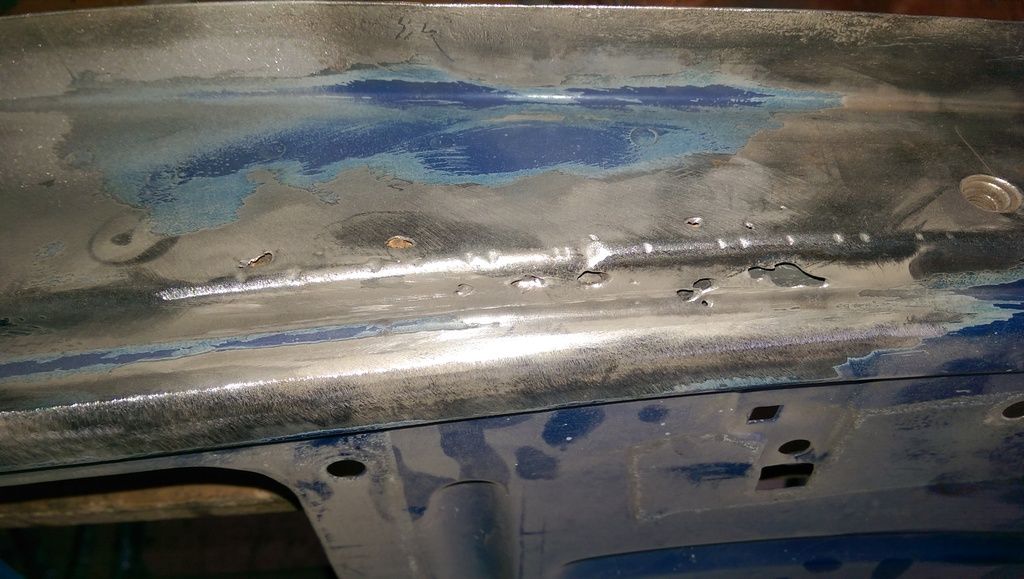
And here it is welded up (not yet dressed down):
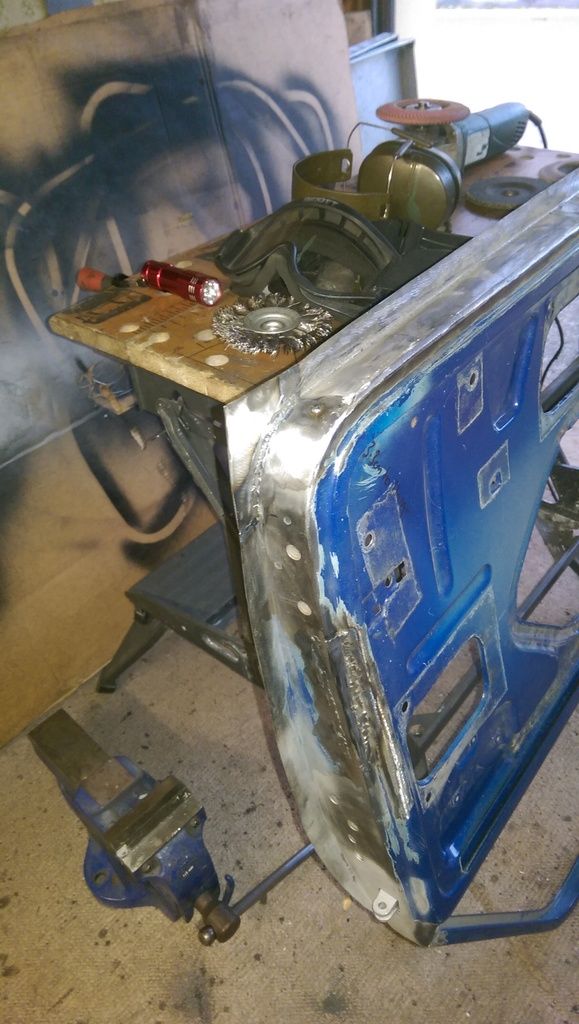
Started to clean up the welds but ran out of time, light was fading and I was getting tired:
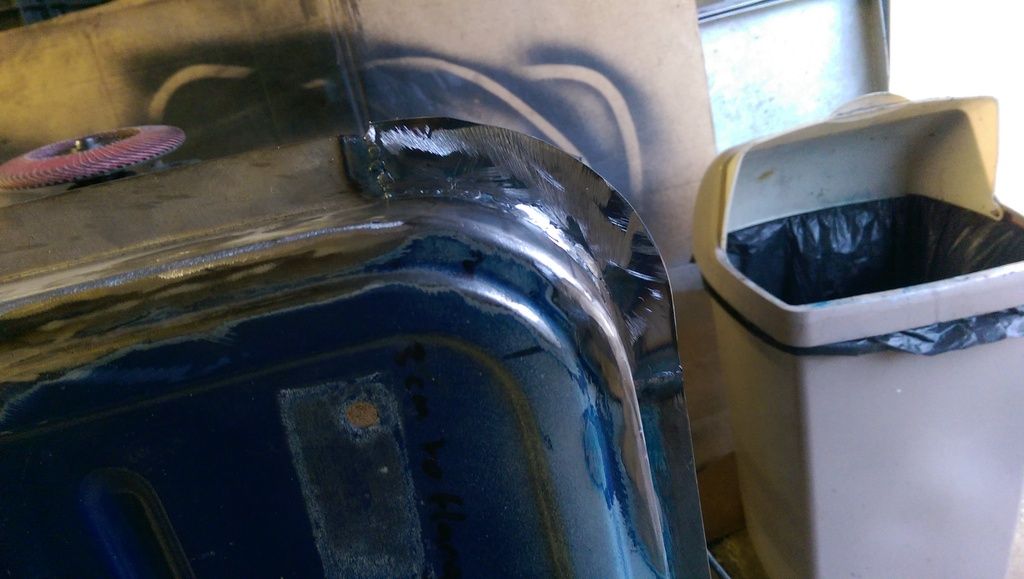
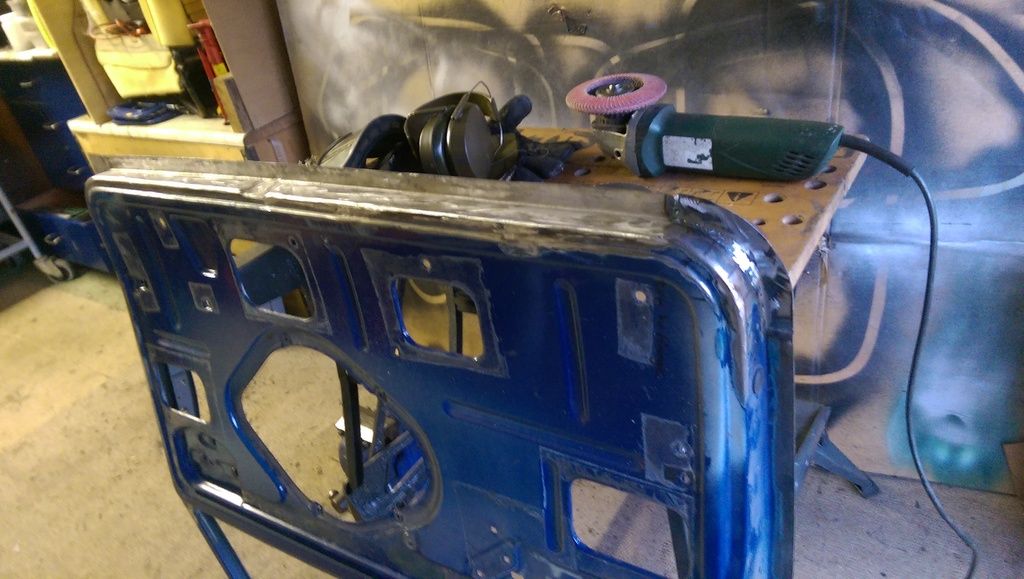
Might take a day off tomorrow and get back at it on Sunday.
Need to finish repairing this door frame, sand it down and throw some Epoxy on the inside, leave it for a day and then put on some top coat on it then put the door skin on. Then it (and the other door, bonnet and boot) should be ready for painting.
Then:
Rebuild and fit the doors
Replace the door and rear window seals
Install the air vents
Build the dash
Paint under the Scuttle
Fit the boot and bonnet.
Replace the RH lower Engine Mount
Fit front Flexi Brake Hoses and bleed the brakes
Fit the Lower Engine Steady Bracket
Change the Track Rod Ends
Fit the Rear Exhaust Mount
Install the front lights and indicators.
Fit the sound deadening.
Replace the front rear Subframe Mounts.
Fit the Carpet
Fit the mirrors and window wipers (and motor / drive unit)
Fit the window washer jets and piping.
Change the battery
Service the Engine
Grease all grease nipples
Test everything
MOT..................
Posted 09 October 2016 - 06:31 PM
Well dropped my wheel off at the garage yesterday and popped in to see them this morning. Well all my hard work paid off, they only managed to balance it ![]()
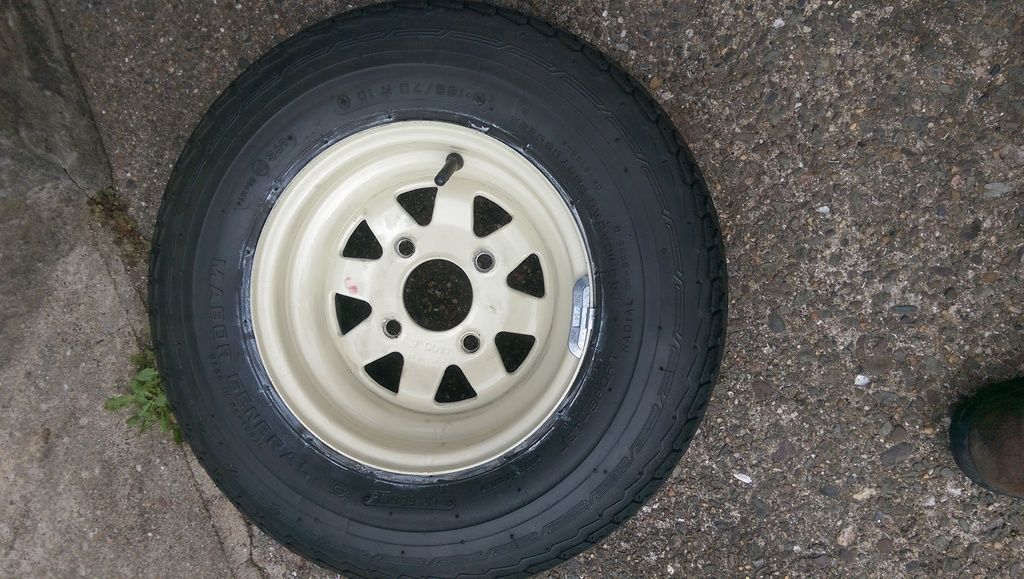
Woop woop now I have a set of four!!
0 members, 1 guests, 0 anonymous users