Jump to content


Photo
- - - - -

1982 Austin Mini - Project Who?


  • Please log in to reply
852 replies to this topic

#541 JonnyAlpha

JonnyAlpha

    Up Into Fourth

  • Members
  • PipPipPipPipPipPipPipPipPip
  • 2,748 posts
  • Location: North Devon
  • Local Club: Exmoor Minis

Posted 20 September 2016 - 11:00 AM

Just read through mate can't believe your progress ! Epic !! Wish I was this far with mine. My brother saw you the other week working away on it. He was parked near in his plumbing van! Can't wait to see you driving around I will be super jelous!


Ryan - thanks for the praise.

Do you have a restoration on the go then? 


#542 JonnyAlpha

JonnyAlpha

    Up Into Fourth

  • Members
  • PipPipPipPipPipPipPipPipPip
  • 2,748 posts
  • Location: North Devon
  • Local Club: Exmoor Minis

Posted 20 September 2016 - 12:00 PM

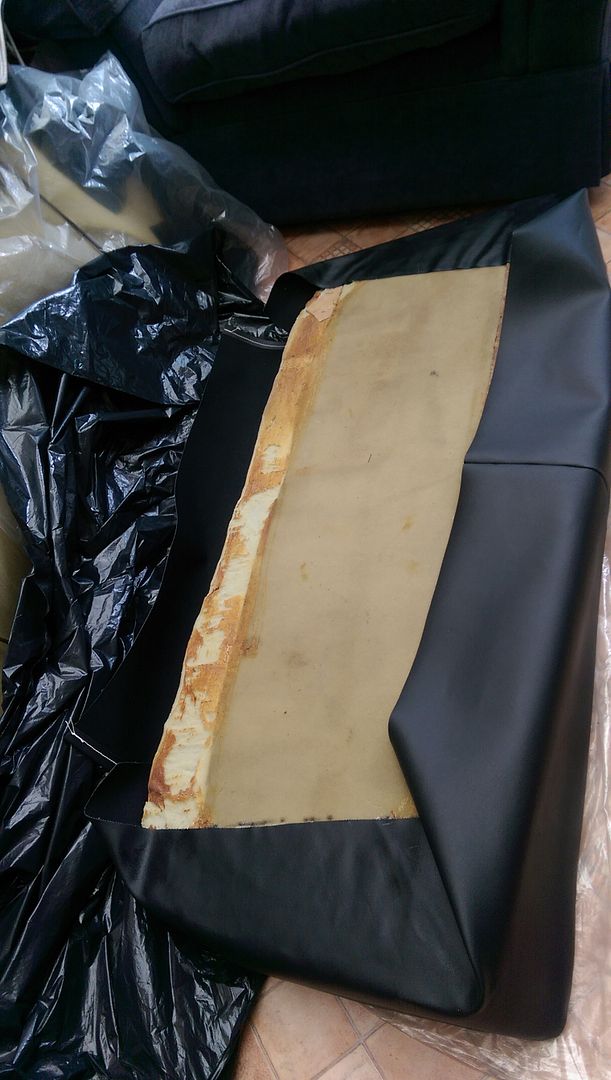
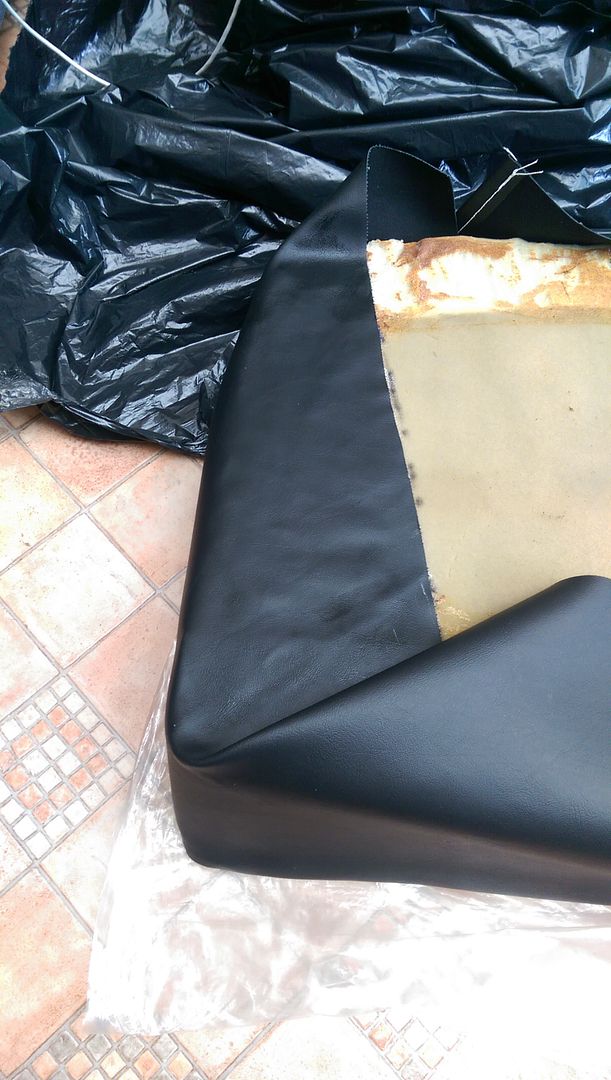
Yesterday I started to prep the back seats. My son has re-upholstered them and the base just needed gluing.


Did the sides first:
 

IMAG6195_zps4cddev4w.jpg


IMAG6196_zps6v6xqlrn.jpg


Half way through I ran out of Impact Adhesive so I popped down to my local Hardware Store and on spotting the price (in excess of £9 for 250ml) I jumped in the car and drove to Screwfix where I got the same size tin for around £3.50. Shocking!! 


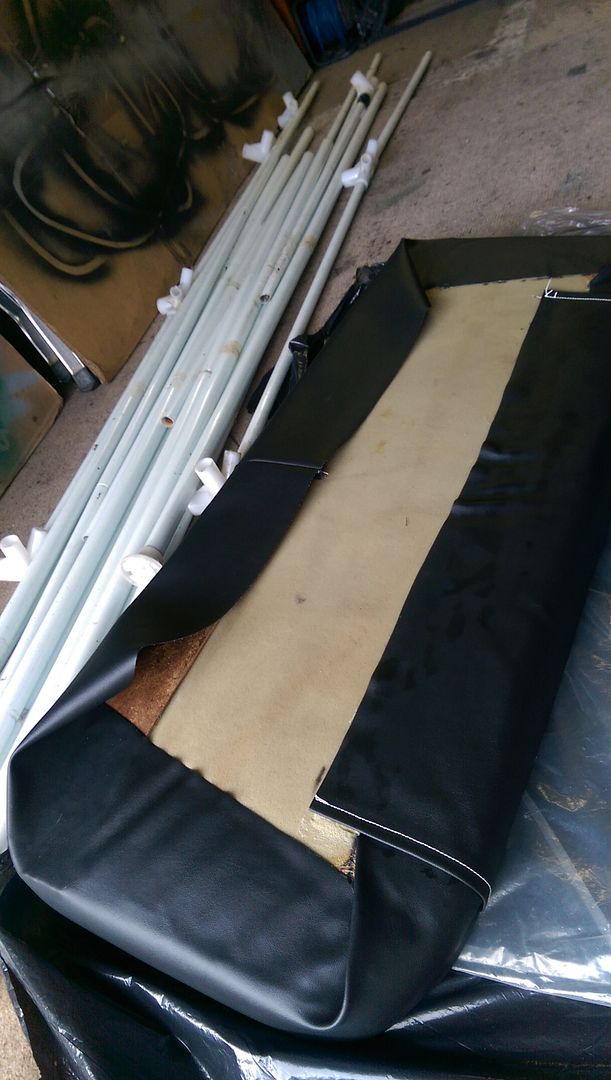
Now today back out in the garage I did the back. Pulling it reasonably tight without deforming the shape:
 

IMAG6197_zpswdyisqzq.jpg


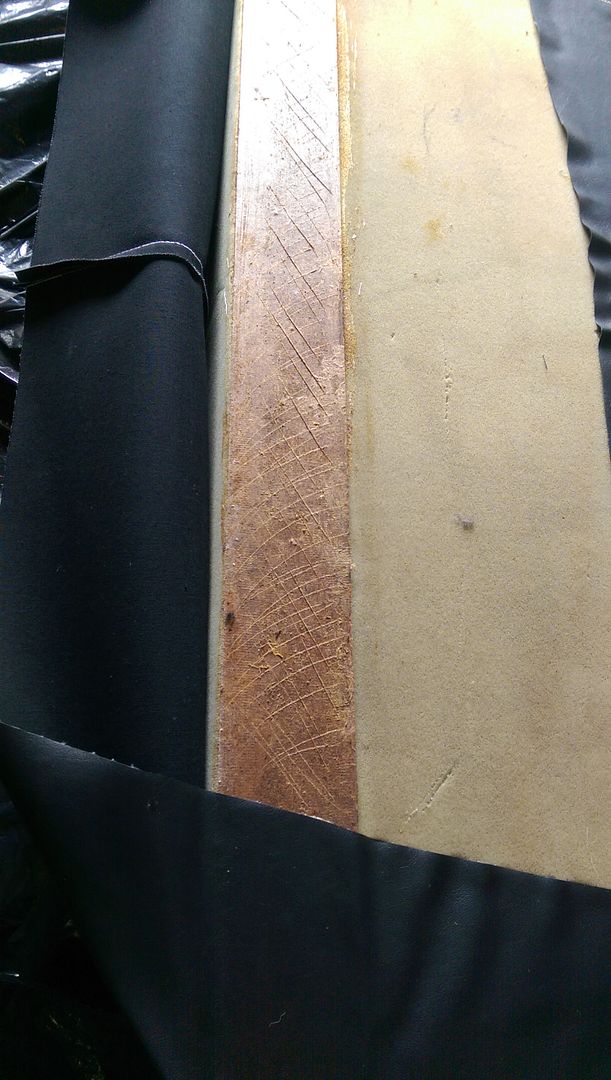
Then I keyed up the wooden board on the underside of the front of the rear seat:
 

IMAG6207_zps4v25uses.jpg


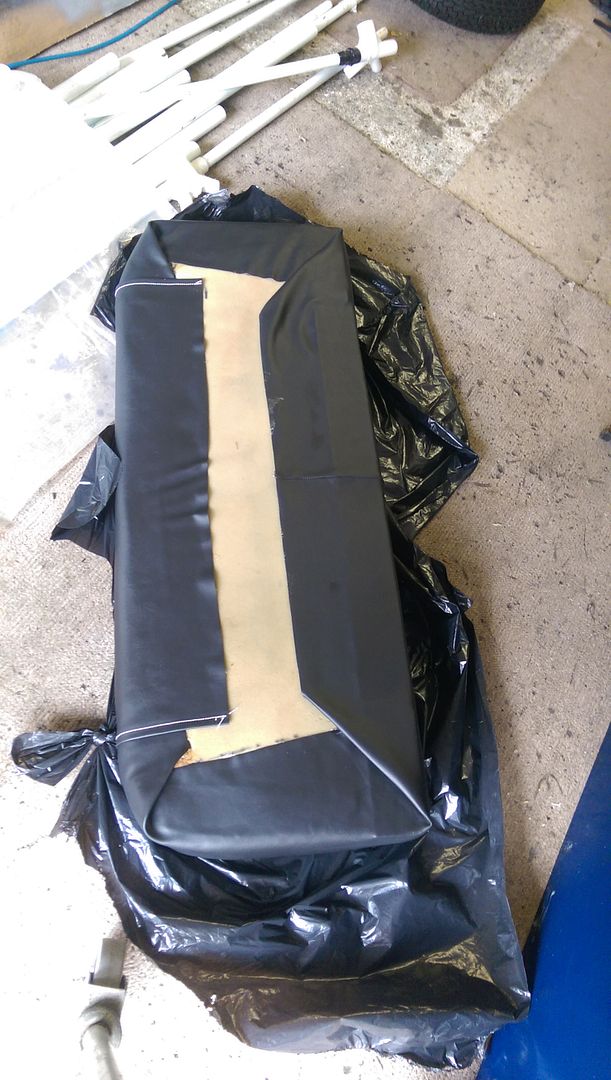
And then using some pliers (to avoid getting glue all over my hand) I pulled in the slack and finished it off:
 

IMAG6208_zpsicqu9ipl.jpg


The loose bit was where I missed the glue so I did that area again and pulled it tight.


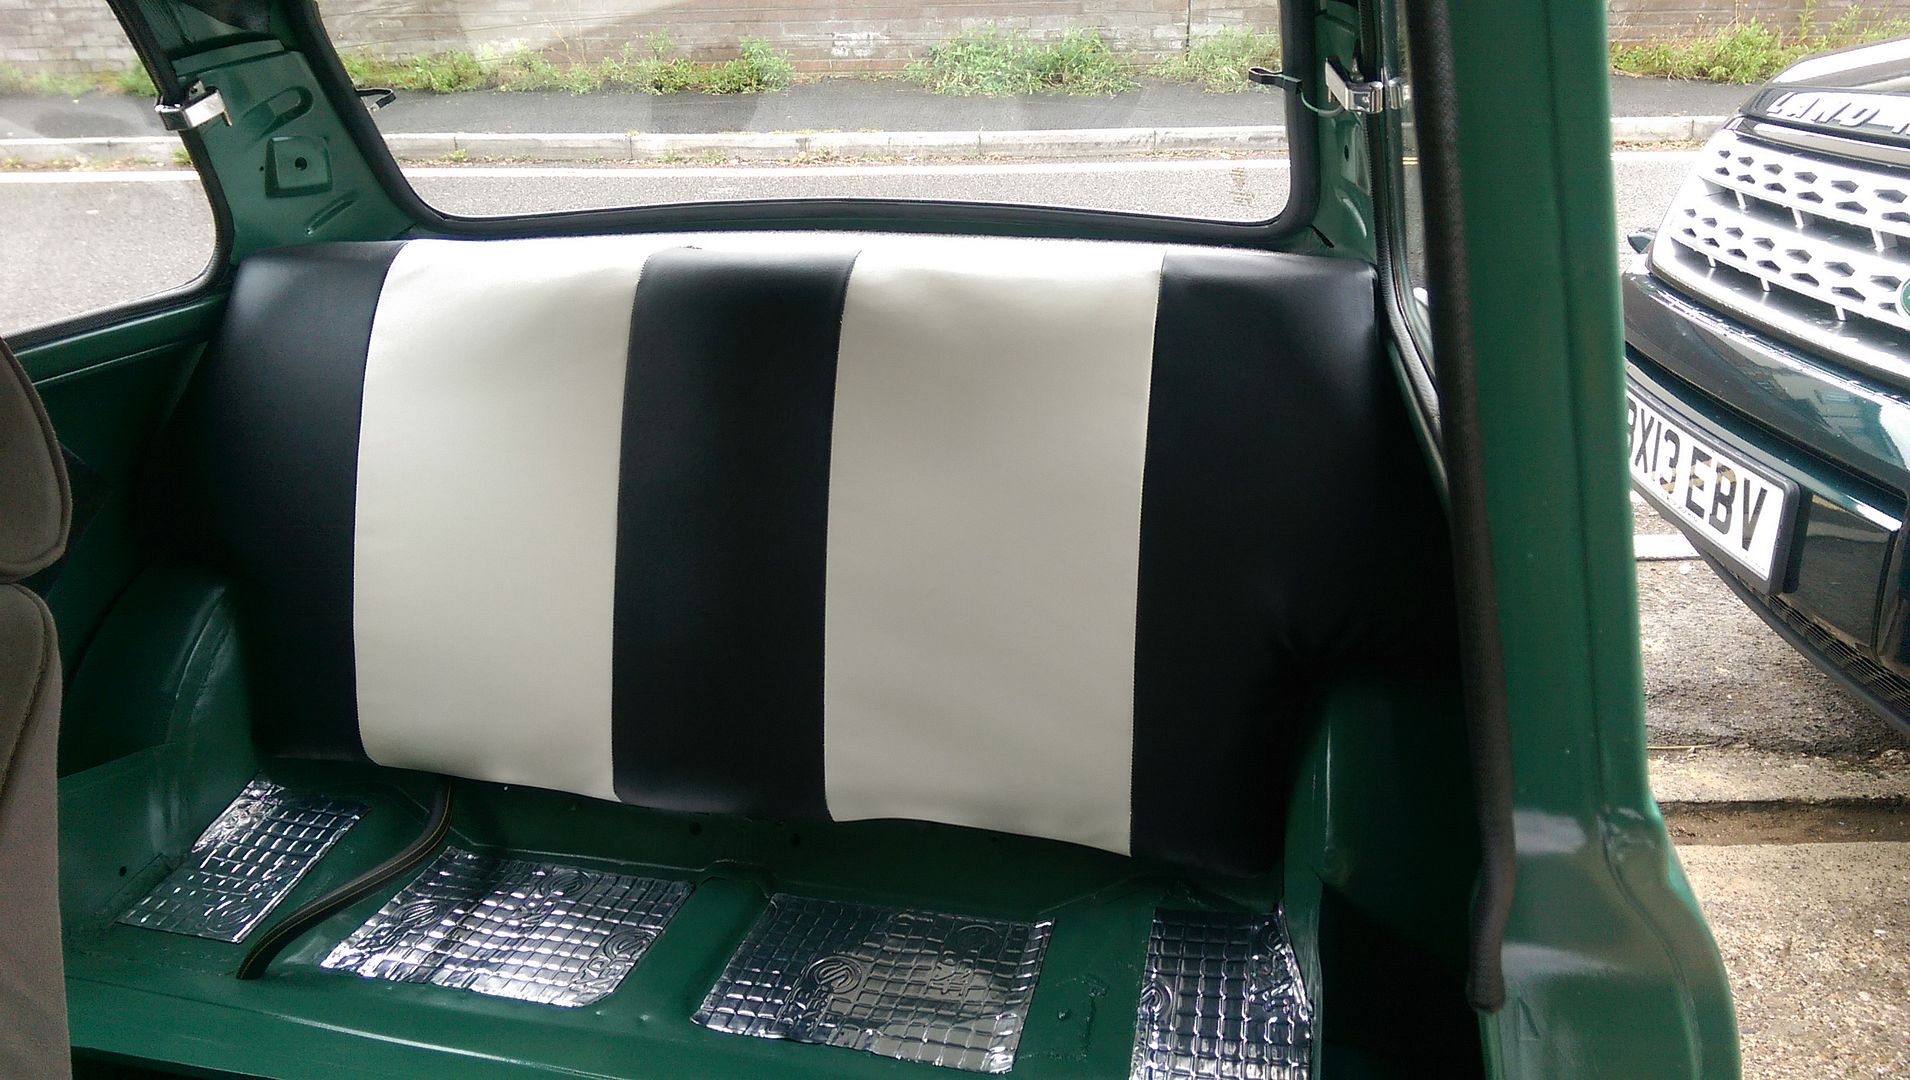
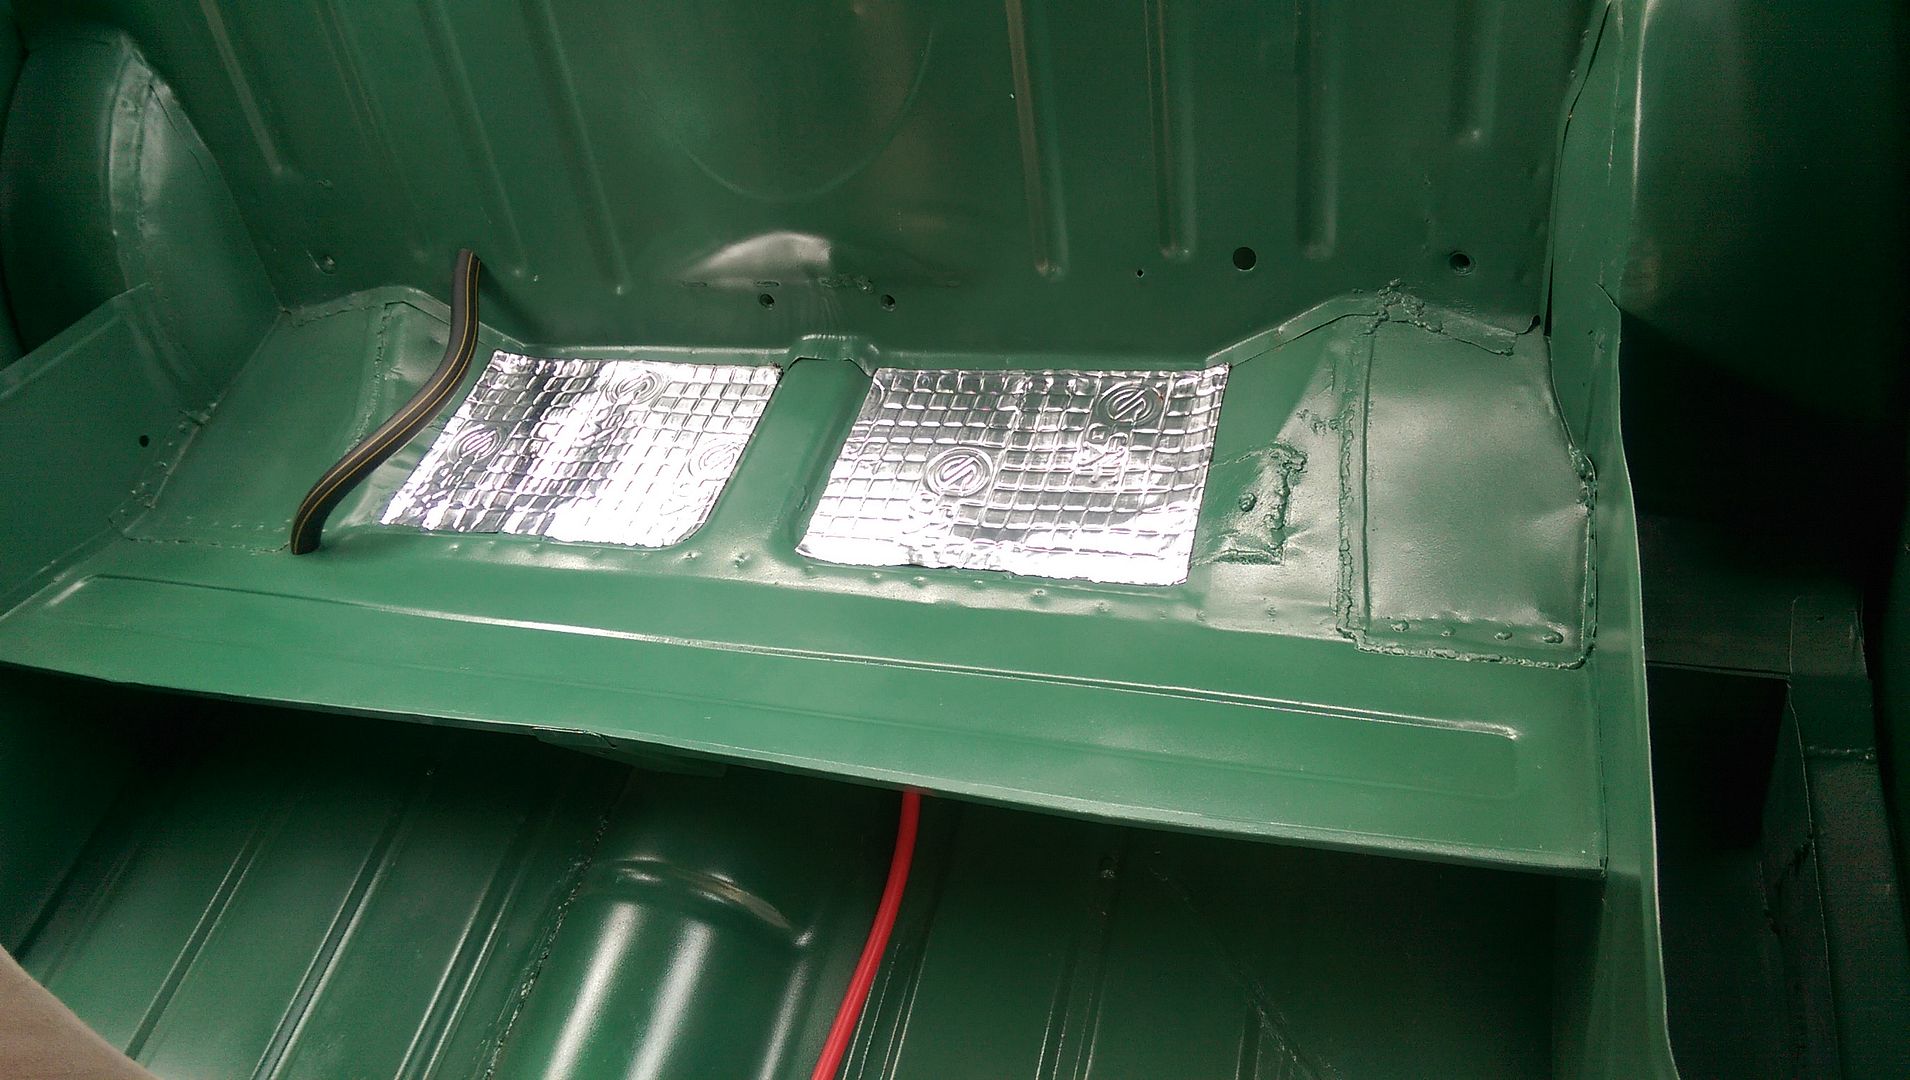
Now before fitting the seats I added some Silent Coat sound proofing. I only bought 10 sheets but will get some more. For the time being I only did the rear seats. First two whole pieces :
 

IMAG6201_zpswy85scxe.jpg


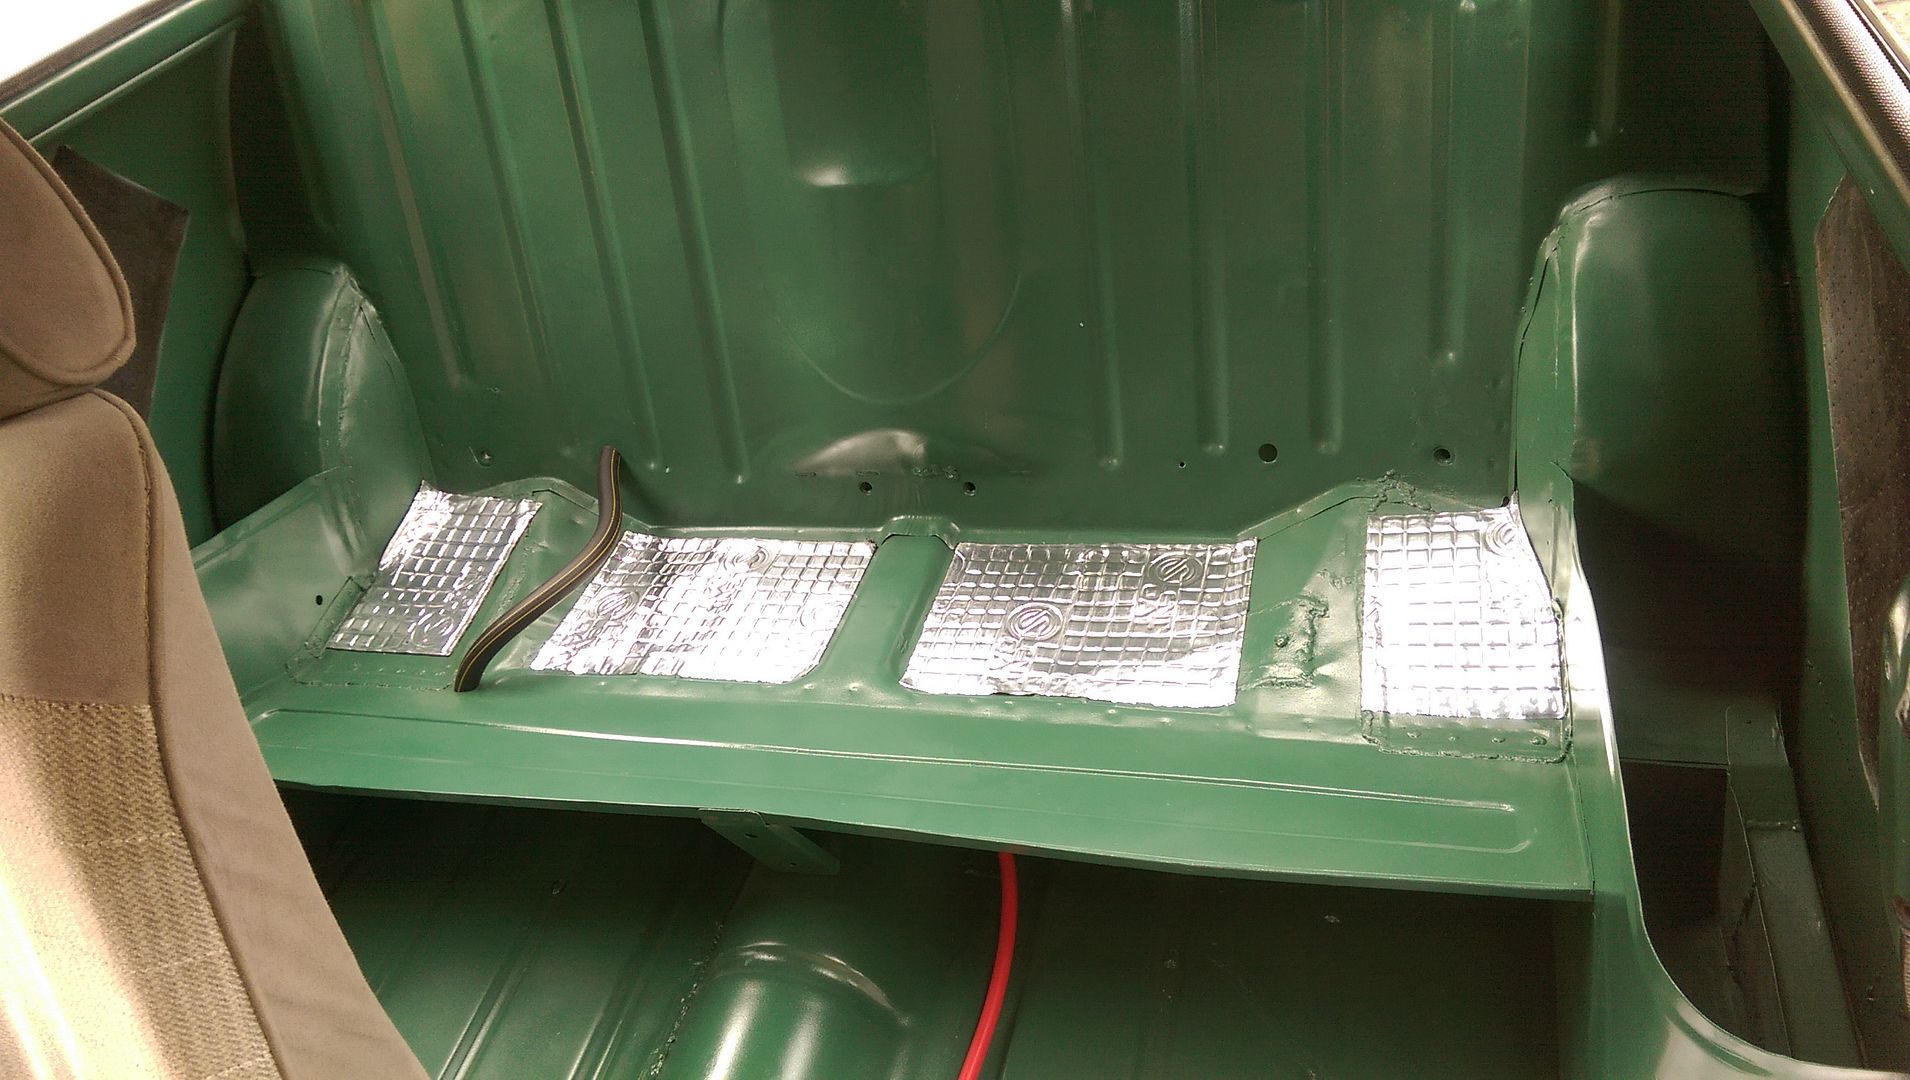
Then I cut one in half to do the ends:
 

IMAG6202_zpsvrczaahb.jpg


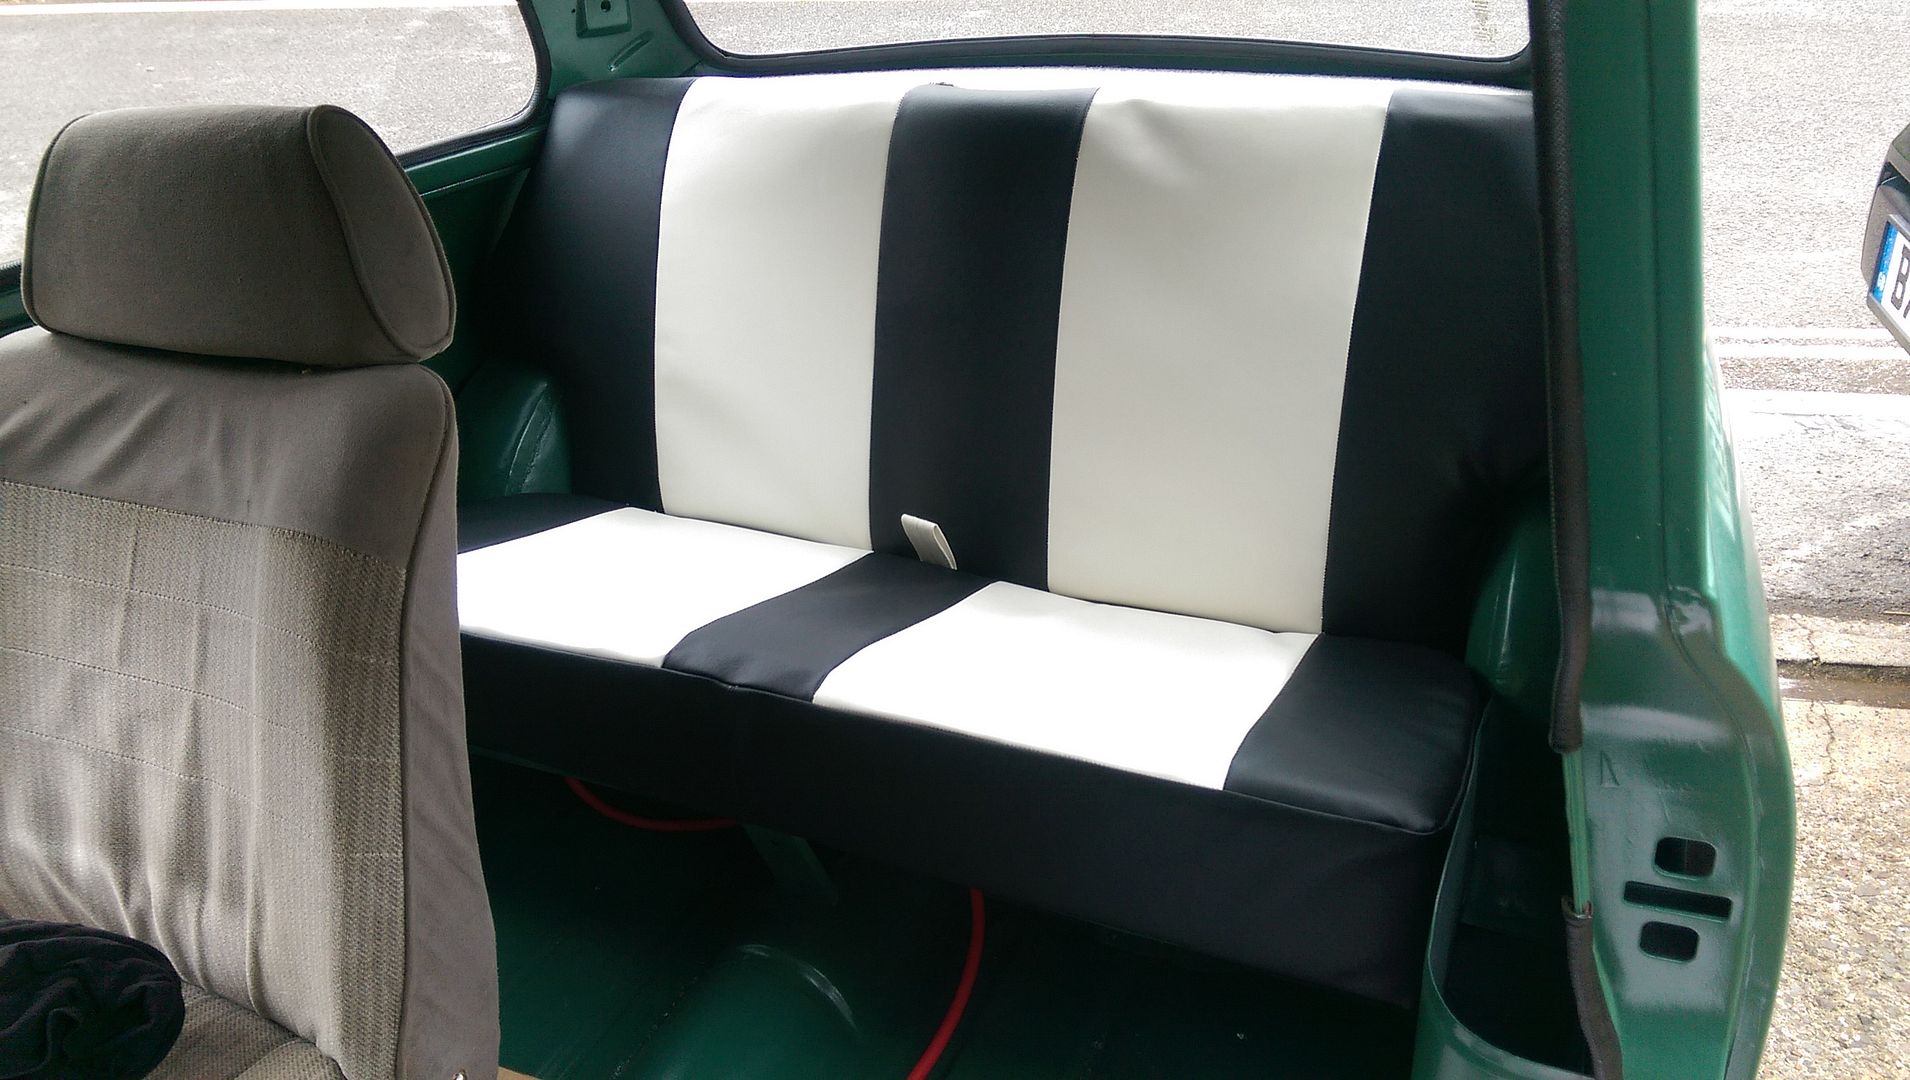
Next I fitted the rear seat back:


IMAG6205_zps8ipthwfz.jpg


And then the base:


IMAG6210_zpsffnzozyo.jpg


My son had made up a filler for the rear window ages ago so I popped that in as well.


That's a live update. I must get back to work at some point :-)


#543 ryan22_lgm

ryan22_lgm

    One Carb Or Two?

  • Traders
  • PipPipPipPipPipPipPip
  • 1,478 posts
  • Location: woolacombe, north devon
  • Local Club: north devon mini register

Posted 20 September 2016 - 05:09 PM


Just read through mate can't believe your progress ! Epic !! Wish I was this far with mine. My brother saw you the other week working away on it. He was parked near in his plumbing van! Can't wait to see you driving around I will be super jelous!

 
Ryan - thanks for the praise.
Do you have a restoration on the go then? 

You deserve it mate :) Beautiful job!

Yeh I have 2 on the go mate 67 van and my green mini
http://www.theminifo...19#entry3417774
Trying to get it in high build primer as soon as I can

#544 Jared Mk3

Jared Mk3

    Has a small thing but it does make a difference

  • Members
  • PipPipPipPipPipPipPipPip
  • 1,974 posts
  • Location: Kokstad, South Africa
  • Local Club: MOCKZN

Posted 20 September 2016 - 06:01 PM

Looking good  =]


#545 JonnyAlpha

JonnyAlpha

    Up Into Fourth

  • Members
  • PipPipPipPipPipPipPipPipPip
  • 2,748 posts
  • Location: North Devon
  • Local Club: Exmoor Minis

Posted 20 September 2016 - 06:02 PM

Looking good  =]

Thanks :-)


#546 JonnyAlpha

JonnyAlpha

    Up Into Fourth

  • Members
  • PipPipPipPipPipPipPipPipPip
  • 2,748 posts
  • Location: North Devon
  • Local Club: Exmoor Minis

Posted 20 September 2016 - 06:05 PM


Just read through mate can't believe your progress ! Epic !! Wish I was this far with mine. My brother saw you the other week working away on it. He was parked near in his plumbing van! Can't wait to see you driving around I will be super jelous!

 
Ryan - thanks for the praise.
Do you have a restoration on the go then? 

You deserve it mate :) Beautiful job!

Yeh I have 2 on the go mate 67 van and my green mini
http://www.theminifo...19#entry3417774
Trying to get it in high build primer as soon as I can


Just had a look at your thread - it's like my car all over again!! Looks like it was originally blue also!!


What primer are you planning on using?


#547 JonnyAlpha

JonnyAlpha

    Up Into Fourth

  • Members
  • PipPipPipPipPipPipPipPipPip
  • 2,748 posts
  • Location: North Devon
  • Local Club: Exmoor Minis

Posted 20 September 2016 - 06:43 PM

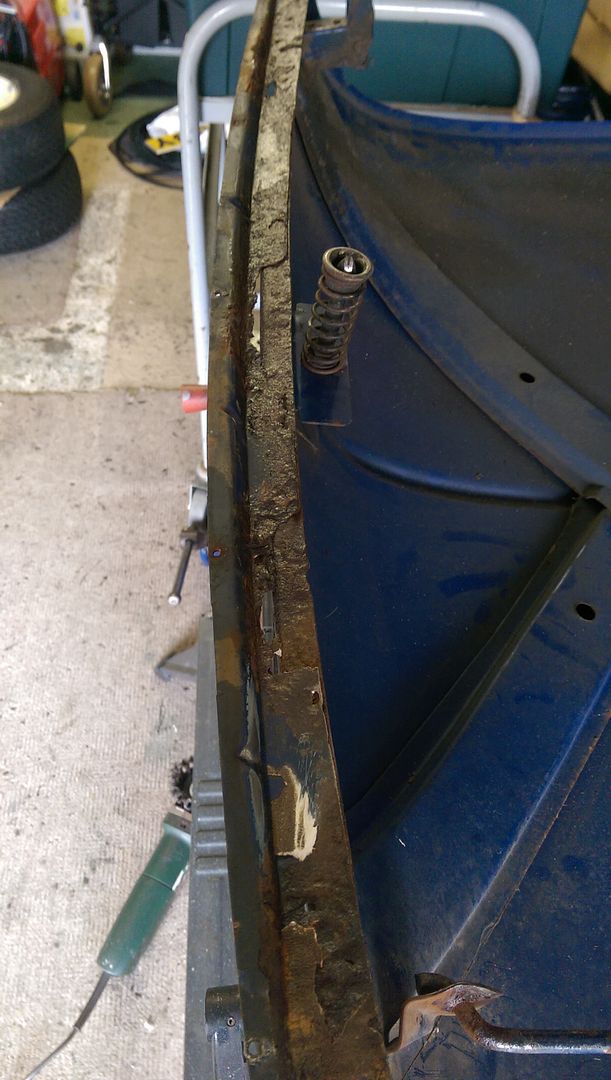
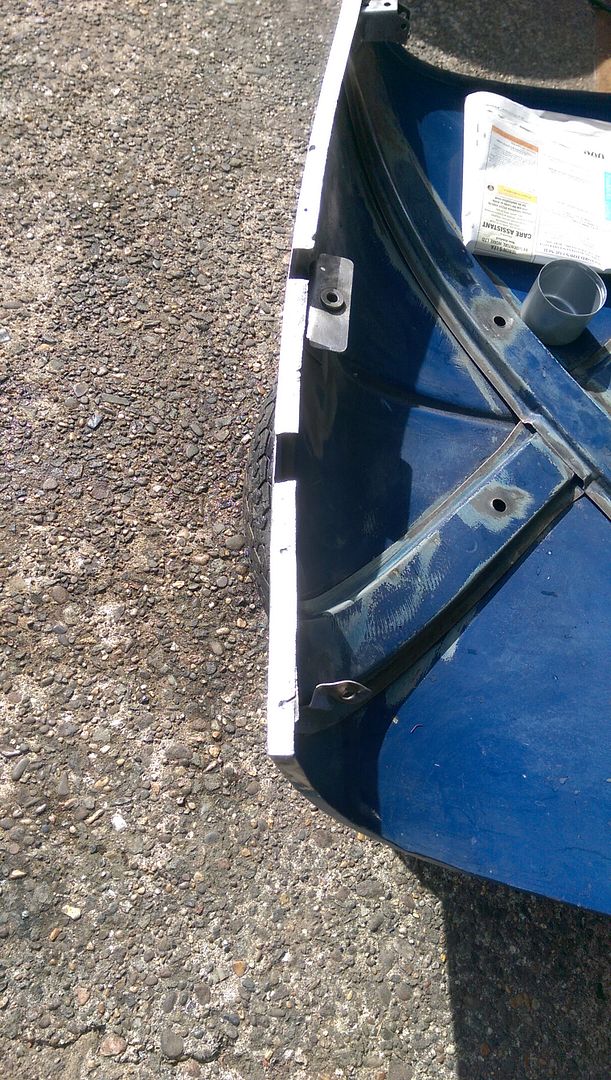
Last few repair jobs are the Bonnet and the Doors so I started on the Bonnet.


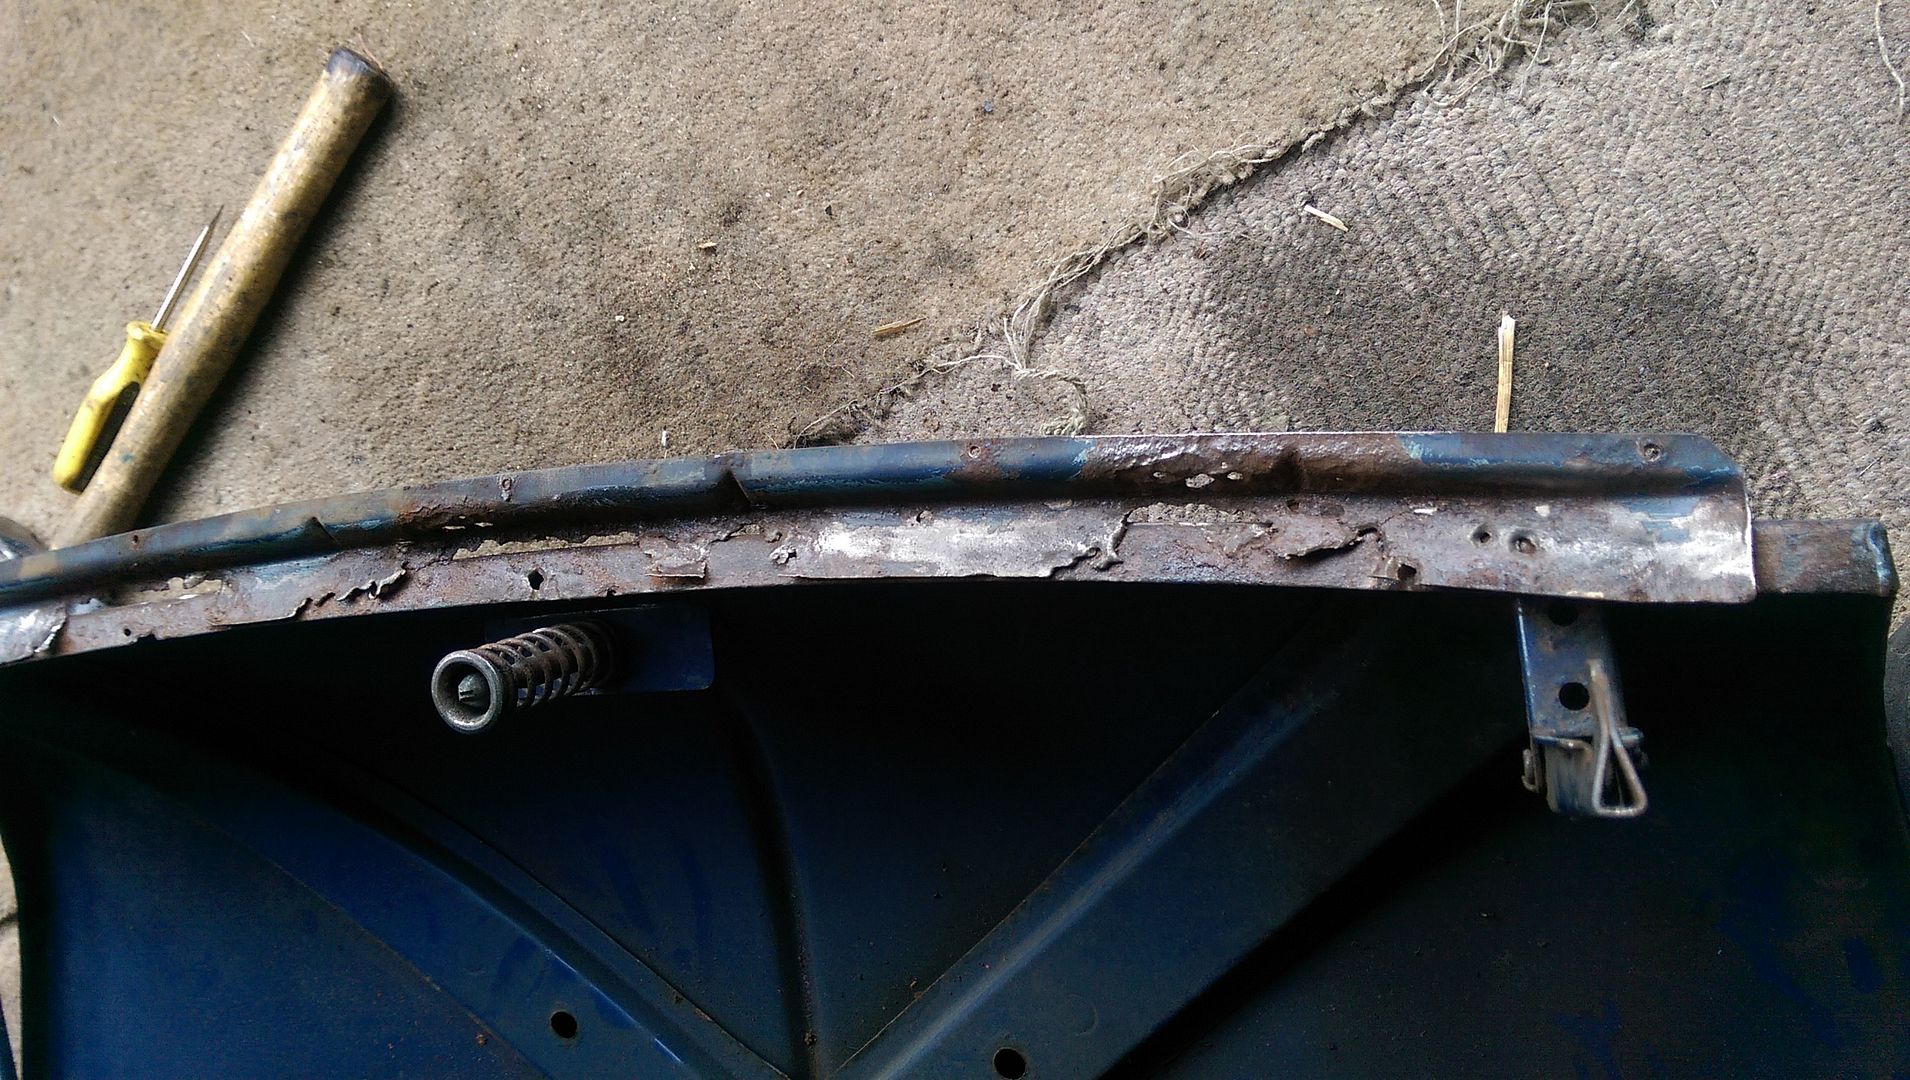
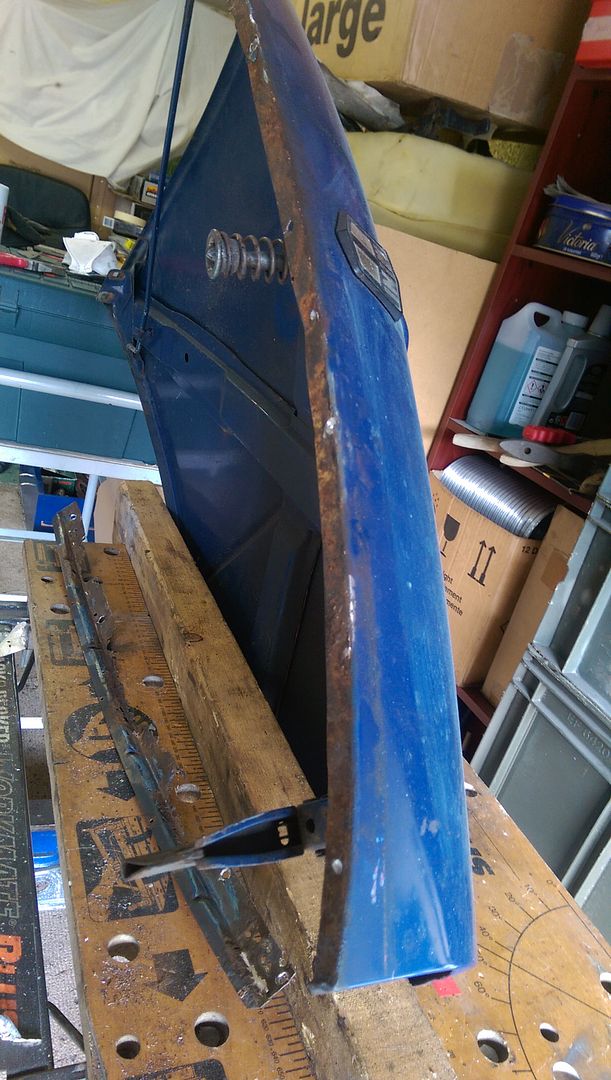
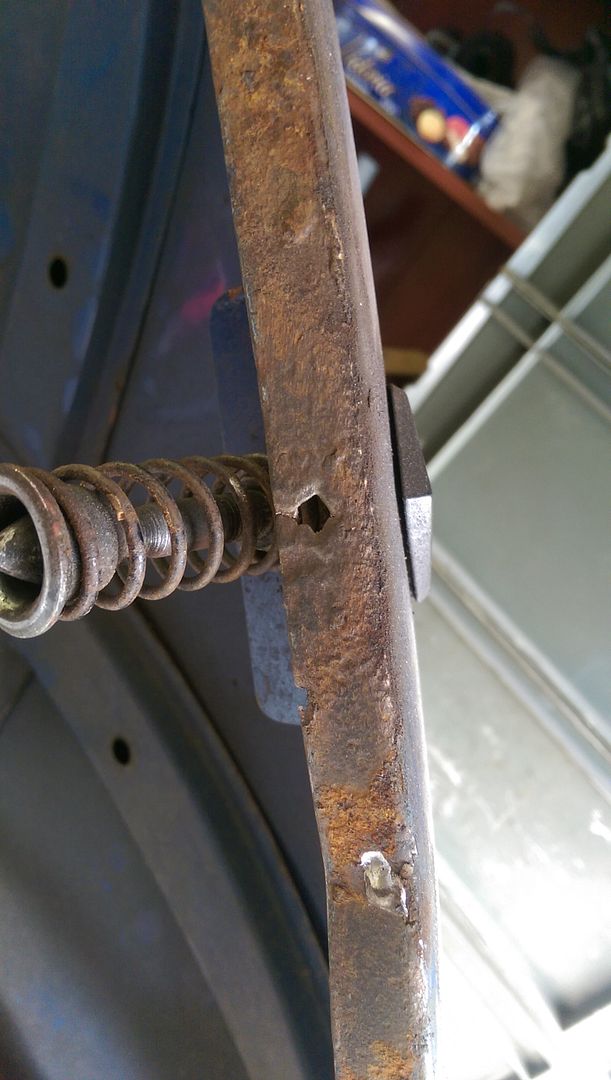
the bottom lip is rotted:


IMAG6212_zpswuztucv6.jpg


So on with the Twisted Knot to clean it up and reveal the spot welds:


IMAG6213_zpszmje0z7w.jpg


Then after drilling some pilot holes it was out with the Spot Weld Drill Bit

The bonnet itself is not to bad and will clean up with minimal repair:


IMAG6218_zpsknjbvoiz.jpg


IMAG6220_zpsi3jincbd.jpg


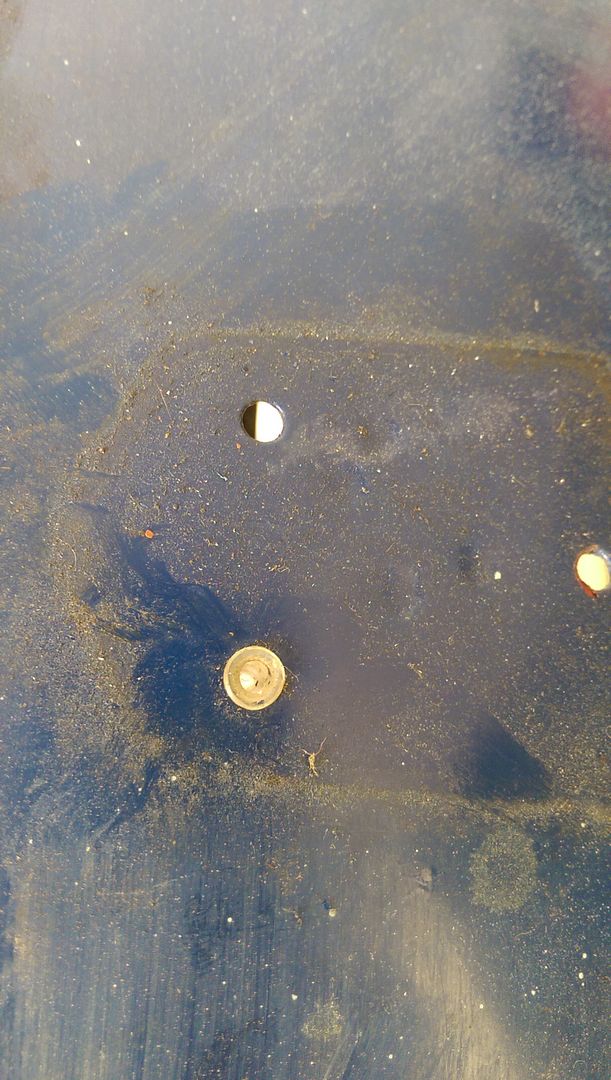
I took the bonnet badge off and found that it is held on by some weird plastic inserts (of which only one remained).


IMAG6222_zpsihmmkodz.jpg


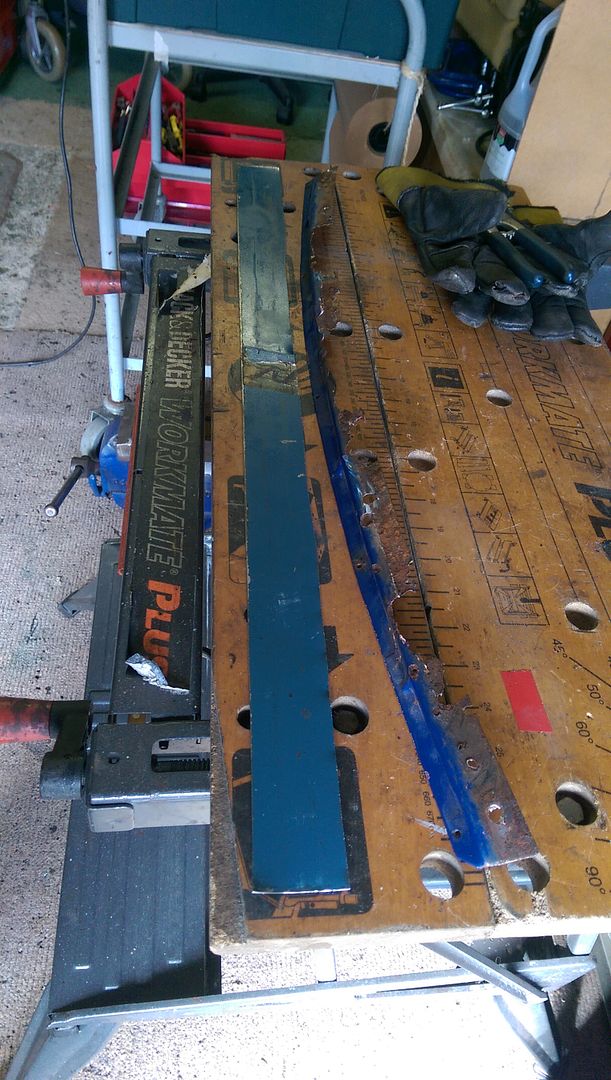
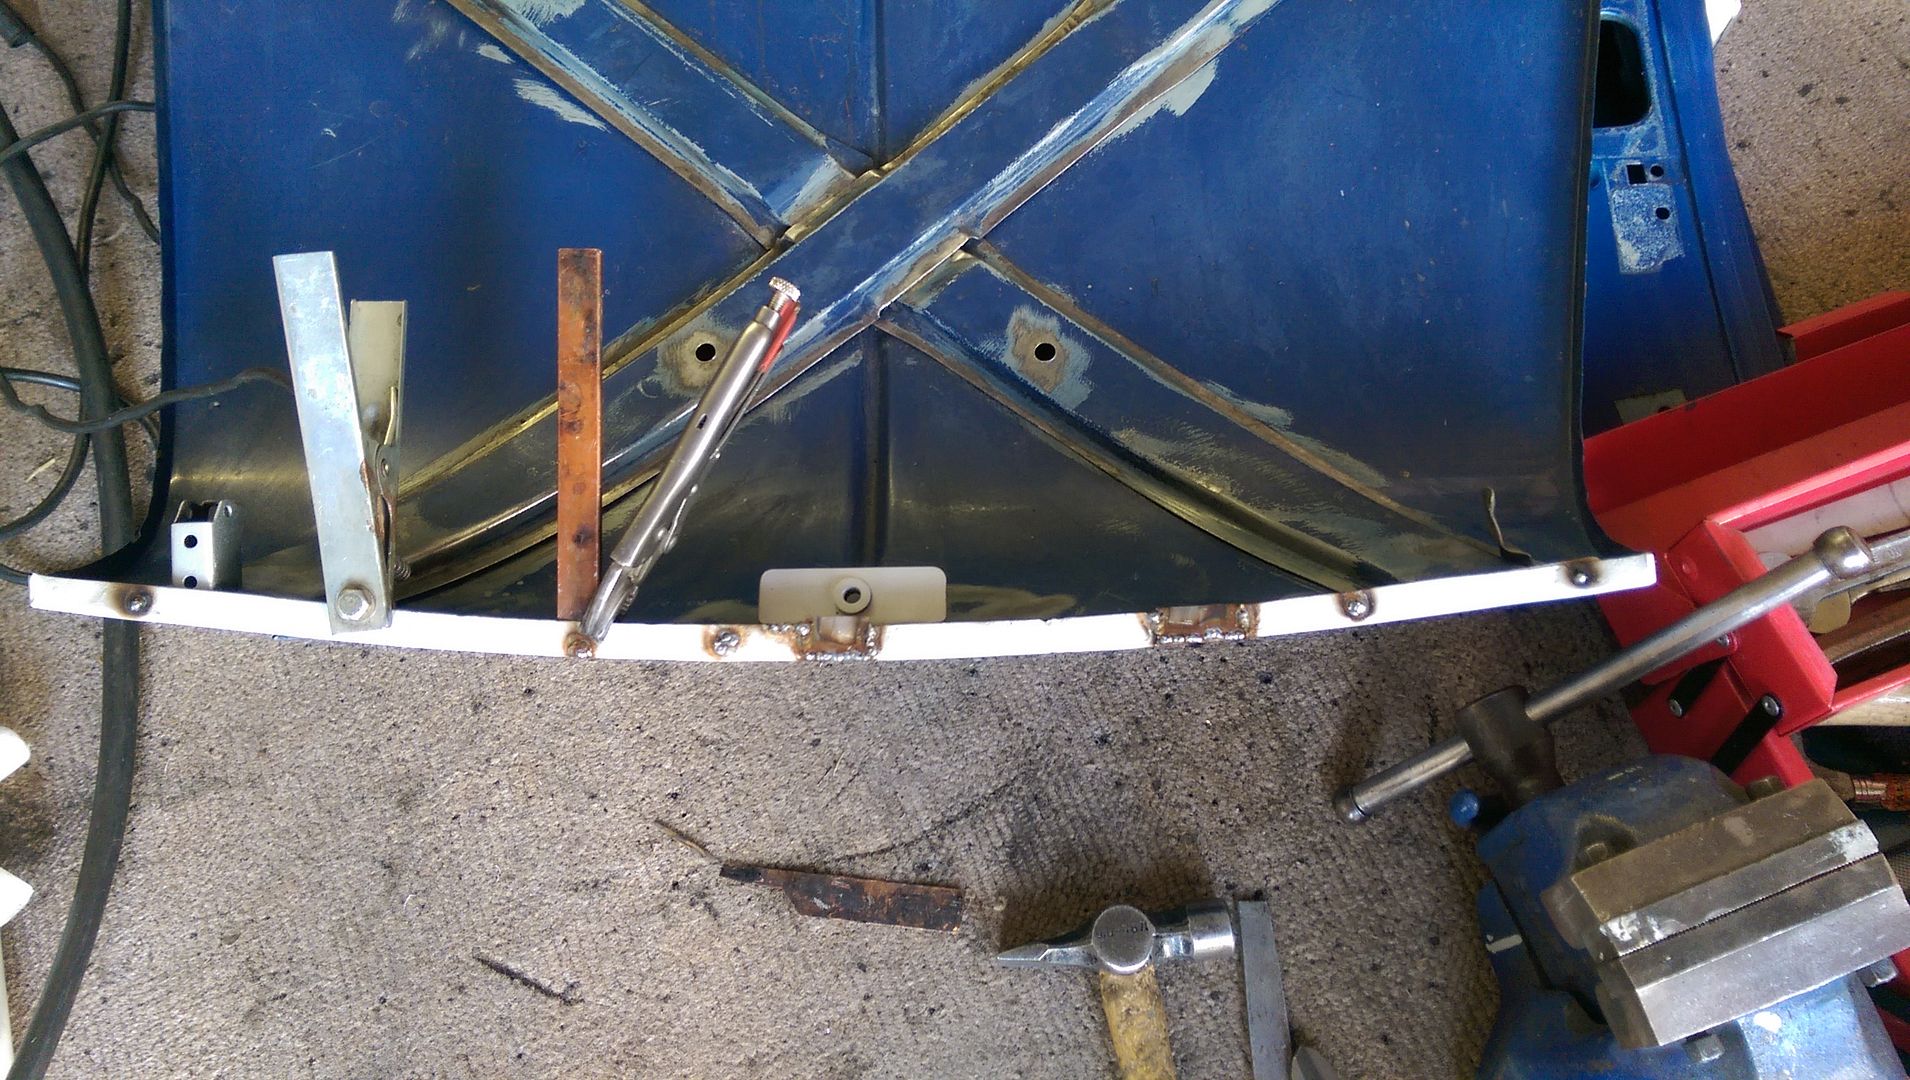
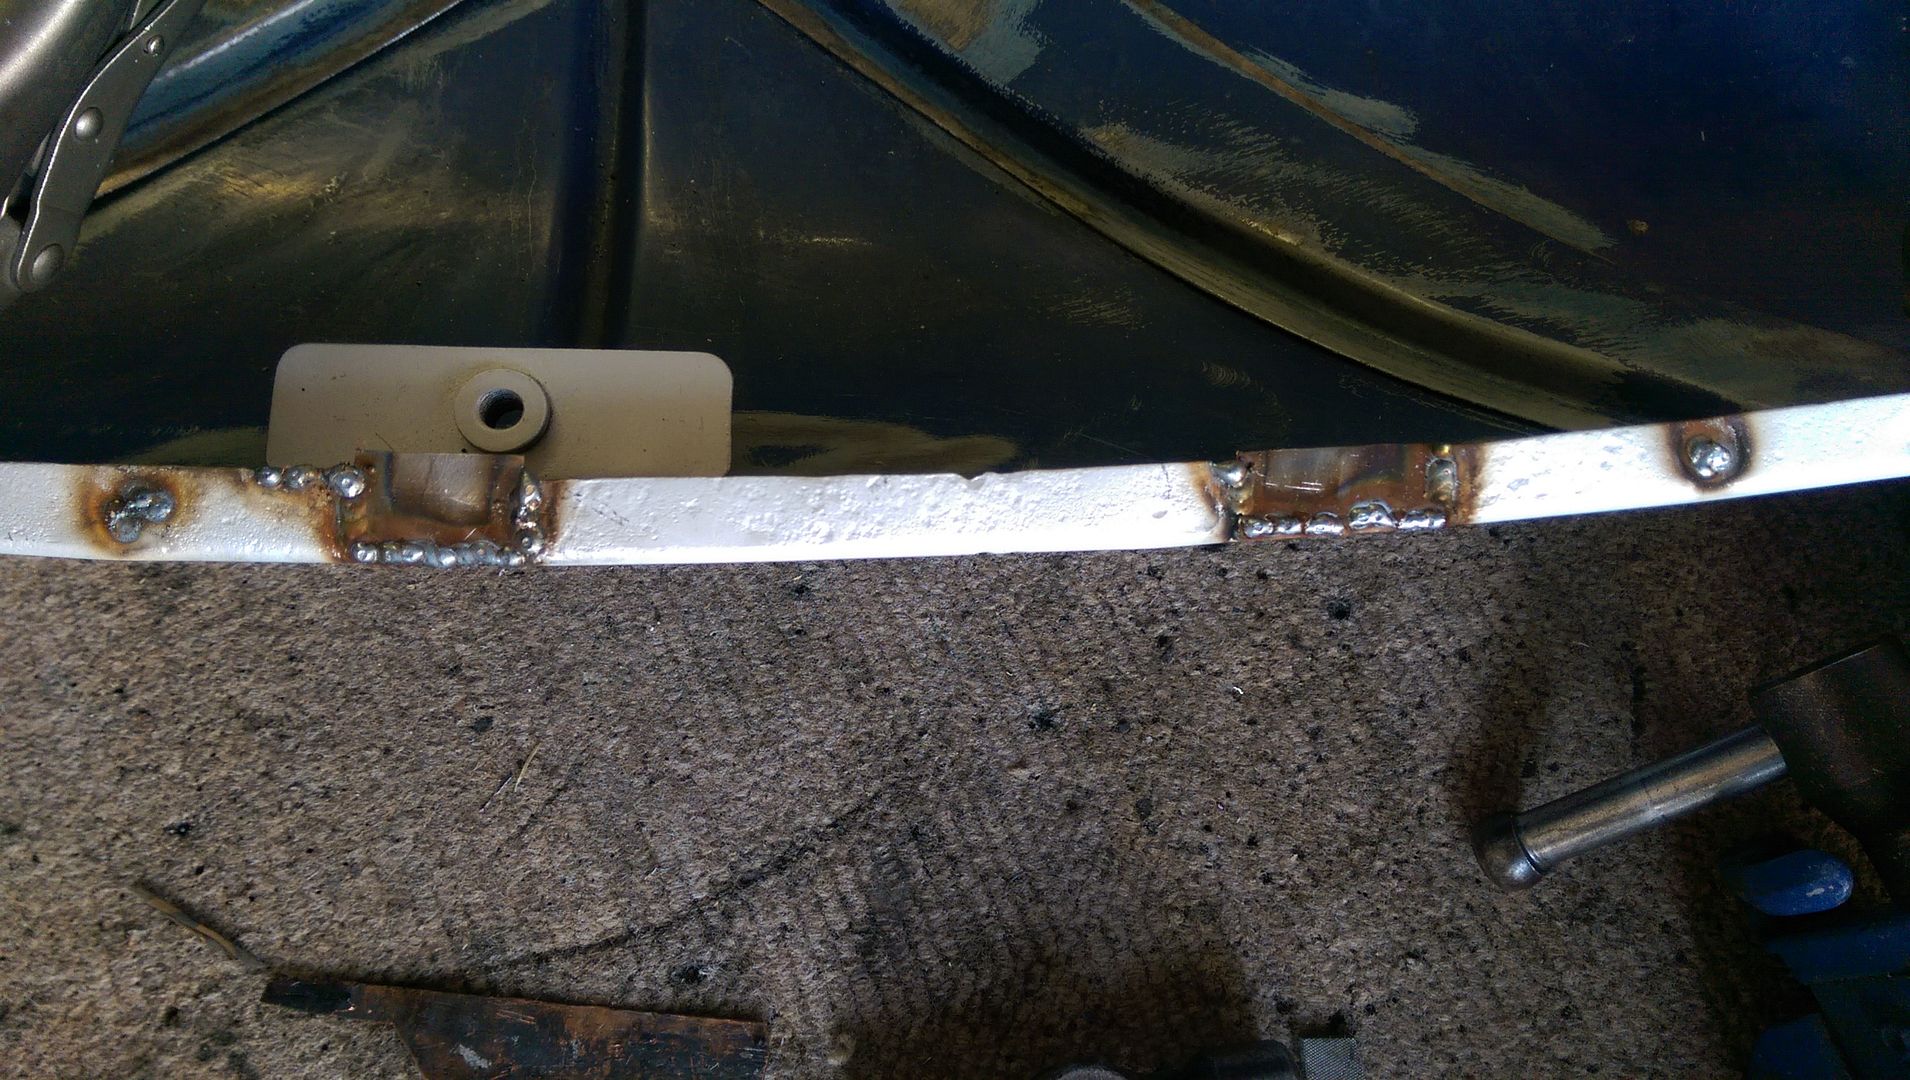
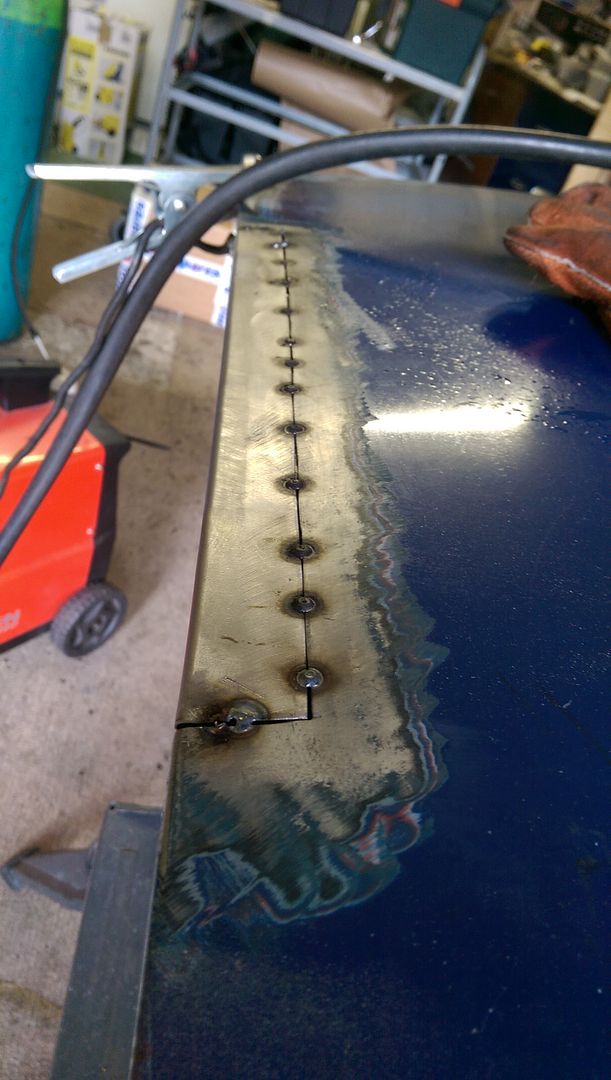
After a quick measure I cut out a piece of scrap metal to make a new lip:


IMAG6223_zpswecrljfj.jpg


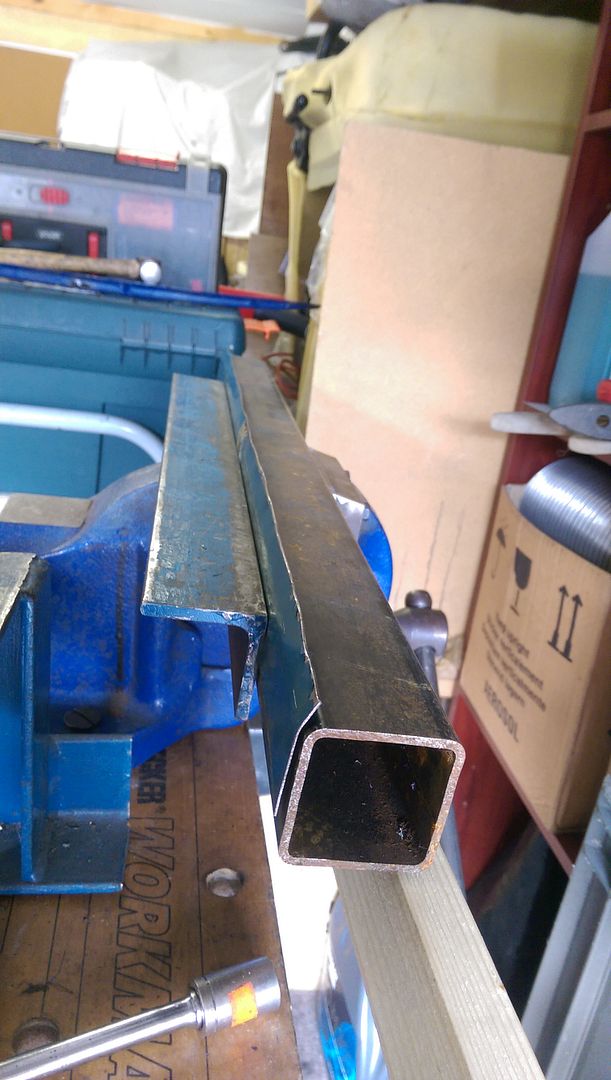
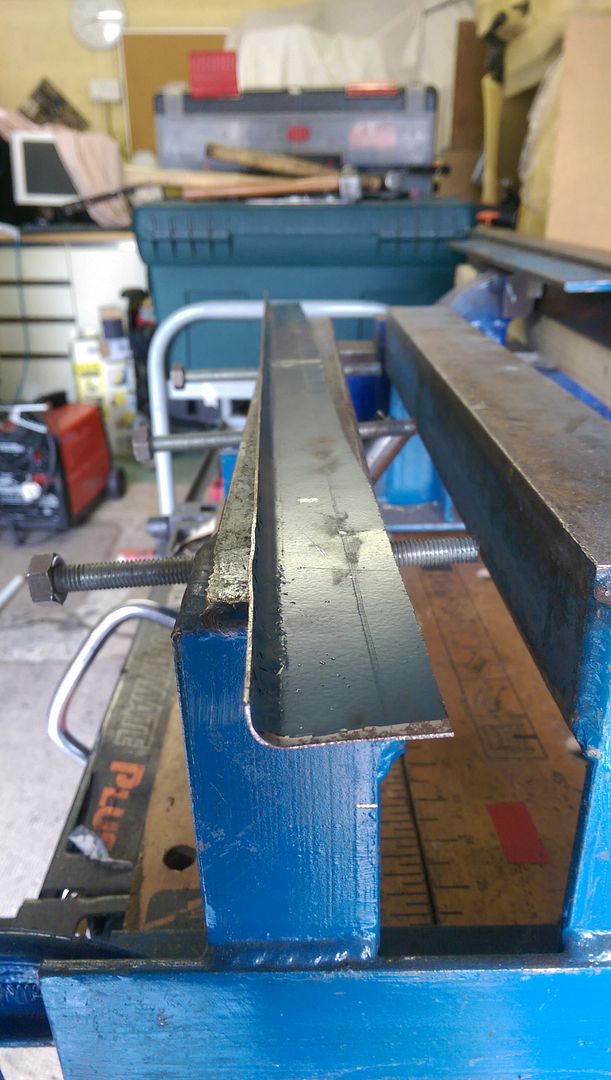
After hunting around my garage I found a piece of box metal to make the correct profile of the bends in the lip:


IMAG6224_zps1uygbq22.jpg


IMAG6225_zpss9y5p9b9.jpg


After the first bend I forgot to take any progress photos but I managed to get something into shape:


IMAG6226_zpsauylyfxz.jpg


 IMAG6227_zpsn4lifgny.jpg


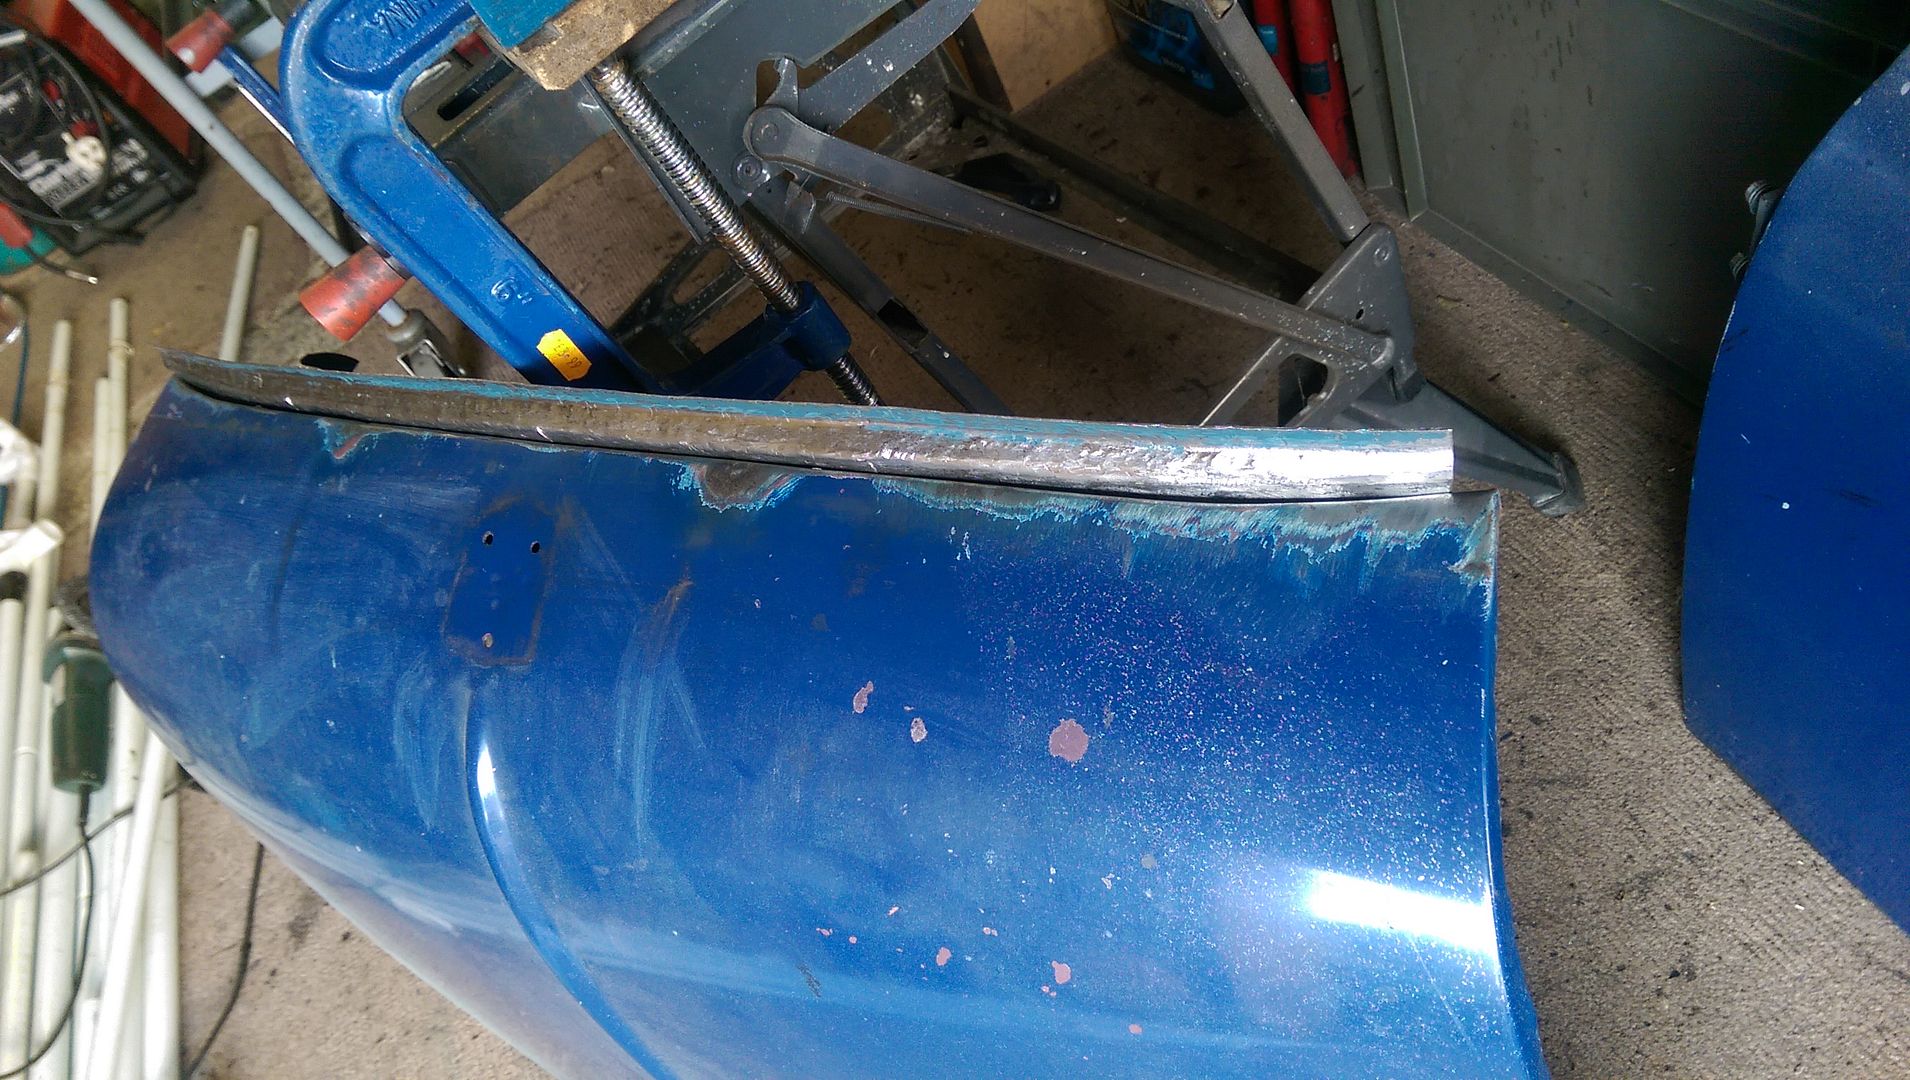
Not my best fabrication (feeling a little under the weather at the mo. Late summer cold), but it will do the job.


Tomorrow I'll clean up and repair the bonnet lip and plug weld the new repair piece on and then start on the doors.


#548 ryan22_lgm

ryan22_lgm

    One Carb Or Two?

  • Traders
  • PipPipPipPipPipPipPip
  • 1,478 posts
  • Location: woolacombe, north devon
  • Local Club: north devon mini register

Posted 20 September 2016 - 08:32 PM


Just read through mate can't believe your progress ! Epic !! Wish I was this far with mine. My brother saw you the other week working away on it. He was parked near in his plumbing van! Can't wait to see you driving around I will be super jelous!

 
Ryan - thanks for the praise.
Do you have a restoration on the go then? 
You deserve it mate :) Beautiful job!

Yeh I have 2 on the go mate 67 van and my green mini
http://www.theminifo...19#entry3417774
Trying to get it in high build primer as soon as I can
 
 
Just had a look at your thread - it's like my car all over again!! Looks like it was originally blue also!!
 
What primer are you planning on using?

Been using acid etch wash primer first then will be giving it a good coat of octoral PF131 flat it all back then another couple coats flat them down and top coat it!! It's going back to blue again but much lighter version. ;)

Interesting that you are replacing the bonnet lip! Not thought of having the mk1 style grill whilst it's off? Would suit your color scheme well!

#549 JonnyAlpha

JonnyAlpha

    Up Into Fourth

  • Members
  • PipPipPipPipPipPipPipPipPip
  • 2,748 posts
  • Location: North Devon
  • Local Club: Exmoor Minis

Posted 23 September 2016 - 08:36 PM

Been using acid etch wash primer first then will be giving it a good coat of octoral PF131 flat it all back then another couple coats flat them down and top coat it!! It's going back to blue again but much lighter version. ;)


Interesting that you are replacing the bonnet lip! Not thought of having the mk1 style grill whilst it's off? Would suit your color scheme well!


Didn't (and wouldn't have even considered it had you not mentioned it).

Just done some research and it would seem I would need a Mk1 Grill Moustache (about £80), not sure if i'd need a new grill as well?


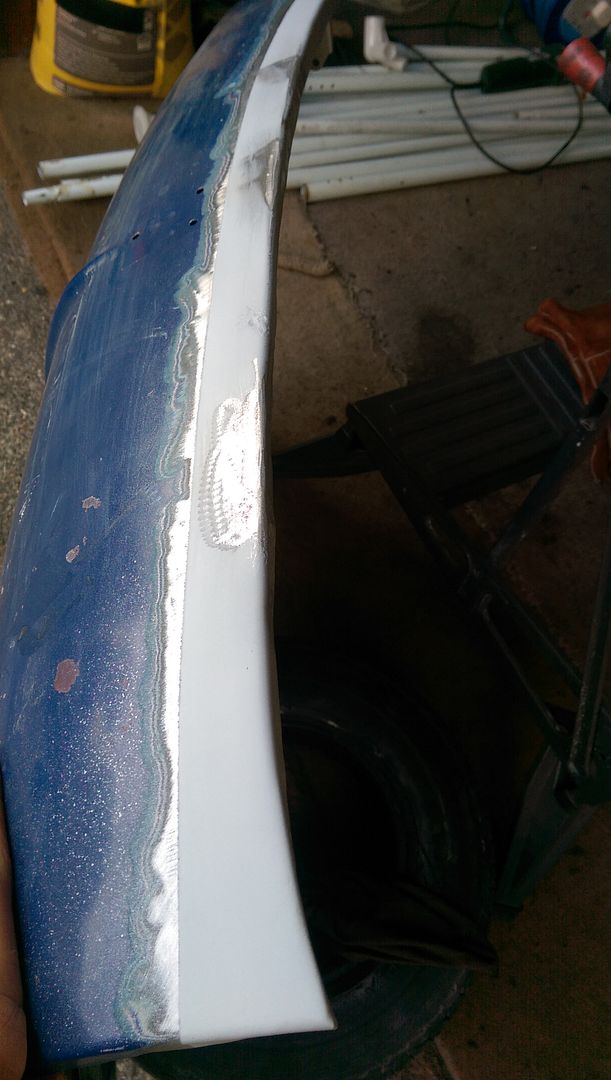
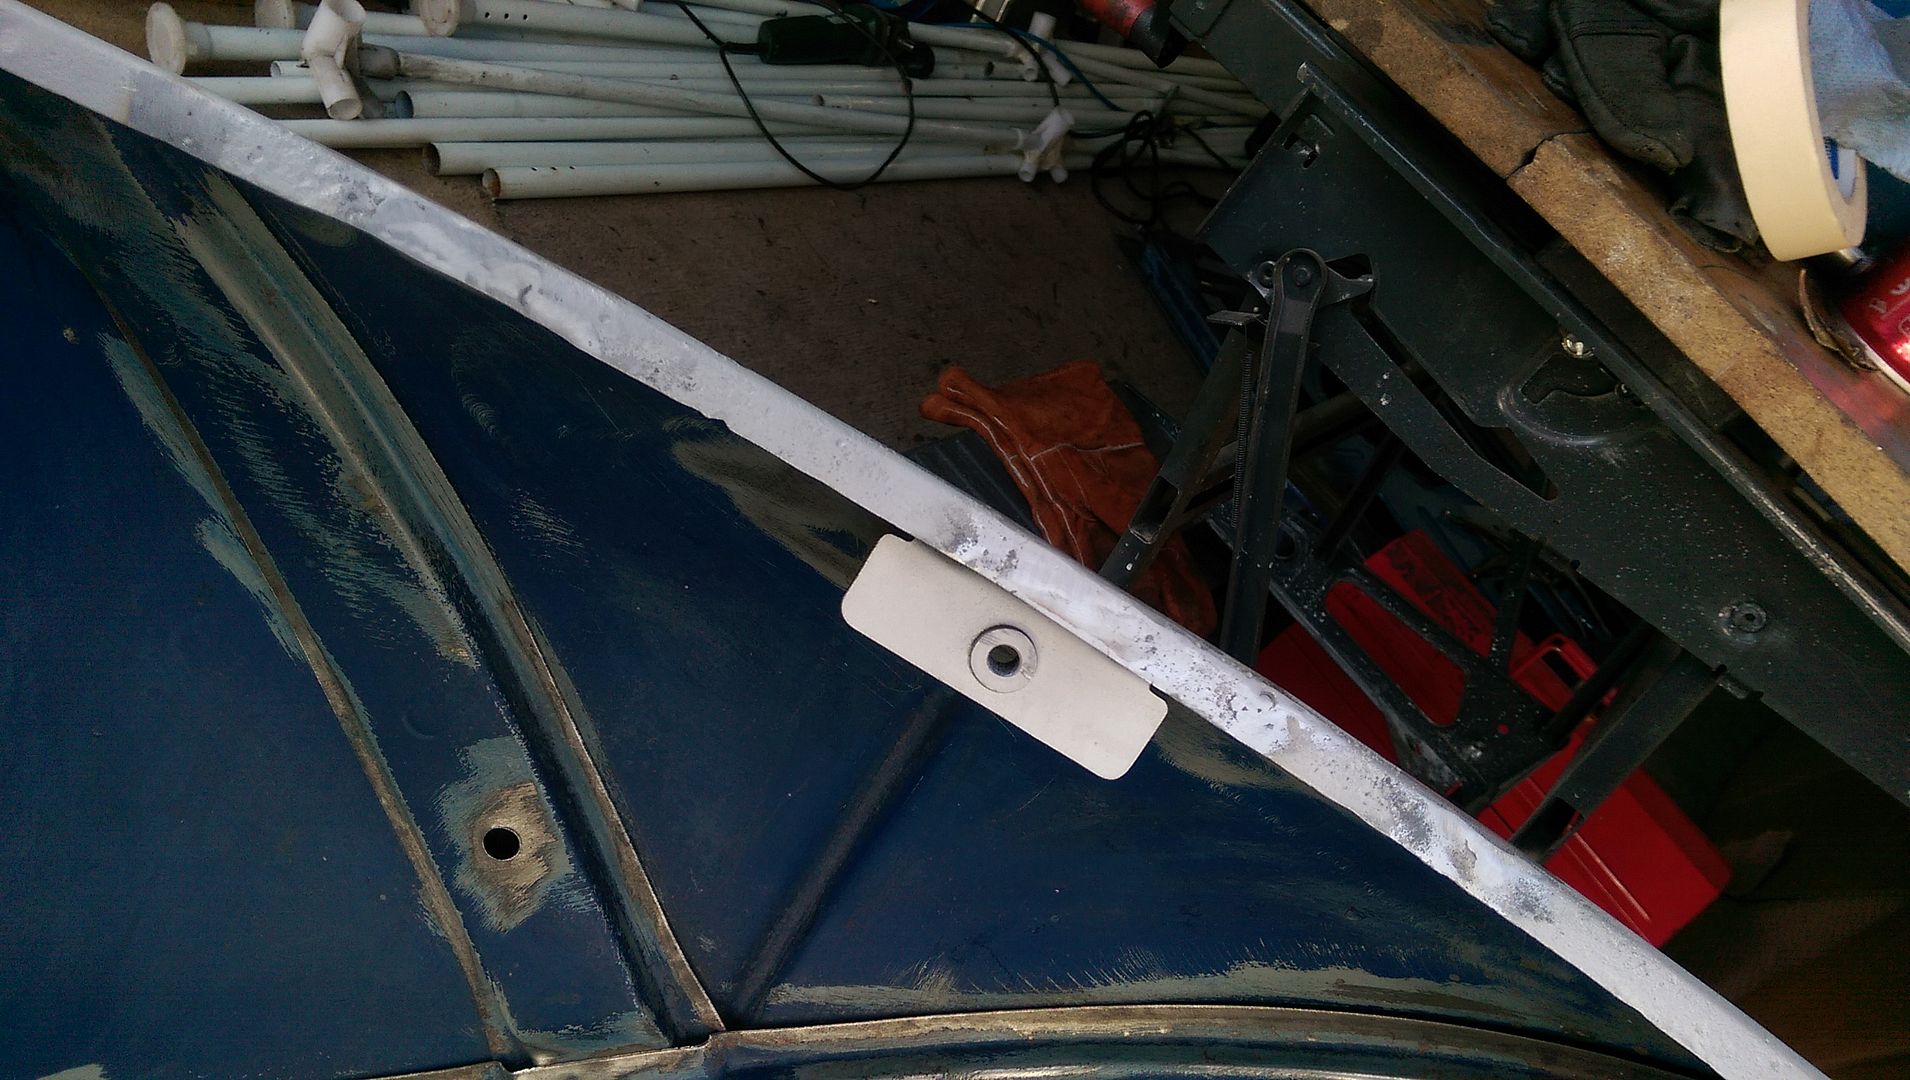
I had made a new Bonnet lip but I am not happy with it and was going to buy one. I may now just leave it off - paint the bonnet as is and get the Mk1 Moustache later on. It will look a little odd for a while though?


#550 alex-95

alex-95

    I am THE CLAMP MAKER

  • TMF+ Member
  • PipPipPipPipPipPipPipPipPipPip
  • 6,019 posts
  • Location: l

Posted 23 September 2016 - 08:50 PM

I've got a spare moustache but is a little battered and has surface rust on it, You could paint it the creamy white colour you've done the subframes and tank ;D. you'd need a grille to really but a mk2 onwards grille may fit?


#551 JonnyAlpha

JonnyAlpha

    Up Into Fourth

  • Members
  • PipPipPipPipPipPipPipPipPip
  • 2,748 posts
  • Location: North Devon
  • Local Club: Exmoor Minis

Posted 23 September 2016 - 08:57 PM

Today was spent making up repair panels for my bonnet and doors and a lot of time de-rusting.


I really aught to re-skin the LH door and have priced it up at about £45 with postage for a Magnum door skin. I need to make up a new bottom for the door anyway so I thought I'd have a go at that first. 


De-rusting the areas to be repaired on the bonnet and RH door with Deox Gel:


IMAG6239_zpslqgbp75i.jpg


IMAG6240_zpsbrc7t9se.jpg


As you can see in the pic above I have worn through the leather on my Steelies!! Already gone through one pair of steel toe cap boots doing this restoration!!


The door frame and bonnet  after a couple of goes with Deox:


IMAG6243_zps5jp5sqby.jpg


IMAG6245_zpssyzggfpx.jpg


Repair piece for the door frame:


IMAG6246_zpsm90ldq0g.jpg


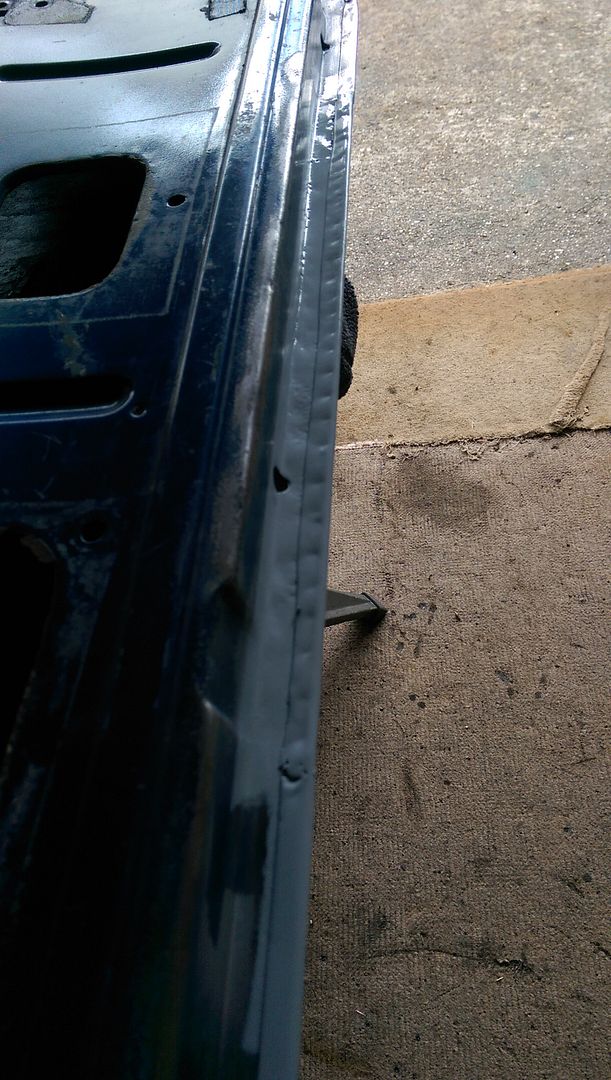
And welded in and cleaned up:


IMAG6247_zpstrzzgxnn.jpg


IMAG6248_zps8v60pwzn.jpg


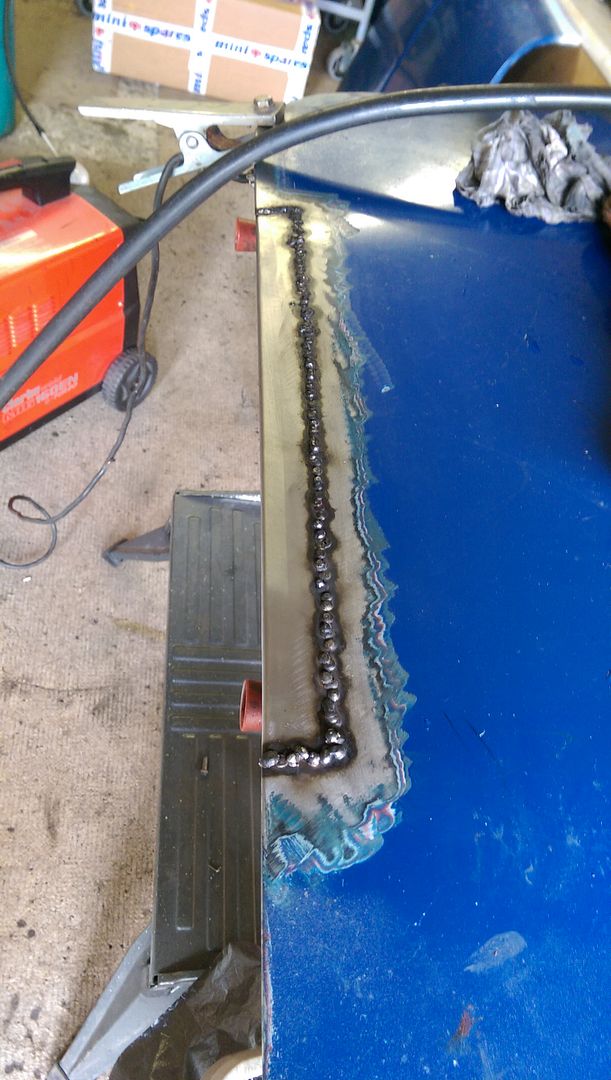
And the bonnet welded up:


IMAG6249_zpsbr0cky2s.jpg


IMAG6250_zpsstnejo3p.jpg


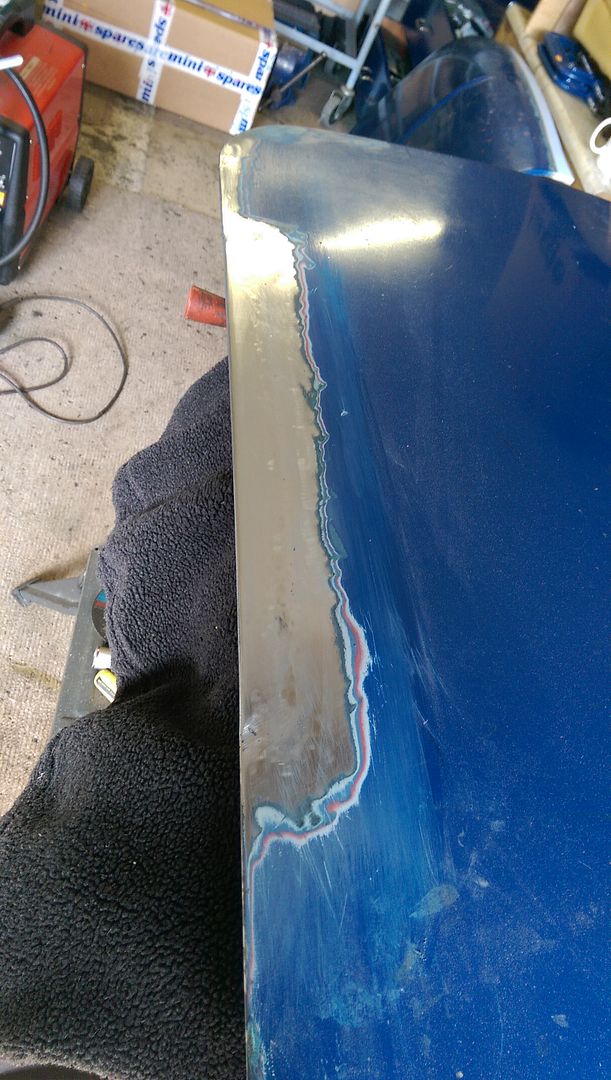
And the front all dressed down:


IMAG6251_zpsdmvonypi.jpg


IMAG6253_zpsoz5aqhv9.jpg


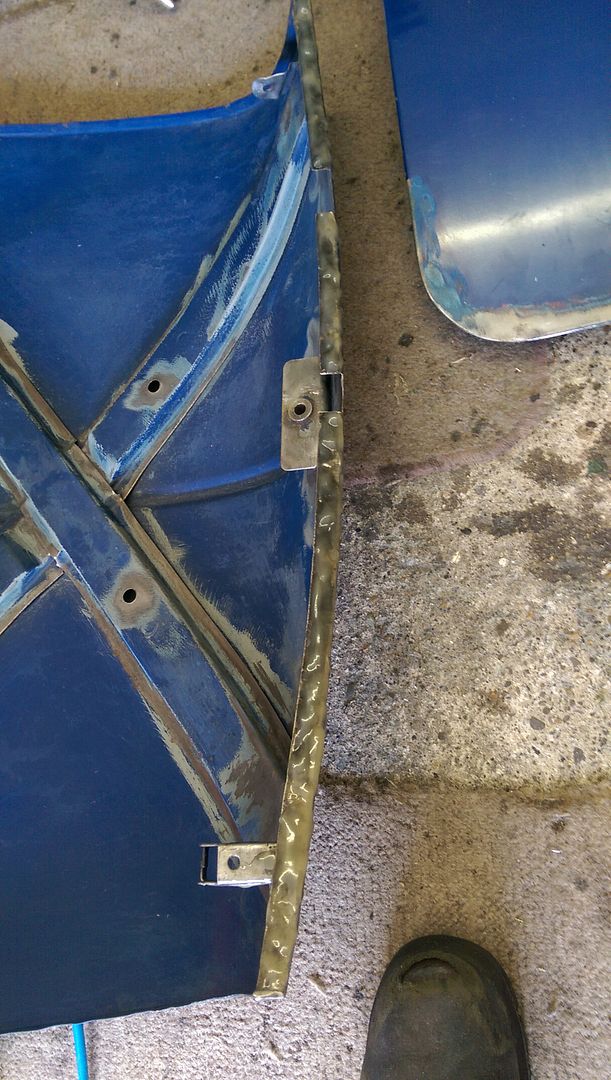
Next job tomorrow to very carefully weld in this repair piece. Copper heat sinks and wet rags to avoid distortion!!


IMAG6254_zpsykqzitoi.jpg


#552 Ben_O

Ben_O

    Mill Road Garage

  • Paint Doctor
  • PipPipPipPipPipPipPipPipPipPip
  • 9,785 posts
  • Location: Isle of Wight

Posted 24 September 2016 - 01:06 PM

I have got a lip somewhere that was drilled off of a new bonnet.


Want me to try and fish it out?


#553 JonnyAlpha

JonnyAlpha

    Up Into Fourth

  • Members
  • PipPipPipPipPipPipPipPipPip
  • 2,748 posts
  • Location: North Devon
  • Local Club: Exmoor Minis

Posted 24 September 2016 - 07:53 PM

I have got a lip somewhere that was drilled off of a new bonnet.


Want me to try and fish it out?


Yes please Ben :-)


#554 JonnyAlpha

JonnyAlpha

    Up Into Fourth

  • Members
  • PipPipPipPipPipPipPipPipPip
  • 2,748 posts
  • Location: North Devon
  • Local Club: Exmoor Minis

Posted 24 September 2016 - 07:57 PM

I've got a spare moustache but is a little battered and has surface rust on it, You could paint it the creamy white colour you've done the subframes and tank ;D. you'd need a grille to really but a mk2 onwards grille may fit?


Might be an option :-)


#555 JonnyAlpha

JonnyAlpha

    Up Into Fourth

  • Members
  • PipPipPipPipPipPipPipPipPip
  • 2,748 posts
  • Location: North Devon
  • Local Club: Exmoor Minis

Posted 24 September 2016 - 08:23 PM

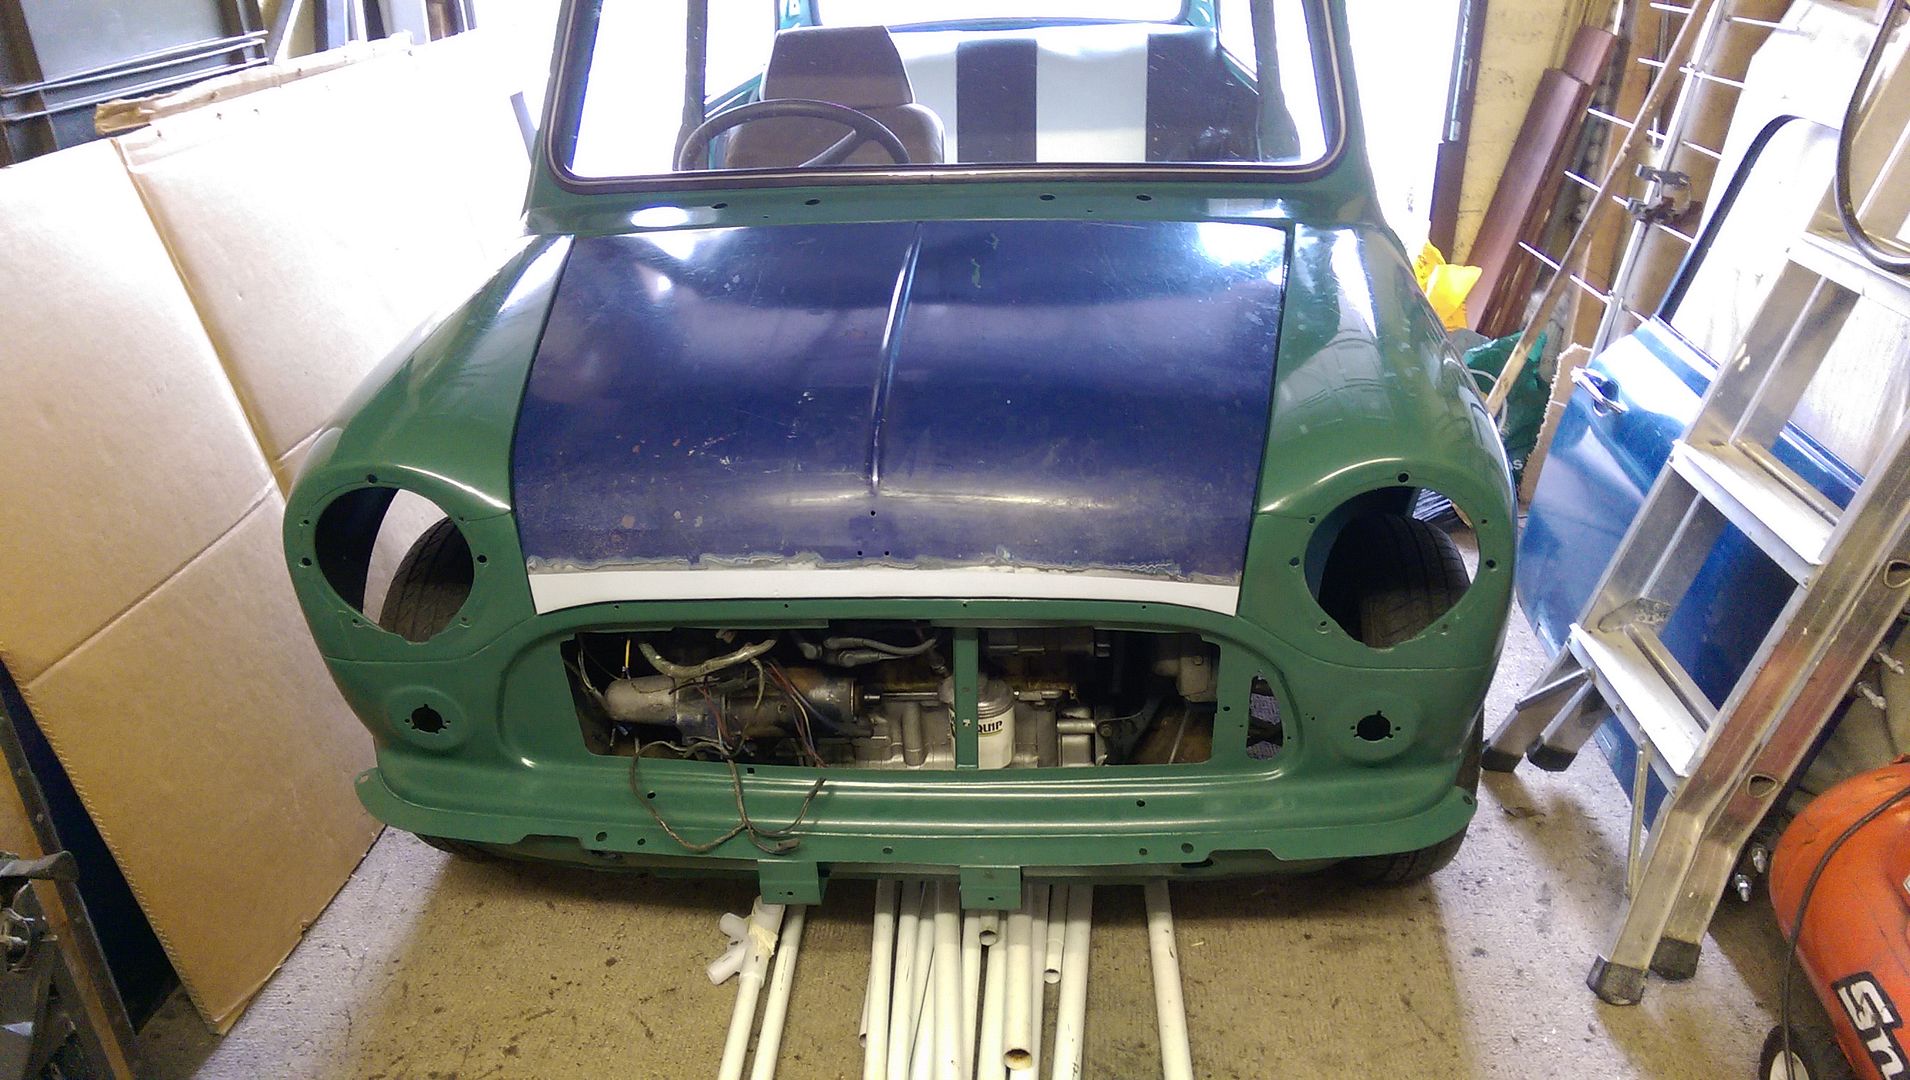
Had a look to see what the Bonnet would look like without a lip - RETRO :-)


IMAG6275_zps5jhdw2vn.jpg


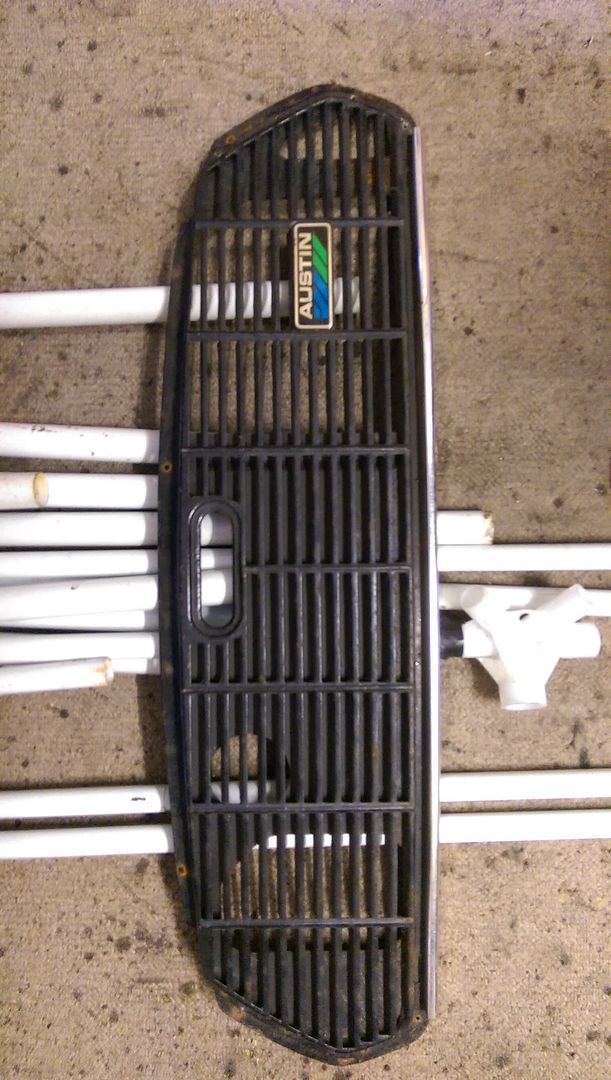
My Grill is pretty rats though :-(


IMAG6277_zpsy6wewhfj.jpg


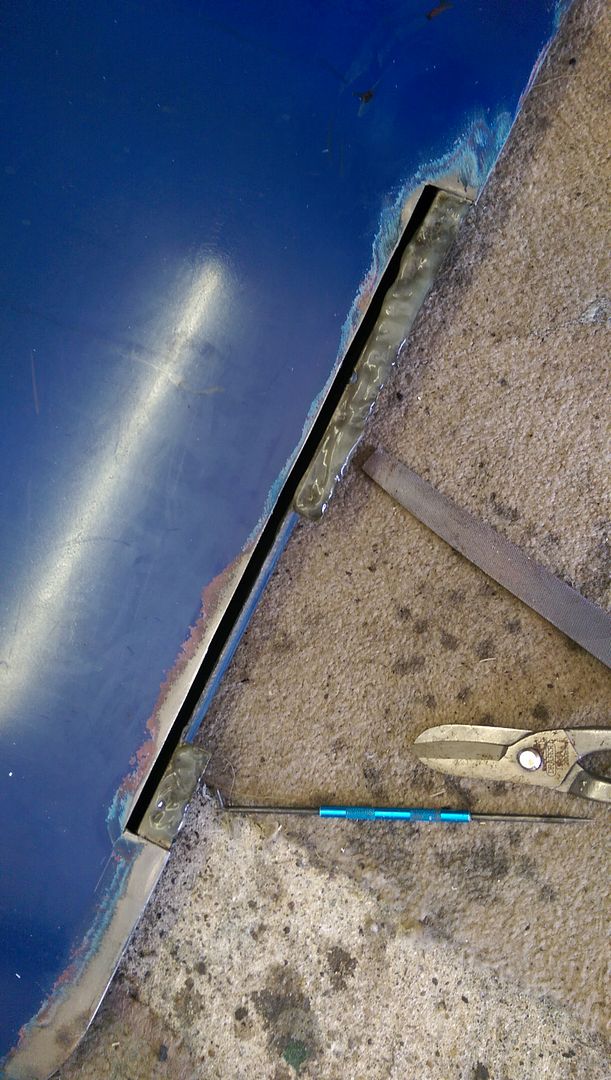
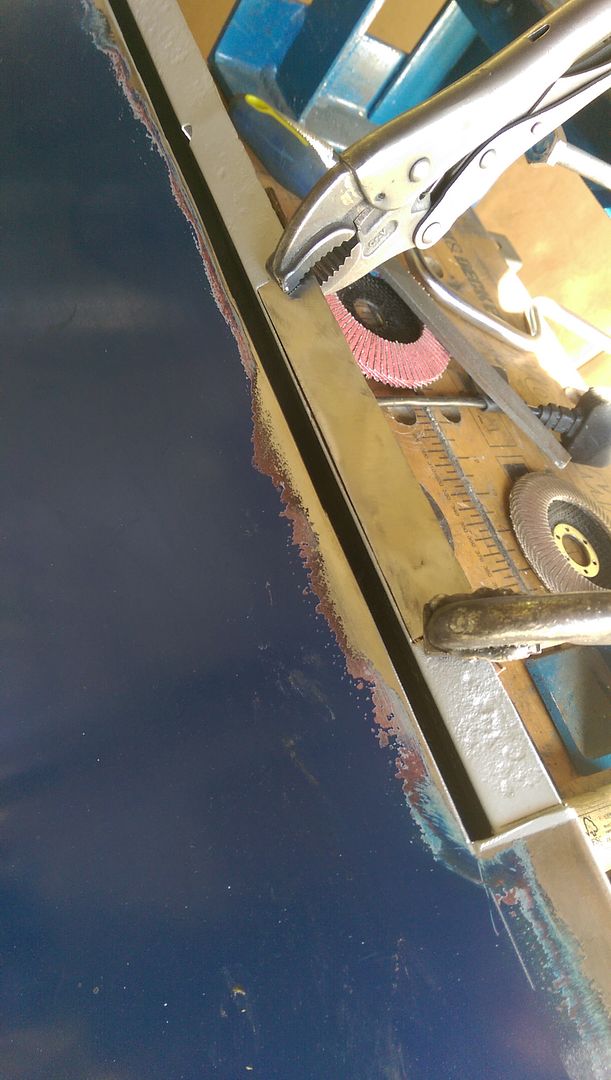
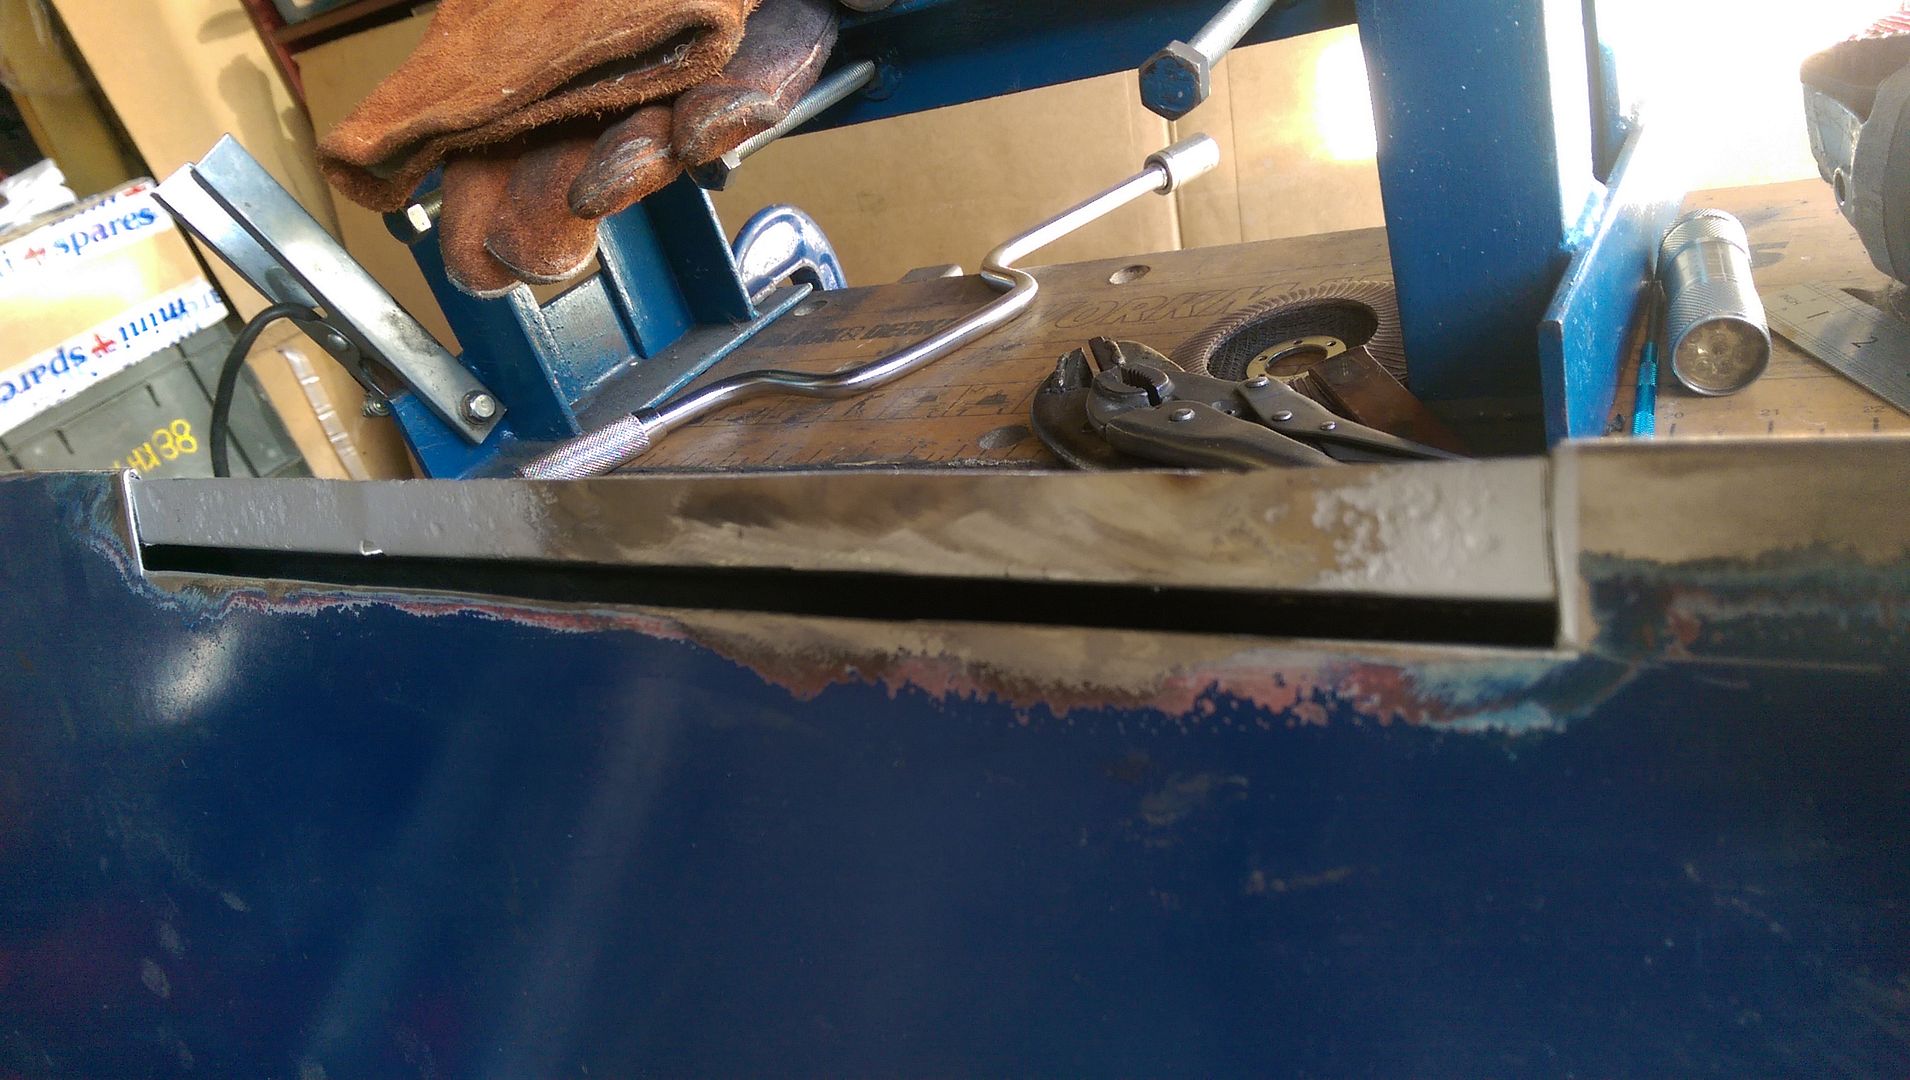
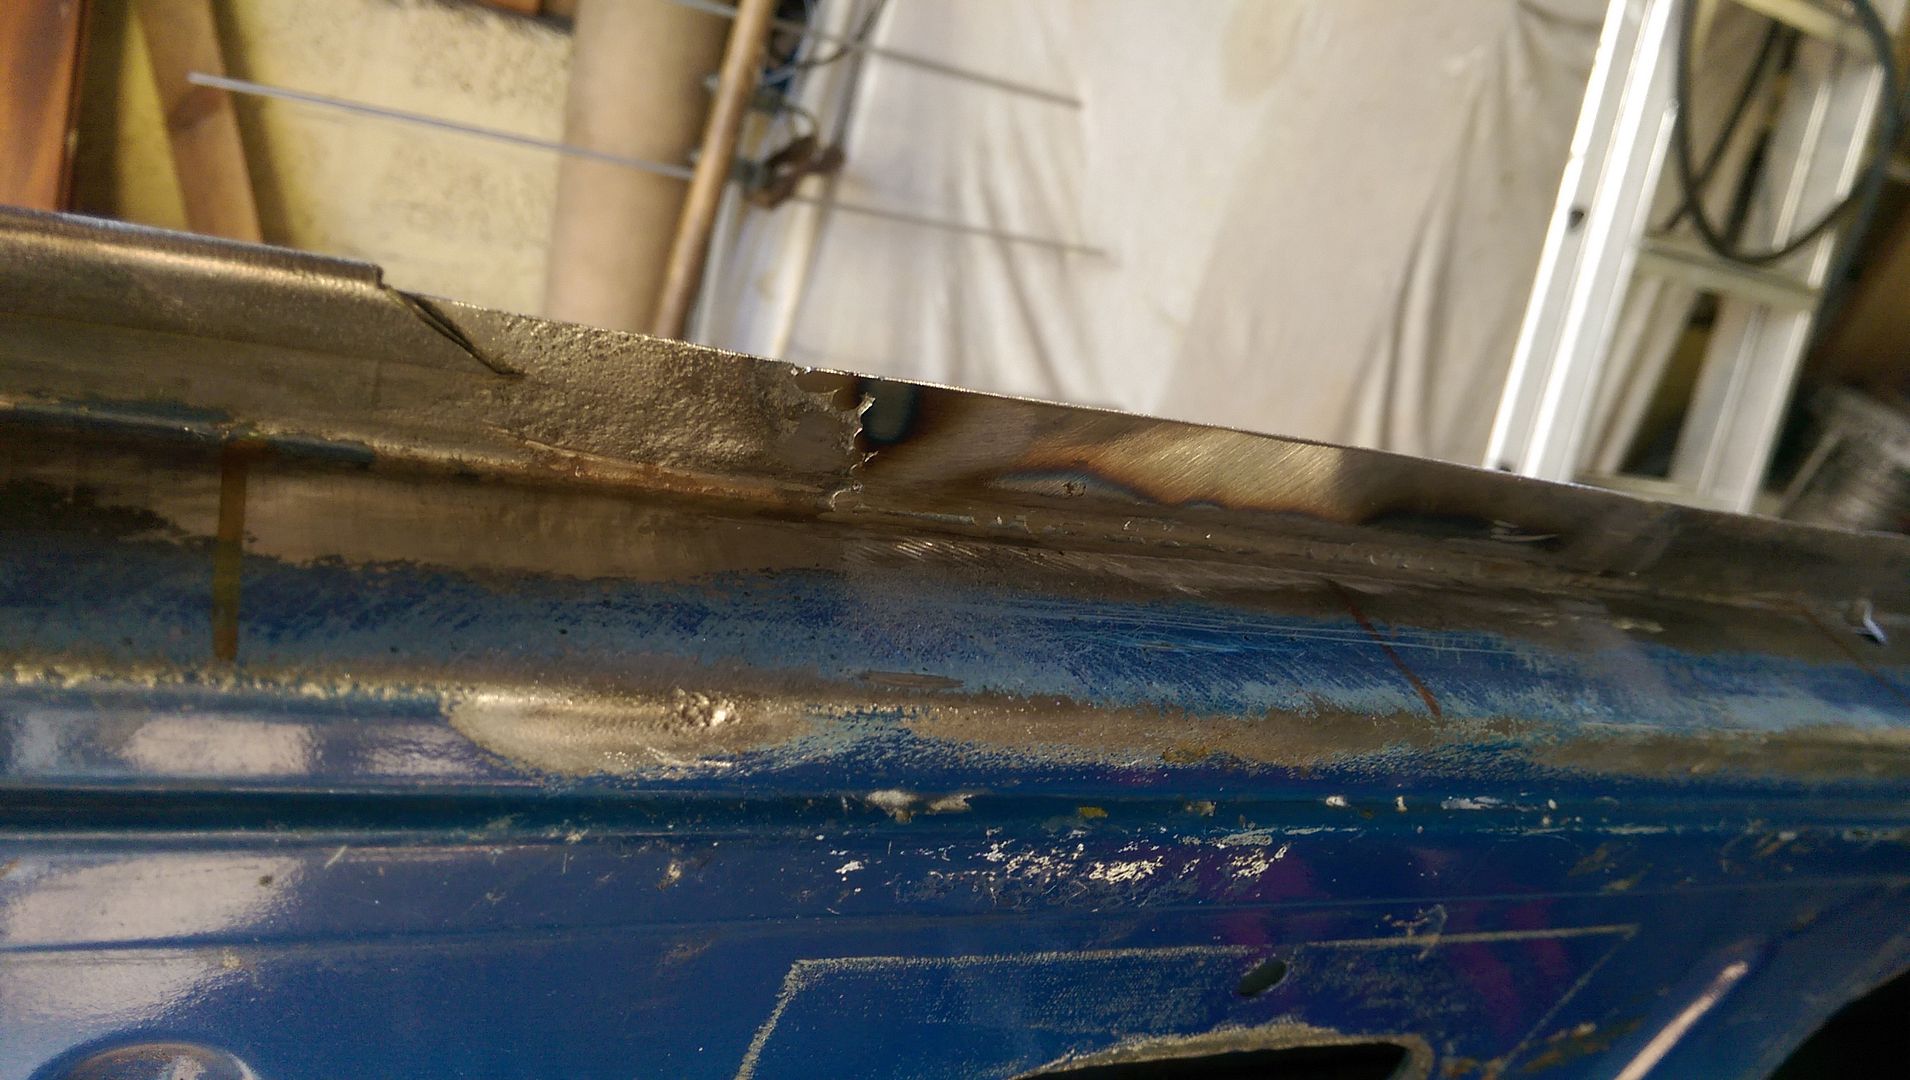
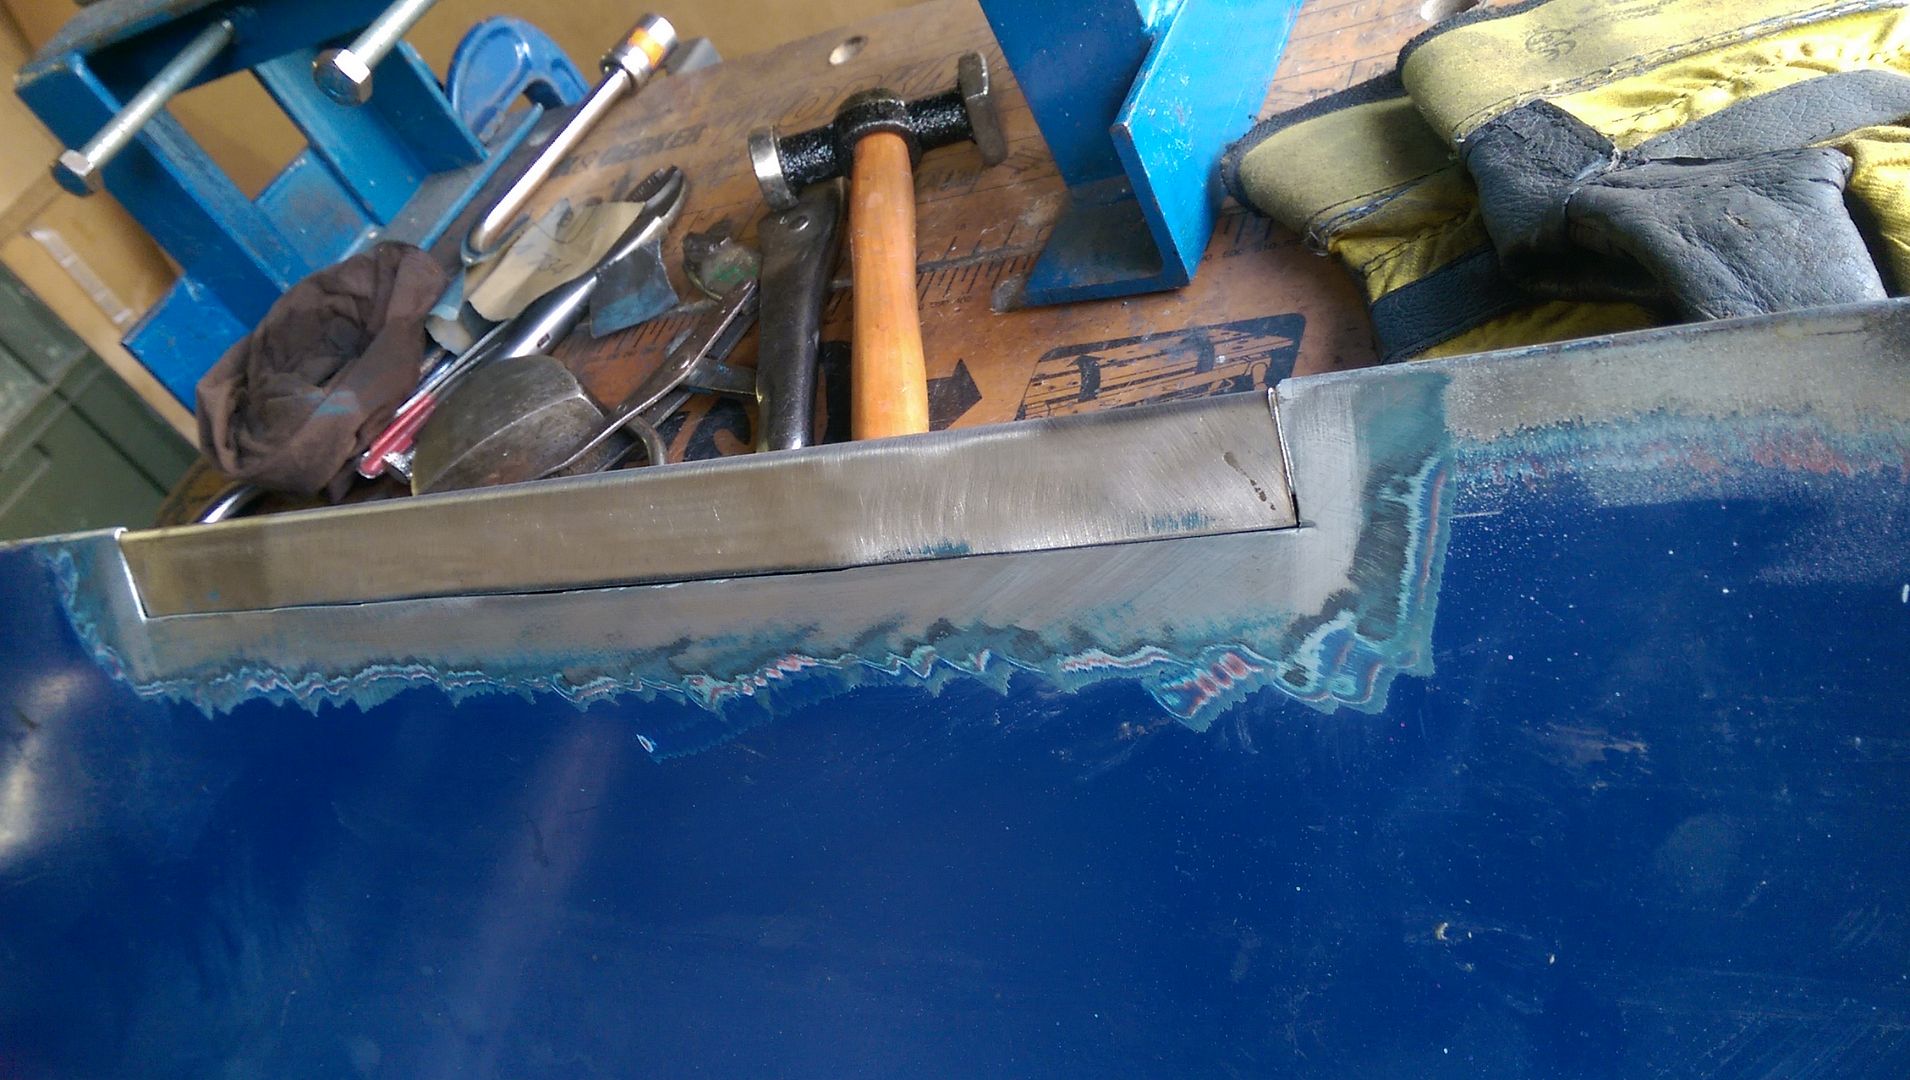
Then I got on with the serious stuff. Started to weld on my door patch:


IMAG6280_zpssh62j5kg.jpg


Then welded up:


IMAG6281_zpsbdelqk93.jpg


And all cleaned up:


IMAG6283_zpskkxflb5n.jpg


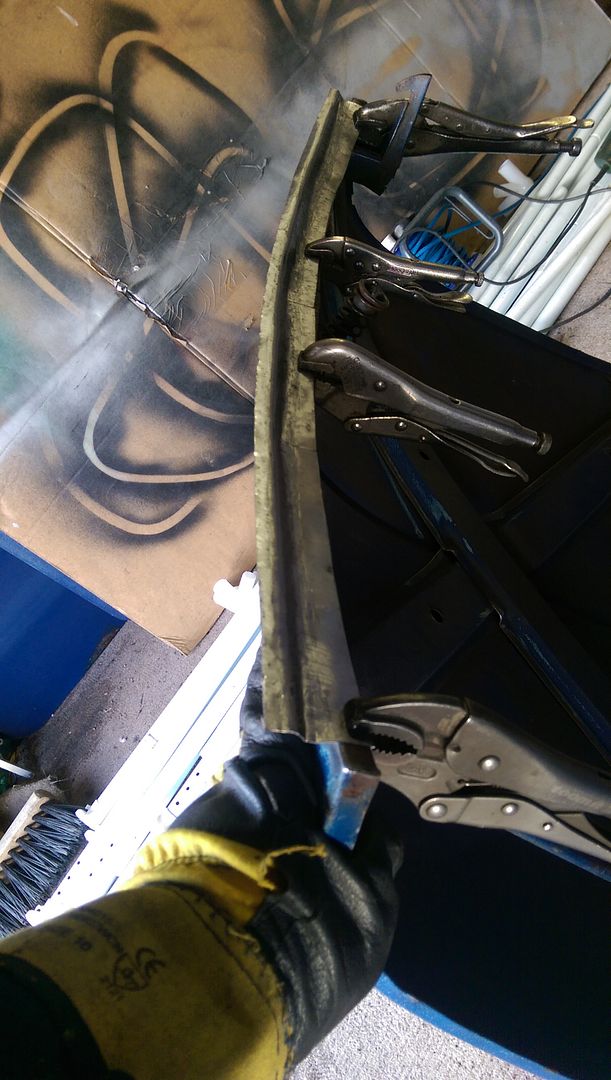
On the reverse side to clamp down the flange I used a set of molegrips and a piece of copper bar wrapped in a sheet to protect the door:


IMAG6284_zpsywjnntsk.jpg


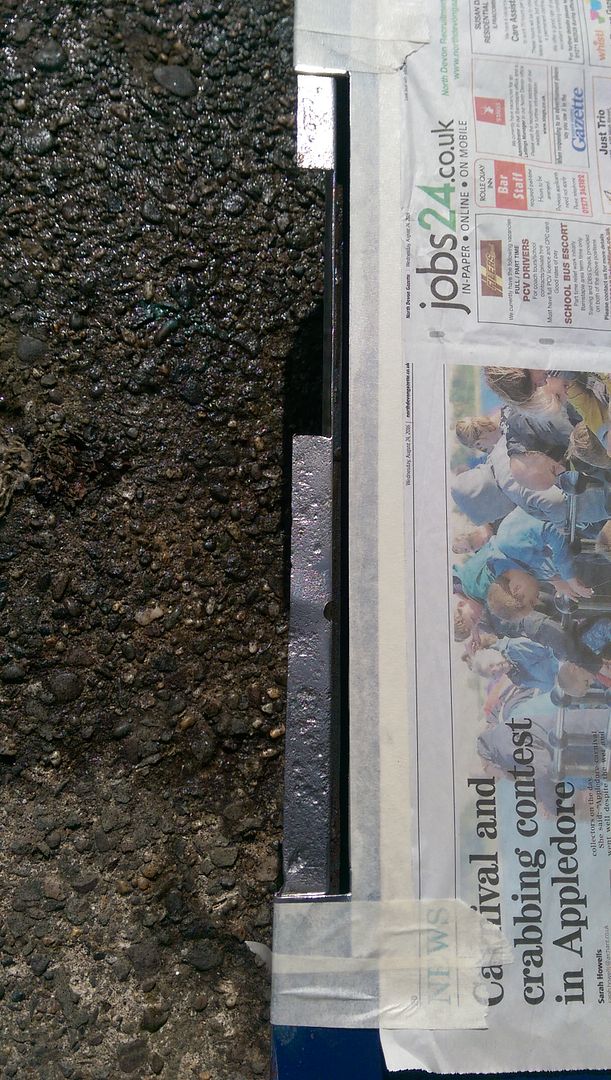
I then spent some time repairing my repaired door hinges. One of the studs had come loose so it needed cleaning up and re-welding and then I also noticed that the original weld that was on the back was catching on the door skin when the hinge was fully open.


1 user(s) are reading this topic

0 members, 1 guests, 0 anonymous users