Jump to content


Photo
- - - - -

1982 Austin Mini - Project Who?


  • Please log in to reply
852 replies to this topic

#526 alex-95

alex-95

    I am THE CLAMP MAKER

  • Members
  • PipPipPipPipPipPipPipPipPipPip
  • 6,019 posts
  • Location: l

Posted 13 September 2016 - 05:54 PM


certainly cracking on with this, I had the same problem with the dead battery and not being able to start the engine (the mayfair not my project one :()

Questions about the fuel tank fitting

1. Did you fit a new rubber seal on the body work? 

2. did you fit the seal to the body firsthand push the tank through or put the neck through the hole push the rubber on a and push the lip of the rubber over the body?

3. whats the seal like around the neck of the tank? mine has a big gap at the top so water will just sit in it.


Alex;


On mine there is a foam ring that sits around the neck of the Fuel Tank, I kept it and re-used it. 

1. I bought a new rubber seal to fit in the opening in the bodywork, it seems meatier than my original one but that was not causing the problems with the Boot Strap Bracket.

2. Tried that and it did not work, so I fitted the tank and then pushed the seal over the tank neck and squeezed it under the bodywork.

3. The seal around the neck seems ok?


cheers, thats how I done mine, I think i'll try a MPI type one that is thinner.


#527 JonnyAlpha

JonnyAlpha

    Up Into Fourth

  • Members
  • PipPipPipPipPipPipPipPipPip
  • 2,748 posts
  • Location: North Devon
  • Local Club: Exmoor Minis

Posted 13 September 2016 - 07:21 PM

Well today I was determined to get the car running after finishing off cleaning it yesterday and fitting the Exhaust.


Anyway I new I would need a Slave Lead as the battery died on me. I was sure I had one and spent an hour or so searching through the garage (I must itemise my boxes, cupboards and draws!!

I couldn't find mine but luckily I managed to borrow one from next door.


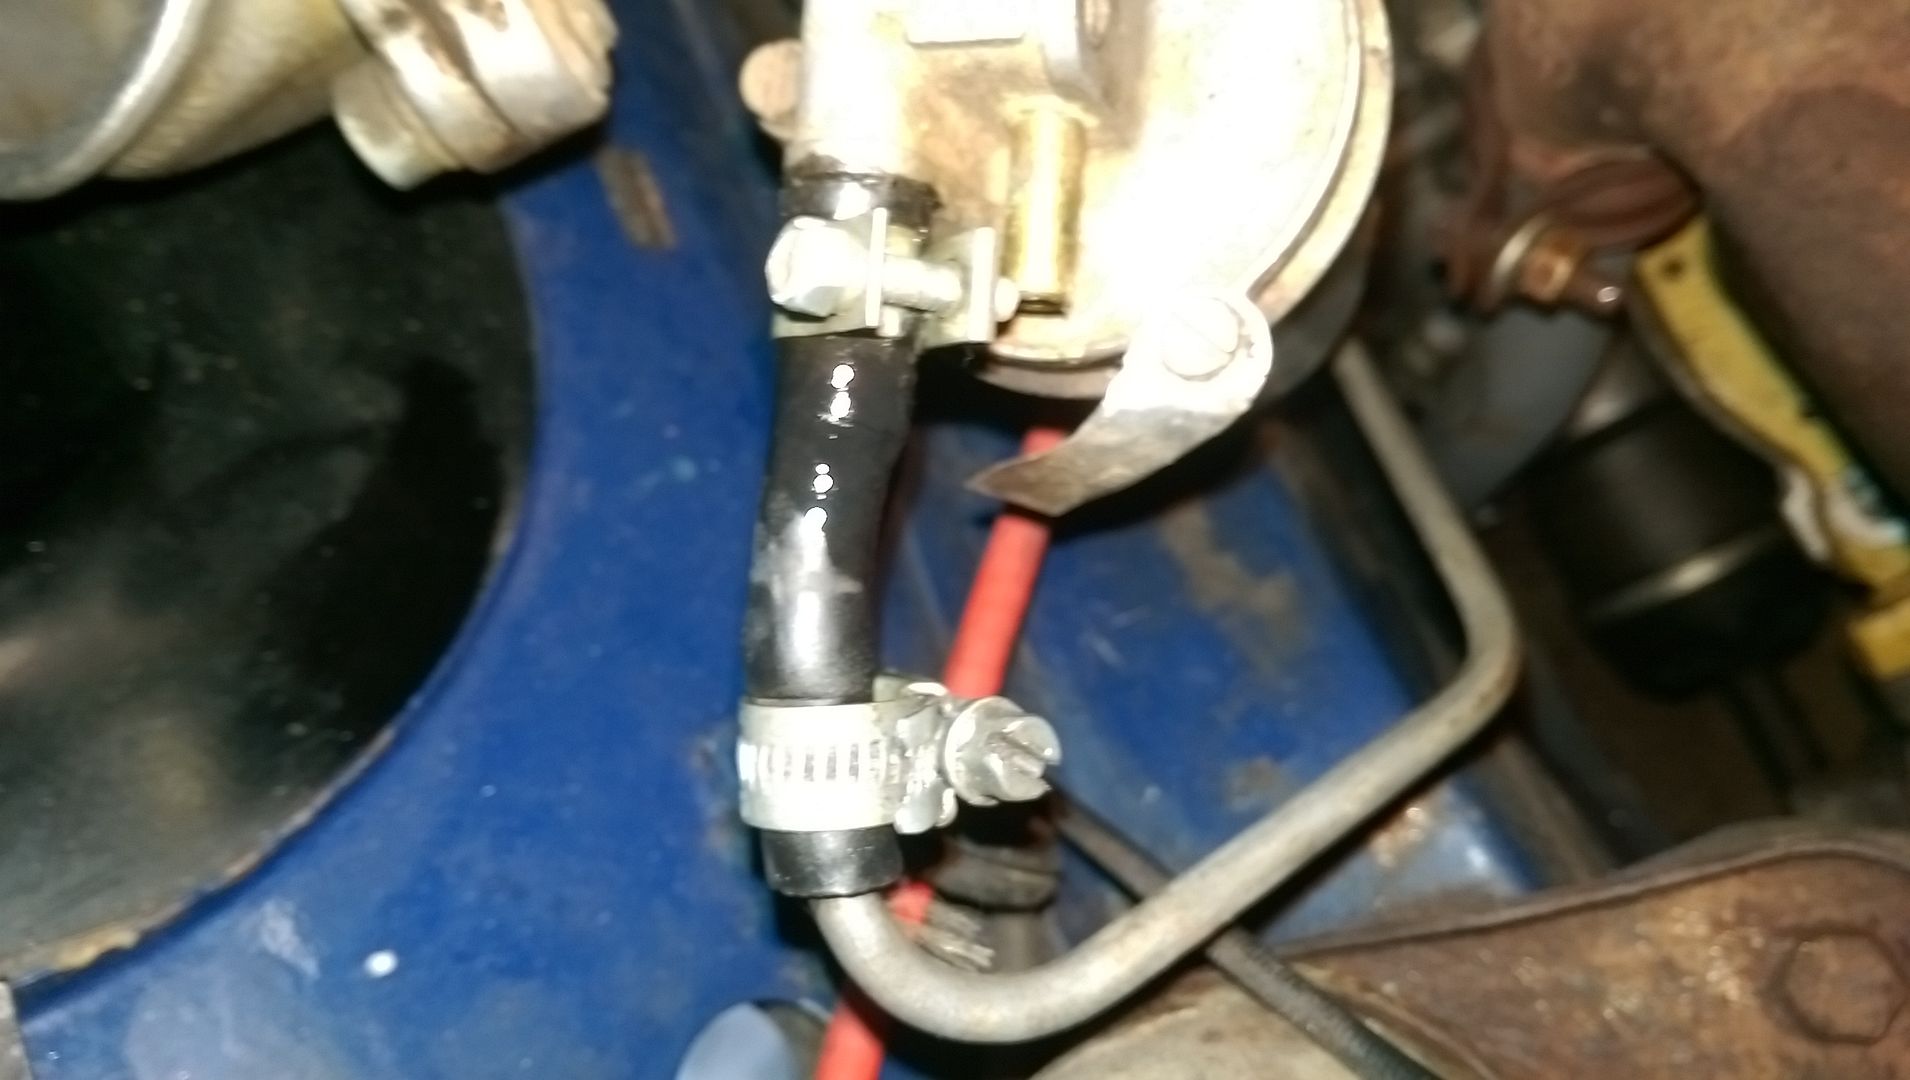
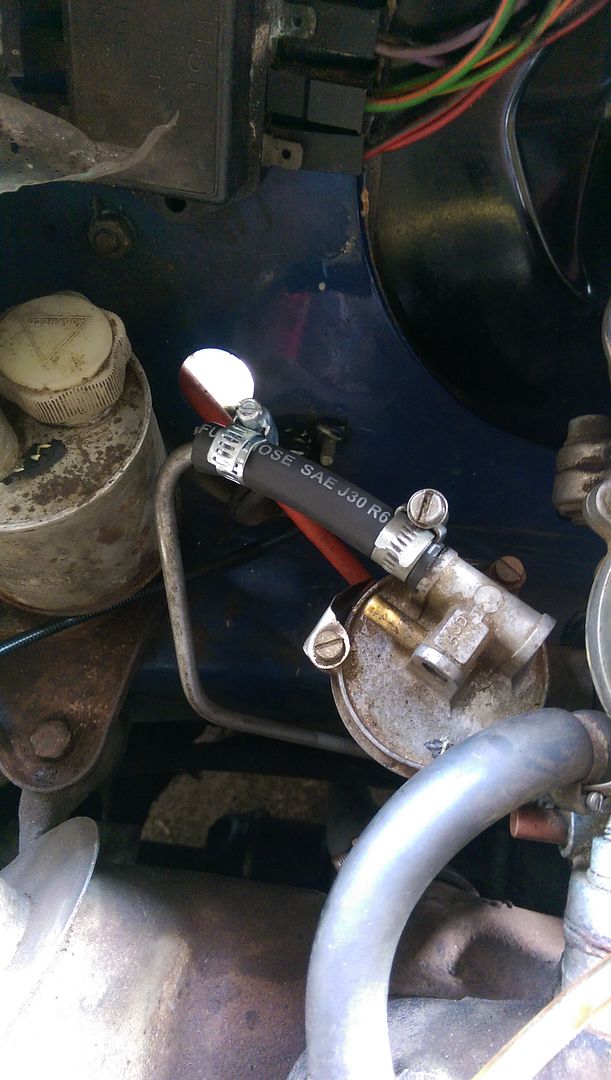
After turing it over and nothing happening I decided to do some fault finding. At first I suspected no fuel thinking my new line was kinked however I did spot this minor leak in one of the old pipes:


IMAG5893_zpshr44lxvl.jpg


I had some spare reinforced hose left over so I made up a new piece. Also needed one new clip which I also had:


IMAG5895_zpswam6feun.jpg


I then took the plugs out and noticed that they were wet so fuel was not an issue. I turned her over again - NO SPARK. Maybe from all the water yesterday.


So I removed the Distributor Cap and disconnected the HT lead from the Coil, but before removing anything I labeled the HT leads 1 - 4. The Rotor Arm needed cleaning on its outer edge and also on the inside where it sits on the spindle.  


I also cleaned up the contacts in the Dizzy Cap and sprayed WD 40 in oil the HT connections. I resembled everything and had another go and YIIIIPPPPEEEE it's alive.


Here's the video.


I left it running for a while, it ticks over nice without the choke, temp stayed fine, oil pressure light off. The only issue was some smoke wafting up from under the Air Filter. I suspect this is either something burning off, poss the weld through primer on the Exhaust. Or its leaking from the Manifold? But there is no blowing whatsoever?


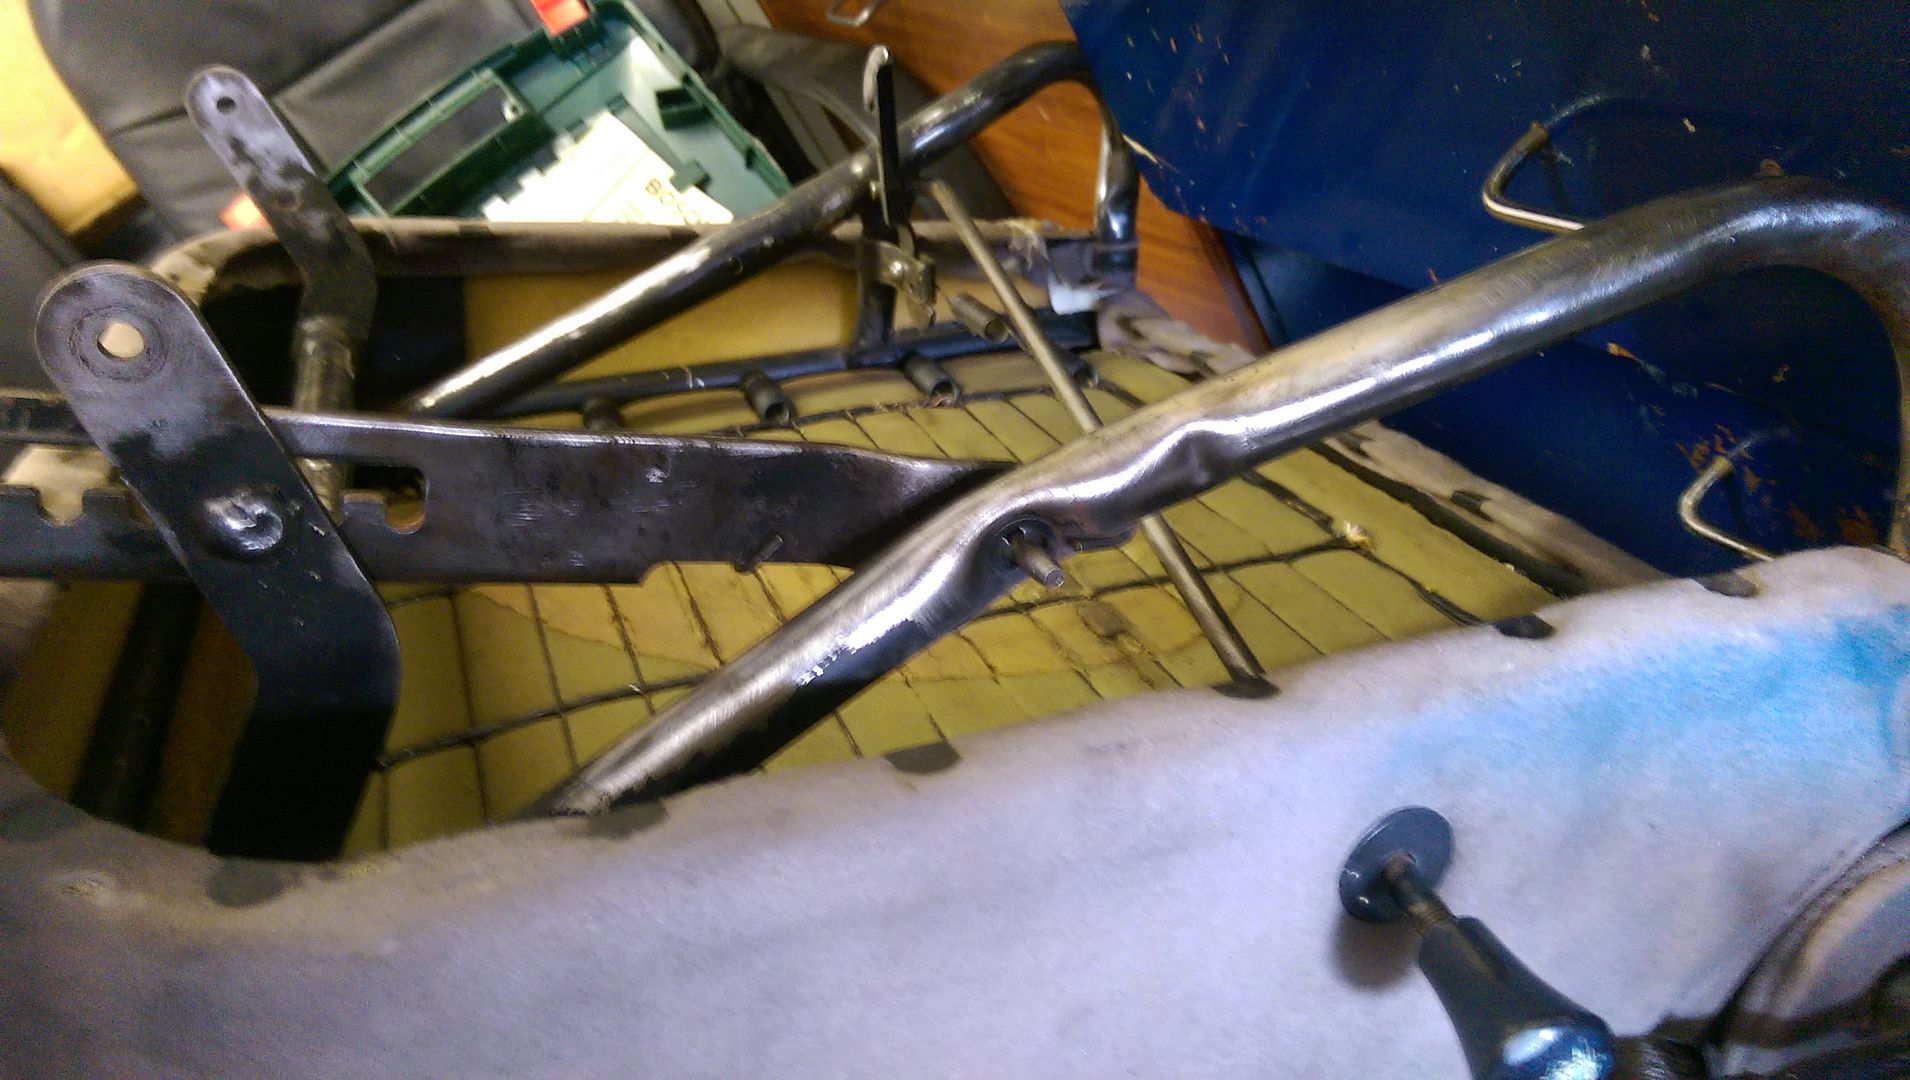
Before I could drive it I needed a seat as sitting on two wheels is just not Cricket, so I cleaned up the base of one of my spares:


IMAG5892_zpsaf5dxn9u.jpg


I splashed some primer on the bare metal but ran out of Top Coat rattle can :-(


I popped the seat in the car, resting it on some cardboard to avoid scratching my floor. Tied the Heater Matrix up with a bit of bailing twine and for the first time in 5 years drove it on and off the drive and into the garage. No brakes yet (waiting to replace the front Brake hoses), so it was handbrake only :-)


What an amazing feeling to be at last behind the wheel of a working car!! :highfive:  


#528 James_eaton_thewholething

James_eaton_thewholething

    One Carb Or Two?

  • Members
  • PipPipPipPipPipPipPip
  • 1,063 posts
  • Location: Manchester

Posted 14 September 2016 - 01:37 AM

Looking good, cannot wait to get mine to this point

#529 JonnyAlpha

JonnyAlpha

    Up Into Fourth

  • Members
  • PipPipPipPipPipPipPipPipPip
  • 2,748 posts
  • Location: North Devon
  • Local Club: Exmoor Minis

Posted 17 September 2016 - 09:28 PM

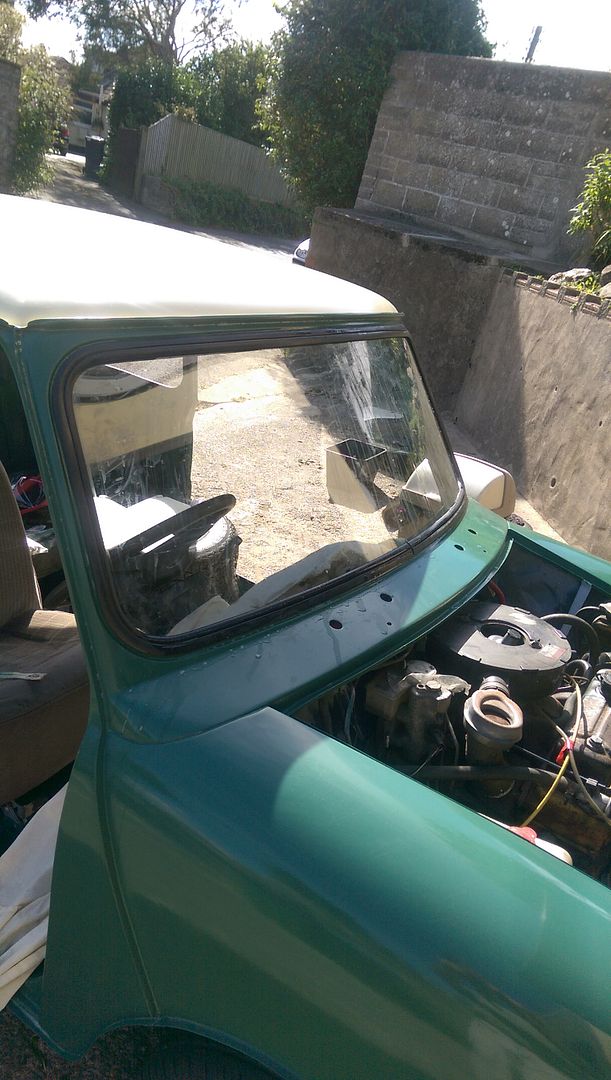
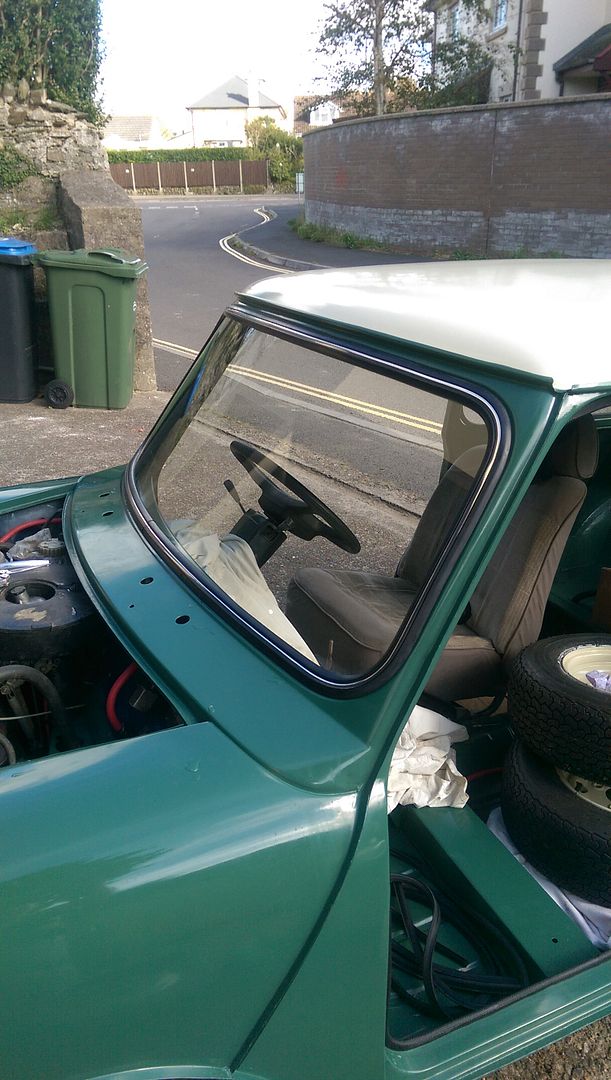
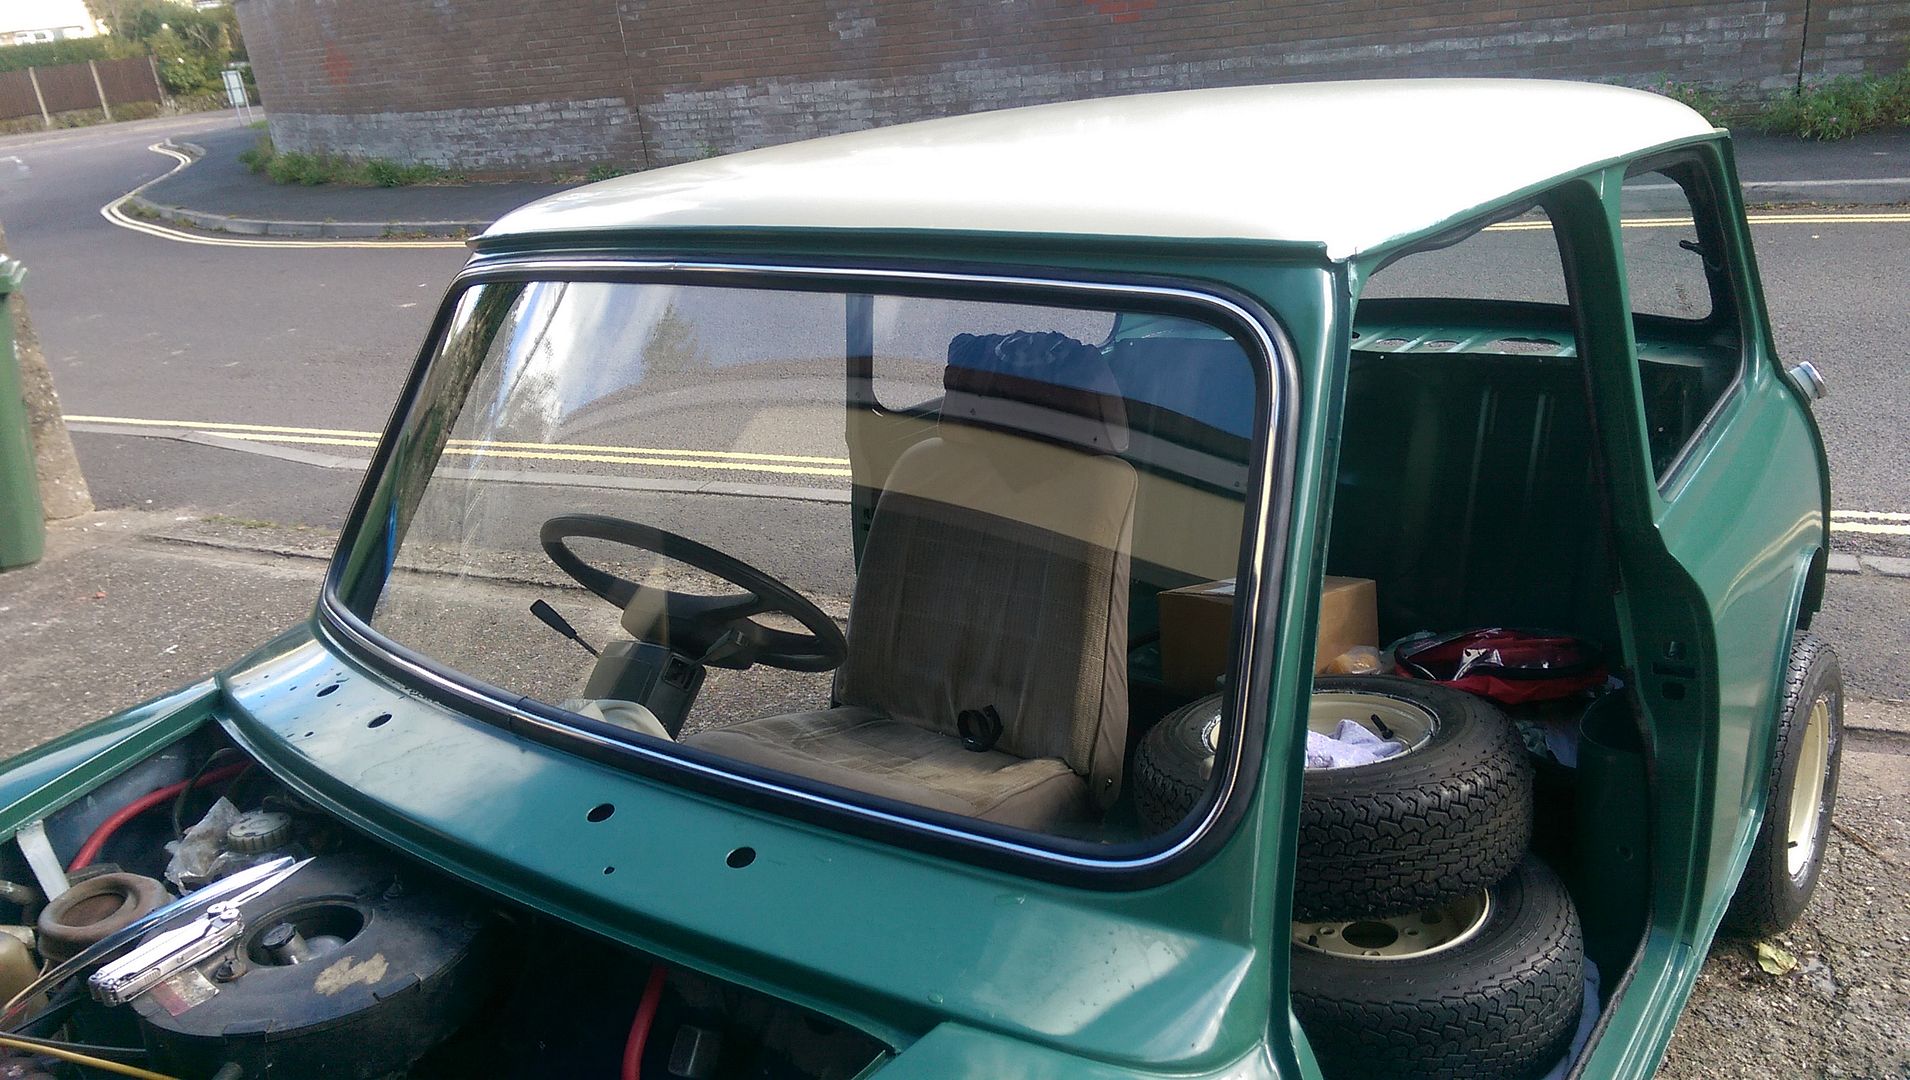
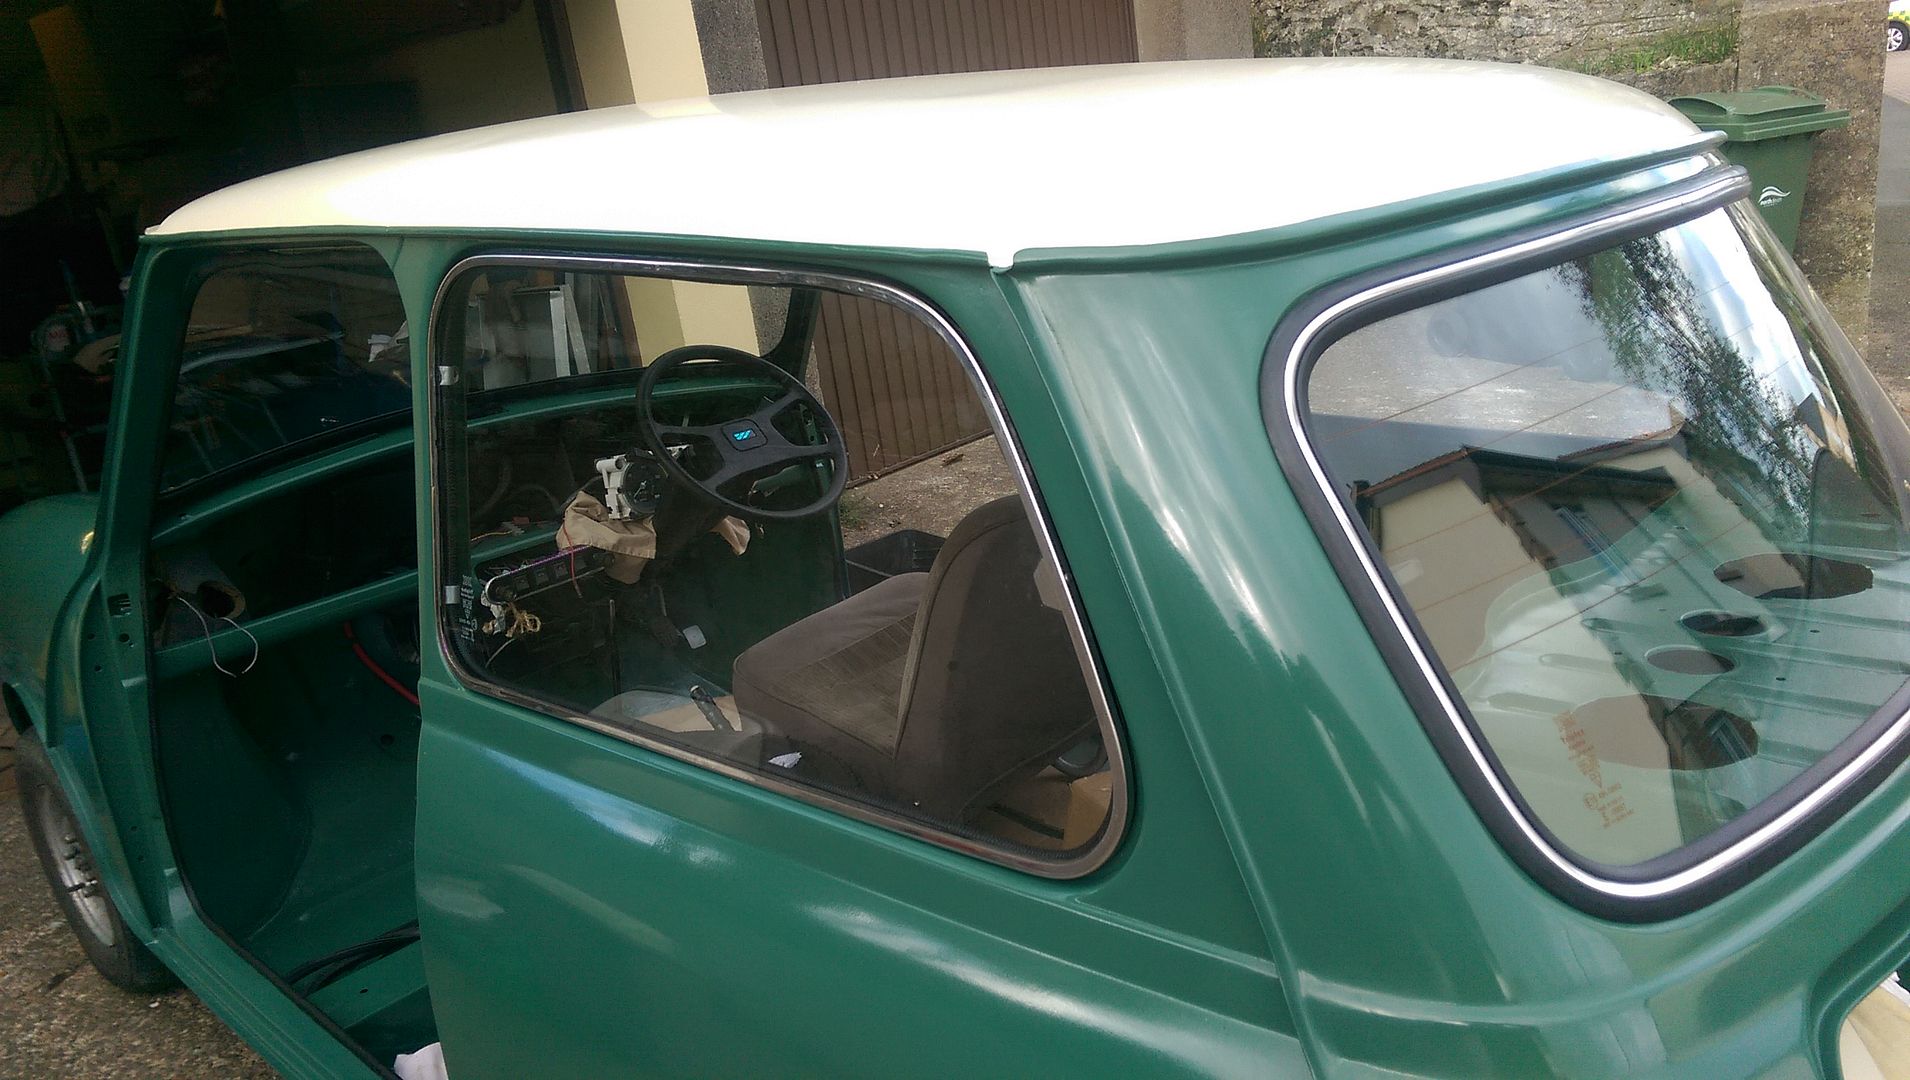
Today was glass day, target - to get windscreen and side glass fitted.


Like most things now anything that I get out to fit needs fixing and or cleaning, that's because when I dismantled the Mini I simply put everything in boxes with very little cleaning. I guess I wanted to get on with the body work :-)


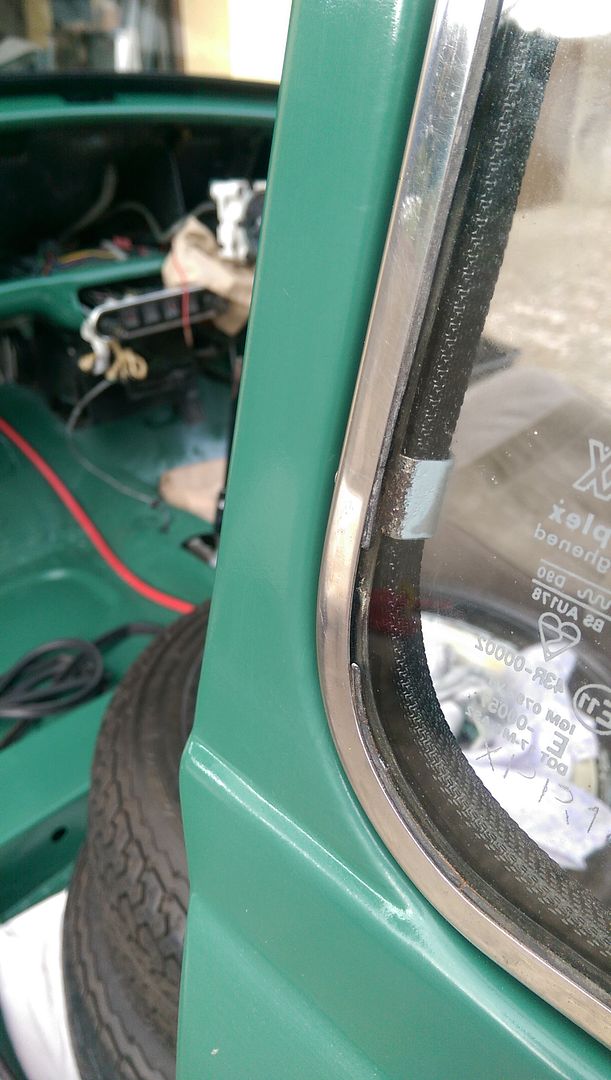
First I started with the rear side glass. I gave the a bit of a clean up the other day but noticed that on one the hinges were rusted. 
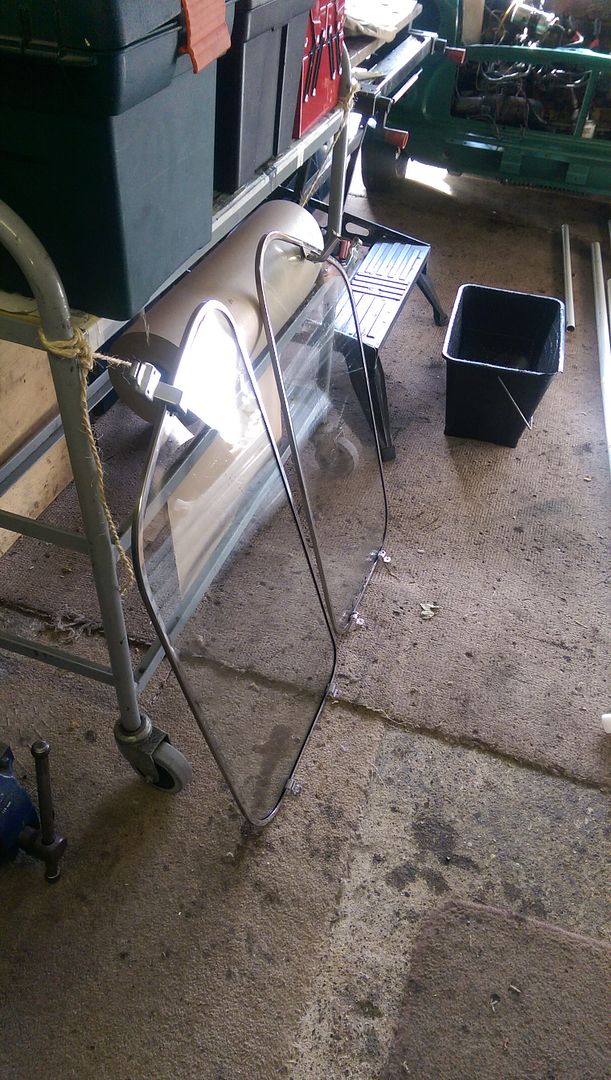
 

IMAG6102_zpsehrdwkuz.jpg


IMAG6103_zpsldvkslgf.jpg


One side was fine:


IMAG6104_zps75u1jazv.jpg


There was also some rust on the chrome edging, mostly on the underside that sits on the window ledge above the rear quarter.
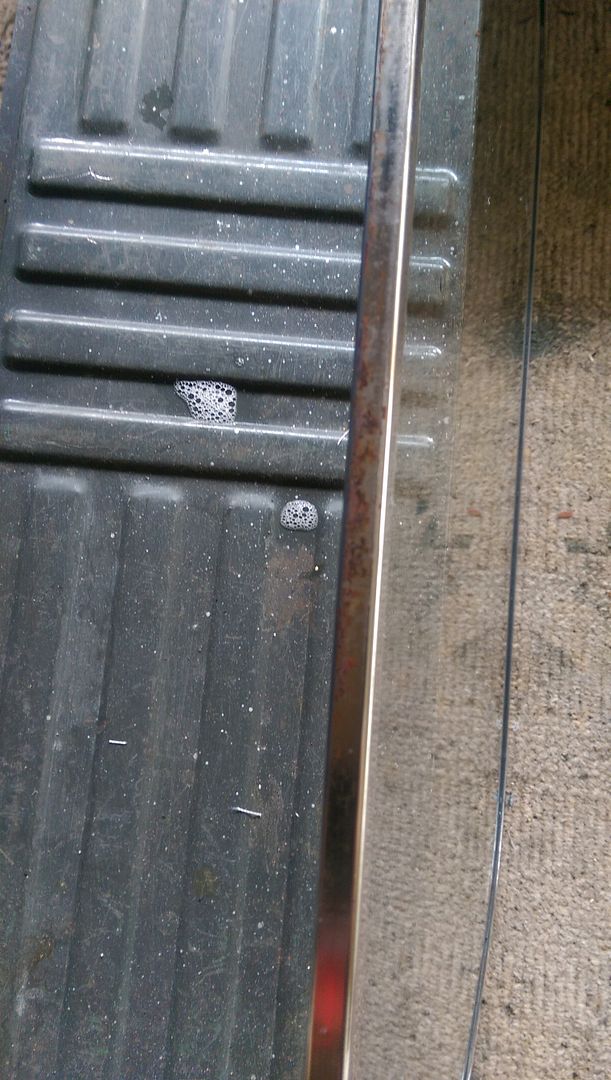
 

IMAG6108_zpsl10mnrt3.jpg


Any areas that were rusted got a clean with metal polish and some 2000 grit paper. It seemed to do the trick. All of the rust on the frame turned out to be surface rust and came of with a good clean:
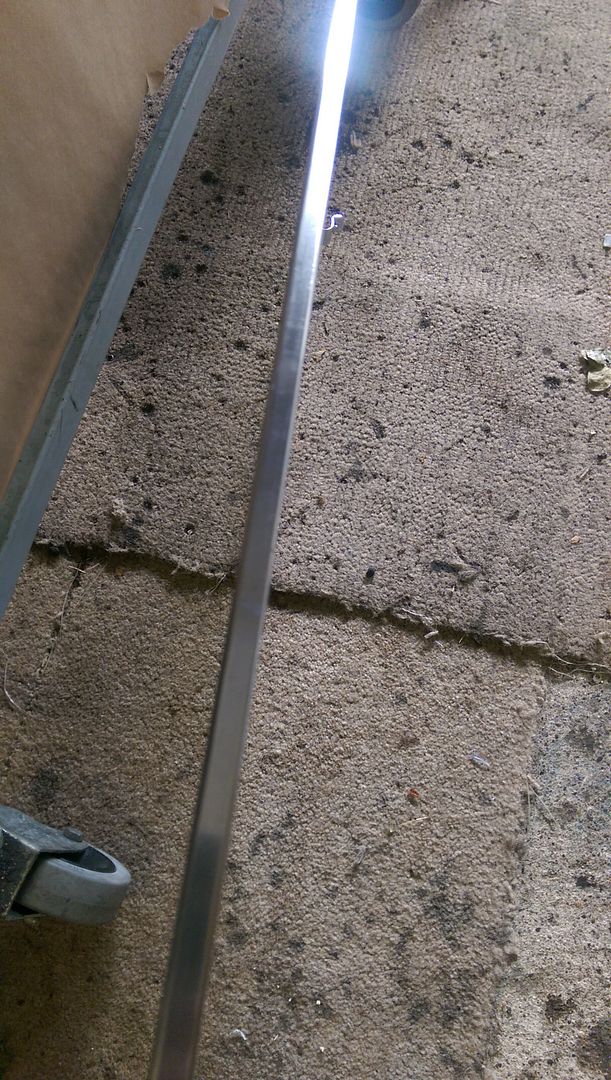
 

IMAG6109_zpsnd7sxwxq.jpg


The rust on the hinges also got a clean and a rub down but needs some 320 to get through the rust:
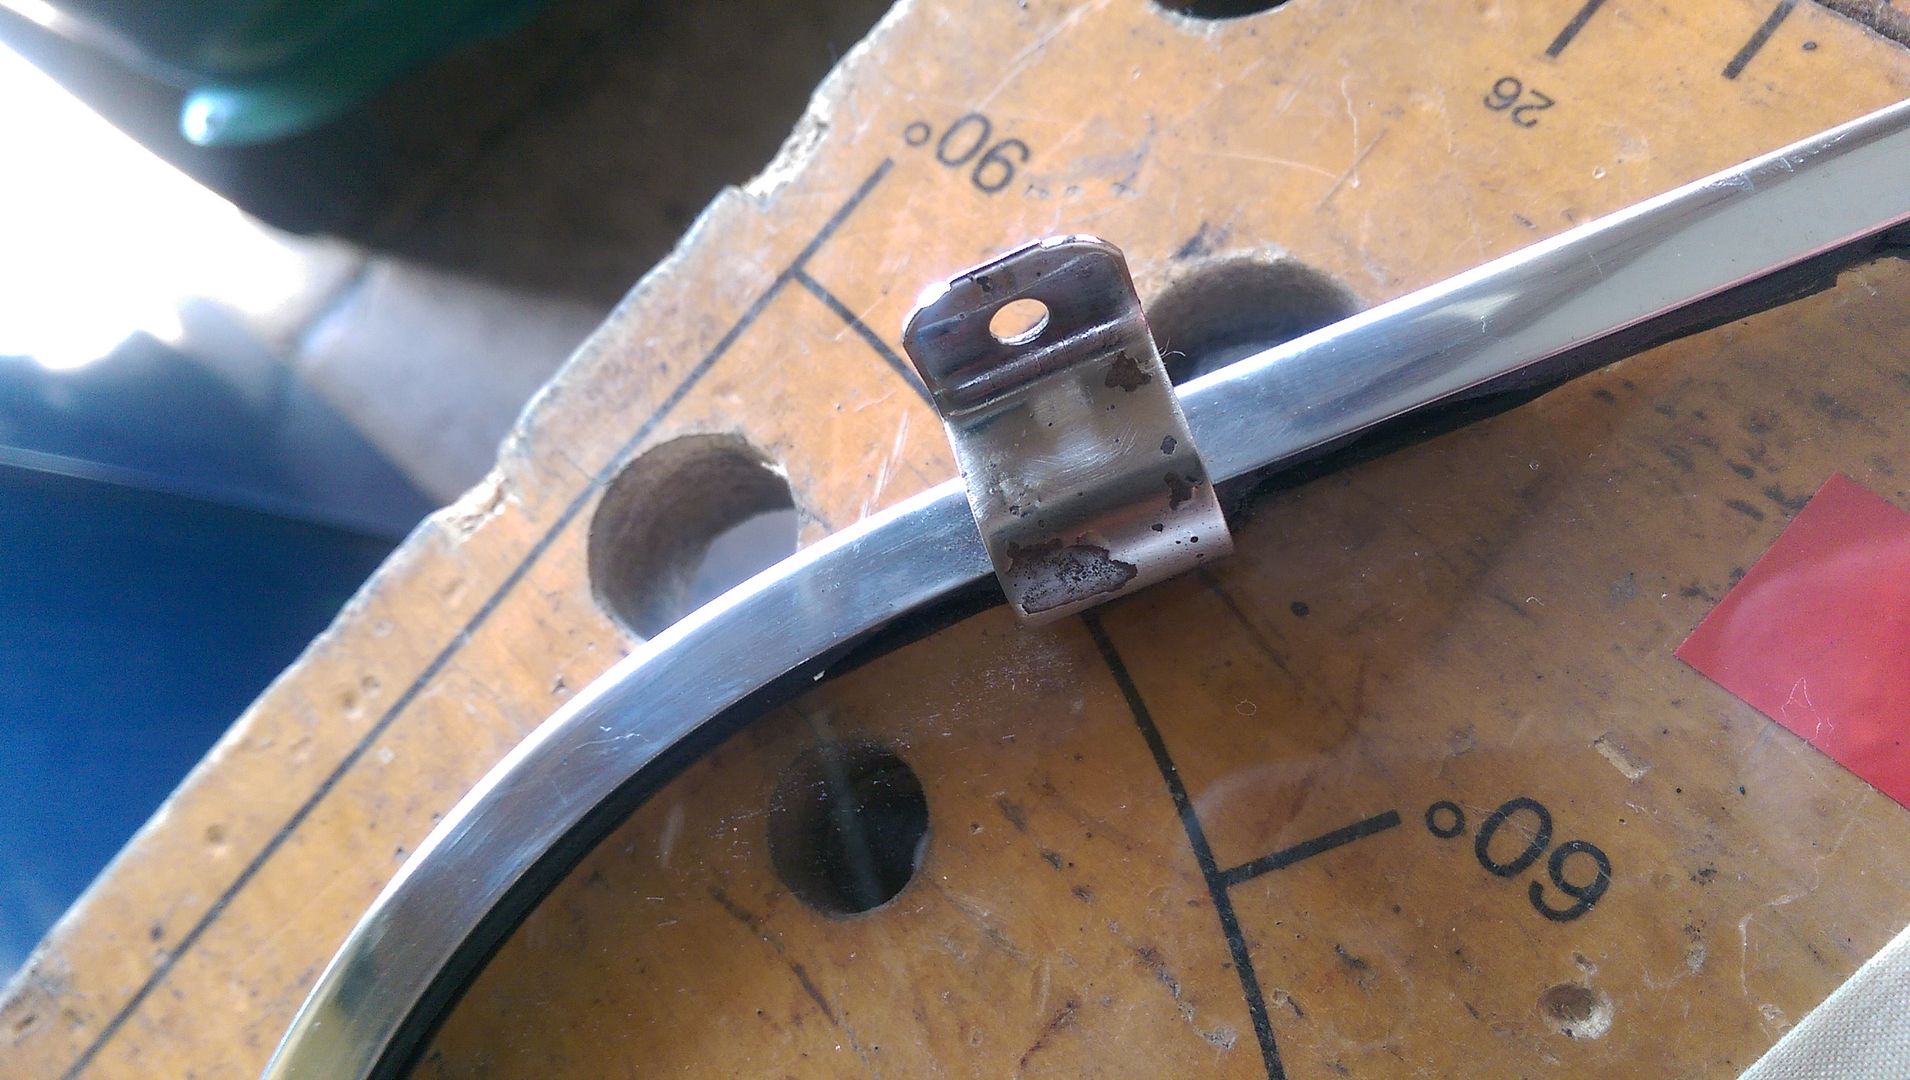
 

IMAG6107_zps3h6go3z9.jpg


They also got a treatment with Deox Gel and then Etch Primer:
 

IMAG6123_zpsg1uh5ulw.jpg


Once they were dry I then sprayed on some Silver Paint (No pic sorry).


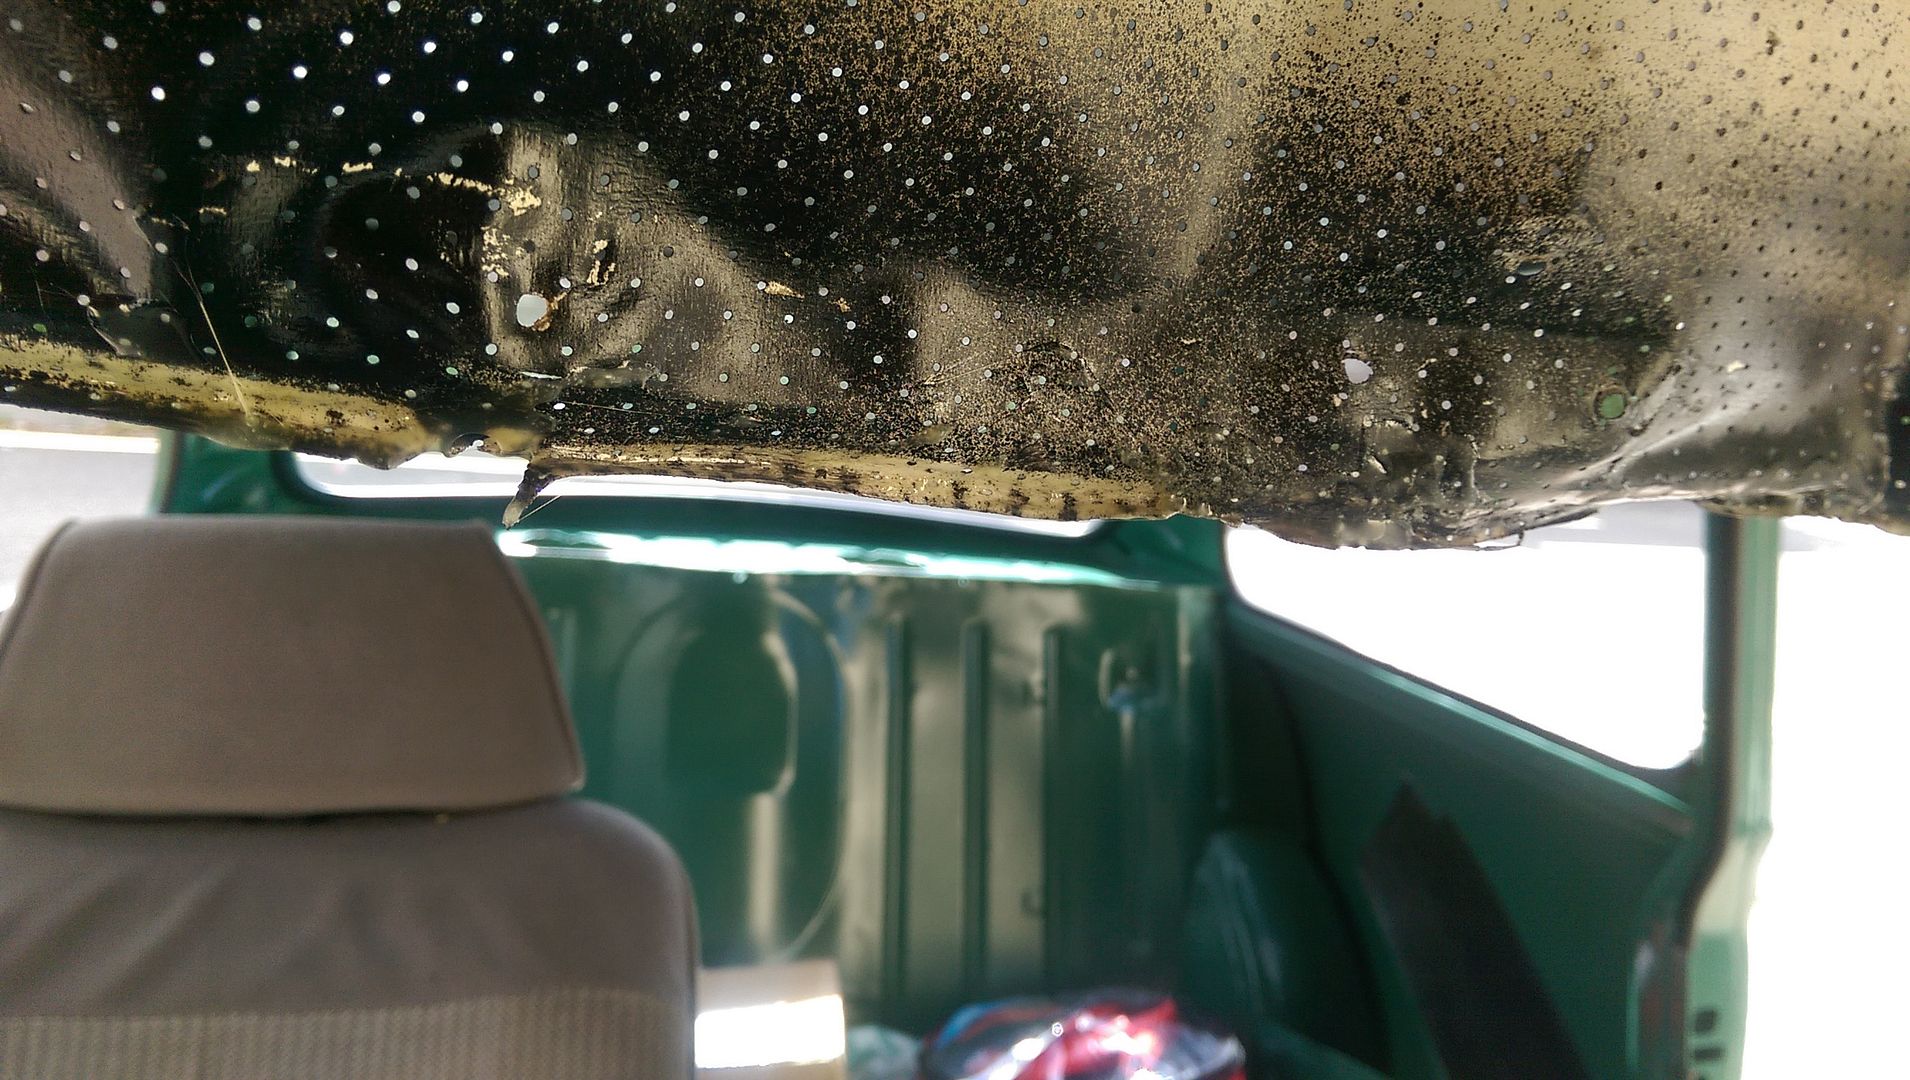
Before fitting the windscreen I had to tighten up and secure the headlining and repair my front headlining bar (we snapped of the plastic end).

Forum Member redhouse53 very kindly sent me a spare red rod end in the post which I fitted to replace my broken one:
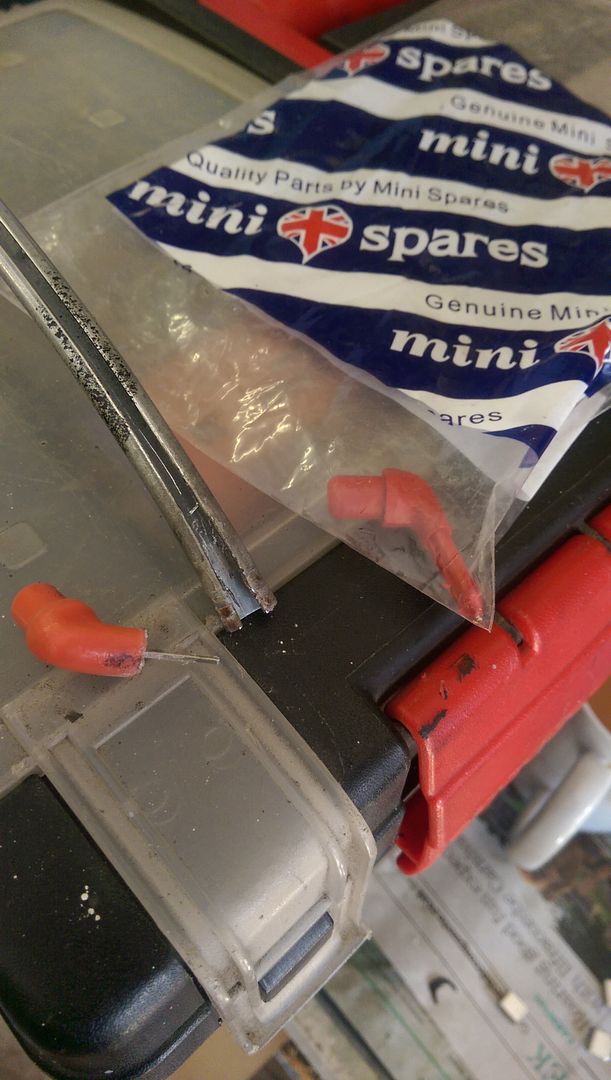
 

IMAG6112_zpsy3njok2v.jpg


I took the old one out widened the ends of the rod, inserted the replacement and crimped it shut - perfect:
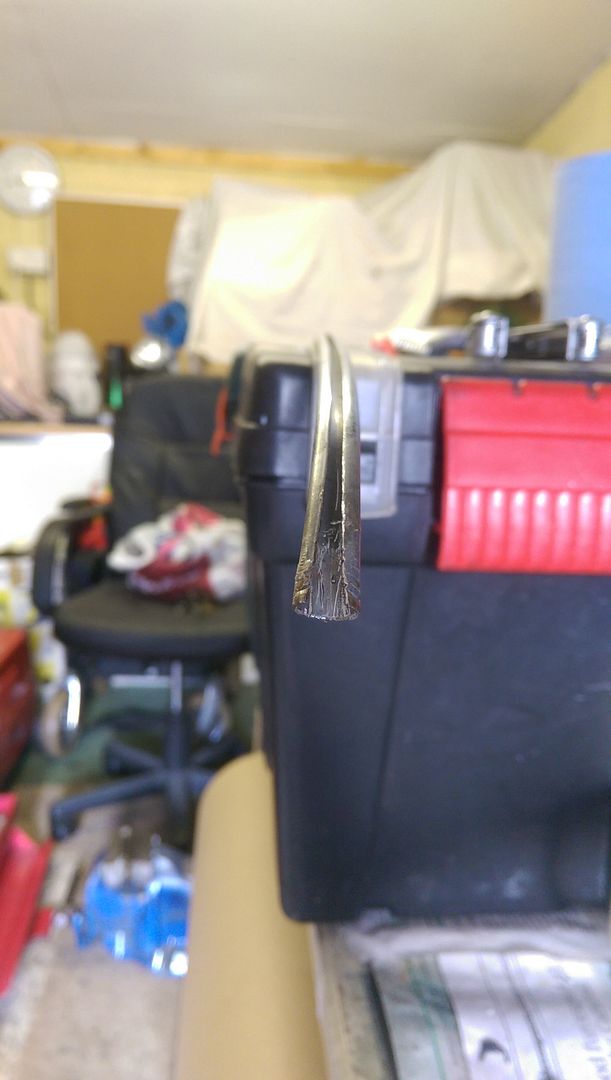
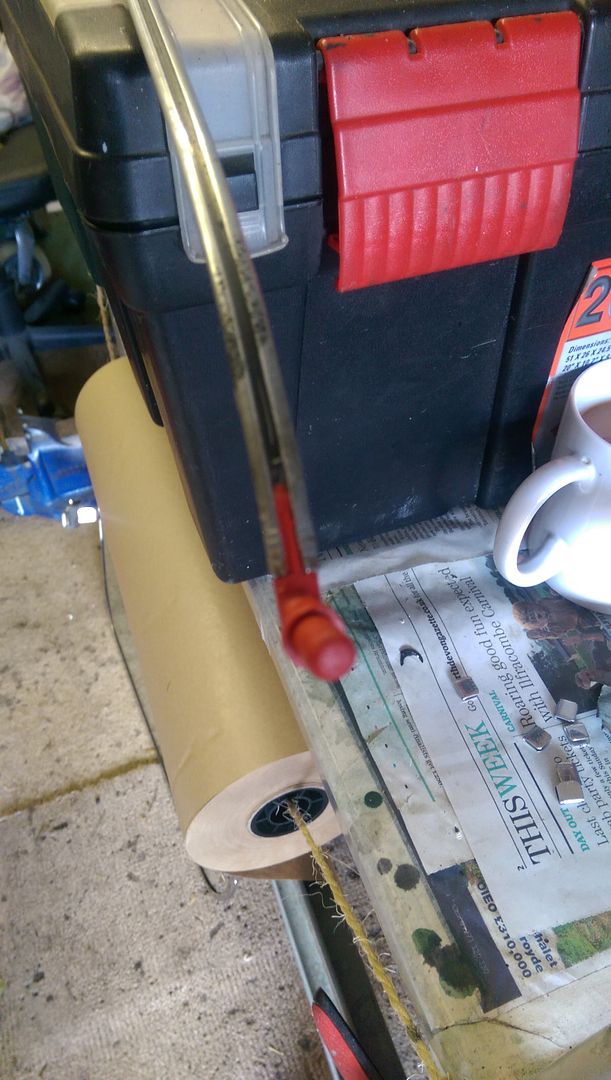
 

IMAG6113_zpswqpe0phr.jpg


IMAG6114_zpsqnkkksnx.jpg


Once the headlining bar was in I pulled the headlining forward above the front of the front doors and held it in place with the door trim.


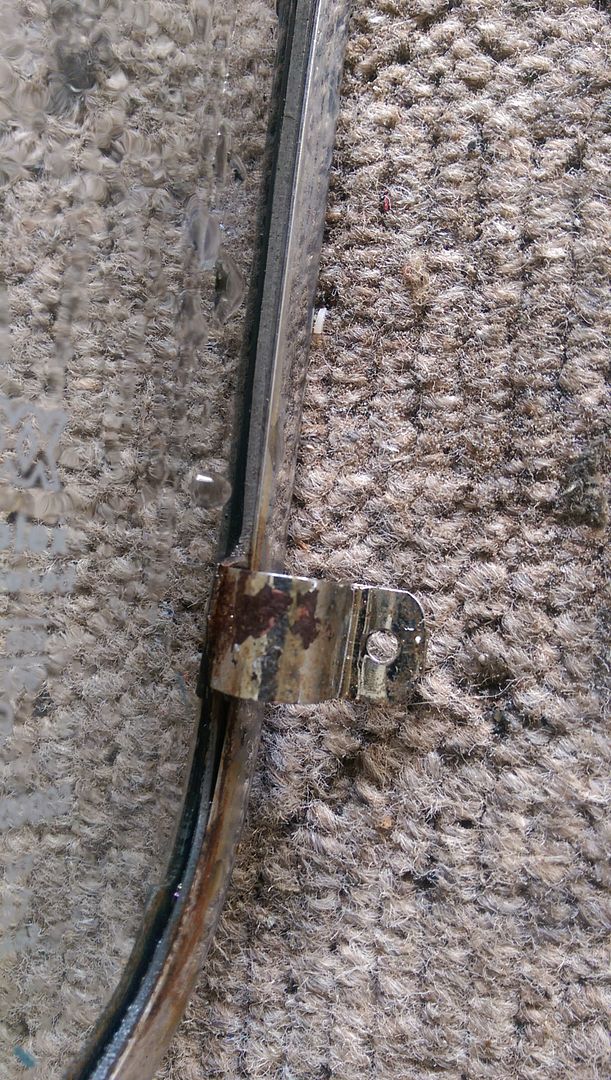
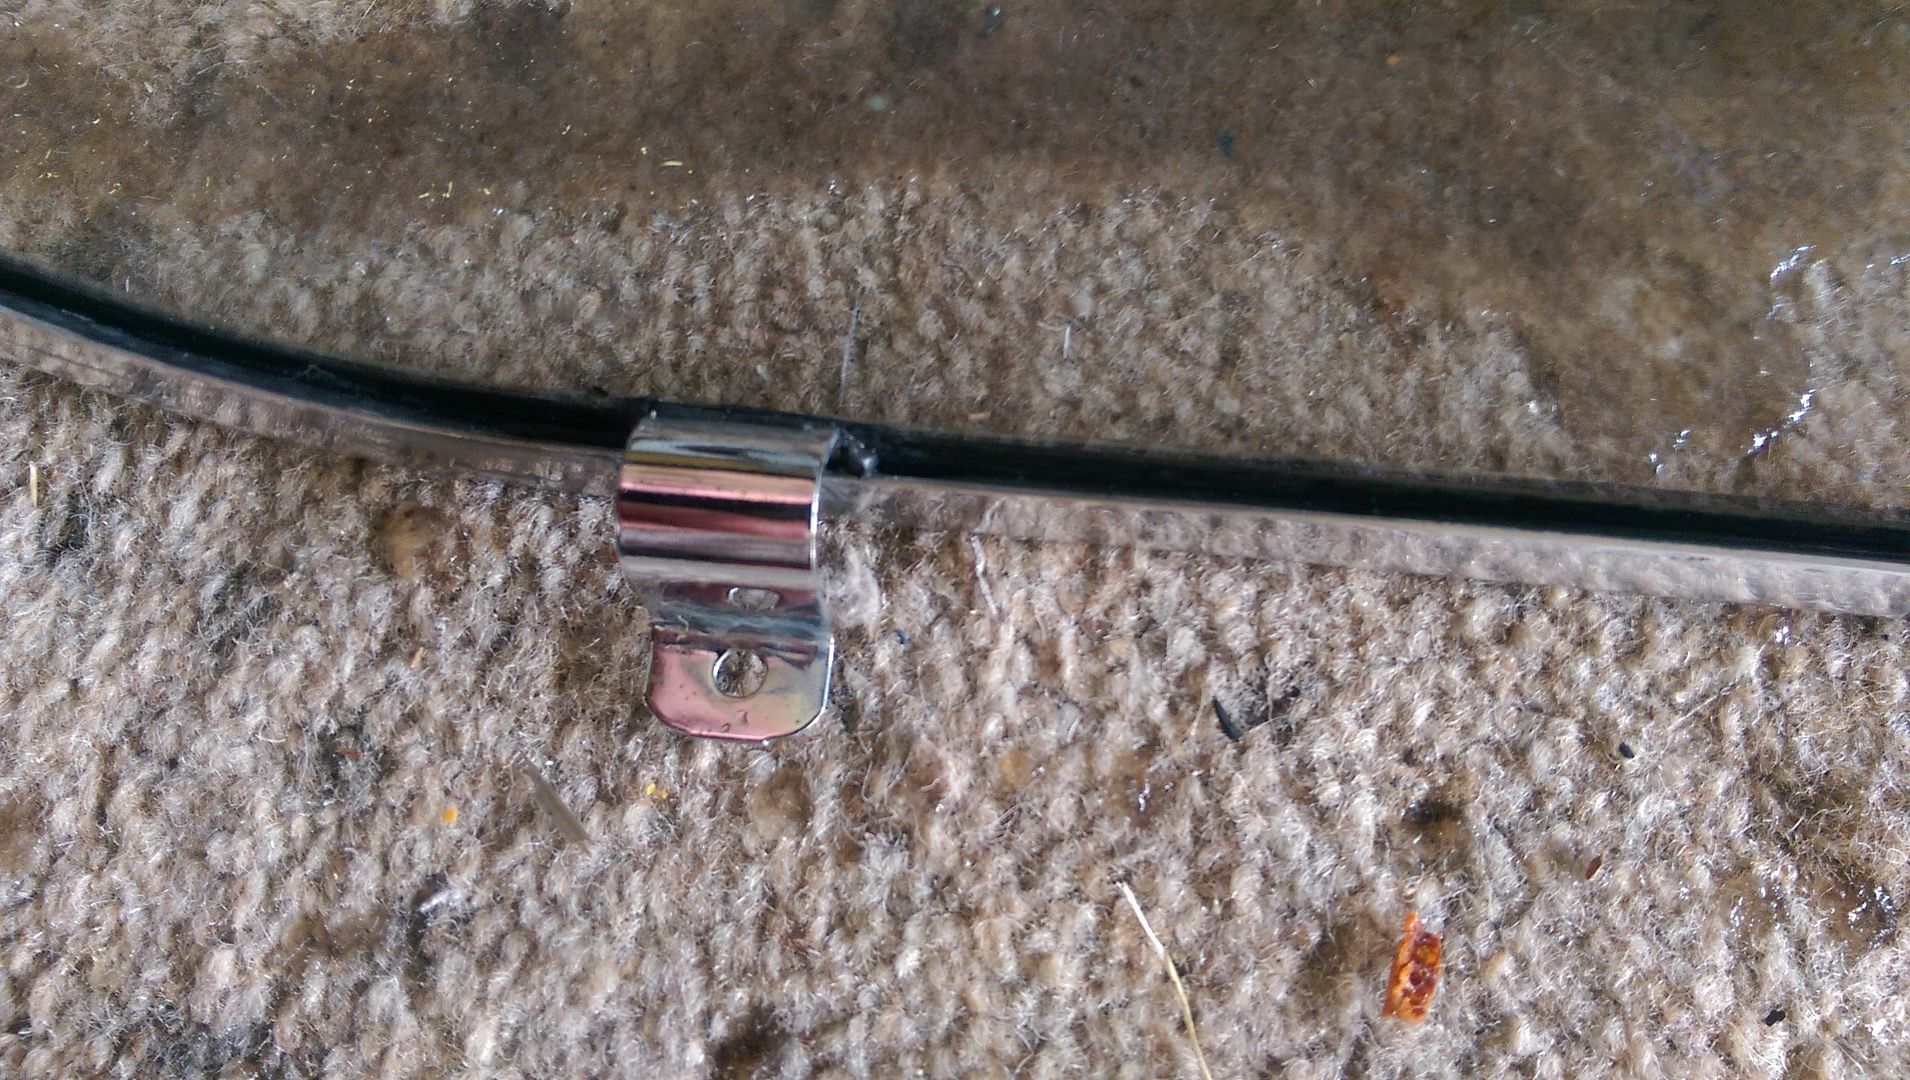
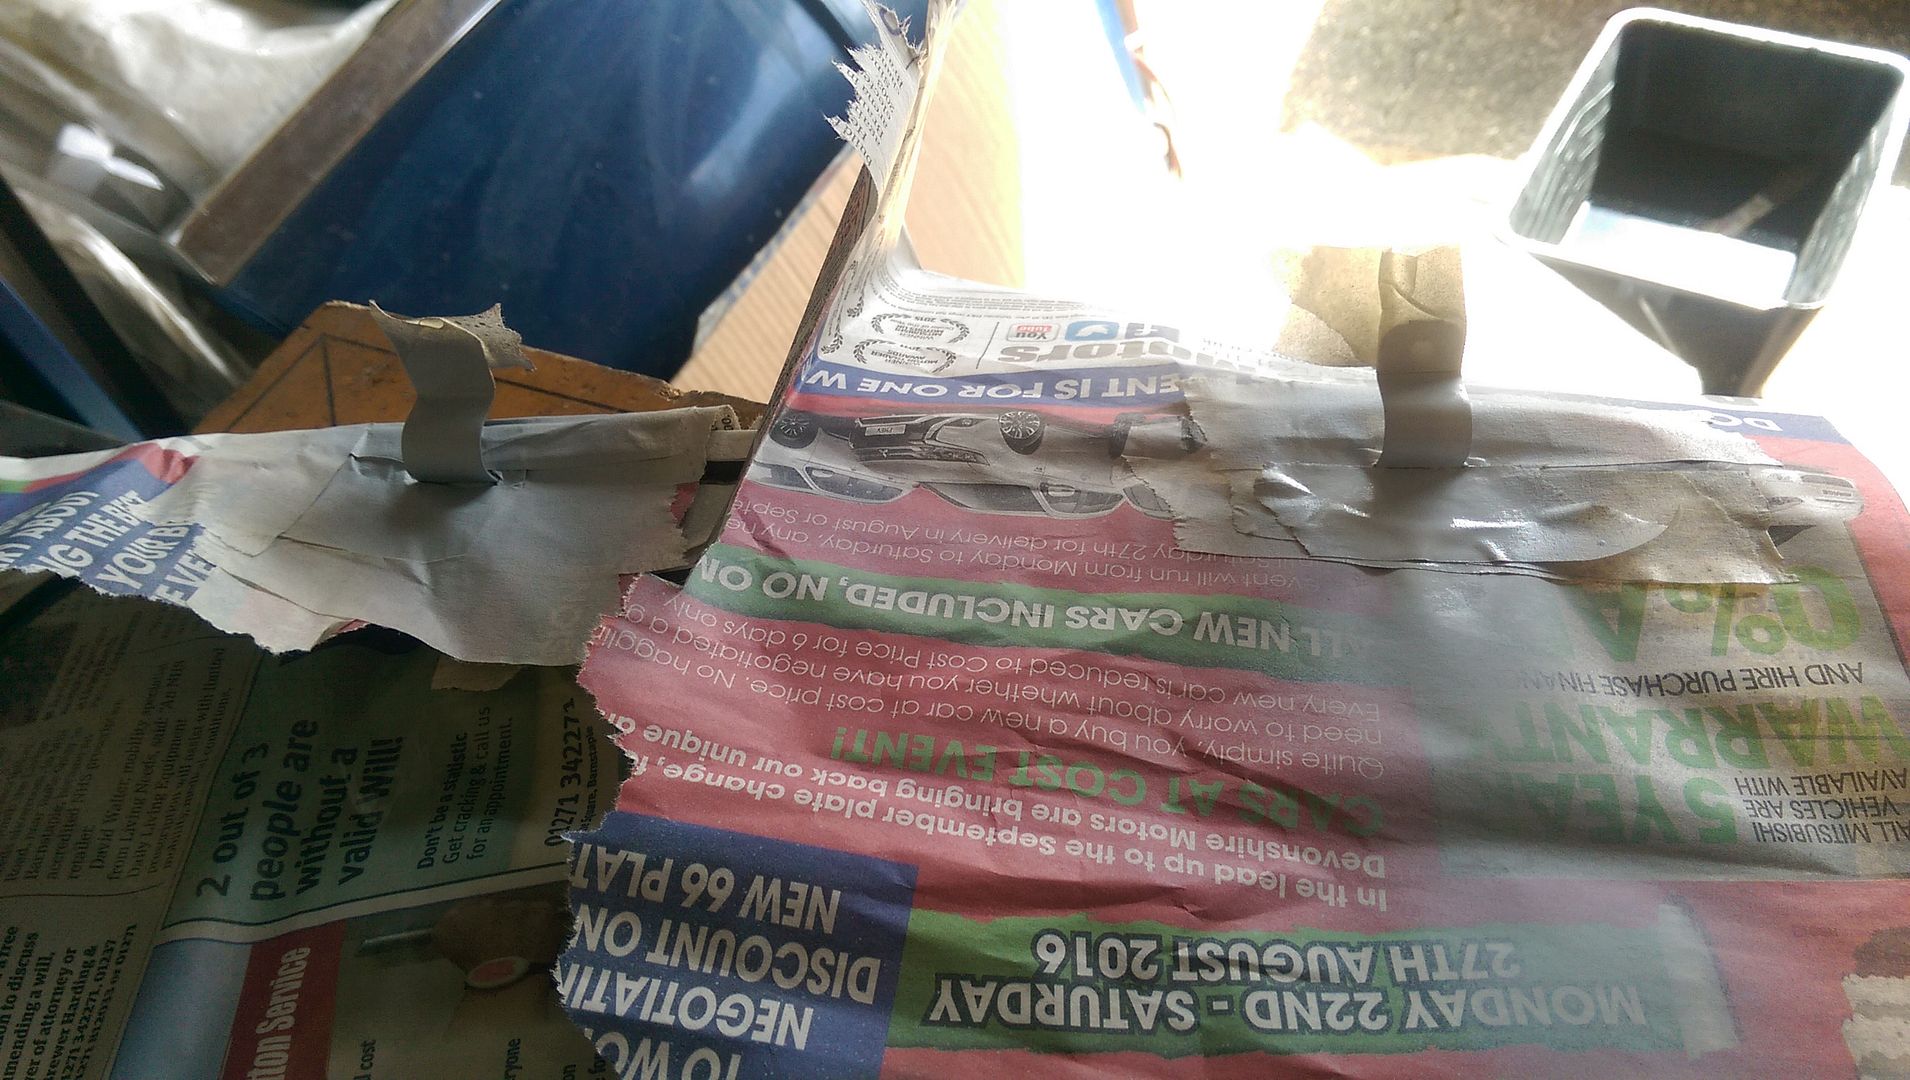
Then, as with the rear screen, I made up some clips to hold the headlining in place. This is because I am using the old hedlining (refurbished and there is not a lot of spare to play with.


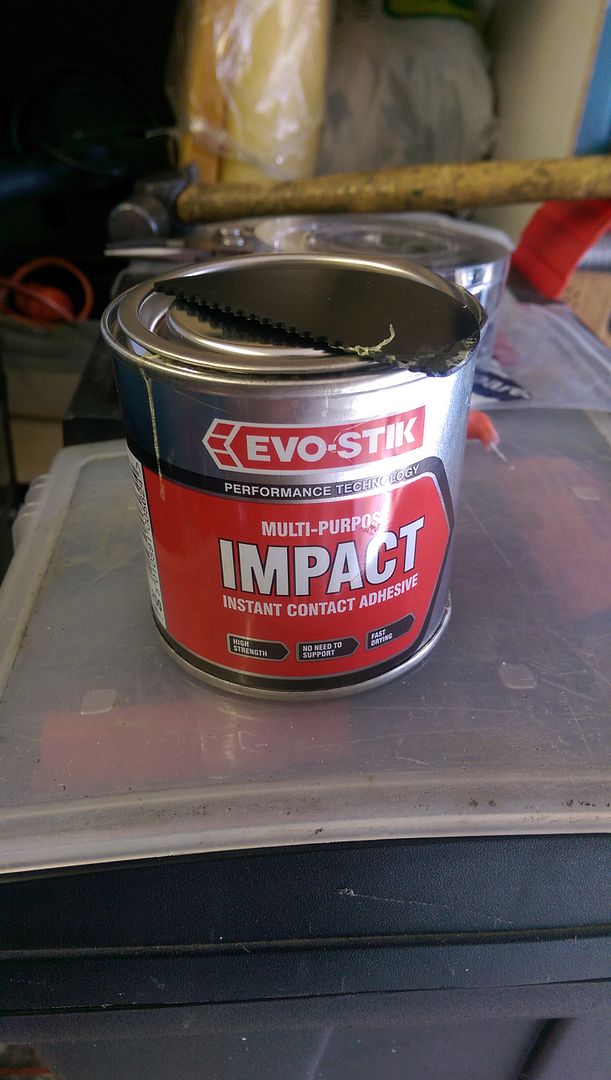
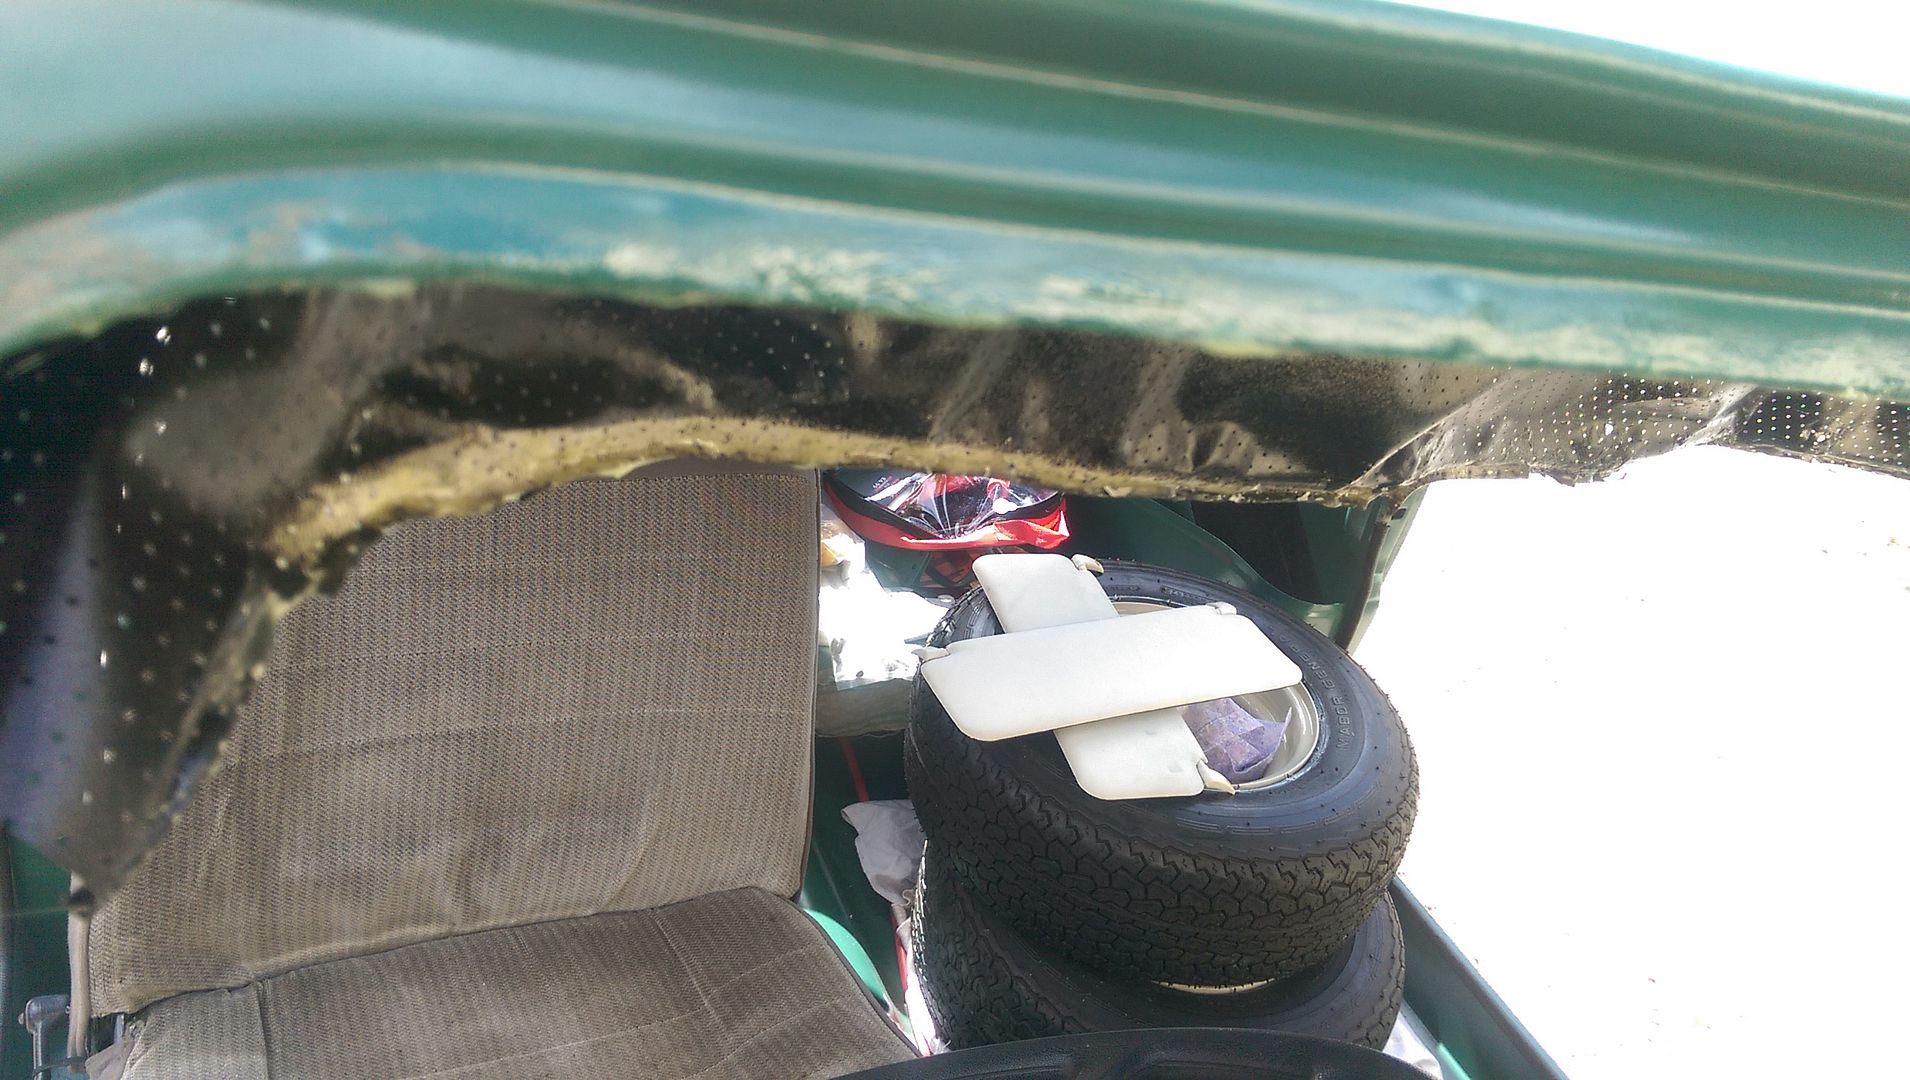
Next I ran some 1200 grit over the window frame to help the glue stick. Then I painted some Evo Stick Contact Adhesive onto the window frame (inside and out) and the front edge of the headlining. This adhesive needs to be left for about 5 minutes and once tacky the two surfaces can be put together.
 

IMAG6115_zpswwqdatpk.jpg


IMAG6116_zpszefn3qpl.jpg


IMAG6119_zpstkrbpfgl.jpg


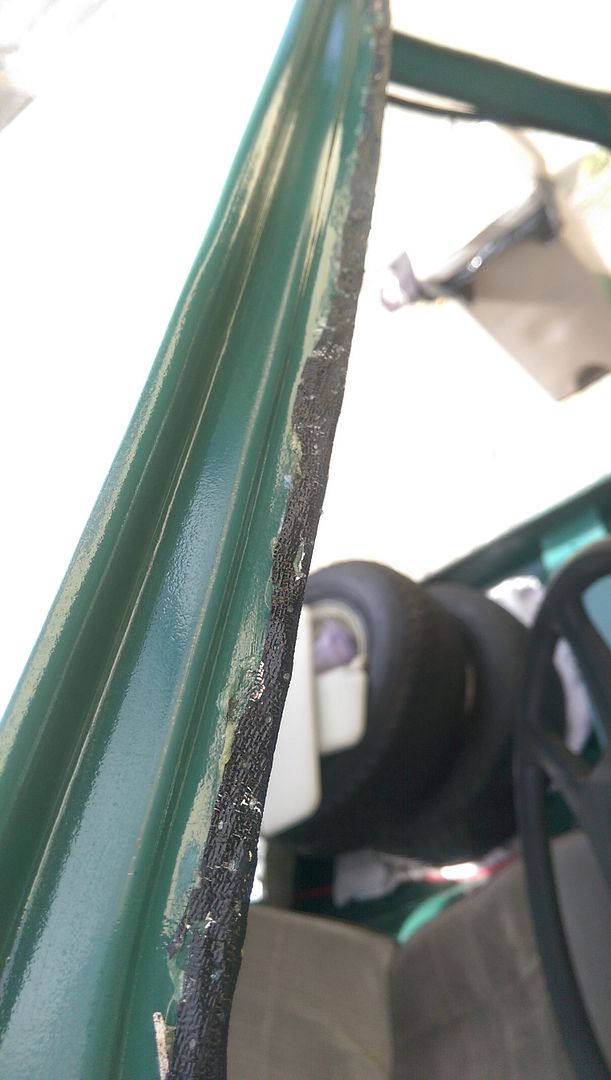
As it turned out I was able to pull enough headlining up and over the window and it was held in place by the glue (strong stuff this) and I did not need the clips I made after all - good news:
 

IMAG6121_zpsq1ppxzd2.jpg


Next I concentrated on the windscreen. On the original screen I made the mistake of not protecting it when Angle Grinding so it got quite damaged. Thankfully Coxie (Forum Member) had an old on spare (Laminated the same as my one).


I did try and clean mine up but no joy so I cleaned up the spare instead. It has a small chip in the bottom LH corner which hopefully won't be an issue  O_O


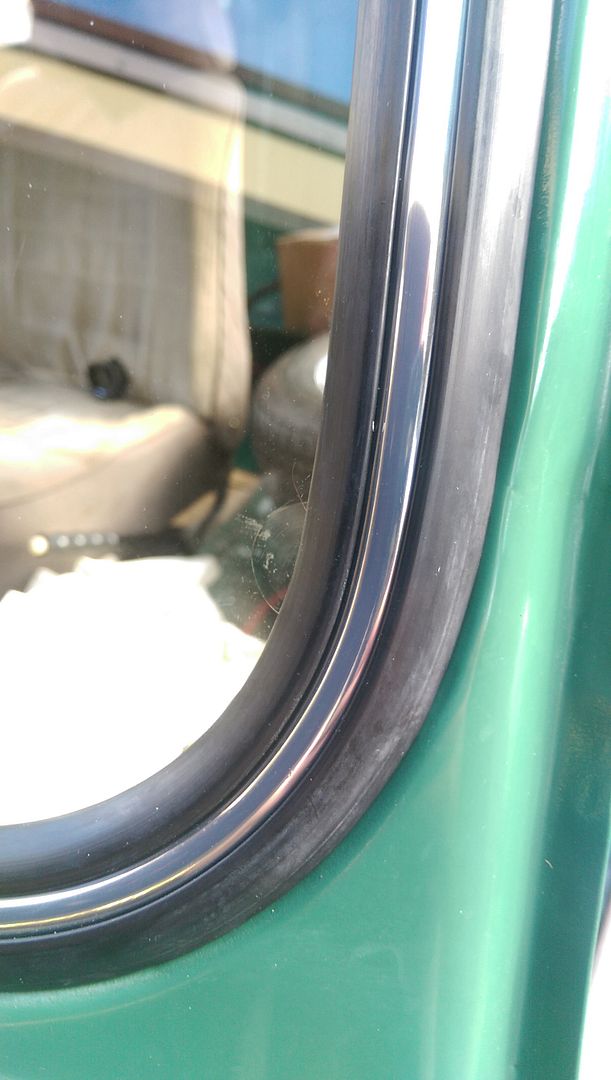
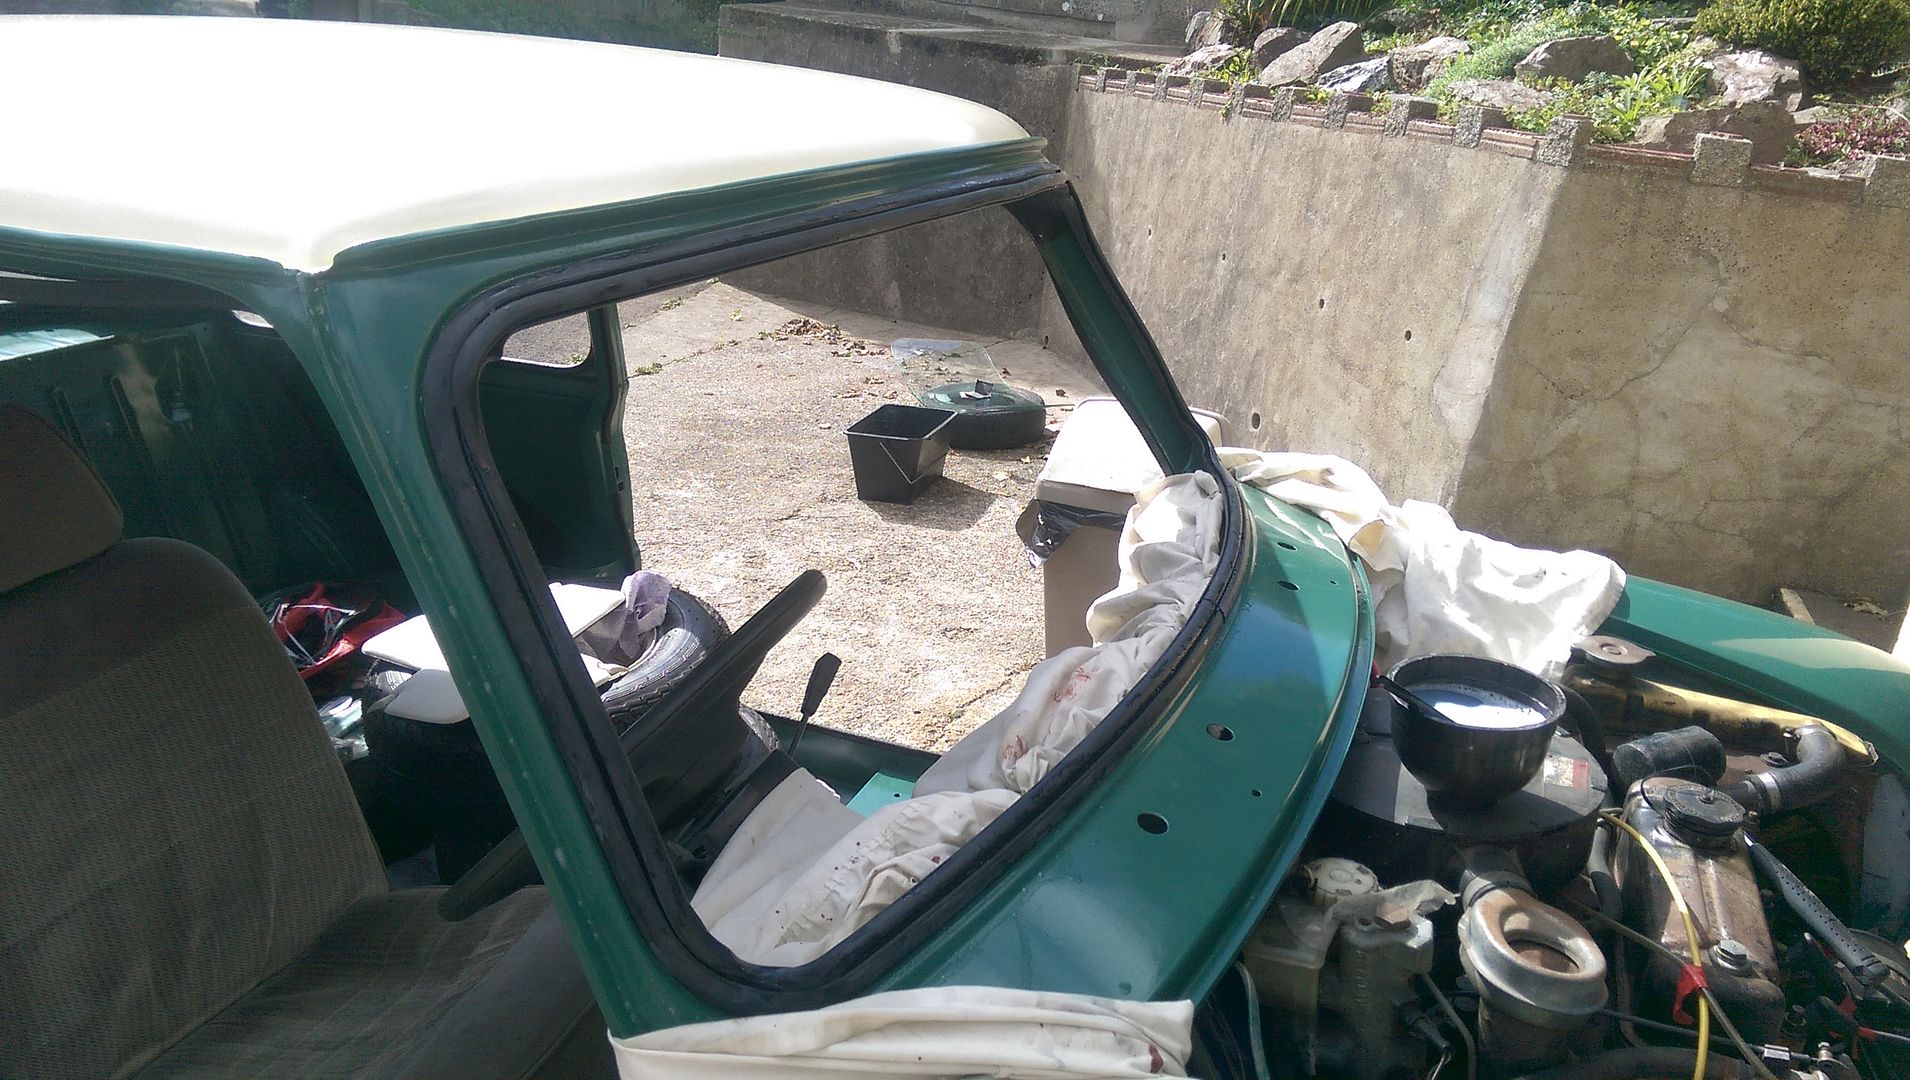
Then  I fitted the window rubber seal, as with the rear I placed the vulcanised join at the bottom centre. This seal seemed to take longer to fit and at one point I thought either it was too long or my window frame was out. But after some tugging, tapping and squeezing I got it on!!
 

IMAG6124_zpskifqwsfz.jpg


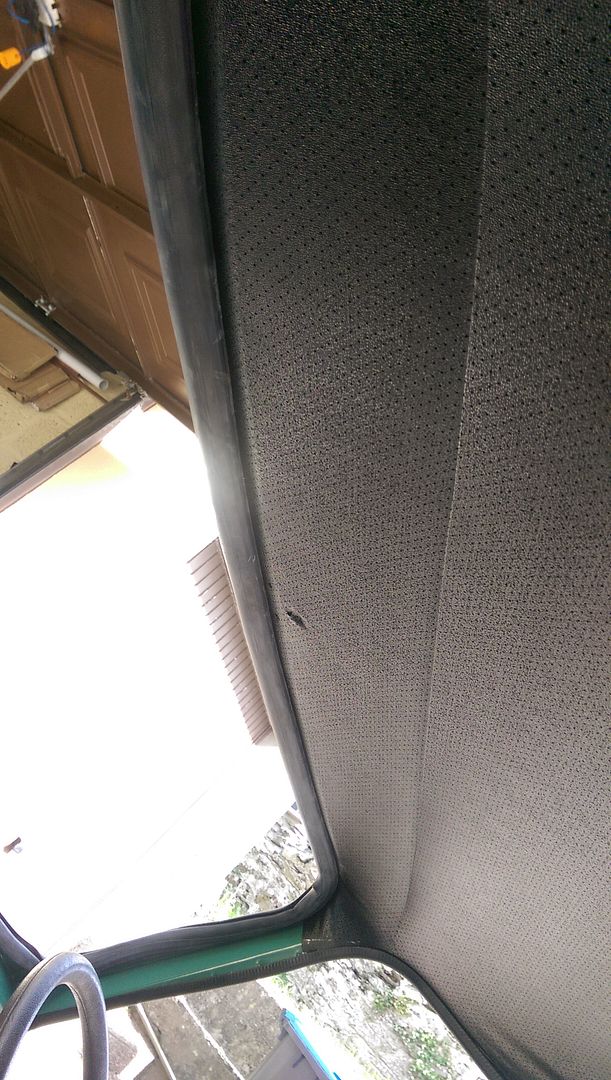
Headlining looks as good as new:


IMAG6122_zps2nl5ohq3.jpg


With the the help of my darling wife we managed to get the screen in. It was a bit of a struggle but slowly and surely we did it  :D

Soap and water is your friend here!!


IMAG6125_zpszjuu4gsv.jpg


Then it was time for the fillet insert, as with the rear I started at the top:
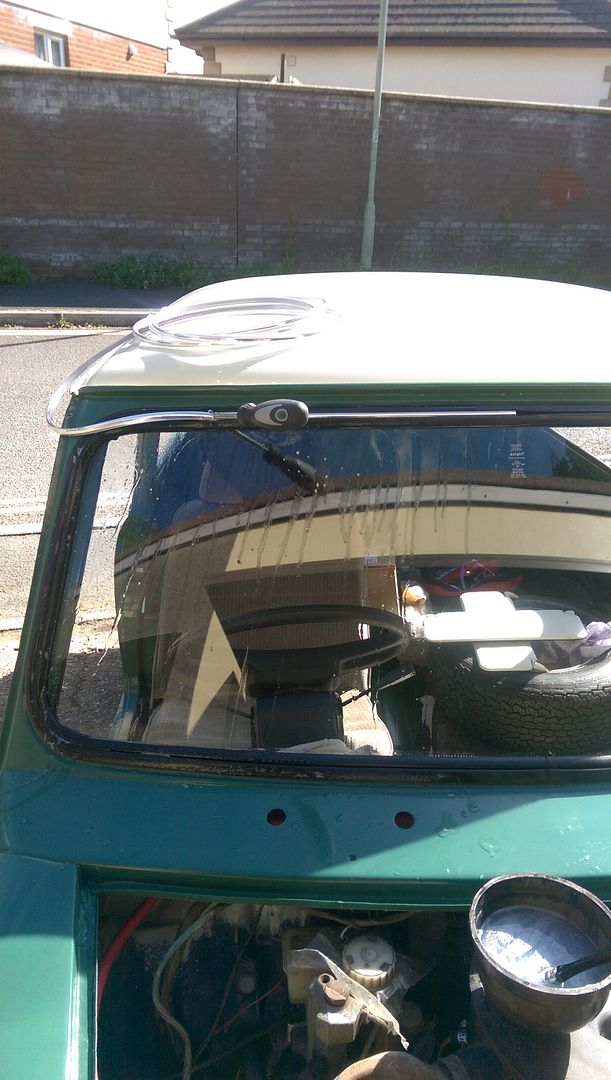
 

IMAG6126_zpsnhmjjbiu.jpg


And here it is after a clean up:


IMAG6128_zpss4gkhytn.jpg


IMAG6129_zps7b4o31jp.jpg


And here is the chip:


IMAG6130_zpsmoflmlls.jpg


Then after searching for the correct Self Tappers (some missing) I fitted the side screens.
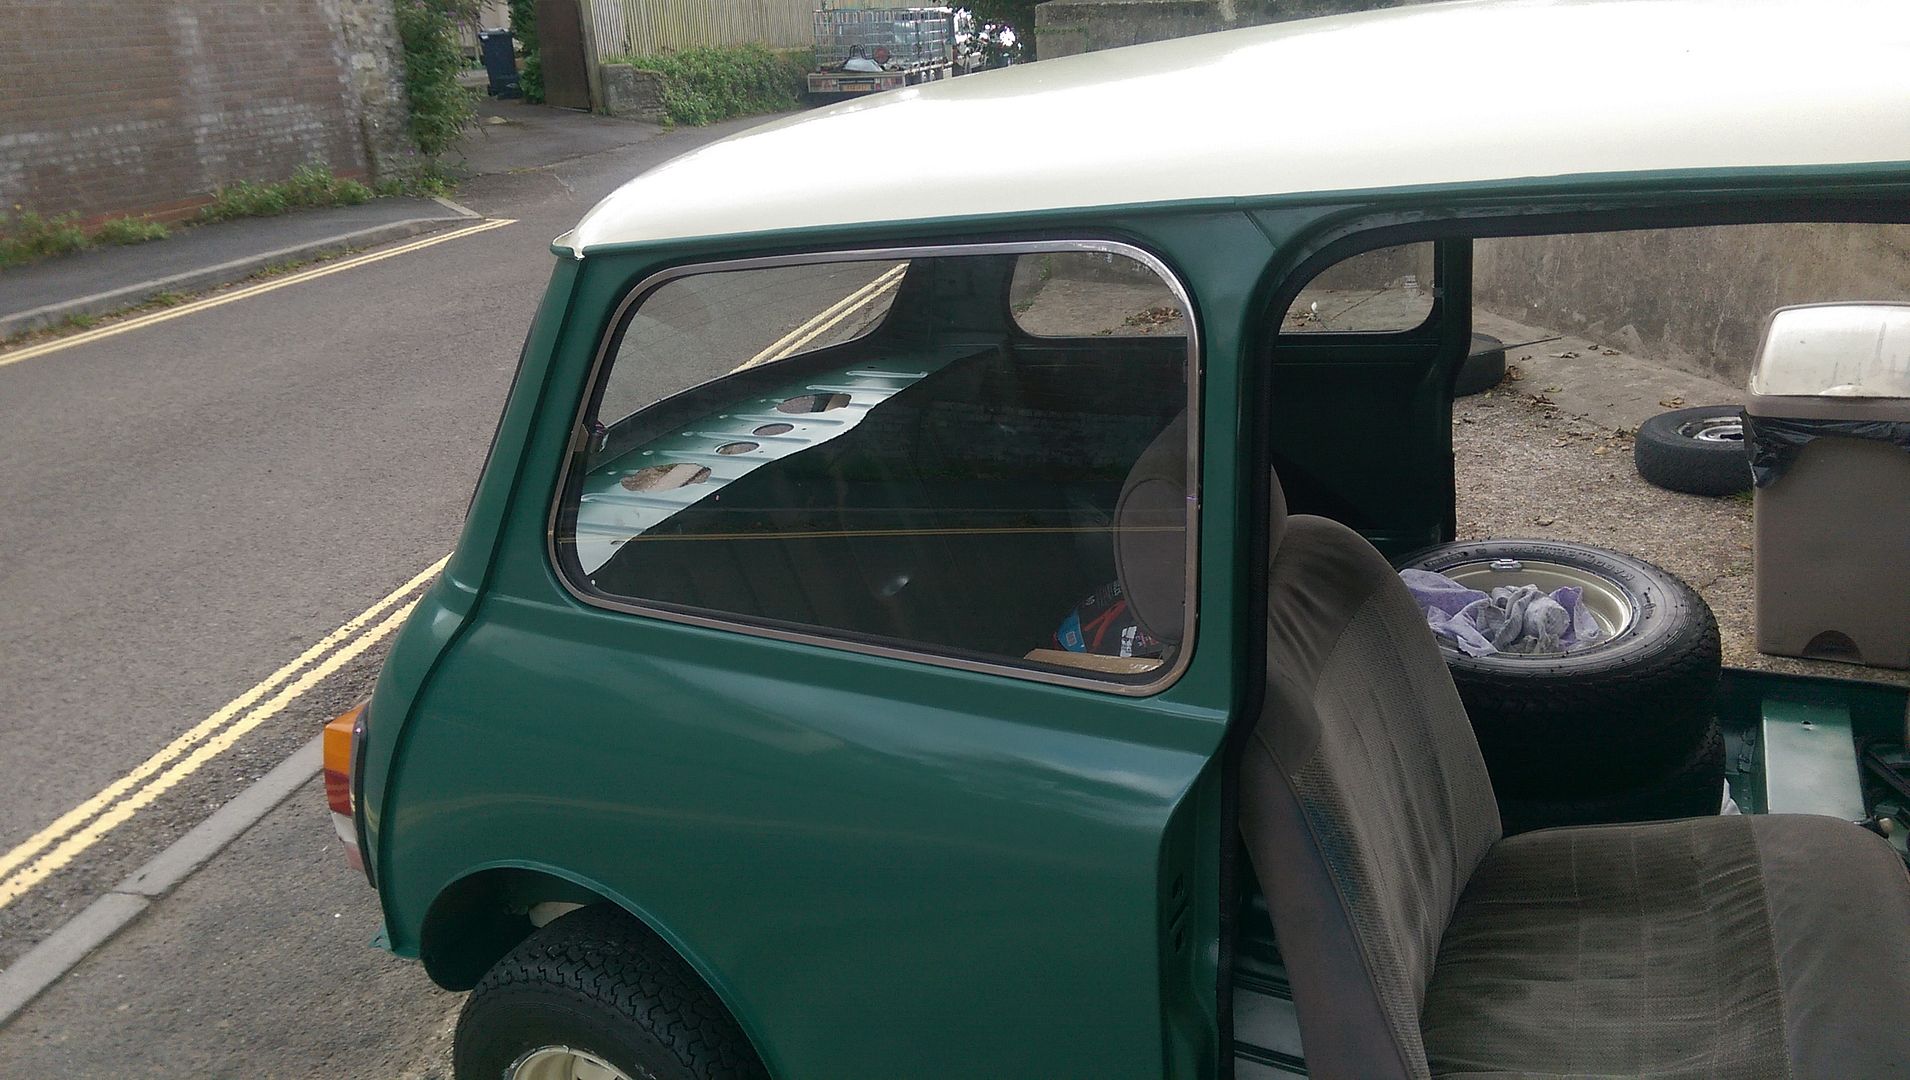
 

IMAG6132_zpsuv8usqkc.jpg


IMAG6133_zpsajj5kg03.jpg


One small area of rust that I annoyingly could not get at really well  >_<


IMAG6134_zpszebb0fz3.jpg


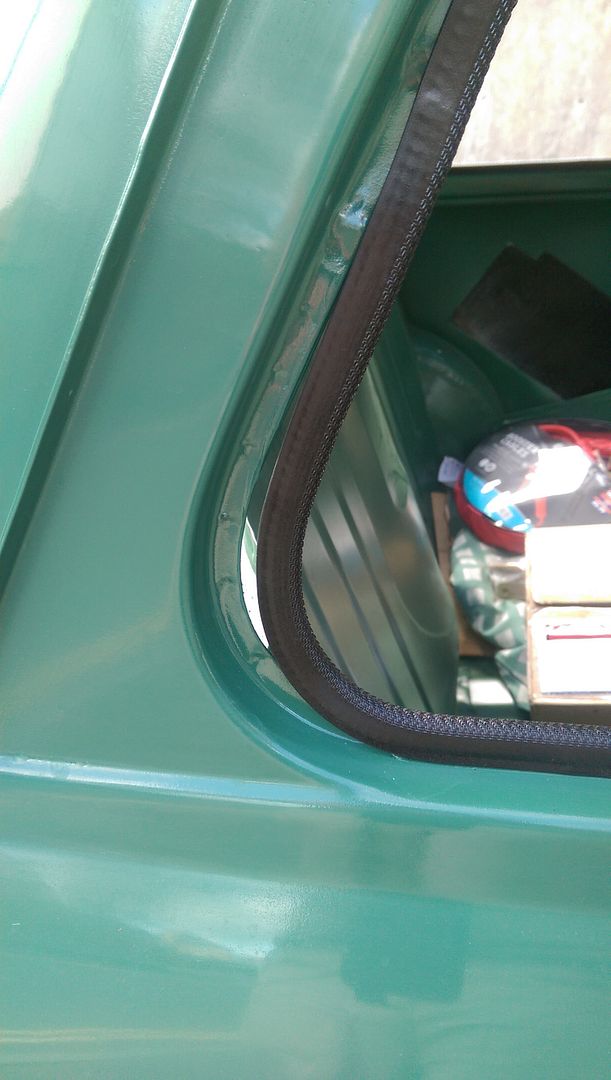
I have a bit of an issue with my rear side windows, the seal seems too small and there are gaps all around as the window does not fit very well. The rain is just gonna poor in  :mmkay:


IMAG6131_zpskk9ozuhr.jpg


Front lights tomorrow..............


#530 jamesquintin

jamesquintin

    One Carb Or Two?

  • TMF+ Member
  • PipPipPipPipPipPipPip
  • 1,017 posts
  • Location: Harlow

Posted 18 September 2016 - 10:49 AM

What rear quarter seals did you buy? I've just fitted some to my MPI from Minispares and they were slightly too long ;)
 

I just squeezed them in. Also yours don't seem to have as much rubber on the window side as mine do?


#531 JonnyAlpha

JonnyAlpha

    Up Into Fourth

  • Members
  • PipPipPipPipPipPipPipPipPip
  • 2,748 posts
  • Location: North Devon
  • Local Club: Exmoor Minis

Posted 18 September 2016 - 11:22 AM

What rear quarter seals did you buy? I've just fitted some to my MPI from Minispares and they were slightly too long ;)


I just squeezed them in. Also yours don't seem to have as much rubber on the window side as mine do?


These were the original ones that were on the car. I just cleaned them up and painted them.


#532 jamesquintin

jamesquintin

    One Carb Or Two?

  • TMF+ Member
  • PipPipPipPipPipPipPip
  • 1,017 posts
  • Location: Harlow

Posted 18 September 2016 - 03:32 PM

oh! Scrap 'em then not worth muckng about with


#533 JonnyAlpha

JonnyAlpha

    Up Into Fourth

  • Members
  • PipPipPipPipPipPipPipPipPip
  • 2,748 posts
  • Location: North Devon
  • Local Club: Exmoor Minis

Posted 18 September 2016 - 06:06 PM

oh! Scrap 'em then not worth muckng about with


Which window seals do you recommend, I had a loom on Mini Spares and can't work out which ones you bought? 


#534 1984mini25

1984mini25

    Crazy About Mini's

  • Members
  • PipPipPipPipPipPipPipPipPipPip
  • 8,784 posts
  • Location: -

Posted 18 September 2016 - 06:37 PM

Your window and door seals aren't seals, but rubber edging trim normally used along the sills and the like. (i'm after a roll to finish off the ended of my wheel arch liners)


What you need is a pair of for the opening quarter windows... http://www.minispare.../classic/window seal .aspx|Back to search


and two of for the door seals... http://www.minispare...ch/classic/door seal .aspx|Back to search


#535 JonnyAlpha

JonnyAlpha

    Up Into Fourth

  • Members
  • PipPipPipPipPipPipPipPipPip
  • 2,748 posts
  • Location: North Devon
  • Local Club: Exmoor Minis

Posted 19 September 2016 - 10:57 AM

Your window and door seals aren't seals, but rubber edging trim normally used along the sills and the like. (i'm after a roll to finish off the ended of my wheel arch liners)


What you need is a pair of for the opening quarter windows... http://www.minispare.../classic/window seal .aspx|Back to search


and two of for the door seals... http://www.minispare...ch/classic/door seal .aspx|Back to search

Wasted my time painting them then :-)

Still I guess I could use the door trim to line the Sills?


#536 JonnyAlpha

JonnyAlpha

    Up Into Fourth

  • Members
  • PipPipPipPipPipPipPipPipPip
  • 2,748 posts
  • Location: North Devon
  • Local Club: Exmoor Minis

Posted 19 September 2016 - 05:05 PM

A tiny bit of work yesterday. Time to get the front lights and indicators fitted.

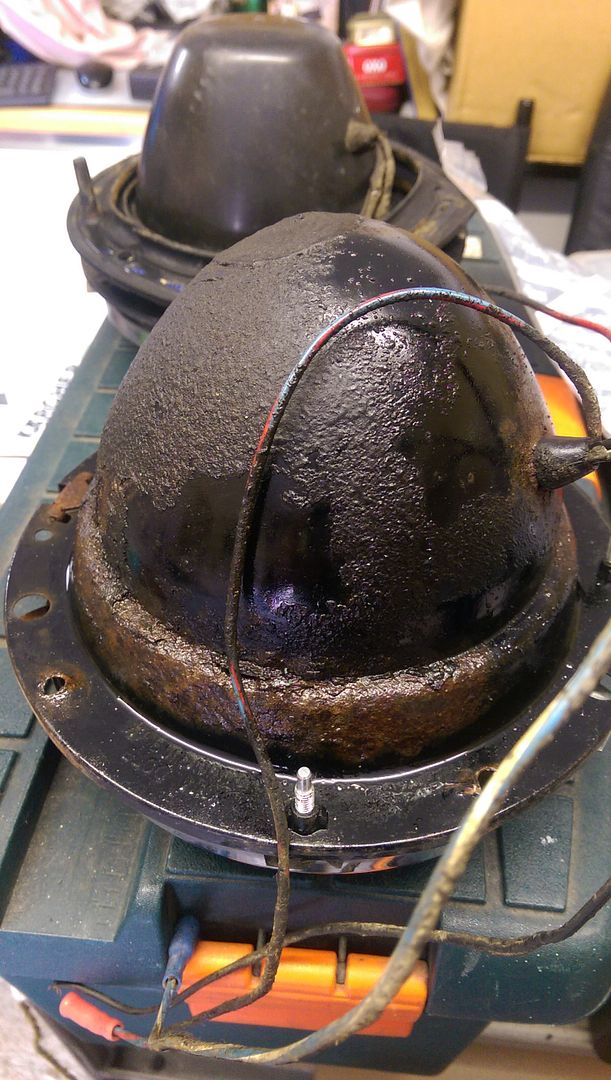
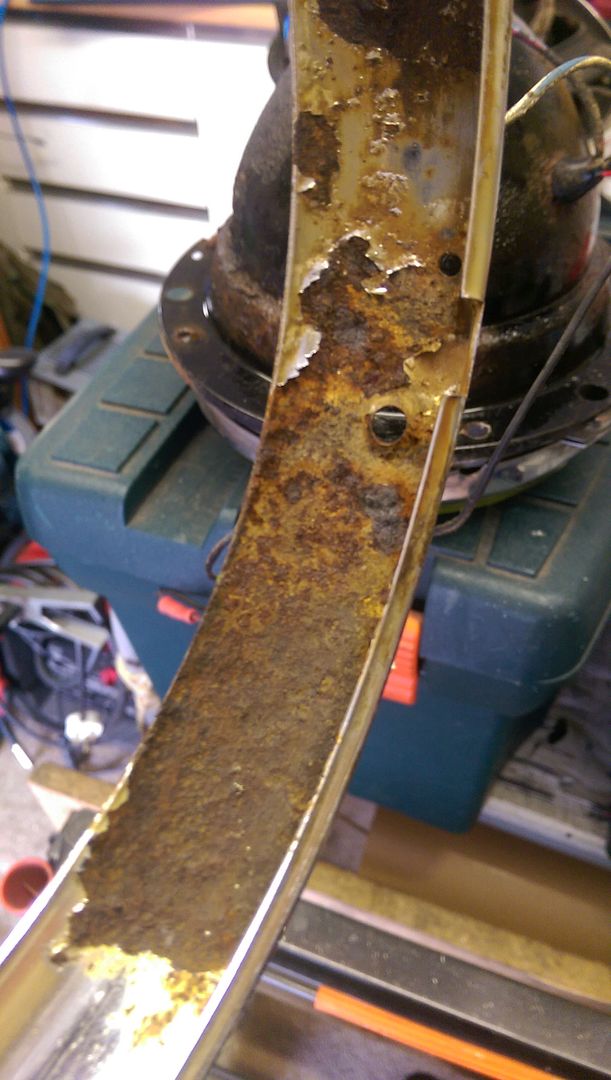
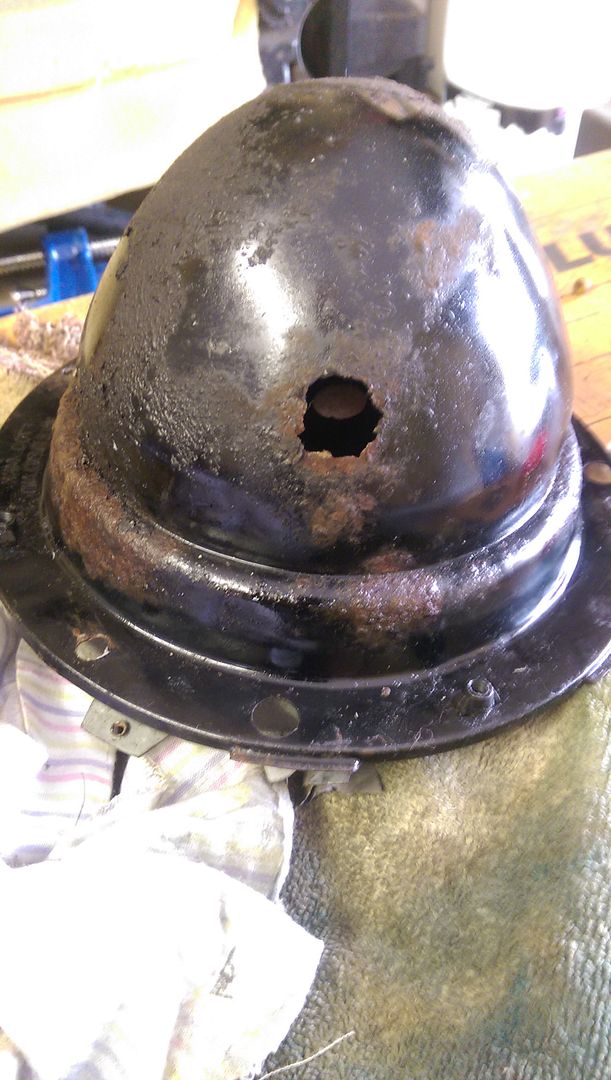
The indicators where rusted out and the rubbers were perished so I opted for new ones but I hadn't really looked at the Headlights since I removed them to do the wings.


Turns out that one of them (the original metal one) was too far gone to refurbish:


IMAG6181_zpscf9gsnts.jpg


IMAG6192_zpshex97arv.jpg


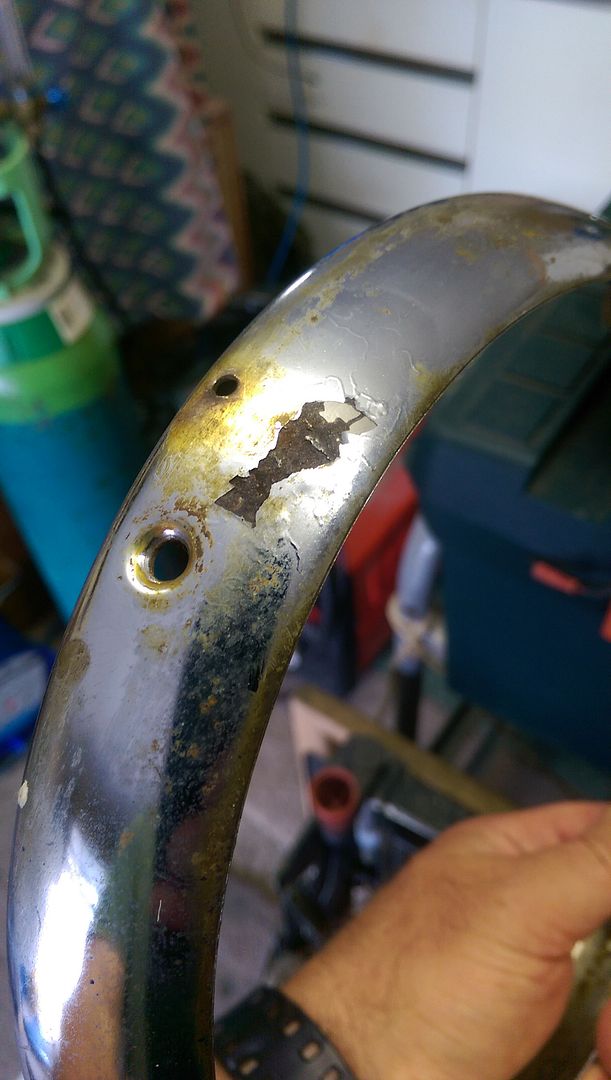
One of the chrome rims was also shot on the inside and partially on the outside:


IMAG6182_zpswgvykcdd.jpg


IMAG6183_zpsok1wz0k7.jpg


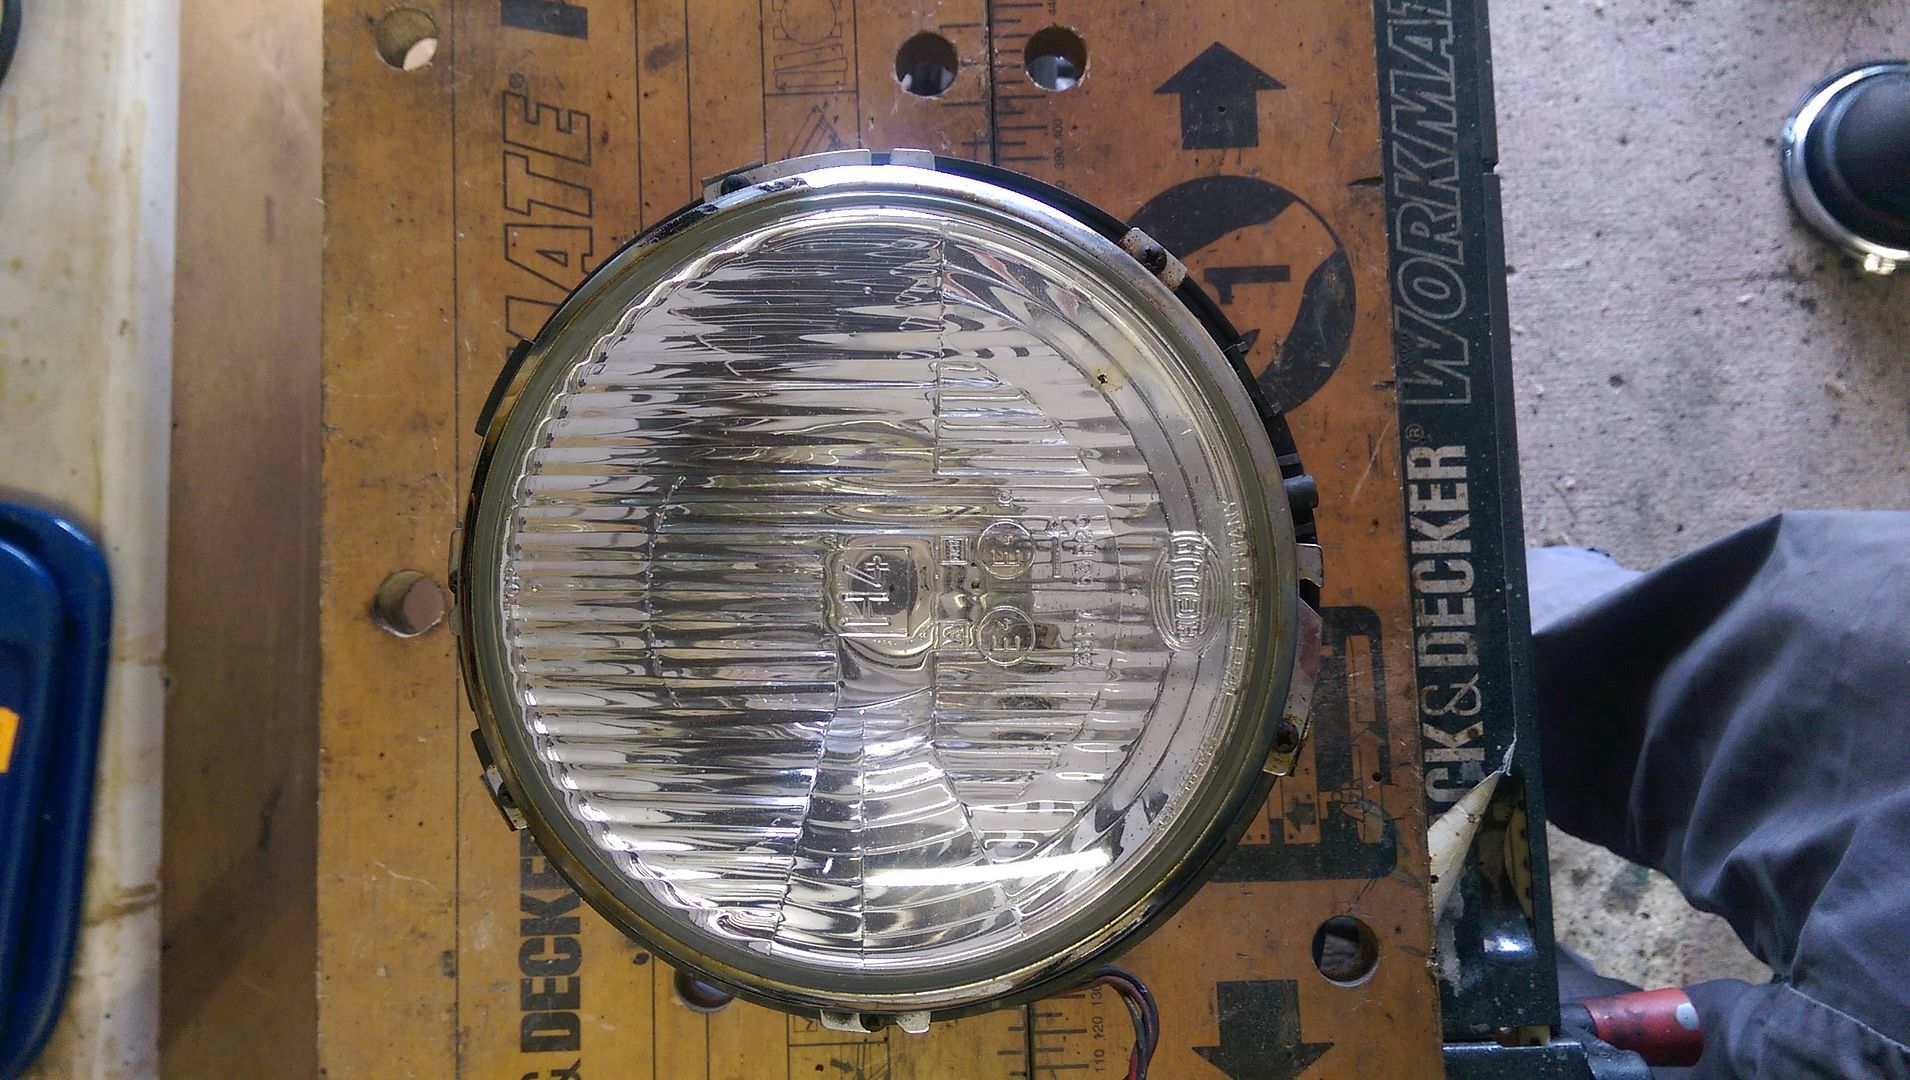
The other headlight bowl looks like it has previously been replaced with a plastic one and the rim is salvageable:


IMAG6193_zps3trlmcuz.jpg


I'll get some pictures later.


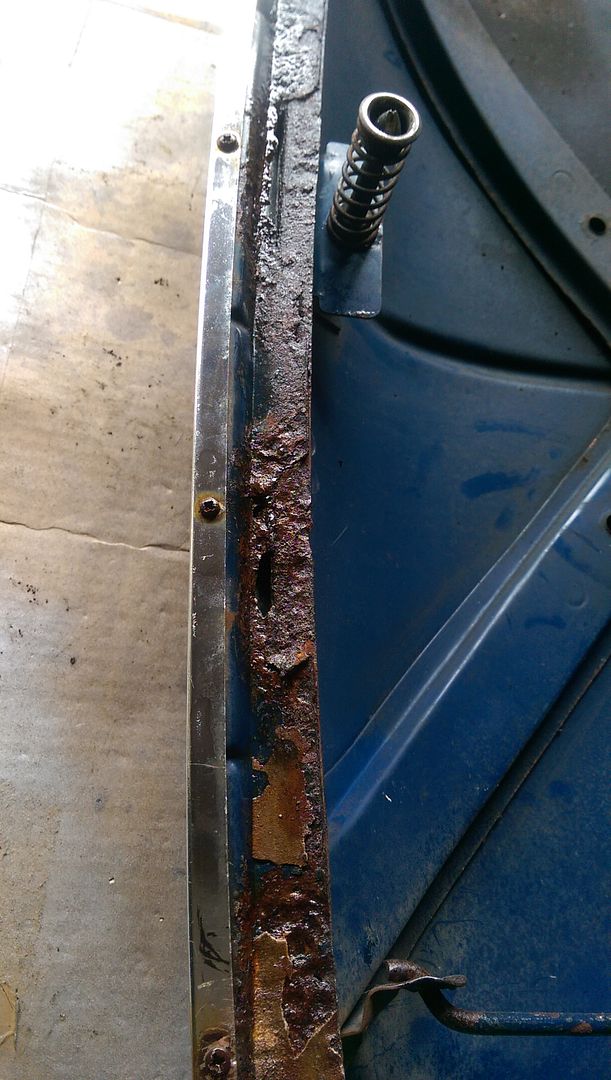
I then had a better look at the bonnet. I already knew that the front lip needed some attention:


IMAG6185_zps6h6hhrav.jpg


With a little WD40 on the screws the chrome lip came off easily and looks fine. the lip however looks quite tricky to make :-(


#537 ryan22_lgm

ryan22_lgm

    One Carb Or Two?

  • Traders
  • PipPipPipPipPipPipPip
  • 1,478 posts
  • Location: woolacombe, north devon
  • Local Club: north devon mini register

Posted 19 September 2016 - 05:47 PM

Just read through mate can't believe your progress ! Epic !! Wish I was this far with mine. My brother saw you the other week working away on it. He was parked near in his plumbing van! Can't wait to see you driving around I will be super jelous!

#538 1984mini25

1984mini25

    Crazy About Mini's

  • Members
  • PipPipPipPipPipPipPipPipPipPip
  • 8,784 posts
  • Location: -

Posted 19 September 2016 - 07:40 PM


I then had a better look at the bonnet. I already knew that the front lip needed some attention:


IMAG6185_zps6h6hhrav.jpg


With a little WD40 on the screws the chrome lip came off easily and looks fine. the lip however looks quite tricky to make :-(


i's not impossible to make a new lip using noting more than a pair of pliers, a hammer and bit of ingenuity. Welding it, without too much warpage is the tricky bit. http://www.theminifo...o-20/?p=3406039


#539 jamesquintin

jamesquintin

    One Carb Or Two?

  • TMF+ Member
  • PipPipPipPipPipPipPip
  • 1,017 posts
  • Location: Harlow

Posted 19 September 2016 - 09:47 PM

I'm sure it was just this one:

http://minispares.co...ls/EAM7724.aspx


#540 JonnyAlpha

JonnyAlpha

    Up Into Fourth

  • Members
  • PipPipPipPipPipPipPipPipPip
  • 2,748 posts
  • Location: North Devon
  • Local Club: Exmoor Minis

Posted 20 September 2016 - 10:58 AM

I'm sure it was just this one:

http://minispares.co...ls/EAM7724.aspx


That's the rear side window seal - I ordered it yesterday. The others are the door seals aren't they?


P.S. Did I see an advert of yours selling some Weller Wheels? Do you still have them? If so are they 10 x 5 and what is stamped on them? I need a couple.


1 user(s) are reading this topic

0 members, 1 guests, 0 anonymous users