The tank is correct but it would have been a good idea to fit the bootlid support cable first as it's quite fiddly to do it after.
I love the colour contrast of your subframes and fuel tank

Posted 01 September 2016 - 07:56 PM
The tank is correct but it would have been a good idea to fit the bootlid support cable first as it's quite fiddly to do it after.
I love the colour contrast of your subframes and fuel tank
Posted 01 September 2016 - 07:58 PM
Actually looking again, the tank may need to go forward a bit?
Posted 01 September 2016 - 08:09 PM
The tank is correct but it would have been a good idea to fit the bootlid support cable first as it's quite fiddly to do it after.
I love the colour contrast of your subframes and fuel tank
It's not secured yet Ben so I can move it and fit the bolt and cable.
Posted 01 September 2016 - 09:11 PM
I test fitted my tank the other day and did the same as your pic, Luckily I have a few minis to look at ![]() . the seam of the tank should go past the cable bracket, mine was hitting on the 2 metal cable tags attached to the rear bulkhead so maybe thats whats happened to yours.
. the seam of the tank should go past the cable bracket, mine was hitting on the 2 metal cable tags attached to the rear bulkhead so maybe thats whats happened to yours.
looks good with the cream tank though.
Posted 02 September 2016 - 08:24 AM
I test fitted my tank the other day and did the same as your pic, Luckily I have a few minis to look at
. the seam of the tank should go past the cable bracket, mine was hitting on the 2 metal cable tags attached to the rear bulkhead so maybe thats whats happened to yours.
looks good with the cream tank though.
Not sure how I am going to get it past the cable bracket but i'll give it a go ![]()
I have flattened the metal tags but also forgot to bolt in the tank securing bracket - again not sure how I am going to get the tank in with the bracket / strap attached to the rear seat without bending and cracking the paint ![]()
Posted 02 September 2016 - 09:59 PM
I really do like the colour scheme on this car ![]()
Posted 03 September 2016 - 08:19 AM
I really do like the colour scheme on this car
Thanks - a lot of people walking past my garage have said the same. I spotted the colour scheme at Beaulie a few years ago and decided then that I wanted it.
I think its an older Mini Colour scheme (60's - 70s).
Even if it's not I still like it.
Almond Green (GN37) and Old English White (WT03).
Posted 03 September 2016 - 08:34 AM
Mmm, I going to have trouble with this tank!!
First I spent 1/2 hour fitting the fuel hose only to realise that I had put the wrong end up through the boot floor!! Now it will definitely not go past the Boot Cable bracket fitting without some serious modification!!
Tried with it in front - not good!!
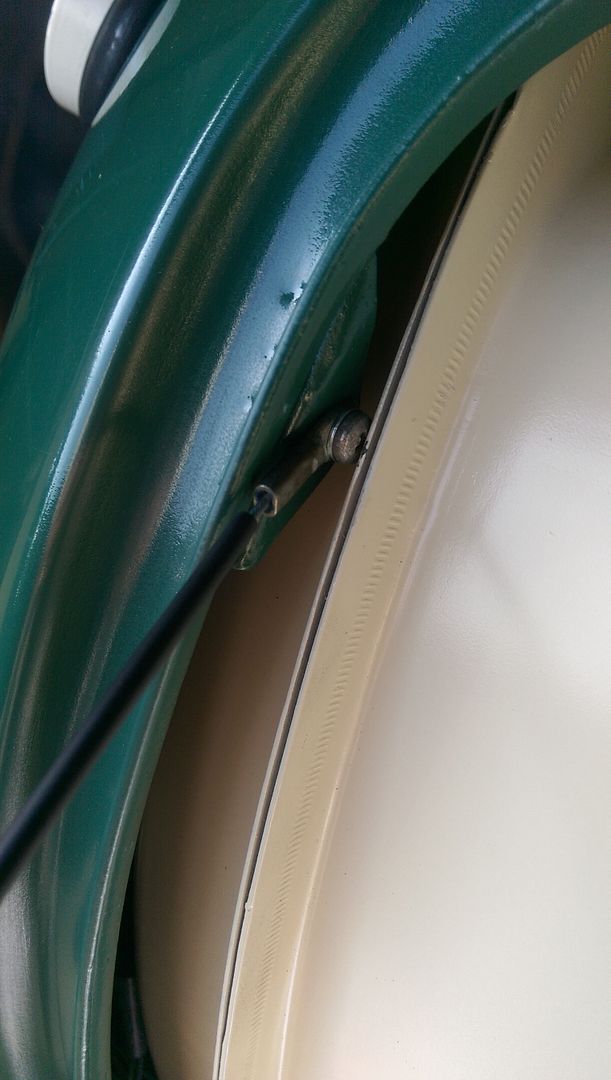
Then I took the cable and rubber seal off from the hole where the fuel tank exist the car body and tried to see how far it would go back.
Even with the neck of the fuel tank flush with the neck hole the front seam is still not going to move past the boot cable bracket support:
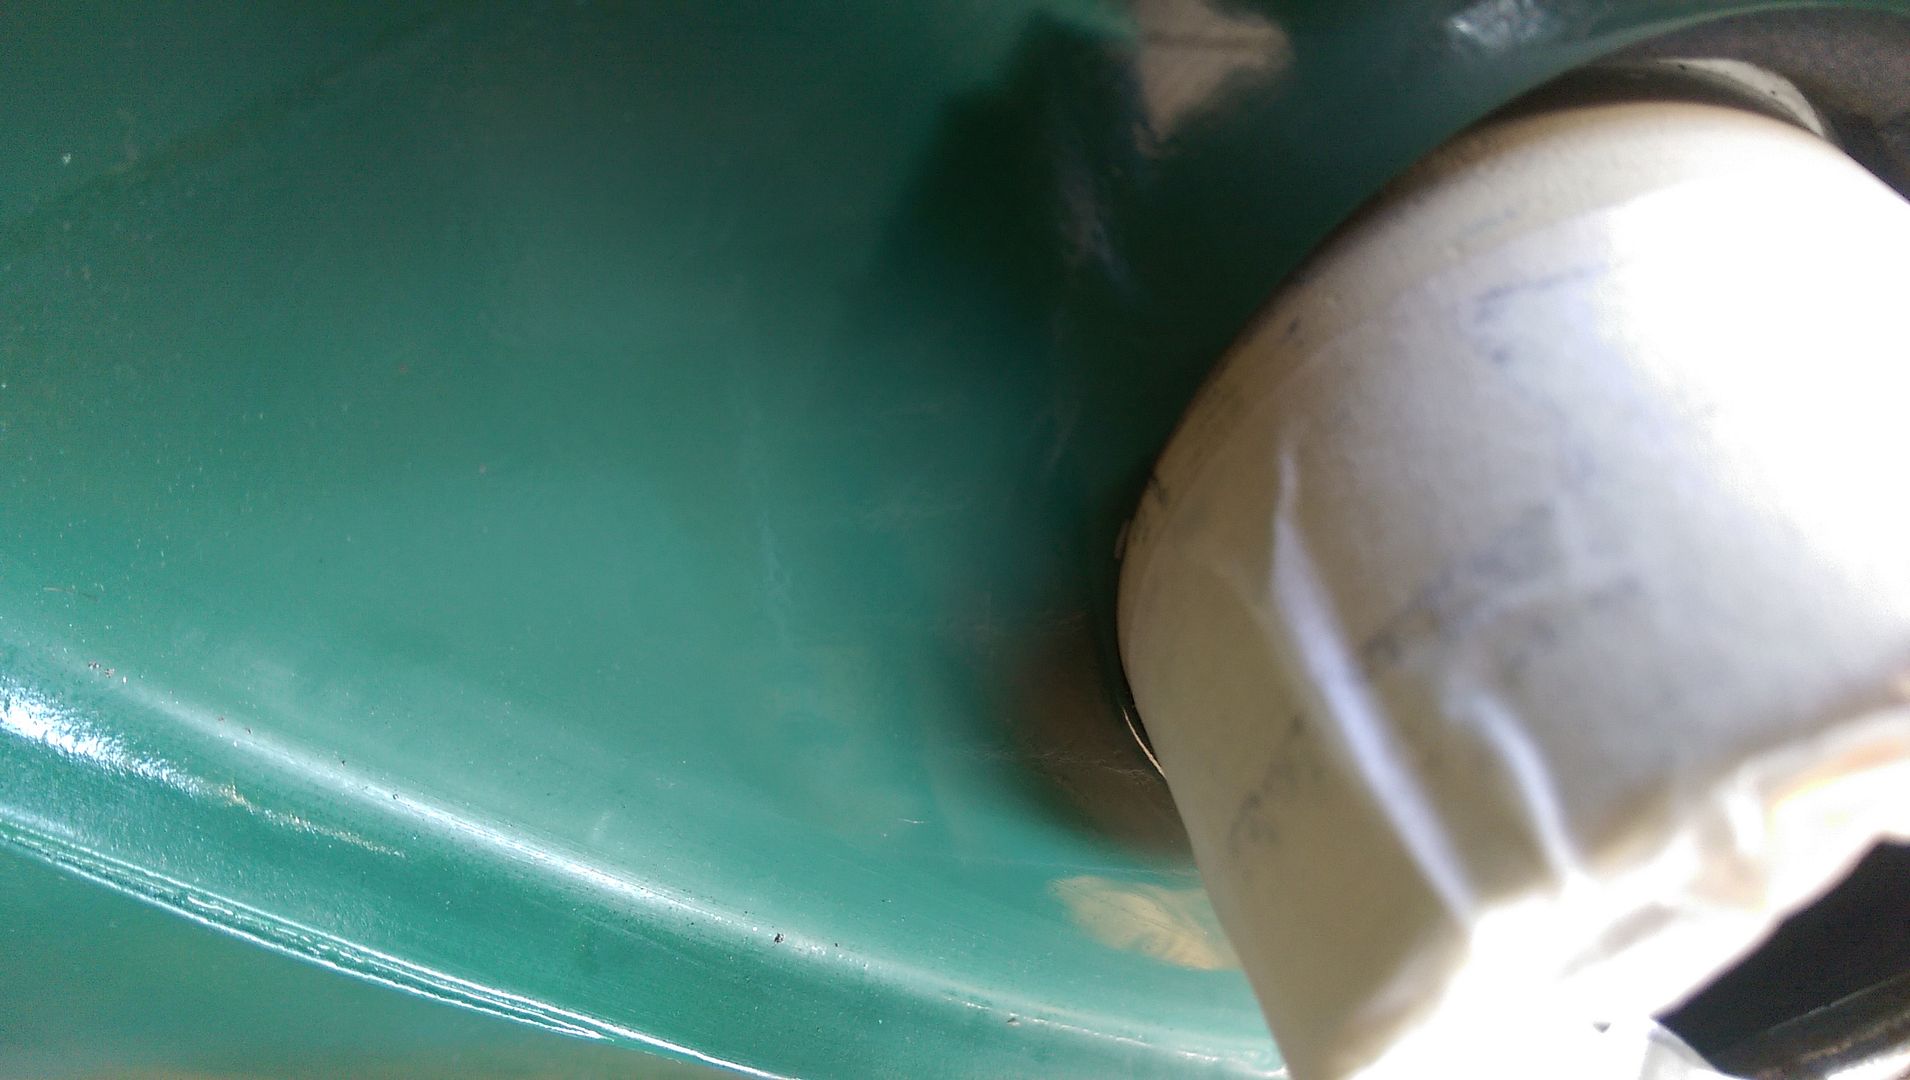
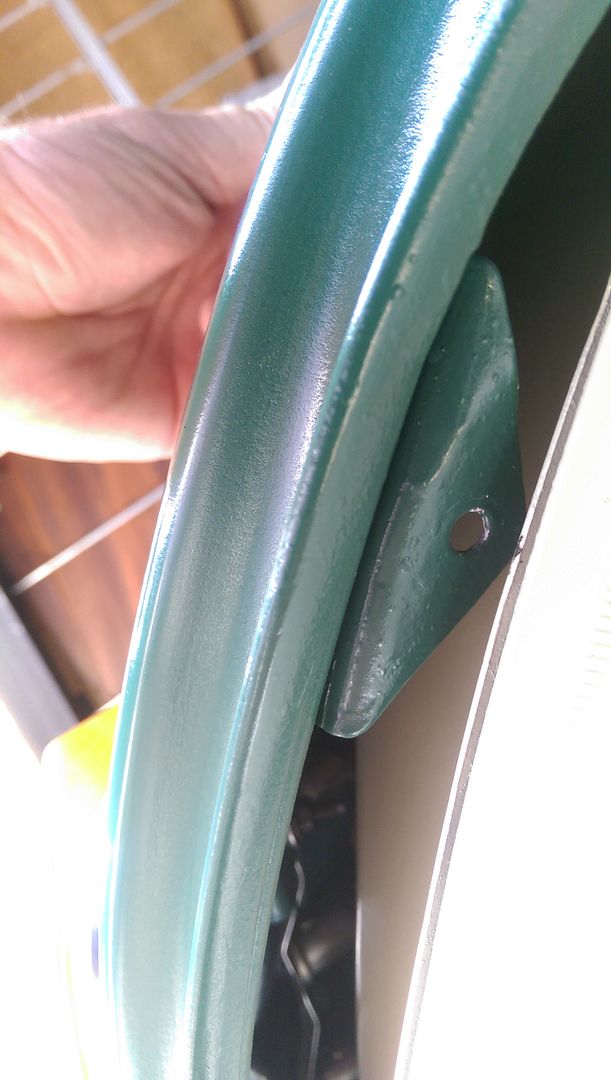
It doesn't look much in the pic above but its about 5mm?
The bracket looks like it may have been knocked out of line so I could try straightening it and even shaving the tip of it off. Damm shame after doing all the paintwork!!
But even so with the foam neck support around the neck of the tank it does not seem that it is going to go much further left and even with the intended modifications it may not fit behind the bracket?
Posted 03 September 2016 - 12:54 PM
With a bit of modification I managed to get my tank in. The problem is I have had to bend the boot lid cable bracket out of shape ![]()
How to fit a 7.5 Gallon Fuel Tank (How I did it)
1. Put a sheet or something inside the boot and over the lower boot lip to avoid scratching your paintwork.
2. Fit the fuel tank bracket to the rear of the back seat and cover it with a cloth to avoid scratching your paint work.
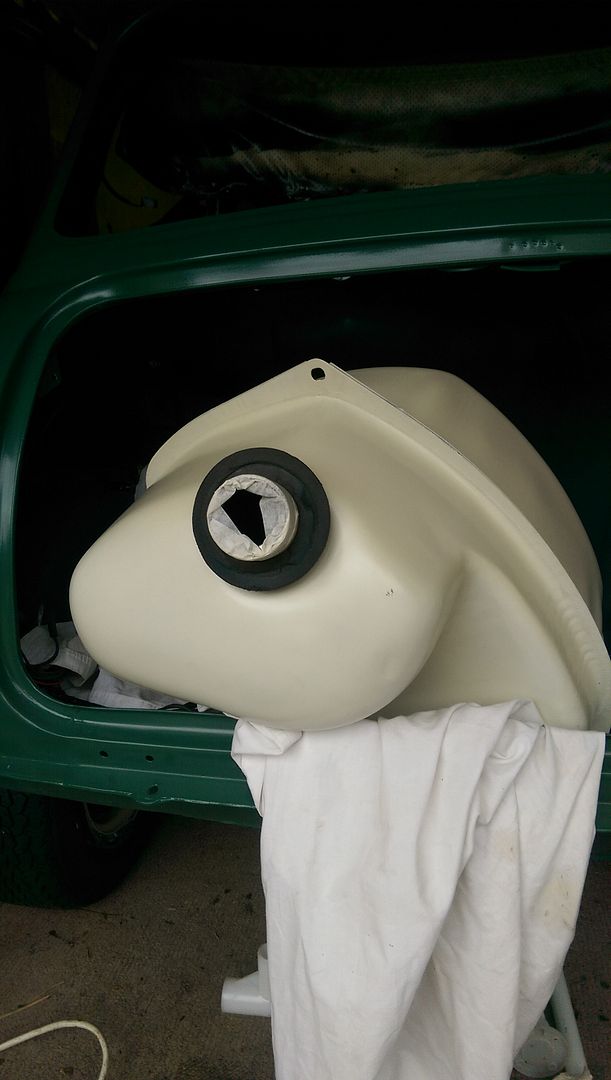
3. With the neck of the tank towards you and uppermost, Insert the large end of the tank into the boot:
4. Next spin the fuel tank around clockwise and maneuver it so that the neck goes below the book lid cable bracket:
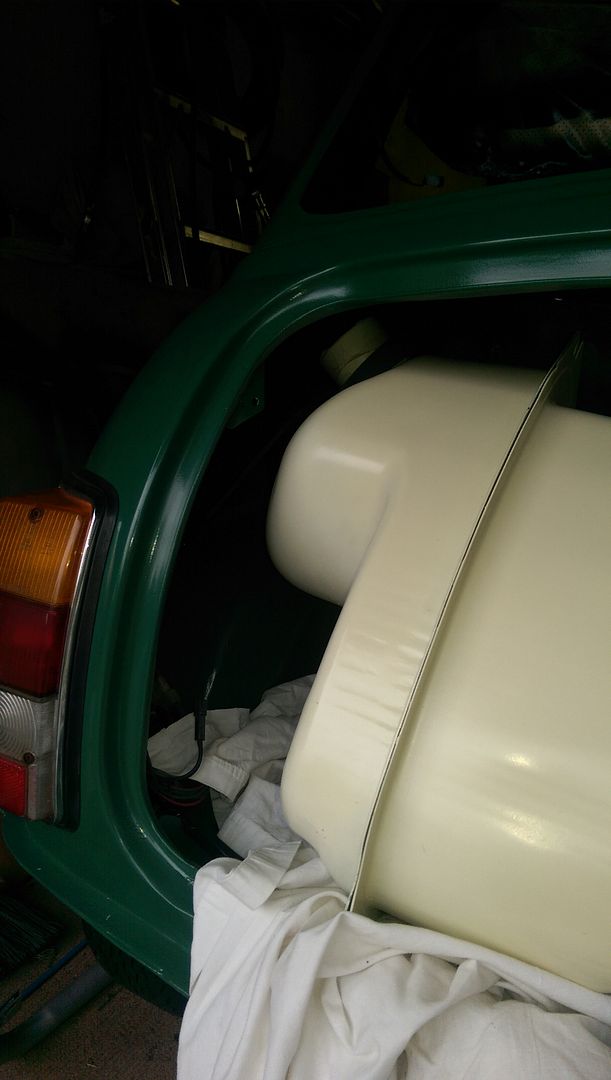
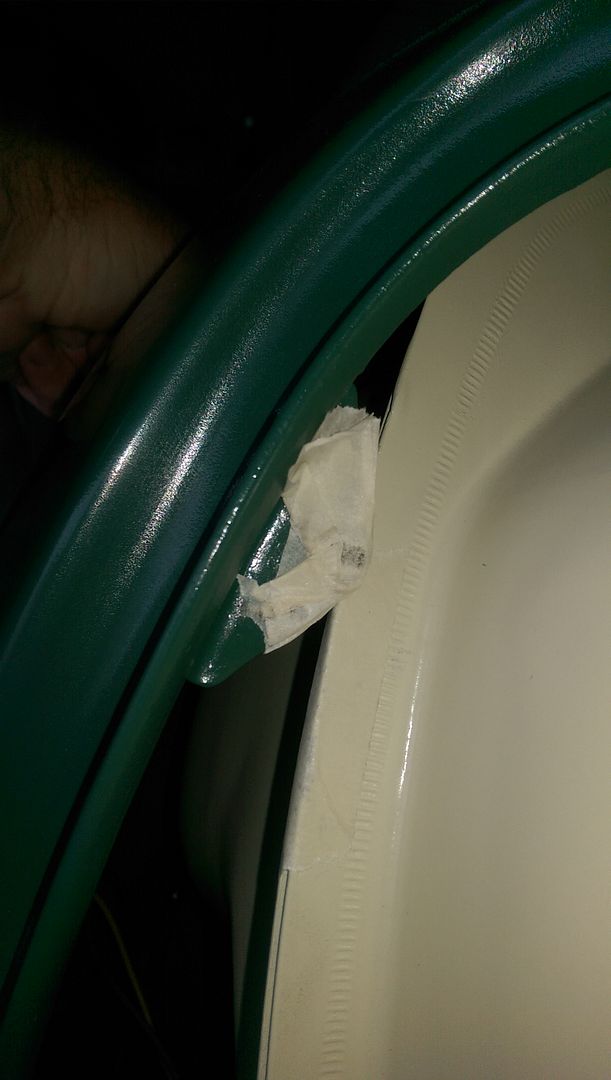
5. Put some tape over the boot lid cable bracket and then joggle the fuel tank into position with the seam behind the boot lid cable bracket:
6. Now move the fuel tank bracket into place and secure the tank using the bolt and captive nut:
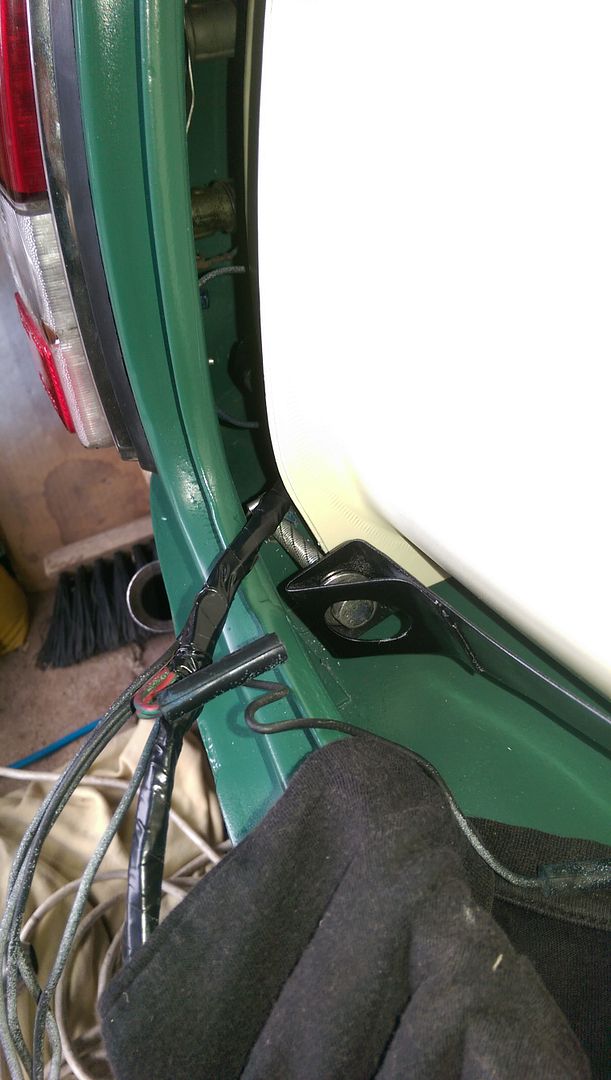
7. Your wiring loom should squeeze down between the fuel tank bracket and the rear of the boot.
8. Fit your fuel cap.
9. Fit a grommet into the forward hole in the boot floor:
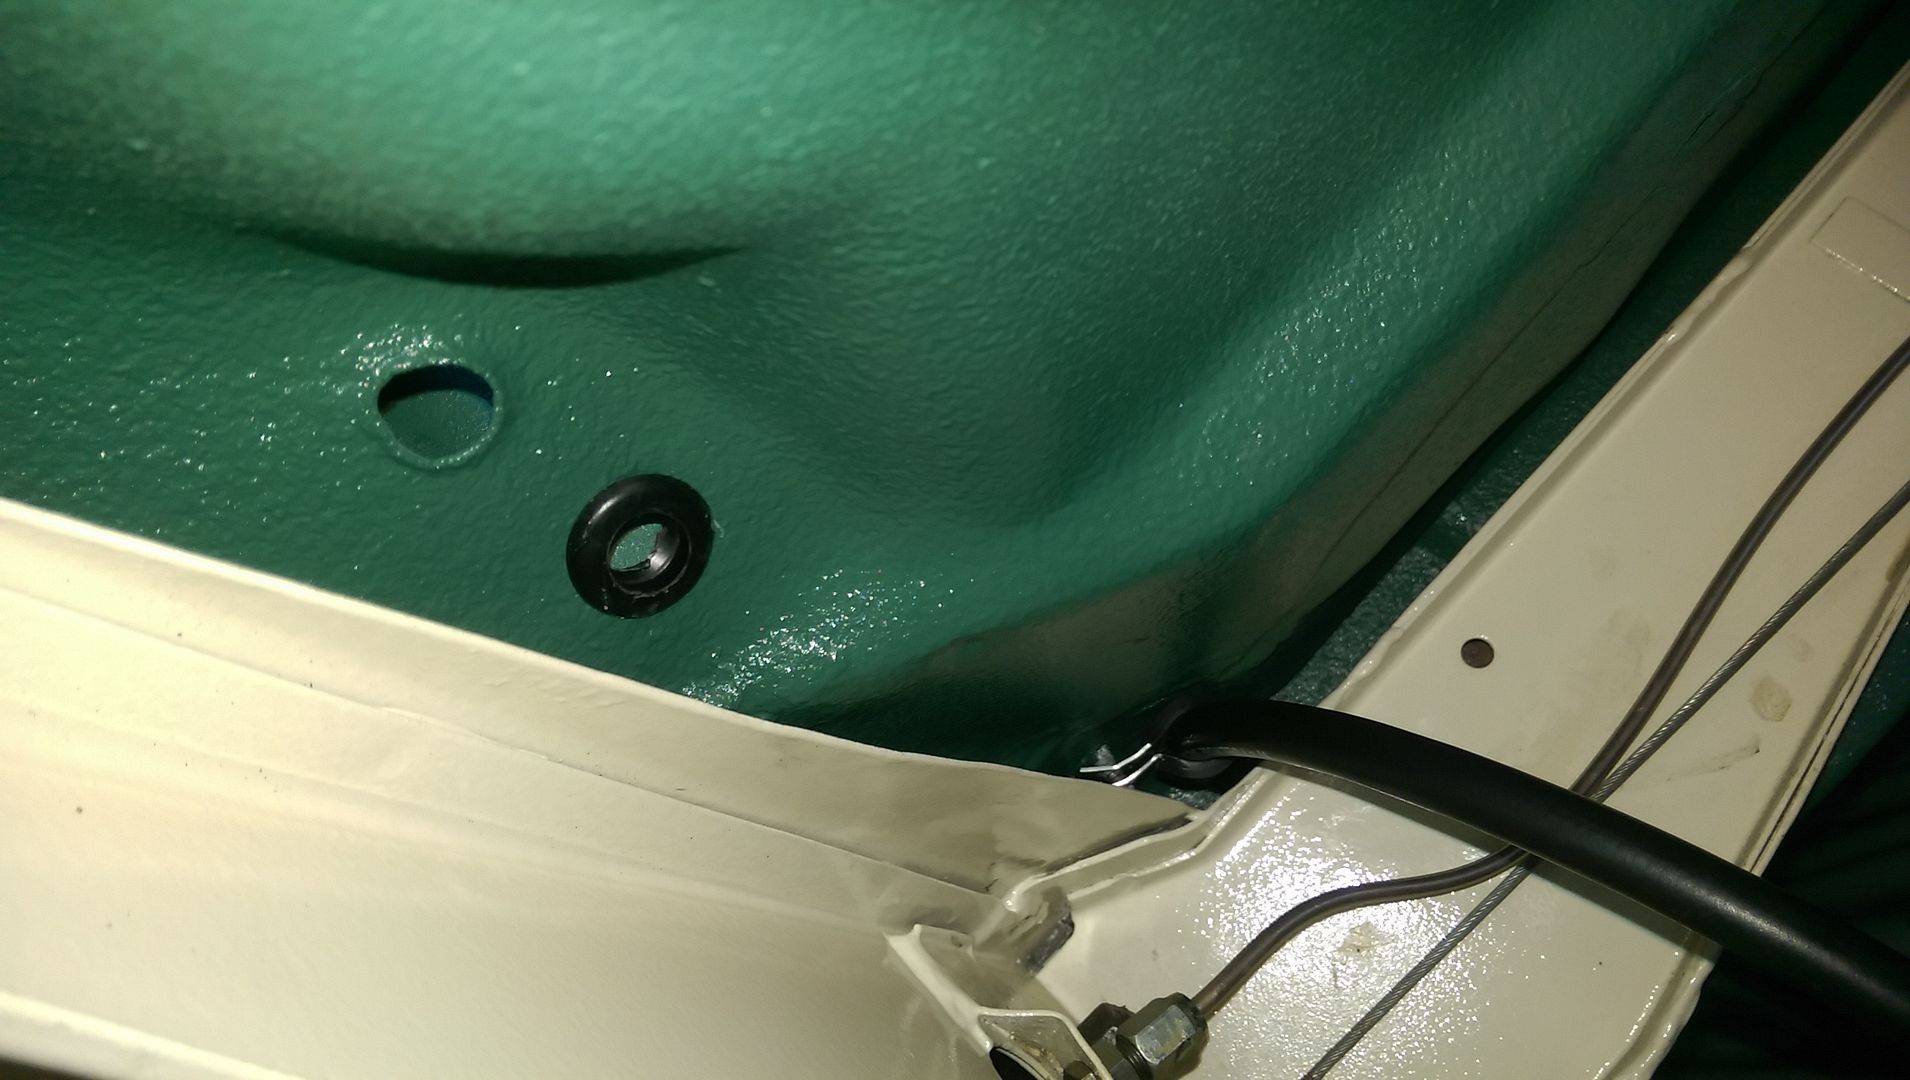
10. With the fuel hose running up and over the Subframe, push the fuel hose up through the grommet and into the boot:
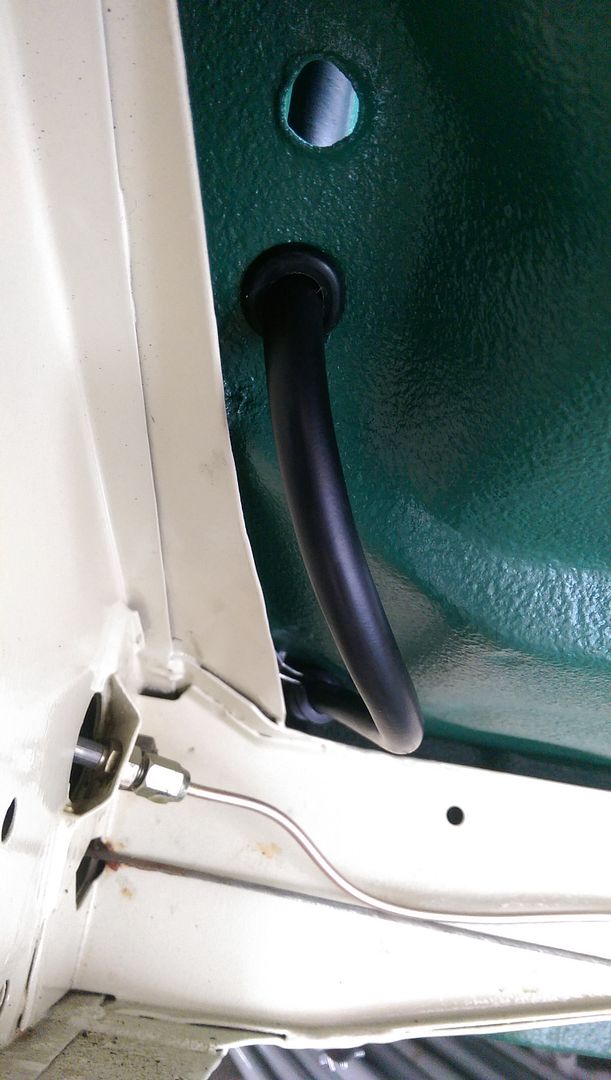
11. Put a fuel hose clamp over the hose (check that it will be the correct way around for doing it up before fitting).
12. Soak the end of the hose in boiling hot water to make it pliable and slip it over the exit pipe on the fuel tank.
13. Do up the clamp to hold the hose in position (Using a screwdriver with a socket attachment is easiest).
14. Place a hose clamp over the other end of the fuel hose and attach it to the steel fuel line (Depending on the size of hose you may or may not need to heat up the end with boiling water again).
15. Do up the hose clamp:
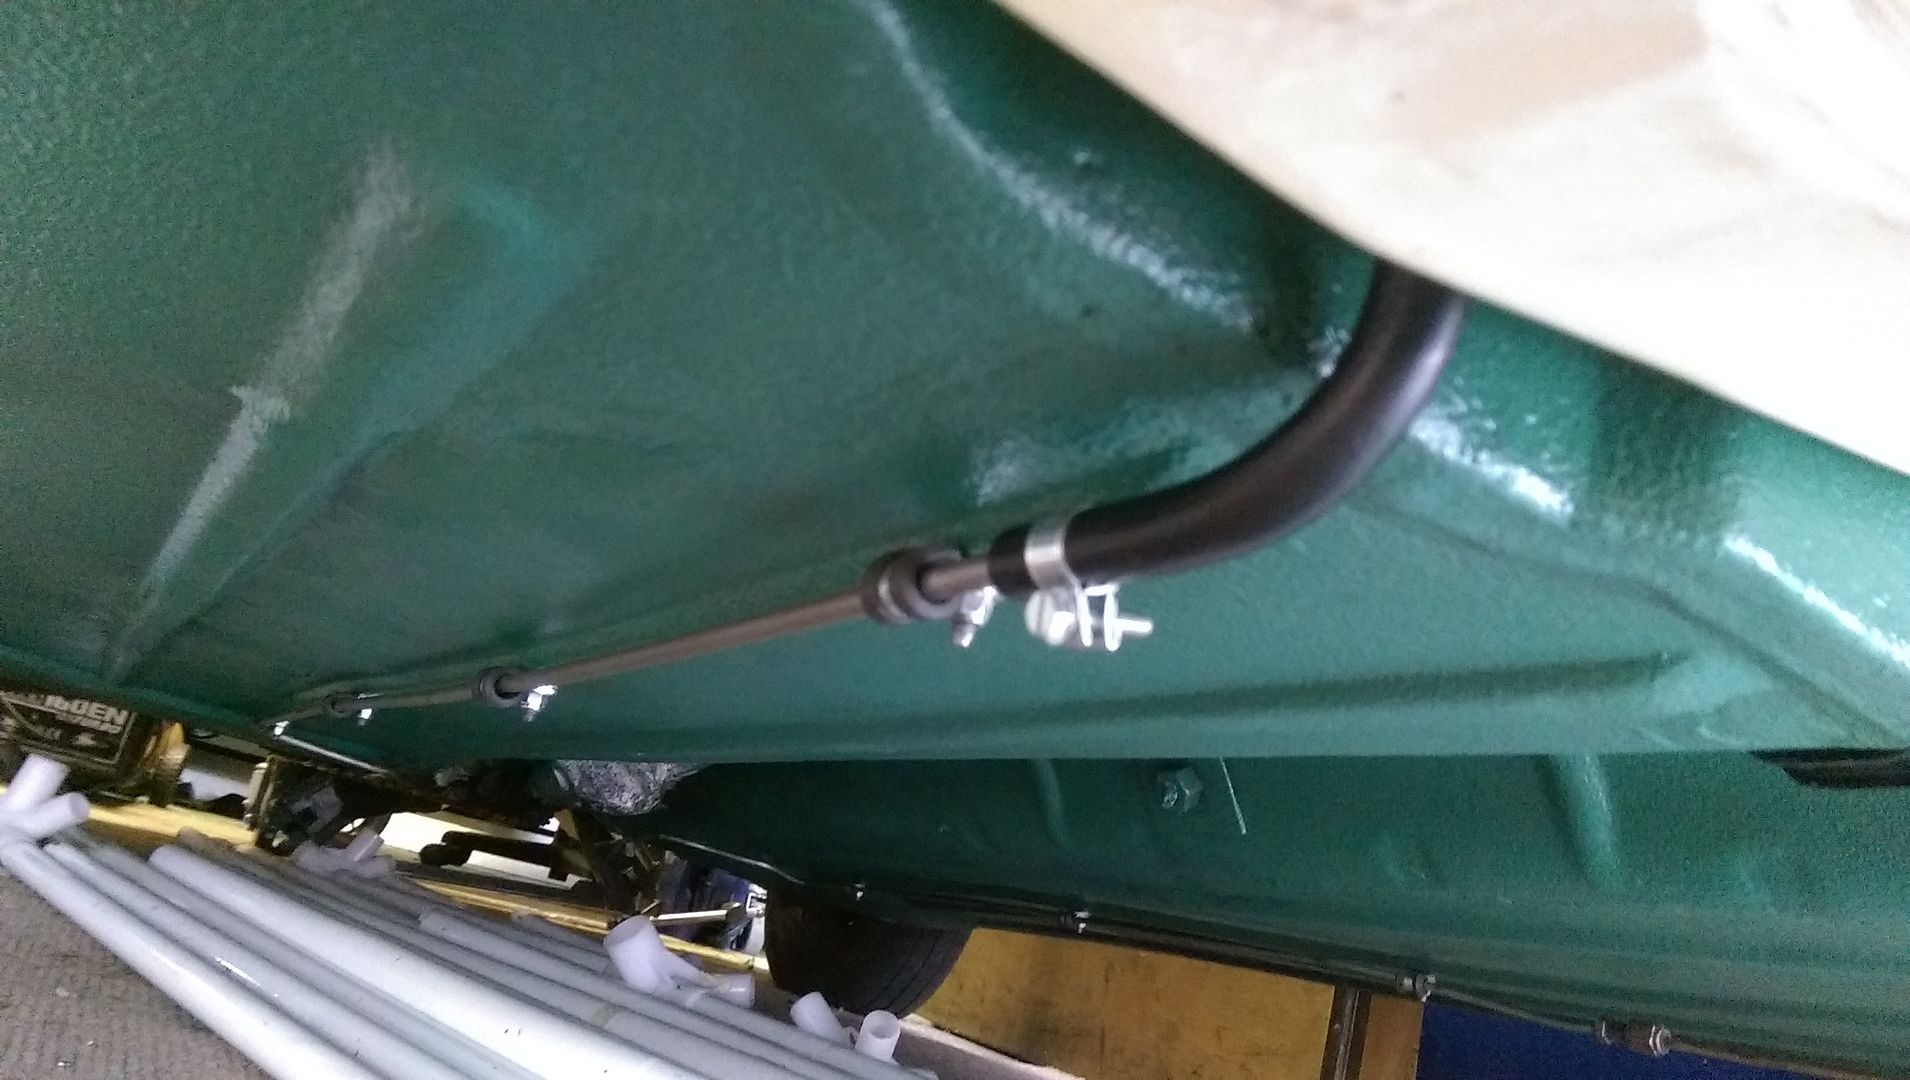
16. Have a cuppa and admire your work:

17. Job done ![]()
Addendum:
I forgot to attach the Fuel Tank Overflow Pipe. This attached to the pipe at the top of the tank, runs down the side and out through the second hole in the boot floor. This will also need a grommet.
Here's what I was not happy with, I had to bend the boot lid cable securing bracket out of the way to get the tank in. If I bend it back I will not be able to fit a cable to this side:
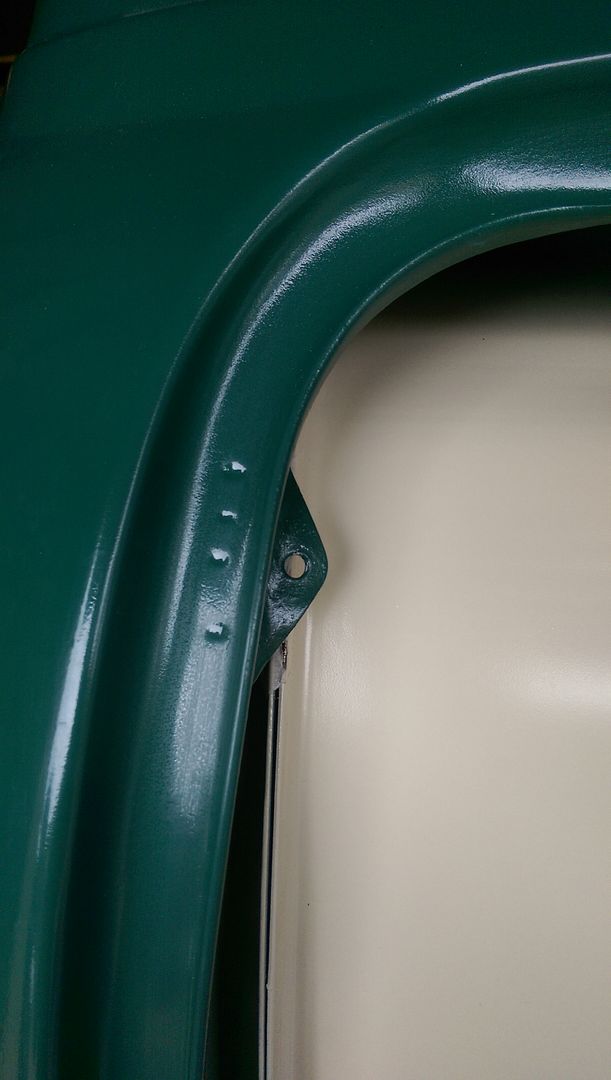
Oh well something had to go wrong somewhere, that and my buckled wheel ![]()
Edited by JonnyAlpha, 03 September 2016 - 12:57 PM.
Posted 03 September 2016 - 01:56 PM
Bit late now but i was looking through some photos of Mini's that i have done and found this.

You can clearly see that the external seam of the tank is bent over to clear the bracket.
But if your way works, then sorted.
Ben
Posted 03 September 2016 - 01:59 PM
Thanks Ben - that was one of my thoughts only wish I had done it before painting!!! Was not sure about cracking the tank though?
Posted 11 September 2016 - 04:47 PM
OK so an opportunity today to do a little work. Decided to try and fit the rear window.
It needed a clean up as it had been left in during the initial part of the re-furb (angle grinder!!).
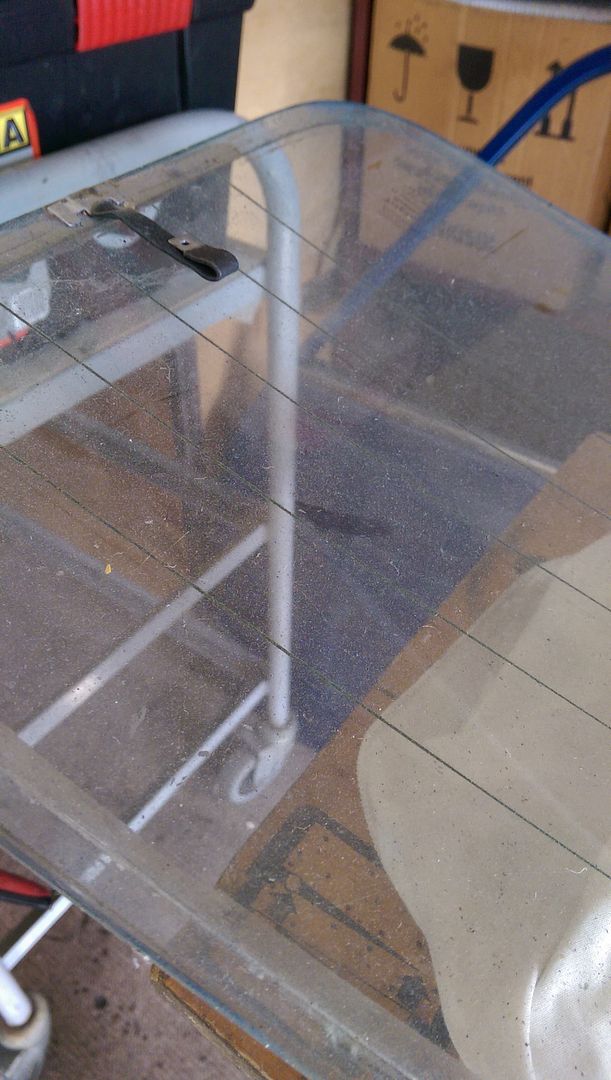
Most of the muck was dust, but I cleaned it up with a sharp stanley blade, being careful around the heated element.
Then I wiped it with Panel Wipe (to help remove the silocone sealant left on it) and then I washed it with hot soapy water and window cleaning spray.
Before the window seal was fitted I needed to get the headlining in place. As I have refurbished the old headlining there is no / little excess to pull through so I had to get clever.
I made up some small clips out of some small gauge stainless steel sheet to clamp the headlining in place.
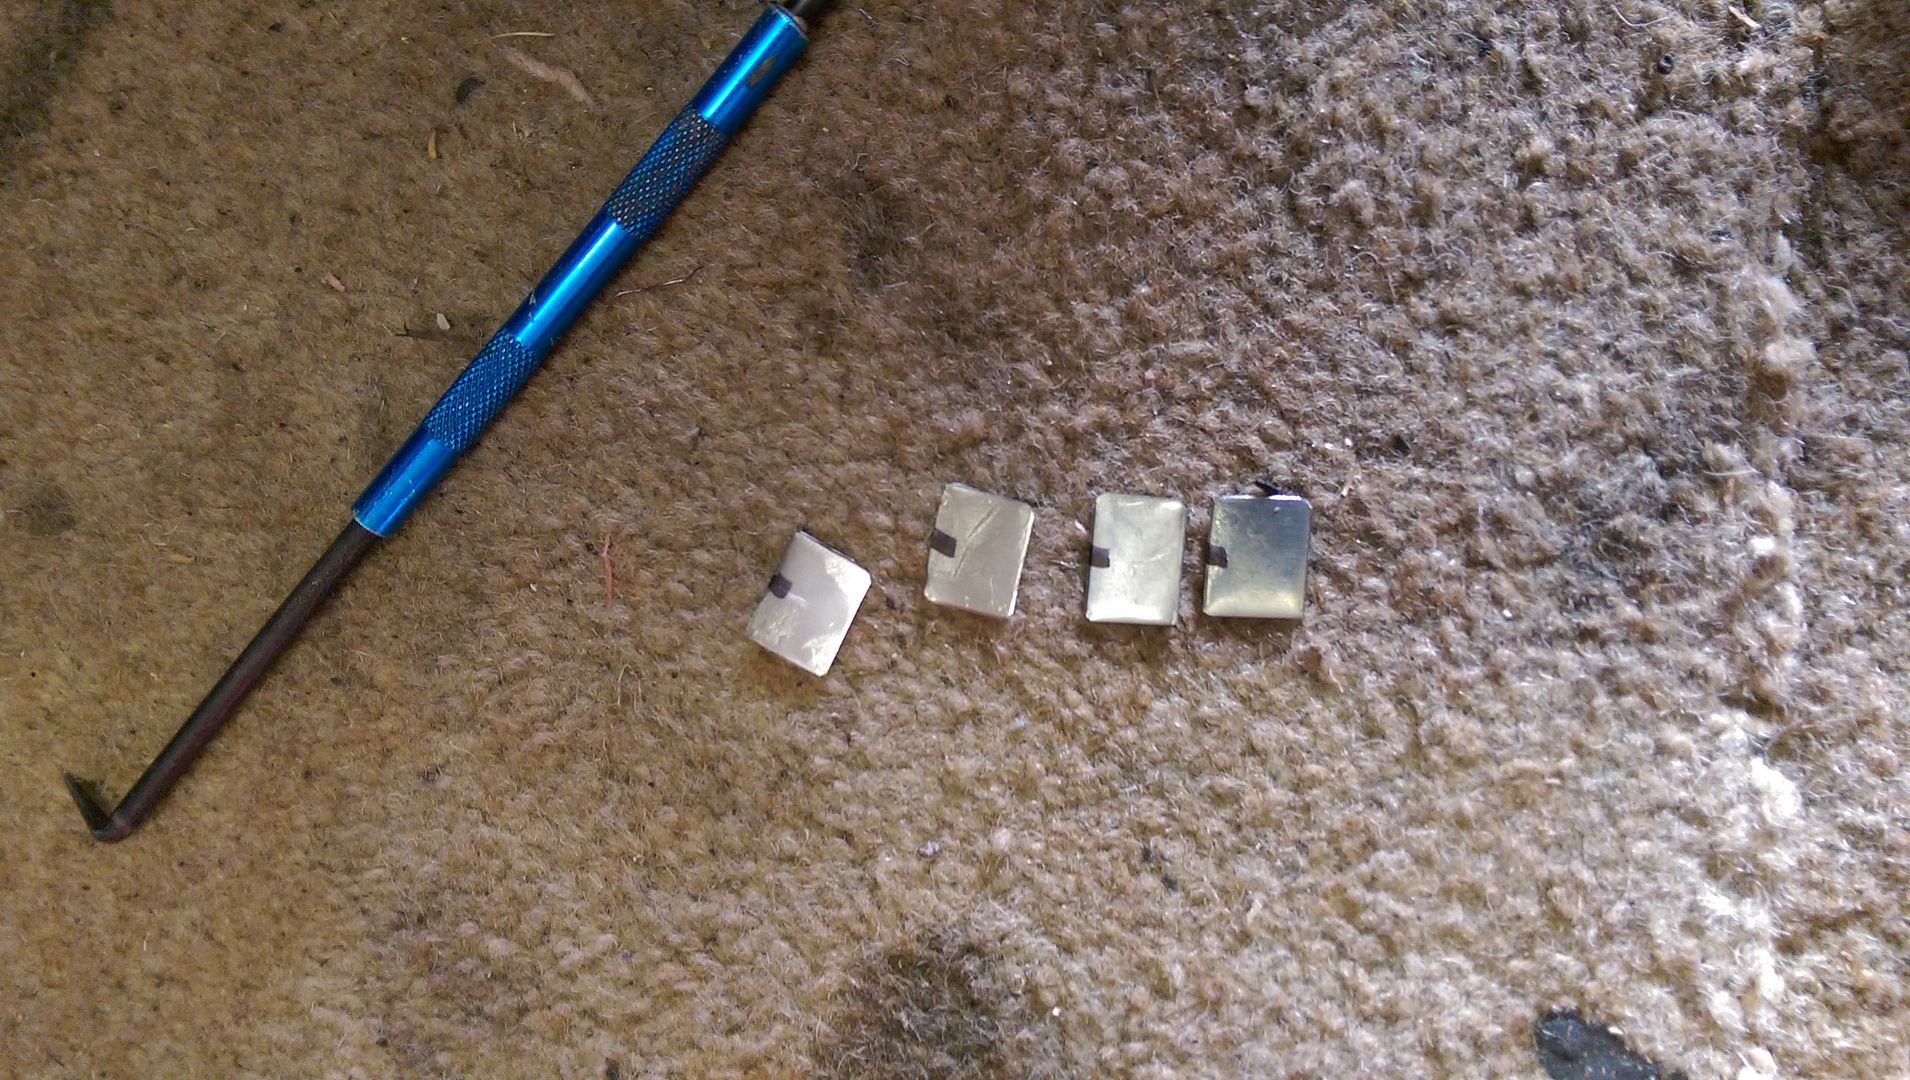
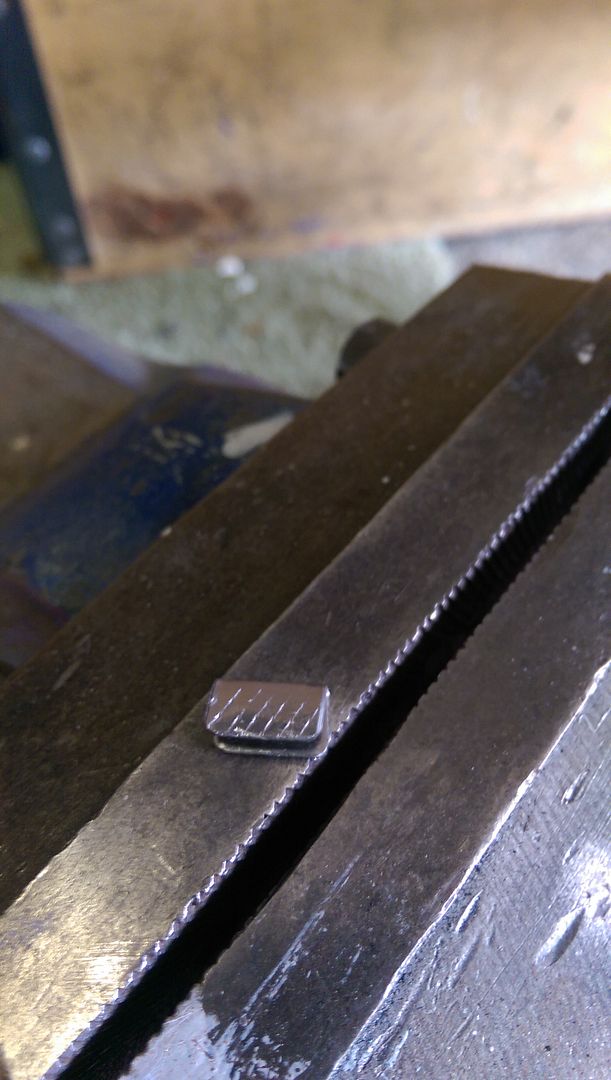
I starting at the B Post I pulled and stretched the headlining tight to get some excess at the rear.
But before pulling and clamping the headlining in place I used some contact adhesive on the lip of the headlining and the edges of the window frame.
Once it was ready I carefully stretched the headlining over the lip and secured it with some clamps.
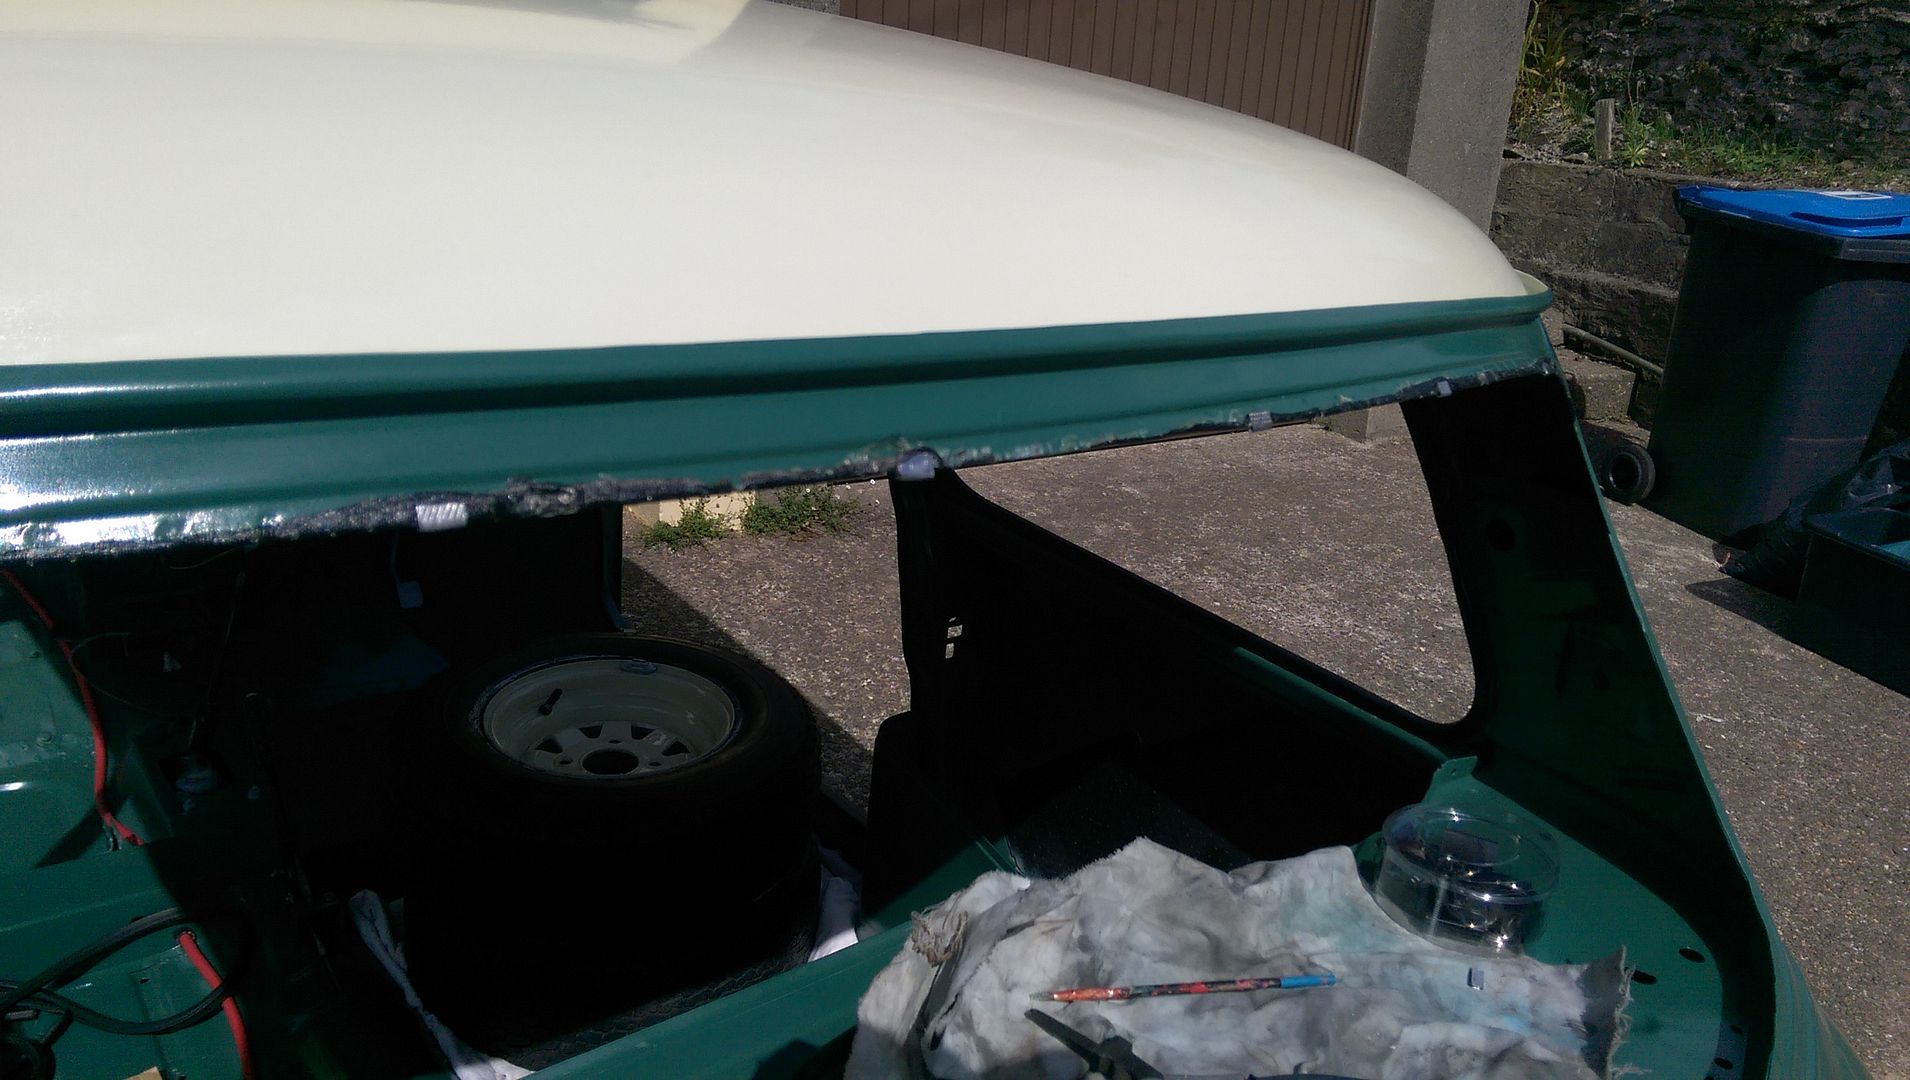
Seems to have done the trick:
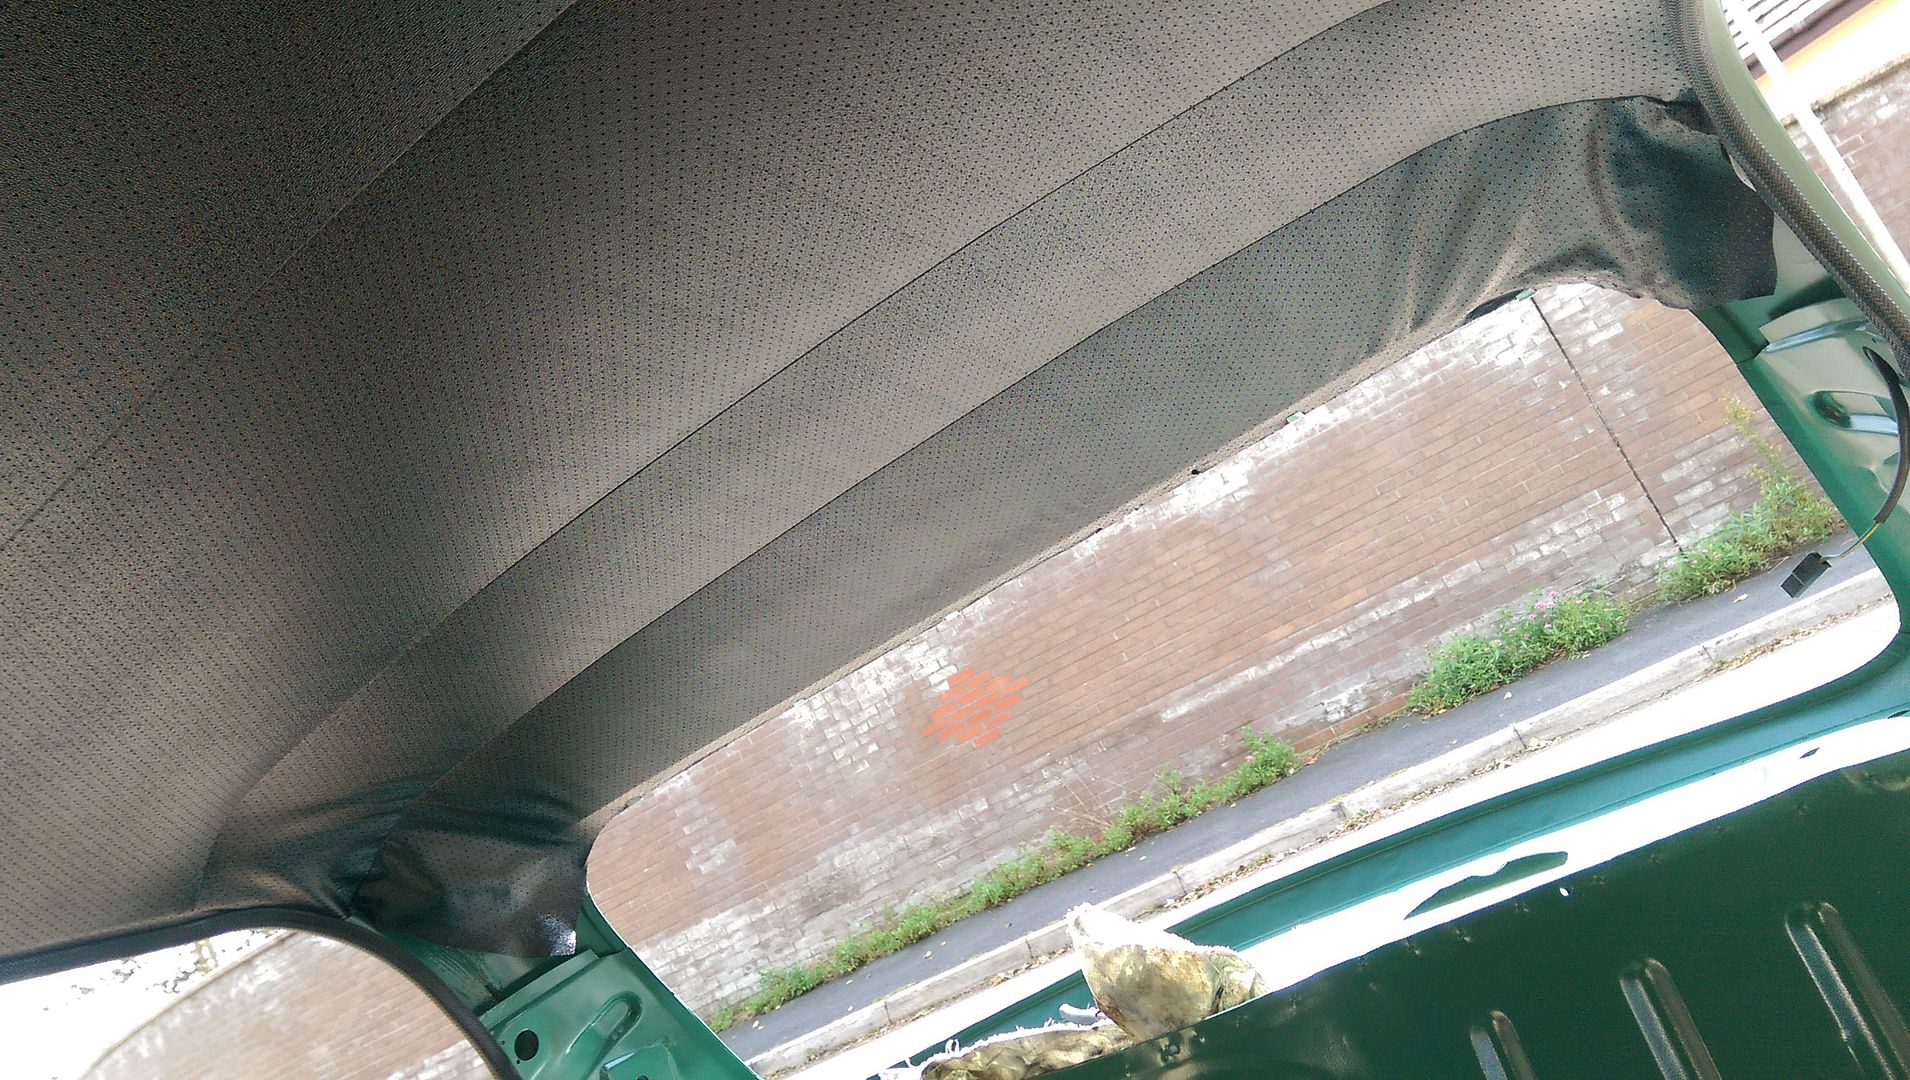
My only concern is that these clamps would affect the integrity of the window seal?
Next up the window rubber seal:
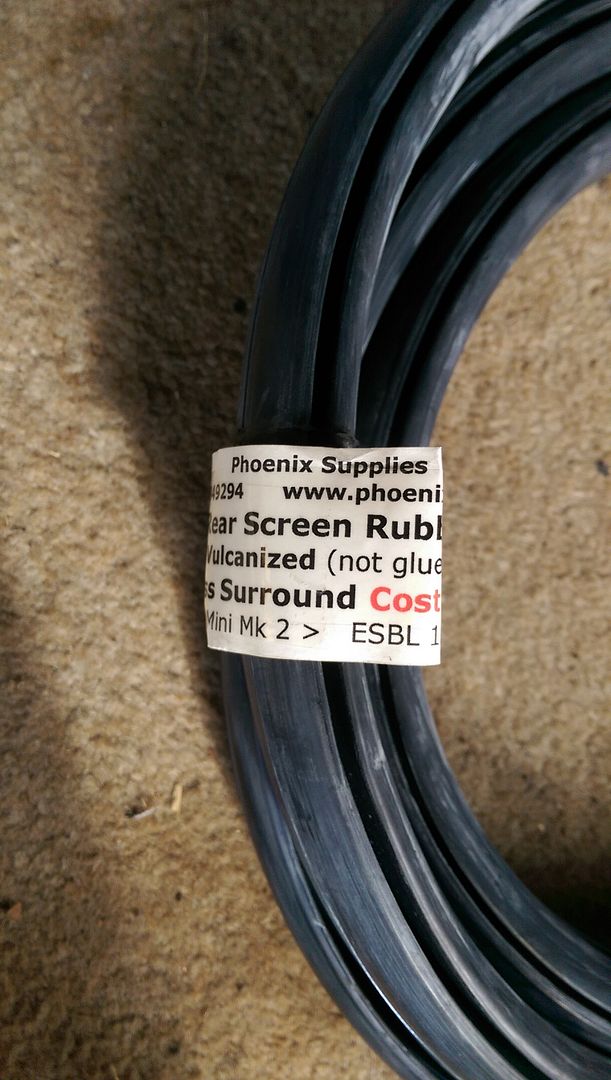
I got them from Phoenix Supplies which is on the opposite side of the M5 near Tiverton (not far from me). I picked up their leaflet at their stall at Beaulieu about two years ago and bought the seals last year. I also bought the silver fillet and fitting tool from them.
Once I worked out which way around the rubber went it was relatively easy to fit.
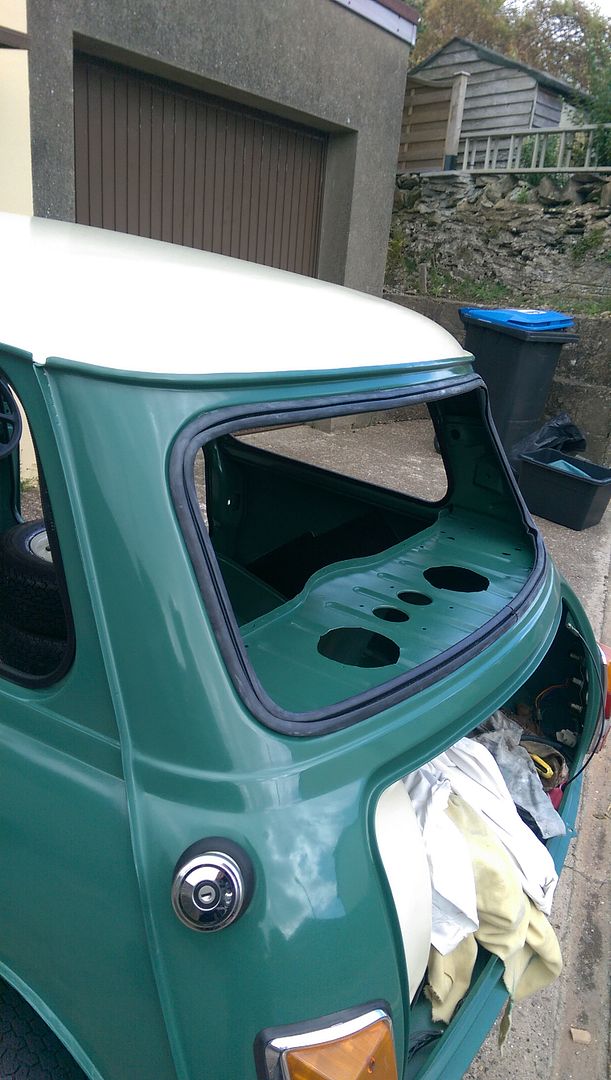
As you can see I decided to put the join (which is glued together) at the base.
Next up with the help of my daughter, a leg wax applying spatula, some soap and water and a brush, along with some elbow grease we got it in:
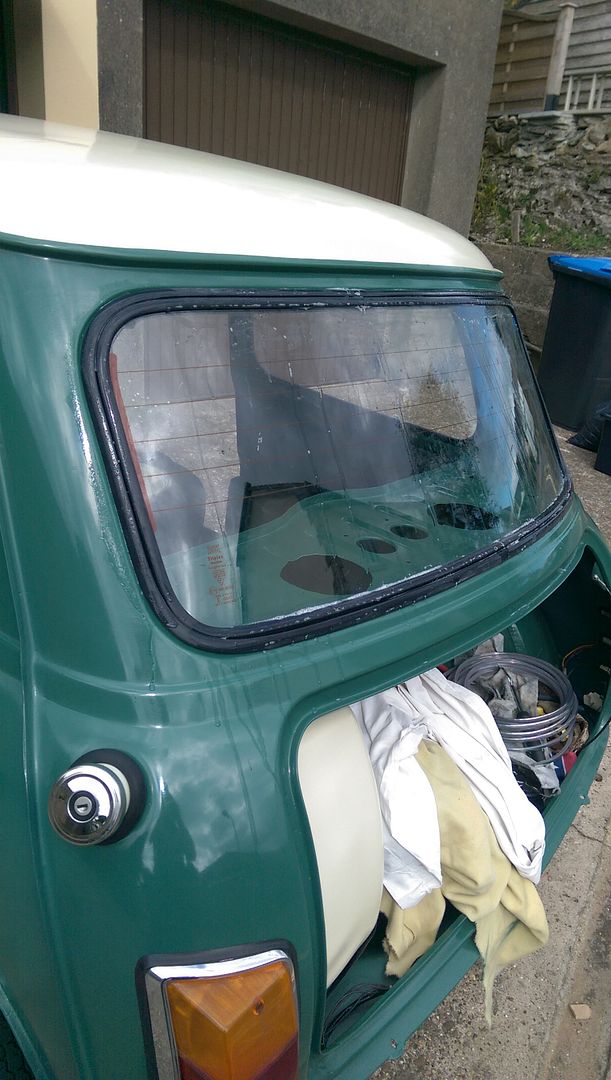
Next using some more soap (more the better) and the fillet tool in went the fillet. I placed the join at the top, opposite to the join in the rubber seal.
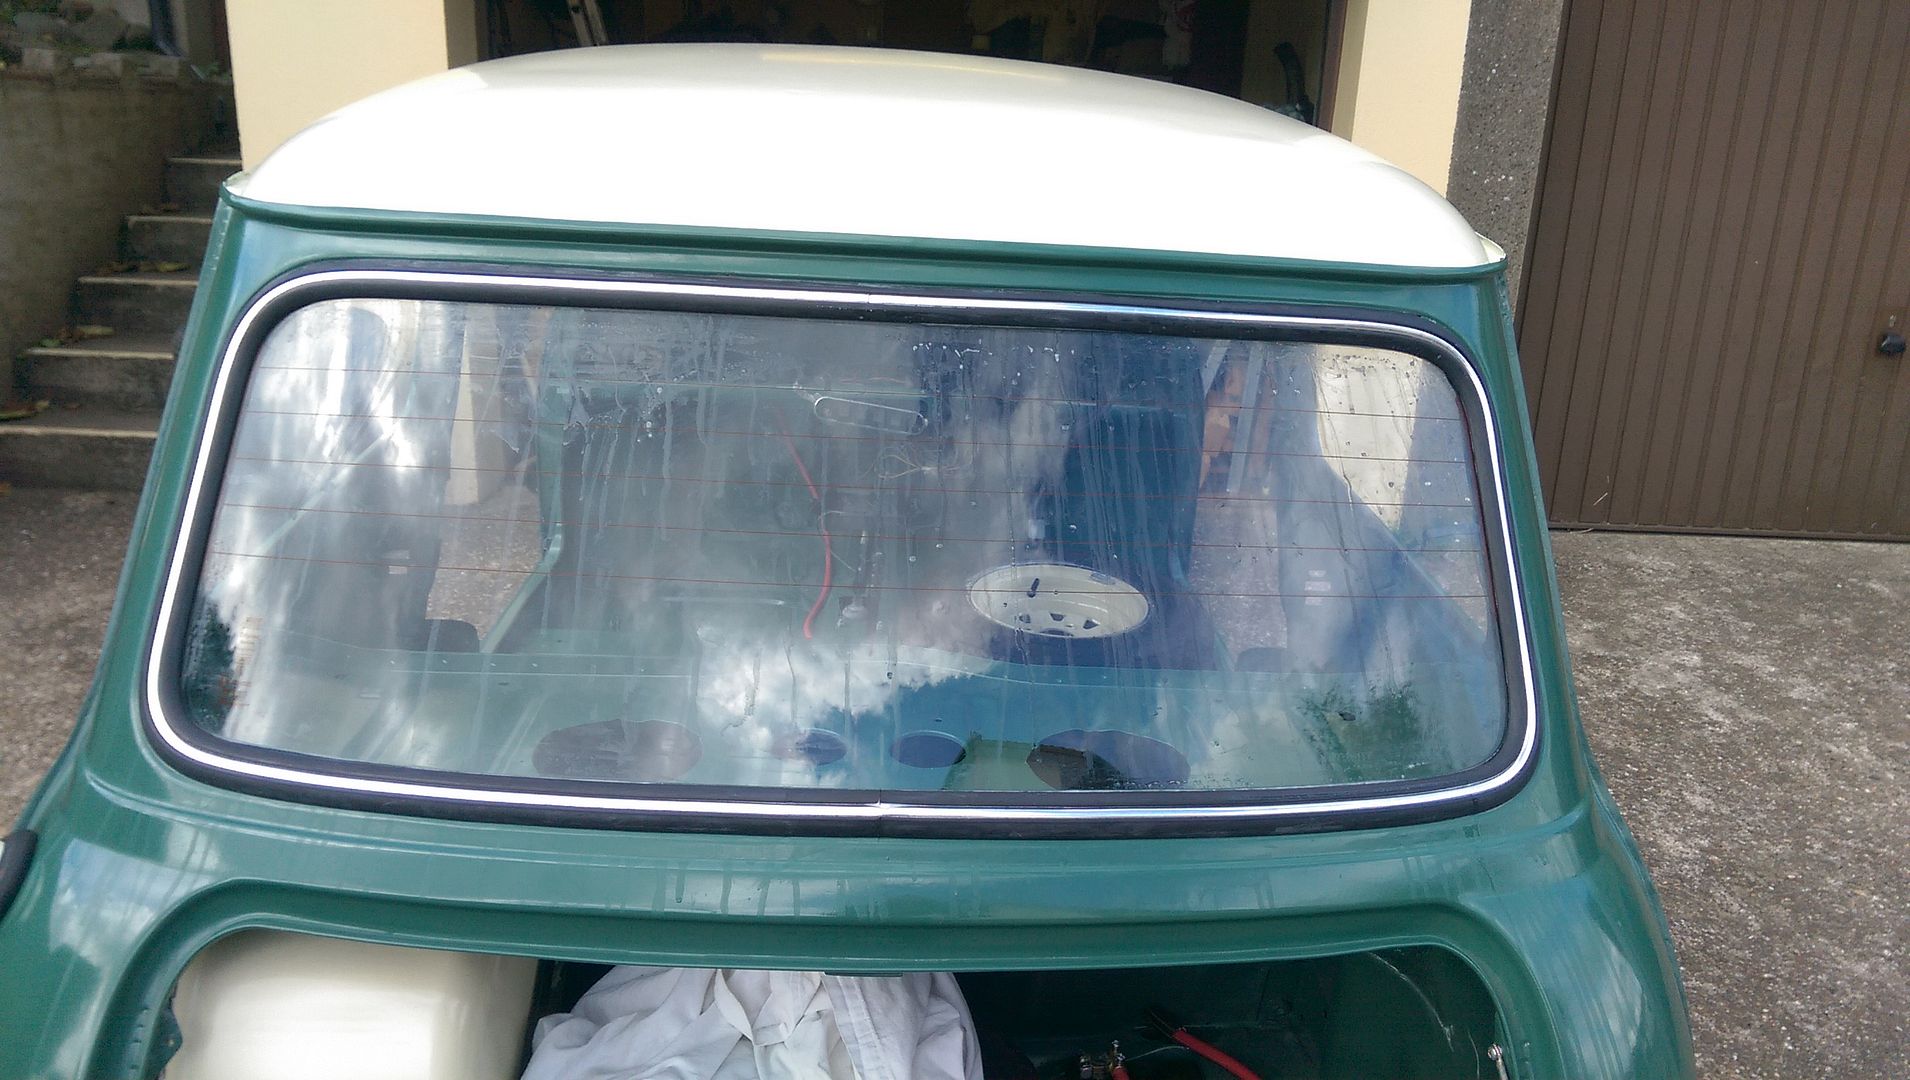
I think I have a little clip that fits over it somewhere?
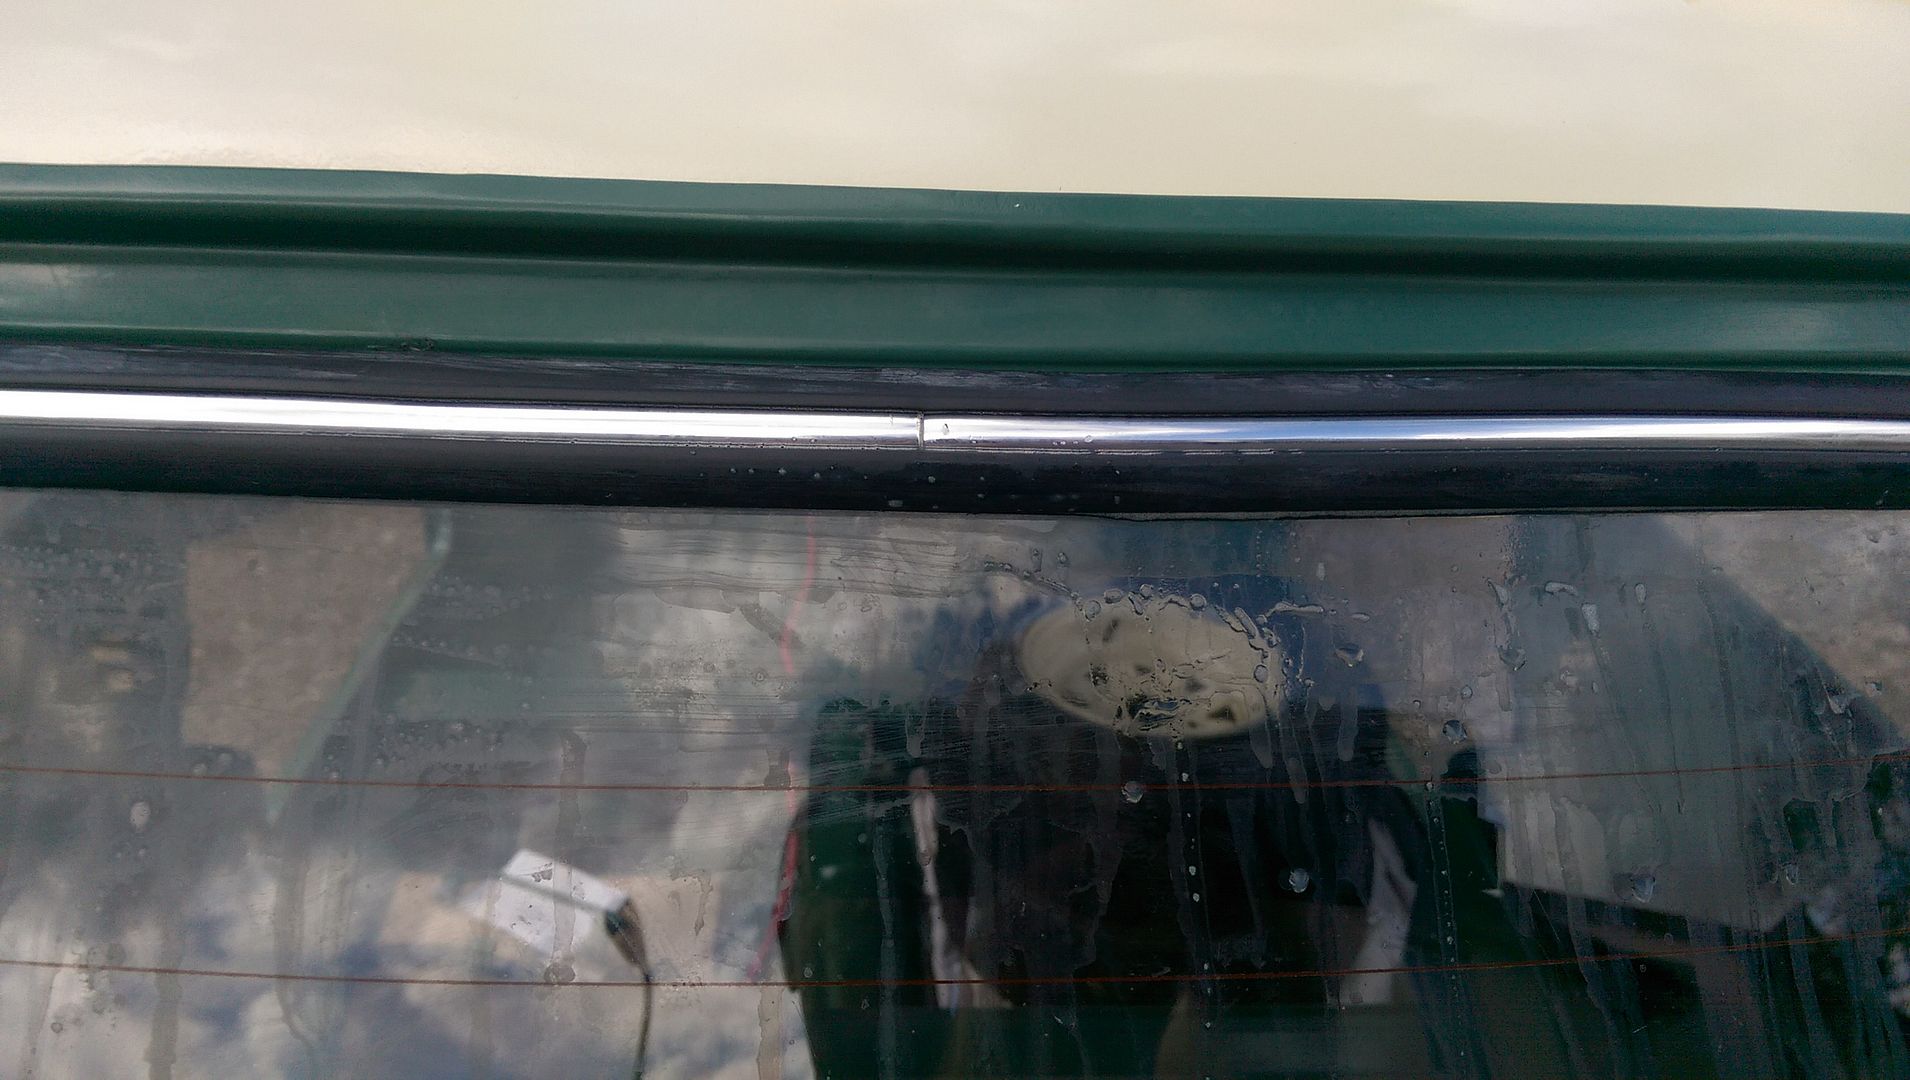
And then a clean up with clean water:
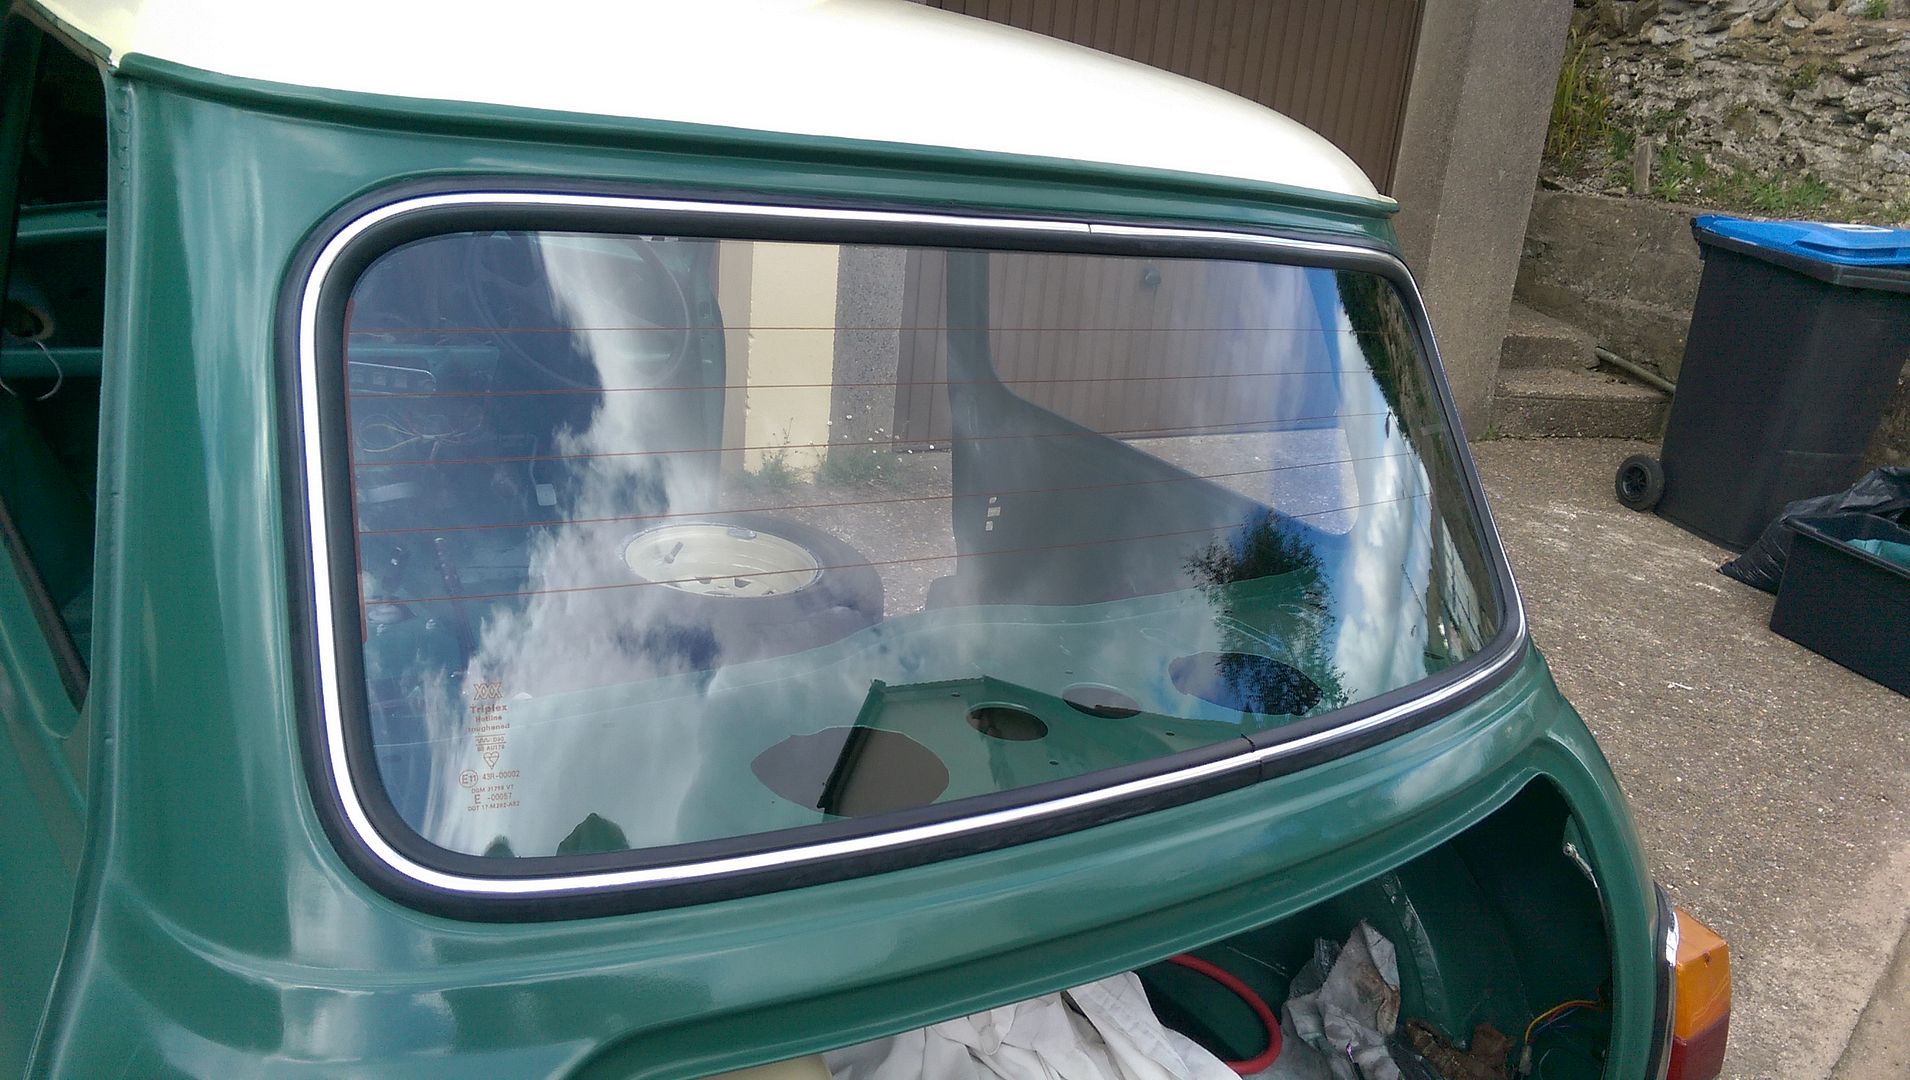
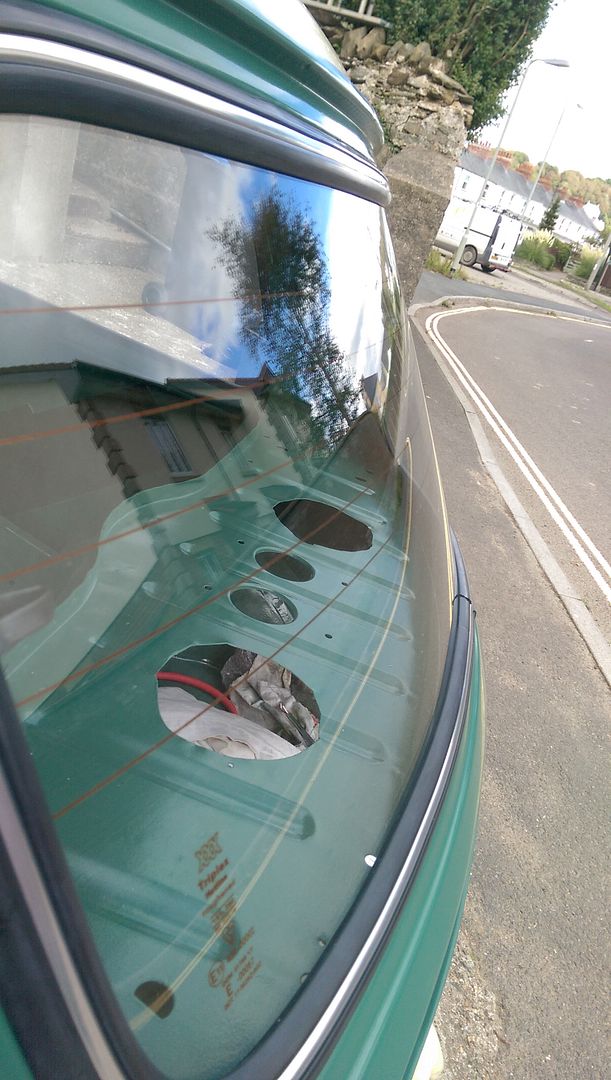
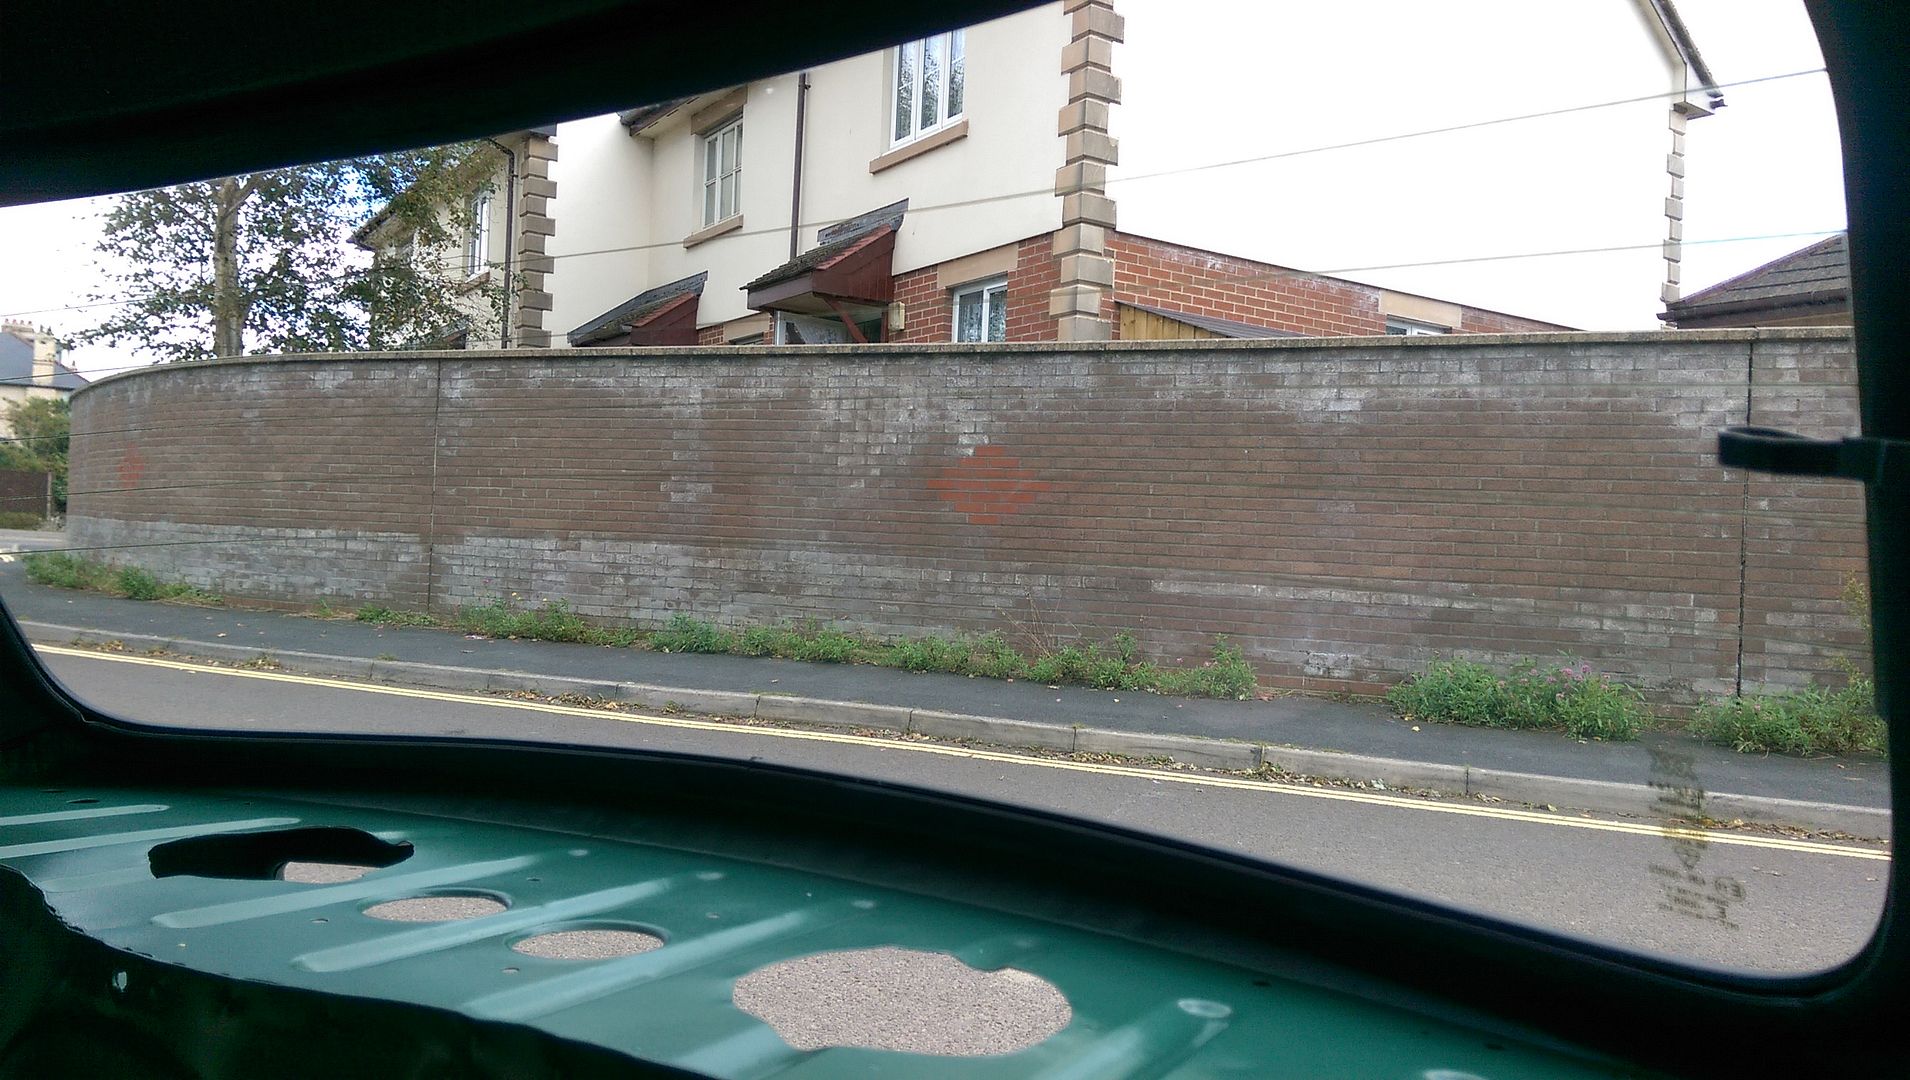
Not visible in the photos but there is still some pitting on the screen - hopefully this will be OK for the MOT ?
Posted 12 September 2016 - 08:55 PM
More time on the Mini today so I decided I wanted to get her started up however before doing so I had to complete several task.
Before I fitted the Exhaust Pipe I need to clean the back of the Engine as it was covered in clag and here is a lesson learnt.
TOP TIP
BEFORE YOU START A RESTORATION CLEAN THE WHOLE DAMM CAR INSIDE AND OUT TOP AND UNDERNEATH WITH A JET WASHER TO REMOVE ALL THE CRUD. OTHERWISE YOU WILL GET CRUD ON YOUR NEW PAINT JOB!!!
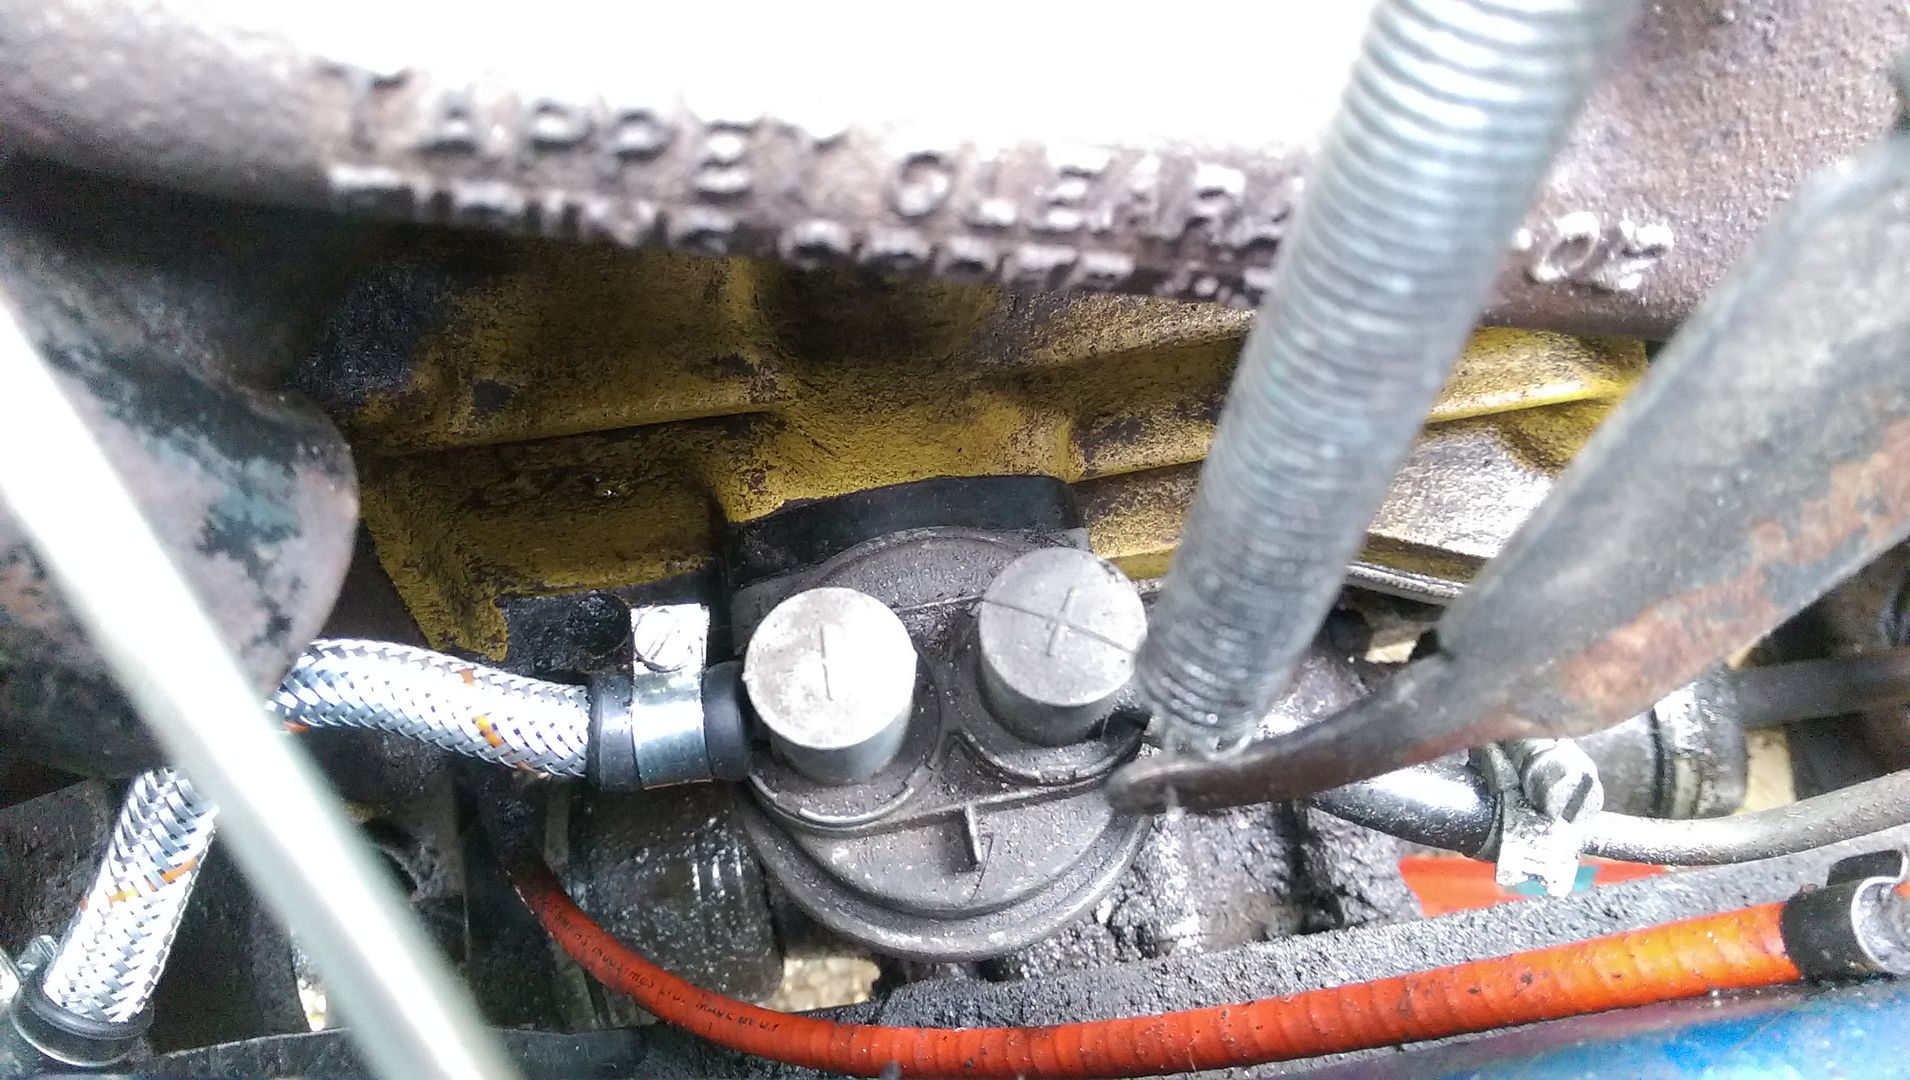
First though I replaced the fuel hose that joins the main line the runs under the car to (what I think is) the fuel filter. The old one just pulled off, which was luck as the clips where solid?
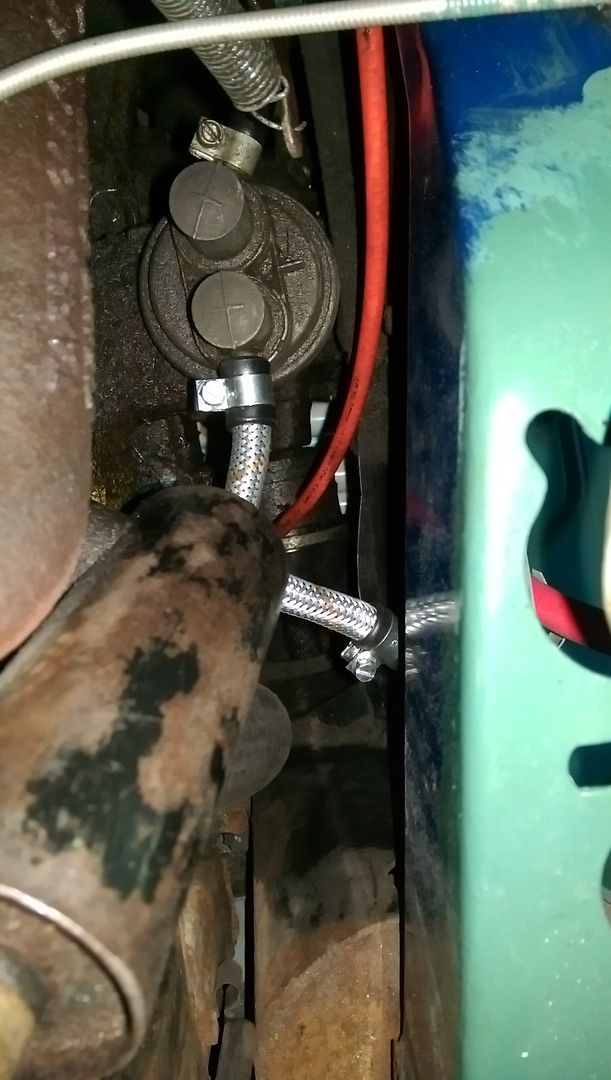
I had bought a braided hose and two clips for this. It seems slightly long and I just hope its not kinked otherwise I'll have to shorten it?
Then I removed the pipe that runs from the Oil Filter to the block where the Oil Pump is. I cleaned it up and before re-fitting it I squirted some oil into the Oil Pump to help prime it.
For the cleaning I started with some old petrol and a brush to loosen up the muck.
Here are some before shots:
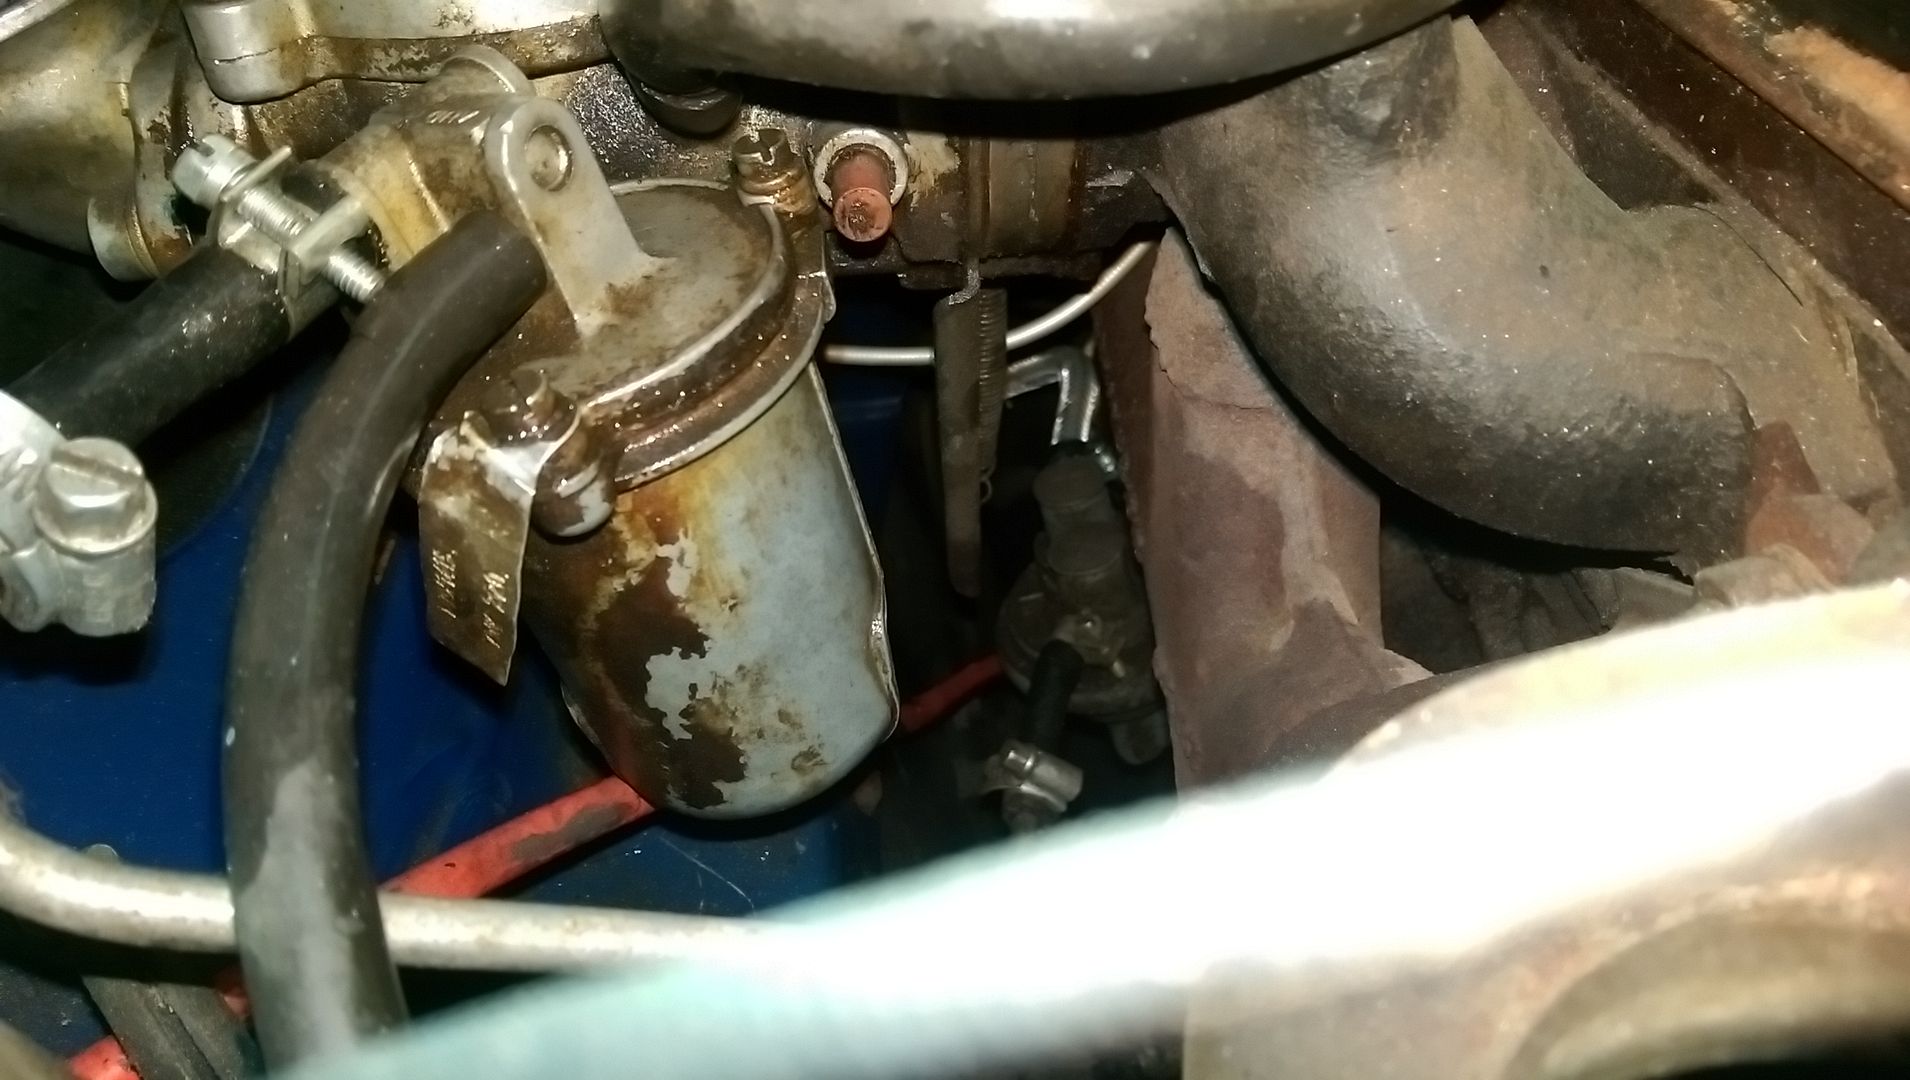
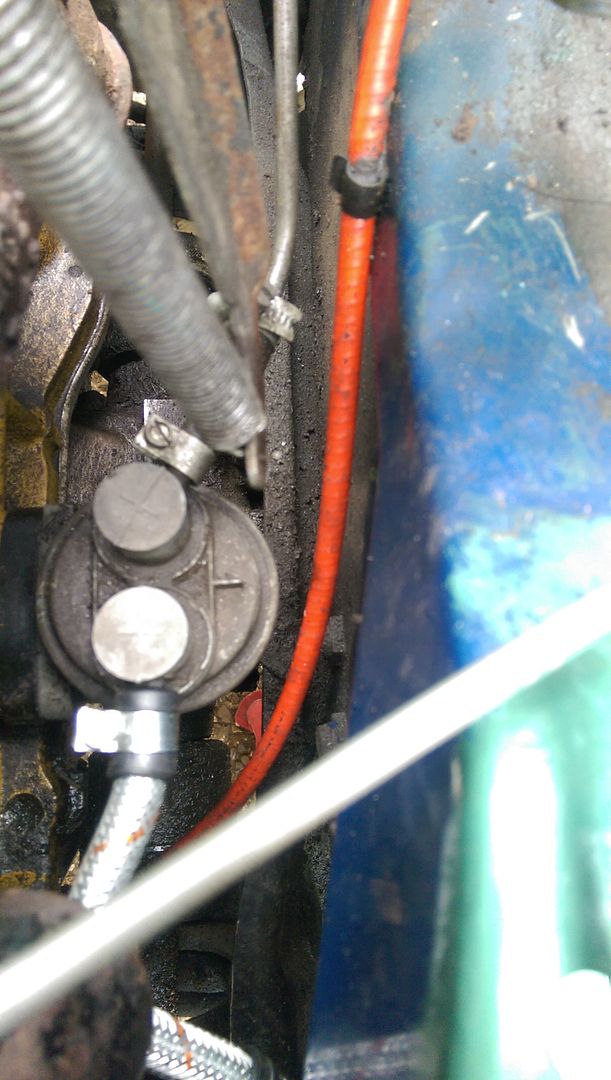
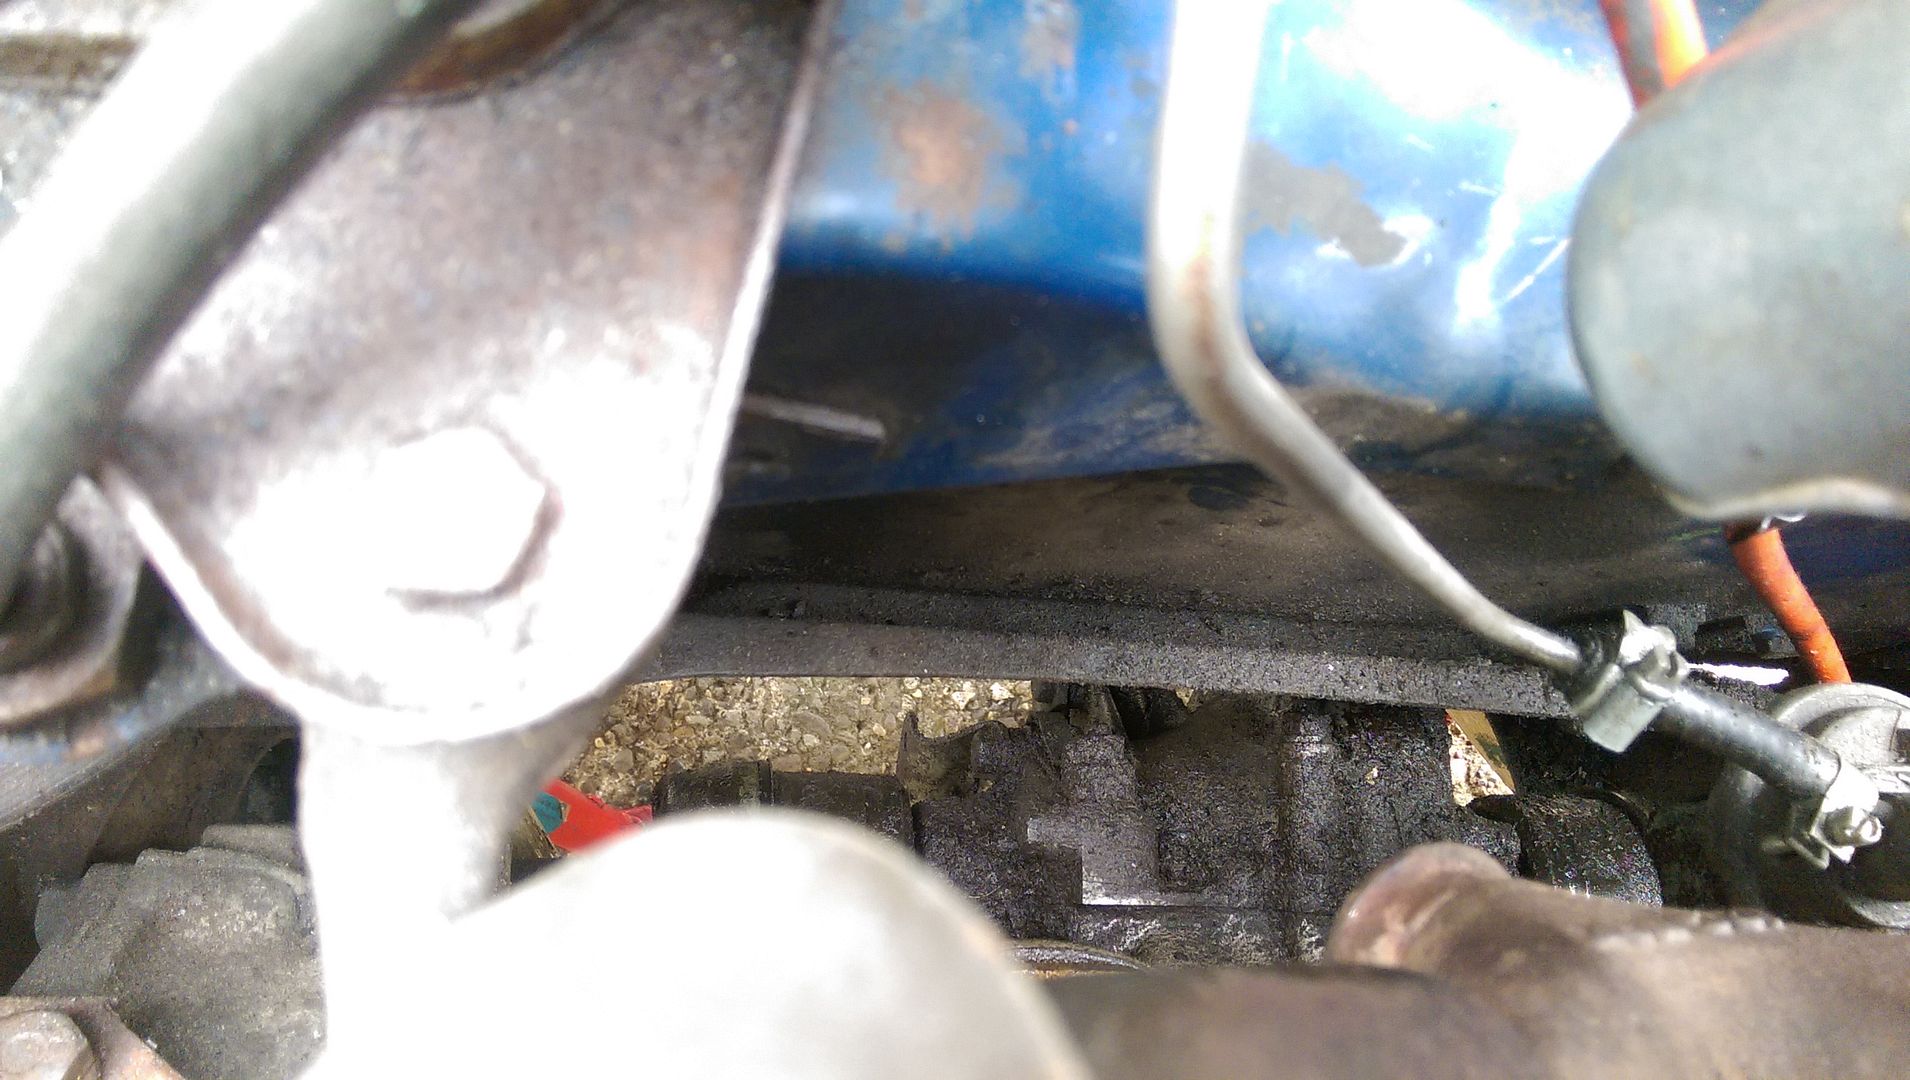
The underside was particularly bad:
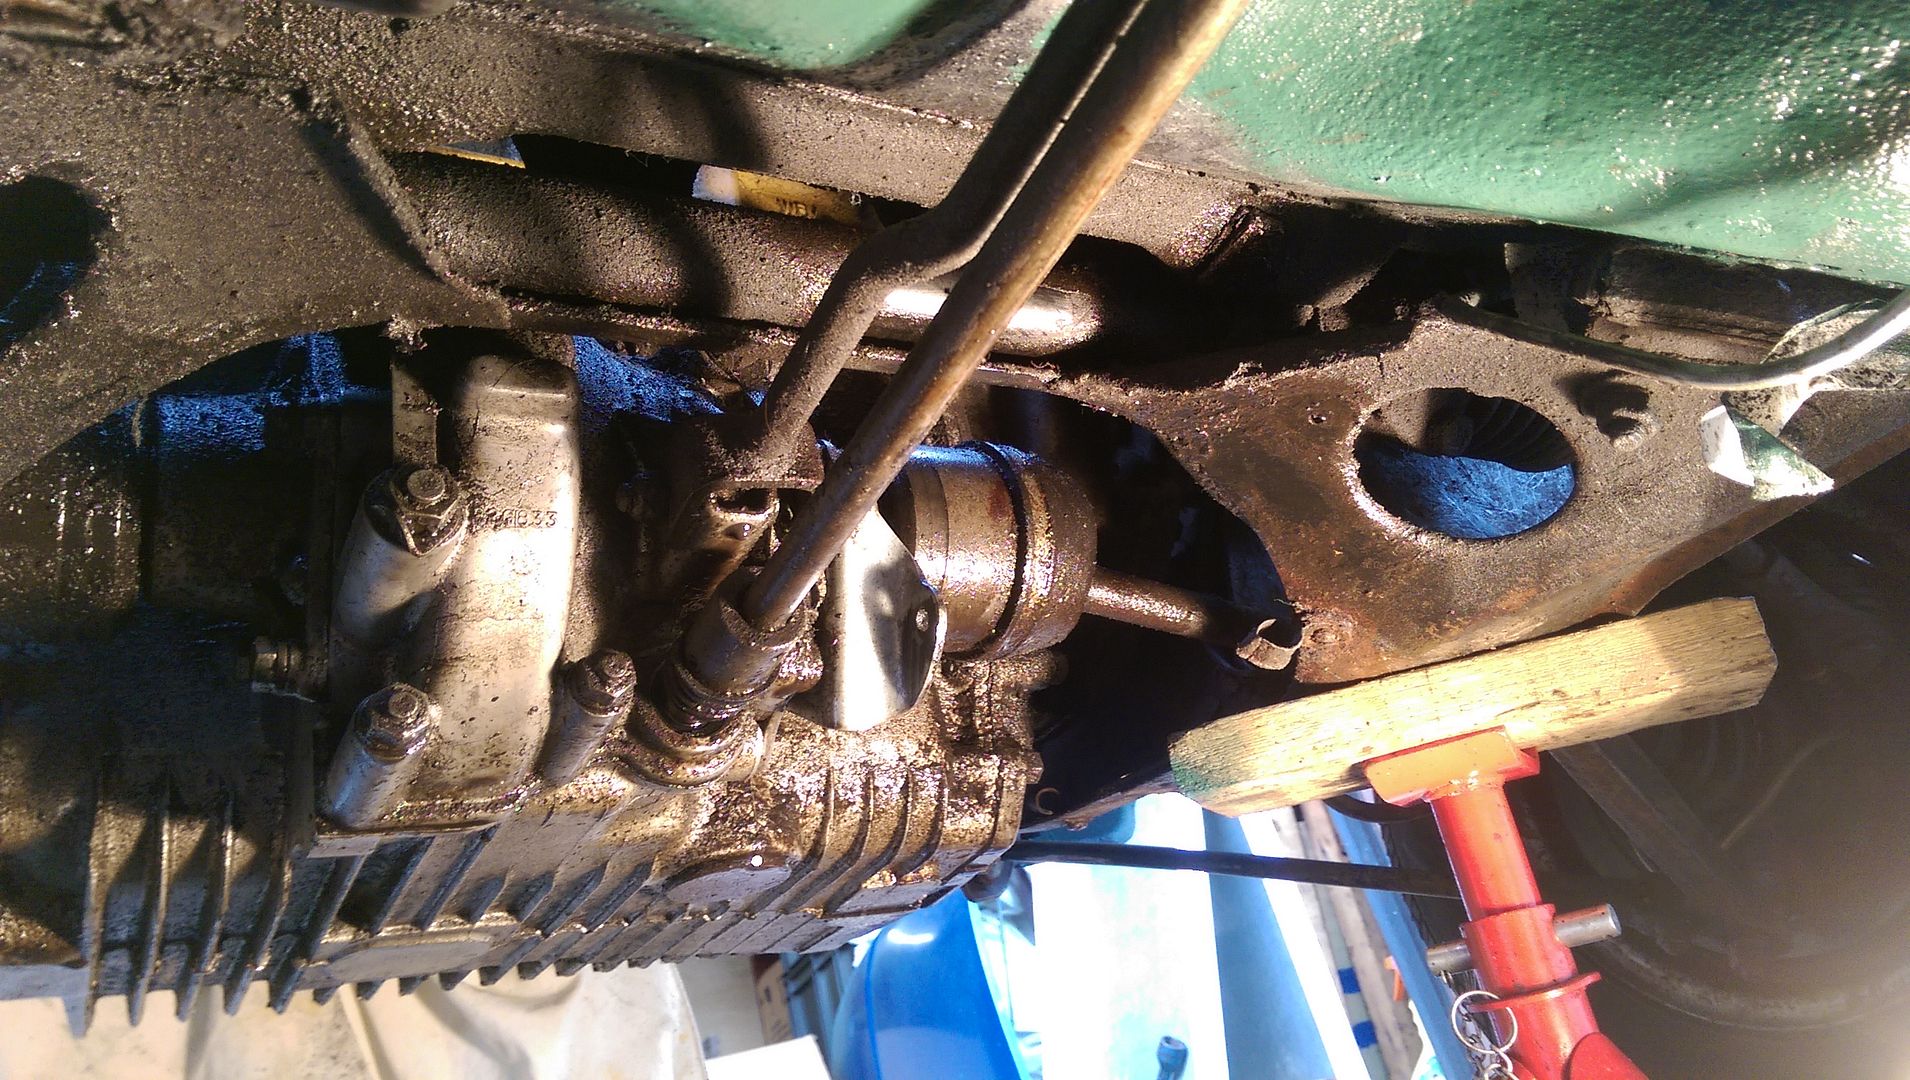
After going over with the petrol the original colour of the Engine came through. Like Ben said I think I'll re-do it yellow with either a Matt or Gloss Rocker cover?
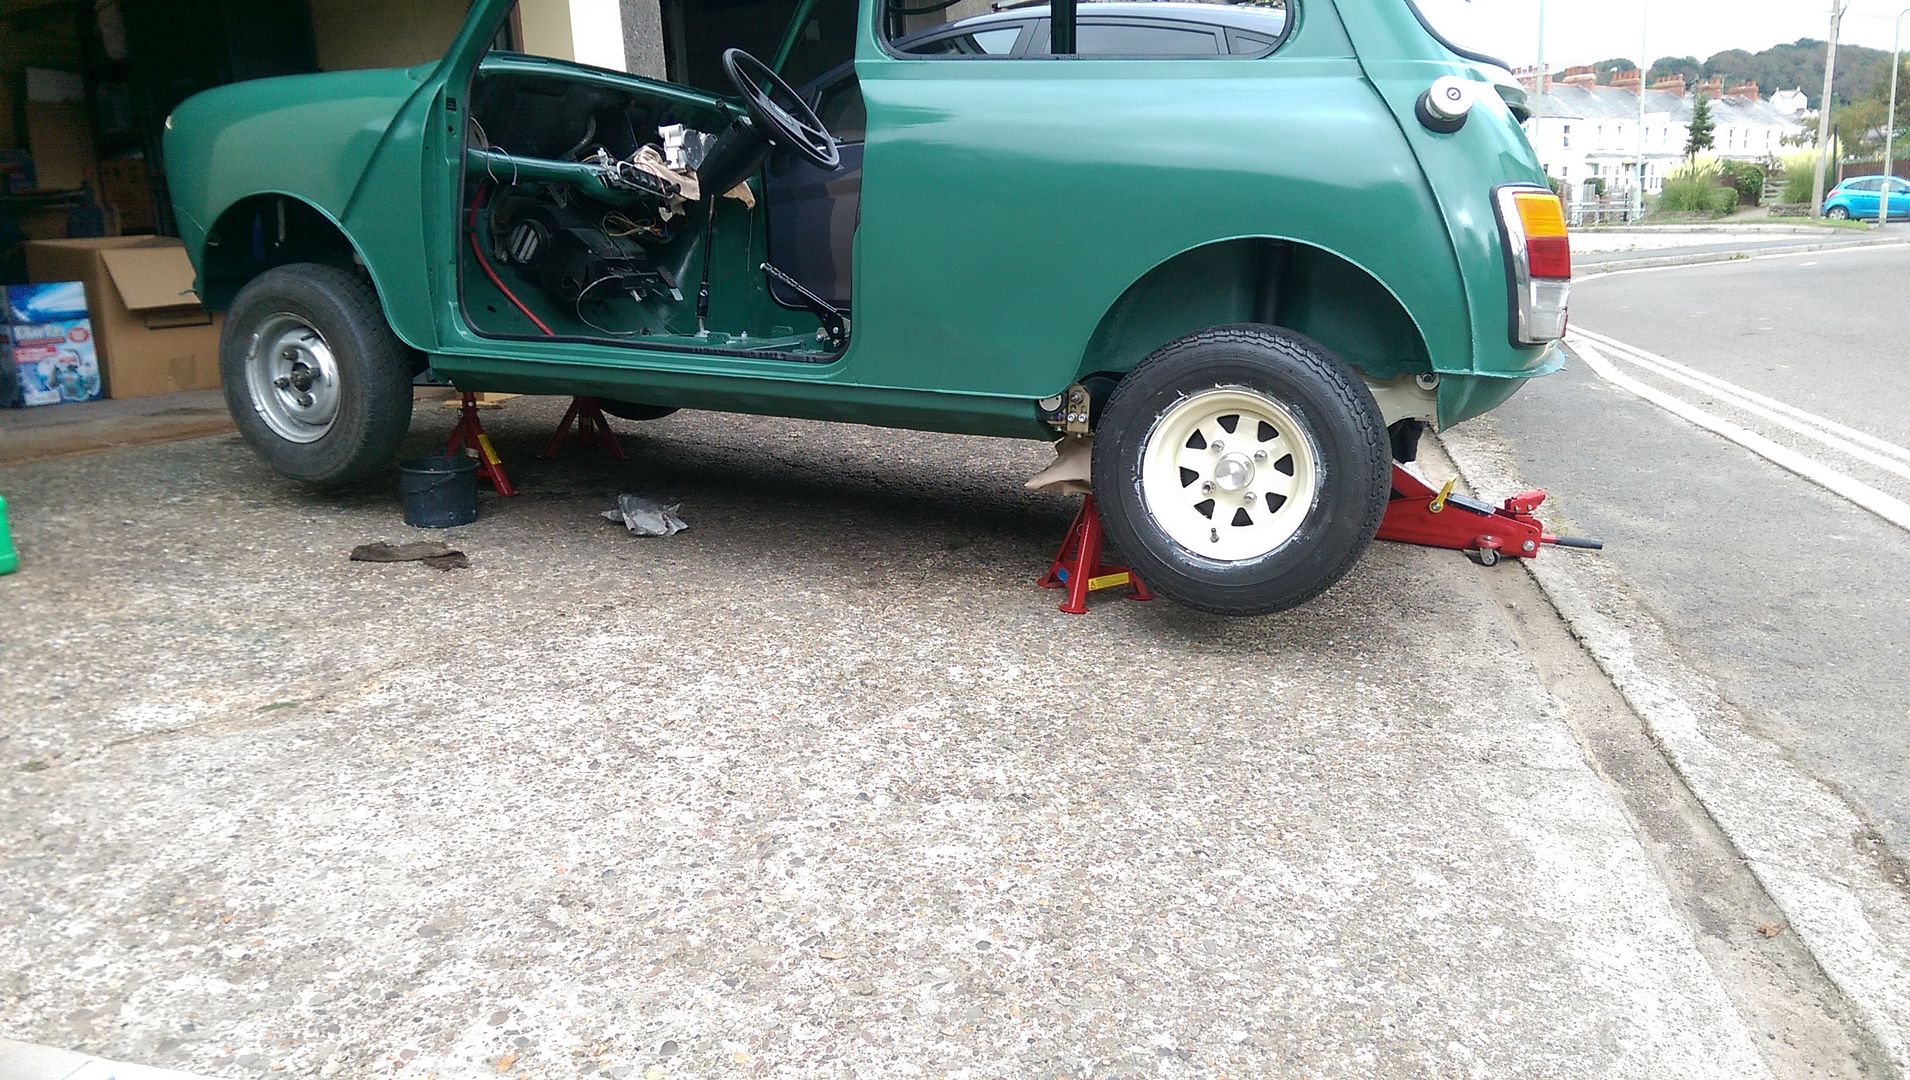
Then it was up on axle stands to get the Exhaust on:
But before doing so I got the Jet Wash out and after going a little crazy hey ho look at the rear of the Engine - looks like new:
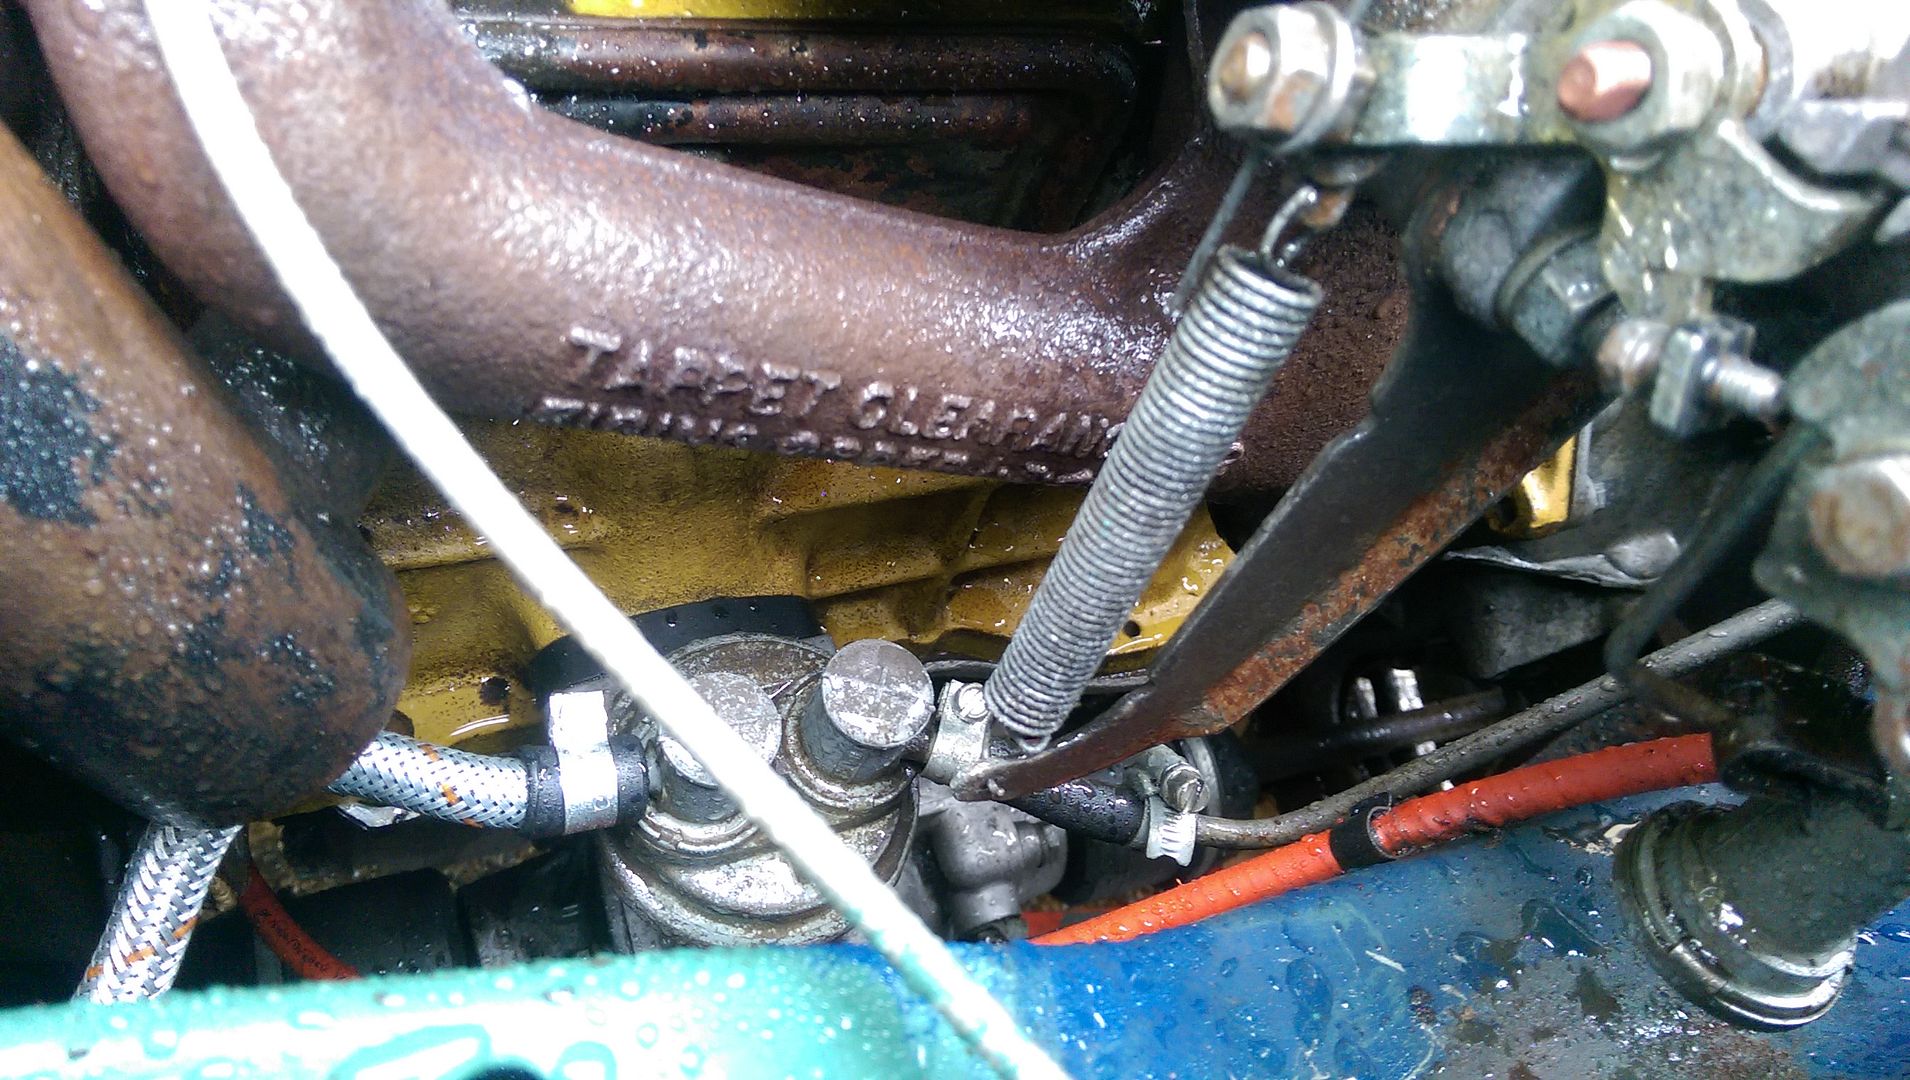
Looking much better:
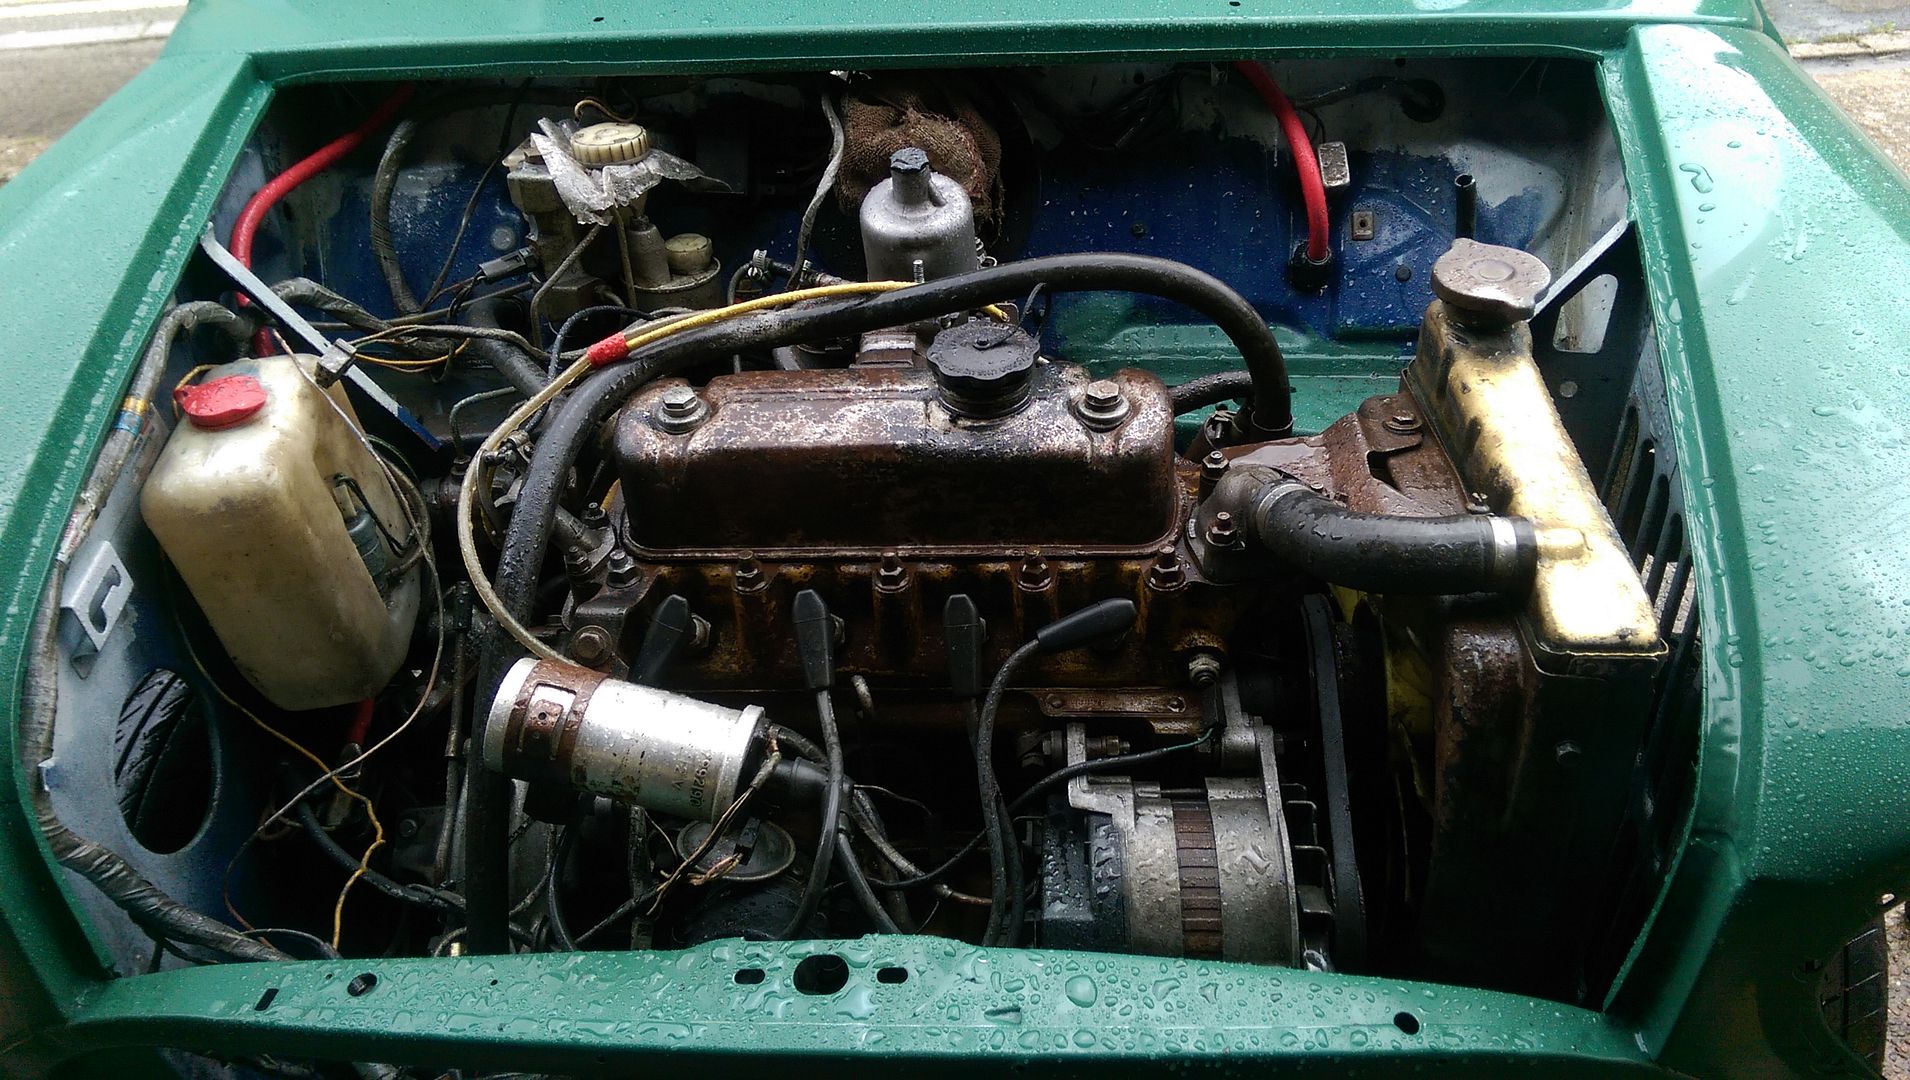
Radiator looks pretty bad - hope there are no leaks?
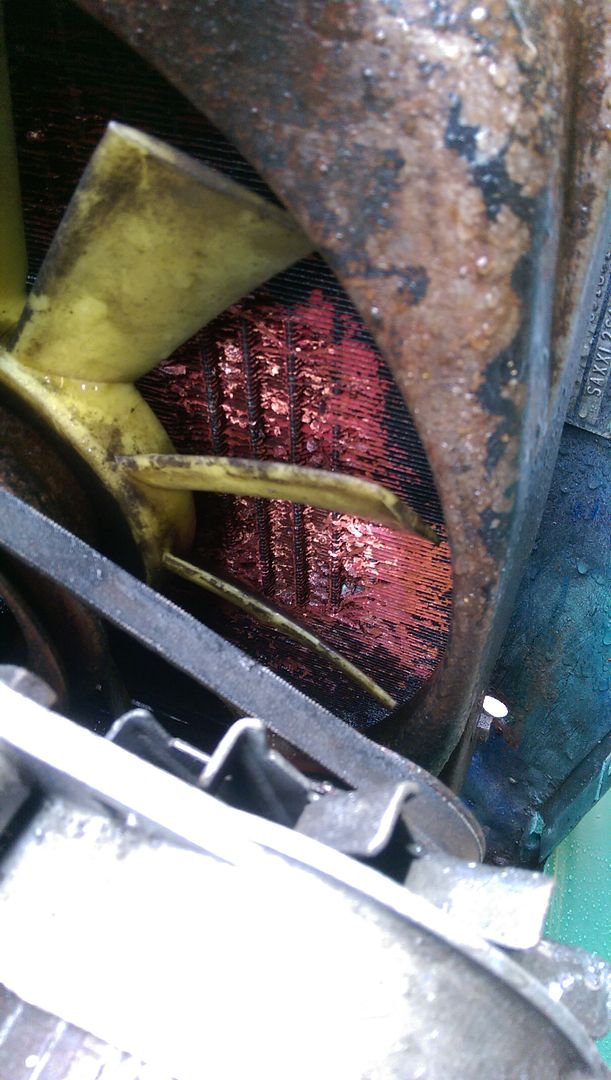
The front still needs some work:
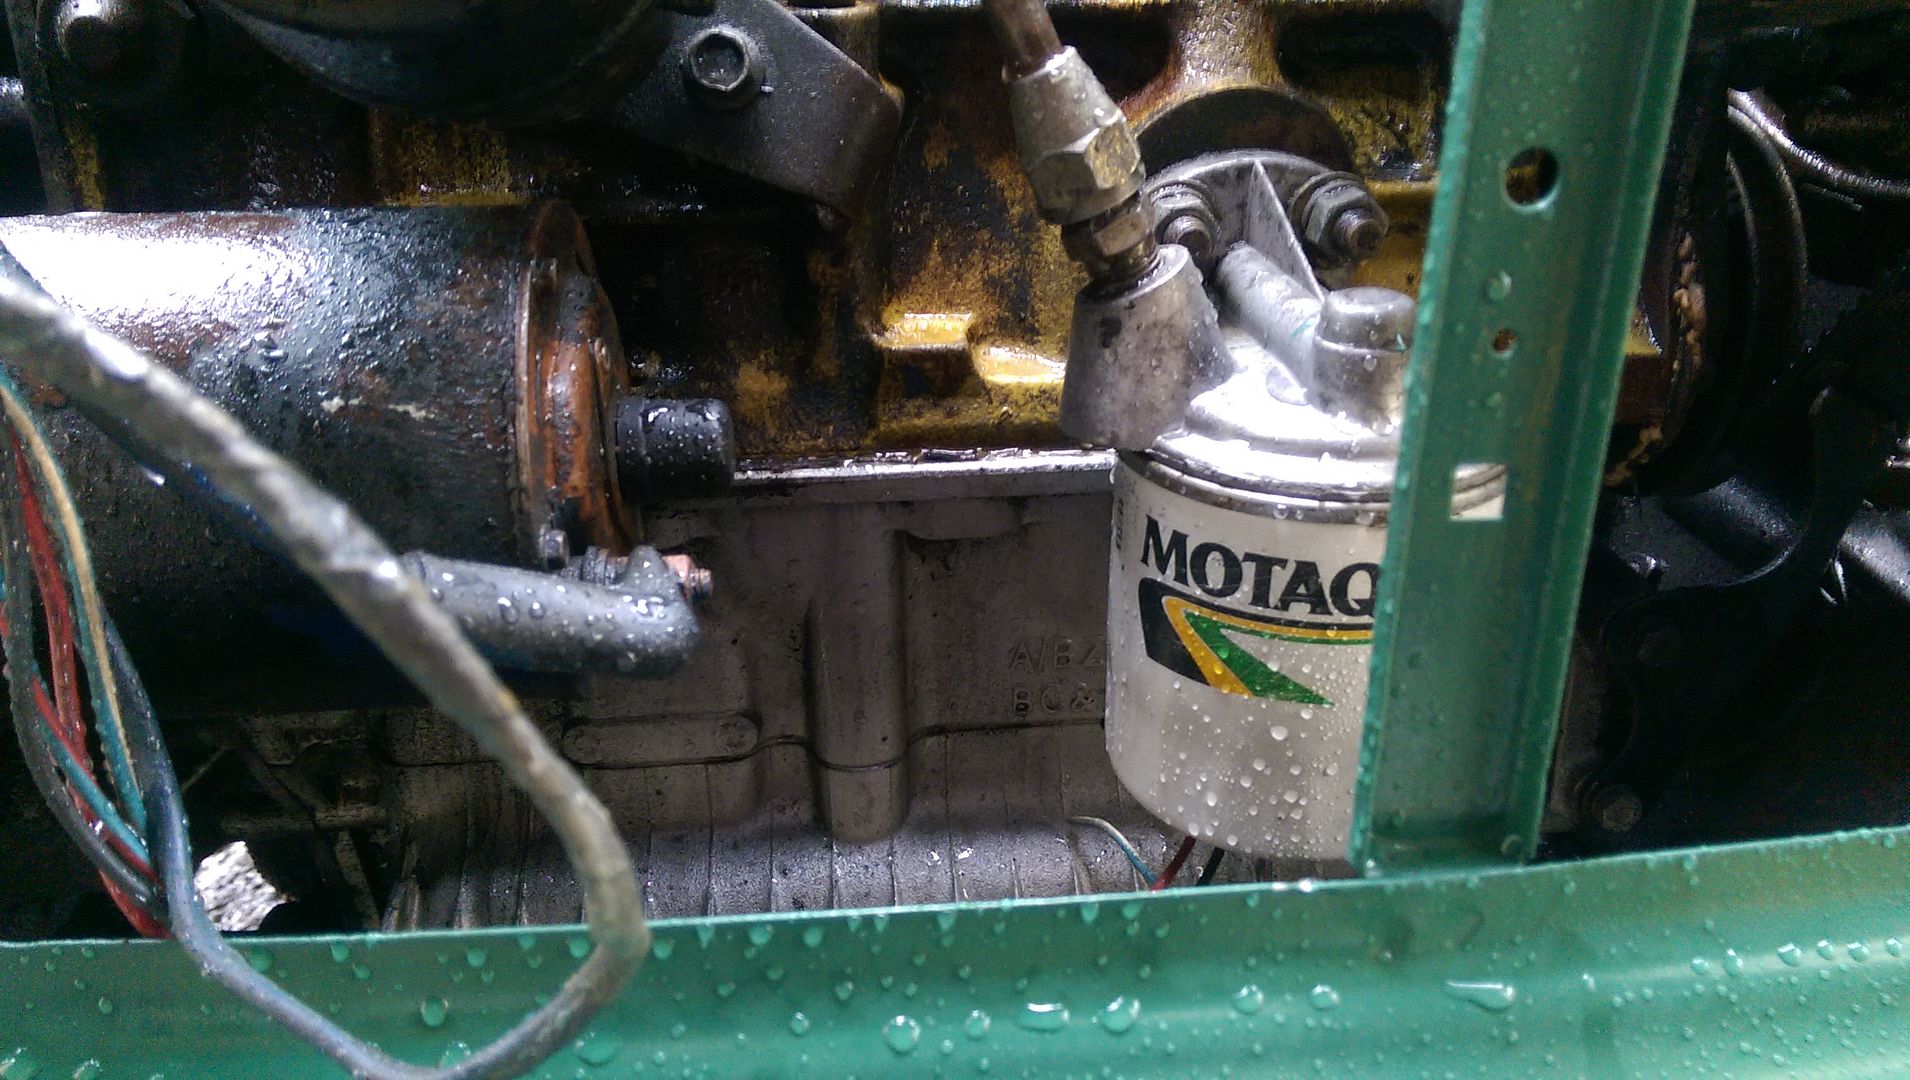
Then with a little bit of grunting and balancing I managed to get the Exhaust on:
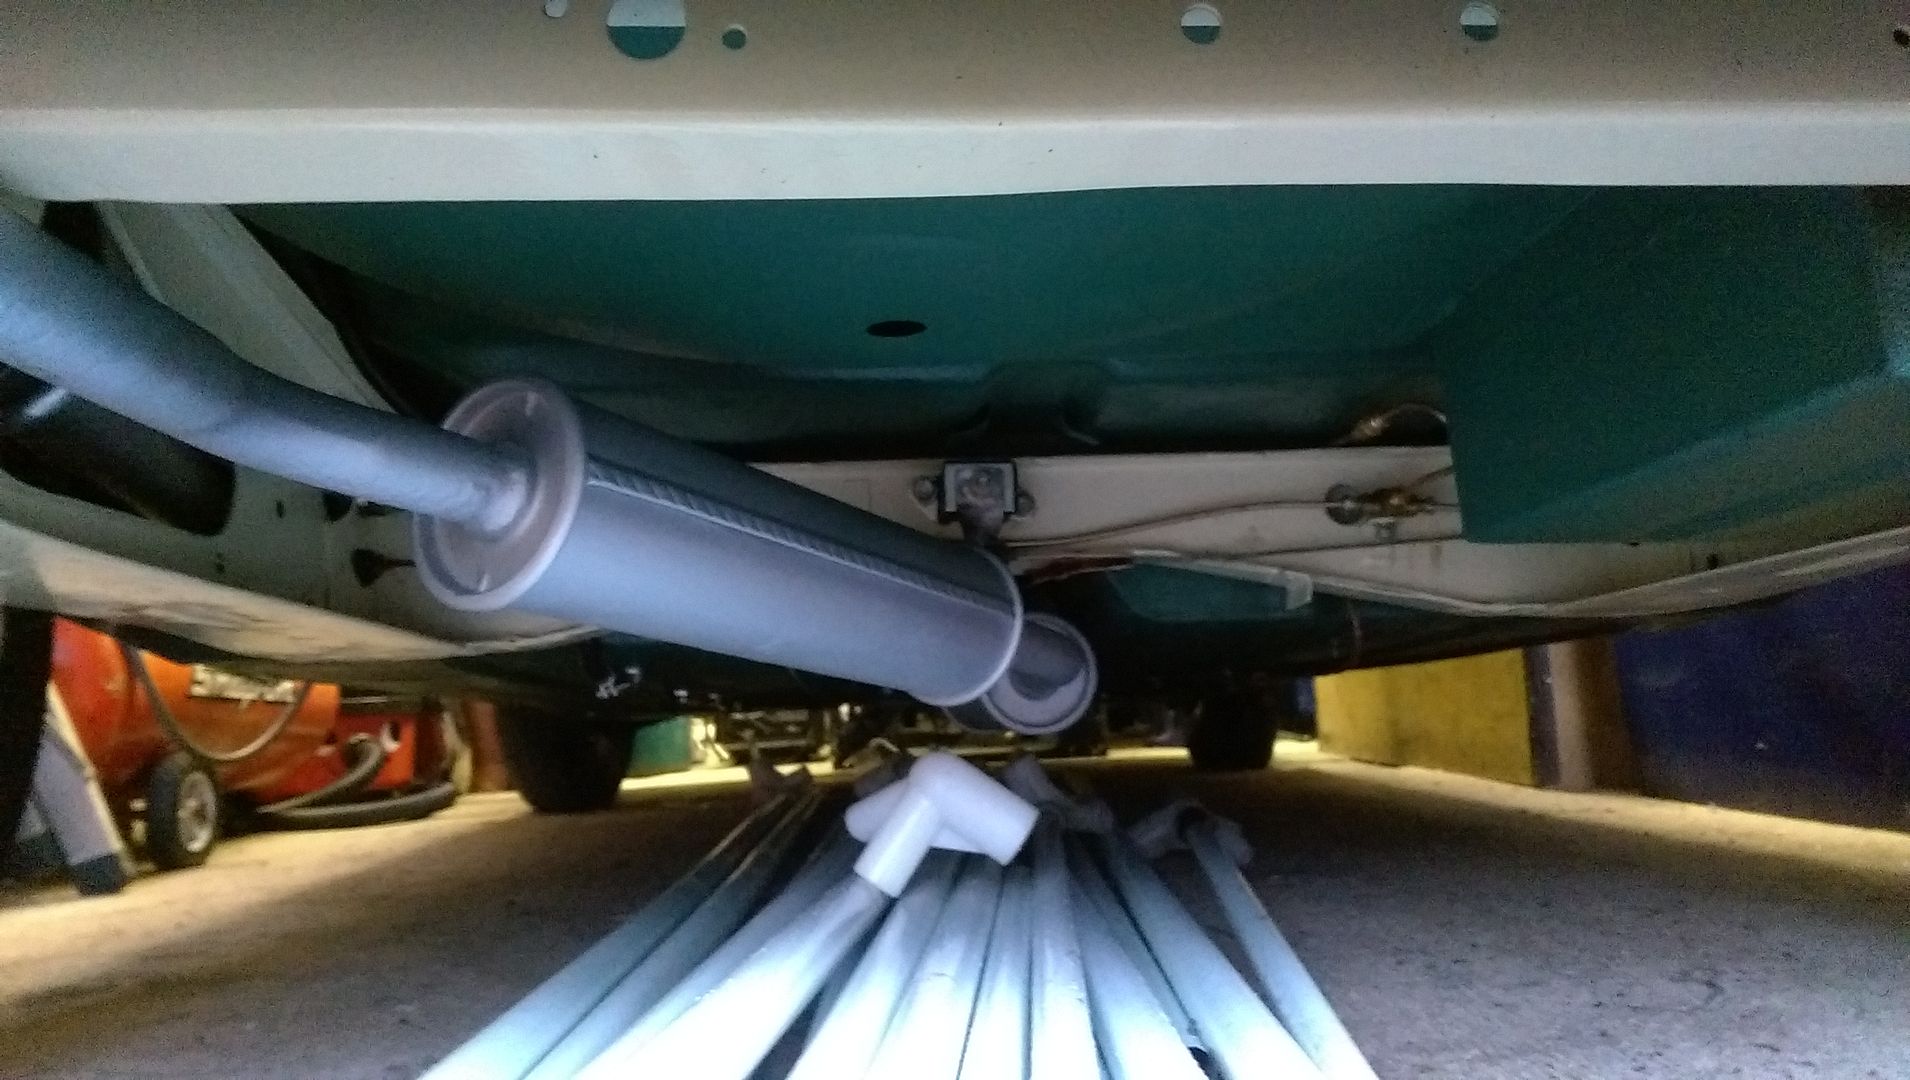
I appear to be missing a bracket from the rear that keeps the Tail Pipe in place and stops it rattling on the Subframe:
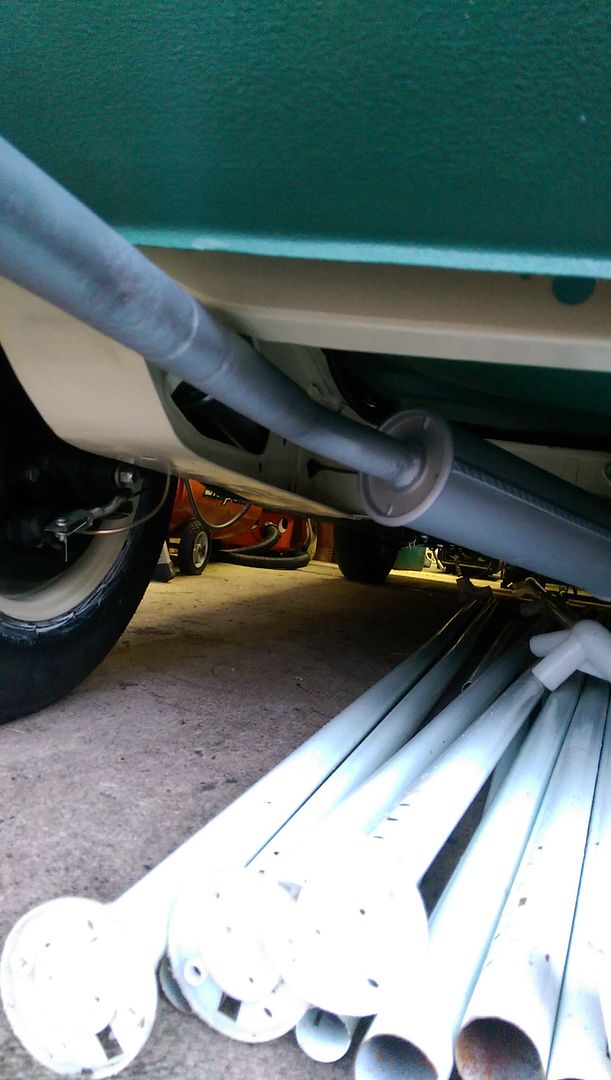
I then blew off a lot of the water with an air line and then attempted to start her up. I had the battery on charge all day so I re-fitted it first.
Next I remove the spark plugs and turned the Engine Over. After a couple of goes the Oil Pressure light went out - which I guess is a good sign.
Then I refitted the plugs and tried to start her up. Sadly the battery gave up :-(
I had put some fresh fuel in but did not check that it was getting through to the carb? I need to work out how to do this. The plugs that I checked (2 of the 4) were sparking albeit quite weakly (yellow).
Tomorrow if I get a chance I'll see if I can borrow some Jump Leads and slave it from my Landrover and try again.
Posted 12 September 2016 - 09:29 PM
certainly cracking on with this, I had the same problem with the dead battery and not being able to start the engine (the mayfair not my project one ![]() )
)
Questions about the fuel tank fitting
1. Did you fit a new rubber seal on the body work?
2. did you fit the seal to the body firsthand push the tank through or put the neck through the hole push the rubber on a and push the lip of the rubber over the body?
3. whats the seal like around the neck of the tank? mine has a big gap at the top so water will just sit in it.
Posted 13 September 2016 - 05:12 PM
certainly cracking on with this, I had the same problem with the dead battery and not being able to start the engine (the mayfair not my project one
)
Questions about the fuel tank fitting
1. Did you fit a new rubber seal on the body work?
2. did you fit the seal to the body firsthand push the tank through or put the neck through the hole push the rubber on a and push the lip of the rubber over the body?
3. whats the seal like around the neck of the tank? mine has a big gap at the top so water will just sit in it.
Alex;
On mine there is a foam ring that sits around the neck of the Fuel Tank, I kept it and re-used it.
1. I bought a new rubber seal to fit in the opening in the bodywork, it seems meatier than my original one but that was not causing the problems with the Boot Strap Bracket.
2. Tried that and it did not work, so I fitted the tank and then pushed the seal over the tank neck and squeezed it under the bodywork.
3. The seal around the neck seems ok?
0 members, 1 guests, 0 anonymous users