1982 Austin Mini - Project Who?
#496

Posted 27 August 2016 - 05:53 PM
#497

Posted 27 August 2016 - 06:11 PM
Been working hard today, it's getting there though now, the small gap in sill seam I would put a bit of seam sealer on and touch up the top coat with a brush, won't be seen under trim anyway.
Will do ![]()
#498

Posted 27 August 2016 - 07:43 PM
#499

Posted 28 August 2016 - 06:30 PM
Nicely done.
Thanks
#500

Posted 29 August 2016 - 06:41 PM
Well today it was time to tackle the headlining. It was very manky and I had already had a go at cleaning it previously.
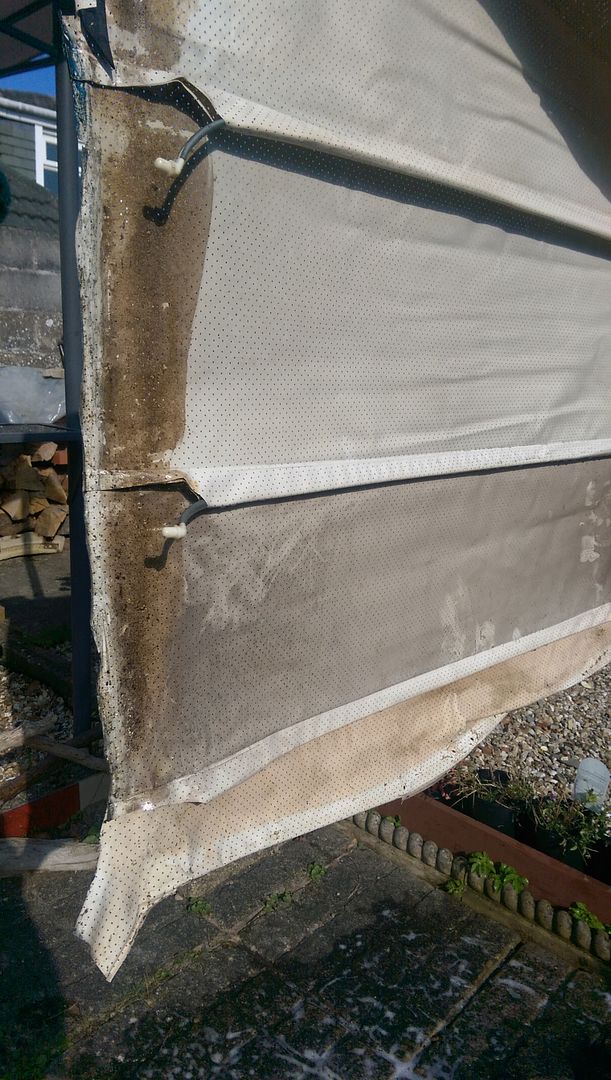
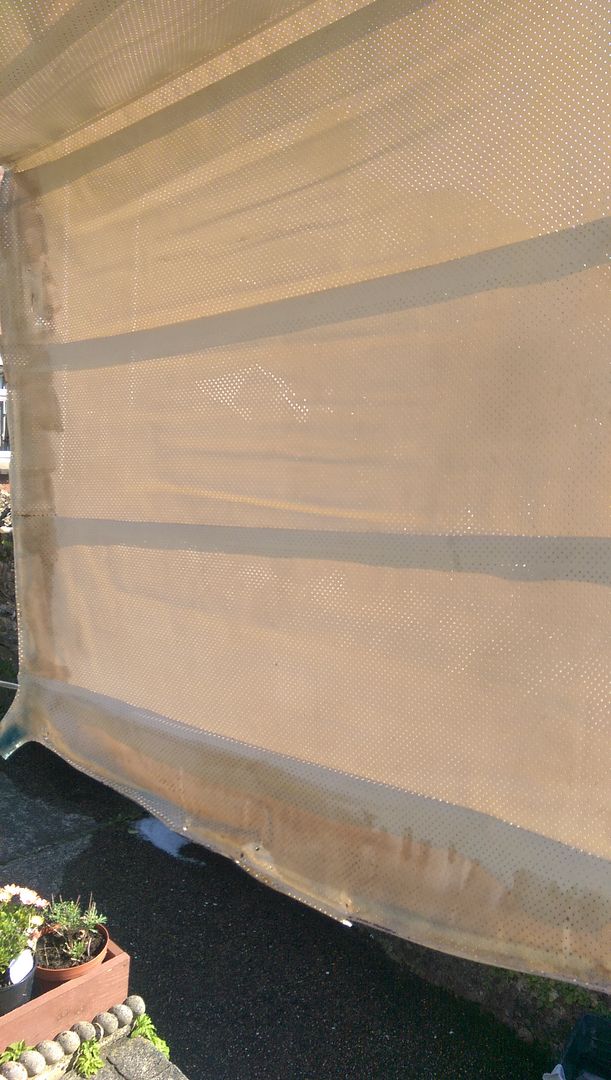
Washed it down with hot soapy water,
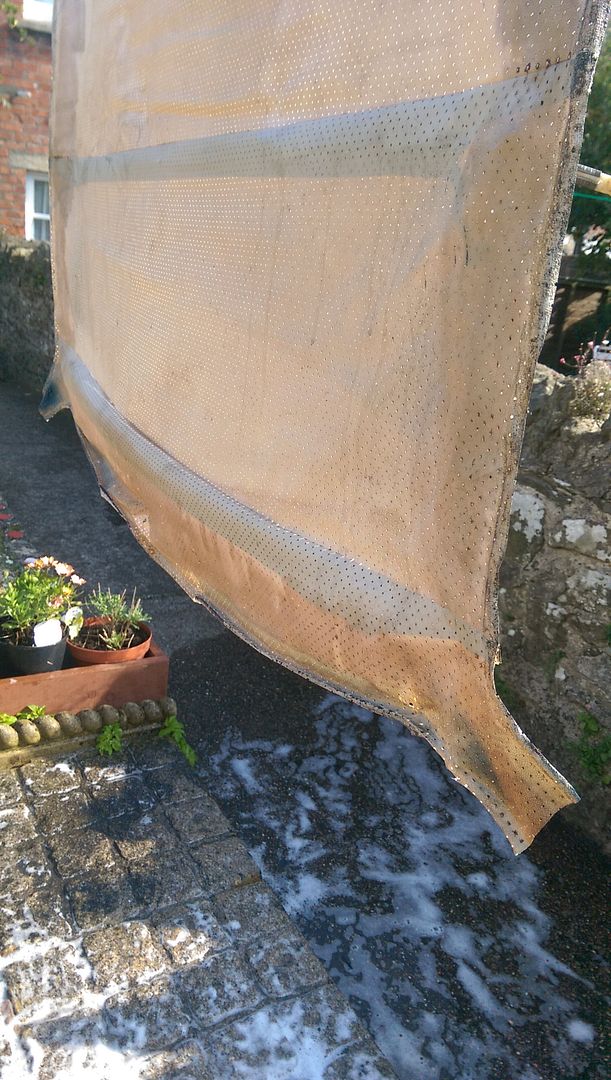
Lots of glue remnants:
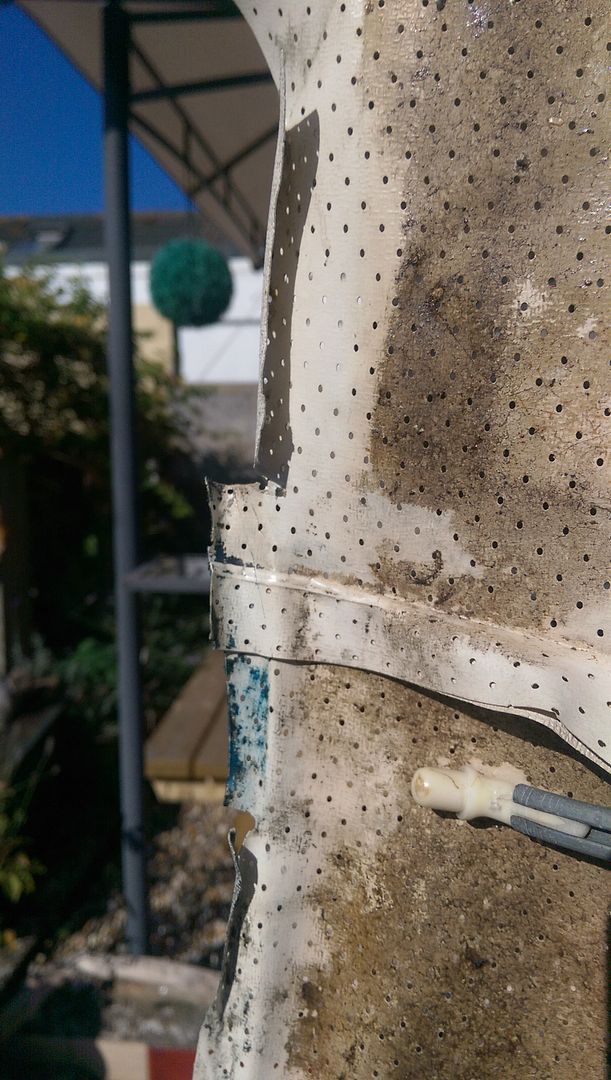
After washing down with clean water I cleaned up the glue as best I could with thinners and a rag:
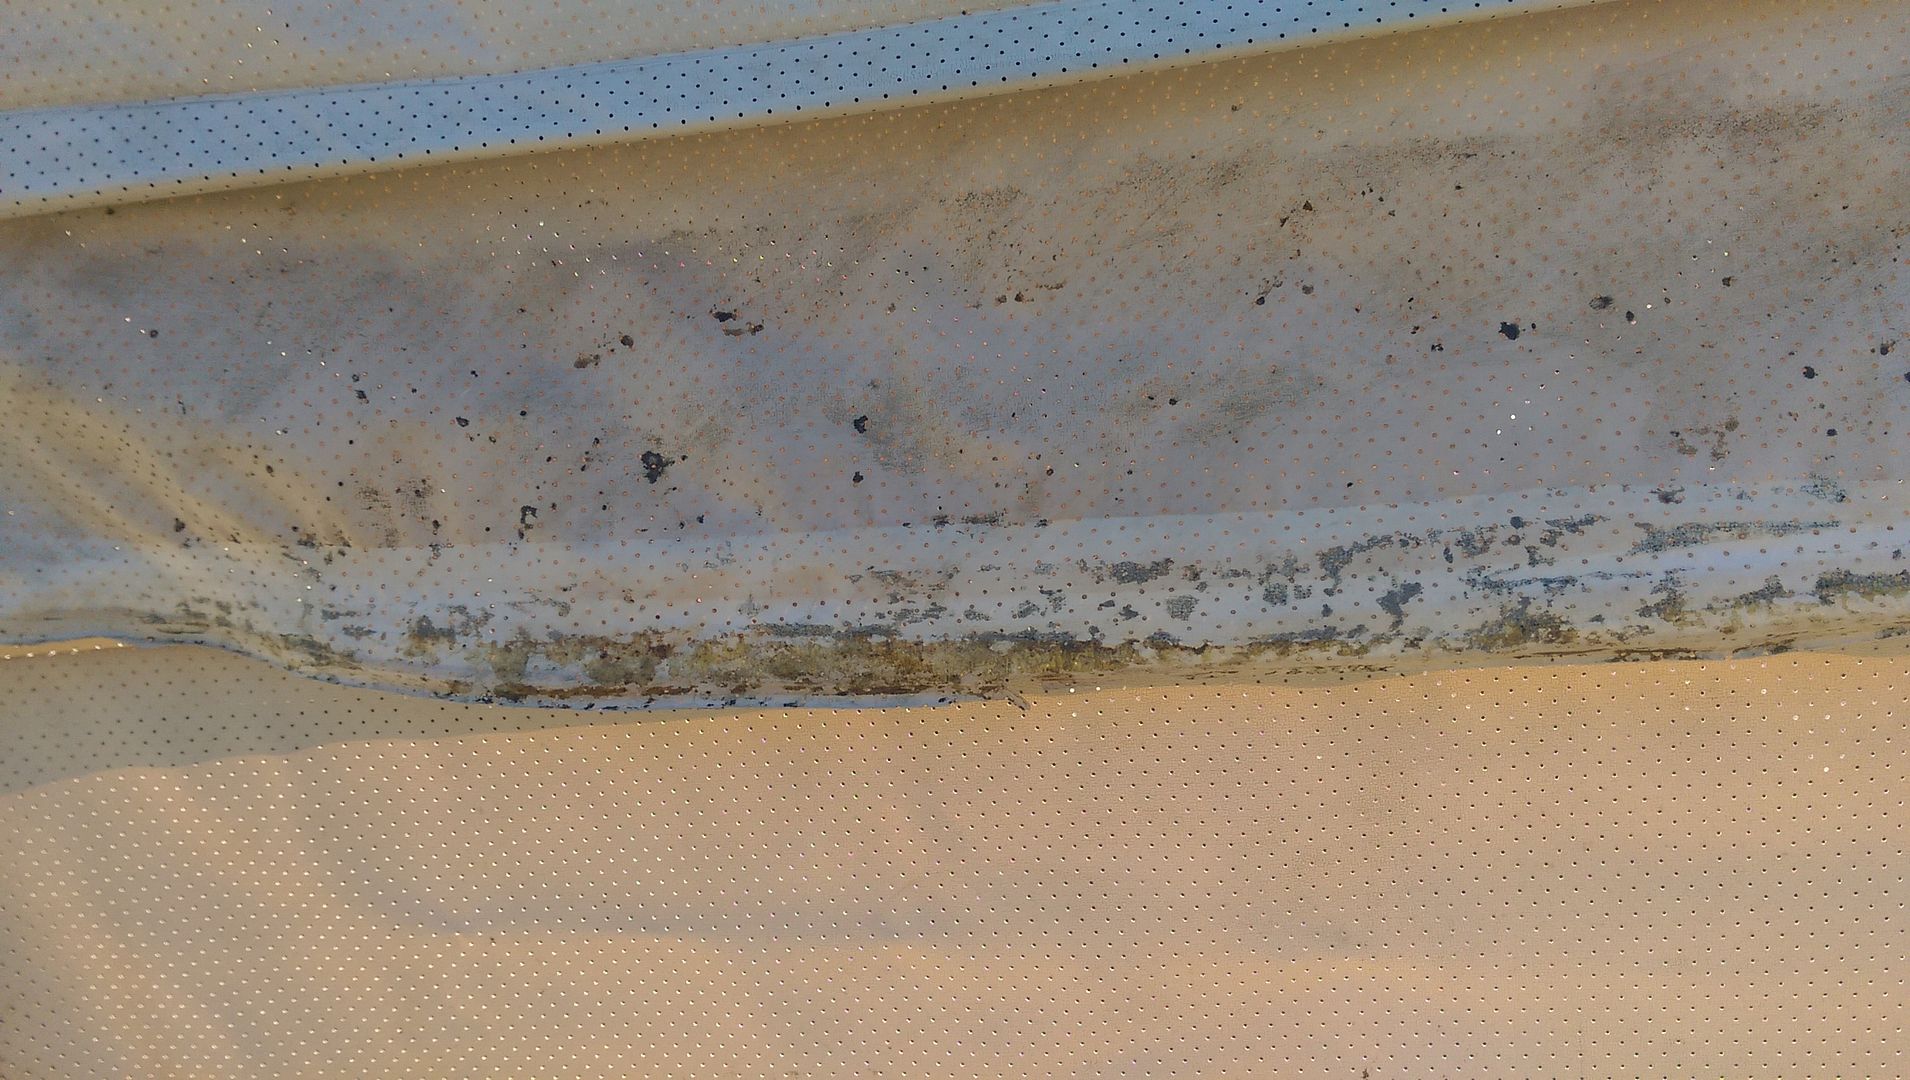
Looking a lot cleaner but not good enough to hang white as its very water stained:
Then using the framework from my makeshift spray tent I hung it up ready to paint:
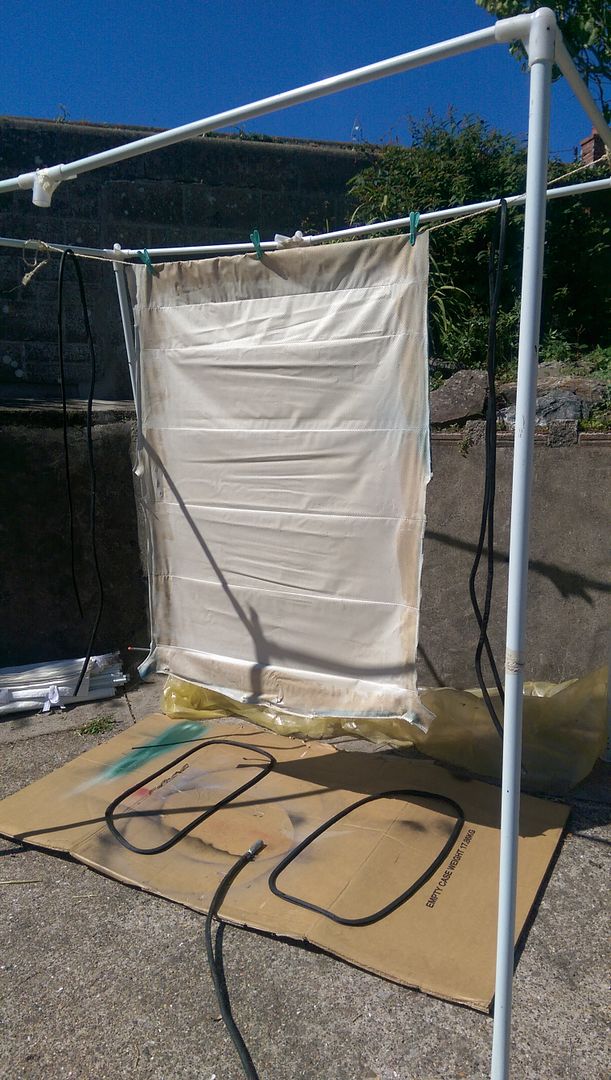
I also laid out the door and rear side window trims (I had to wash them as well and scrape off a lot of old glue:
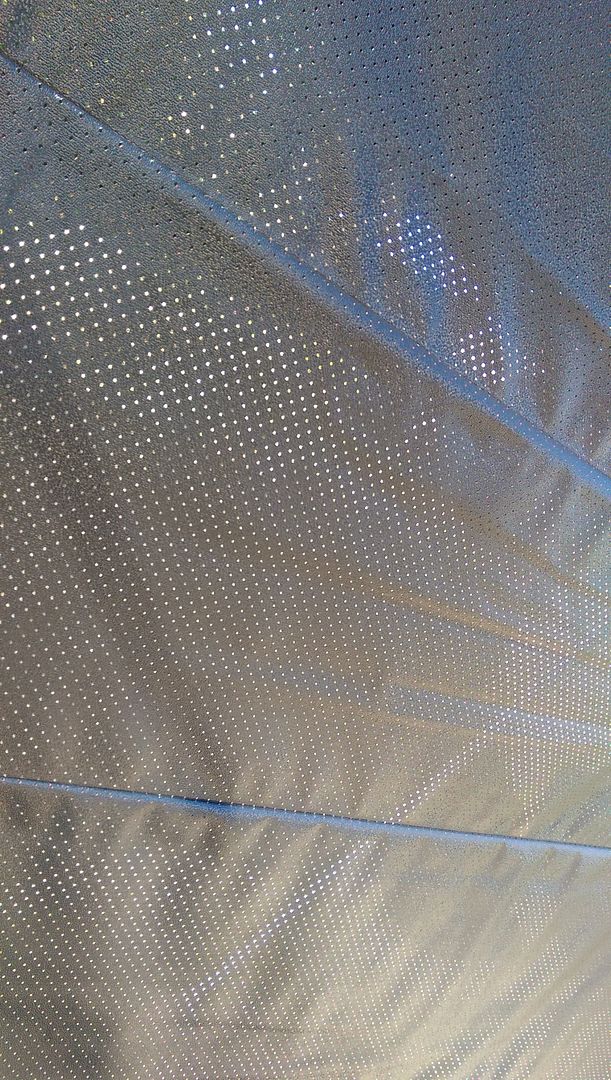
The paint went on really well and is very flexible. Here is a pic after spraying. It still looks white in the pic but that's the light:
Dug out the Sun Visors and Rear View Mirror as they help to hold the Headlining in but they were manky as well. The last person to spray the car got a load of overspray on the visors.
My good lady wife helped to clean them up. A light scrub with cream cleanser and then bleach.
Did not get a before pic but they came up great:
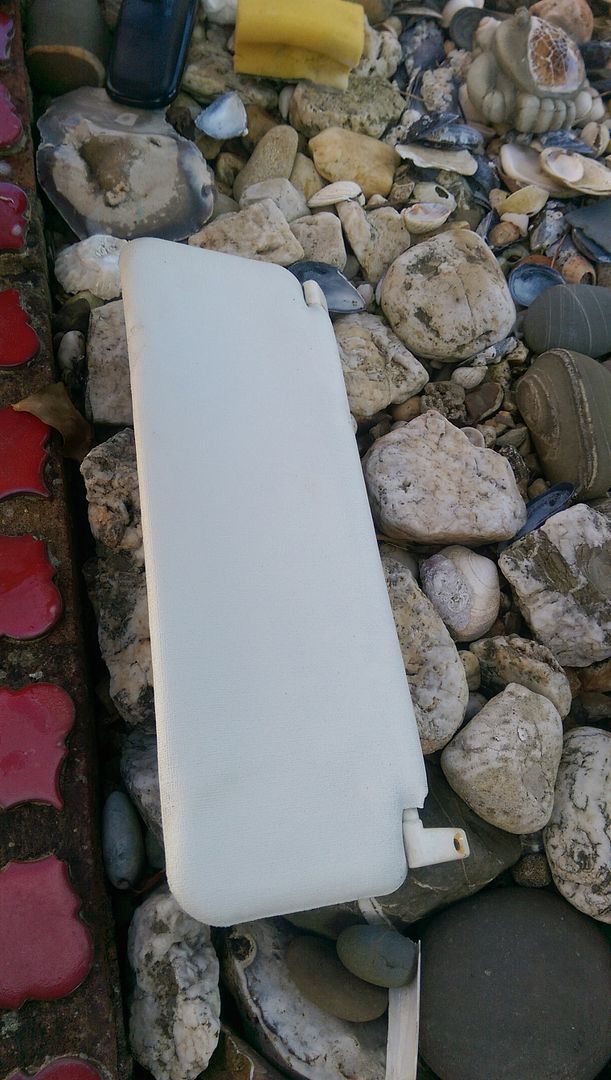
We got the headlining in and managed to snap the front headlining rod. I was twisting one way and my son in law the other DOH!!!
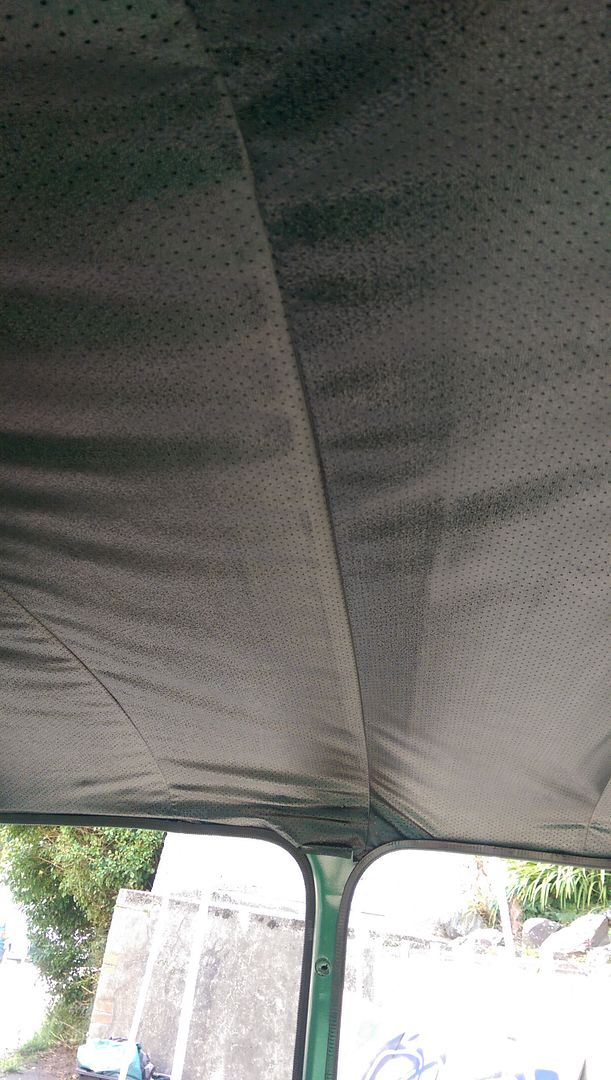
The pic does not do it justice - it is charcoal black and looks S*&t Hot.
The door trim also looks good:
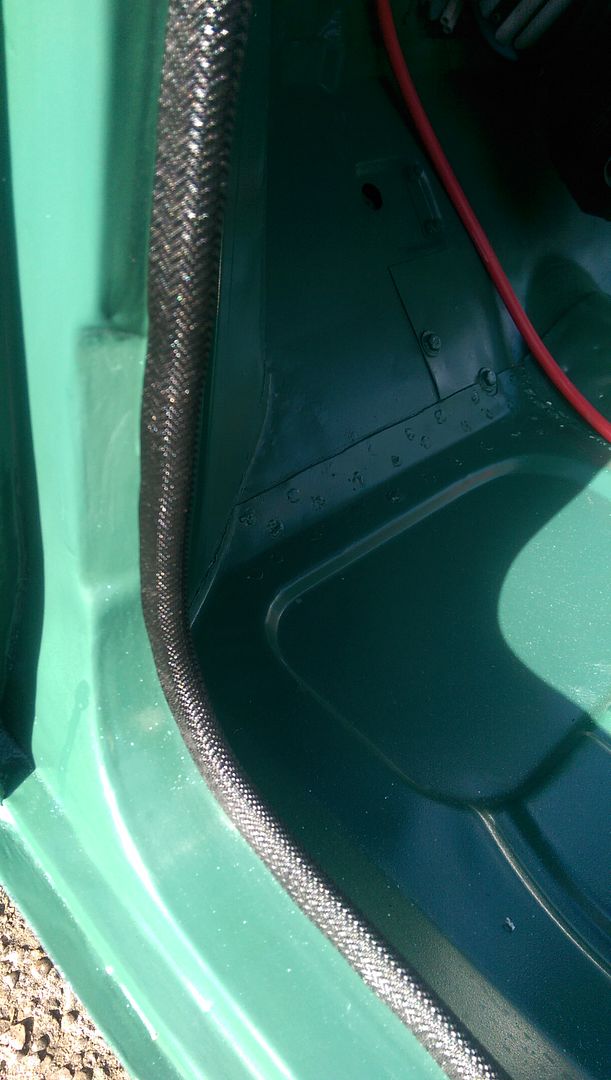
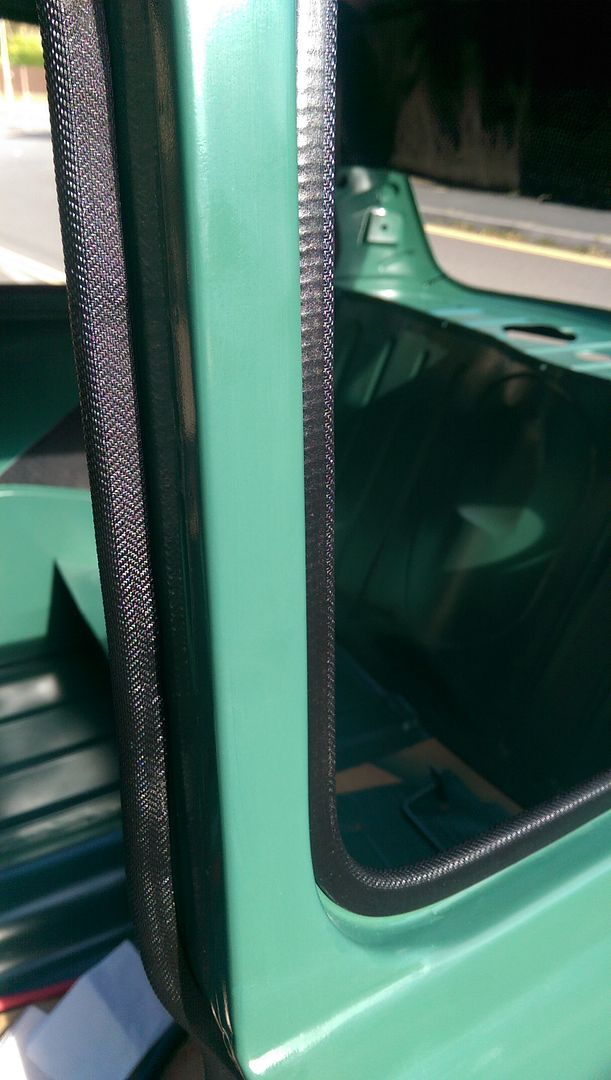
Starting to come together:
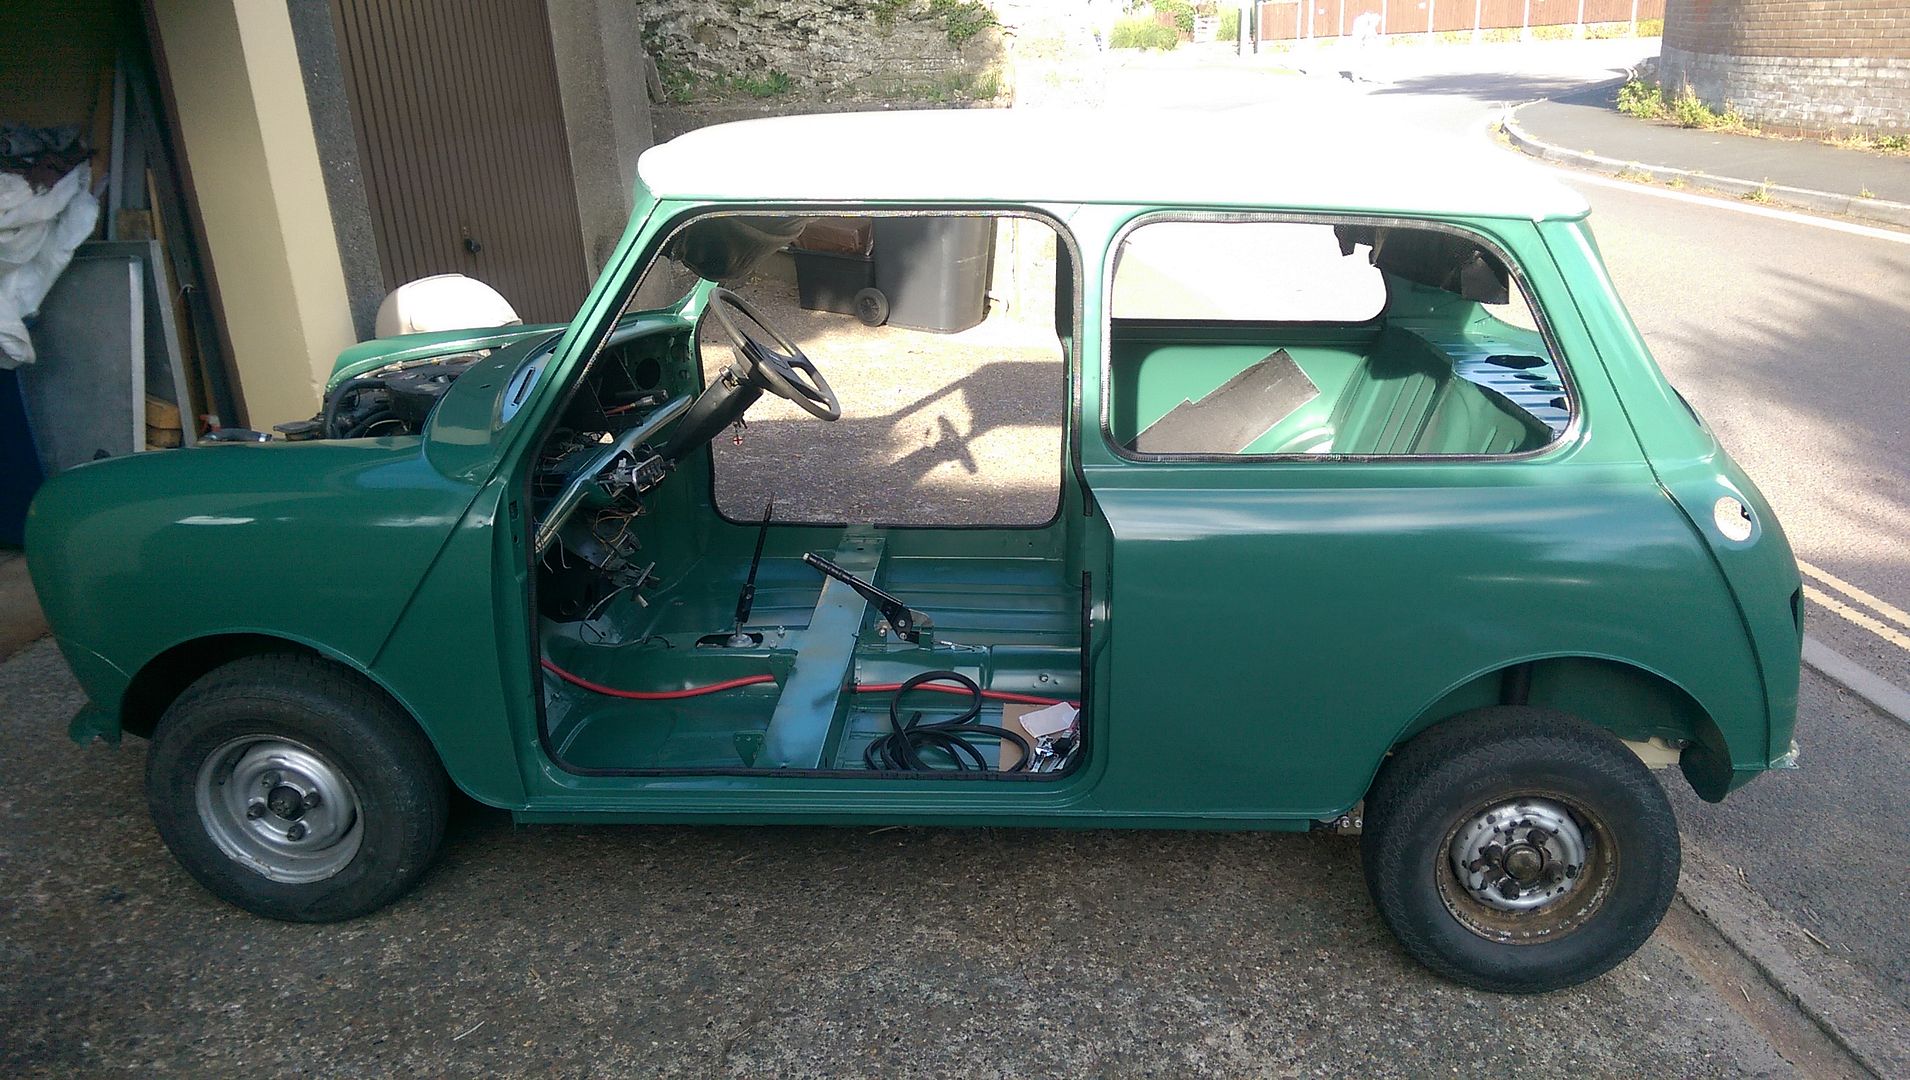
Annoyingly just after I packed everything away four Minis (all round noses) that had taken a detour from the North Devon Legendary Grand Tour drove past without the knowledge that another lay tucked away desperately awaiting a new leas of life!!
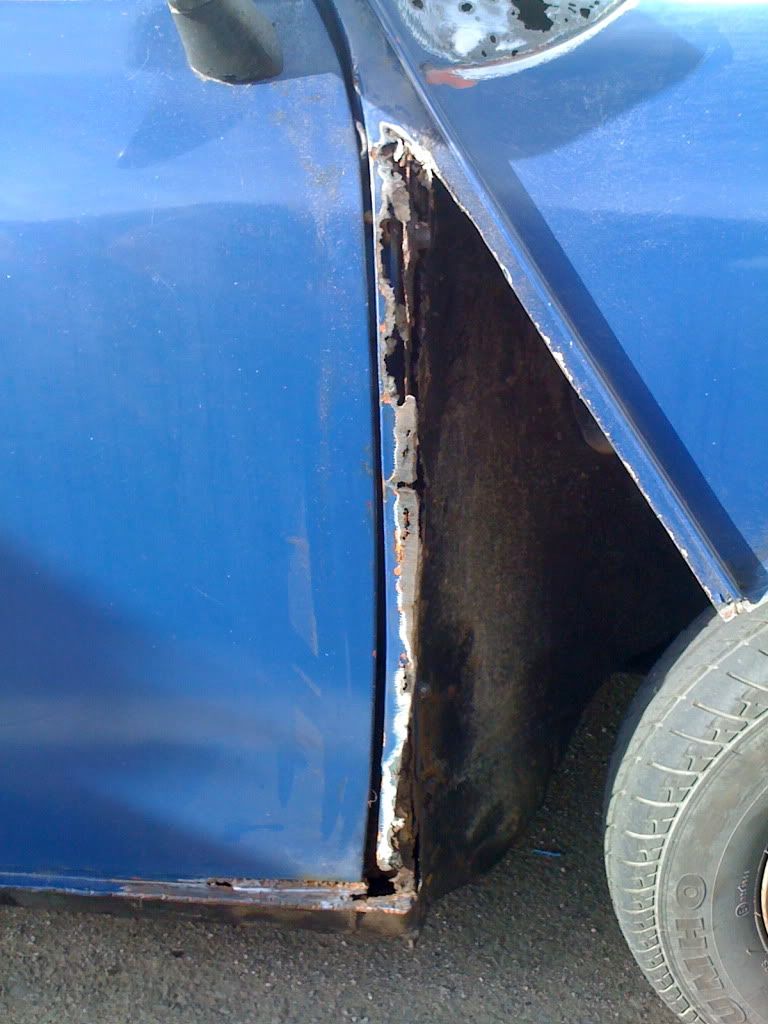
It's come a long way from here:
#501

Posted 29 August 2016 - 08:03 PM
looks great all polished up. The headliners come up well too. My red headlining bar snapped and was fixed using a pin (for sewing) pushed through the 2 broken parts and I've now superglued around it.
#502

Posted 29 August 2016 - 09:30 PM
How odd!! I have done a similiar temp repair, drilled a hole in both pieces and used one side of a split pin!!
#503

Posted 30 August 2016 - 10:34 AM
Where did you get the door trim from if you dont mind me asking?
#504

Posted 30 August 2016 - 01:24 PM
Nice work there it has come so far and paint work looks like its coming along so good as well, she will be back on the road soon.
#505

Posted 30 August 2016 - 06:01 PM
Where did you get the door trim from if you dont mind me asking?
Hi, the door trim was the original trim on the door but I have painted it using some flexible vinyl paint, the kind used on lorry side curtains. It was supplied by my local auto paint supplier and not very expensive.
Scrubbed them in hot soapy water first and rinsed with clean water then sprayed the paint on.
Made them look good as new.
P.S. Python Project - anything to do with the coding language?
Edited by JonnyAlpha, 30 August 2016 - 06:02 PM.
#506

Posted 30 August 2016 - 06:01 PM
Nice work there it has come so far and paint work looks like its coming along so good as well, she will be back on the road soon.
Thanks
#507

Posted 30 August 2016 - 06:27 PM
Good day and a bad day ![]()
Ok so this morning I cleaned up my rear lights and the rubbers and fitted them.
Also took my wheels that I painted last year (or was it the year before?) to the garage to have the tyres fitted.
I had a chat with the lad that was doing them explaining that I had four 5 x 10 Wellers and one 5 x 10 Manx Weller copy and asked that he fit the best four tyres to the Wellers.
The garage called me to ask about balancing weights. The standard hammer on ones may scratch the paint but they said they could fit stick on ones but they would have to be stuck to the rims and would look odd. I opted for standard ones.
MINOR DISAPPOINTMENT
Try as they may but they scraped up a couple of the wheels that will now need sorting :-(
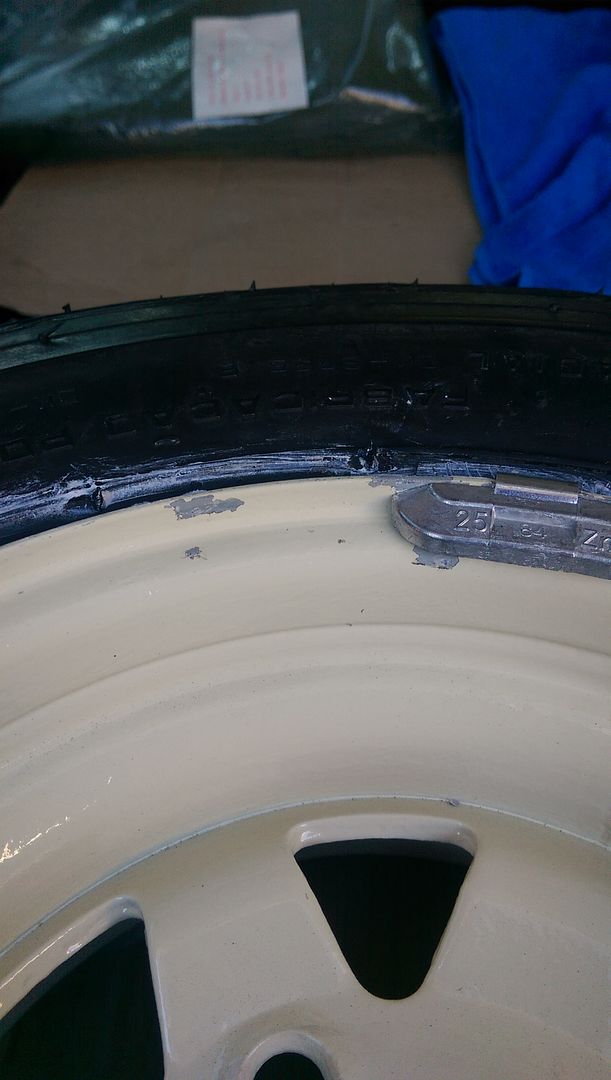
MAJOR DISAPPOINTMENT
Whilst balancing the wheels one of them was found to be badly buckled and so cannot be used - sadly you guessed it - it was one of the Wellers!!!
So now I only have 3 Wellers and 1 Max copy which I am not sure about mixing?? Bit of a set back.
I fitted the two rear wheels and here is a pic also showing the lights:
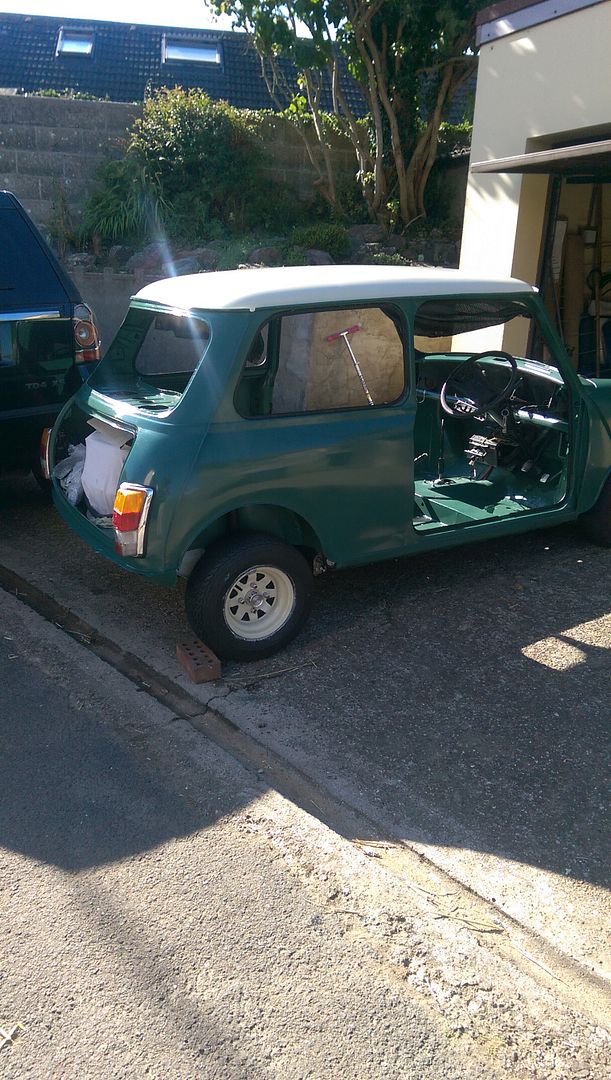
I know my lights are the correct way up but are they the correct way round ?
Also had a another go at the headlining, I super glued the rod end that snapped and clipped up the headlining.
I then realised that there is a particular way to fit the headlining and I hadn't followed it as it no longer fitted at the front.
It would appear that they way to go about this is to secure the headlining at the front by fitting the Sun Visors and then probably fit the Rear Window.
#508

Posted 30 August 2016 - 06:54 PM
Your lights are the right way round ![]()
#509

Posted 30 August 2016 - 07:03 PM
Your lights are the right way round
Thanks Ben ![]()
#510

Posted 01 September 2016 - 07:50 PM
A little more work today.
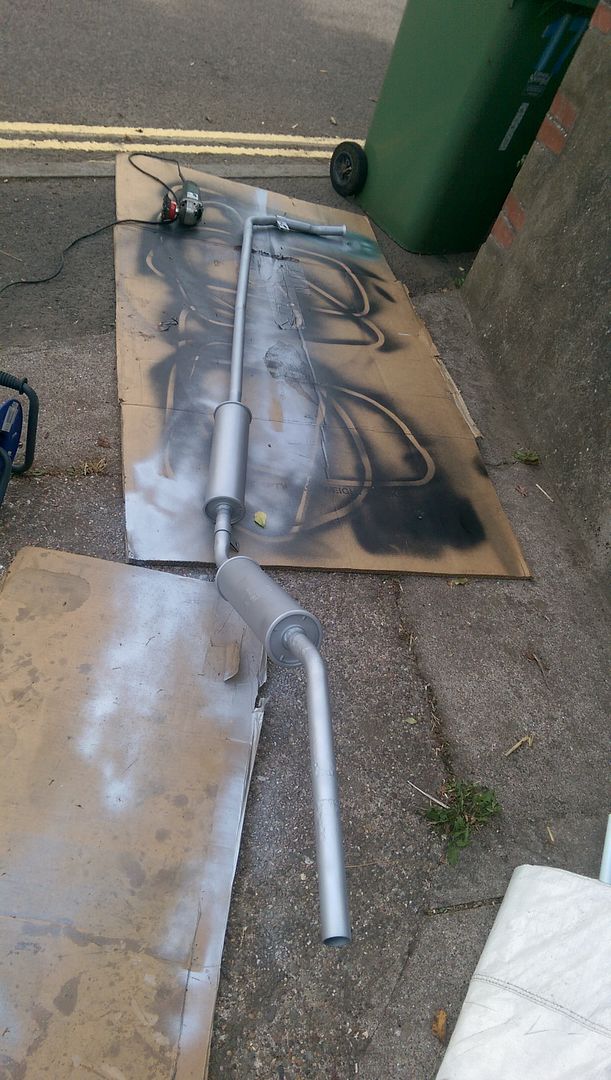
Before I re-fit the exhaust I thought I'd clean it up.
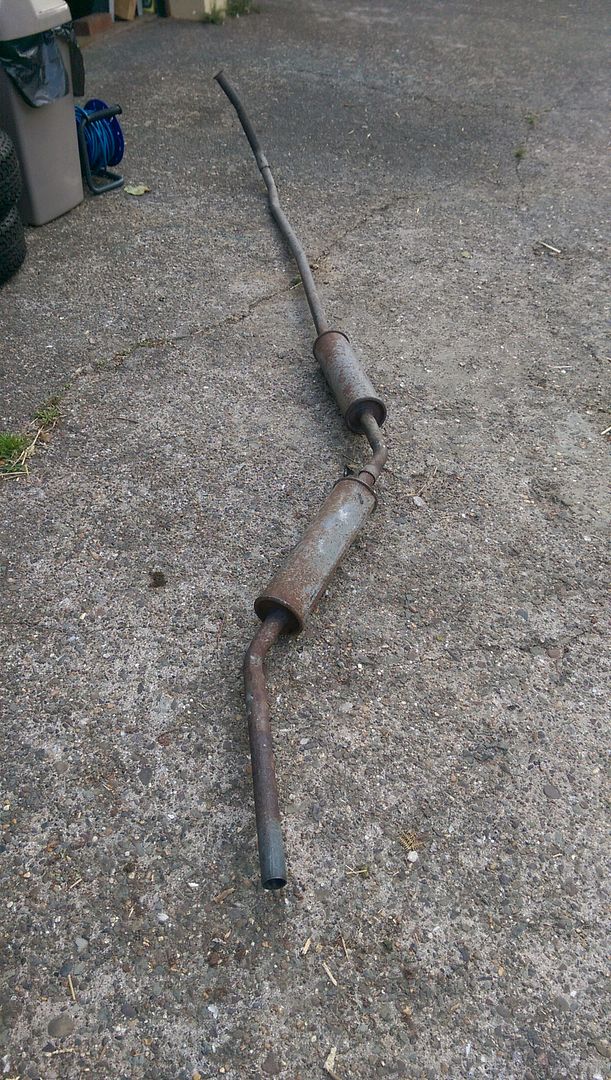
First of all I cleaned it up with a twisted knot brush:
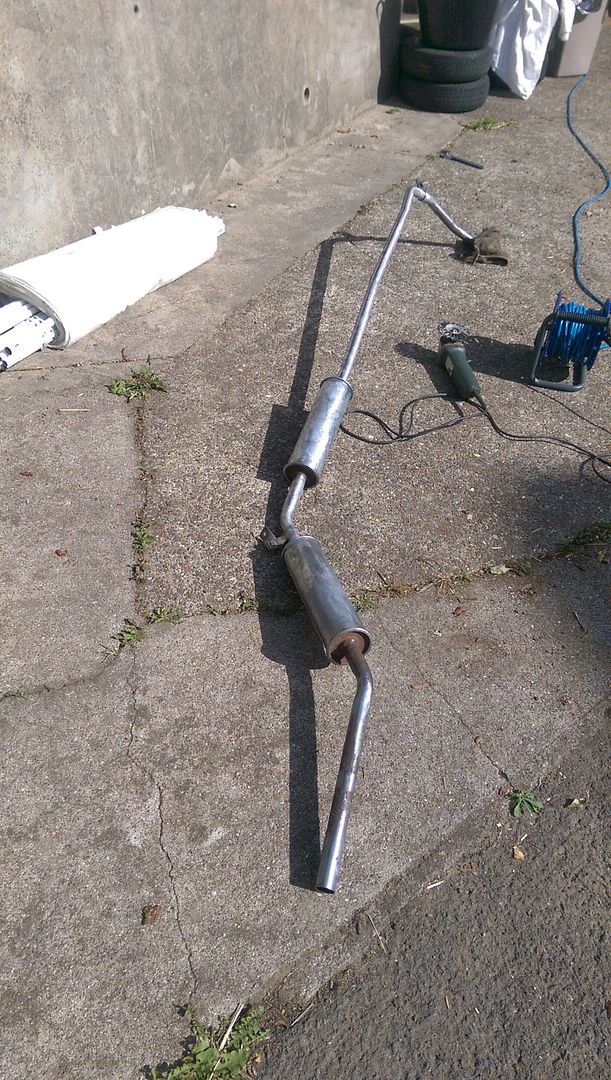
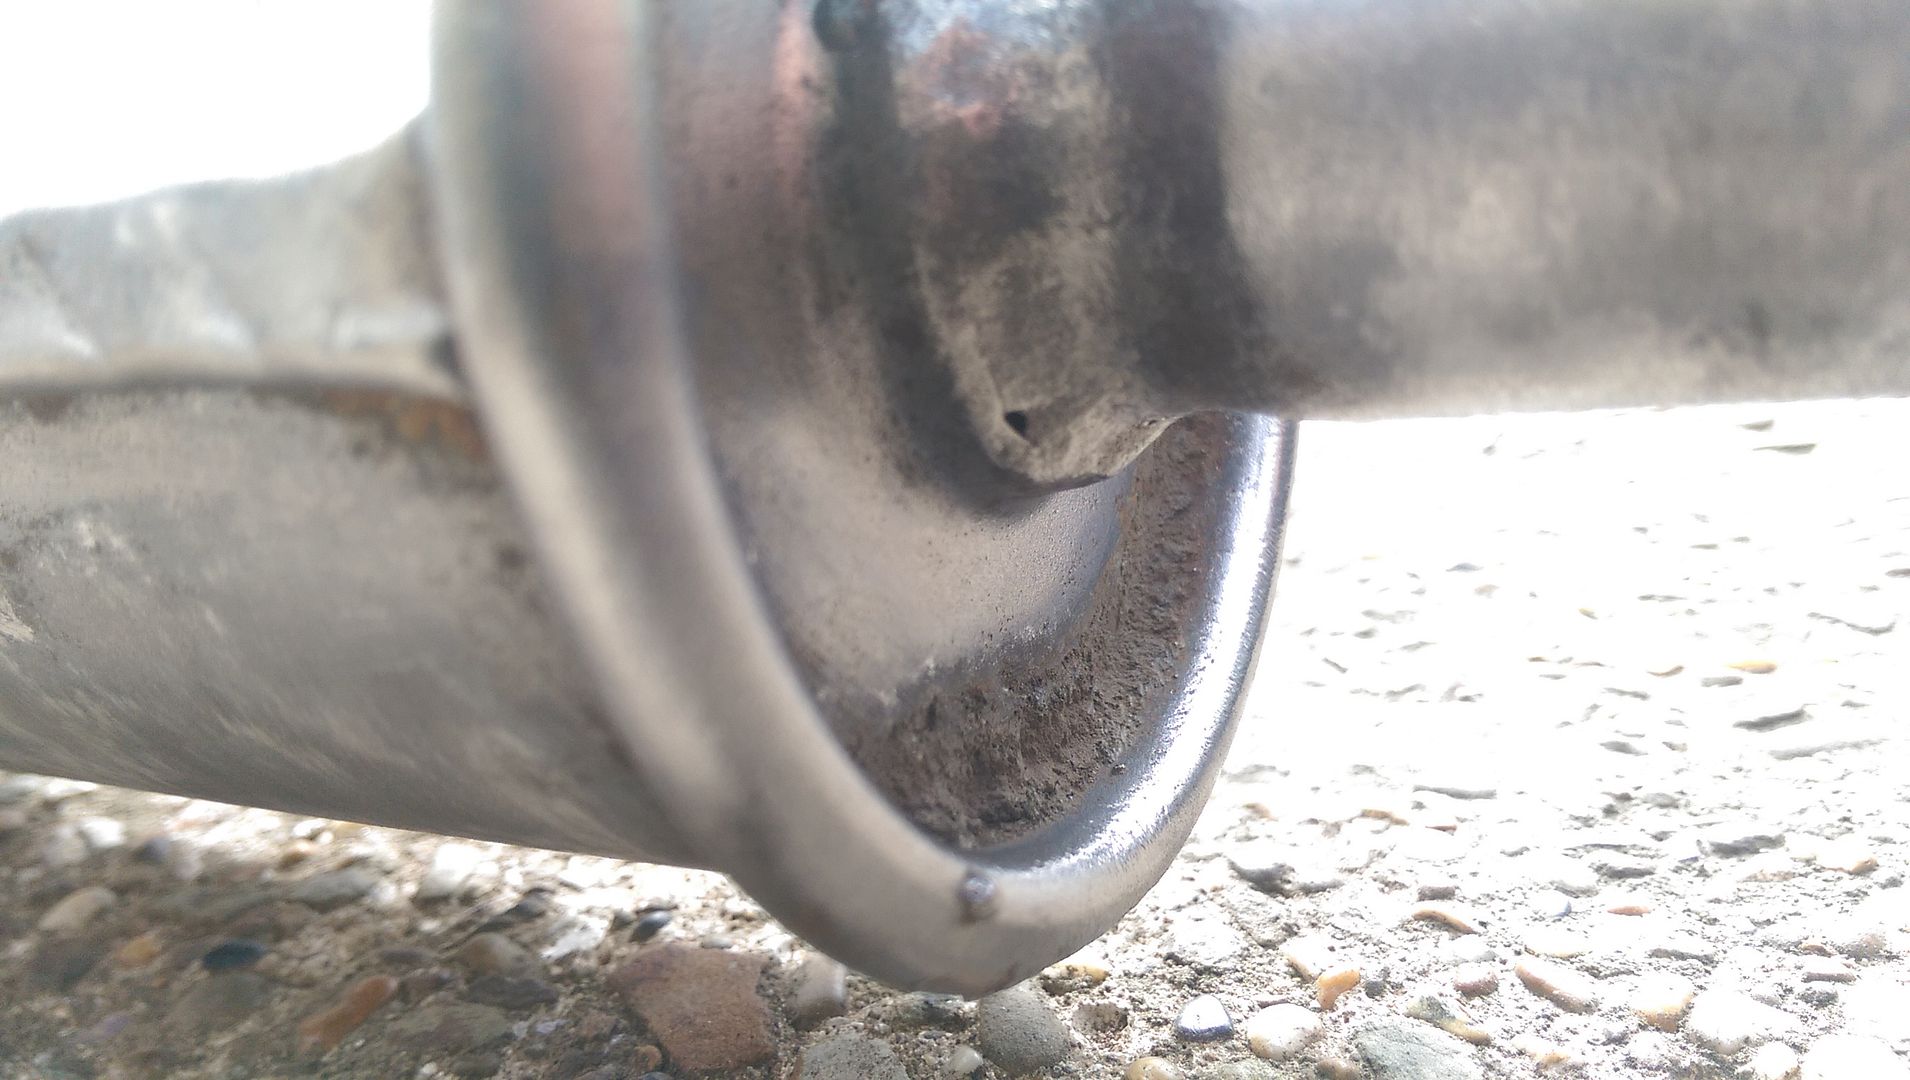
Then I spent a little more time cleaning up the nooks and crannies and also spotted a couple of possible holes where the pipe meets the silencer boxes so I welded them up just in case.
Then I splashed on some weld through primer:
Next up I re-fitted the Fuel Tank:
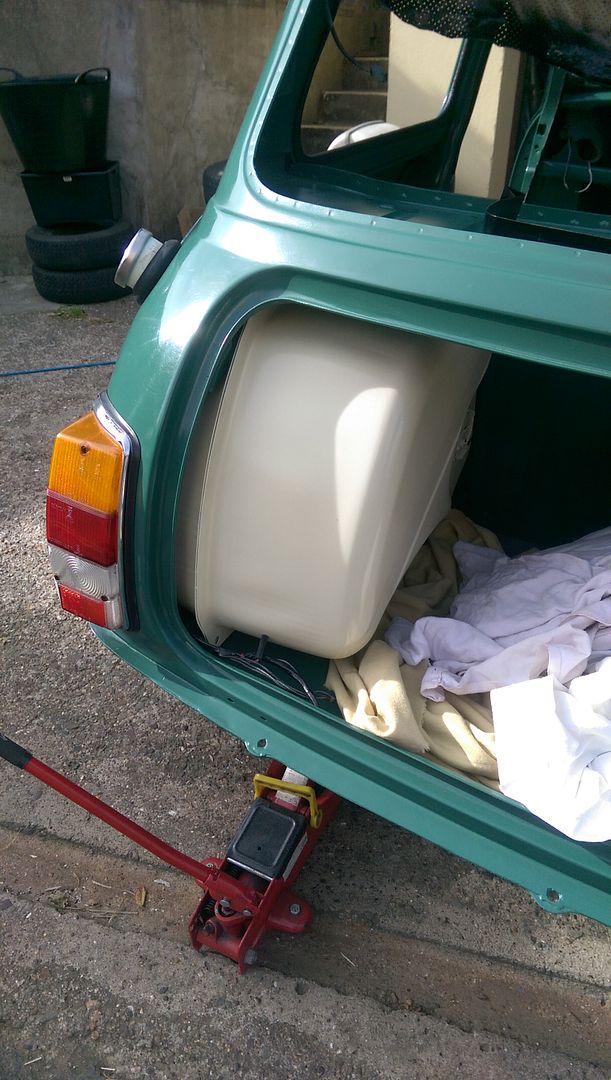
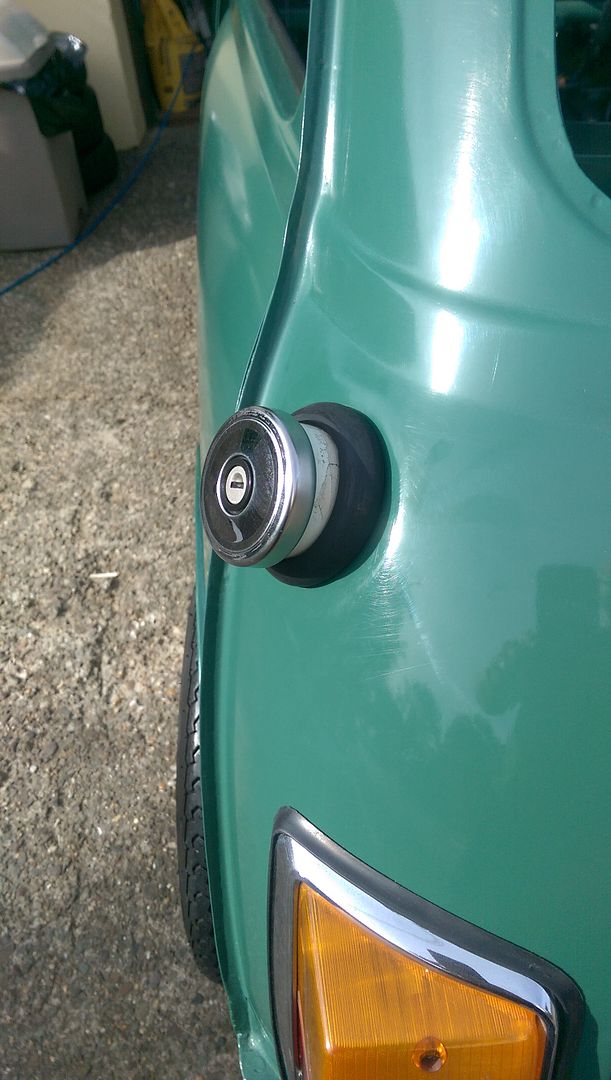
I am never sure if the tank is fitted correctly, and took a great deal of care to not scratch my paintwork.
The seam of the tank is sitting outside of where the Boot Lid restrainers bolt on - is this correct?
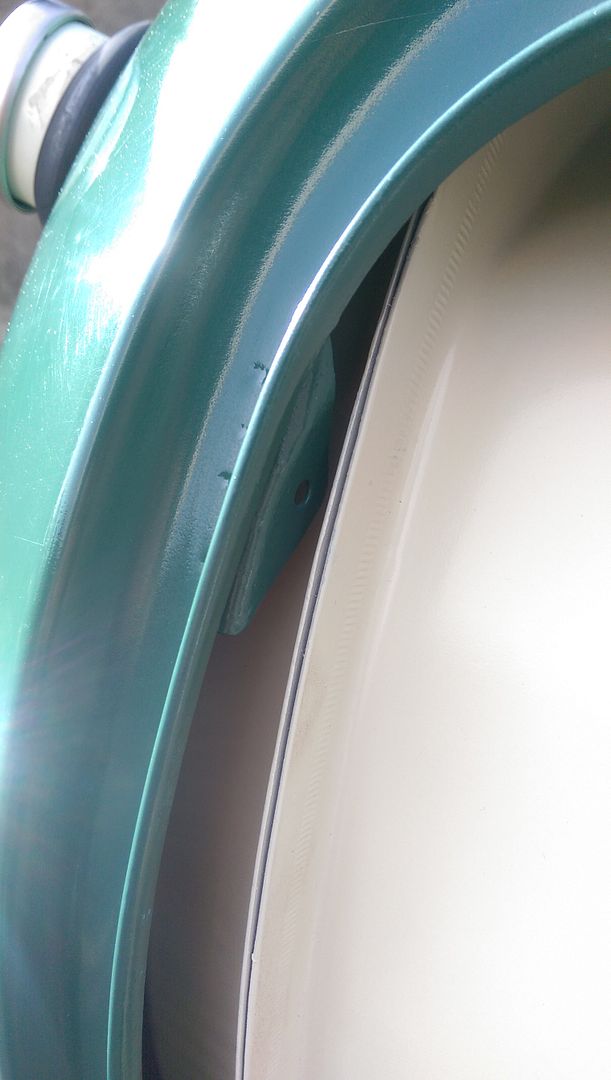
I then spent a long time replacing the rear fuel hose from the steel fuel pipe under the heel board to the tank.
I decided to replace the two piece pipe with one long piece but in doing so found that the hose clips that I was using were the wrong ones. I was using the clips that I bought for a piece of braided hose - these ones and should have used these ones.
2 user(s) are reading this topic
0 members, 2 guests, 0 anonymous users


