Jump to content


Photo
- - - - -

1982 Austin Mini - Project Who?


  • Please log in to reply
852 replies to this topic

#481 JonnyAlpha

JonnyAlpha

    Up Into Fourth

  • Members
  • PipPipPipPipPipPipPipPipPip
  • 2,748 posts
  • Location: North Devon
  • Local Club: Exmoor Minis

Posted 28 July 2016 - 08:59 PM

Just pottering at the moment and the weather is unsettled which doesn't help.


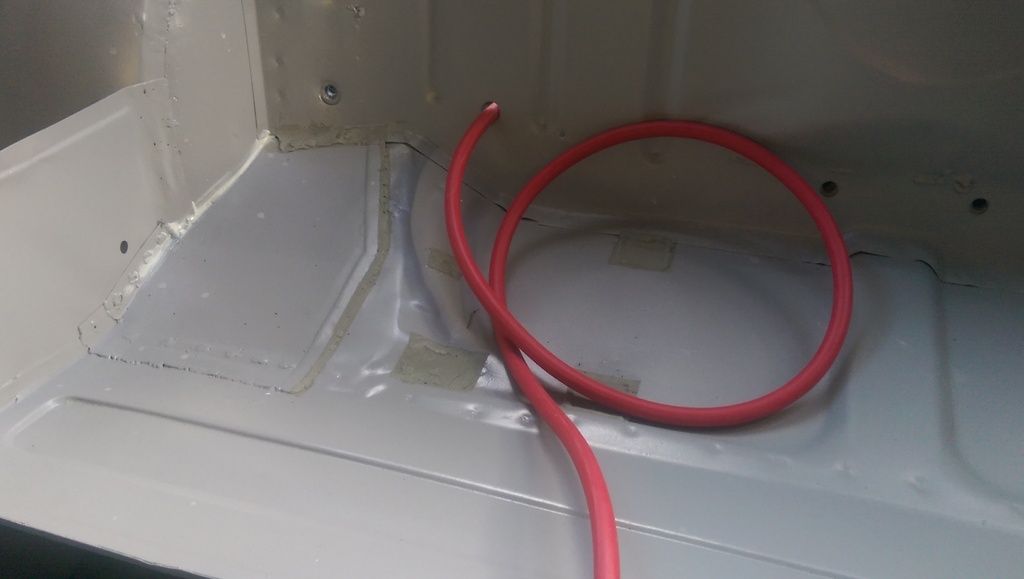
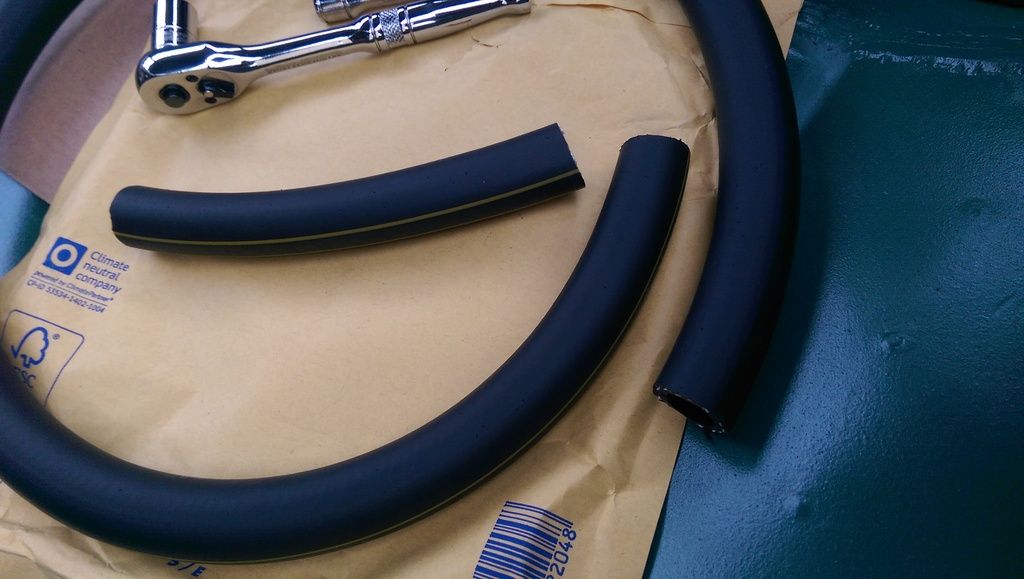
Did a bit more on the battery cabling yesterday. I have renewed and rerouted it through the bulkhead, cross member, rear seat etc. I ordered some of this silicone braided piping with a large enough internal diameter for the cable to slide through and about 21mm external diameter. 
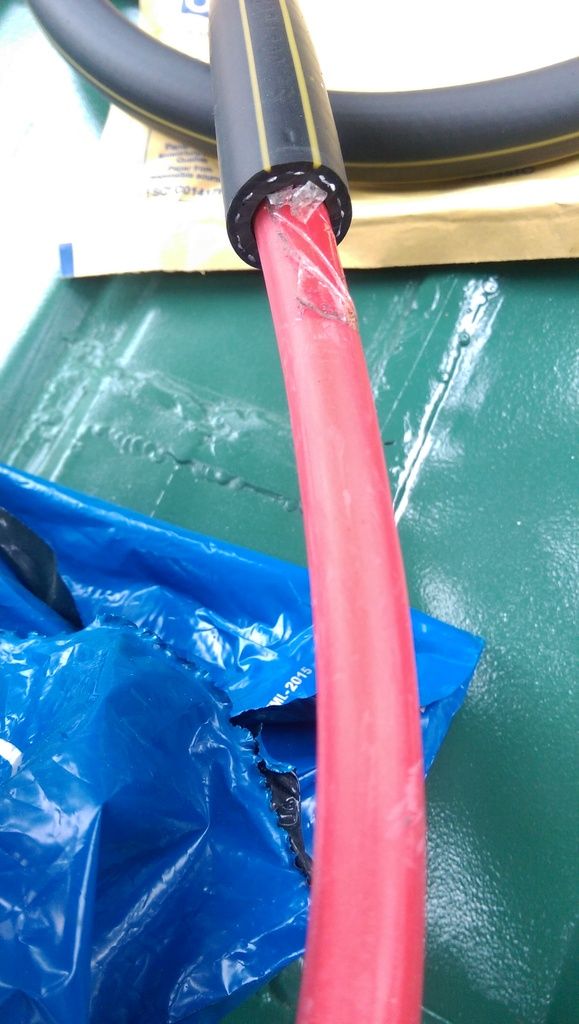
 

IMAG4792_zps05w4rjl3.jpg


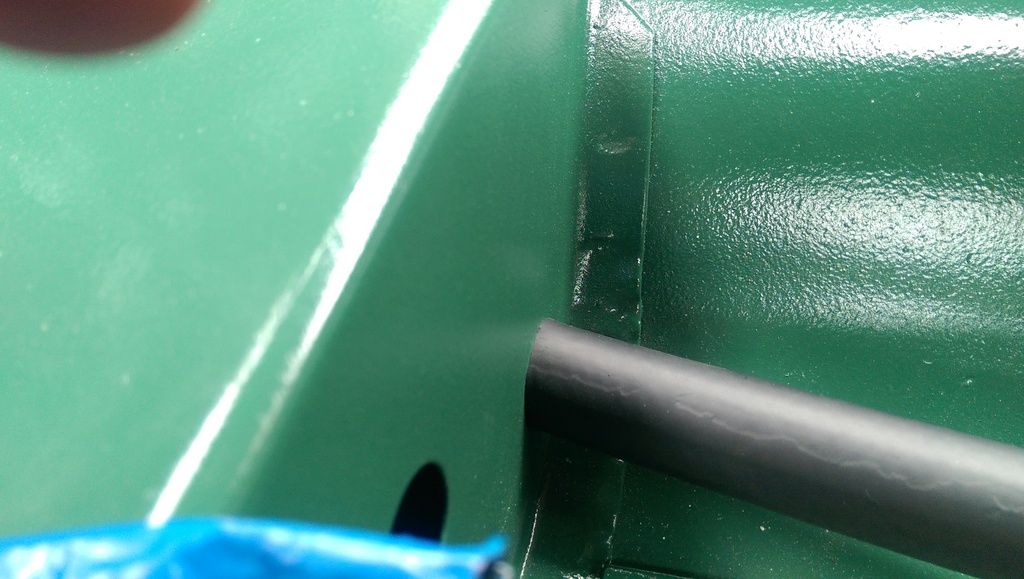
I cut a piece long enough to fit through the cross member with some overhang (about 15mm if I recall).
 

IMAG4791_zpsqf7ici1x.jpg


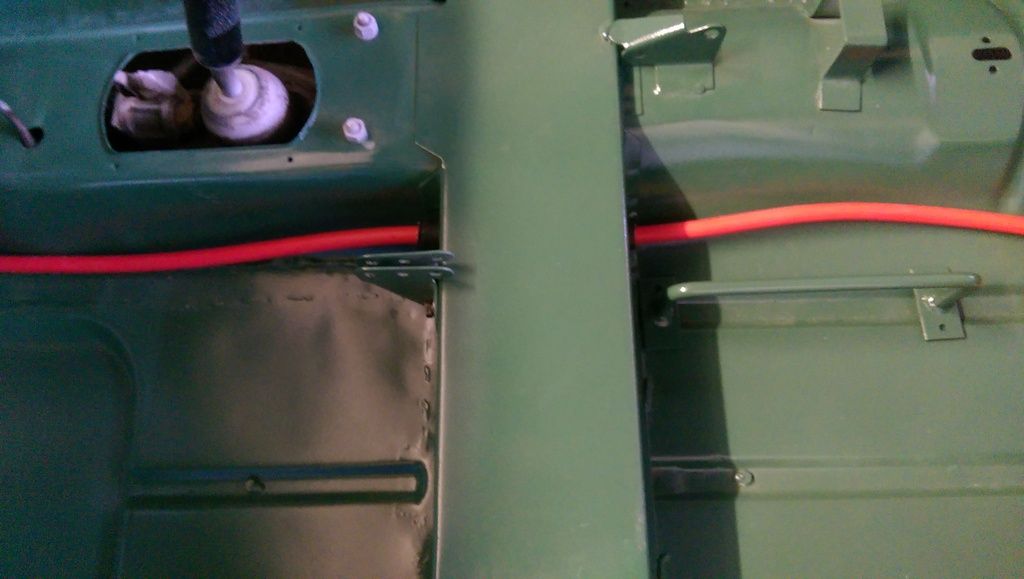
To help it through the second side I chamfered the hose with a knife and used a screwdriver to line it up.
 

IMAG4793_zpsy7flxrxq.jpg


IMAG4795_zpsow111psi.jpg


I decided not to clip it in place until I can test fit the front seat and also the carpet.


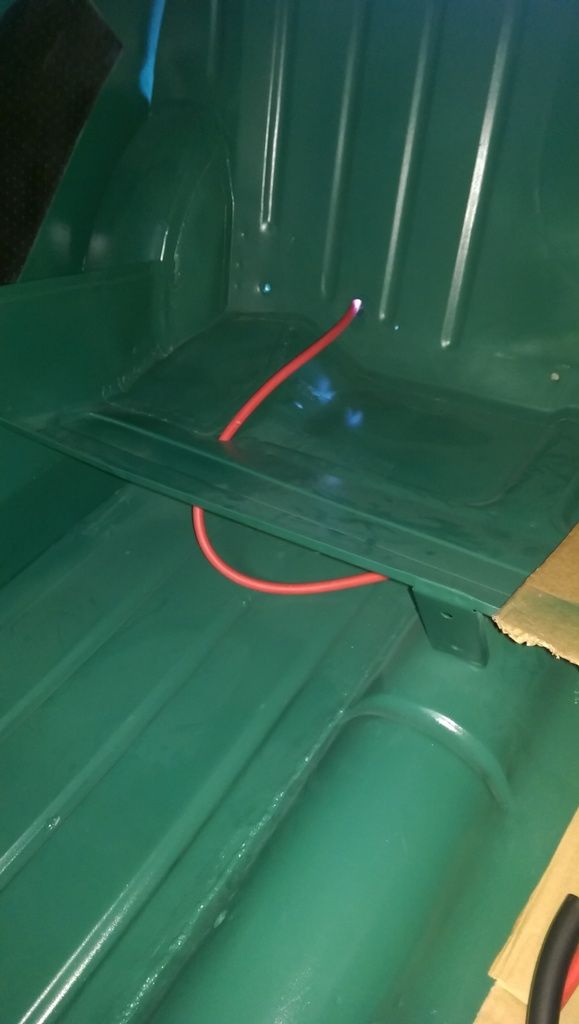
I had to widen out the hole in the rear to accommodate the hose and dabbed on some paint.
 

IMAG4797_zpsqpttoady.jpg


I'll fit the hose later but first I need to check the length of the cable, cut it and solder the end ready for the Battery Clamp.


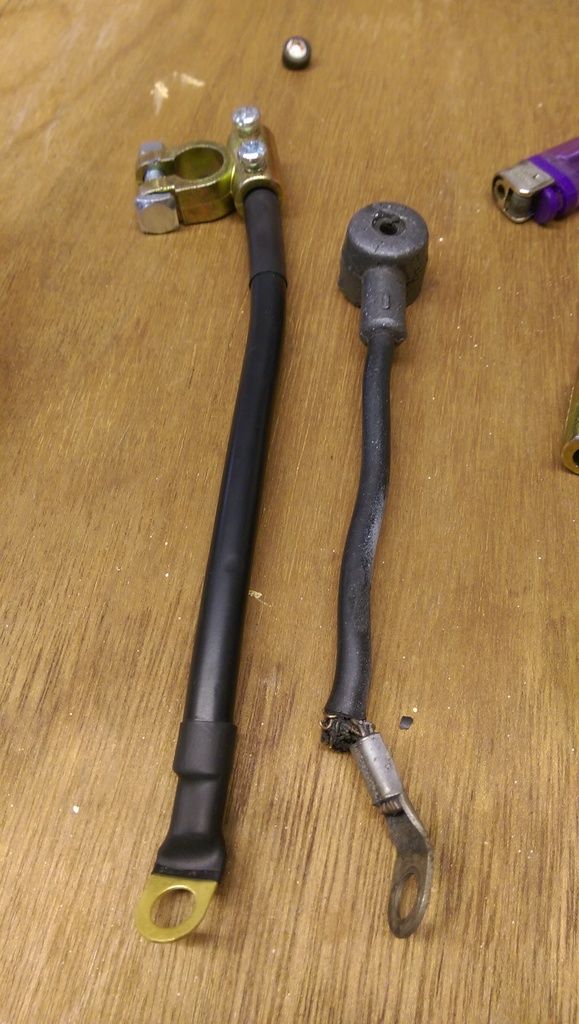
Today I made up a new Negative Cable. I bought this one from Halfrauds:
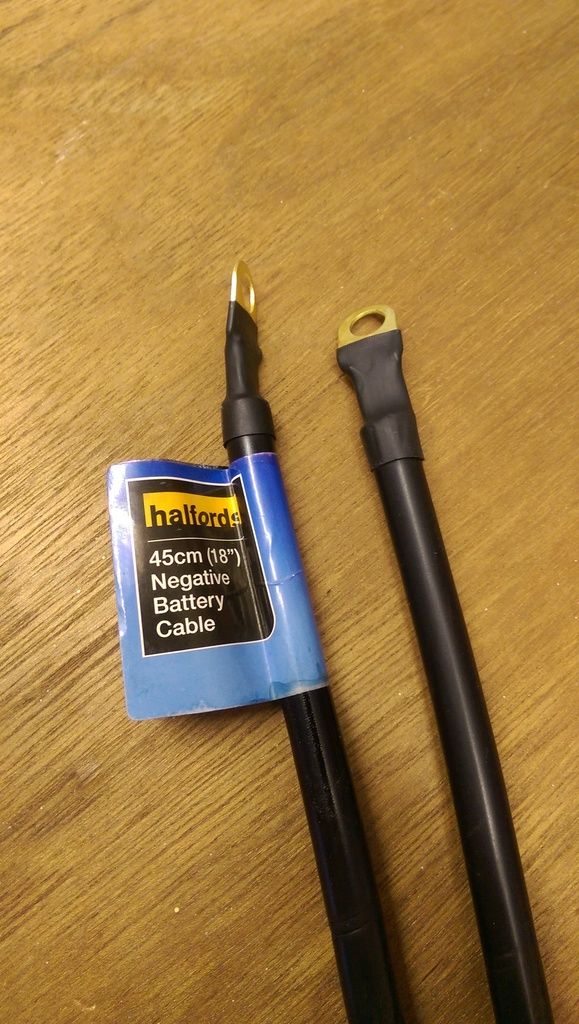
 

IMAG4800_zpsatyoguw8.jpg


It's much longer than I need and it will be cut anyway.


I measured it longer than the original and cut it with these ratchet wire cutters that I borrowed from my father in law:
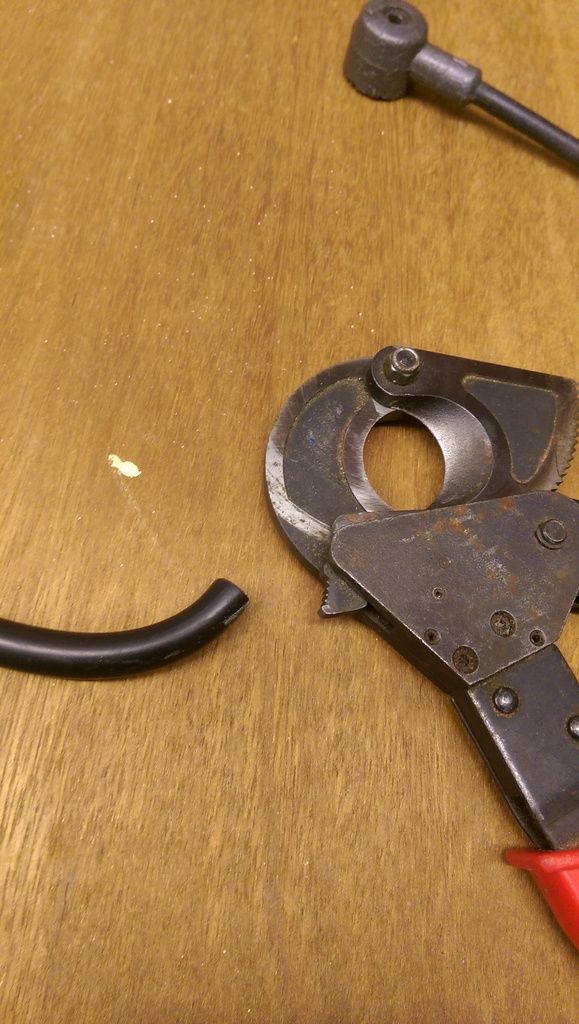
 

IMAG4801_zpsaggh1bev.jpg


For some reason I had it in my head that I was going to fit a terminal lug so measured and stripped to insulating sheath to match:
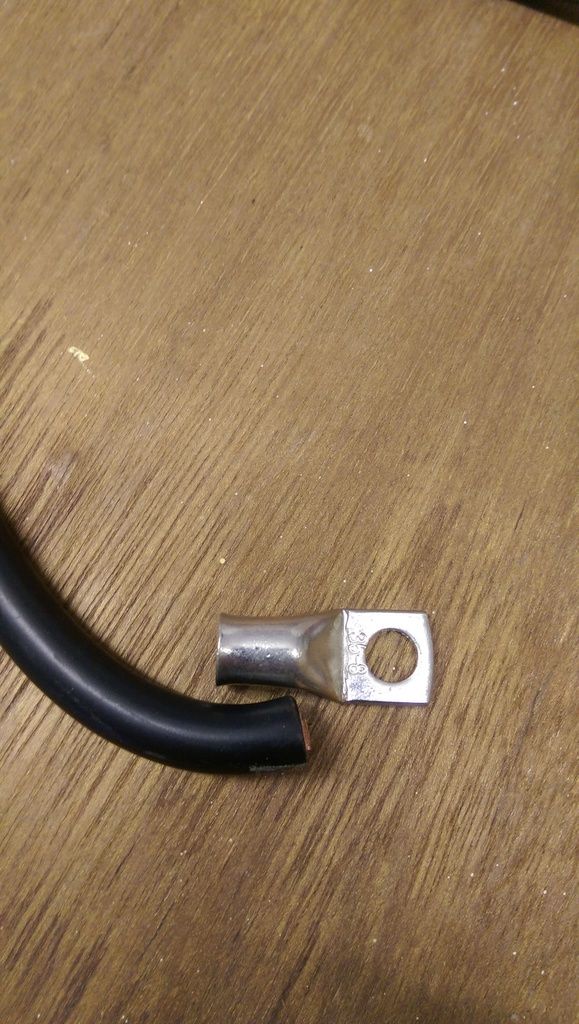
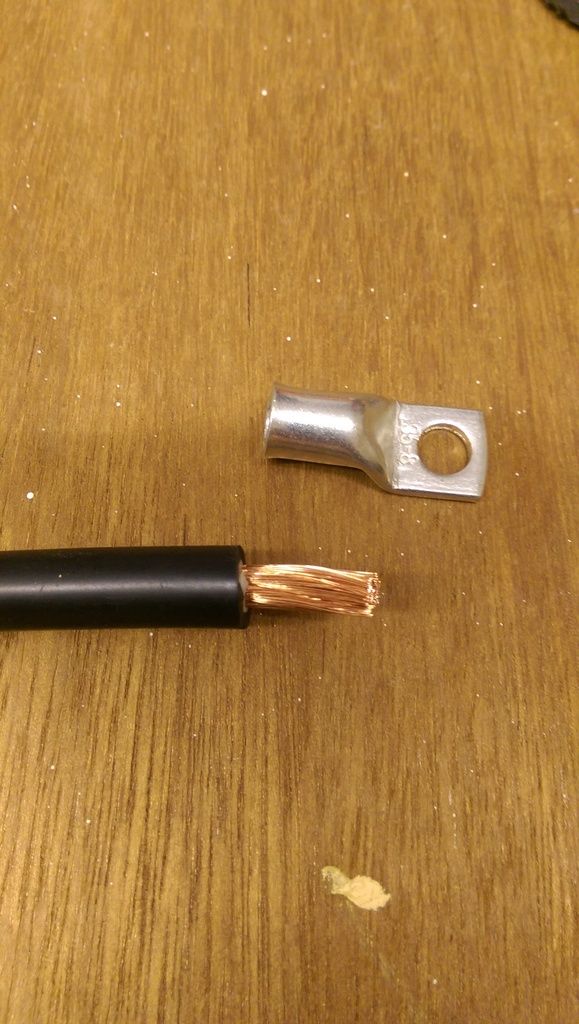
 

IMAG4802_zpsxgssaiiy.jpg


IMAG4803_zpsg7bpe2j8.jpg


Just before I soldered it on I realised I didn't need to do this so I trimmed back some more sheath and tinned the end of the cable to make it nice and solid:


Before I did this I put on some heat shrink (again this was not needed really and the stuff they sold me in Maplins was too small so I had to stretch it and squeeze it on!!
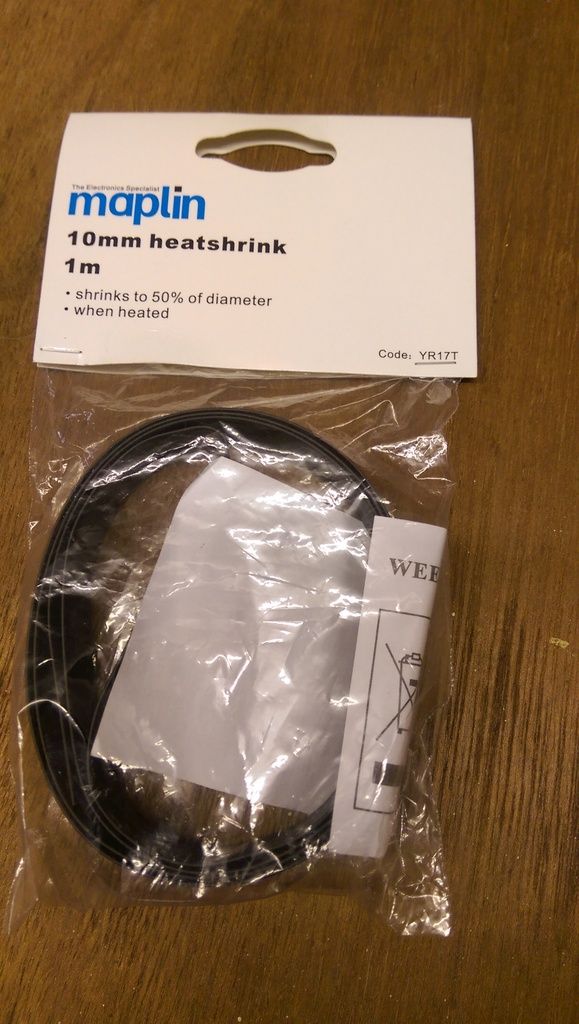
 

IMAG4804_zpsotji7dmo.jpg


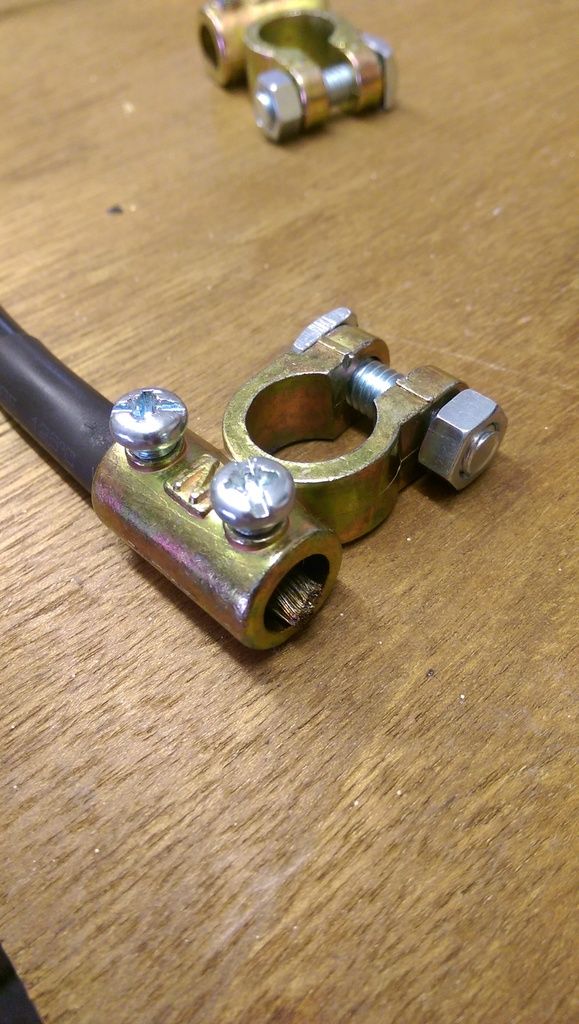
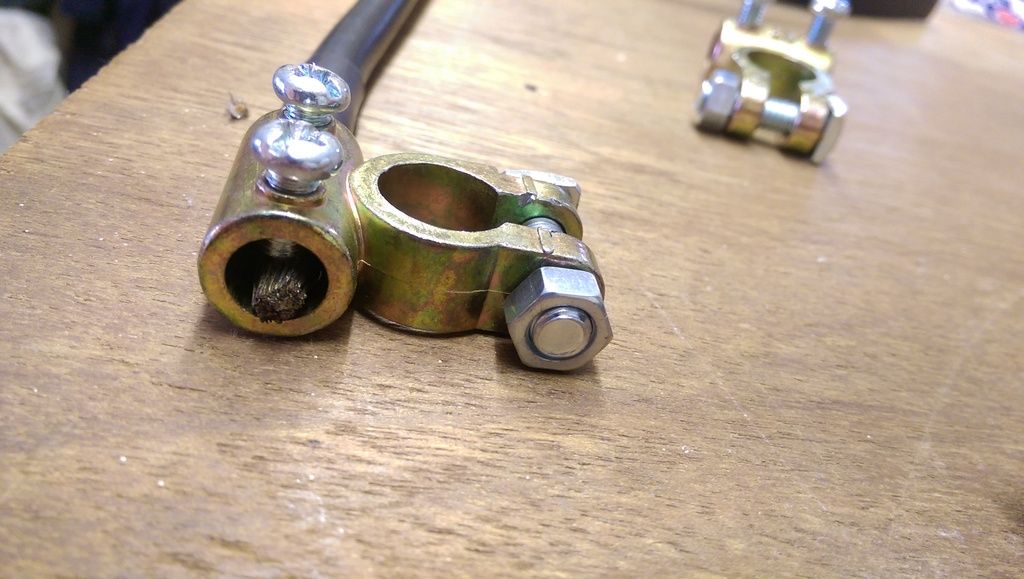
Anyway once it was tinned I screwed on the Negative Terminal:
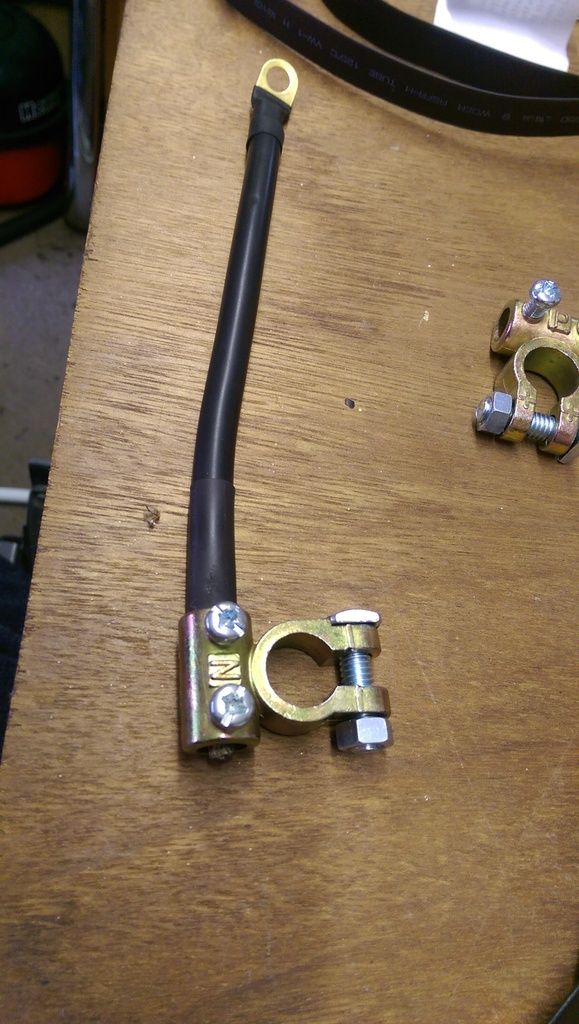
 

IMAG4806_zpsl0yeoay3.jpg


IMAG4807_zpsfdb81zji.jpg


IMAG4808_zpsuemibhgk.jpg


IMAG4809_zpsdxfh9jjd.jpg


Much  better than the original?


#482 JonnyAlpha

JonnyAlpha

    Up Into Fourth

  • Members
  • PipPipPipPipPipPipPipPipPip
  • 2,748 posts
  • Location: North Devon
  • Local Club: Exmoor Minis

Posted 12 August 2016 - 07:24 AM

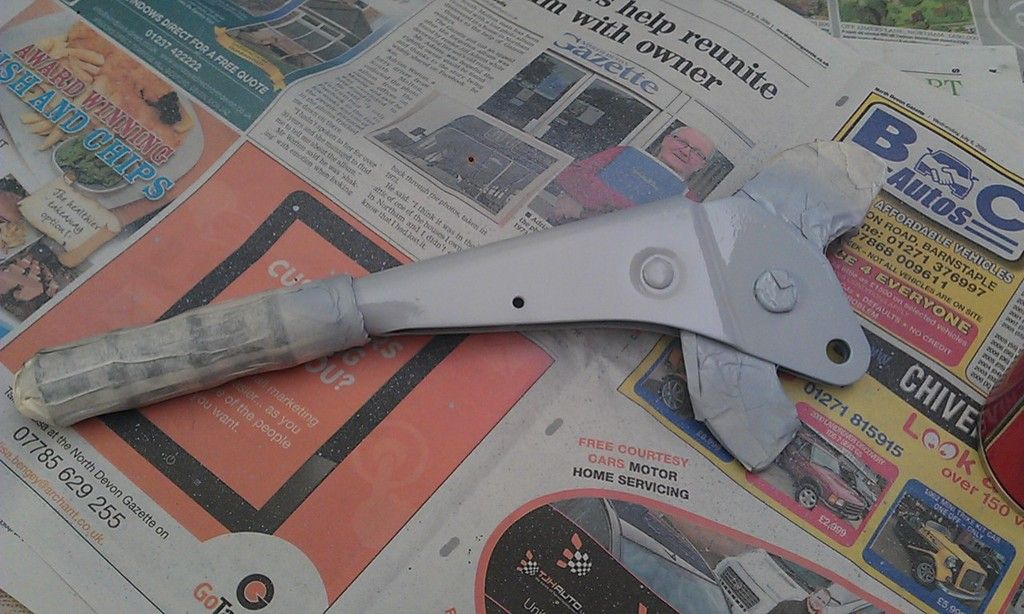
Little more progress, starting to rebuild the interior and needed to fit the handbrake, but everything that I took off needs refurbing.


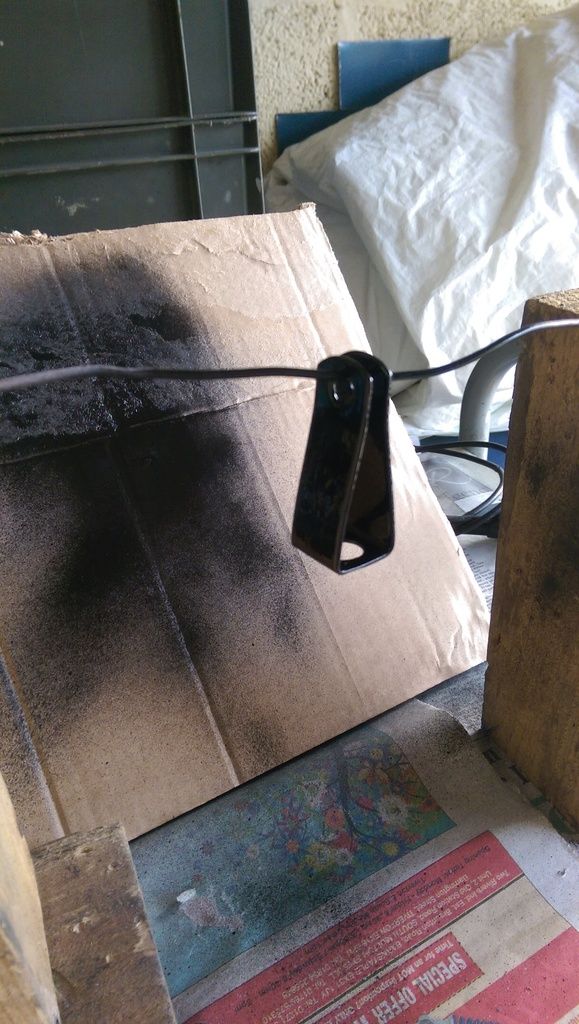
Sanded it down and primed it first:


IMAG1323_zpsa0kpx2ja.jpg


Then sprayed it with some Rustoleum that I had laying around:


IMAG4996_zpsfzxeahid.jpg


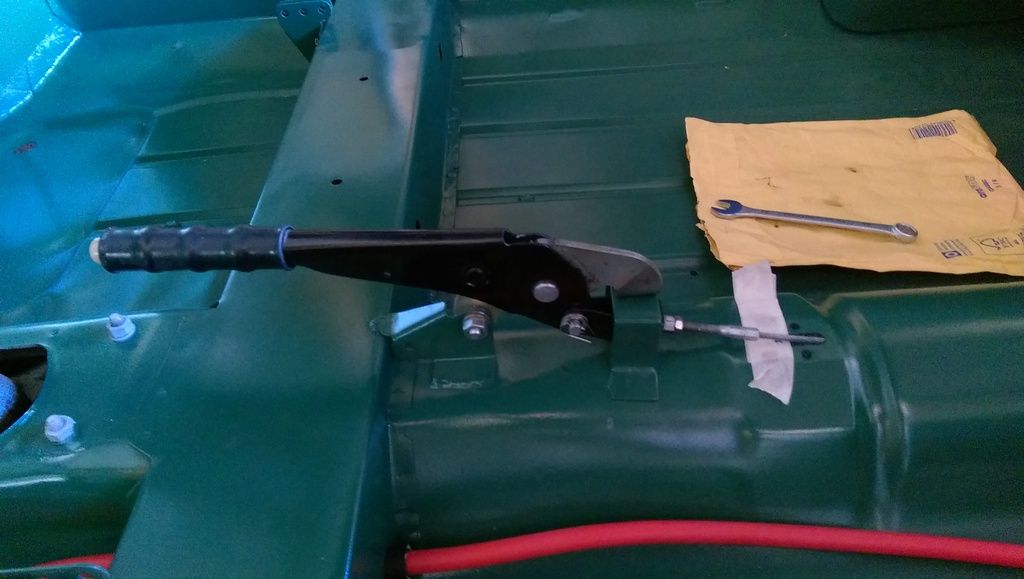
And then put it all together:


IMAG4997_zpsa8qaqobg.jpg


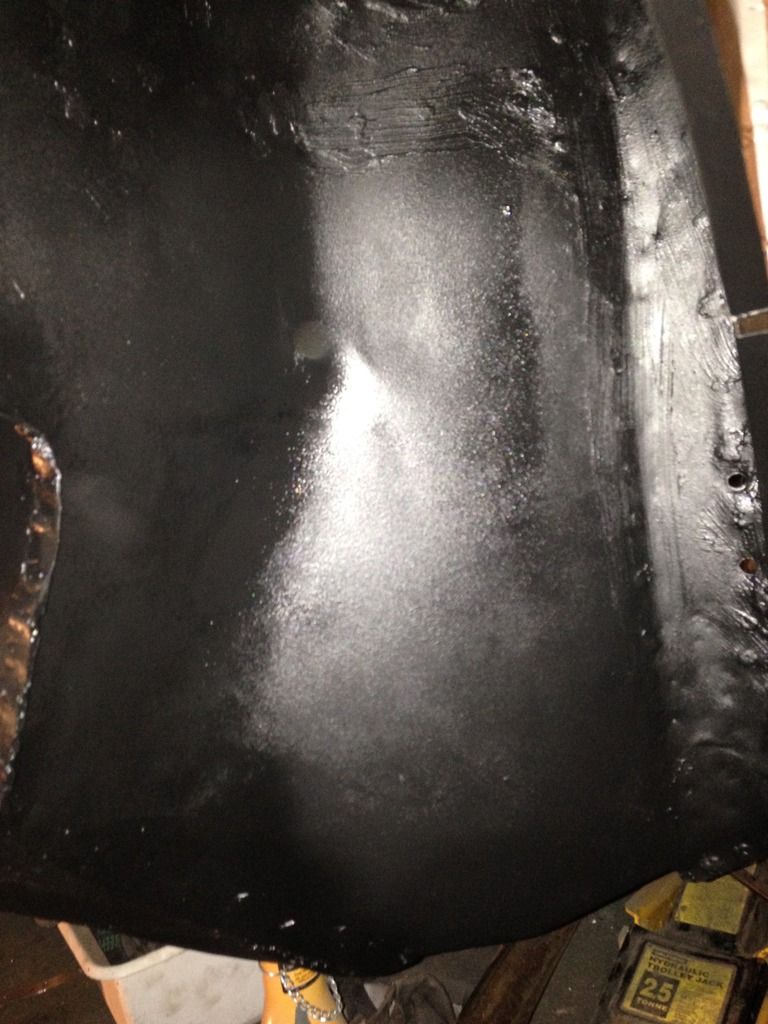
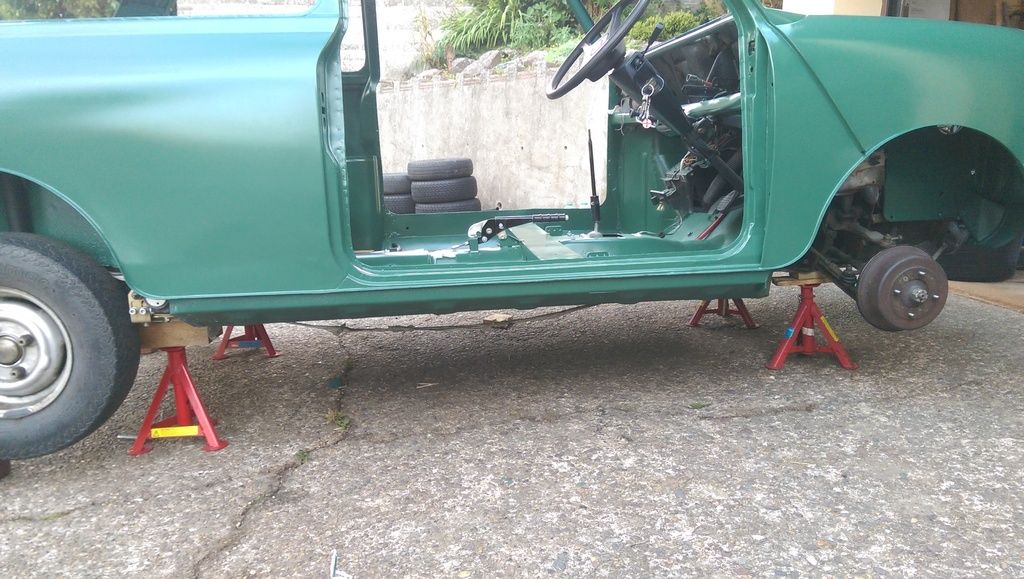
Before I did all of this I had to hand paint some Stone Chip and Top Coat in the tunnel area that the handbrake would cover. I still need to Stone Chip and Top Coat the rest of the underside (apart from the back end) but cannot get the car up high enough. I only have Axle Stands and haven't seen how high I can get it but I don't feel comfortable laying under it!! I need enough room to get a Shutz Gun / Water Trap and Mini Regulator under to spray, even with just the Gun and Mini Reg it still needs to be high enough to manoeuvre.


#483 Daz1968

Daz1968

    Up Into Fourth

  • Members
  • PipPipPipPipPipPipPipPipPip
  • 2,058 posts
  • Location: Dudley

Posted 12 August 2016 - 09:15 AM

have you considered using a small roller underneath, I have done this before and it came out fine, problem with spraying underside is you will have the gun on its side and unless you use a cup system like pps you will have problems with paint spilling everywhere.


#484 JonnyAlpha

JonnyAlpha

    Up Into Fourth

  • Members
  • PipPipPipPipPipPipPipPipPip
  • 2,748 posts
  • Location: North Devon
  • Local Club: Exmoor Minis

Posted 12 August 2016 - 10:45 AM

have you considered using a small roller underneath, I have done this before and it came out fine, problem with spraying underside is you will have the gun on its side and unless you use a cup system like pps you will have problems with paint spilling everywhere.

I have considered rollering it but rollering it won't get the same texture? Unless I hammer it with a stubby brush as well? 


#485 ryomini

ryomini

    Super Mini Mad

  • Members
  • PipPipPipPipPipPip
  • 583 posts
  • Location: Hiroshima

Posted 12 August 2016 - 12:40 PM

The paint job looks admirable, like mine time will tell on our durability

I am not really sure why you re routed the battery cable, it's nice and safe tucked under the car and goes straight too, was there some advantage ?
 

Did you seam seal all your seals - I don't remember if you did, but it's worth doing (only use urethane though)


#486 James_eaton_thewholething

James_eaton_thewholething

    One Carb Or Two?

  • Members
  • PipPipPipPipPipPipPip
  • 1,063 posts
  • Location: Manchester

Posted 12 August 2016 - 06:15 PM

I used a roller on my floors and under areas. If you used cheap pound shop rollers with the wool like roller you get a decent texture to the paint.

This was with a foam roller

IMG_3010_zpsd9jhnvas.jpg

#487 JonnyAlpha

JonnyAlpha

    Up Into Fourth

  • Members
  • PipPipPipPipPipPipPipPipPip
  • 2,748 posts
  • Location: North Devon
  • Local Club: Exmoor Minis

Posted 12 August 2016 - 07:51 PM

The paint job looks admirable, like mine time will tell on our durability

I am not really sure why you re routed the battery cable, it's nice and safe tucked under the car and goes straight too, was there some advantage ?


Did you seam seal all your seals - I don't remember if you did, but it's worth doing (only use urethane though)


Thanks for your comments on my DIY paint job.


Mmm - you had me questioning my sanity for a moment :-) Looked back through my project thread and I didn't include any pictures!! 


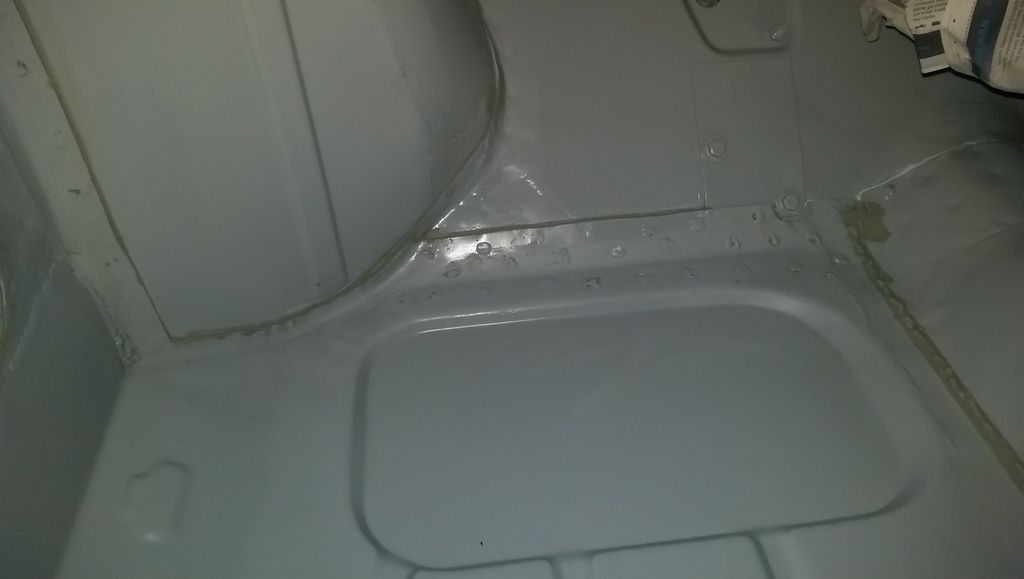
Here's one showing some seam sealing on some welding on the seat:


IMAG4612_zpsaojdccdn.jpg


I used two types os sealer PU from a Caulk Gun and some brush Indasa sealer. 


#488 JonnyAlpha

JonnyAlpha

    Up Into Fourth

  • Members
  • PipPipPipPipPipPipPipPipPip
  • 2,748 posts
  • Location: North Devon
  • Local Club: Exmoor Minis

Posted 12 August 2016 - 07:53 PM

And the footwell:


IMAG4378_zpsbrqnqyey.jpg


And the LH Scuttle:


IMAG4373_zpscrweaepm.jpg


#489 JonnyAlpha

JonnyAlpha

    Up Into Fourth

  • Members
  • PipPipPipPipPipPipPipPipPip
  • 2,748 posts
  • Location: North Devon
  • Local Club: Exmoor Minis

Posted 12 August 2016 - 07:59 PM

I used a roller on my floors and under areas. If you used cheap pound shop rollers with the wool like roller you get a decent texture to the paint.

This was with a foam roller

IMG_3010_zpsd9jhnvas.jpg


Might just do that - just been looking at your build thread - well done - you have less space in your garage than me  :lol:


#490 James_eaton_thewholething

James_eaton_thewholething

    One Carb Or Two?

  • Members
  • PipPipPipPipPipPipPip
  • 1,063 posts
  • Location: Manchester

Posted 13 August 2016 - 01:11 AM

Let's put it this way it's a pain to paint in. Also looking back now I have no idea how I managed to work in it before selling all the golf parts. The reason I used a roller on mine is because lack of space. Will even be spraying under seal in the arches because I'm lazy. but main floor will be applied with a brush due to space

#491 1984mini25

1984mini25

    Crazy About Mini's

  • Members
  • PipPipPipPipPipPipPipPipPipPip
  • 8,784 posts
  • Location: -

Posted 13 August 2016 - 10:11 AM

If you want a textured finished with a roller, don't use a fresh 4" foam roller. I purely only wanted to throw some paint onto a temporary boot lid, but the only roller head I could find (couldn't find the new ones I'd bought) had been previously used and gone hard.


27475106910_3afbdc0c4b_c.jpg


If you roller on your first coat nice and smooth, get as much paint out of the roller as possible then hang it up and let it dry, the next coat should be nicely textured.


#492 JonnyAlpha

JonnyAlpha

    Up Into Fourth

  • Members
  • PipPipPipPipPipPipPipPipPip
  • 2,748 posts
  • Location: North Devon
  • Local Club: Exmoor Minis

Posted 19 August 2016 - 09:23 AM

Looks like i'll be rollering the majority of the underside  :proud:


#493 JonnyAlpha

JonnyAlpha

    Up Into Fourth

  • Members
  • PipPipPipPipPipPipPipPipPip
  • 2,748 posts
  • Location: North Devon
  • Local Club: Exmoor Minis

Posted 19 August 2016 - 09:40 AM

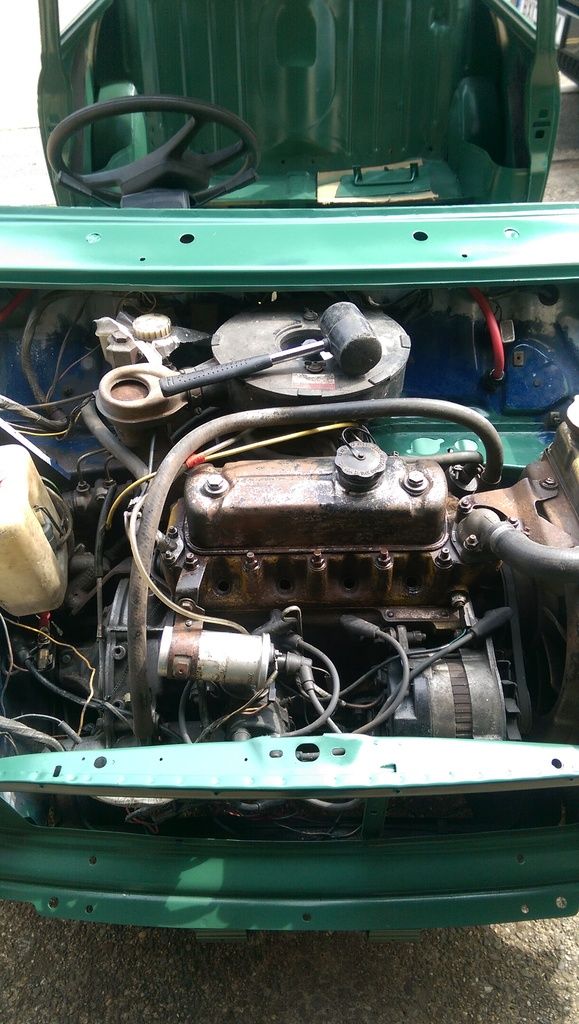
Little bit of pottering. Now that the battery cable is in I decided to check that the engine still turns over. Following advice on here I removed the plugs and squirted a little Engine Oil into the cylinders.


Also cleaned up a little more along the way.


The mallet comes into play later.


IMAG5275_zpsjj1m0dim.jpg


I had also been advised to get some oil into the oil pump but removing it was a little too difficult and as I was only turning the engine over for a couple of seconds I gave up.


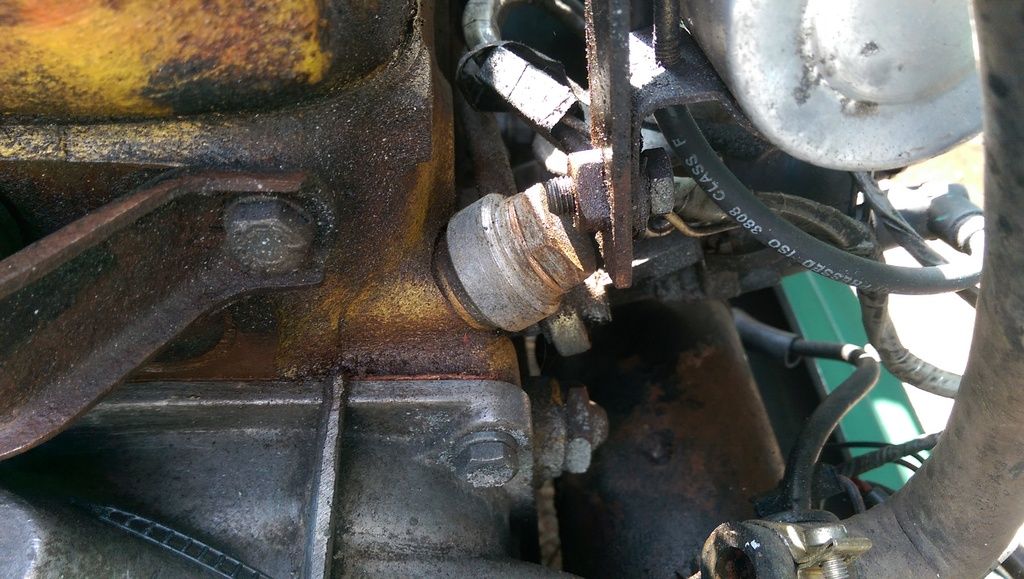
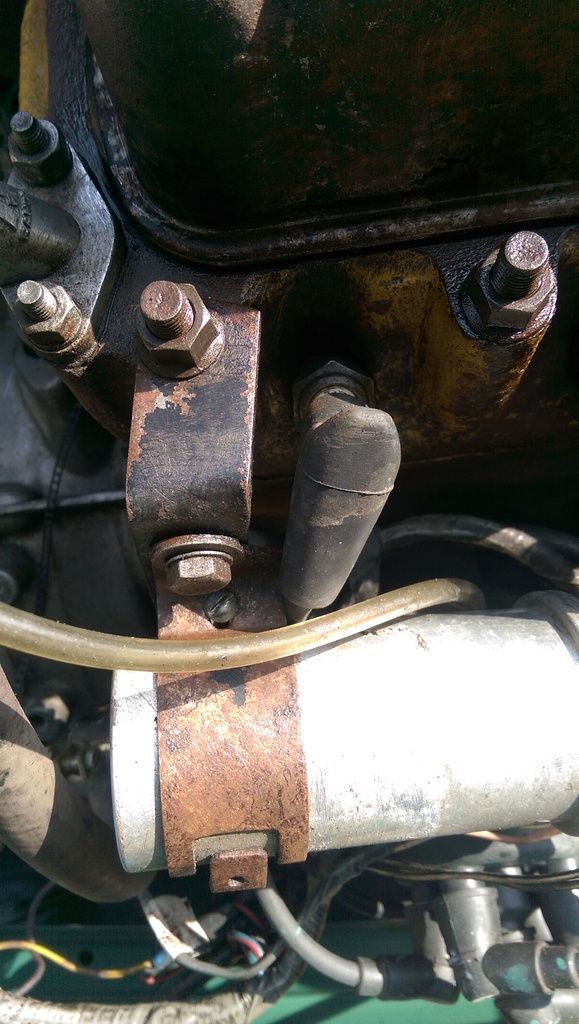
The Oil Pipe is held in by a large banjo nut that is obscured by the bracket that holds the Ignition Coil in place.


IMAG5277_zpsienfomyq.jpg


This bracket however is held on by one of the cylinder head nuts which I figure I would need to re-secure using a Torque Wrench - which I dod not possess!!


IMAG5278_zpsqtjsy8wh.jpg


Then after almost five years...................


https://www.youtube.com/watch?v=7-a6w-HlQzk 


At first the Starter did not engage but a slight tap with the rubber mallet did the trick then every go after it did not stick. 


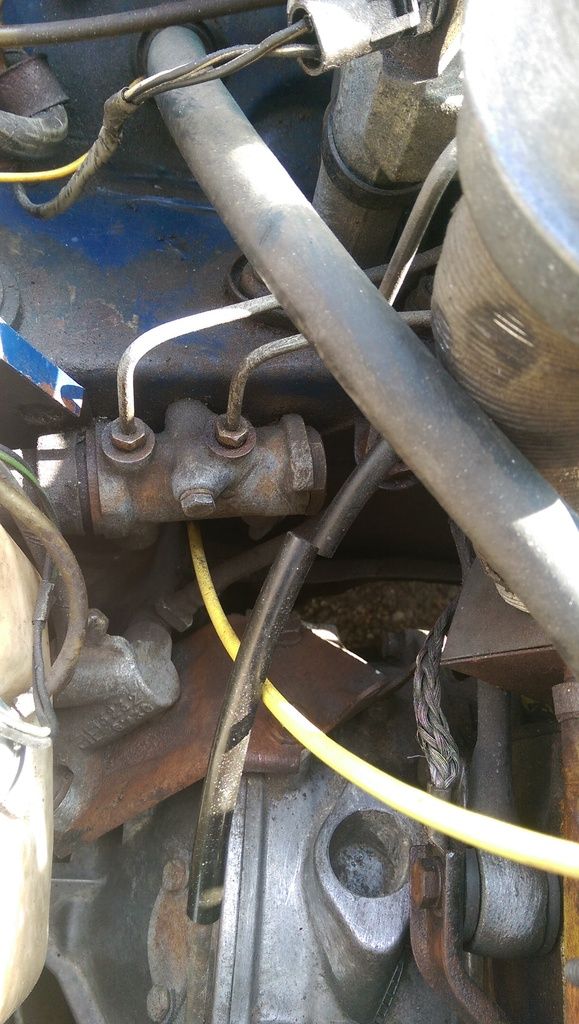
The Engine needs a lot of titivation, there is a broken pipe here, looks like an overflow from the carb (think I asked this a while ago):


IMAG5279_zpskmooaq68.jpg


And all of the various brackets and ancillaries need to be removed cleaned up and painted.


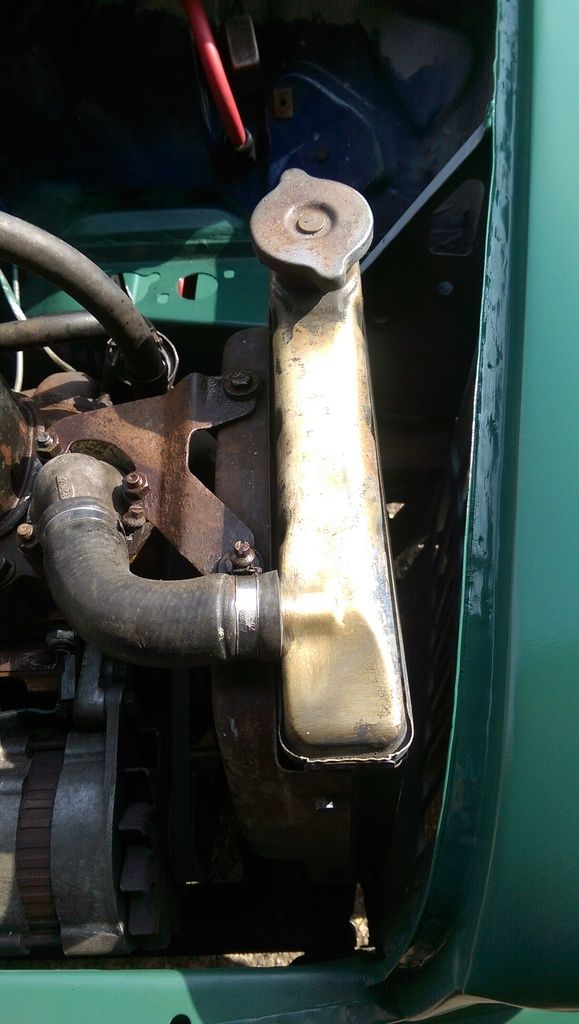
The Radiator needs to be removed and the top is brass so that needs a good polish!!


IMAG5276_zpsaih8oal3.jpg


 Next job really is to Cut and Polish the paintwork so that I can then start putting the windows back in. I have some charcoal black vinyl paint that bought for the Head Lining - I am also thinking of using it for the side window and door edge trim? As well as maybe the dash? 


Edited by JonnyAlpha, 19 August 2016 - 09:42 AM.


#494 JonnyAlpha

JonnyAlpha

    Up Into Fourth

  • Members
  • PipPipPipPipPipPipPipPipPip
  • 2,748 posts
  • Location: North Devon
  • Local Club: Exmoor Minis

Posted 24 August 2016 - 01:51 PM

Little bit of progress over the past couple of days.


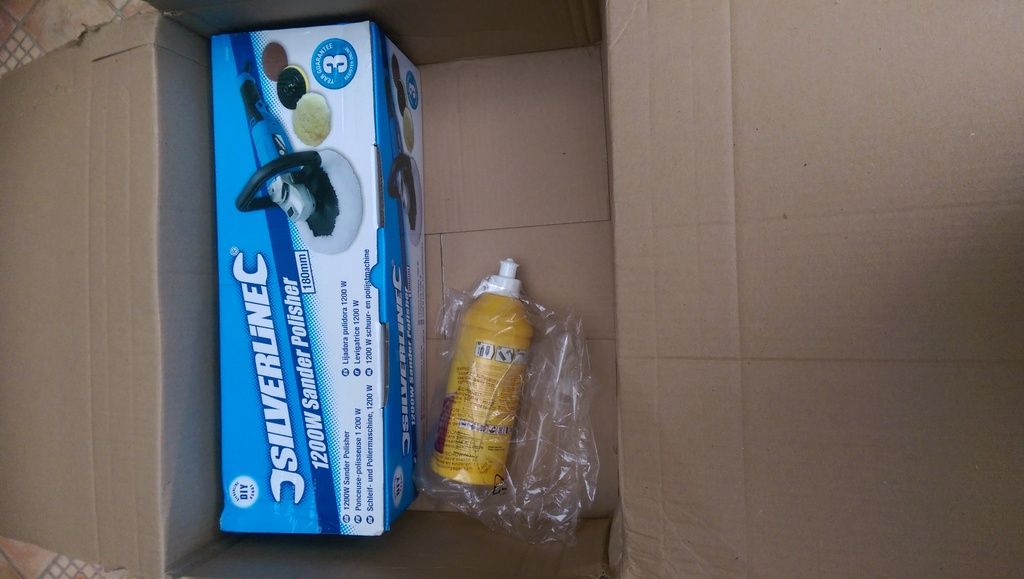
Ordered and received a Silverline Variable Speed Polisher along with some Farecla G10 cutting liquid to finish off my paintwork.


IMAG5285_zpsoqfhfaqe.jpg


To go with this I bought a set of FMT Polishing Heads which came with an M14 Backing Plate, also bought some 1200 and 200 Wet and Dry (Should have got 1500 so buying that today) along with some Micro FIbre and Mutton Cloths.


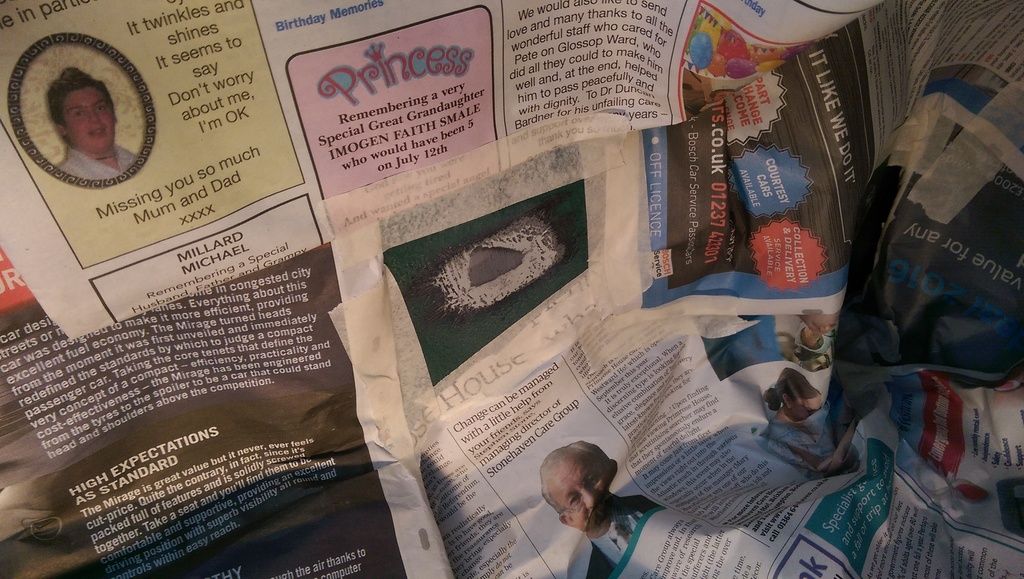
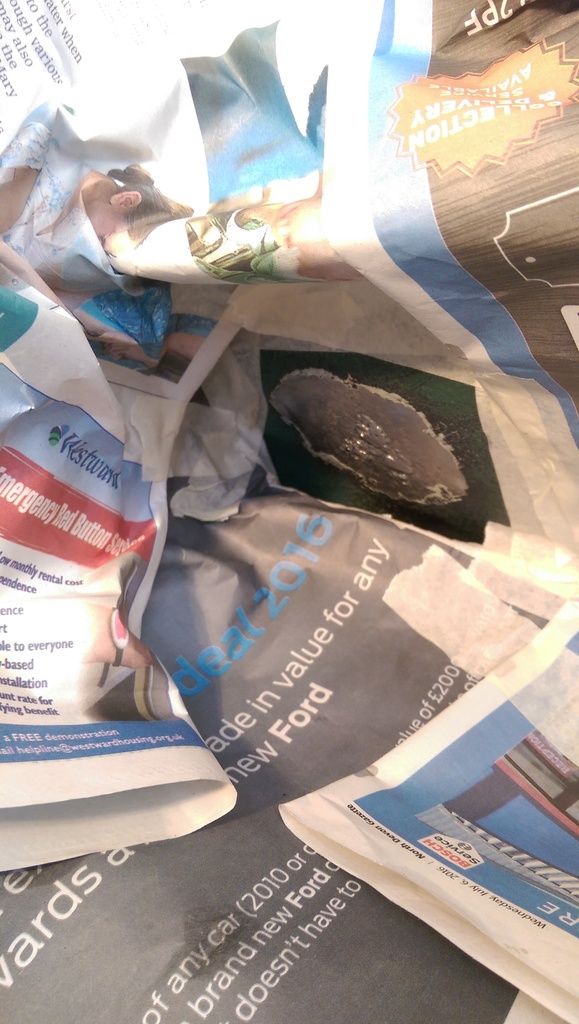
On the Mini the first job I did was clean up a small repair that I had to do on the underside. Whilst inspecting what need doing I found a bubble. I scraped this off and it may have occurred from where I cleaned up the inside from overheating?  


I cleaned the paint, stone chip and primer back and on the area that I had welded I had to de-rust it with Deox Gel then once they were all clean I masked them up:


IMAG5286_zpsrf202vw8.jpg


IMAG5287_zps0572yewz.jpg


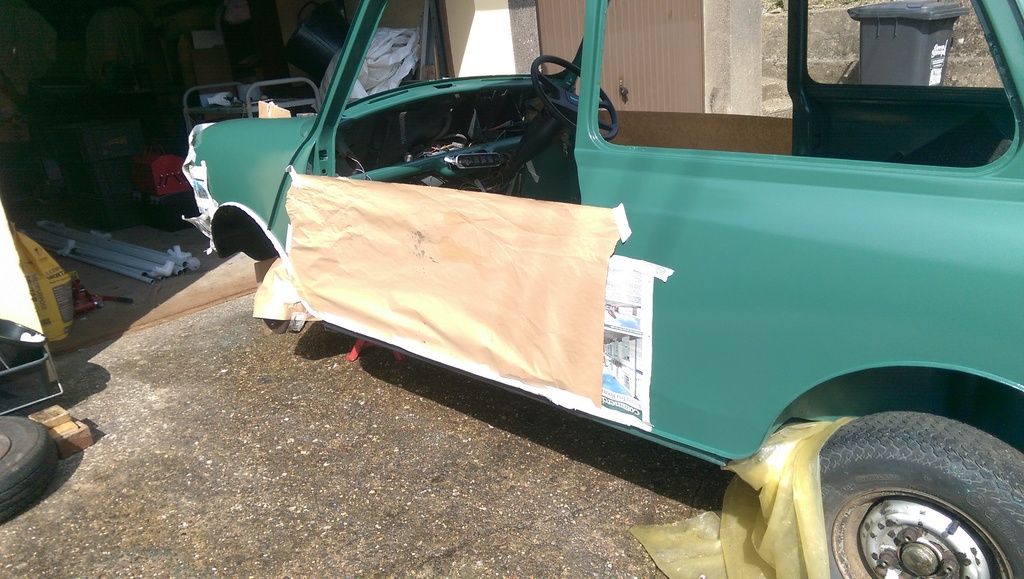
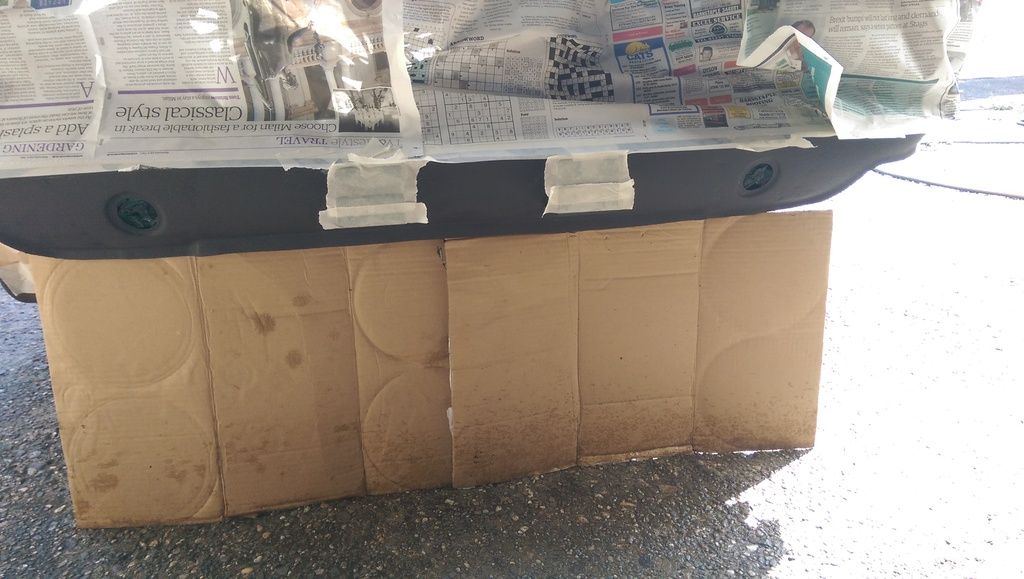
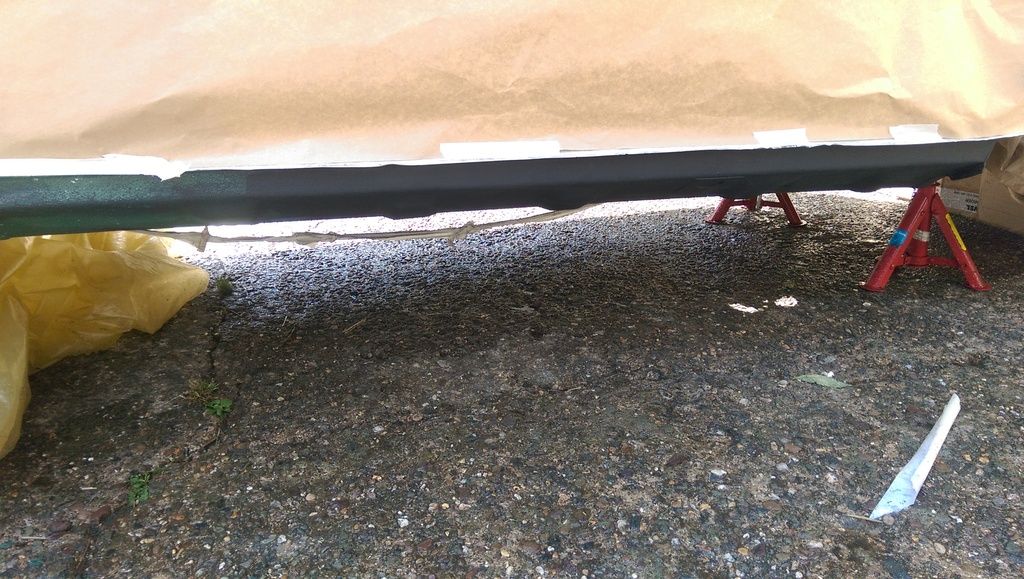
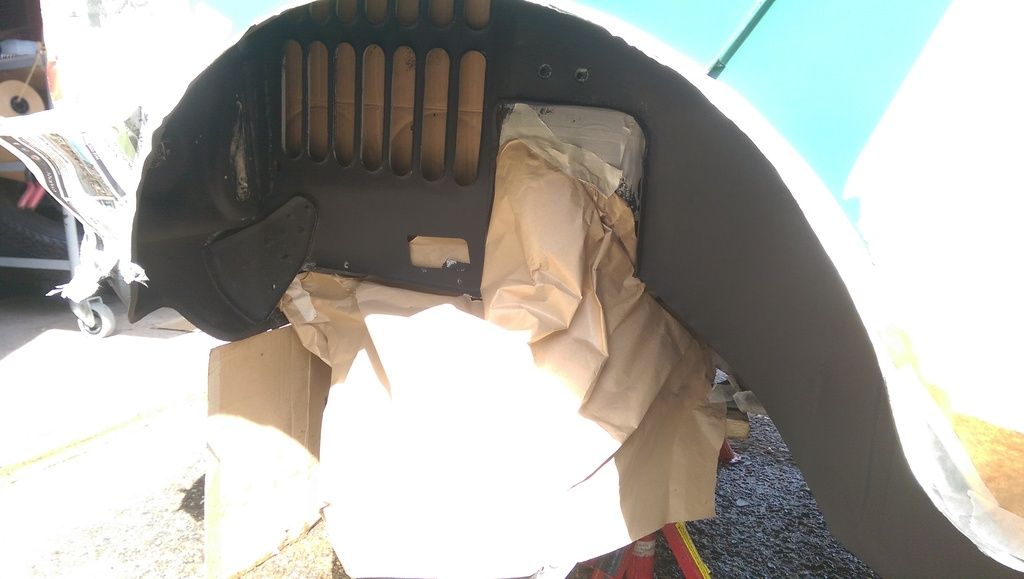
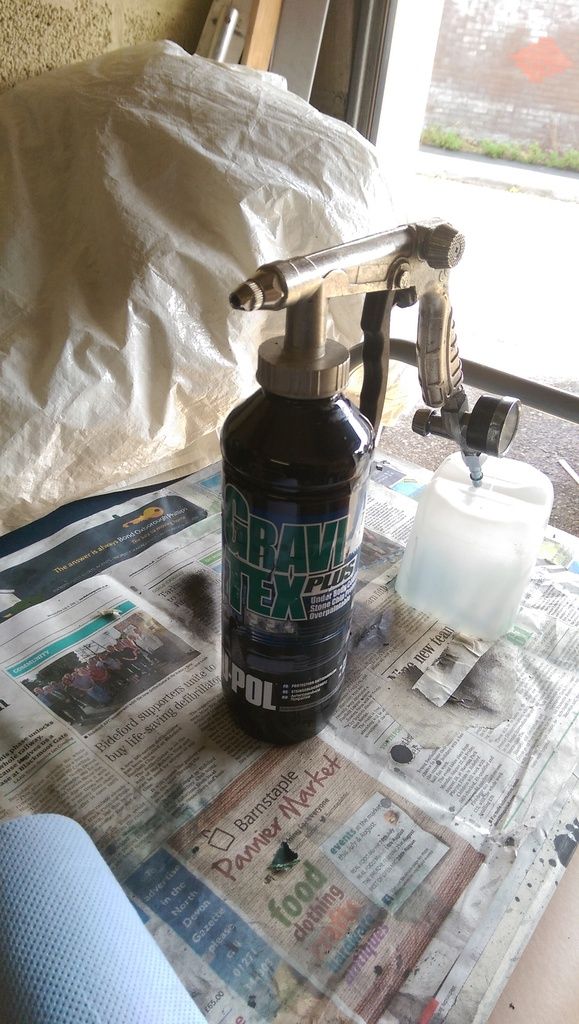
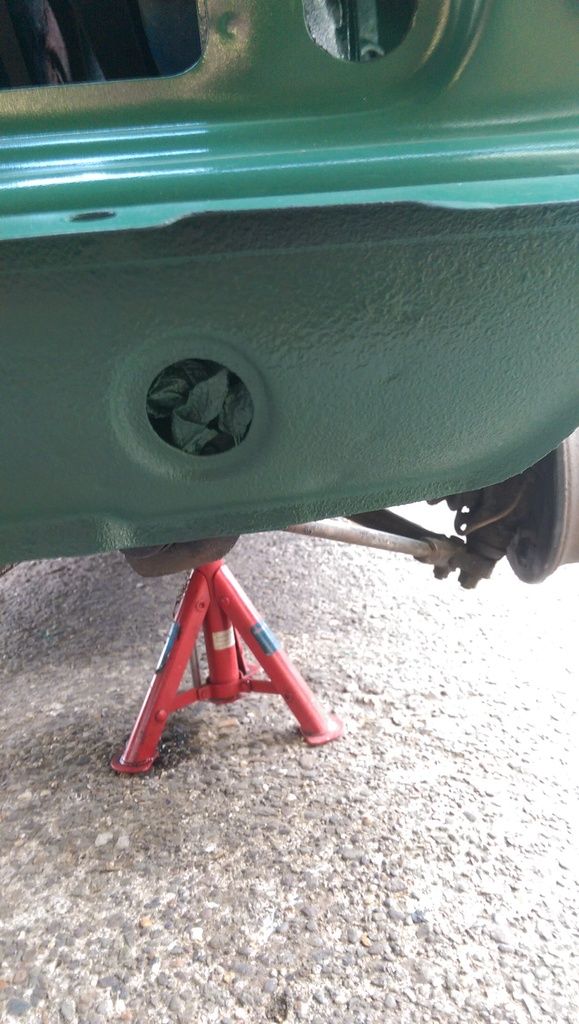
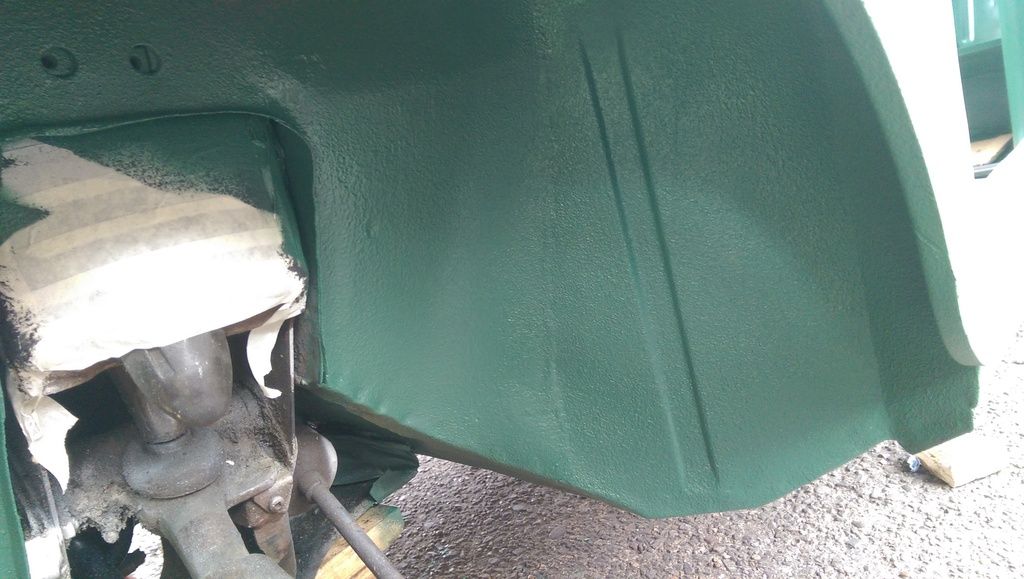
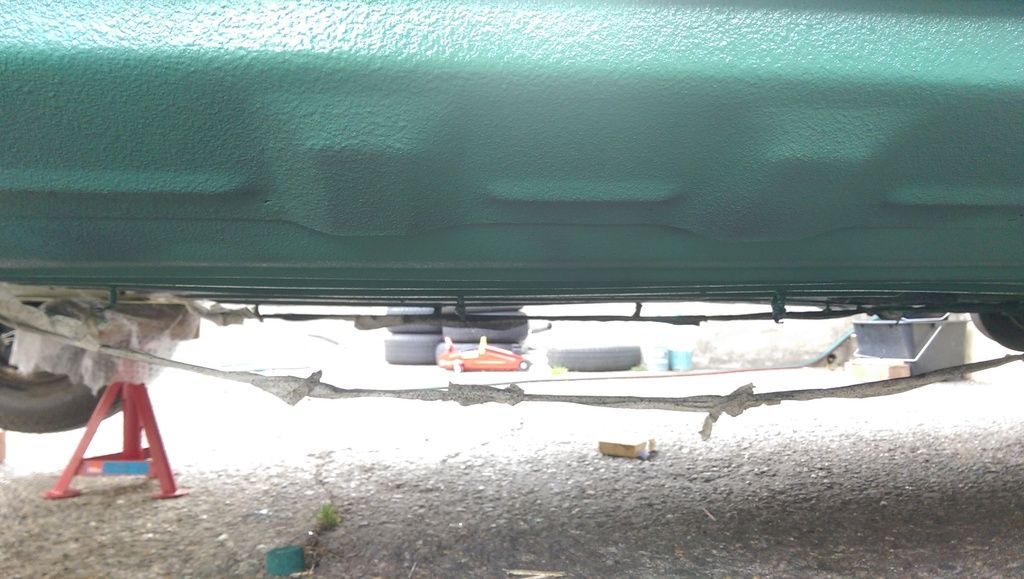
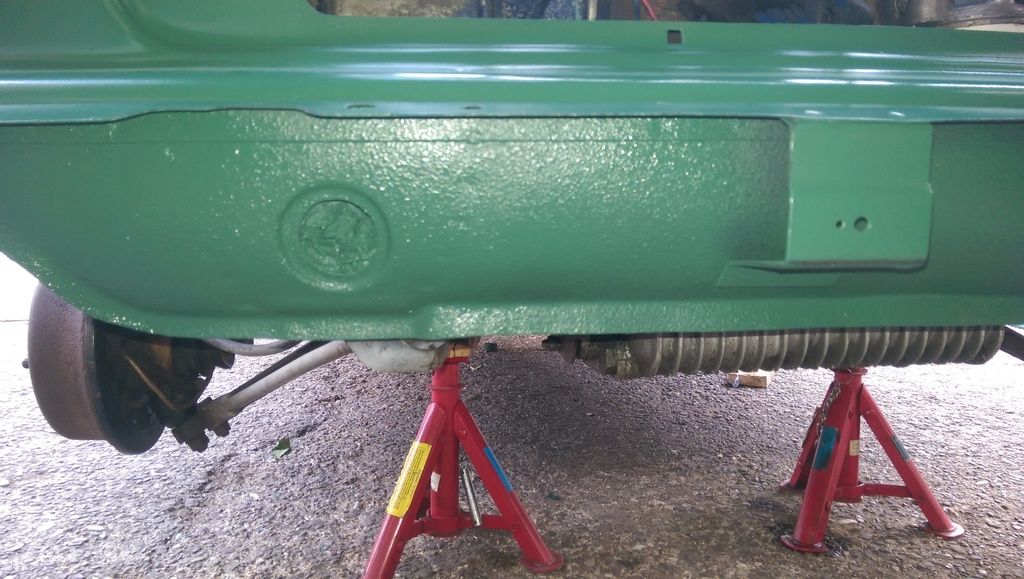
Then I set about masking up the car to apply the Stone Chip. First I applied it with a brush and roller, can't recall how many roller head I went through, the Gravitex just eats them up!!


IMAG5309_zpsip1pr7r2.jpg


IMAG5306_zpsuhvgc2yz.jpg


IMAG5307_zpsdyimrczk.jpg


IMAG5310_zpsixsjibfd.jpg


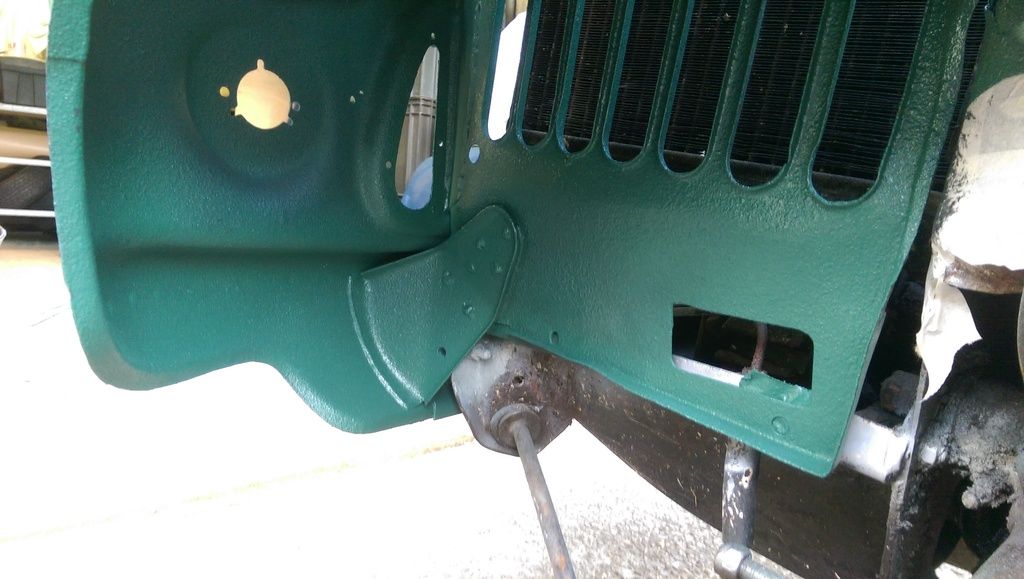
The roller and brush just did not get the right texture so I did as best I could with the Shutz Gun. Even with the car jacked up as high as I dare it was really hard going but I did my best.


IMAG5311_zpsbxagocqk.jpg


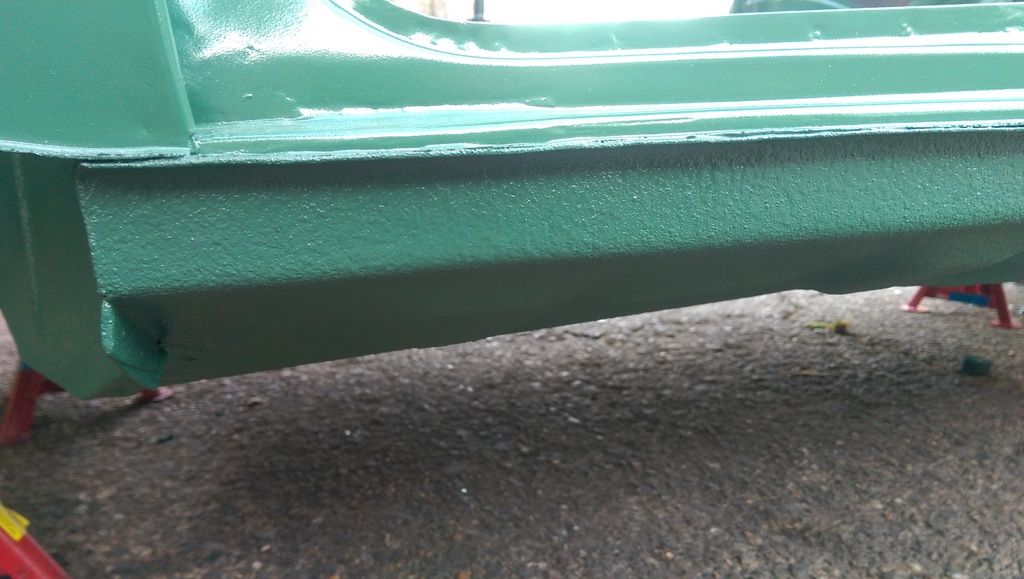
No photos of the Gravitex after applying with the Shutz Gun but after it had dried I went over with a colour coat of cellulose and you can see the results.


Did the front lip under the bumper:


IMAG5315_zpstqaxil6f.jpg


IMAG5317_zpsm4kl9udi.jpg


Doing up under the wings was very difficult!!


IMAG5318_zpscawfjh5l.jpg


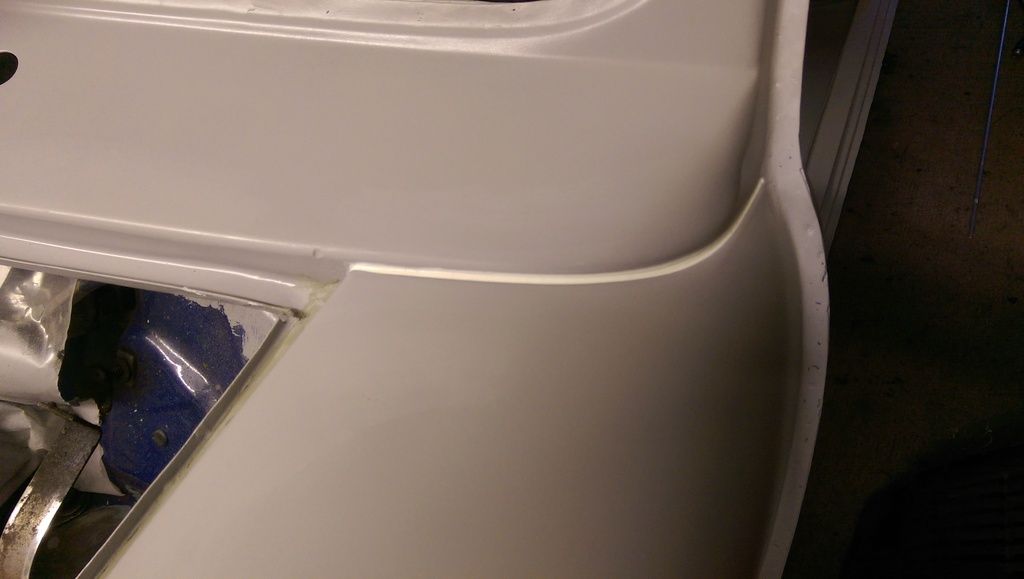
And finally the Sills (spotted a small gap not sure if this will be a problem?).

IMAG5320_zpsqfuey5fh.jpg


IMAG5321_zpshpyyrev3.jpg


Pretty happy with the results considering the working conditions:


IMAG5323_zpsy6hjlsus.jpg


IMAG5326_zpsssi2pytl.jpg


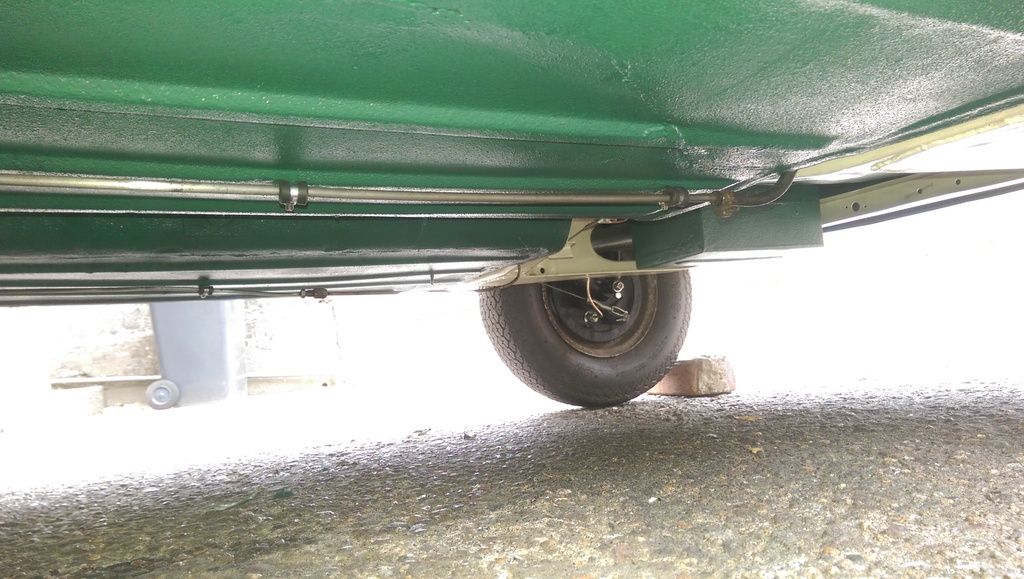
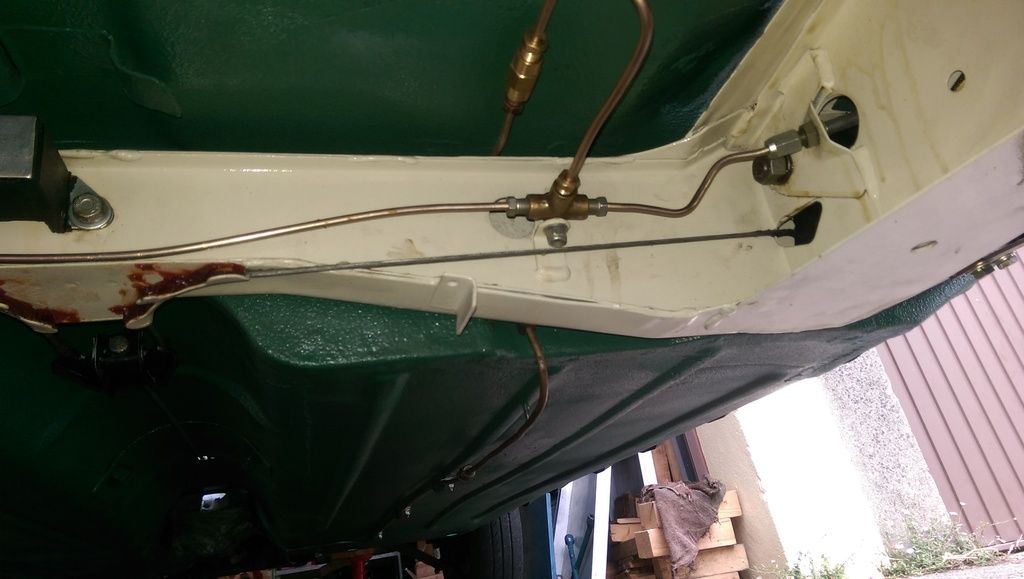
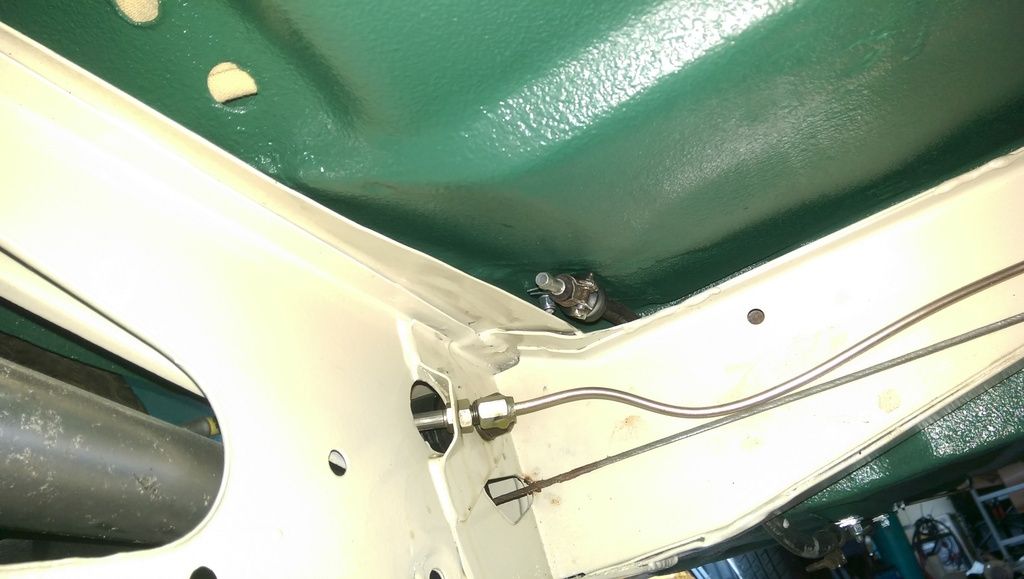
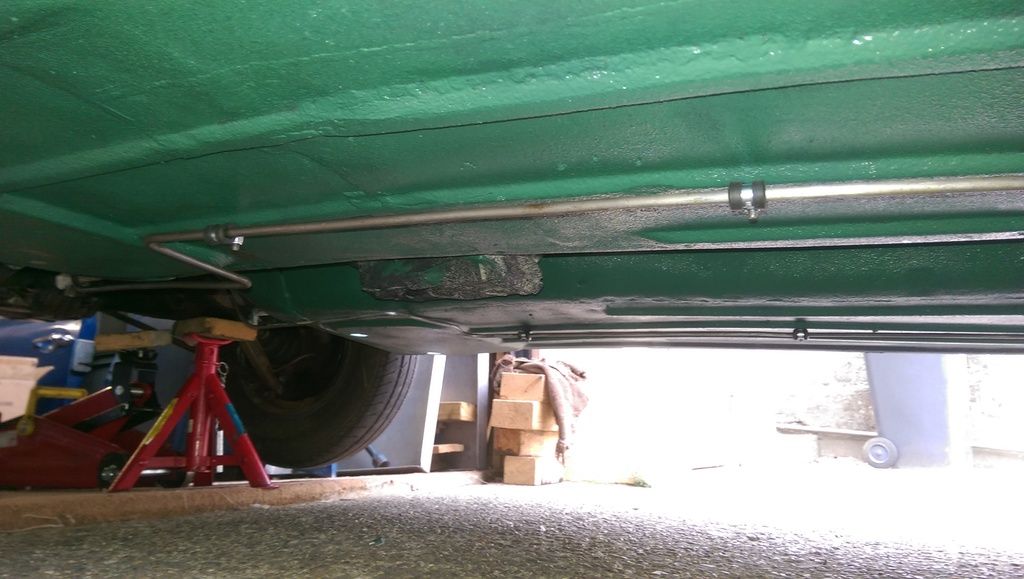
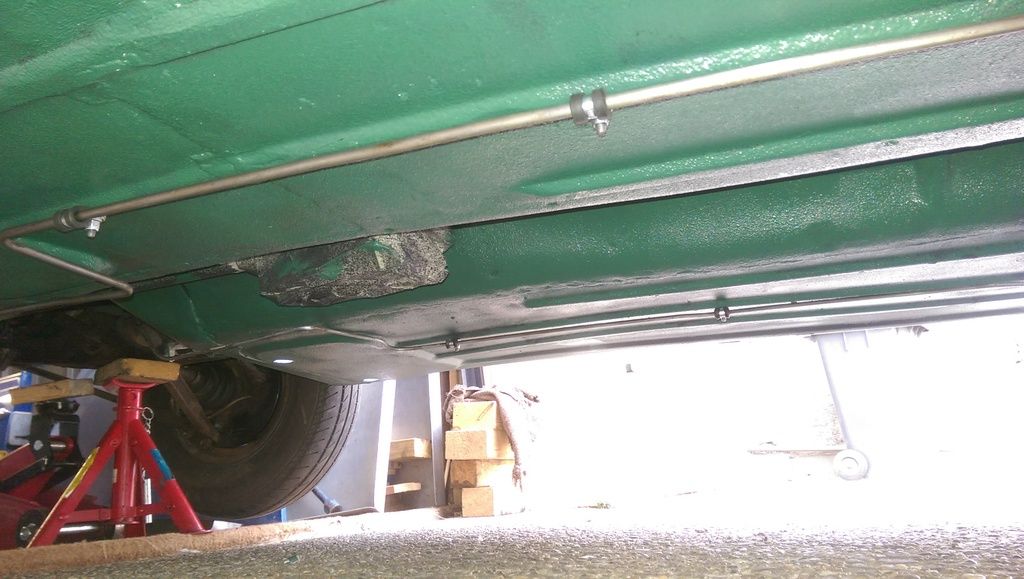
Then this morning I clipped in the Fuel and Brake Lines. Had to clean them up first. The Fuel Line is not too bad but to be honest the brake line could do with replacing, it's serviceable but looks manky! 


IMAG5332_zpsv1nx156f.jpg


IMAG5333_zps0gs8zu1c.jpg

IMAG5334_zpskfq8smua.jpg


IMAG5335_zps1kotsxff.jpg


I am also not happy with the run of the brake line at the rear. When we fitted the Sub Frame we ran the line up and over but I now wish I had done it under as if it's clipped into the rear clip it sits to high and rubs on the underside. I may invest in a new front to rear Cupronickel Brake Line?


I also did not do up the rear Fuel Line clip and it's a Bit%$ to get at!!


IMAG5336_zpsqkrlnlai.jpg

Just off for a Coffee and then popping to get some 1500 Grit Paper ready to Polish on the weekend.


#495 JonnyAlpha

JonnyAlpha

    Up Into Fourth

  • Members
  • PipPipPipPipPipPipPipPipPip
  • 2,748 posts
  • Location: North Devon
  • Local Club: Exmoor Minis

Posted 27 August 2016 - 05:30 PM

OK so today was the day for polishing and the weather was on my side, got a little hot and sunny but can't complain, at least it was dry.
 
First of all washed the surfaces down with clean water:
 
IMAG5377_zpsqlc8oagp.jpg
 
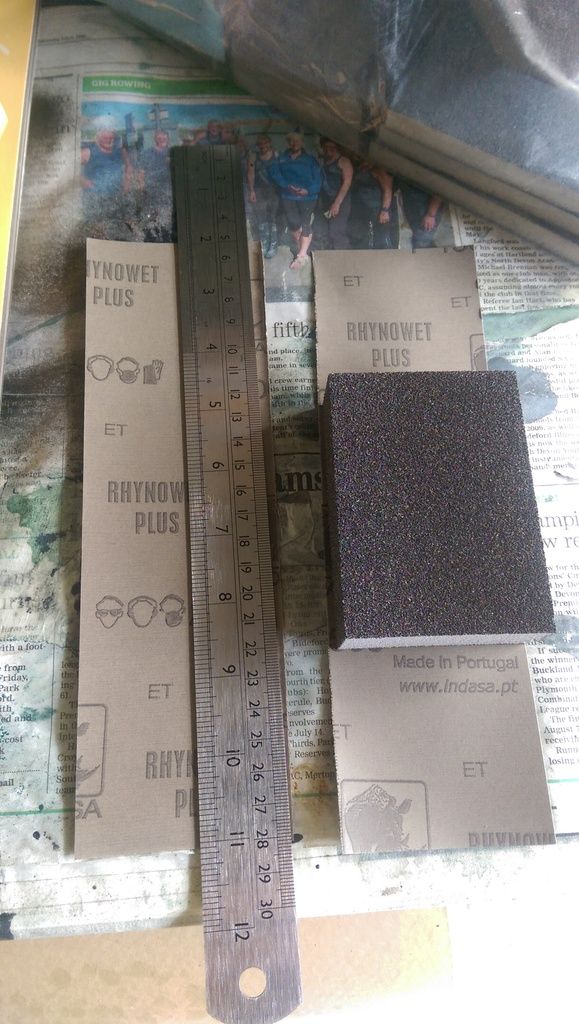
Then prepped the paper which when cut in half fitted the foam sanding block that I bought nicely:
 
IMAG5383_zpsglnyqq9a.jpg
 
 Then flatted with P1500 and then P2000 I used clean water and a drop of car shampoo (this stuff had wax in it as well but it was all I had).
 
IMAG5388_zpsnfvpkrkl.jpg 
 
The 1500 was OK and after a while I was getting the hang of it. I was using a spray bottle to keep the surface wet and the paper clean.
 
The 2000 was not so good, the paper kept clogging no matter how much I tried to keep it clean and as a result I probably did not do a thorough job with the P2000. 
 
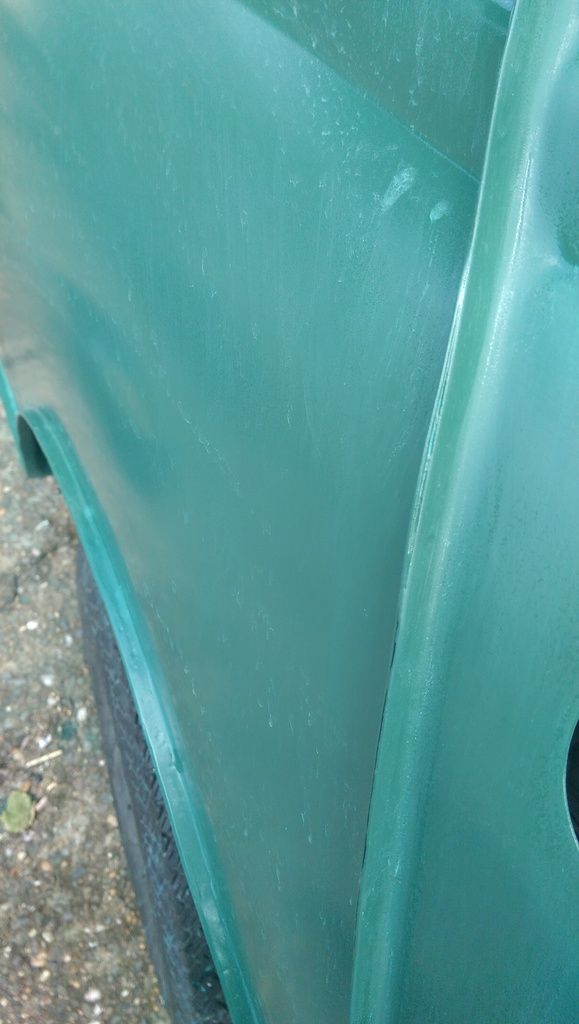
This was after the 2000:
 
IMAG5391_zpss26rnkh6.jpg
 
Still a little peely, admittedly this area is worse at the edges to avoid going through the paint. 
 
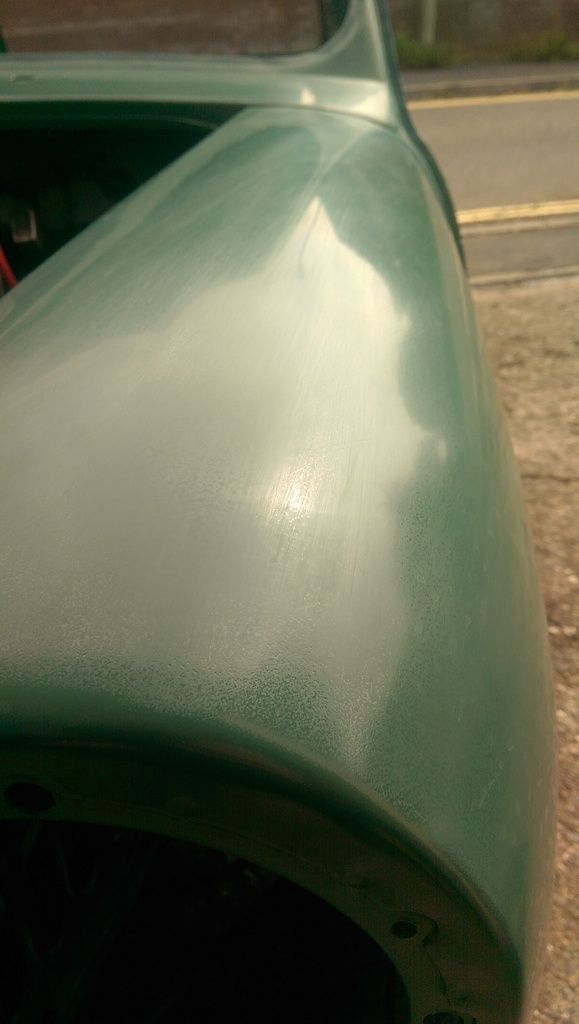
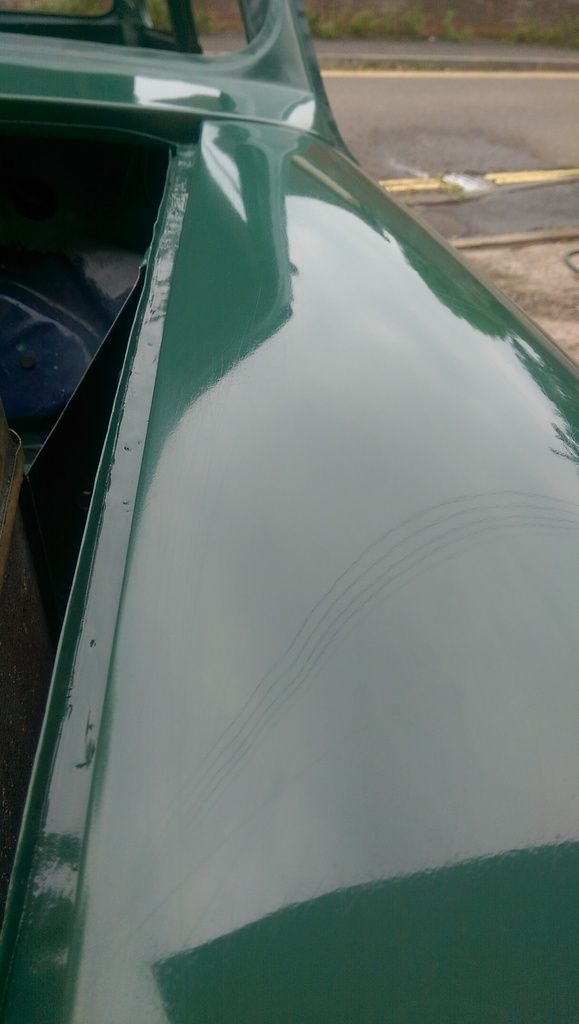
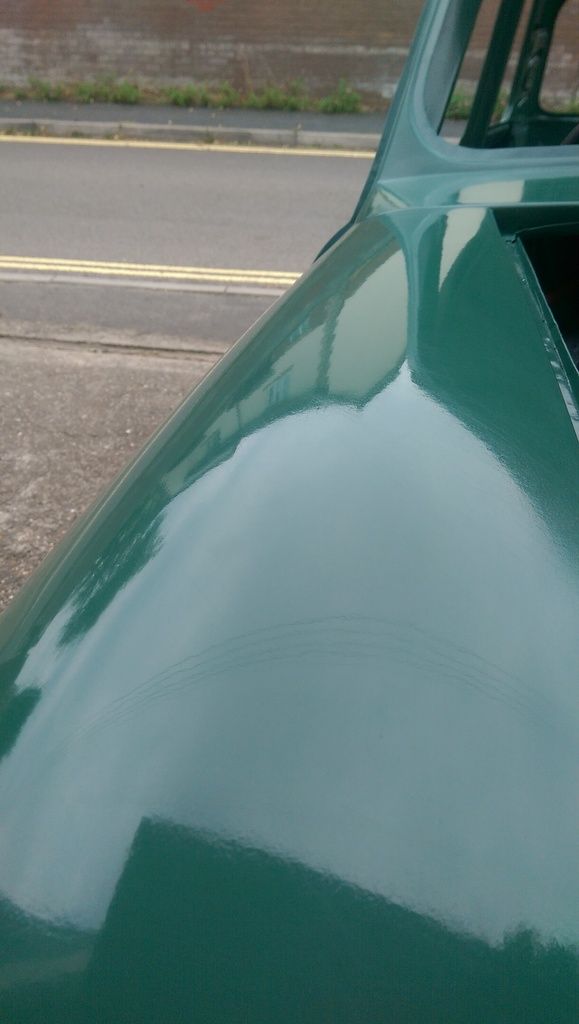
Also this appeared on the rear quarter, possibly due to the paper clogging, worryingly I thought it was through to the primer so left it alone. Not sure if I got a later pic but it seems to have come good after going over with the G3:
 
IMAG5392_zpsdo4ehiho.jpg
 
After cleaning everything up with clean water again I got out the Polisher. I primed the hard pad with G3 paste and then placed blob on the paint surface and rubbed it it with the Polish head.
 
I then sprayed the area with clean water (no soap) and on the slowest speed worked the surface from side to side or up and down (depending where I was polishing). 
 
I made sure I kept away from any edges and after a while I got the hang of it. After nearly finishing I tried out the next highest speed which actually seemed easier and probably could have gone at the next highest speed all over again but but I had been at it all day as it was.
 
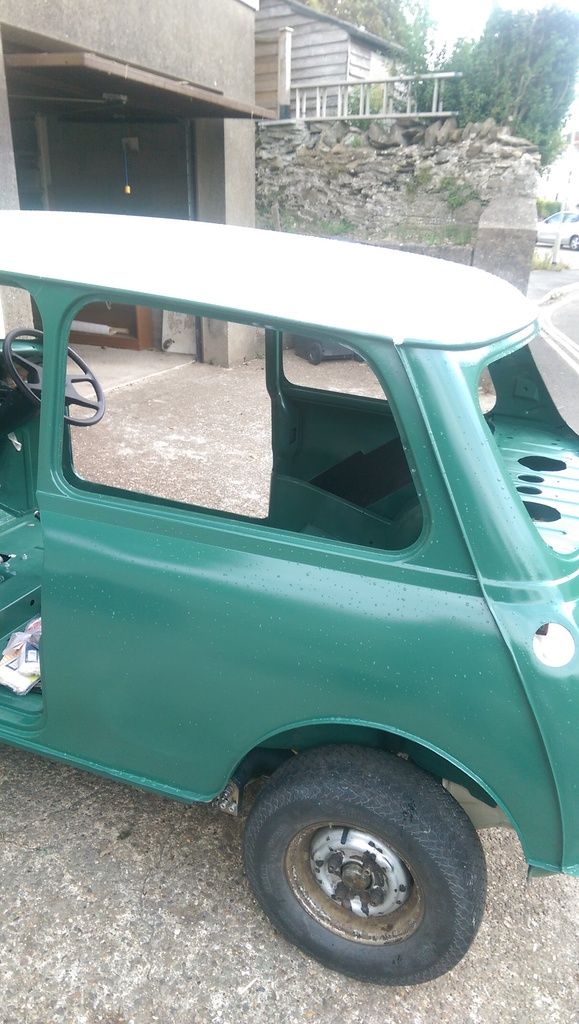
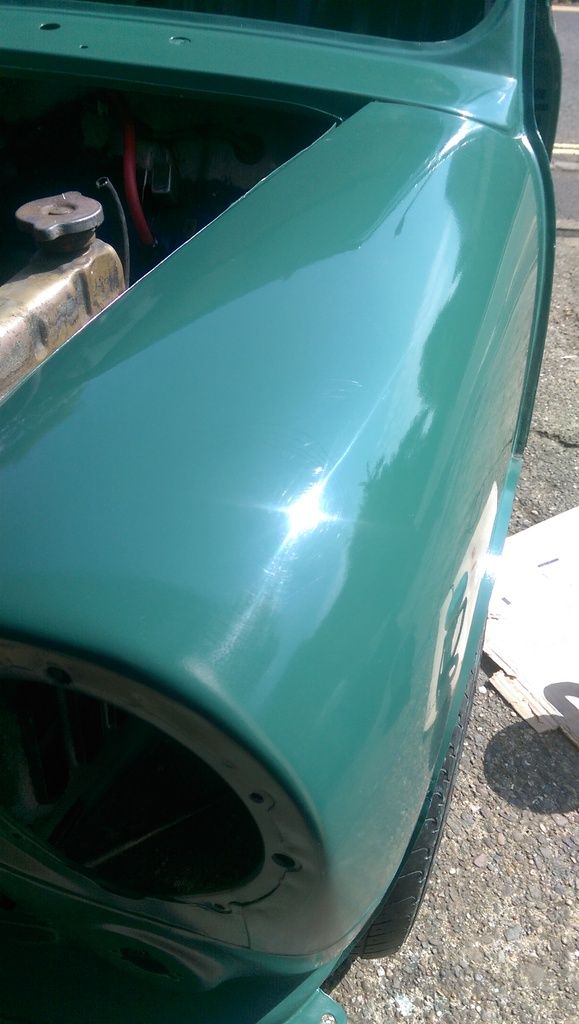
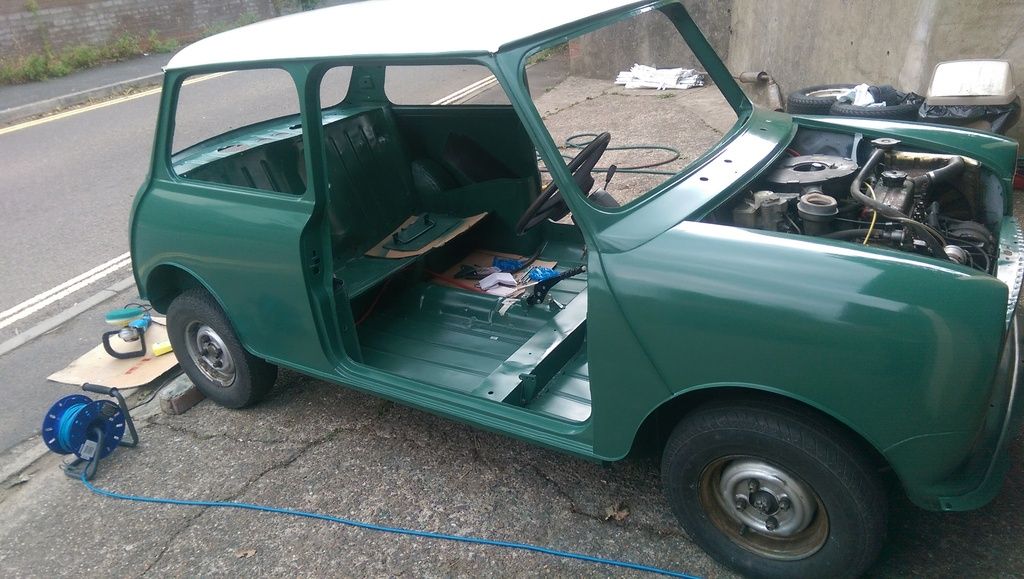
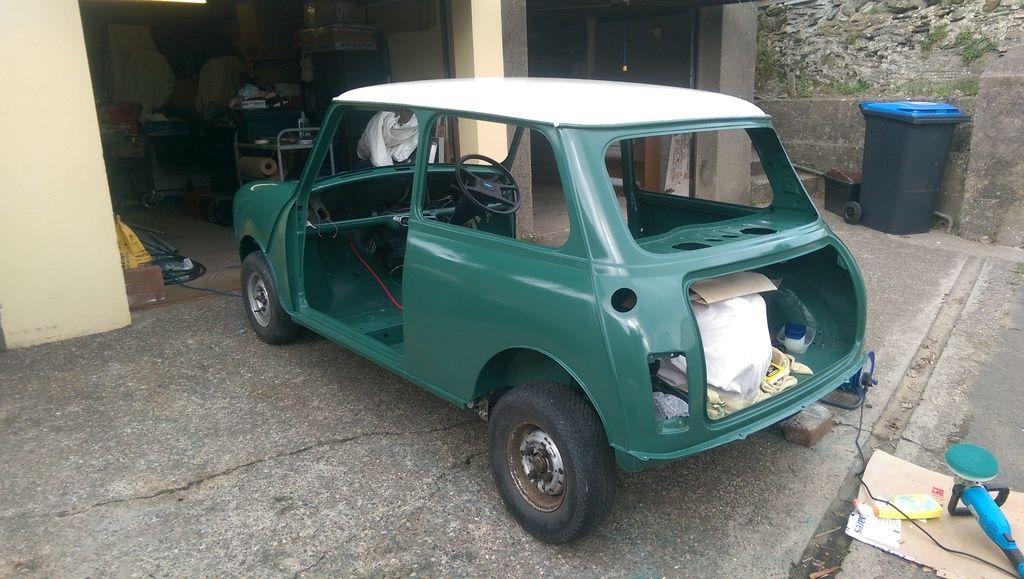
Here are some of the finished pics:
 
IMAG5393_zpsifziafwf.jpg
 
IMAG5394_zps0d3wwjg9.jpg
 
IMAG5401_zps6mljglkp.jpg  
 
IMAG5402_zpsht2ejvvx.jpg
 
IMAG5403_zpshtarbhgc.jpg
 
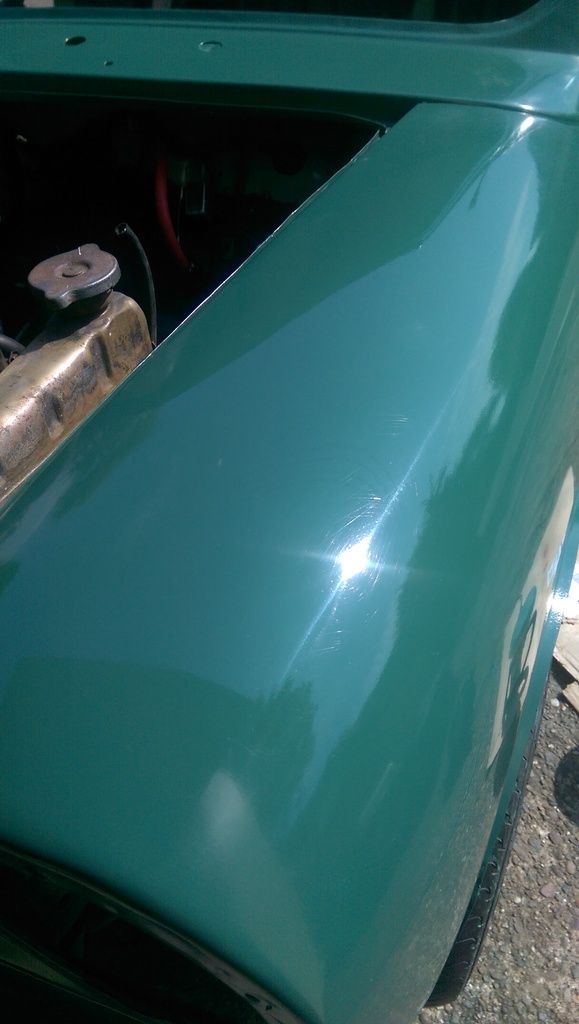
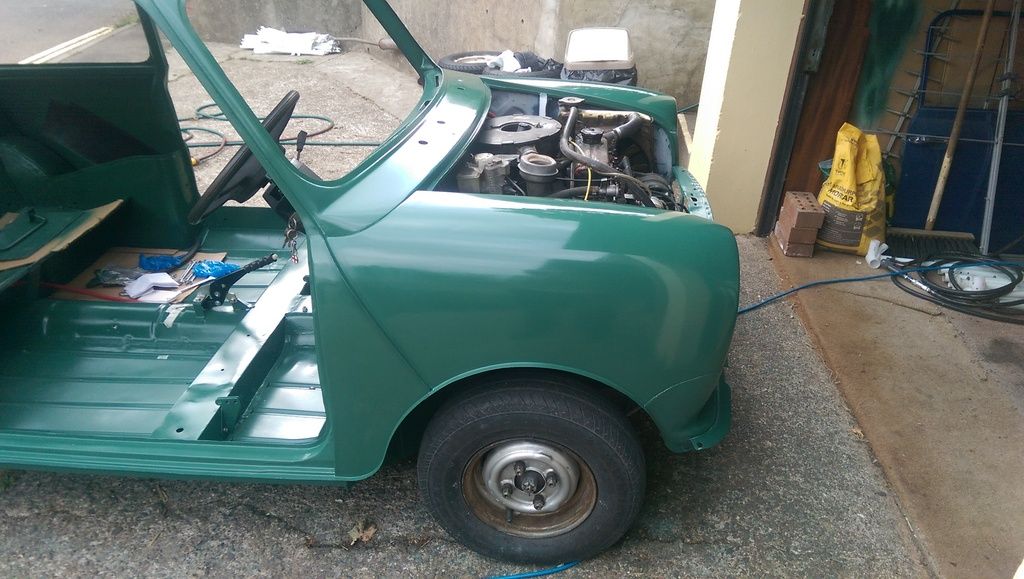
I went over the top of the wings again with P2000 this time very little at a time between cleaning it was still clogging though. But after G3ing again they came up even better:
 
IMAG5406_zpsmvgd0h0r.jpg
 
IMAG5408_zpsul3sgdpt.jpg
 
IMAG5410_zpsqhrrermn.jpg
 
IMAG5413_zpsv8s7aonh.jpg
 
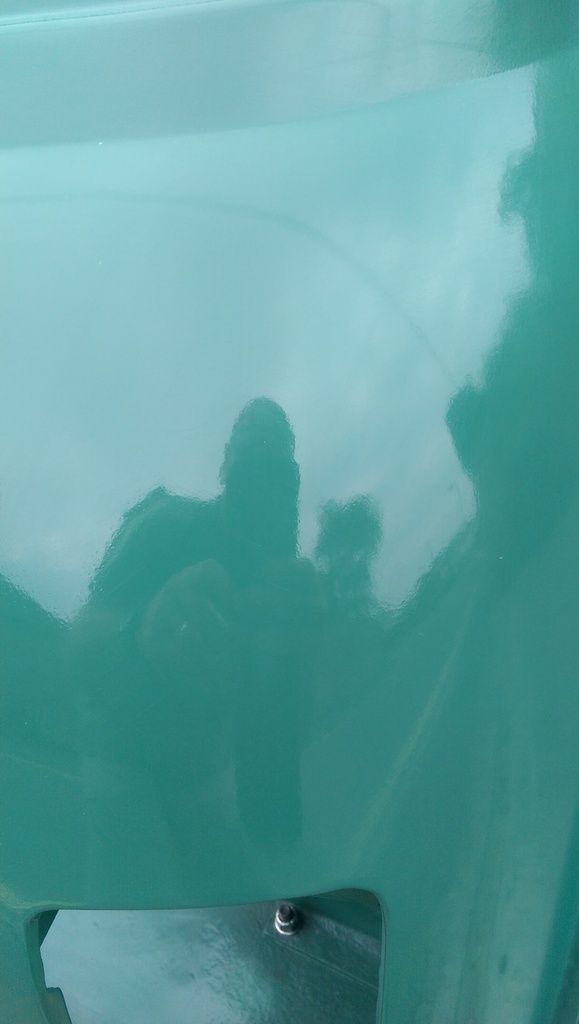
Still scratchy in places i.e. you can see either the P1500 of the scratches from clogged 2000? (and a little peely) but for a DIY first ever job I am pretty happy with it.
 
Maybe I'll try the G3 again on a higher speed before I use the G10 and softer sponge?
 
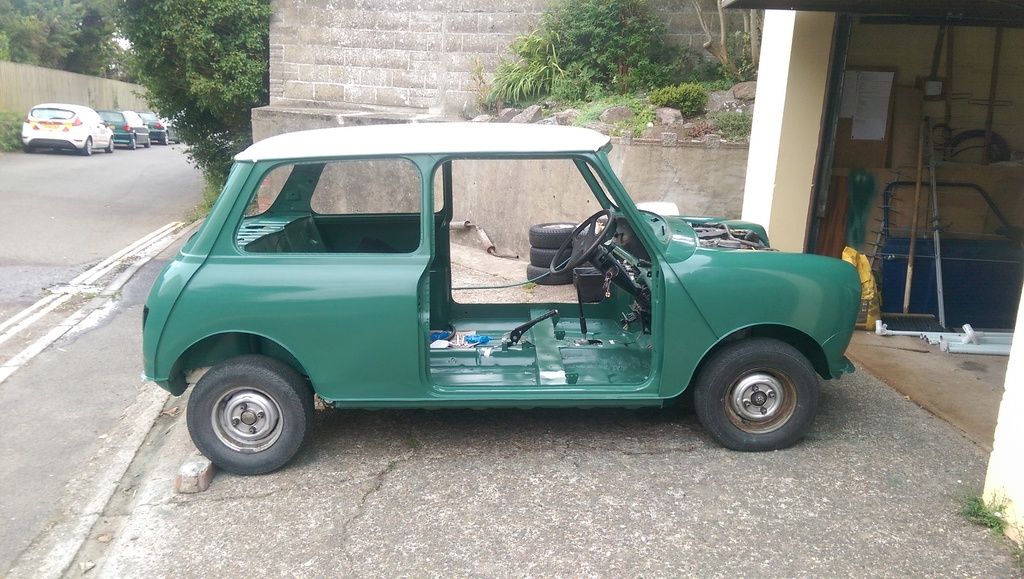
Now that the main body is all but done next task is to clean up the rear glass, clean and paint the side glass rubber trim and headlining, put all the glass in and start building the interior. Fit the fuel tank and Exhaust and get it rolling.   


2 user(s) are reading this topic

0 members, 2 guests, 0 anonymous users