Great repairs on the wings, would have been much easier to buy new

. I certainly wish I did (I wish I did lots of things but anyway..)
So do I ![]()

Posted 20 May 2016 - 07:14 PM
Great repairs on the wings, would have been much easier to buy new

. I certainly wish I did (I wish I did lots of things but anyway..)
So do I ![]()
Posted 20 May 2016 - 07:24 PM
Some more from the last couple of weeks:
After all the cleaning and fixing it was finally time to spray:
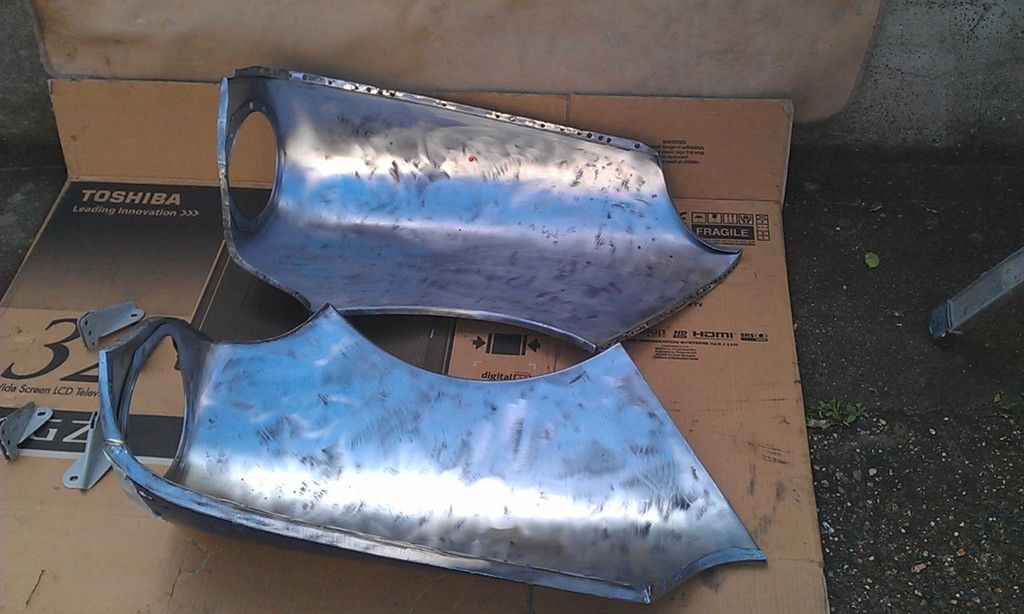
Mixed up the last of my Jotun Epoxy and hey presto:
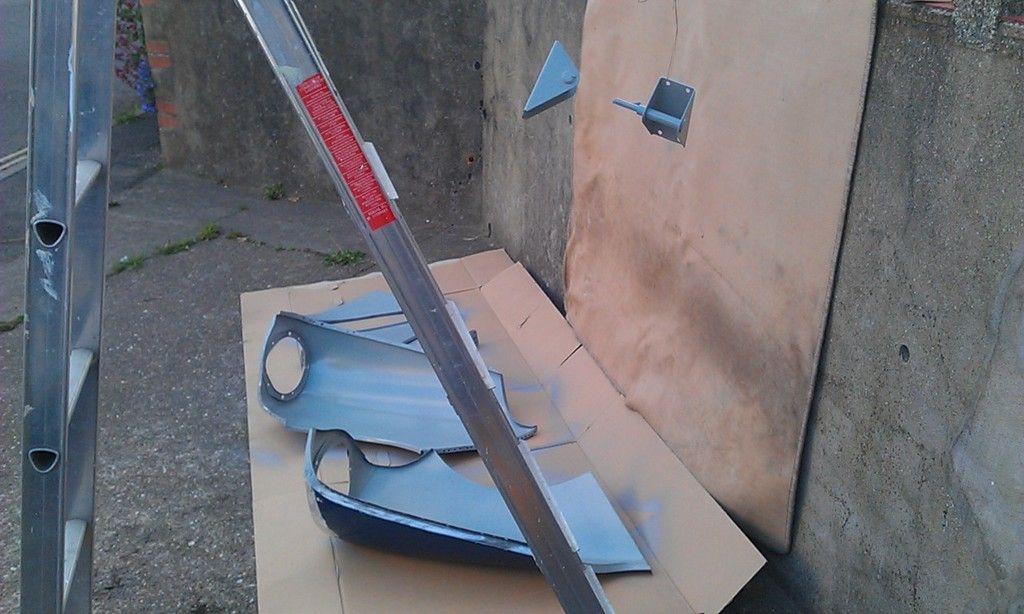
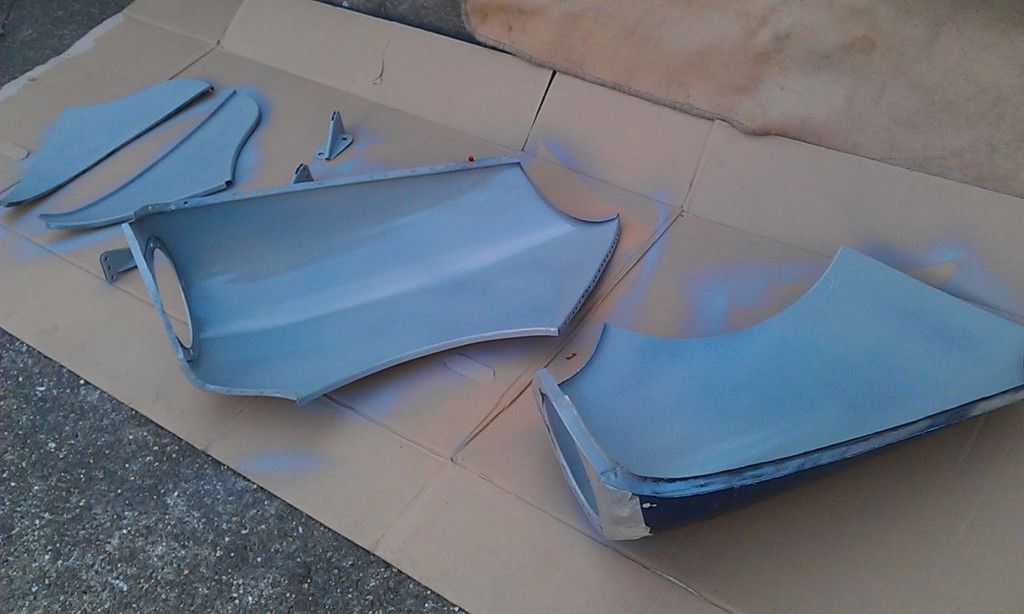
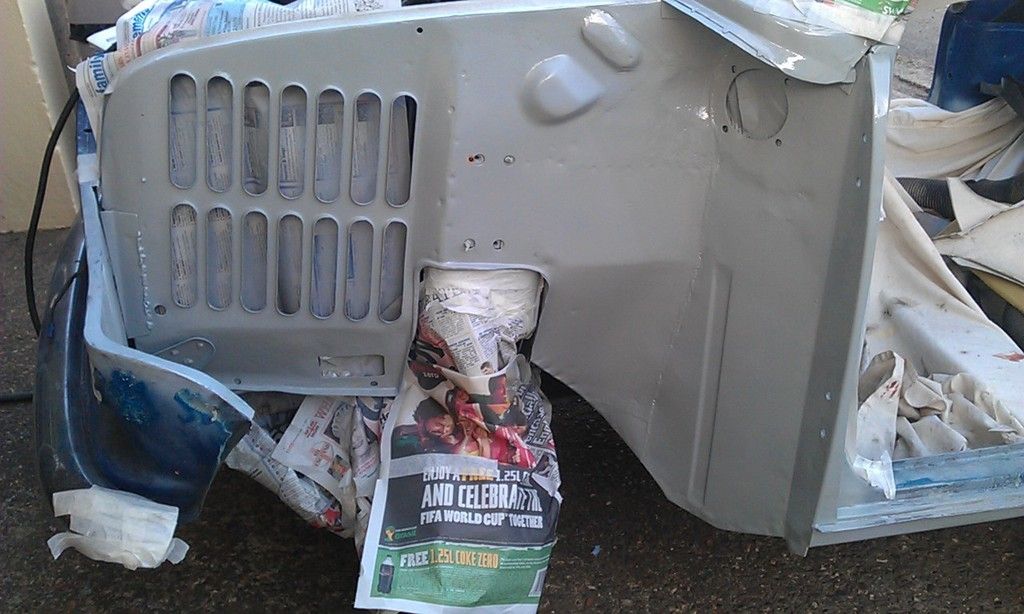
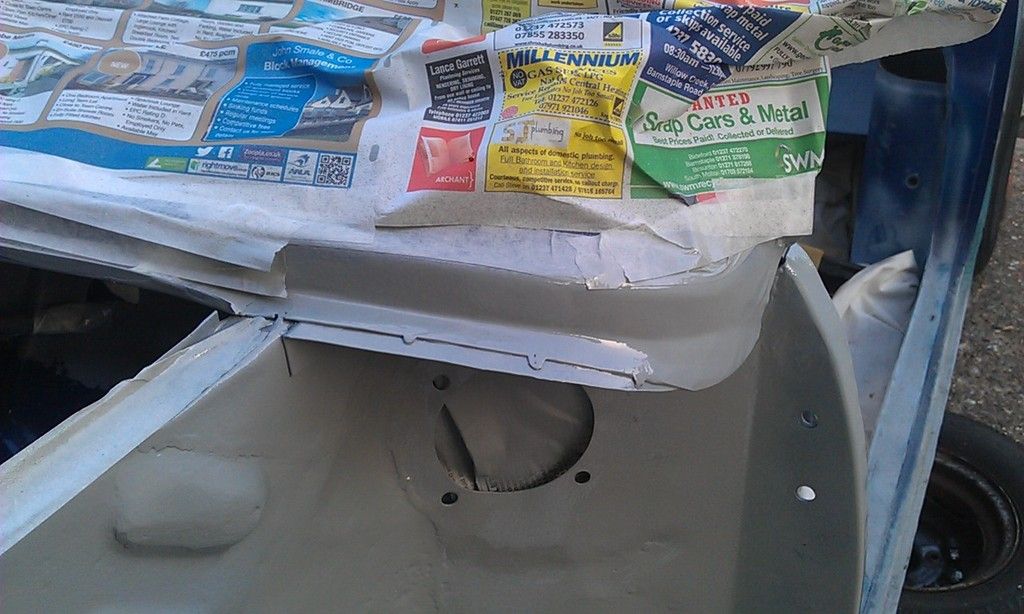
I am now working on fitting the wings - rebuilding !!!!
Posted 24 May 2016 - 09:36 PM
Quick update from the weekend:
So I started to fit the front wings and A Panels, had some problems which were resolved here.
Once these problems were sorted out I finally took the plunge and started to fit everything. First of all I had to to nip up a few areas such as here:
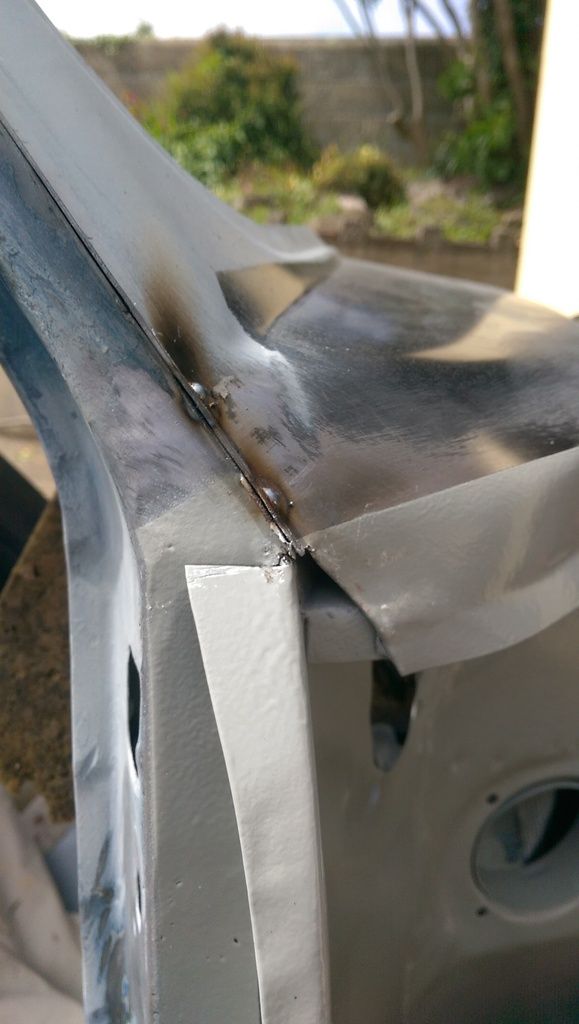
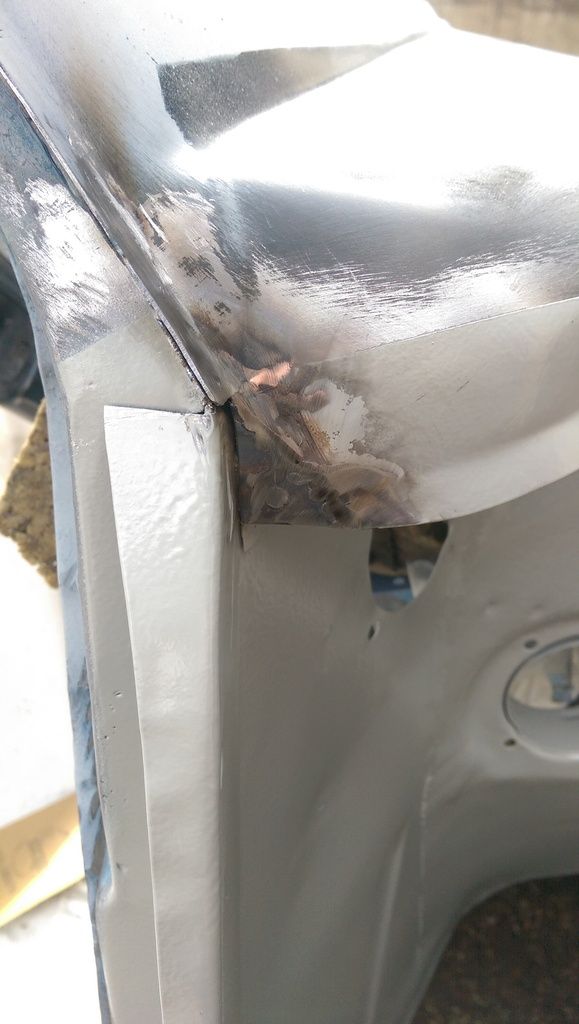
And also decided to weld up the gaps in the rear of the scuttle corners:
It took quite a bit of fettling and fitting to get acceptable gaps:
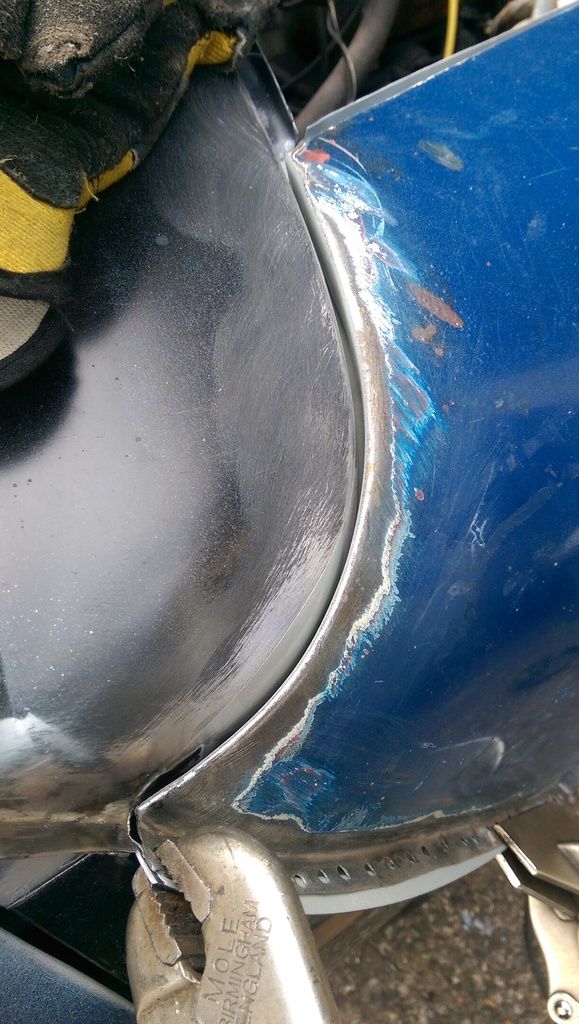
The RH side was tighter than the left?
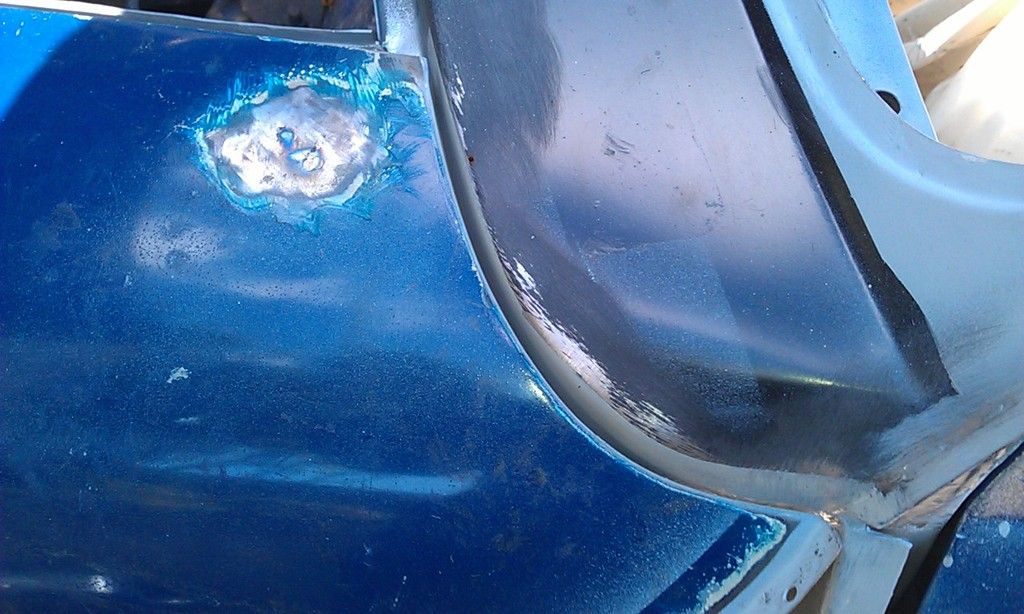
Getting the gaps for the doors was the hardest issue:
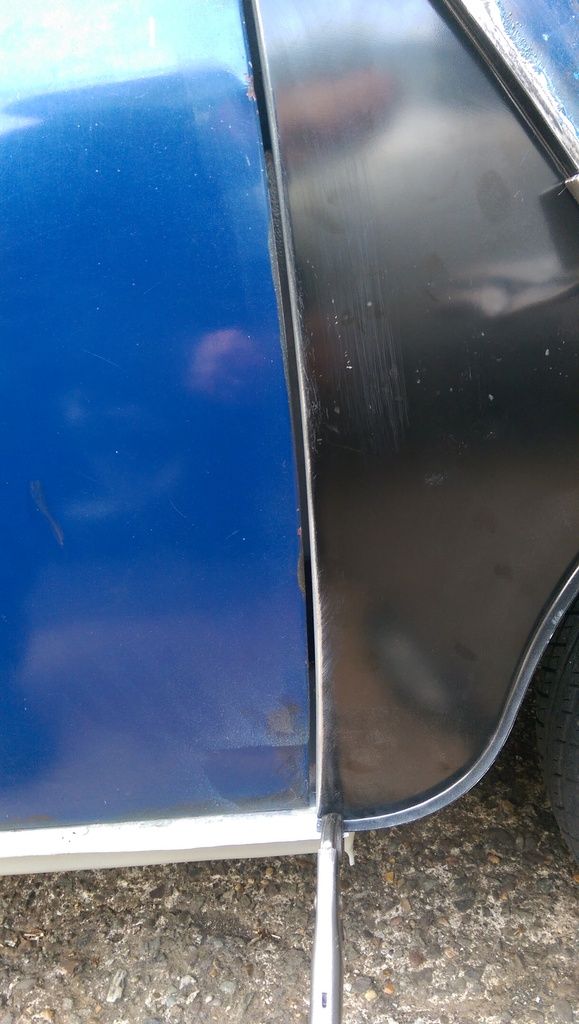
I fixed the wings with a couple of self tapping screws to measure and ensure the bonnet would fit:
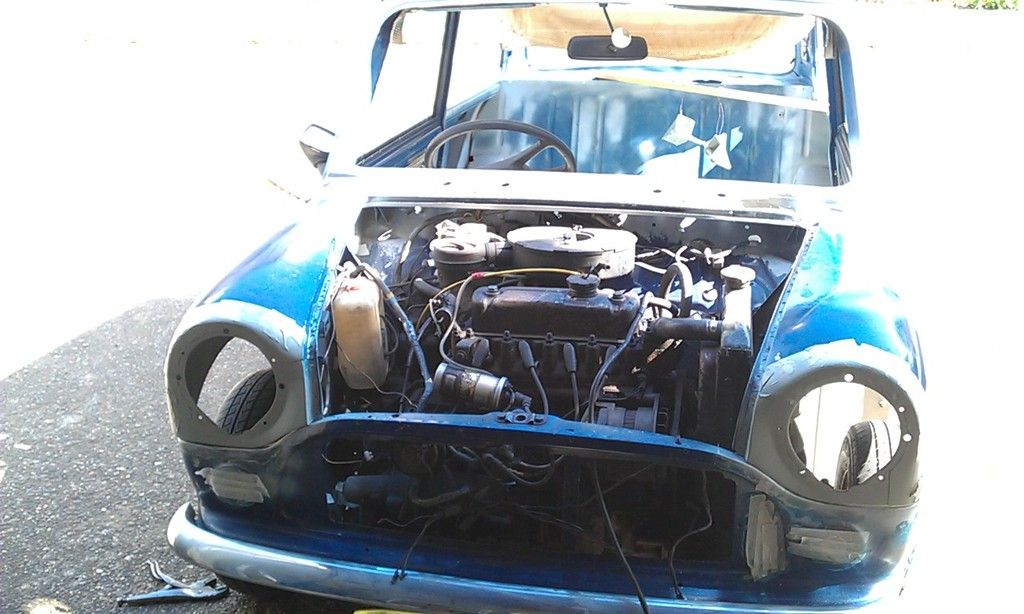
I drilled 5 holes along where the A Panel meets the outer edge of the A Post and plug welded, I need to push with a hammer handle whilst welding to ensure a nice tight fit:
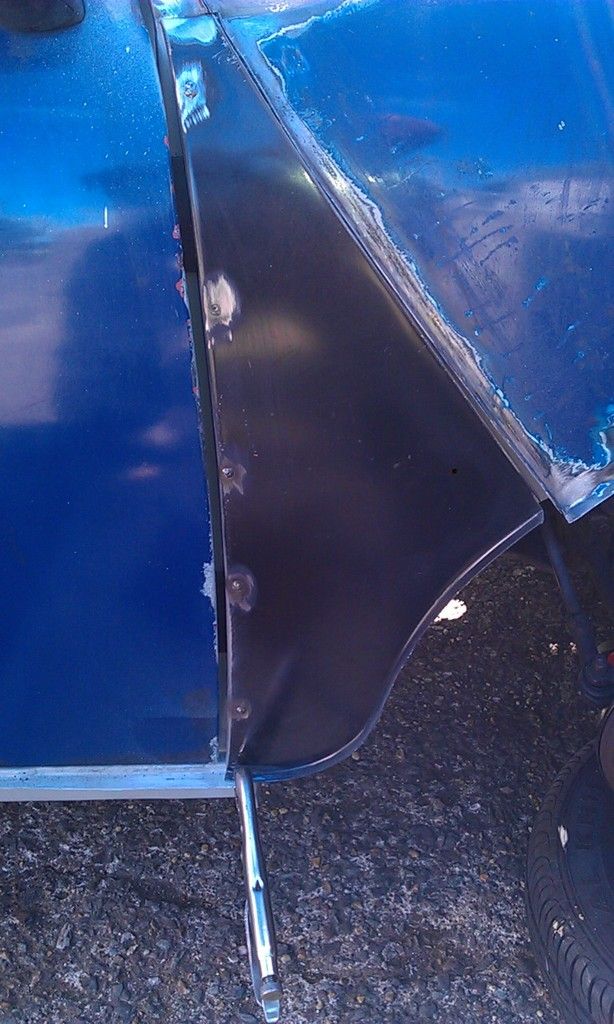
The plug welded some of the old spot weld holes, i'll finish the rest this week:
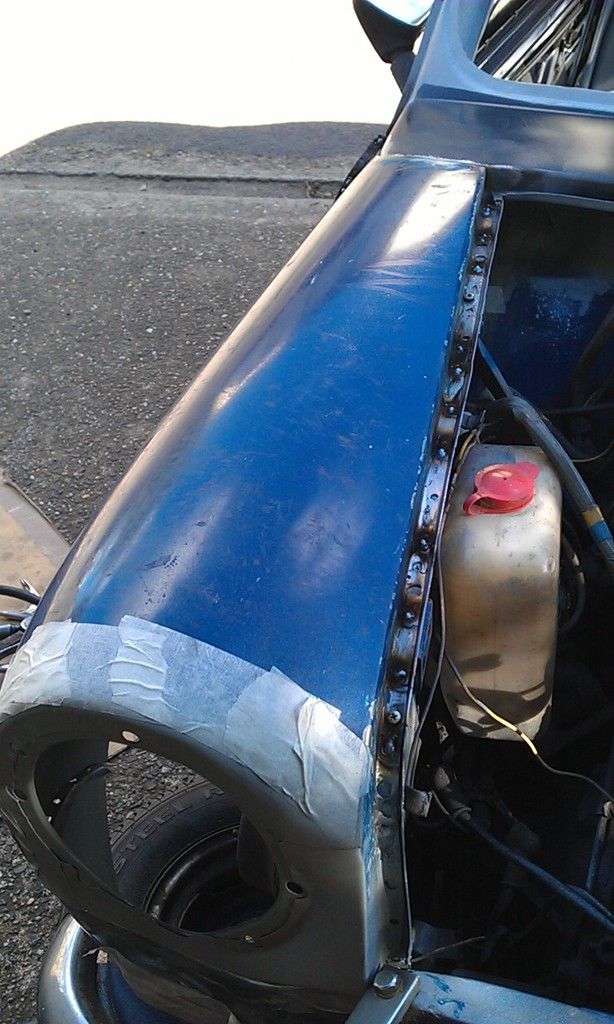
Also welded the A Panel at the top and bottom:
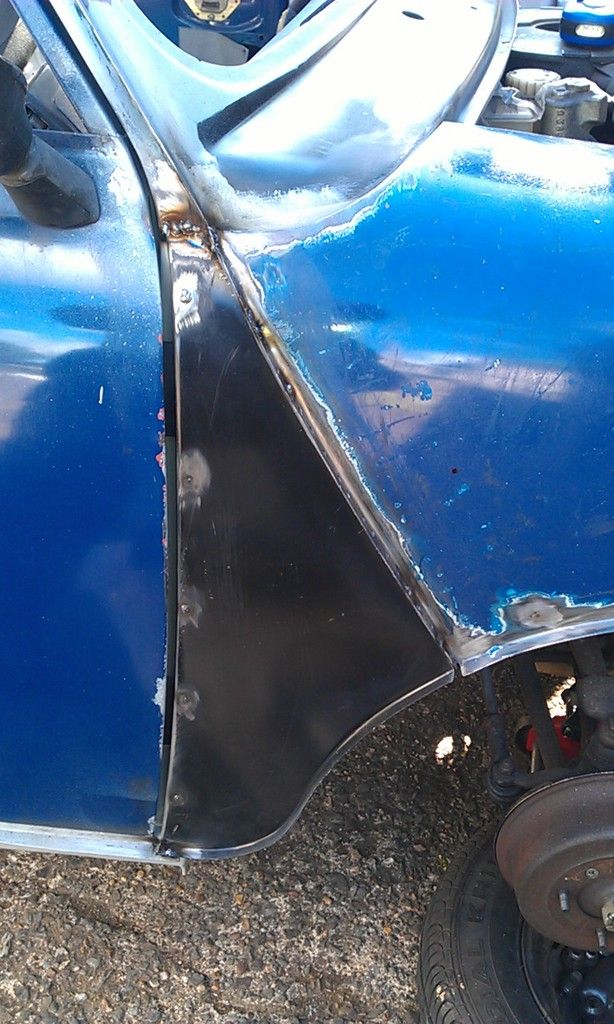
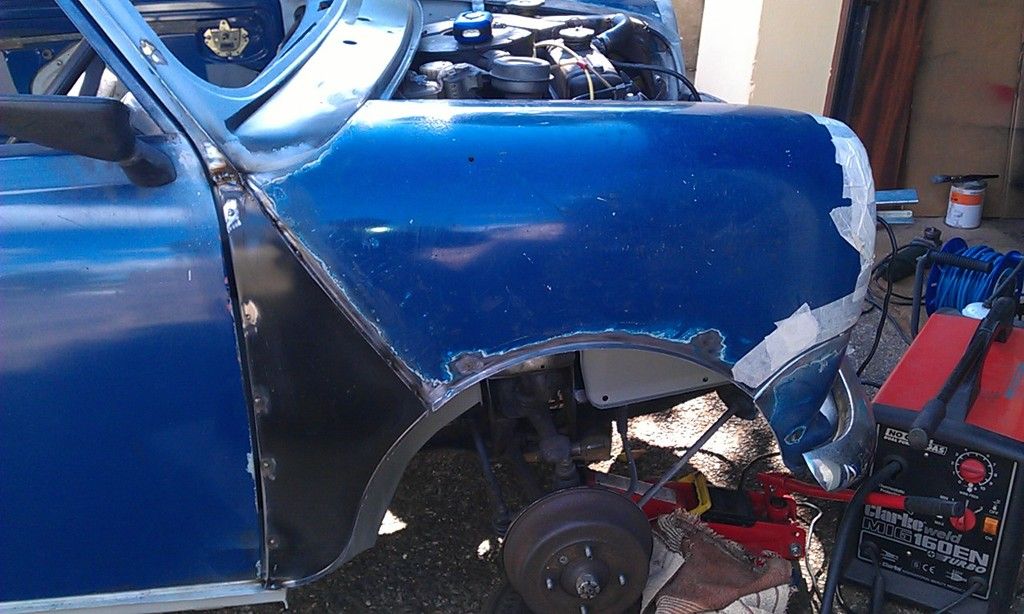
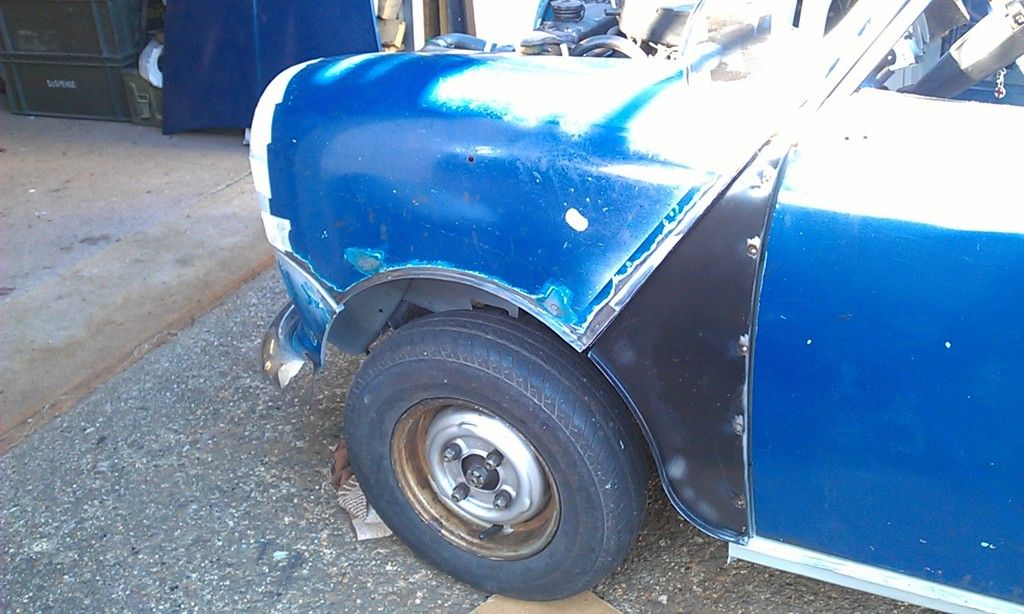
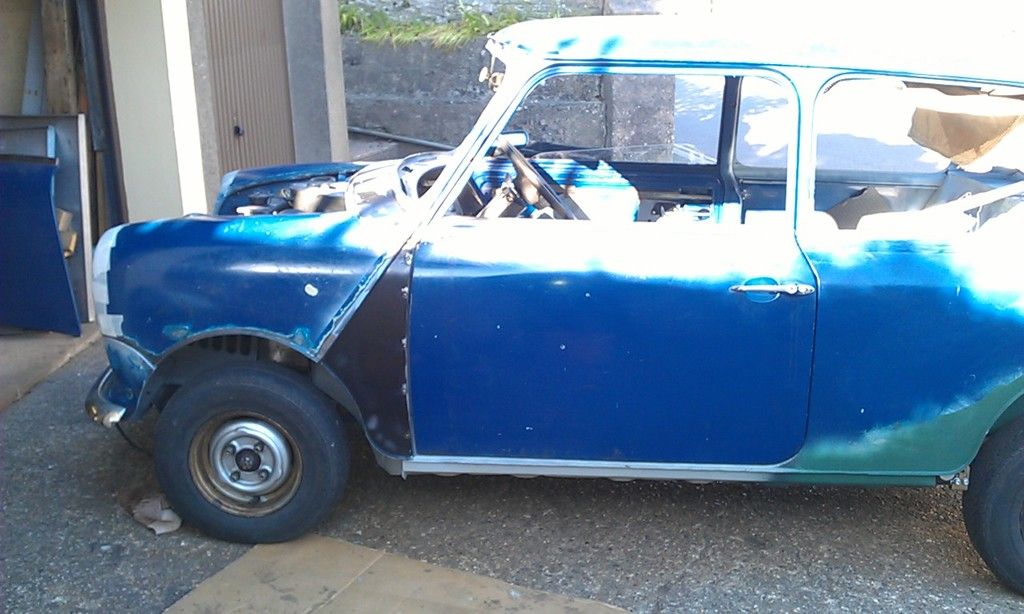
And a view thorugh the headlight opening - doesn't it look nice ![]()
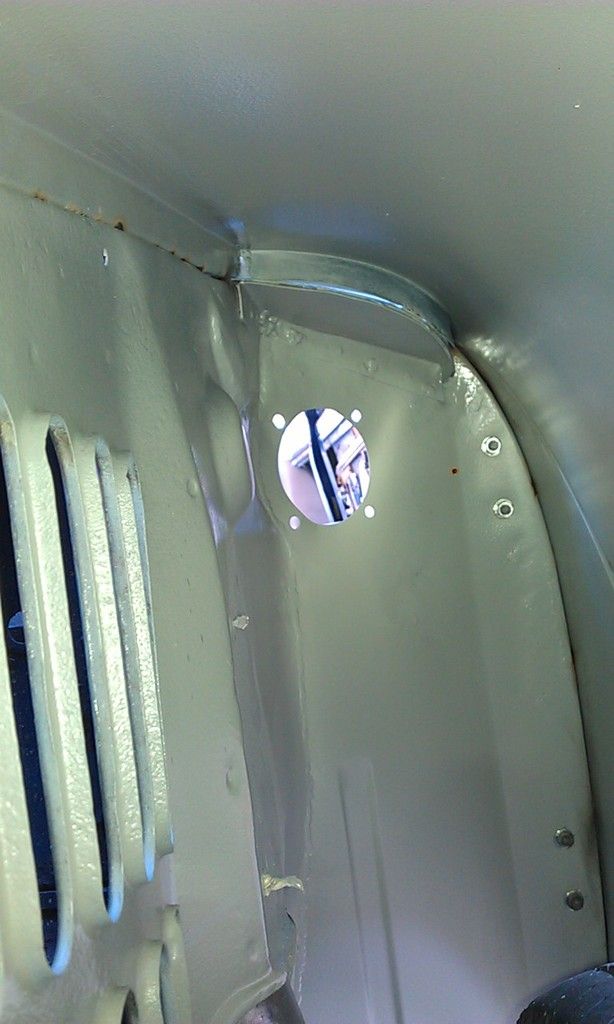
Next job - finish off the welding on the wings and dress down = 1/2 day, then I can start spraying!!!
Edited by JonnyAlpha, 24 May 2016 - 09:37 PM.
Posted 25 May 2016 - 07:33 PM
15 calendar days until the Beaulieu Mini Event that I had planned last year to attend in this mini - clock is ticking!!!!!
Posted 30 May 2016 - 06:55 PM
Well, finally all the welding is now finished YIPPPEEEEE
Just need to dress it down tomorrow and start painting.
Had a few issues along the way, the LH side seemed OK but the RH side needed some persuasion ![]()
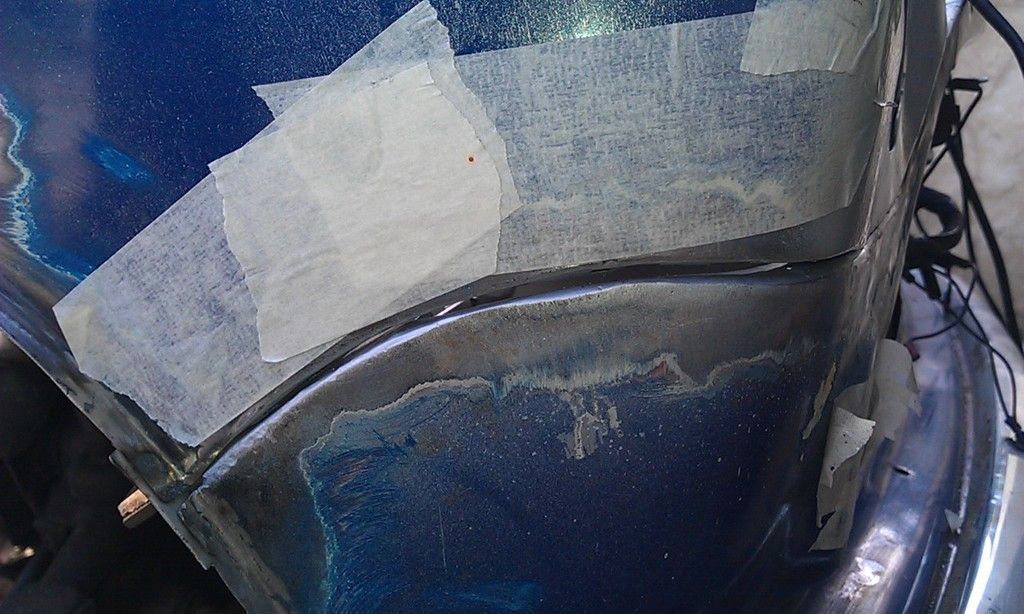
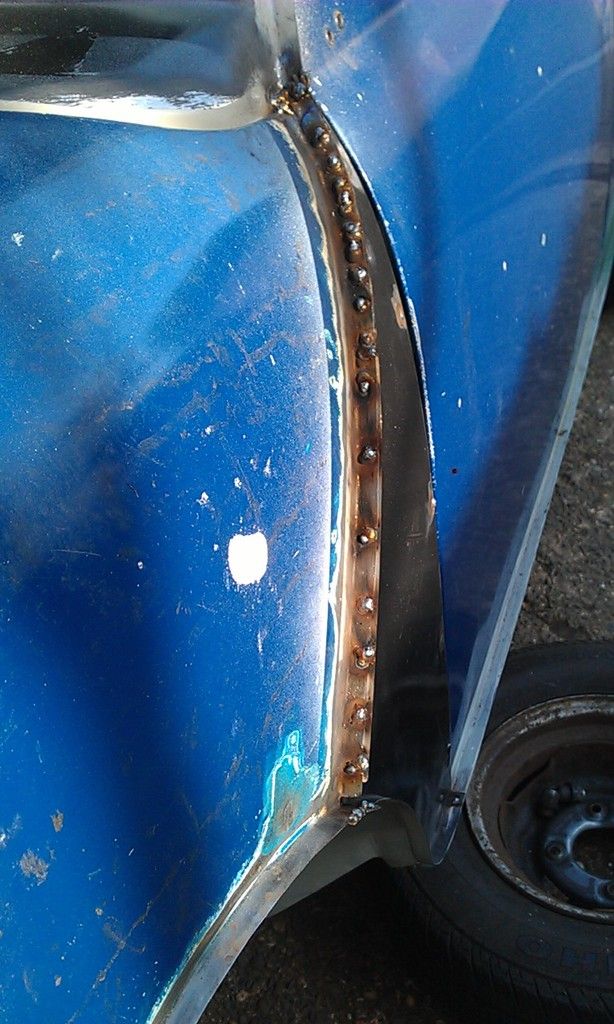
Made some of my own tabs for where the A Panel meets the wing and where the wing joins the front lip.
These L shaped tabs were spot welded to the flange and also later spot welded from inside.
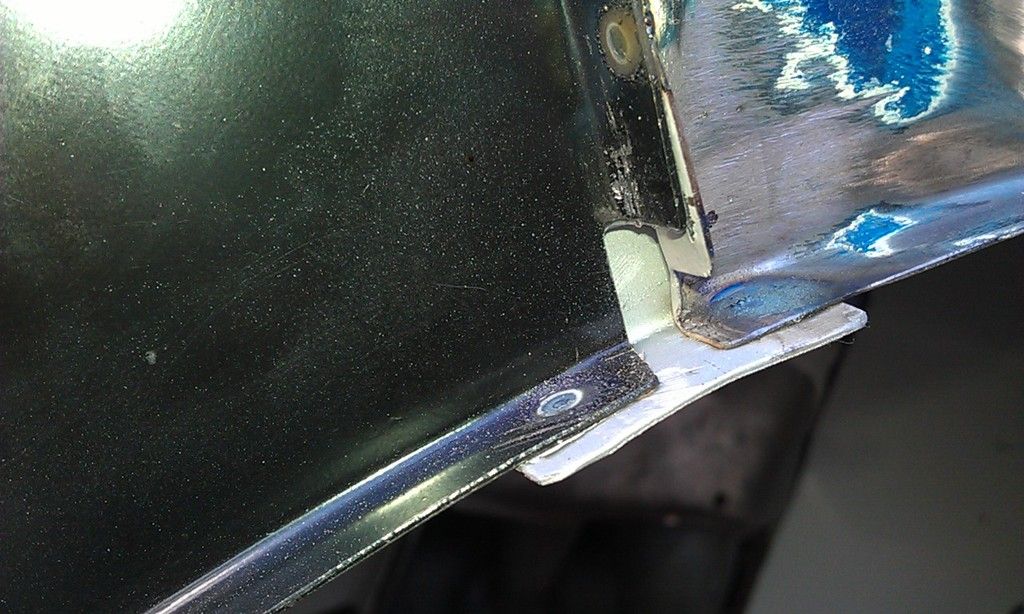
Here is the finished article:
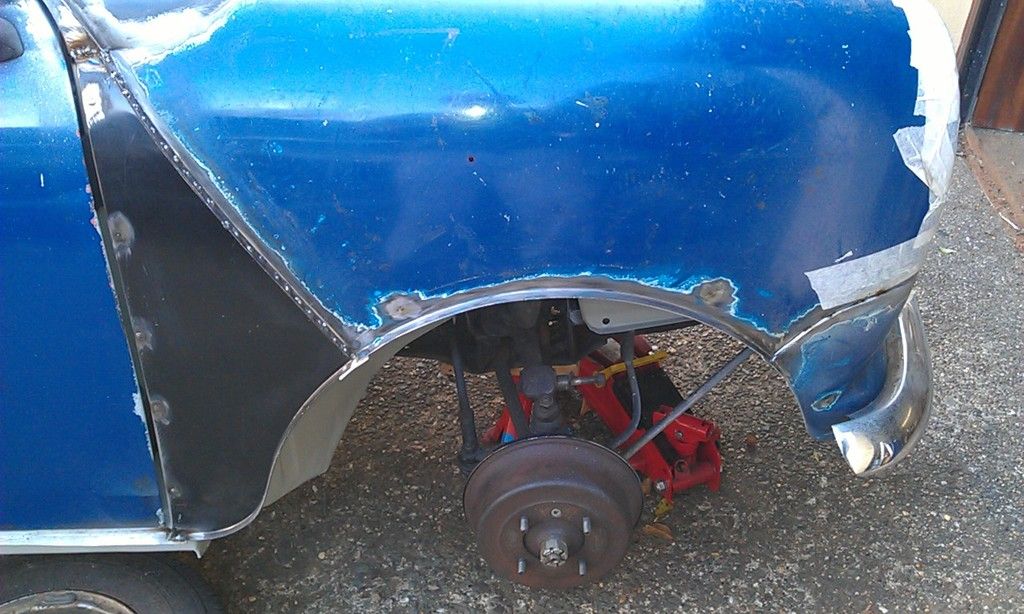
Lots of spot welds on the RH side:
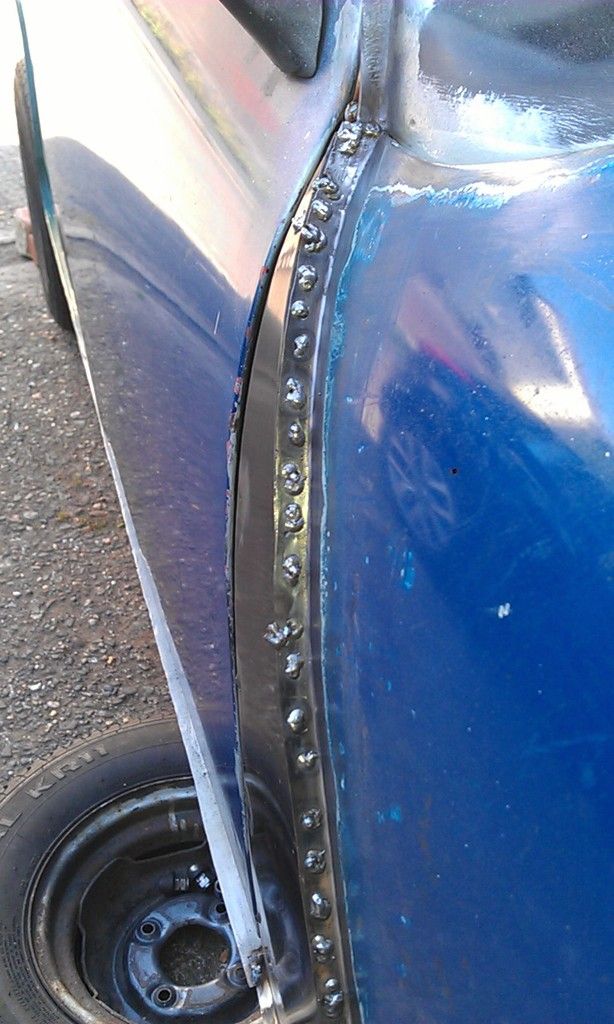
Fronts came good in the end:
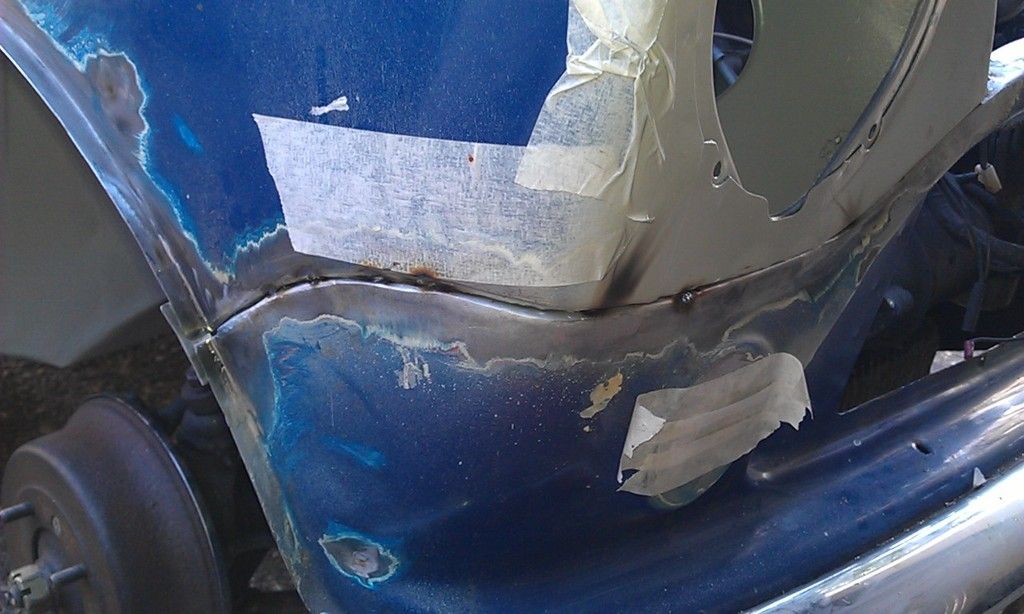
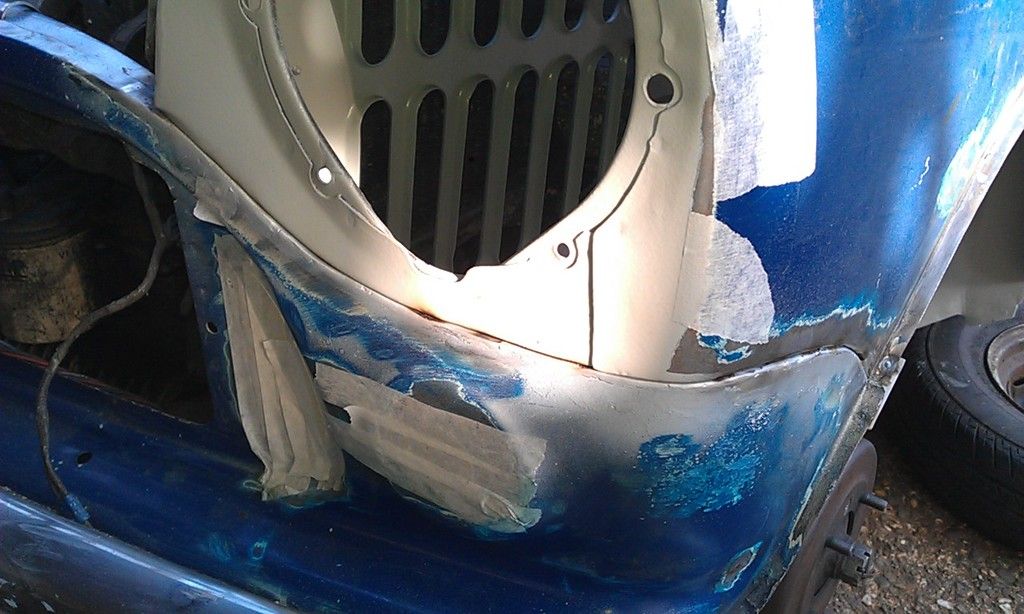
Less spot welds on the LH A Panel
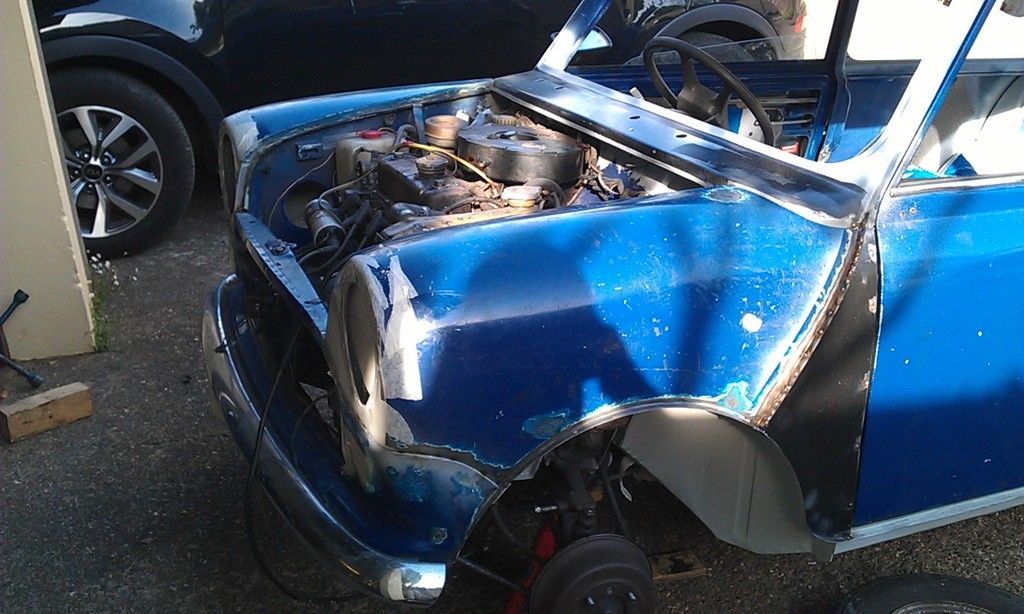
Tomorrow dress down re-weld as necessary then start prepping for painting.
Posted 30 May 2016 - 07:17 PM
Posted 31 May 2016 - 05:33 PM
Tidy work !
Posted 31 May 2016 - 09:05 PM
Great work, I think once the welding is finished it really starts to feel downhill after
Hope so ![]()
Tidy work !
Tks
Edited by JonnyAlpha, 31 May 2016 - 09:05 PM.
Posted 02 June 2016 - 07:49 AM
Didn't get any pictures of the dress down areas but it went well, needed to crack on!!
I started to clean the headlining and some of the metal bracing rods fell out, I then realised how easy it was to remove it so out it came, that will make painting a whole lot easier.
Nice day yesterday and wanted to get painting. I have decided to prime the floor, let it set then seam seal the inside and at the same time under the wings. Then another coat of primer over the seam seal inside and under wings, (probably brush paint under there. Then prime the outside and top coat?
Anyway out with the new Erbauer DA Sander:
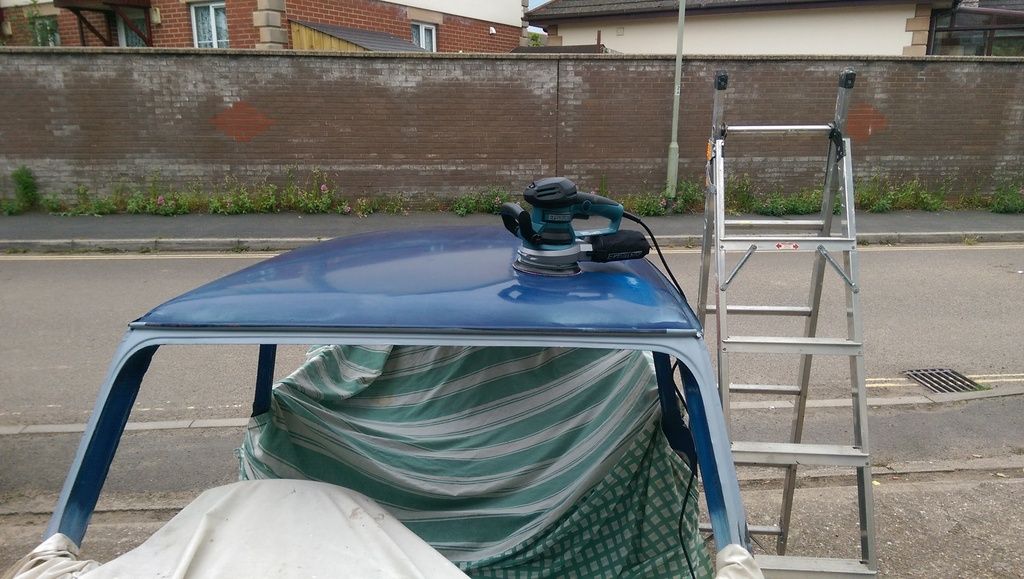
Started on the roof - boy it was noisy, so noisy that the old lady across the road complained and phoned the council - wait out!!
I removed most of the paint and primer around the edges as this appeared to have been Red Leaded, the rest will just be scuffed up:
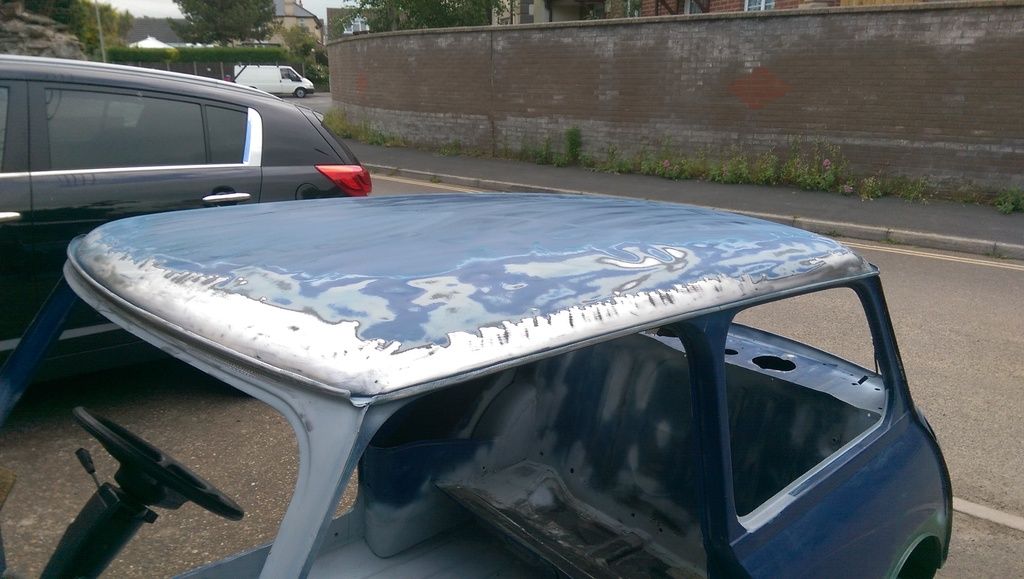
I then ran the grinder over the rest of the car before I started painting, this would ensure that most of the mess will have been removed. The outside will still need finishing off before it's primed.
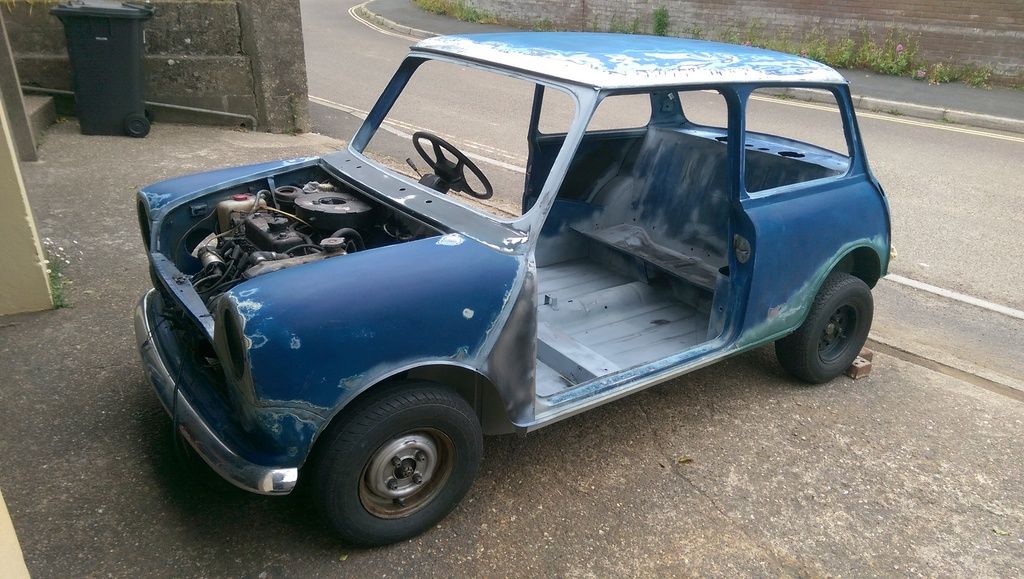
I also decided to remove what was left of the sound proofing on the back seat, to my horror this exposed a rust spot and hole in the rear end which has all been finished!!! I had to precariously weld it but will now also need to get back under the rear end to touch up GRRRRRRRR!!
Anyway after loads of fiddling rubbing cleaning and hoovering I managed to spray on the primer. I was going to brush paint but I am a gluten for punishment ![]()
Here are some interim photos:
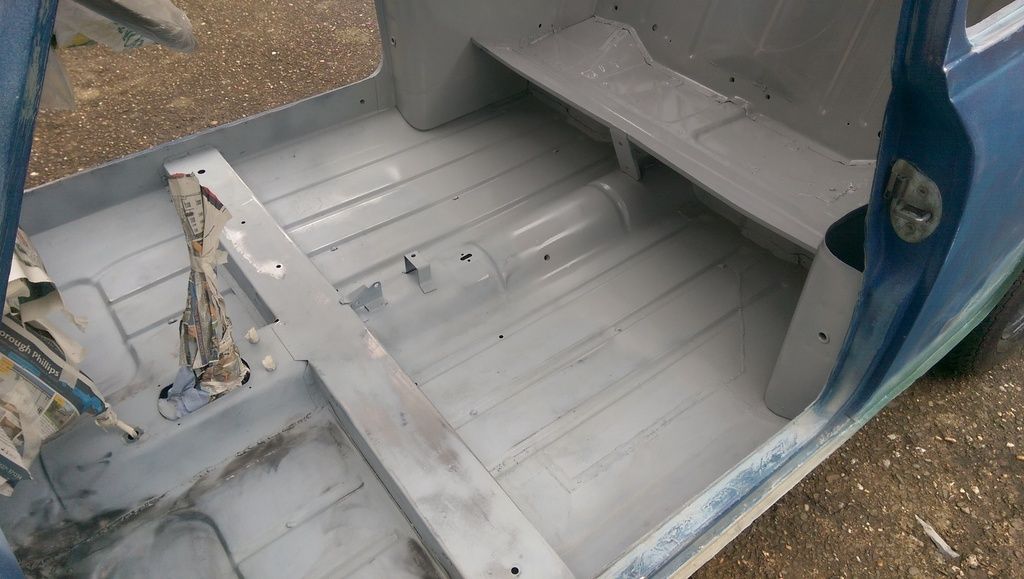
Having re- read up about gun pressure for my FMT LVLP gun the primer went on a lot better and smother.
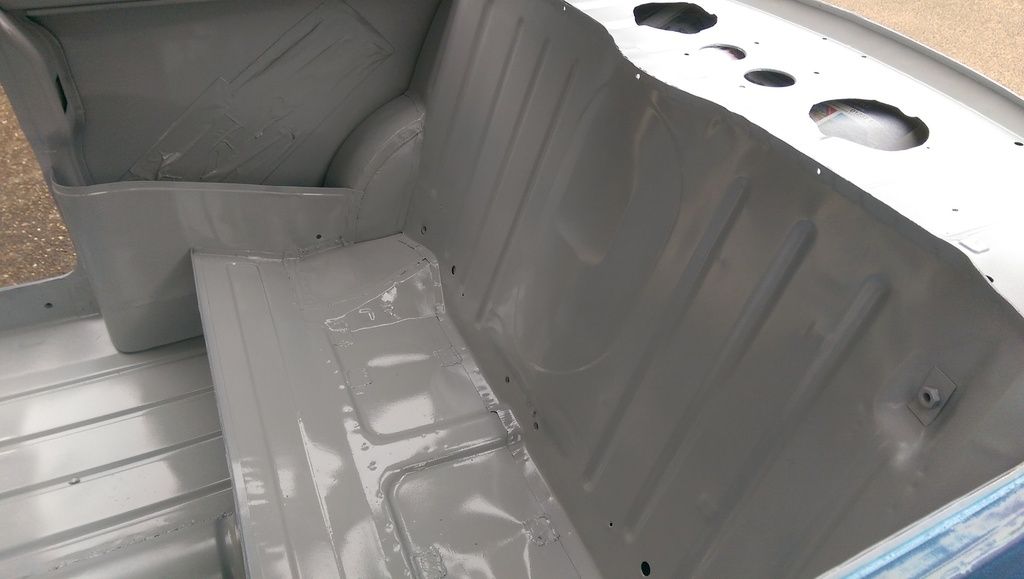
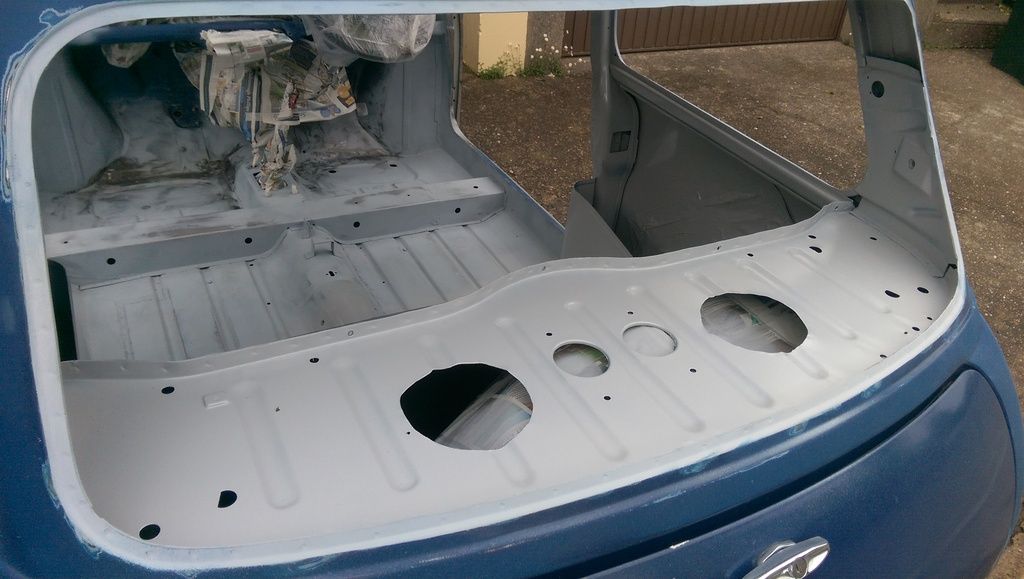
And finished:
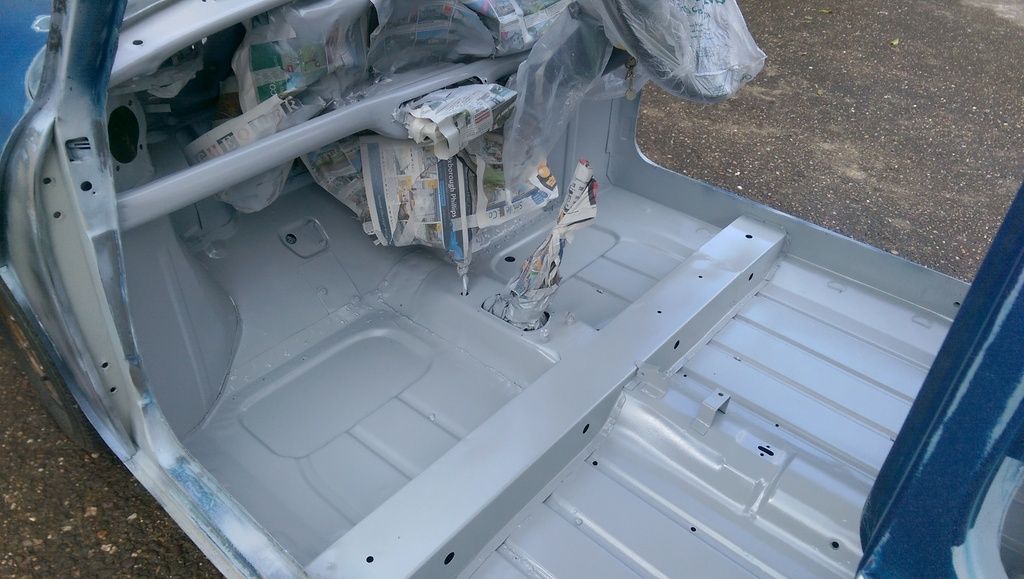
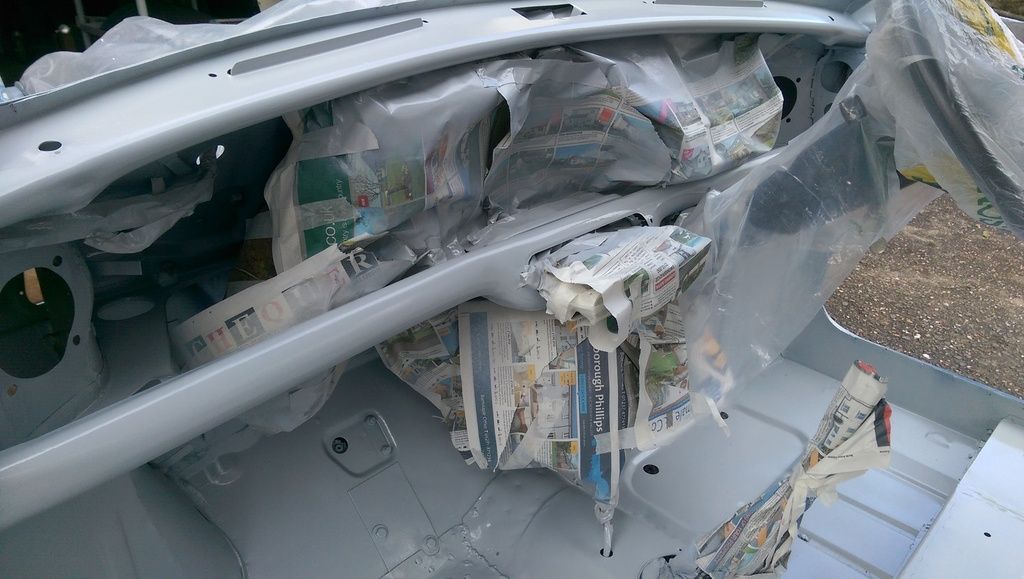
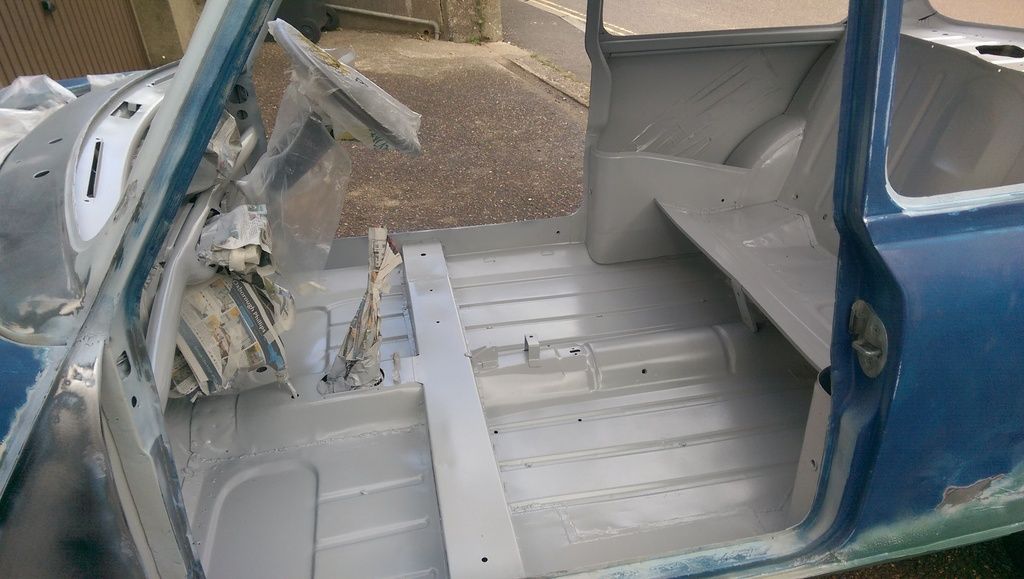
Oh top tip, before spraying the inside get a air gun attachment and blow out all the crud from under the cross member or you'll have some picking and rubbing to do like me. I was warned about spraying inside (Sorry Coxie I ignored this advice!!).
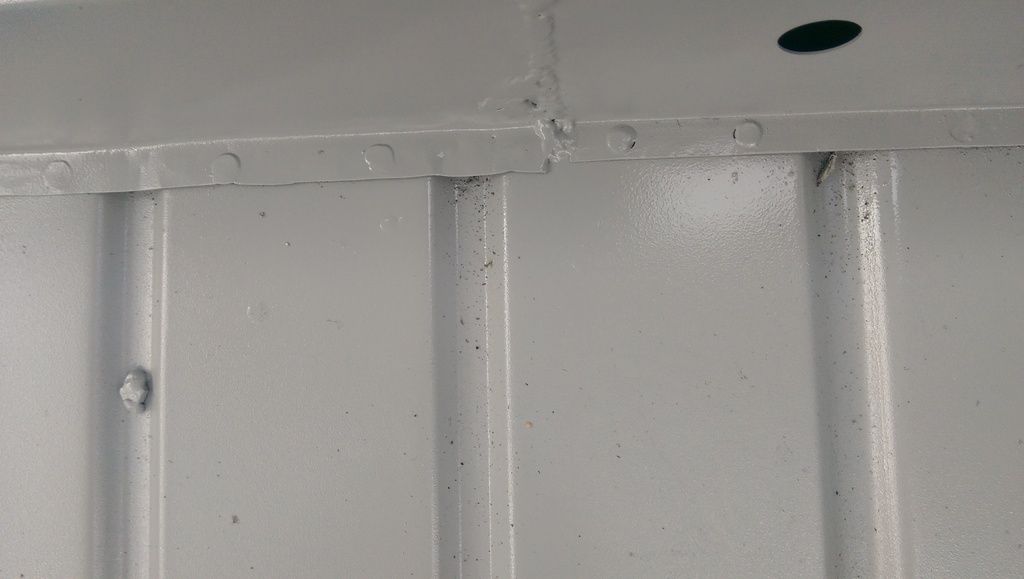
Still overall very pleased so far.
Now to erect a tent to do the outside!!
Posted 02 June 2016 - 08:30 PM
Well another afternoon working on the project!!
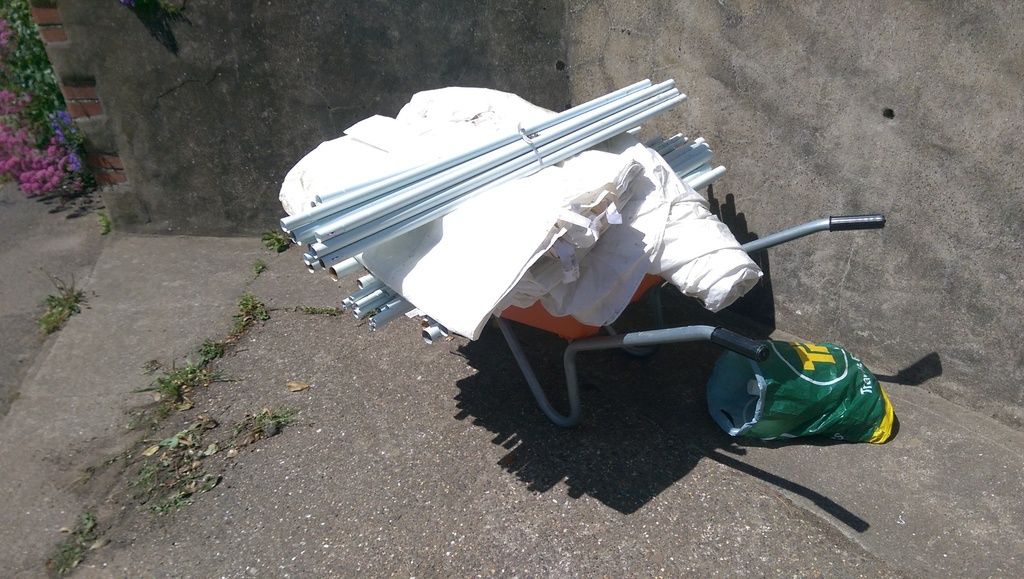
Borrowed a very large Gazeebo from a next door neighbour who had got it SH but had never erected it, not sure of all the bits were there but I would surely be able to fashion something:
And after sorting through some poles, angles etc I fashioned a nice extension to my garage, held down with a bag of cement and some wheels (Mini ones):
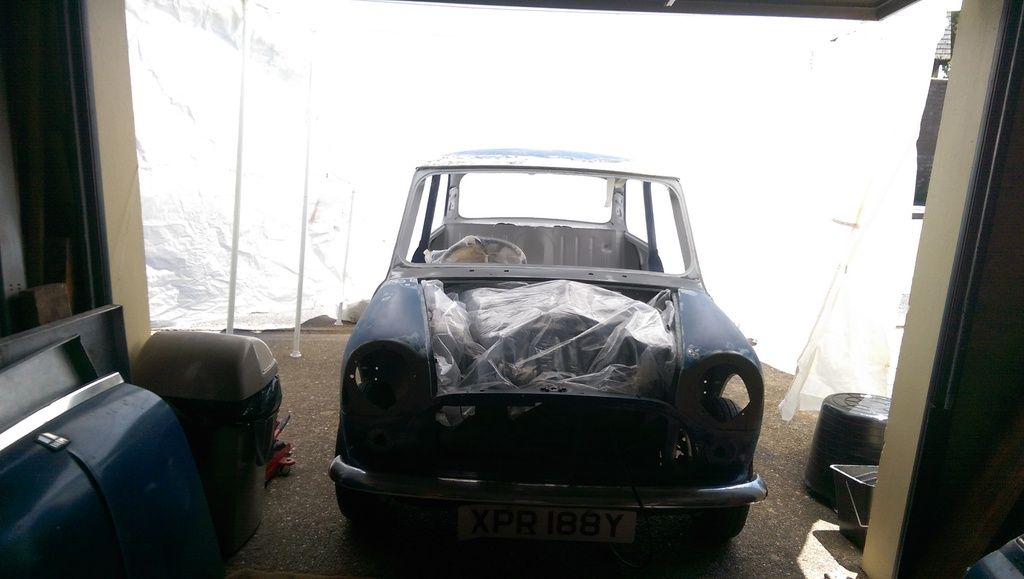
Just enough room to manouvere with a spray gun. I then spent another coupe of hours flatting down the roof, scraping out some of the old sealant and de-rusting the gully exits, finally ready to spray!!
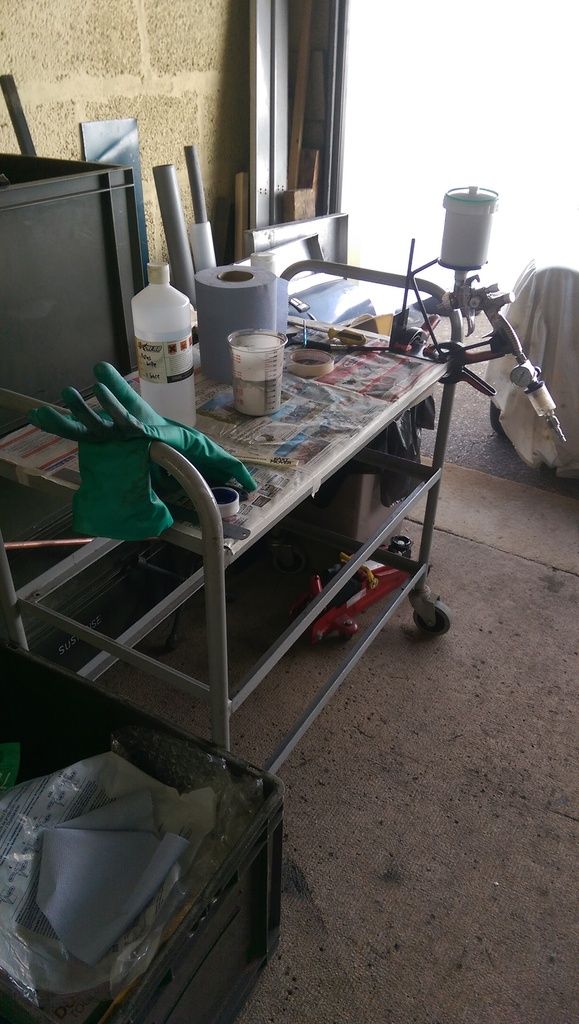
Here's my spray trolley (well it's an anything trolley really) but when spraying it gives me a good platform for mixing and cleaning:
And after two coats here is the finished product:
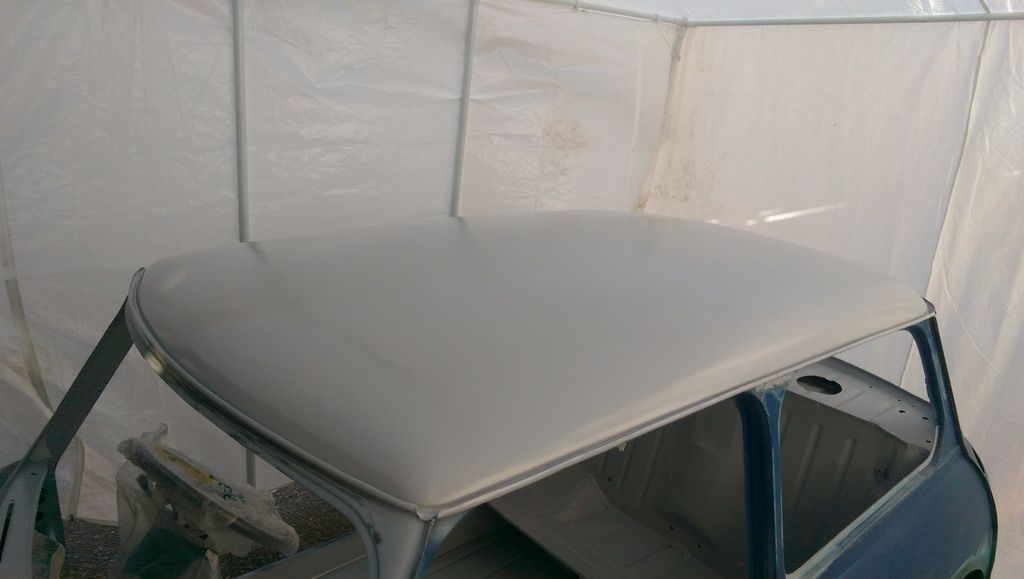
There are lots of imperfections where I went a little deep with the fleece disc, I thought I had flatted these down using Wet and Dry but clearly not!!! I did try and build up these areas with additional spray but I may have to use some filler before the next coat?
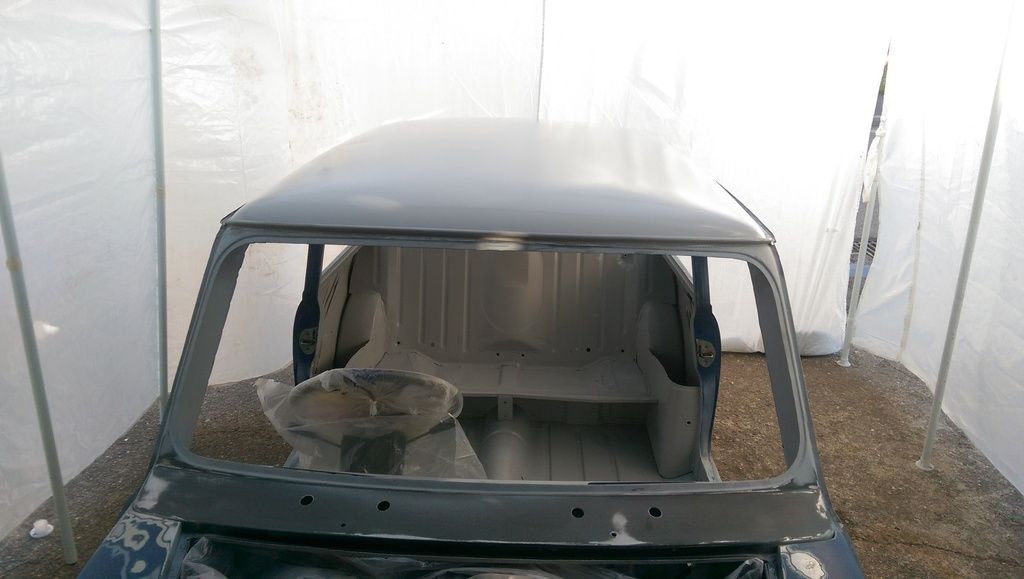
That was a whole afternoon just to prime the roof!!
Anyway I ordered some more Lechler Epoxy Primer for the rest of the body and 3 Litres of BMC Almond Green and 1/2 Litre of WT03 Old English White, pick it up tomorrow around 10am.
Back out with the tent!!
Posted 02 June 2016 - 08:31 PM
Oh the tent worked, only two specs of ? landed on the paint ![]()
Posted 02 June 2016 - 09:20 PM
Look's good mate, Told you the roof would be noisy ![]() I did exactly the same with the cross member
I did exactly the same with the cross member ![]()
Posted 03 June 2016 - 08:53 PM
Posted 05 June 2016 - 08:00 PM
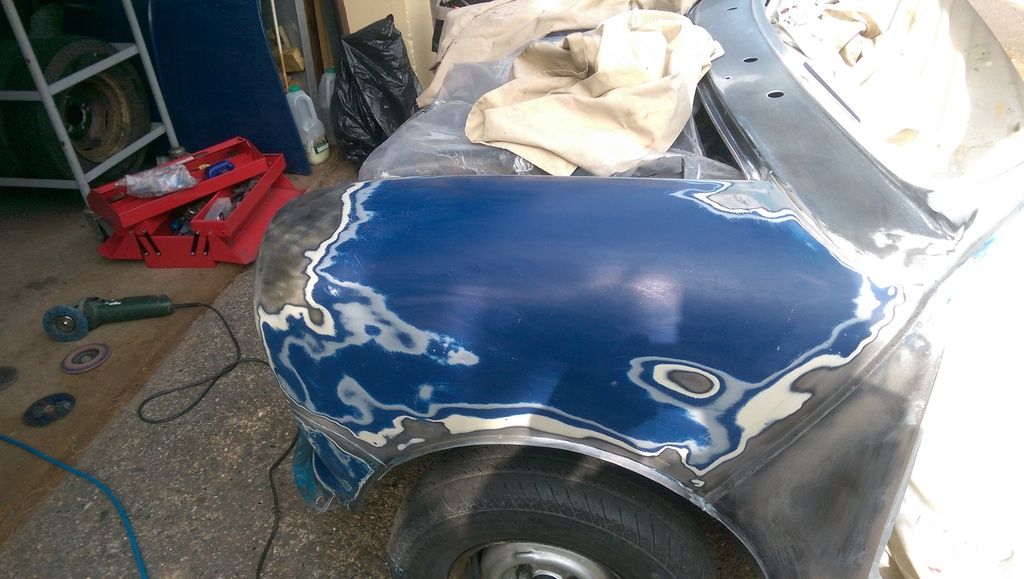
Before priming the rest of the car I still had to clean up the front lower lip and the boot surround. The rest of the car also need to be wet sanded as I did not want a repeat of the roof!!
The front is pretty gouged up underneath so although I did strip most of it down (only partially done in this pic) I will paint it by hand (roller later on).
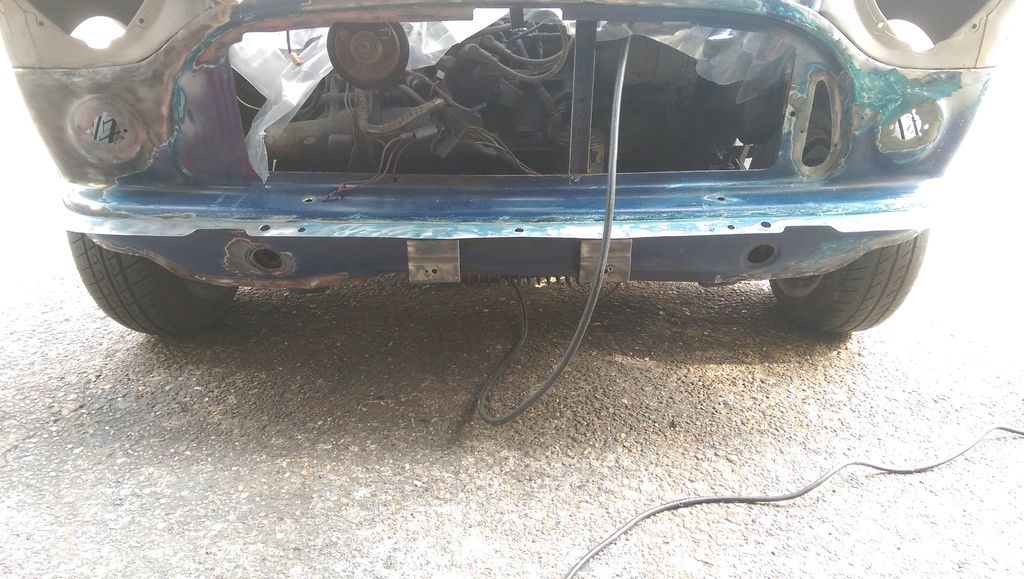
Cleaning down the paintwork to forever, 120 grit to work into any dings then 320 grit all over, I kept at it ensuring everything was silky smooth.
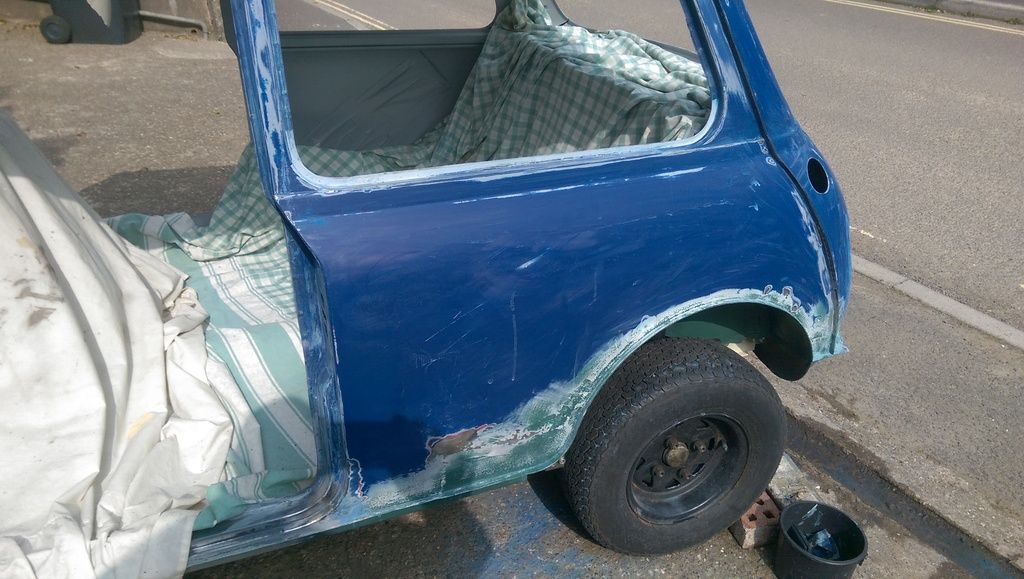
The rear quarters were particularly difficult:
That was yesterday, today I thought I'd just throw up my temp spray bay an crack on but then I realised I had not folded over the A Panels!!
I tried to follow the A Panel folding guide but I have used extra thick A Panels and these were an absolute Pig to fold, I tapped them part way with a panel beating hammer then with a lump of bar and finally folded them using a set of Mole Grips and a rag, could not use wood as I could just not get the leverage!! I have to trim the flange down slightly in the middle otherwise they would not have fitted.
Anyway I was pleased with the final result, just hope the doors still shut, if they don't then I'll grind the damm doors until they do!!
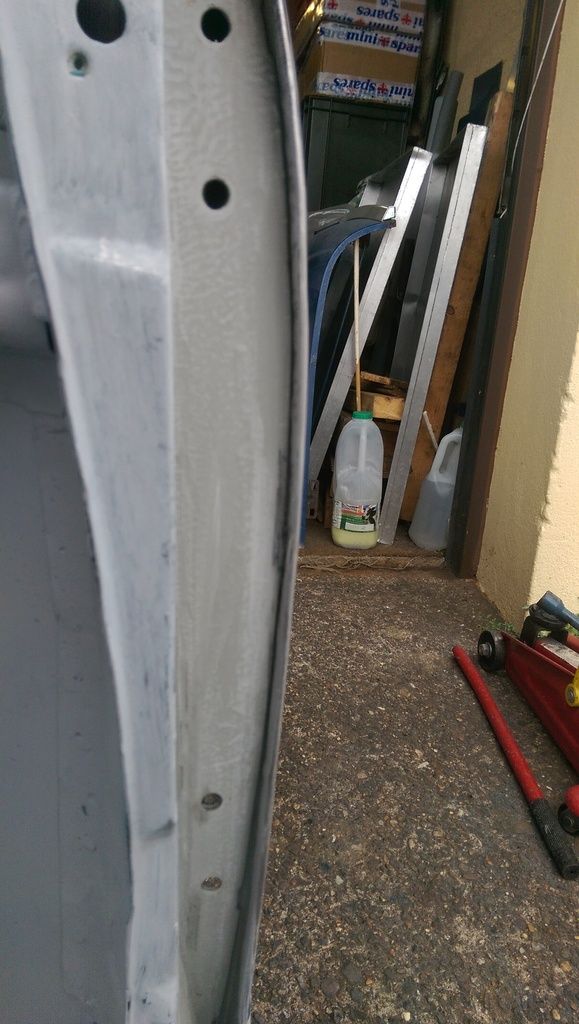
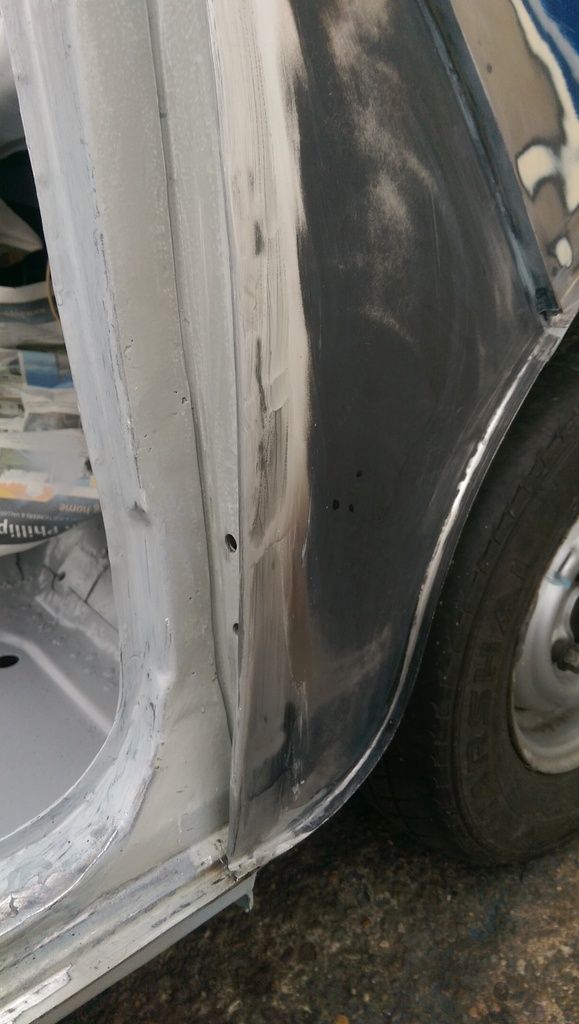
So here the before shot:
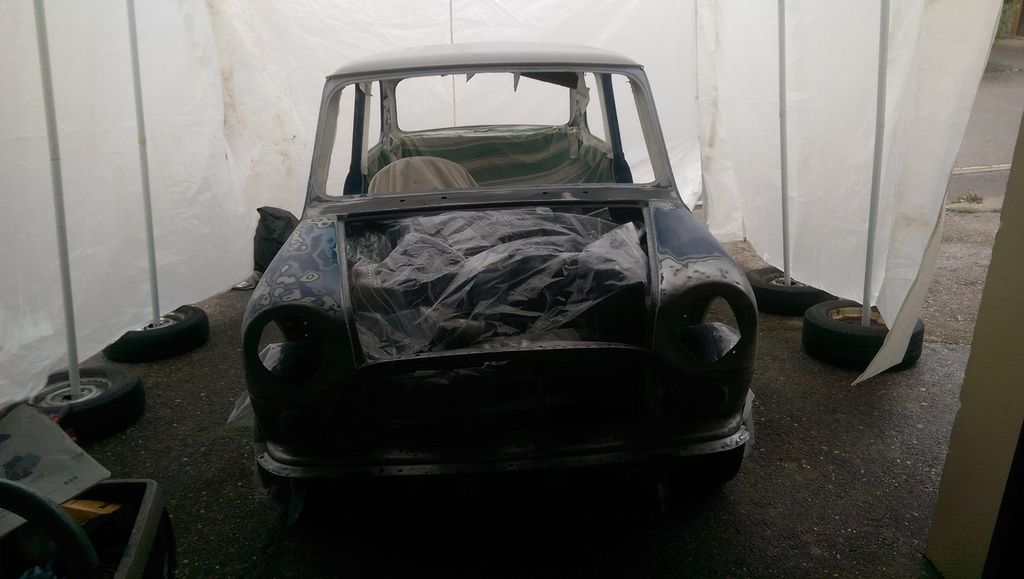
Then had to treat a couple of rust areas on the rear seams, rub down the flash rust, hoover, mask up, get compressor and gun ready, mix up paint and finally spray ![]()
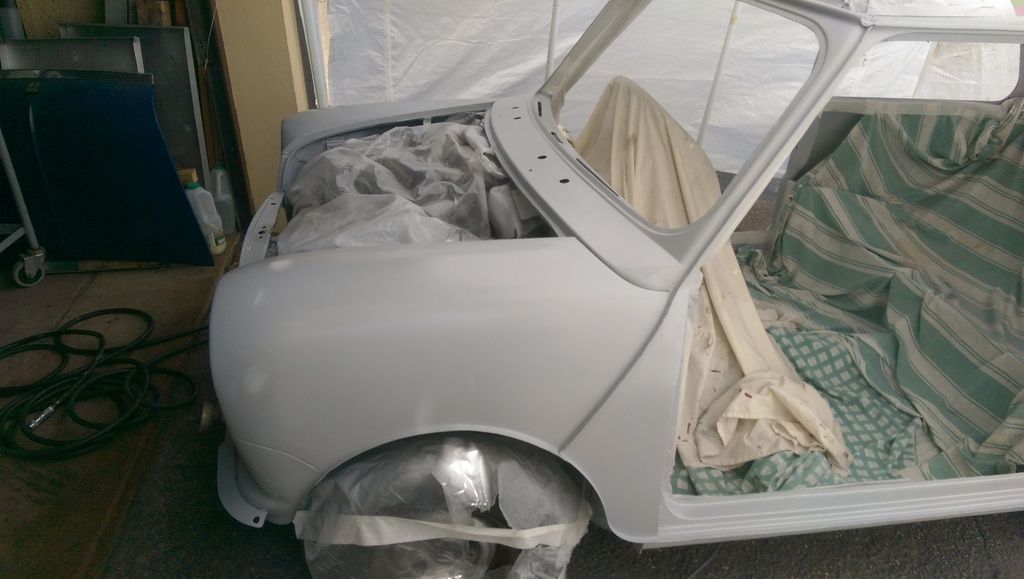
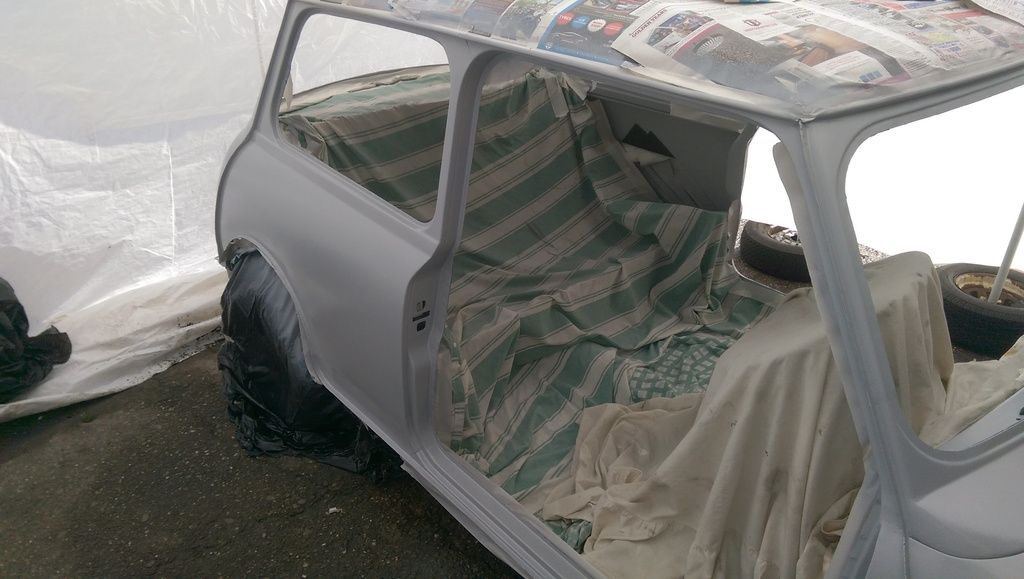
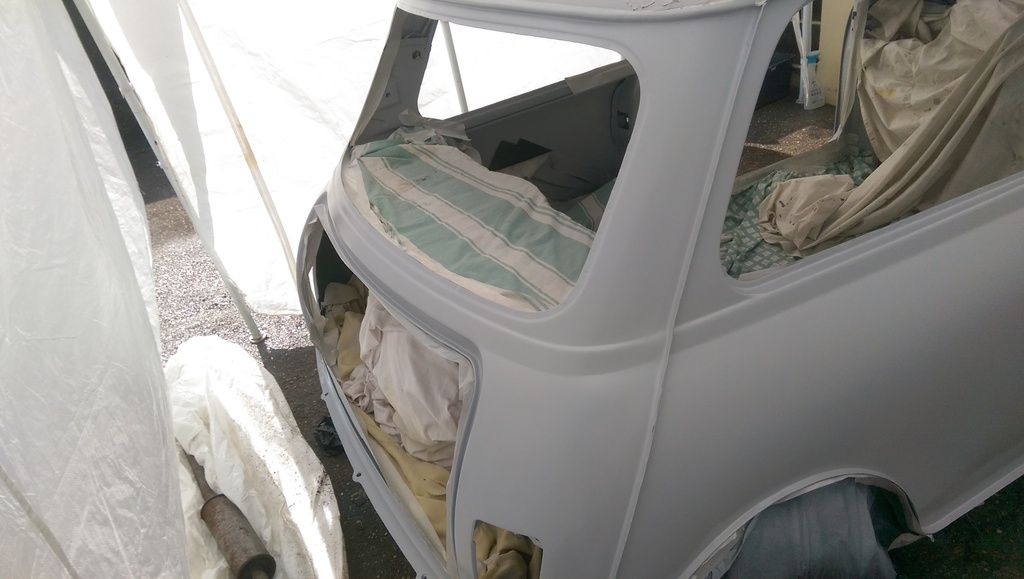
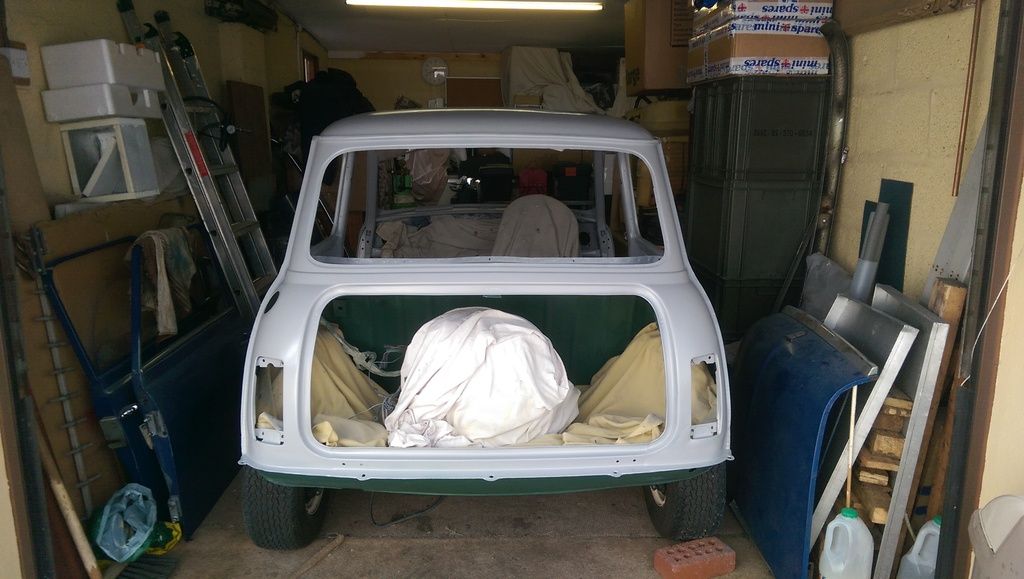
Paint was a little sparse around the RH side of the boot recess:
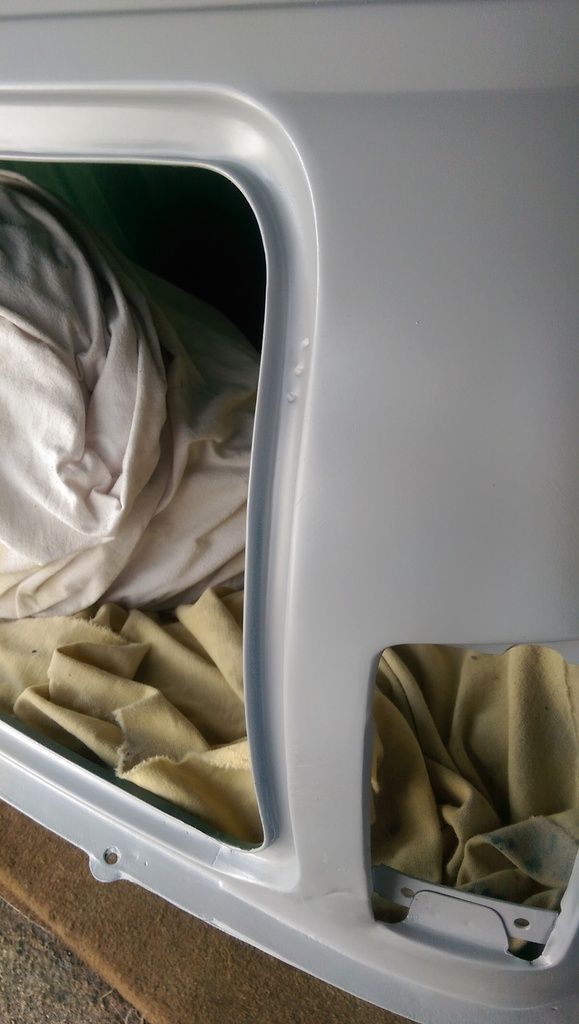
And I had a small reaction under the LH rear window upper ledge? Oh an a brush hair appeared from no where and landed on the wing ![]()
Put to bed and off for my dinner (Fish and Chips as the wife is away).
Next task is to:
1. Seam seal.
2. Sort out the route for the new battery cable.
3. Filler roof and any other areas as required.
4. Spray another coat of Epoxy.
5. Top Coat(s).
Re-build ..................
So missed the deadline for Beaulieu AGAIN!! but its nearly done!!! ![]()
Posted 05 June 2016 - 09:43 PM
0 members, 1 guests, 0 anonymous users