1982 Austin Mini - Project Who?
#436

Posted 10 April 2016 - 09:39 AM
#437

Posted 10 April 2016 - 09:02 PM
#438

Posted 29 April 2016 - 07:33 PM
Looking really good, keep up the good work.
Thanks
Really coming together now buddy. There be light at the end of that tunnel.
Cheers Coxie, slowly slowy!!!
#439

Posted 29 April 2016 - 08:58 PM
Well had a couple of days to work on this project, last weekend and today. Carried on with the inside and then did around all the windows.
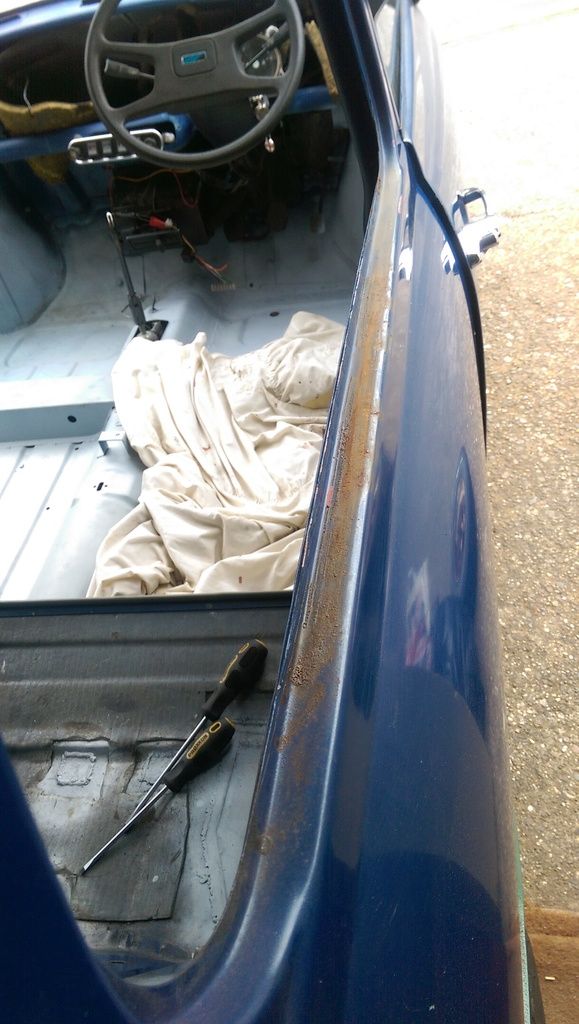
Took all the glass out and found some rust spots, especially under the rear side windows:
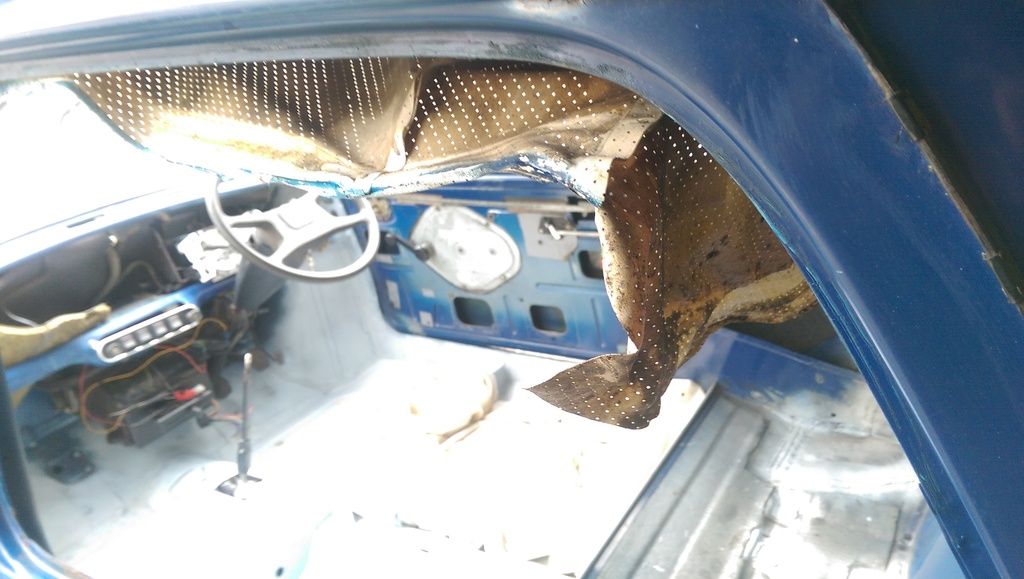
The headlining was well manky, found a massive house spider whilst hoovering out nearly 40 years of crud! Can't afford to replace it so it's going to get a lick of emulsion:
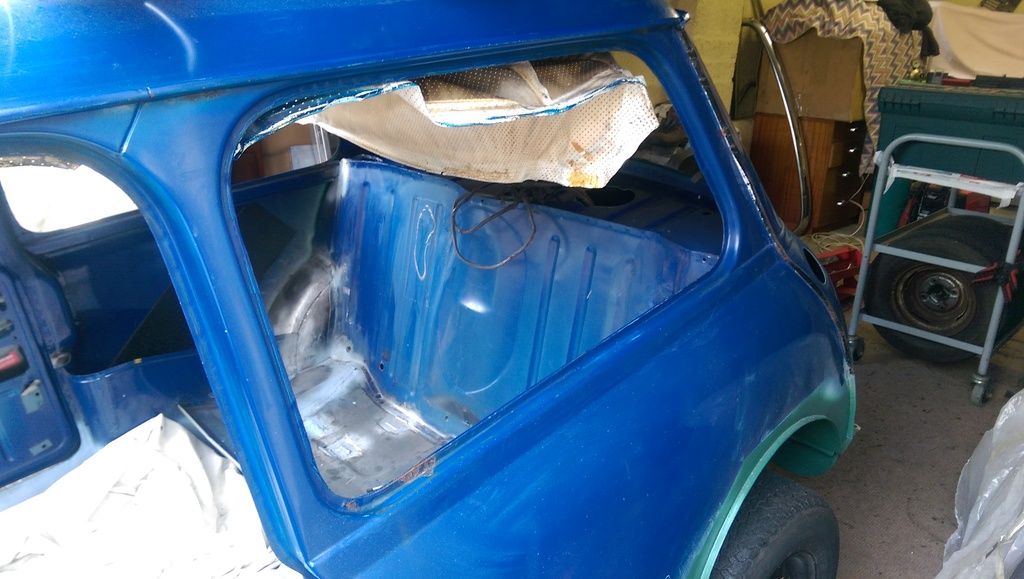
Bit of rust on the rear LH side window:
Cleaned and etch primed around the outside of the front window (did the inside last week):
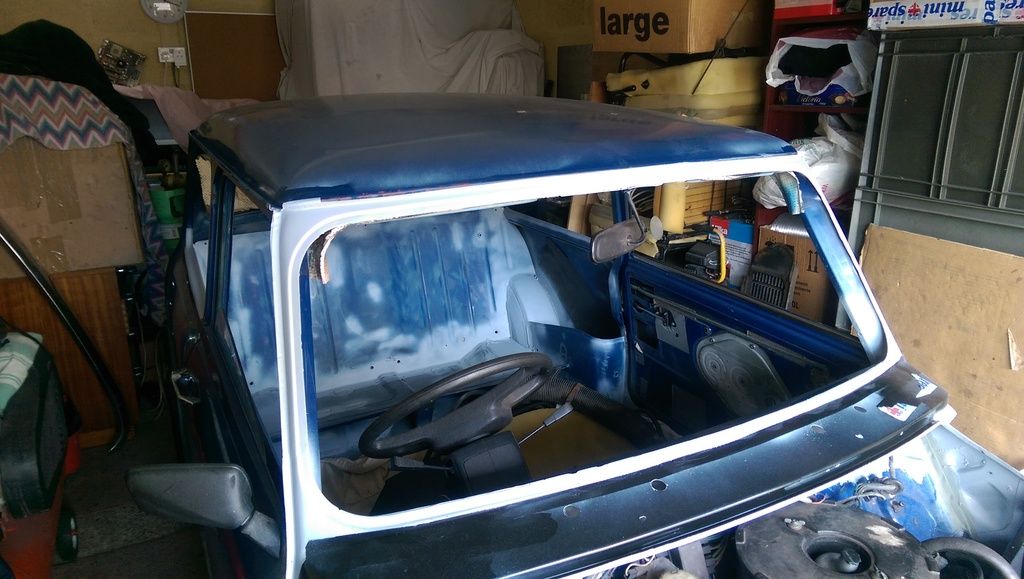
Spent ages cleaning up the inside area around the rear seat:
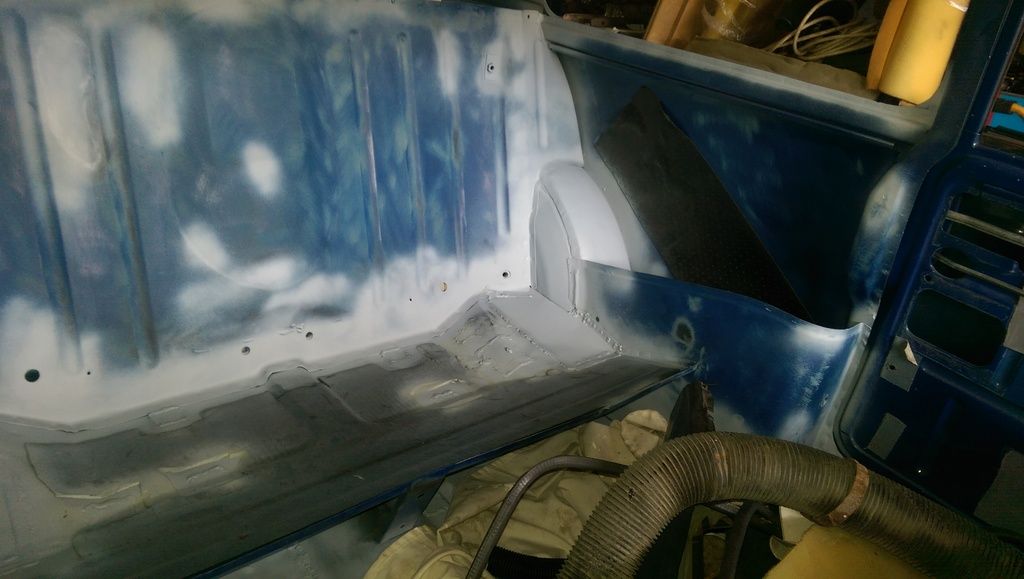
Cleaned and sprayed up the rear arches and companion bins:
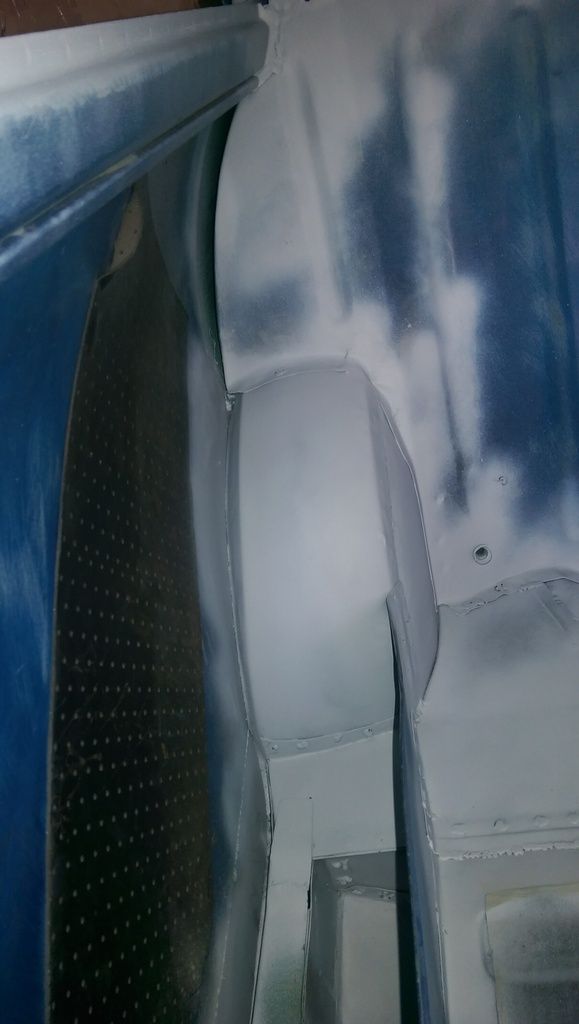
Area of rust at the top outside corner of the seat, all cleaned up and sprayed:
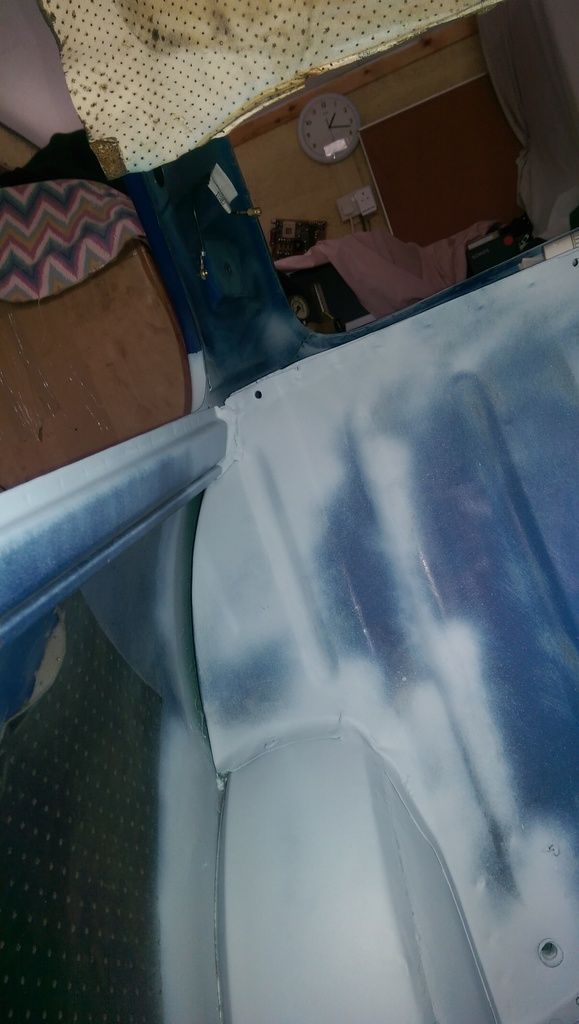
Here's the outside of the rear RH side window, it had a good couple of treatments with Deox Gel which took a couple of hours:
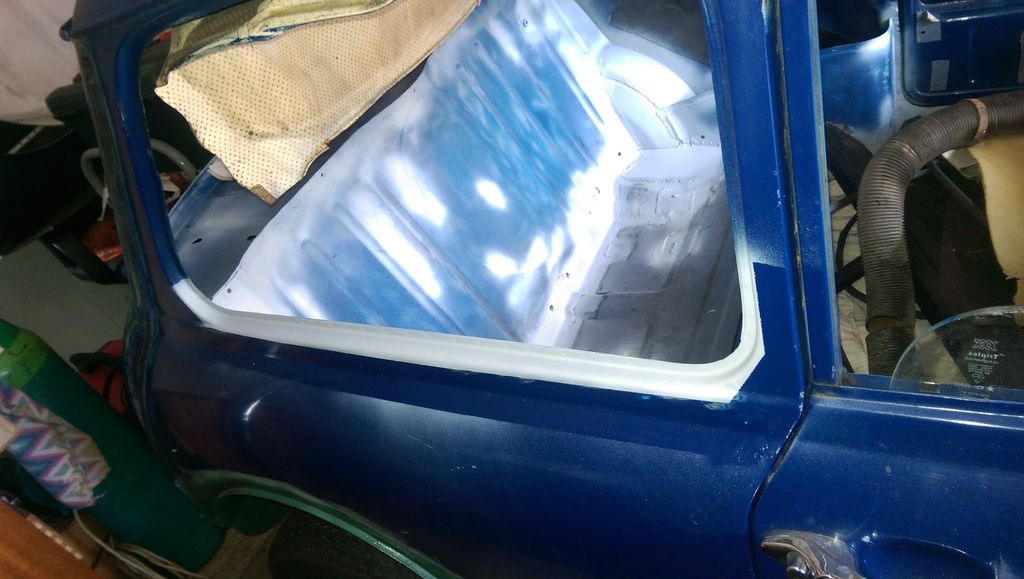
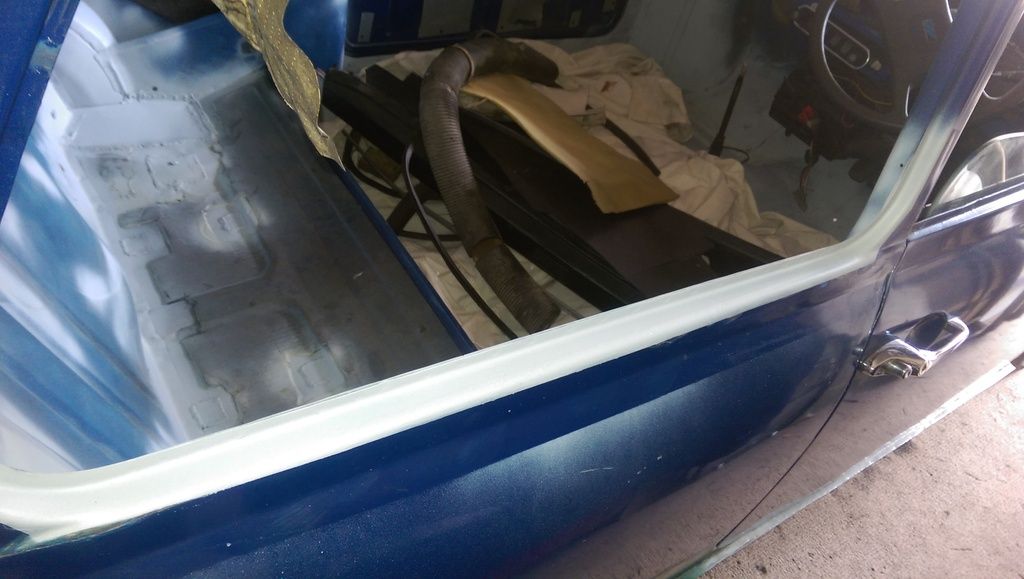
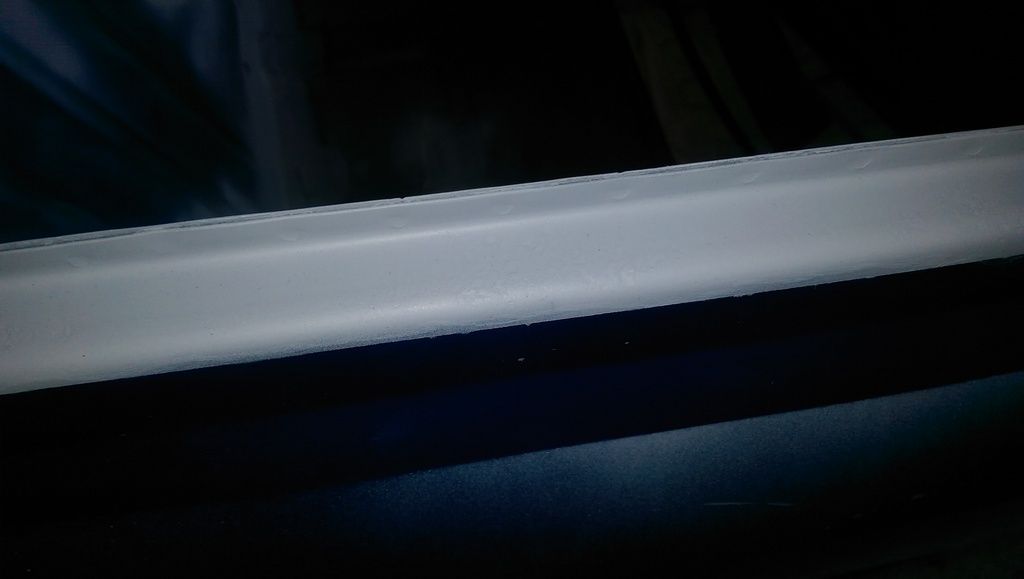
And inside and outside of the rear window;
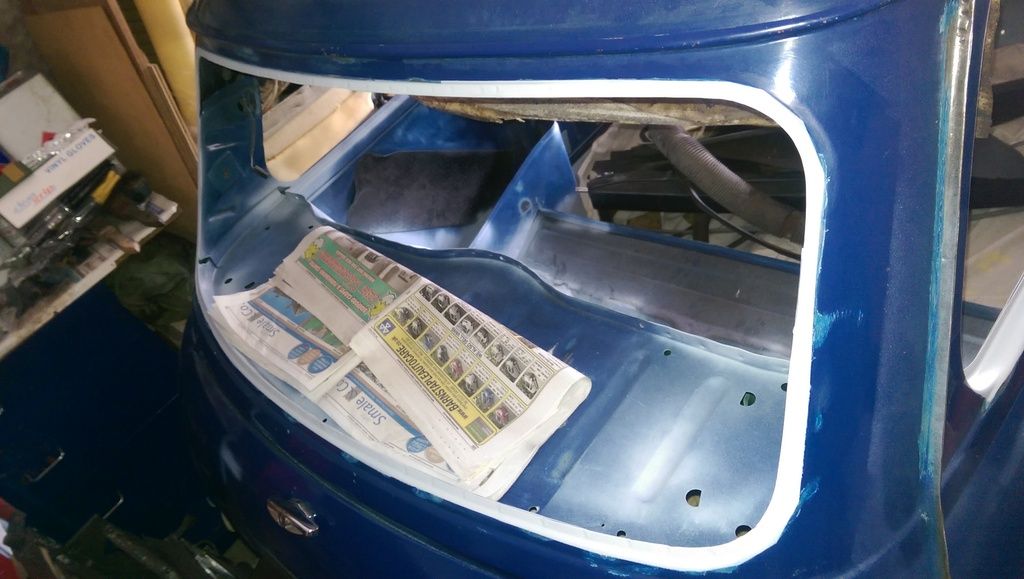
Rear seat again:
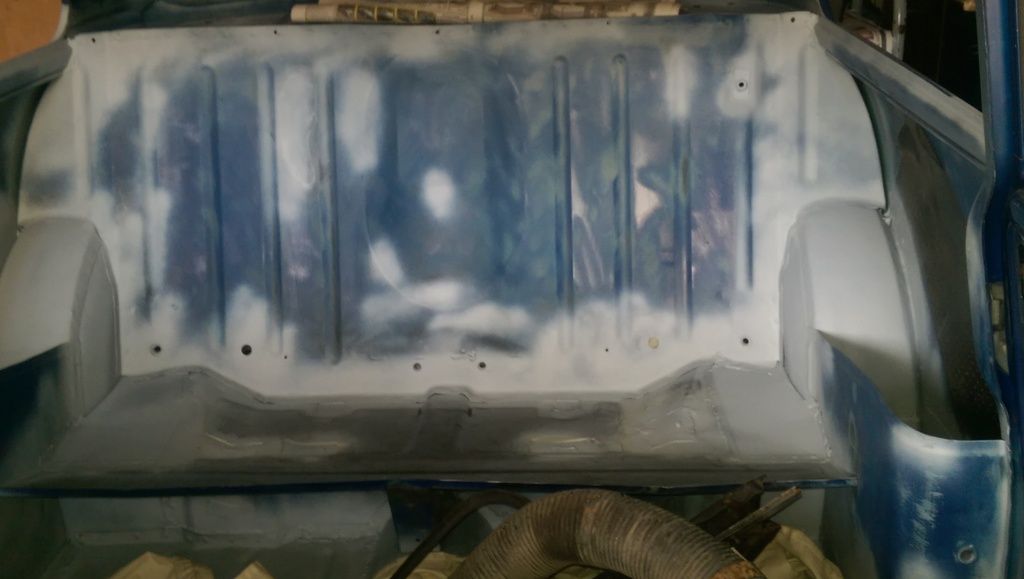
That was last weekend then today I started on the front end. Front RH wing:
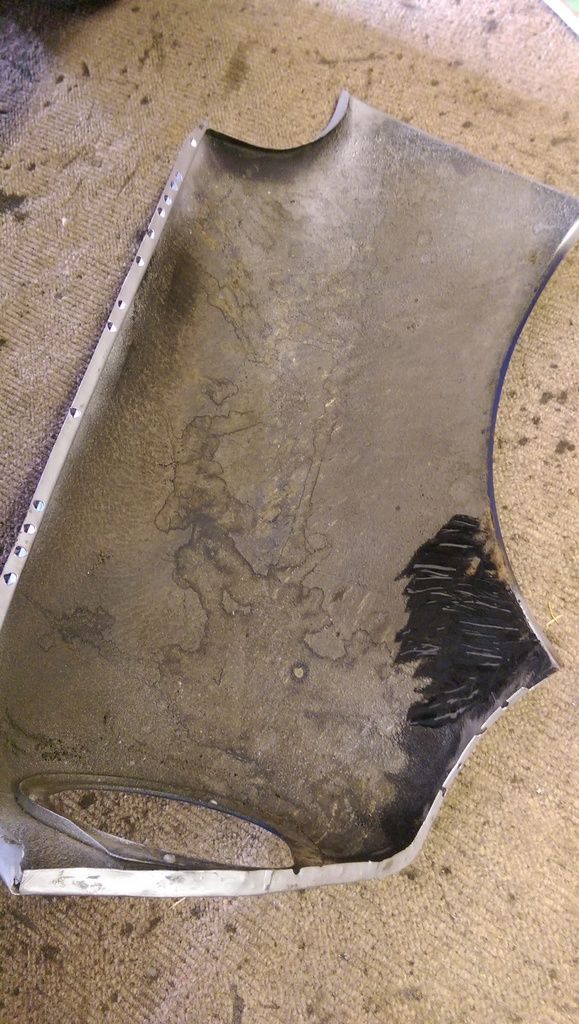
Wasn't sure what to expect but after a good scraping it wasn't that bad:
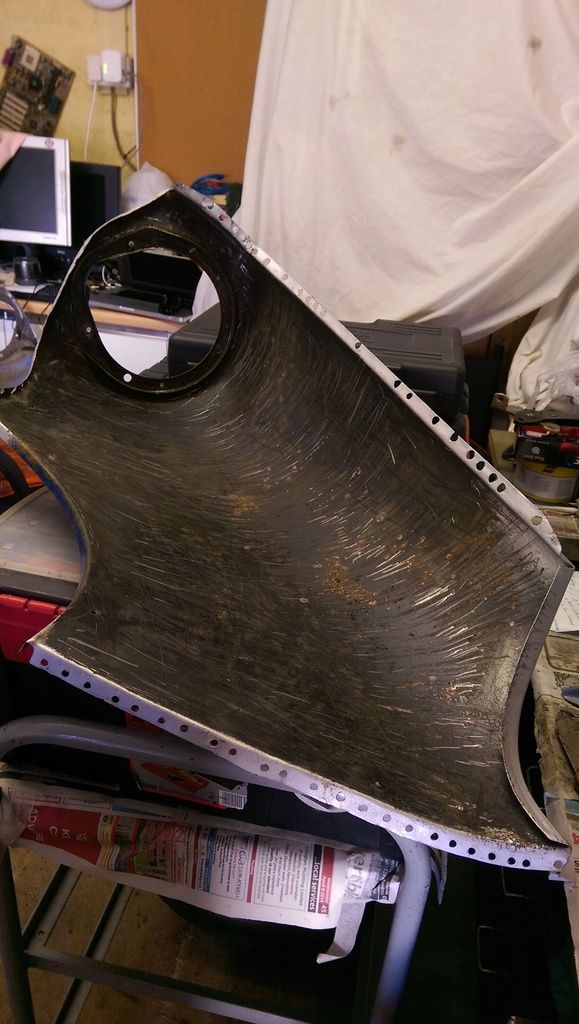
Only a few areas that need de-rusting. Might have to soak the ends in Citric Acid:
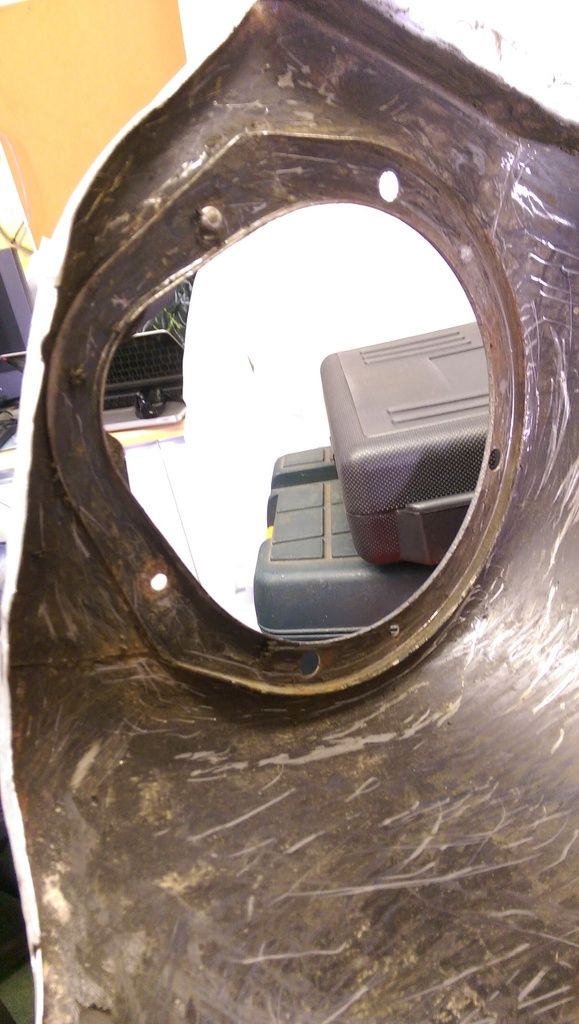
I then moved onto the front Inner Arch and Inside the Front Moustache: Took off the wheel and shock, I was going to clean up the shocks but the rubber mounts have perished?
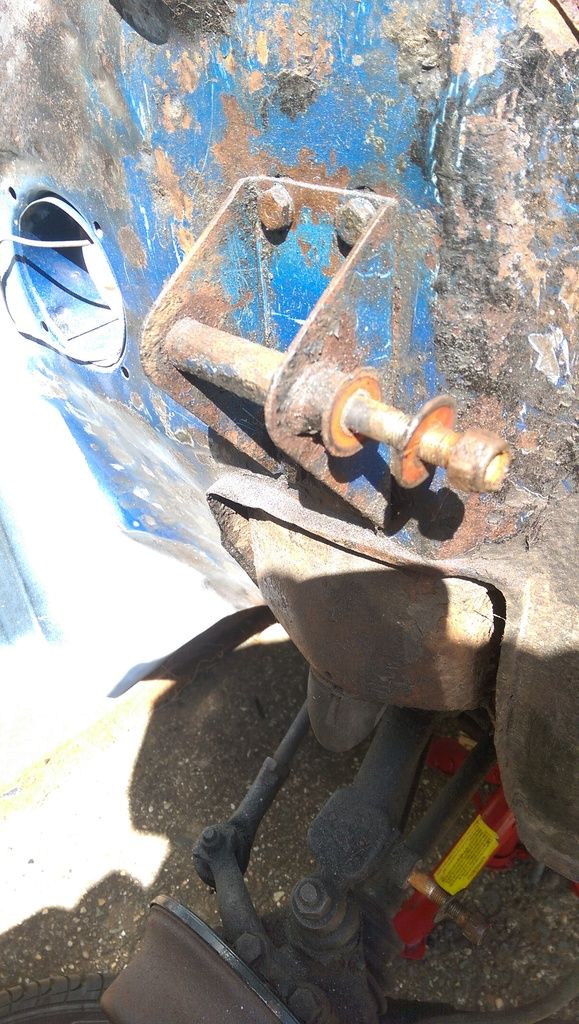
It also looks like the top mount is held on with bolts / captive nuts so I gave them a spray up with WD40 and will remove and clean them up separately.
There was only one washer on the bottom?
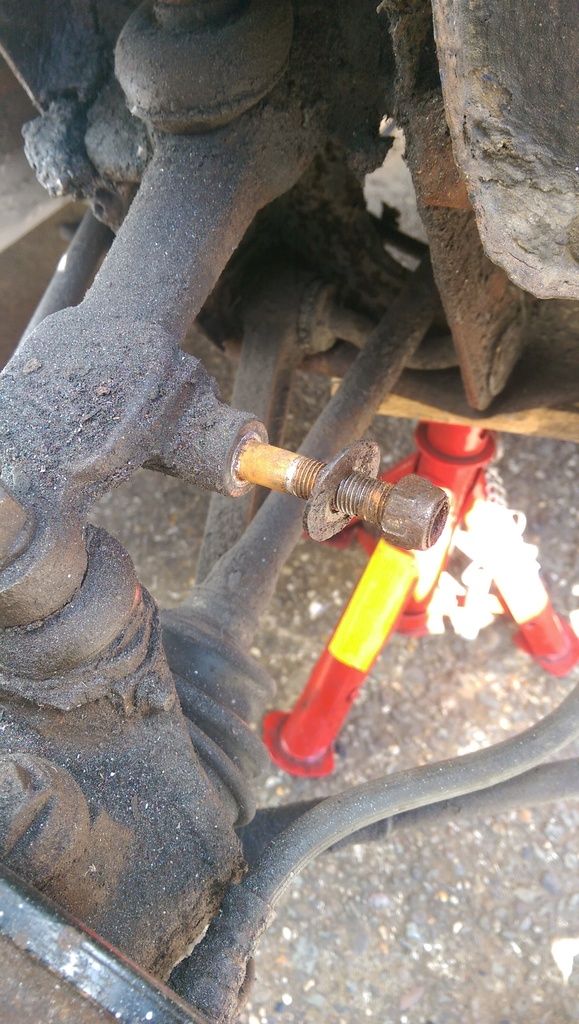
Here is the before shot:
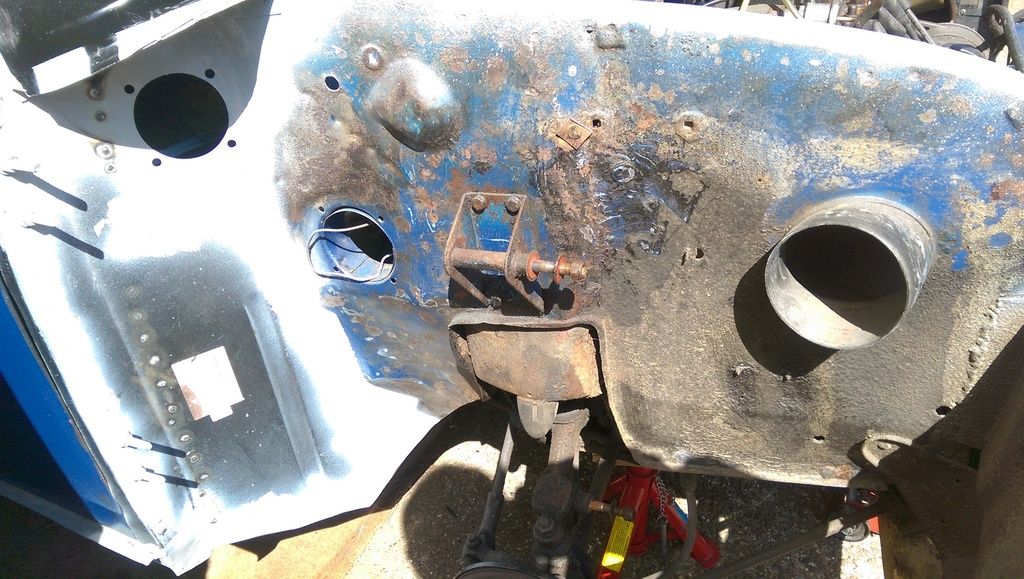
So after an age of cleaning of the underseal with a Heat Gun and scraping heres how it ended up:
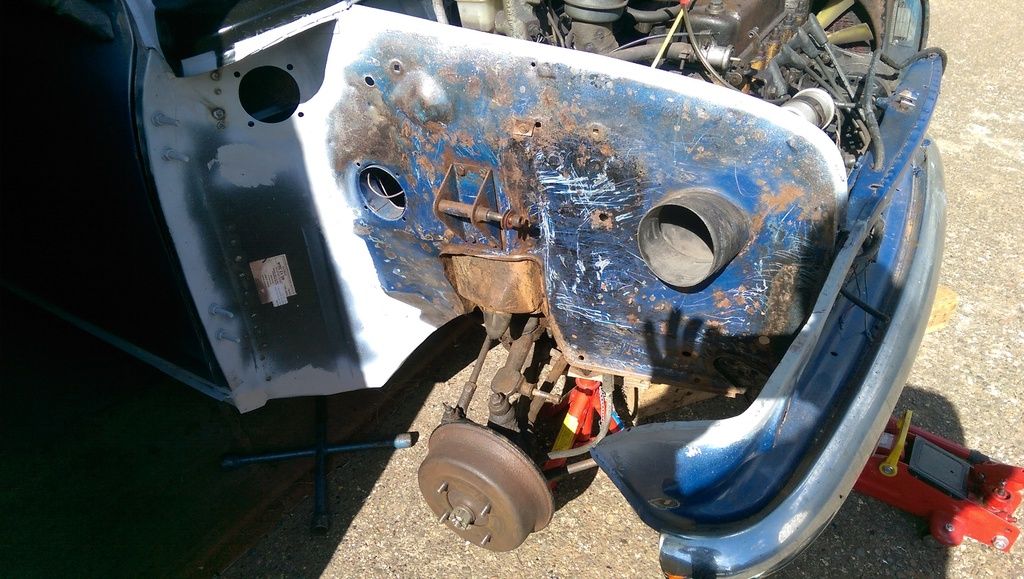
Its going to need a lot of wire brushing and rust treating :-( Also had a quick go at removing the plastic air vent but couldn't work out how it came out?
Going to take forever to clean up the front wheel assembly :-(
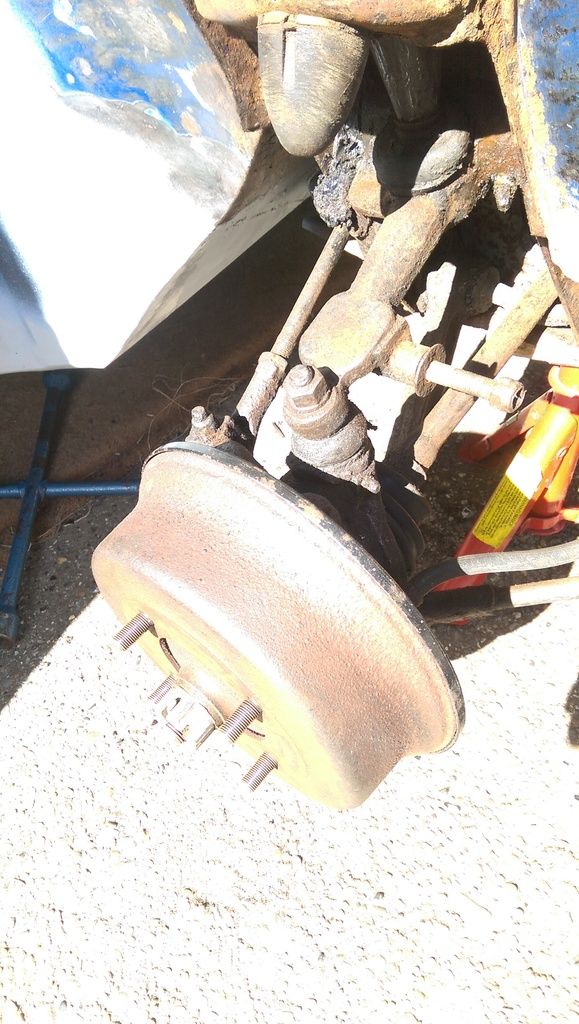
Oh and the Engine keeps staring at me saying - when are you going to lift me out and do me ![]() to be honest the engine should come out and I should drop the Subframe to do the job properly but I am running out of time and I don't have an Engine Lift, I may consider buying a Clarke one but its something I would only use once so that would be a waste of money. The other issue is that I don't have any room!! More tomorrow hopefully
to be honest the engine should come out and I should drop the Subframe to do the job properly but I am running out of time and I don't have an Engine Lift, I may consider buying a Clarke one but its something I would only use once so that would be a waste of money. The other issue is that I don't have any room!! More tomorrow hopefully ![]()
Edited by JonnyAlpha, 29 April 2016 - 09:05 PM.
#440

Posted 29 April 2016 - 09:23 PM
While going this far I would also remove the shock absorber mount off inner wing to clean up behind it and ensure no repairs needed as they can rot out between the mount and inner wing. But coming along nicely
Edited by Daz1968, 29 April 2016 - 09:25 PM.
#441

Posted 29 April 2016 - 09:39 PM
Sounds like a plan Daz, does it go back in easy enough so as not to scratch any paint work?You could just support subframe and lift body clear of it, then simply drag the subframe with engine clear, two people than can easily lift the engine off the subframe.i have done it this way a few times,
While going this far I would also remove the shock absorber mount off inner wing to clean up behind it and ensure no repairs needed as they can rot out between the mount and inner wing. But coming along nicely
I had planned to take the shock mounts off, I have seen pics of the rot behind
#442

Posted 29 April 2016 - 09:51 PM
#443

Posted 30 April 2016 - 06:16 PM
Another hard slog at it today started at around 12:00 after a wasted look around a couple of shops for a DA Sander!!
Anyway here's how today went:
So I cleaned off the underseal from the other outer wing and hey how it still had an original price sticker or par number label on it, may have been a new wing at some point that was't painted very well!!
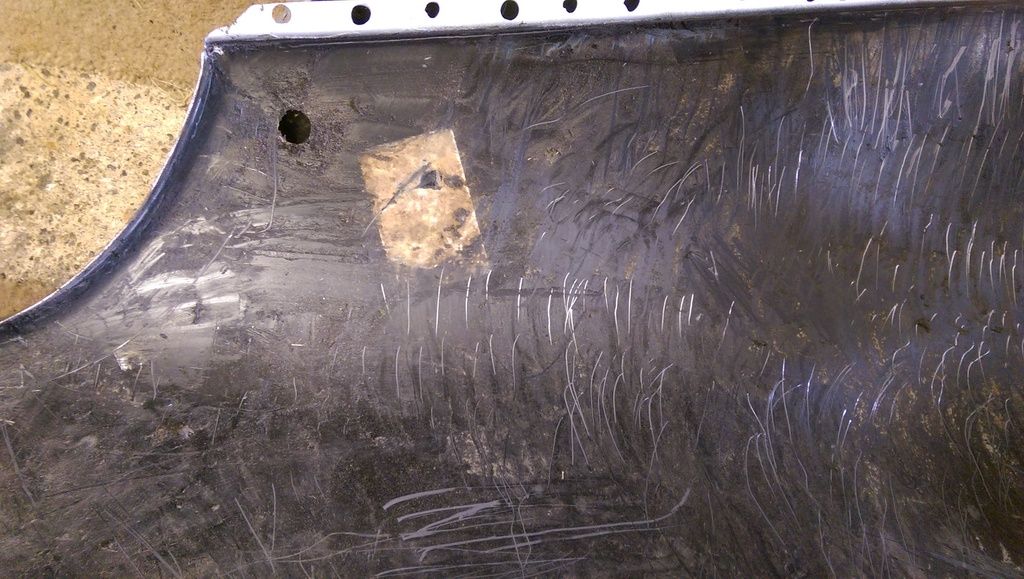
After jacking the car up and placing the front end on axle stands out in the glorious sun shine I removed the Shock Mounts. A peek behind the LH one and hey ho lovely all in good nick ![]()
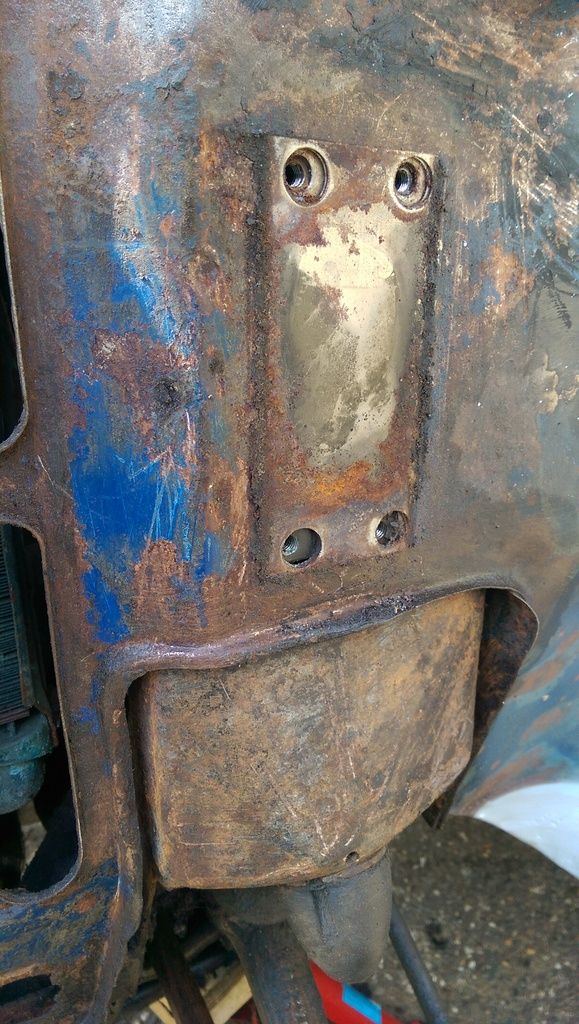
No to the RH side, as I undid the bolts and eased it free something fell on the floor...............uh oh!!
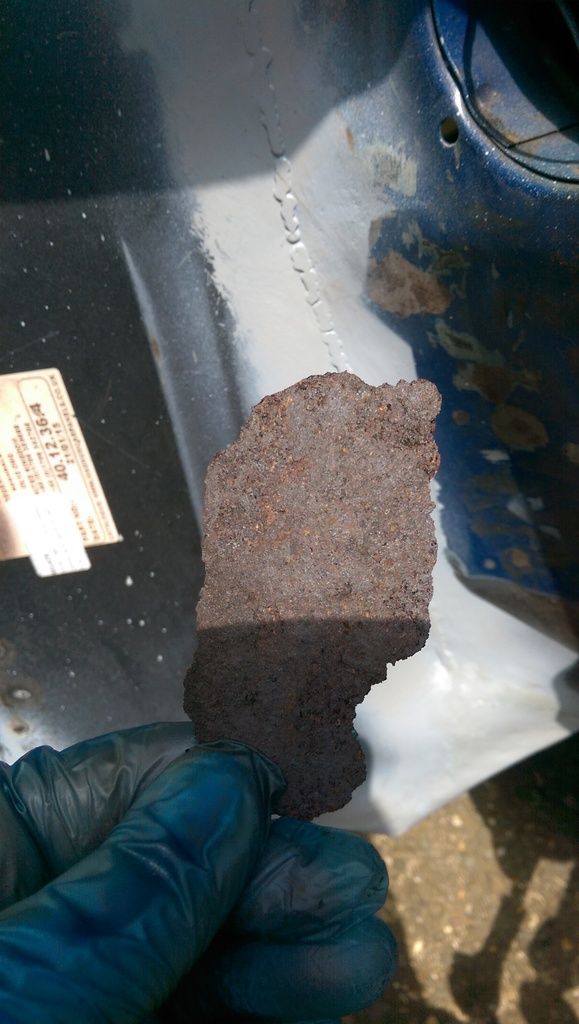
That doesn't look good ![]()
The back of the mount looked ok:
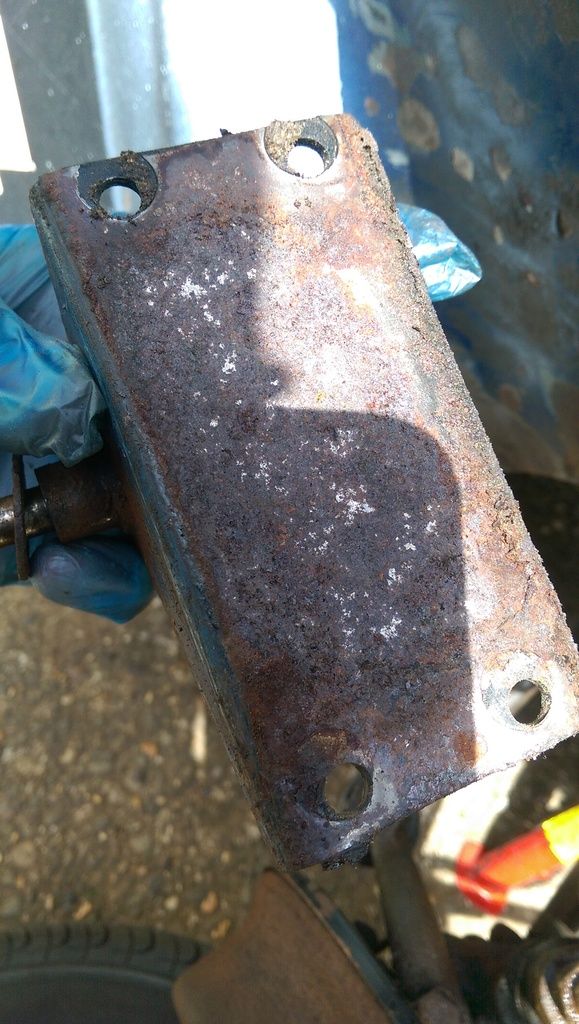
But after a little tapping with a screwdriver here's what the inner wing looked like:
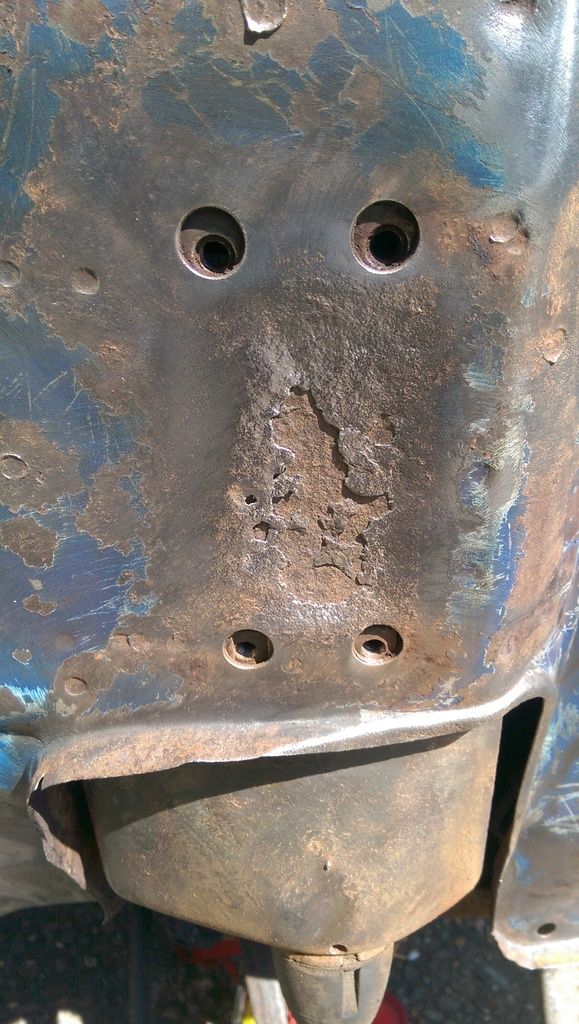
Damm, that's another repair to be done, all extra work ![]()
There's also an area on the RH side under the Radiator Grill area that will also need to be sorted out, as well as a few minor repairs to some of the grill area:
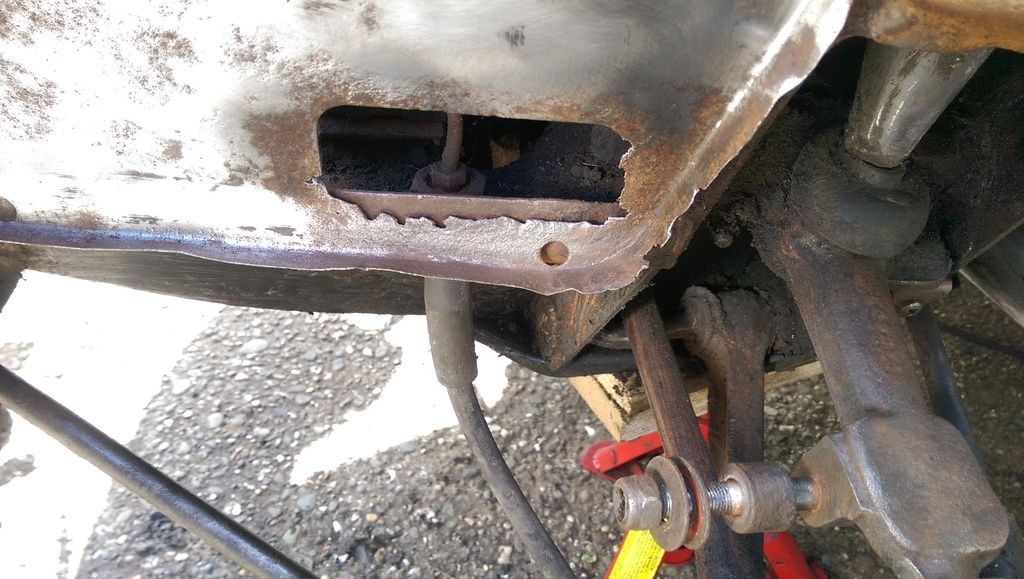
That'll be a days work at least making and welding these pieces!!
So after a hour or so with a Twisted Knot in an Angle Grinder and an Abracs Fleece Disc (excellent for removing paint and rust) here's what the RH side looked like:
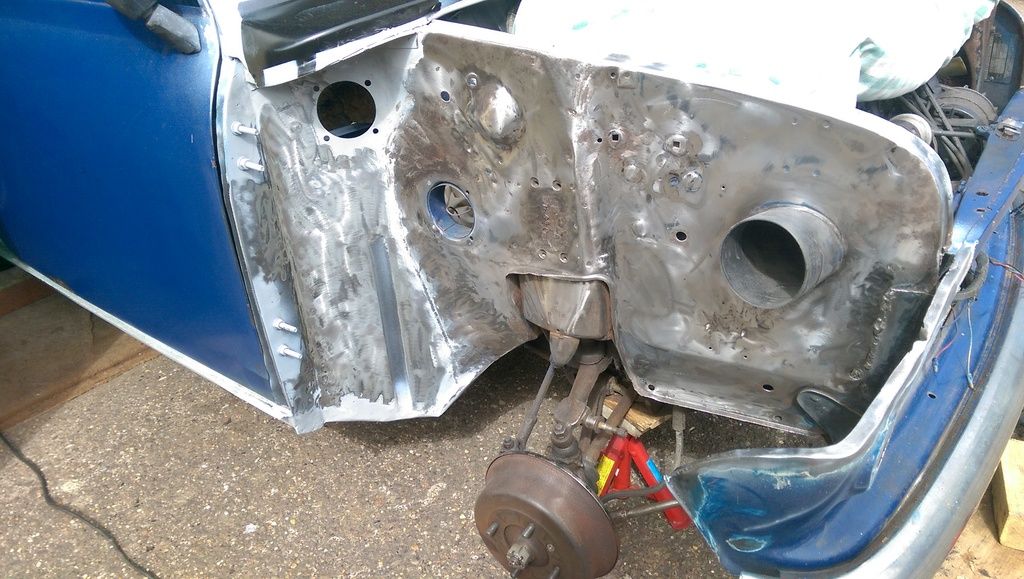
There were still quite a number of areas that need more work:
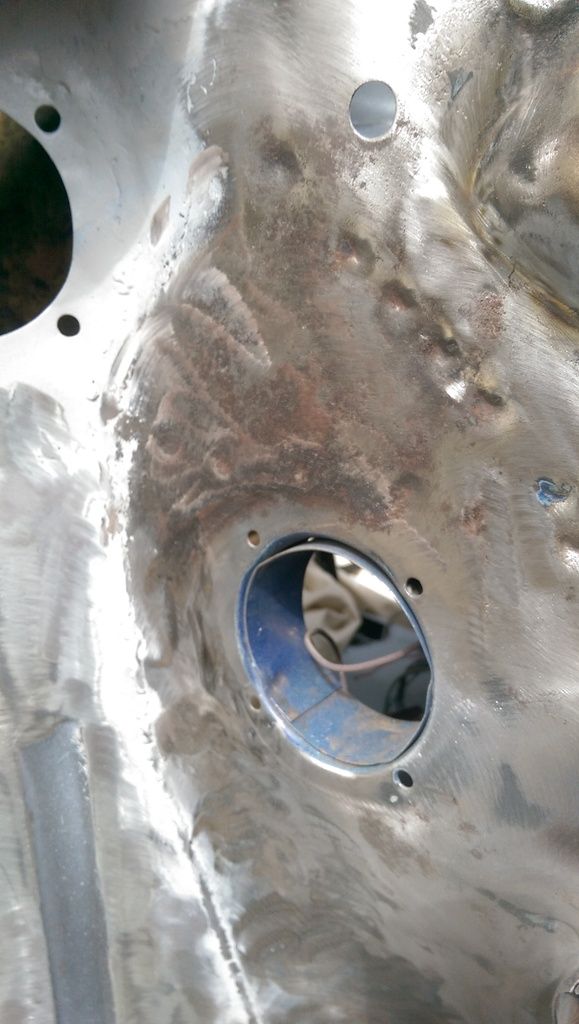
Inside the vent hole was cleaned up later.
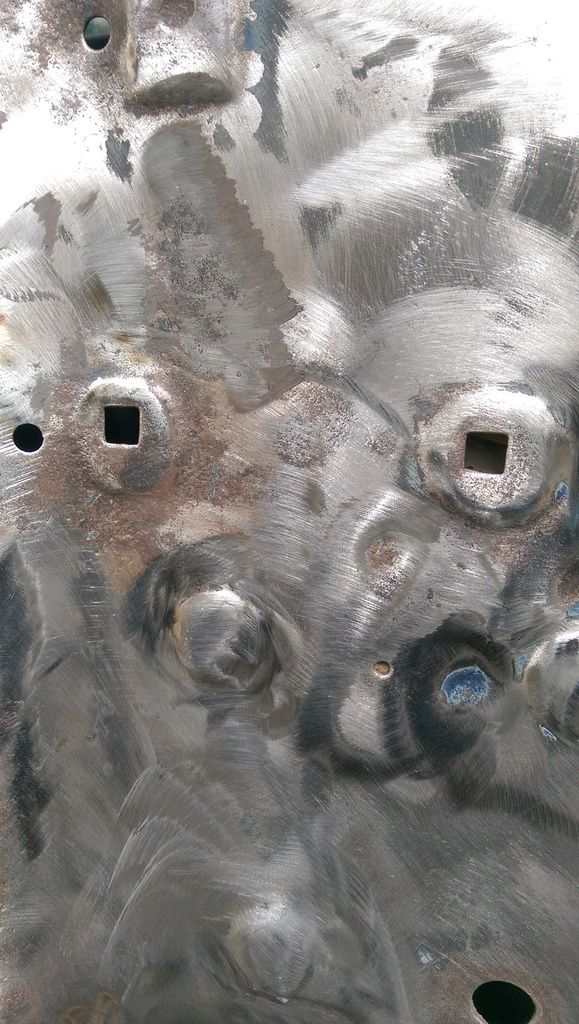
Then after another half an hour with a drill and a couple of wire brush attachments (Abracs again).
I had done as much as I could, there are still some hard to reach areas that will need some hand treatment and a few areas that will also need some Deox treatment.
Didn't get a pic of the RH side but here is the LH side:
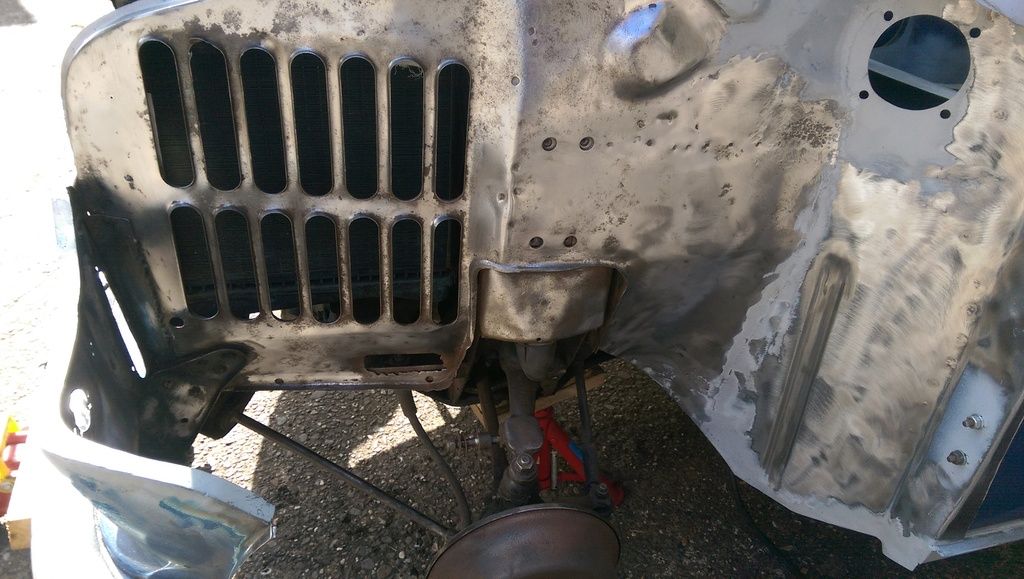
Going to need rust treating around the radiator grill and some of the other pitted areas that a wire brush will not get in amongst.
I am now sat down having had dinner and a cuppa and my hands and knees are aching like you know what, vibration from the grinder and too much time on my knees (even with knee pads).
I may later get the shock mounts in some citric acid to sit over night? Not sure if i'll get back on this tomorrow or Monday but it would be nice to get another day de-rusting and then painting to stop the surface rust!!
#444

Posted 02 May 2016 - 10:57 PM
Well went walking this morning along part of the SW Coastal path, got soaked!!
Anyway managed to get in the garage for about 3pm, task was to finish de-rusting the inner wings.
Did a little bit yesterday also.
Marked the area of the shock mount backing to be removed:
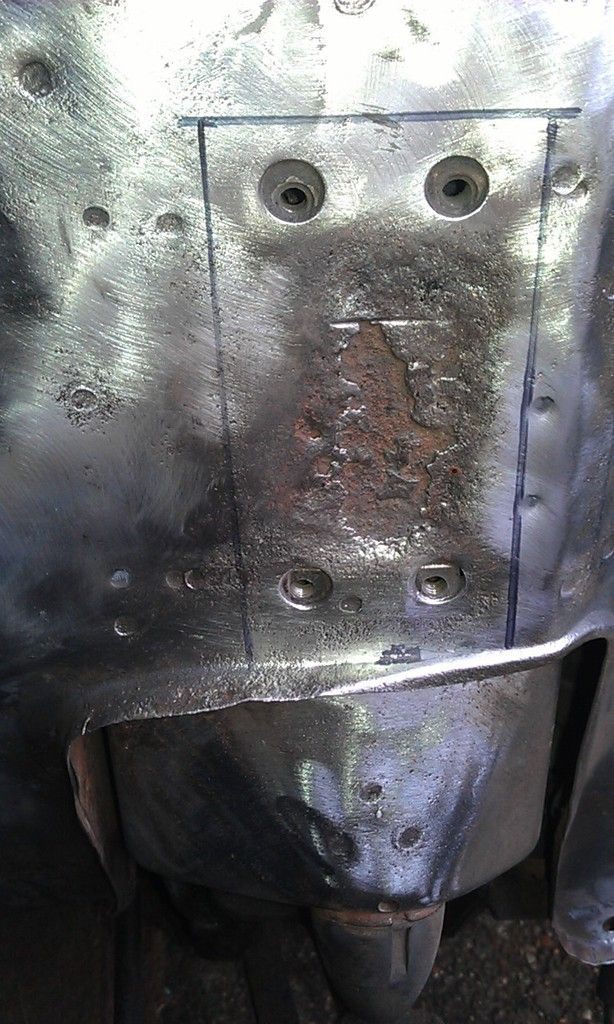
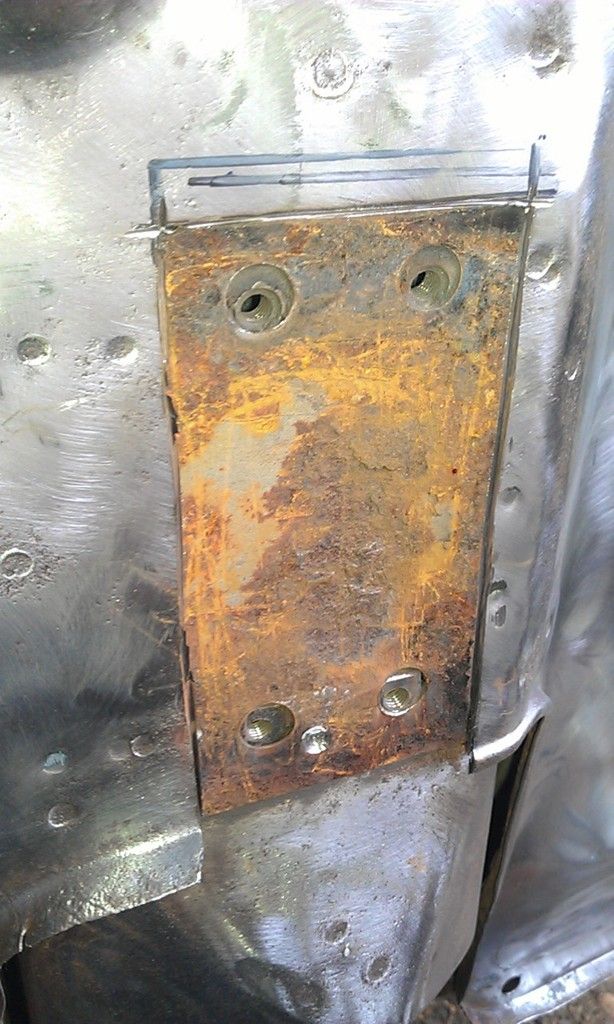
Made some careful cuts with a 1mm disc and only one spot weld to drill out:
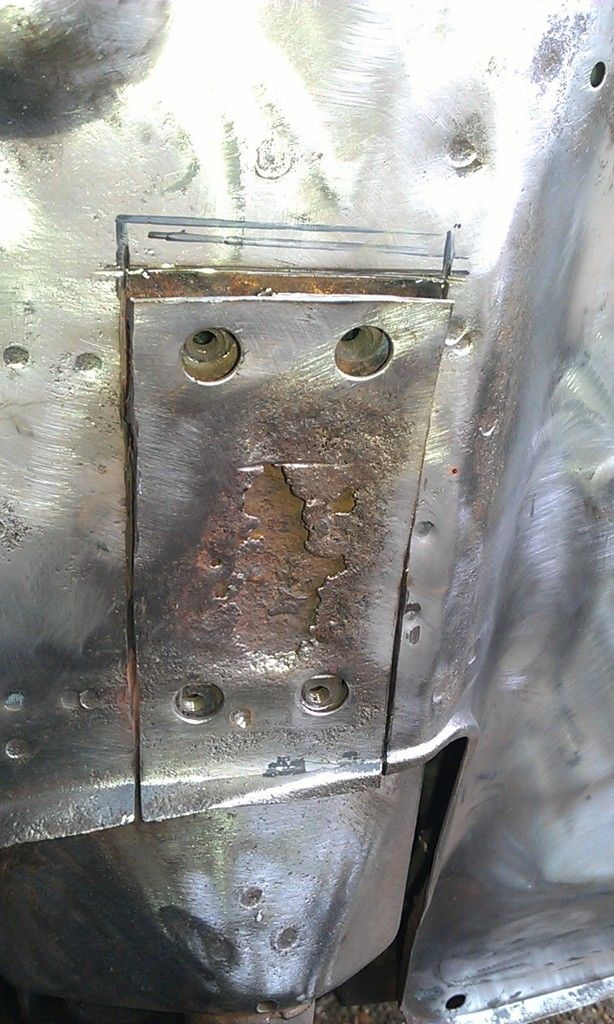
Not too bad behind:
Marked out a repair patch:
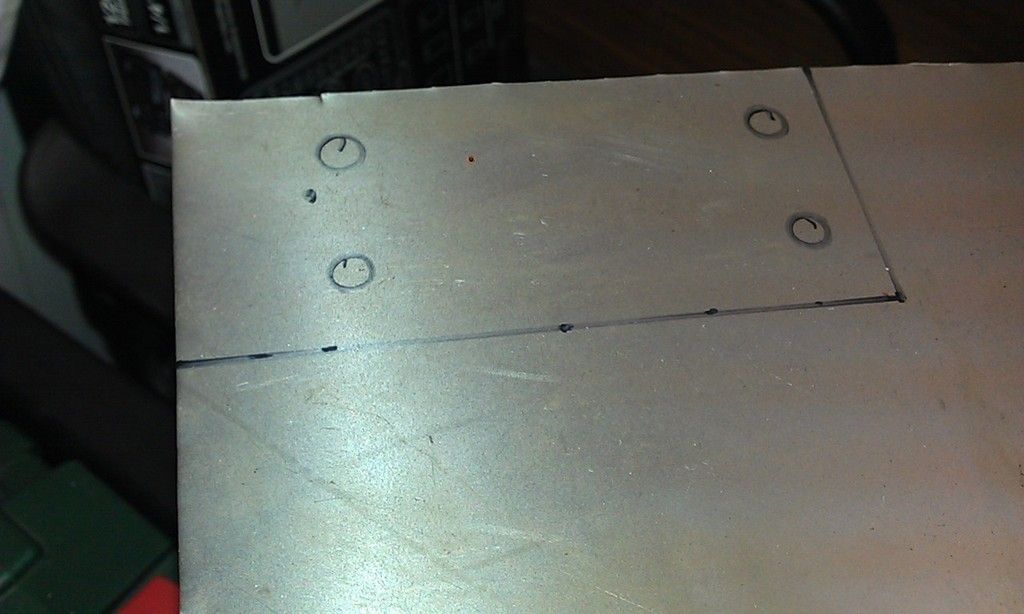
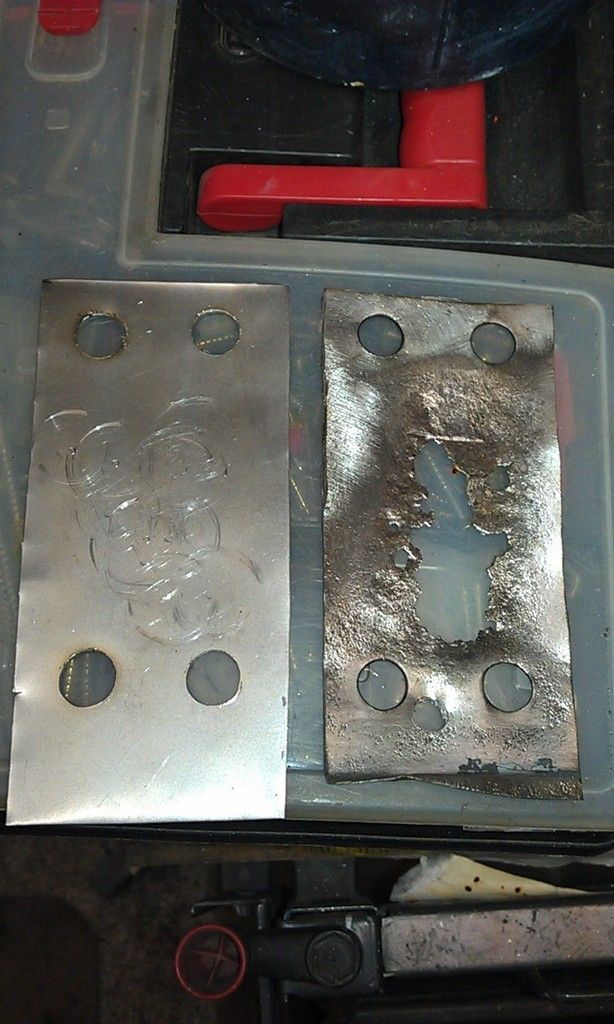
And drilled out the 13mm holes:
Used up the last of my Deox Gel de-rusting the Inner Wings, its a long slow process:
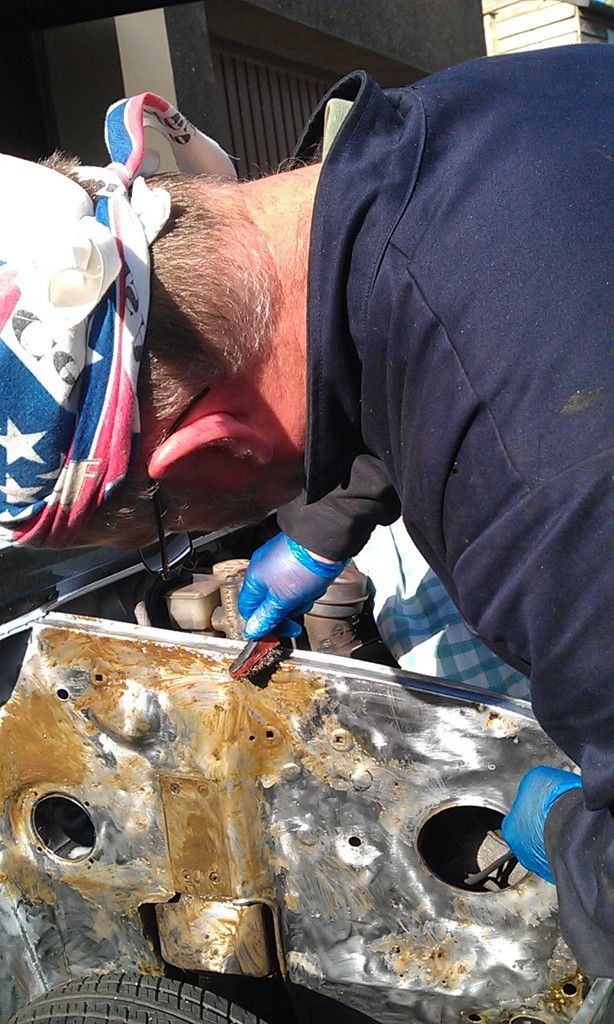
Had help from my 6 year old Grand Daughter - she took the photos ![]()
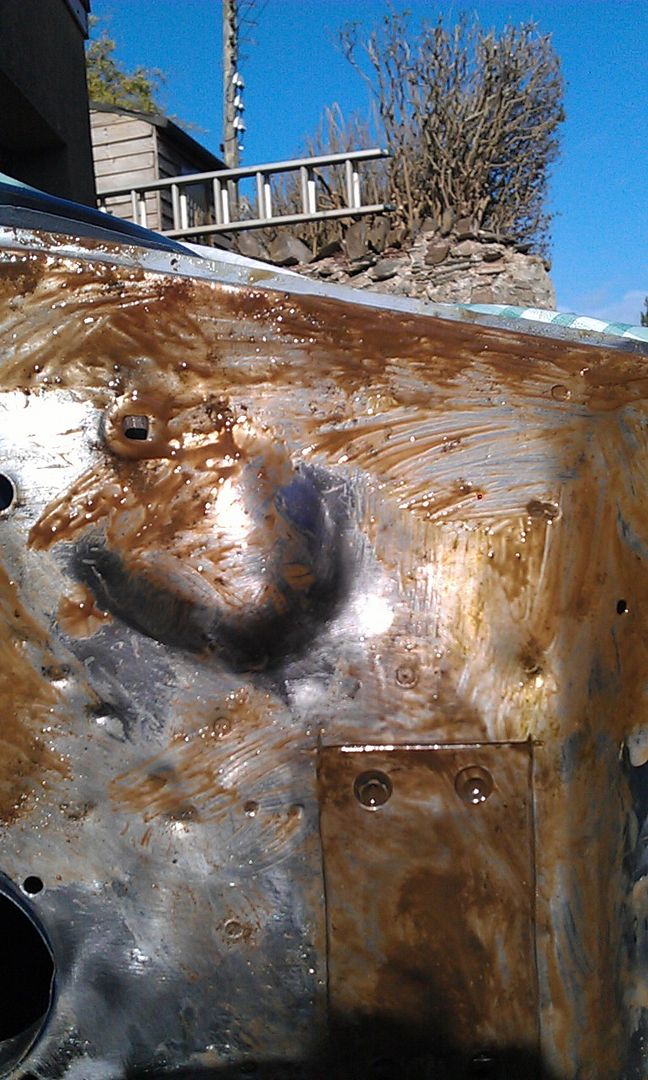
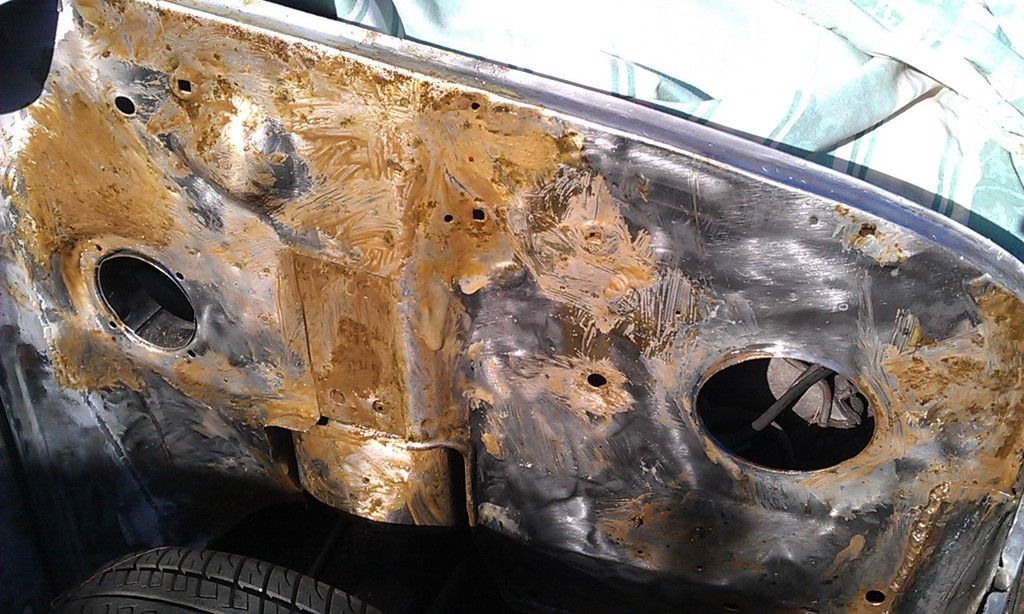
This was after the gel had been washed off, still a few areas that need more work:
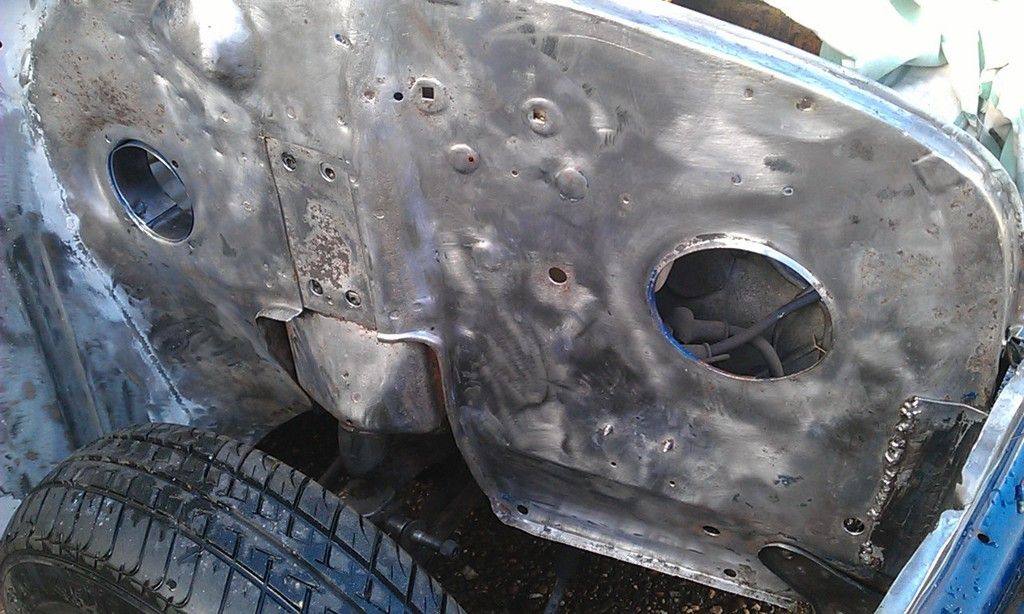
Especially around the Radiator Grill:
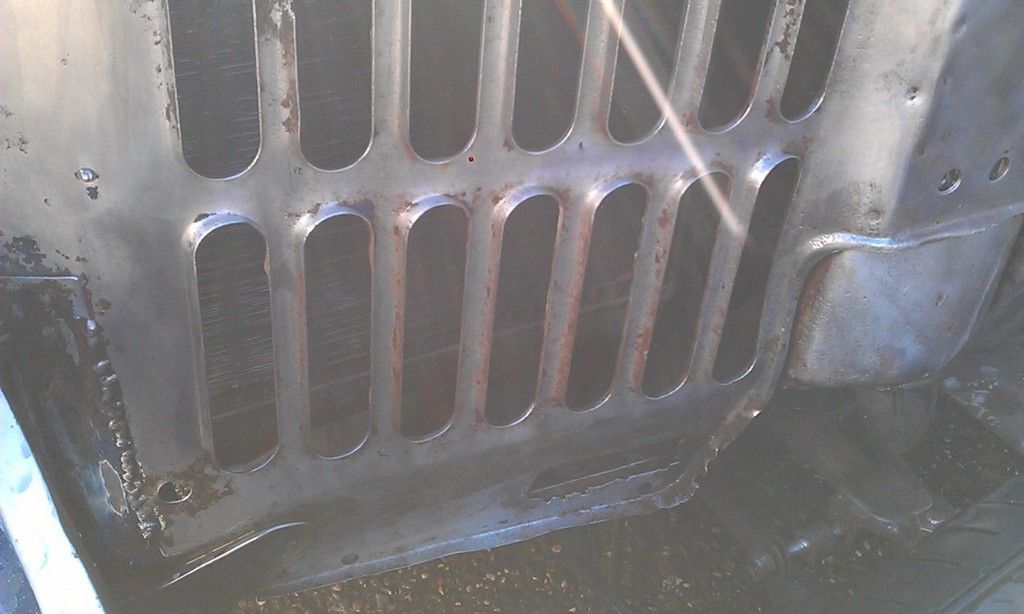
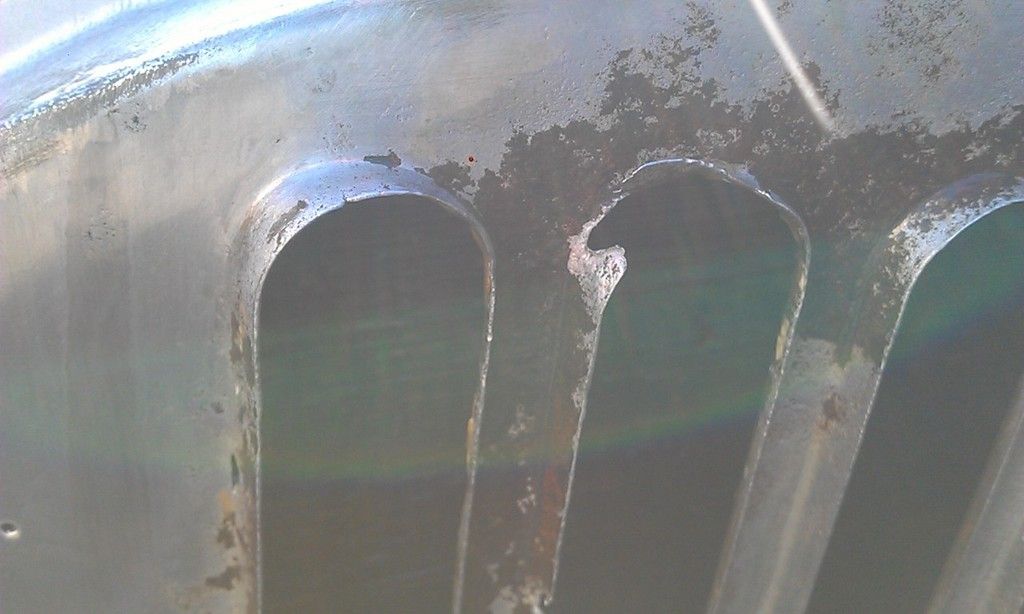
The area behind the Shock Mount cleaned up:
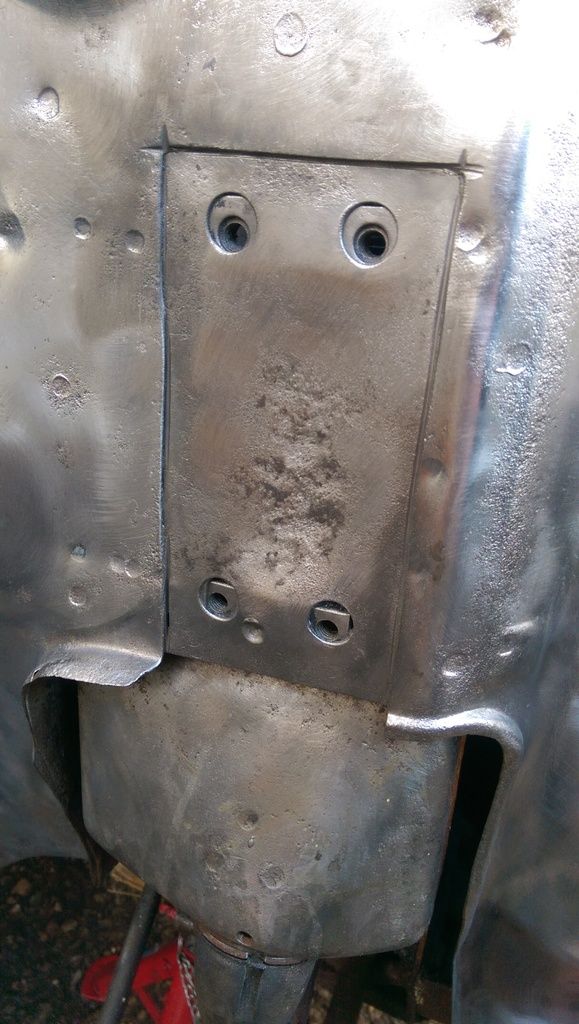
Then after another go on the remaining areas with the Deox Gel, various wire brush attachments and a lot of elbow grease it was time to paint. I want to go straight on with Epoxy but it was 8pm so used up the last of the Acid Etch Primer:
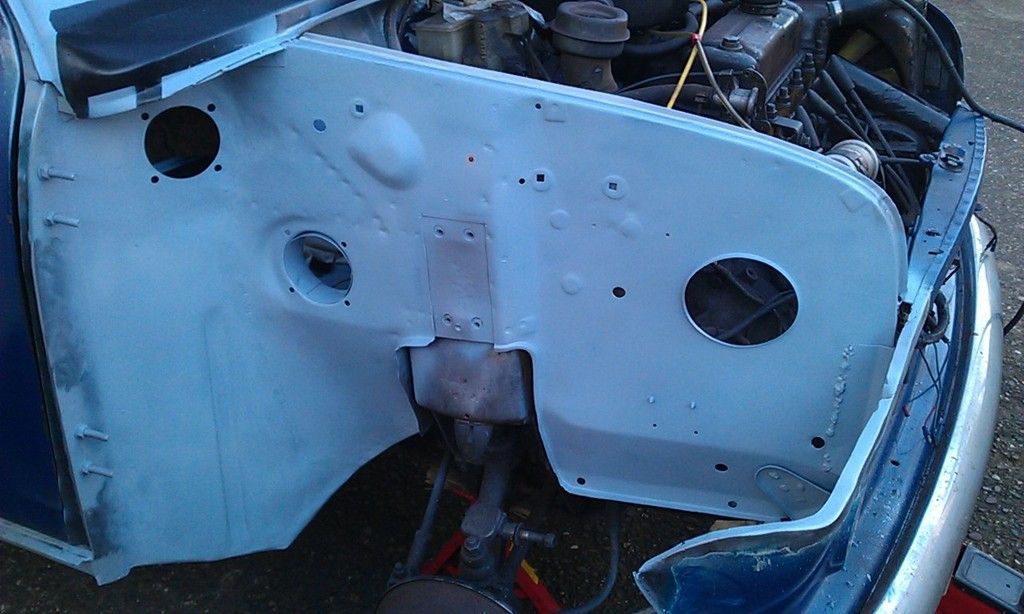
I used Weld Through on the Shock Mount area and on the upper ledge of the Inner Wings.
On the LH side I left the area of the Radiator Grill as it needs more work:
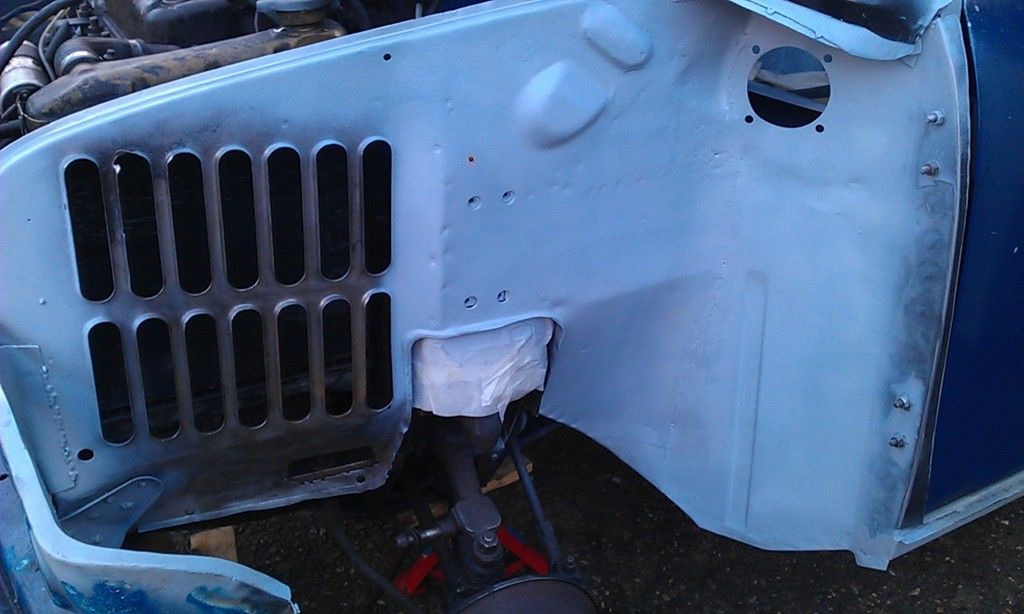
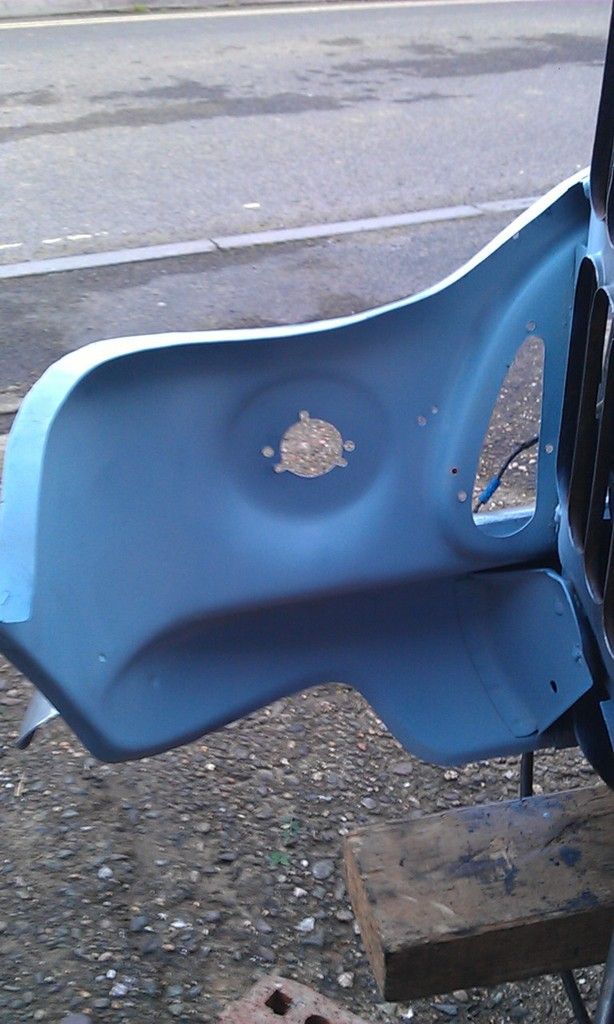
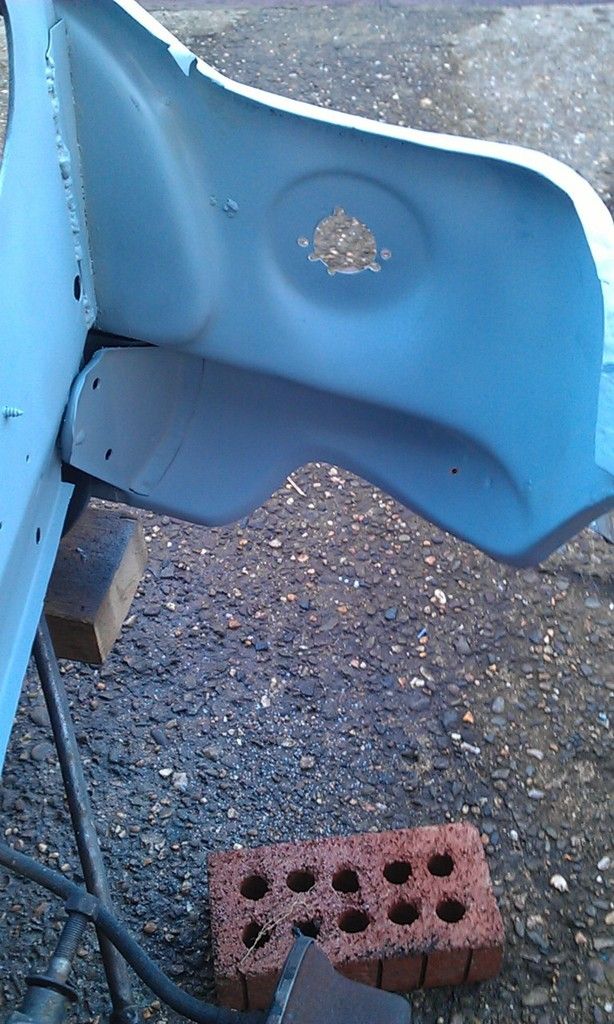
Good as new!!
#445

Posted 03 May 2016 - 05:58 PM
Got home from work tonight, glorious weather and beautiful evening so before I get ready for tomorrows battle at school I thought I'd crack a little theraputical work in the garage.
Quick bit of fettling, folding and grinding to get this patch in, held in place with bolts:
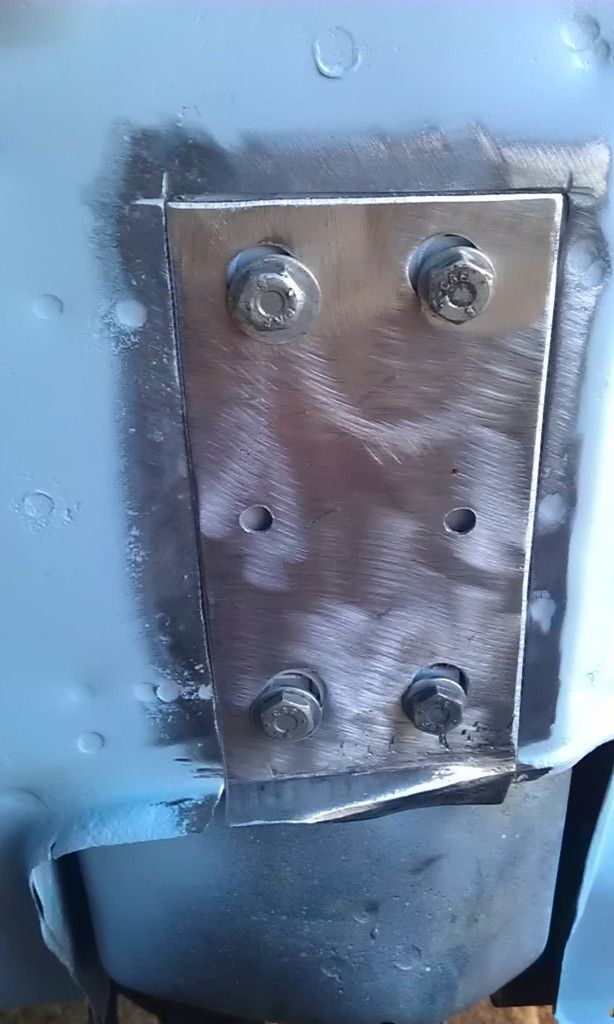
Et voila as they say across the water!!
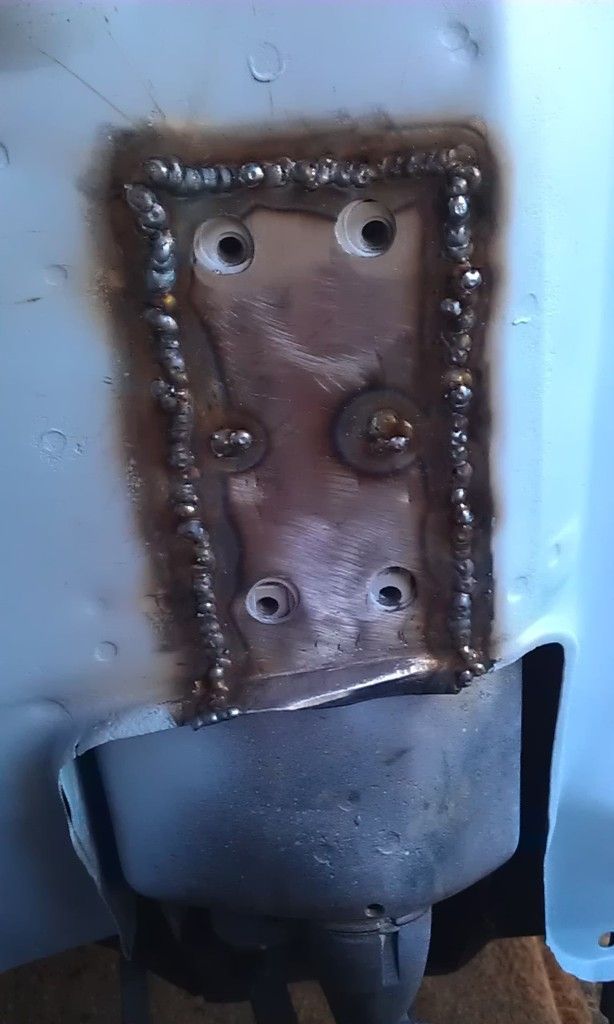
Decided not to grind it down as I have no primer to hand so i'll leave it for the mo ![]()
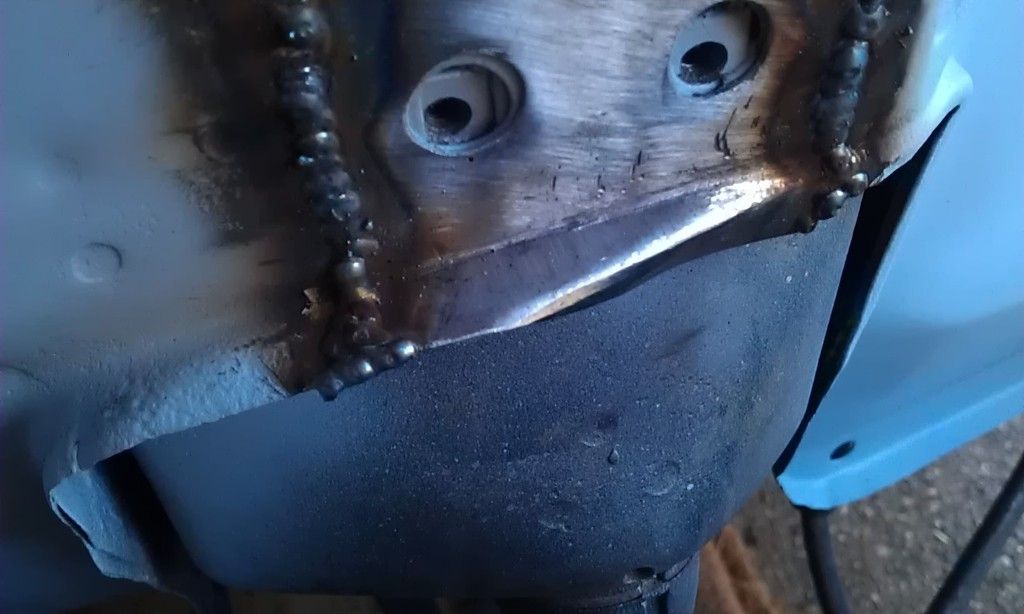
And that was that!!
#446

Posted 03 May 2016 - 07:20 PM
Looking tidy bud.
#447

Posted 06 May 2016 - 09:16 PM
Well a lovely day today, did some Uni work and managed to get in the garage to read some work:
Jobs of the day where to finish up the welding on the LH Inner Wing ready for final de-rust and painting.
First repair job was to the lower area adjacent to the brake hose, pretty rotten and not worth saving:
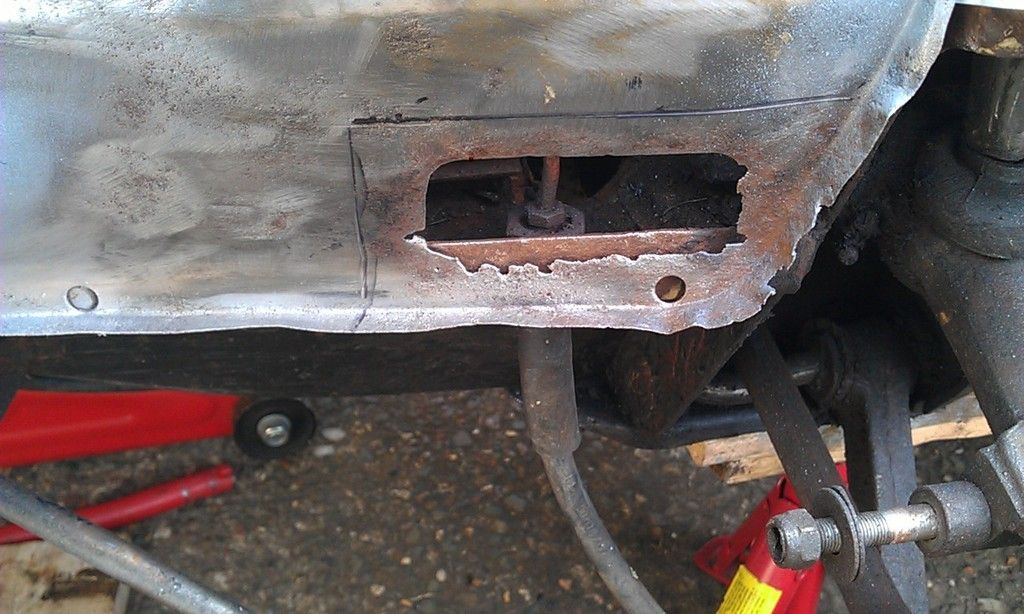
So marked out the area to be removed and chopped it out.
Then cut out a piece of spare steel for the repair piece and used the old piece as a template:
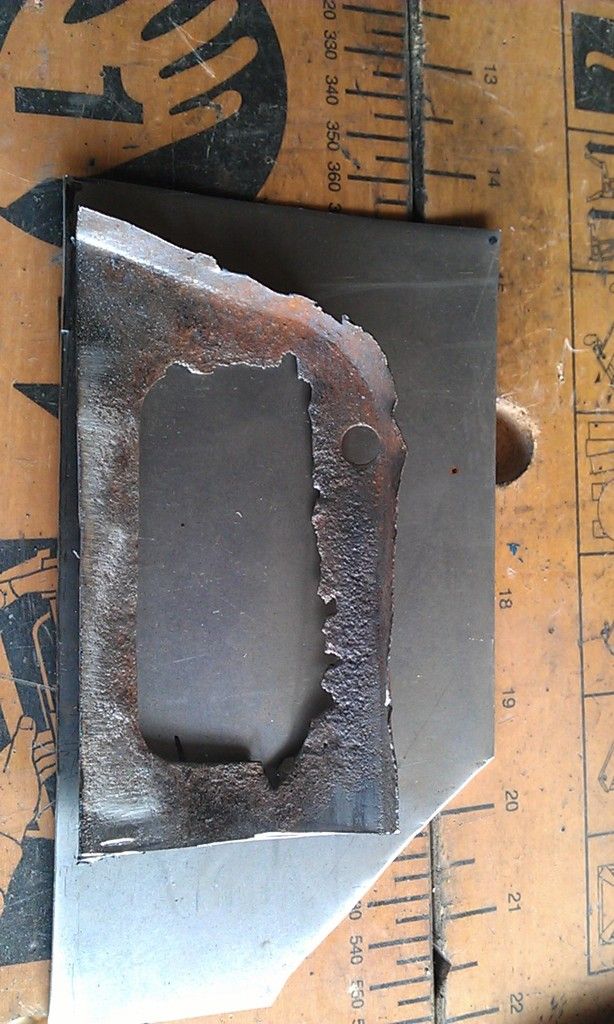
A rough sketch:
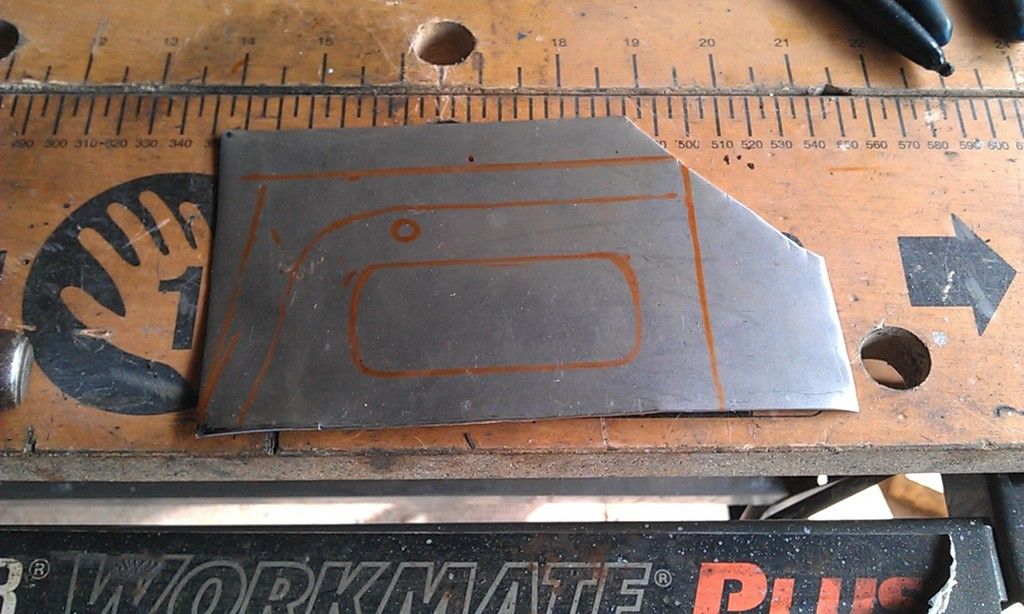
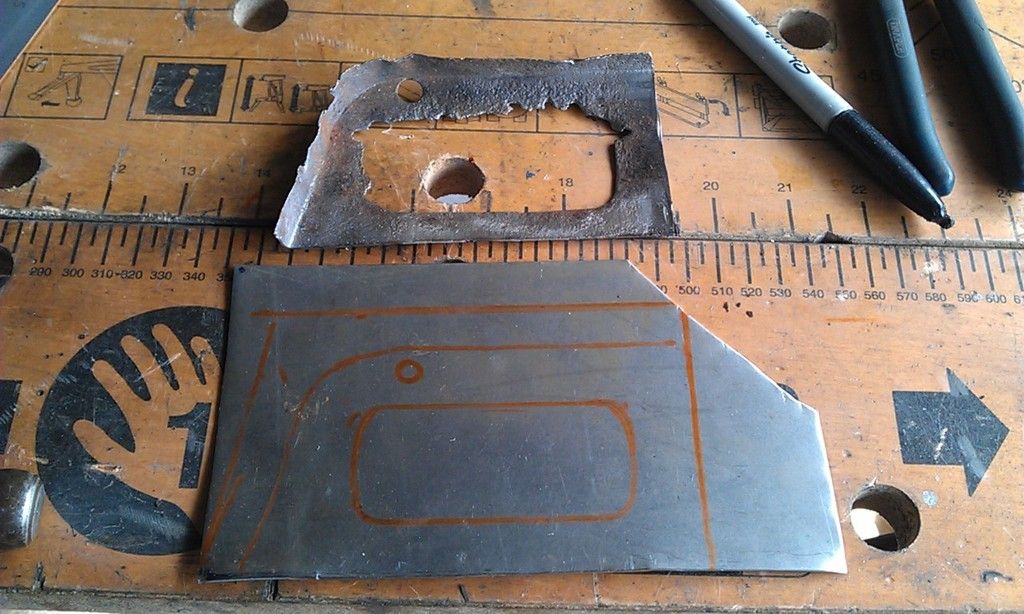
Next I marked up and hole punch the corners of the inner brake access hole ready to drill some holes:
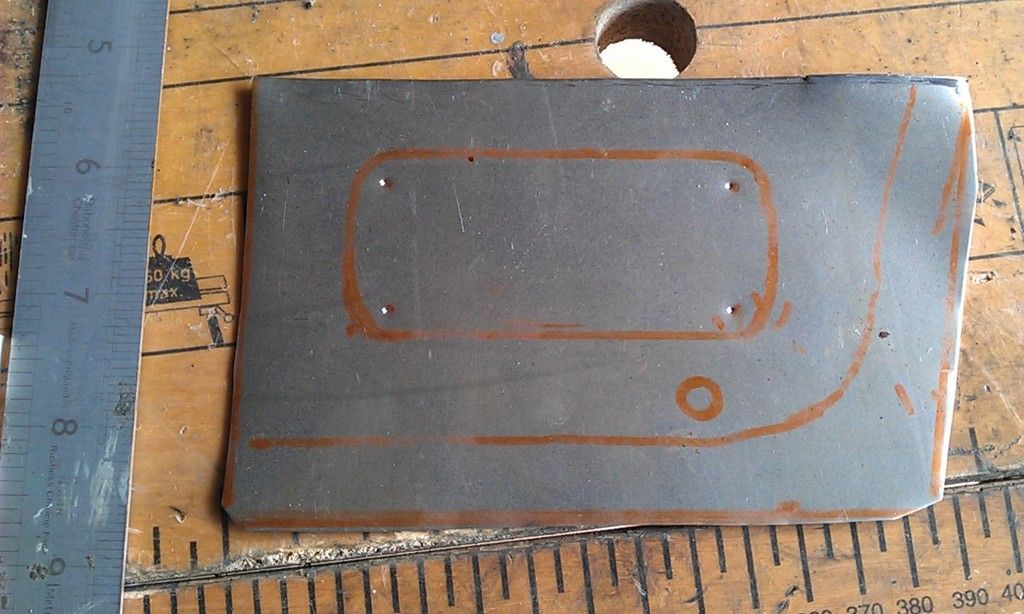
Then after drilling the holes in the corner using a jigsaw I cut out the inner area, then in the vice for finishing up:
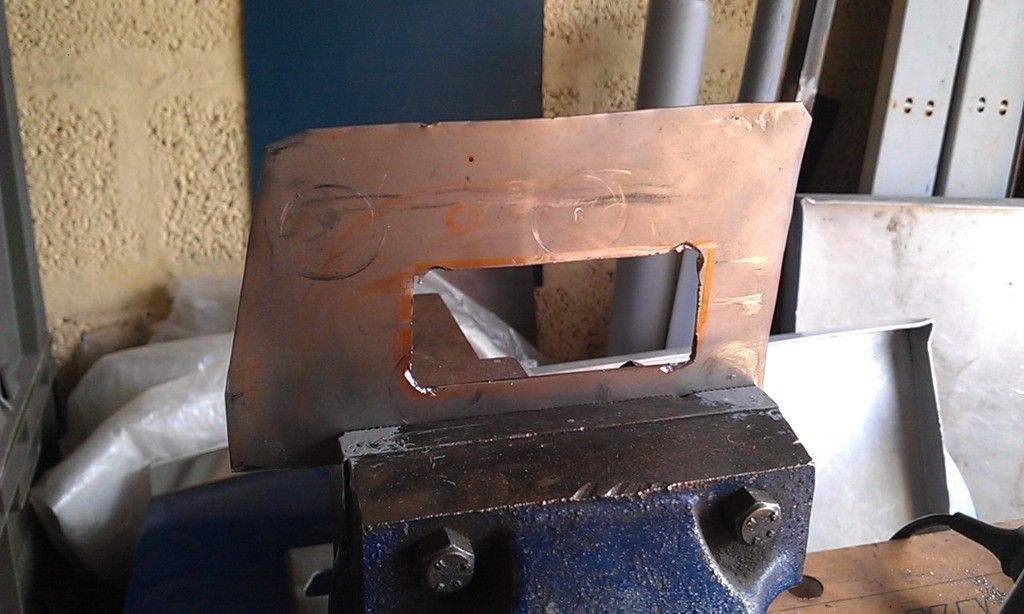
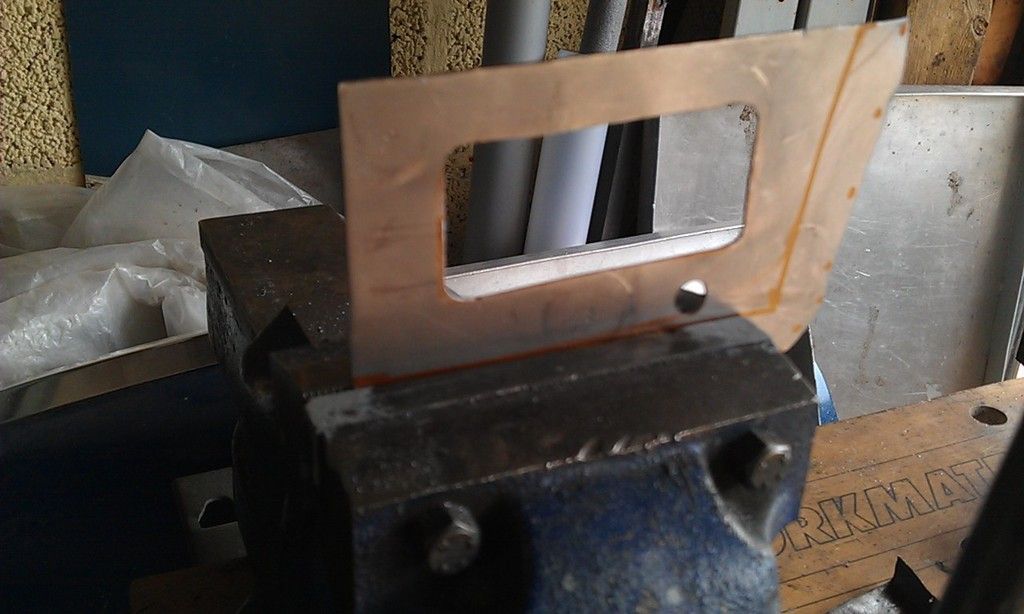
Getting good at metal crafting, must be all the practice ![]()
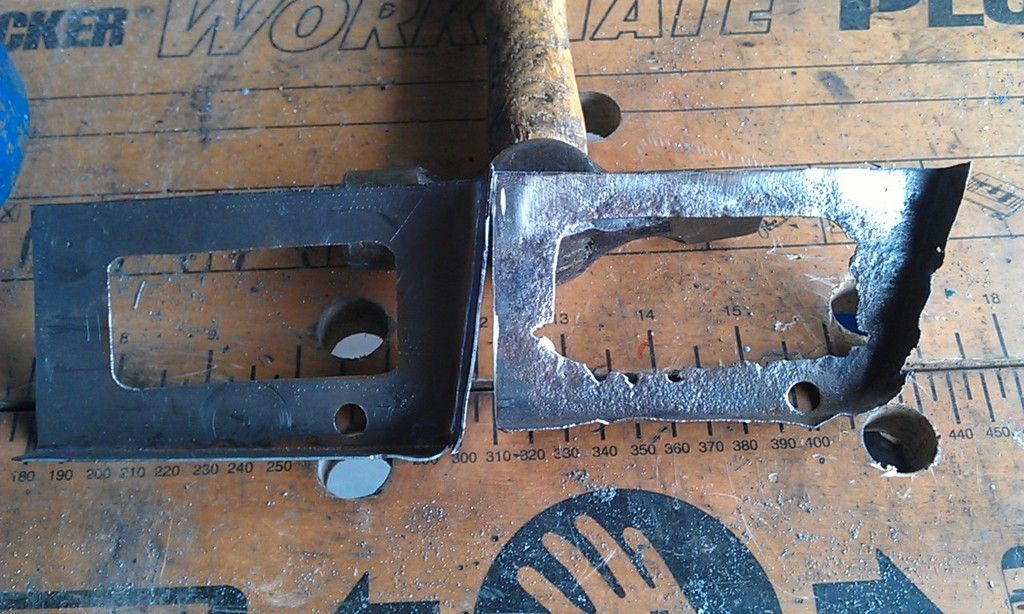
Then using my vice, cross pien hammer and a piece of round bar I added the flanges and also drilled in the hole for the rubber bung - new and old:
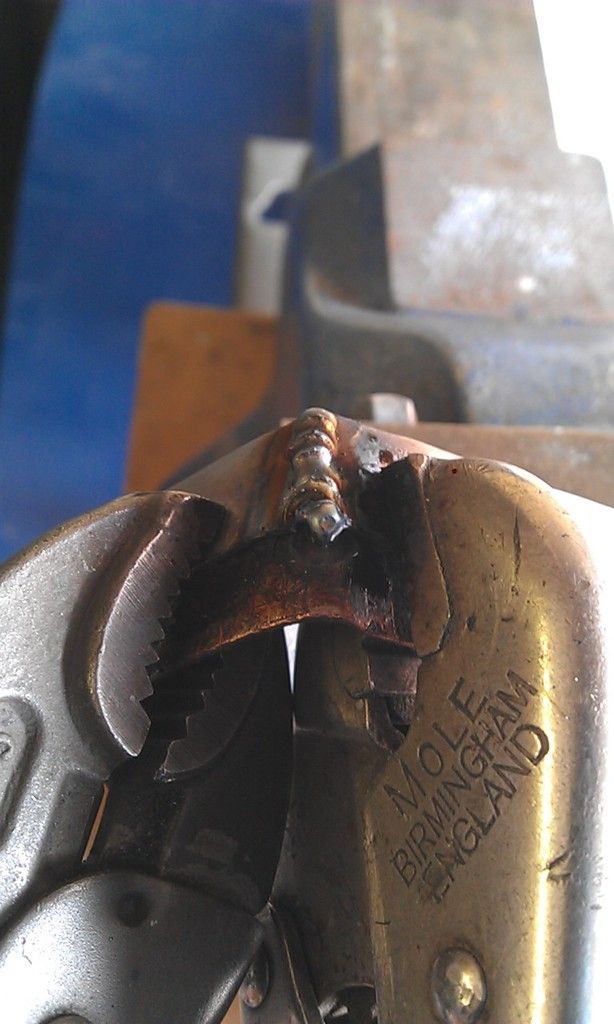
I ran a 1mm disc down the corner where the metal overlapped and then ran a weld through it, using a piece of copper pipe as a heat sink:
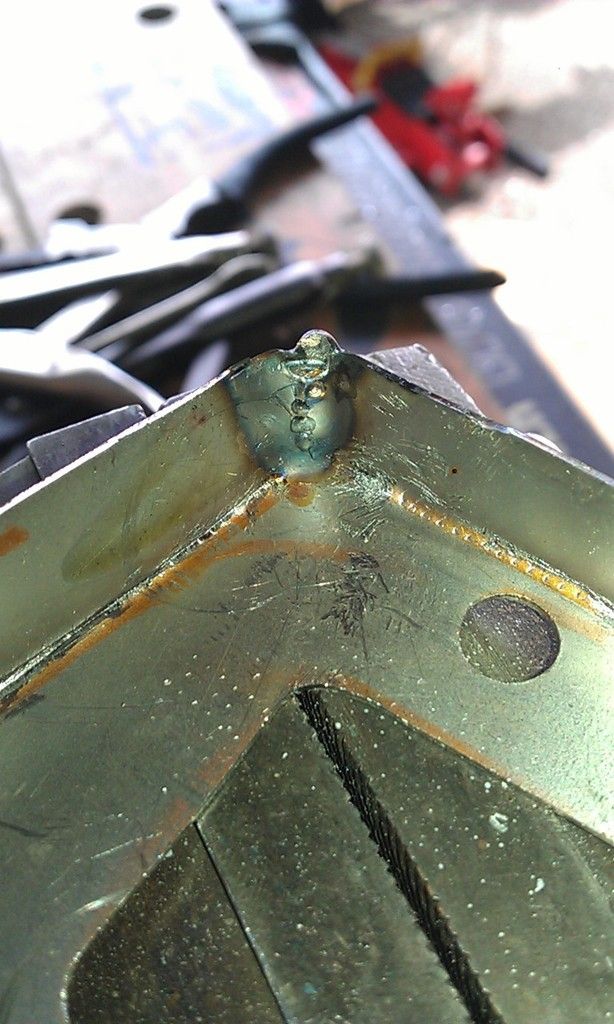
Then a little fettling and tack welded in:
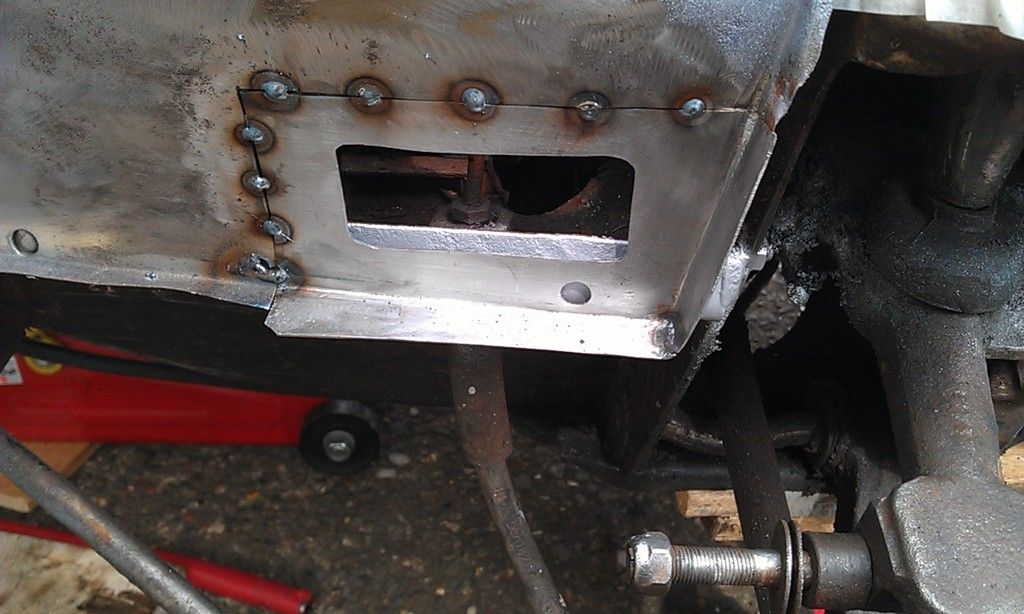
Then welded in place:
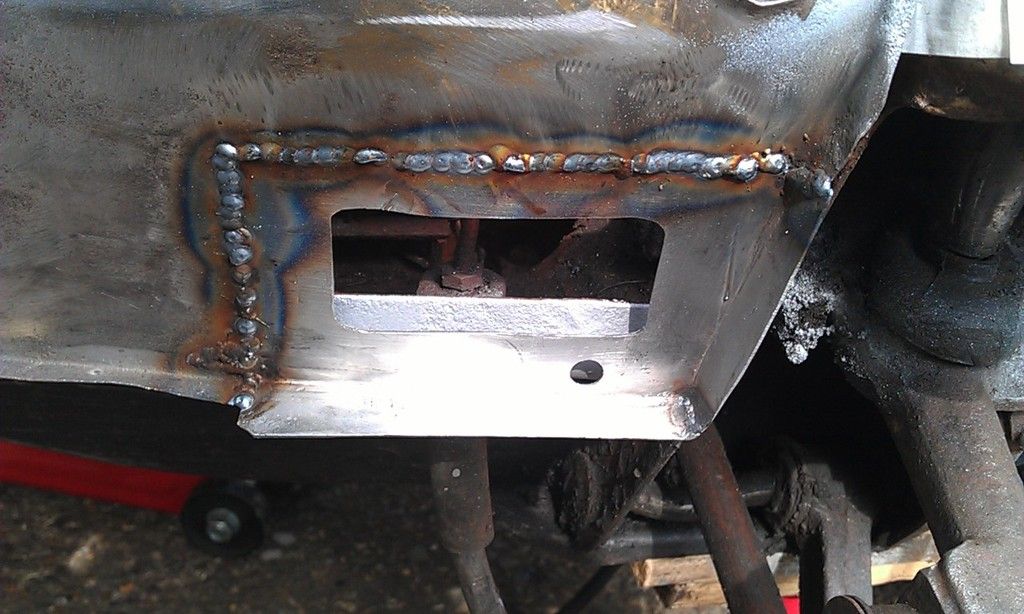
And cleaned up:
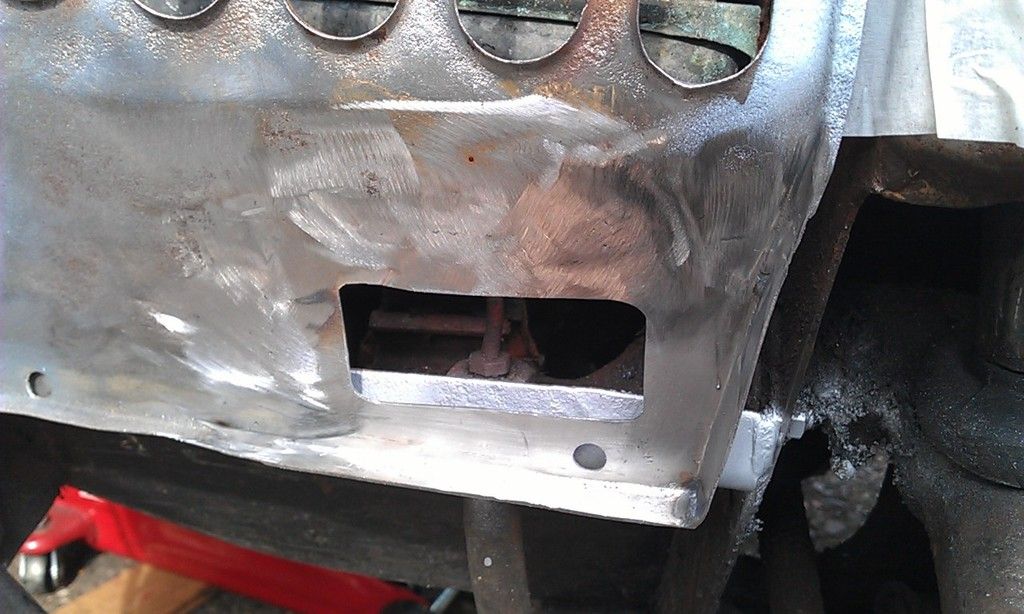
Probably one of the tidiest repairs I've done ![]()
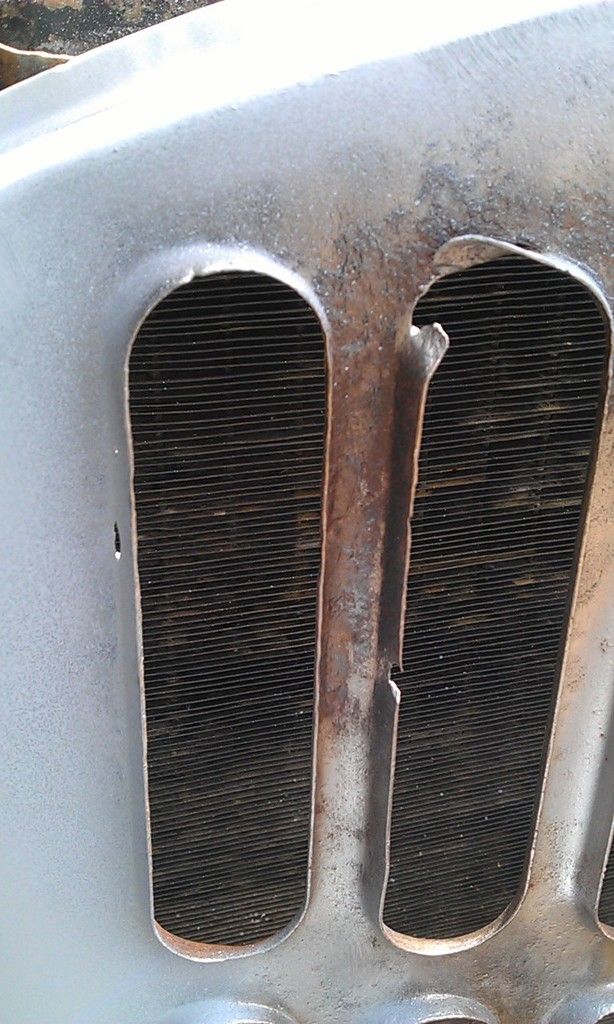
Next I made a couple of small repairs on the grills:
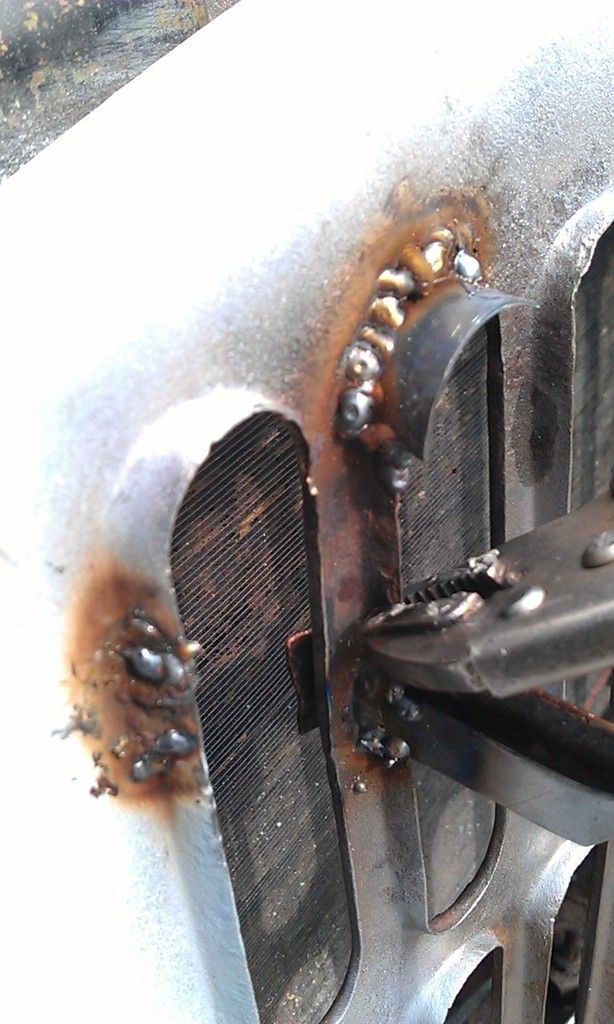
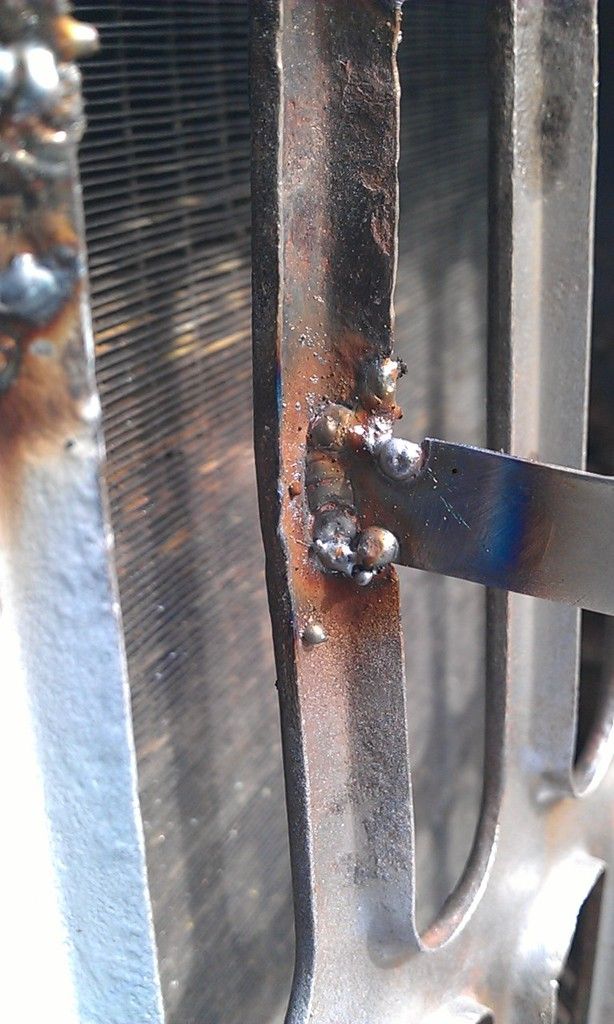
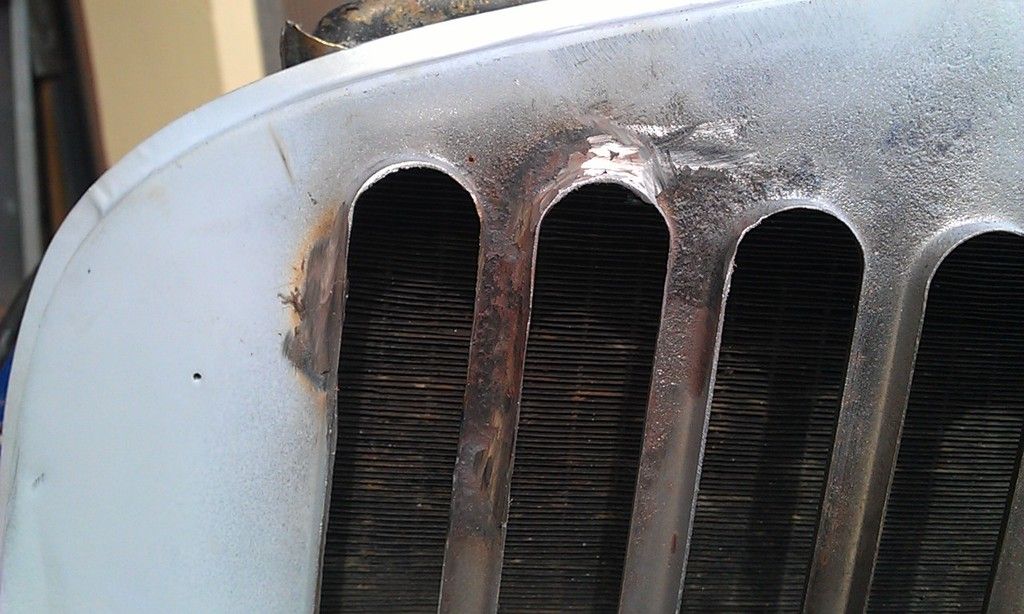
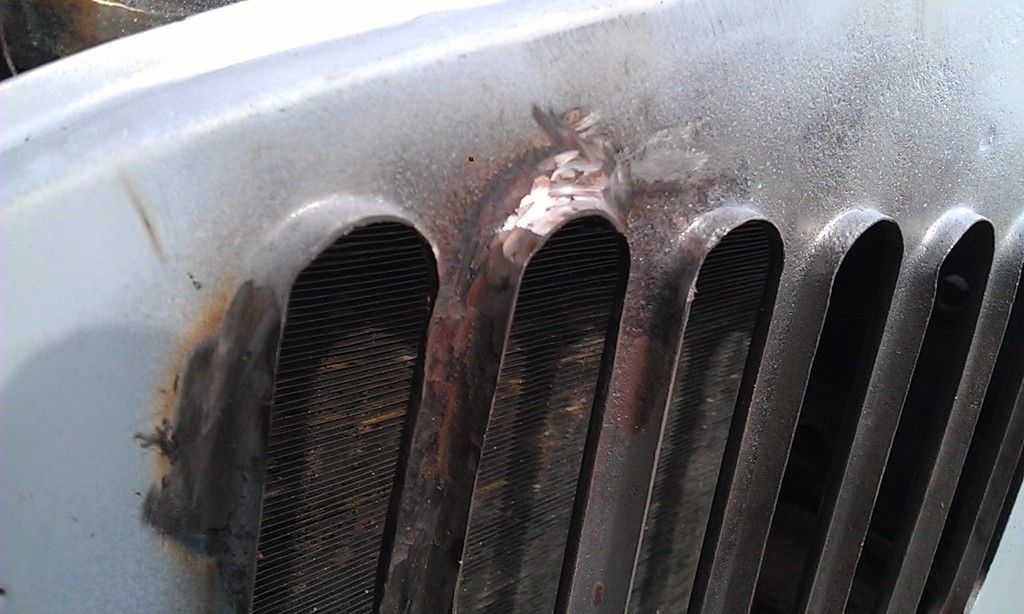
Next was the piece In missed on the inner wing:
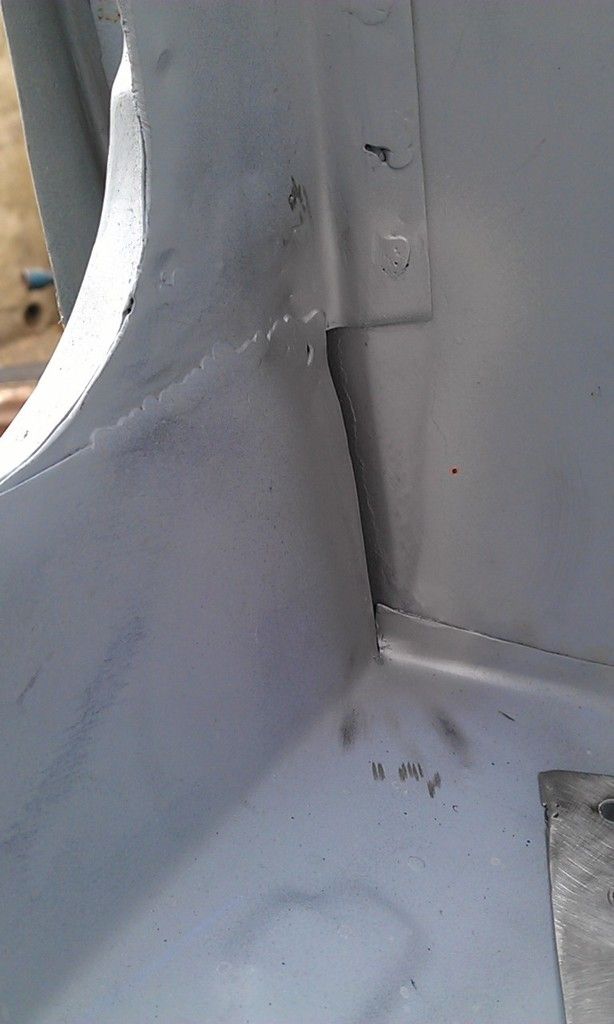
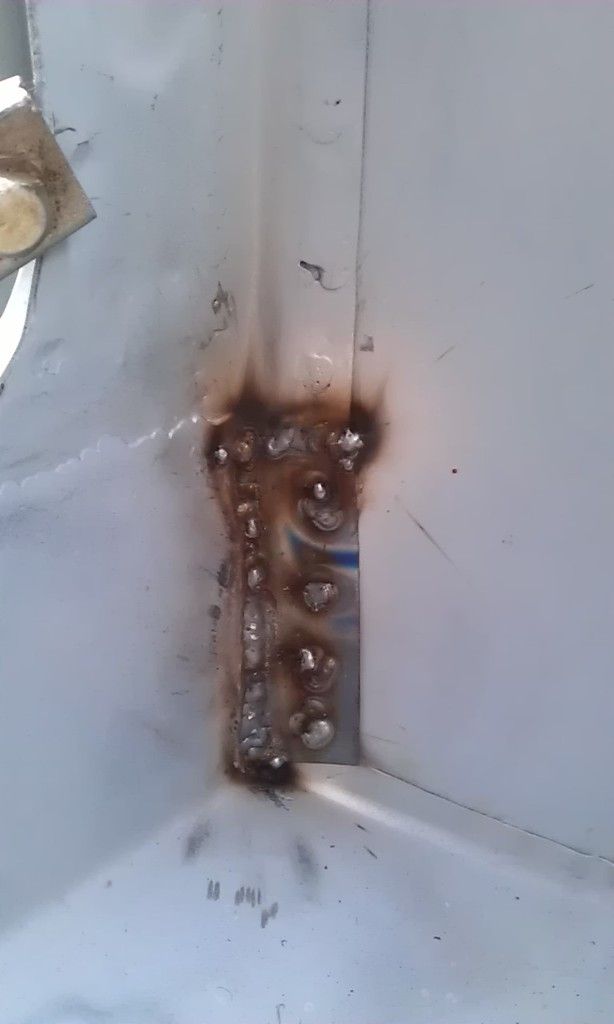
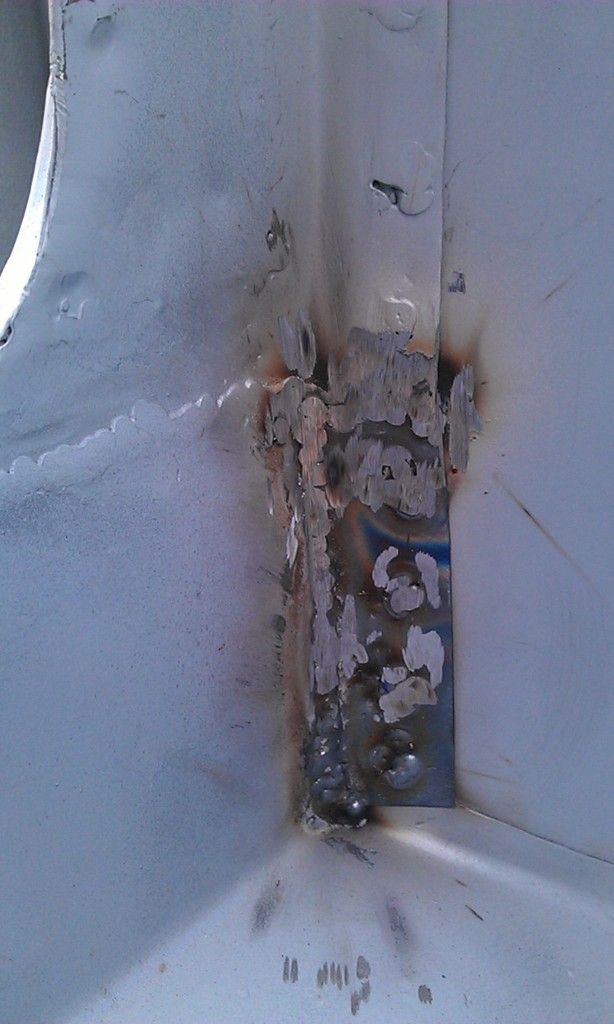
I did clean it up more than this with a flap disc.
Then a small hole in the corner of the inner wing that had been cleaned up but thinned through:
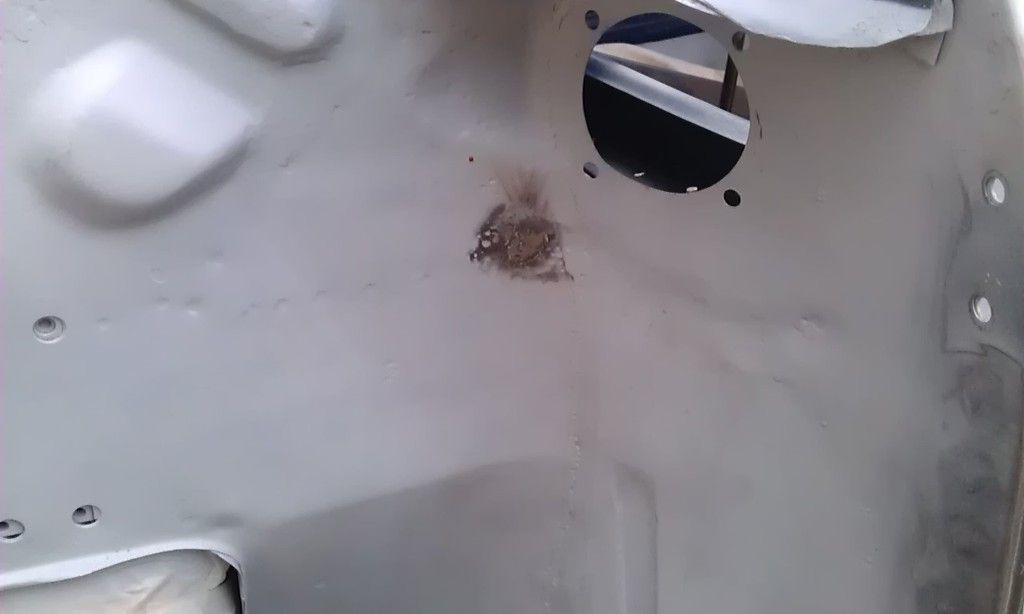
Oh and then I took another look at the underside of one of the doors - oh damm!!
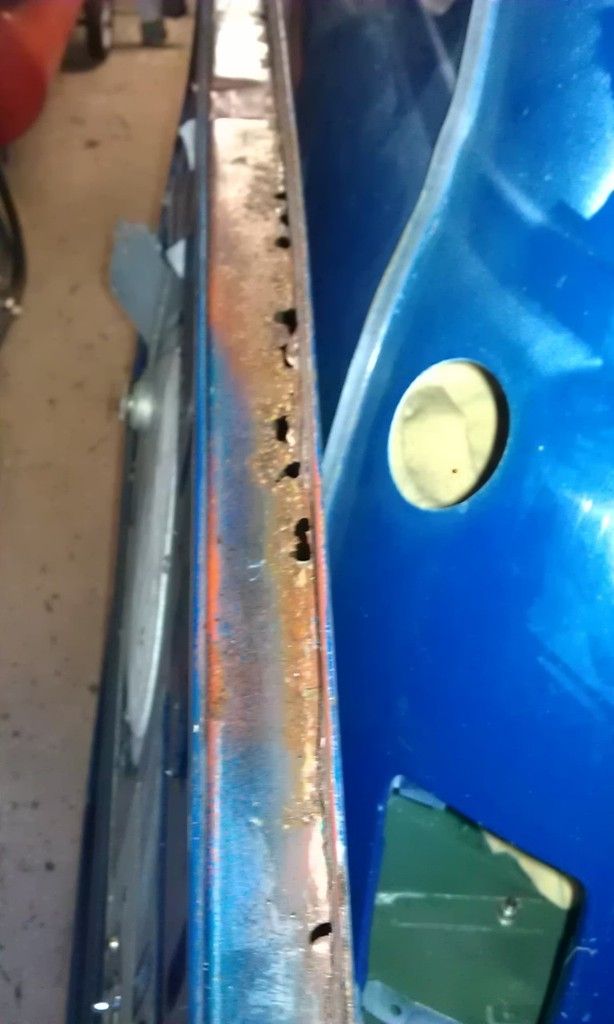
More work!!
#448

Posted 07 May 2016 - 08:48 PM
So another slog today.
Cleaned up the hole in the wing:
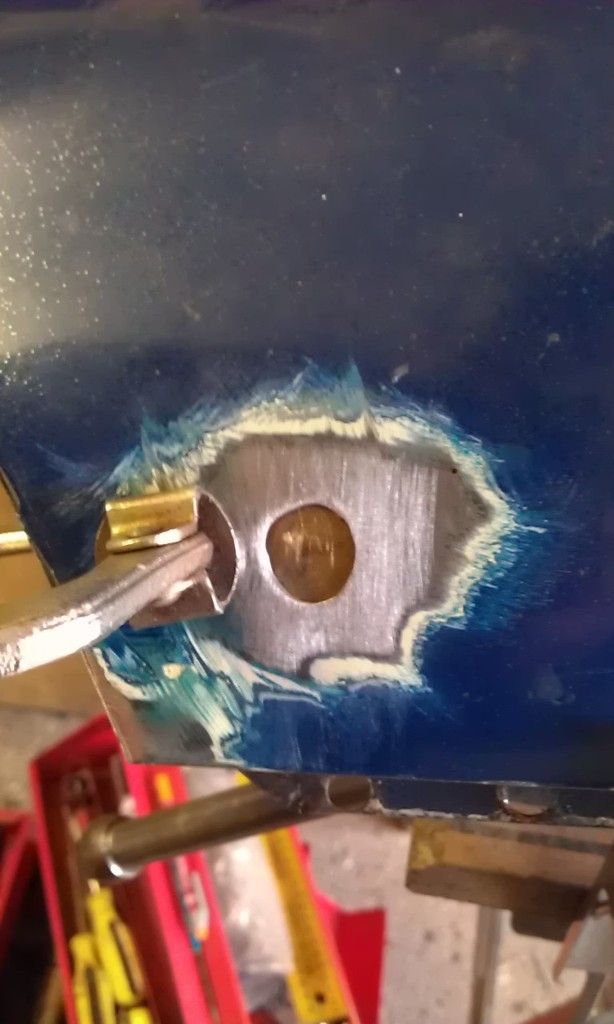
Was going to just plug weld it but then decided to put in a patch:
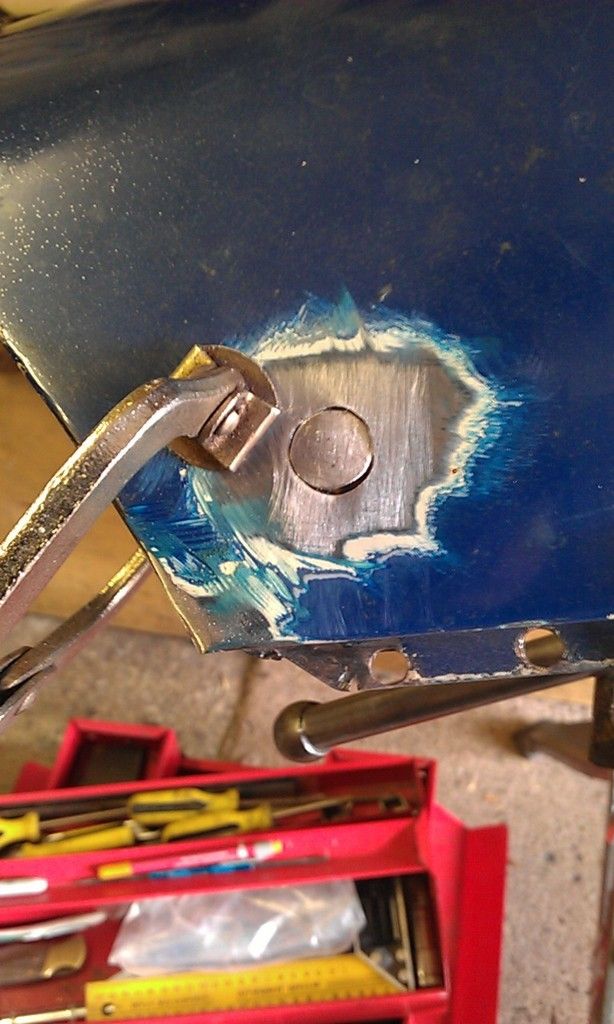
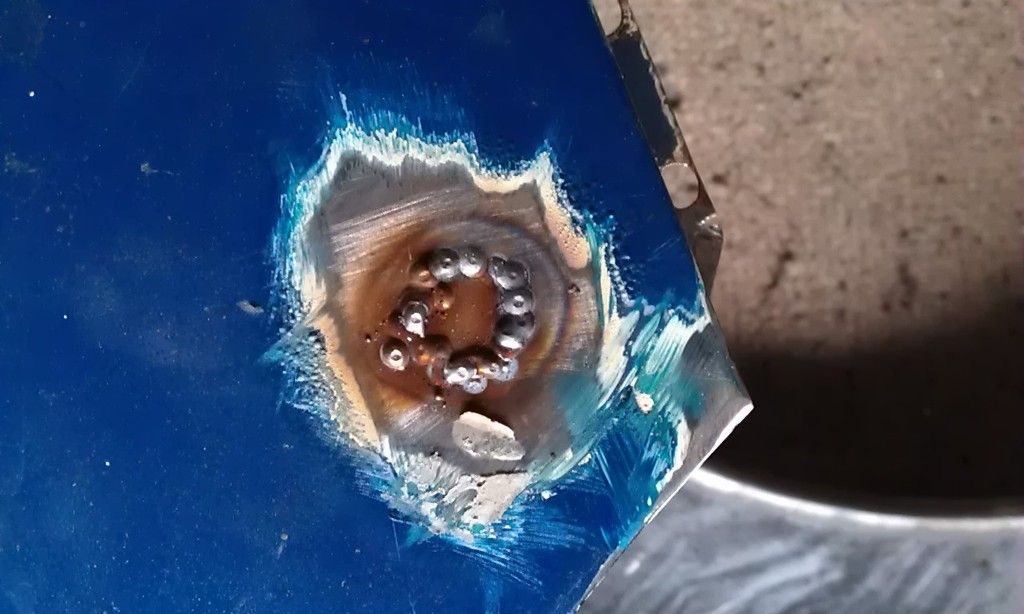
Didn't get a final pic, but it will need a little filler :-(
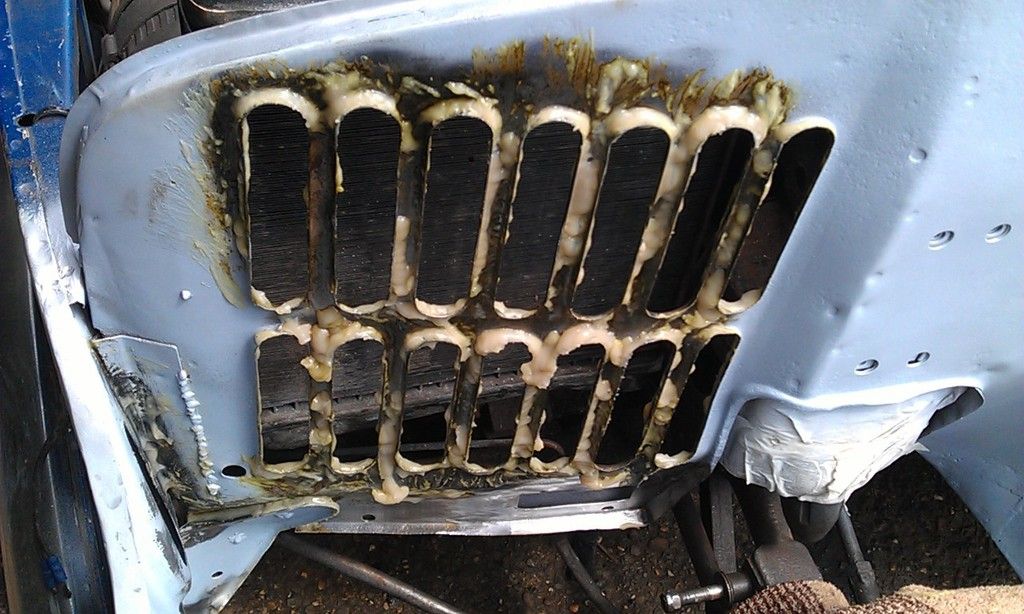
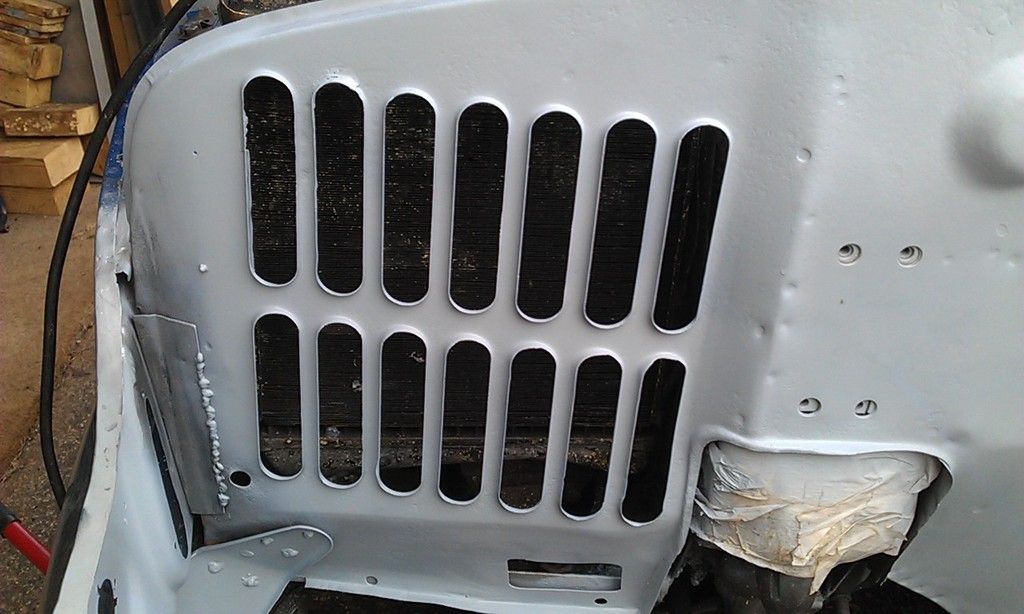
Then it was a massive job to de-rust the radiator grill, it took two loads of Deox and then a couple of areas will still need another treatment:
Here is the final product, this took all afternoon to do!!
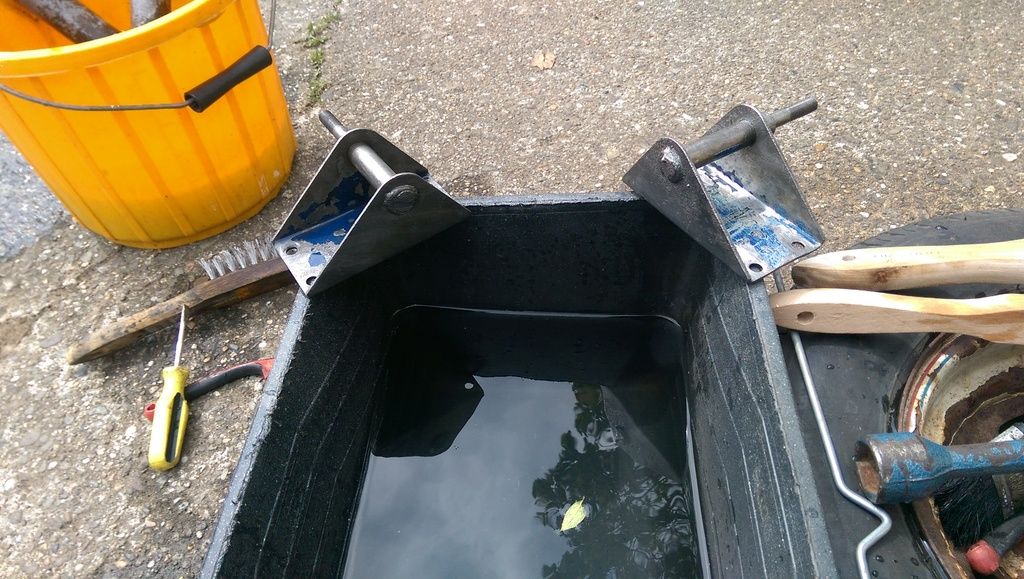
Also did the Shock Mounts, these have been soaking in a 10% solution of citric acid.
Got them out scrub them up and rinsed in cold water, then etch primed:
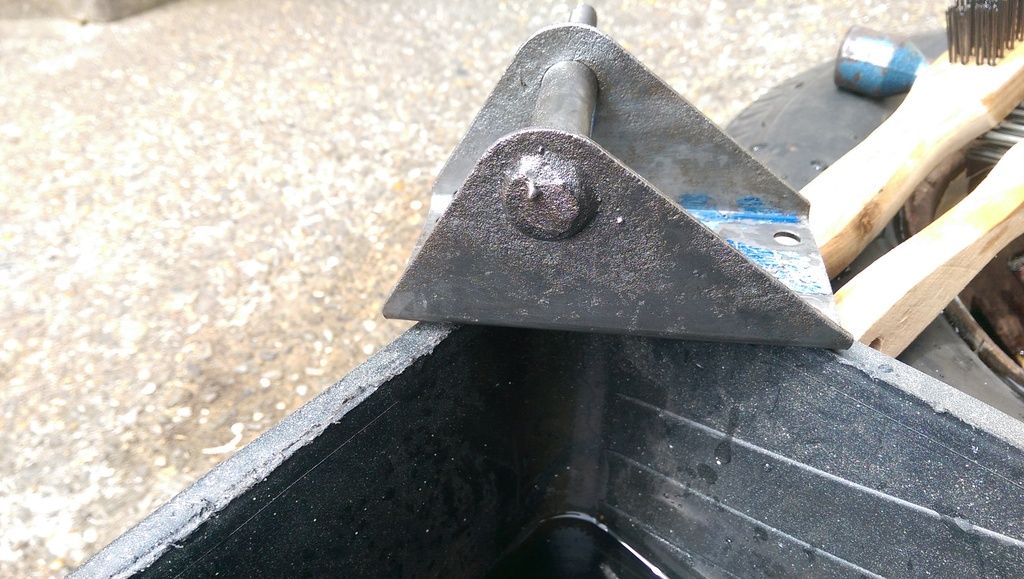
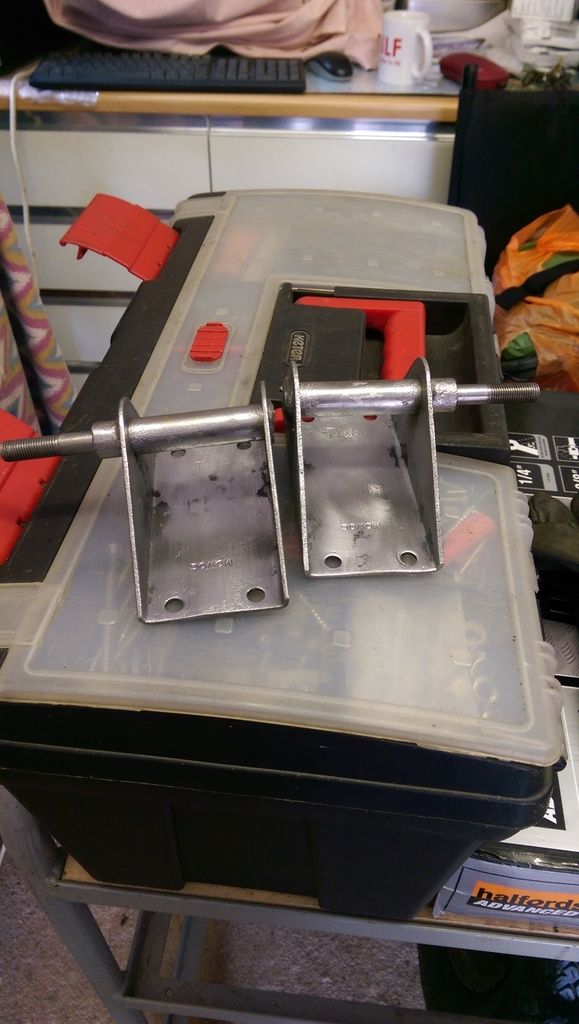
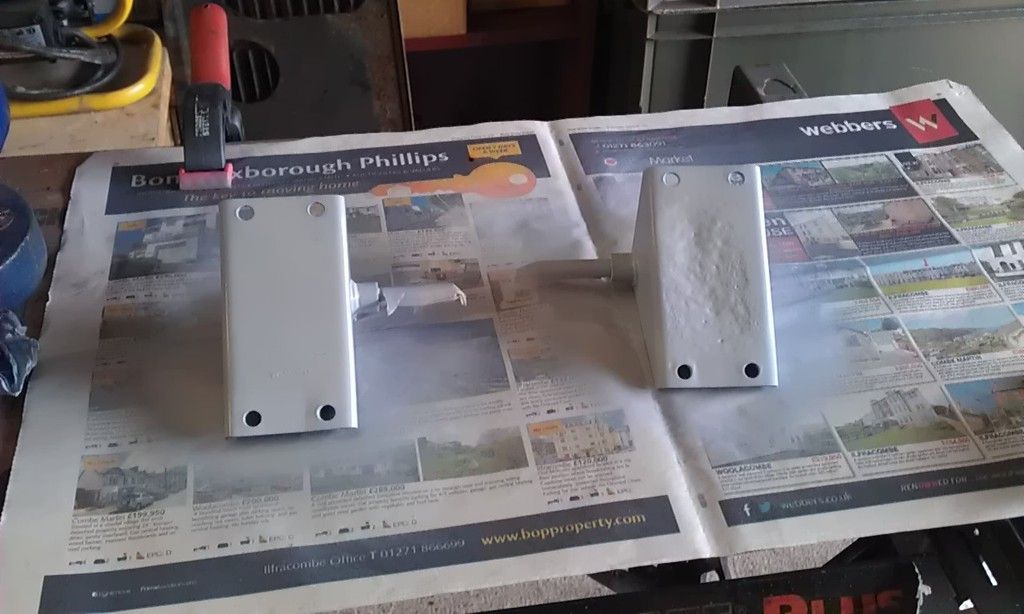
And that was that:
Like I said couple of areas on the LH side need another treatment:
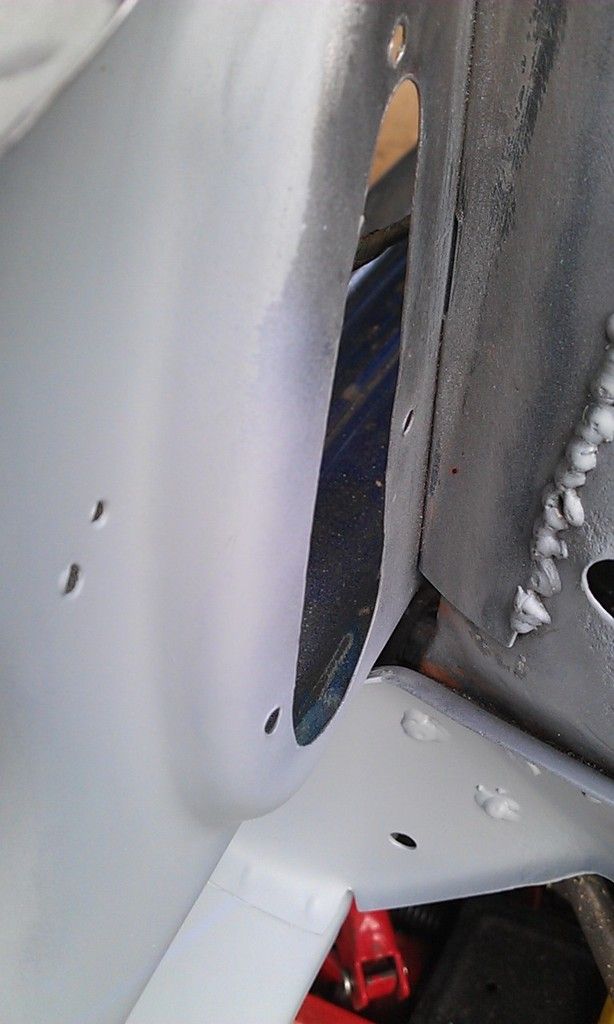
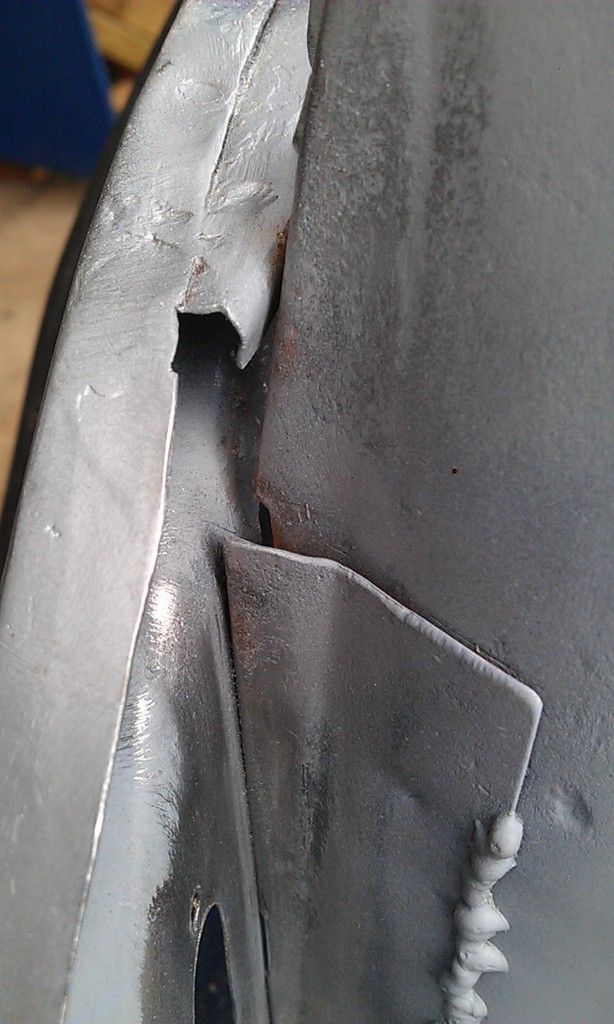
This will get done tomorrow possibly and once done I need to clean up the wings and then the inner wing and inside of the outer wing will get a coat of Epoxy.
#449

Posted 18 May 2016 - 09:17 PM
Well no update lately but I have been doing the work. Here is the progress from the last weekend or so.
Having cleaned and etch primed the inner wings I now needed to do the same with the outer wings. I knew they would need some rust treatment but I also spotted an area around the headlight that would need some cutting and welding.
I carefully cut back the outer layer and then the inner layer:
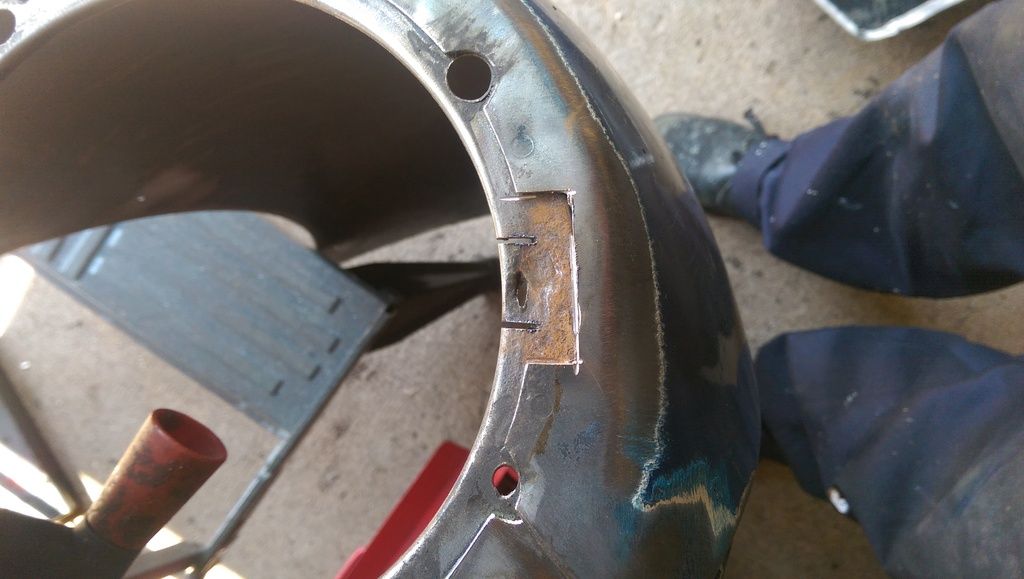
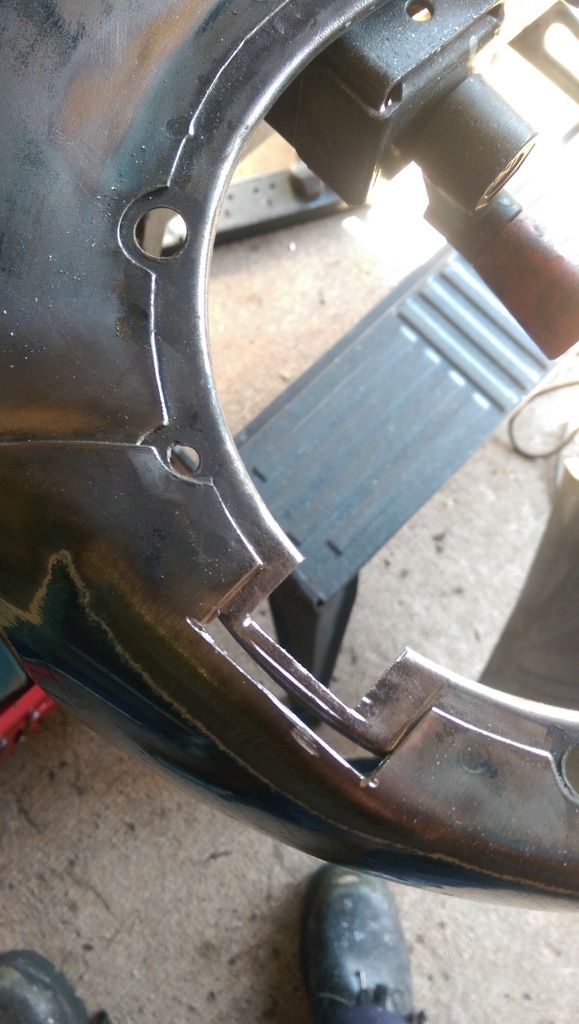
Then made a small patch, clamped in with a copper backing and welded.
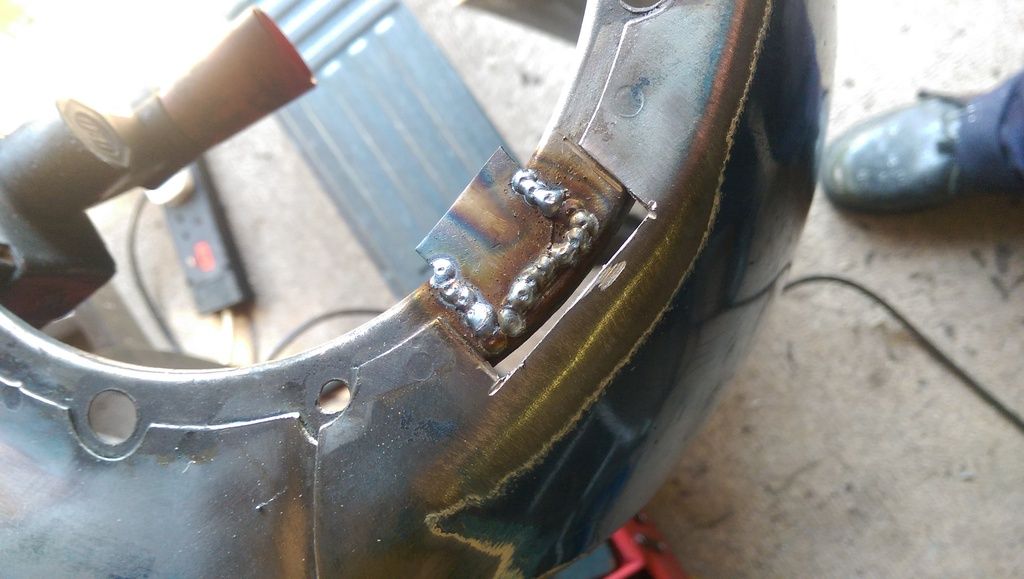
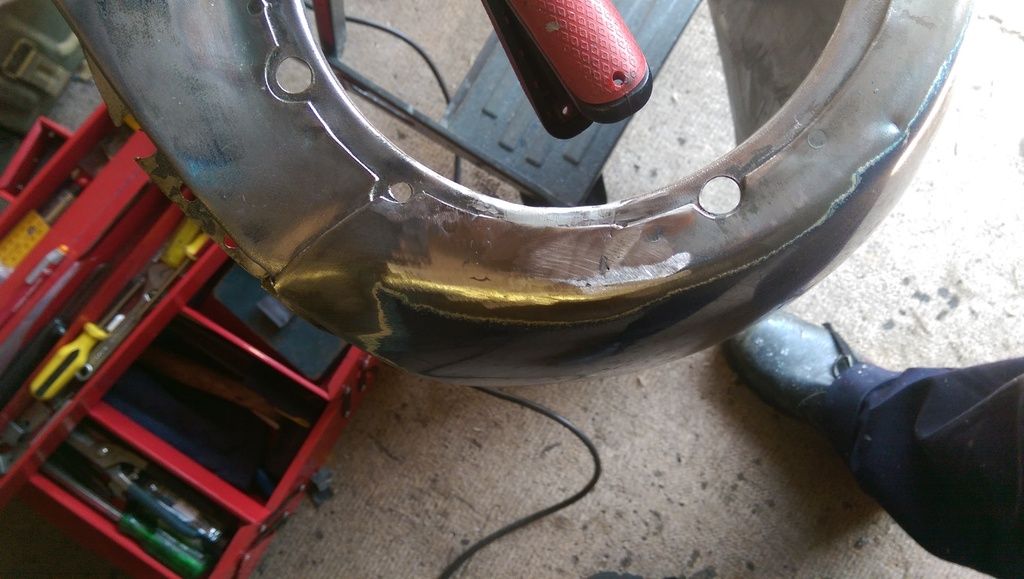
Ground that down and then did the upper layer, good as new:
Then the only way to really de-rust inside the seams of the headlight surrounds was some good old citric acid. First a bucket filled with 5 Litres of cold water:
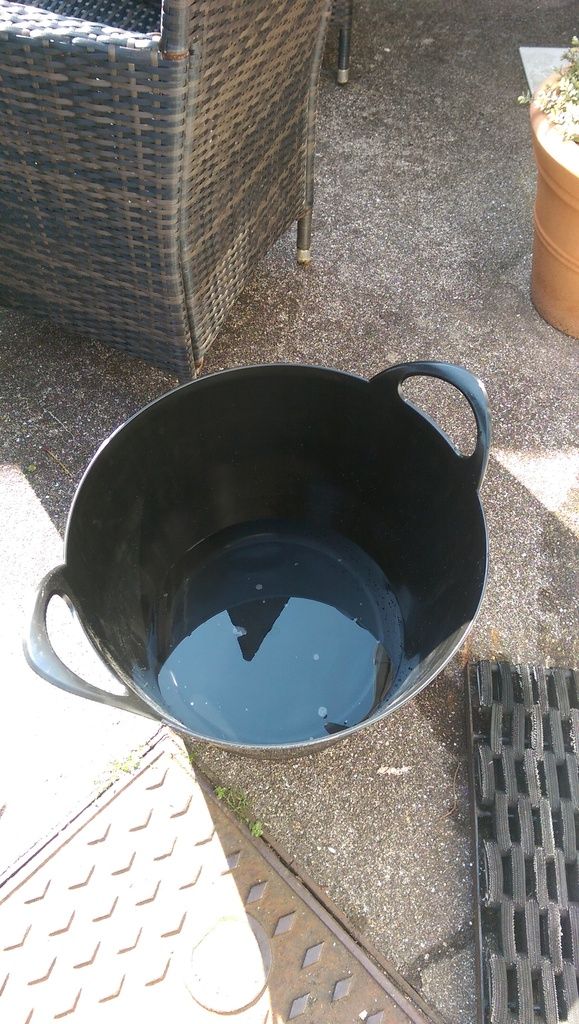
Then 500g of citric acid powder:
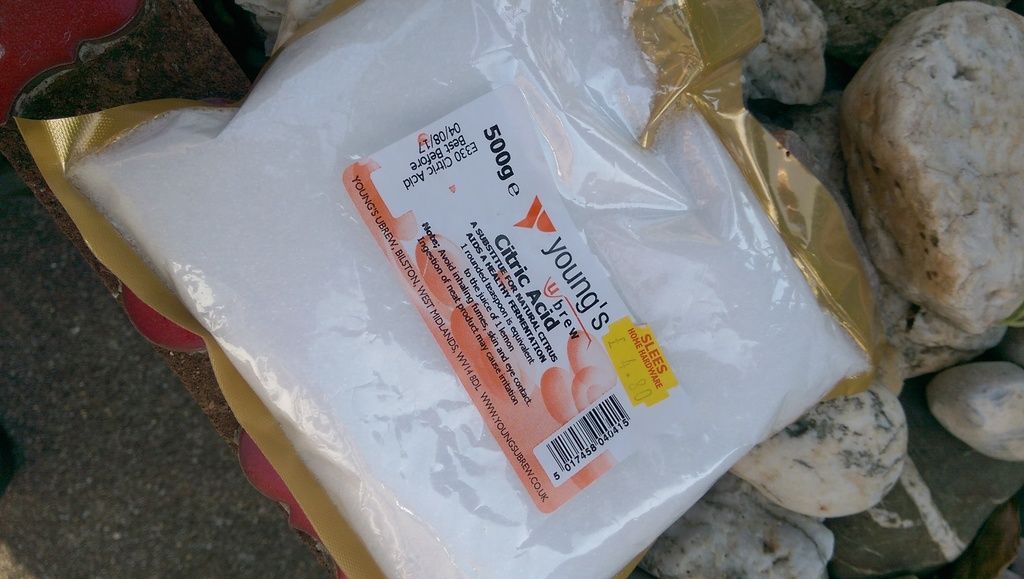
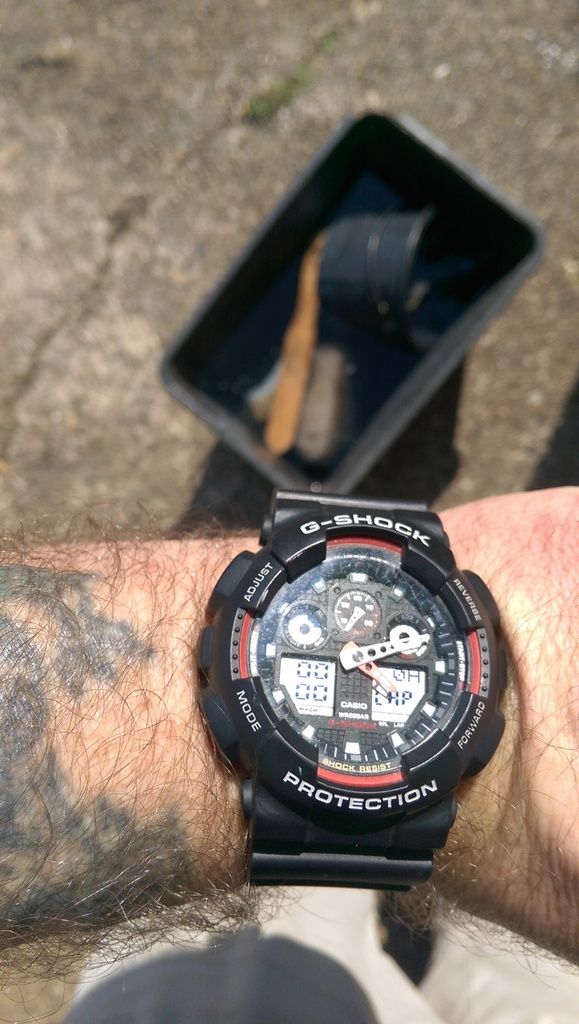
Stir it up and soak for a couple of hours:
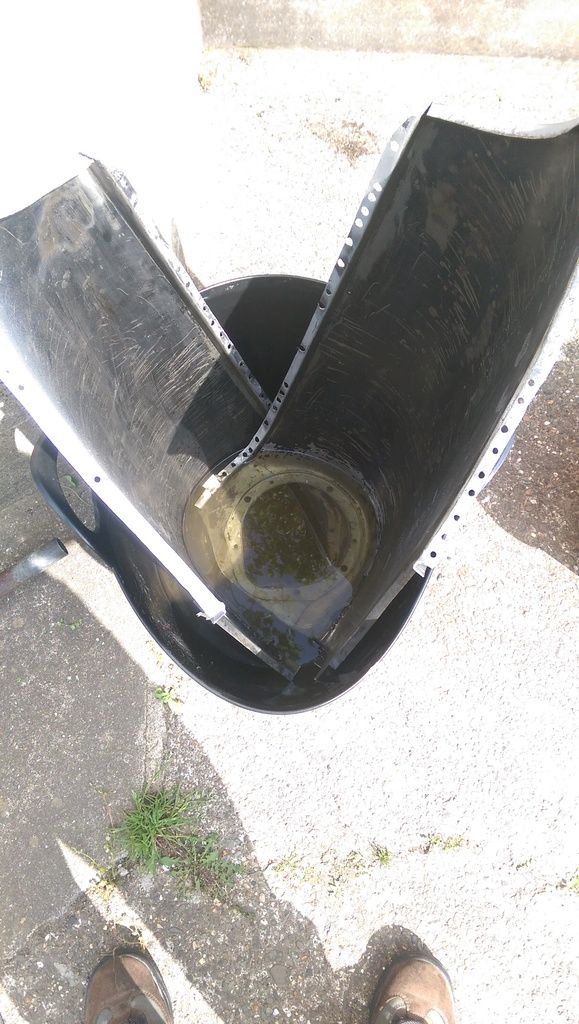
And here they are nice and cozy!
I still had some more repairs to do on one of the outer wings:
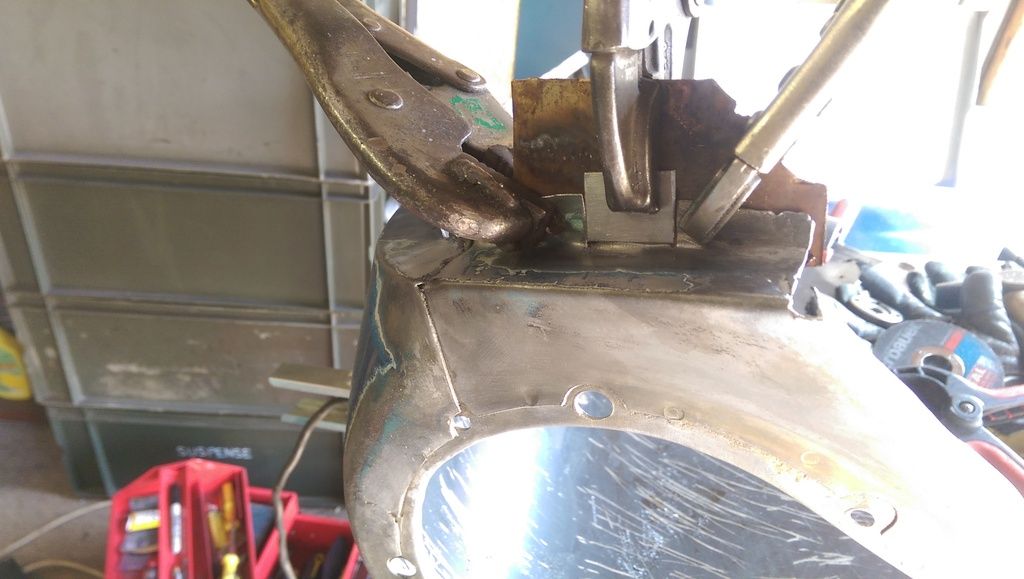
And here:
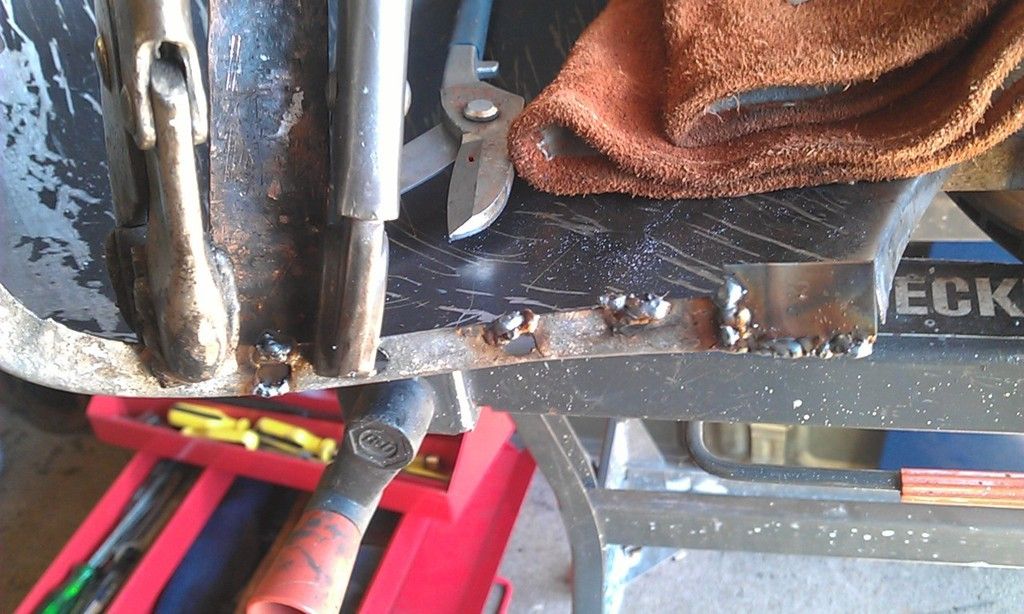
And on the lip that mates with the A Panel. it needed straightening up, so I ran a bead of weld down the edge:
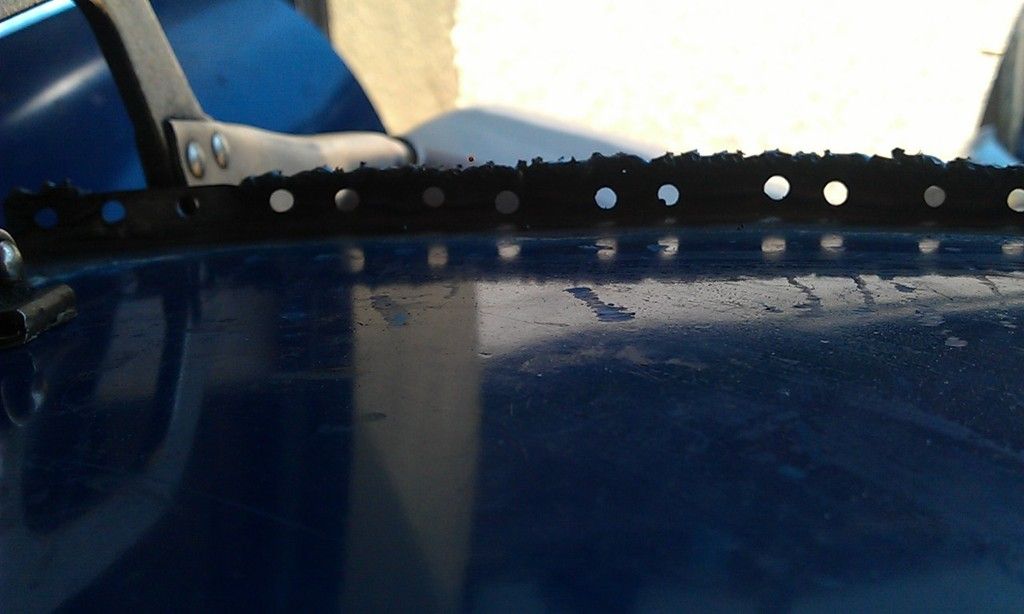
Welded up the holes that had been previously drilled for the arches:
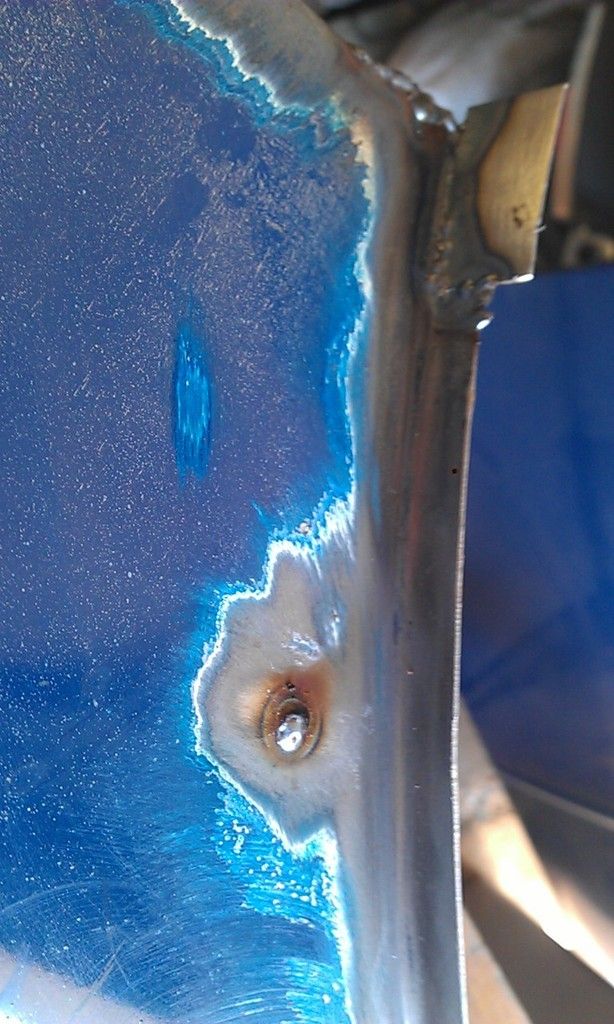
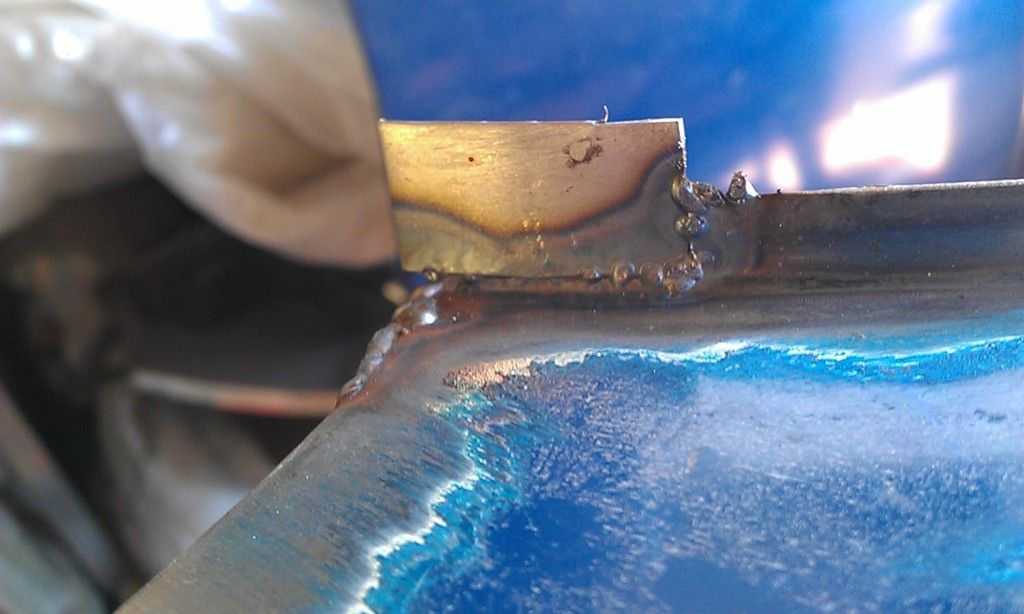
Cleaned up the inside with an ABRACs fleece disc and a little Deox Gel here and there:
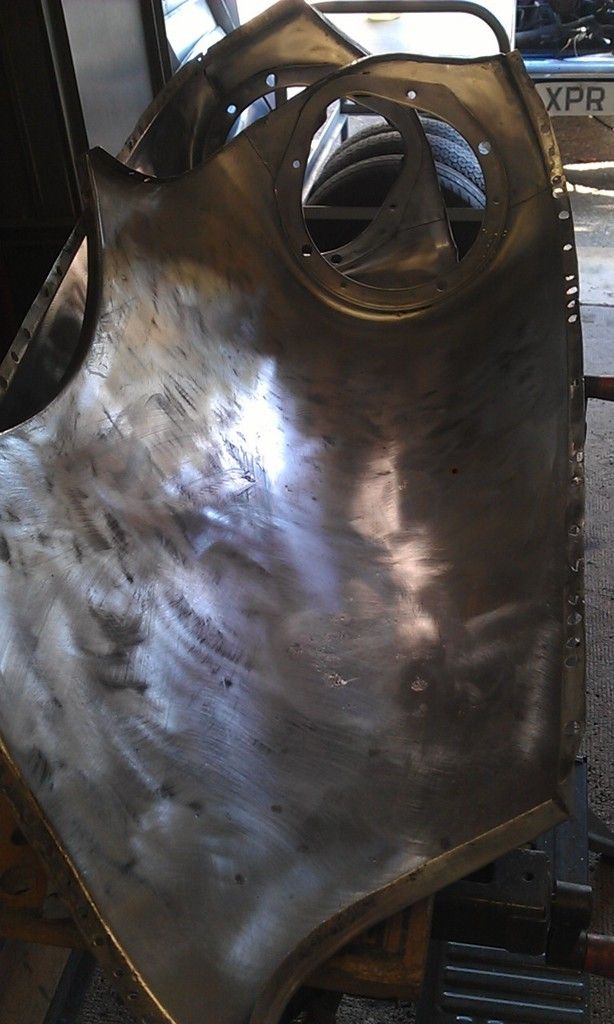
And after a thouroughly good soaking in the citric acid mix, a srub with a hand wire brush, rinse with cold water and a dry with a hot air gun.....voila:
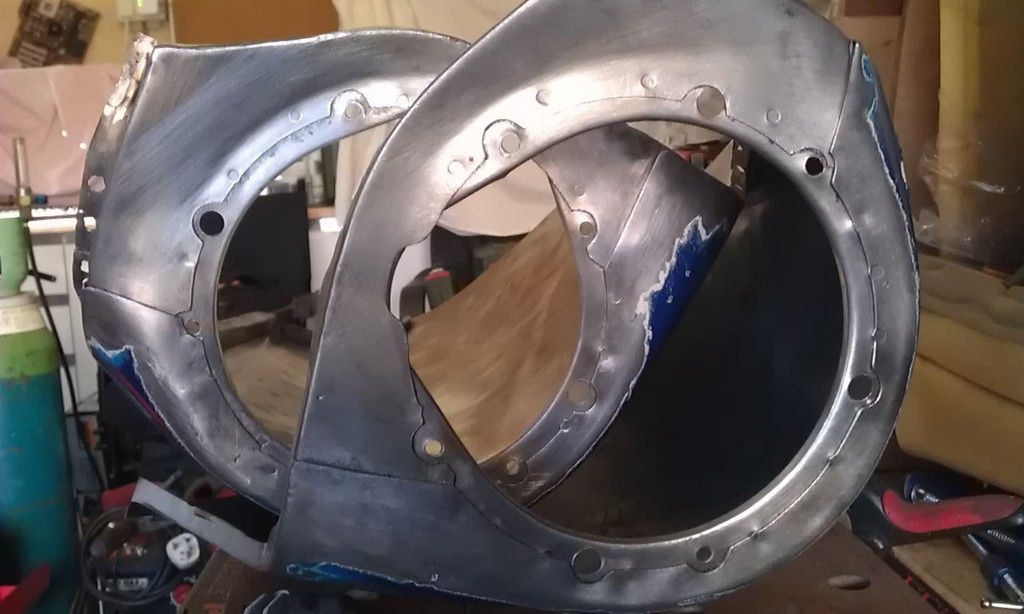
New wings would have been so much easier (I know we told you so!!!)
There's more to come but its late and I am knackered!!
#450

Posted 18 May 2016 - 09:25 PM
Great repairs on the wings, would have been much easier to buy new ![]()
![]() . I certainly wish I did (I wish I did lots of things but anyway..)
. I certainly wish I did (I wish I did lots of things but anyway..)
1 user(s) are reading this topic
0 members, 1 guests, 0 anonymous users


