Jump to content


Photo
- - - - -

1982 Austin Mini - Project Who?


  • Please log in to reply
852 replies to this topic

#421 Ben_O

Ben_O

    Mill Road Garage

  • Paint Doctor
  • PipPipPipPipPipPipPipPipPipPip
  • 9,785 posts
  • Location: Isle of Wight

Posted 30 March 2016 - 07:09 AM

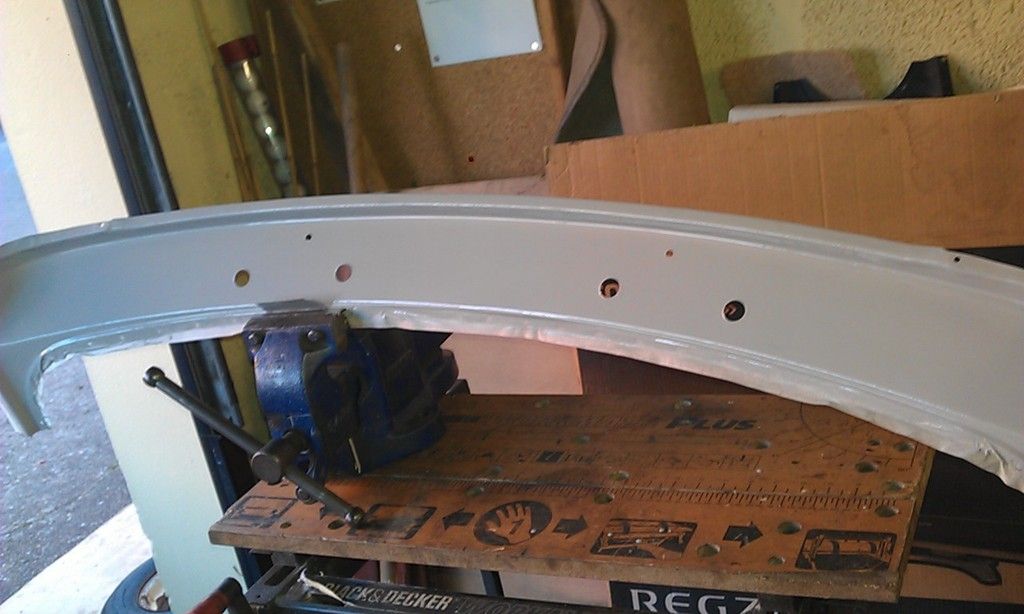
If you find that the top of the flitch where the a panel folds round is too far away from the door to be able to actually fold the A panel round, you could try knocking the top of the flitch over with a hammer and a block of wood on the face of the flitch beside the hinge holes if that makes sense?


As for the bottom, trimming should be fine


#422 JonnyAlpha

JonnyAlpha

    Up Into Fourth

  • Members
  • PipPipPipPipPipPipPipPipPip
  • 2,748 posts
  • Location: North Devon
  • Local Club: Exmoor Minis

Posted 30 March 2016 - 08:19 PM

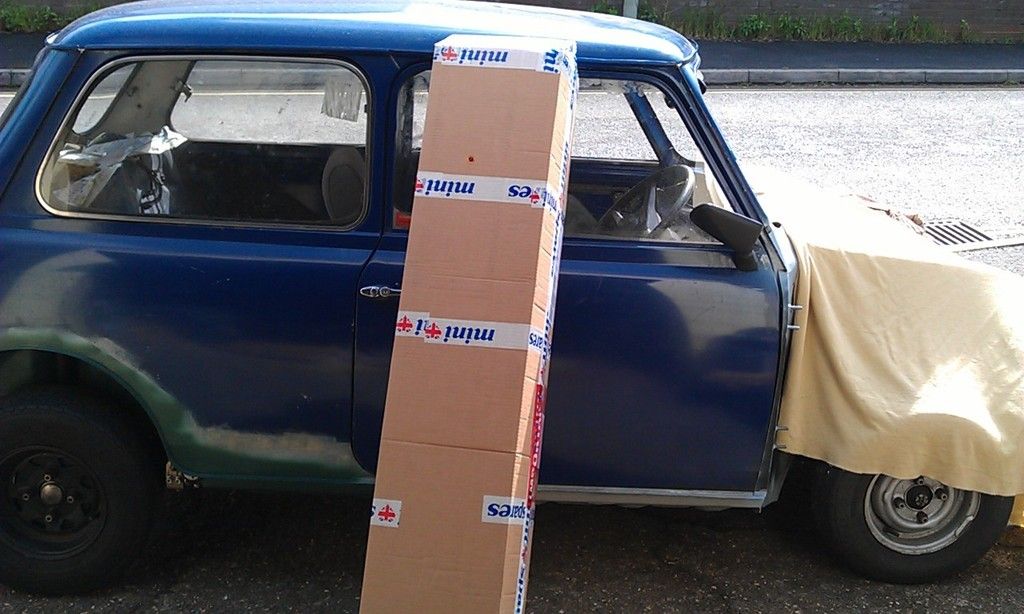
Managed to get out into the garage just after lunch just around the time Mr DHL delivered my latest package  :D


IMAG1103_zpsswujeymu.jpg


That'll be my new Scuttle panel and a few other bits (Goodridge Front Brake Hose, Braided Petrol Pipe, clips etc). 


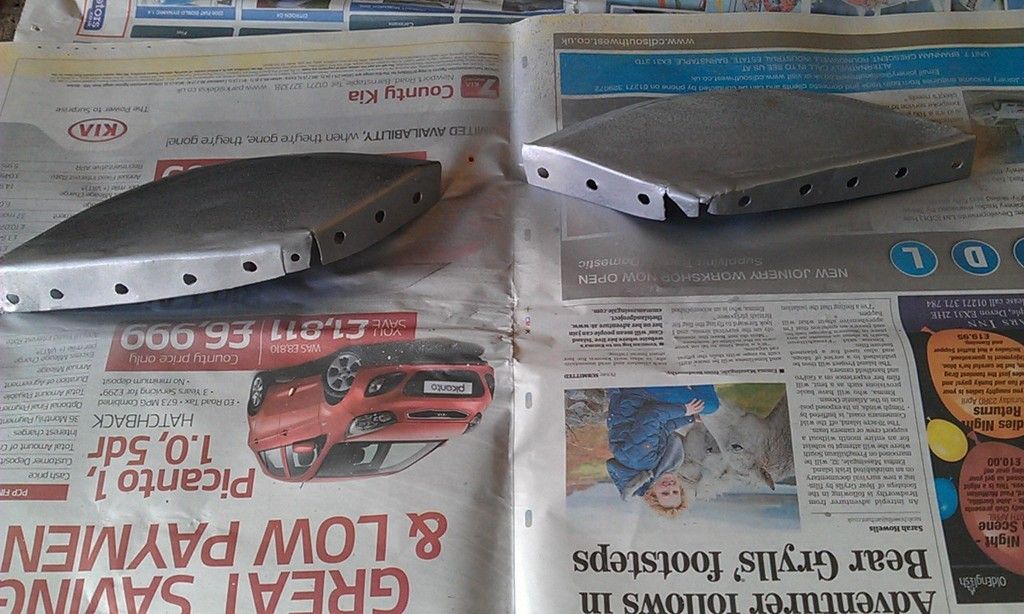
Did some more work on tidying up the wings, they are going to take a lot longer that I first anticipated  :mmkay:


IMAG1104_zpsvd2at8fr.jpg


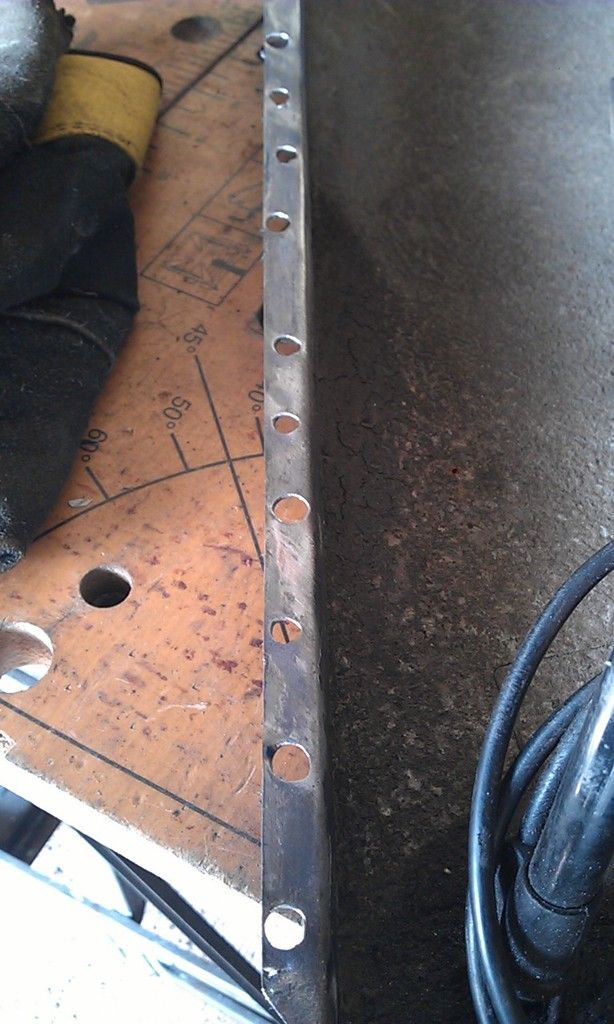
Also not sure whether to weld up the spot weld holes that are too close to the edges and re drill them?


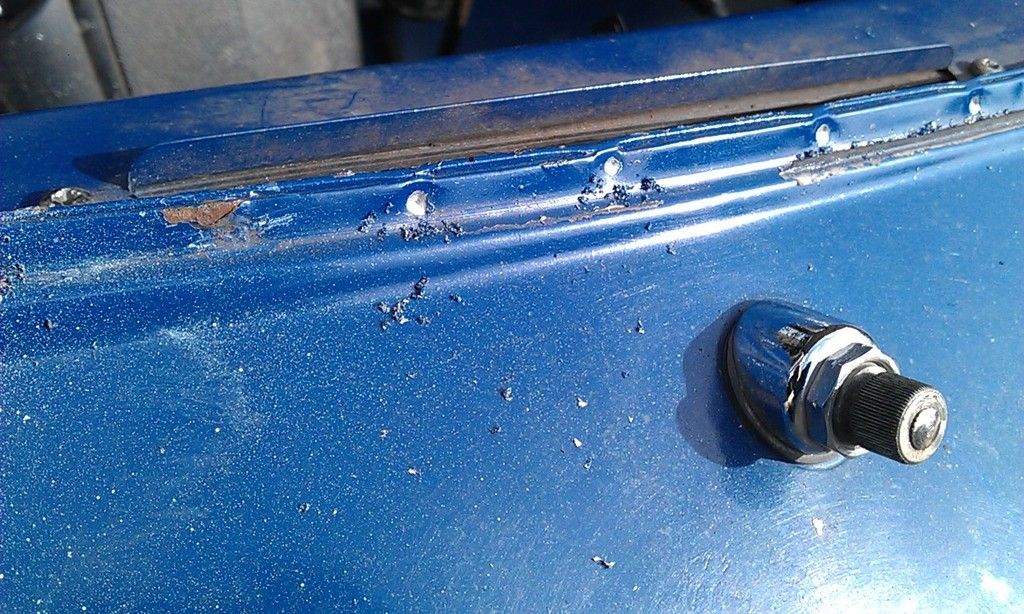
Whilst I was waiting for some Deox to work its magic on the wings I made a start on the Scuttle. First job was to measure the window height (as suggetsed by Sonnik4 in another thread on Scuttle Panel option. 41 - 41.5cm. Next job was to centre punch the spot welds and drill a mm or so into the spot weld with a 5mm drill, this will help the Spot Weld Drill Bit:
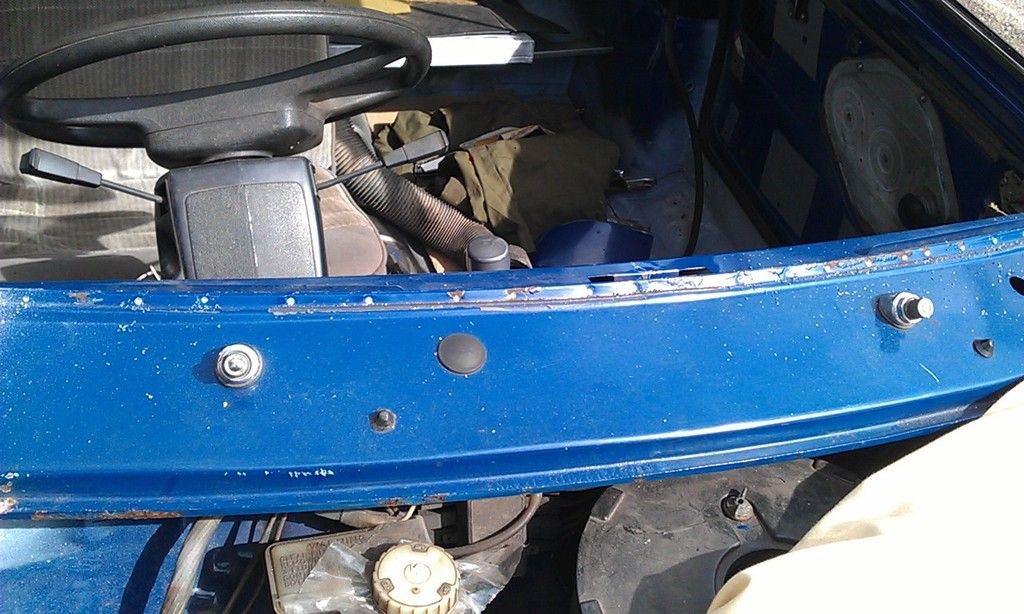
 

IMAG1105_zpssmnejtxb.jpg


IMAG1106_zpsdta3fjfw.jpg


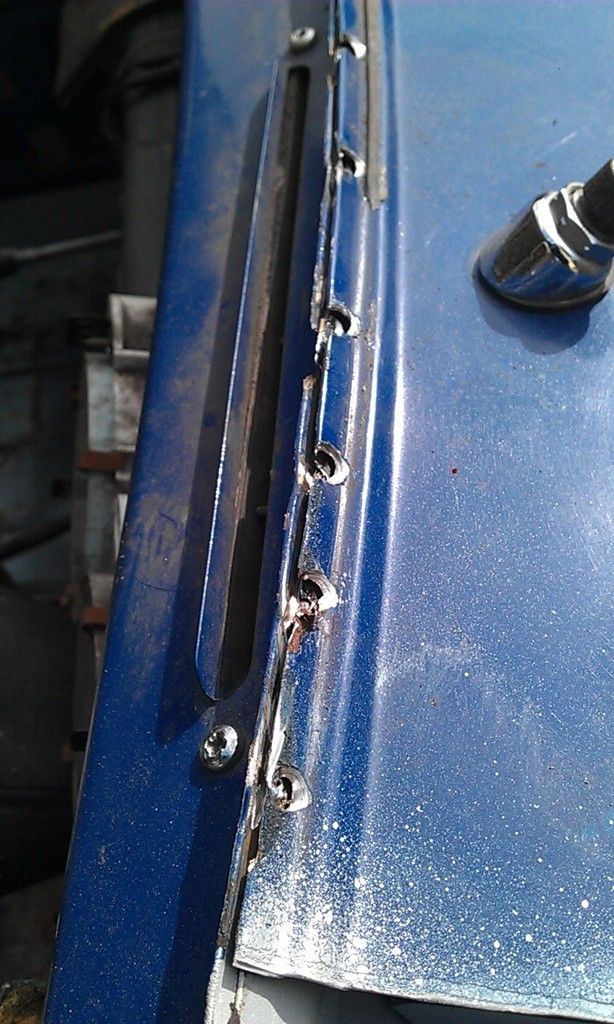
Then drill out the Spot Welds and split the seam with a Wall Paper Scraper ( I have had this old scraper for years and today it finally broke, one too many tough welds!!). 
 

IMAG1107_zpsayzoezva.jpg


You'll notice I hadn't removed the Windscreen Wiper mounts yet  :D


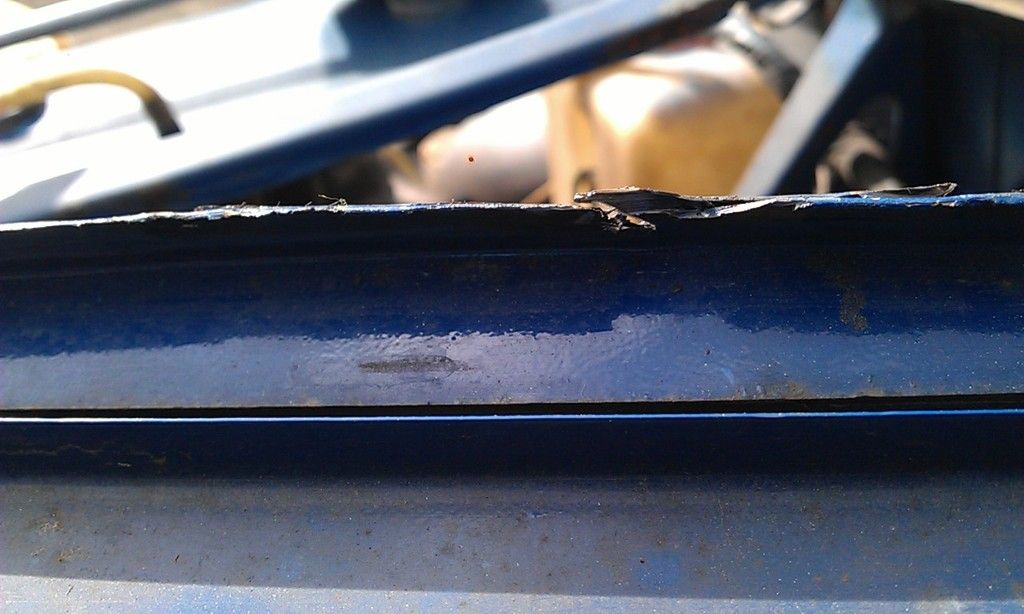
In a couple of areas I had to use a 1mm Angle Grinder blade with not to much damage, I'll nip that up with a bit of weld.


IMAG1111_zpsks8ex0cp.jpg


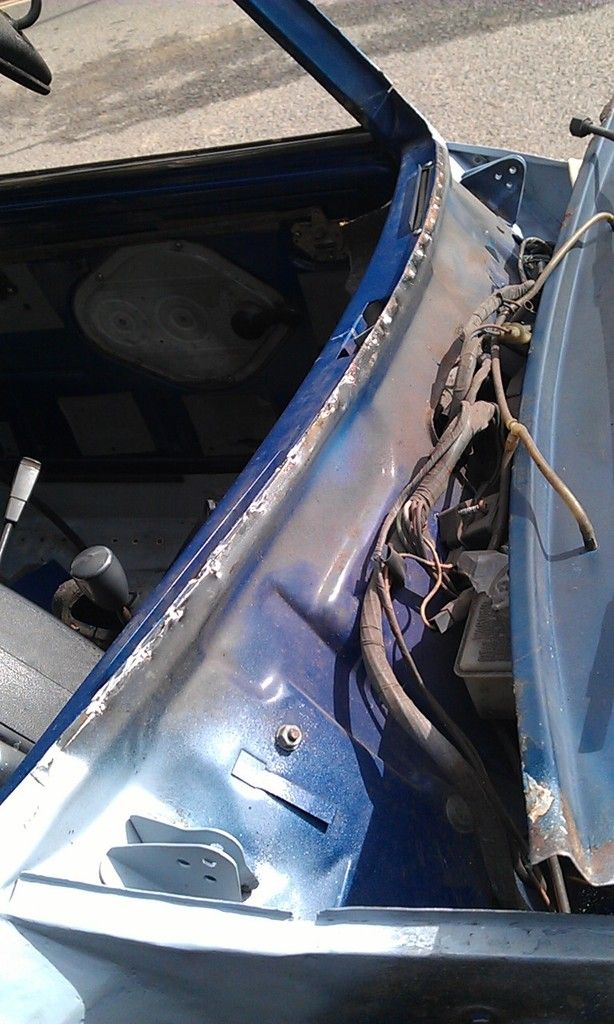
The Scuttle cam off pretty quick (always quicker dismantling things than putting them back together!!).
 

IMAG1109_zpsbe19qi2t.jpg


Apart from the corners, which have already been removed, the underside was in pretty good condition.


I was pretty good with the Spot Weld Drill, only left a few marks, not sure whether to weld these up or not? I cleaned and sprayed the area with weld through primer anyway. 
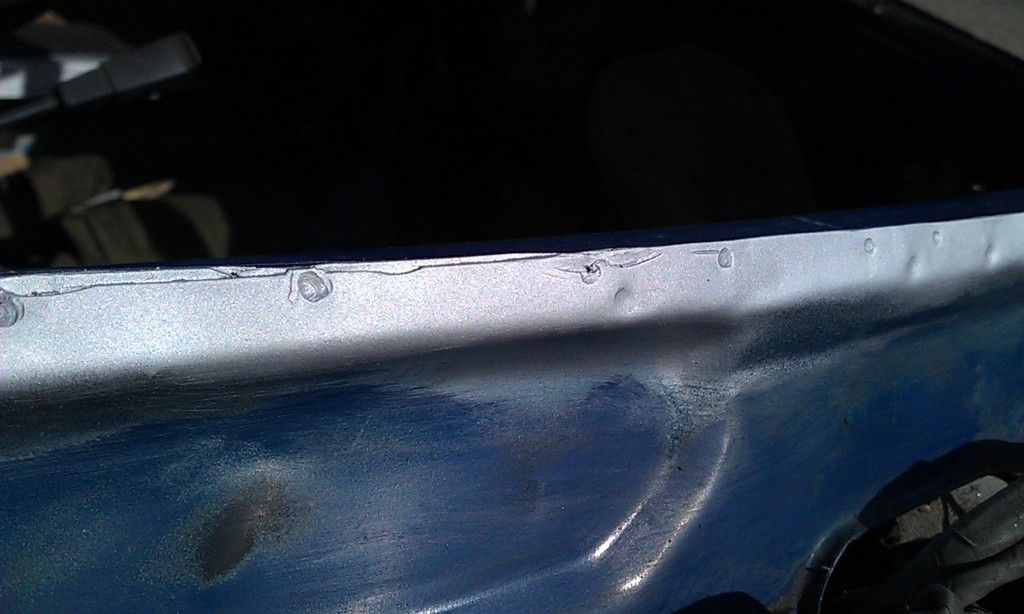
 

IMAG1112_zpssplyvxfk.jpg


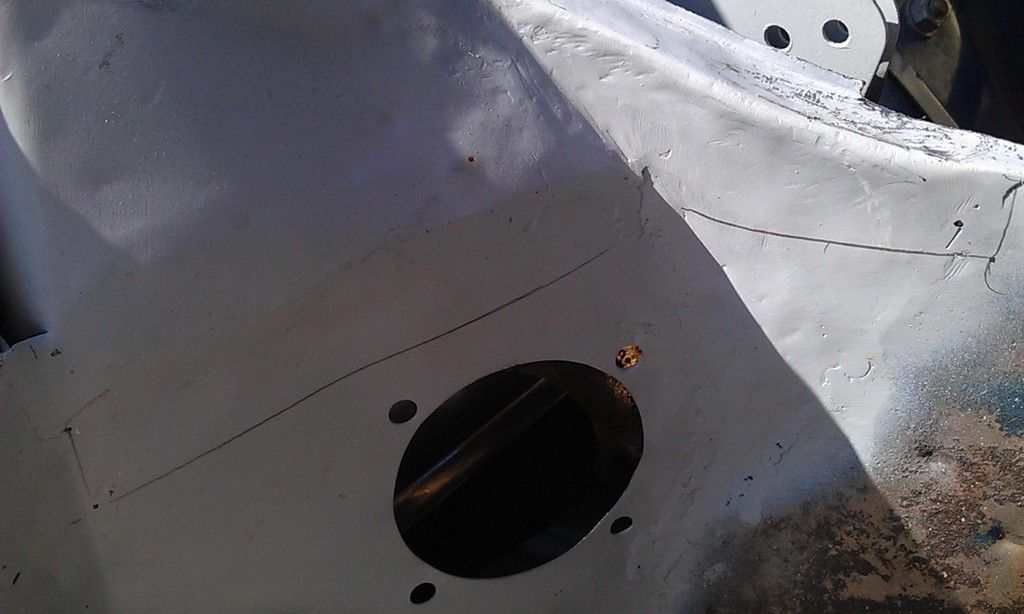
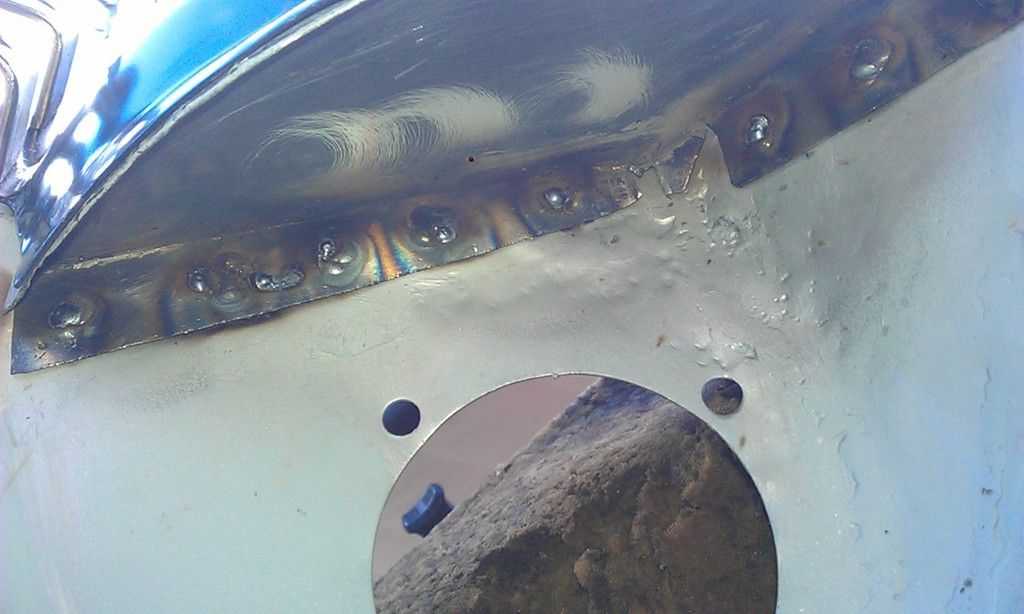
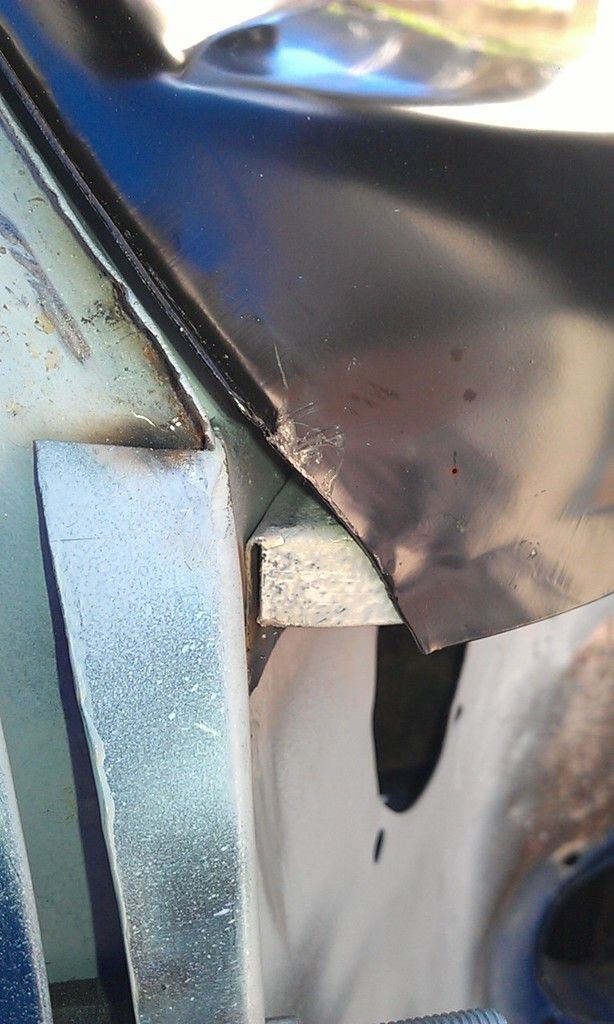
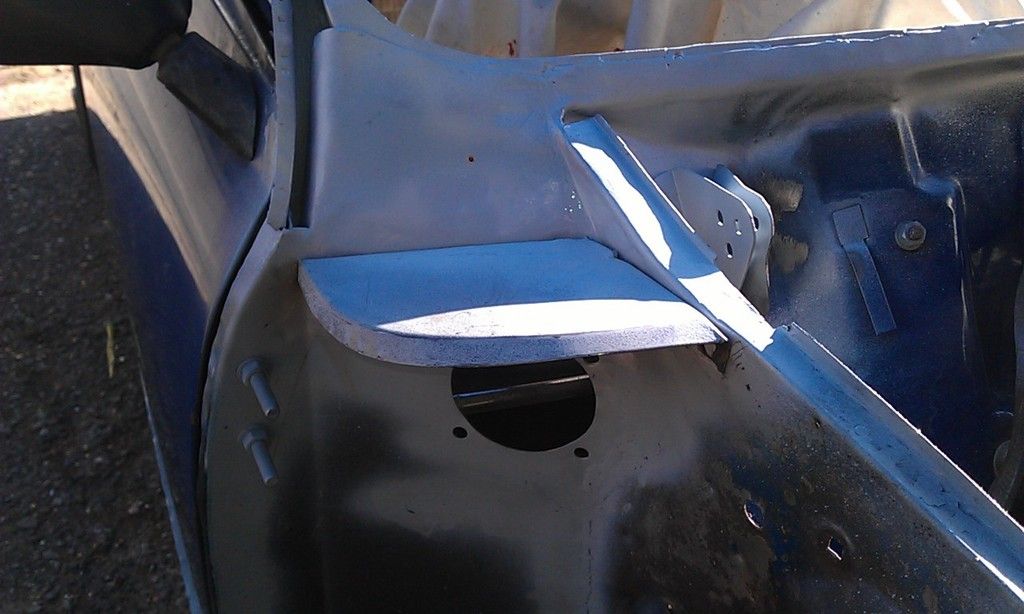
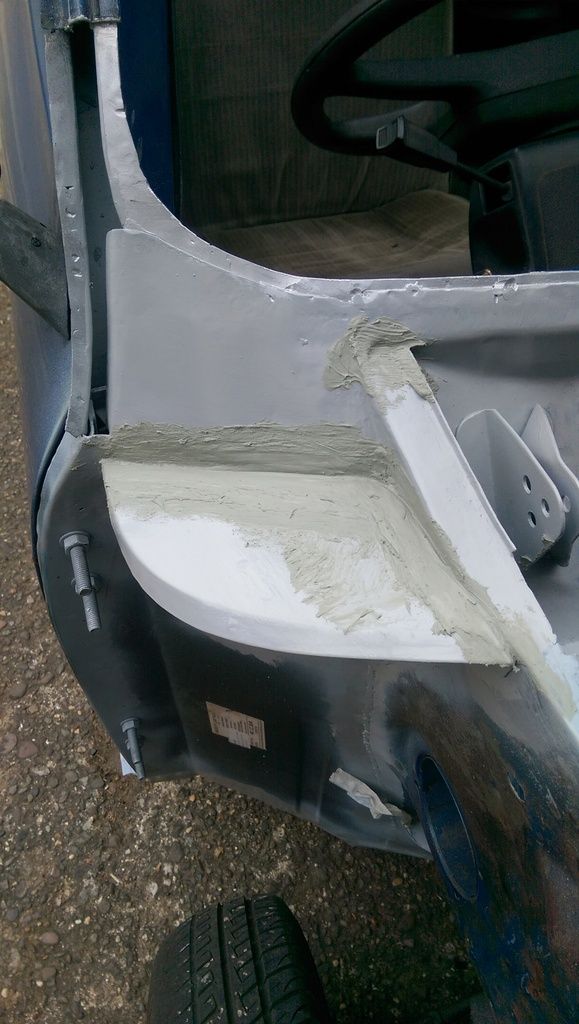
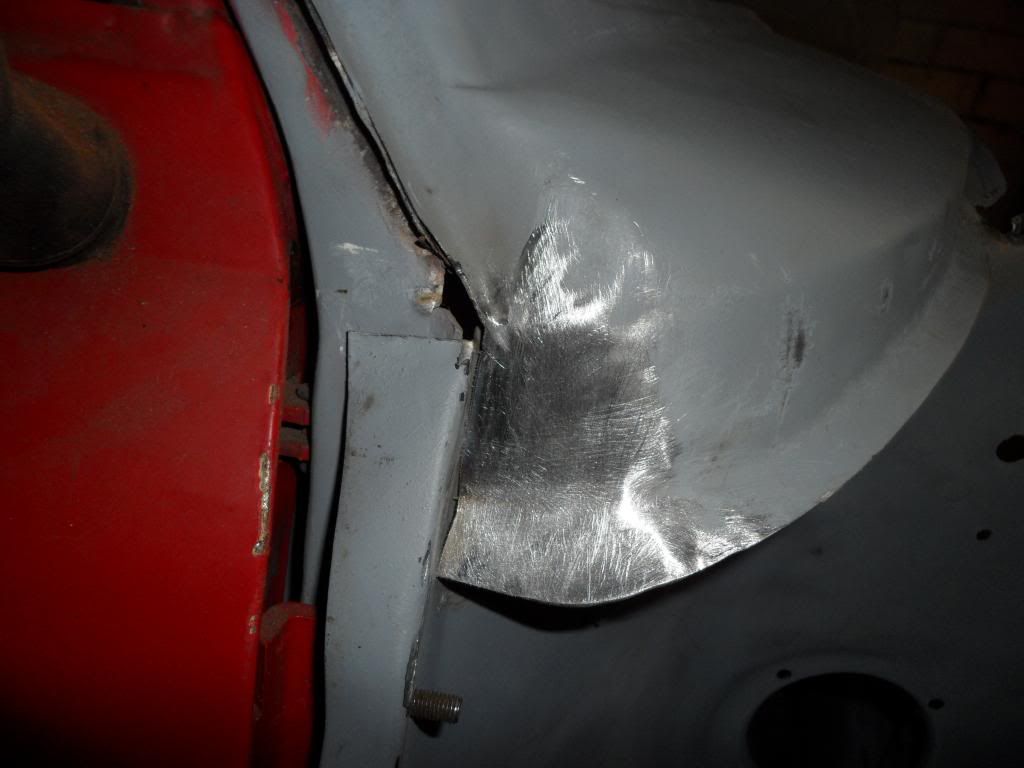
When test fitting the new Scuttle, I noticed that my Inner Wing repairs were maybe too high and the flange was in the way, so a quick cut was needed.
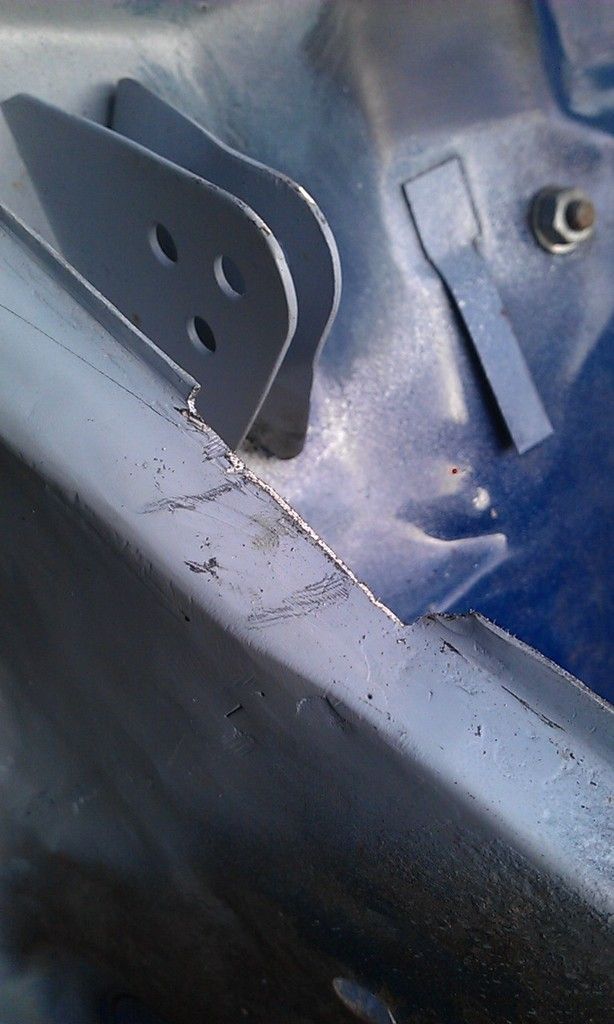
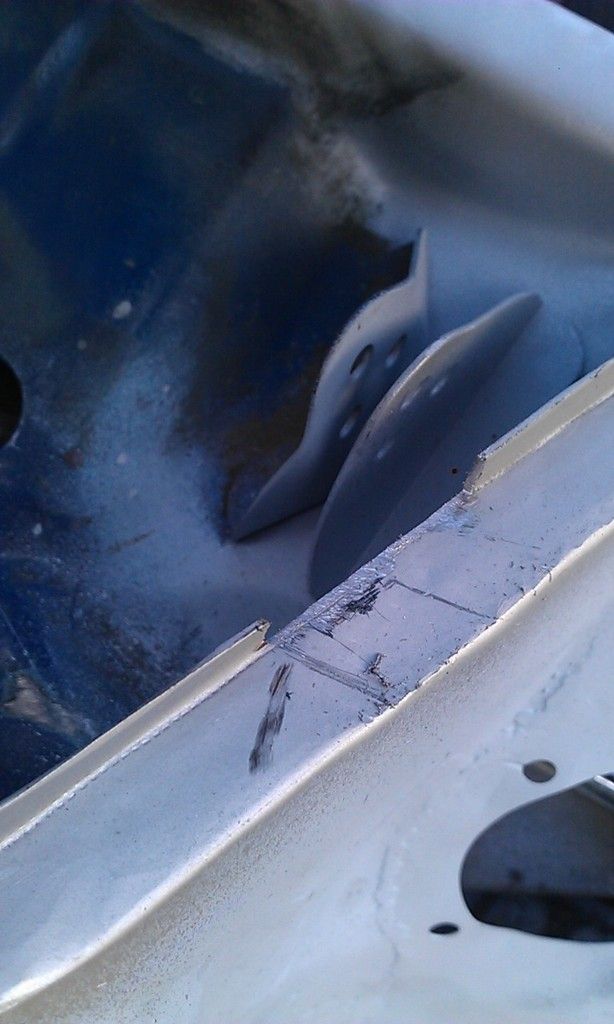
 

IMAG1114_zpsyi4h0iwt.jpg


IMAG1115_zpst8ubxe4x.jpg


IMAG1116_zpsdhsruhz3.jpg


Glad I went for a Heritage, the profile is soooo much better.
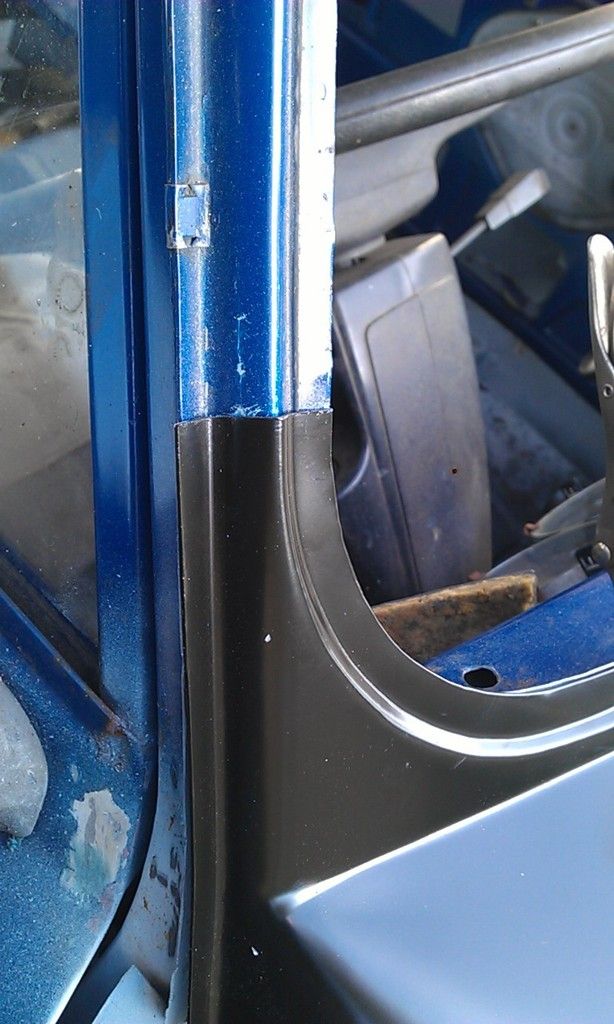
 

IMAG1117_zpslcftjnlp.jpg


There is also a lot more post on the fill panel so I trimmed a bit more off of the Mini.
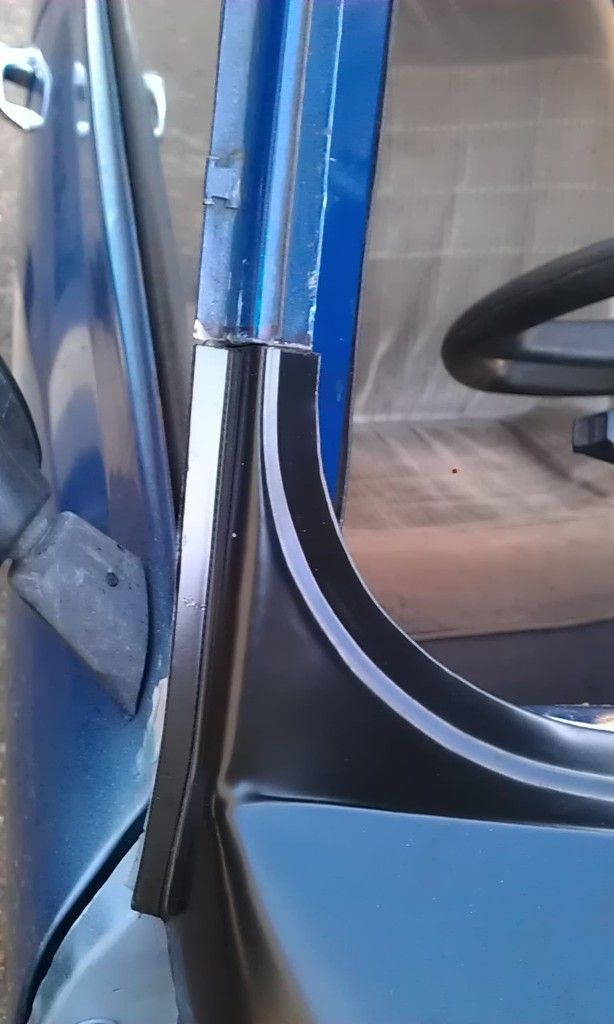
 

IMAG1122_zps9zozuvqz.jpg


IMAG1123_zpsvojjeyqj.jpg


I noticed however that the scuttle still wasn't sitting right and decided it was my inner wing repairs so I adjusted them downwards with a little persuasion.
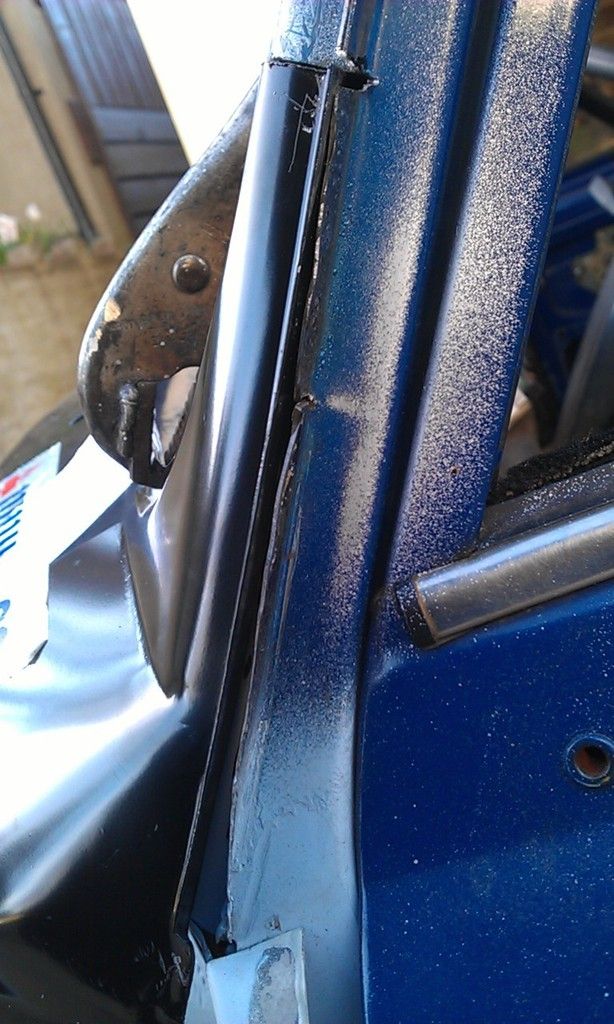
 

IMAG1121_zps8wtyqnrz.jpg


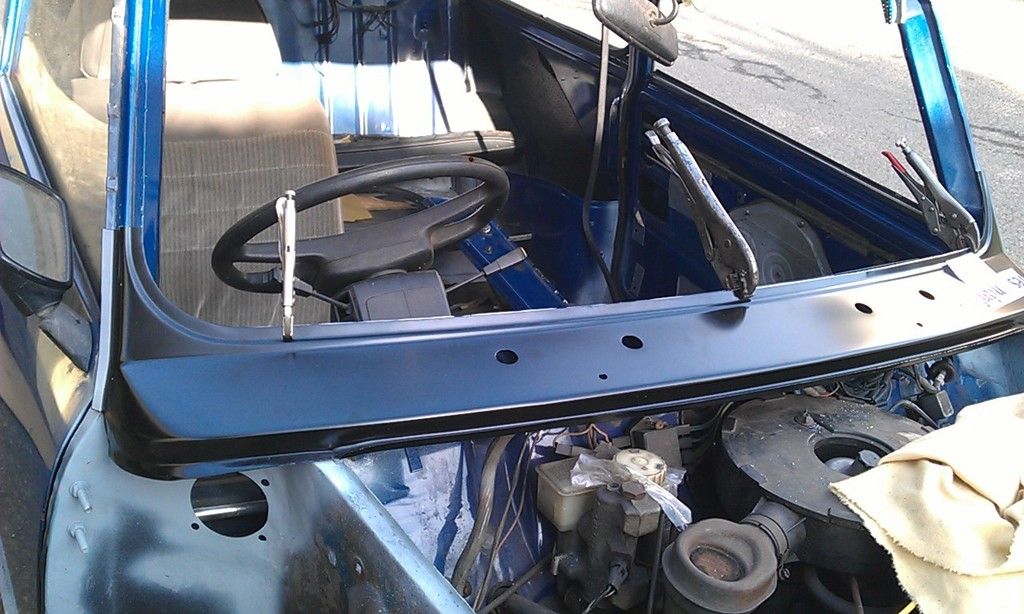
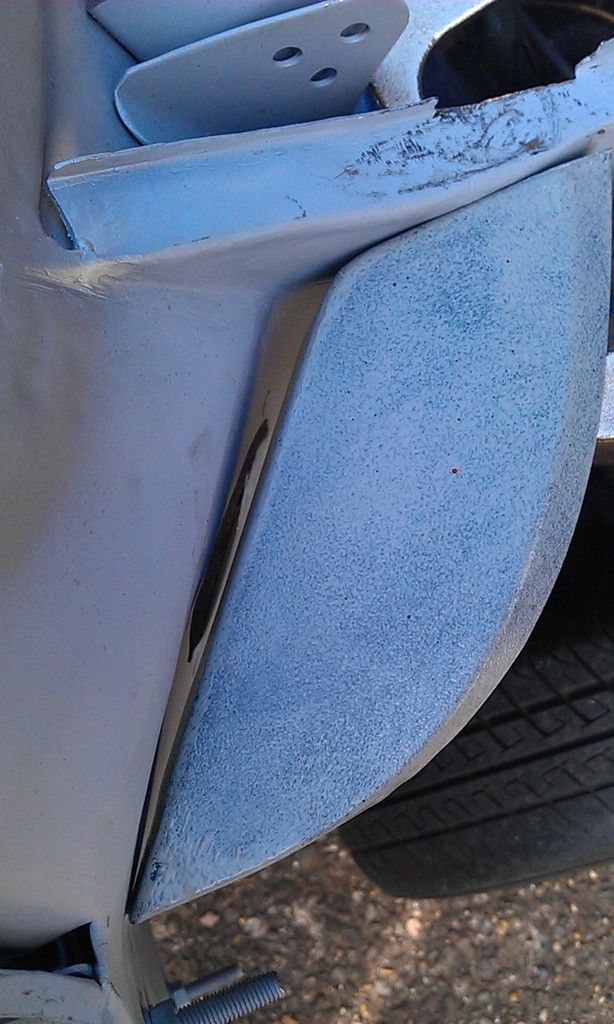
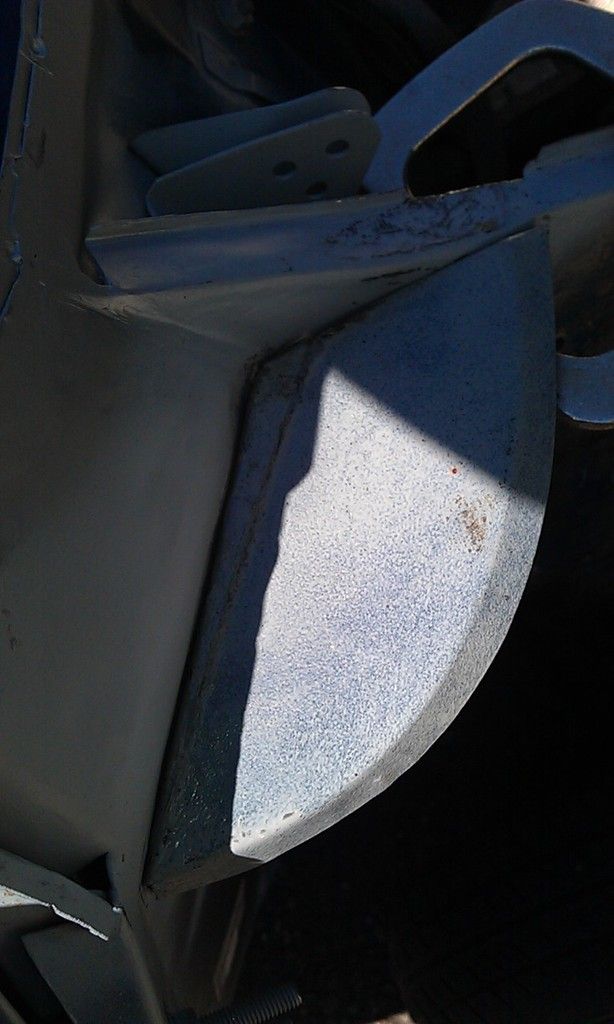
I test fitted the Scuttle Closing Panels, the profile against the Scuttle is perfect but they are not sitting particularly flush with the Inner Wing. I marked them and tomorrow will remove the Scuttle and make some adjustments before I weld them in. 


#423 Daz1968

Daz1968

    Up Into Fourth

  • Members
  • PipPipPipPipPipPipPipPipPip
  • 2,058 posts
  • Location: Dudley

Posted 30 March 2016 - 08:46 PM

Looking good, that's next panel on my to but list,
I had to alter my closing panels a little where they meet inner wing, nothing too major

#424 JonnyAlpha

JonnyAlpha

    Up Into Fourth

  • Members
  • PipPipPipPipPipPipPipPipPip
  • 2,748 posts
  • Location: North Devon
  • Local Club: Exmoor Minis

Posted 31 March 2016 - 08:54 PM

Today's plan was to get the Scuttle Closers on and Scuttle ready to weld on:


As mentioned earlier the closing panels are going to need some modifcation, so first I marked where they would fit with the Scuttle fitted to avoid mis-shaping them:


IMAG1126_zpsvzkdjhbz.jpg


Here's the left showing how much out it is:


IMAG1128_zpsmkkryrly.jpg


And here it is after re-shaping it:


IMAG1129_zpsiebxjomy.jpg


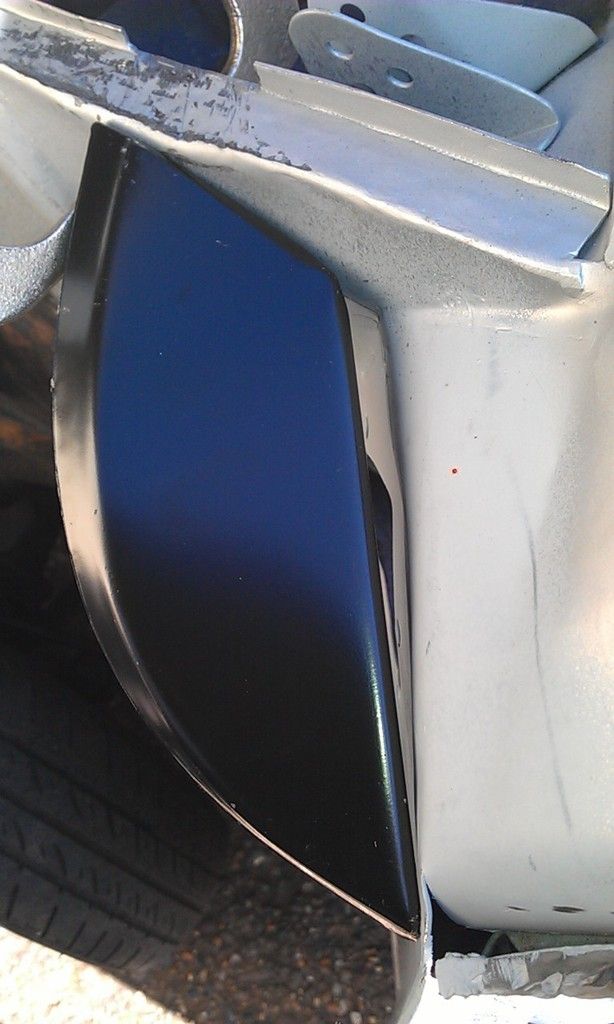
And the LH side (much worse).


IMAG1130_zpscwfxxevw.jpg


Once re-moddled they were flatted down and weld through sprayed on the mating edges:


IMAG1131_zpsb4xyclad.jpg


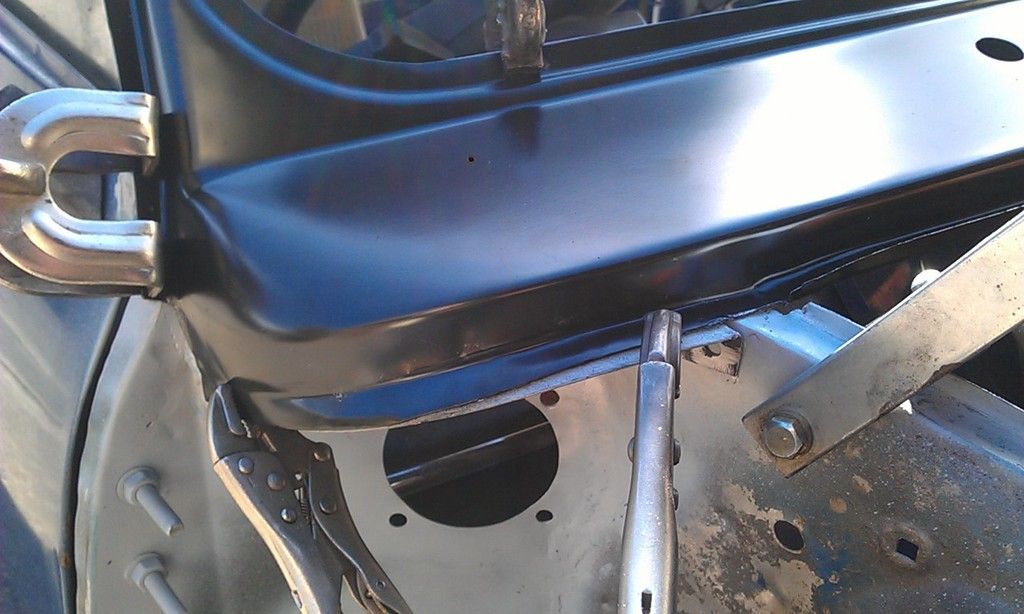
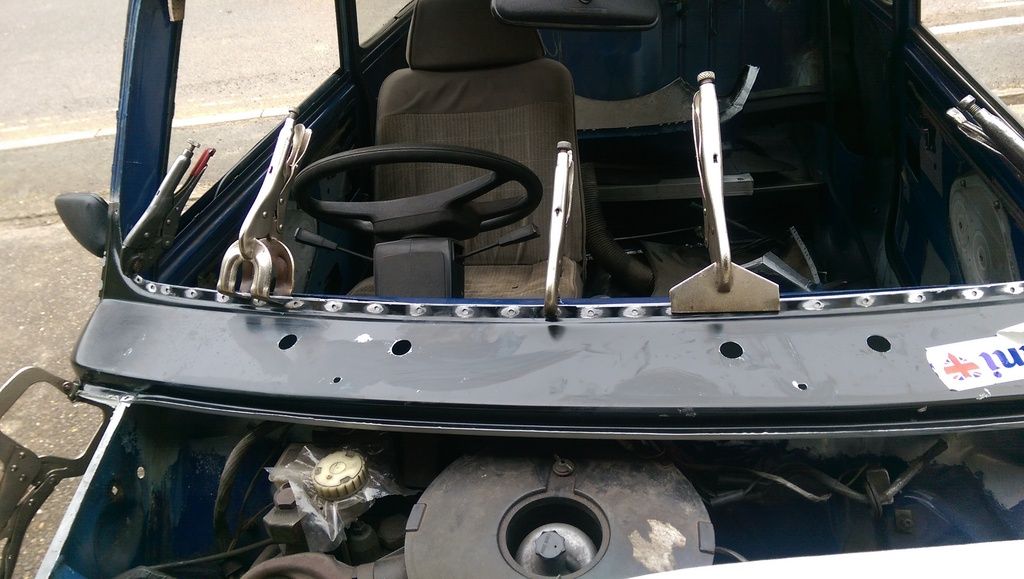
Then clamped back in ready for welding:


IMAG1132_zpsicmvqqdy.jpg


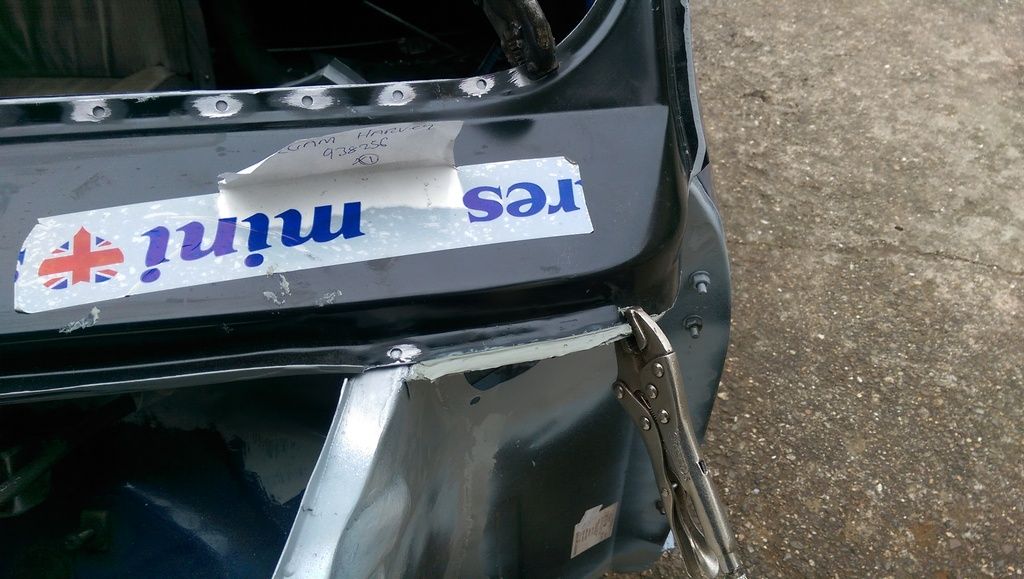
Took this pic to ask "do I need to weld the Scuttle to the Inner Wing?"


IMAG1134_zps810gkssa.jpg


This area will need cleaning and painting before the Scuttle goes back on:


IMAG1135_zpsfwakv4uq.jpg


Here it is welded in:


IMAG1136_zps8u47lgnw.jpg


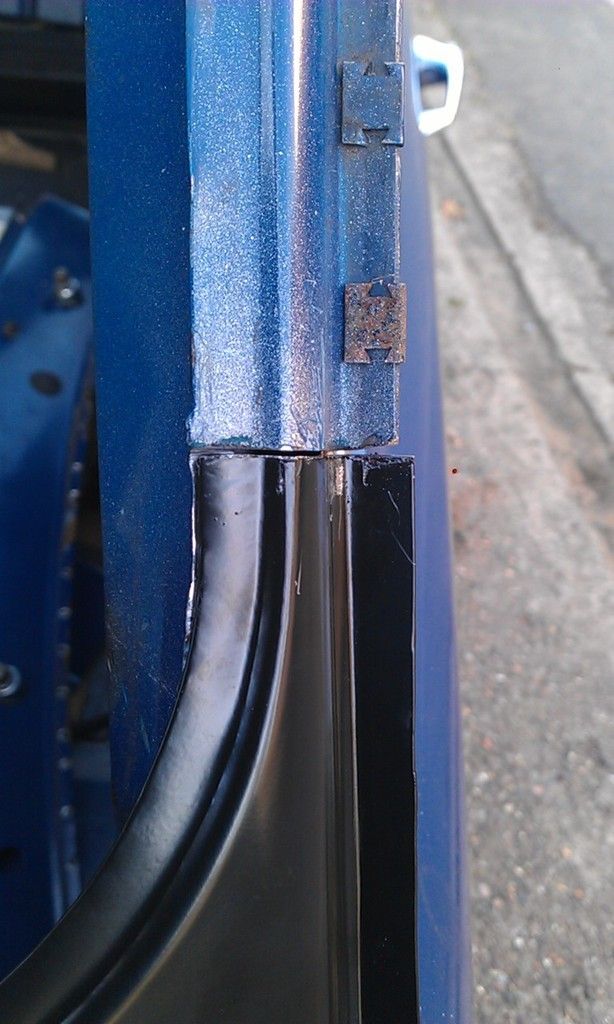
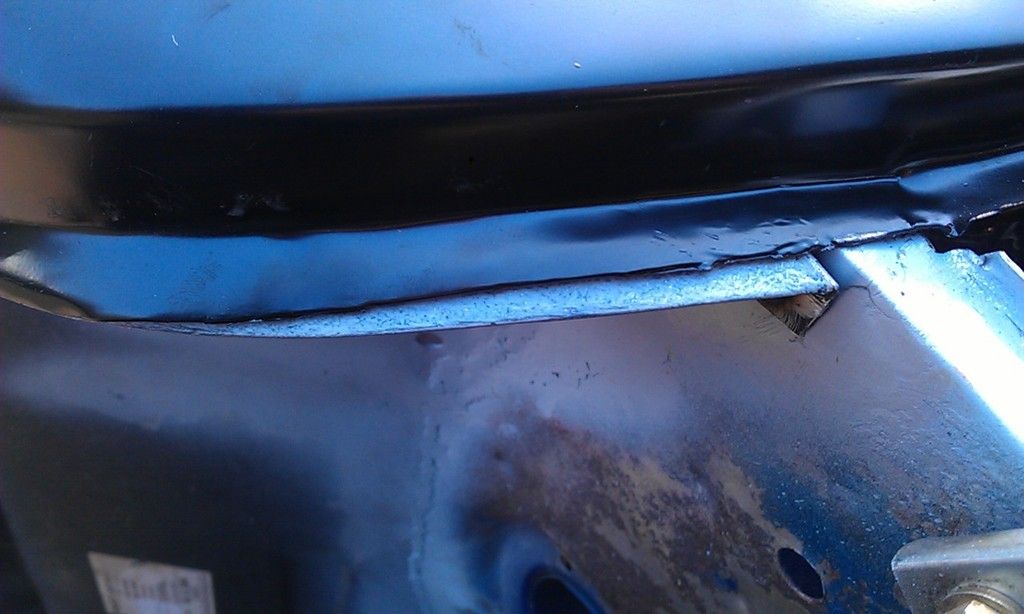
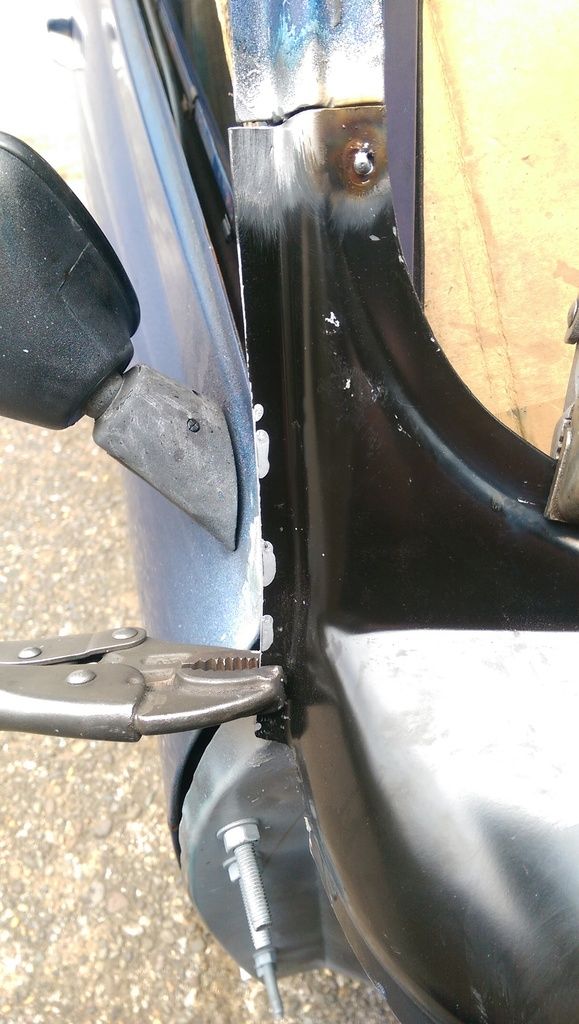
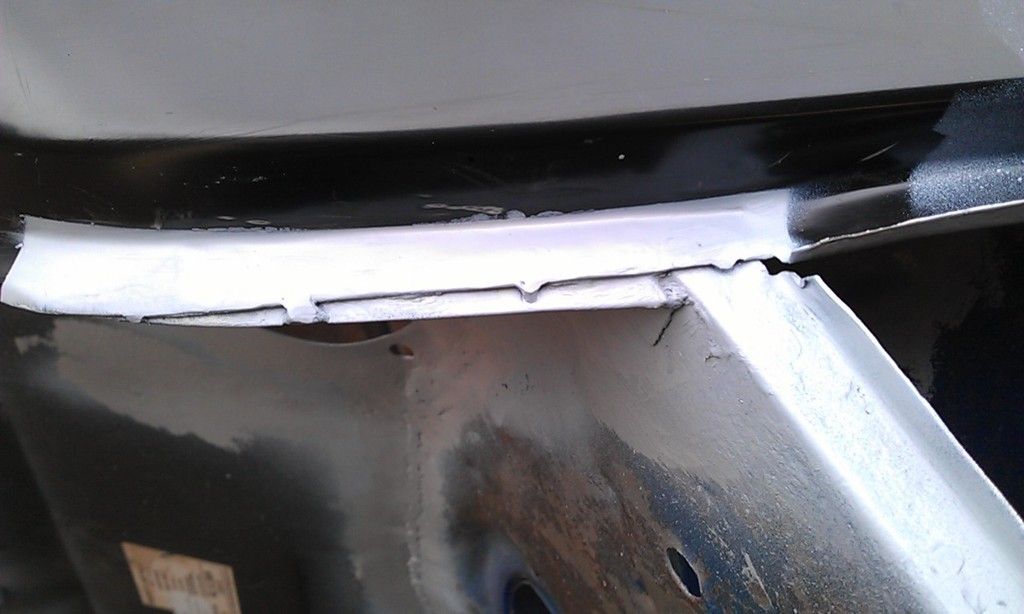
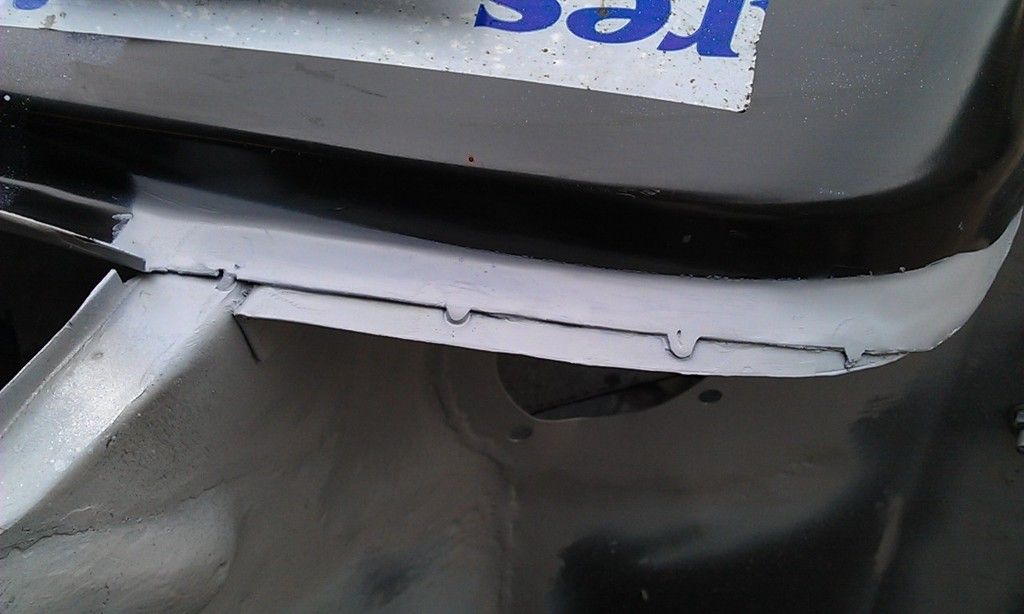
I noticed these gaps on the outer side, are they supposed to be there?


IMAG1137_zpsgvdneojo.jpg


I also spent the time patching up the spot weld drill holes and areas in the window post that were cut taking out the old Scuttle:


IMAG1138_zps1j0xcgl4.jpg


The LH closing panel was a bit of a drama but rectified in the end:


IMAG1139_zpsebjtgimq.jpg


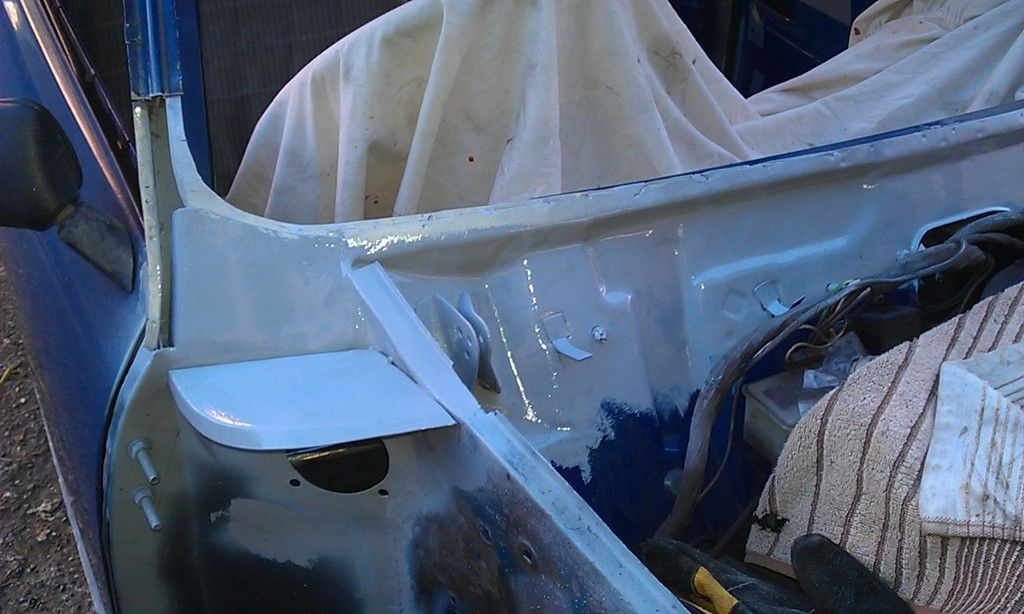
Cleaned up and splashed some Etch primer on the closers and weld through primer on the window ledge:


IMAG1140_zpsuexiuikq.jpg


This took most of the day but I was determined to get the underside of the scuttle painted, so after dinner I managed to get back out and do some painting.


I used Lechler Epoxy Mastic from Express Paints, I decided to hand brush rather than spray for two reasons (a) time and (b) it was out of sight.

Here is the underside of the Scuttle finished, the Lechler goes on pretty well compared to the Jotun I used on the underside of the car: 


IMAG1142_zpsr8gsgrym.jpg


I also cleaned up and splashed some Epoxy on the top area of the Bulkhead and of course on the top and underside of the Scuttle Closers:


IMAG1143_zpsztsaeplp.jpg


IMAG1145_zpstbjym98o.jpg


IMAG1146_zpsgtyxeokz.jpg


#425 Daz1968

Daz1968

    Up Into Fourth

  • Members
  • PipPipPipPipPipPipPipPipPip
  • 2,058 posts
  • Location: Dudley

Posted 31 March 2016 - 09:02 PM

Getting there, I am planning on putting some pu sealer around closing panel and inner wing gap and also a small bead on edge of scuttle before clamping it in position for welding, may be worth considering as difficult to gain access to seal after

#426 James_eaton_thewholething

James_eaton_thewholething

    One Carb Or Two?

  • Members
  • PipPipPipPipPipPipPip
  • 1,063 posts
  • Location: Manchester

Posted 31 March 2016 - 09:05 PM

Looking good my friend, I didn't weld my scuttle to the inner wings but I did a couple of welds the lip to the closing panels. Then I put seam sealer all over the joint.

C53F6426-6B3C-4AE4-BCE4-A1689607B68C_zps

Edited by James_eaton_thewholething, 31 March 2016 - 09:06 PM.


#427 JonnyAlpha

JonnyAlpha

    Up Into Fourth

  • Members
  • PipPipPipPipPipPipPipPipPip
  • 2,748 posts
  • Location: North Devon
  • Local Club: Exmoor Minis

Posted 01 April 2016 - 08:35 AM

Getting there, I am planning on putting some pu sealer around closing panel and inner wing gap and also a small bead on edge of scuttle before clamping it in position for welding, may be worth considering as difficult to gain access to seal after


Yeh I was going to seal around the curved profile (Ends) of the Scuttle and the Scuttle Closer but as James has suggested I may also nip it closed with a couple of welds. Some of the seal will burn off to be sure but it will be sealed on the outside also. I have already popped a whole in the Scuttle where it crosses the Inner Wing so that will also get plug welded.  


#428 JonnyAlpha

JonnyAlpha

    Up Into Fourth

  • Members
  • PipPipPipPipPipPipPipPipPip
  • 2,748 posts
  • Location: North Devon
  • Local Club: Exmoor Minis

Posted 01 April 2016 - 08:39 AM

Looking good my friend, I didn't weld my scuttle to the inner wings but I did a couple of welds the lip to the closing panels. Then I put seam sealer all over the joint.

C53F6426-6B3C-4AE4-BCE4-A1689607B68C_zps


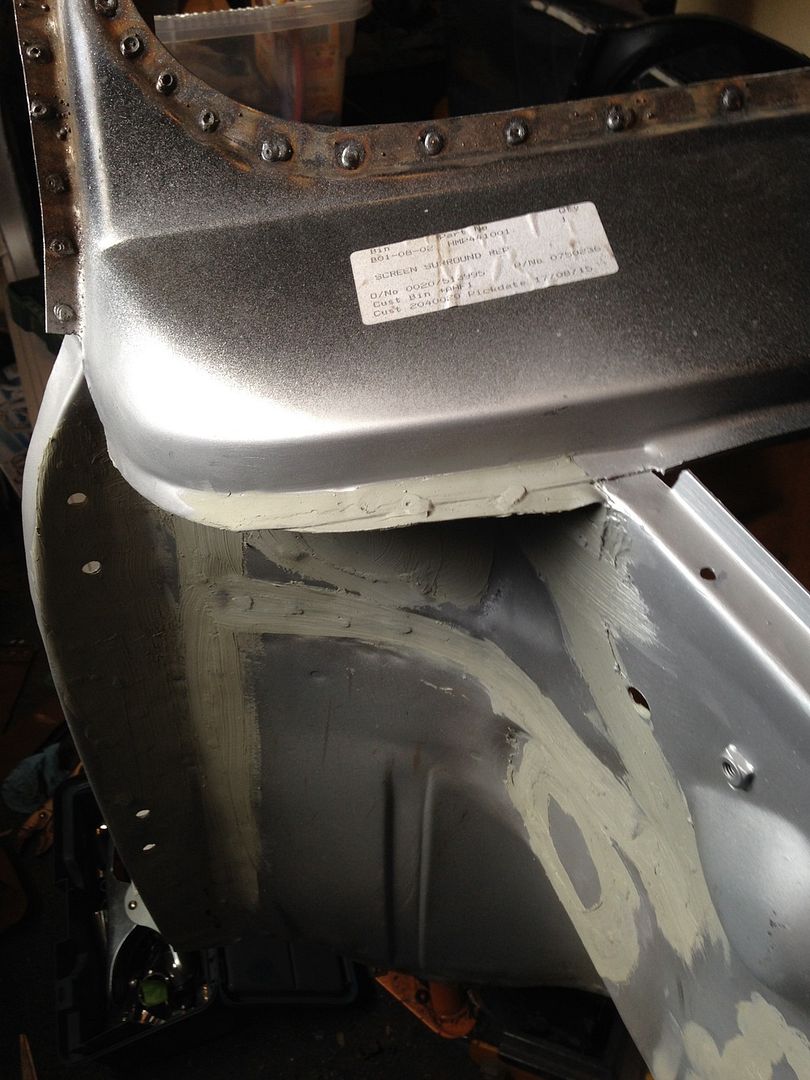
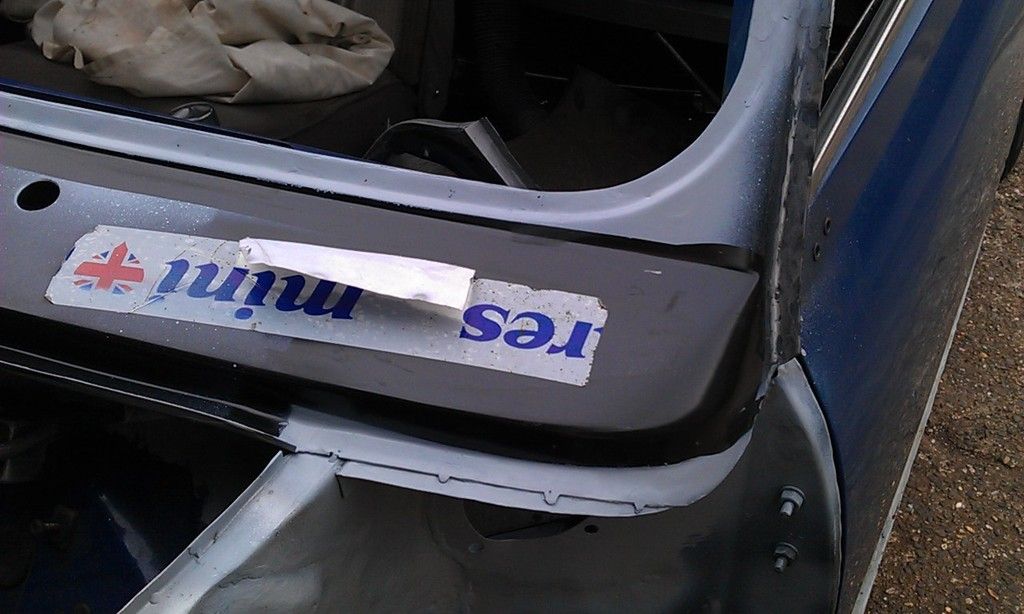
Thanks for the photo James. One thing I have noticed on mine, where the Scuttle is welded to the Windscreen Surround, in the corner curved area my Windscreen Surround is not as proud as my Scuttle and so I can't plug weld. The profile looks nice and I guess as its a Heritage the WIndscreen will fit?? But I will have to nip in a couple of seam welds instead? I'll post a photo later. 


Just remembered I only threw one side of the original Scuttle Corners out yesterday, I'll dig it out of the bin and check the shape.


Edited by JonnyAlpha, 01 April 2016 - 08:41 AM.


#429 JonnyAlpha

JonnyAlpha

    Up Into Fourth

  • Members
  • PipPipPipPipPipPipPipPipPip
  • 2,748 posts
  • Location: North Devon
  • Local Club: Exmoor Minis

Posted 01 April 2016 - 06:38 PM

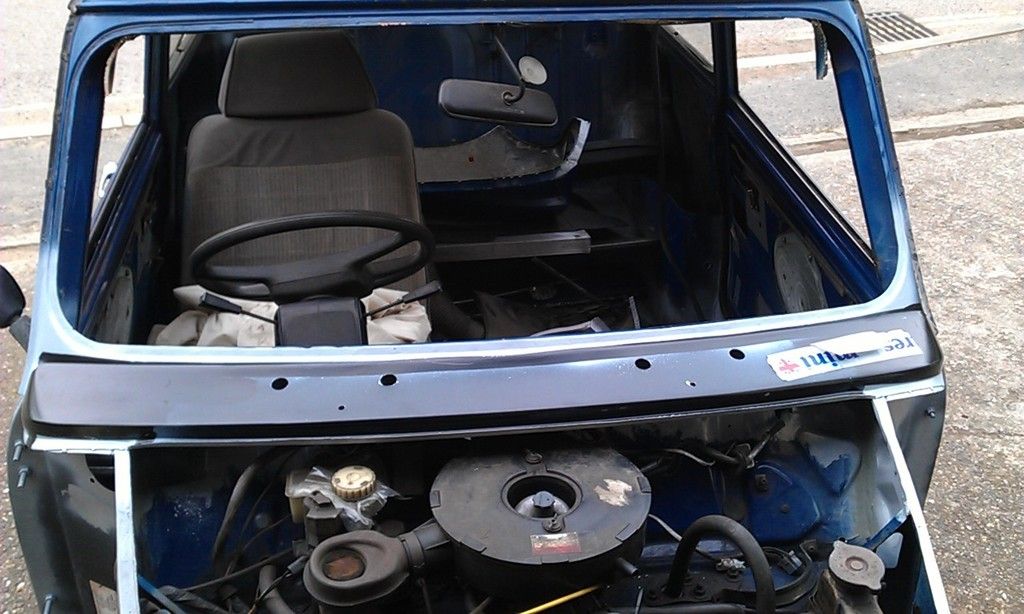
Well spent the afternoon on the Mini, plan was to get the Scuttle on and finished.


First up I slapped on copious amounts of Indasa Seam Sealer:


IMAG3820_zpsu8swwdto.jpg


I also slapped some sealer on the curved edge of the Scuttle before fitting it in place:


IMAG3821_zpsuy5a7hm2.jpg


Once on I clamped it in place:


IMAG3822_zpsllqnarzy.jpg


I put in a couple of tack welds and noticed a deliberate mistake!! I had forgotten to put in some plug weld holes along the outer flange!!

IMAG3823_zps0v3ixn9o.jpg


I resolved this by partially drilling through with a drill bit.

Moving slowly along clamping each plug weld hole at a time I welded it all up:


IMAG3824_zpslzgflqqu.jpg


I am really glad the guys on here convinced me to get a Heritage Panel its such a good fit and makes the whole job much easier, only a little fettling on one side A Post.


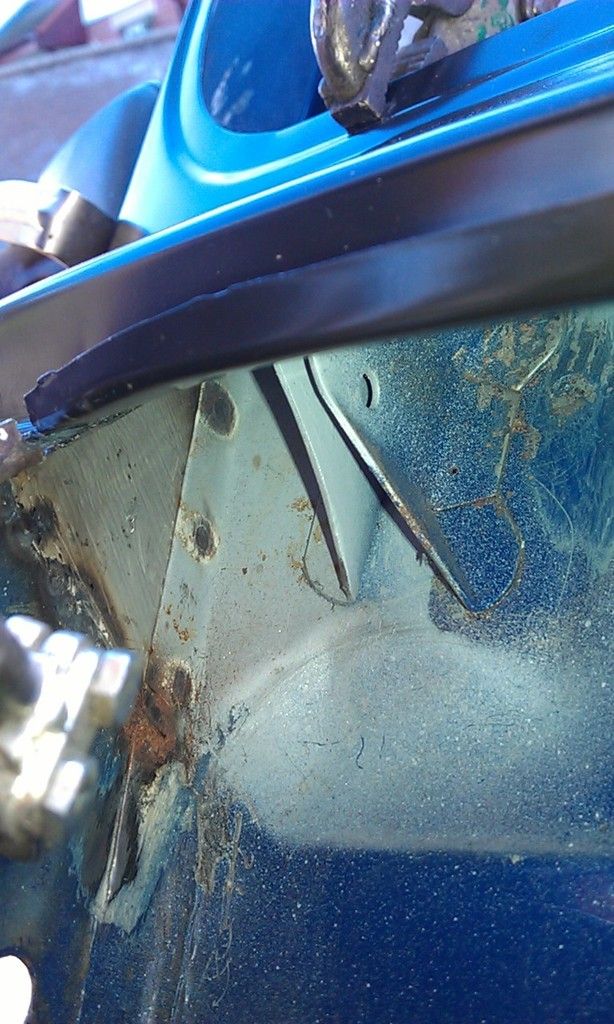
On one side in the corner there didn't seem enough overlap to drill plug weld holes, this is a view from the inside:


IMAG1149_zpskeohiplq.jpg


I fixed this with a couple of seam welds:


IMAG1155_zpsqn7tr9qc.jpg


Here is the whole thing dressed down:


IMAG1150_zps0bxpyel3.jpg


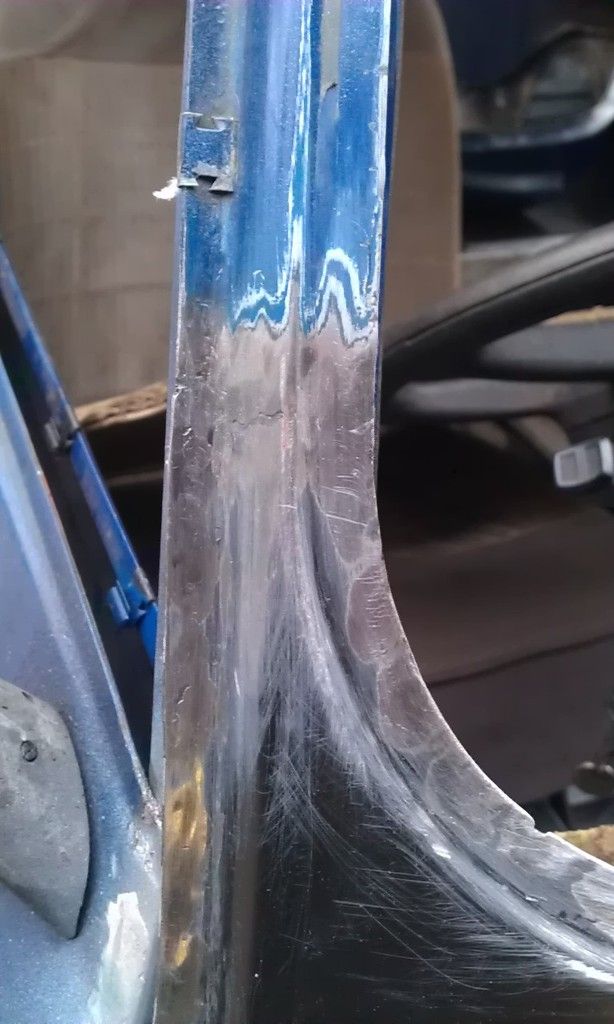
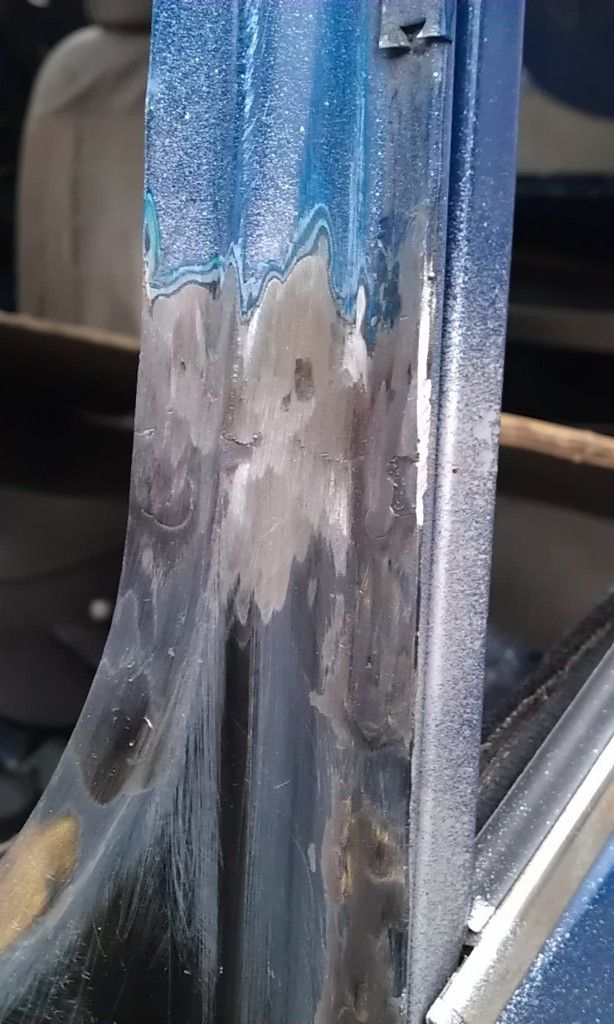
Here are the A Posts, only a little filler will be needed:


IMAG1151_zpsdfqy31gx.jpg


IMAG1153_zpsfvpatqyt.jpg


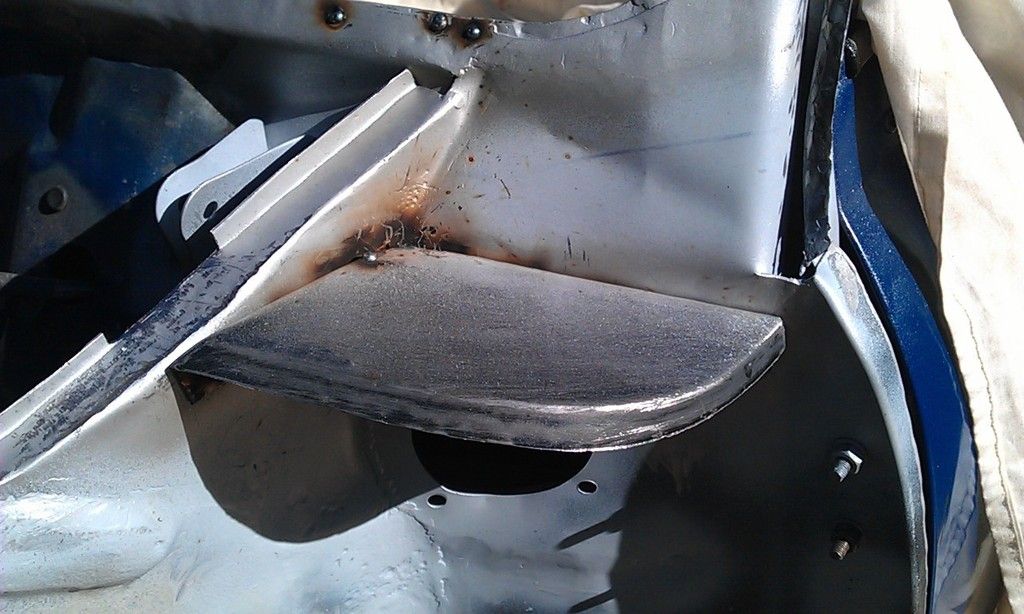
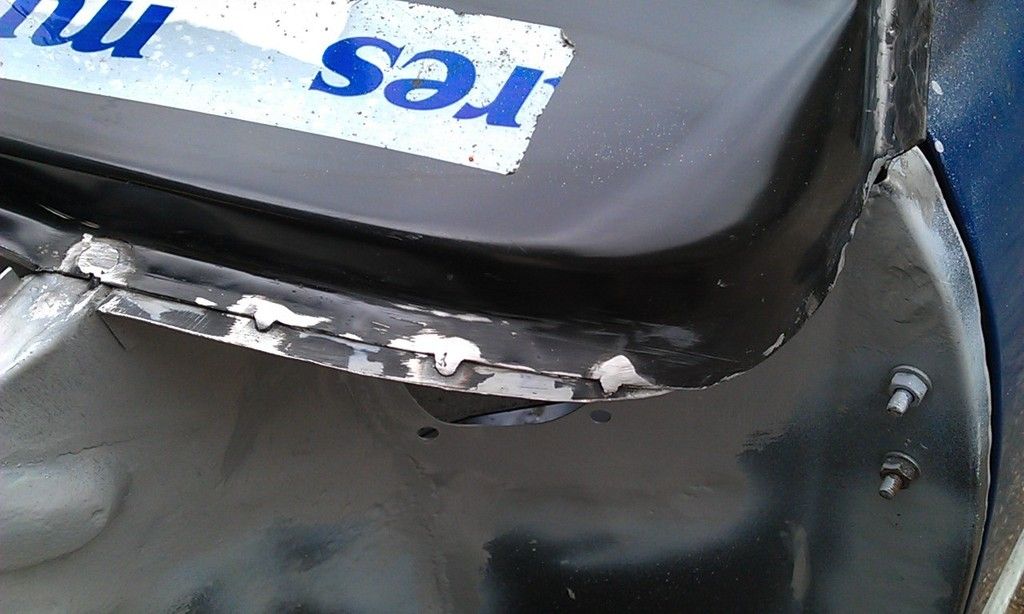
Here is where I tack welded the Scuttle Corner to the Closing Panels:


IMAG1152_zpsaxbnp9xc.jpg


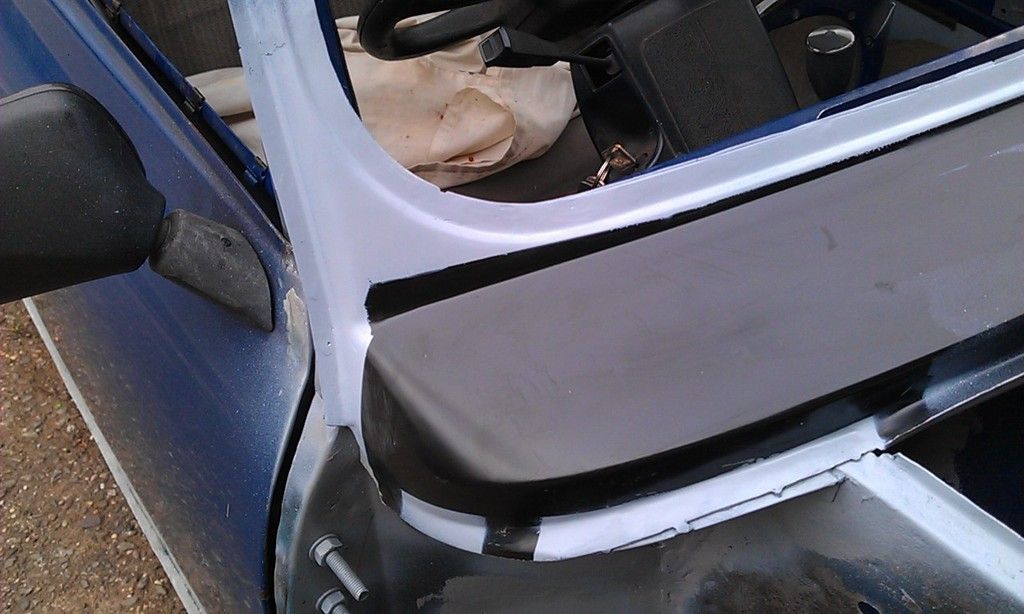
I then spent some time cleaning up the welded areas in order to splash some Etch Primer in order to protect it until it eventually gets painted: 


IMAG1156_zpsrh2gn8yk.jpg


IMAG1157_zpswmy1ikxo.jpg


IMAG1158_zps2rd7jxbp.jpg


IMAG1159_zps4ye8eg8n.jpg


IMAG1160_zpsbbjjwzoj.jpg


Overall I am happy with what I have achieved this week, it's the last time i'll get to spend several days at a time on the Mini before the target date, so it will be the odd day and maybe evening if I am lucky!


The next job will be either cleaning up and priming the inside floor and bulkhead or cleaning and priming the Inner Wings? 


#430 Daz1968

Daz1968

    Up Into Fourth

  • Members
  • PipPipPipPipPipPipPipPipPip
  • 2,058 posts
  • Location: Dudley

Posted 01 April 2016 - 06:59 PM

Another good job done, if I were you I would get hardest job out of way first and do inside, the inner wings will seem easy after

#431 Minidarren83

Minidarren83

    One Carb Or Two?

  • Members
  • PipPipPipPipPipPipPip
  • 1,207 posts
  • Location: Stanford Le hope

Posted 01 April 2016 - 10:08 PM

I didn't like the ends being open on mine as I was having a flip front and can only see it being a water in point

SAM_1616_zps0d7bffce.jpg

SAM_1619_zps70144241.jpg

#432 James_eaton_thewholething

James_eaton_thewholething

    One Carb Or Two?

  • Members
  • PipPipPipPipPipPipPip
  • 1,063 posts
  • Location: Manchester

Posted 01 April 2016 - 11:12 PM

Wish I had copied Darren. Ends of mine were open but nothing a stupid amount of tiger seal didn't aim to solve. On my scuttle I had the same on one side and is welded from behind to keep it in place. It's looking good though. I agree with daz do in side first everything after that isn't so hard

#433 JonnyAlpha

JonnyAlpha

    Up Into Fourth

  • Members
  • PipPipPipPipPipPipPipPipPip
  • 2,748 posts
  • Location: North Devon
  • Local Club: Exmoor Minis

Posted 03 April 2016 - 06:23 PM

Well no work yesterday as I went shooting :-)


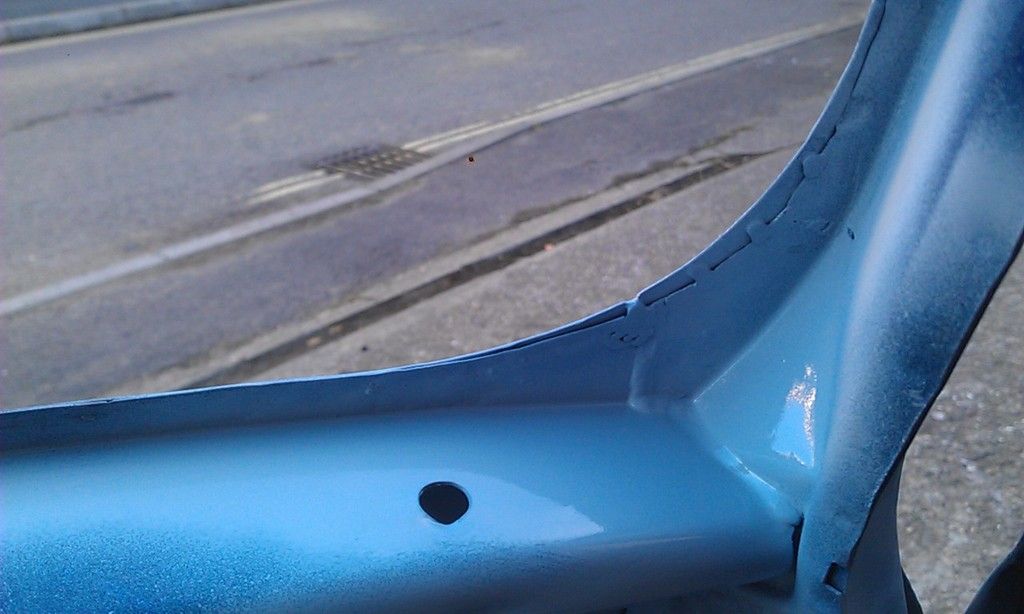
Today's jobs ere to finish welding the A Post to the Flitch and start painting the inside. Well I managed to finish the welding and I did at least paint the floor but time ran out as it took much longer to clean the floor than I had envisaged.


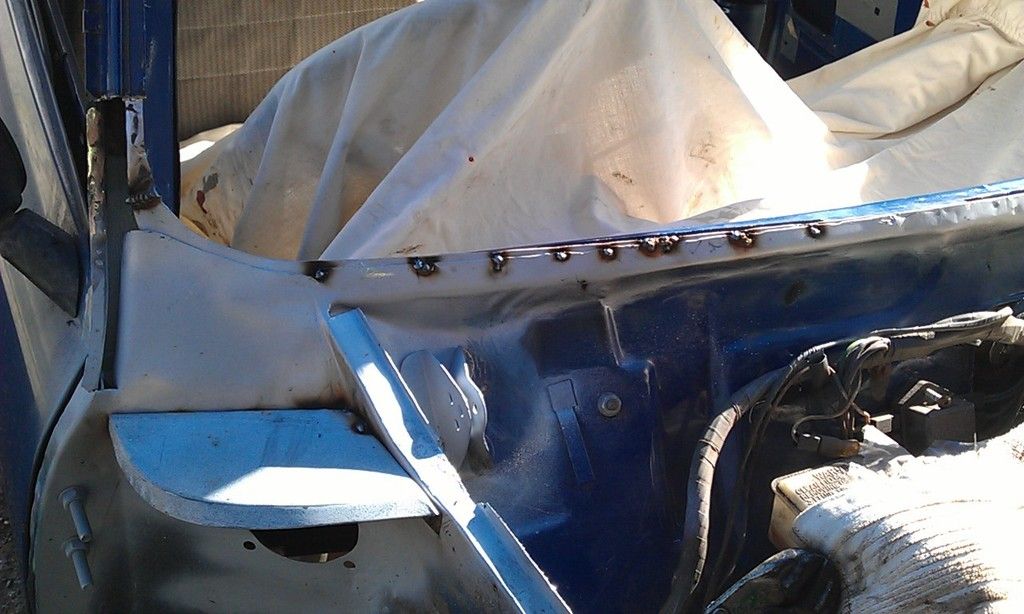
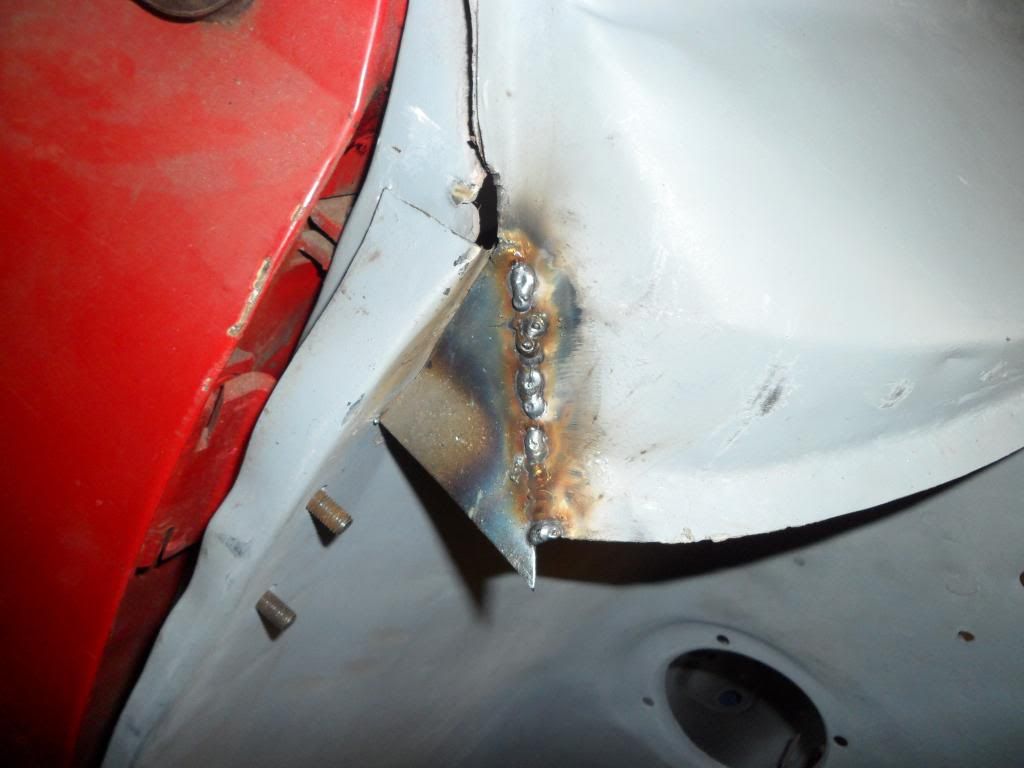
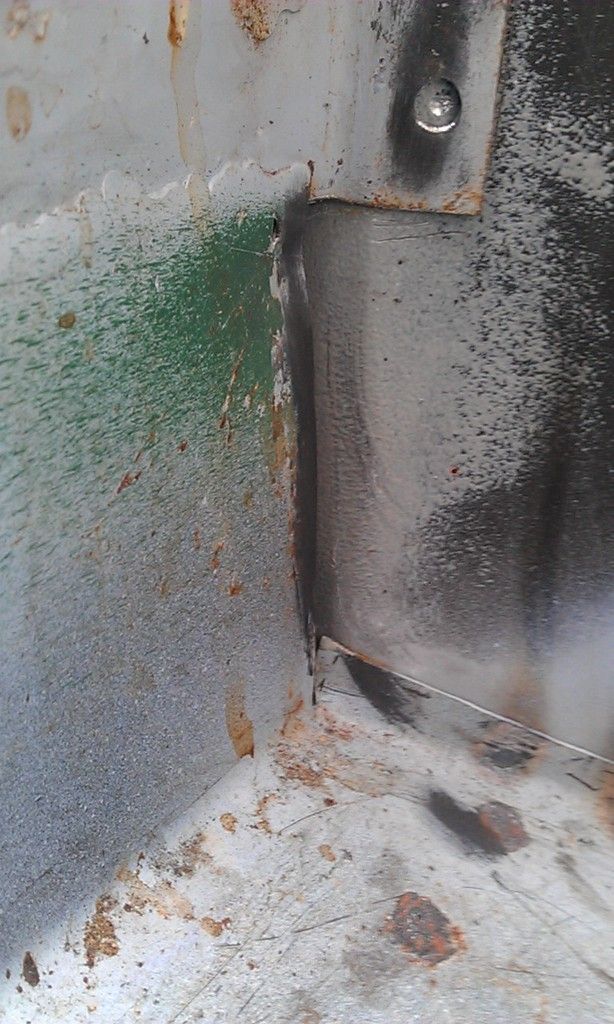
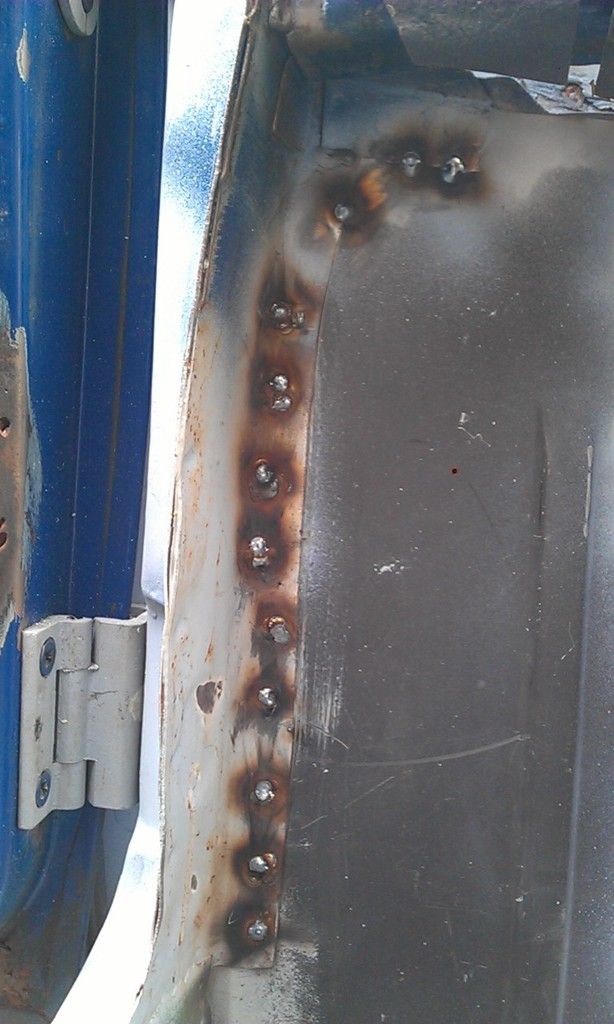
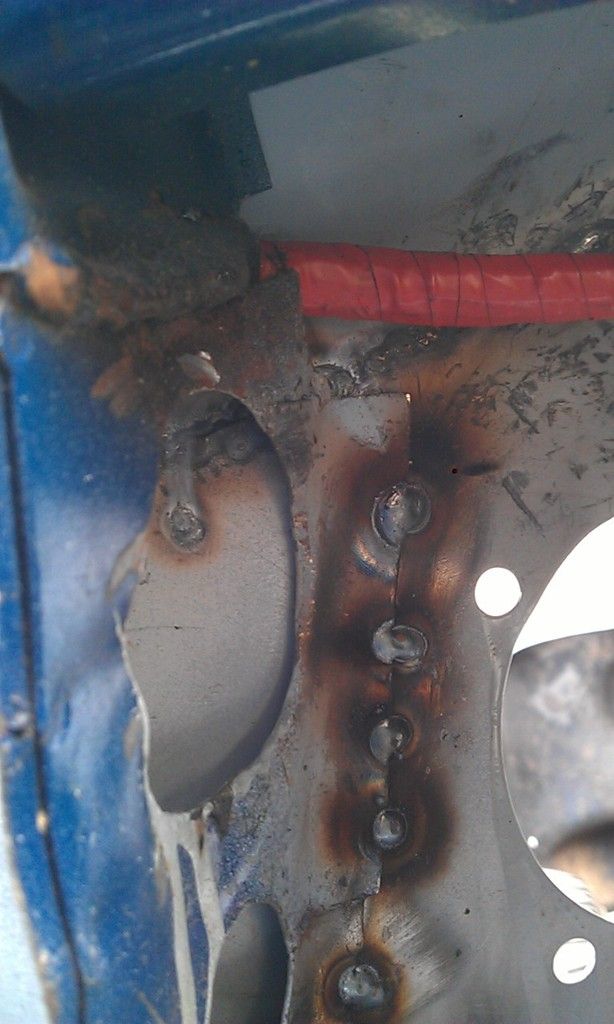
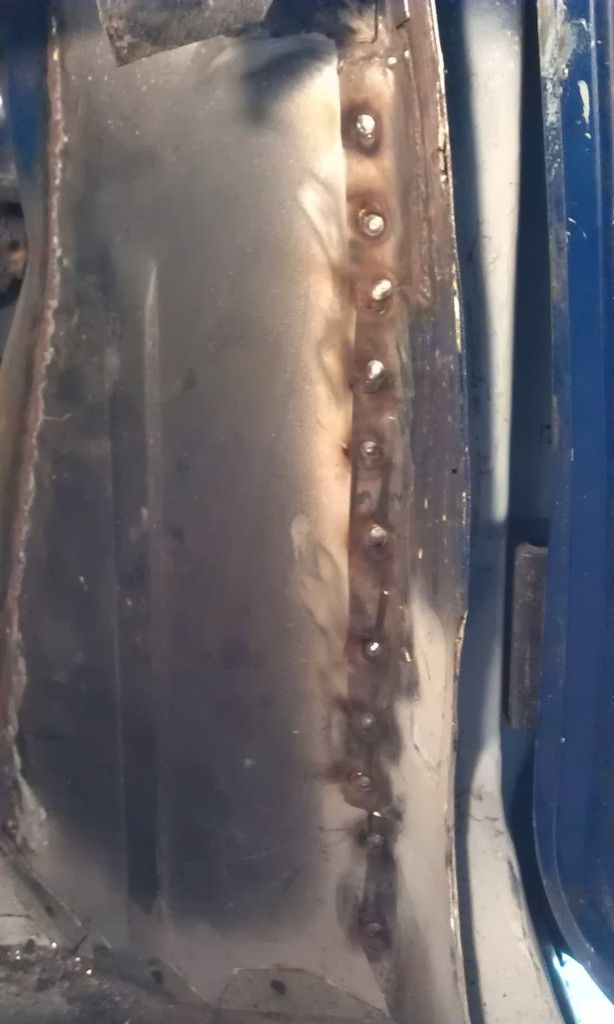
I needed to weld a couple of slugs at the top of the A Post here:


IMAG1161_zpse8nboy8u.jpg


And along here on both sides:


IMAG1162_zpsouypnhj8.jpg


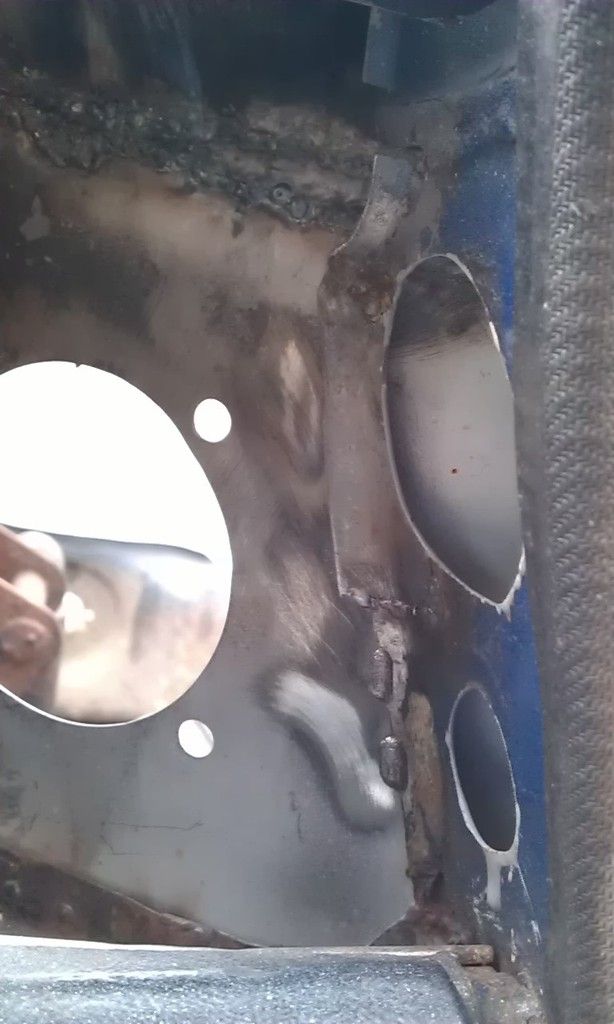
One problem I spotted was on the LH side, I had left a gap where I made the Inner Seal without flange to attach to the Flitch:


IMAG1164_zpsozy5vtvb.jpg


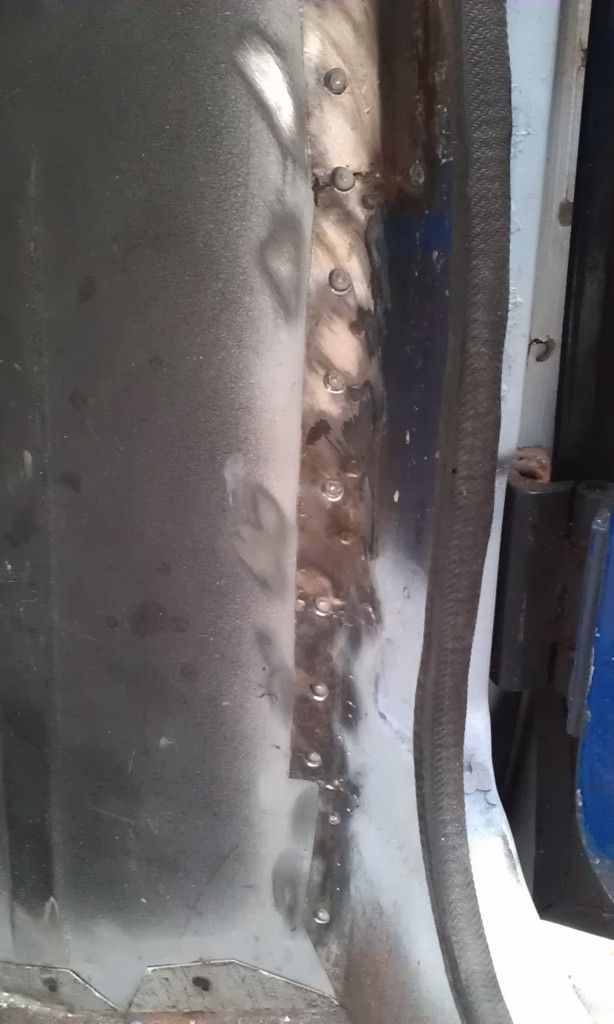
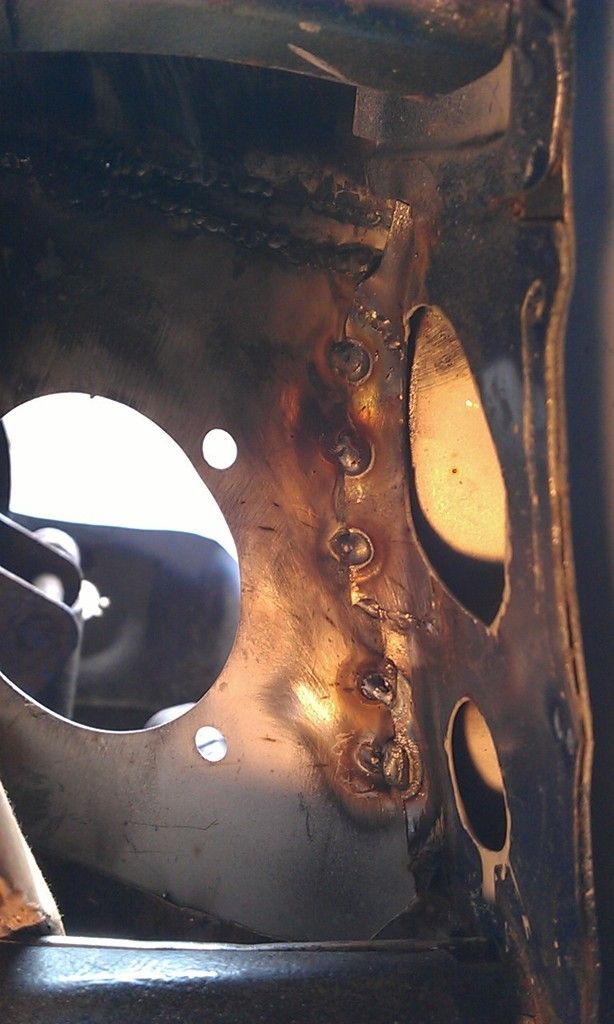
Plug welded all the holes:


IMAG1167_zpsqdfajq1m.jpg


And put a few seam welds along the top sections on both sides:


IMAG1168_zpsg3ymuoaf.jpg


IMAG1170_zps96ntuvhy.jpg


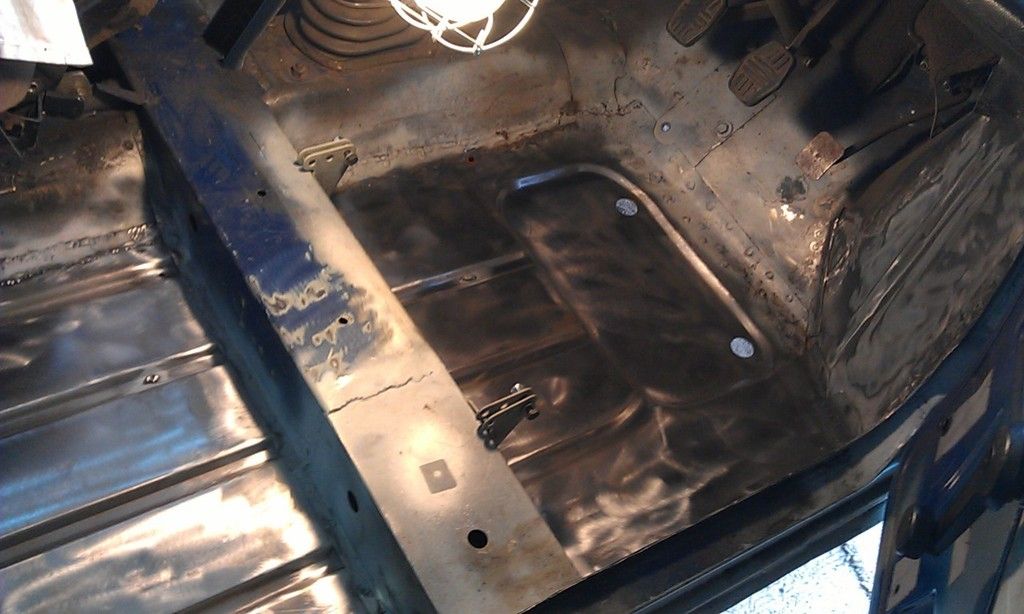
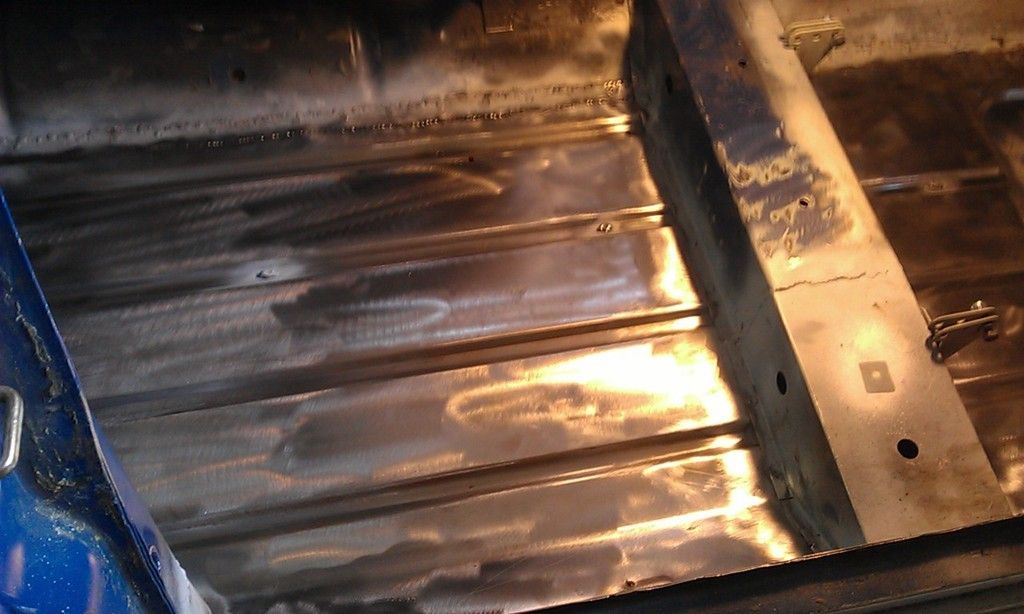
I then spent an hour cleaning up the RH side of the floor, it had surface rusted pretty bad and I was desperate to get it sorted:


IMAG1172_zpskorpzlo9.jpg  


IMAG1171_zps5hsl0ohs.jpg


Time was ticking on and I was planning on only doing one side but I thought that wouldn't do it justice:


IMAG1173_zps4zjfll0r.jpg


Cleaned up the welds:


IMAG1169_zpsuoijjj5c.jpg


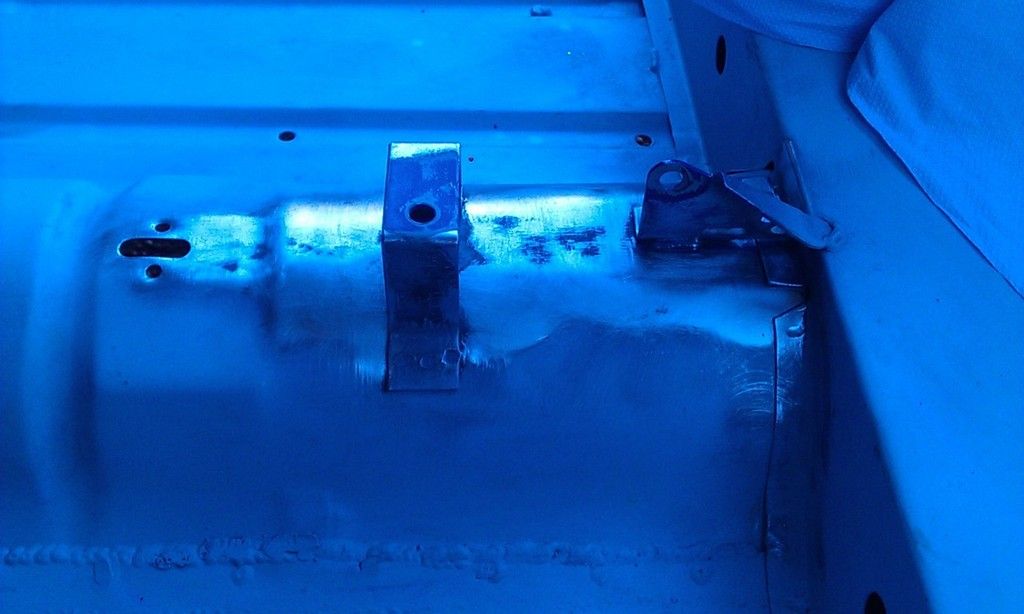
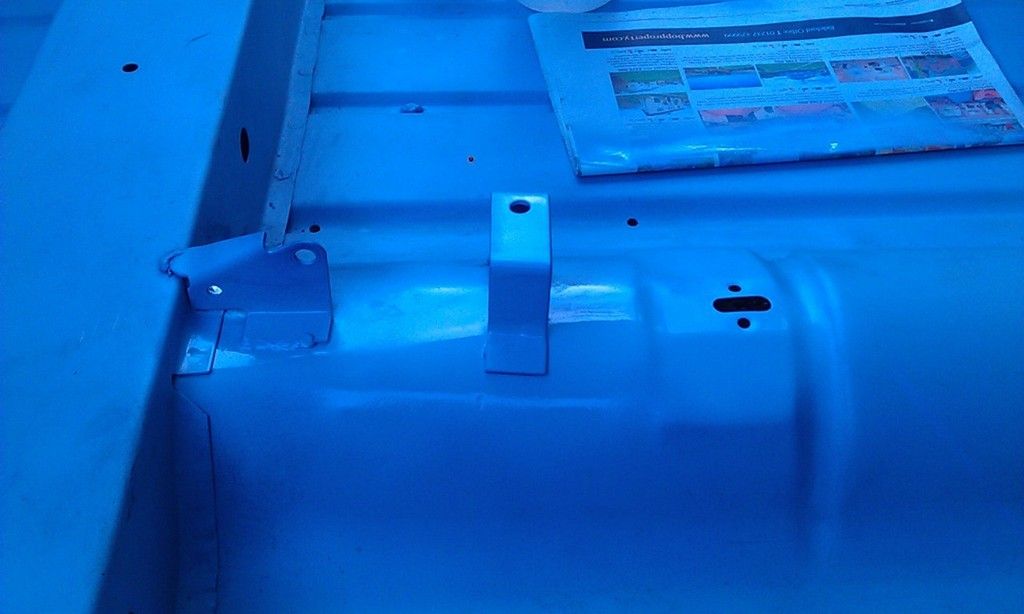
I needed to get it painted as I was going away for a week or so and didn't want it to rust up again. I really wanted to Epoxy onto the bare metal but time an out on me, my mask was at the bottom of a pile of boxes and as it was raining I was working inside and would need to empty the garage so plan B was to use Etch Primer from a can :-( Hopefully I will be able to Epoxy over the top of it?
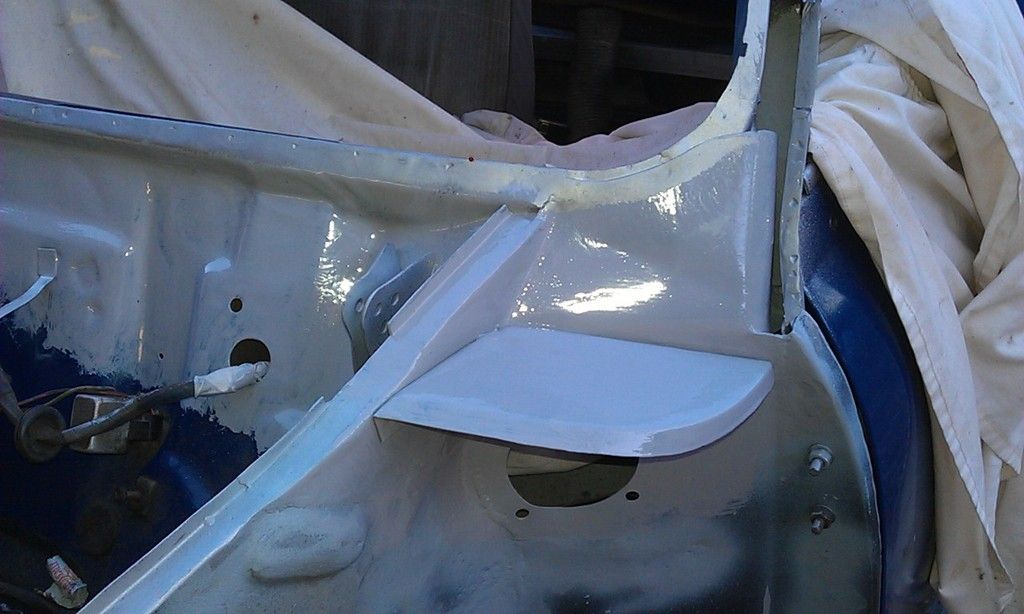
 

IMAG1175_zpsxh46q4wj.jpg


#434 domdee

domdee

    Formally known as dominicdee

  • Members
  • PipPipPipPipPipPipPip
  • 1,183 posts
  • Location: hull
  • Local Club: hull clubs on FB

Posted 07 April 2016 - 05:55 PM

Amazing work!

#435 JonnyAlpha

JonnyAlpha

    Up Into Fourth

  • Members
  • PipPipPipPipPipPipPipPipPip
  • 2,748 posts
  • Location: North Devon
  • Local Club: Exmoor Minis

Posted 10 April 2016 - 07:05 AM

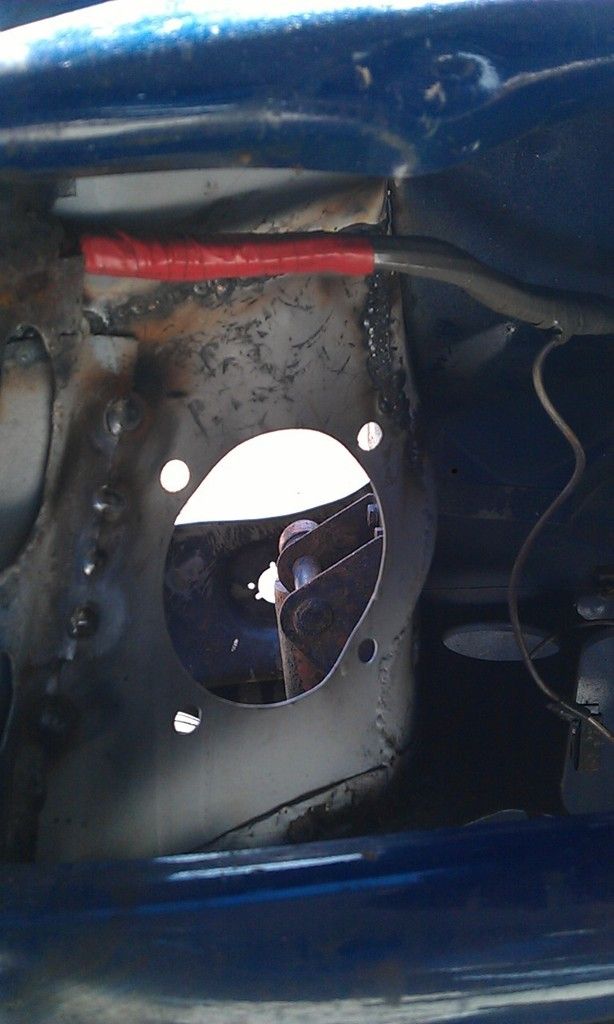
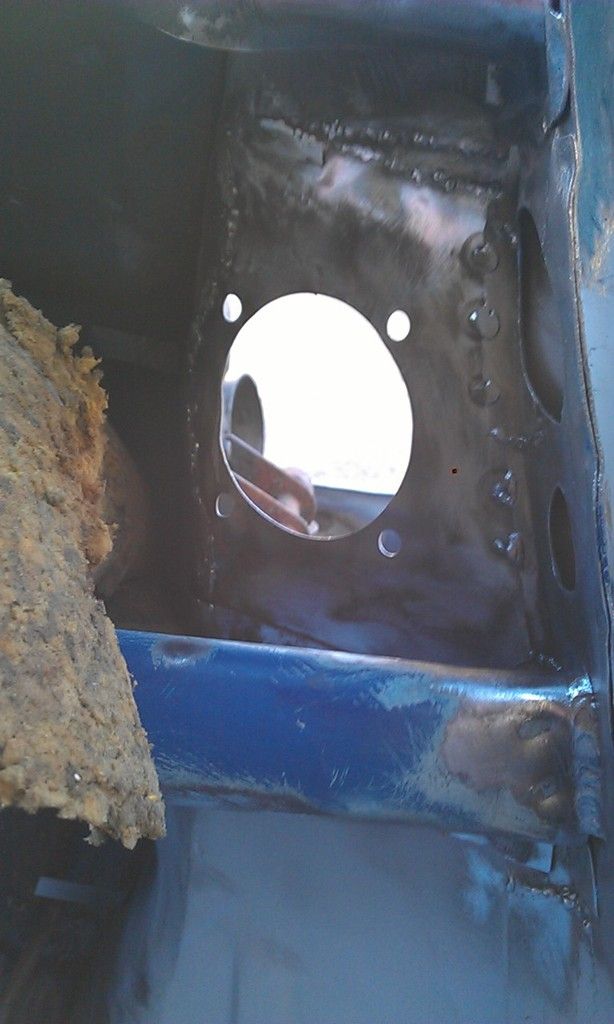
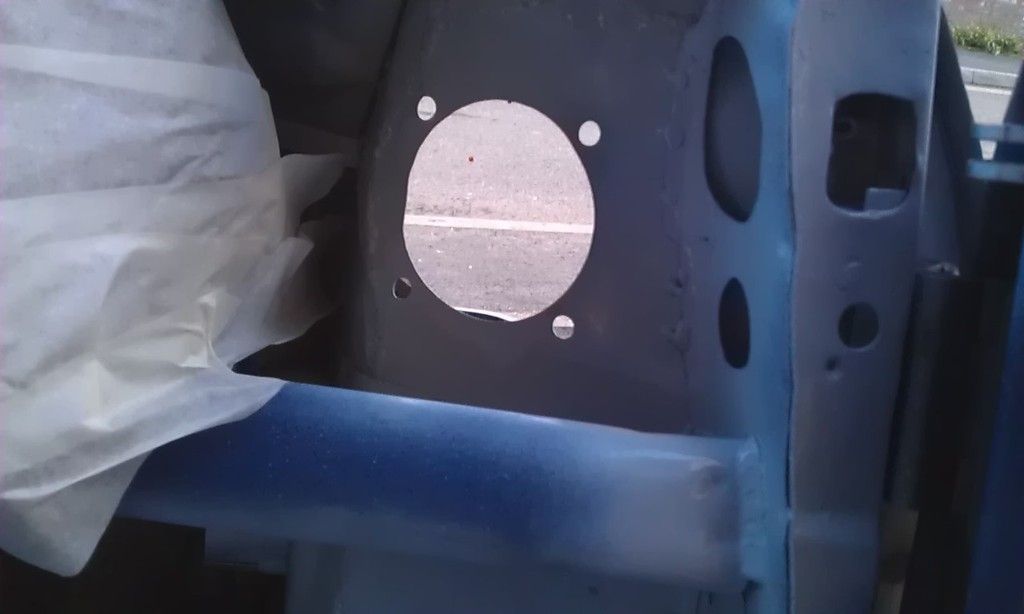
Back from a short break so a little work done today. Spent the afternoon cleaning up around the rear (inside) of the upper flitch / air vents.


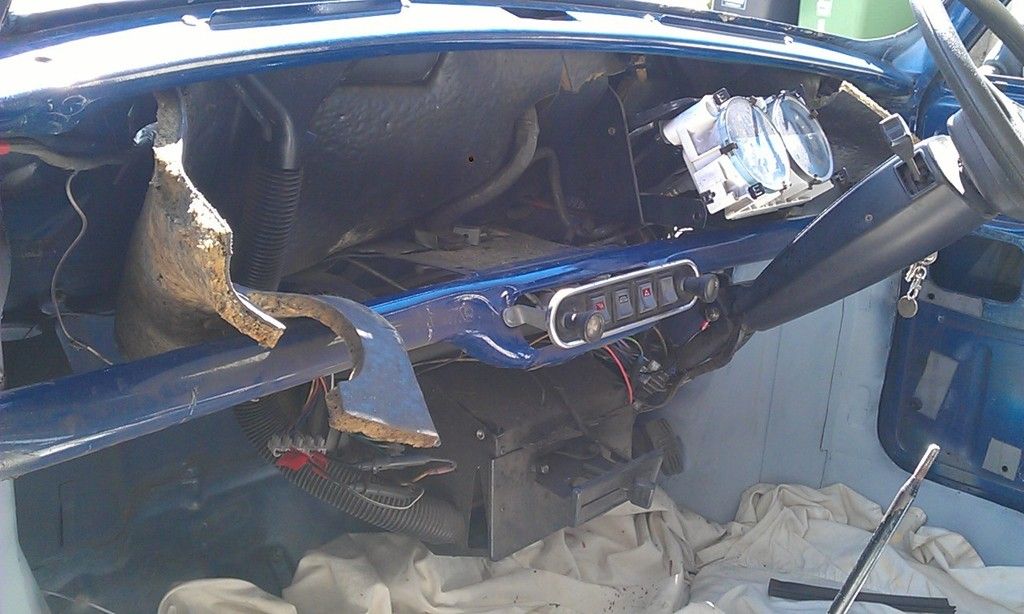
First up I removed the lower dash rail, bit of a pain but after loosening the Heater Matrix it came out:


IMAG1177_zpsmlondaep.jpg


Then I could get at the rear area without damaging the cosmetics of the dash rail. Found another pen and a sweet wrapper!!


IMAG1178_zpsrnzj2c3a.jpg


Here's the RH side after cleaning, also managed to get into most of the nooks and crannies in the area as well.


IMAG1180_zpsxa2bvew4.jpg


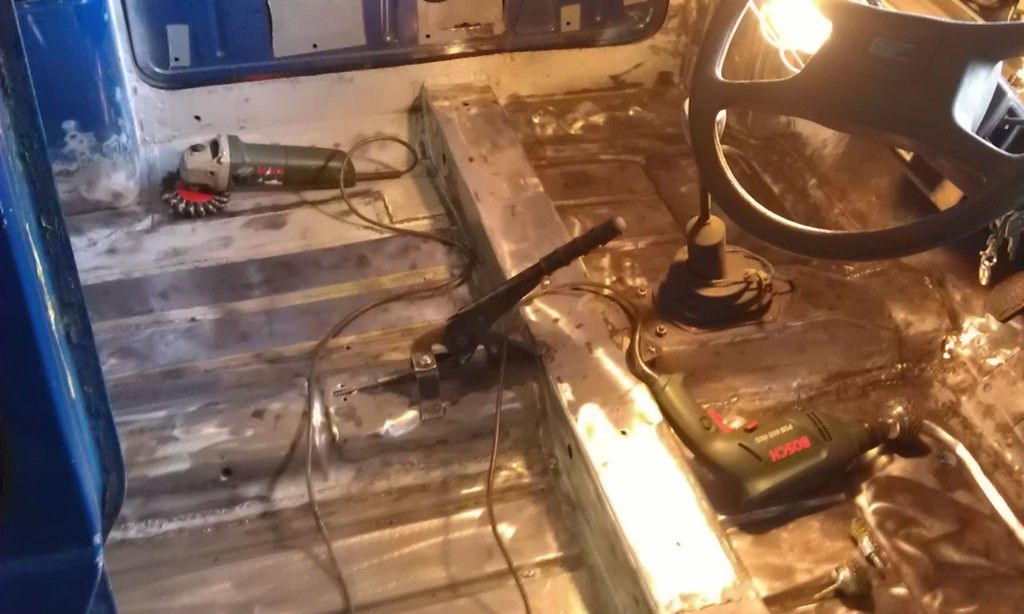
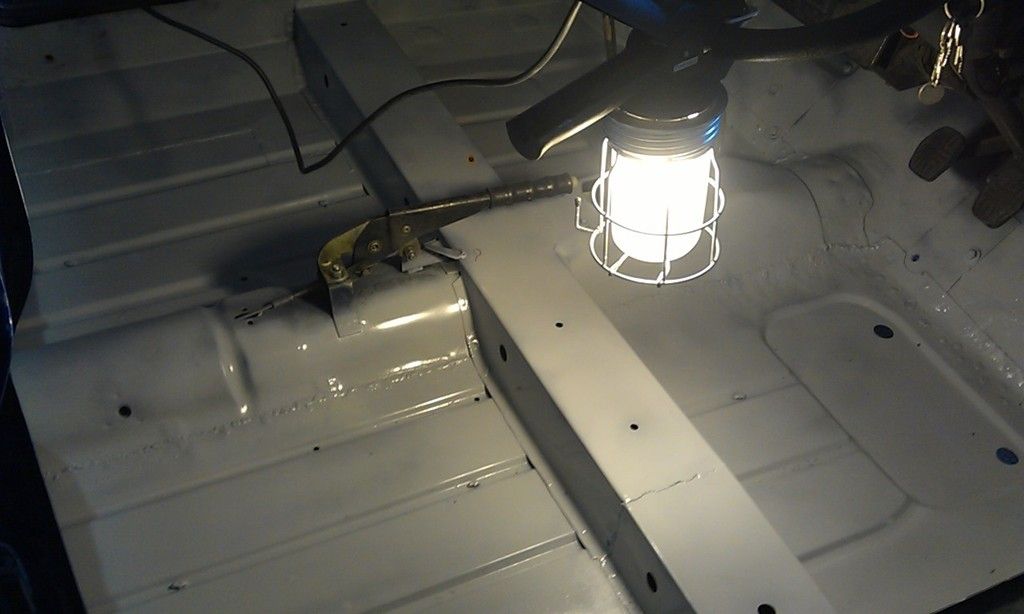
Got fed up with cleaning around the handbrake so I took it apart:


IMAG1181_zps8pg17itb.jpg


There were a few areas that needed some rust treatment so as usual this small job of cleaning only a few areas took forever. Then a coat of Etch Prime:


IMAG1182_zpsshizh38s.jpg


IMAG1183_zpsn2kidhqm.jpg


IMAG1184_zps08zumbh7.jpg


IMAG1185_zpsd3hidaqp.jpg


IMAG1186_zpsgl9bqbb9.jpg


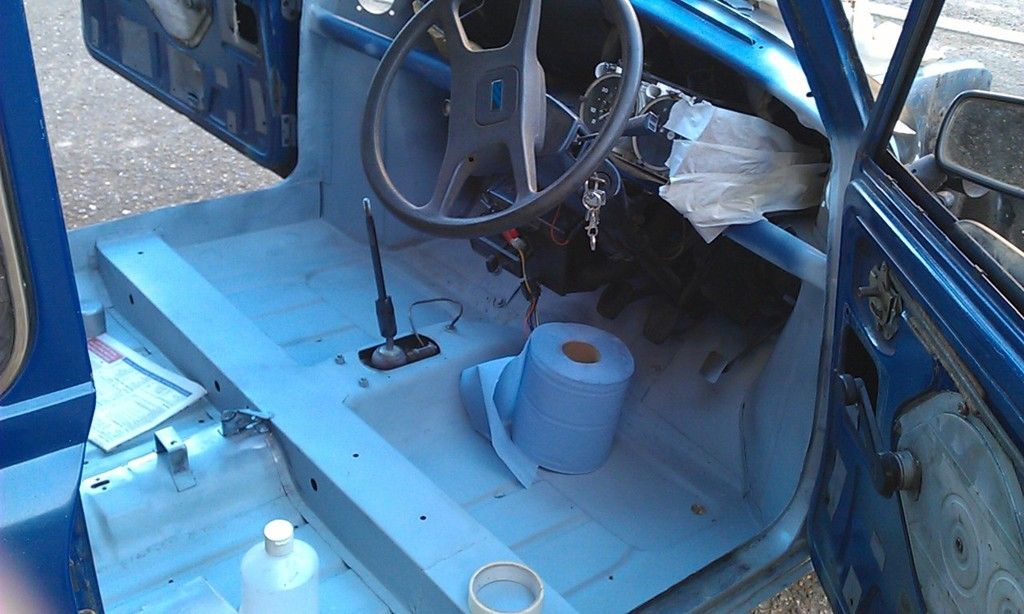
Starting to come together I think:


IMAG1187_zpsmwc8czsb.jpg


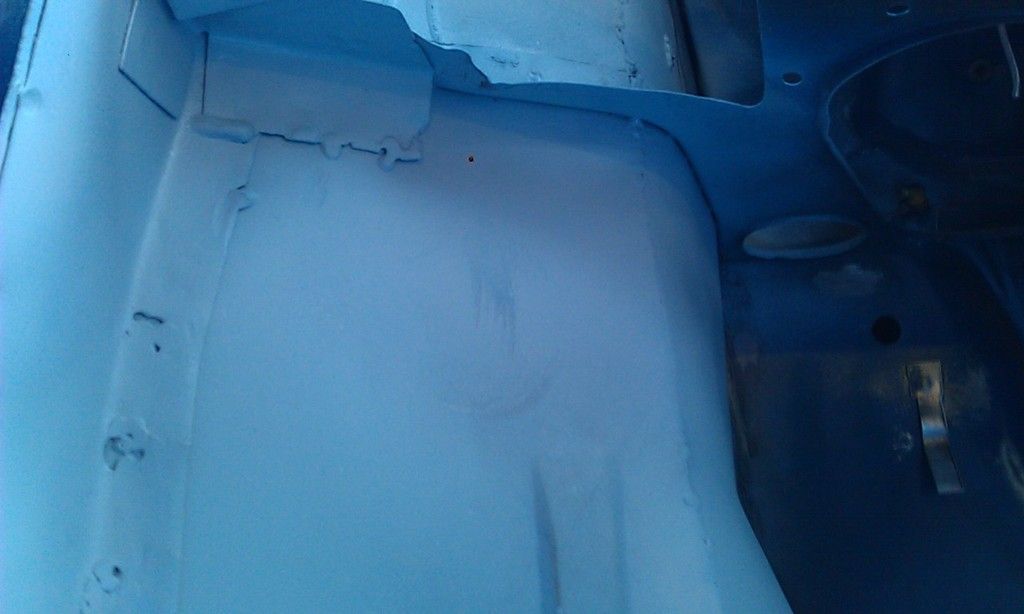
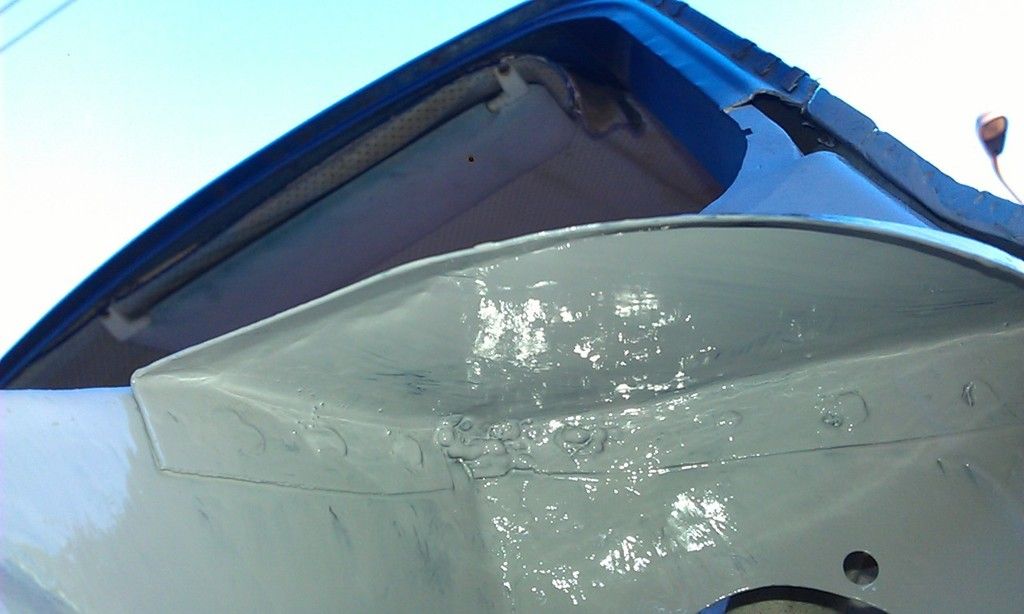
Looking nice but it will get scruffed up as the next job will be cleaning up the rear seat, arches, around the rear windows and edges of the roof. No welding (hopefully), but dusty and some small surface rust.


Once the inside has been Etch Primed it will get a coat of Epoxy and will then be ready for a Top Coat. Top coat will wait until the front wings are back on. I am also contemplating getting the exterior professionally sprayed.   



2 user(s) are reading this topic

0 members, 2 guests, 0 anonymous users