Jump to content


Photo
- - - - -

1982 Austin Mini - Project Who?


  • Please log in to reply
852 replies to this topic

#406 JonnyAlpha

JonnyAlpha

    Up Into Fourth

  • Members
  • PipPipPipPipPipPipPipPipPip
  • 2,748 posts
  • Location: North Devon
  • Local Club: Exmoor Minis

Posted 19 February 2016 - 01:05 PM

Just a little reminder that you only have 113 days to get this finished. Chop chop old chap


Thanks for that!! no pressure then :-(


Just thinking, if you wanted to get the doors bonnet and boot prepped and ready for paint you can always bring them over to my workshop and do them there. Plenty of room, spray gear and infra red lamp to get them cured.
I can even grab them in my van if you like.
Just a thought.


Thanks Coxie, I may take you up on that offer, possibly some time over Easter (going a way for a week but have two off) I doubt I'd be able to do anything before then?


#407 JonnyAlpha

JonnyAlpha

    Up Into Fourth

  • Members
  • PipPipPipPipPipPipPipPipPip
  • 2,748 posts
  • Location: North Devon
  • Local Club: Exmoor Minis

Posted 19 February 2016 - 01:21 PM

Managed to get going yesterday at about 12:30 and back at it again this morning from 10:00. Just on a lunch break at the moment and need to finish at around 17:00 as my son and grandson are staying over for the weekend (a few chores to do before they arrive!).


I have managed to make up the last major repair panel for the top of the LH Flitch should (with any luck get it welded in by COP today.

Pictures later.


All that's left then welding wise is:


1. Couple of small pieces at the bottom inside of both Flitches.

2. Weld the bottom flange of both Flitches to the floor.

4. Weld front edge of Sills.

5. Small repairs to the front wing (top and bottom).

6. Small repairs to scuttle.

7. Weld in Scuttle corners.

8. Weld in Scuttle Closing Panels.

9. Refit wings and A Panels.


Then its clean up and paint the inside time :-)

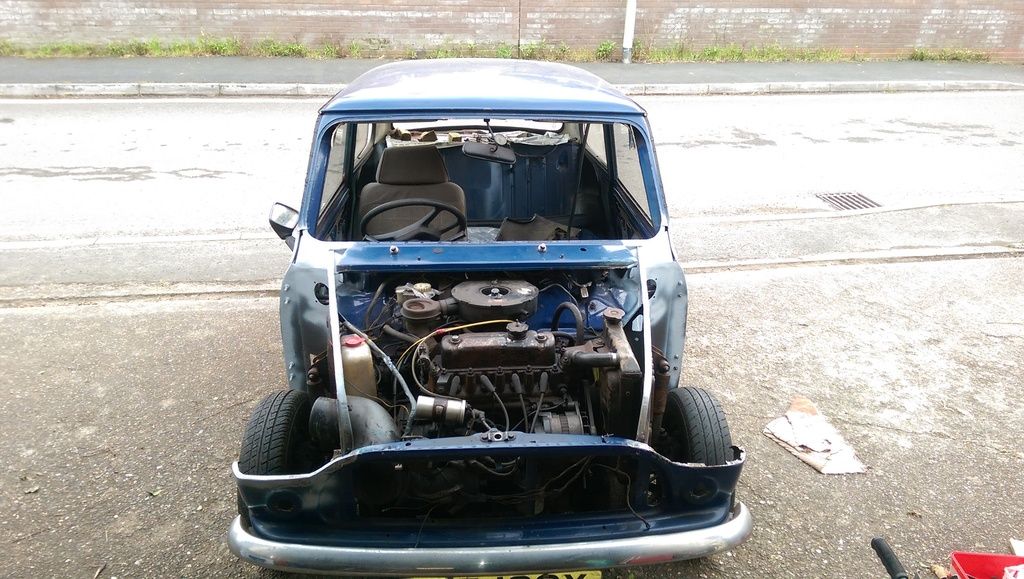
I have been contemplating cleaning up and painting the inside and paint get it ready before I finish off the front end? At least clean up and epoxy prime the interior, that way everything from the Flitches back is basically finished all bar the shouting. 


And a few other jobs:

Renewing engine mounts, the bottom mounts between the engine and the subframe have perished, so to have the bump stops. To do these I may remove the engine and then I can paint inside the engine bay and tidy up the subframe (not a major refurb though as I do not have time).

Replace the tie Rod Ends (already have them).

Renew front brake pipes.  

Clean up front running gear.

And ....................................................... :-(


Lots of little fiddly jobs that are going to take forever!!


#408 JonnyAlpha

JonnyAlpha

    Up Into Fourth

  • Members
  • PipPipPipPipPipPipPipPipPip
  • 2,748 posts
  • Location: North Devon
  • Local Club: Exmoor Minis

Posted 19 February 2016 - 09:26 PM

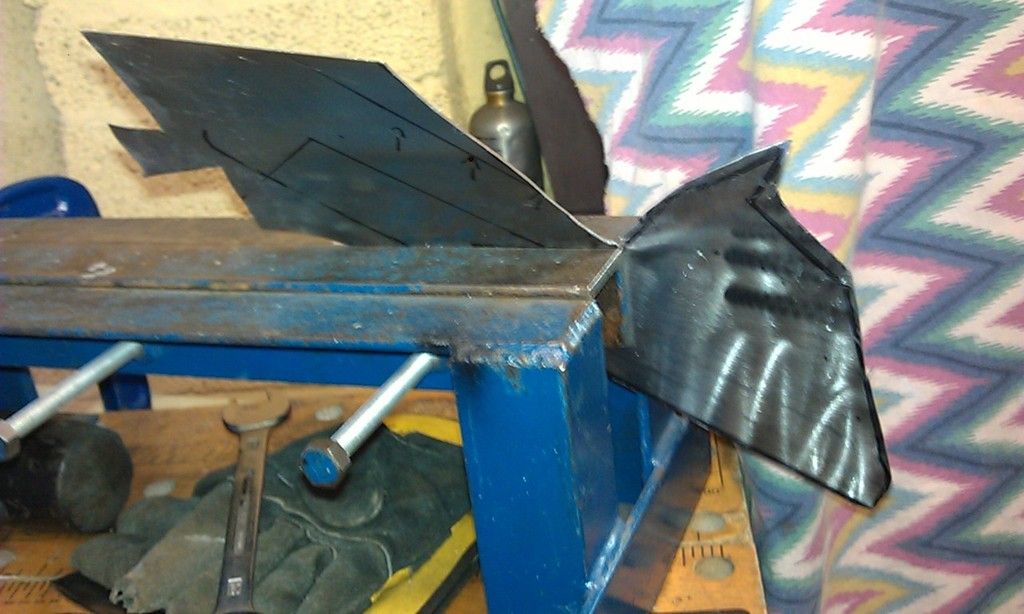
So yesterday I managed to get started on the last major repair - the upper LH Flitch:


IMAG1073_zpsrfl1edh8.jpg


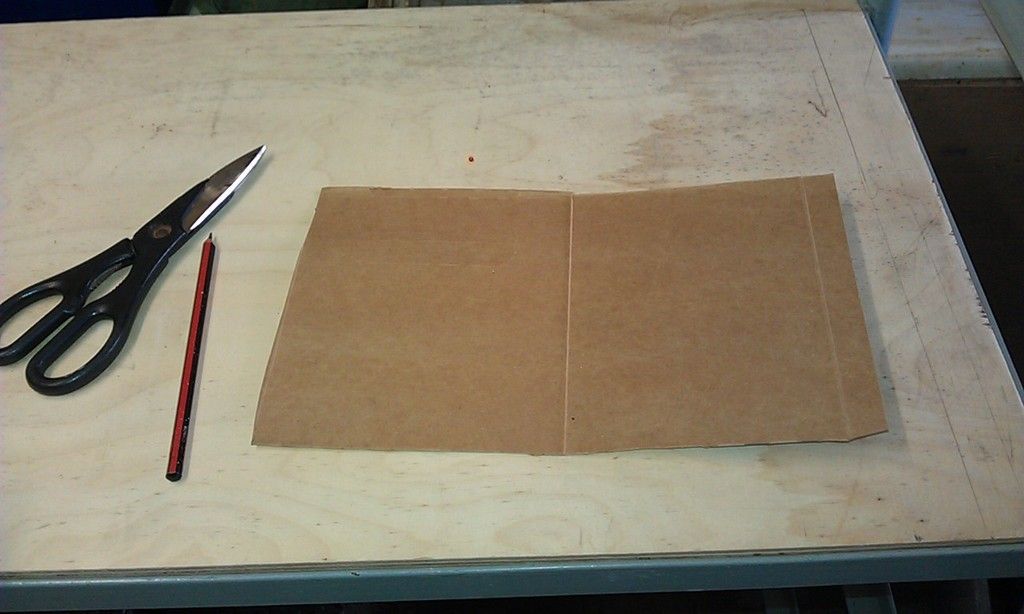
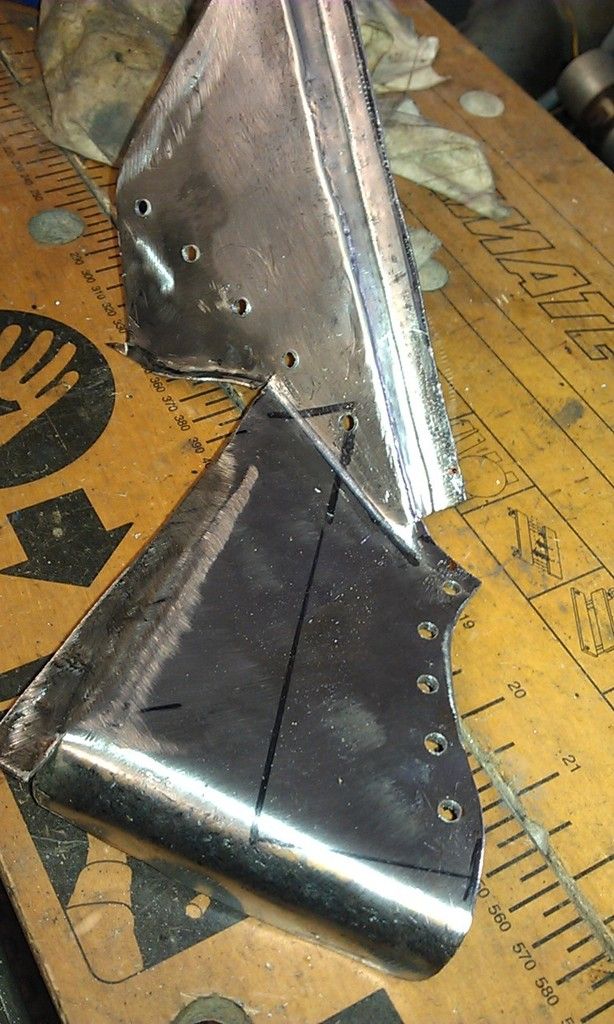
To make this piece at first I thought rather than one piece I make the repair in two pieces.

So first a piece of card to make a template:


IMAG1074_zpsoergsp7n.jpg


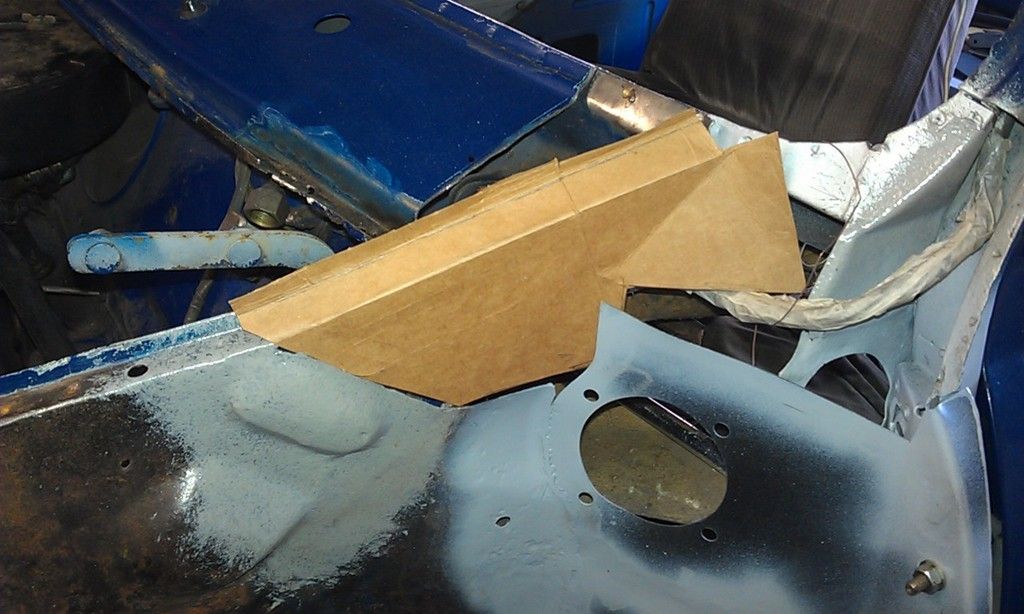
First test:


IMAG1075_zpsw8m37zq2.jpg


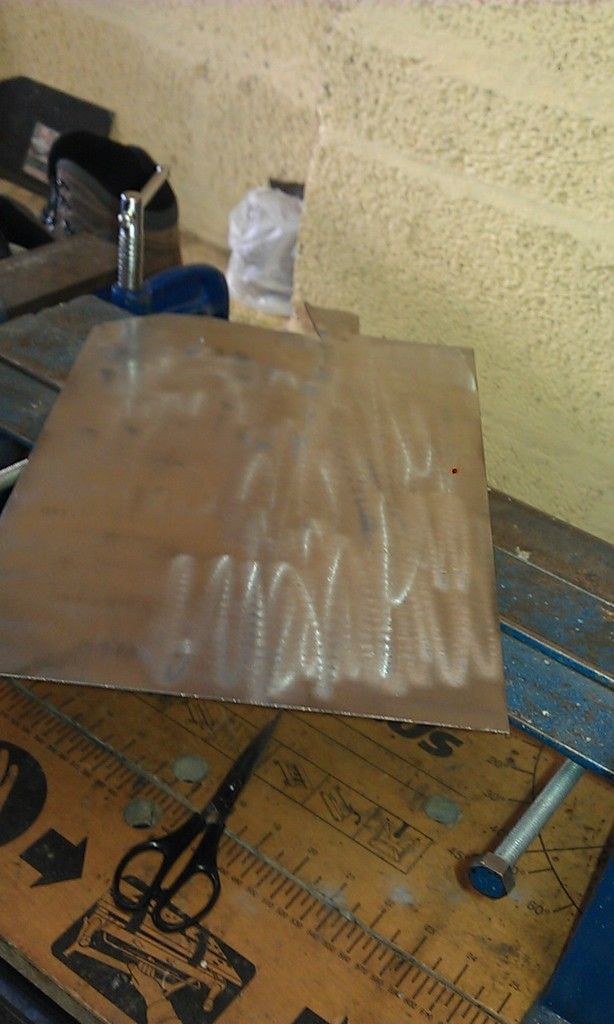
Then over to my sheet metal pile, I decided to use the same gauge that I used for the RH side, its about 1.2mm and as this is a key structural point I thought this would be a good option.


It had a lot of surface rust on it so I cleaned it up with an Abracs Fleece Disc.


IMAG1076_zpsgfj8n3w3.jpg


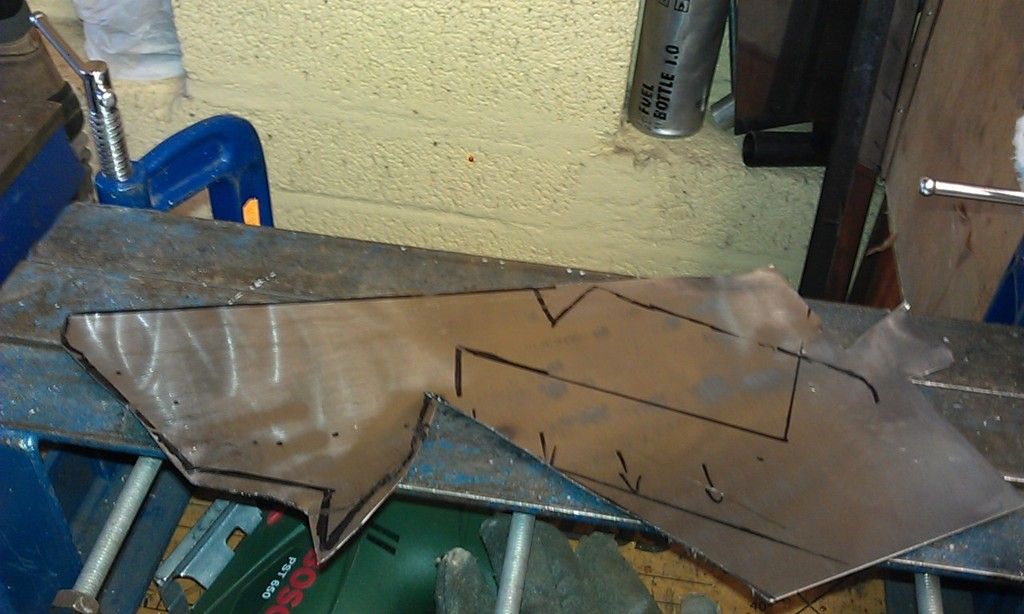
Next I transferred the measurements from the template to the sheet metal, however by this point I had decided to make the repair panel out of a single piece:


IMAG1077_zpsw2flc0on.jpg

Next in the bender to make the first folds:


IMAG1078_zpsx5y1u5ye.jpg


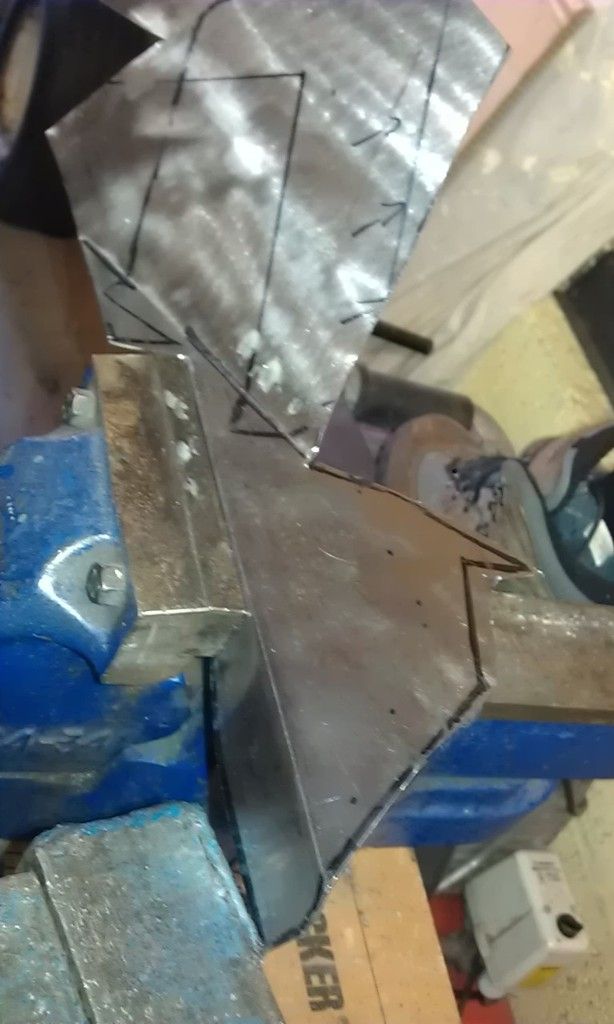
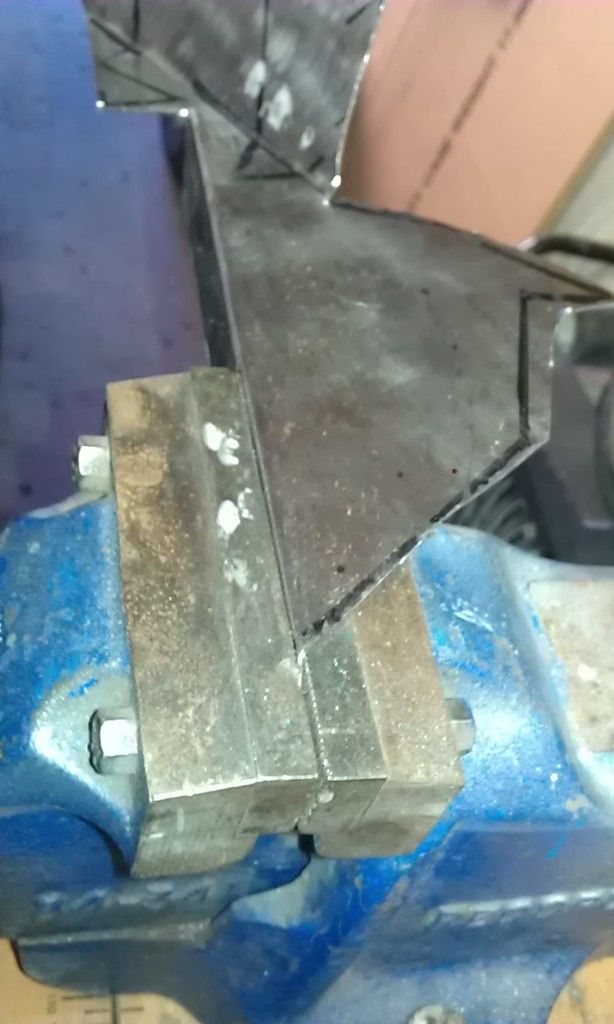
And then the upper flanges, for this I used the vice:


IMAG1079_zpsiafxlyqi.jpg


IMAG1080_zpsovsvxzqd.jpg


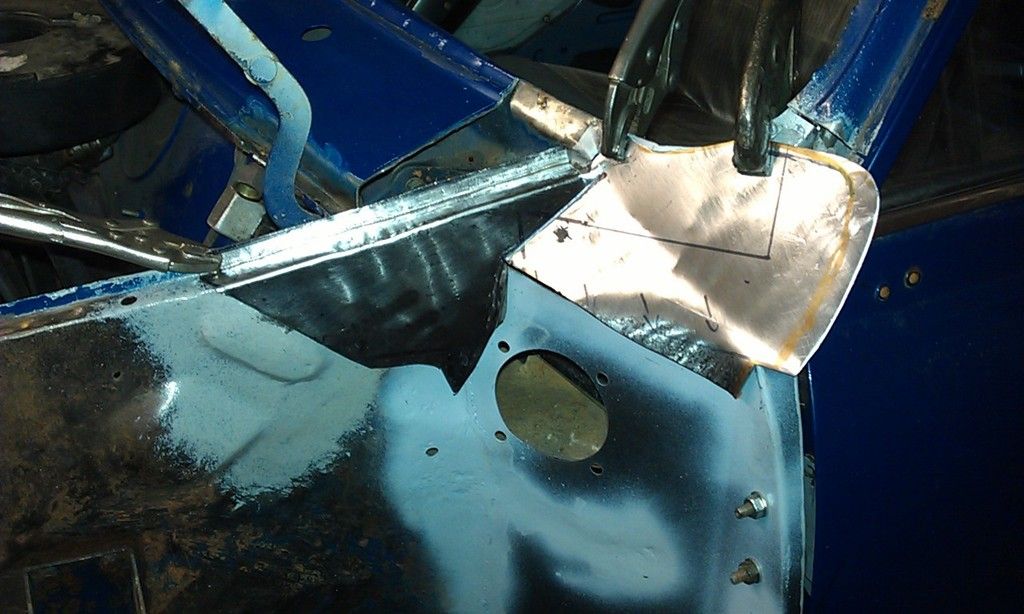
And then a test fit:


IMAG1081_zpswk26xqs6.jpg


The following day (today) after a lot more fettling, the panel was ready. I marked up the mating points and drilled some plug weld holes:


IMAG1084_zpsnhze7onl.jpg


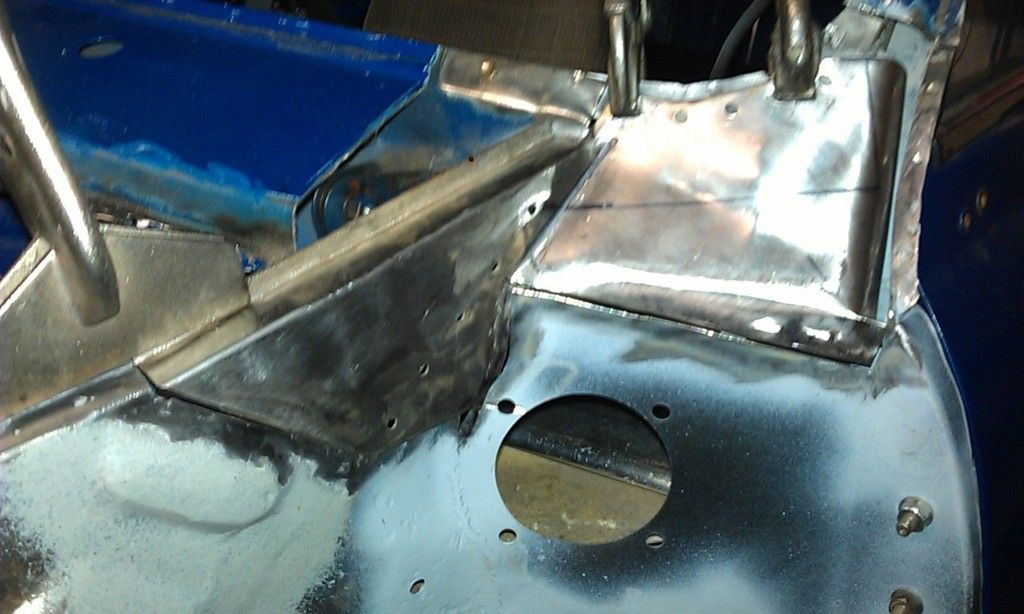
Then the final fit before welding - sorry pic was a little blurred:


IMAG1086_zpsmb8yoxnq.jpg


I then popped in for some lunch thinking that I could get it welded in by COP today but then everything went pear shaped!!

At about 13:30 I went out to the garage and as I went to lock the back door to my house the lock stuck, it then took 3 hours to sort it out!!! 


The day was over and nothing welded, no more time this weekend and next week I am away in Bristol. 


Oh well se la vie!!


Edited by JonnyAlpha, 19 February 2016 - 09:49 PM.


#409 JonnyAlpha

JonnyAlpha

    Up Into Fourth

  • Members
  • PipPipPipPipPipPipPipPipPip
  • 2,748 posts
  • Location: North Devon
  • Local Club: Exmoor Minis

Posted 05 March 2016 - 09:07 PM

Well today the sun shone so it was time to get some work done.


First of all I cleaned up the are to be welded:

IMAG3488_zpsiikekfvc.jpg


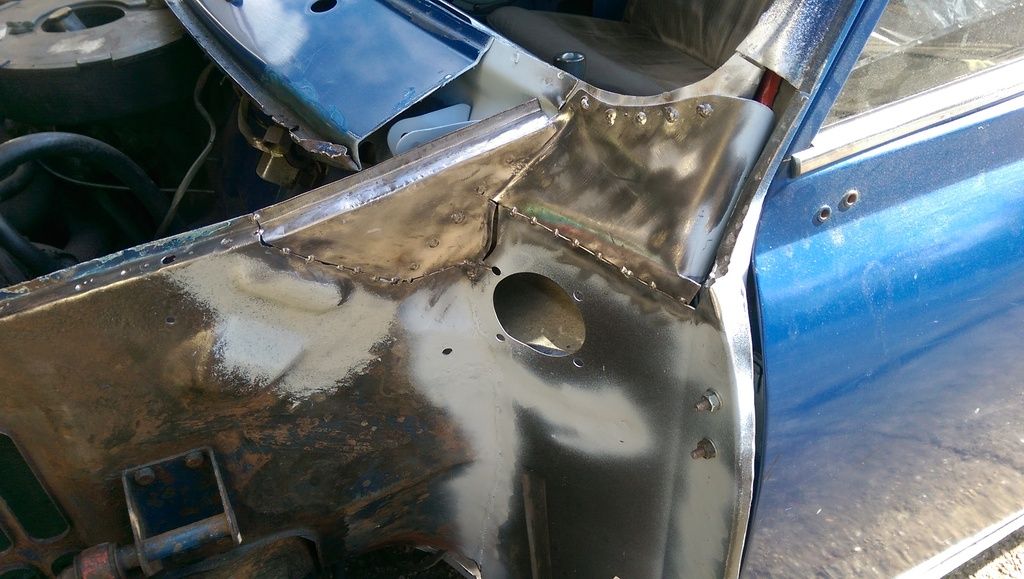
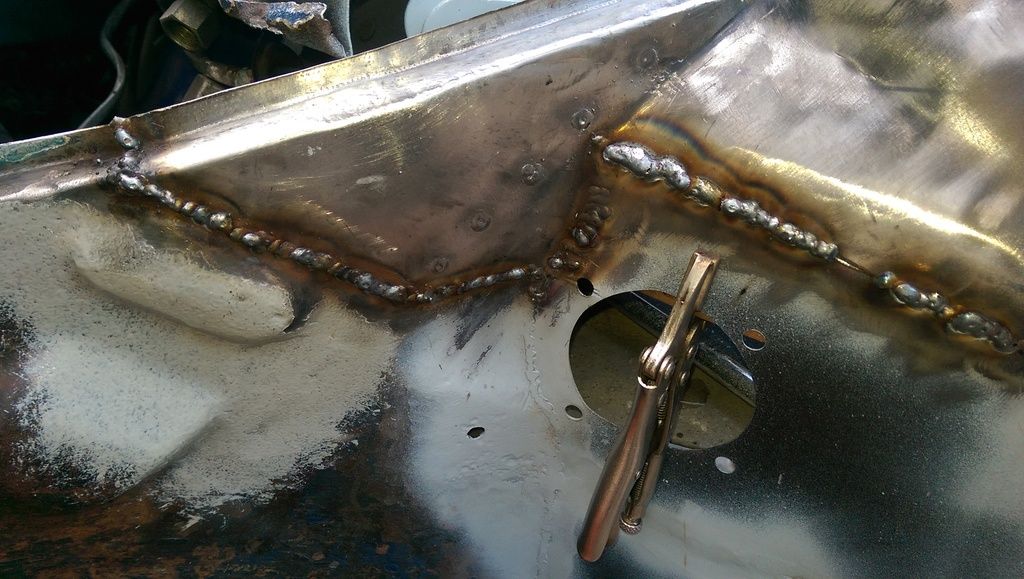
The doing alternate areas of about 1 inch at a time I welded it up, few gaps needed copper of brass placed behind to help plug the gaps:


IMAG3490_zpsy2q4hvya.jpg


See above and this gap here:


IMAG3491_zpsl5gvwt8i.jpg


IMAG3492_zpsgeb4or88.jpg


Then tickled off the weld with a grinding disk and then cleaned up with an 80 and 120 flap disk:


IMAG3495_zpsboyvci6m.jpg


Then I cleaned up and welded up the top of the Inner Wing where I drilled out the spot welds when I took off the wing.

After cleaning up the welds I slapped on some weld through primer:


IMAG3496_zpscklddaus.jpg


Then I went back to the RH Flitch and welded up a gap:


IMAG3497_zpsg2bcjw5b.jpg


Then slapped on some Etch primer on the LH and RH wing:


IMAG3499_zpscqmsvnvv.jpg


IMAG3500_zpsllp5qgtk.jpg


IMAG3501_zpsyqu1rzfl.jpg


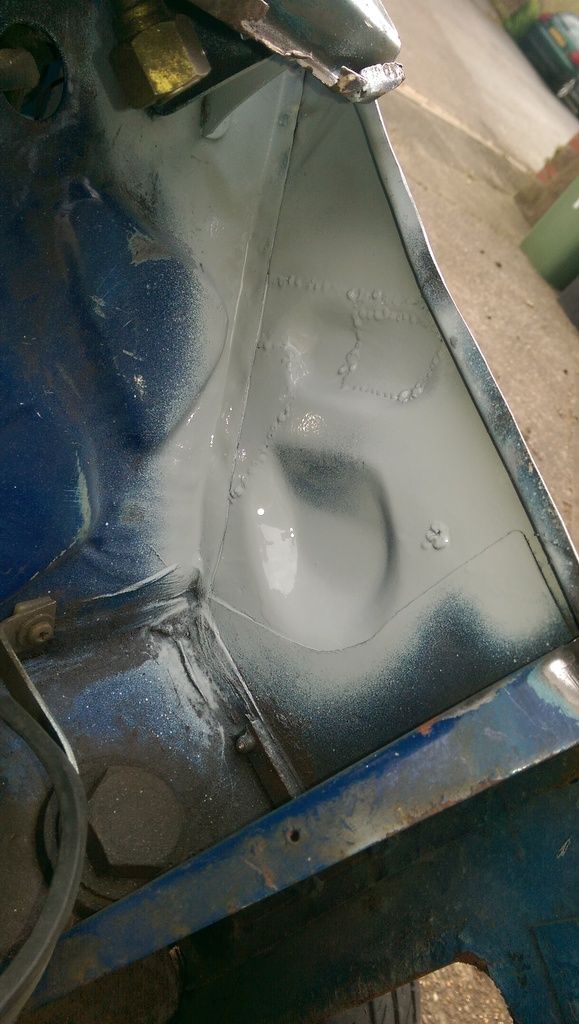
Then I cleaned up the inside of the LH Inner Wing and Etch Primed it.


IMAG3502_zps2qgdegoj.jpg


And now both sides match:


IMAG3504_zpsx45bzsgr.jpg


Slowly but surely :-)


And while I was working Coxie, another Mini owner that I have met through this forum popped by on the off chance. 


Coxie - sorry I forgot to make you a cuppa !!


Edited by JonnyAlpha, 06 March 2016 - 12:30 PM.


#410 JonnyAlpha

JonnyAlpha

    Up Into Fourth

  • Members
  • PipPipPipPipPipPipPipPipPip
  • 2,748 posts
  • Location: North Devon
  • Local Club: Exmoor Minis

Posted 06 March 2016 - 11:32 AM

Oh forgot to add, found a problem with the RH door.


Details here


#411 ryan22_lgm

ryan22_lgm

    One Carb Or Two?

  • Traders
  • PipPipPipPipPipPipPip
  • 1,478 posts
  • Location: woolacombe, north devon
  • Local Club: north devon mini register

Posted 17 March 2016 - 08:14 PM

Excellent work mate!! You will be done before you know it!!!!

#412 JonnyAlpha

JonnyAlpha

    Up Into Fourth

  • Members
  • PipPipPipPipPipPipPipPipPip
  • 2,748 posts
  • Location: North Devon
  • Local Club: Exmoor Minis

Posted 27 March 2016 - 07:23 PM

Well a little work last weekend (1/2 day) and the last couple of days.


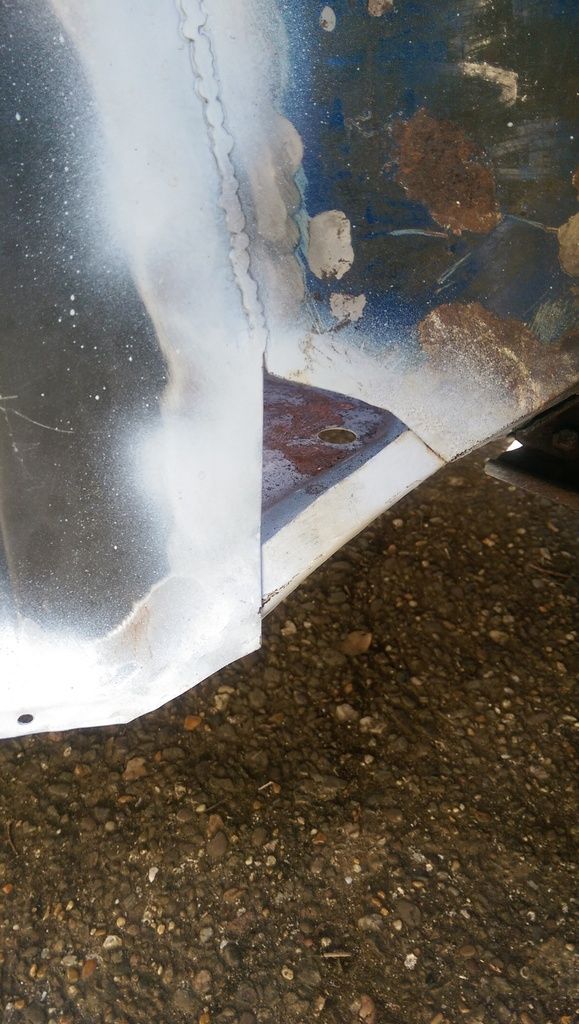
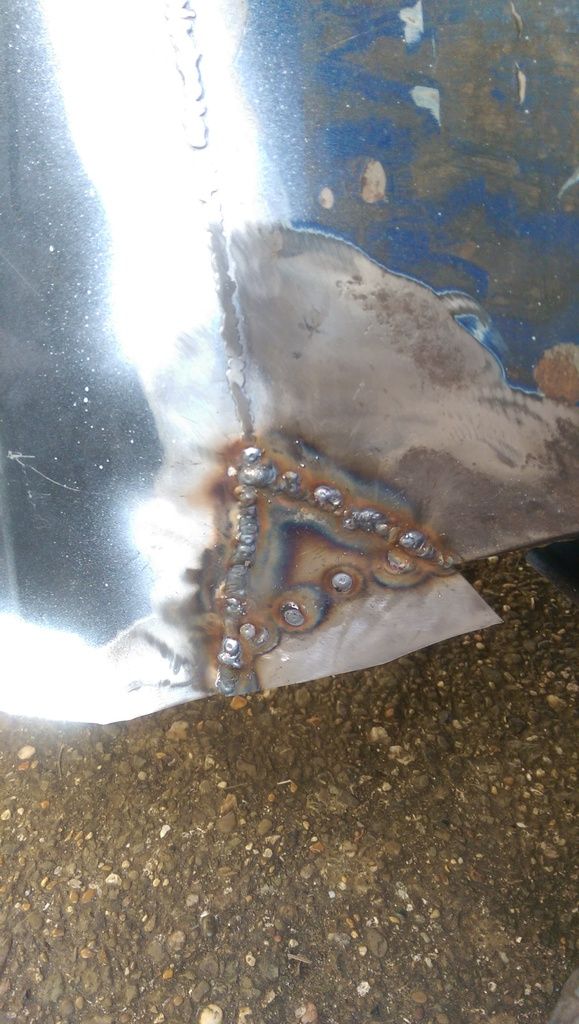
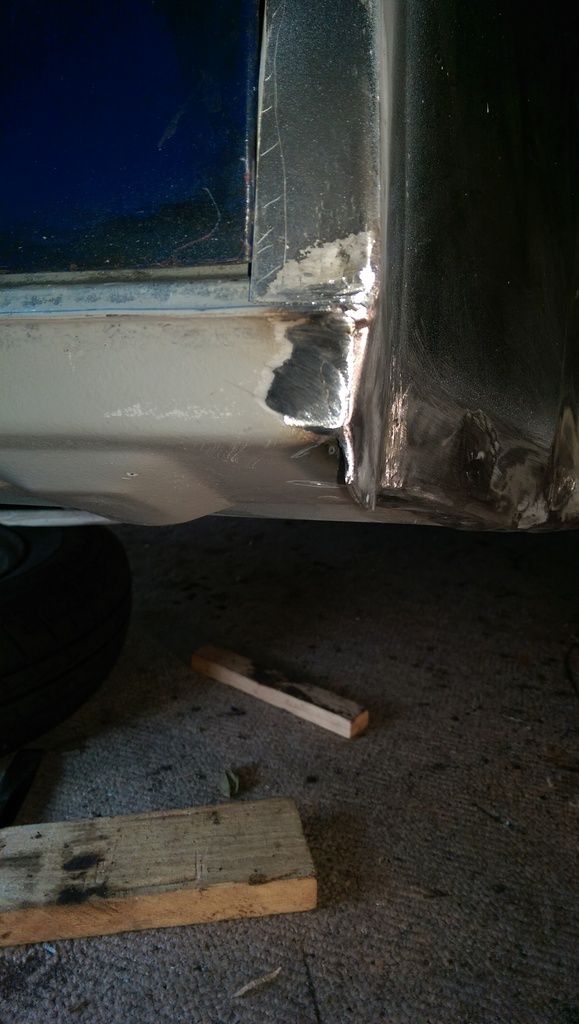
So next job was to finish the two patches at the bottom of the Flithces, started with the RH side:


IMAG3775_zpsrcfudxuc.jpg


Made a patch:


IMAG3775_zpsrcfudxuc.jpg


Welded in:


IMAG3778_zpsr1yuovzp.jpg


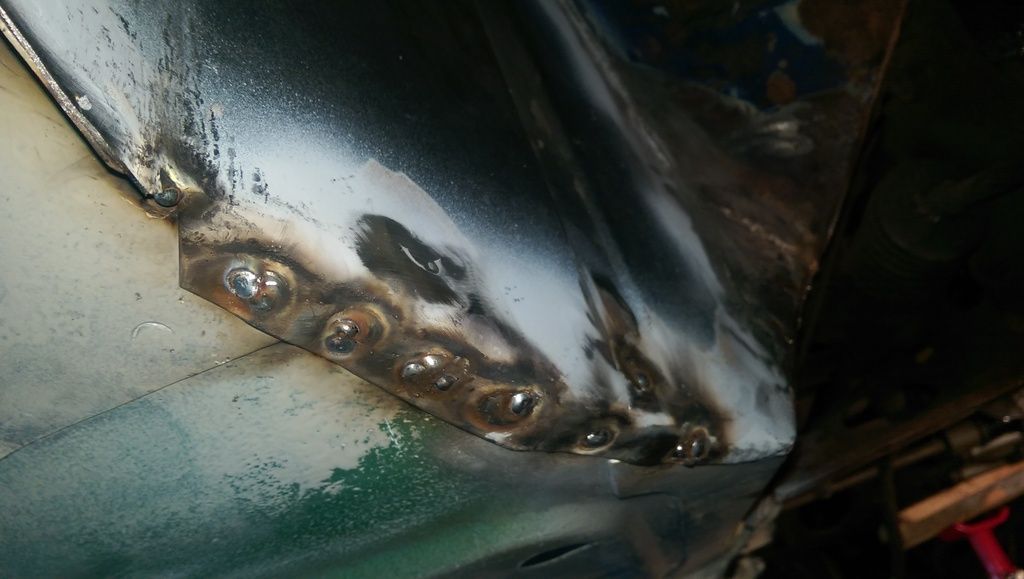
Cleaned up and as I forgot to drill plug weld holes in the bottom flange I had to do it in situ (not easy):


IMAG3780_zpsvabfhi63.jpg


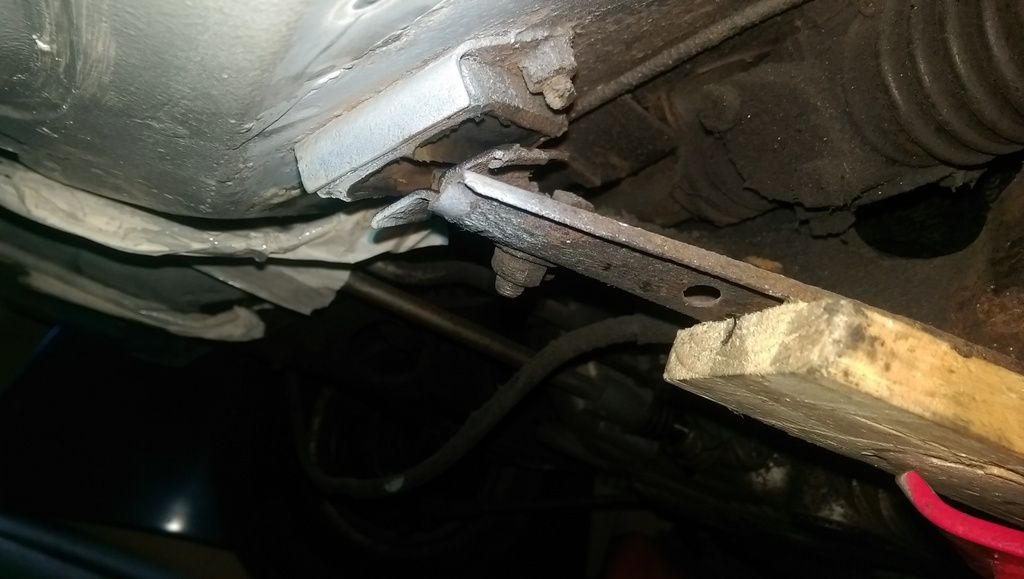
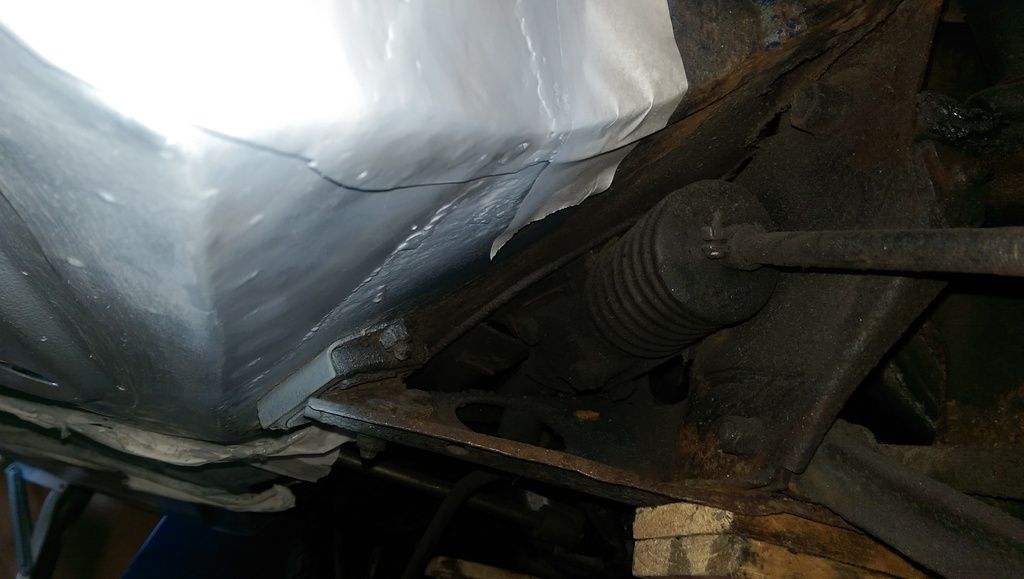
Whilst doing this job I noticed that the rubber on the rear front subframe mount had come away from its base!!


IMAG3784_zpsbemkmqmh.jpg


Next job was to bend over the flange and get it welded in:


IMAG3786_zpsf9bh4lef.jpg


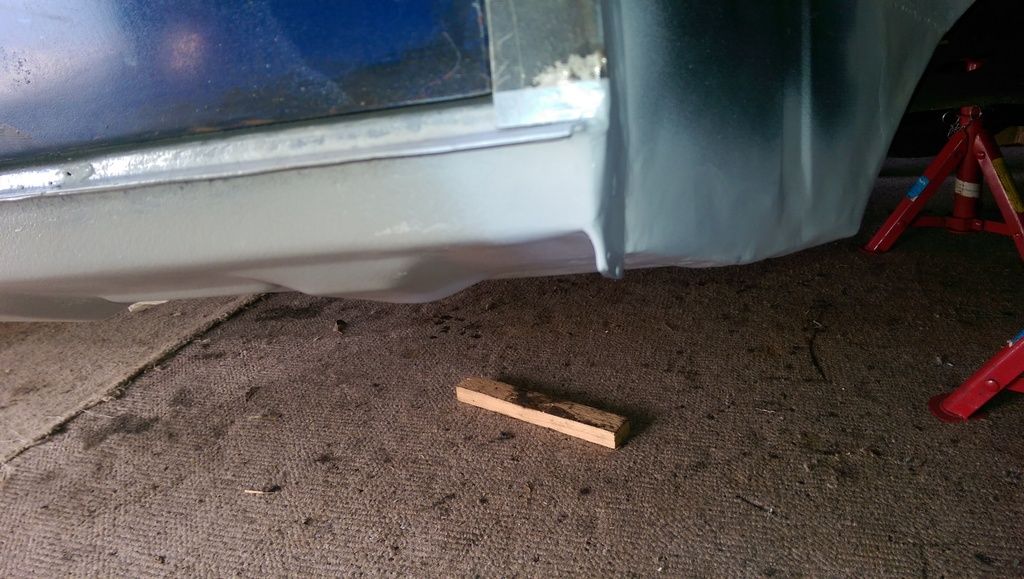
Didn't get a before and after but here is the gap in the RH sill welded and cleaned up:


IMAG3788_zpsyey4dvwh.jpg


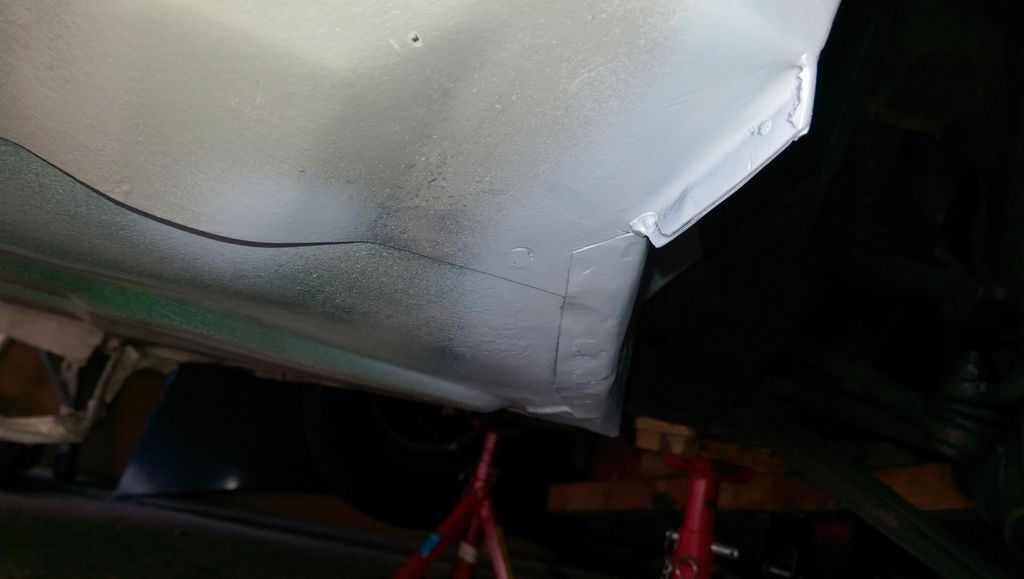
Cleaned up and Etch Primed:


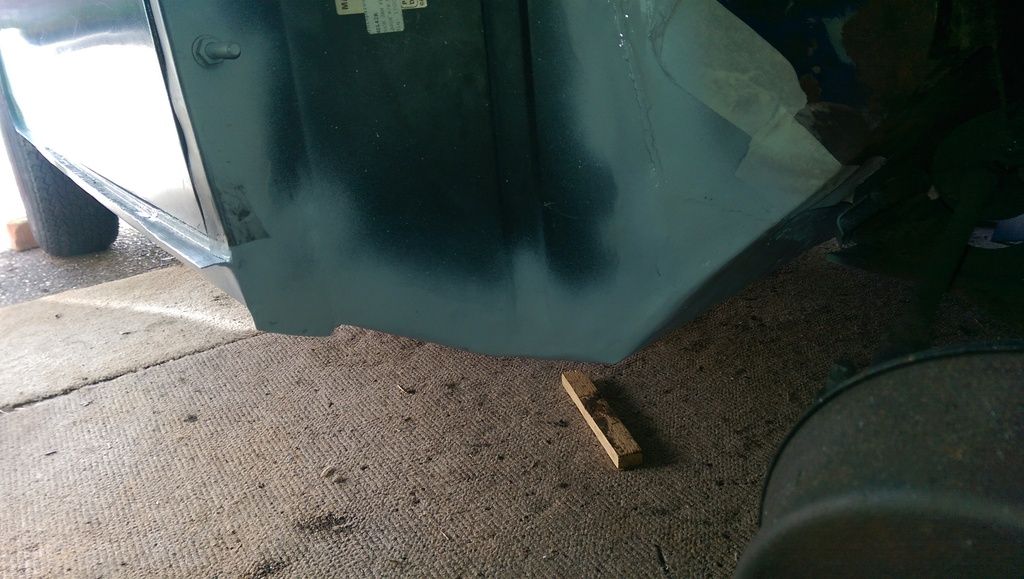
IMAG3789_zps5348chjn.jpg


IMAG3790_zpsenexye25.jpg


IMAG3791_zps1qop0n0i.jpg


IMAG3792_zpsoigskvgl.jpg


Doesn't seem a lot but thats the RH side Flitch completed, tomorrow the LH side. 


#413 Ben_O

Ben_O

    Mill Road Garage

  • Paint Doctor
  • PipPipPipPipPipPipPipPipPipPip
  • 9,785 posts
  • Location: Isle of Wight

Posted 28 March 2016 - 11:08 AM

Nice repairs.


Is there much more to do now?


#414 JonnyAlpha

JonnyAlpha

    Up Into Fourth

  • Members
  • PipPipPipPipPipPipPipPipPip
  • 2,748 posts
  • Location: North Devon
  • Local Club: Exmoor Minis

Posted 28 March 2016 - 09:42 PM

Nice repairs.


Is there much more to do now?

Lots and lots of small stuff.


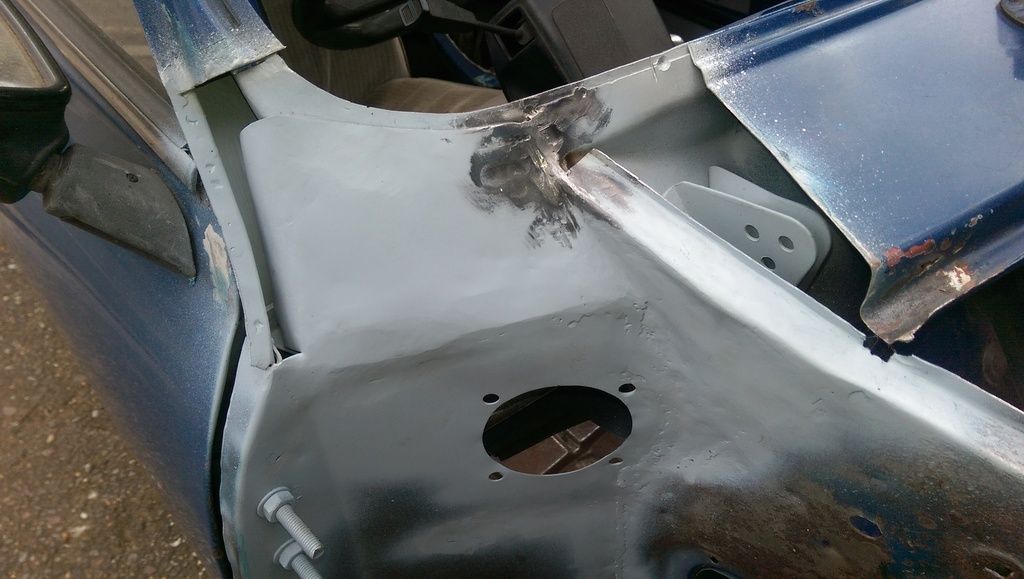
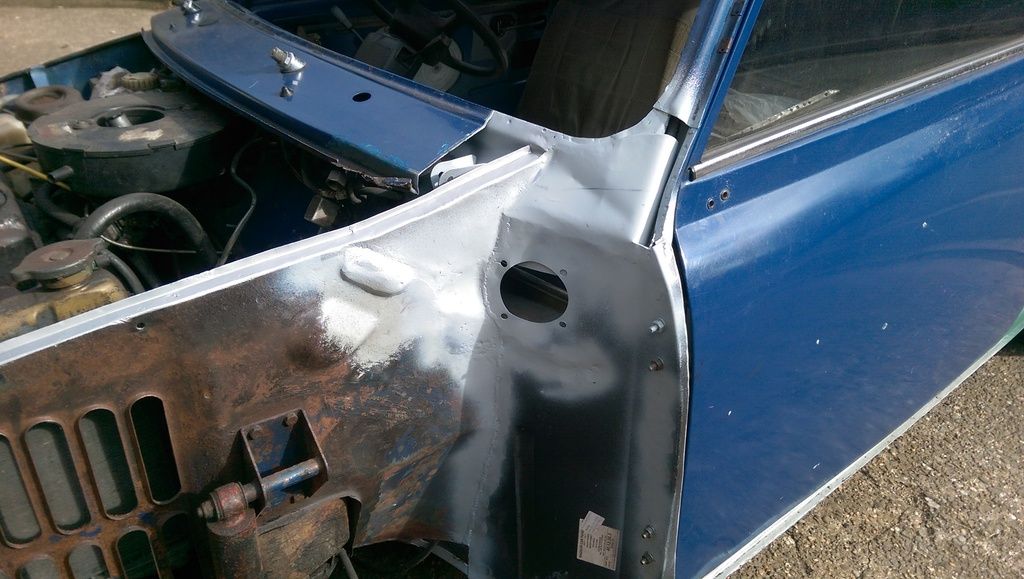
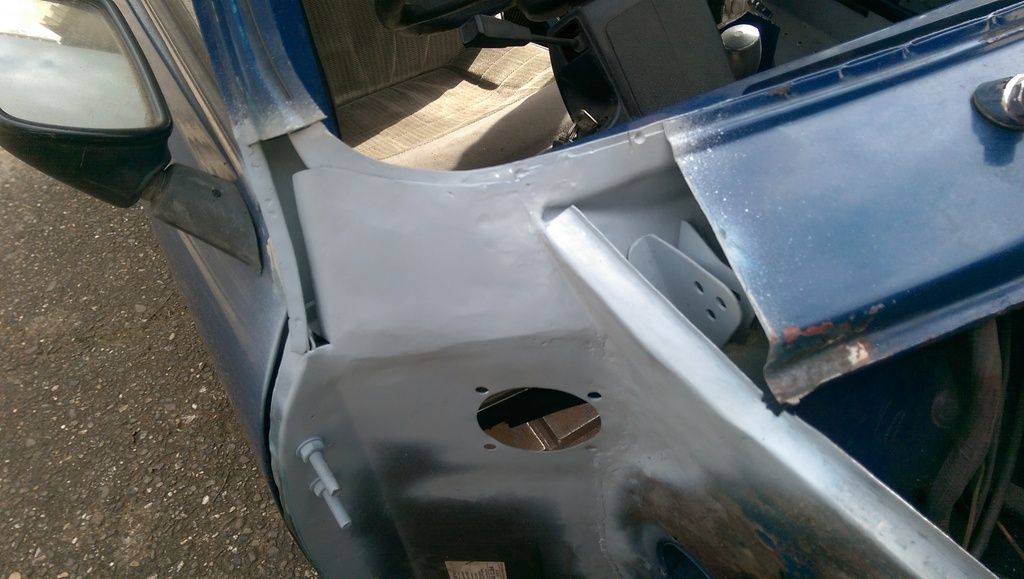
Just finished the same repairs as above to the LH side today so that's both Flitches done and all the welding / repairs from the Flitches to the Rear End are finished :-)

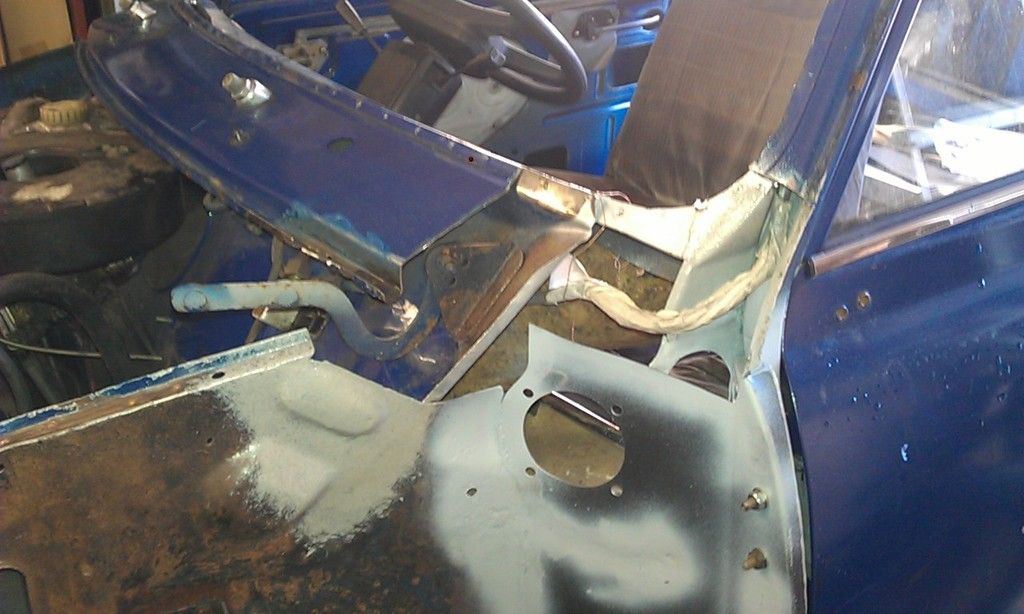
Tomorrow I plan to repair the LH Wing and LH Front Panel where it joins the wing and I am waiting for a full Scuttle from MiniSpares, once that arrives i'll do the Scuttle Closers and Scuttle. 

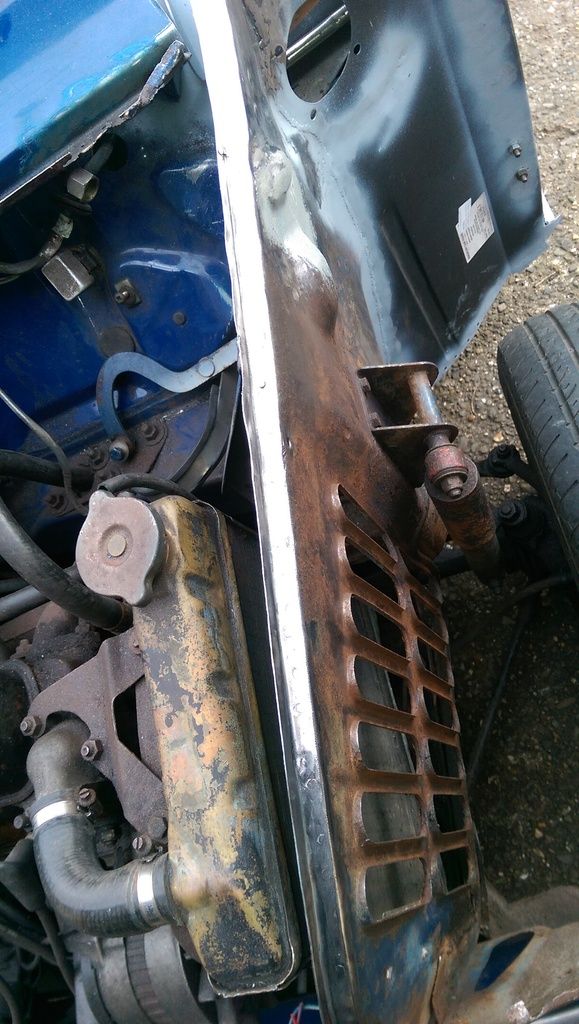
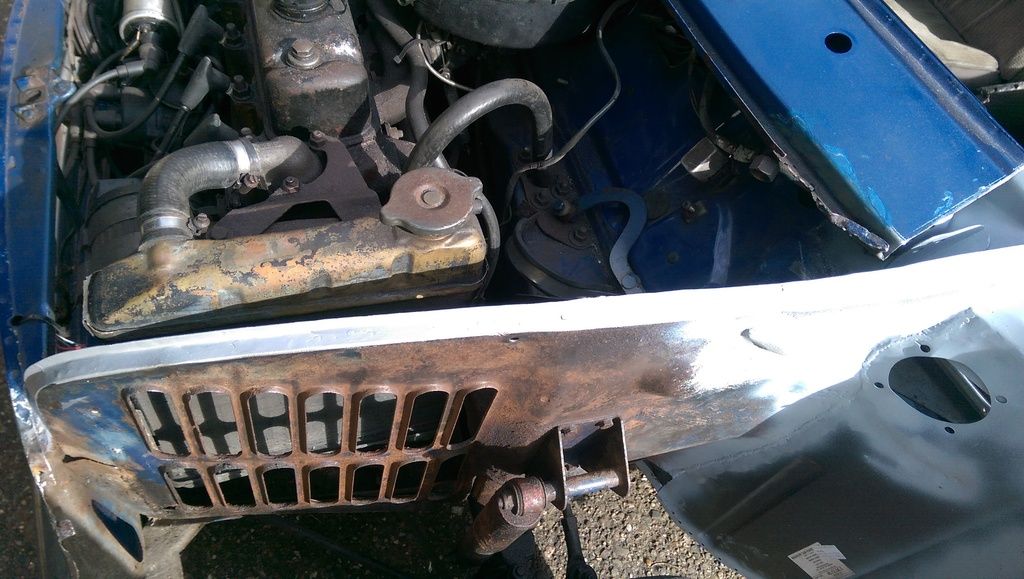
Before I fit the Front Wings / A-Panels I need to clean up and paint the Inner Wings and inside of the outer wings.

Then clean up and paint the inside of the Mini.


So that's:

1 day (Tue) - Wing repair

1 day (Wed) - Scuttle Closers and Scuttle

1 day (Thur) - Clean up wings / paint inside of wings and inner wings

1 day (Fri) - Fit wings

1 day (Sun) - Clean and paint inside of Mini


Well that's the outline plan  :D


I also need to drop the Front Subby and Engine at some point, I was hoping not to have to do this but the lower Engine Mount rubbers and Subframe to Bulkhead Rubbers are shot :shy: Coxie has offered to help with this but once its out its going to take more than a day to sort out and I don't have another garage  >_<  


(Just found the emoticon menu)!


Edited by JonnyAlpha, 28 March 2016 - 09:43 PM.


#415 JonnyAlpha

JonnyAlpha

    Up Into Fourth

  • Members
  • PipPipPipPipPipPipPipPipPip
  • 2,748 posts
  • Location: North Devon
  • Local Club: Exmoor Minis

Posted 29 March 2016 - 01:57 PM

15:00 - Stand Easy (Tea Break) finished welding the repairs to the lower LH front panel, now to grind down and do the LH wing - few mishaps but on schedule. 


#416 JonnyAlpha

JonnyAlpha

    Up Into Fourth

  • Members
  • PipPipPipPipPipPipPipPipPip
  • 2,748 posts
  • Location: North Devon
  • Local Club: Exmoor Minis

Posted 29 March 2016 - 08:53 PM

Sorry missed a post from yesterday, I wont do all the stages as the repair was basically the same as the RH side lower Flitch.
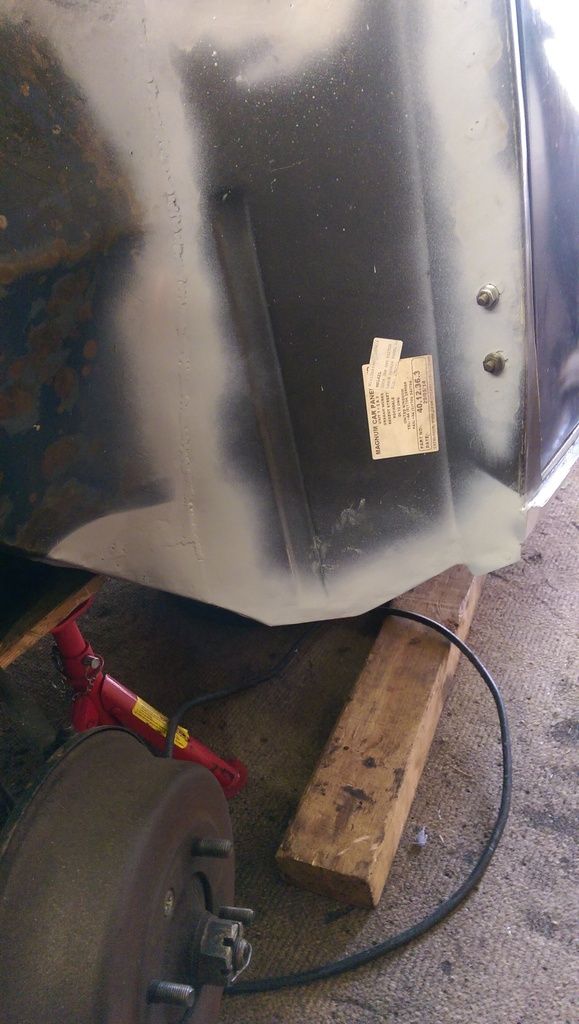
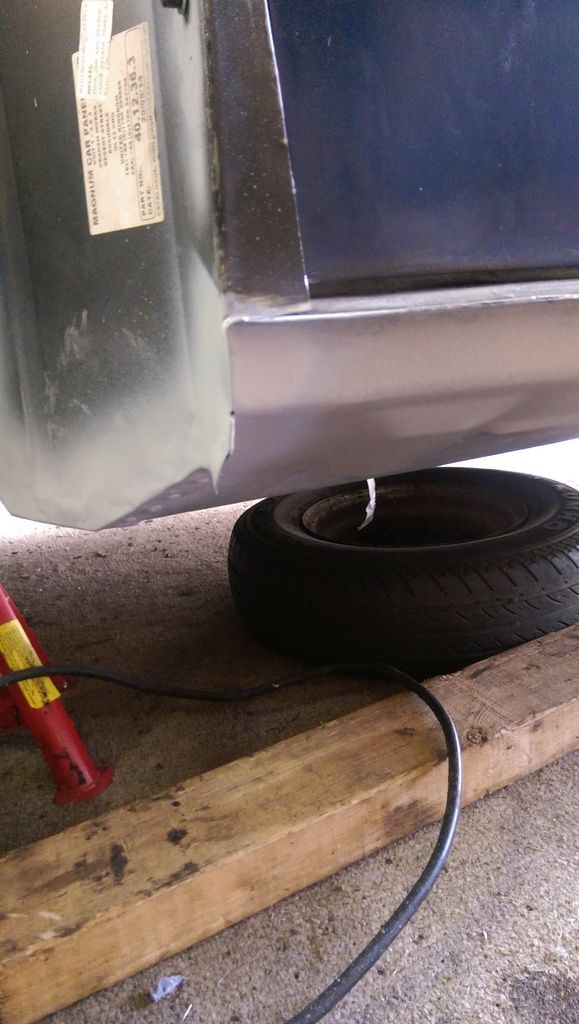
 

IMAG3794_zpsjztlo5rb.jpg


IMAG3795_zpskz7qomnn.jpg


Here's todays work:


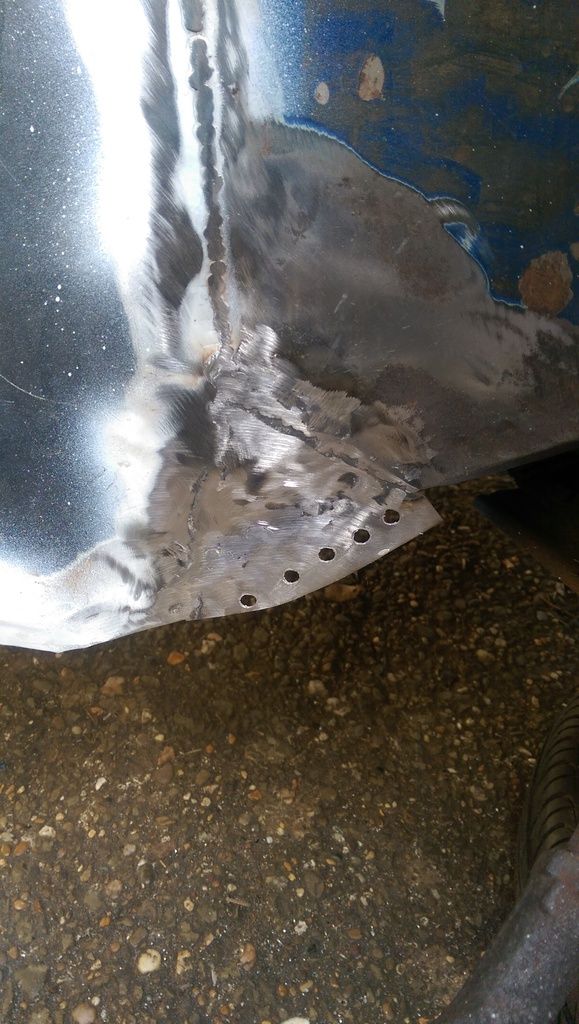
As stated above the target today was to repair the LH front panel and outer wing. Well apart from cleaning up the welding on the wing I there about managed it. Would have completed it but had to go shopping :-)


Here's what the lower front panel at the start after having removed the wing some time ago:
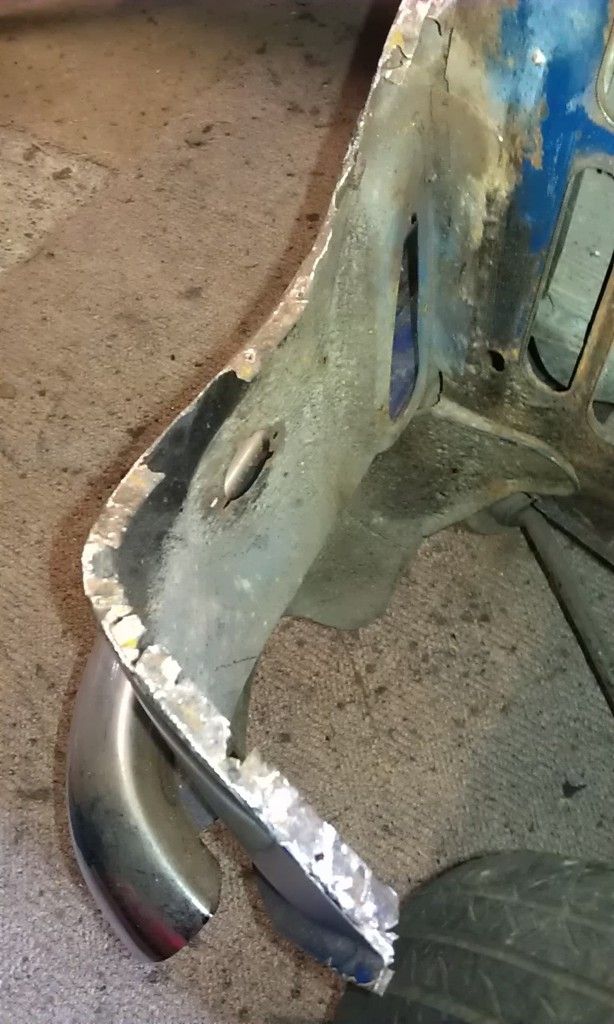
 

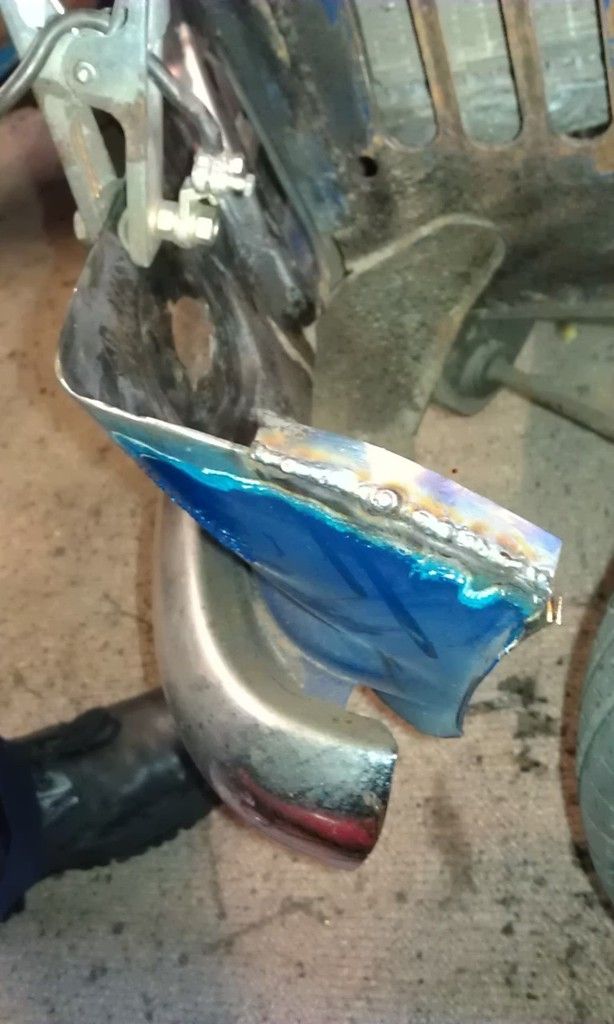
IMAG1087_zpssjqo0vw7.jpg


First of all I trimmed back the flange to just before the fold, that way I would be able to retain the profile.
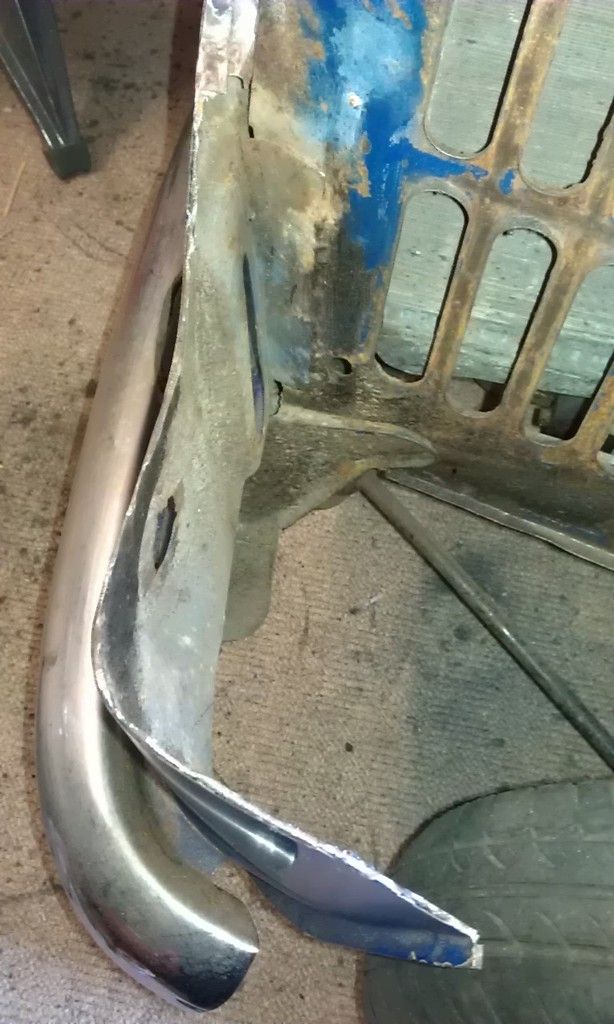
 

IMAG1088_zps26k5cqre.jpg


Then I cleaned up the edges that would be welded to bare metal.

I decided to make several small patches which worked out quite well in the end, here's the first:
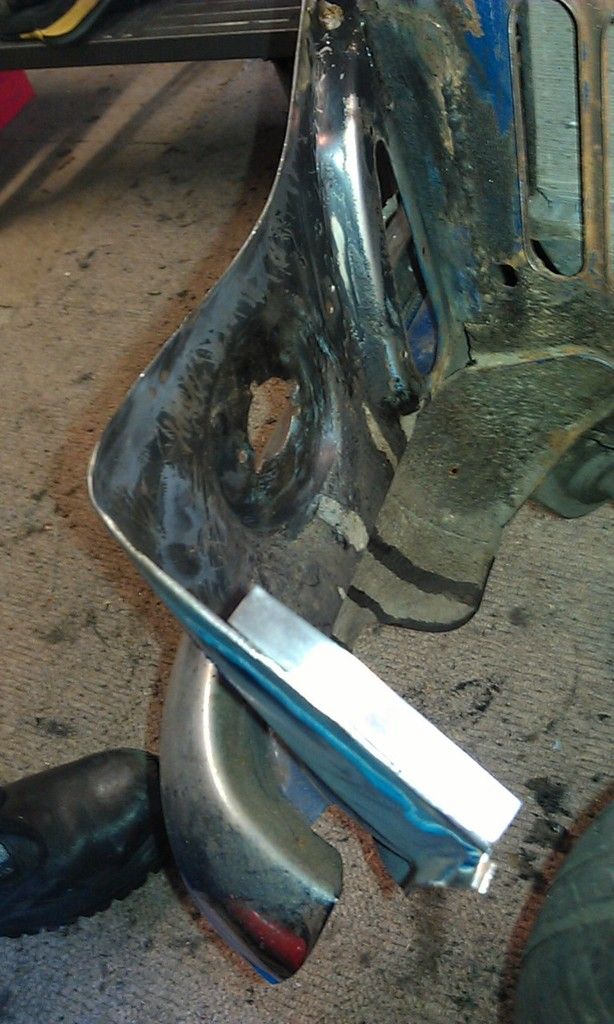
 

IMAG1089_zpspt0zjqhp.jpg


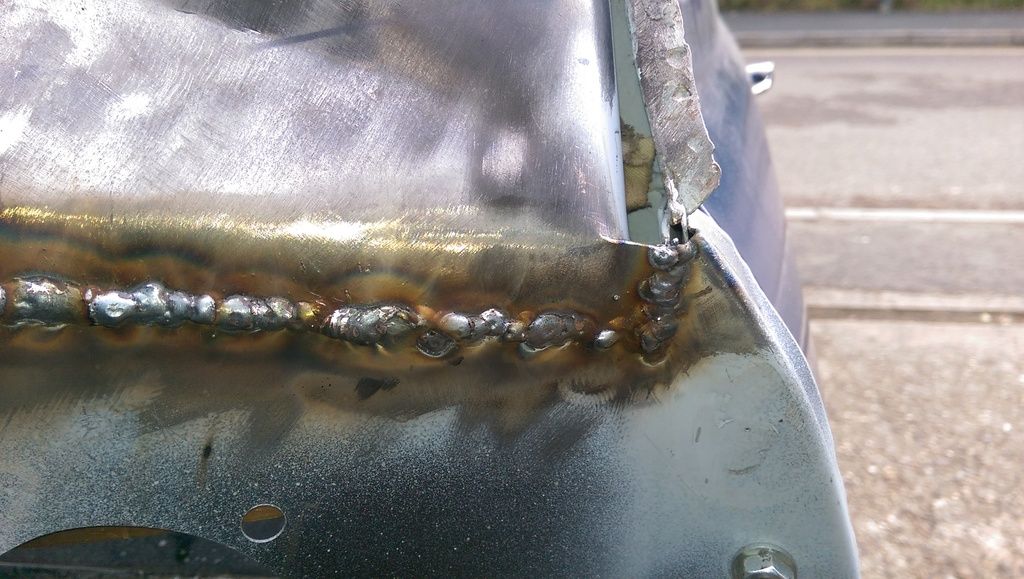
And welded in place:


IMAG1091_zpsnuemleqn.jpg


Then after doing a little de-rusting with Deox Gell here's the next patch gently tacked in place:
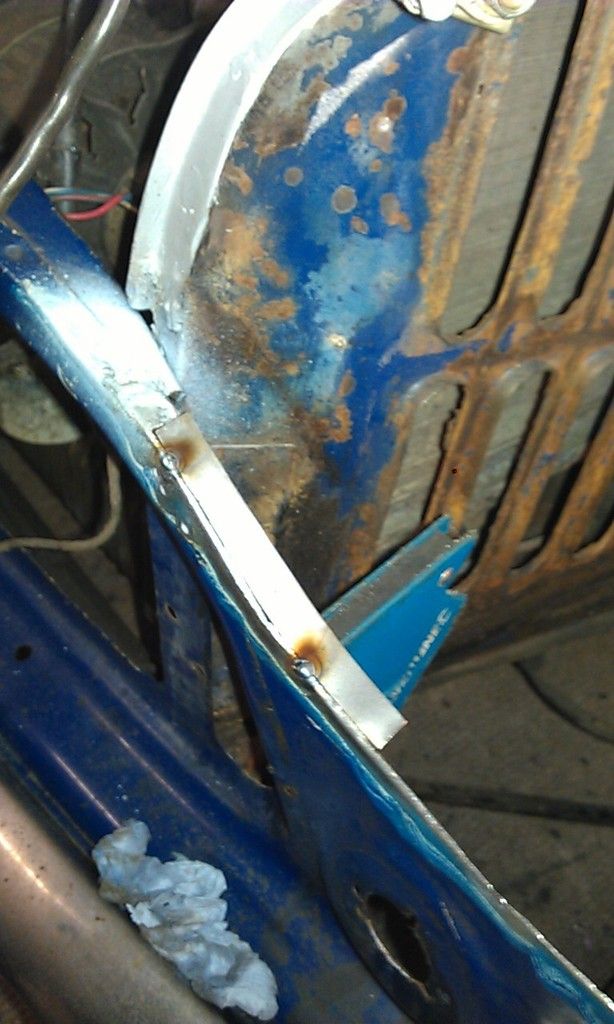
 

IMAG1092_zpsmdelflza.jpg


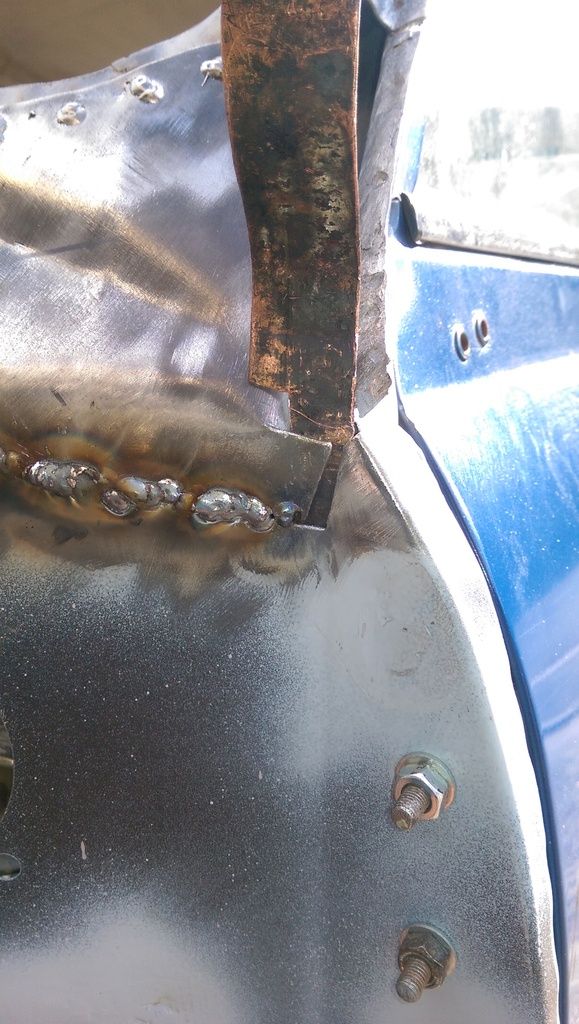
Due to welding at the edges a piece of Non Ferrous metal was used as a heat sink:
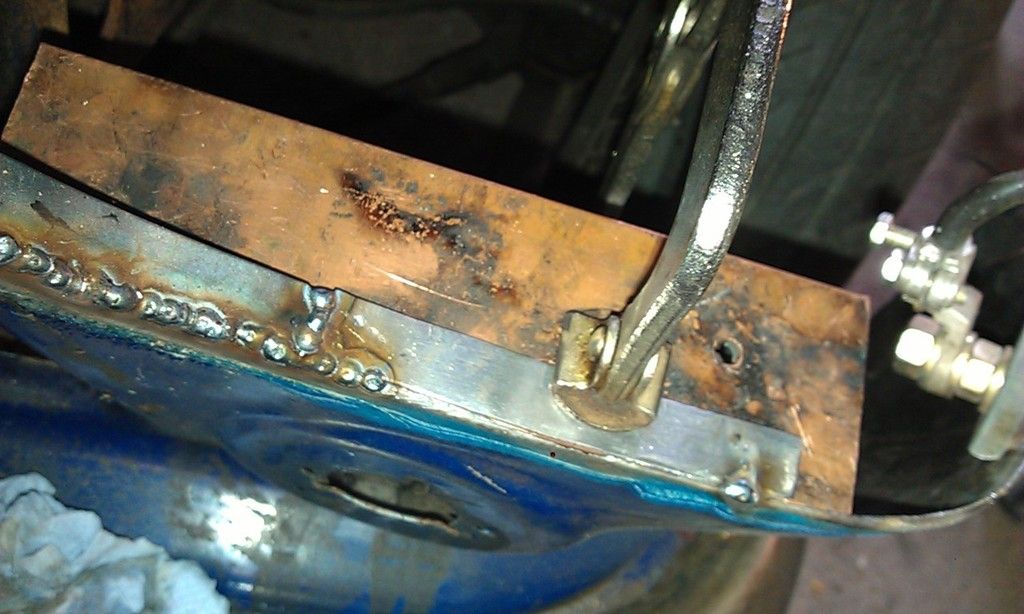
 

IMAG1093_zpsjpcljibd.jpg


For the corner I made up a profiled patch:
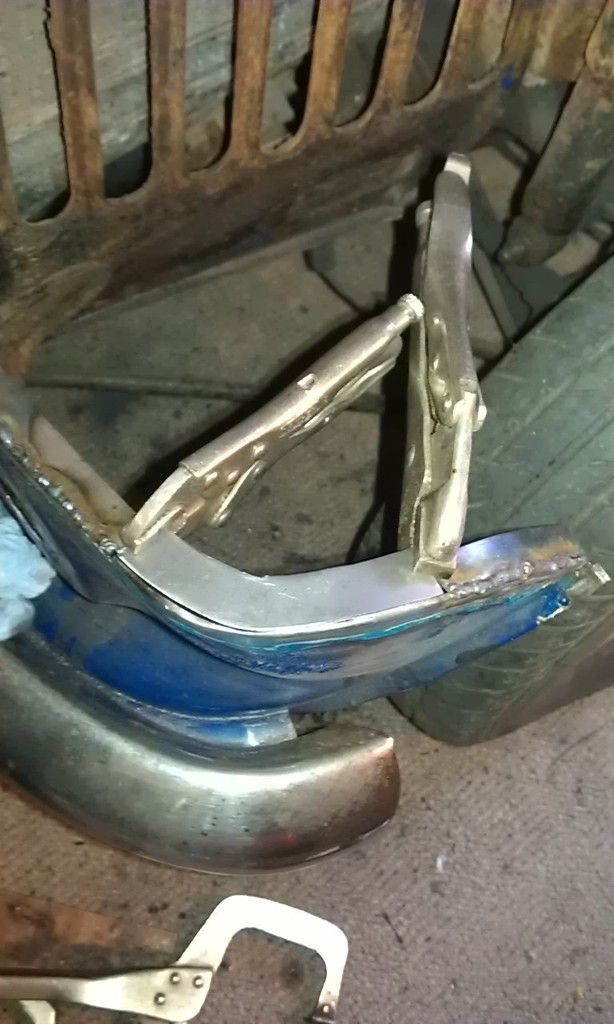
 

IMAG1094_zpsdcmqardc.jpg


IMAG1097_zps7poughxf.jpg


Welding completed  :D


And cleaned up with a flap disc:


IMAG1099_zpsjw6a8veb.jpg


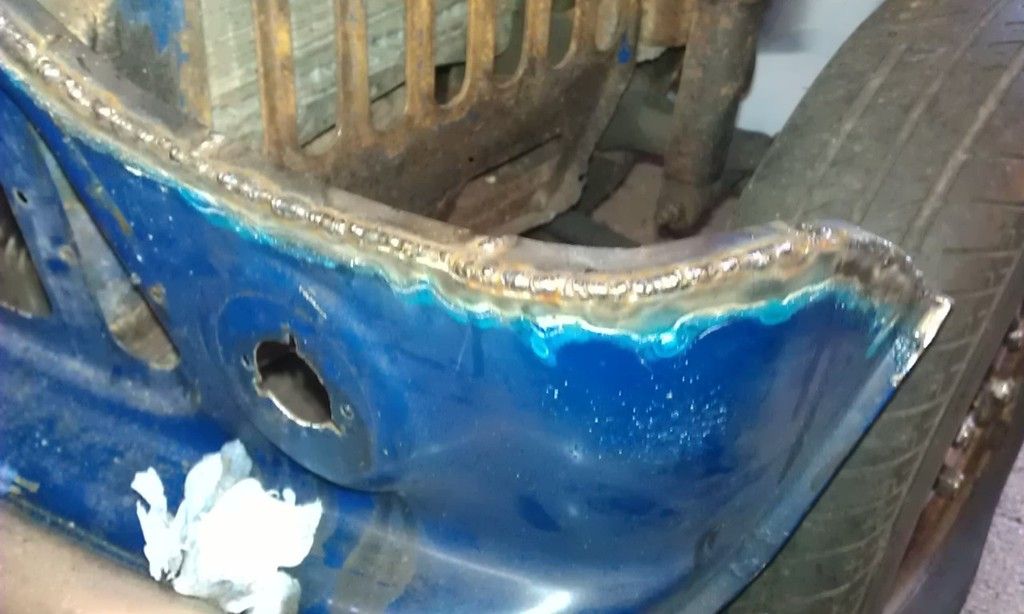
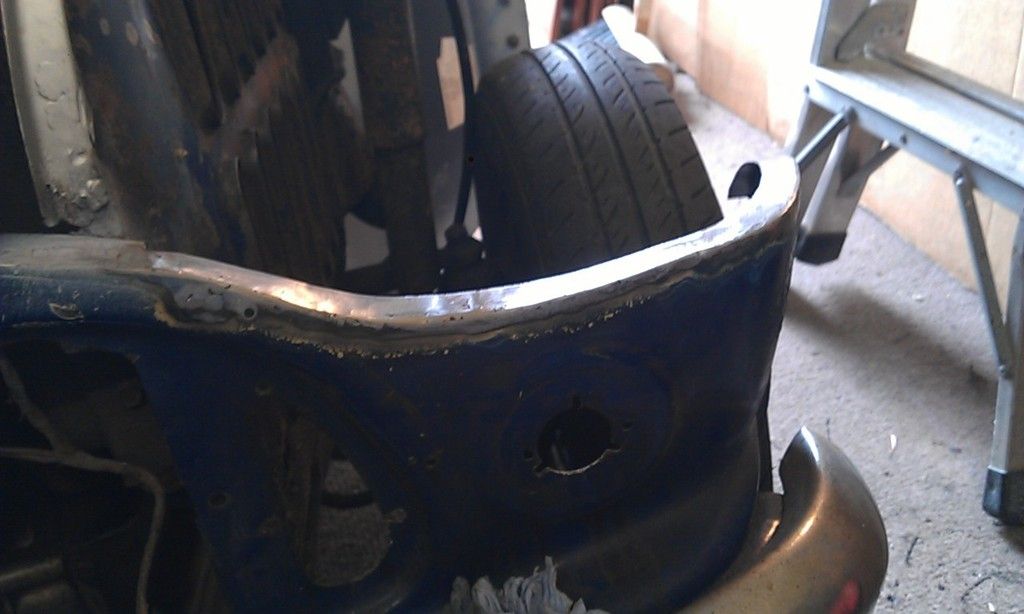
Time was ticking on and at around 16:00 I started the wing:
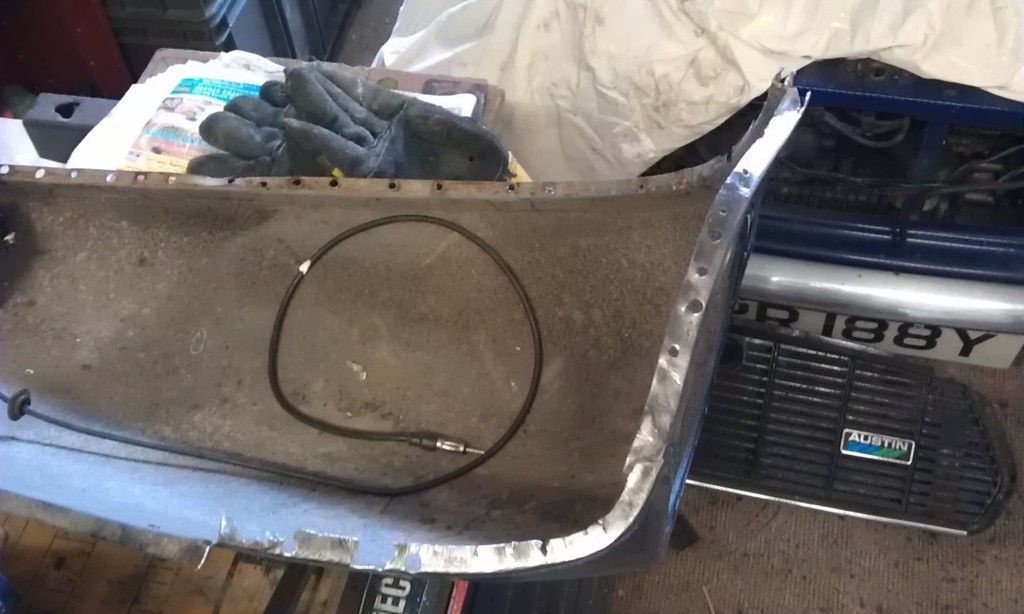
 

IMAG1100_zpsu0qm3mss.jpg


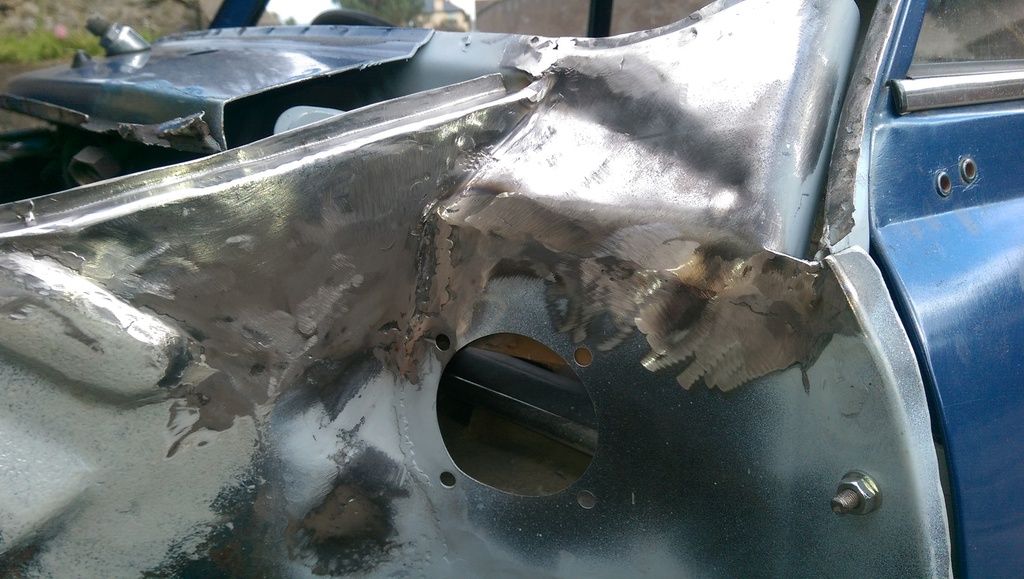
Most of the metal was removed from the front panel so the wing only needed cleaning up and a few patches. The front inner corner was the worst:
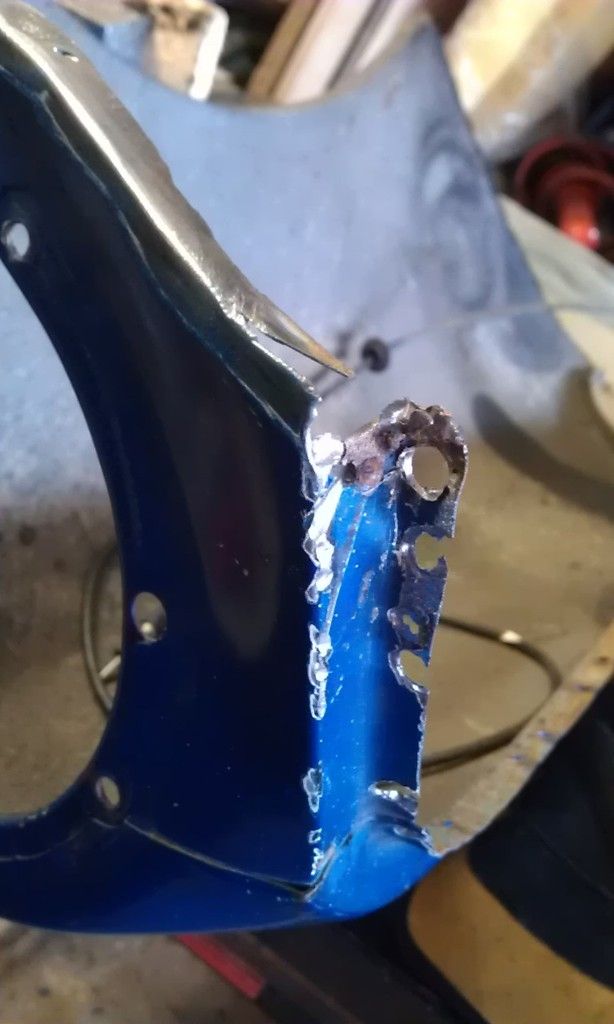
 

IMAG1101_zpsl91qnvo3.jpg


First patch with a piece of flattened copper pipe as a heat sink:
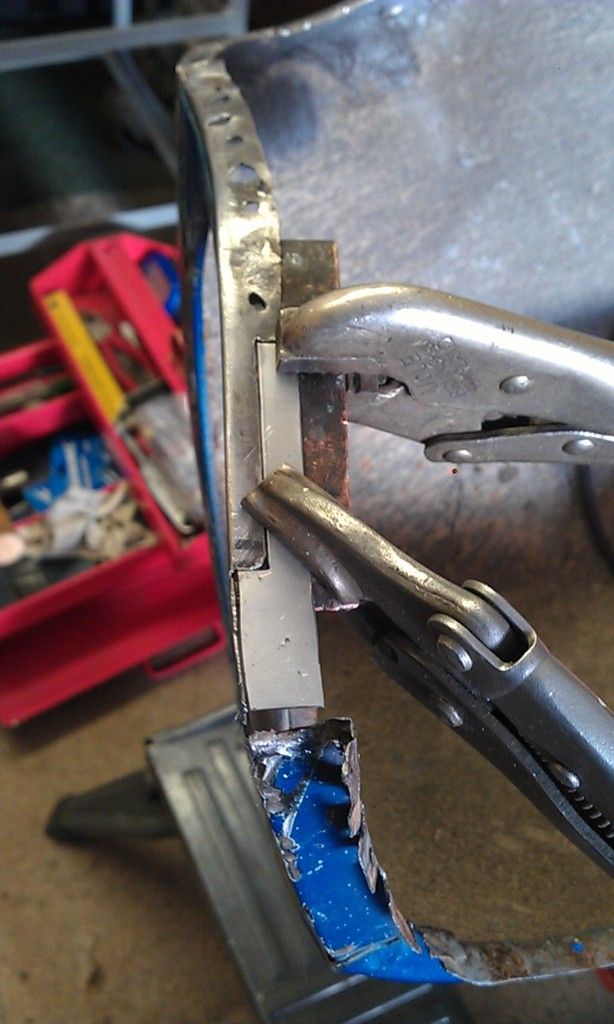
 

IMAG1102_zpsoblavatn.jpg


Thought I had some more photos but cannot seem to find them, but end state was that I did managed to patch up the flange on the wing. All the welding was completed but at 20:00 it was too late to start grinding down the welds, didn't want to upset the neighbours :proud:


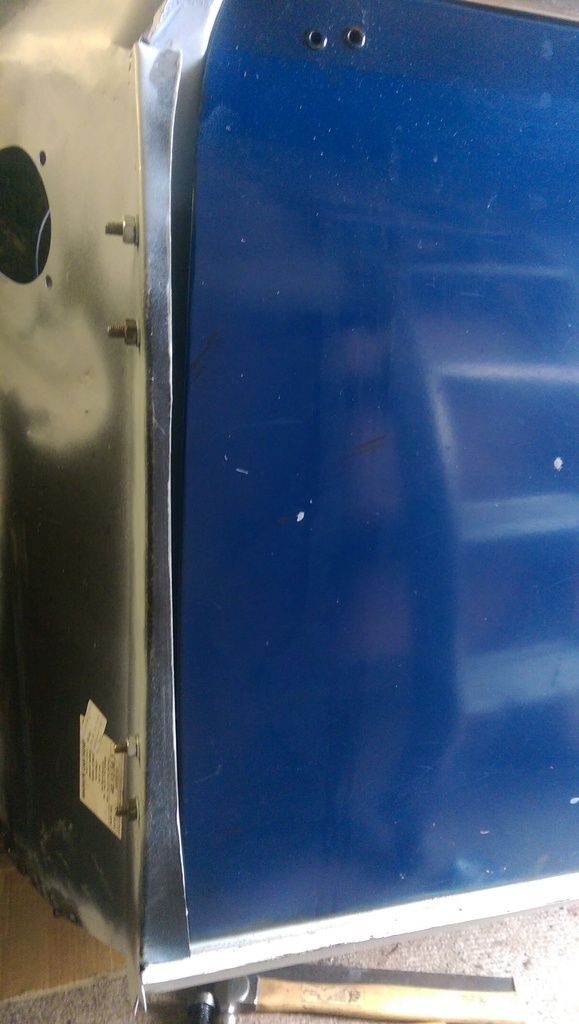
Just a quick extra note, on the RH side the flange on the Flitch that the A Panel bends around is touching the door and quite a gap at the top. The LH side is similiar.
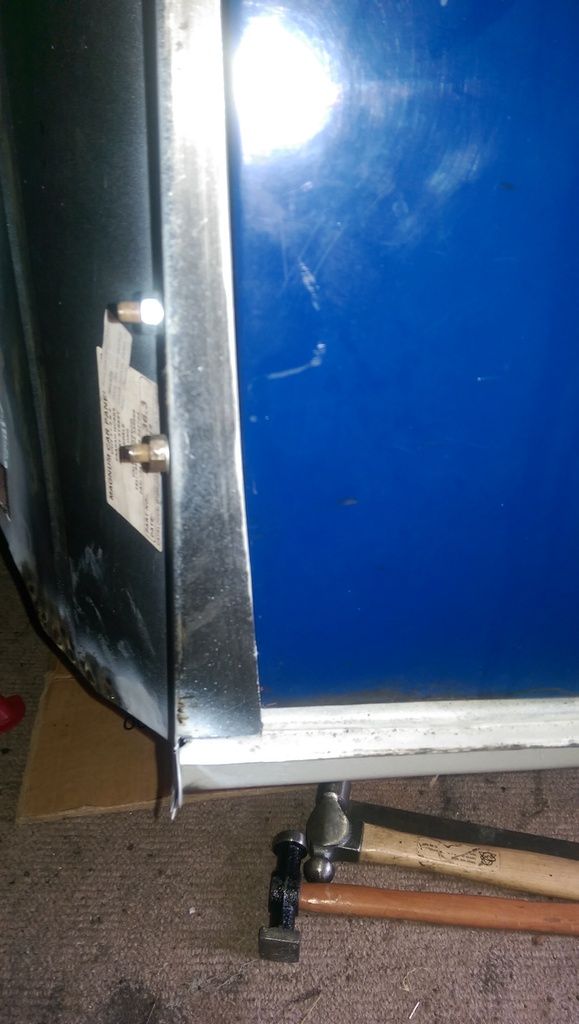


IMAG3753_zpssvr8qkgm.jpg


IMAG3756_zpsbowj2akz.jpg


I guess I can play about with the door by fitting washers but before folding over the A Panel what gap should I be aiming for?


Edited by JonnyAlpha, 29 March 2016 - 08:56 PM.


#417 1984mini25

1984mini25

    Crazy About Mini's

  • Members
  • PipPipPipPipPipPipPipPipPipPip
  • 8,784 posts
  • Location: -

Posted 29 March 2016 - 09:05 PM

Just a quick extra note, on the RH side the flange on the Flitch that the A Panel bends around is touching the door and quite a gap at the top. The LH side is similiar.


IMAG3753_zpssvr8qkgm.jpg


IMAG3756_zpsbowj2akz.jpg


I guess I can play about with the door by fitting washers but before folding over the A Panel what gap should I be aiming for?


All the flitch panels I've fitted, I've always just trimmed the bottom half of the panel back so its a even gap all the way down and folded the a panel over.


#418 JonnyAlpha

JonnyAlpha

    Up Into Fourth

  • Members
  • PipPipPipPipPipPipPipPipPip
  • 2,748 posts
  • Location: North Devon
  • Local Club: Exmoor Minis

Posted 29 March 2016 - 09:08 PM


Just a quick extra note, on the RH side the flange on the Flitch that the A Panel bends around is touching the door and quite a gap at the top. The LH side is similiar.


IMAG3753_zpssvr8qkgm.jpg


IMAG3756_zpsbowj2akz.jpg


I guess I can play about with the door by fitting washers but before folding over the A Panel what gap should I be aiming for?


All the flitch panels I've fitted, I've always just trimmed the bottom half of the panel back so its a even gap all the way down and folded the a panel over.


Thanks - what sort of gap should I be looking for? Don't want to fold the A Panel only to find that the door no longer fits  :proud:


#419 alex-95

alex-95

    I am THE CLAMP MAKER

  • Members
  • PipPipPipPipPipPipPipPipPipPip
  • 6,019 posts
  • Location: l

Posted 29 March 2016 - 09:08 PM

Good work there jonny, The wings don't look as bad as mine, what's the top of them like where they join to the scuttle? I had to replace all around the top of mine.

As above I had to trim the flitch down, test the a-panel against it to see if it sits back/even enough to the door.


#420 JonnyAlpha

JonnyAlpha

    Up Into Fourth

  • Members
  • PipPipPipPipPipPipPipPipPip
  • 2,748 posts
  • Location: North Devon
  • Local Club: Exmoor Minis

Posted 29 March 2016 - 09:29 PM

Good work there jonny, The wings don't look as bad as mine, what's the top of them like where they join to the scuttle? I had to replace all around the top of mine.

As above I had to trim the flitch down, test the a-panel against it to see if it sits back/even enough to the door.


Ah yes I was forgetting the A Panel already has a fold in it which will give the profile for the door  :D


My RH Scuttle corner was rotten but the wing was OK, the LH wing is also OK.


1 user(s) are reading this topic

0 members, 1 guests, 0 anonymous users