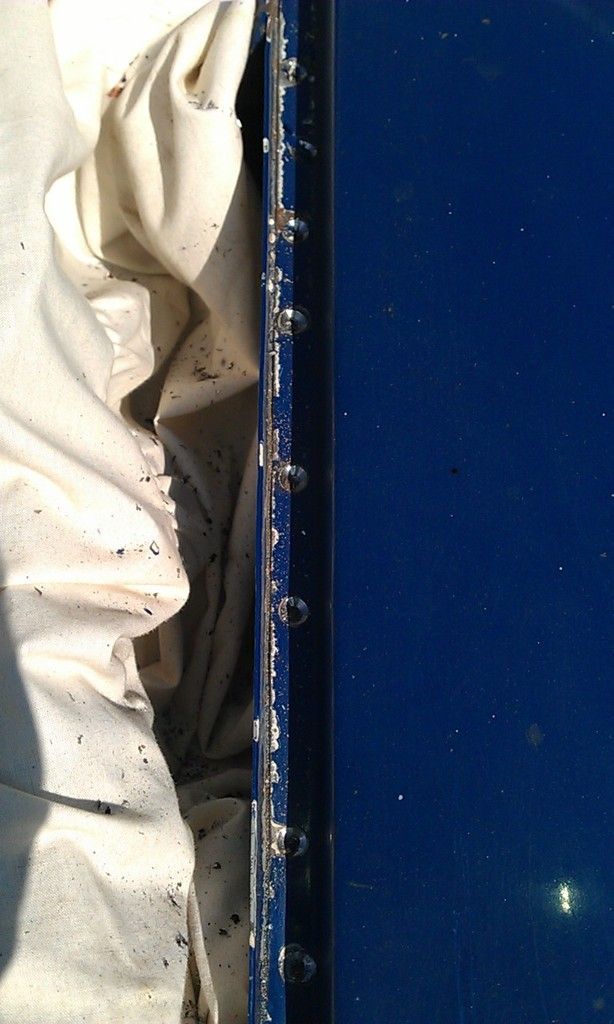
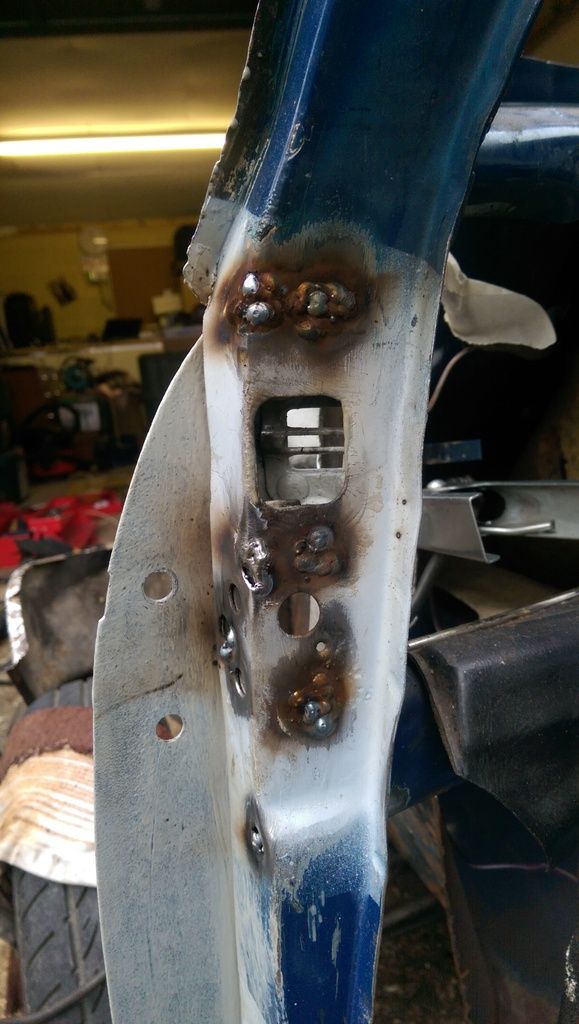
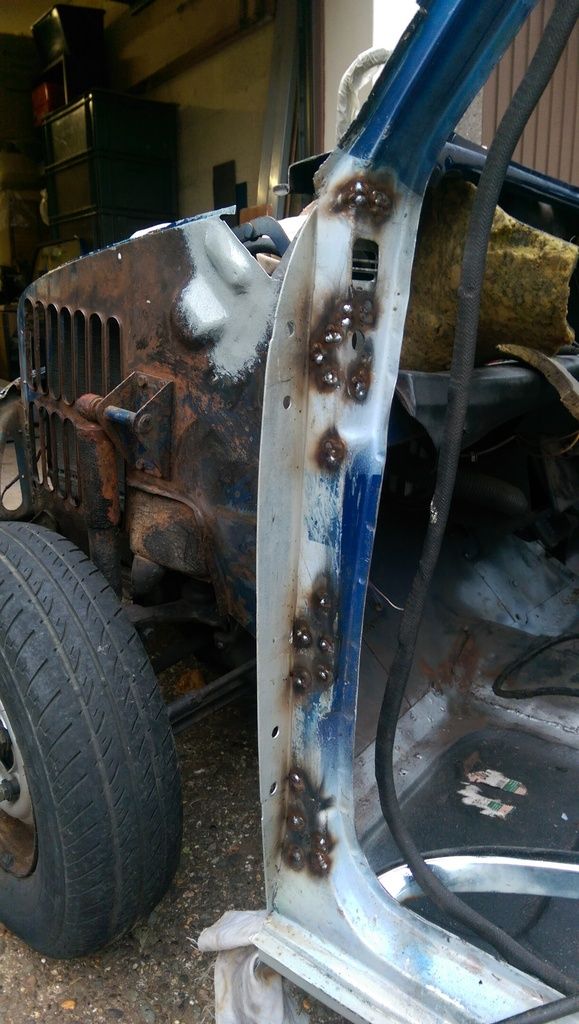
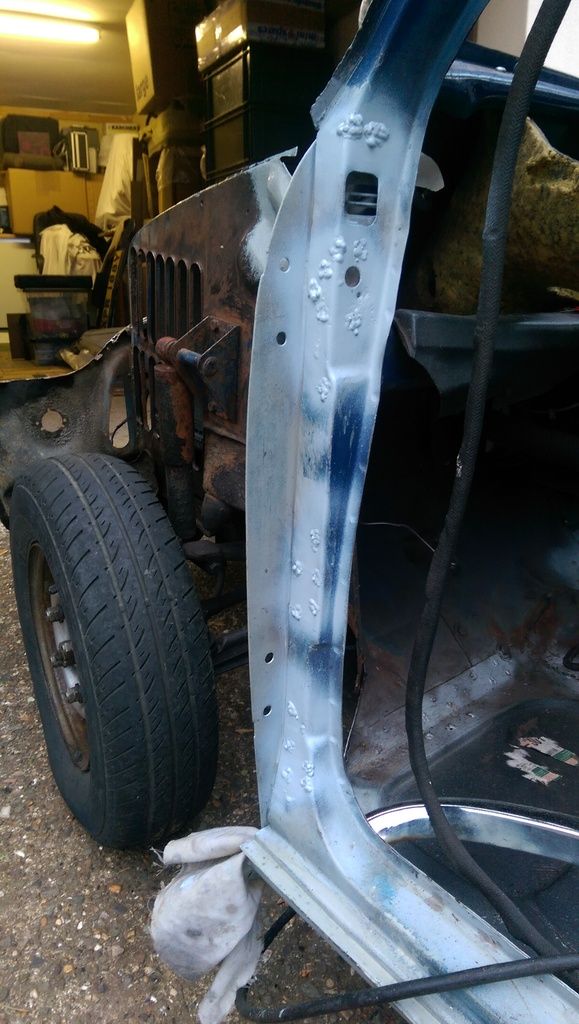
A bit of an update from the last week or so, not a lot but hey ho.
Ordered a few fuel related bits, fuel pipe, tank neck grommet, overflow pipe, pipe clamps etc, also ordered a 10 inch male to male fuel line and a connector to connect the fuel line to the subframe. If you recall it was to short!!
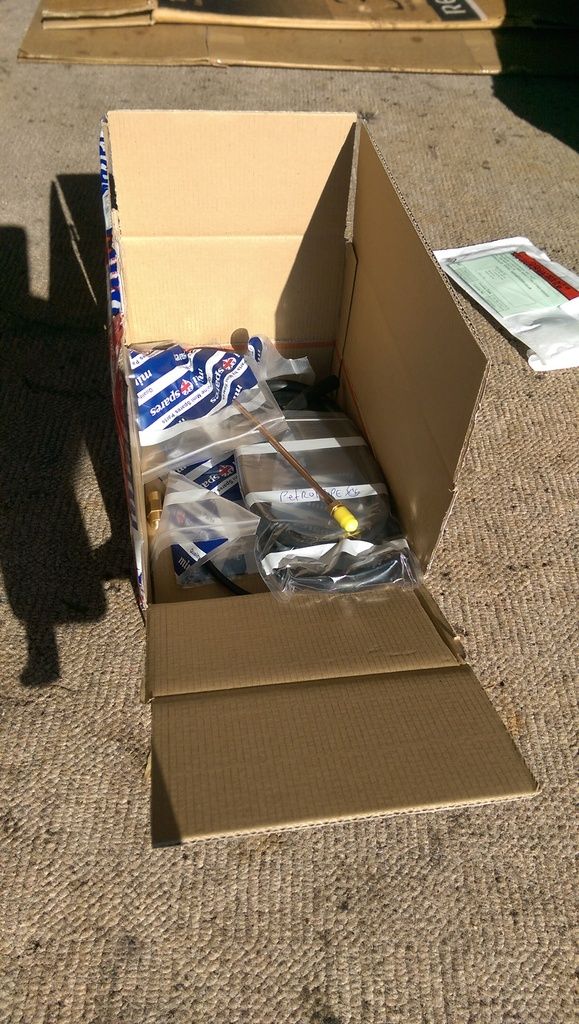
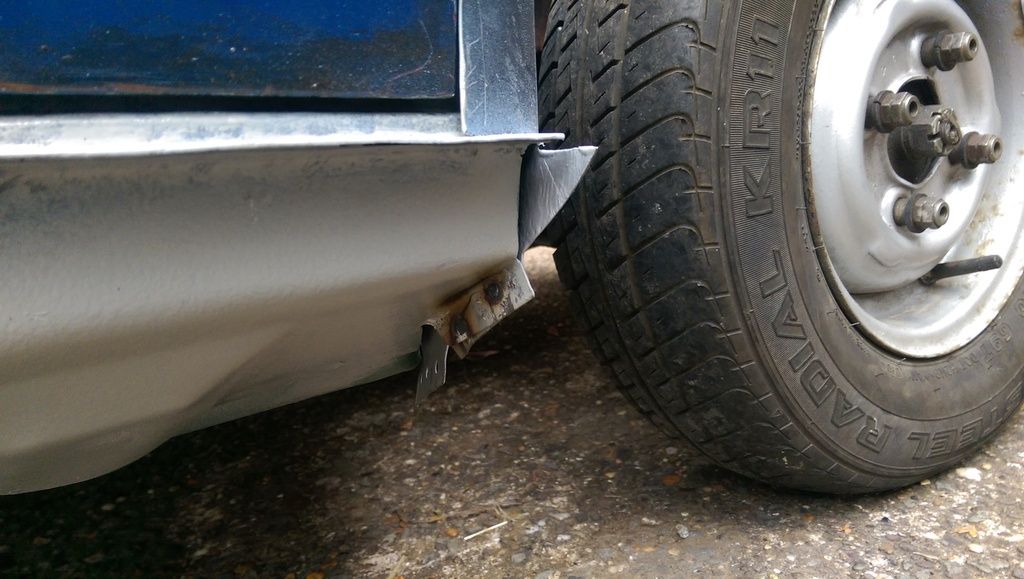
So the first job was to connect up the fuel line but whilst I was under the car I noticed that when we fitted the subframe the Exhaust Bracket was wedged up against a part of the boot floor, no wonder we struggled!!
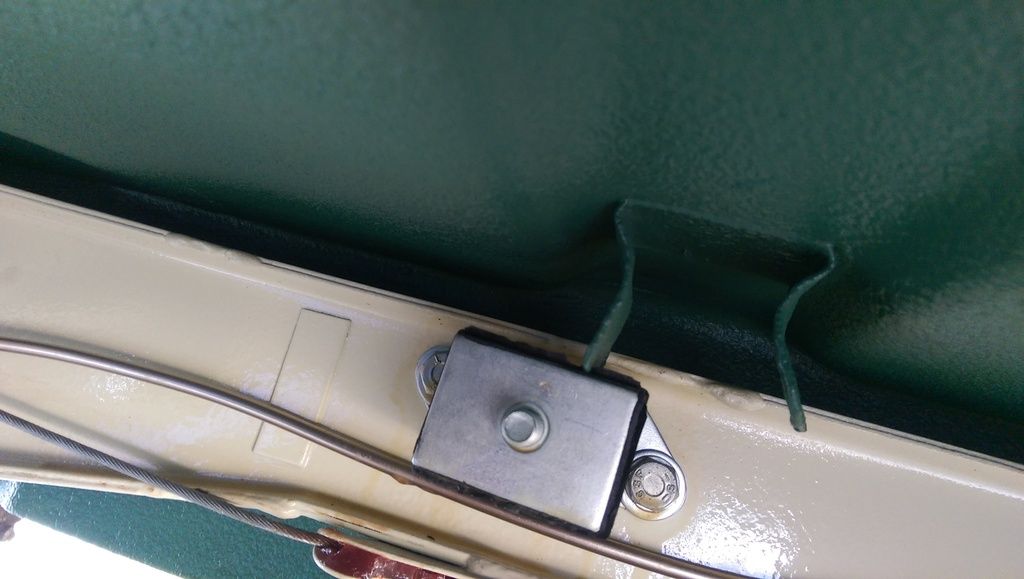
So I loosened off the bracket and bent the intrusion free.
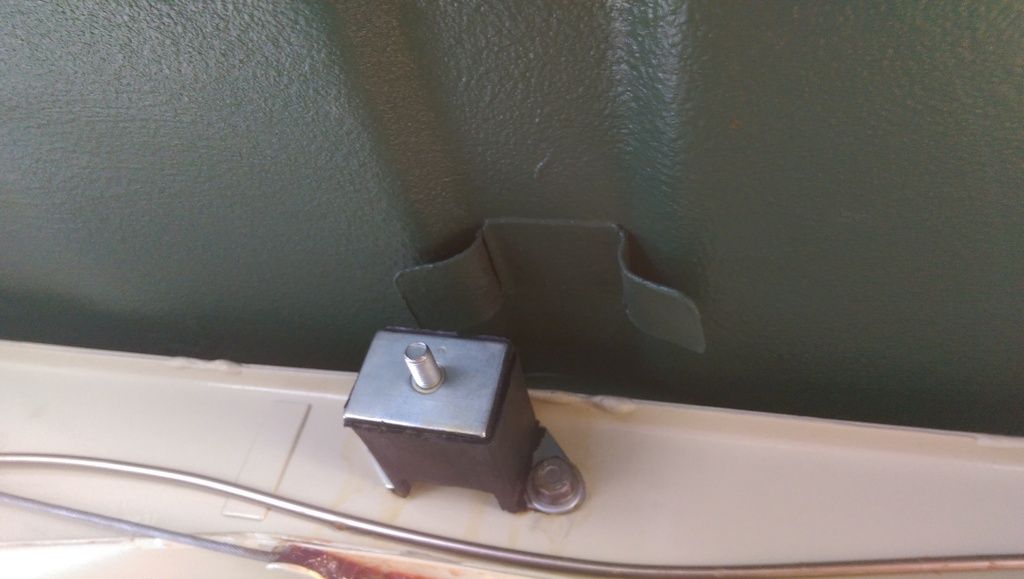
Next using an old piece of fuel line to get the shape correct I bent up the new fuel line using a broom handle and connected up the the subframe. to be honest I wish I had renewed the hole front to rear as I spotted that the rear of the thread on the male connector at the end of the fuel line that sits outside of the join is a tad rusty :-( (add it to the list for follow on jobs).
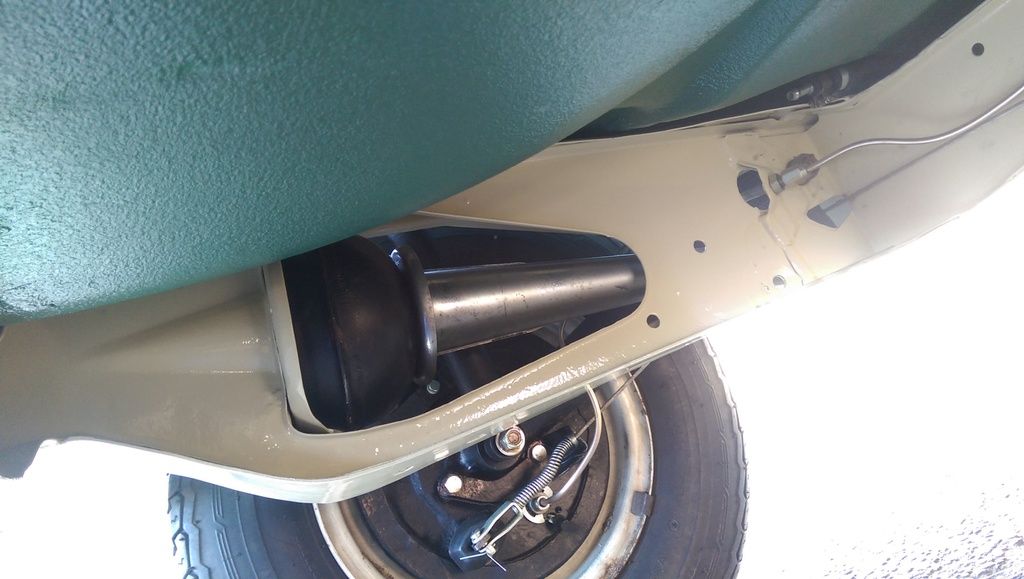
Whilst I was underneath I was admiring my refurbished subframe so too a photo, it's a shame but you can't see all the hard work from the outside of the car :-(
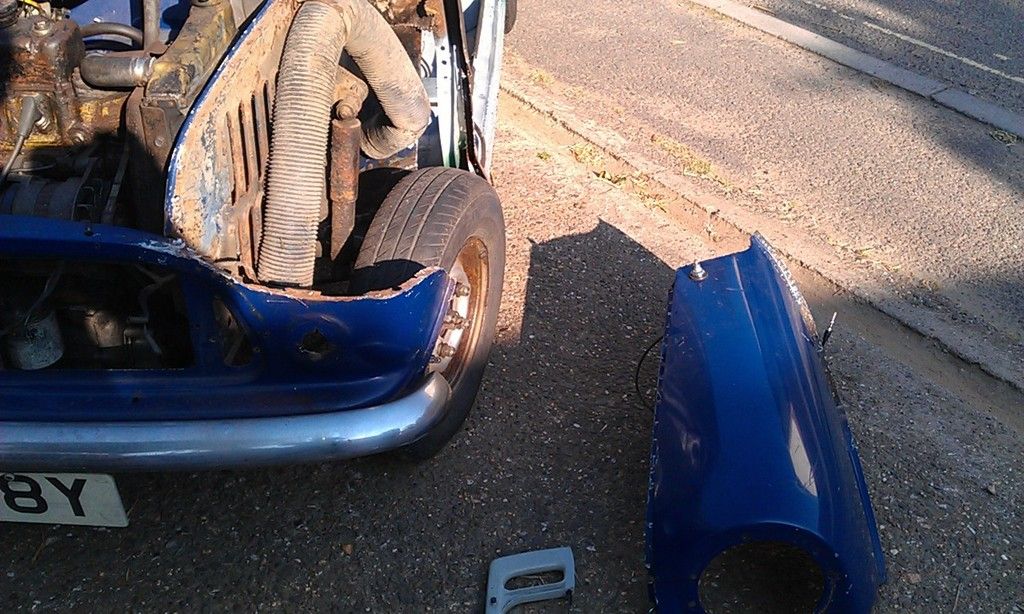
So here's a shot of the car showing the repairs left to do on the front end:
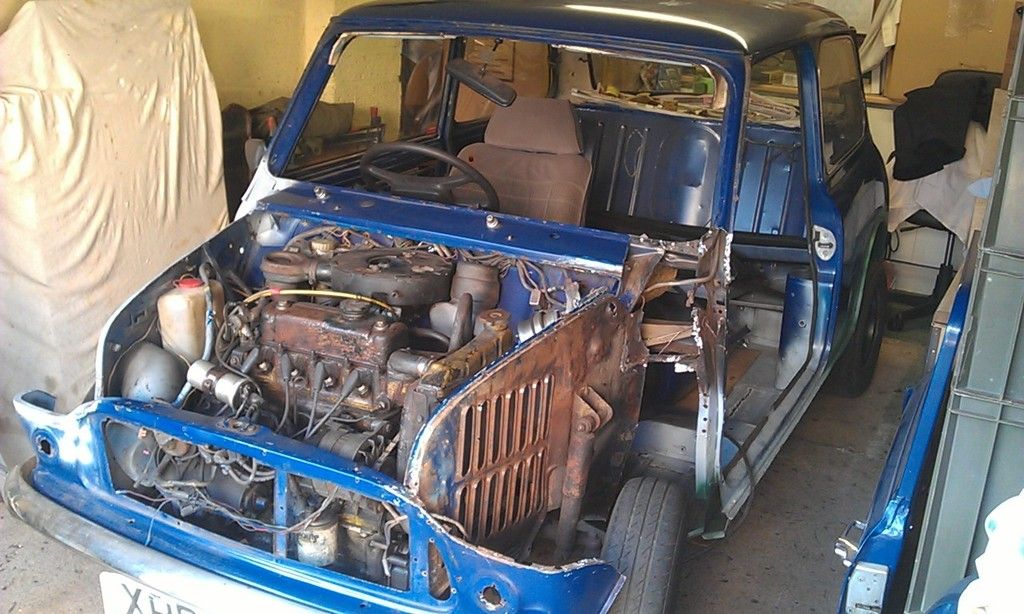
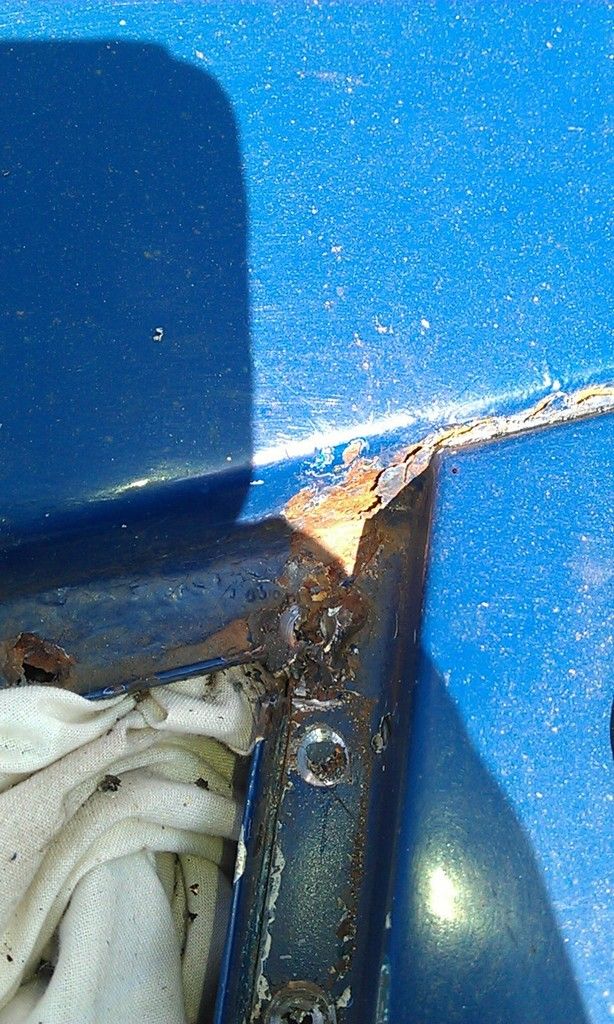
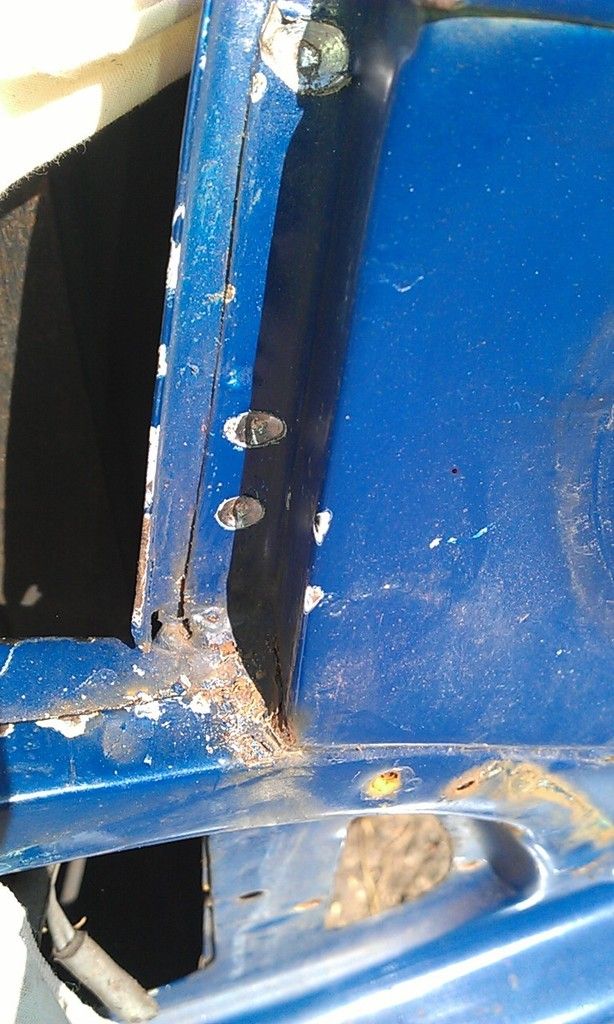
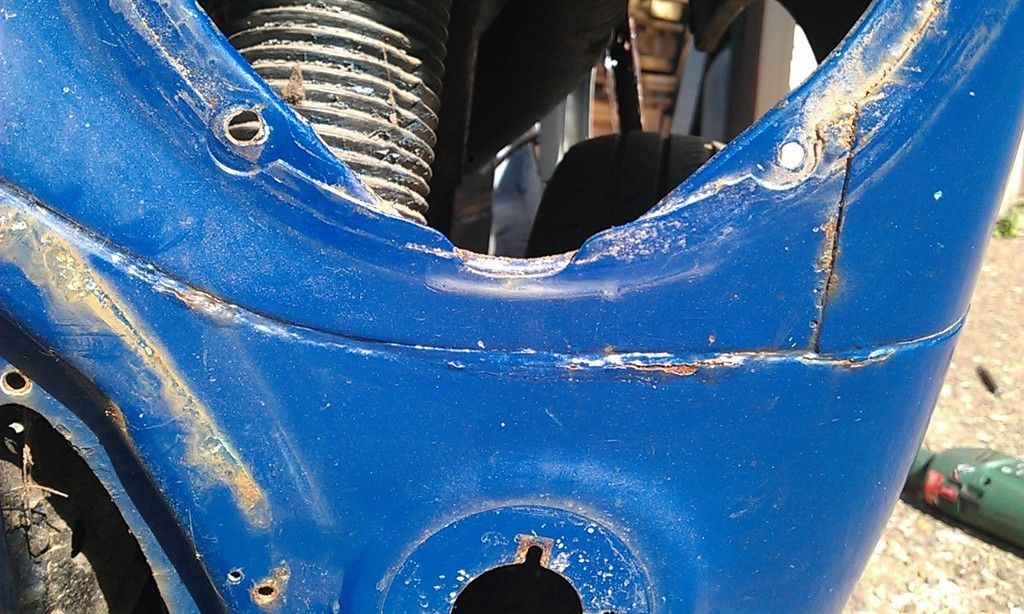
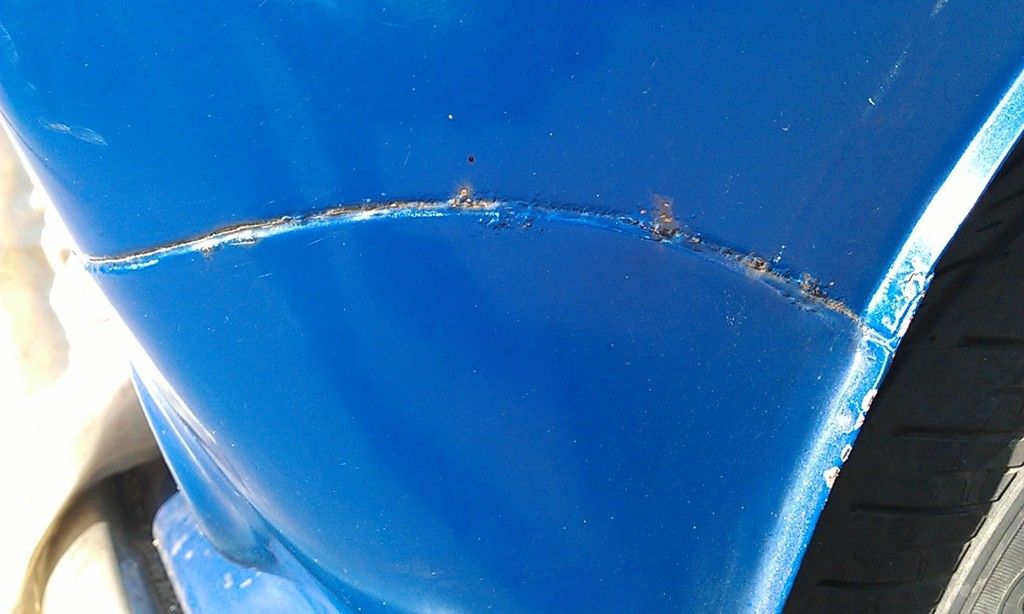
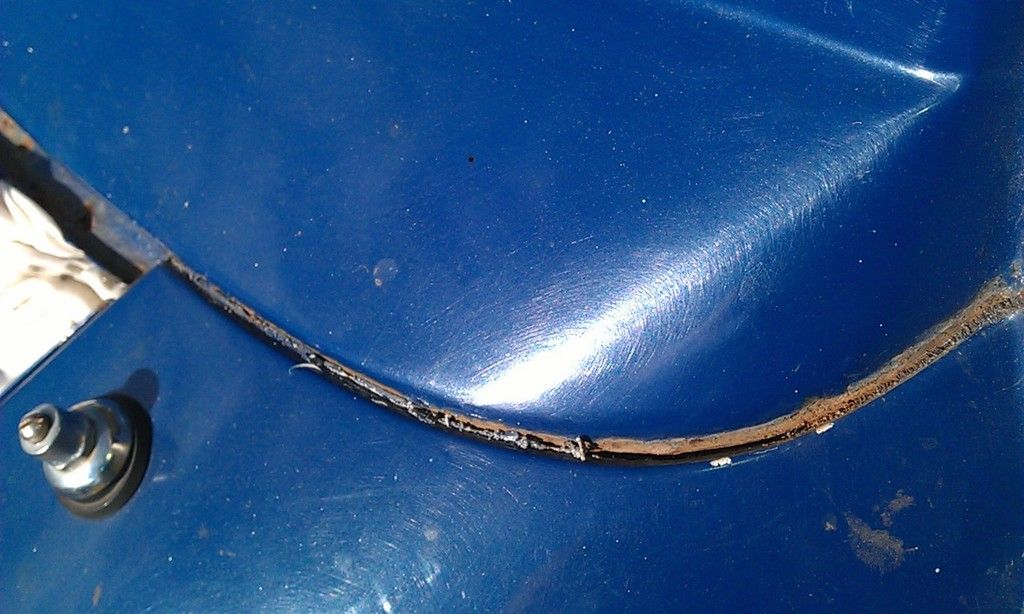
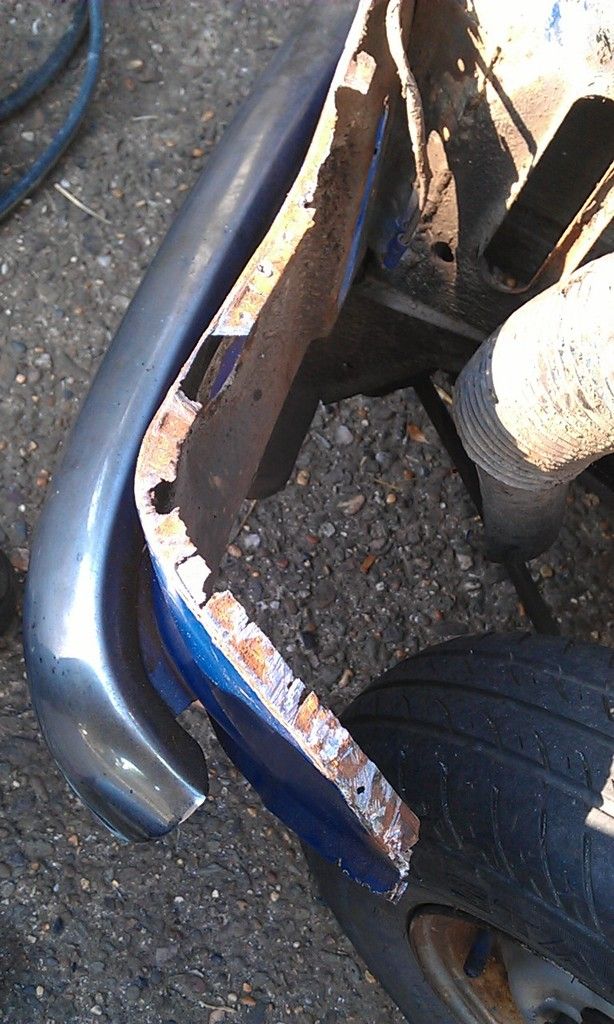
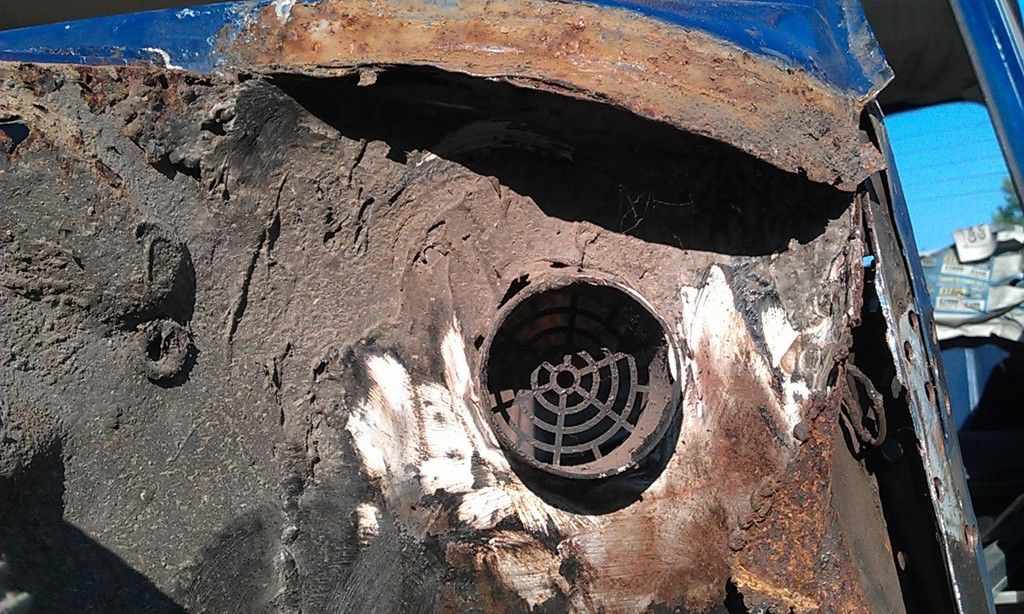
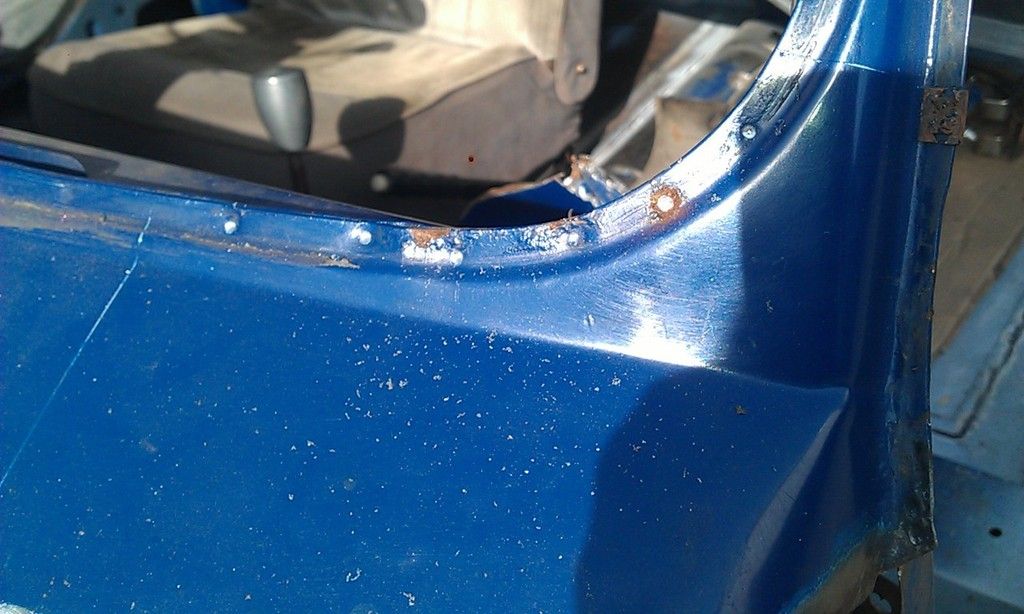
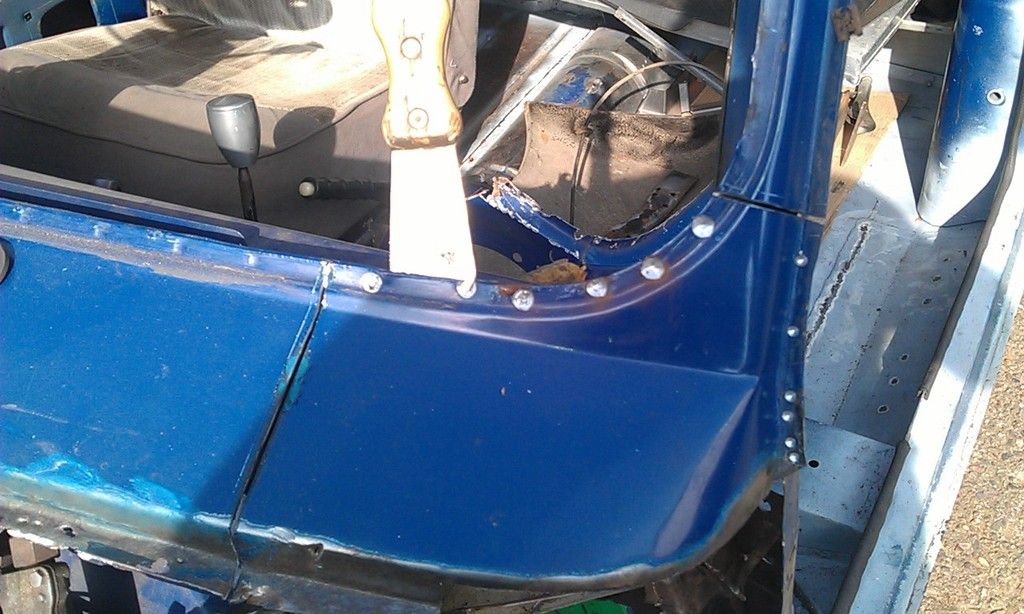
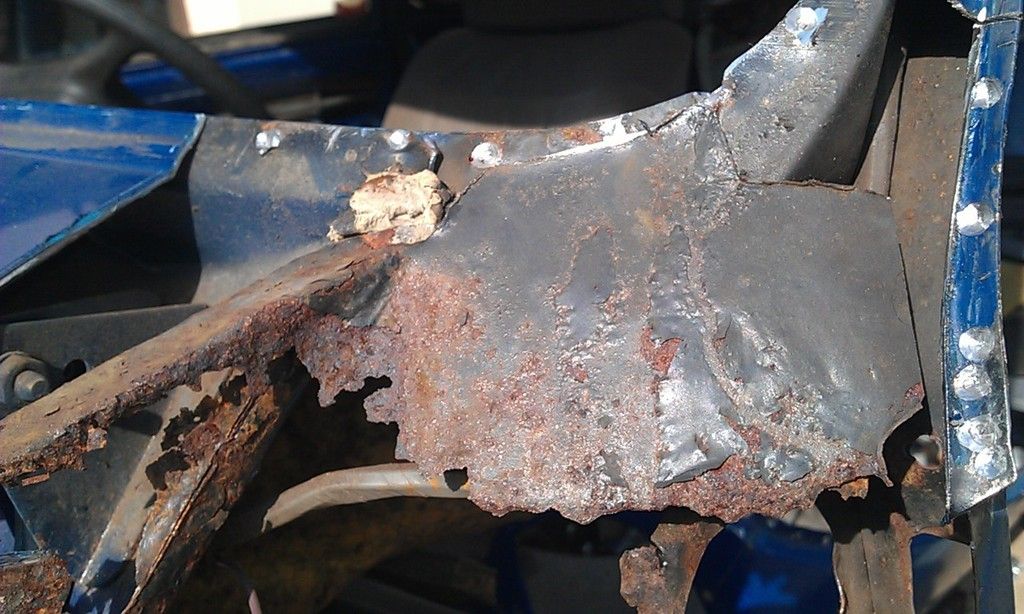
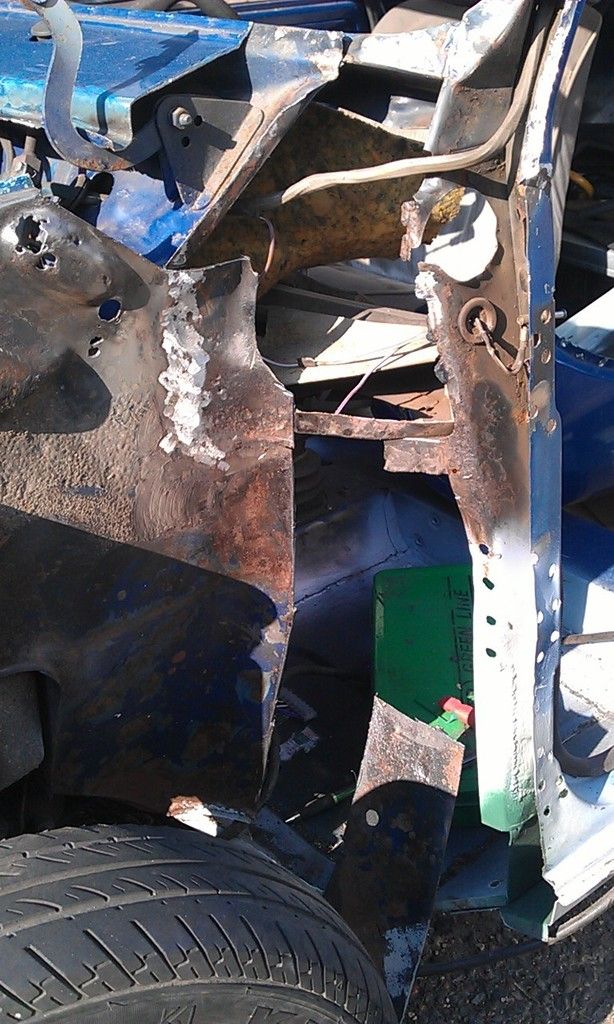
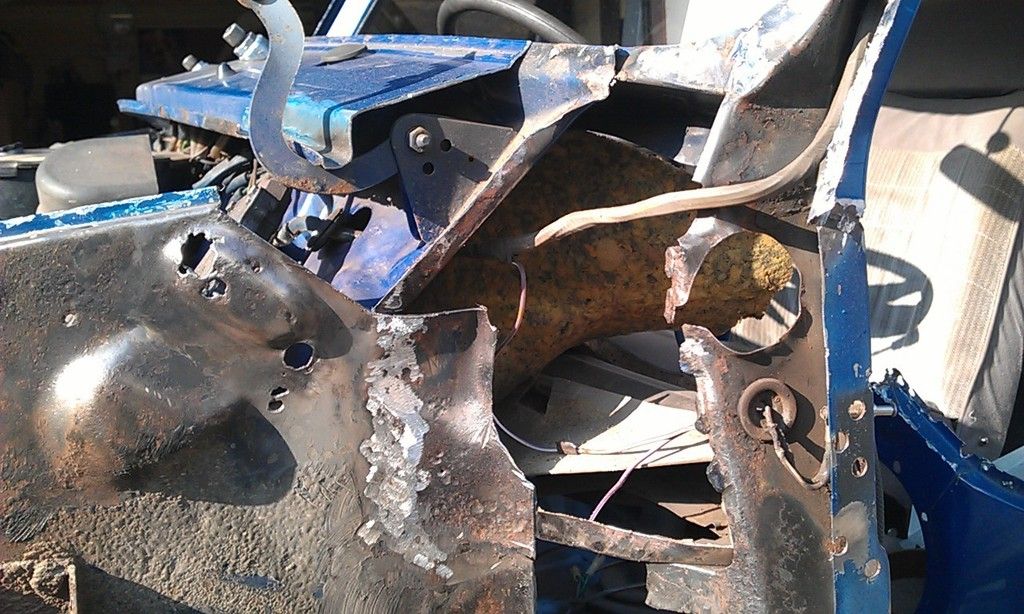
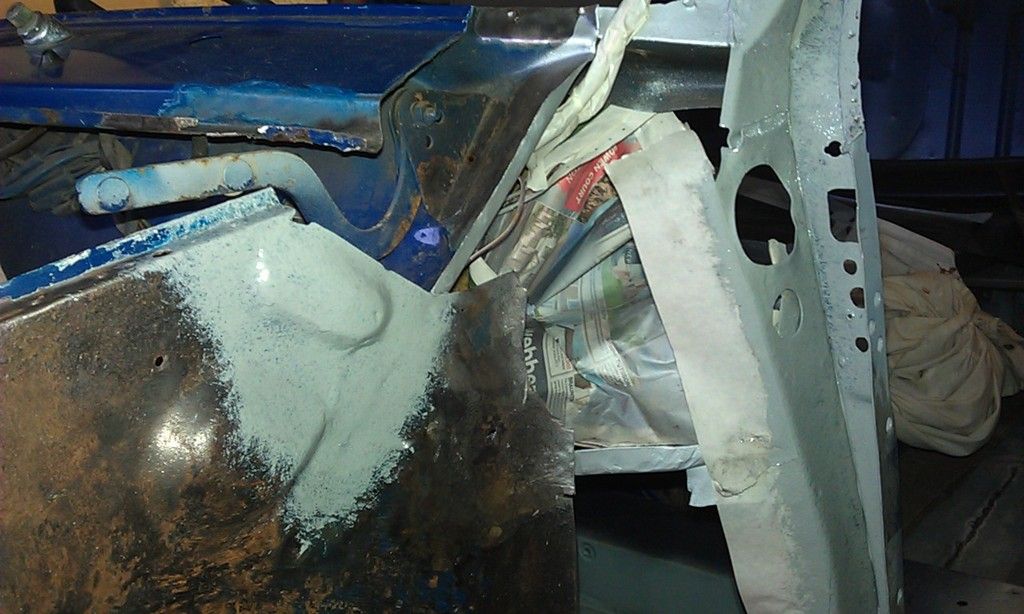
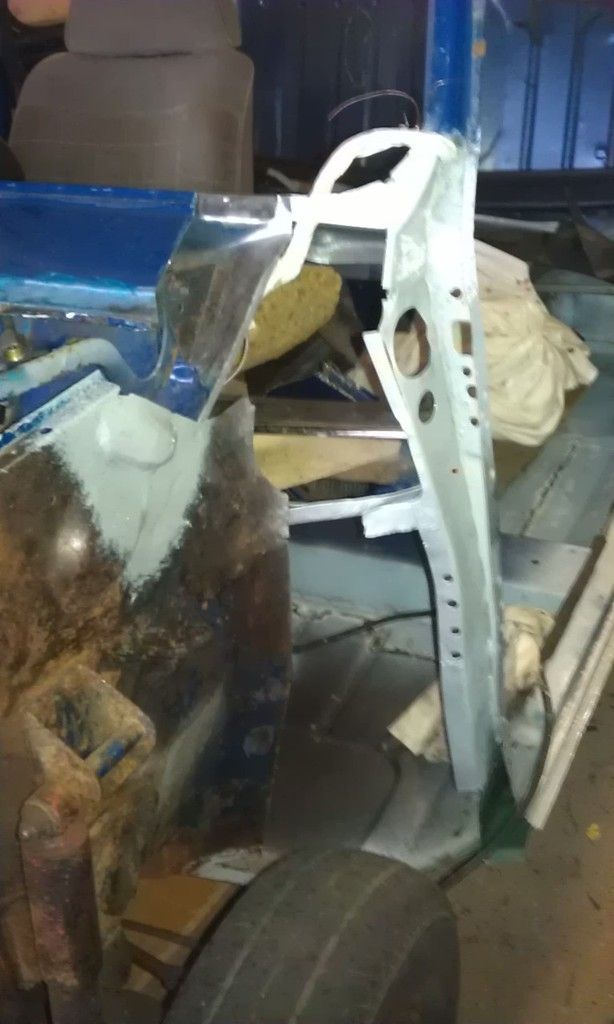
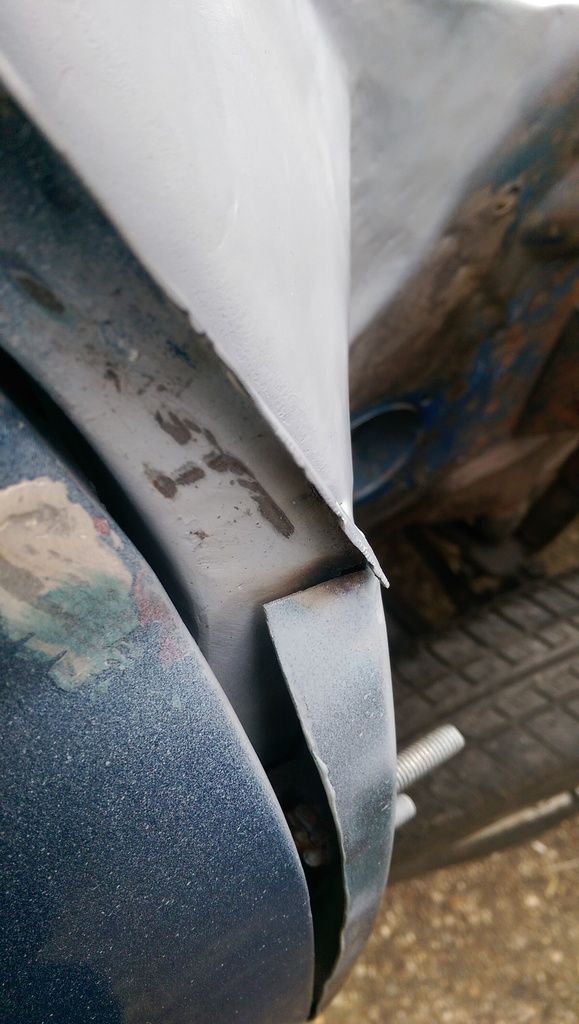
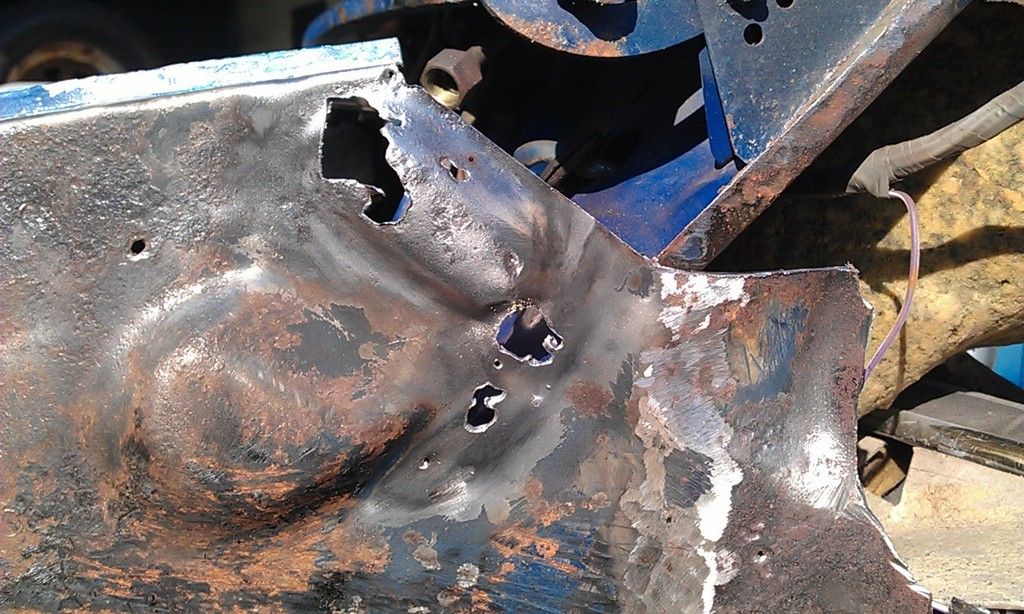
I cleaned up the areas of rot on on the inner wing and removed the Windscreen Wiper Motor to get at the inside. I then contemplated how to tackle them?
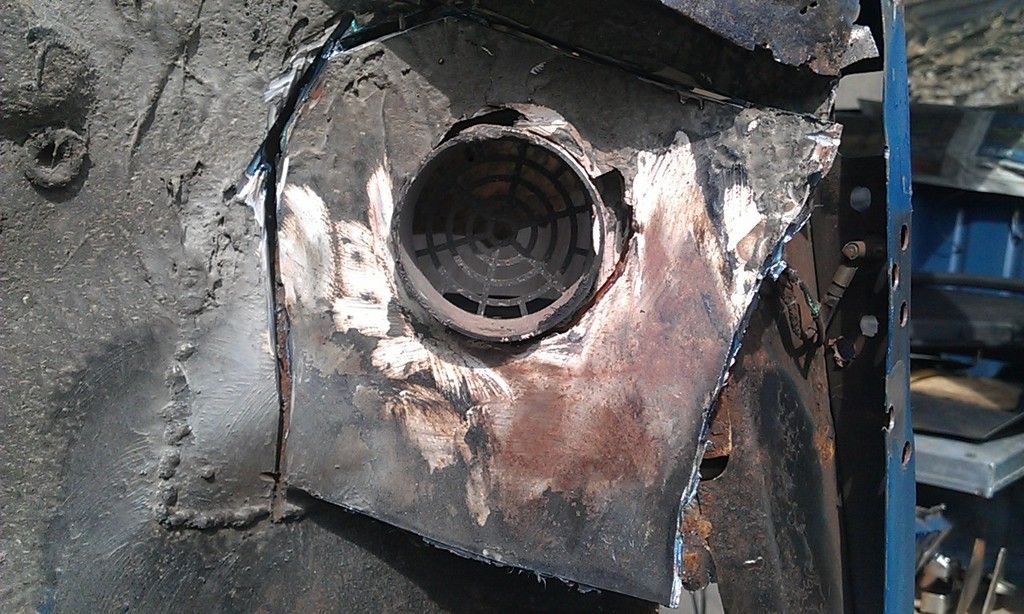
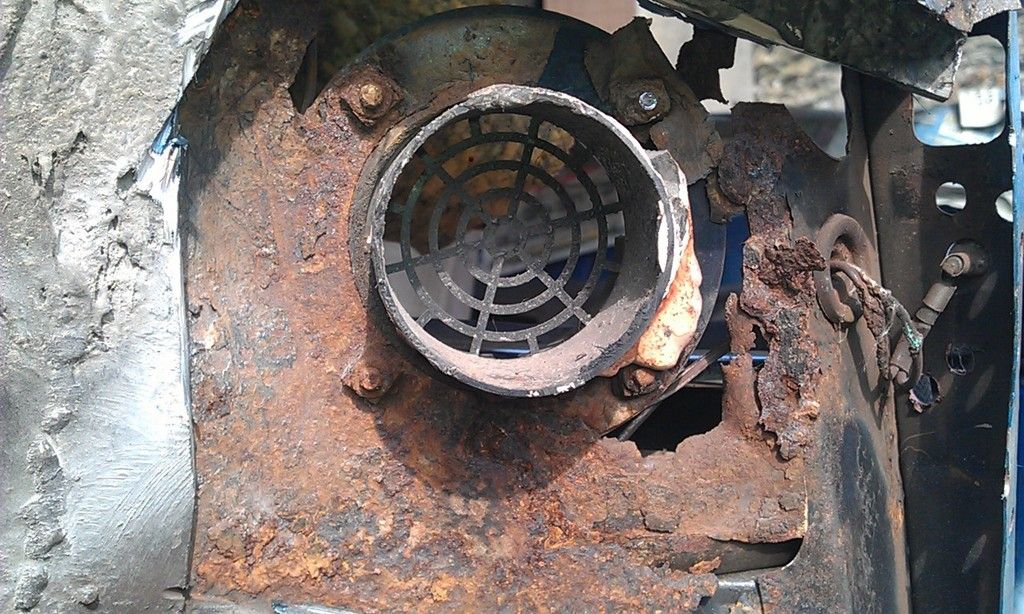
Outside:
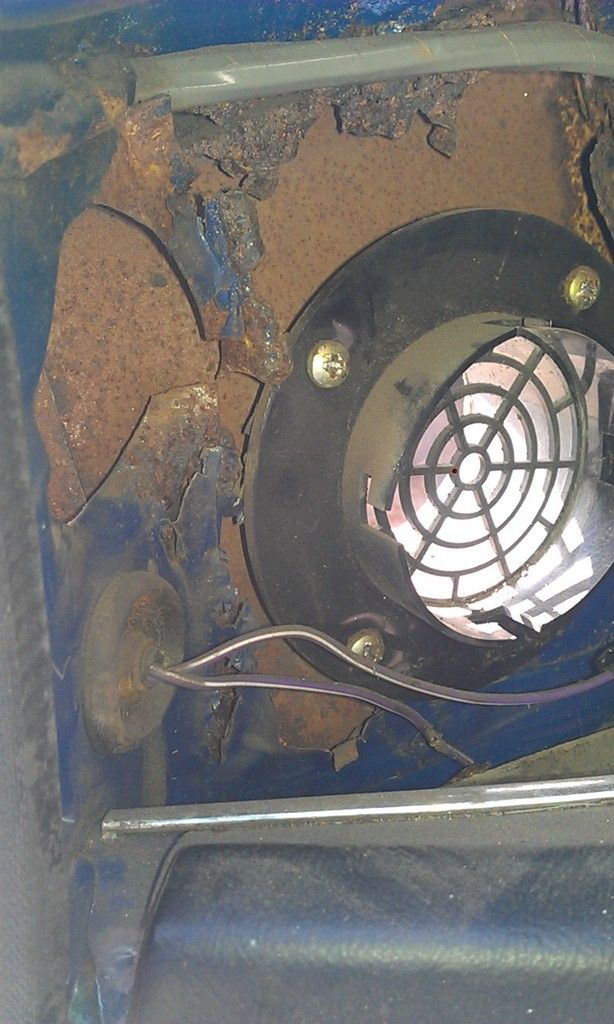
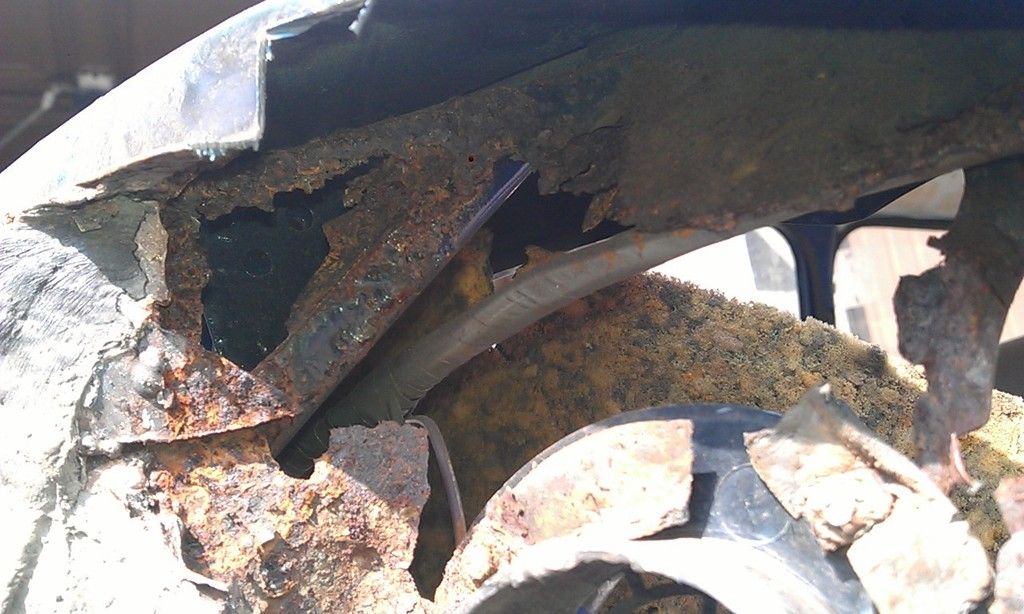
Inside:
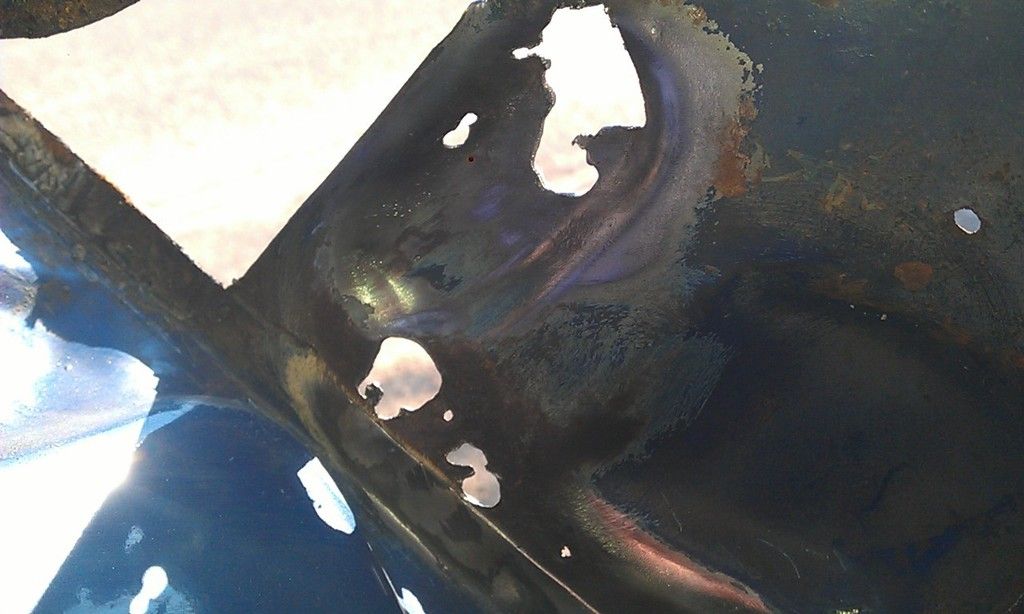
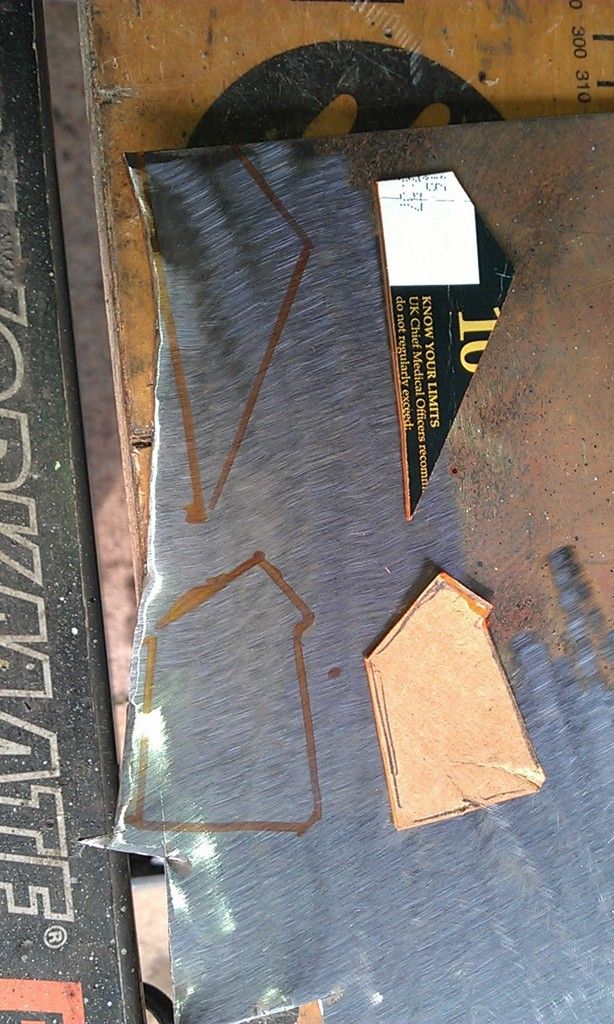
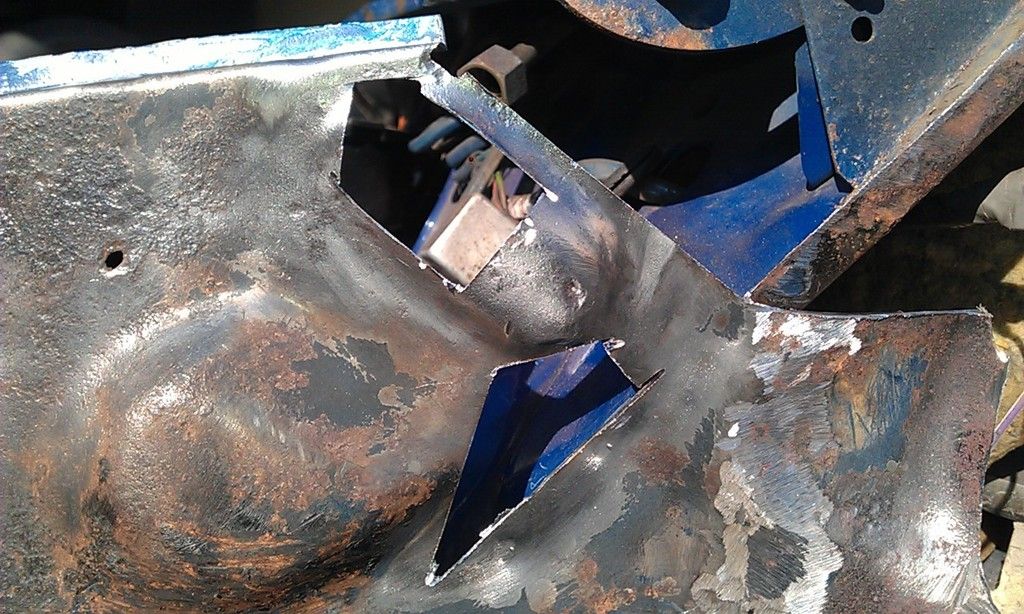
After a short think and a Cup of Tea, I made some marks and the cut out what I thought I should:
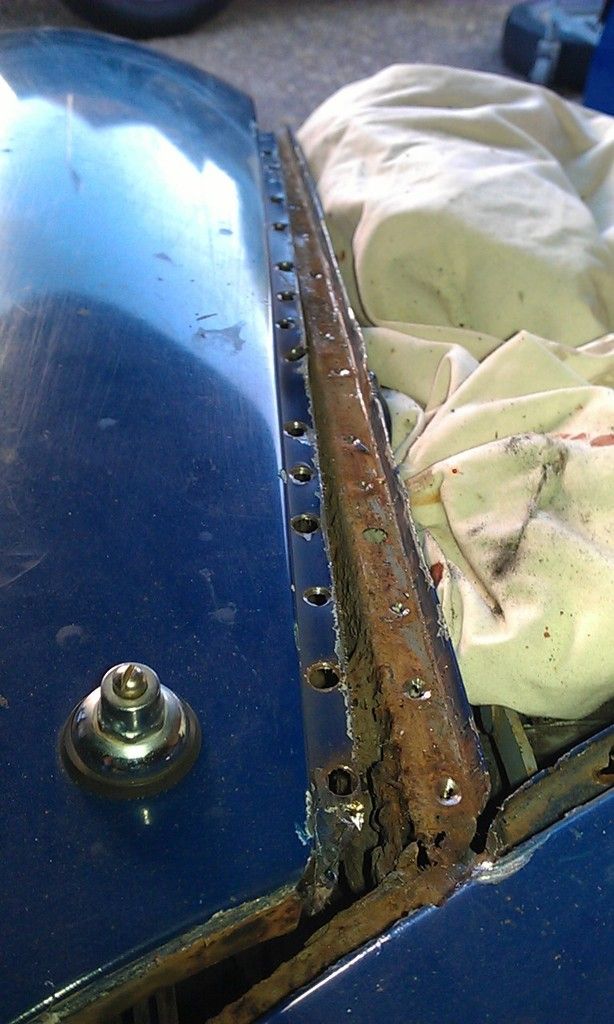
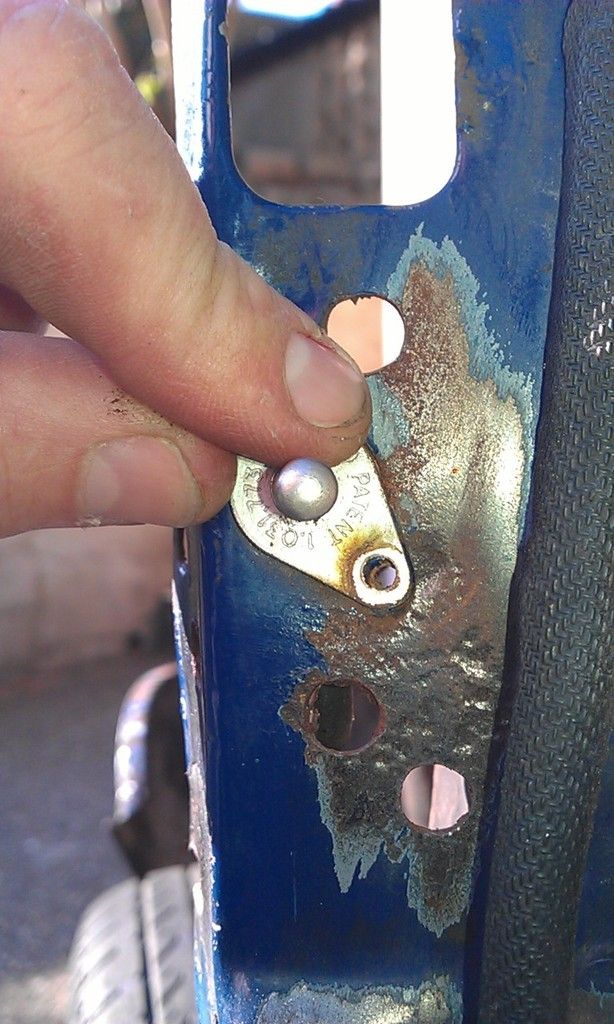
Then I started on the A Post, I removed the light switch (this pic is more for reference than anything:
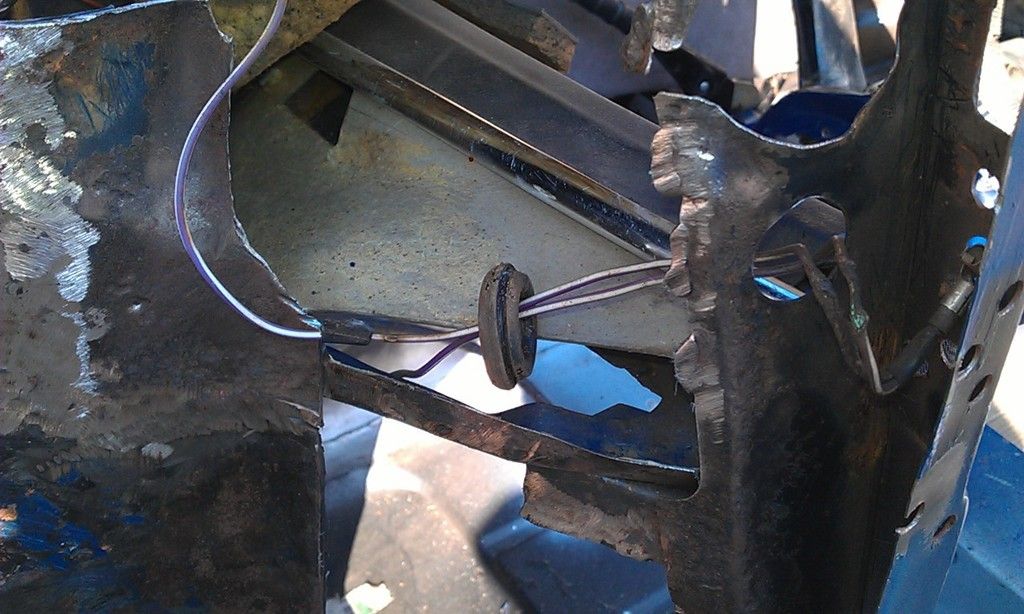
Removed the bung and wiring:
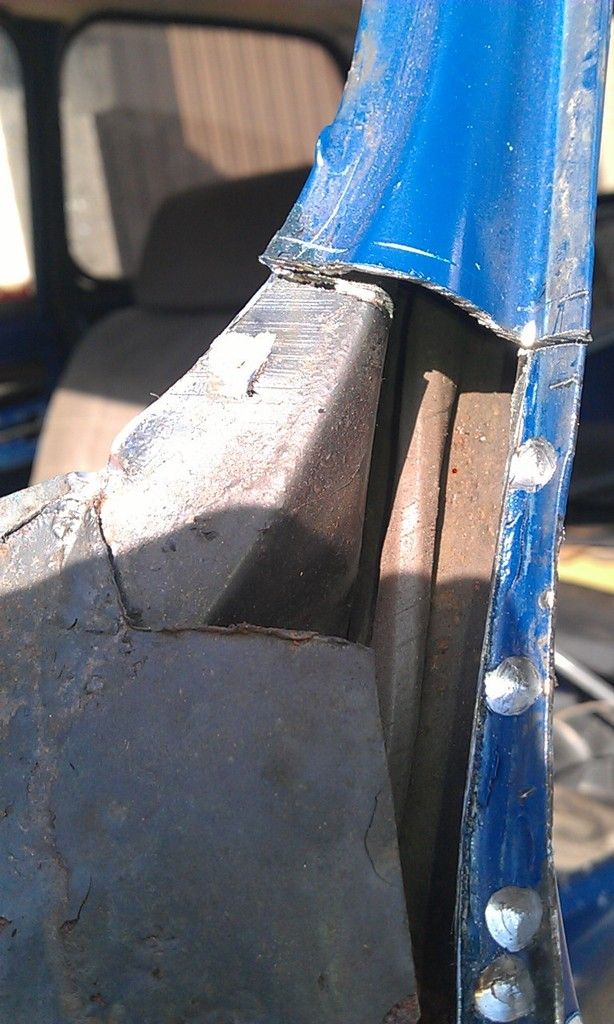
The only piece of the A Post left to repair at the top was the outer edge of the Door Stop Recess, so I mesured up and made a filler piece:
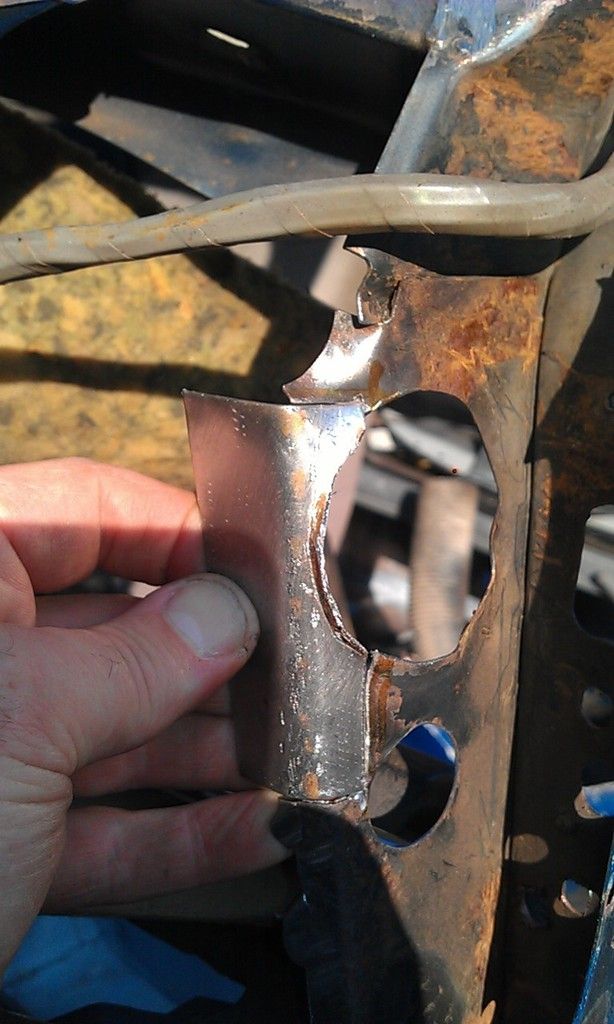
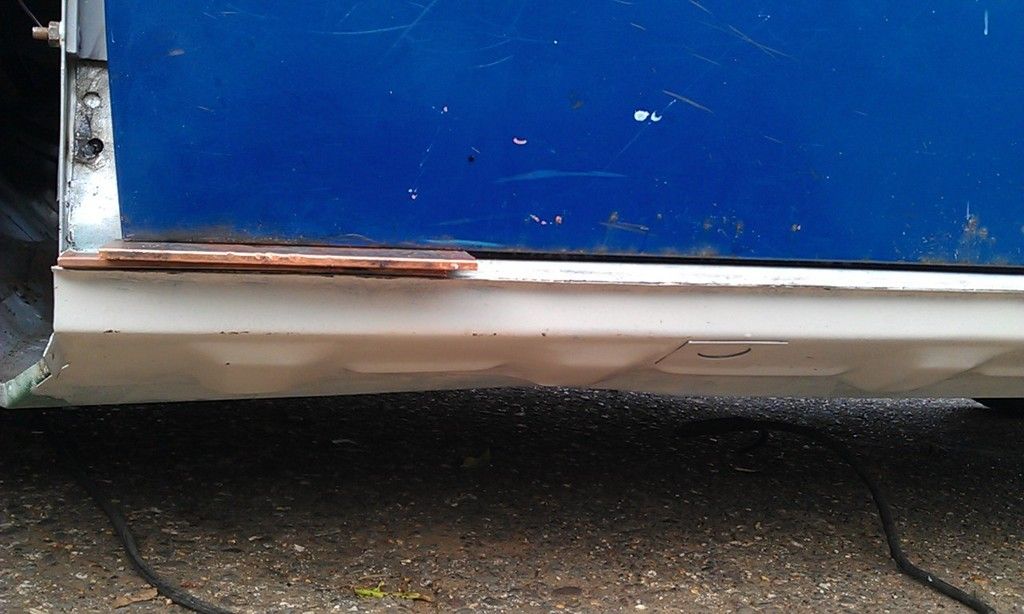
Cleaned up and clamped in with some copper backing to spread the heat:
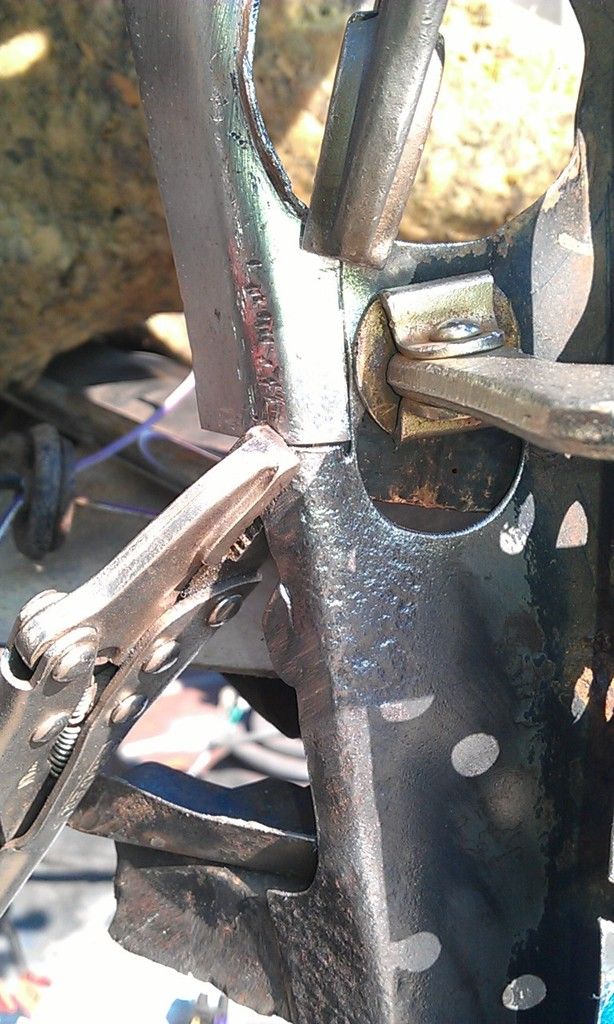
Couple of tacks:
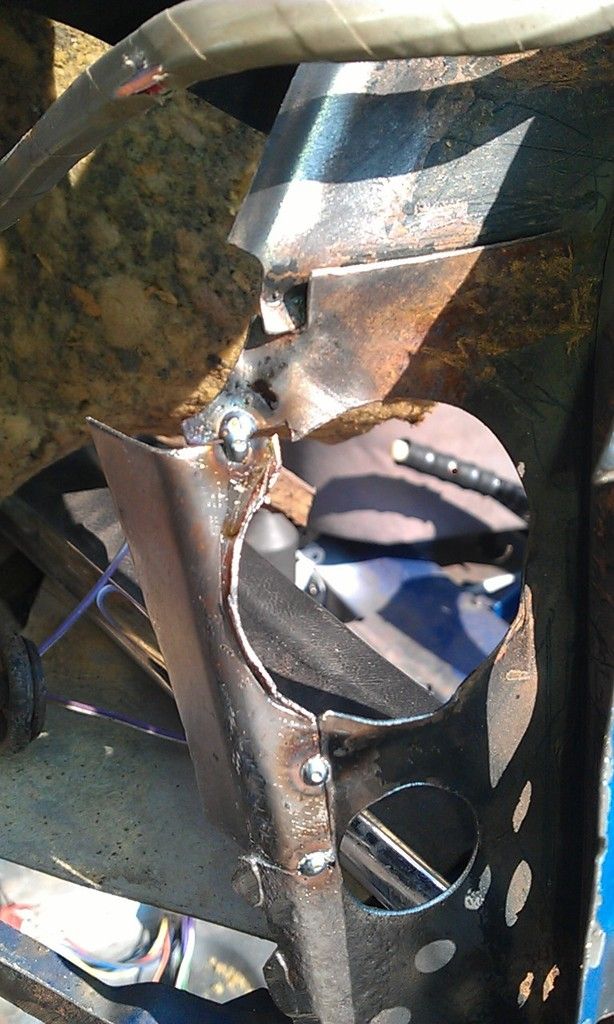
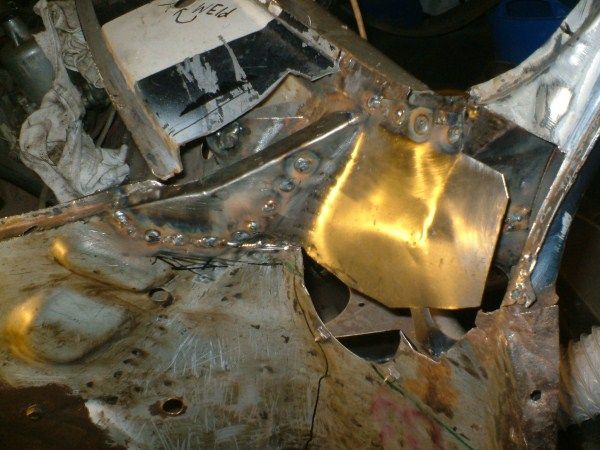
Welded in:
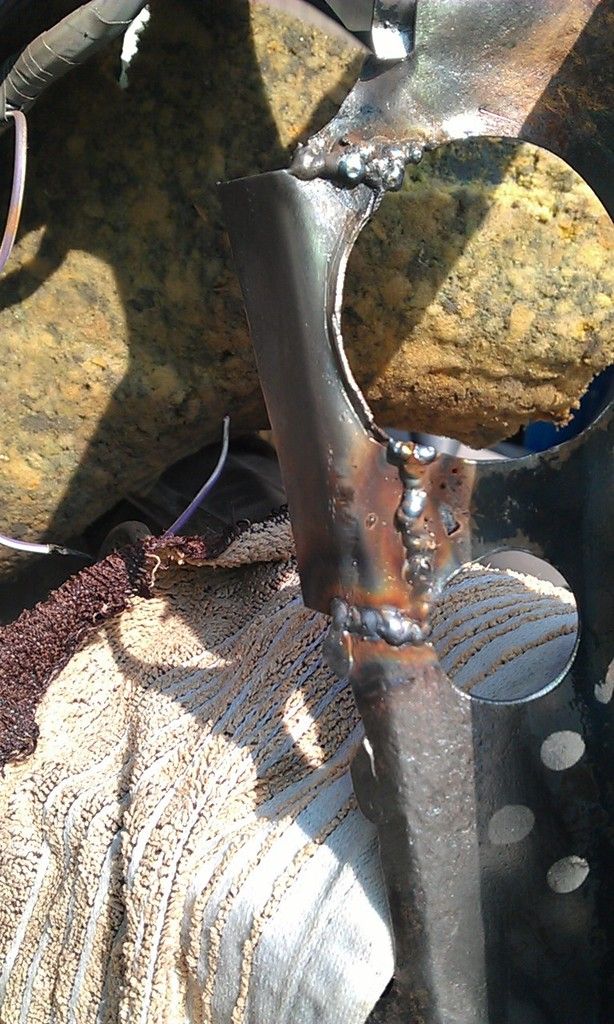
Finally cleaned up and trimmed down:
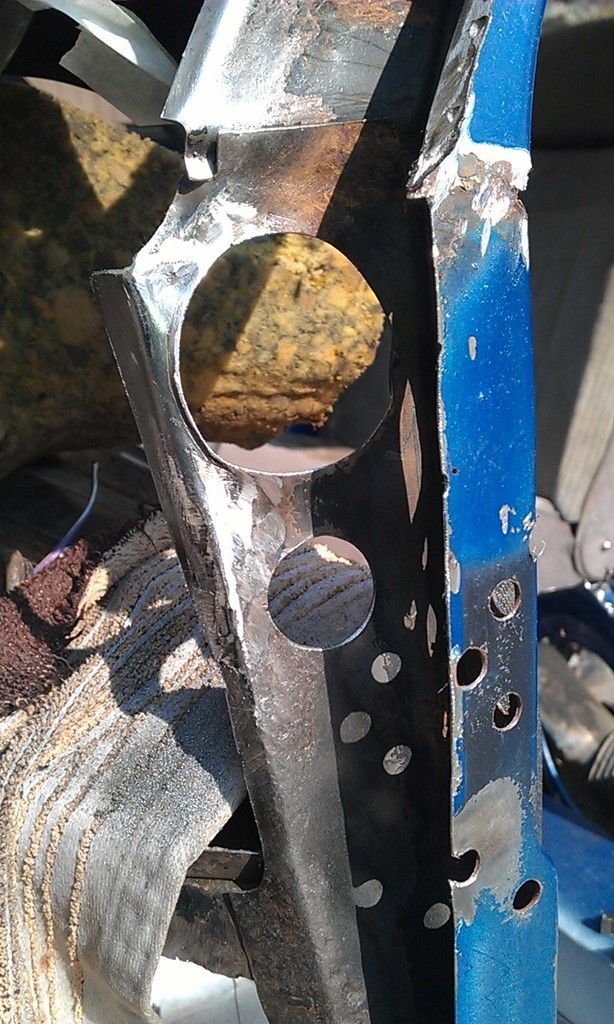
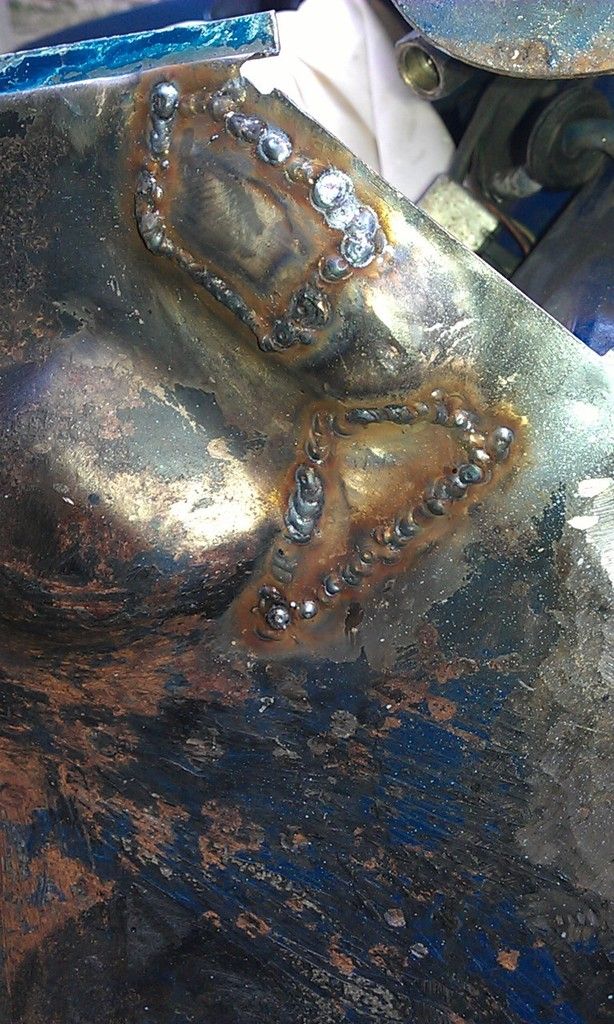
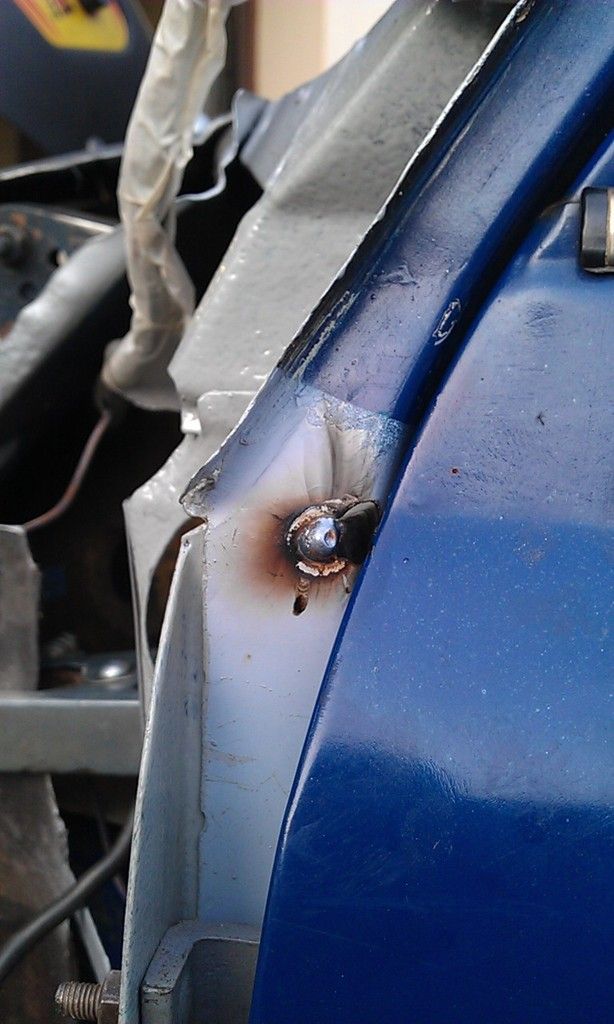
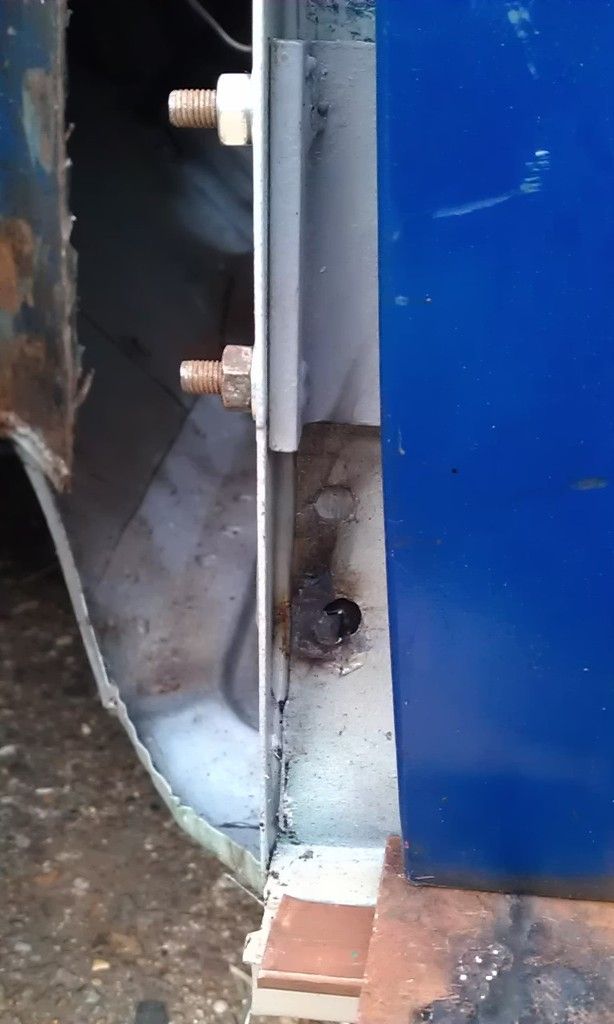
Next up I repaired a couple of spot weld drill holes that were close to the edge of the A Post, again using a copper backing which helps limit the weld on the reverse side:
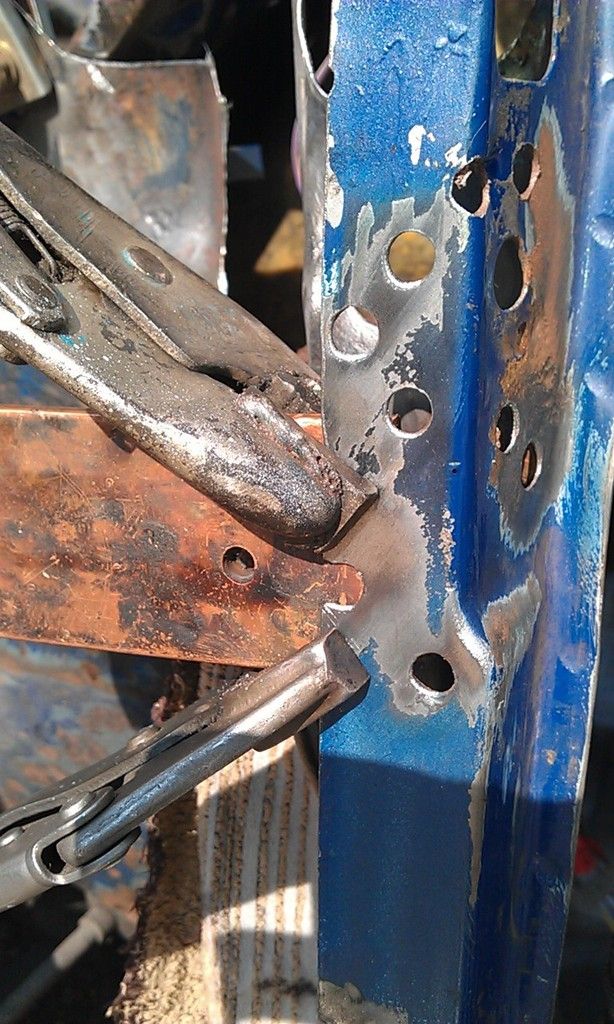
There are two repairs in this pic:
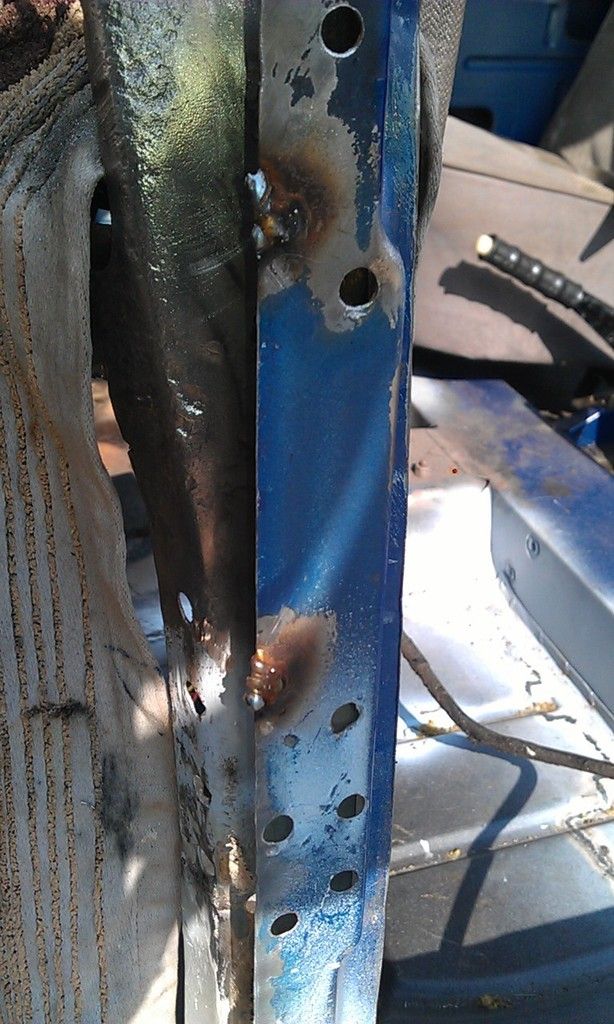
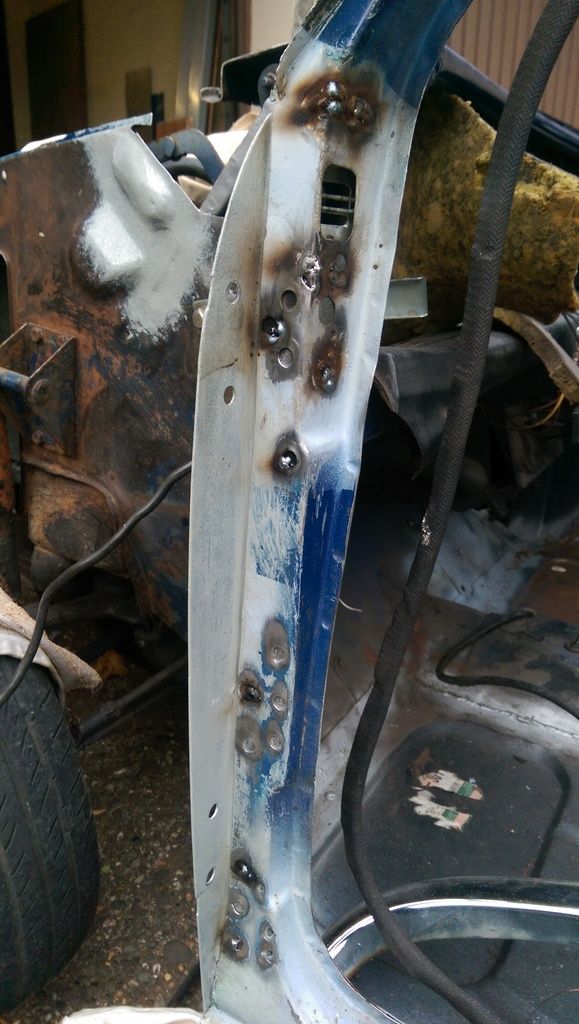
And all cleaned up with a Grinding Wheel, 60 / 80 and 120 Grit Flap Disk:
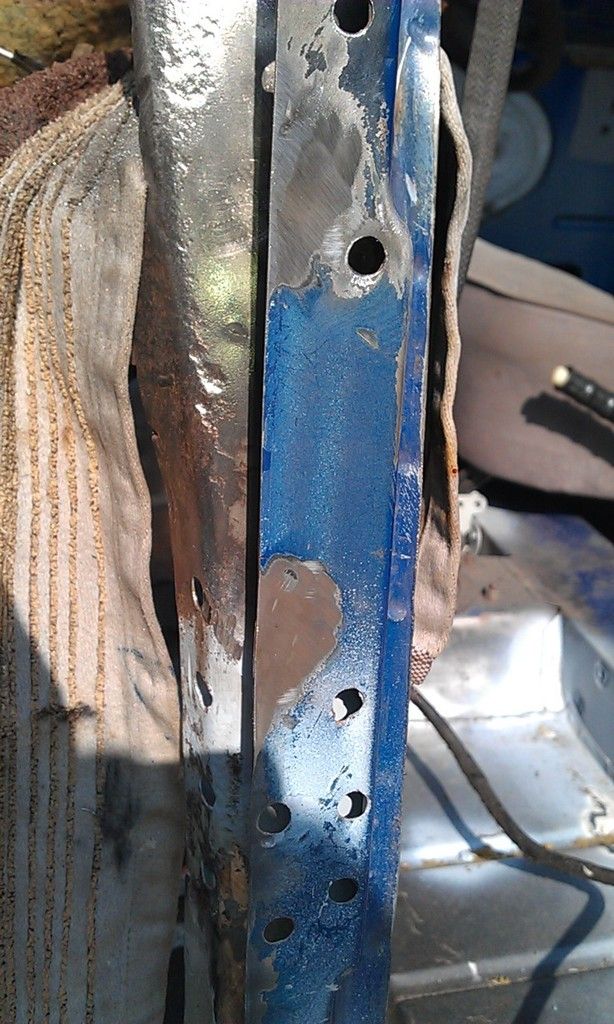
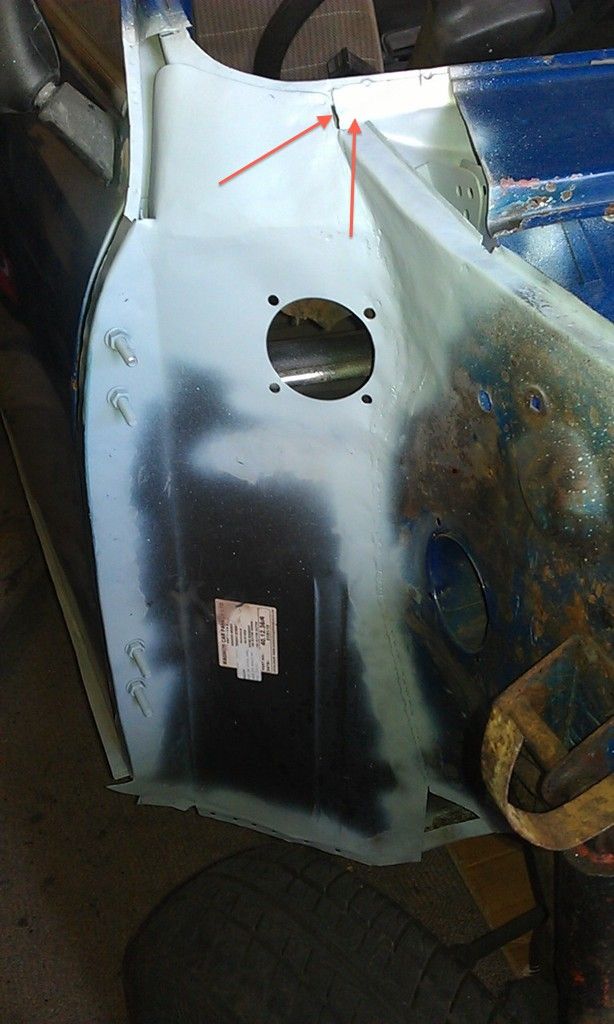
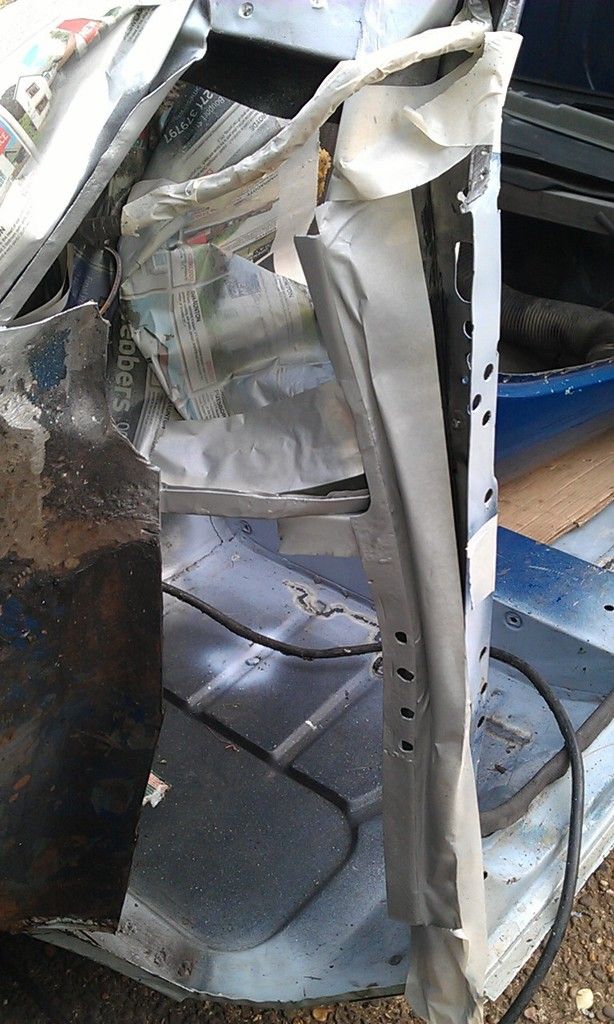
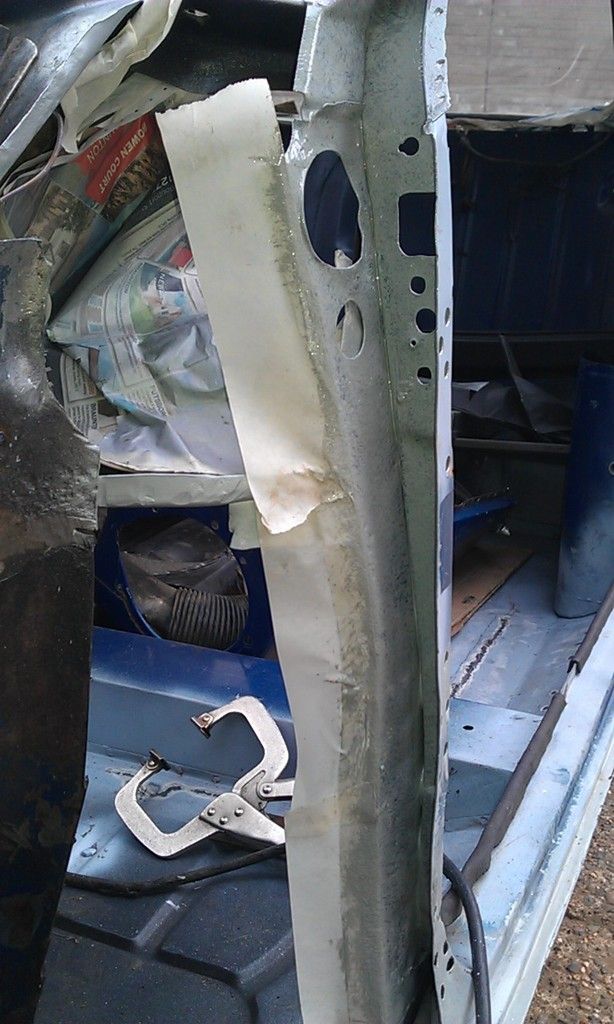
Next I spent quite a while standing and thinking (doing a lot of that lately), trying to decide what order to do next. Before I weld in the A Post Stiffener the inside of the A Post needs cleaning, de-rusting and painting with Epoxy Primer (as I did to the other side). I always seem to mix up too much so I was trying to work out what else to prep for painting? Also time was pressing and I didn't really have time to De-Rust the area with Deox Gel and paint it, so all I ended up doing I did was do some mechanical rust removal.
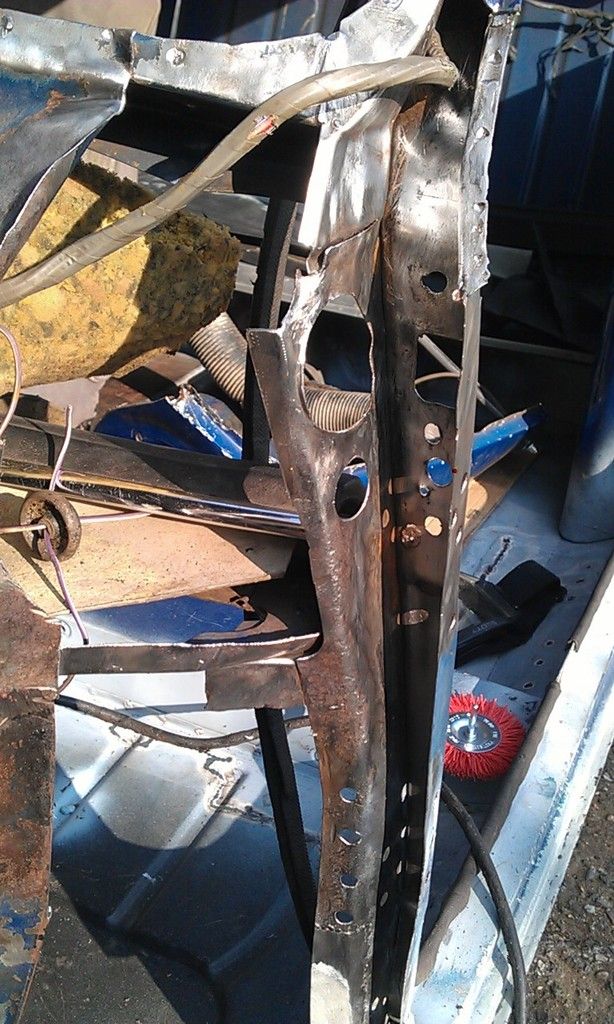
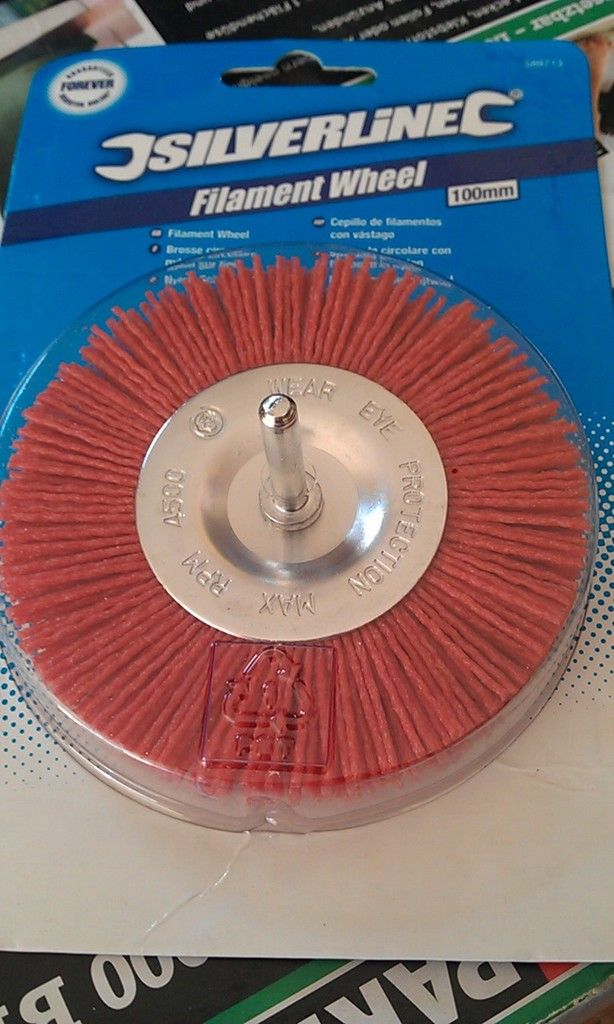
Also bought a Silverline Fiilament Brush attachment for getting into the knooks and cranys of the A Post, as recommended by Ben_O 
![]() ) YIPPEEE
) YIPPEEE