Jump to content


Photo
- - - - -

1982 Austin Mini - Project Who?


  • Please log in to reply
852 replies to this topic

#361 JonnyAlpha

JonnyAlpha

    Up Into Fourth

  • Members
  • PipPipPipPipPipPipPipPipPip
  • 2,748 posts
  • Location: North Devon
  • Local Club: Exmoor Minis

Posted 28 August 2015 - 07:00 PM

Last few days before I go back to work next week, I was going to start re-building my shed but the missus took the car to work so sadly I could not buy any materials so back in the garage :-)


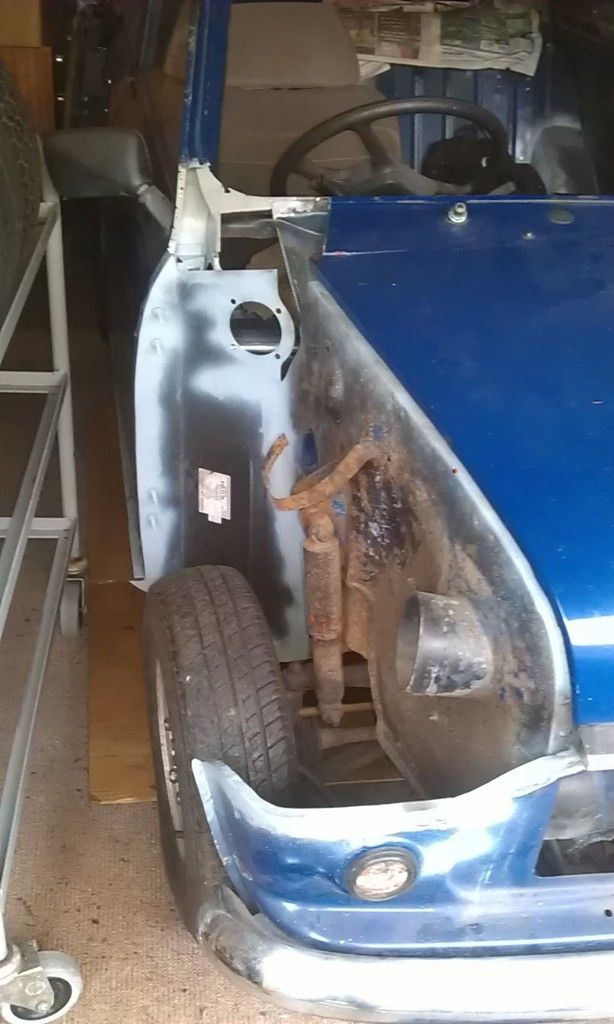
After getting the mini out of the garage, because I can now!! I looked at it for ages trying to work out what bit to do next, start dismantling the LH front end or start rebuilding the RH front end. In the end to keep up the motivation I decided to start putting the RH front back together.


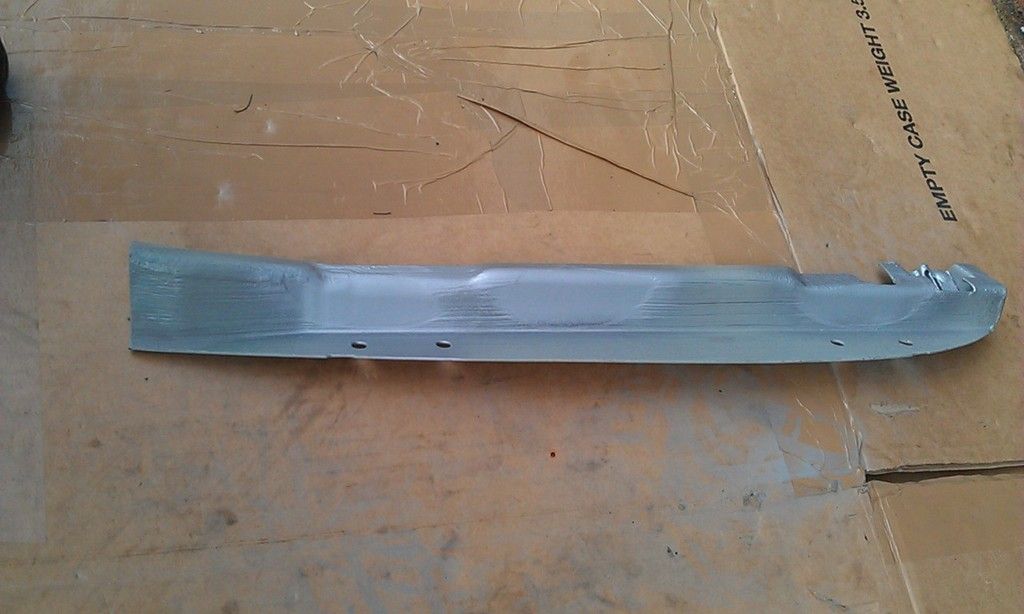
First I test fitted the A Post Stiffener and marked the spot weld hole then I cleaned off the paint and sprayed on some Weld Through
 

IMAG0913_zpszmgdwuar.jpg


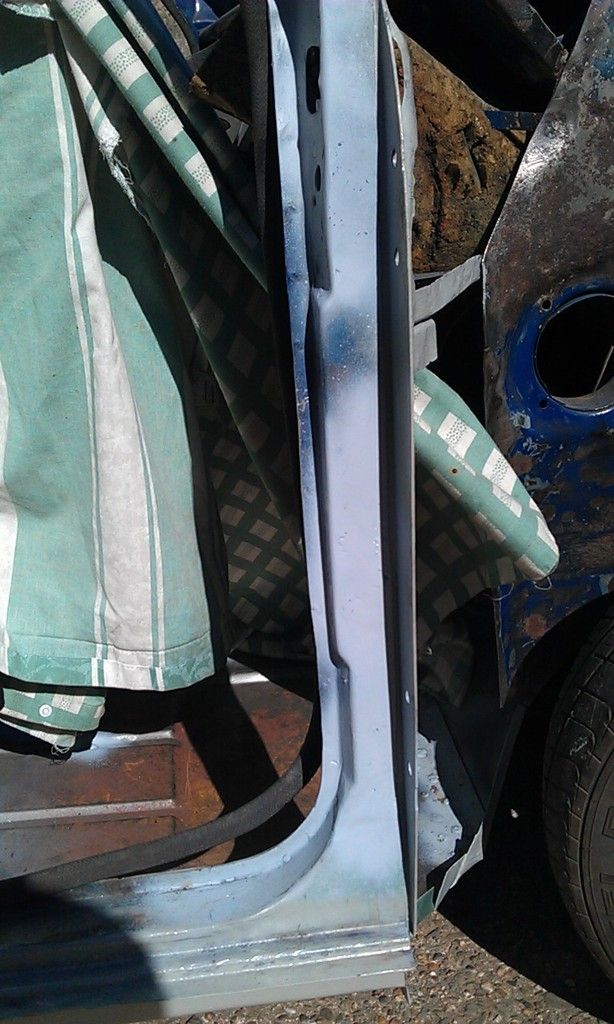
Next I cleaned up the door post surround:
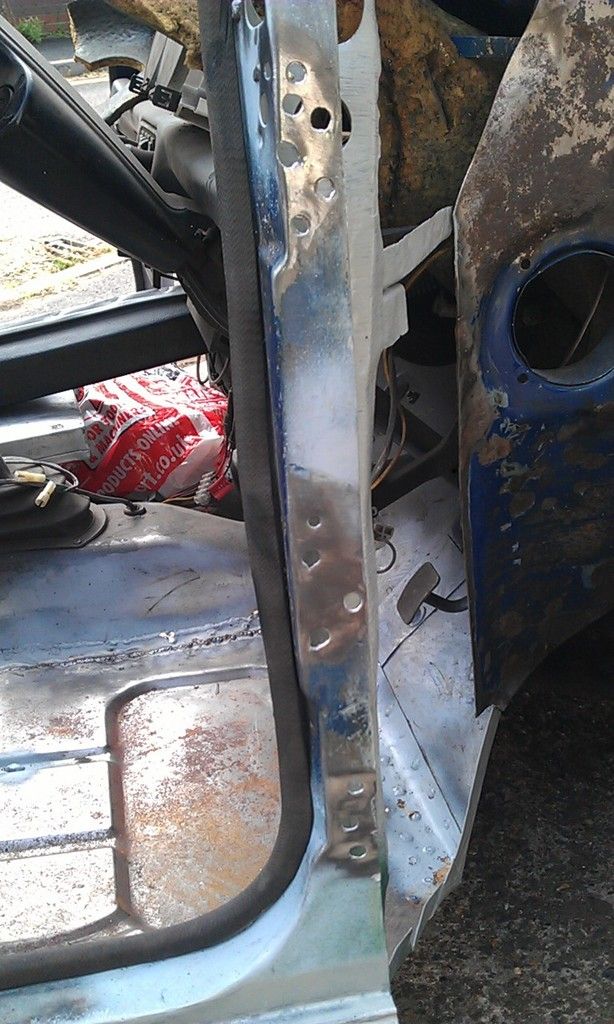
 

IMAG0914_zpsqw492oyi.jpg


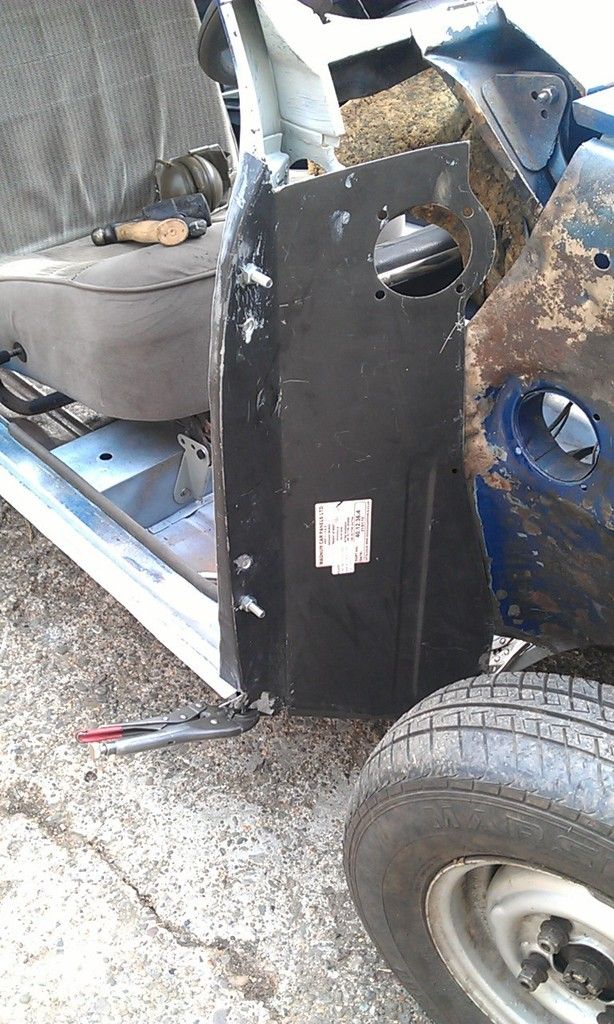
Then I test fitted the Flitch:


IMAG0915_zpsxi1us9r0.jpg


Then I fitted the door to make sure the A Post Stiffener was in the correct place, I used a bolster to set a gap on the bottom:
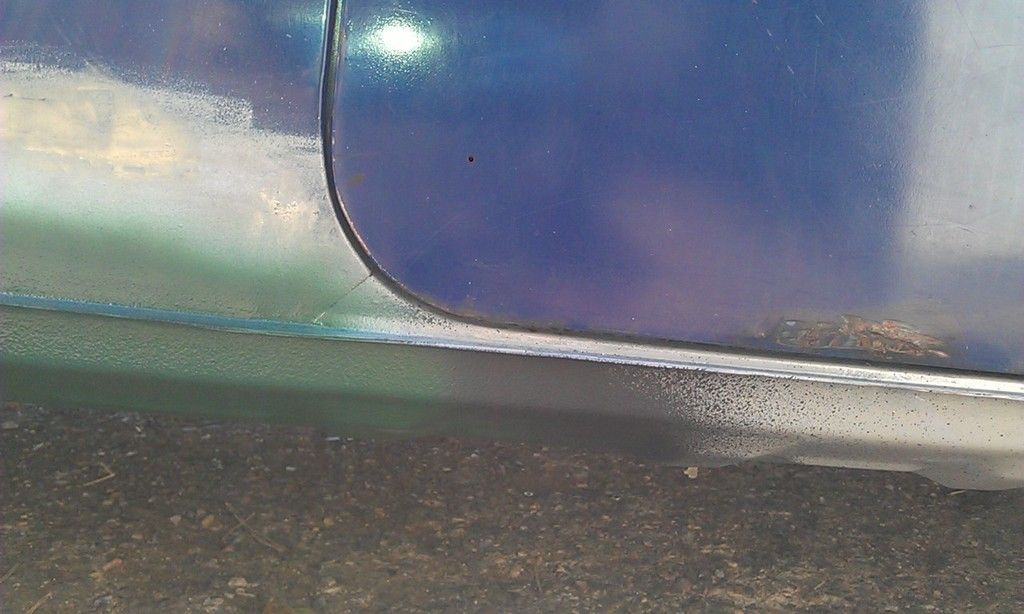
 

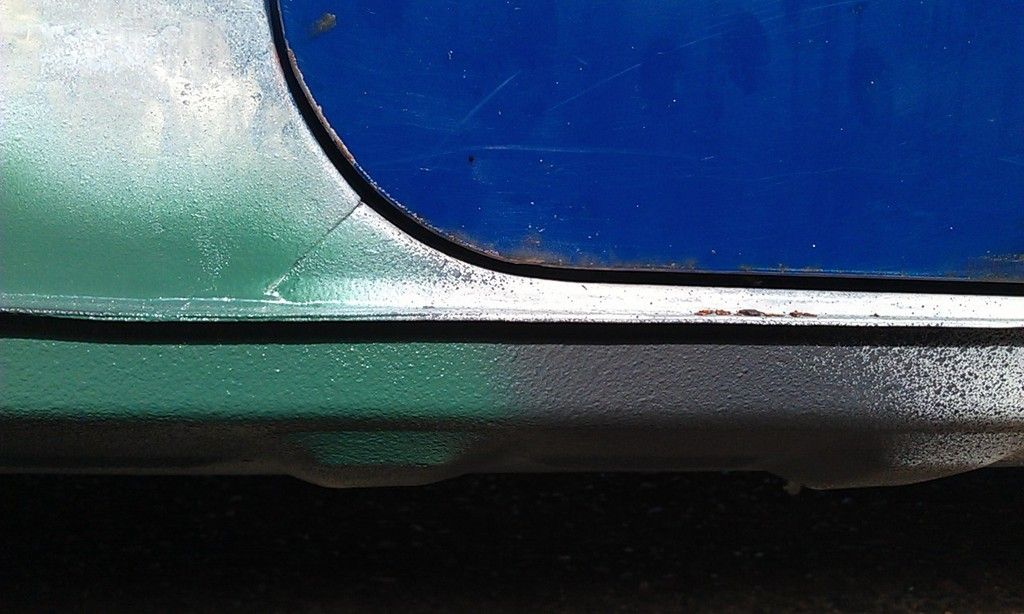
IMAG0917_zpstnurmjkg.jpg


The door bottom looks worse in this pic, that'll need some attention before spraying :-(


Once I was happy with the door I banged in a couple of welds, got carried away on the bottom one thinking I was welding the post in place and struggled with the door in place regardless, then I took a reality check and realised I had the luxury of removing the door.
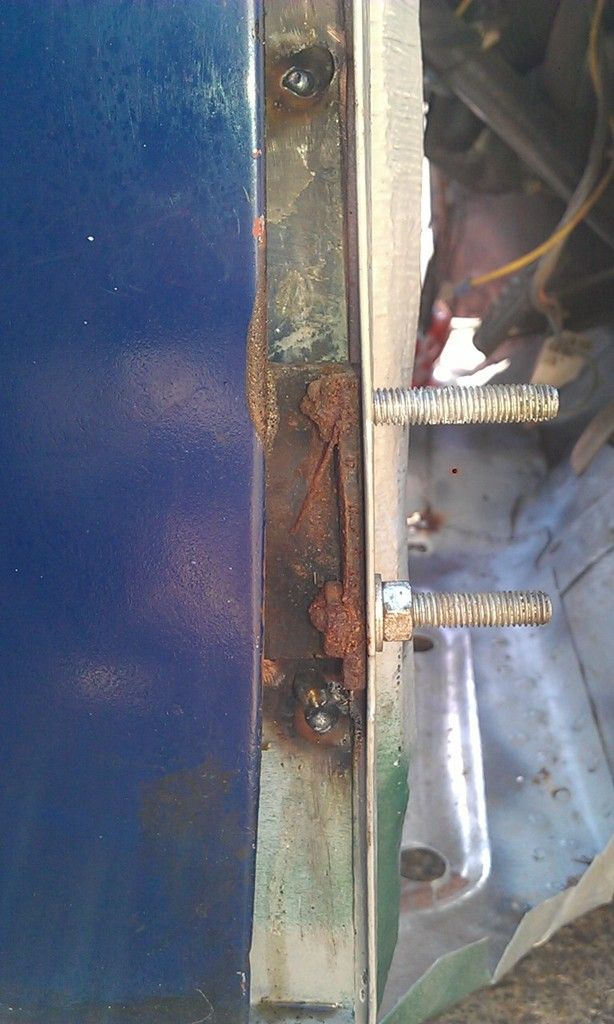
 

IMAG0919_zps6cps0e9b.jpg


Oh by the way those door bolts are the ones that I had repaired about four years ago, the welder did not clean them up or paint them and even left some welding wire attached!!!


Then off came the door and I welded in the stiffener:
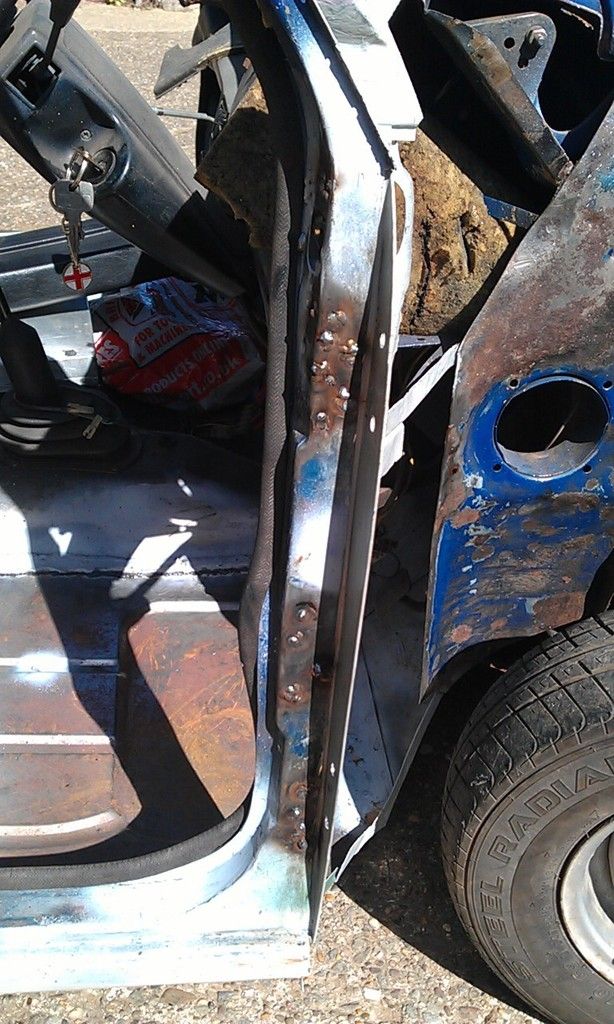
 

IMAG0920_zps0pyw71qf.jpg


Then I dressed down the welds with a grinding stone, 40 or 60 Grit Flap Disc and a 120 Flap Disc, don't look very well in this pic and I think I'll slap on some filler before I weld on the Flitch:
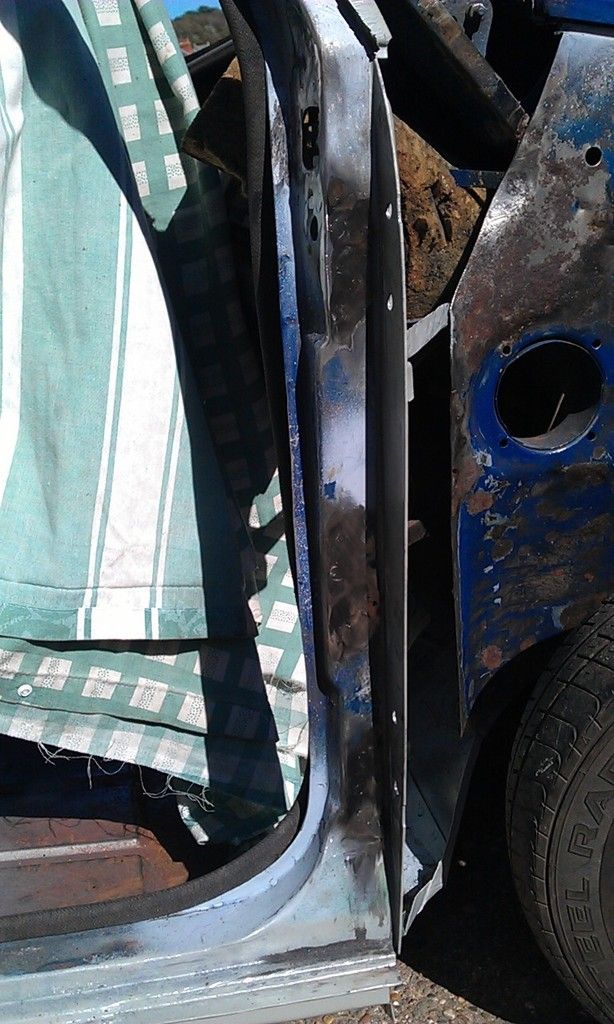
 

IMAG0921_zpsawqzlyfy.jpg


Then a smackerel of Etch Primer:


IMAG0922_zpssit8kilp.jpg


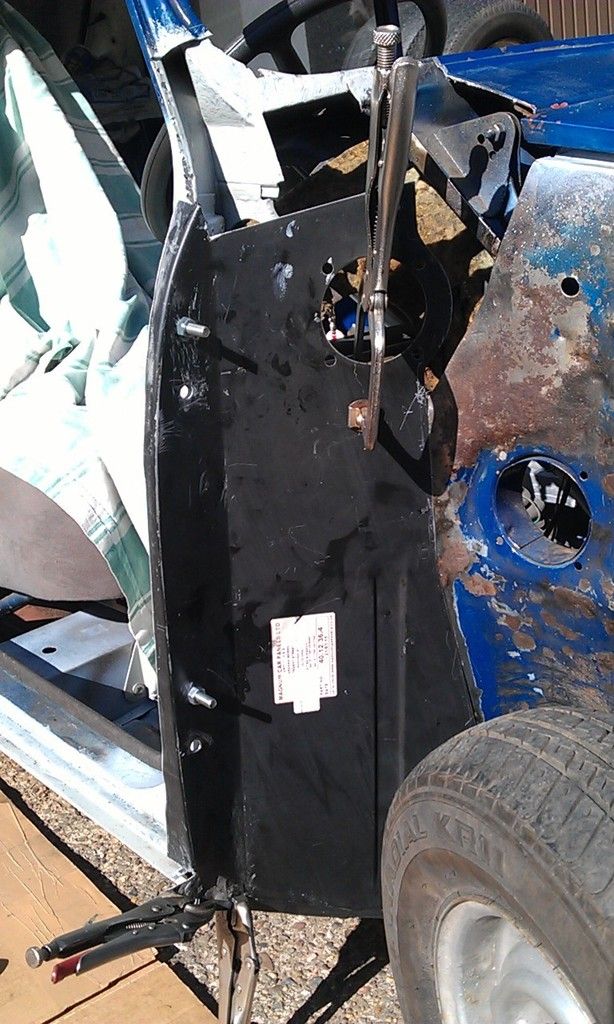
Then back on with the Flitch and marked up the overlap where it joins the Inner Wing:
 

IMAG0924_zpsxinnjmvi.jpg


I was very tempted to weld it up with the overlap rather than do a butt weld!!


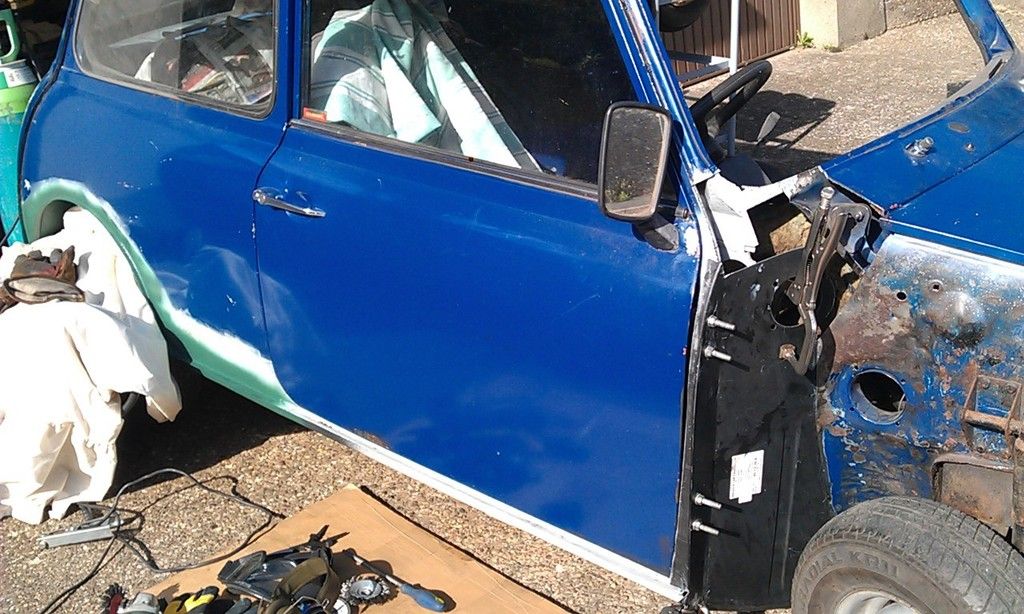
Back on with the door:
 

IMAG0925_zpsgk1m4guo.jpg


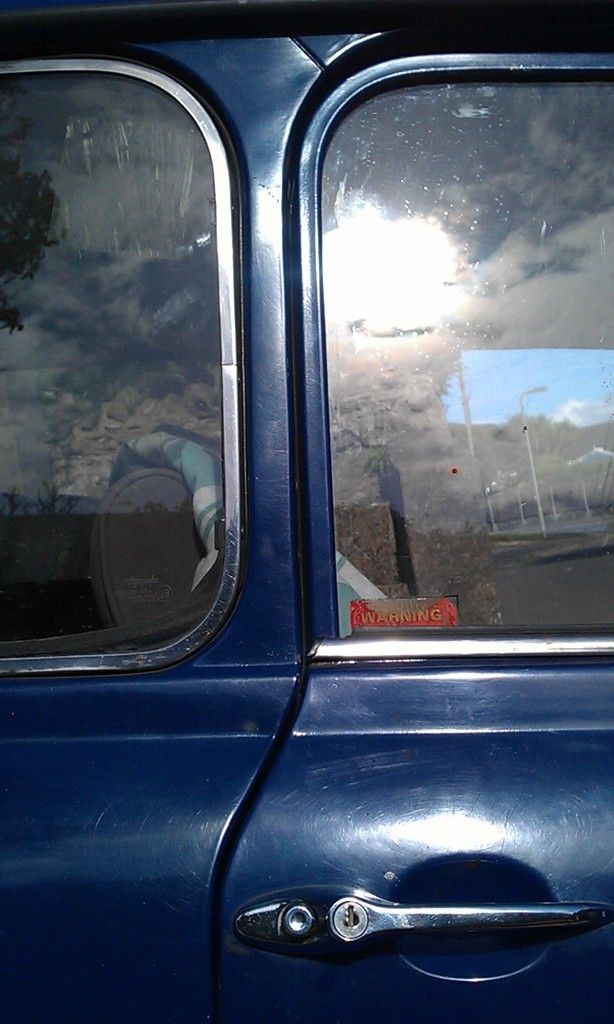
Gaps still good:


IMAG0926_zpsdcyq7uf9.jpg

IMAG0927_zpsgnptqirh.jpg


The door is catching slightly on the bottom segment of the door catch but I should be able to correct this with some washers on the hinge?


It was so nice to be able to work on car outside without banging into anything, only problem was i had to move the car as the sun was in my eyes when I was welding!!!  


#362 JonnyAlpha

JonnyAlpha

    Up Into Fourth

  • Members
  • PipPipPipPipPipPipPipPipPip
  • 2,748 posts
  • Location: North Devon
  • Local Club: Exmoor Minis

Posted 29 August 2015 - 06:05 PM

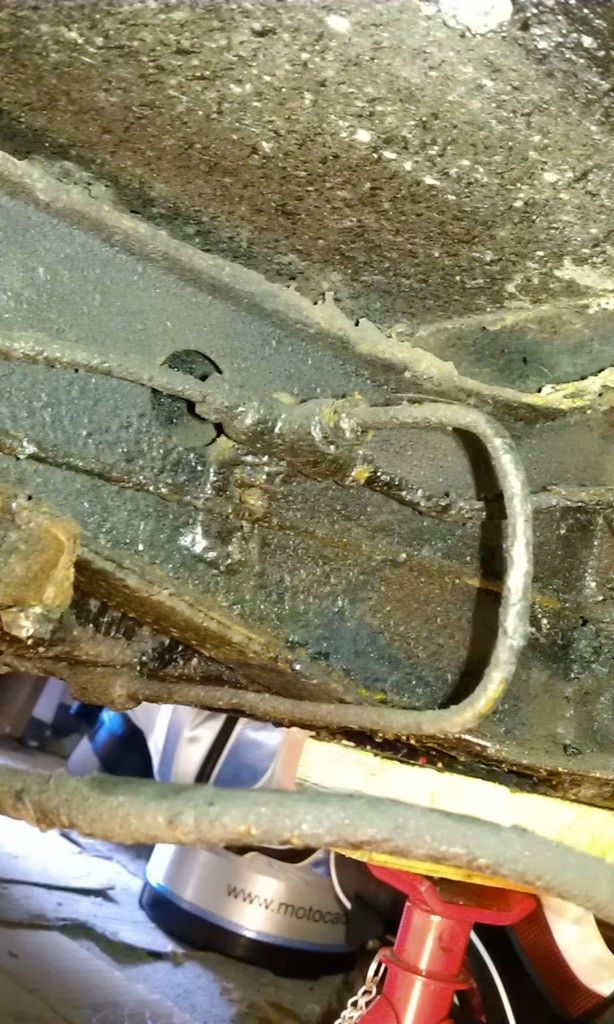
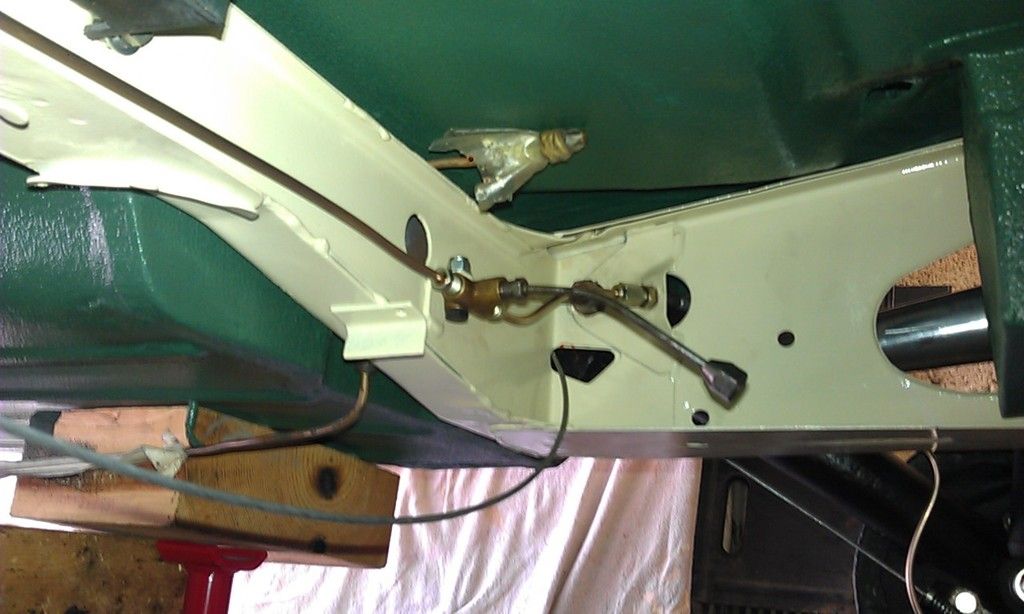
Had another thread going on the rear brake problem, here's some motivational pics:


Before:


IMAG4057_zpsmrgdjbi2.jpg


After:


IMAG0894_zpspgohzyx2.jpg


#363 JonnyAlpha

JonnyAlpha

    Up Into Fourth

  • Members
  • PipPipPipPipPipPipPipPipPip
  • 2,748 posts
  • Location: North Devon
  • Local Club: Exmoor Minis

Posted 29 August 2015 - 06:54 PM

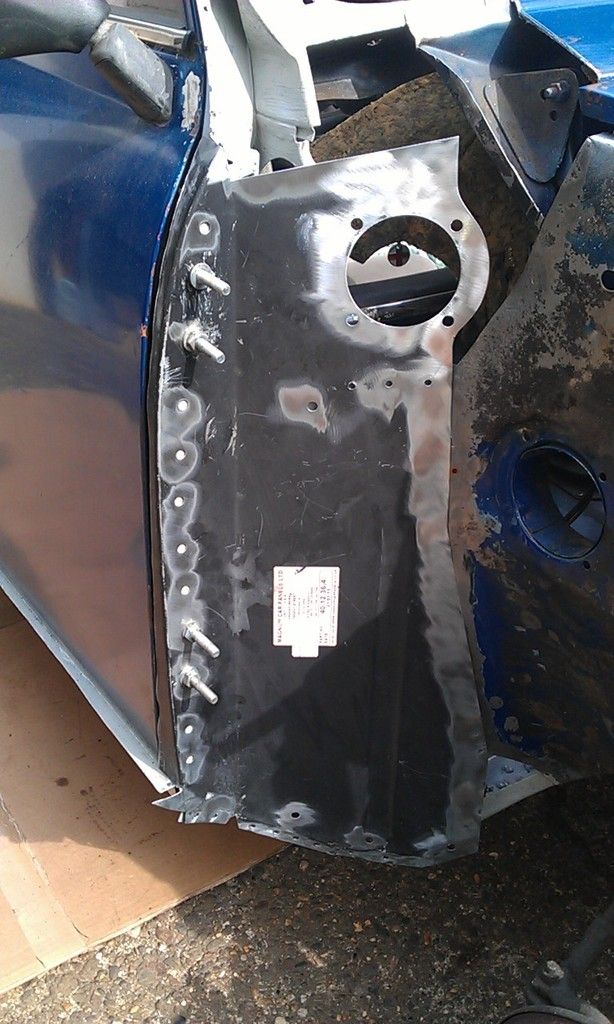
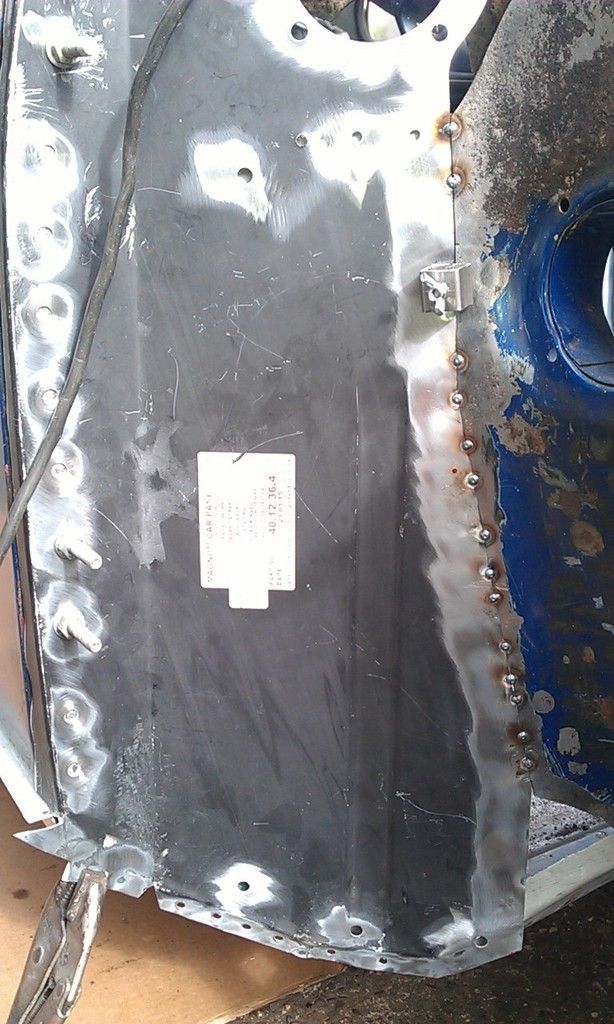
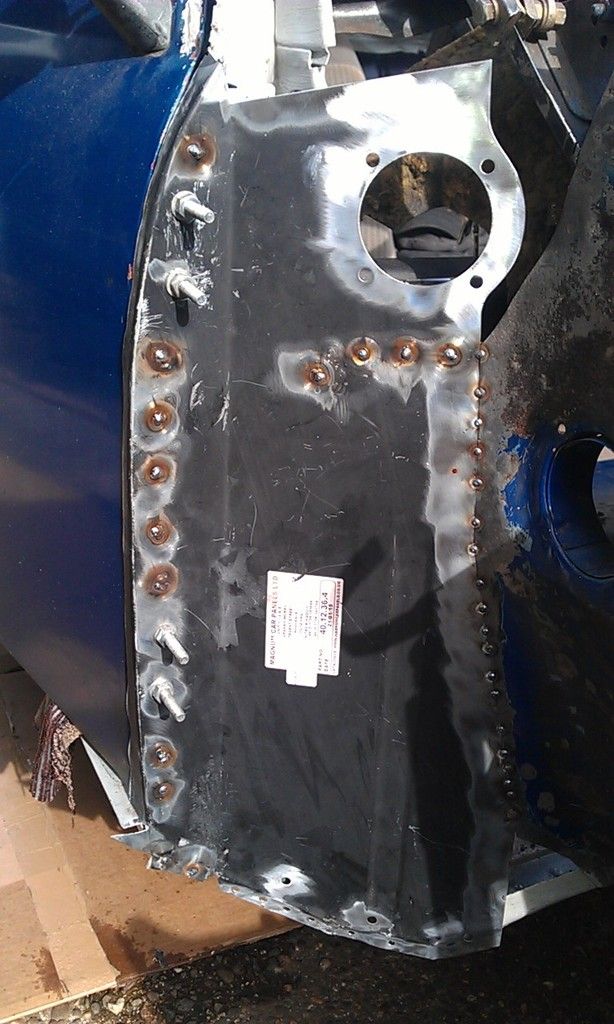
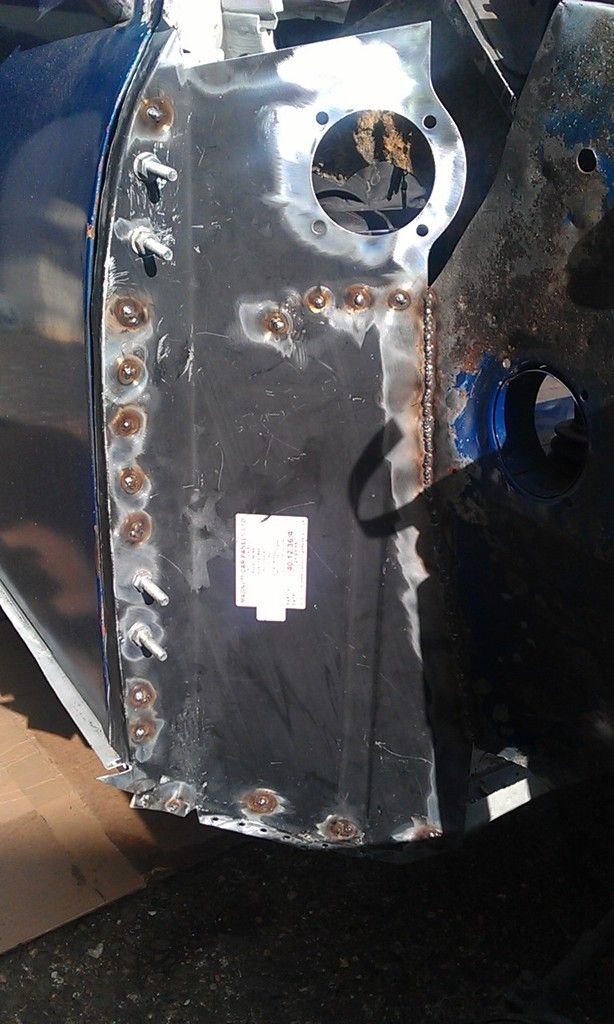
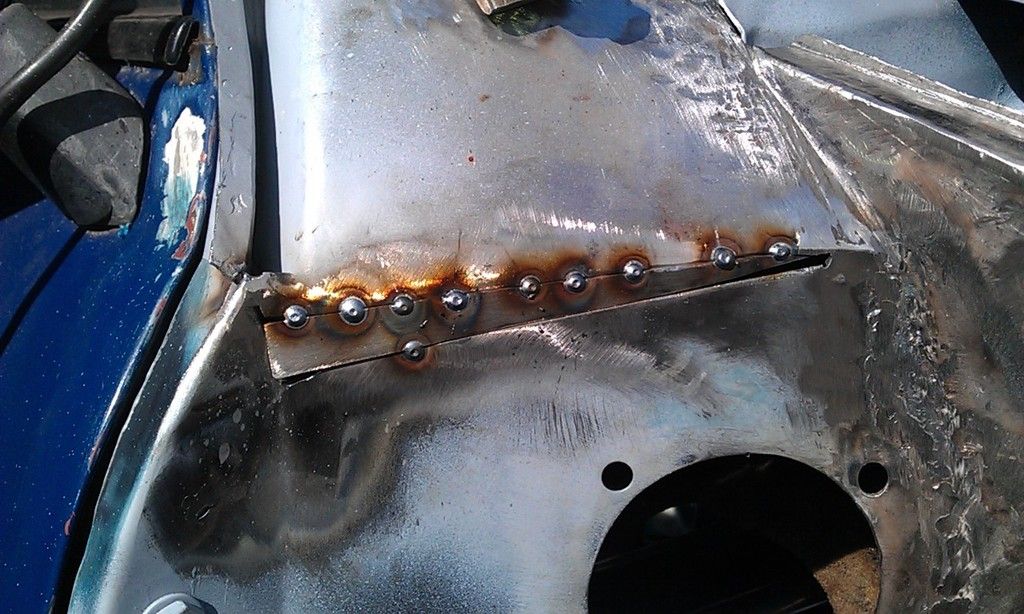
Last thing yesterday I did a final trim down of the Flitch where it joins the inner wing and opted for a butt weld.


Today I marked and drilled out plug weld holes where the Flitch meets the A Post Stiffener, across the forward dash rail and where it butts up against the Sill and Floor. I then cleaned back the metal to get a good contact. I also de-rusted the outer edge of the Inner wing as there was some rust in a few places and I did not want to weld on top of Tin Worm!!!
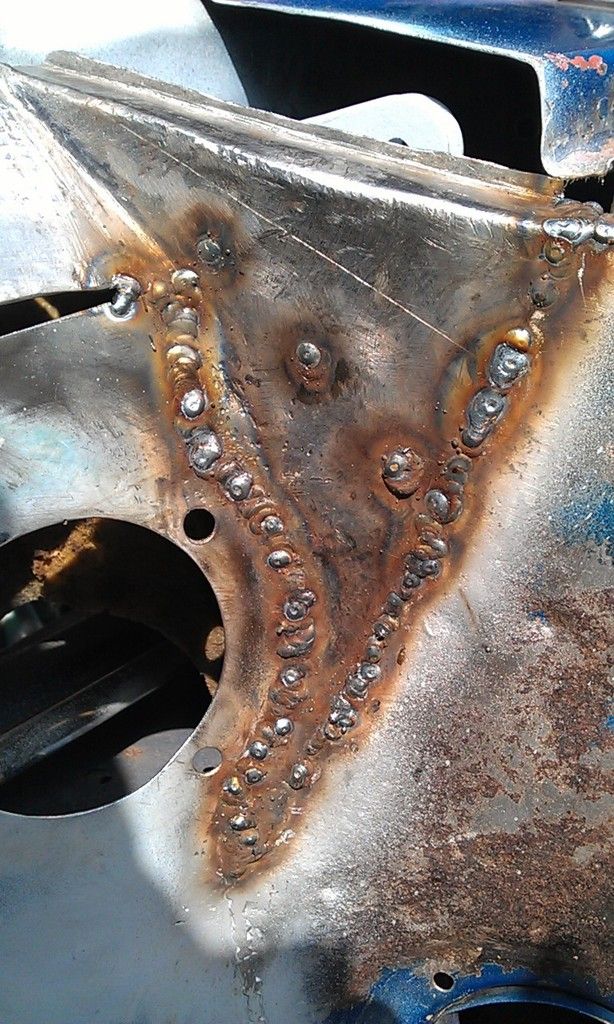
 

Here's the panel ready to be welded in:


IMAG0931_zpsowk6drth.jpg


First a few tacks ensuring that the joins meet up nice and flush:


IMAG0932_zps1vwrew8q.jpg


Then a few more:


IMAG0933_zpsuwlmjqae.jpg


Then slowly weld between the welds:


IMAG0934_zpsfqnntrjz.jpg


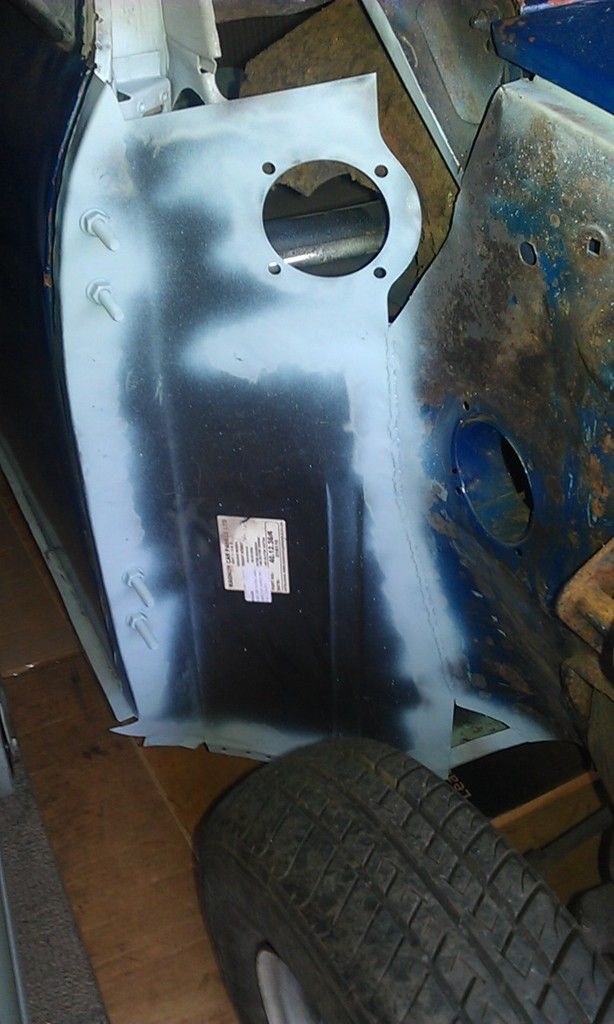
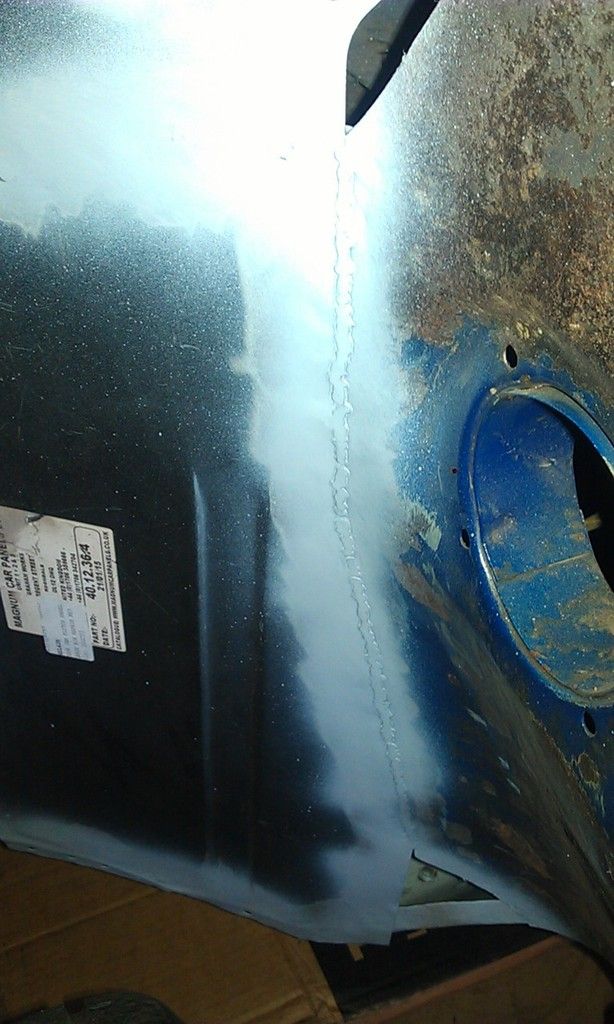
Then grind and dress and a splash of Acid Etch:


IMAG0935_zpspsdvyug7.jpg


I ran out of time so I had to leave the bit that folds under the floor.

And i'll dress these welds down a little more before priming but they'll be under stonechip:


IMAG0936_zpspggokvnt.jpg


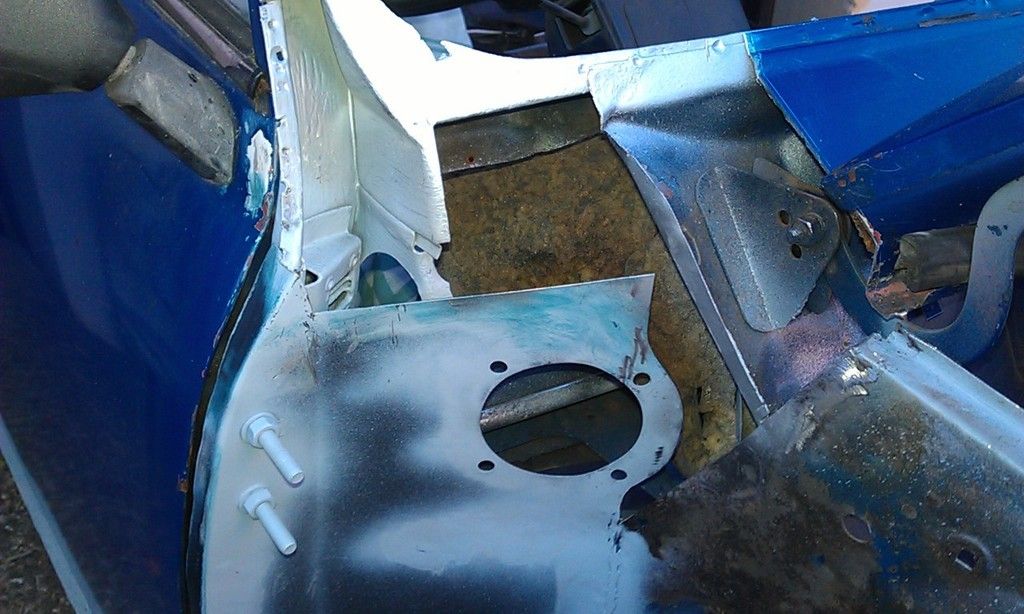
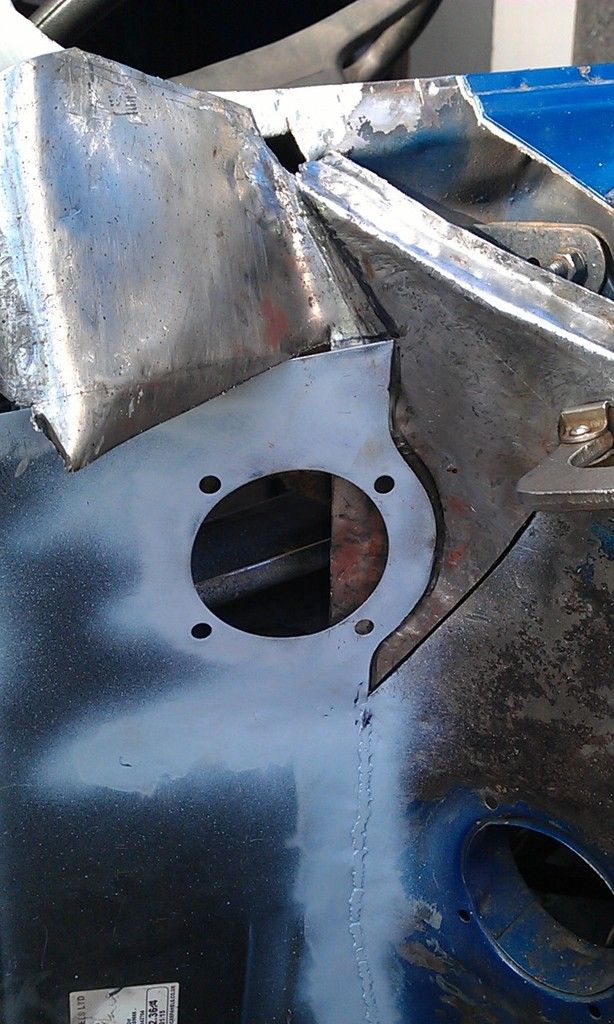
Small triangular patch needed on the Toe Board and cut down and weld in the Scuttle plate that I made a while ago. I also need to weld in some nuts for the Air Vent??


Looking a bit more healthy now its got less of a hole:


IMAG0937_zpsrrn6cnbp.jpg


Once I finish the welding on the Flitch I think I'll clean up the Inner Wing and Wing and spray up with Epoxy before welding it all back together as it will be easier to spray whilst its apart - any comments?


#364 Ben_O

Ben_O

    Mill Road Garage

  • Paint Doctor
  • PipPipPipPipPipPipPipPipPipPip
  • 9,785 posts
  • Location: Isle of Wight

Posted 30 August 2015 - 06:37 AM

I have always thought what a shame it is they don't make that flitch repair panel taller.


I have never seen anyone fit one of these and not need to replace the top bit too.


Looking good though!


Ben


#365 JonnyAlpha

JonnyAlpha

    Up Into Fourth

  • Members
  • PipPipPipPipPipPipPipPipPip
  • 2,748 posts
  • Location: North Devon
  • Local Club: Exmoor Minis

Posted 30 August 2015 - 08:18 AM

I have always thought what a shame it is they don't make that flitch repair panel taller.


I have never seen anyone fit one of these and not need to replace the top bit too.


Looking good though!


Ben


Not sure Ben, from the pictures of other restorations Iv'e looked at it seems that its the top and bottom that always suffer the rot. There is probably no machinery set up to make a full length panel? I wonder whether M-Machine would do one?


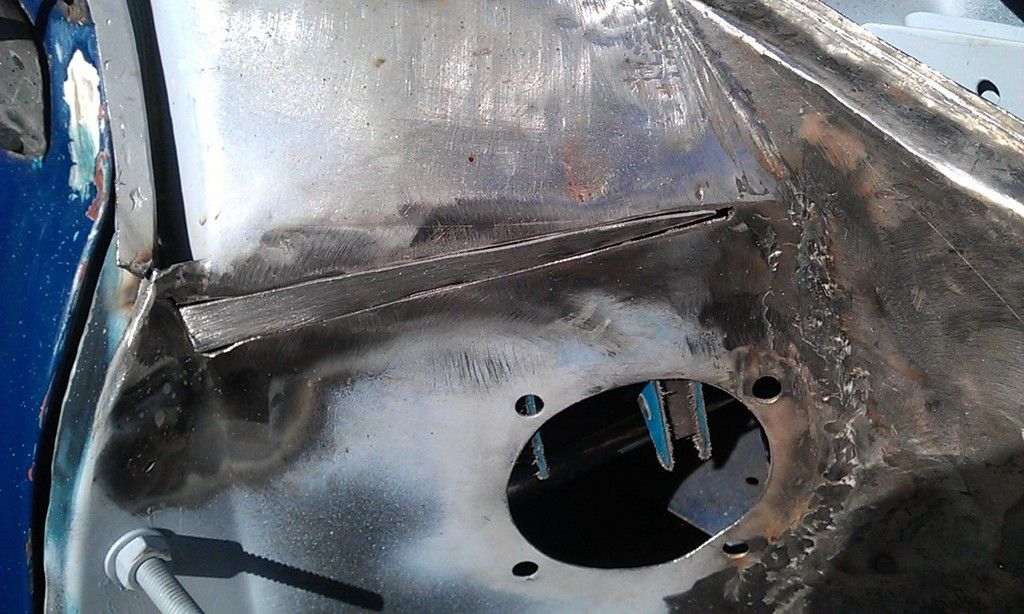
Once I had spent the time getting it all lined up it went on really well, no blow throughs whatsoever on the butt weld, I must be getting better :-) Working outside in the sun is a blessing too!!! 


#366 JonnyAlpha

JonnyAlpha

    Up Into Fourth

  • Members
  • PipPipPipPipPipPipPipPipPip
  • 2,748 posts
  • Location: North Devon
  • Local Club: Exmoor Minis

Posted 31 August 2015 - 07:24 PM

Iv'e been out all day but managed a couple of hours in the garage, I had the intention of finishing the Flitch but time was against me so I removed the Indicator housings from the front end and cleaned them up along with the Headlights that I took out a while back.


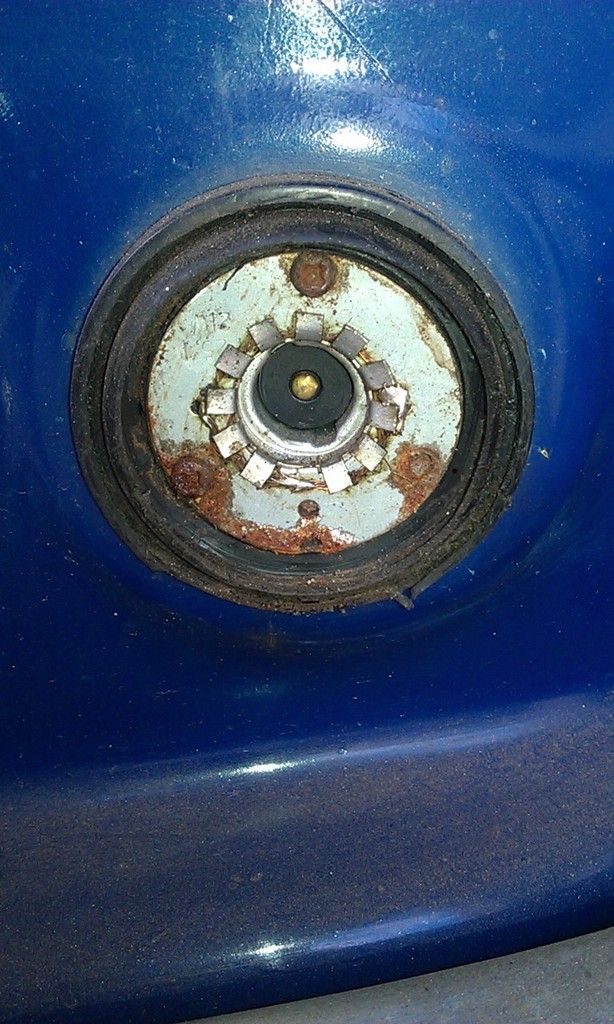
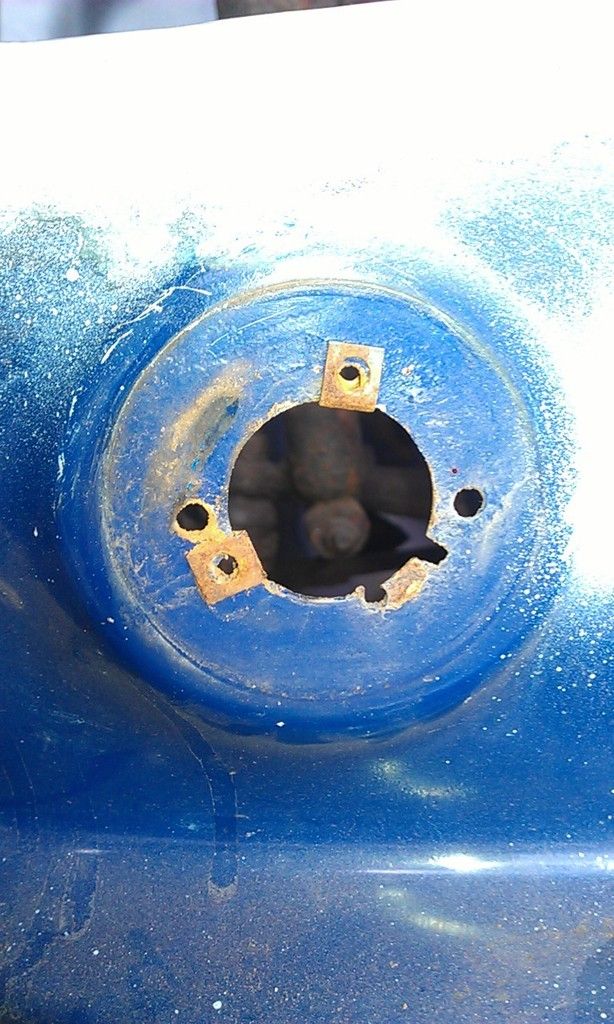
The indicator housings are pretty rusty and one was held in with large self tappers drilled into the wing, when I took them off I found the proper way that these should be fitted using a thread insert, I took some photos so I can weld up the extra holes and re-fit the indicators using the correct method if the parts are available?


Here's a pic showing the state of housings, may be able to refurbish them? If I can dismantle the inner workings I could citric acid them and then paint them silver?


IMAG0939_zps3mq7vfut.jpg


And this pic shows two of three threaded inserts that were in place but not used and two additional holes that had been drilled for self tappers to hold in the indicators - these i'll weld up.


IMAG0938_zpsvffmoe0b.jpg


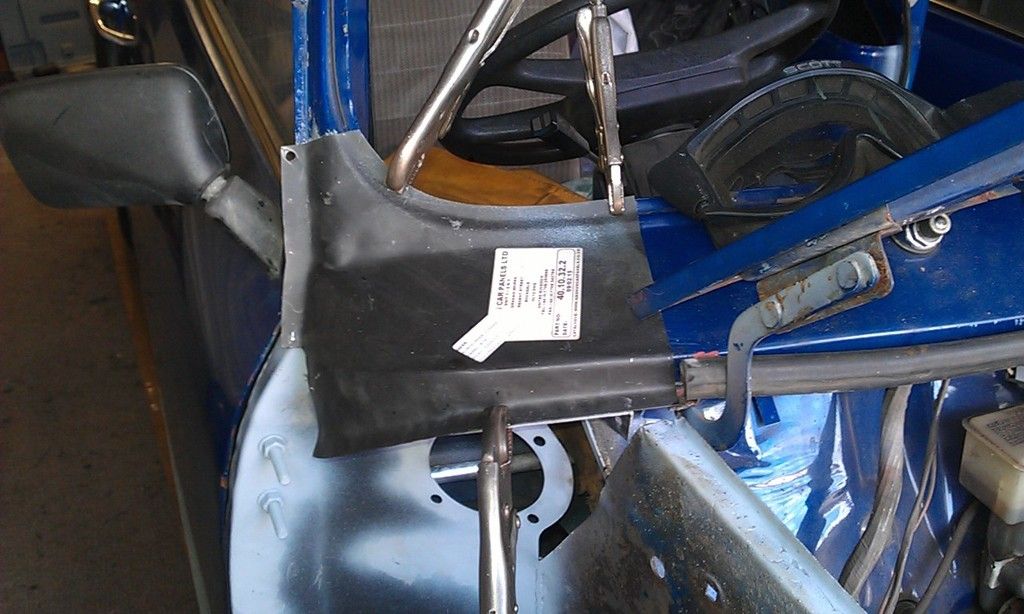
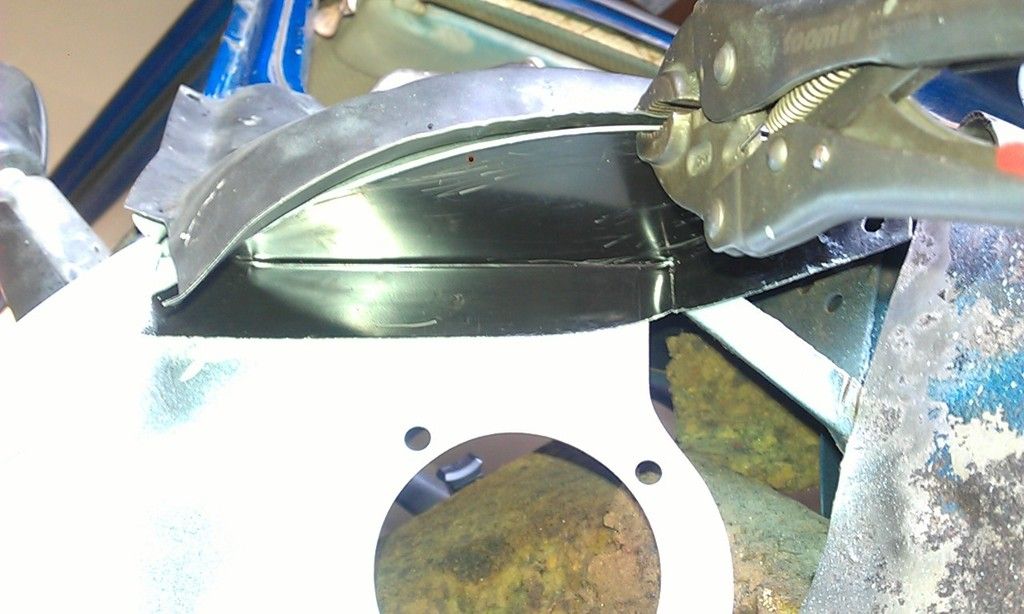
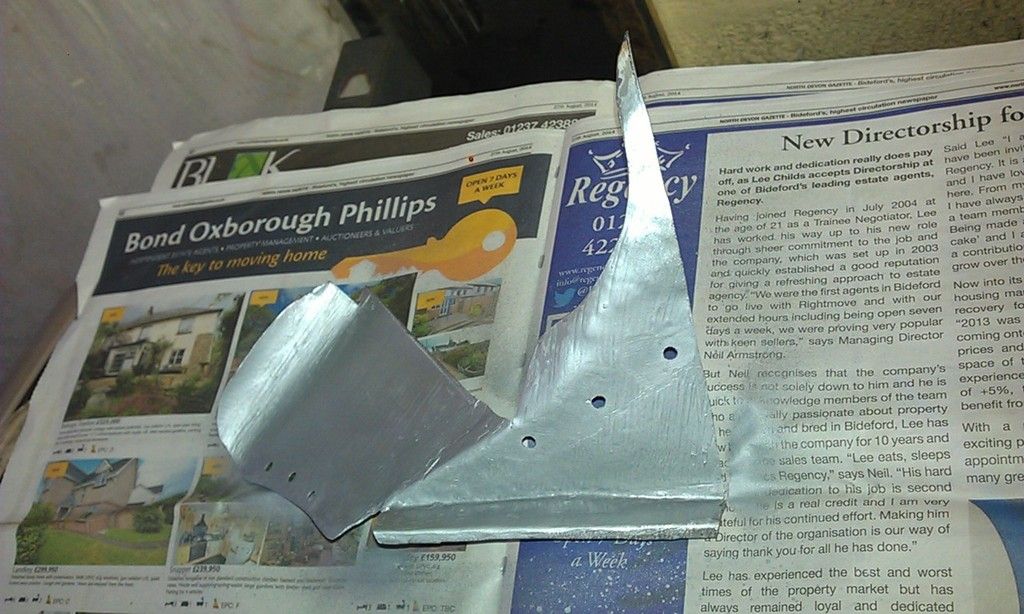
Next I started to prep my upper Flitch repair that I made but it just did not seem to fit correctly. I have posted in the Bodywork section asking for advice on how to build up this area:


Here is a pic of the Scuttle and Scuttle Closers where I think they should fit:


IMAG0940_zpsrnmiklfz.jpg


IMAG0941_zps8xrvgulz.jpg

Maybe some more tomorrow evening?


#367 JonnyAlpha

JonnyAlpha

    Up Into Fourth

  • Members
  • PipPipPipPipPipPipPipPipPip
  • 2,748 posts
  • Location: North Devon
  • Local Club: Exmoor Minis

Posted 05 September 2015 - 07:31 PM

Managed a little yesterday evening and today, the problem today was that now that I can work on the Mini outside of the garage every man / women and their dogs want's to have a chat :-)


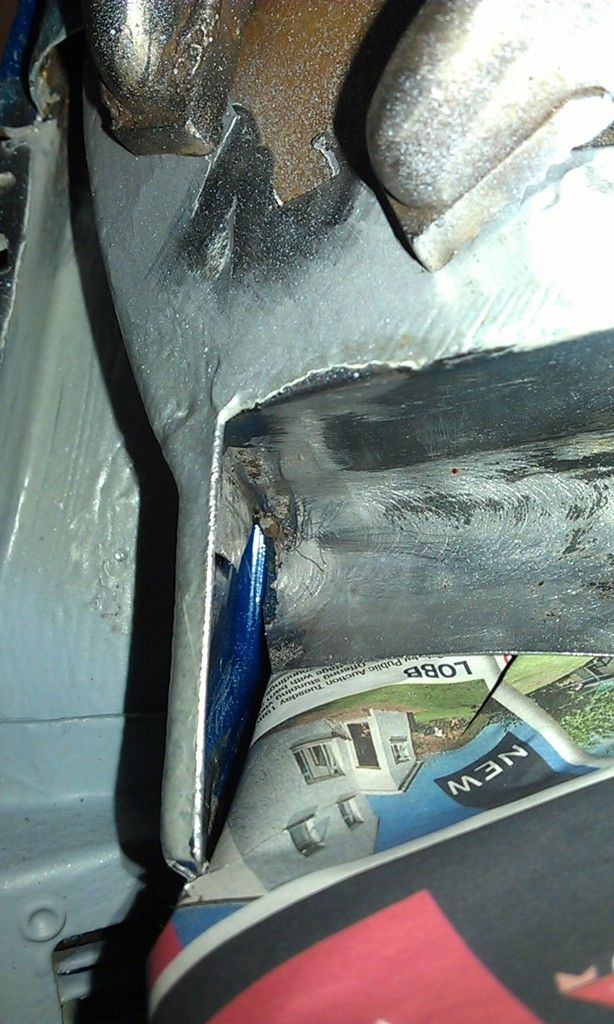
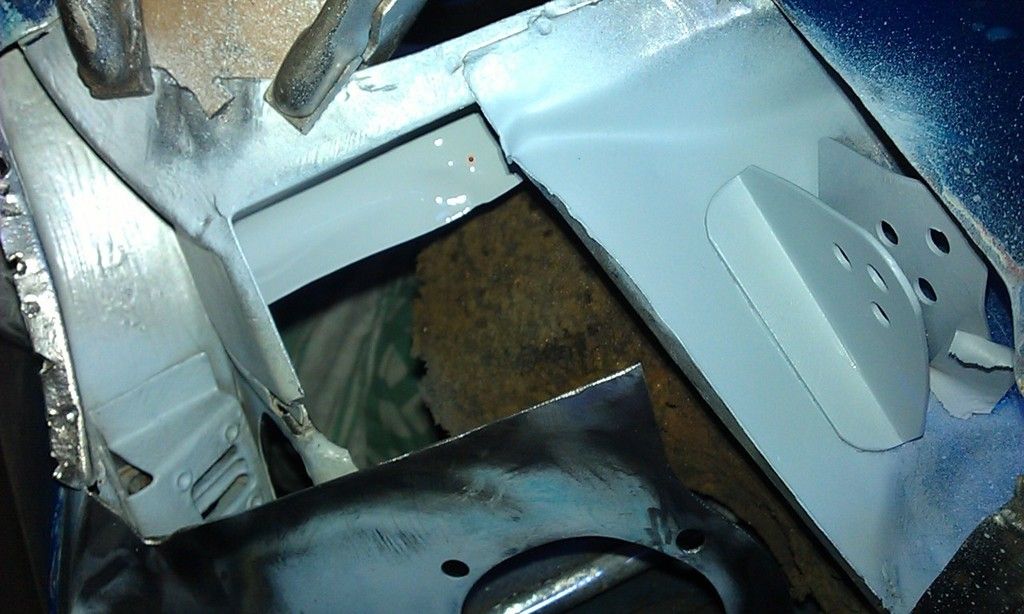
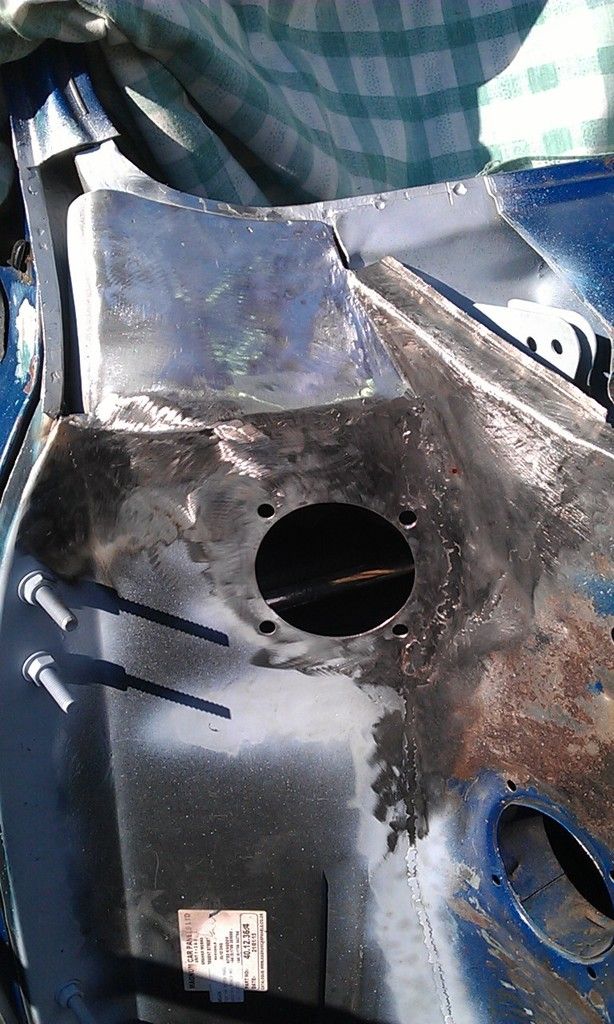
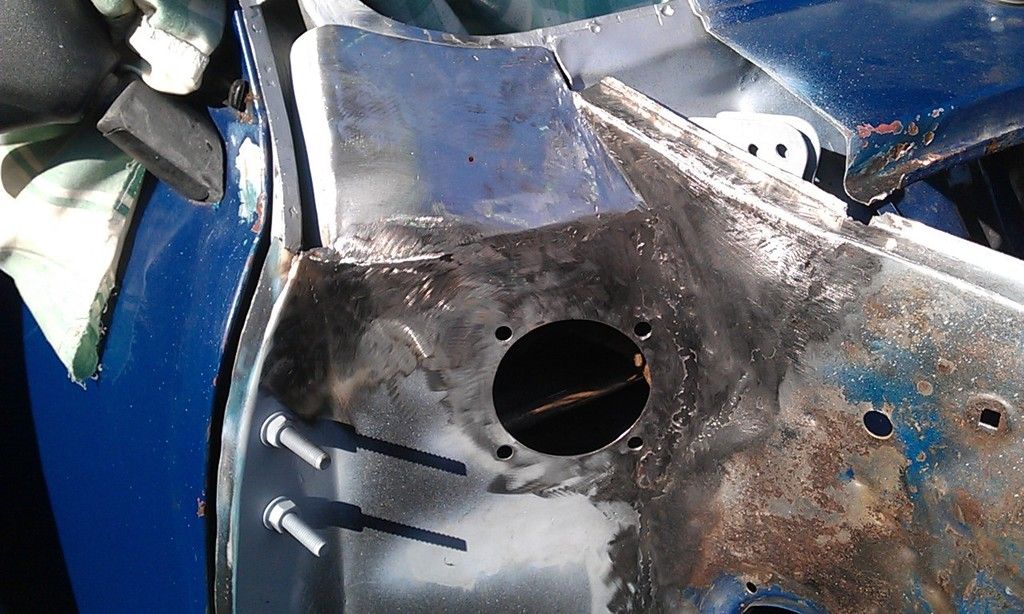
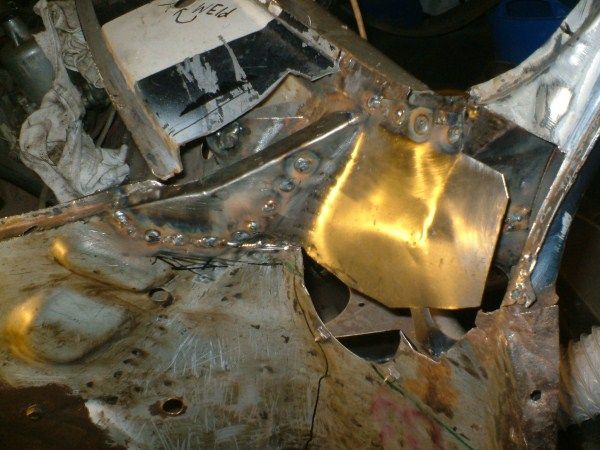
Anyway time to get the upper Flitch patch finished and welded in, here's the hole that need filling:


IMAG0944_zpsc85zkpfi.jpg


And here it is after the first bit of fettling:


IMAG0943_zps5gidvau5.jpg


Its such a complex shape I didn't manage to get a perfect fit.

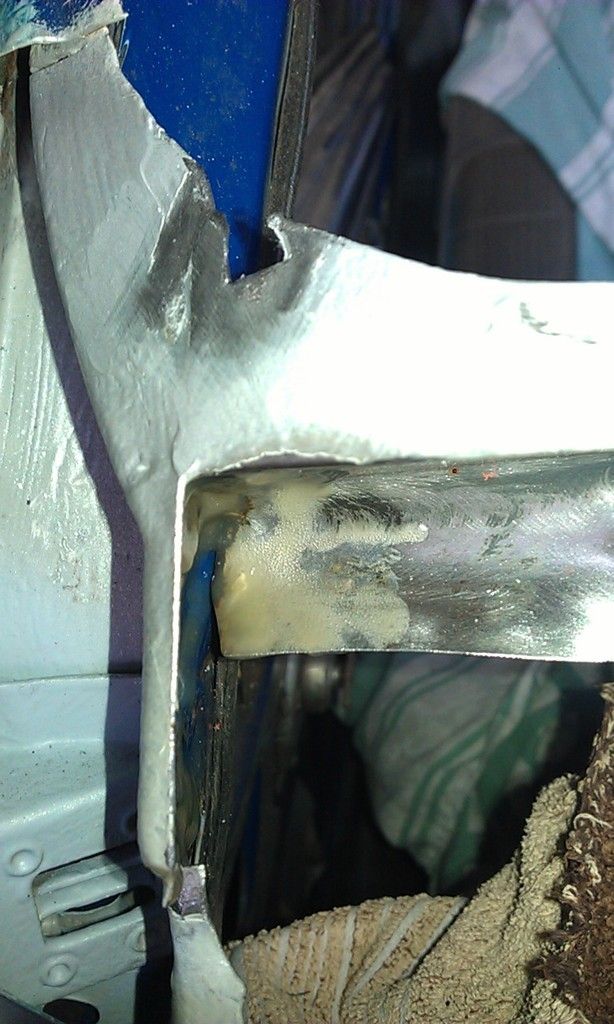
Because it had been bashed about I cleaned it up and got some Weld Through Primer on the mating surfaces as well as drilling some Plug Weld holes where the patch sits up against a couple of other panels:


IMAG0945_zpsltcksvkr.jpg


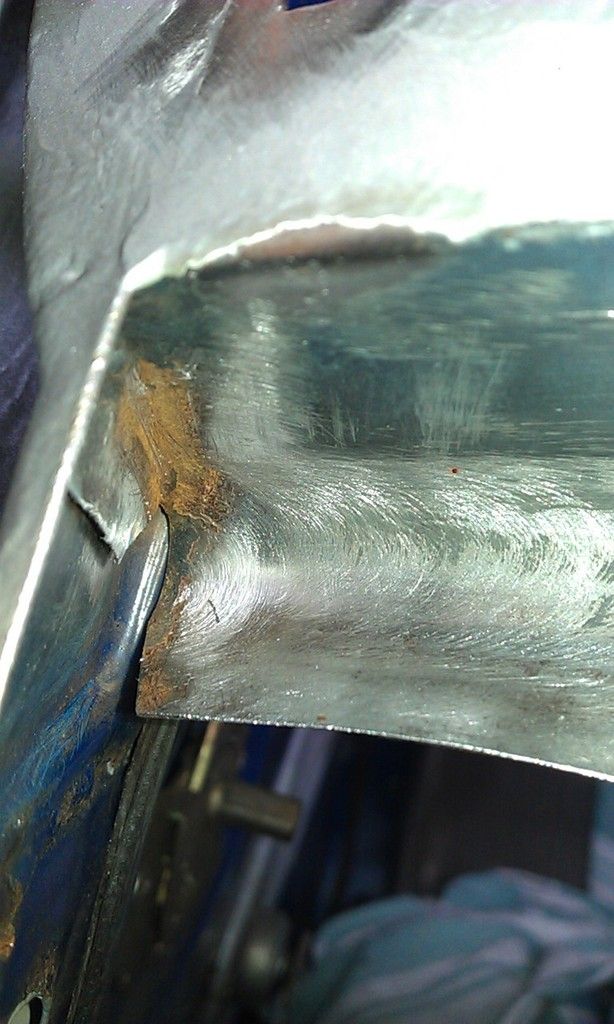
Before I welded it in place I cleaned up behind the upper Dash Rail and spotted some annoying rust that would need to be dealt with:


IMAG0946_zpsegcryxpf.jpg


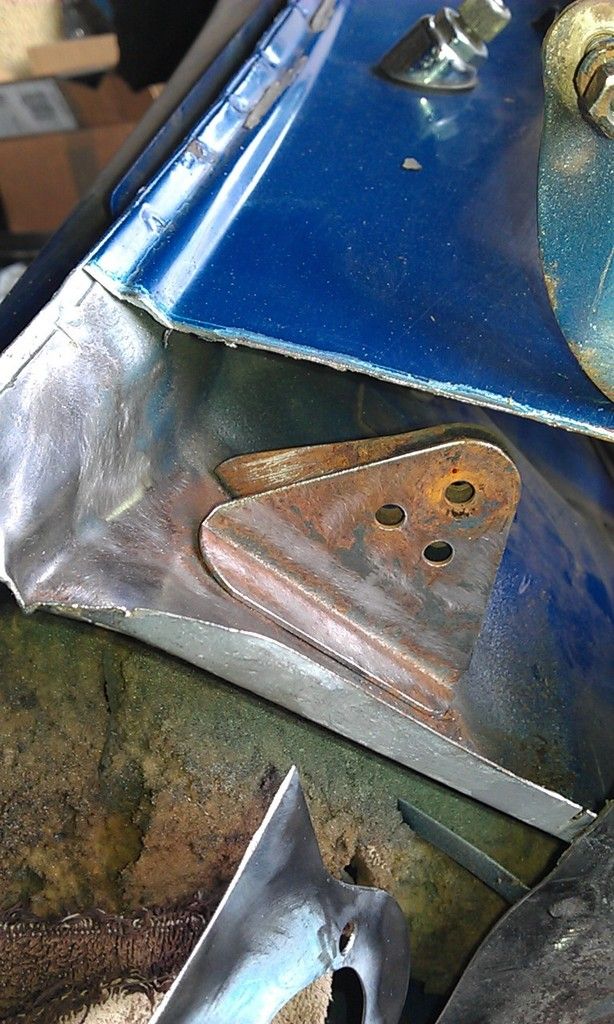
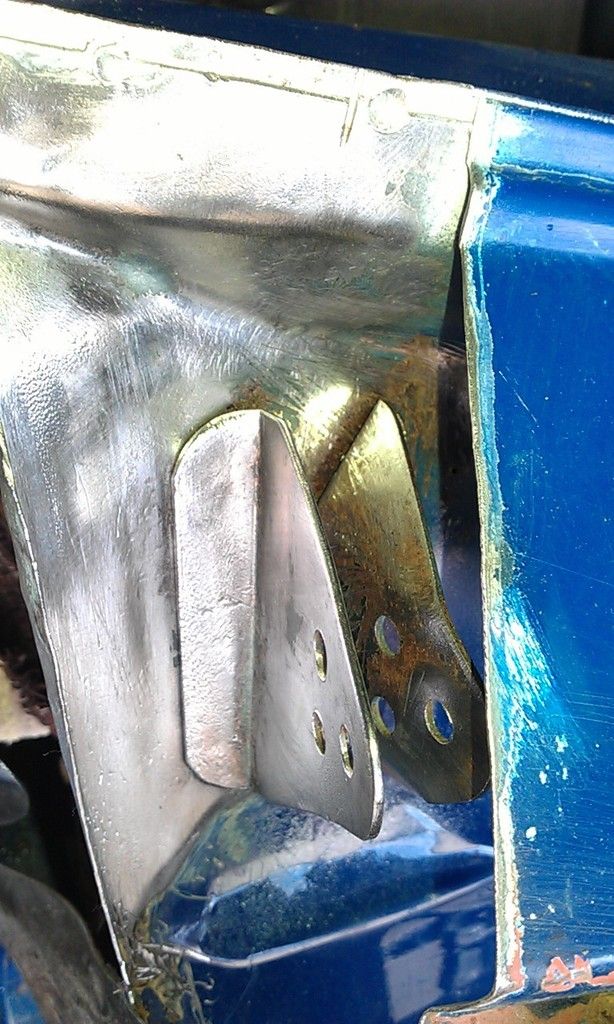
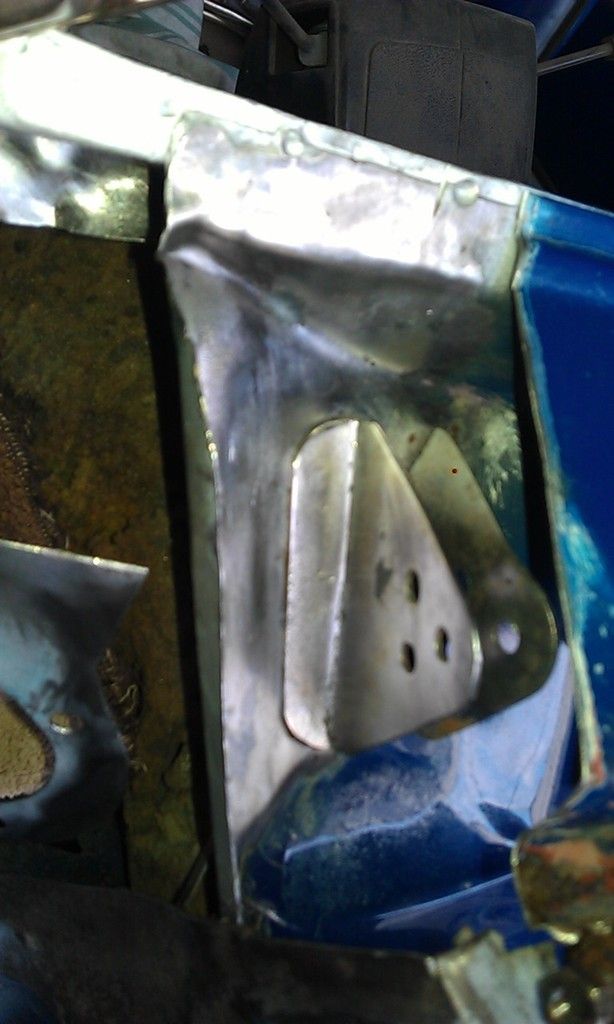
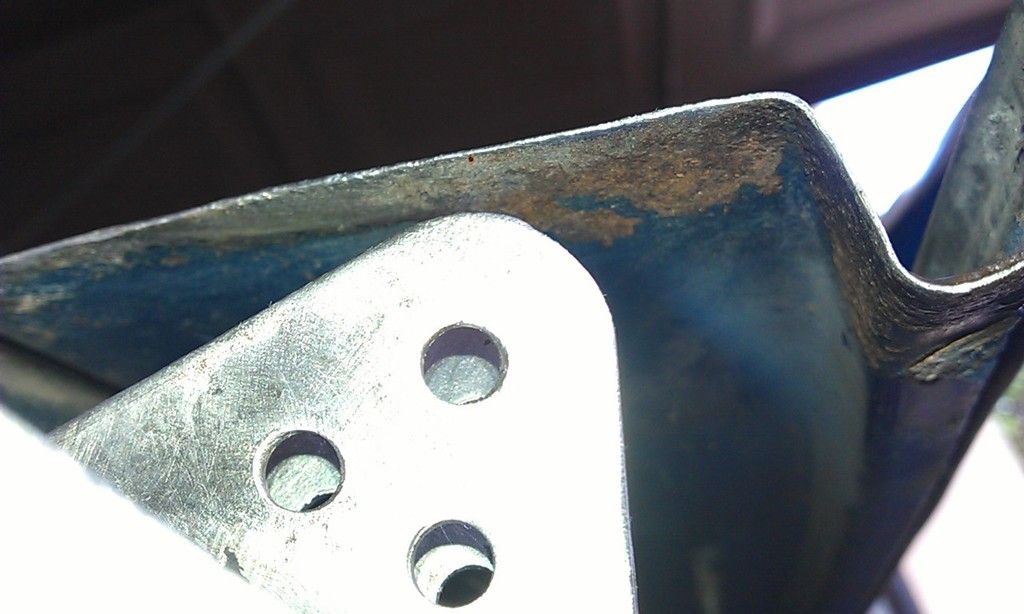
I also thought I'd better clean up the Bonnet Hinge bracket as once everything is welded in place it would be impossible to reach:


IMAG0948_zpsdvp3vvl6.jpg


This is the best I could do manually:


IMAG0950_zpsqgzwxzjl.jpg


So next up the Bilt Hamber Deox Gel:


IMAG0951_zpskmj8x5mp.jpg


IMAG0952_zps1ewjemup.jpg


Still a small amount of rust after an hour so I treated it again:


IMAG0954_zpshpwdhwvl.jpg


The bracket cleaned up quite well:


IMAG0953_zpshi8ch3oa.jpg


This area under the Scuttle may be an issue:


IMAG0955_zpsqqzt8ilv.jpg


This was the best I could get it:


IMAG0956_zpsyhrvtpit.jpg


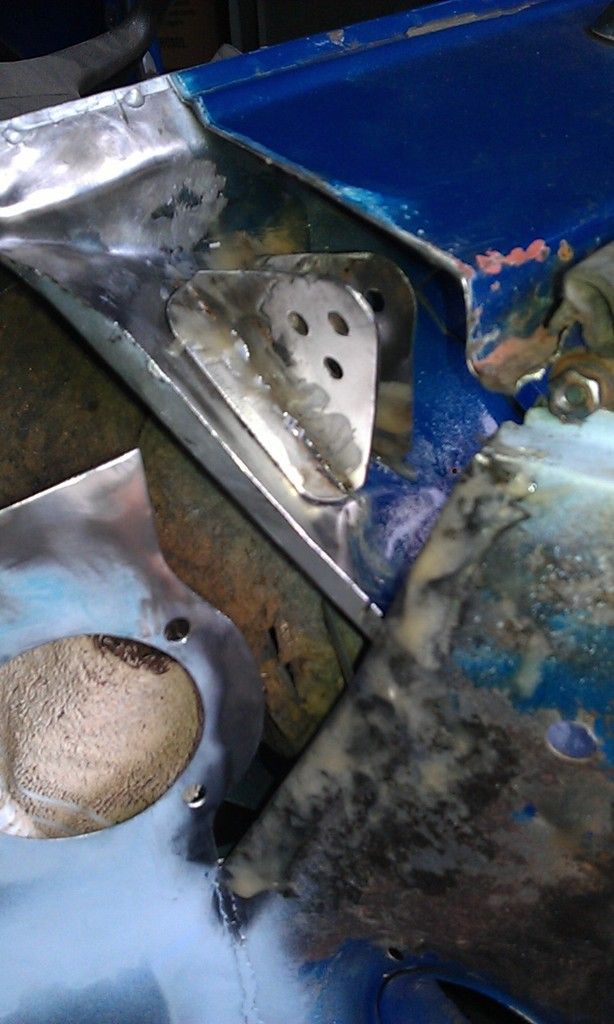
Then applied the Acid Etch:


IMAG0957_zps87gocp3g.jpg


Before I welded in the the patch repair panel I repaired a few areas:


IMAG0958_zpscsyxexbk.jpg


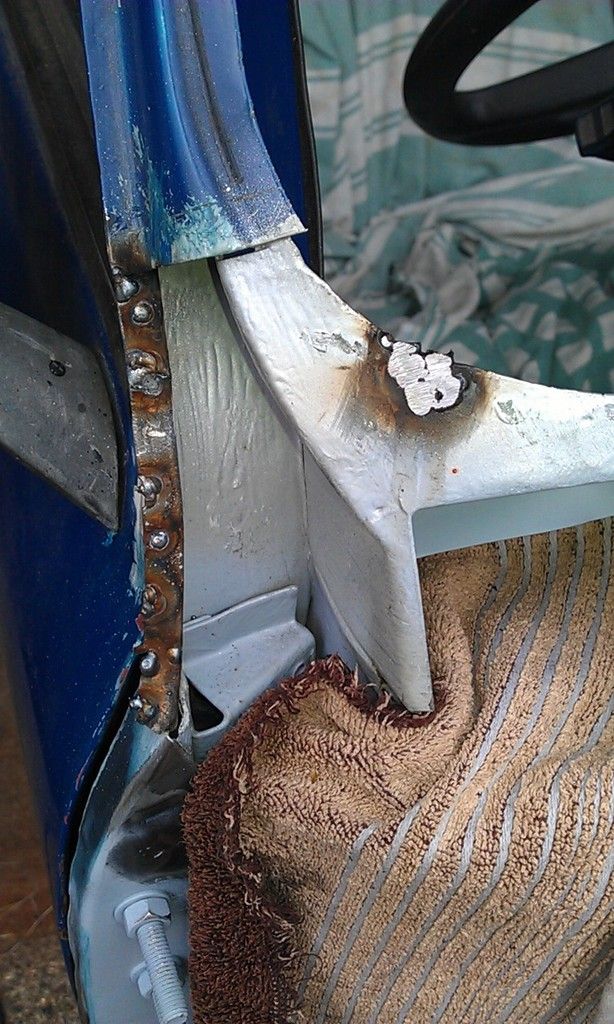
The I put the panel in place an did a couple of welds:


IMAG0960_zpslrajgfvn.jpg


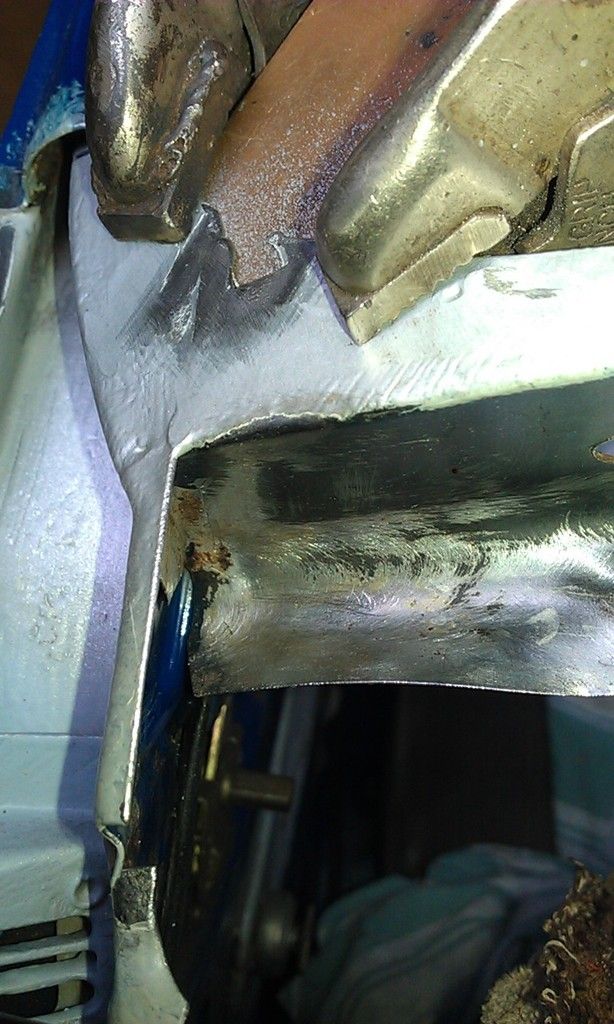
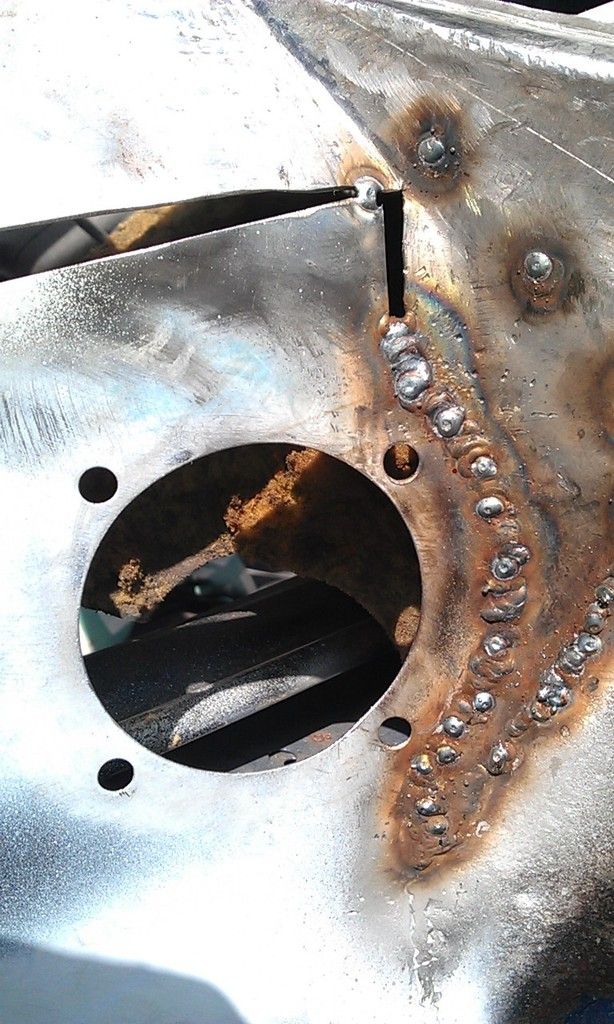
And then started to weld the rest of the joins, using some brass as a backing to help spread the heat:


IMAG0961_zpsaai1qmi4.jpg


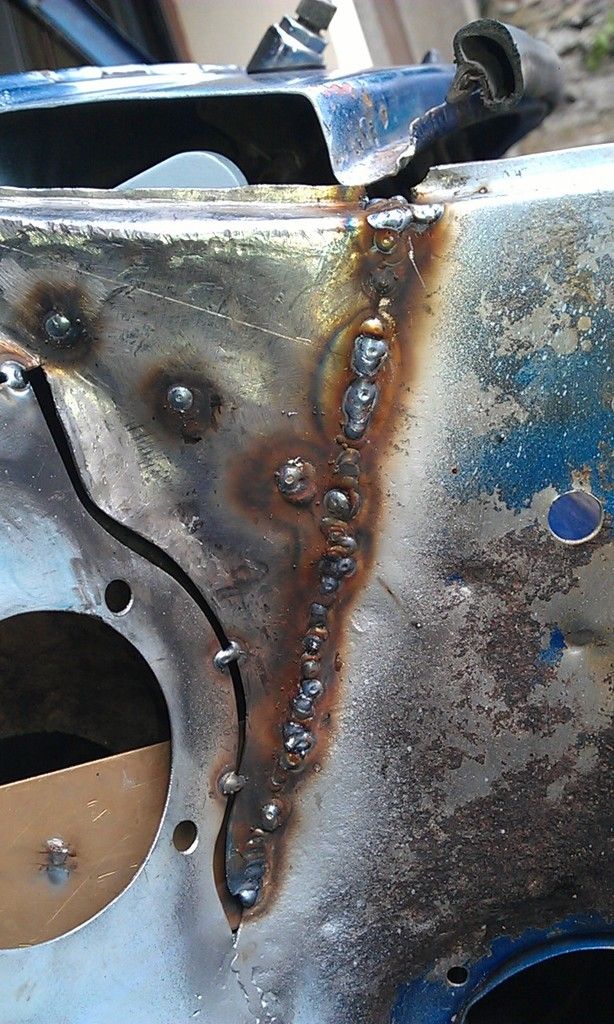
This area was particularly difficult but again using the brass sheet I did it bit by bit:


IMAG0964_zpsmaehfg0x.jpg


IMAG0965_zpsdh0mw1kf.jpg


I then made a small filler:


IMAG0966_zpsl5olqa5i.jpg


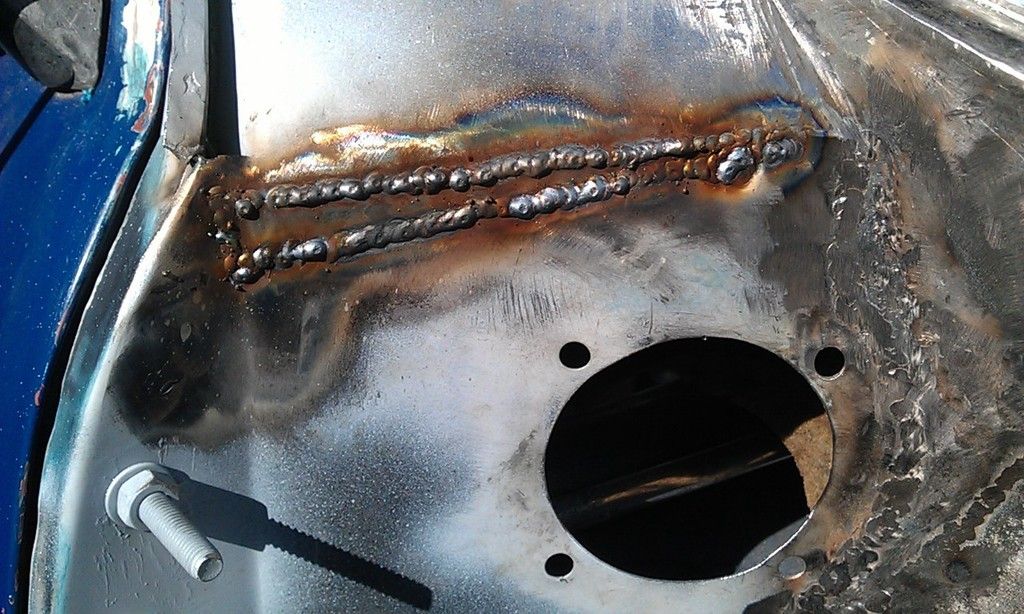
And the started to weld it in:


IMAG0967_zpsd3ibwiko.jpg


A lot of weld for a small area :-)


IMAG0968_zpsnswu5it4.jpg


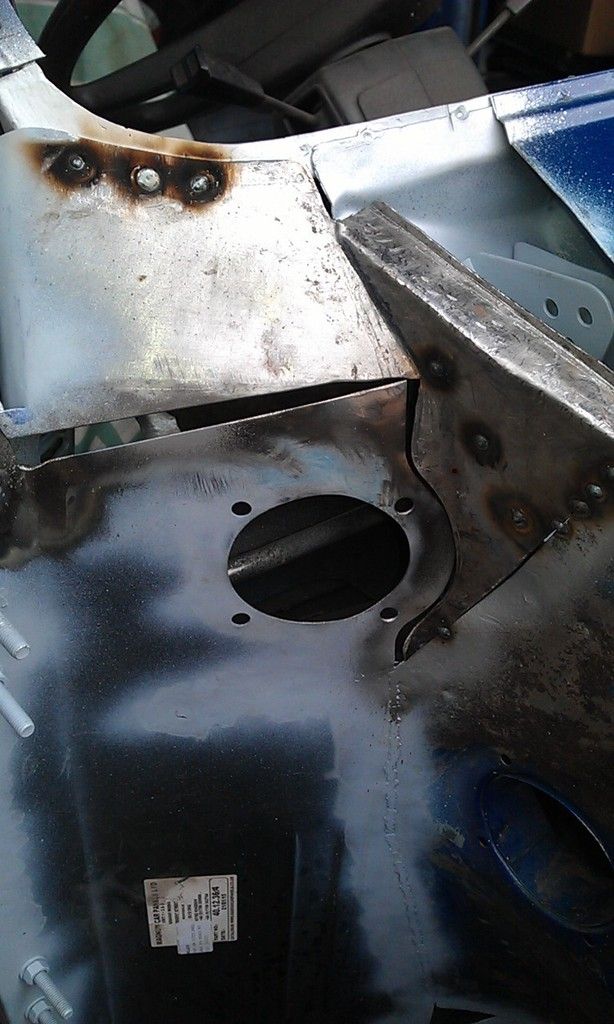
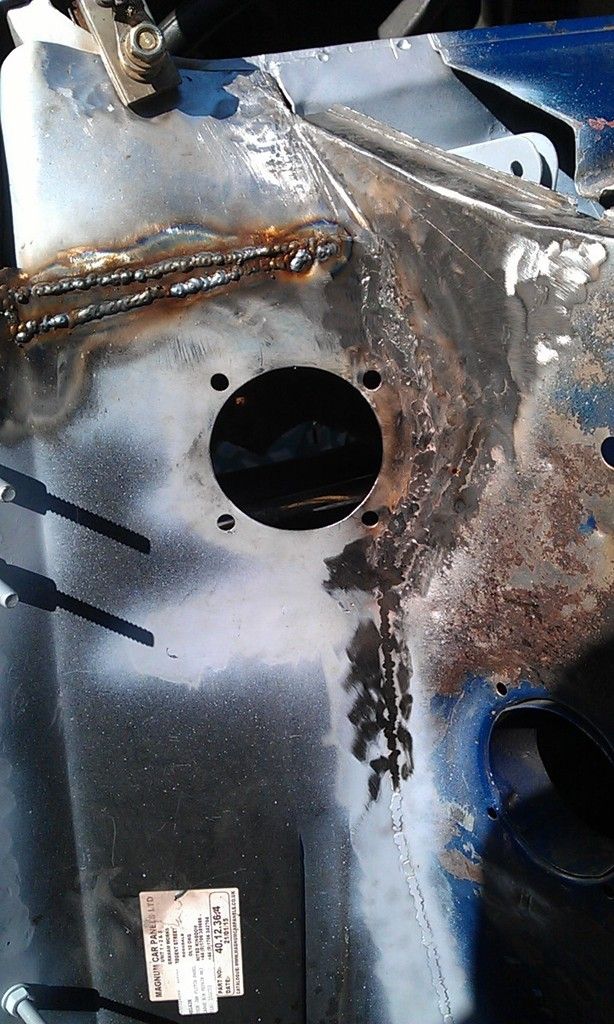
Nearly done:


IMAG0969_zps84g0idpc.jpg


Dressed it all down and fixed a couple of pin holes:


IMAG0970_zps7eelw4op.jpg


IMAG0971_zpsc7zyvxg7.jpg


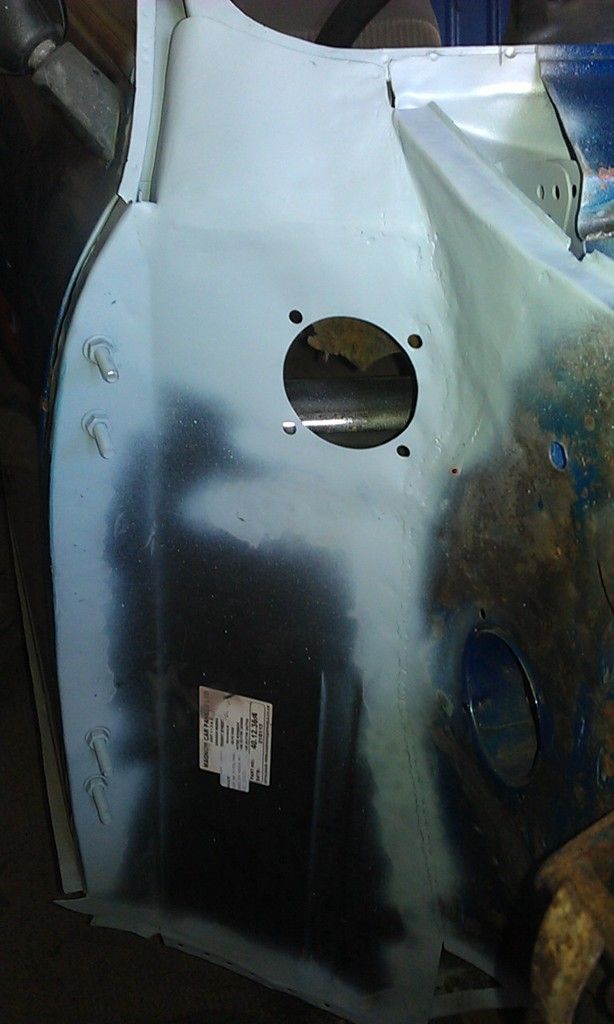
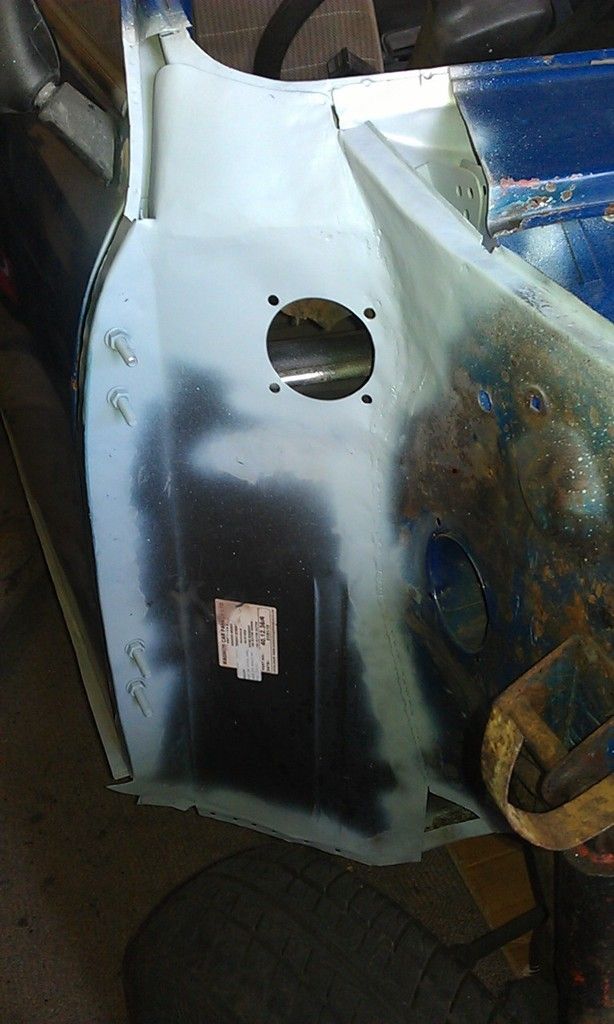
And finally cleaned up, Panel Wipe and Etch Primer:


IMAG0972_zpsmtxgevkk.jpg


IMAG0973_zpsepechuzp.jpg


#368 sonikk4

sonikk4

    Twisted Paint Polisher!!!
  • Admin
  • PipPipPipPipPipPipPipPipPipPipPip
  • 15,996 posts
  • Name: Neil
  • Location: Oxfordshire

Posted 05 September 2015 - 07:36 PM

Cracking along with this, just done all of this bar the top part of the flitch. Thats next weeks project.


The one thing i would do though is weld that small gap up where the top return of the wing finishes.


#369 alex-95

alex-95

    I am THE CLAMP MAKER

  • Members
  • PipPipPipPipPipPipPipPipPipPip
  • 6,019 posts
  • Location: l

Posted 05 September 2015 - 07:44 PM

Great work. 2 things:

1.I think the 2 extra holes for the indicator are supposed to be there as mine have them in the same place.

2. get the bonnet hinge nut and bolt, put the bolt through and tighten the nut on (nut on nearer the outside) and weld the nut on, makes the job of fitting and removing the hinges a lot easier.


#370 Ben_O

Ben_O

    Mill Road Garage

  • Paint Doctor
  • PipPipPipPipPipPipPipPipPipPip
  • 9,785 posts
  • Location: Isle of Wight

Posted 06 September 2015 - 07:05 AM

Very nice Bill


#371 JonnyAlpha

JonnyAlpha

    Up Into Fourth

  • Members
  • PipPipPipPipPipPipPipPipPip
  • 2,748 posts
  • Location: North Devon
  • Local Club: Exmoor Minis

Posted 06 September 2015 - 07:14 PM

Cracking along with this, just done all of this bar the top part of the flitch. Thats next weeks project.


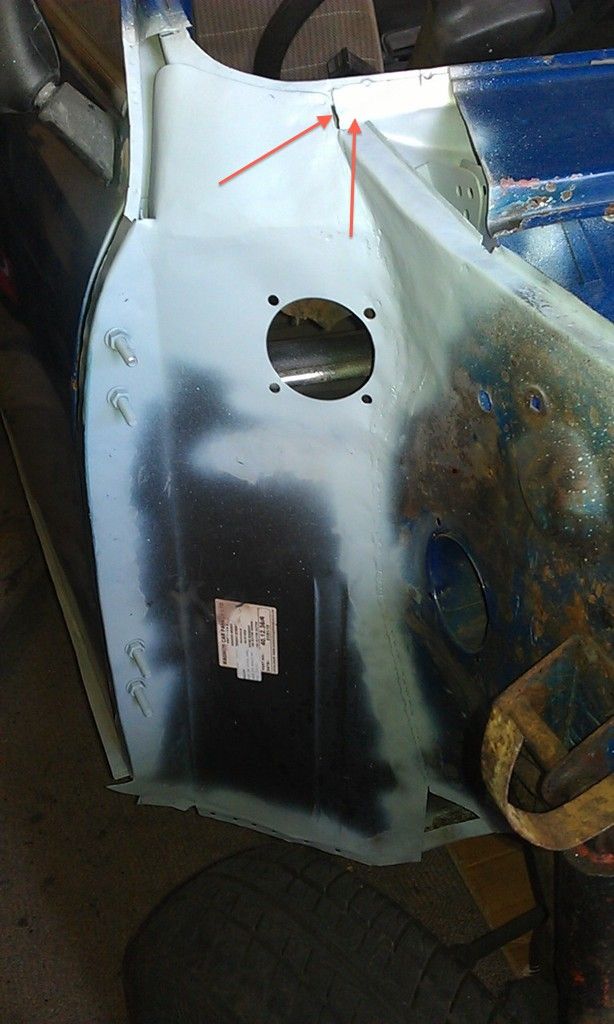
The one thing i would do though is weld that small gap up where the top return of the wing finishes.


Do you mean the gap marked with the arrow on the left or right or both?


Flitch_Arrows_zpso0qak6lx.jpg


#372 JonnyAlpha

JonnyAlpha

    Up Into Fourth

  • Members
  • PipPipPipPipPipPipPipPipPip
  • 2,748 posts
  • Location: North Devon
  • Local Club: Exmoor Minis

Posted 06 September 2015 - 07:15 PM

Very nice Bill

Thanks Ben


#373 JonnyAlpha

JonnyAlpha

    Up Into Fourth

  • Members
  • PipPipPipPipPipPipPipPipPip
  • 2,748 posts
  • Location: North Devon
  • Local Club: Exmoor Minis

Posted 06 September 2015 - 07:23 PM

Great work. 2 things:

1.I think the 2 extra holes for the indicator are supposed to be there as mine have them in the same place.

2. get the bonnet hinge nut and bolt, put the bolt through and tighten the nut on (nut on nearer the outside) and weld the nut on, makes the job of fitting and removing the hinges a lot easier.


Ref the indicator - no worries.


Ref the hinge - so with nut welded on (which I guess can only be done with the Scuttle off) then the bolt can be inserted from the engine compartment on the inner side of the hinge?


#374 alex-95

alex-95

    I am THE CLAMP MAKER

  • Members
  • PipPipPipPipPipPipPipPipPipPip
  • 6,019 posts
  • Location: l

Posted 06 September 2015 - 07:28 PM


Great work. 2 things:

1.I think the 2 extra holes for the indicator are supposed to be there as mine have them in the same place.

2. get the bonnet hinge nut and bolt, put the bolt through and tighten the nut on (nut on nearer the outside) and weld the nut on, makes the job of fitting and removing the hinges a lot easier.


Ref the indicator - no worries.


Ref the hinge - so with nut welded on (which I guess can only be done with the Scuttle off) then the bolt can be inserted from the engine compartment on the inner side of the hinge?


Yep, Just saves trying to get 2 spanners in. Not a great pic of it,

DSCF2565_zps59ee882b.jpg


#375 sonikk4

sonikk4

    Twisted Paint Polisher!!!

  • Admin
  • PipPipPipPipPipPipPipPipPipPipPip
  • 15,996 posts
  • Name: Neil
  • Location: Oxfordshire

Posted 06 September 2015 - 07:36 PM


Cracking along with this, just done all of this bar the top part of the flitch. Thats next weeks project.


The one thing i would do though is weld that small gap up where the top return of the wing finishes.


Do you mean the gap marked with the arrow on the left or right or both?


Flitch_Arrows_zpso0qak6lx.jpg


The arrow on the left.


3 user(s) are reading this topic

0 members, 3 guests, 0 anonymous users