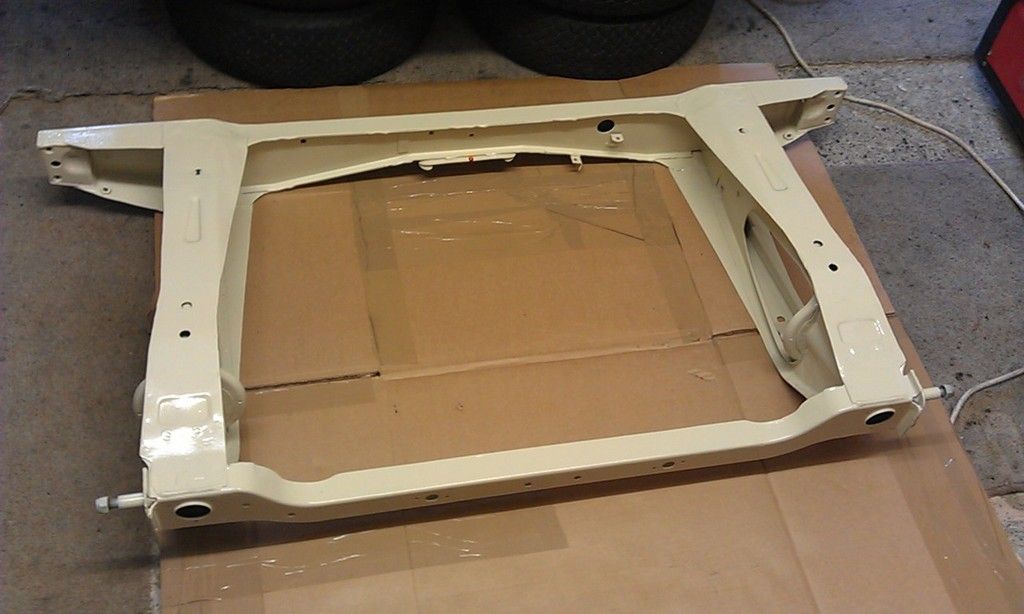
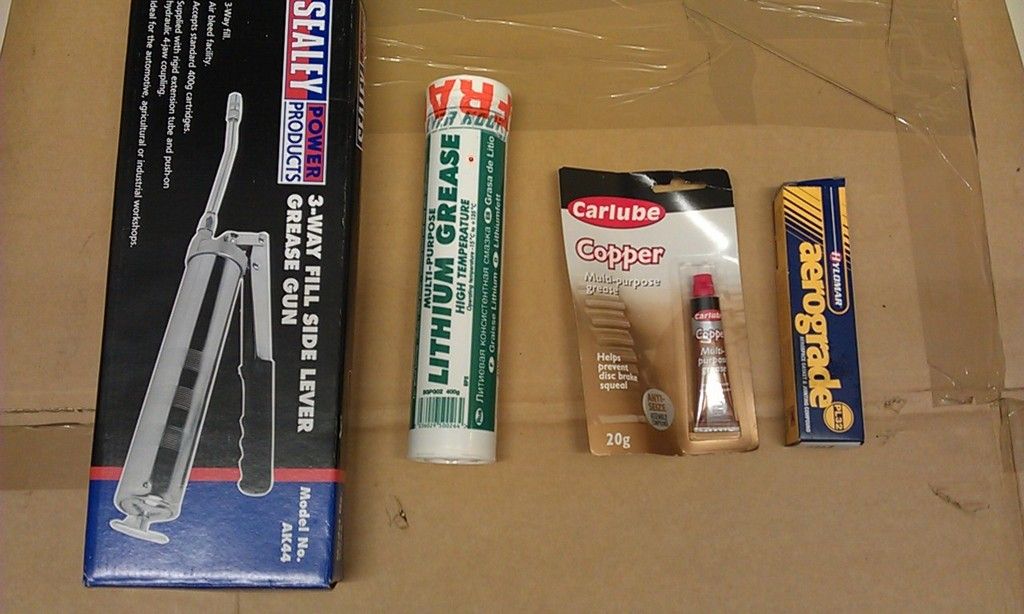
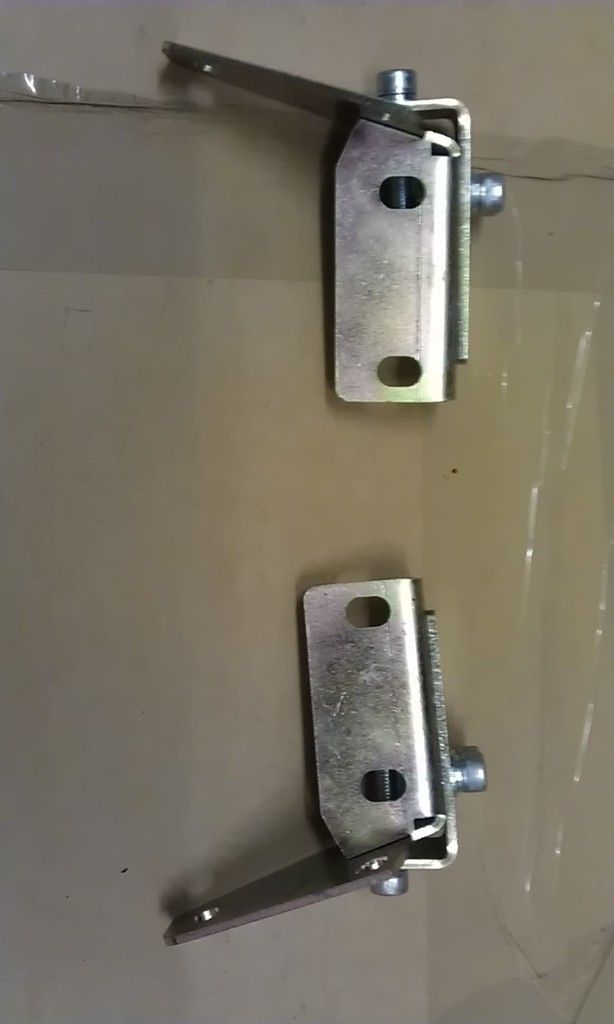
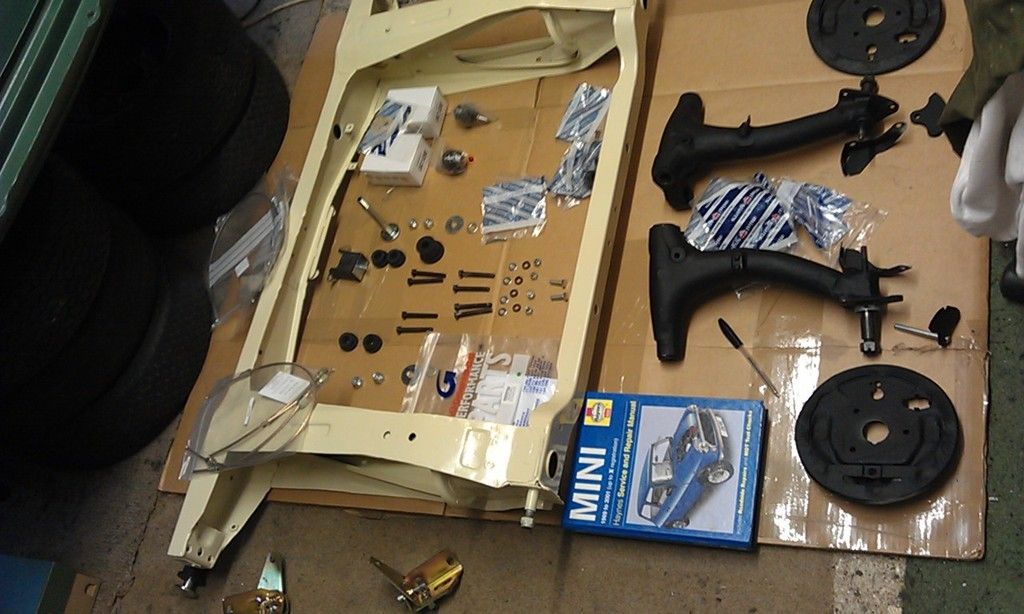
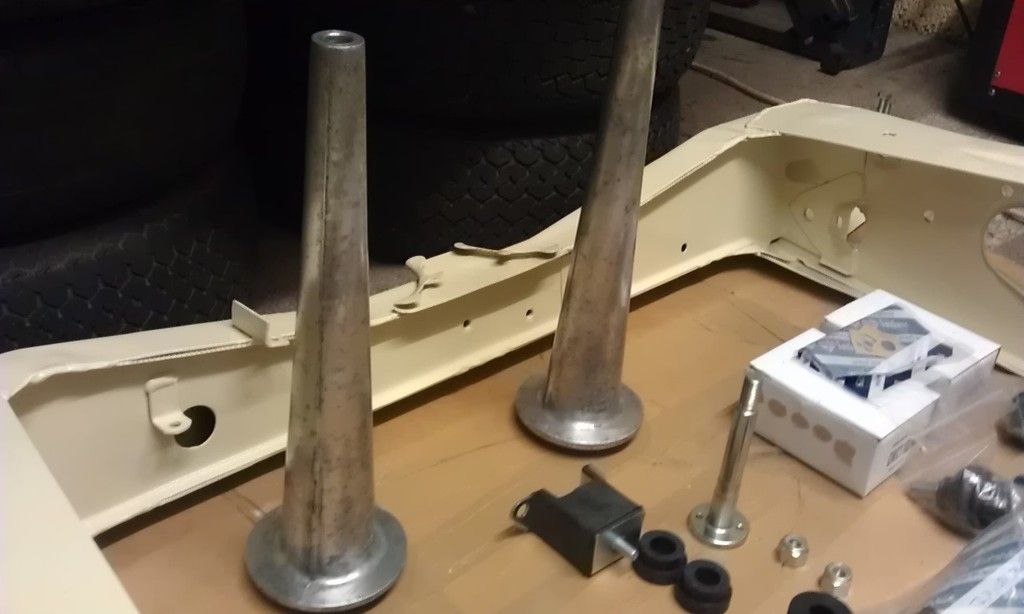
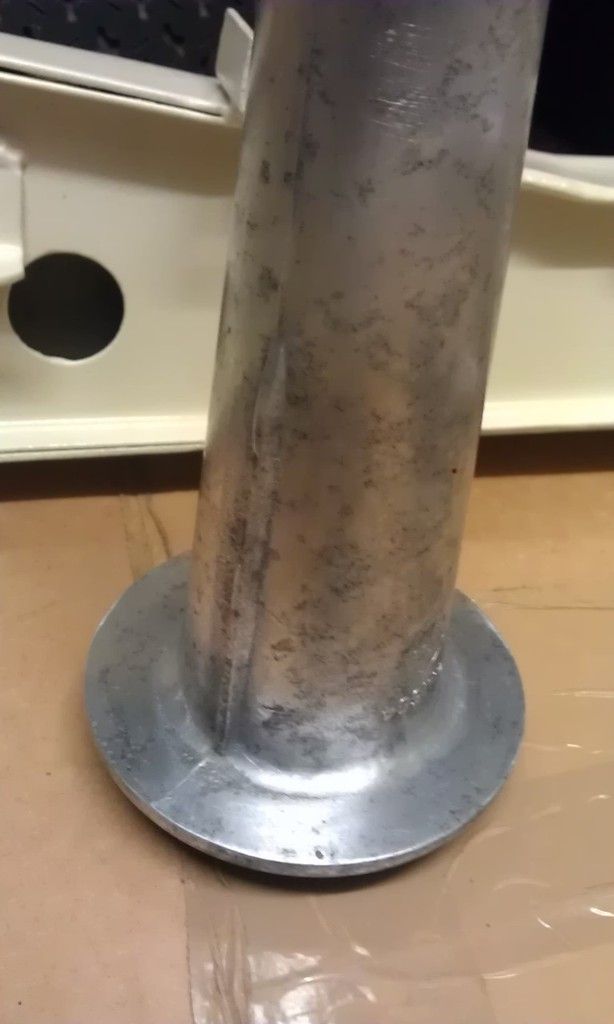
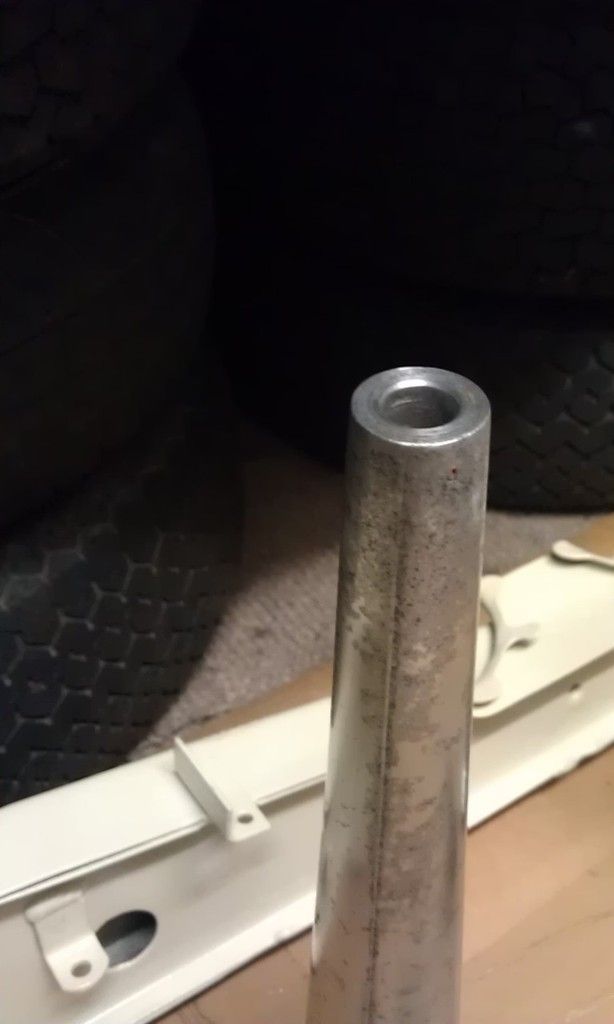
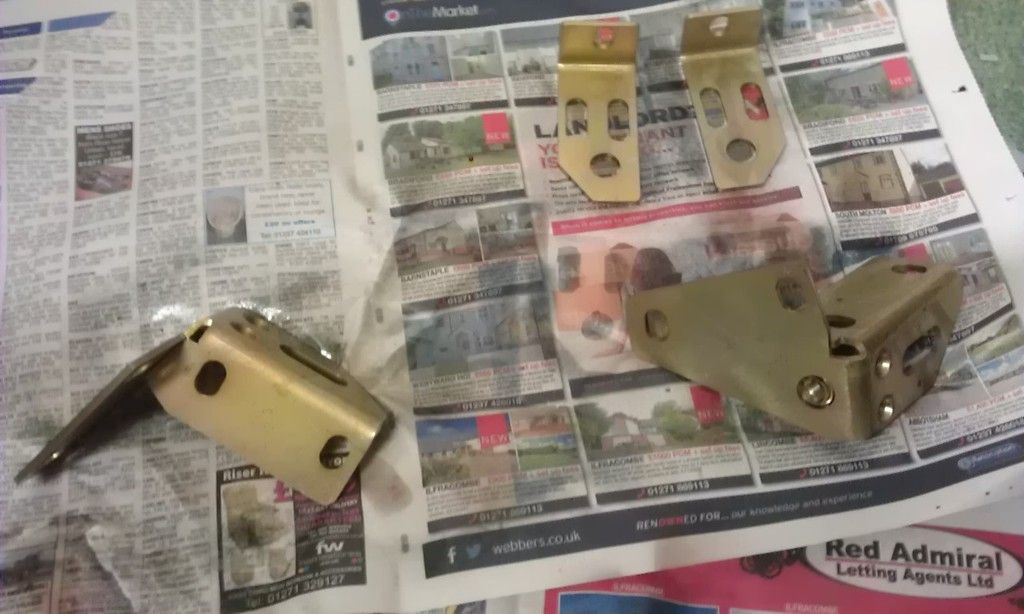
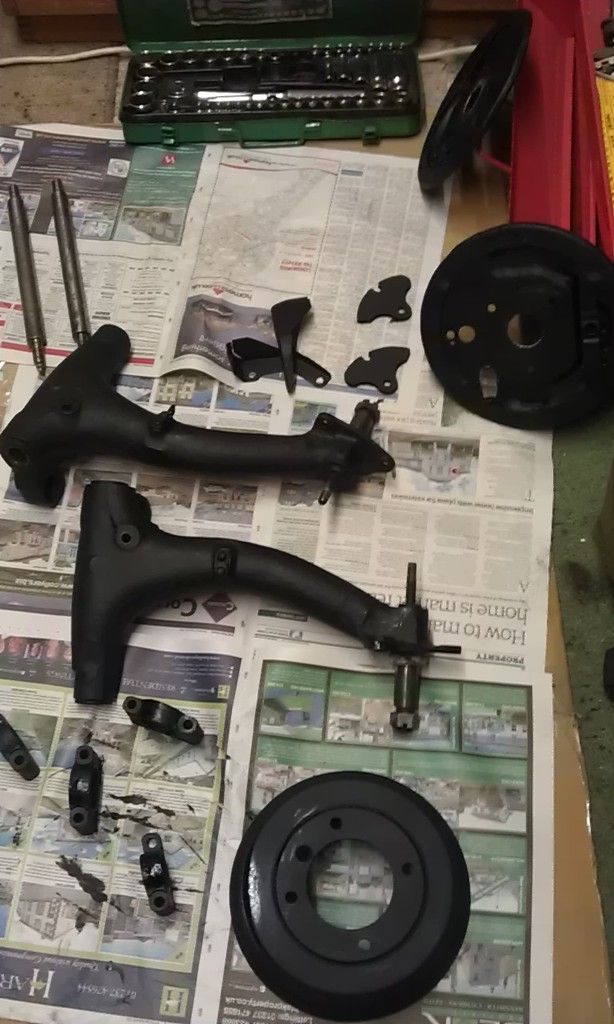
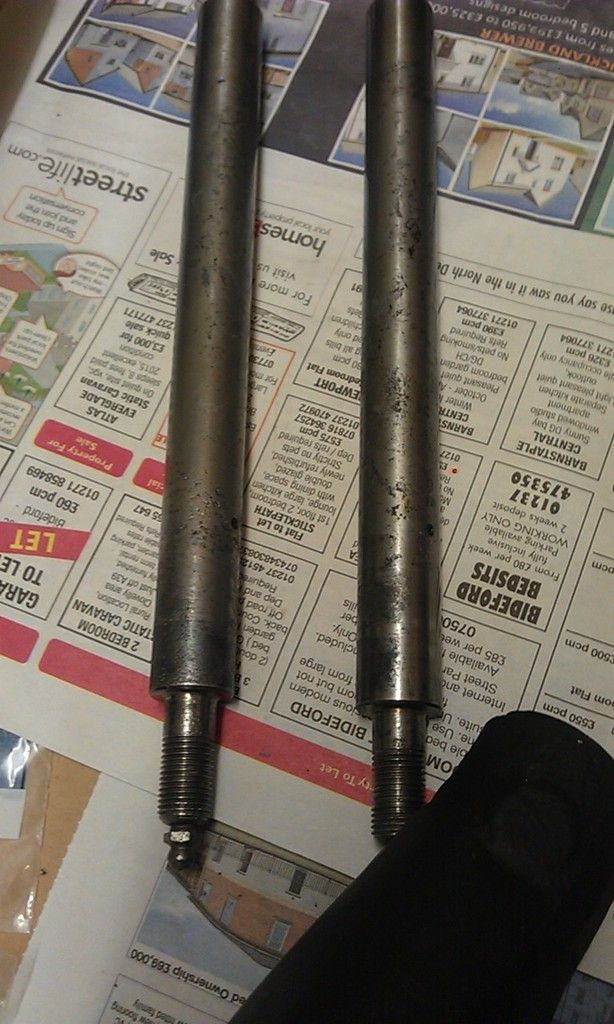
Ok so finally I am ready to build and re-fit the Subframe and get this thing rolling again!!!
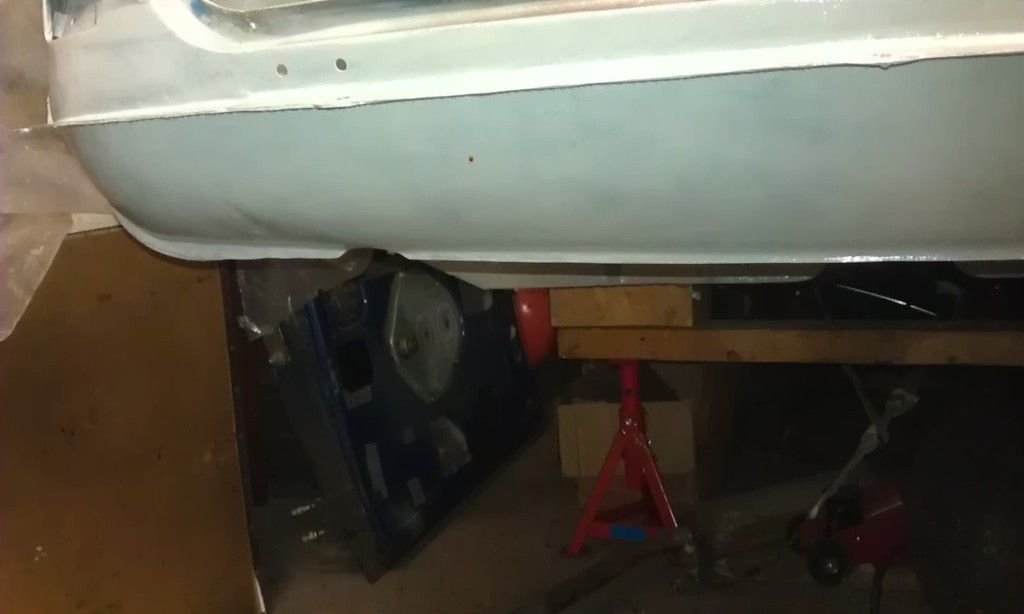
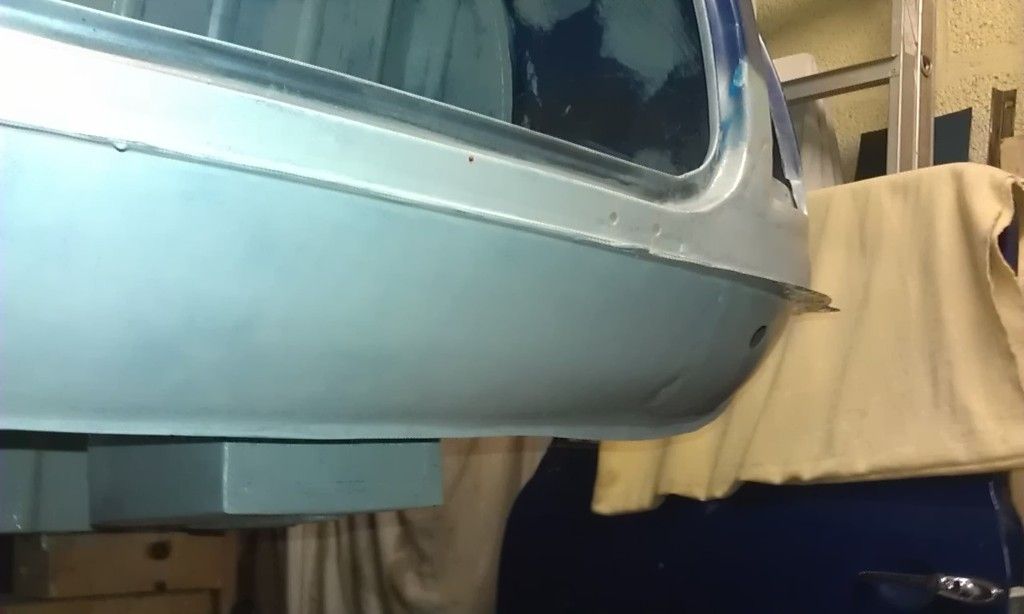
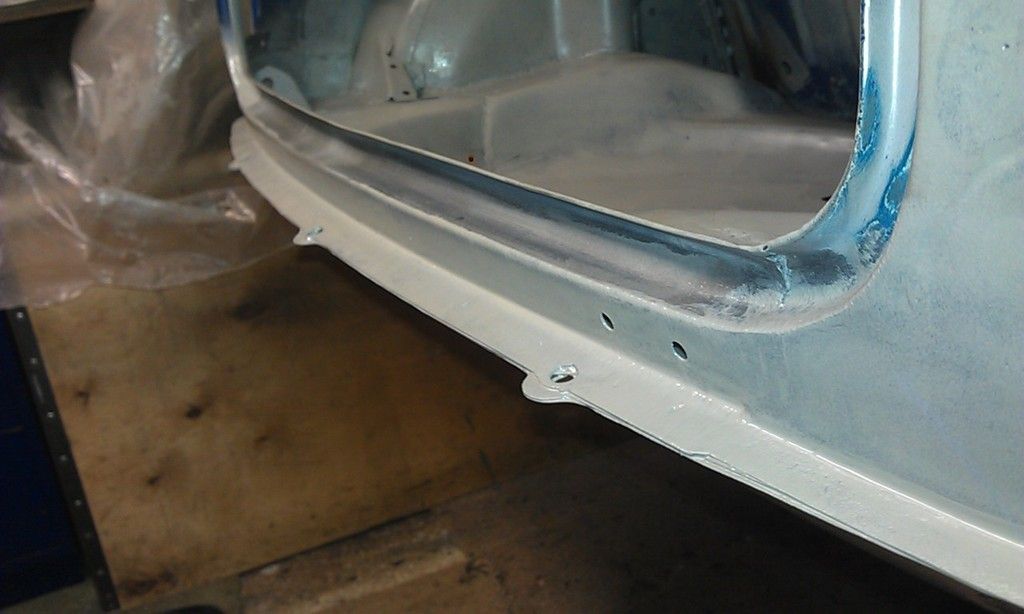
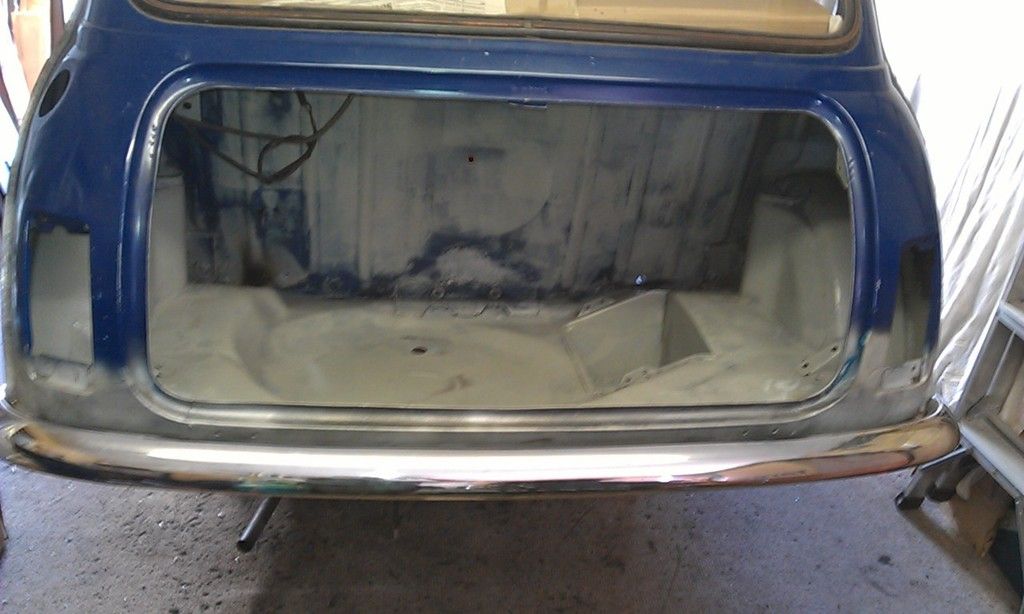
Rear underside is now finished, Epoxy, Seam Seal, Epoxy, Gravitex Stonechip and colour coat, I have also finished painting inside the boot to a standard sufficient to commence building, it can be tidied later.
First I had to clear everything from the rear of the garage to make room to spray, this took nearly two hours!!
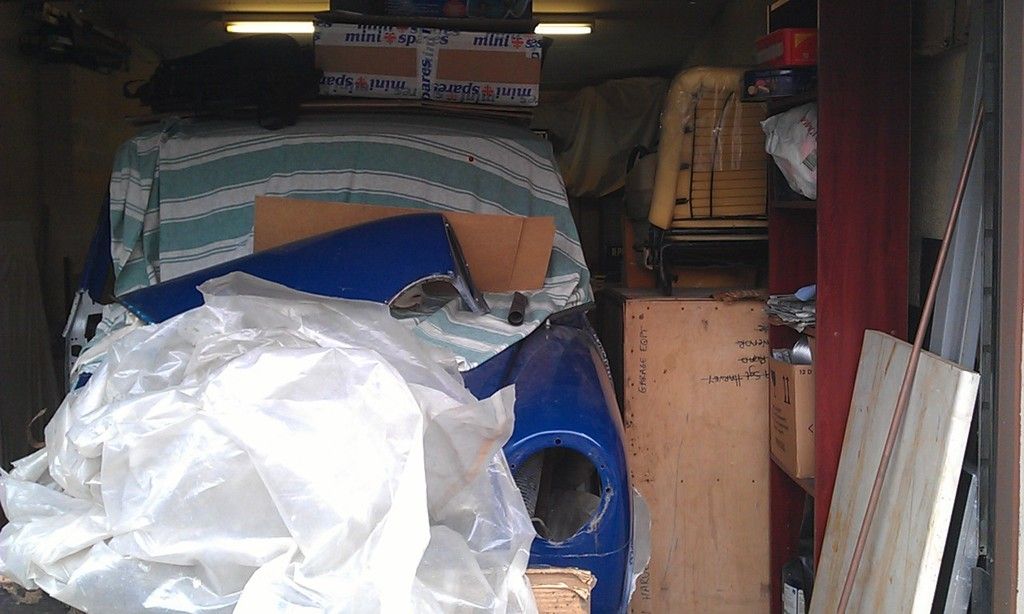
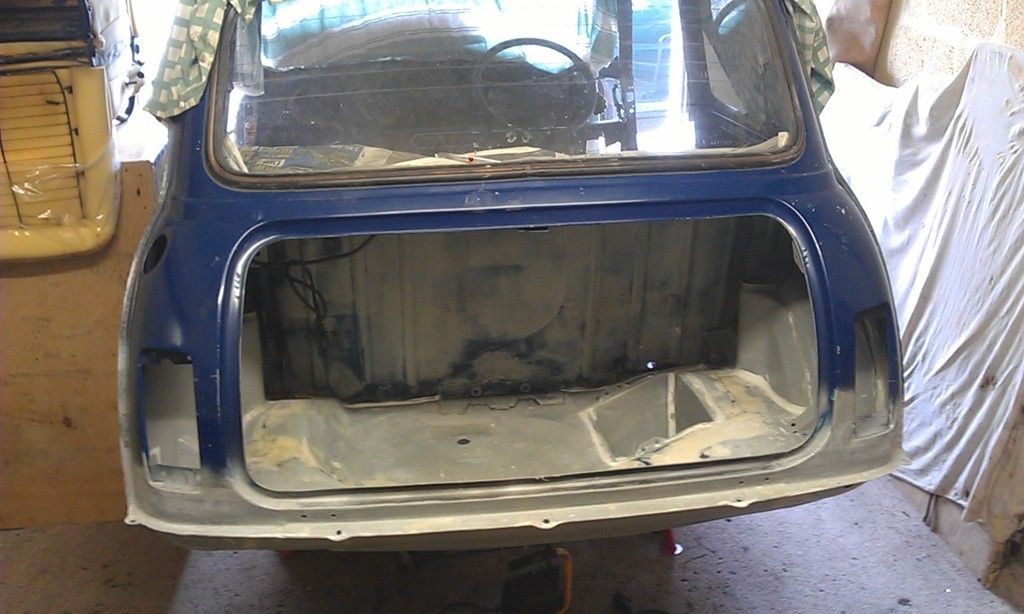
Didn't take too many pics of the seam sealing and body filling inside the boot too busy I'm afraid  But here's the boot with body filler and seam seal, had to fill in a couple of areas where the boot repair panel didn't fit too well.
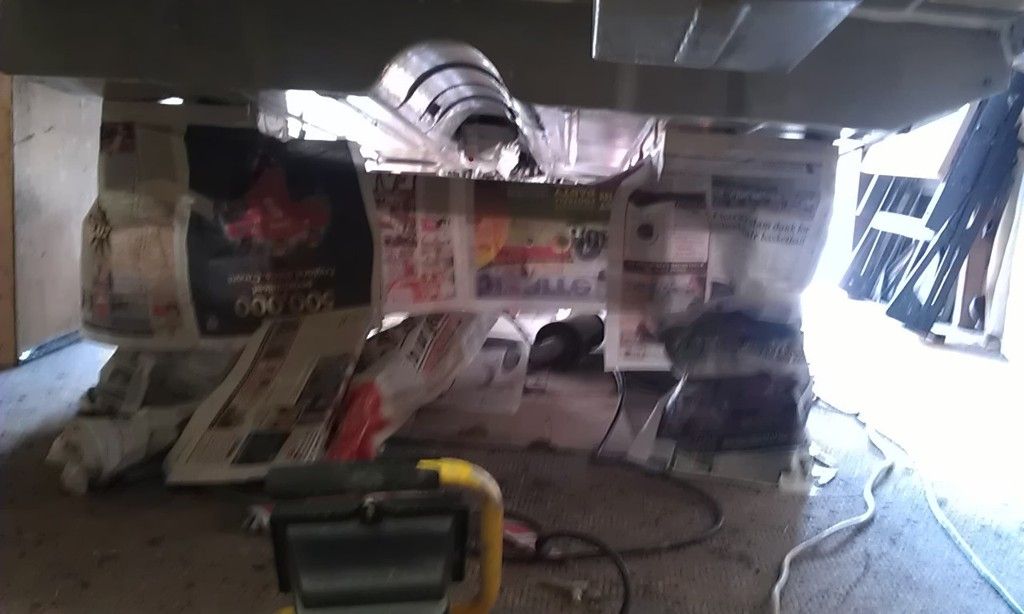
Masked up the underside ready for spraying and Stone Chipping:
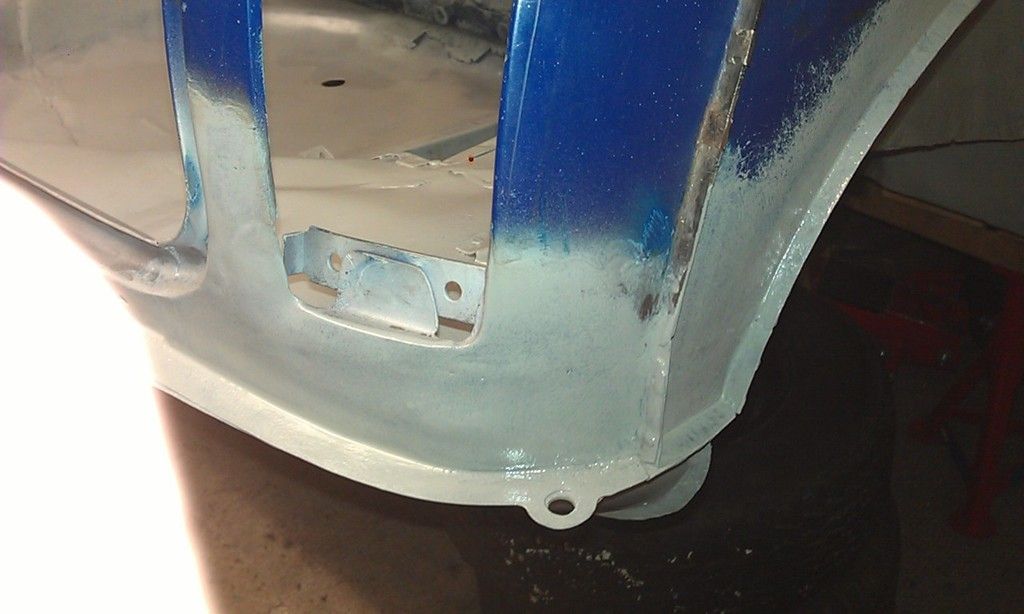
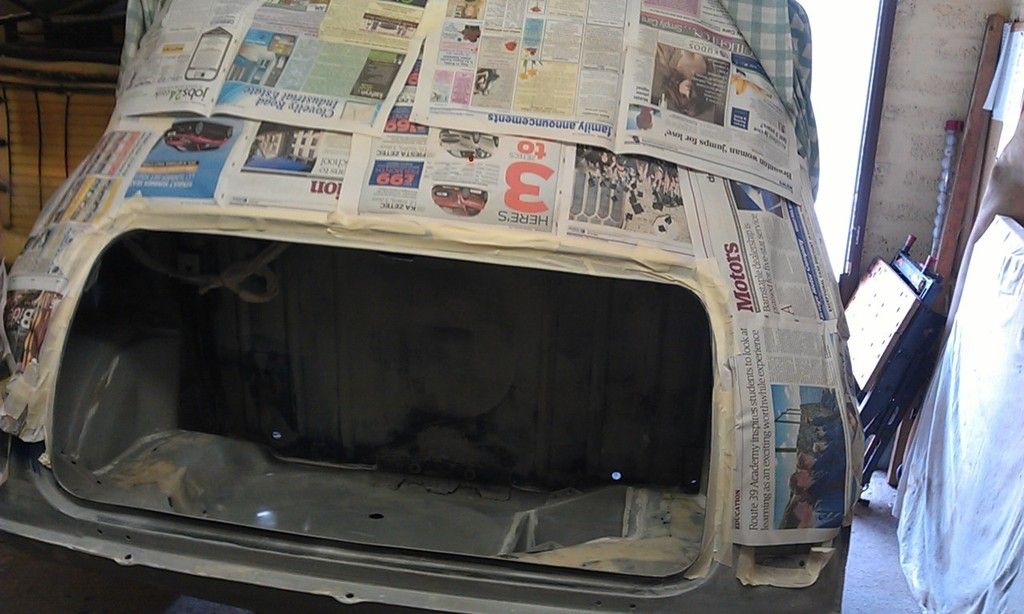
And the rear end ready for spraying inside the boot and hinge panel area:
Scuffed up the Epoxy and the laid another coat of Epoxy in the boot, concentrating on getting over the seam seal and body filler.
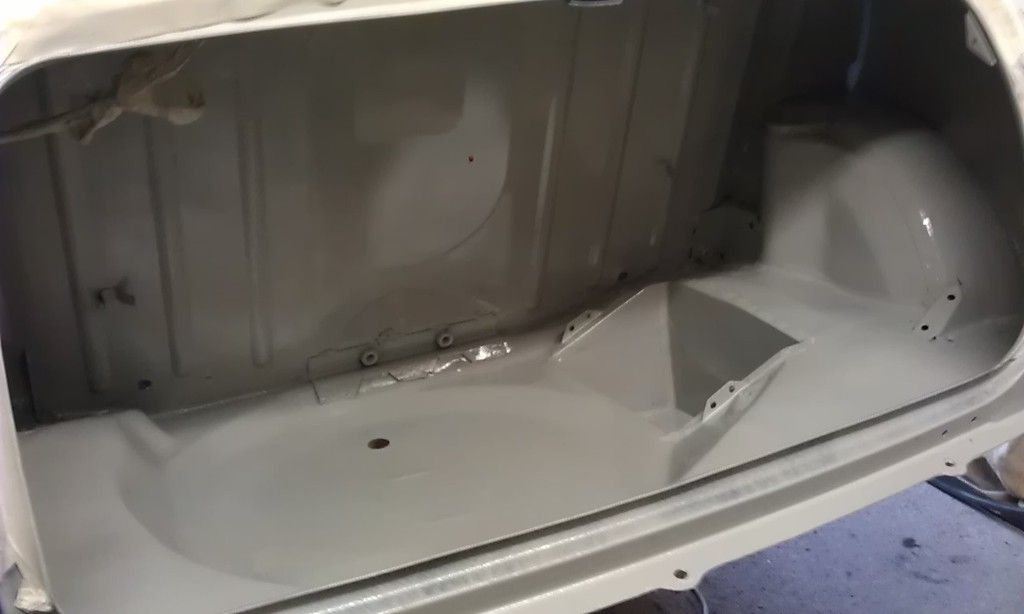
Hard work getting in here:
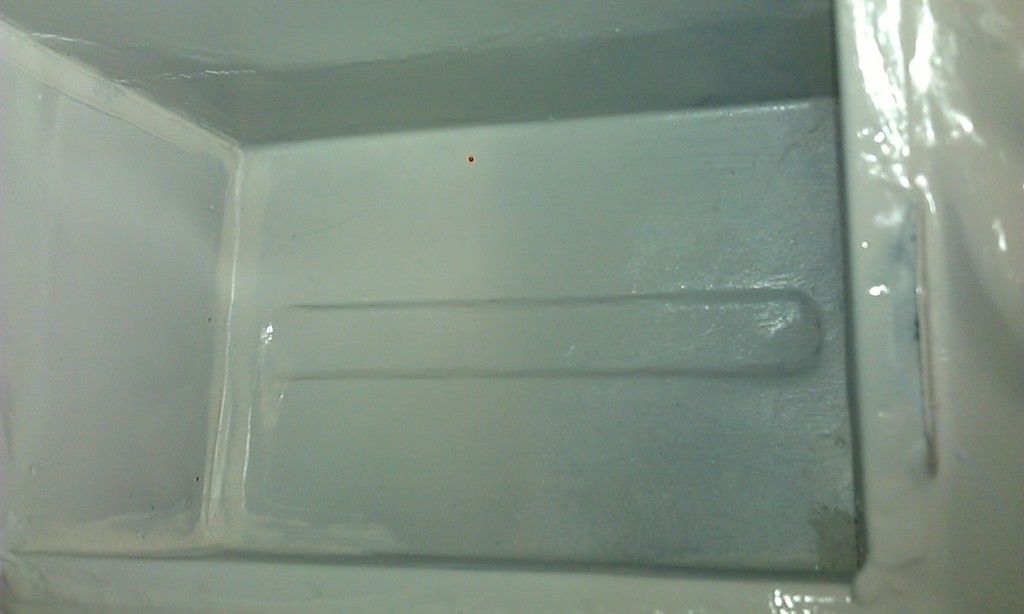
I think this was a shot part way through the Stone Chip? Before applying the Stone Chip as the Epoxy had been left a day or so it was scuffed with 320 grit.
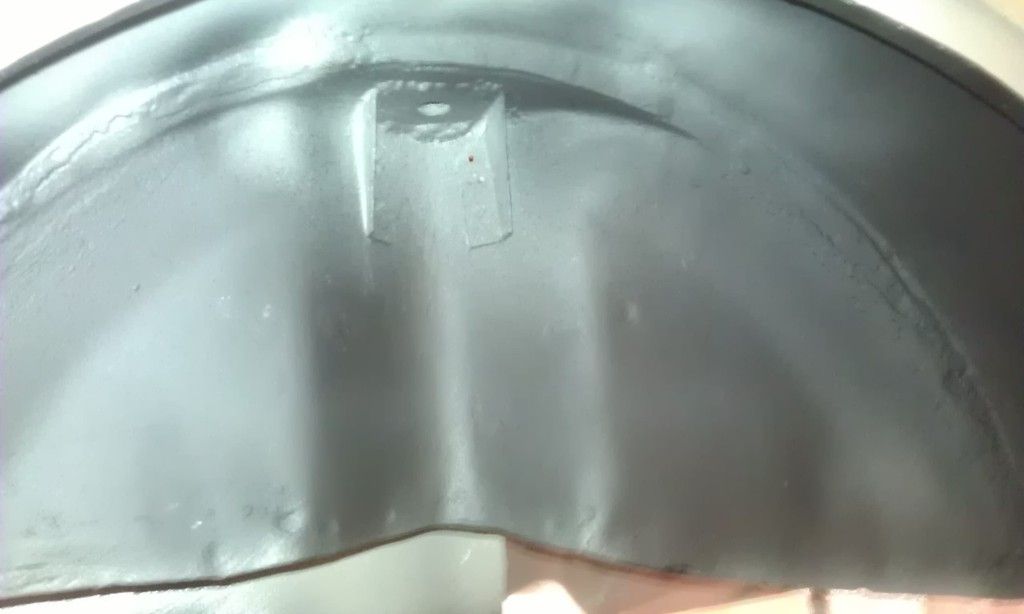
I laid a smooth coat on the Rear Valance but as the largest needle I have for my gun is a 1.8mm in the end I did a coat with the underbody gun.
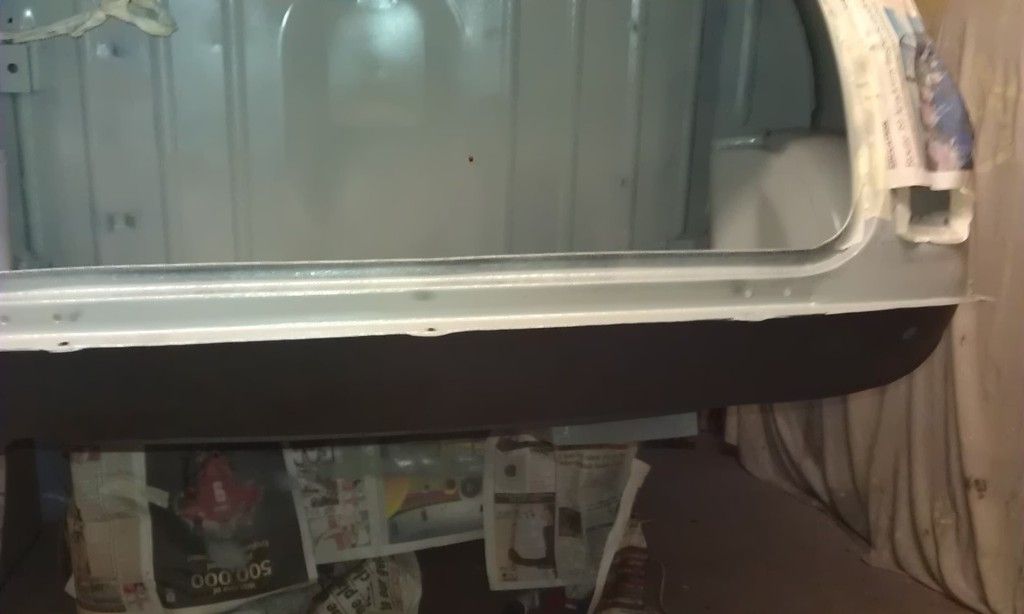
Not very visible in the photo above, it was getting late and the light was not good.
I noticed that the Seam Seal had reacted either side of the Rear Shock Top Mount Re-Enforcement Bracket, probably where I smoothed it with too much thinners, so I re-applied some:
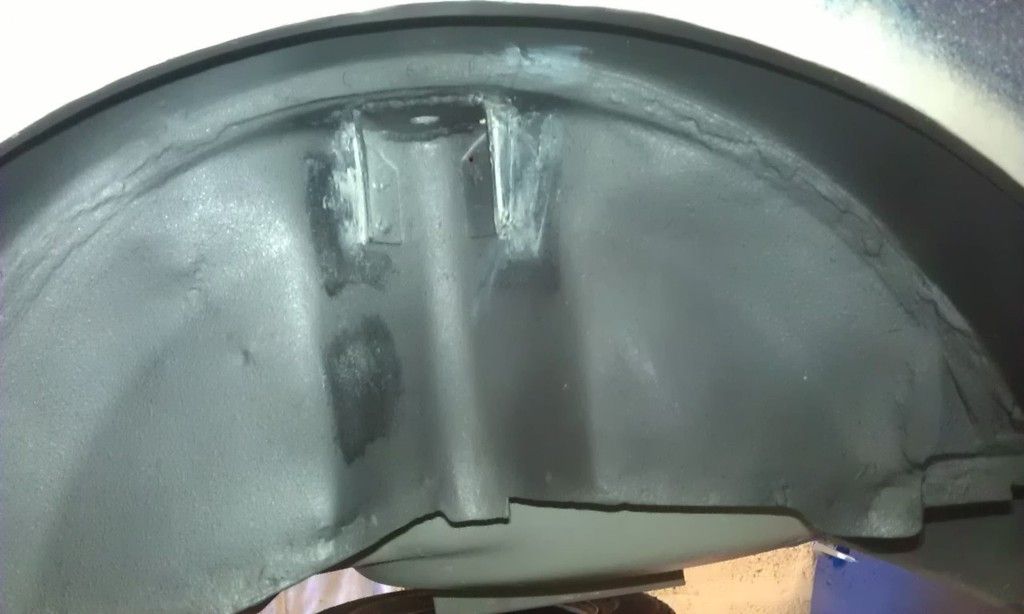
I left this for another day to set before painting.
Part way through the Stone Chipping:
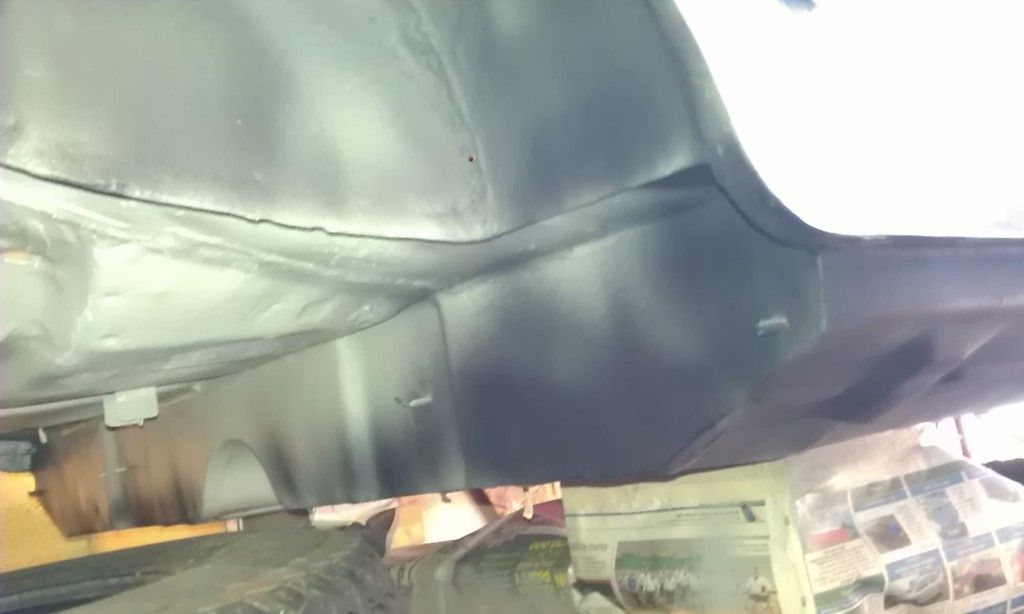
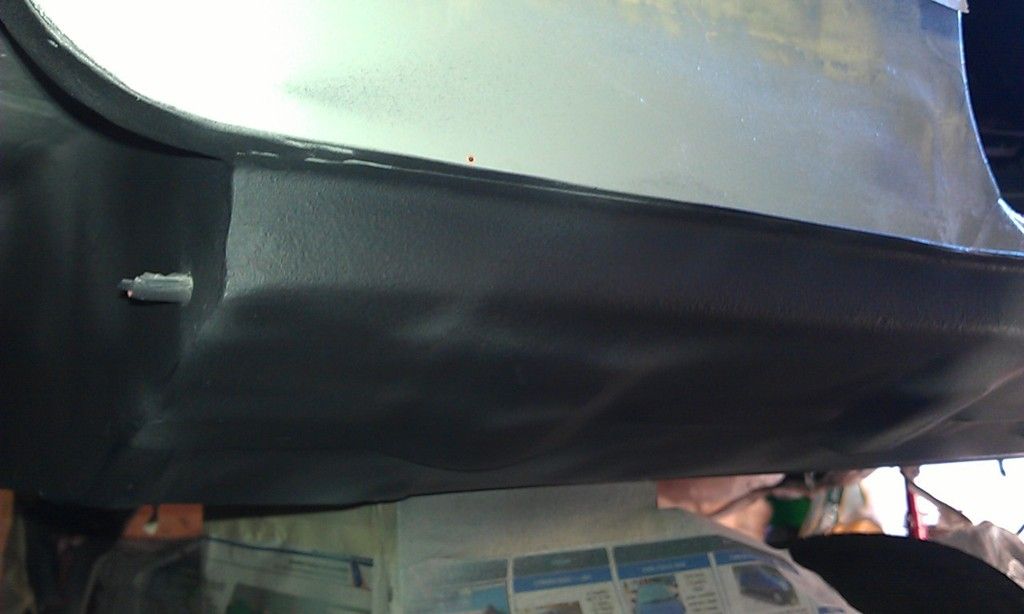
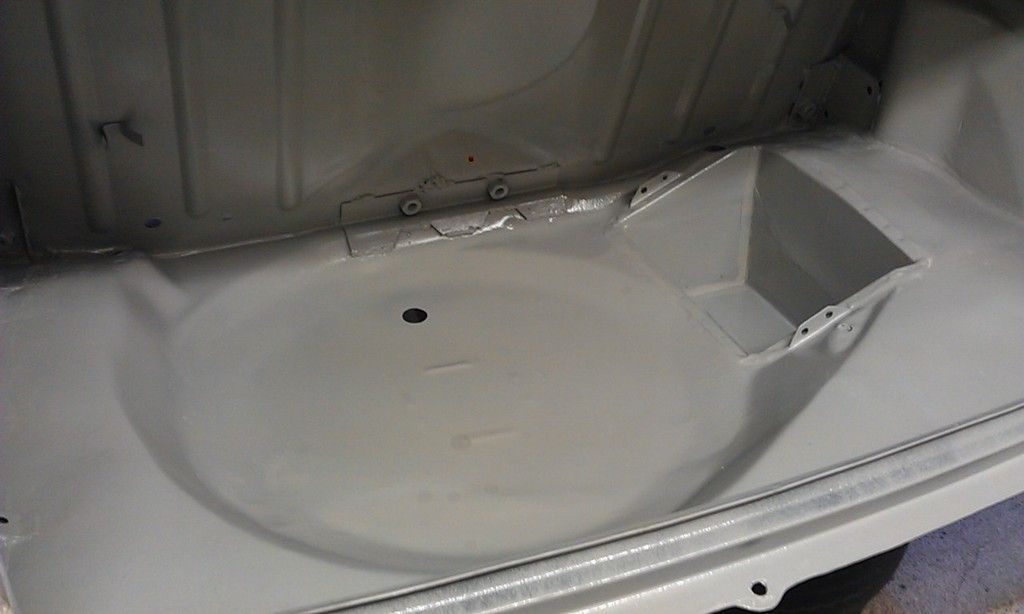
The second day I noticed some splodges inside the boot, at first I thought it was a reaction but then realised it was from where I was cleaning the Gravitex Gun and had splashed dirty thinners!!!
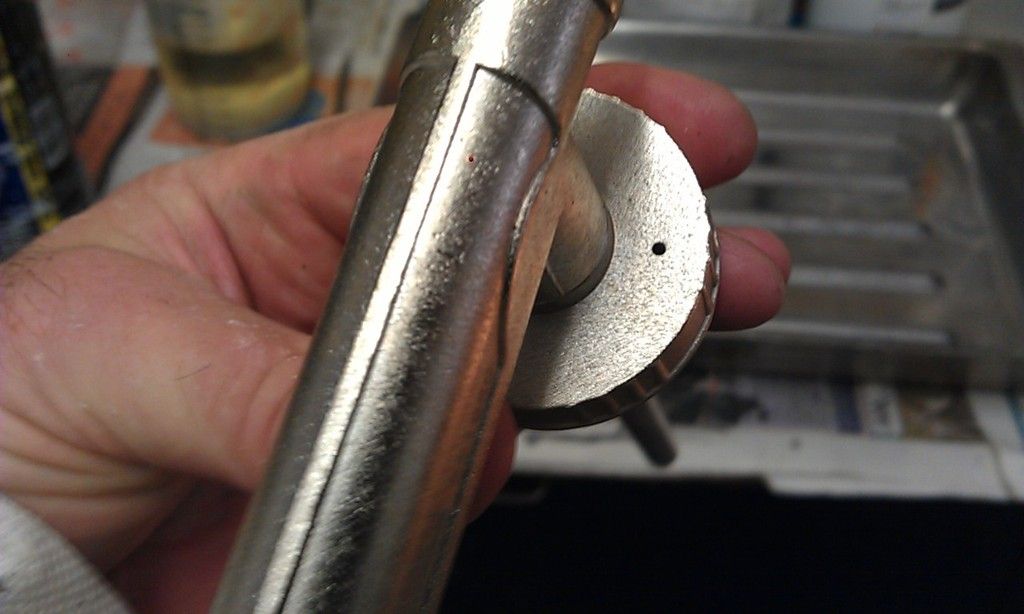
Here's my underbody gun and the U-POL Gravitex Plus, about £8.99 off of Ebay and worked fine:
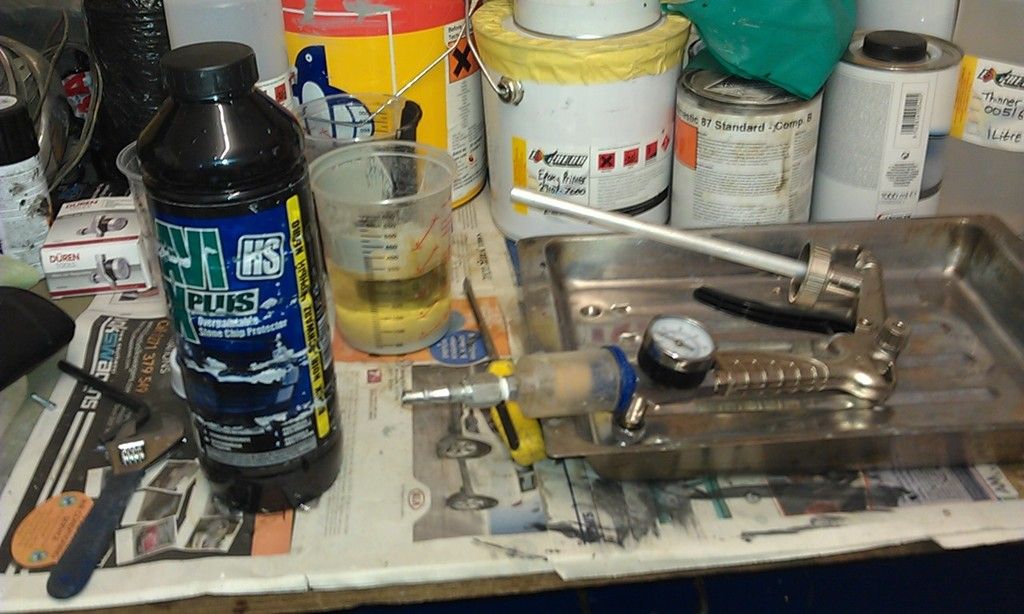
Once thing I was told to watch for on the cheap ones is to ensure they have a breath hole on the cap, otherwise it will not work:
Oh before applying the Gravitex underneath, make sure you mask of any holes otherwise you'll get Stone Chip where you don't want it!!
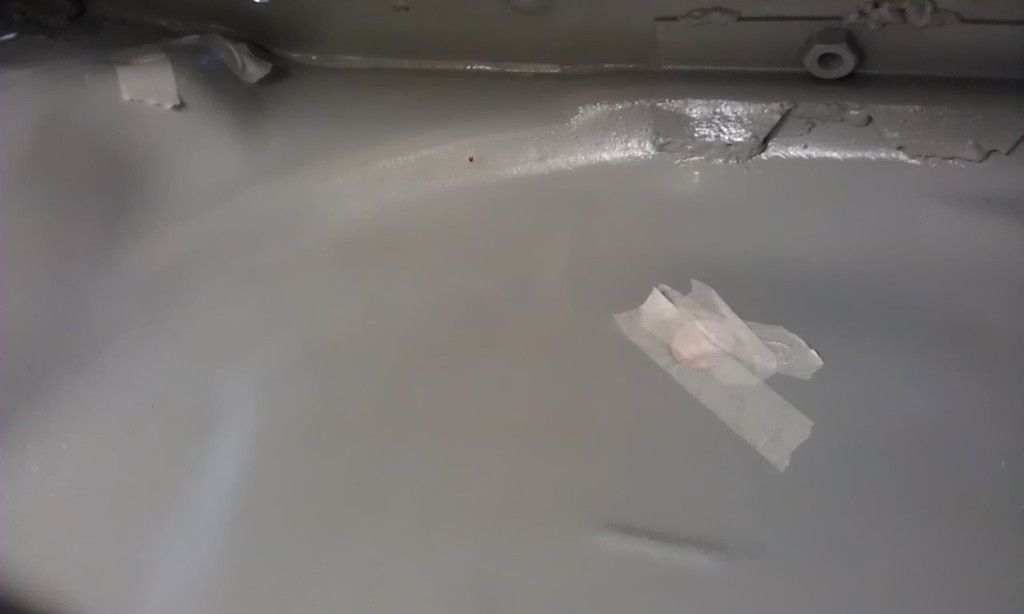
But I still managed a couple of splats, cleaned off with thinners and rubbed down:
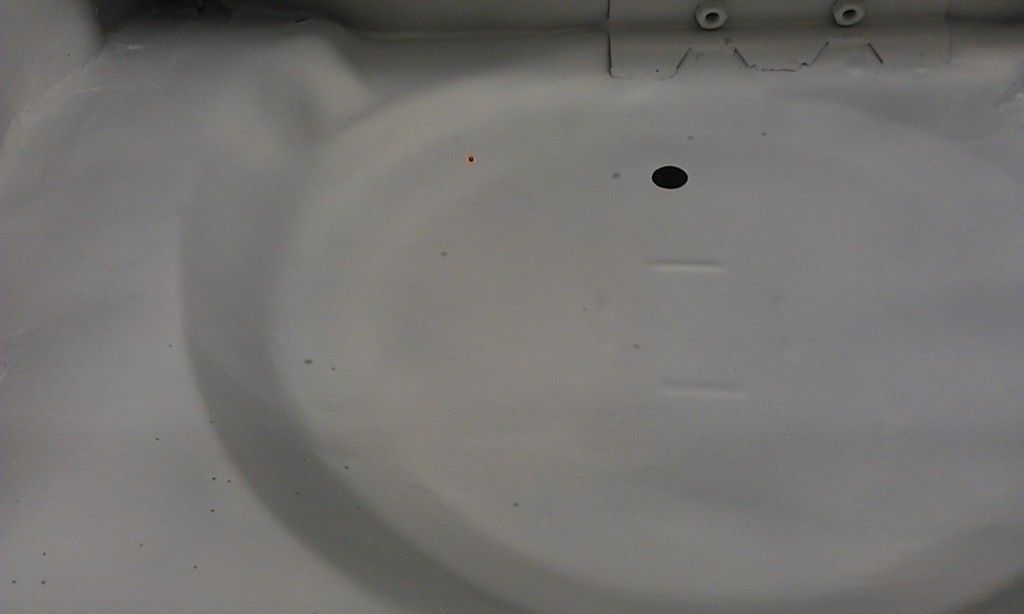
Inside the boot I decided to lay down some Celly Primer Filler that I had before colour coating:
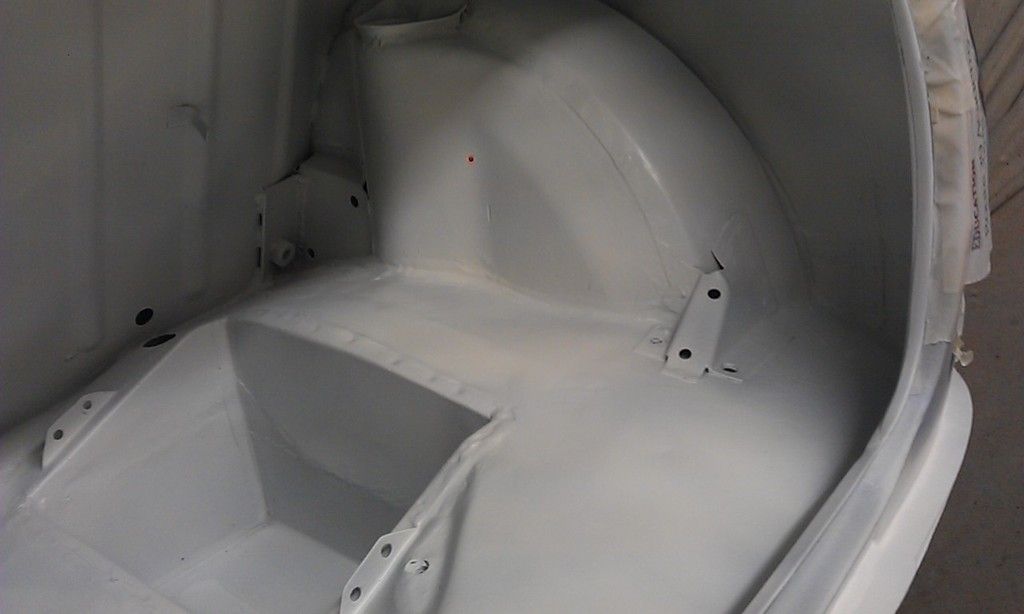
I used a full size gun underneath but used for the colour coat I used a touch up gun as getting inside the boot with a full size gun, Pressure Gauge and Water Trap just ain't Cricket.
Once this was done I then started on the colour coat underneath before doing inside the boot. Time was pressing on. it was getting late, my wife kept telling me to get in and my gun blocked twice, the result - a half finished boot, well at least the underside was completed!!!
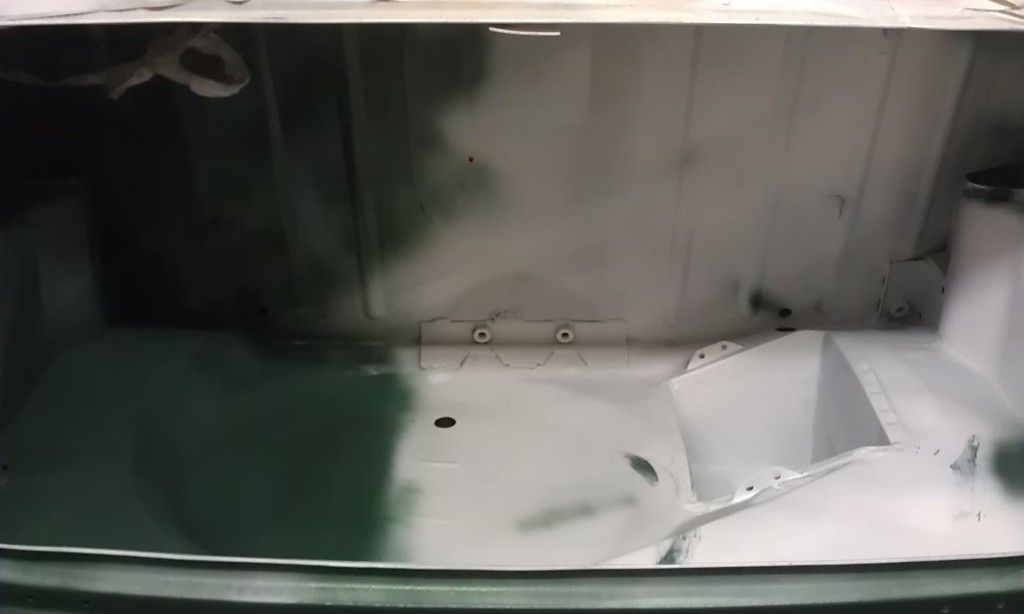
The splodges are from the touch up gun, when turning it on its side paint leaked out of the air hole in the lid - lesson for next time!!!
Anyway, a fresh start today, I cleaned up, rubbed down where needed inside the boot and fired up the Compressor and Touch up gun for another session!!
This time I held a piece of Blue Roll over the top of the paint container on the touch up gun.
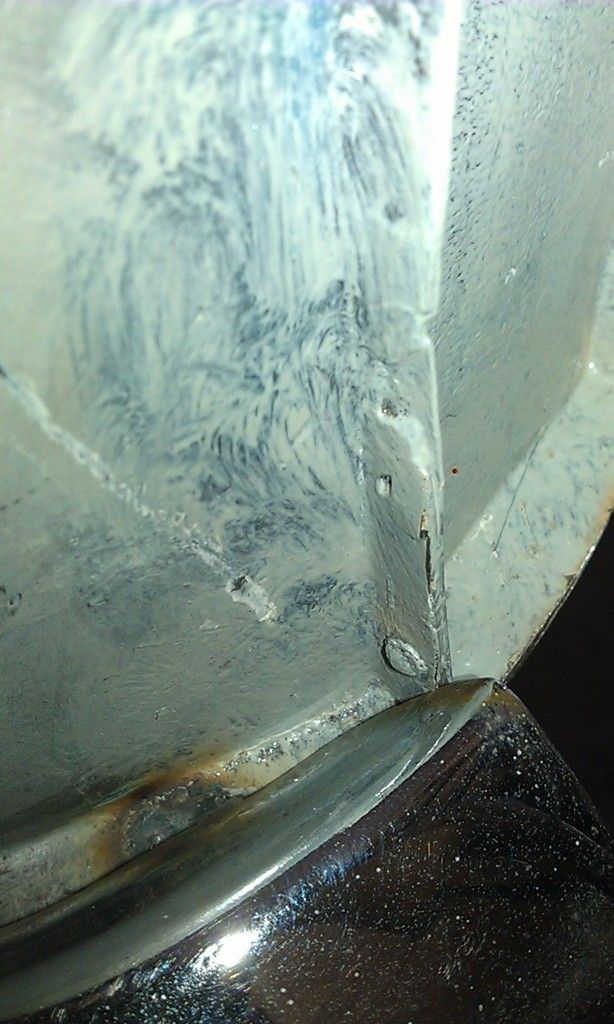
This pictures don't really do it justice but ther are a couple of light patches in the boot, but like I said at the beginning this will have to be finished after its rolling.
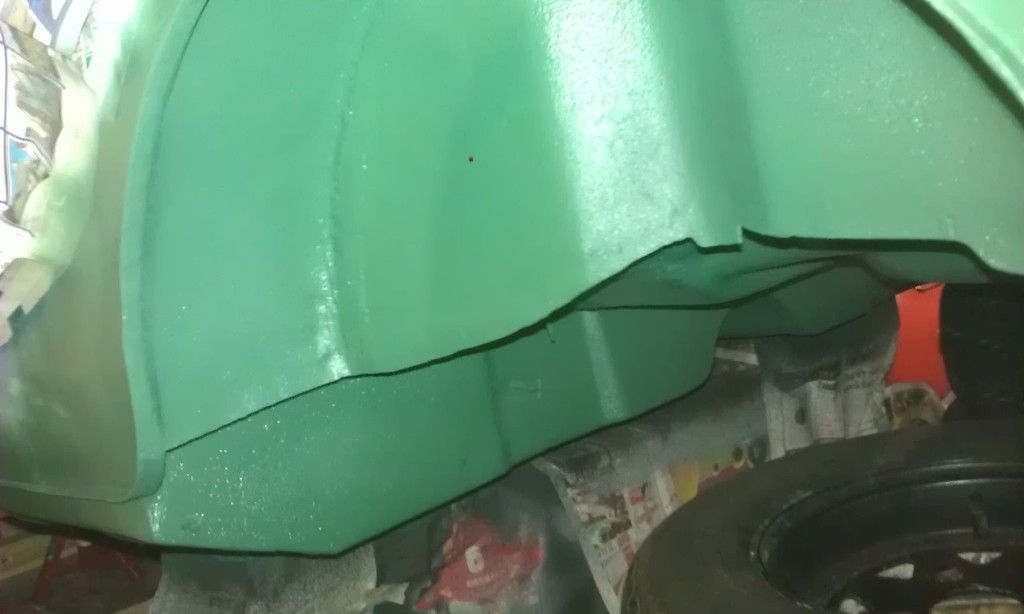
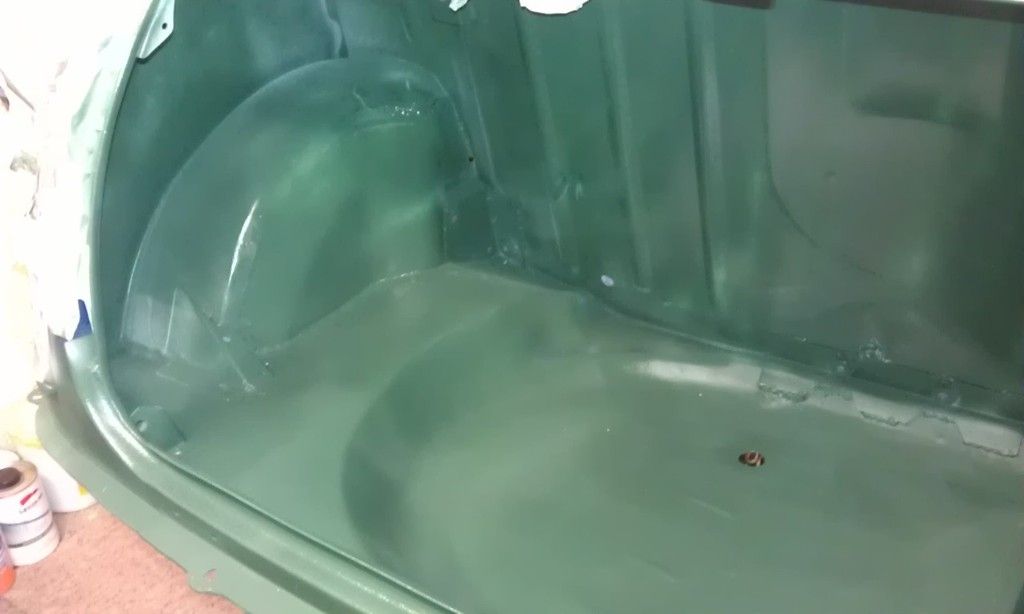
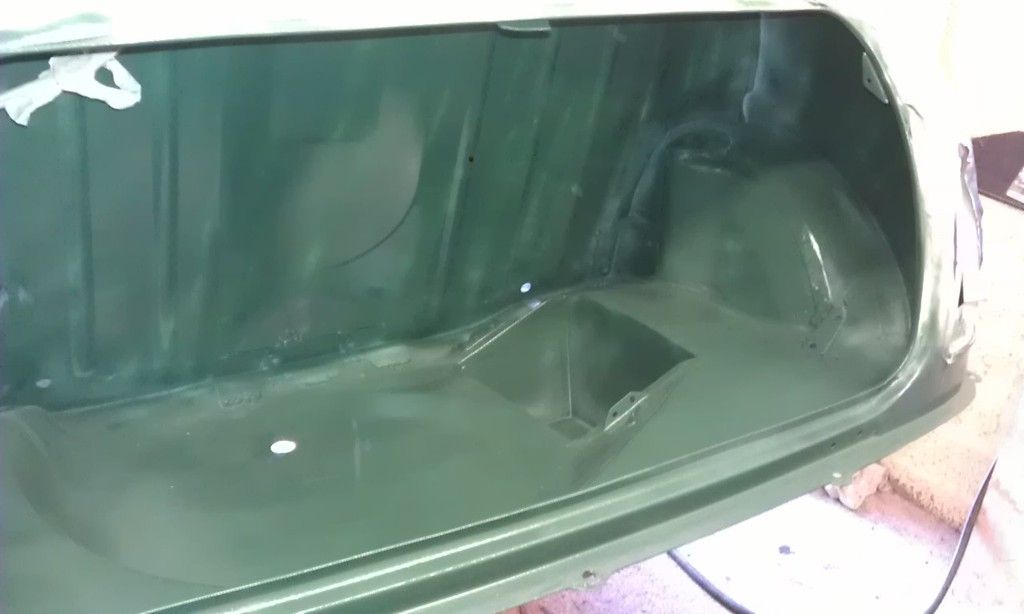
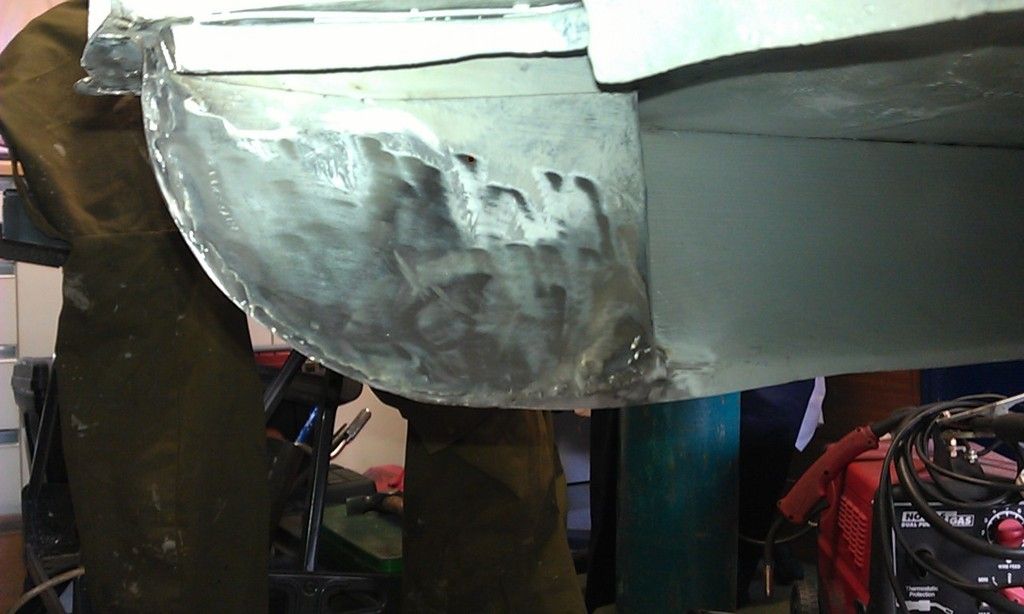
And some of the colour coated stone chip:
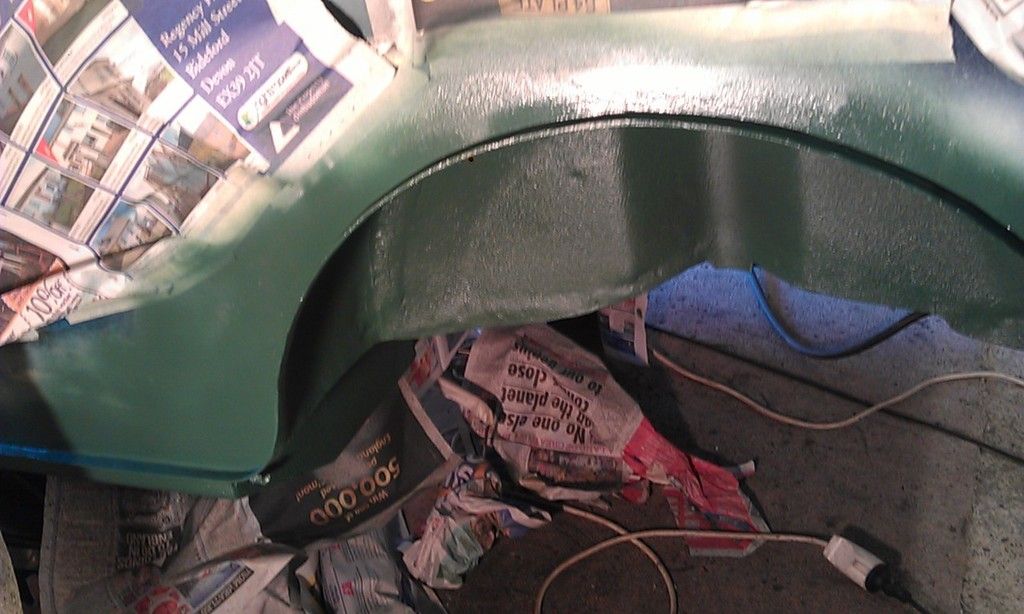
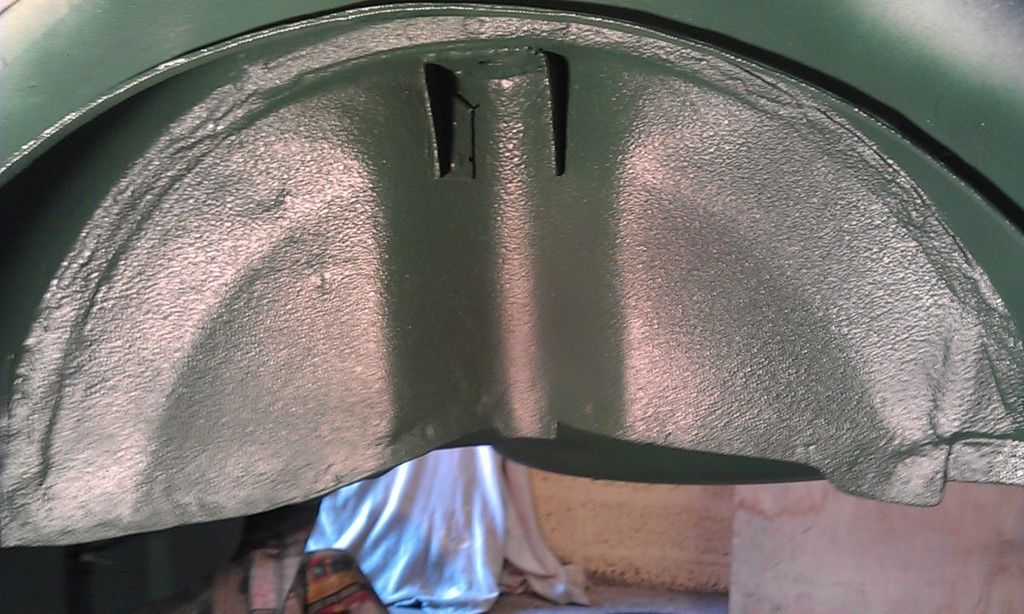
And the Heel Board:
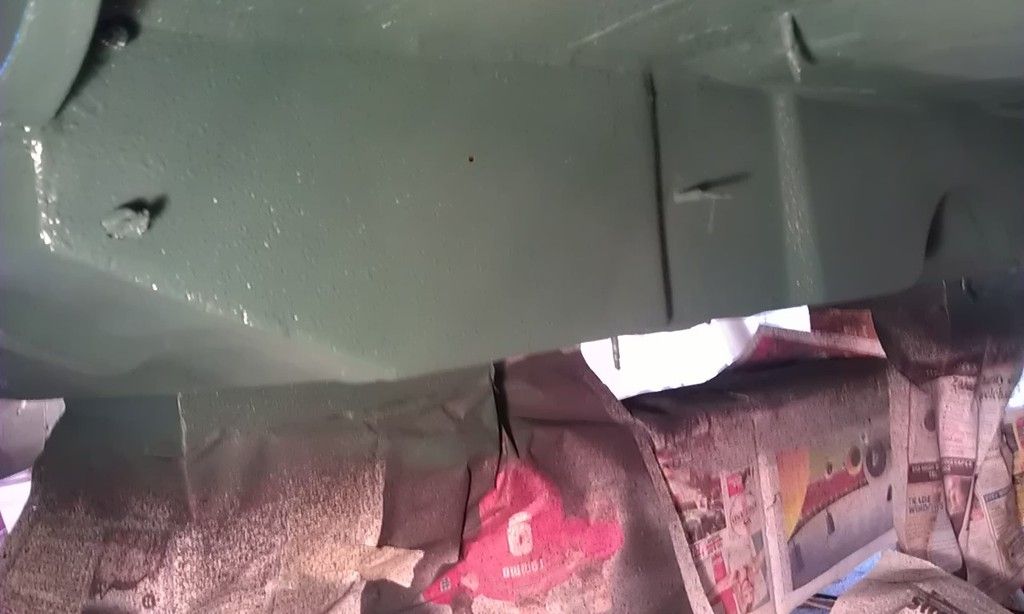
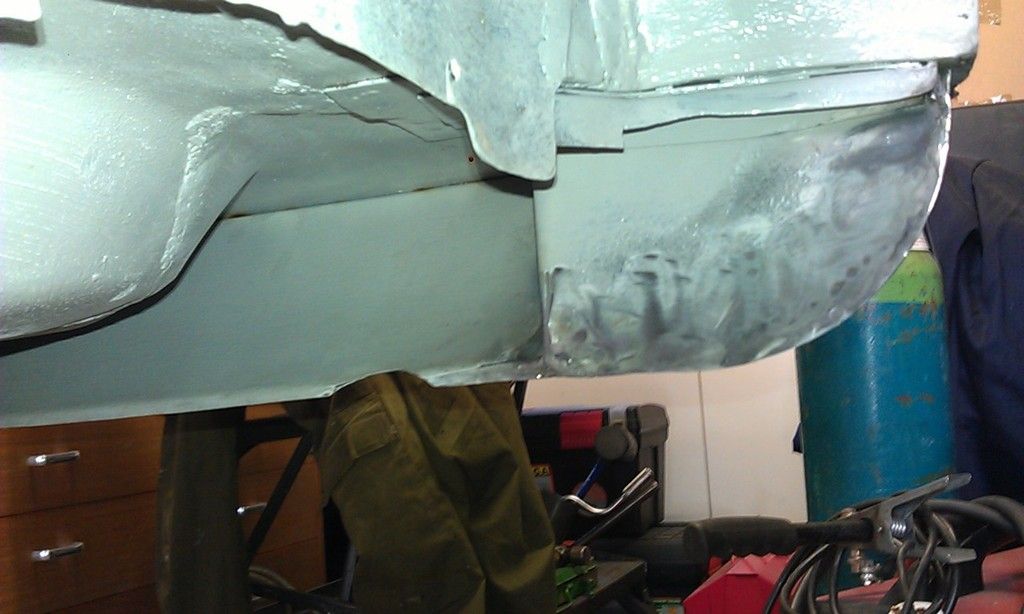
And underside:
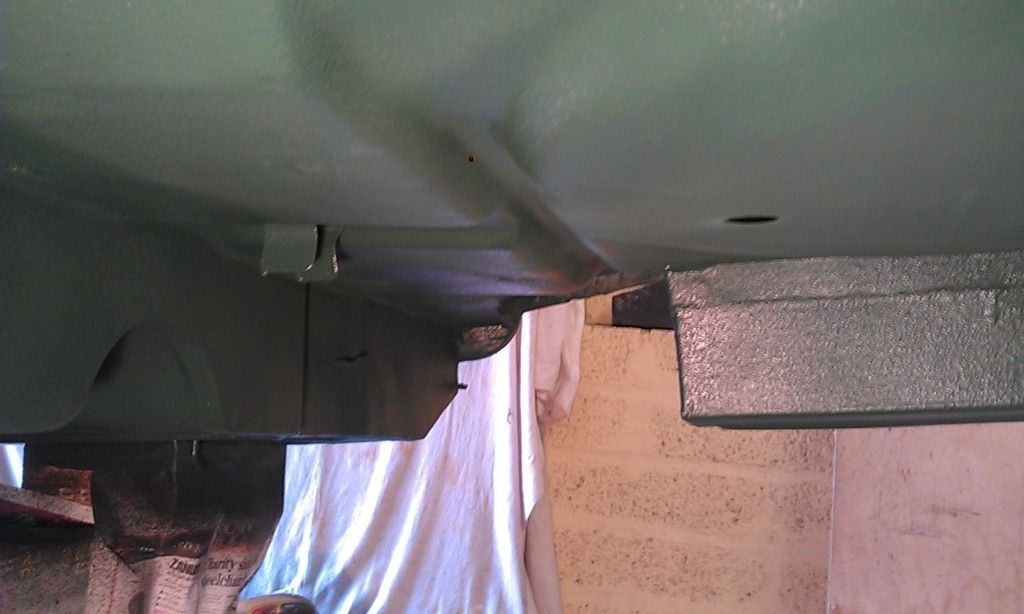
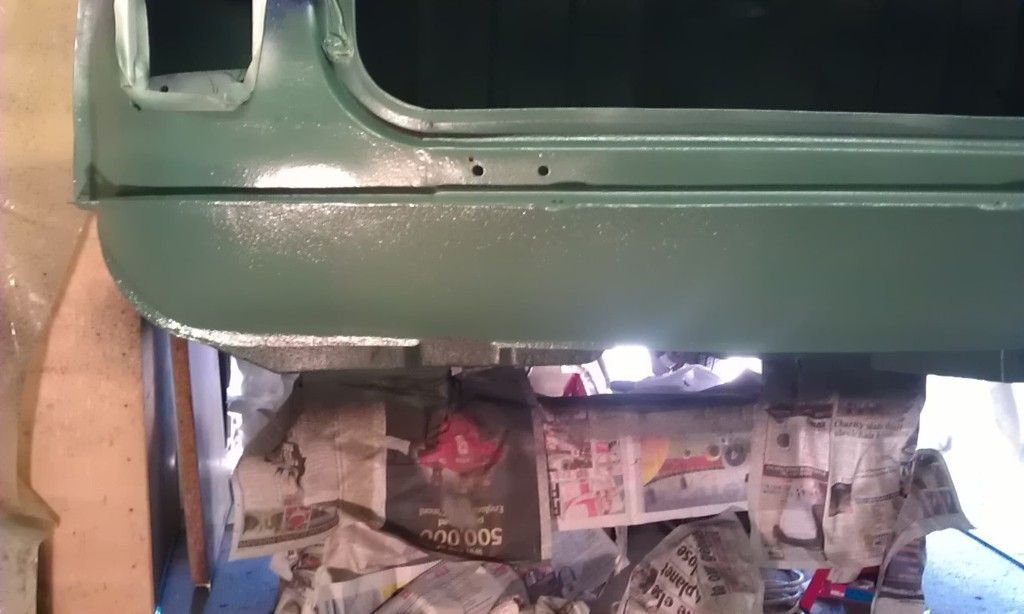
And rear end of the Sill:
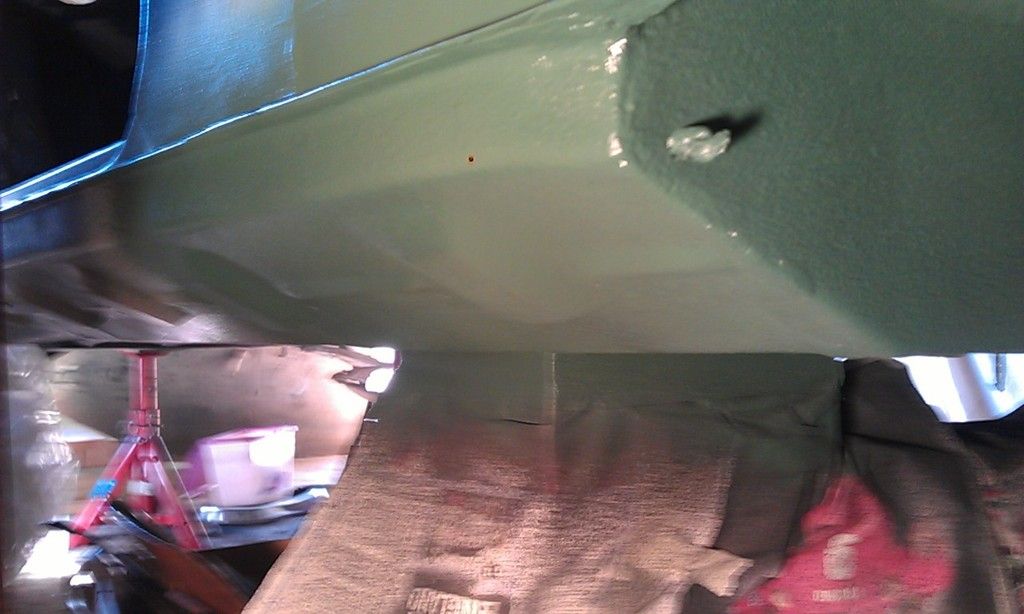
And Valance:
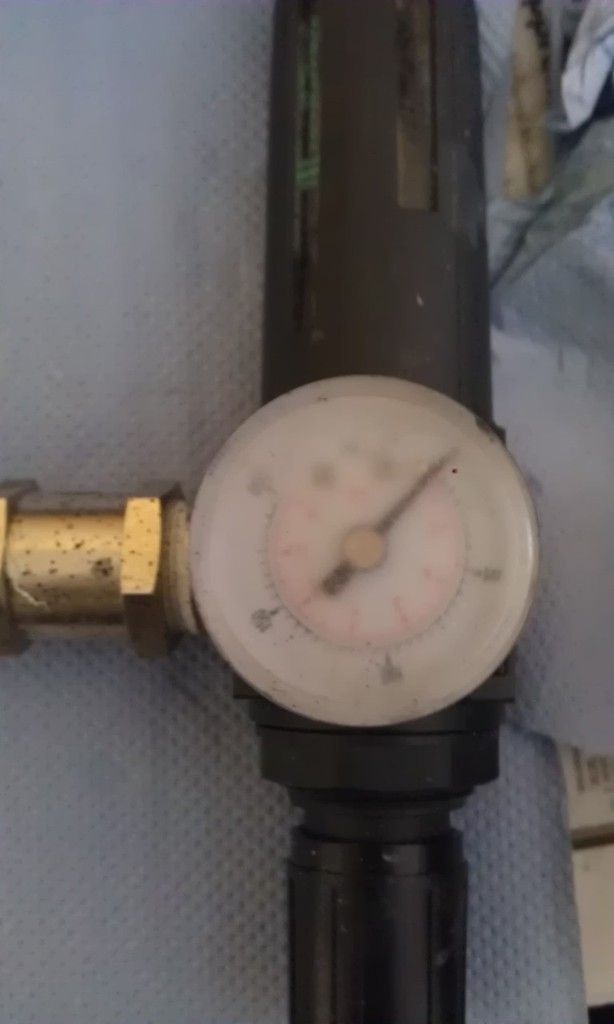
Oh and don't clean paint off off your plastic pressure gauge with thinners!!!
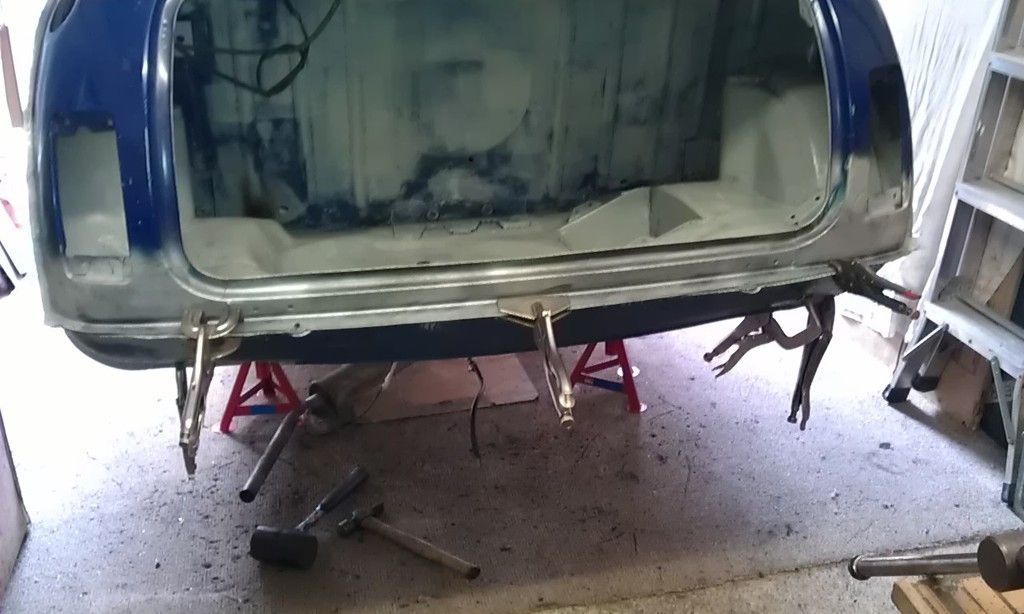
Next - BUILD AND FIT THE SUBFRAME !!!
![]()


