That is a brilliant guide.
Makes perfect sense and i shall now be making myself some

Posted 28 July 2015 - 02:27 PM
That is a brilliant guide.
Makes perfect sense and i shall now be making myself some
Posted 28 July 2015 - 03:06 PM
Posted 28 July 2015 - 06:50 PM
Used the clamps today ![]()
Dressed down and Etch Primed the Subframe Closer that I made Saturday, first I put some masking tape on the flange that would be sprayed with Weld Through Primer.
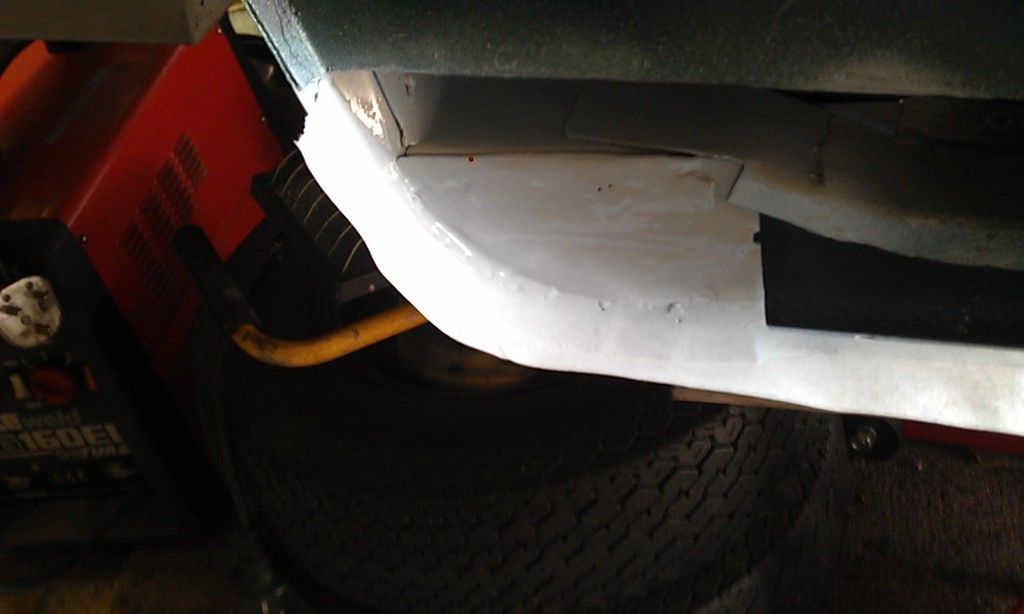
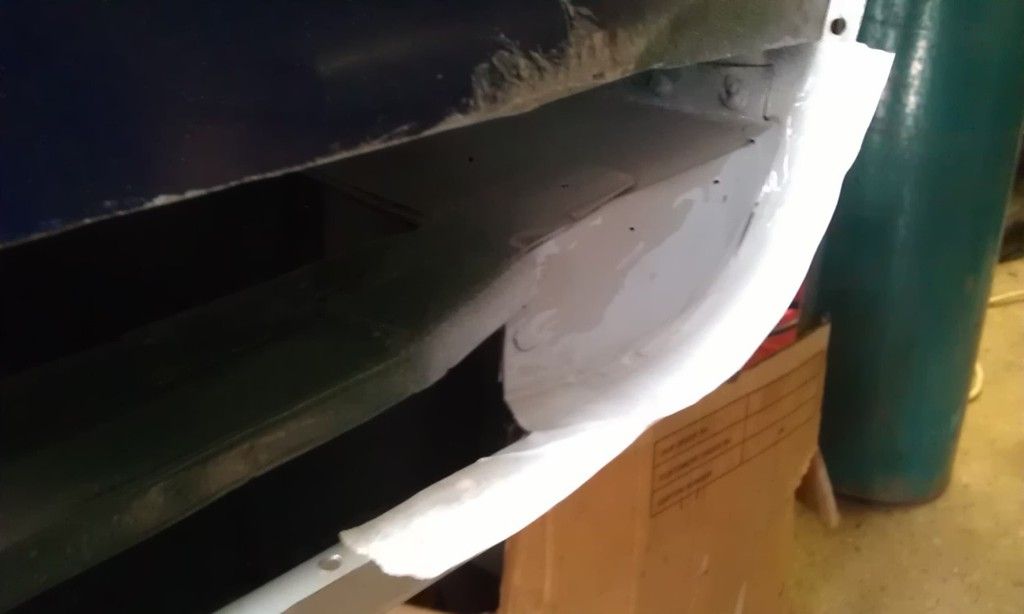
Next after making some measurements and using the template for the curved edge I started to make the panel.
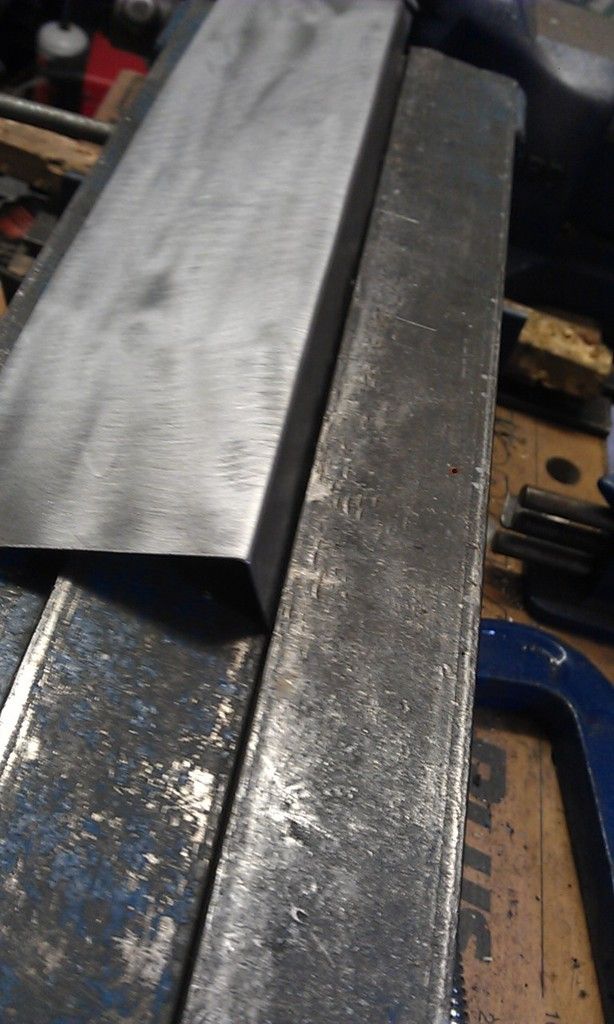
Once I marked up the curve I cut the folds.
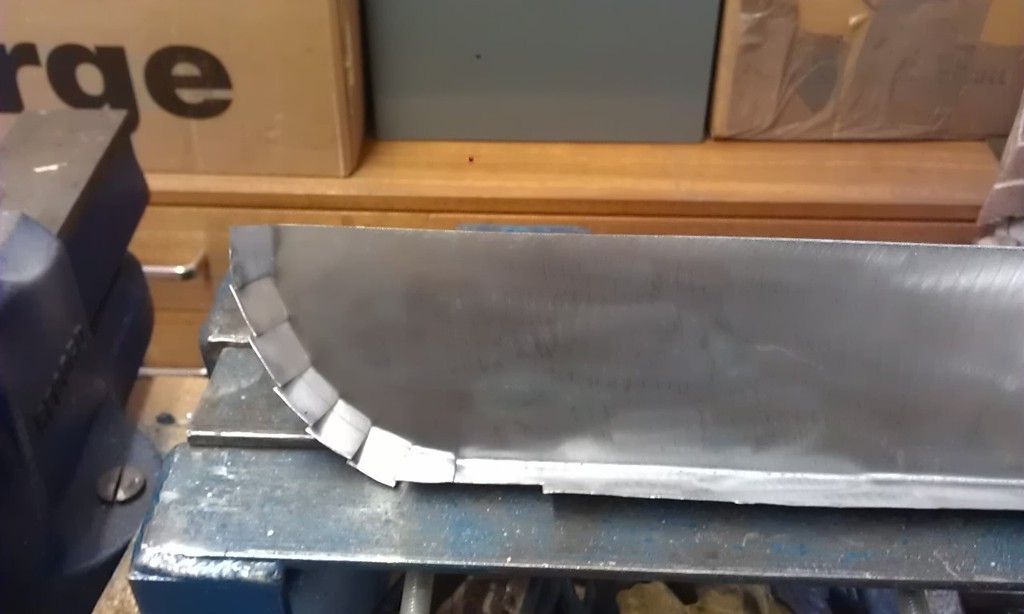
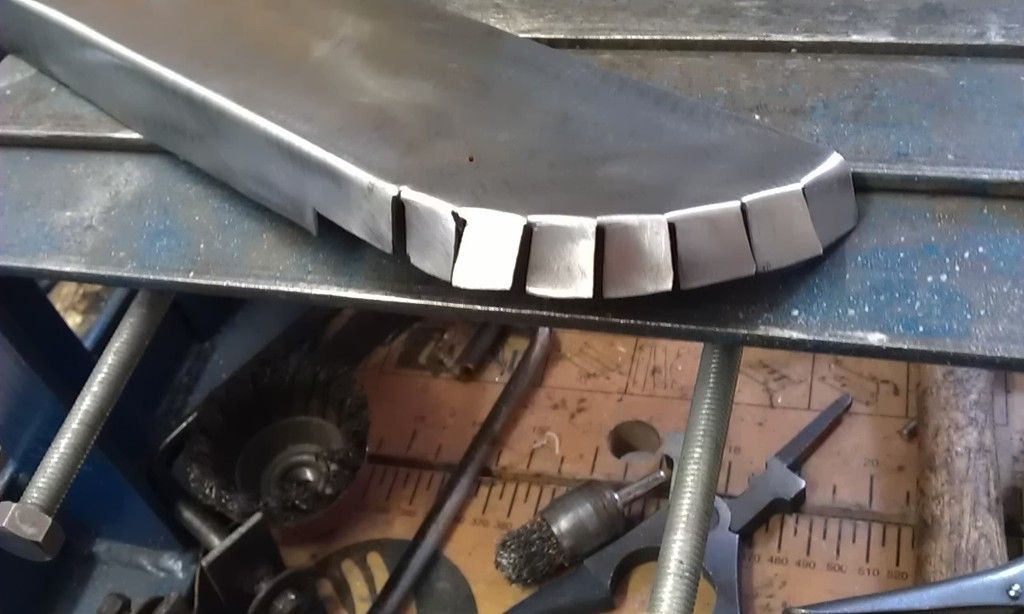
Next I did a test fit.
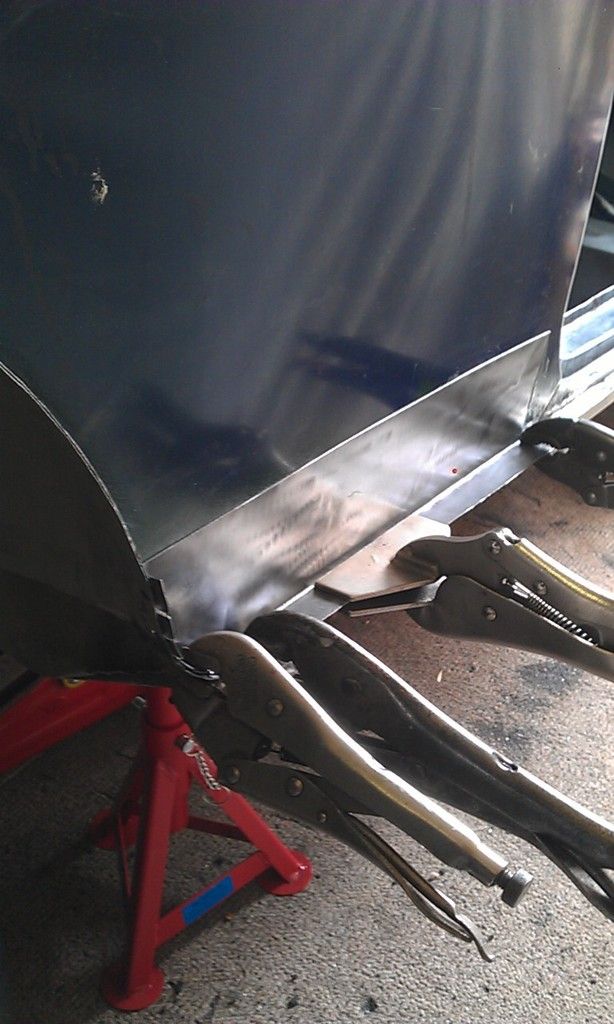
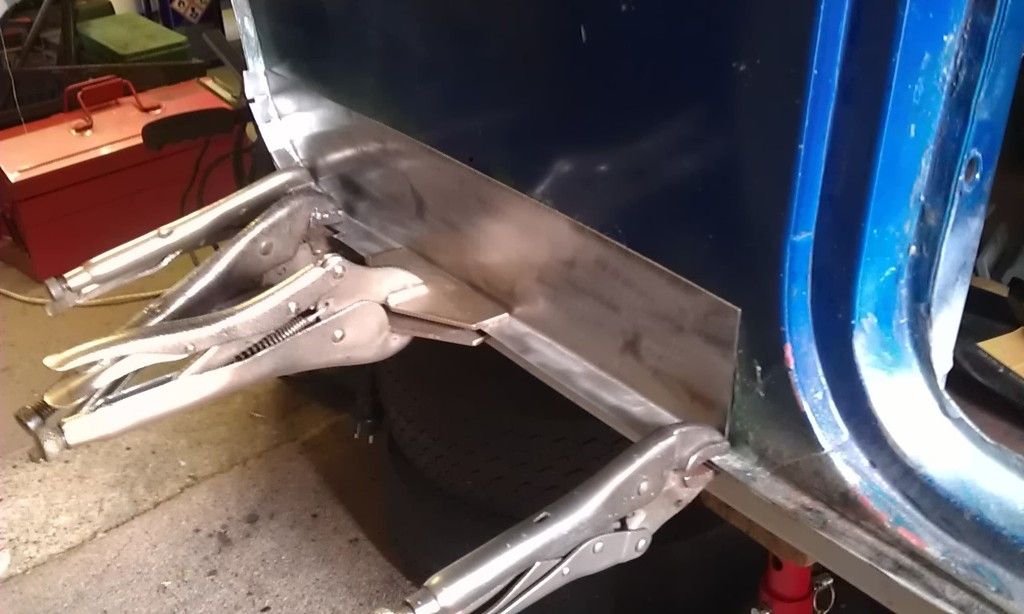
The top edge overlaps by about 10mm which I marked from the inside with a sharpie and trimmed back.
Next I welded the curved fold using some copper pipe to avoid burn throughs.
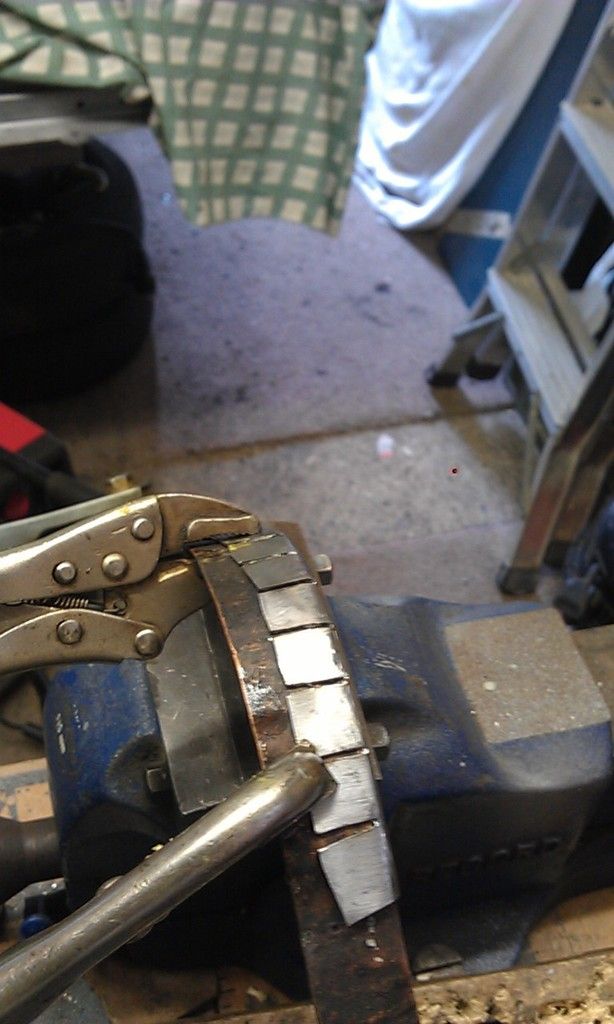
Once it was all welded, trimmed and cleaned up I did another test fit, this time with the panel clamps.
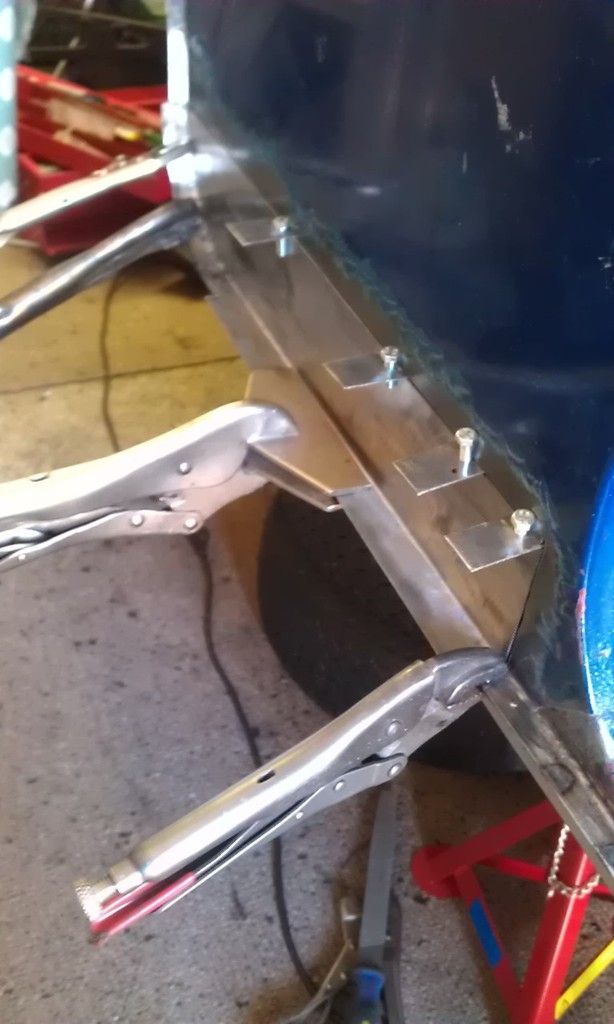
The off came the panel for some Etch Prime on the inside, I also painted some Cellulose Top Coat on the outer edge of the Subframe Closing Panel.
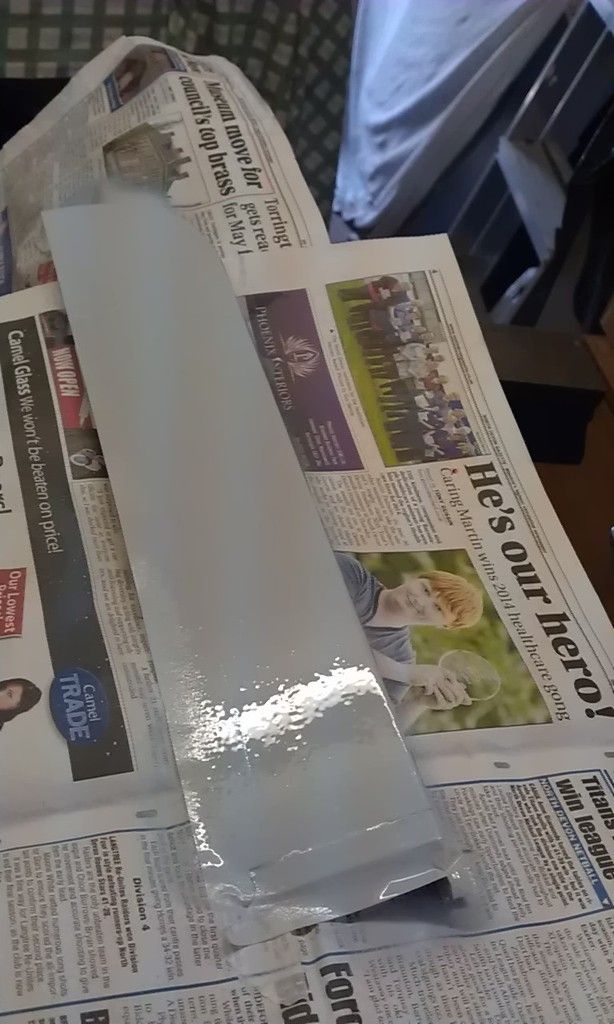
Then once it was dry I refitted it and started to weld it in place, I used a wet rag held in place behind to keep the heat down and did some tacks about 3 inches apart then once it was all smooth I started to weld bit by bit in different locations to avoid overheating and distortion.
Once most of it was welded I placed a lamp behind to spot any holes and welded any that I found.
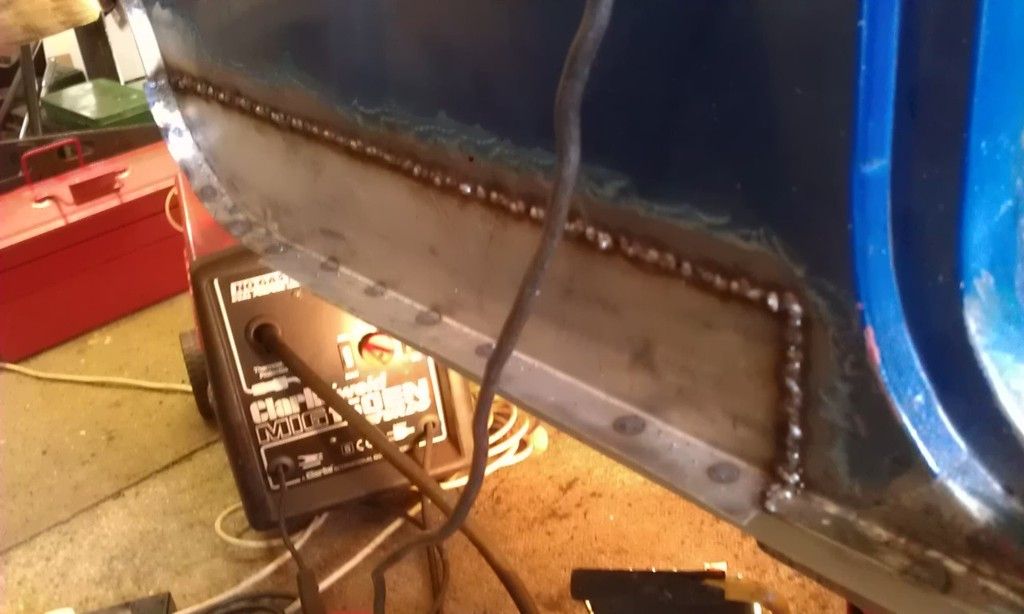
This is the first outer body panel that I have done and I wanted to do it well to avoid having to use loads of filler, came out quite good and its nice to see that part finally filled in ![]() PROGRESS
PROGRESS
Once it is ground down it will probably need a couple of spot welds to fill some more holes.
Off camping in Cornwall to see the Culdrose Air Show so back at it on Friday and Saturday then I need to start on the Bathroom :-(
Slowly, Slowly
Posted 28 July 2015 - 07:12 PM
good work
Posted 28 July 2015 - 07:26 PM
good work
Thanks Ben, just have a slightly smaller one to make for the other side, then I can get on with the Valance!! Then spray the underside rear and finally build and fit the Subframe.
When its rolling I think I'll plonk it outside and have a beer !!!!
Posted 28 July 2015 - 07:27 PM
When its rolling I think I'll plonk it outside and have a beer !!!!
I have done that on many occasions
Edited by Ben_O, 28 July 2015 - 07:27 PM.
Posted 28 July 2015 - 07:33 PM
Clamps look good, Pretty much the same as my guide ![]() , I like the idea of the spring to stop it flopping around. What are you using for the pins?
, I like the idea of the spring to stop it flopping around. What are you using for the pins?
Posted 28 July 2015 - 08:30 PM
Clamps look good, Pretty much the same as my guide
, I like the idea of the spring to stop it flopping around. What are you using for the pins?
I probably made my first one from your guide Alex ![]() for pins do you mean what's going through the hole on the outside, I just used some 5mm bolts.
for pins do you mean what's going through the hole on the outside, I just used some 5mm bolts.
Posted 28 July 2015 - 09:09 PM
Clamps look good, Pretty much the same as my guide
, I like the idea of the spring to stop it flopping around. What are you using for the pins?
I probably made my first one from your guide Alex
for pins do you mean what's going through the hole on the outside, I just used some 5mm bolts.
Yeah the ones that go through the stainless sheet. Doesn't putting the bolts with a head on it not miss-align the panels as the head is bigger?
Posted 01 August 2015 - 07:52 AM
Posted 01 August 2015 - 07:57 AM
Posted 01 August 2015 - 05:21 PM
Posted 02 August 2015 - 05:40 PM
Just finished for the day, its been a long hard hot one at that, welding upside down in a hot garage with a hangover is NOT recommended!!!
Here is an update of the last two days work:
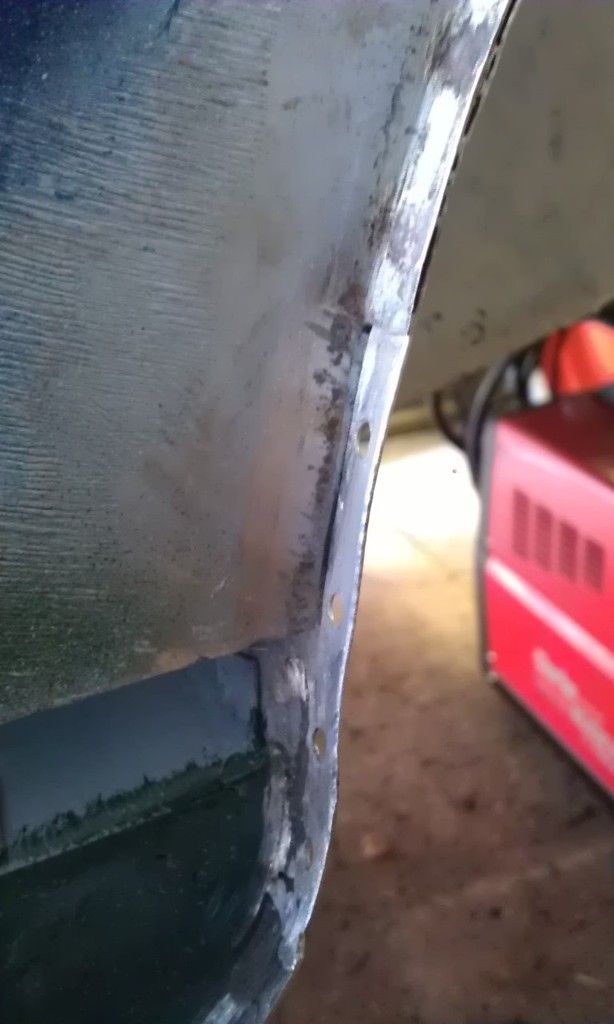
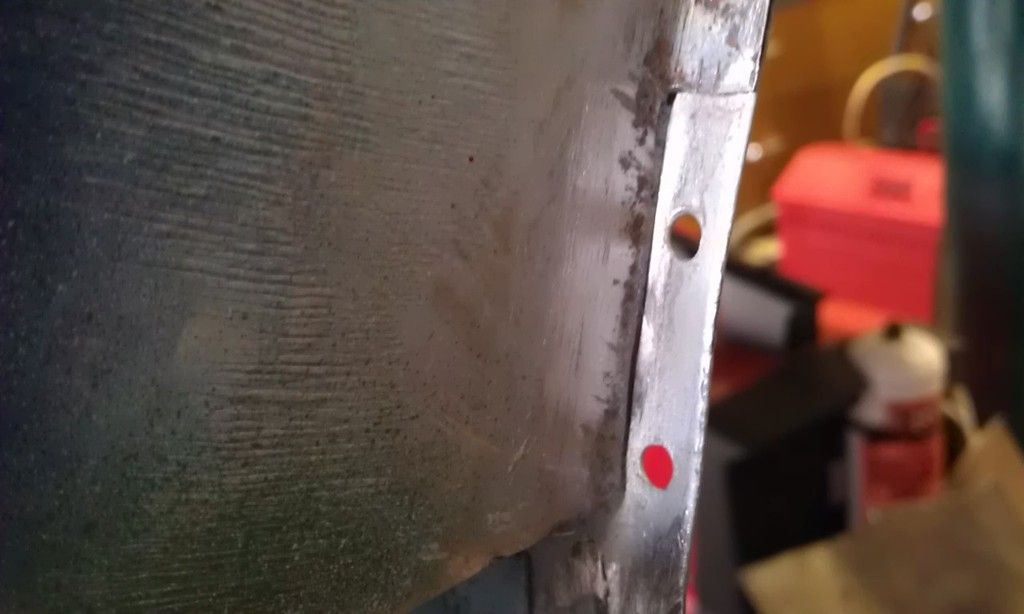
After patching up the RH rear side it was time to do the LH side, first I spotted this and decided to cut it back to make it easier to repair:
Then after taking some measurements of the area to be repaired I marked up a piece of scrap sheet steel:
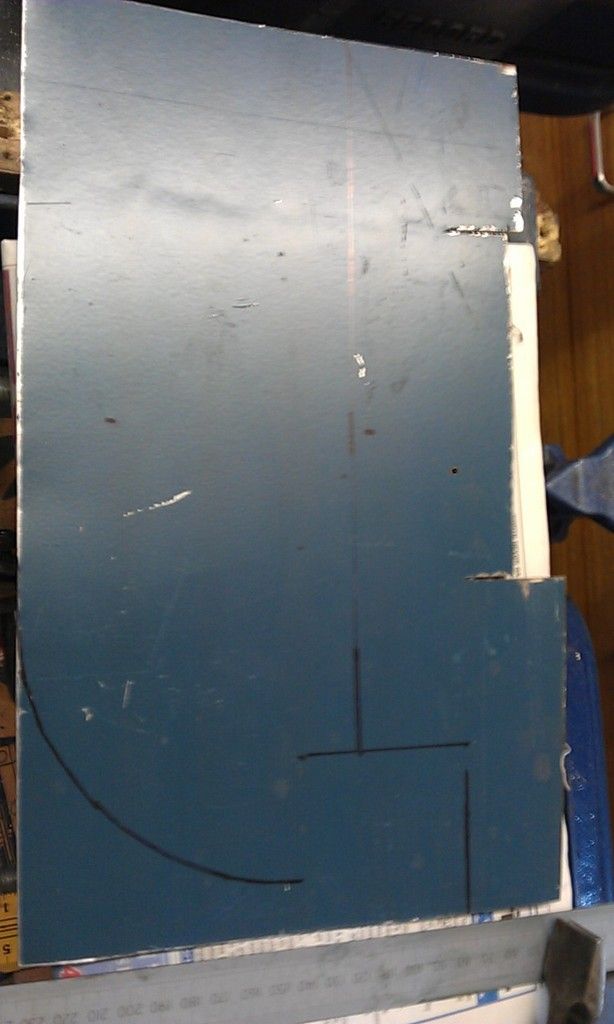
I then cut it out oversized:
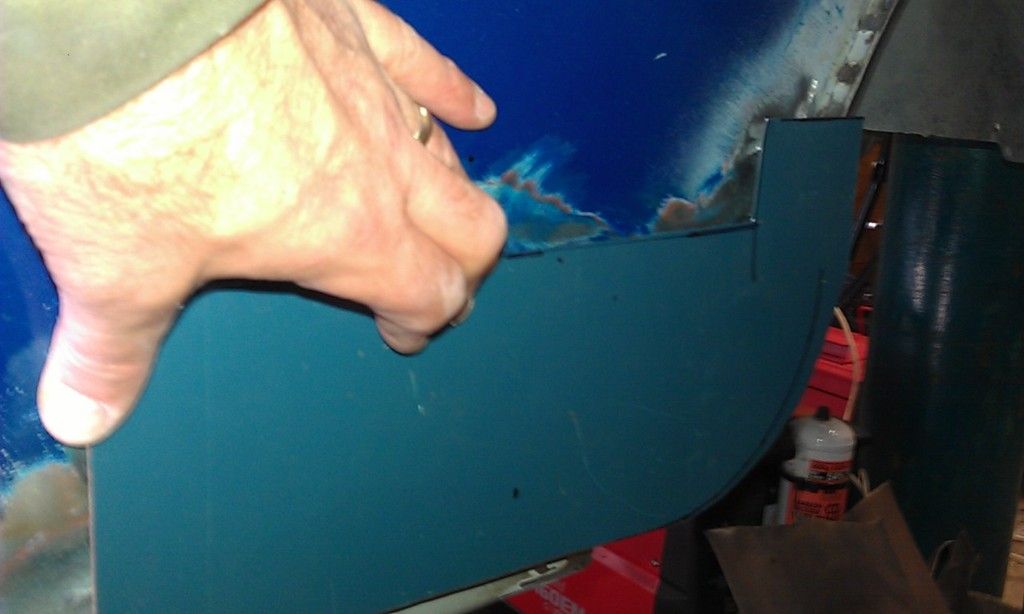
Then I cleaned it up and marked the rear radius again:
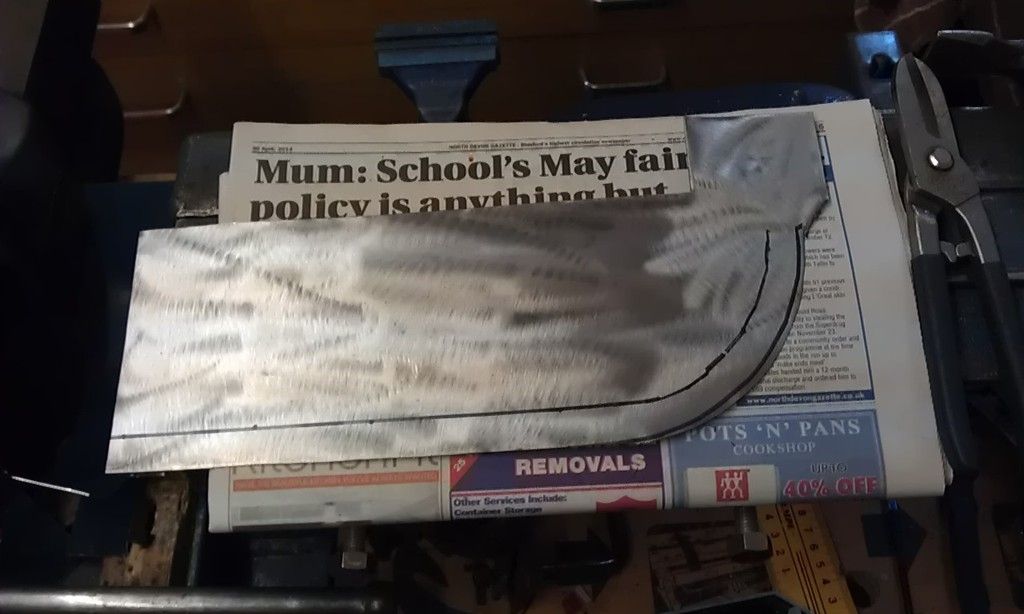
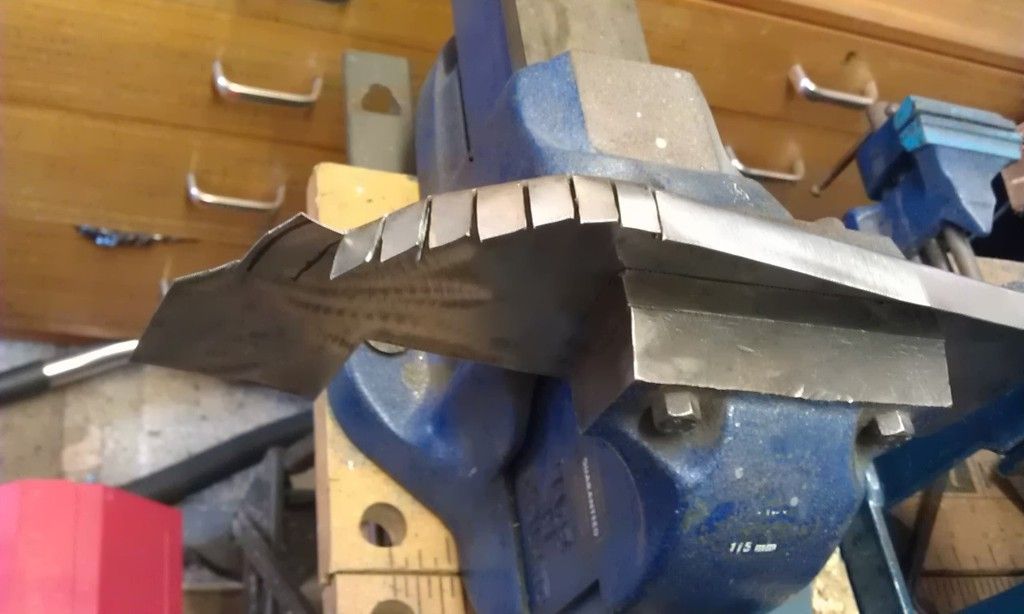
Started folding the curved flange:
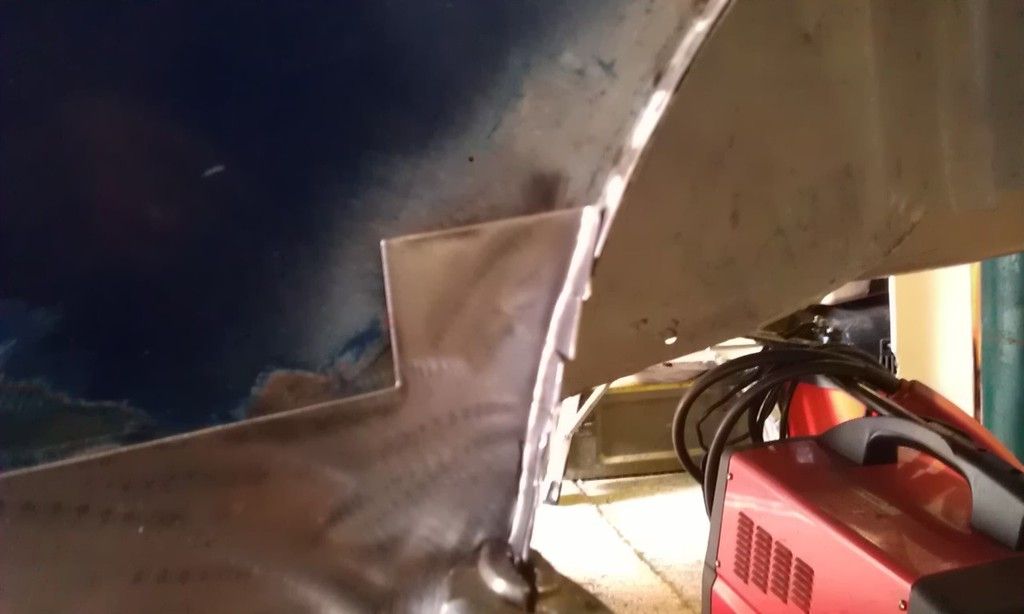
And started to test fit and adjust
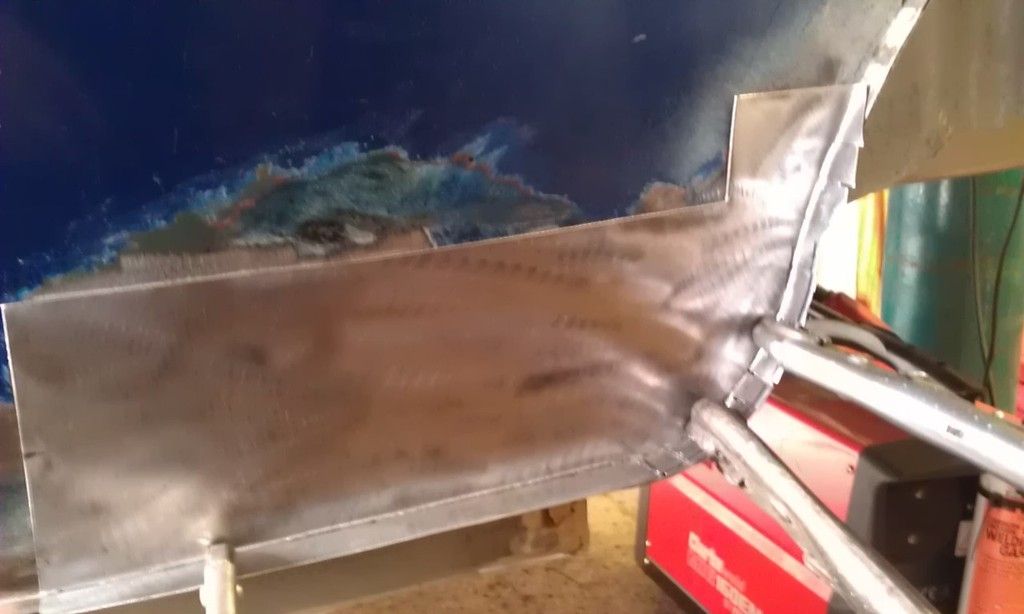
Then after gently trimming it I did a final test fit with my panel clamps:
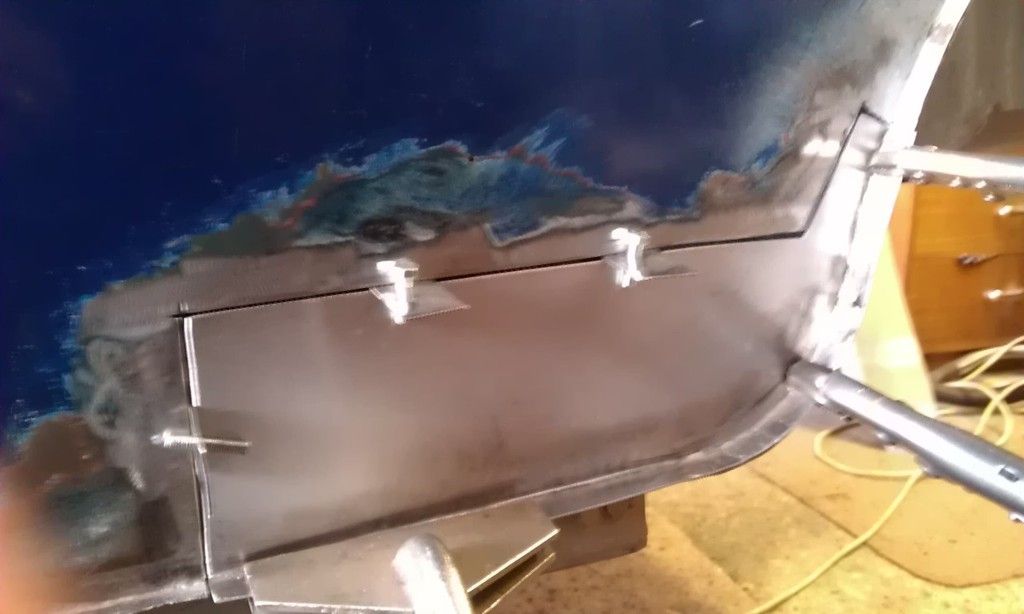
Then after spraying the inside with Etch Primer and Weld Through on the flanges:
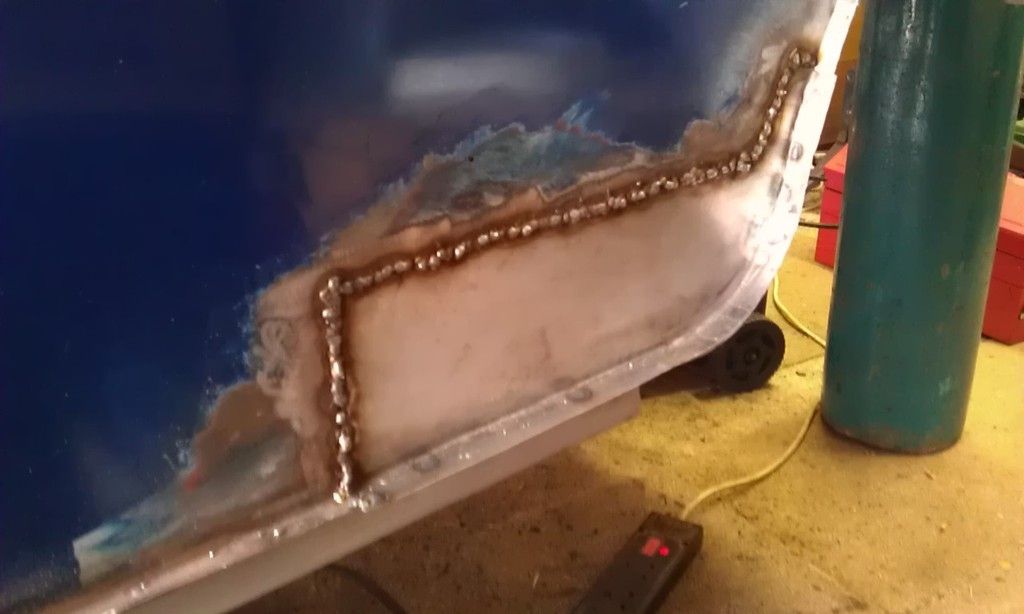
And that took most of the day, well from about 11:30AM.
Then as I was cleaning up and carrying my Subframe back into the garage I clipped the Gas Regulator and broke the Pressure Gauge :-(
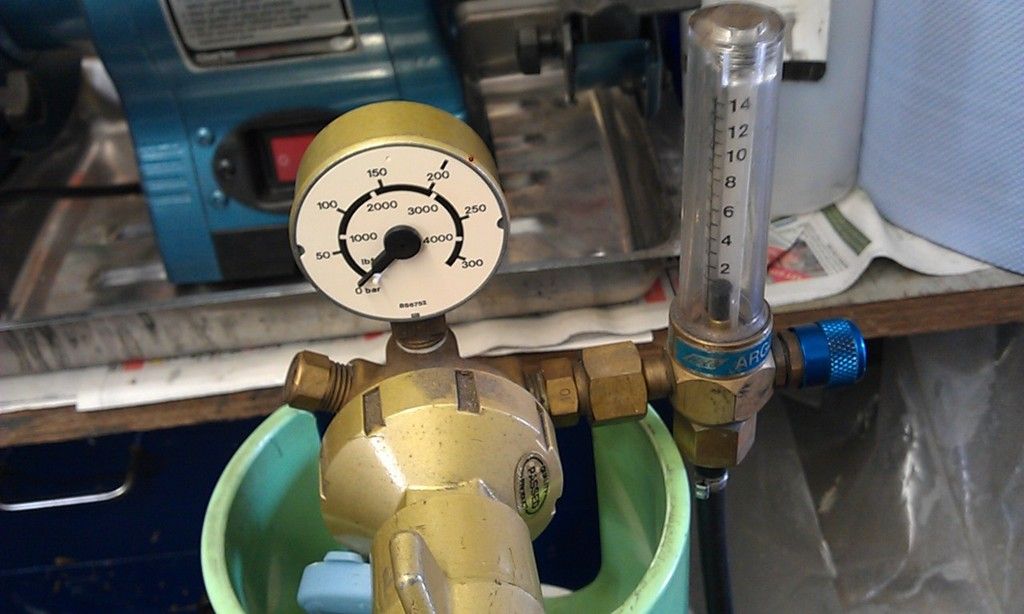
I broke the news to the missus that I might need a new regulator (£40) that didn't go down too well, then I opened my email and BOC have just sent me a bill for my annual rental, another £45!! Oh dear need to break that news gently ![]()
This morning after contemplating about ordering a new regulator I found a piece of the pressure gauge cover on the floor and had a go at repairing it:
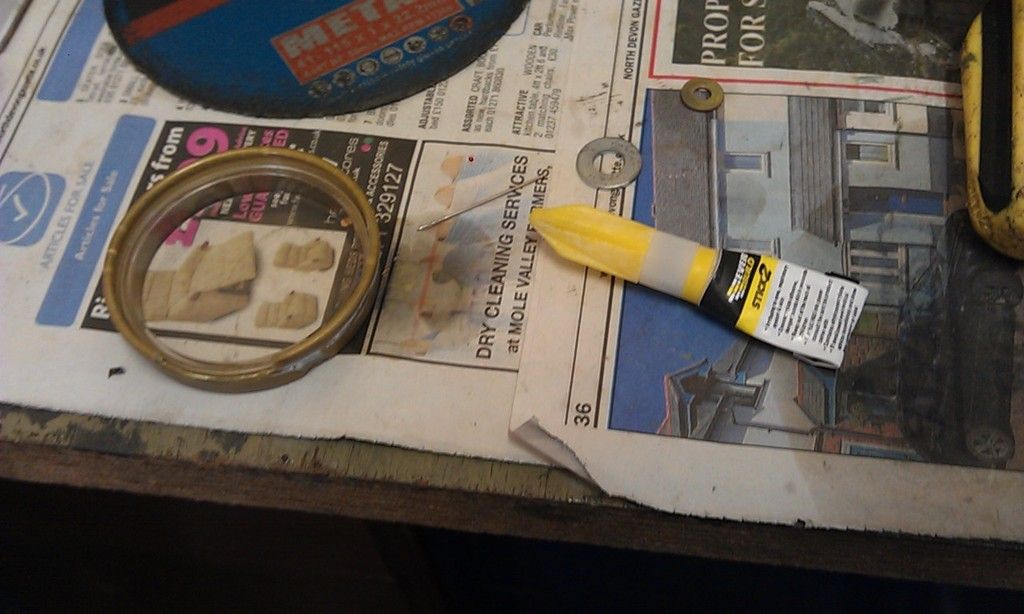
Looks OK and after turning it on and spraying leak detector all around the joints all seems OK ![]()
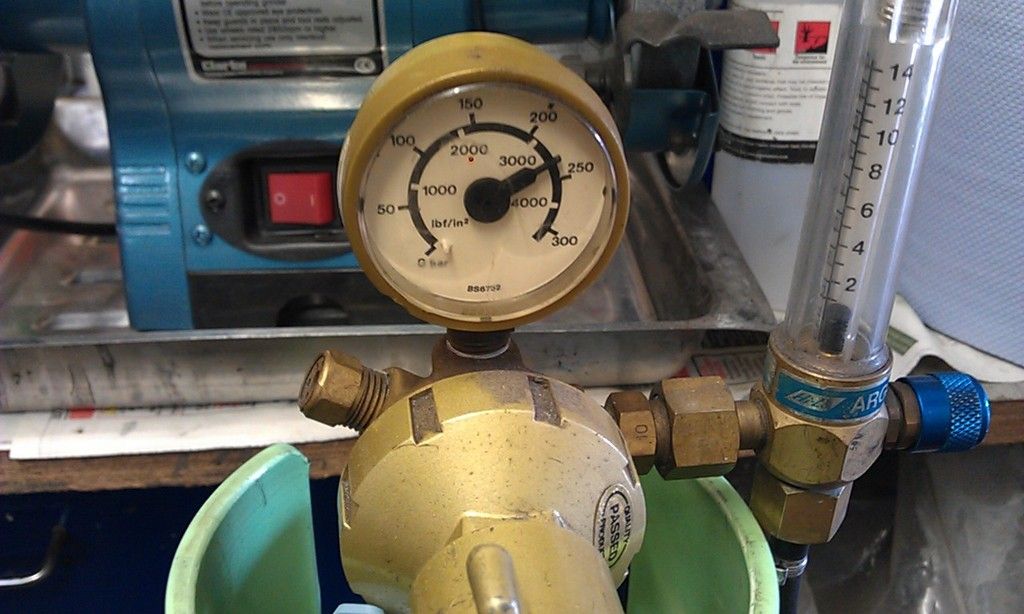
After repairing my Gas Regulator I spent about an hour finishing off welding the LH rear repair panel in and then set about sorting out the Rear Valance.
First I test fitted the closers and the valance and the removed the valance to weld it in place. Din't take many photos just some after I had finished.
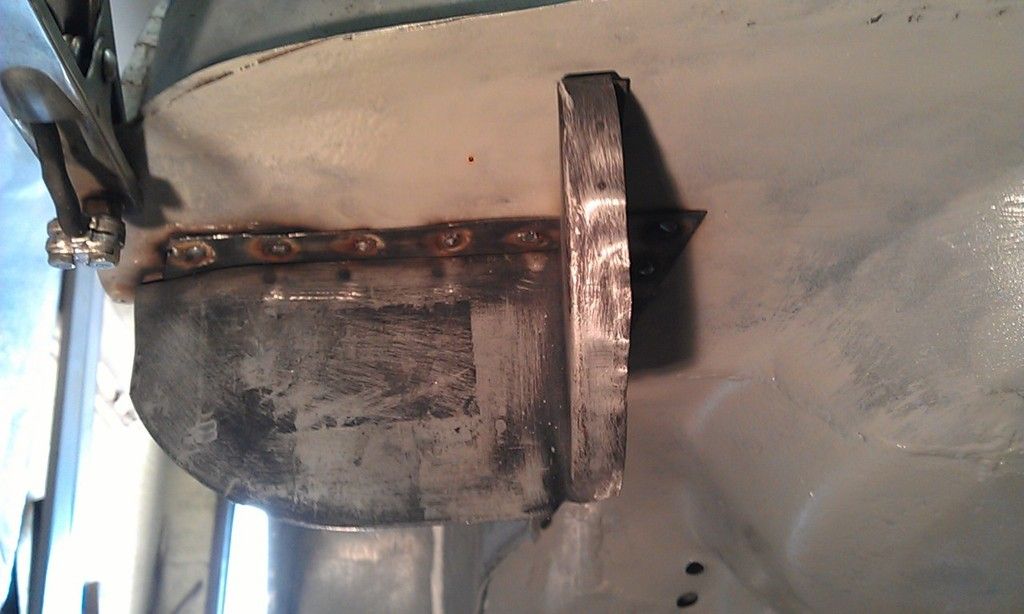
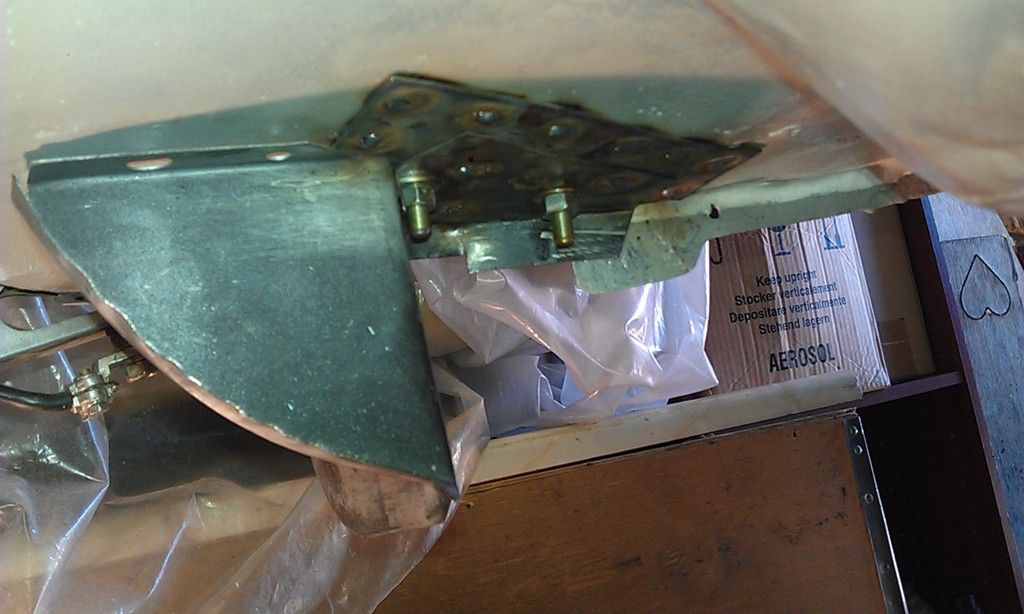
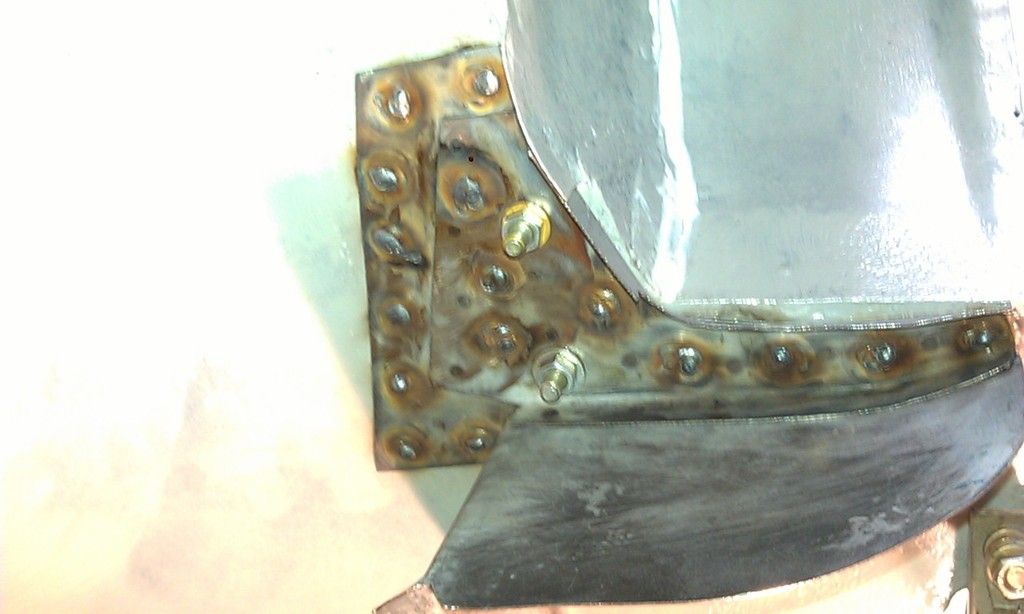
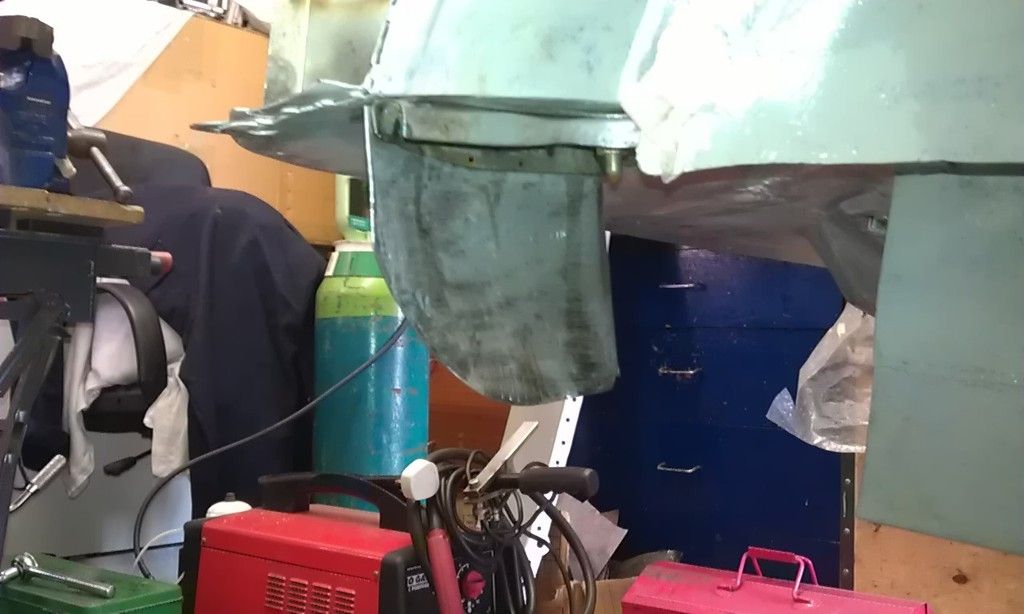
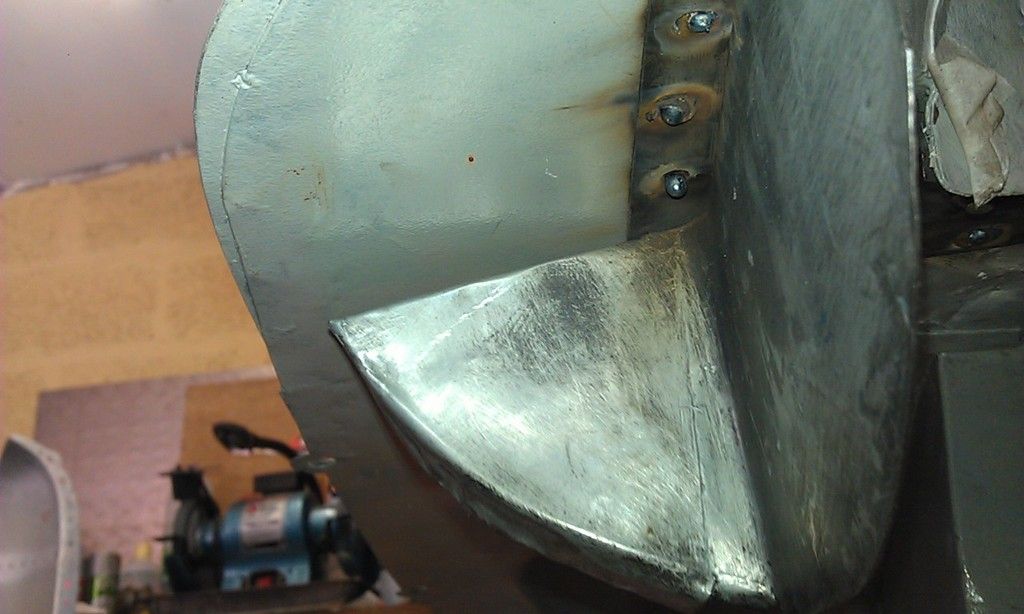
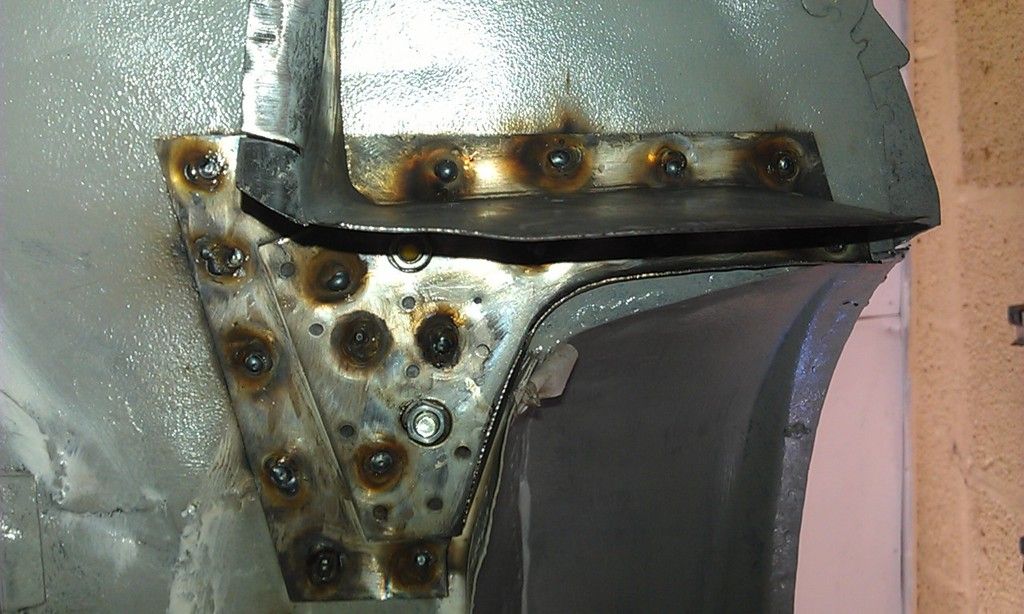
Welding the rear valance closers took all day.........
Posted 04 August 2015 - 07:56 PM
Managed an afternoon in the garage, raining this morning so no go as I can't work in the garage without emptying it first - wo is me :-(
Anyway slow but steady.
Todays task was to get some Epoxy on the welds that had been dress down and painting inside the Rear Valance Closing Panels before I weld the Rear Valance on.
I contemplated long and hard about just chucking some Etch Primer inside the Rear Valance Closers as it would be quicker but in the end I opted for the long job.
First after cleaning up the Door Step Edges and the Rear Arch Flanges I noticed some rust, so before I started painting I had to give it the Deox treatment.
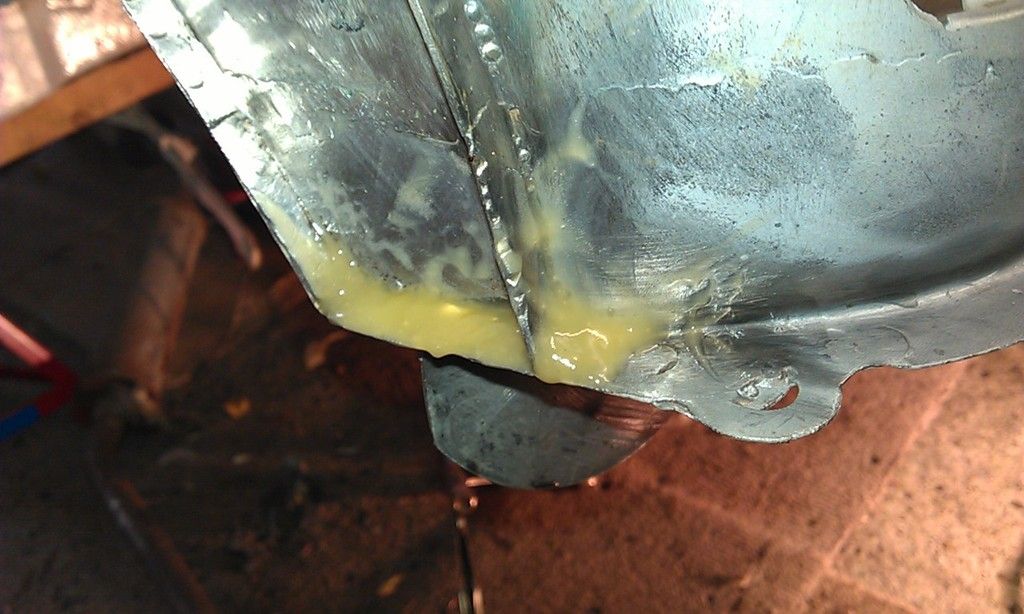
And here it is after about an hour:
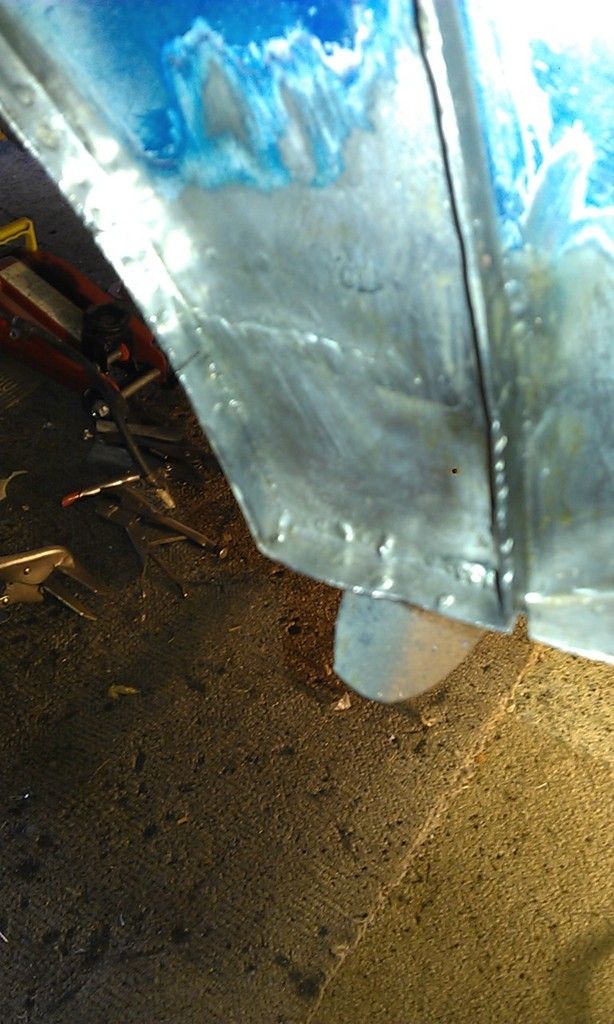
As well as flattening the Sills and other welded areas I rubbed down the whole of the rear end underside and adjacent to the in case I had any Epoxy left over.
I painted all of the Welded areas (including the penetration inside the boot) and also managed to paint over the Seam Sealer.
Jotun Epoxy is getting low, I may not have enough to use on the Inner and Outer Wings as I still want to spray another coat after I do the next lot of Seam Selaing on the Boot. For the front I may have to use the Lechler that I bought?
Anyway here is the lower half of my Mini so far:
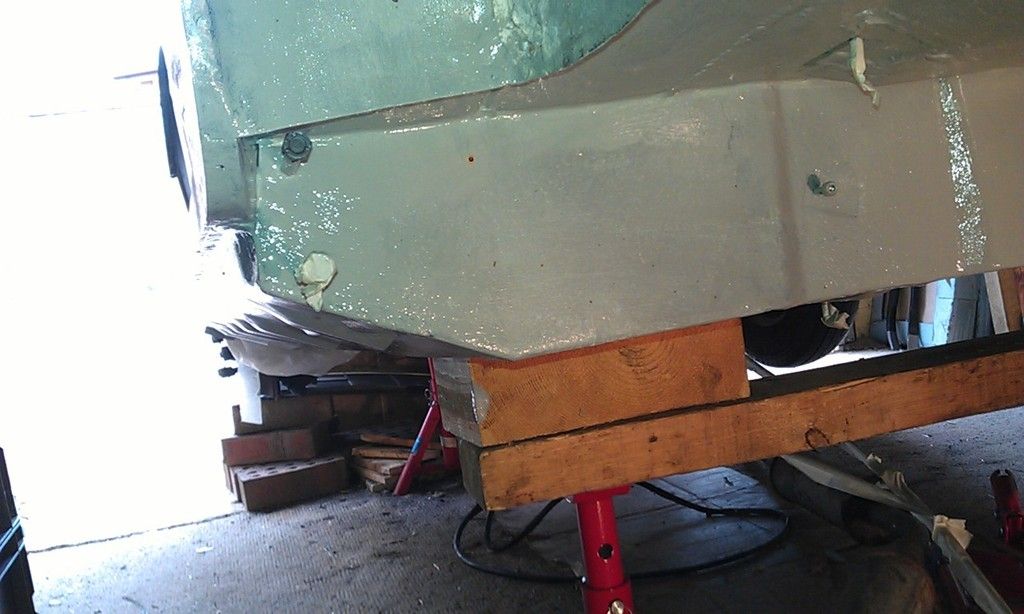
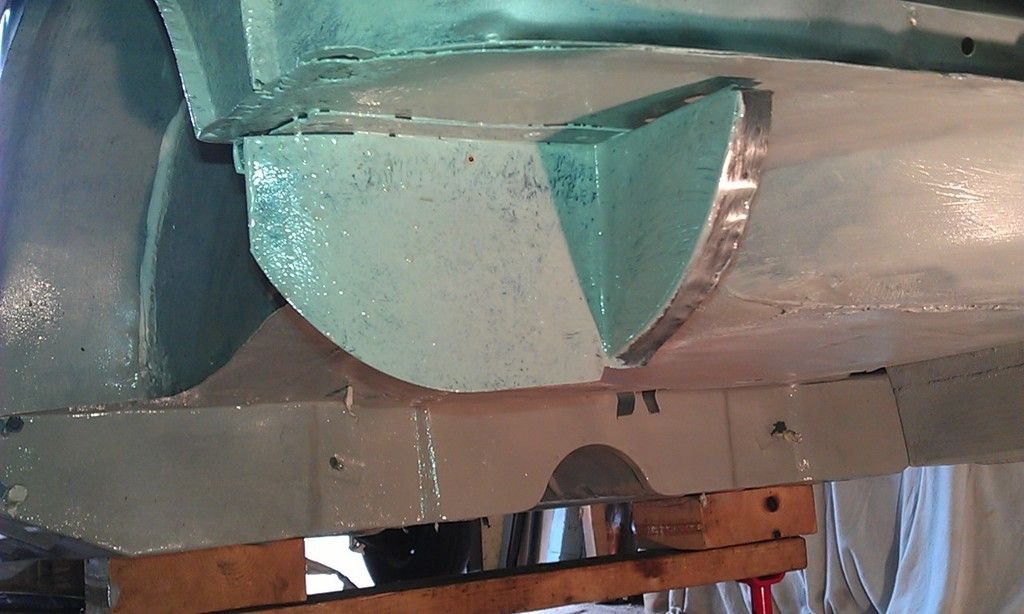
A bit patchy inside the closer?
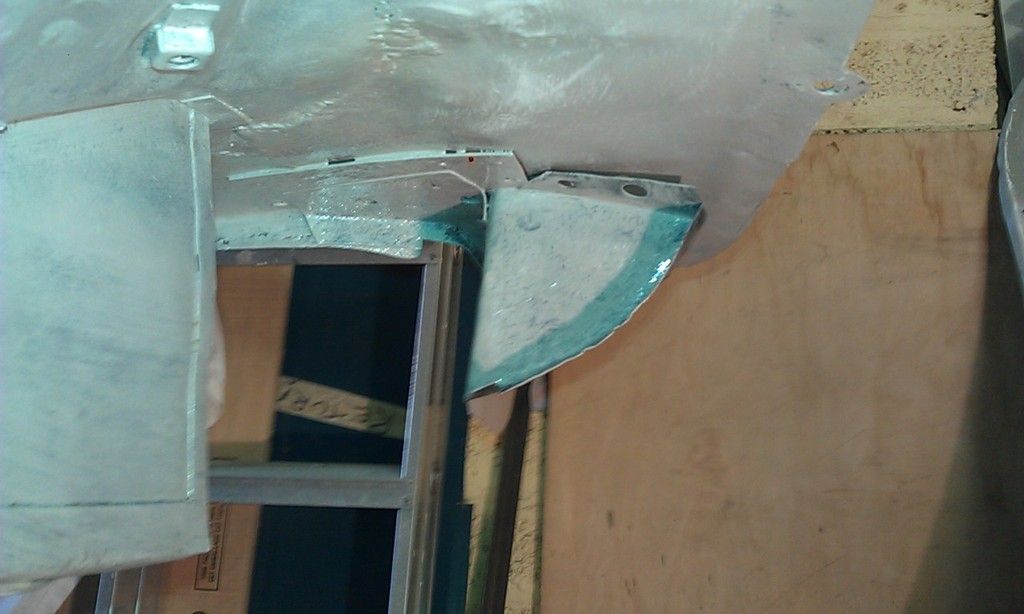
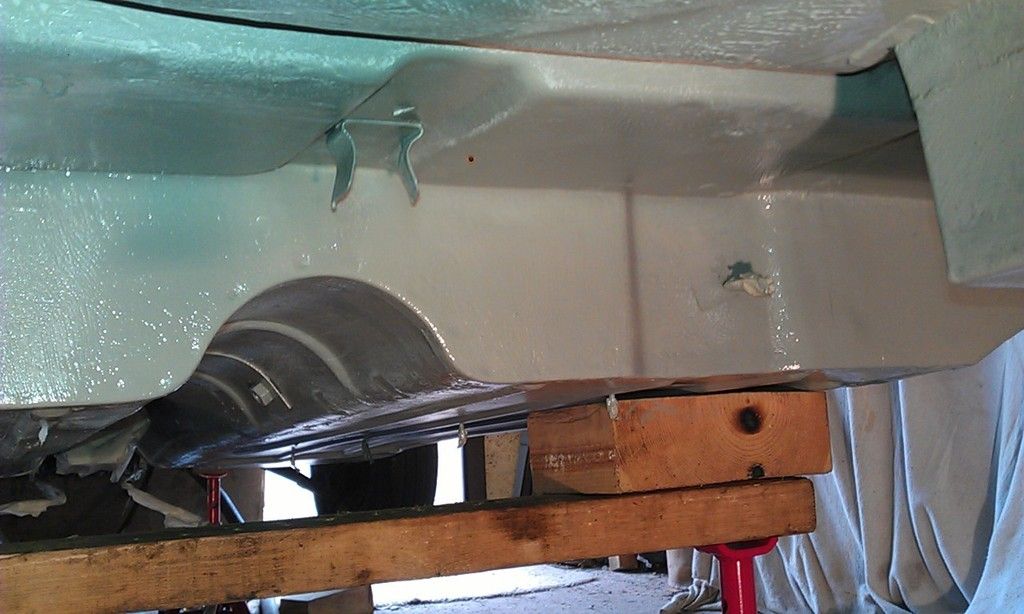
Right side behind B post repaired:
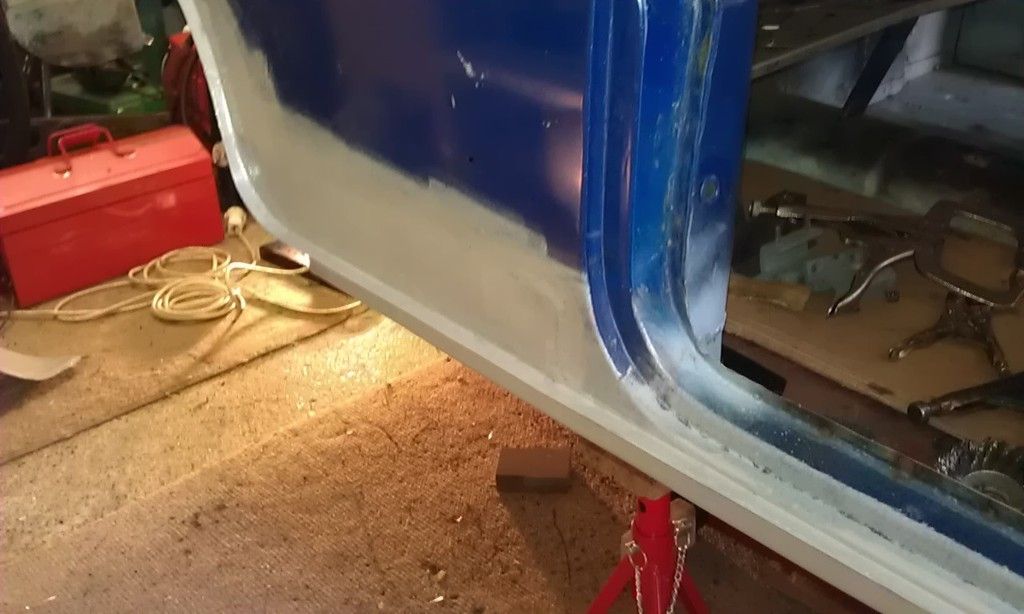
Right hand Sill, I decided to Epoxy the first layer of the upper Door Step, not wether to Stone Chip the Upper bit?
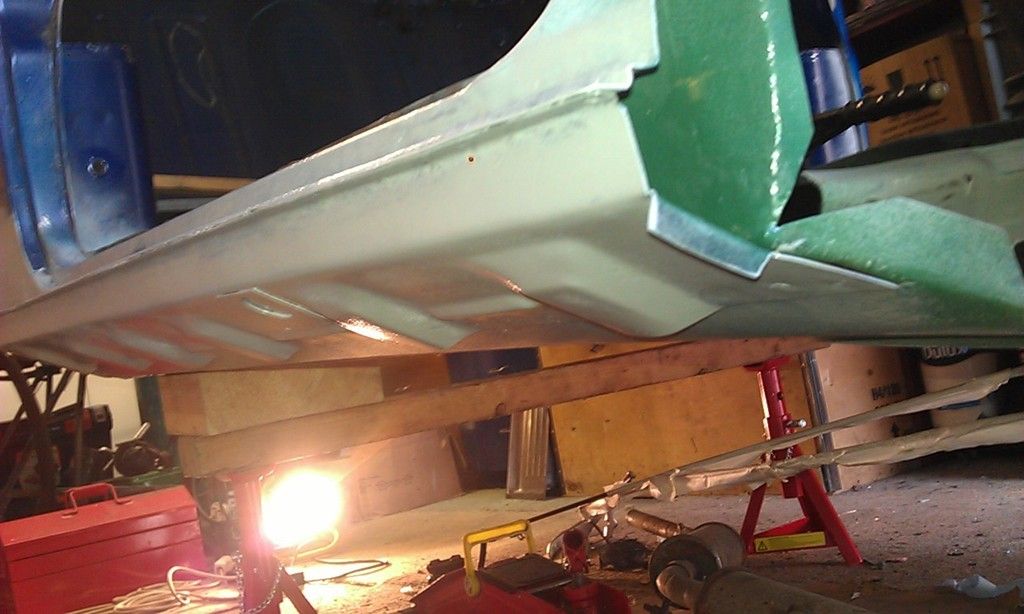
Left Hand Sill and Door Step:
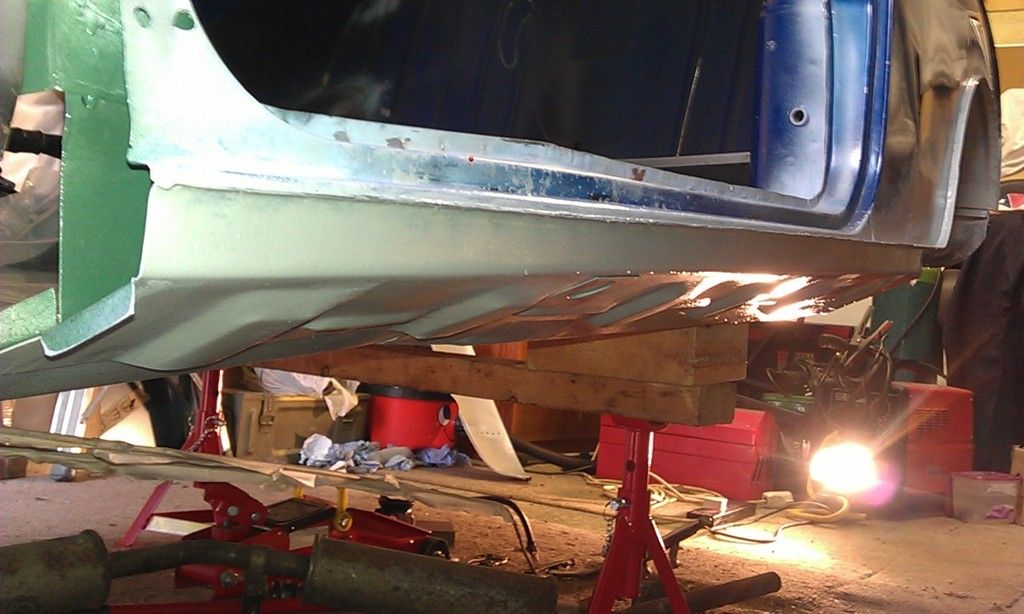
That worrying kink in the Door Step is from the Inner Sill of the Front Foot Well repair panel, the Door Step itself is straight ![]()
Left hand repair behind the B Post.
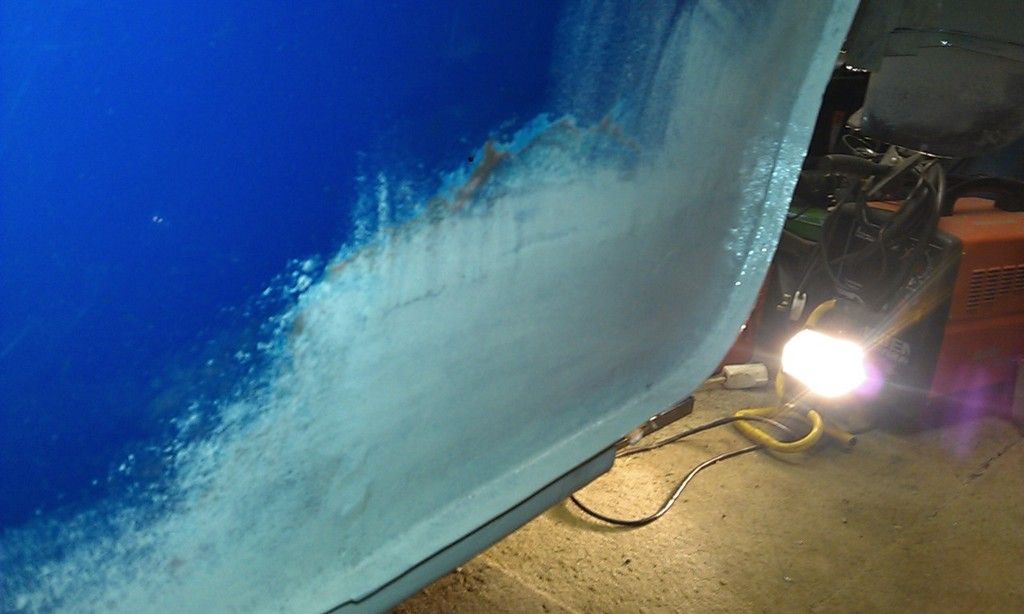
Well next job will be to weld on the Rear Valance then:
1. Epoxy Rear Valance welded areas.
2. Seam Seal underside of Rear Valance and Subframe Closing Panels.
3. Spray coat of Epoxy on underside to cover Seam Sealing.
4. Spray coat of Gravitex Stone Chip.
5. Spray Top Coat.
6. Build and fit Subframe.
That's still about 4 - 5 days work due to drying times between Epoxy, Seam Sealing and Epoxy etc!!!
Was hoping to have it rolling by the weekend - not looking good :-(
Posted 06 August 2015 - 01:38 PM
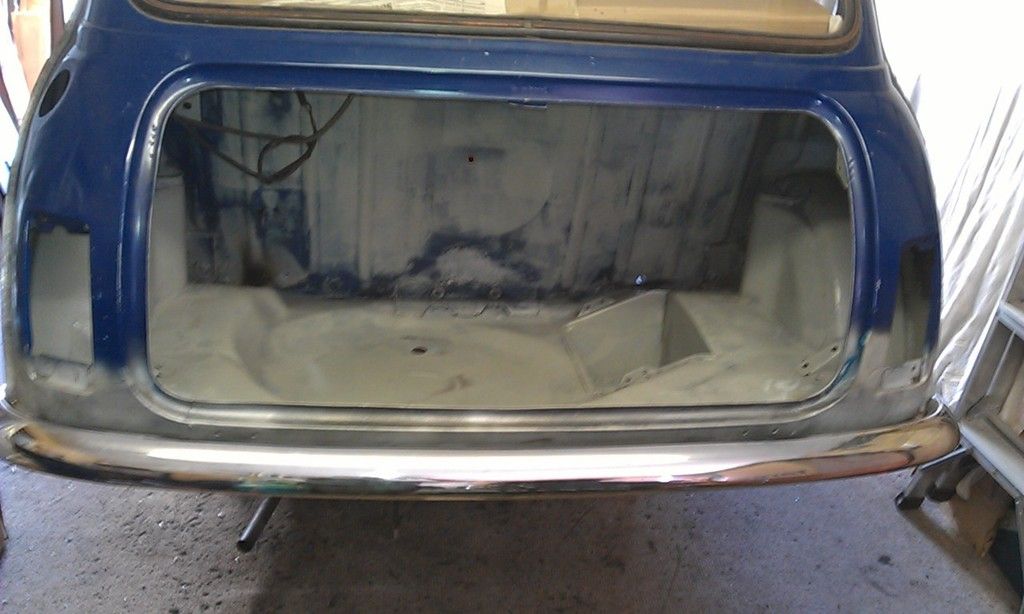
My Mini finally has its booty back, could have said ass but thought that may offend ![]()
Edited by JonnyAlpha, 06 August 2015 - 05:47 PM.
0 members, 1 guests, 0 anonymous users