Looks good jonny ![]()

1982 Austin Mini - Project Who?
#301

Posted 15 June 2015 - 09:08 PM
#302

Posted 16 June 2015 - 02:08 PM
great job with the sealing.
Do you plan to brush over with more sealer once that has cured for more protection?
Ben
Ben, did you mean with more paint? or more Seam Sealer?
I was going to wipe some seam sealer over the any other areas that had been welded but no more sealer over where I have already Seam Sealed?
The next layer of protection will be possibly another coat of Epoxy either just over the Seam Sealer or all over, but then a coat of Gravitex Stone Chip and the Top Colour Coat Cellulose Almond Green.
#303

Posted 16 June 2015 - 02:49 PM
I meant with more sealer..
#304

Posted 16 June 2015 - 09:19 PM
#305

Posted 16 June 2015 - 09:28 PM
sealer pushed into the seams and joins like you have done will keep the water out of said seams and joins.
I like to add a brush of sealer over all of the joins to give them a thorough covering.
I'm not suggesting you do it, i was just asking if you were is all.
#306

Posted 26 June 2015 - 05:43 PM
Been convalesing for the past week and a half so no progress in the garage however my son has just arrived from Cornwall for the weekend and has bought the next piece of the rear seat.
I had the clips here so he started putting it together.
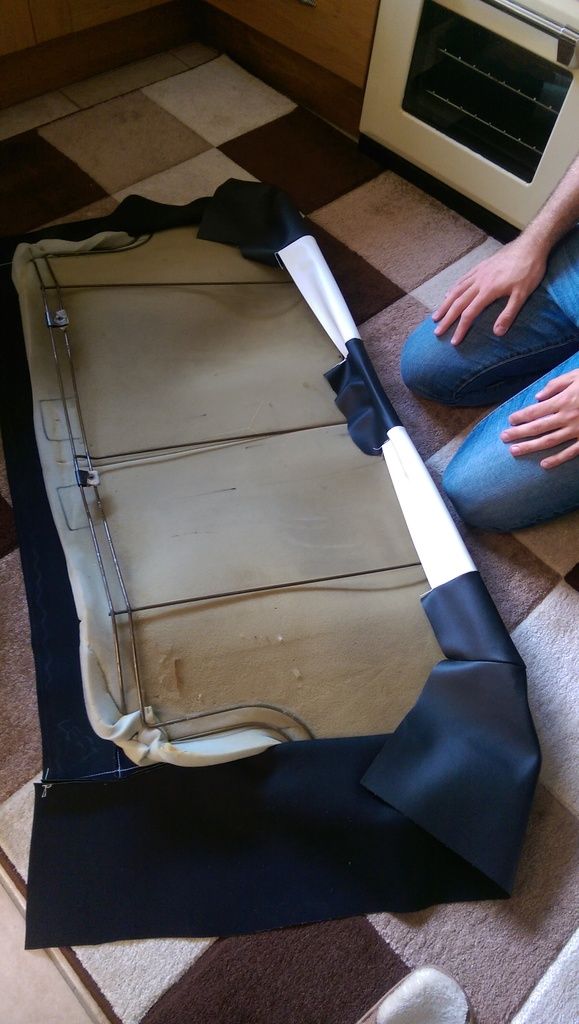
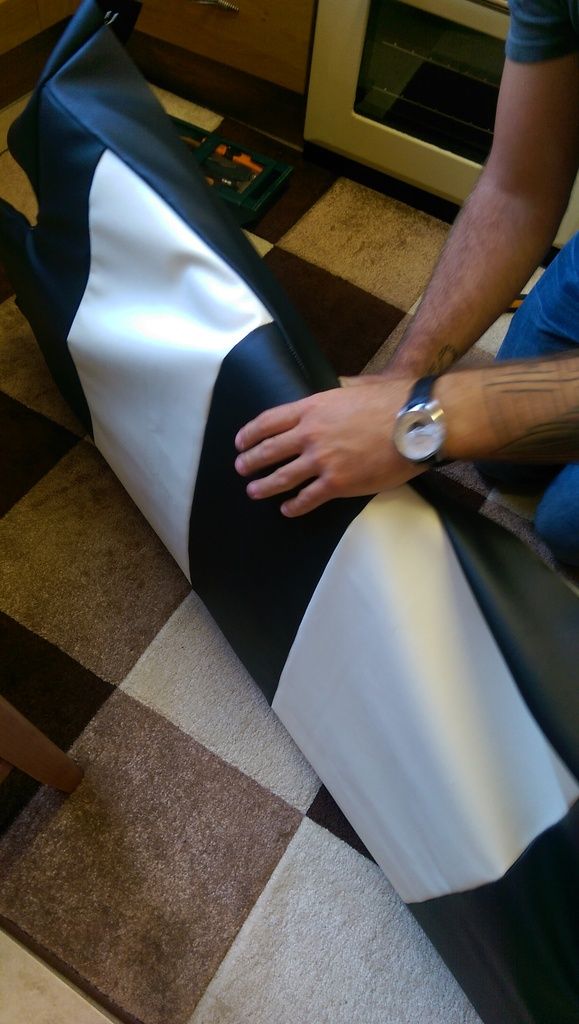
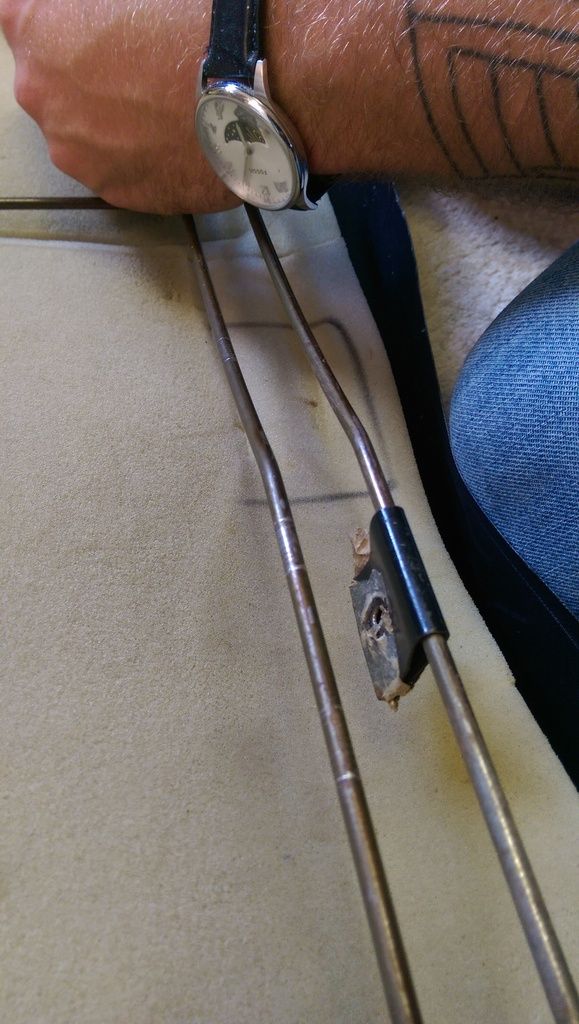
As he was fitting the seat covering to the bottom framework we realised I had (in and ebay advert haste) bought seam clips instead of seat covering clips!!!
Oops
Anyway I have just ordered these from Minpsares, hopefully they'll do the fornt and back seats?
http://www.minispare...assic/C707.aspx
#307

Posted 29 June 2015 - 06:45 PM
Found the clips we took off the old seats and managed to fish out 30 good ones.
On Sunday my lad finished putting the rear seat upright covering on...........
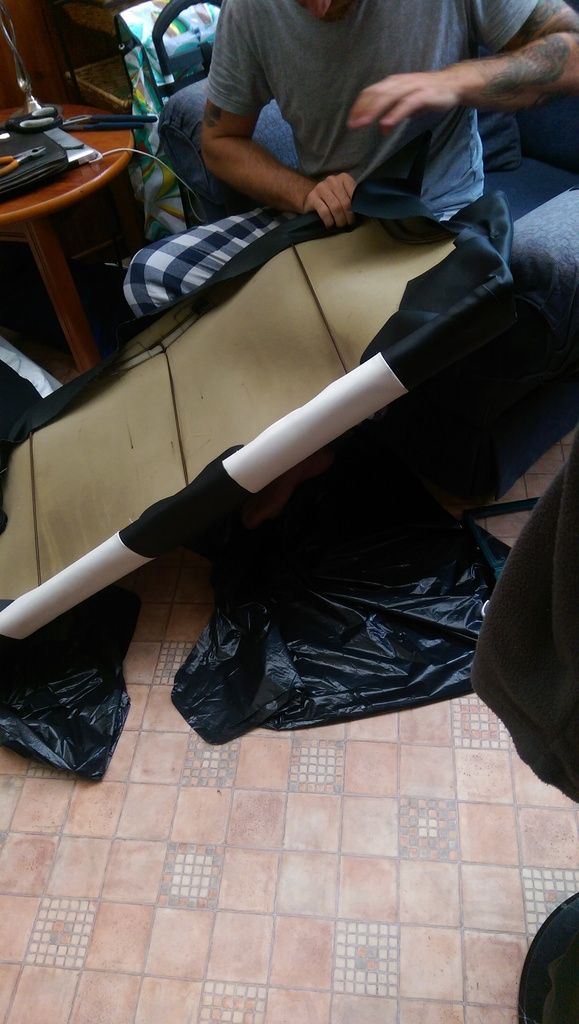
A bit of a puzzle to get it tight but after some grunting .............
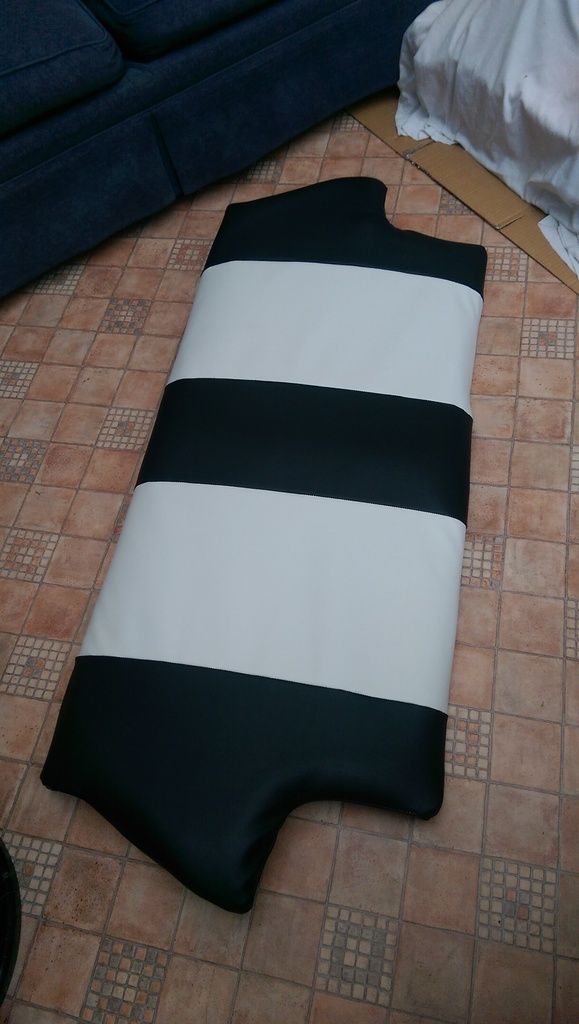
He's now gonna start the fronts ![]()
#308

Posted 05 July 2015 - 07:22 AM
Getting back into it slowly yesterday, got to take things easy after my Op so I thought I'd prep that Sills.
After debating long and hard about the Jacking points in the end I decided to leave them off!!
Anyway first off I stripped the shop primer off of the Sills with some Thinners:
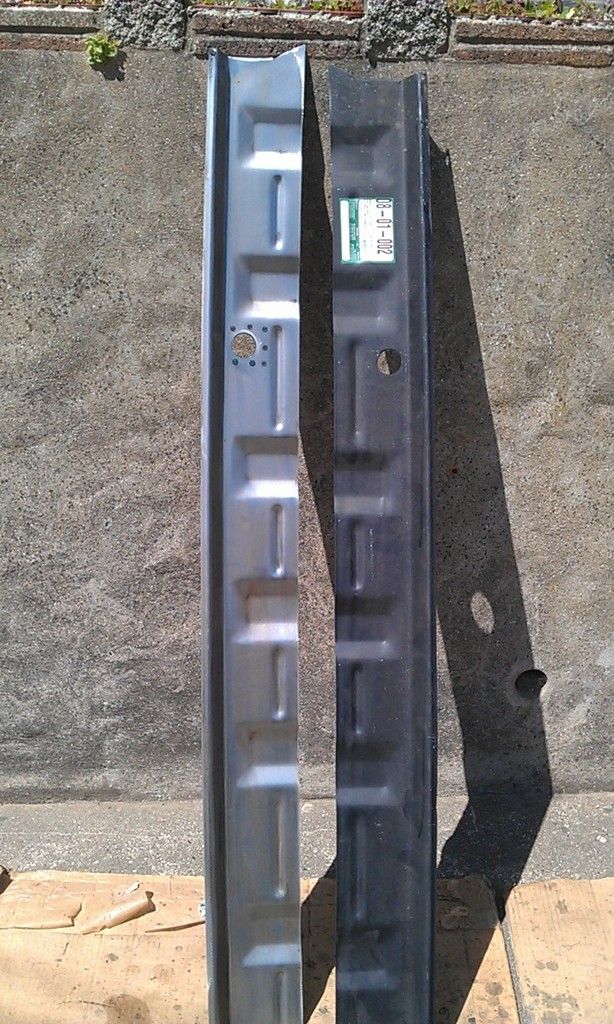
I spent more time on the left one and when I did the right one it wasn't so clean, but I'll sort that before I paint.
The pic above is after only one had been done of course.
Next I trimmed up some scrap 1.2mm steel to cover the Jacking Point holes and hole punched them:
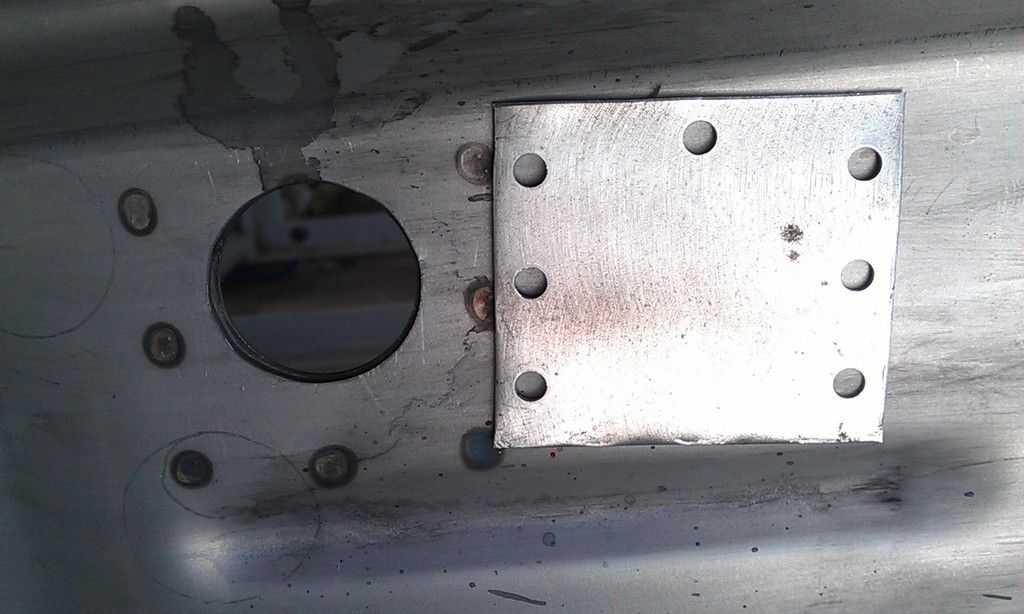
Welding wasn't brilliant but they will be seam sealed both sides after a first coat of primer:
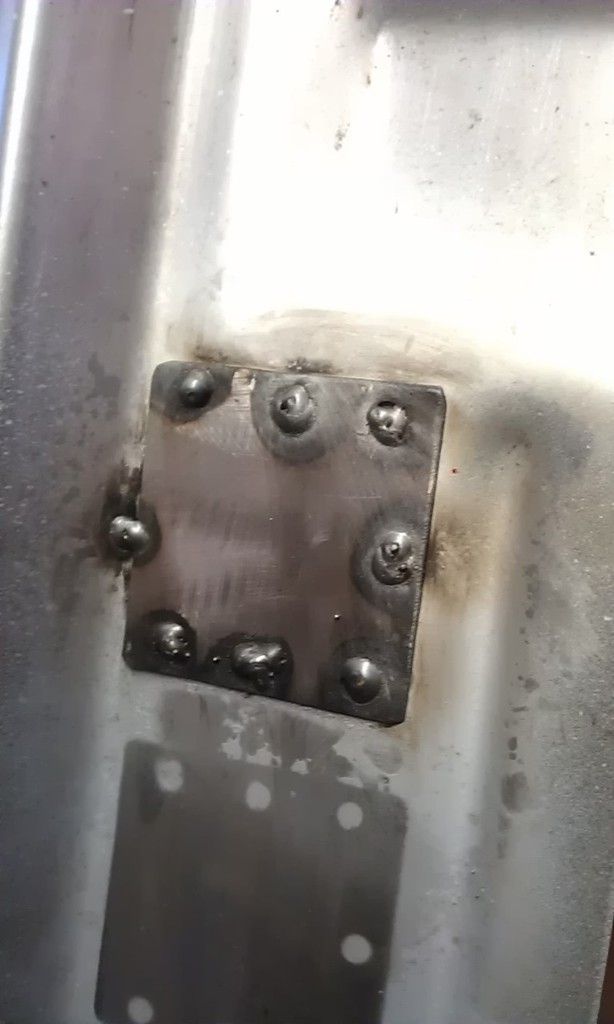
The shadow is where I sprayed both mating surfaces with Weld Through Primer, the overspray will be released.
And here is the outside:
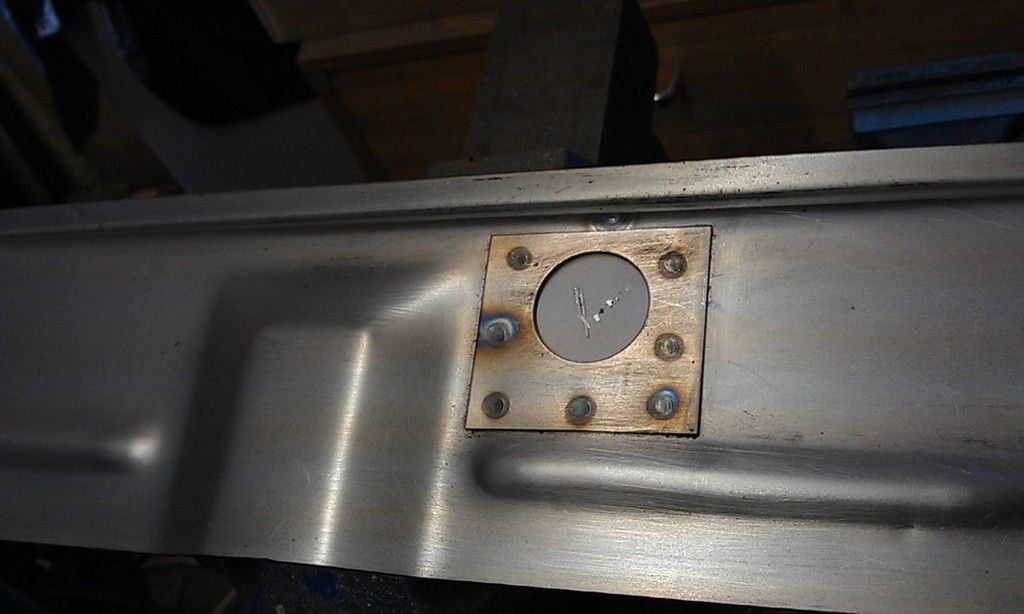
That's the original support plate on the outside, I thought about running around the inside diameter of the patch I had welded in with weld but thought it would be fine with Seam Seal to prevent water ingress.
Then I cleaned up the Rear Valance Closing Panels:
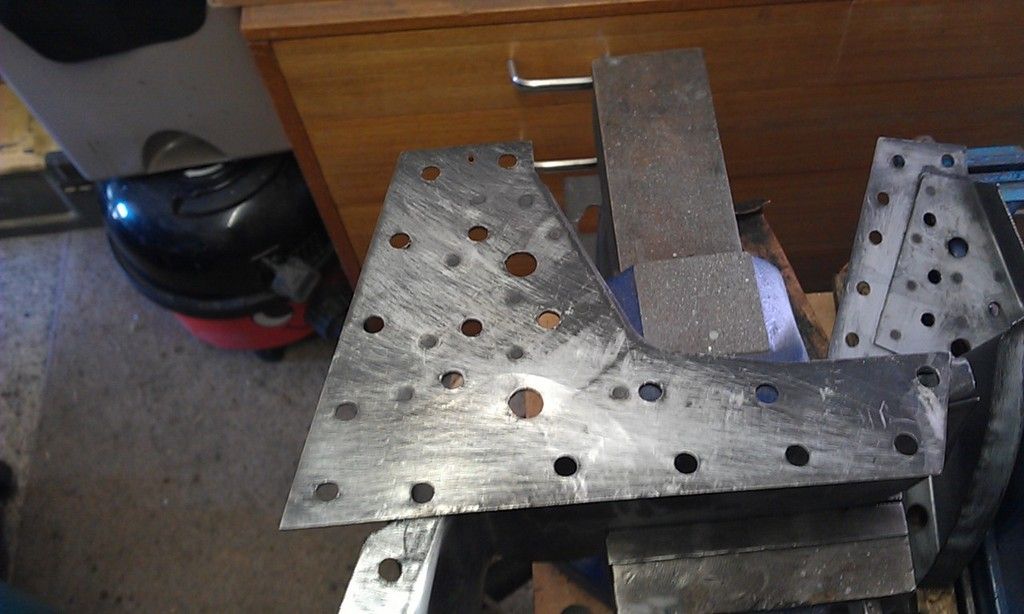
Debating between Weld Through and Epoxy on these mating surfaces?
I may not paint the other areas until they have been fitted?
#309

Posted 10 July 2015 - 07:55 AM
Managed to spray the Sills (Outer and Inner) reading for welding, also did the Front Seat Mounts.
Before:
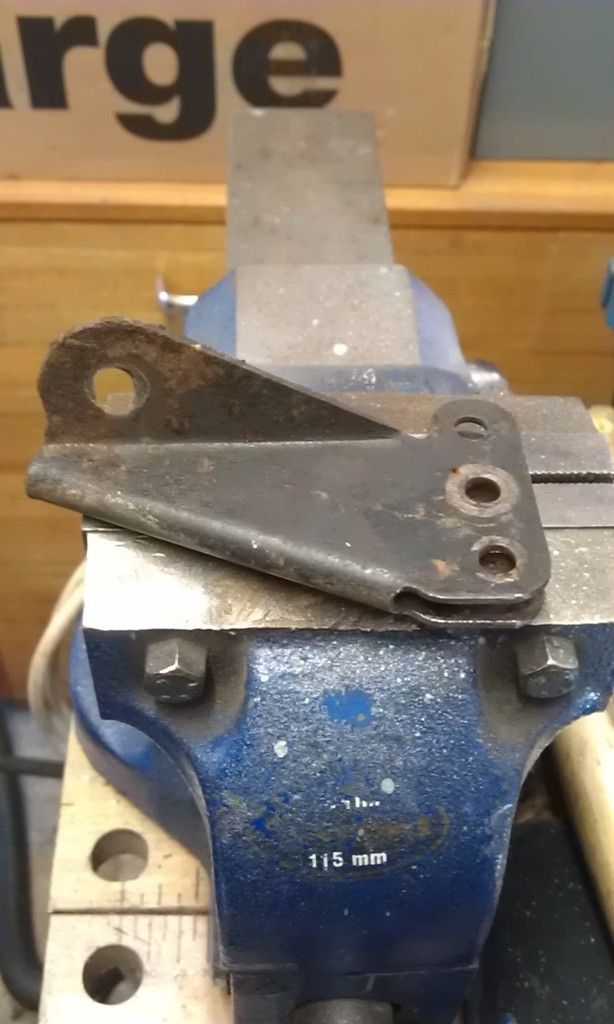
During:
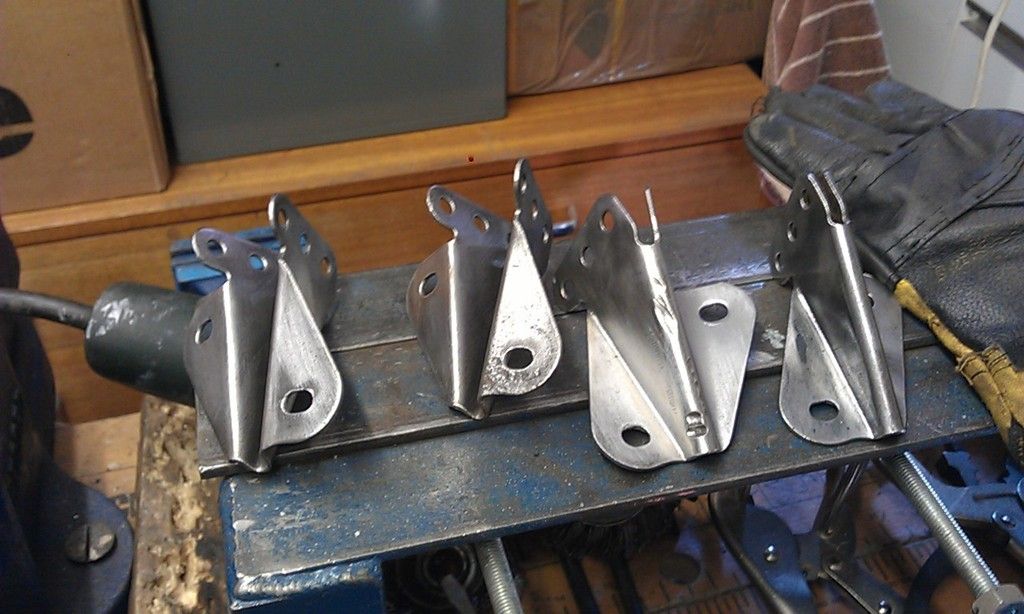
After:
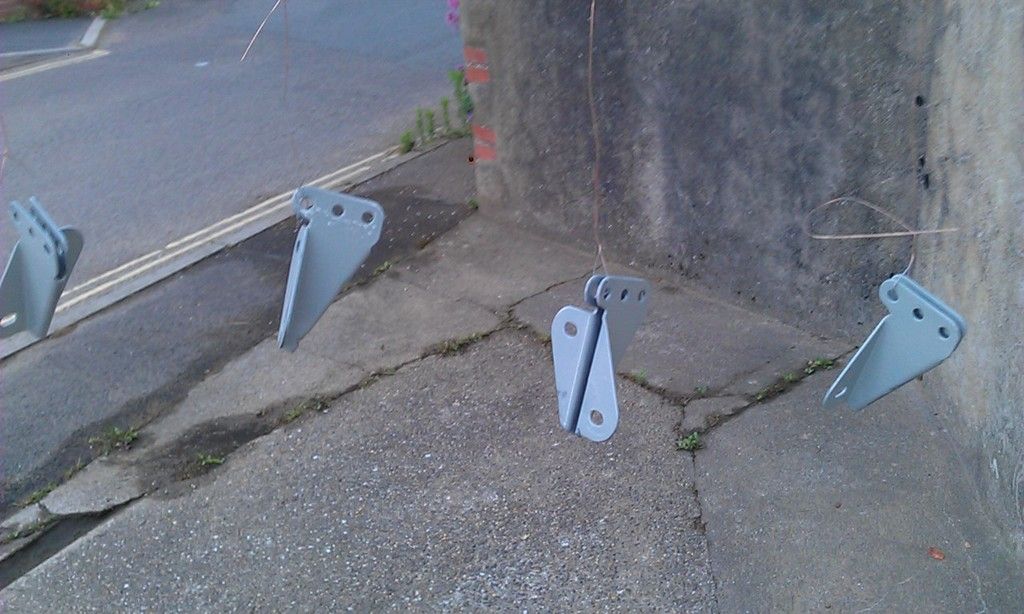
And then managed to get the Sills done:
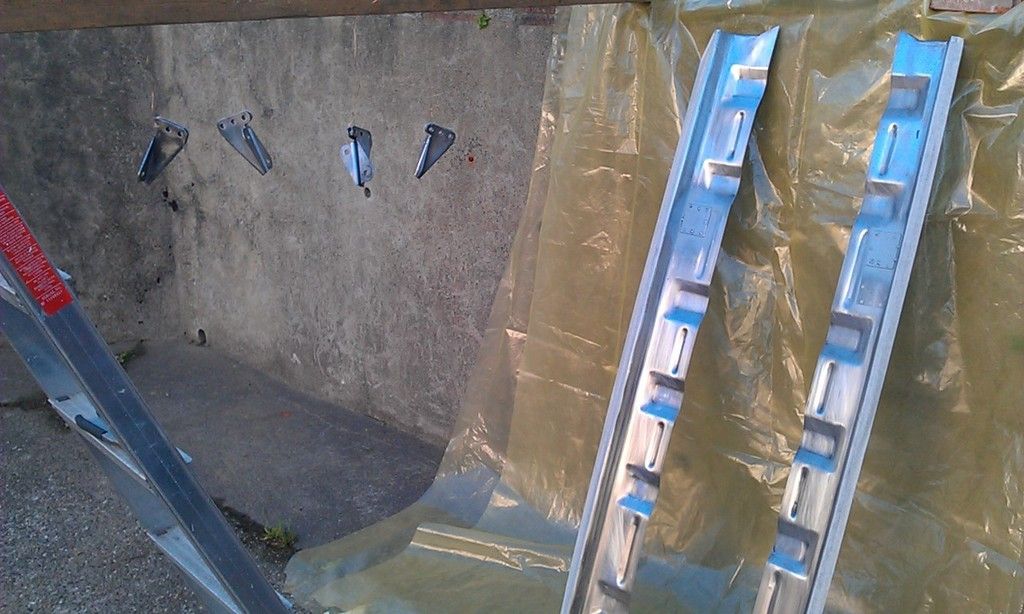
No professional spray booth, or even space in a garage here, but everything was dampened down with a hose pipe before spraying to reduce the dust, seemed to do the trick.
After a coat of Epoxy:
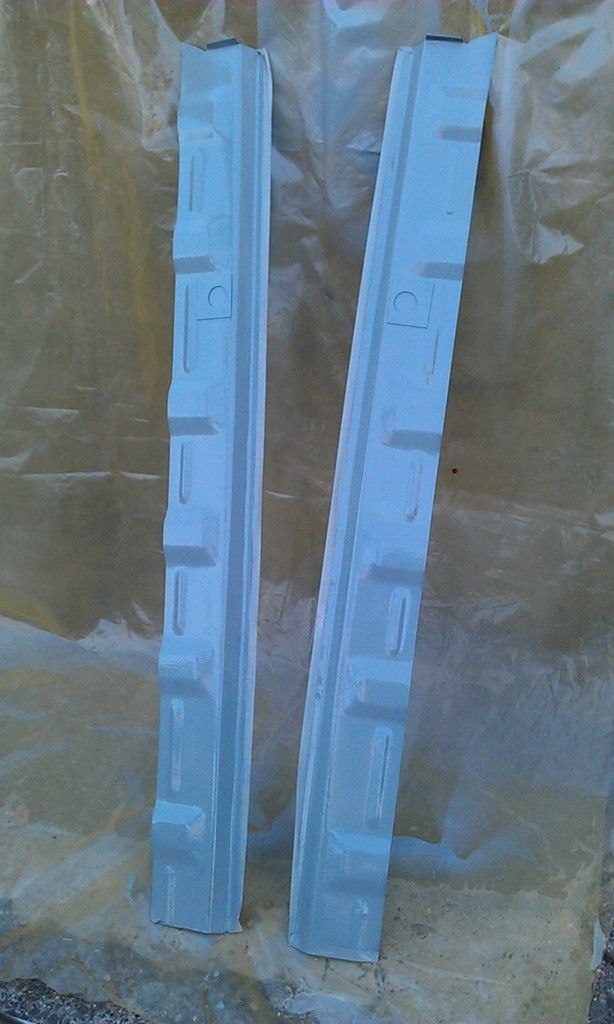
And three coats of Cellulose (Mixed 1:1) i.e. 50% Paint 50% Thinners (hope that was correct), I did have all this sussed last year but my memory is fading so I was Googling as I went ![]()
Also started getting late and although I managed to spray the outside stuff before it got dark, I was spraying the Inner Sills and Door Step in the garage using artificial lighting!!
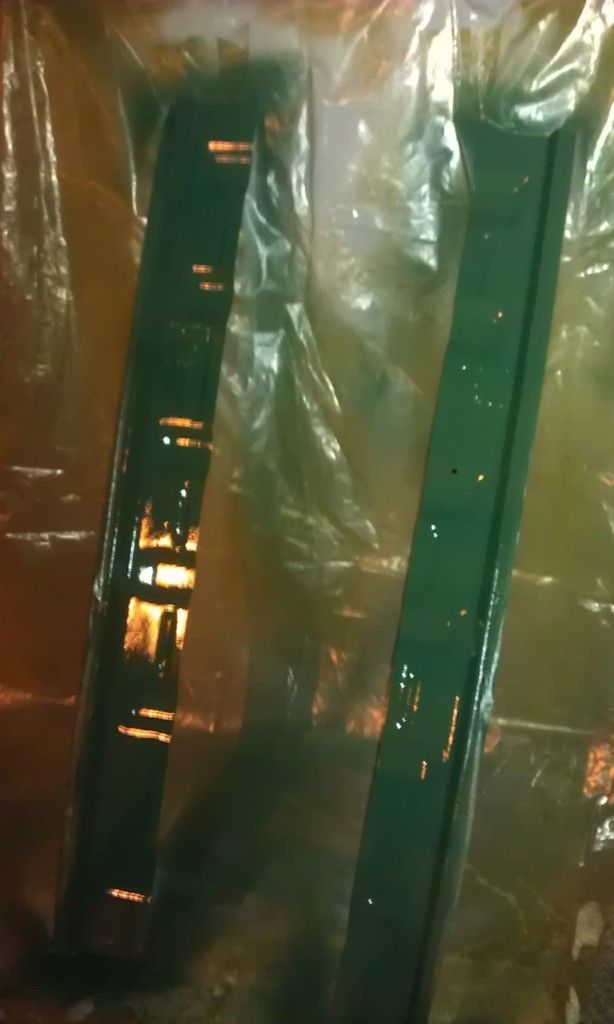
Only a couple of drama's, just after putting on the last coat of epoxy the wind blew the polythene onto the bottom of the Sills GRRRR. So a quick flick and last minute coat.
Then as it was getting dark I tried to lift the Sills indoors, the paint seemed touch dry but I soon found out that it was not, again GGGGRRRRR, had to repair with a brush, think I did it OK and it will be on the inside and hidden anyway, but still very annoying!!
Hopefully get a better pic later
#310

Posted 10 July 2015 - 04:25 PM
At least you have plenty of paint on there.
Finish is unimportant on hidden areas in the grand scheme of things.
Ben
#311

Posted 19 July 2015 - 04:51 PM
Drilled all the holes to plug weld on the Sills:
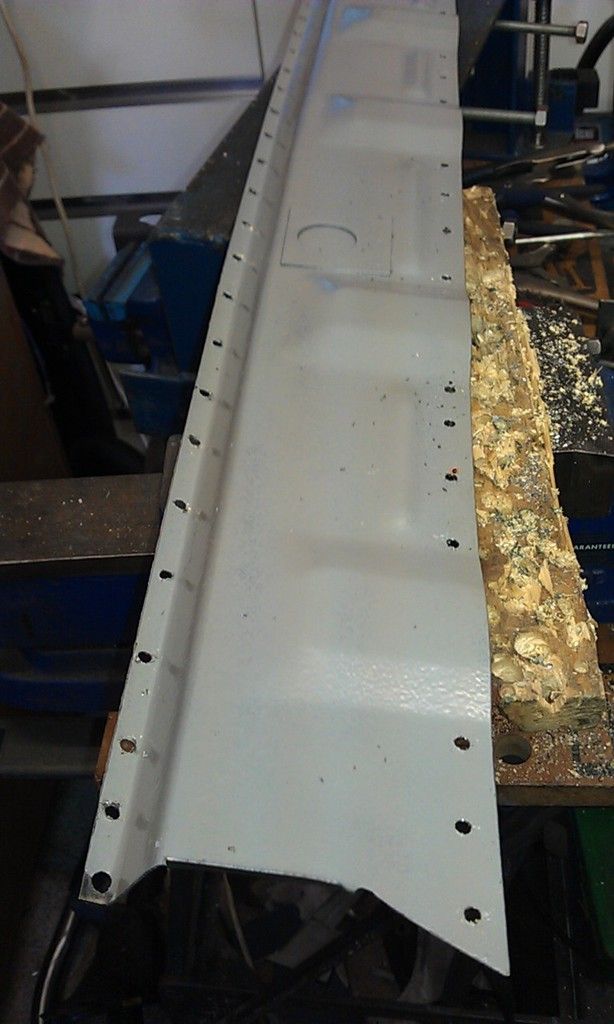
The cleaned off the paint ready for welding:
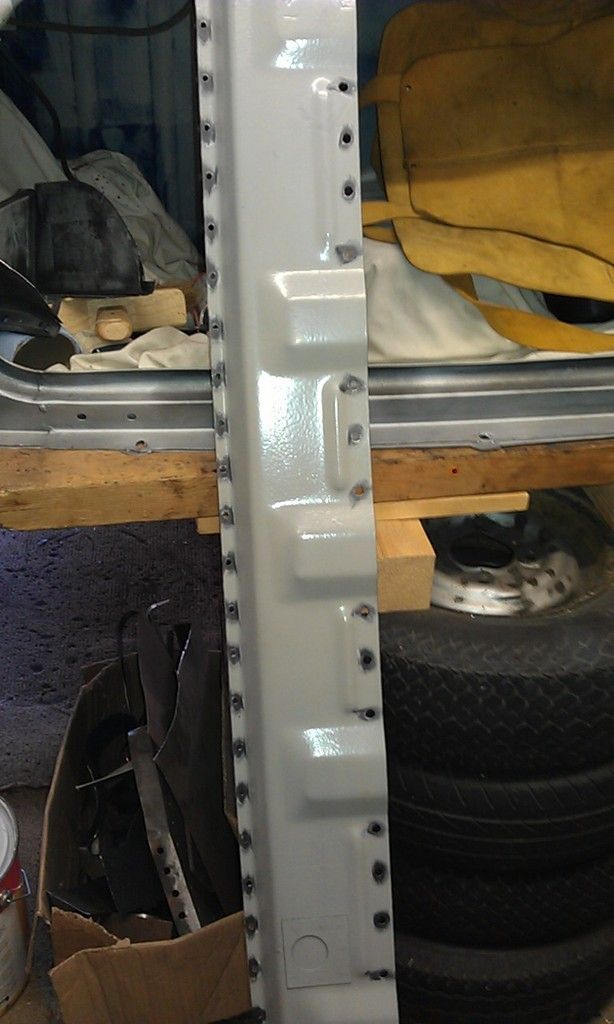
The did my first Cellulose painting with what will be the final colour, Almond Green, paint the Inner Sills:
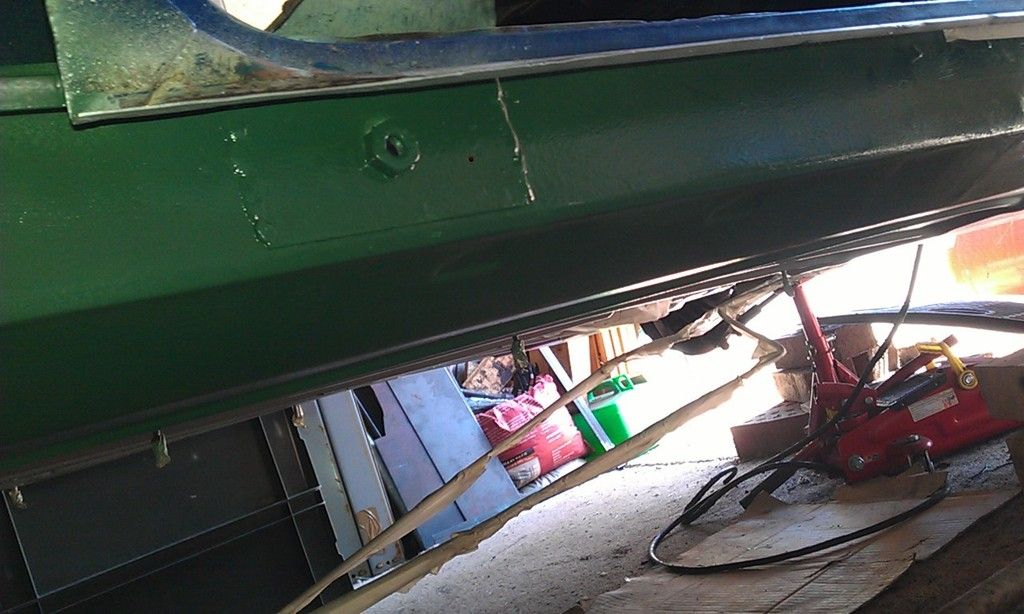
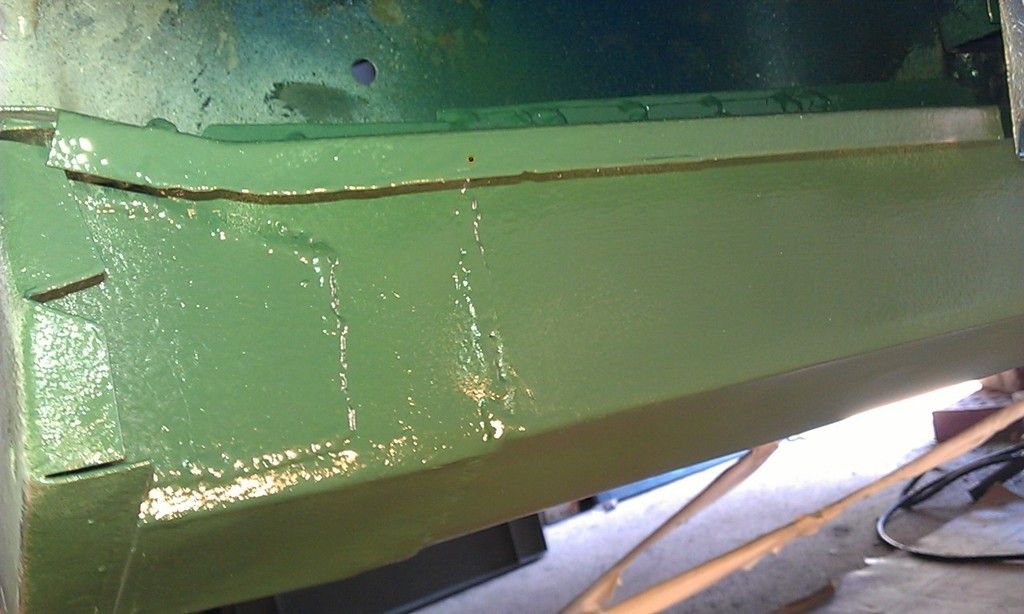
That was last weekend, then this weekend I started to weld the Sills on, all clamped up:
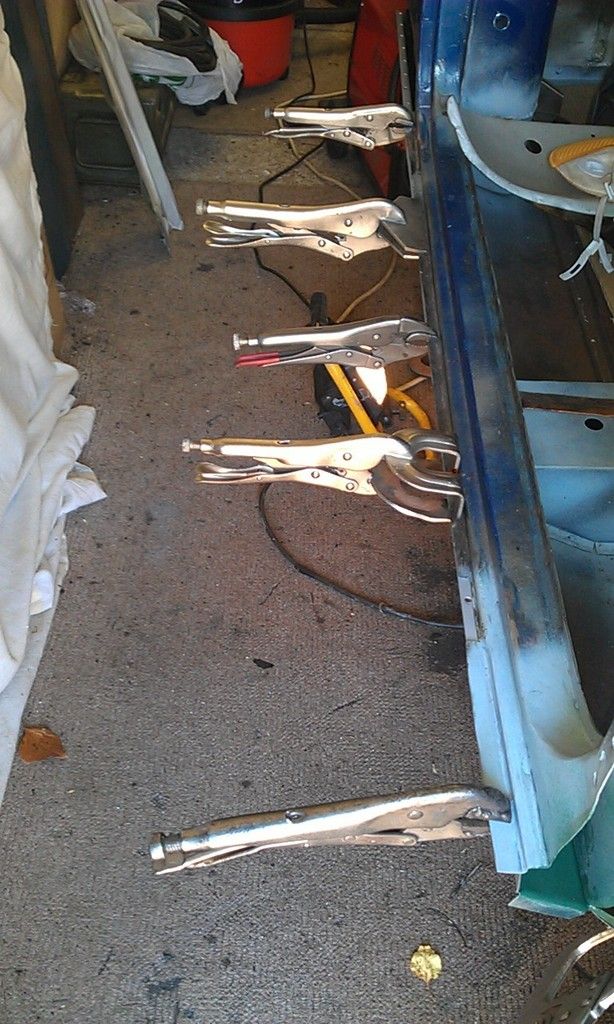
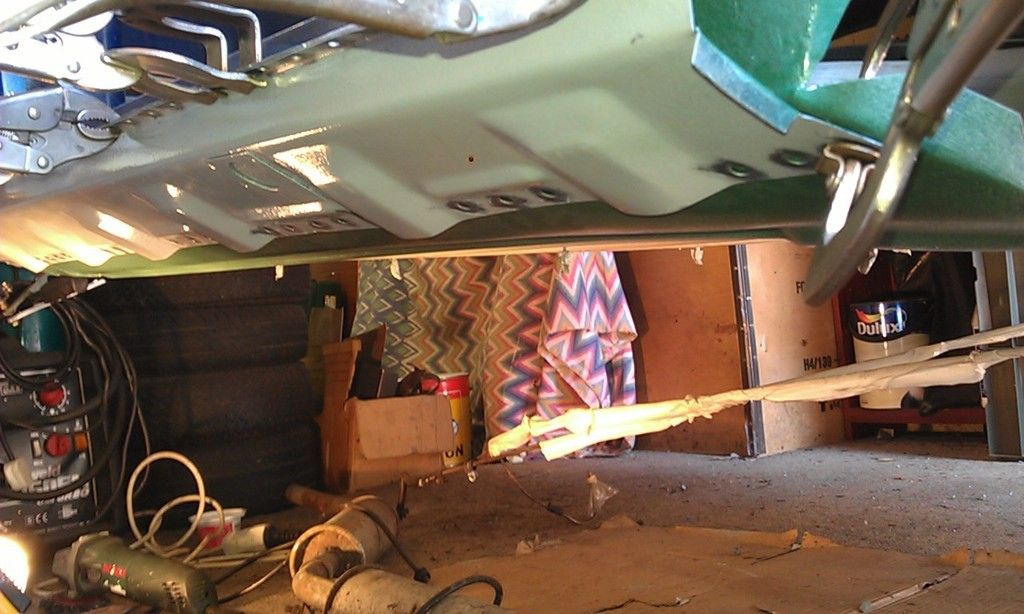
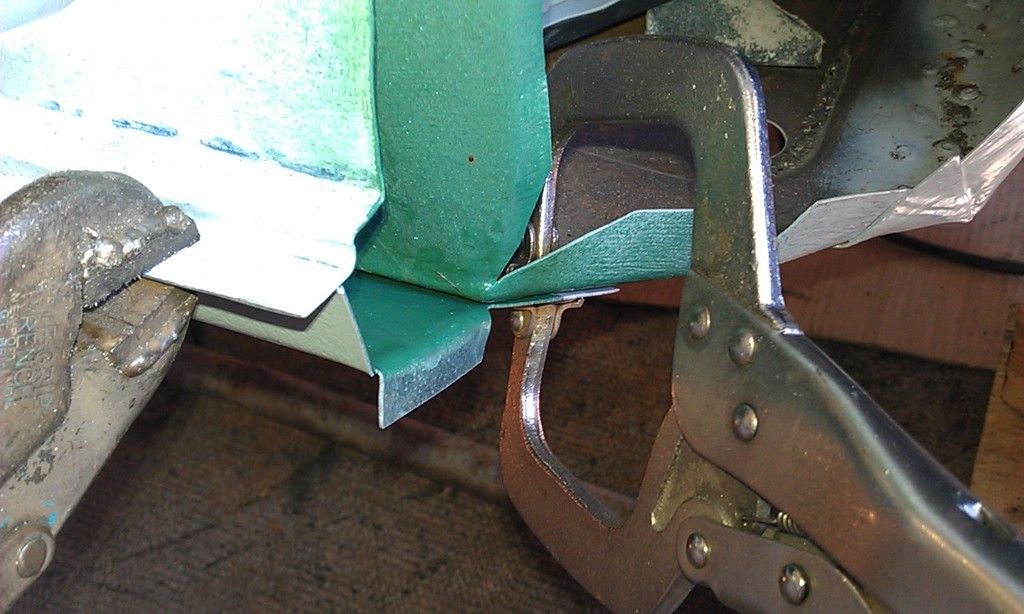
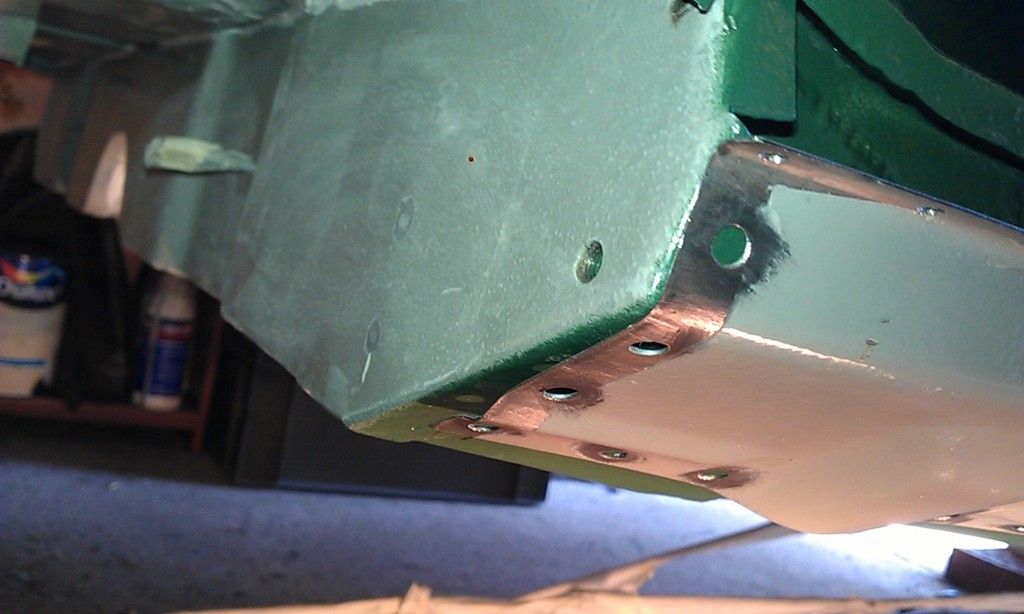
On the RH side the sill didn't quite sit flush with the floor so to pull it tight I drilled some 3mm holes and used Self Tappers:
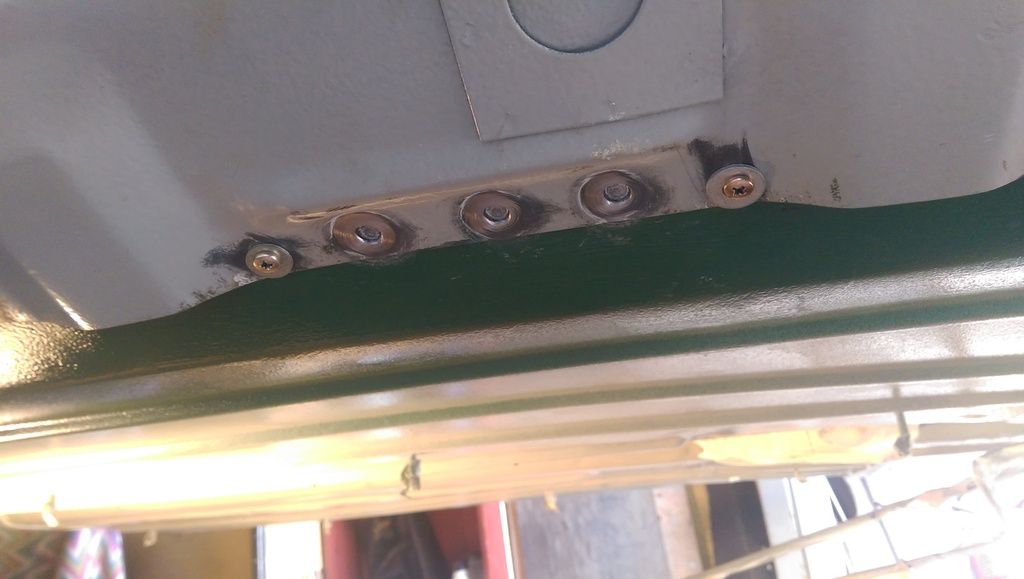
Also used a couple of battens to help:
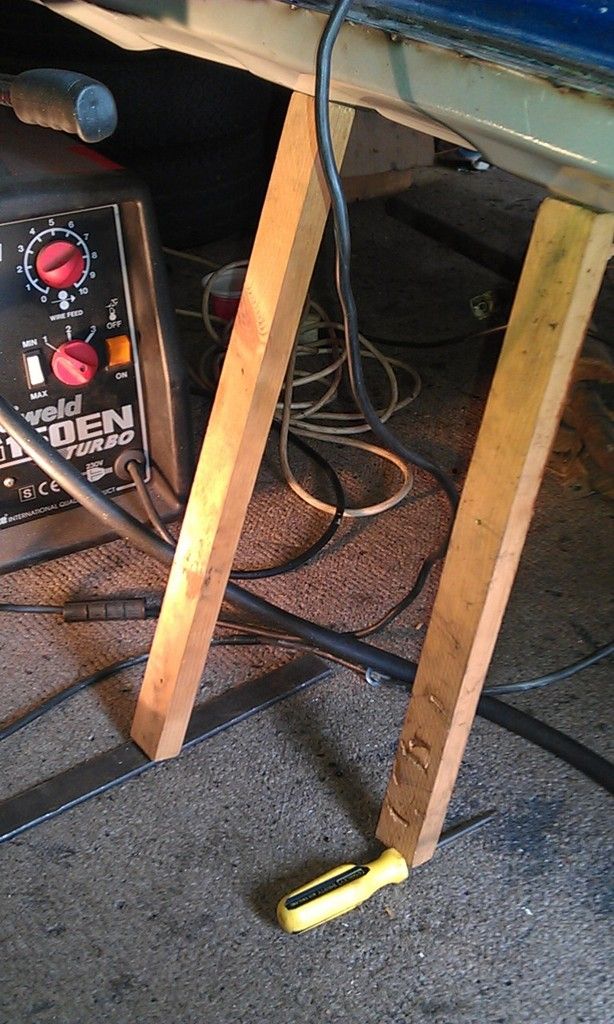
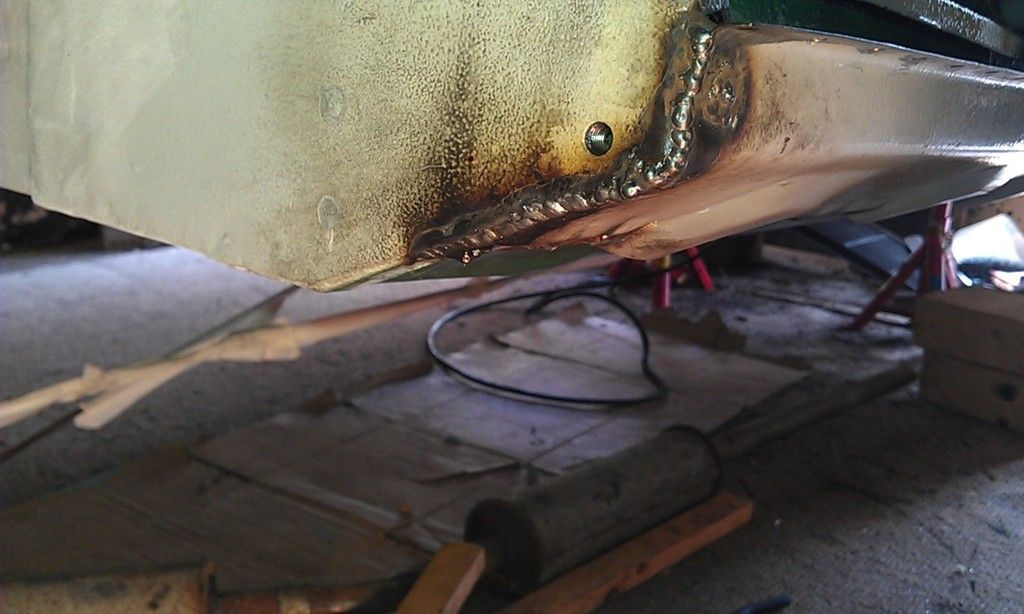
Seam welded at the heel board:
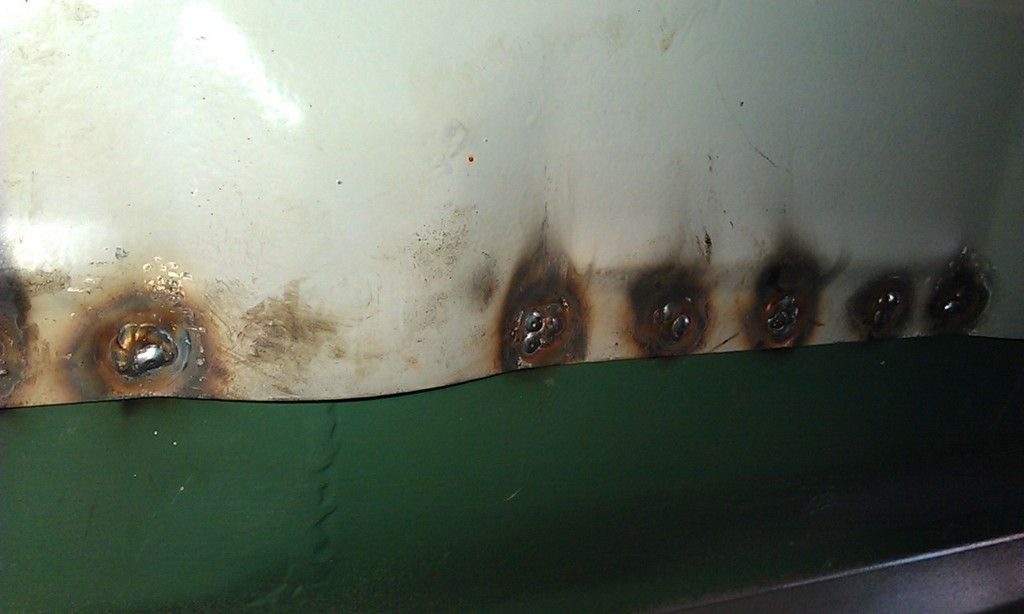
A bit splodgy in places but I was welding upside down
Supposed to be going to a local car shown 26 Jul 15 - not likely :-(
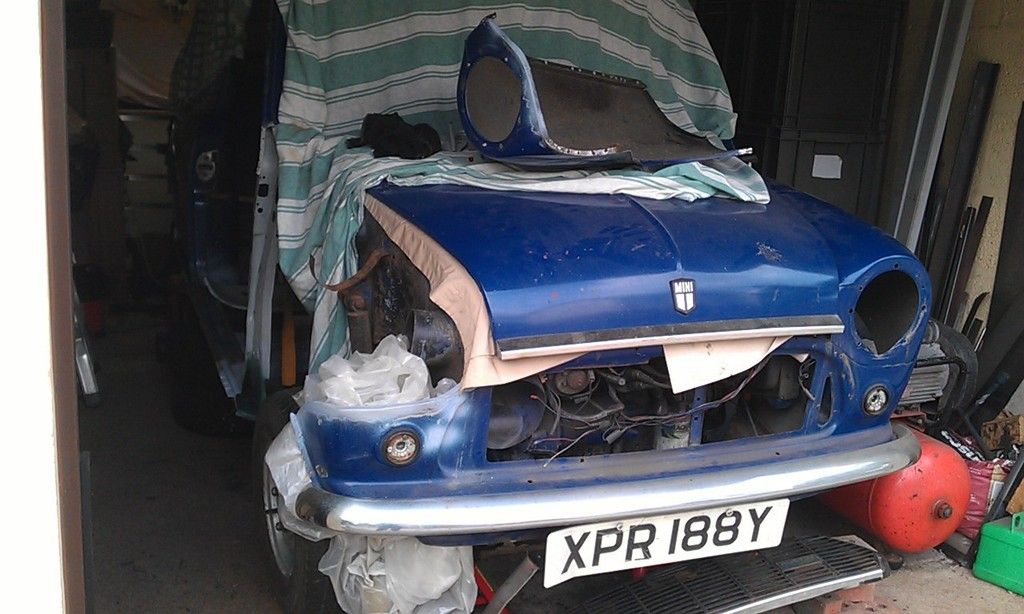
My plan to get the Sills on and get it rolling was a bit flawed as I realised I would have to make a few bits for the rear end adjacent to the companion bins, I had overlooked that :-(
After scratching my head and pondering how difficult this would be it all became clear and quite straightfirward. First I'd have to make a patch piece for the lower corner that would join the rear arch to the sill. This piece is missing because I made my own Subframe Closing Panel:
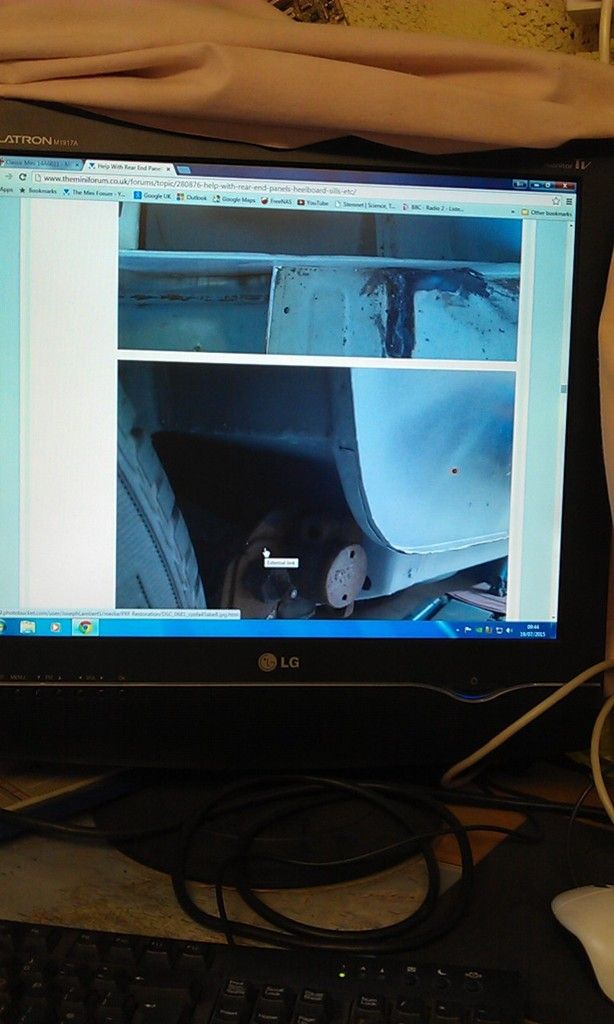
To remember what the finished article should look like I had to go back through some of my archive posts from this forum:
Edited by JonnyAlpha, 19 July 2015 - 08:47 PM.
#312

Posted 26 July 2015 - 06:25 AM
Finally managed to get back at it yesterday, work, family and the weather all taking its toll ![]()
Anyway befor I can get the Subframe on and get the Mini rolling again I need to finish welding the Silla and the rear end (seems like that's always been the goal but its taking forever).
The last area is the gap between the Sill and the Rear Arch, this is normally filled with the Subframe Closing Panel but I made my own so its missing.
Here:
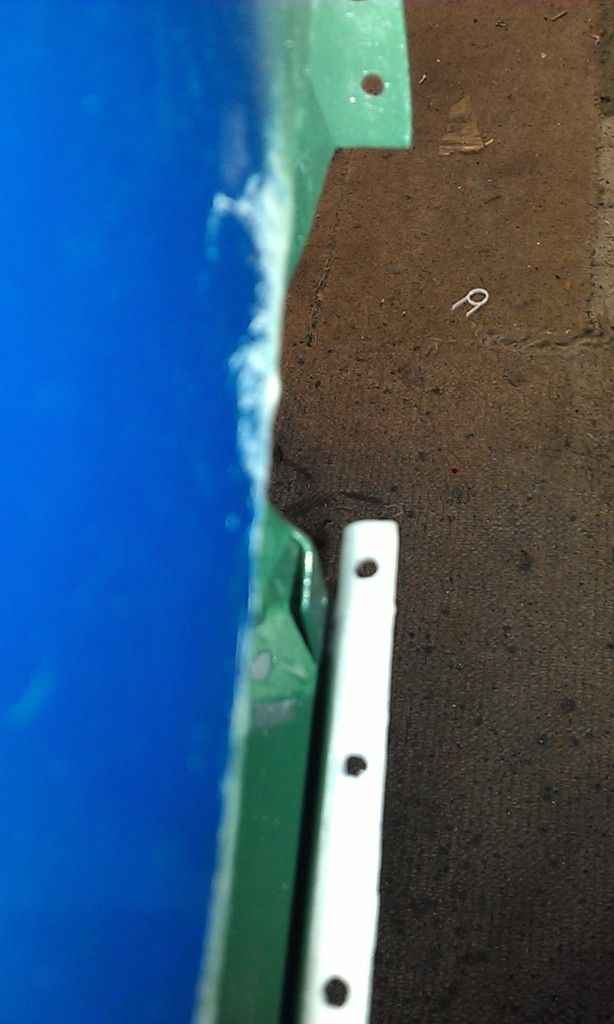
There is a bit of a gap also between the Sill and the Heelboard.
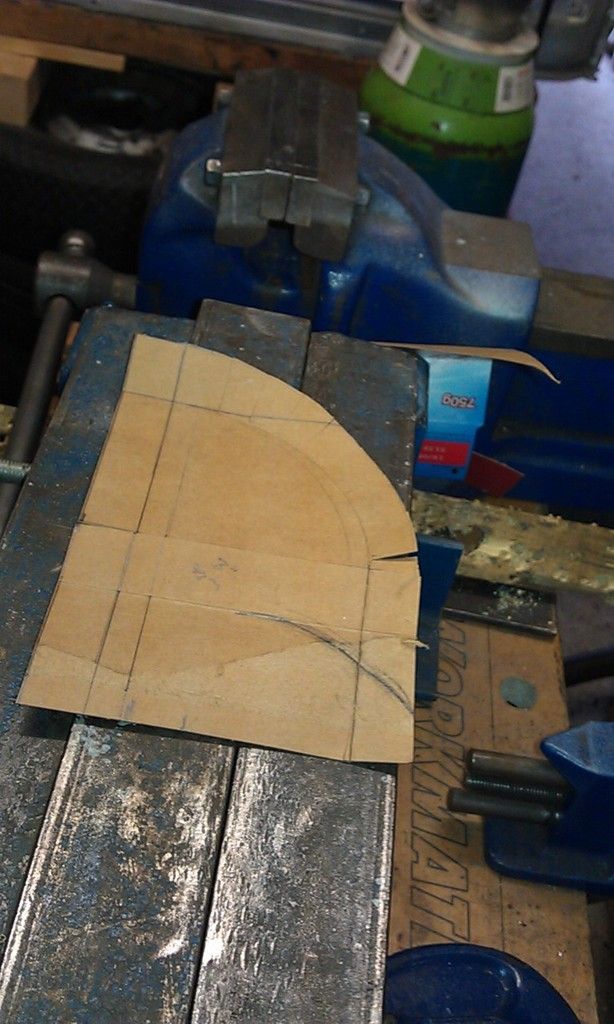
Started making the panel least session and having made the basic flat shape I now need to form the arch, to do this I made several slots in the curved edge up to the line of the fold:
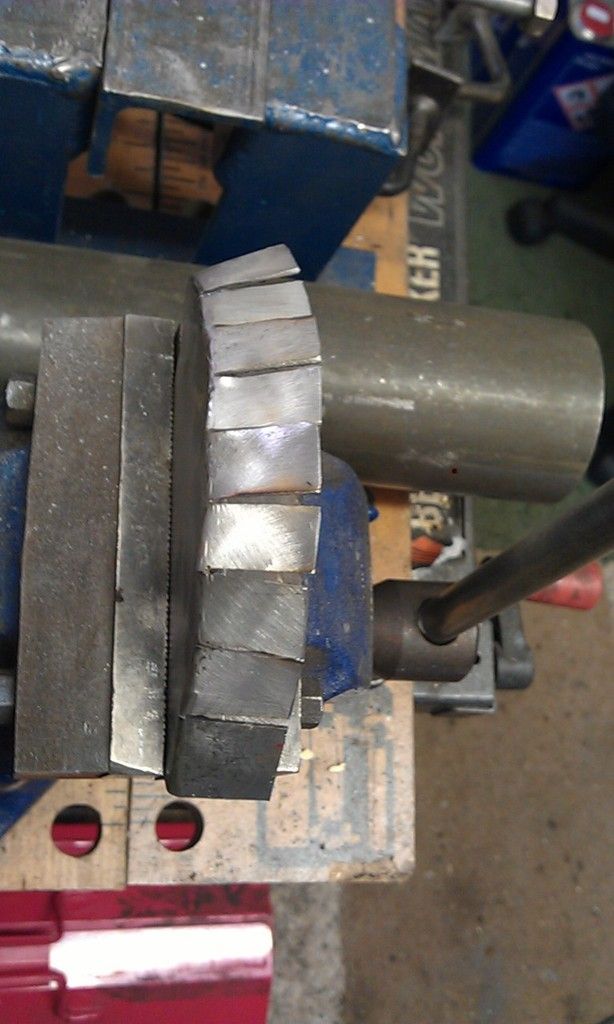
With the fold you gain some metal so some of the folds needed to be cut a little wider, for the cuts I used a pair of tin snips and once folded I used a 1mm cutting disc in an Angle Grinder.
Once folded I tidied up the fold using my metal forming hammers and a piece of large metal pipe:
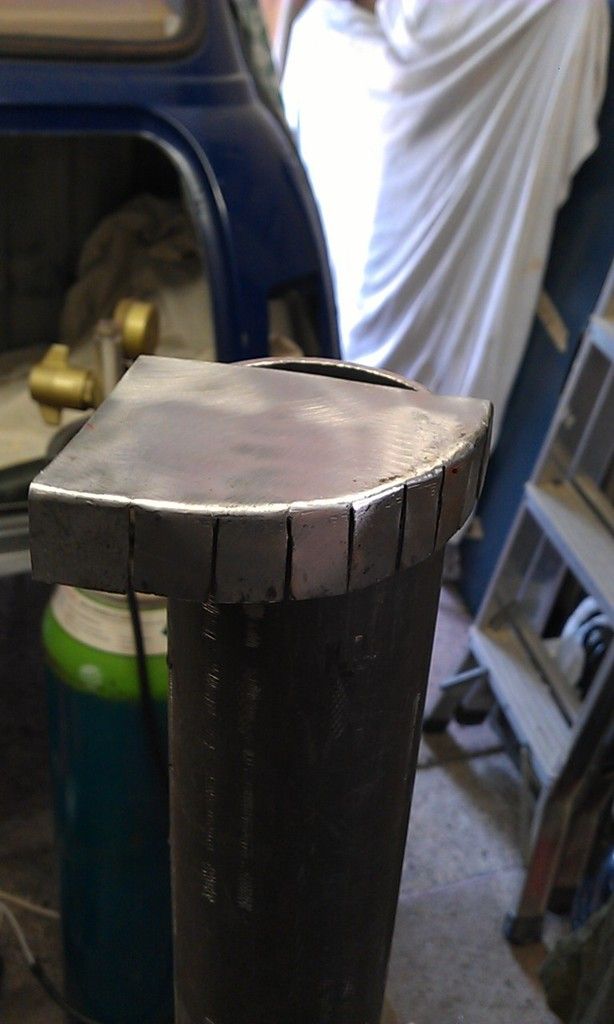
Then before welding I clamped in piece of flattened copper pipe behind:
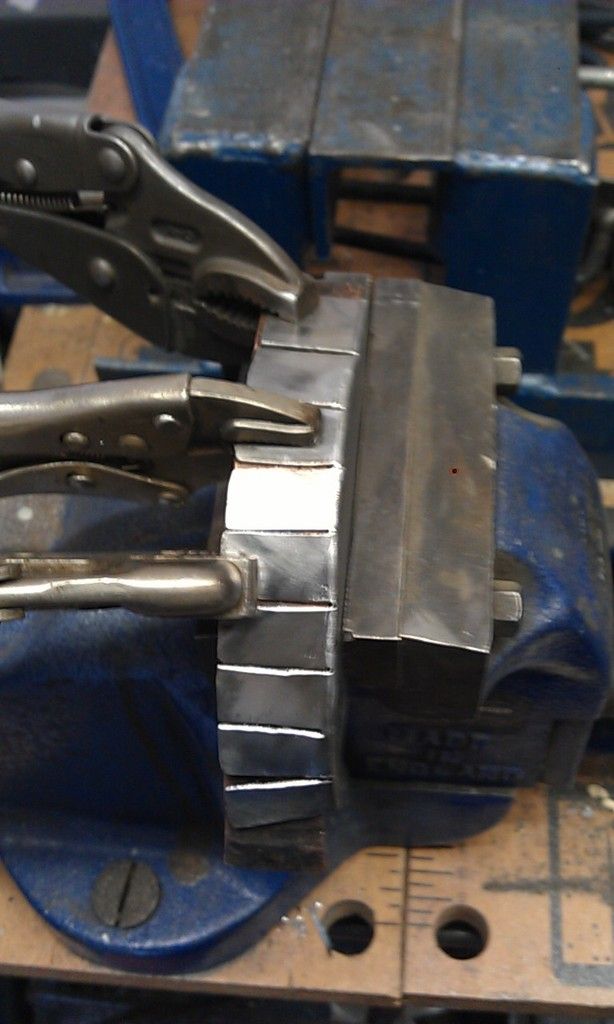
Then I welded it all up:
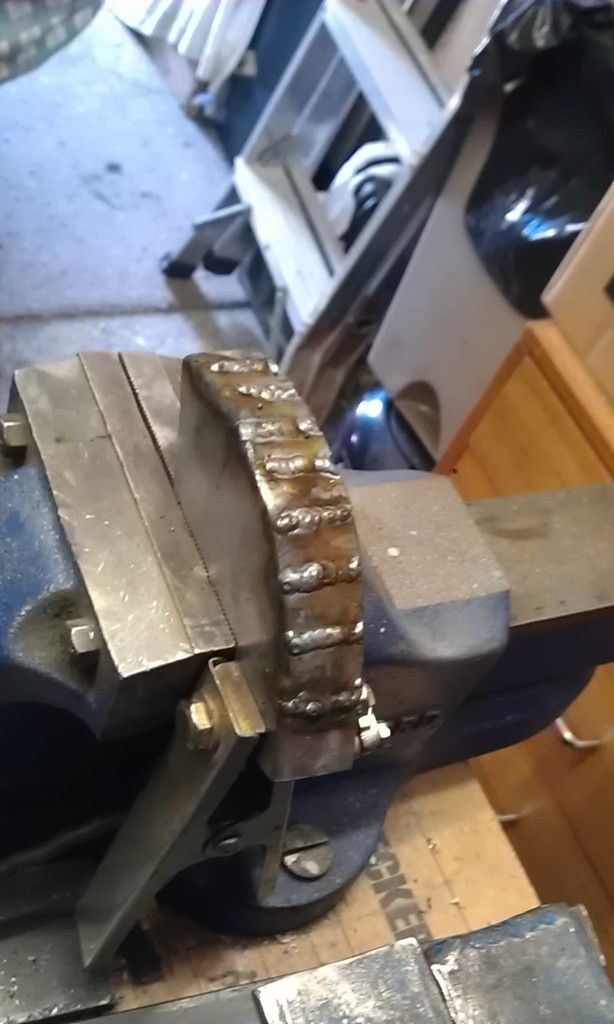
And dressed it down:
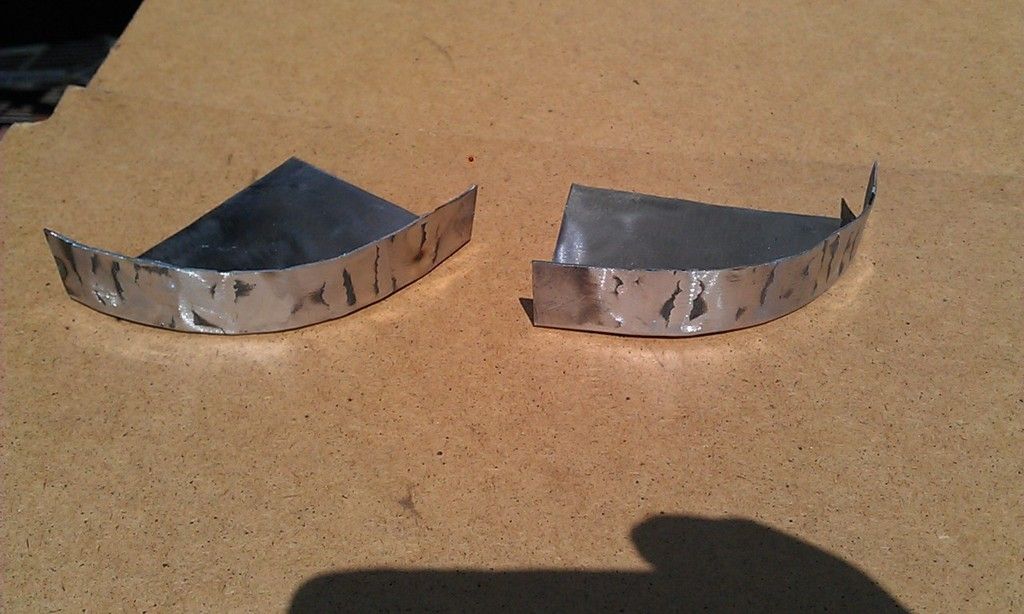
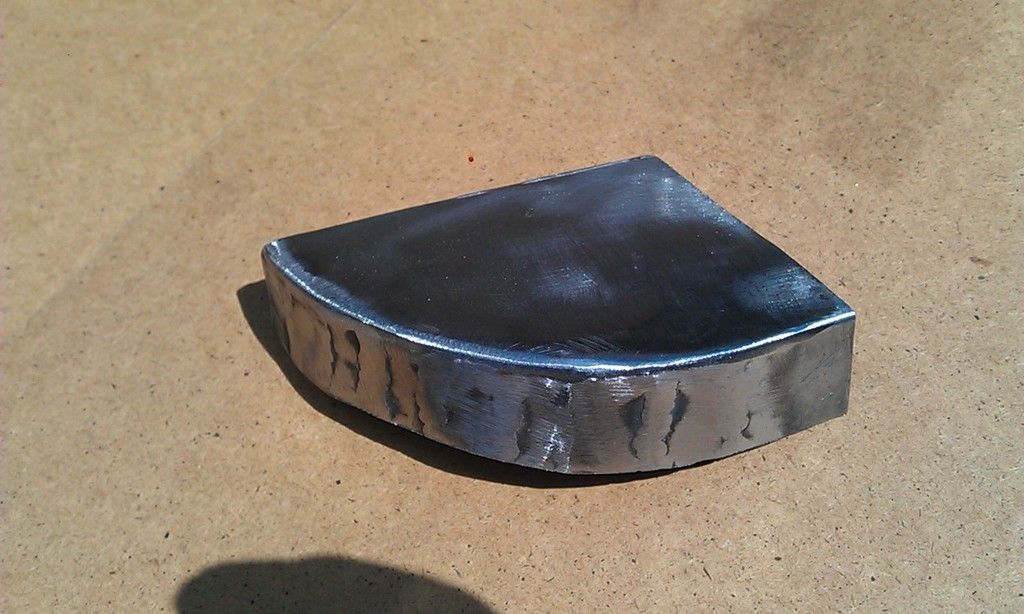
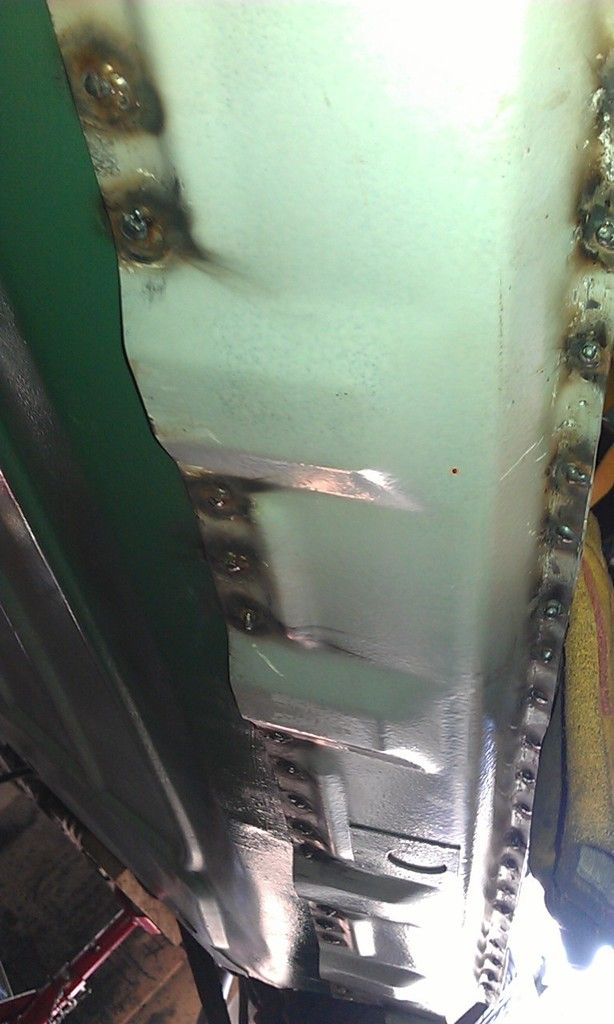
Then I clamped it in place and gently formed it to fit:
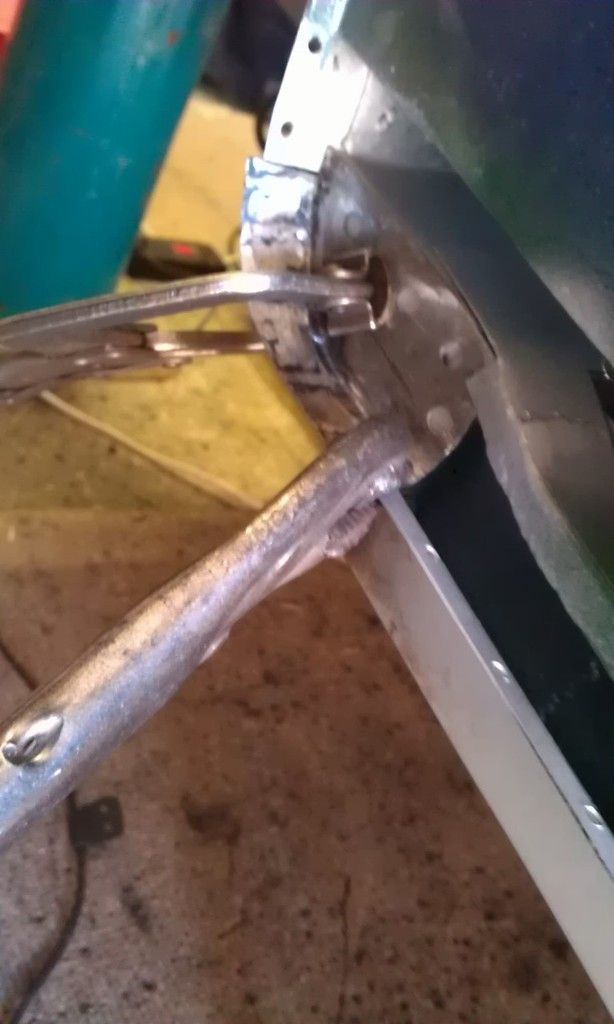
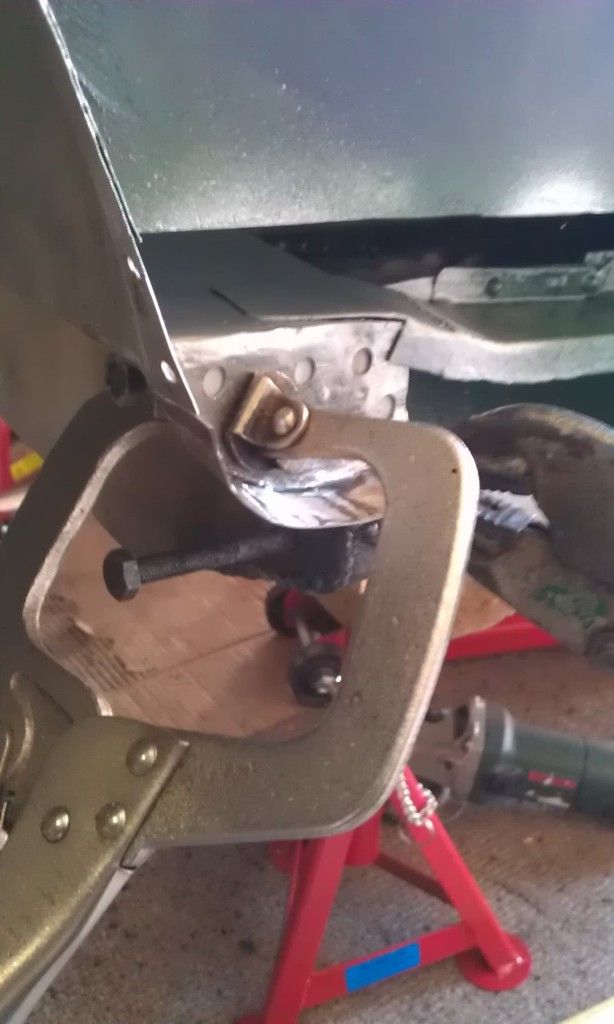
Then welded in place:
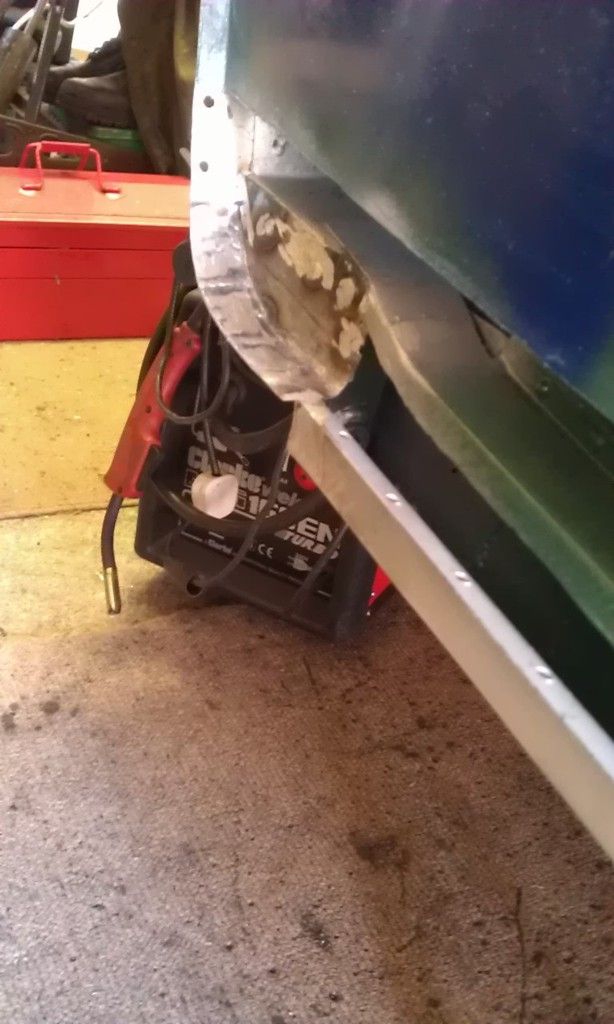
And the other side:
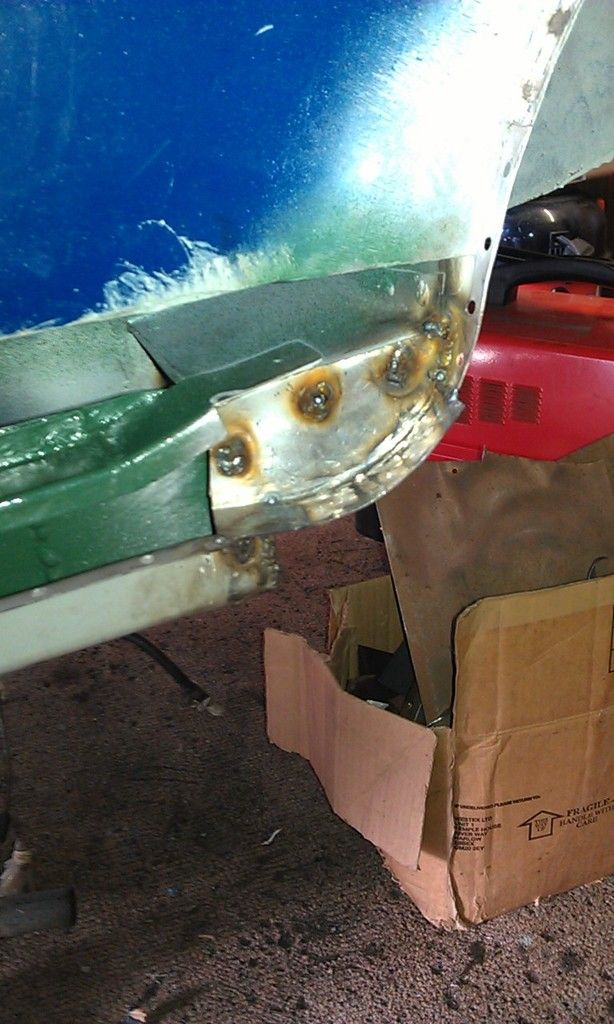
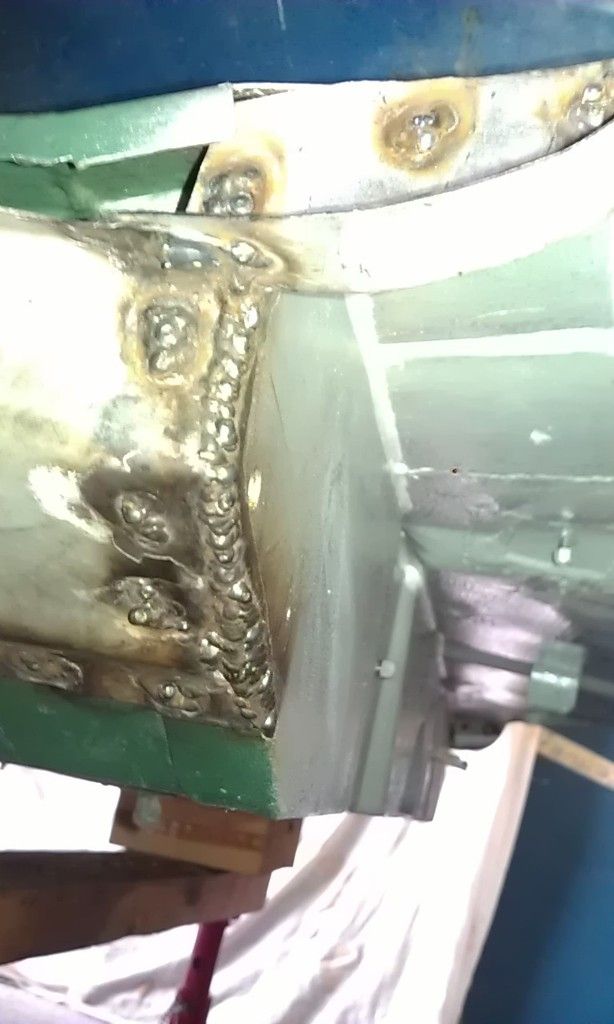
The I finished welding the Sill in place, hard going and not clean due to a lack of space and the angle but it's ok (still to be dressed down:
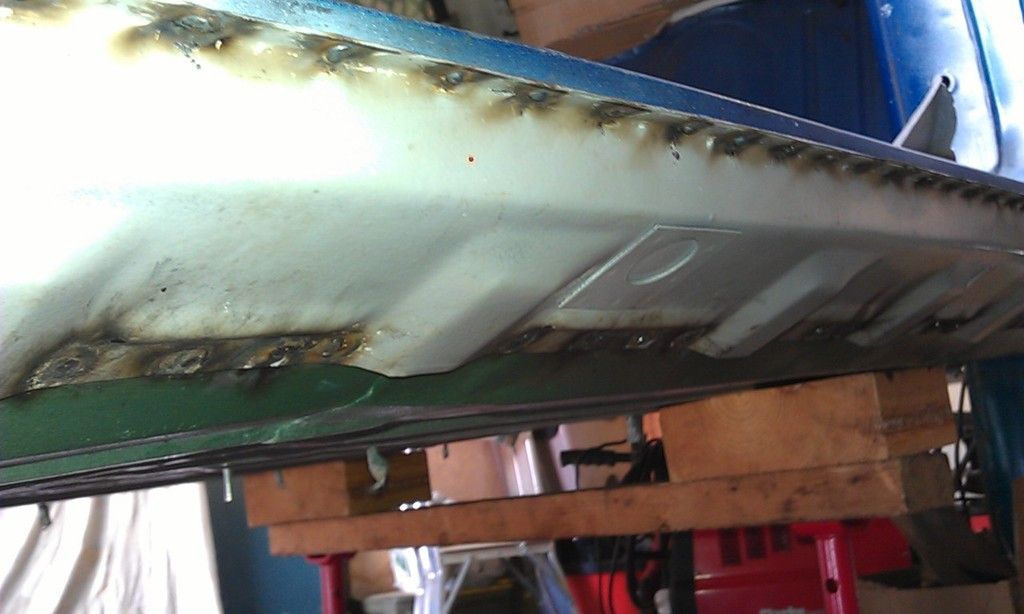
Local classic car show today, the plan was that I'd be finished ready to go, then I thought I'd take it as a working project on a trailer but not with 2 wheels :-(
Absolutely chucking it down with rain (forecast for all day) looks like the show may be cancelled??
#313

Posted 27 July 2015 - 10:22 AM
#314

Posted 27 July 2015 - 08:28 PM
Good work jonny, coming along nicely.
#315

Posted 28 July 2015 - 07:14 AM
Decided it was time to make a few more panel clamps:
This was one I made last year (a little wonky but it works):
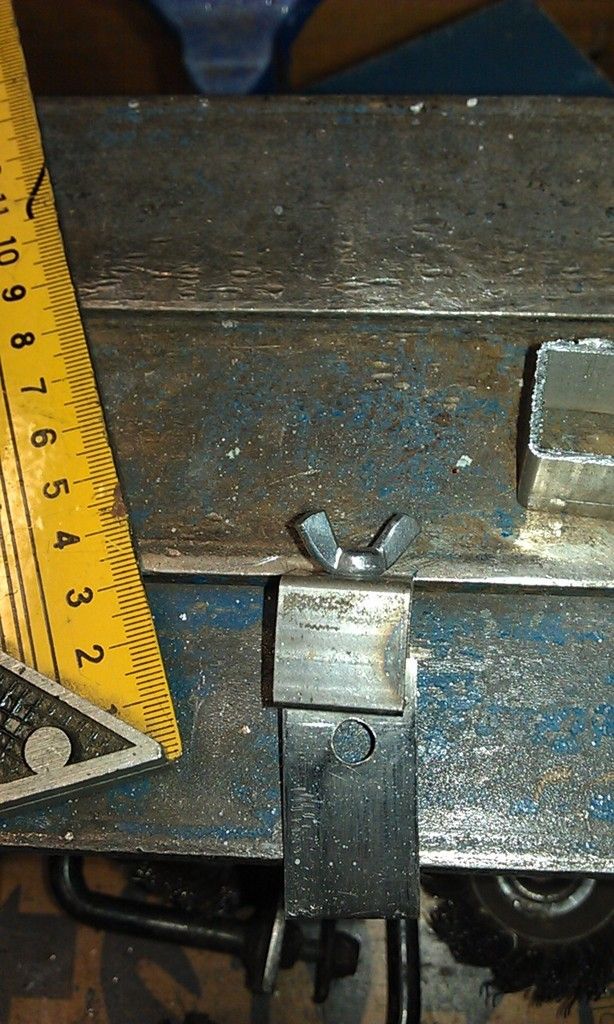
First cut a length of box section 20mm:
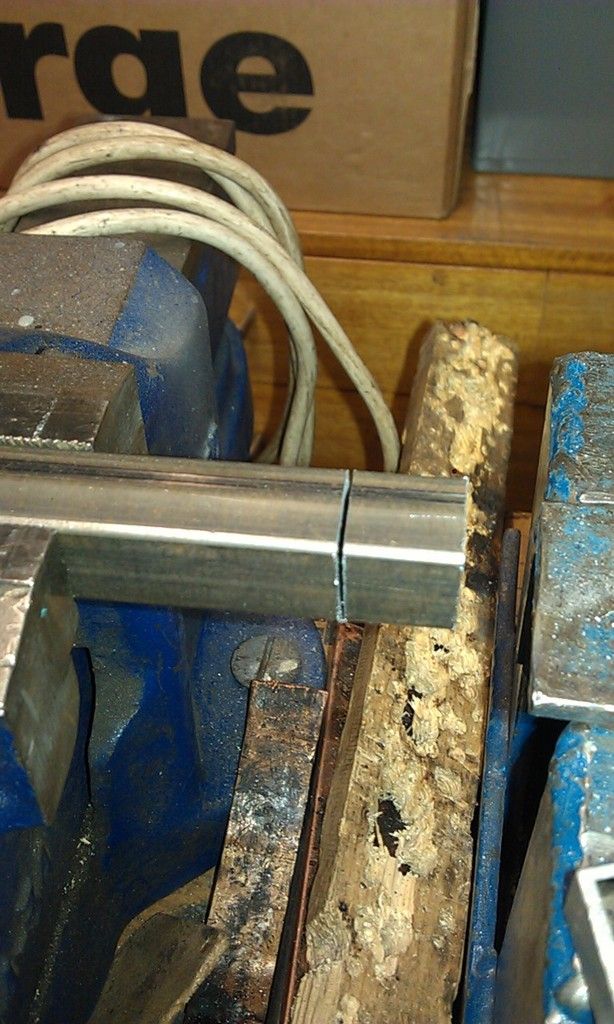
Next mark a centre line:

Make a cut along the centre line, I used a 1mm cutting disc, 1mm as this is the gauge of the sheet metal that it will be holding:
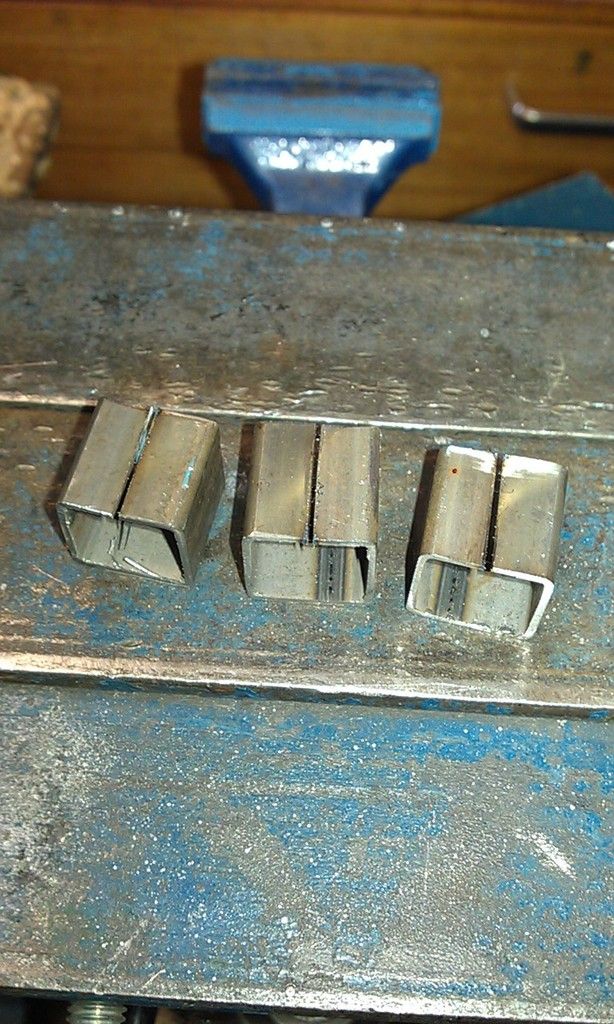
Next drill a hole on the opposite side, the size of the hole needs to be the same diameter as your clamp bolts (see later), the hole in the pic was a pilot hole.
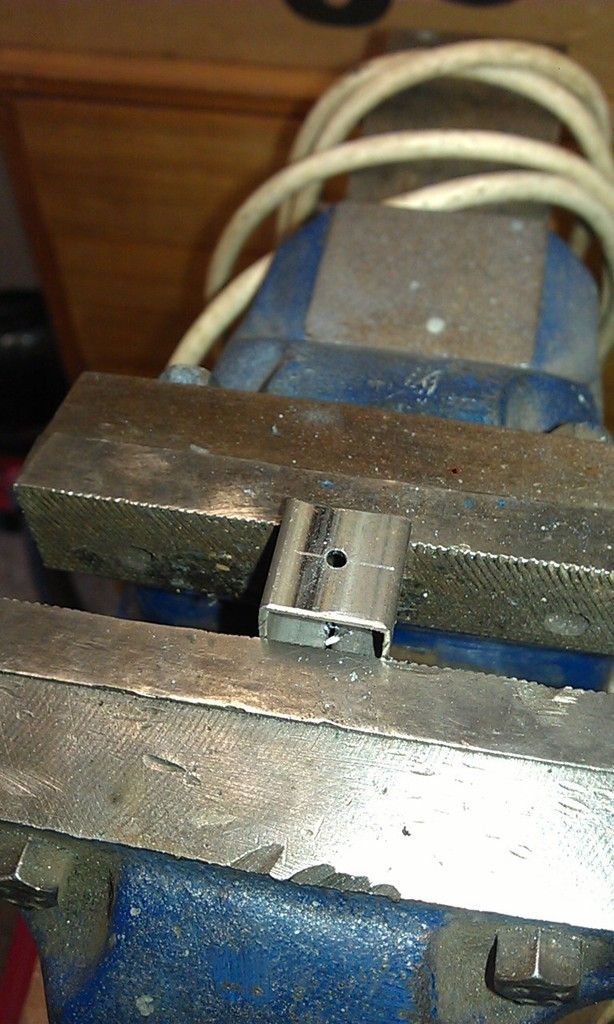
Next cut out some sheet metal, I used a piece of stainless steel, 20mm wide, same width as the clamp. The length was about 40mm but can be cut down later if they are too long.
Once cut mark and drill a hole, sorry forgot to measure, when the clamp is pulled tight the holed needs to pulled up levele with the bottom of your clamp, if its too far from the top it will not clamp shut (sorry not a good explanation).
For the clamp bolts I used some 5mm bolts with a flat screw head and wing nuts, these are ideal. Screw on the wing nut and hold the bolt in a vice, hold the sheet metal tab with pliers and weld to the screw.
WARNING stainless steel when welded can give of Chromium Gas Fume, these are Carconagenic so wear a suitable mask.
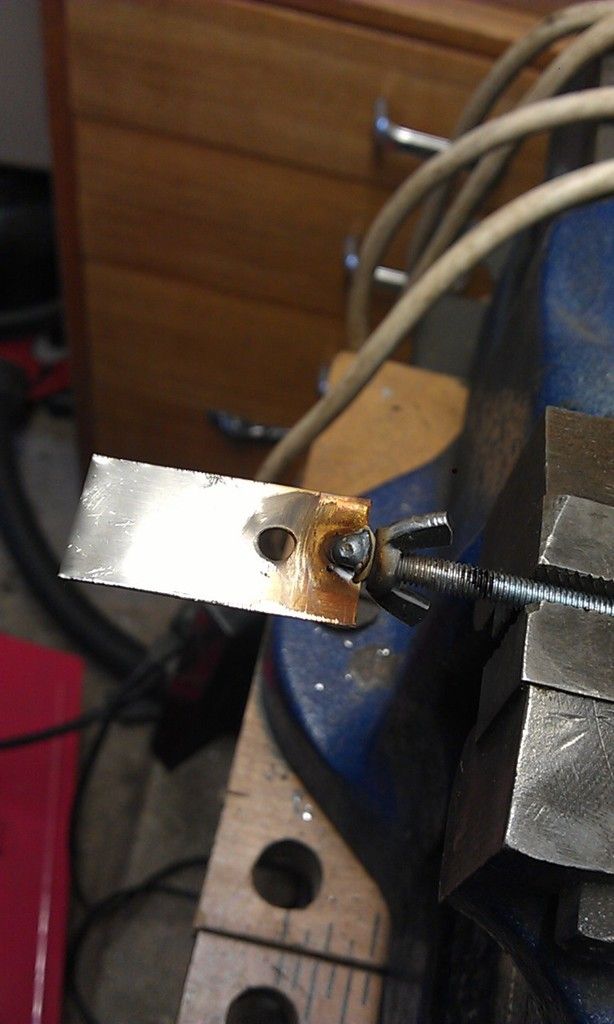
The weld in this pick was not great sow was re-done on the other side. The weld will also need to be ground down to fit in the clamp.
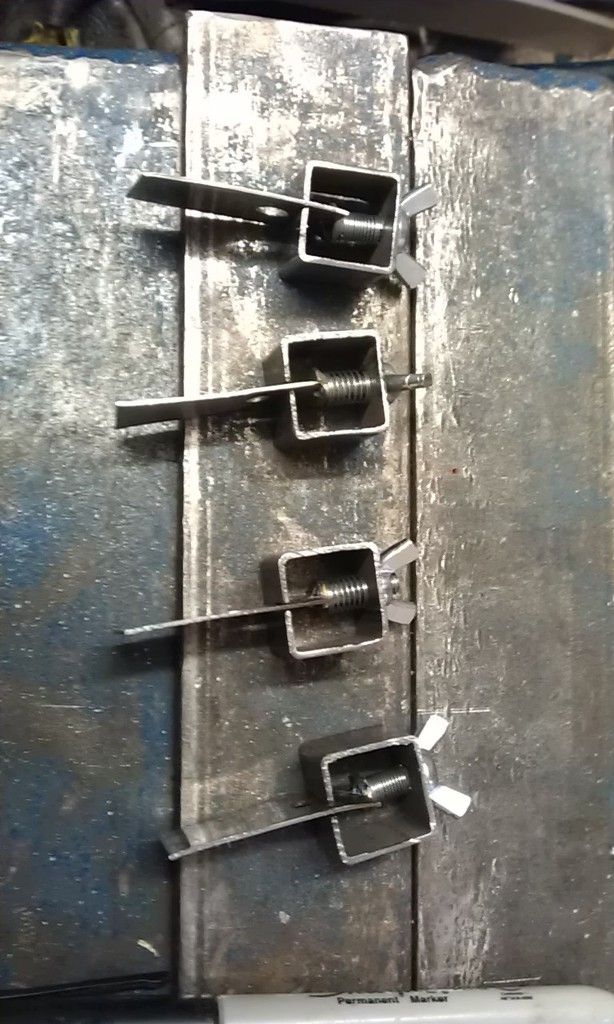
Next fit a 5mm spring and measure where to cut the bolt so that it just fits in the clamp.
And voila!!!
1 user(s) are reading this topic
0 members, 1 guests, 0 anonymous users


