Jump to content


Photo
- - - - -

1982 Austin Mini - Project Who?


  • Please log in to reply
852 replies to this topic

#286 JonnyAlpha

JonnyAlpha

    Up Into Fourth

  • Members
  • PipPipPipPipPipPipPipPipPip
  • 2,748 posts
  • Location: North Devon
  • Local Club: Exmoor Minis

Posted 07 June 2015 - 07:57 PM

Managed a bit of work on Saturday, trying to get the rear underside painted up to fit the Subby but still had a bit of tidying and welding to complete.


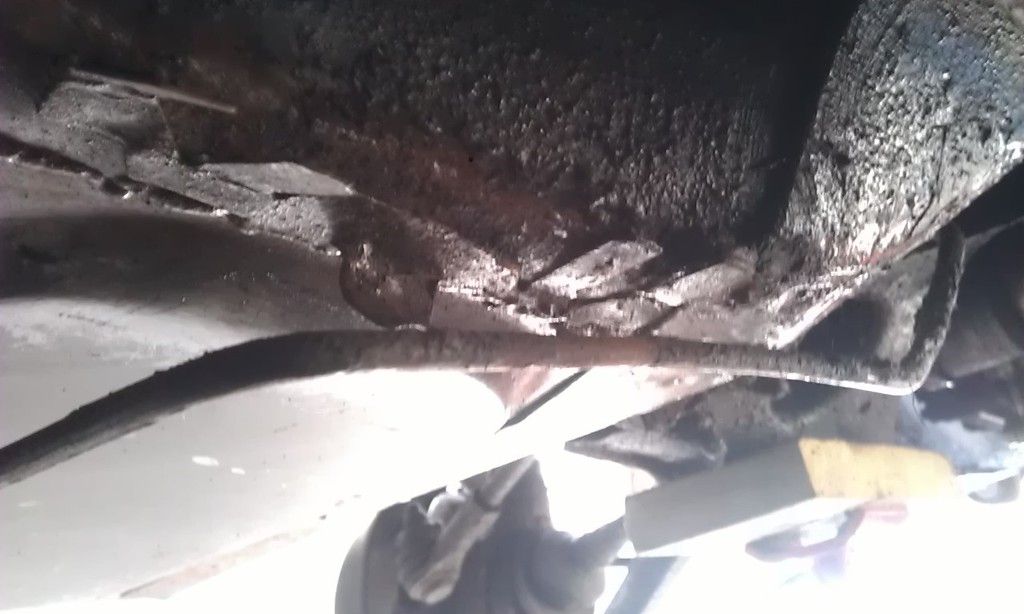
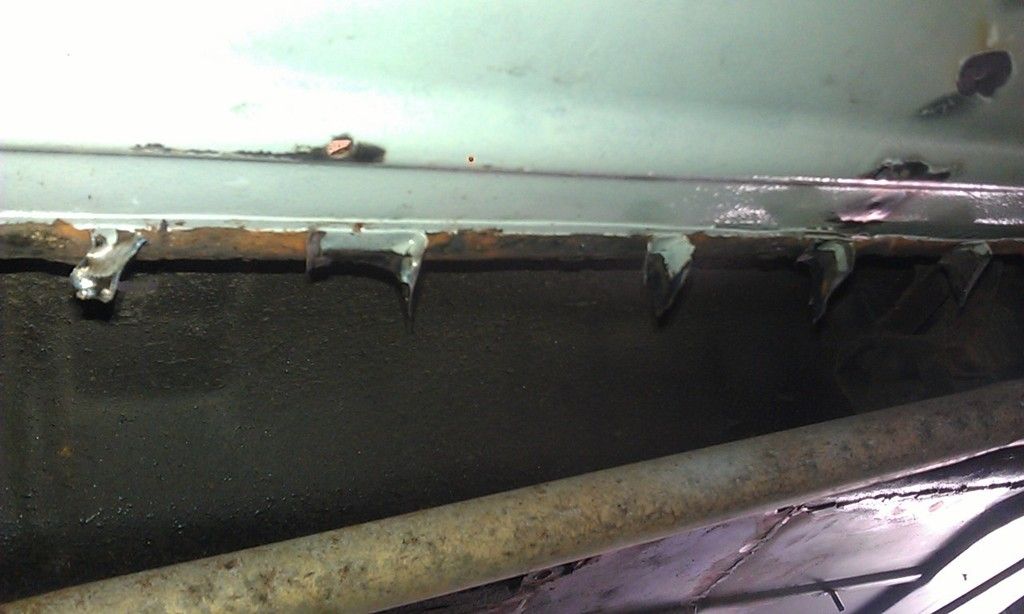
Needed to grind off all of the old pipe and cable clips like these:


IMAG0507_zpscn5baaue.jpg

This is the battery cable clip that runs nearly the full length of the car, wanted it off as it was in the way of the seam i needed to weld for the RH half floor that I fitted and its a rust trap:


IMAG0506_zpslckepfz5.jpg


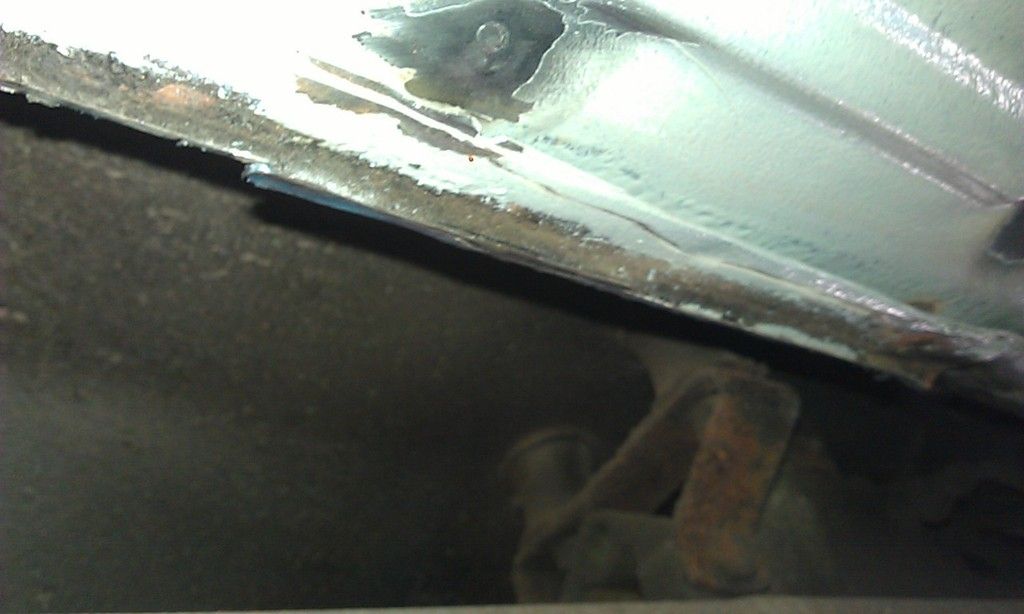
Once I cut the main piece off I lifted the areas between the spot welds:


IMAG0508_zpsh9wtcig5.jpg


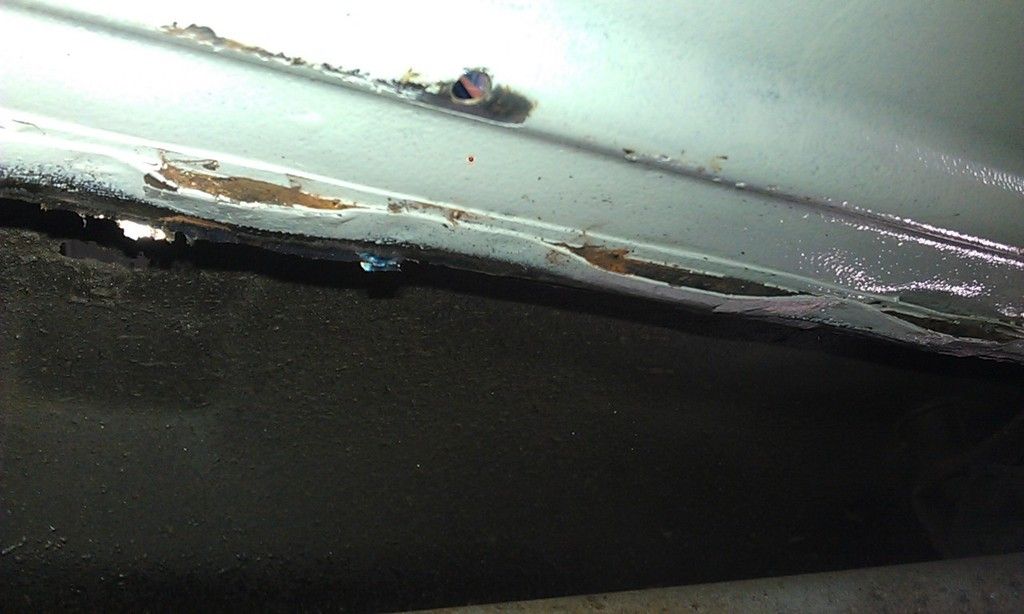
Then I carefully cut off the mid pieces:


IMAG0509_zps2jlfnujv.jpg


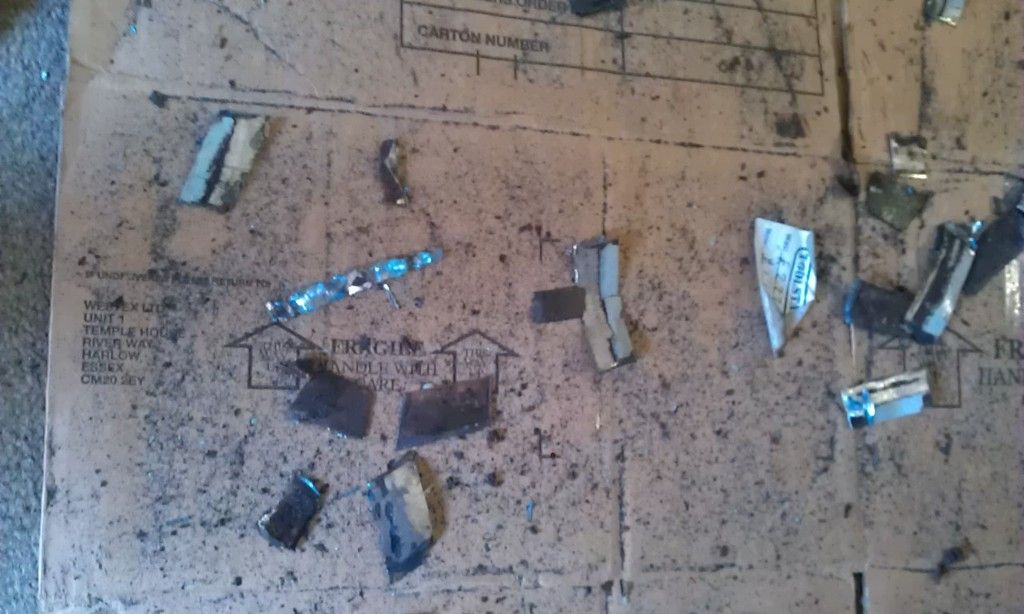
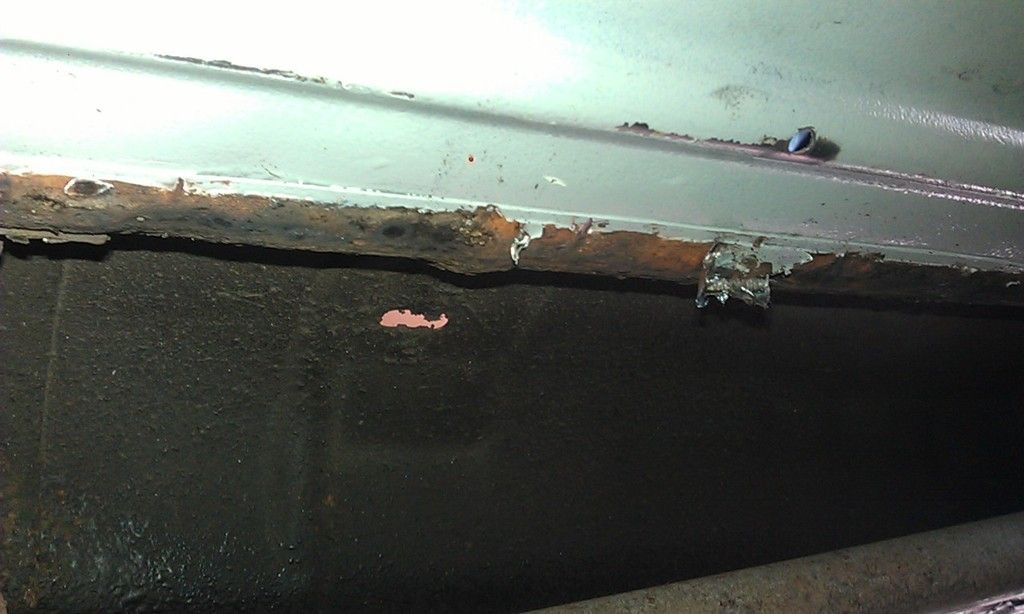
Leaving these bits:


IMAG0511_zps7mvsjnum.jpg


Which twisted or ground off:


IMAG0512_zpsezzgem62.jpg


These last bits were cleaned up with a Flap Disc (no pic).


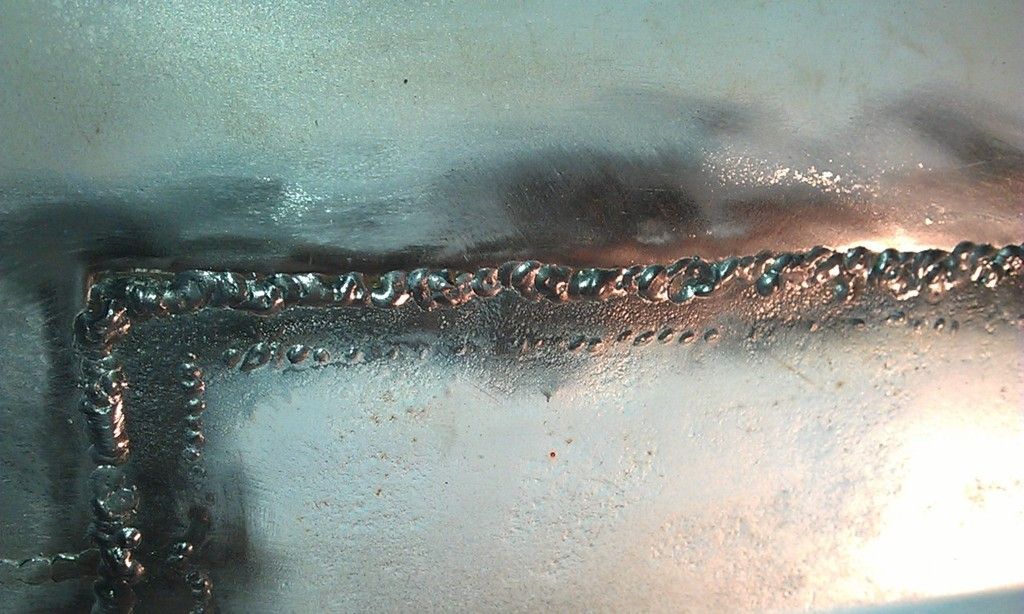
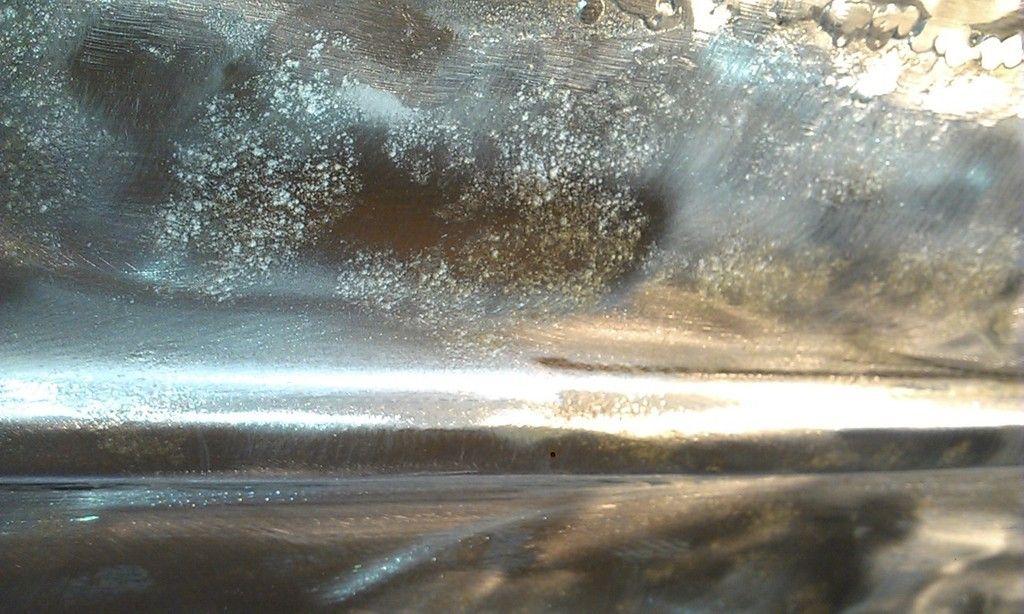
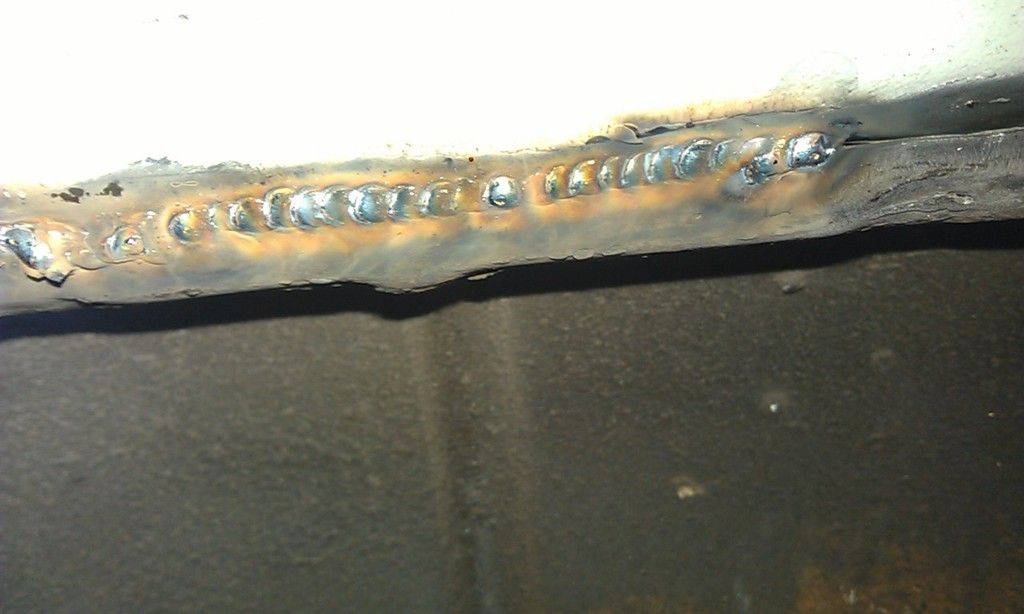
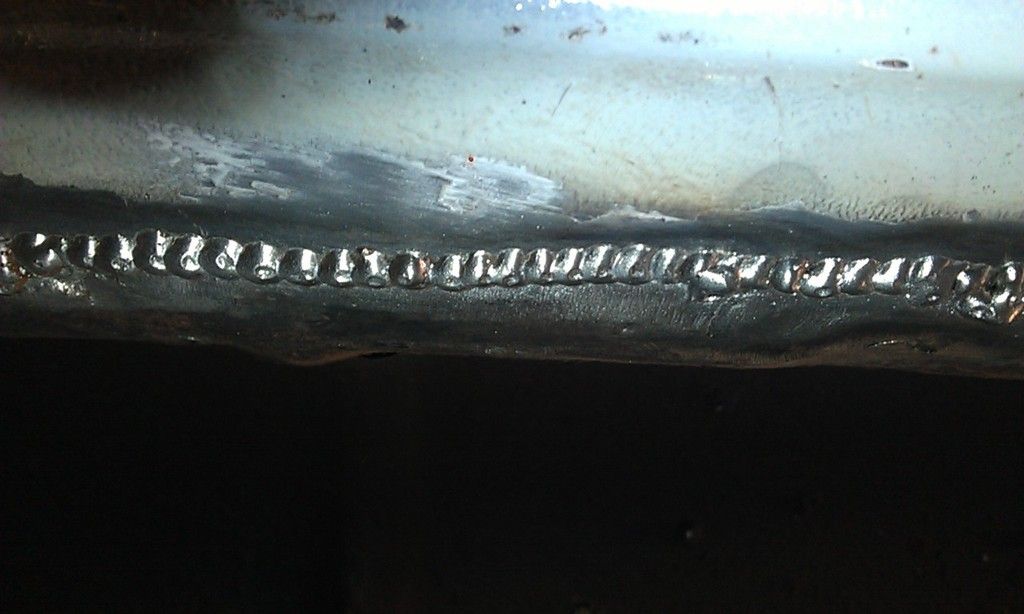
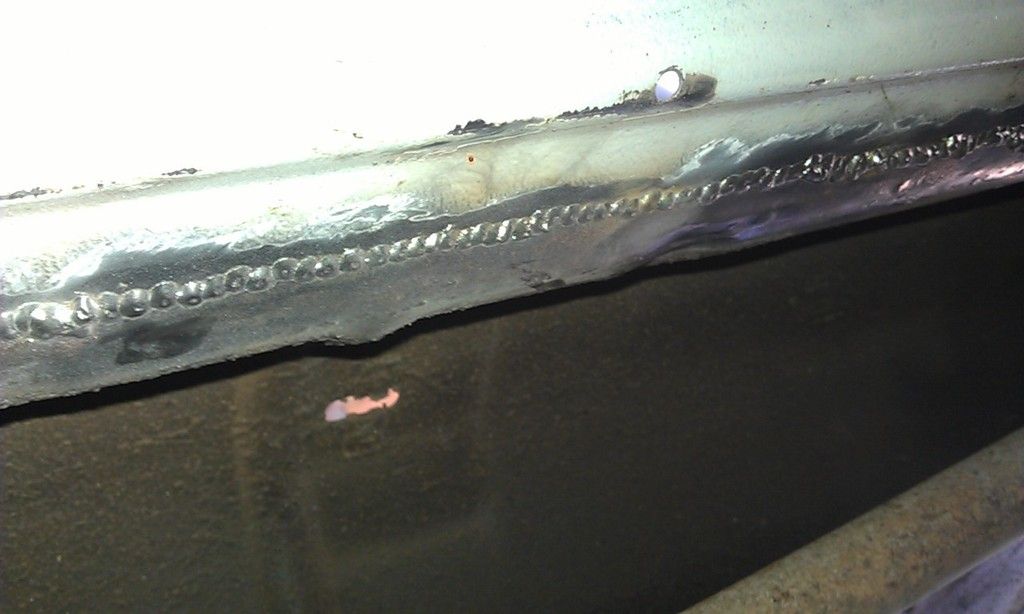
Then having taken some advice on the Mig Welding Forum on how to improve my upside down welding I started to weld and did some of the best upside down welding so far:


IMAG0513_zpsza7jgahi.jpg


IMAG0514_zps57uuuh7r.jpg


IMAG0515_zpsdepdf90t.jpg


Next I need to remove the exhaust and clean up the Tunnel. 


#287 JonnyAlpha

JonnyAlpha

    Up Into Fourth

  • Members
  • PipPipPipPipPipPipPipPipPip
  • 2,748 posts
  • Location: North Devon
  • Local Club: Exmoor Minis

Posted 08 June 2015 - 08:49 PM

Well after completing some task I managed a couple fo hours in the garage tonight.


In order to clean up the underside of the tunnel and get the back end painted I had to remove the Exhaust (should have done it ages ago to be honest)


Geeze what a task that turned out to be, I had a read of the Haynes Manual and realised I needed to remove the Manifold Bracket, what the Haynes manual did not say was how blooming hard it would be to get at the nut and bolt holding the union together!!!!


Using a mix of an old and new socket set (luckily I had an extra long socket) I managed to get onto the nut but because of the location I could only undo about 2mm at a time!!!

Finally after what seemed an age it came of, wrapped knuckles, ripped Latex Glove and oily fingers UUGGGHH as a result.


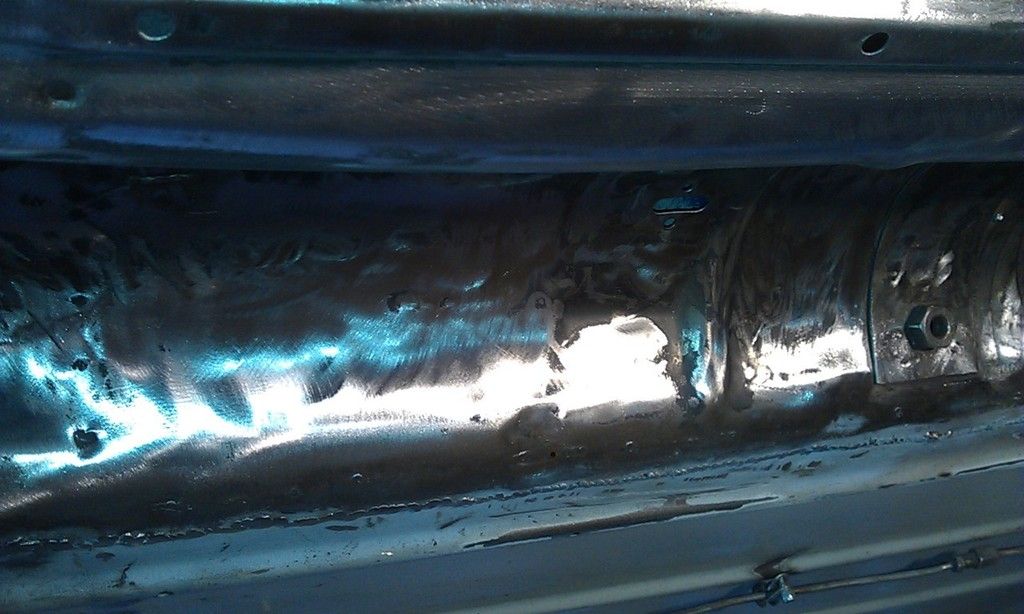
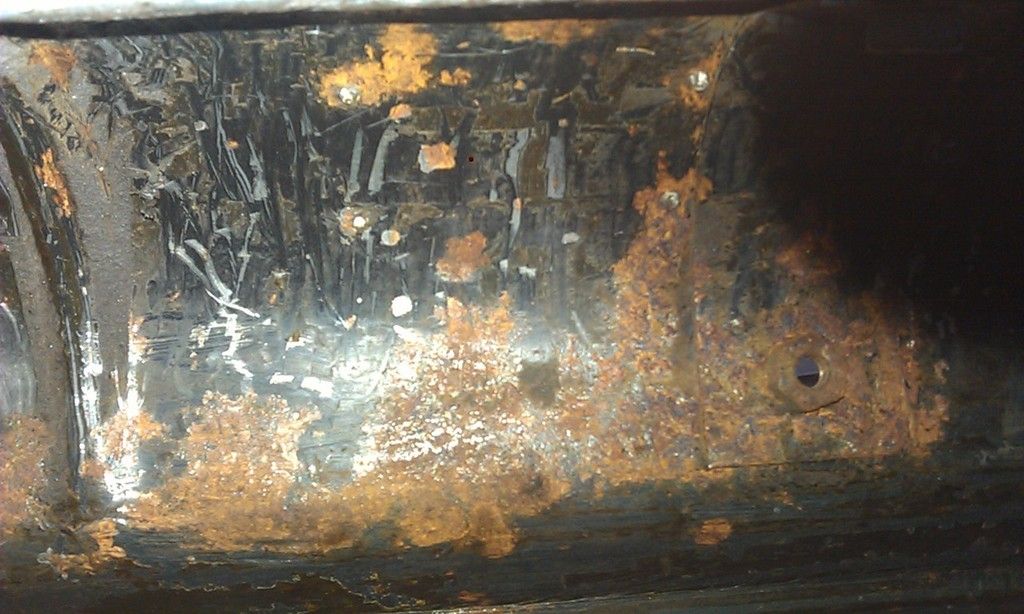
Here is the tunnel before I started to clean it, looks worse than it is, it will take some cleaning and de-rusting with Deox Gel but i'll get the better of it.


IMAG0521_zpst2ofvsyk.jpg


Problem is to clean it up is going take a whole day and then it needs painting straight away, I think i'll clean it up as best I can with a Twisted Knot etc of an evening and then finally use the Deox in the morning when I have a whole day to get the paint on as well.


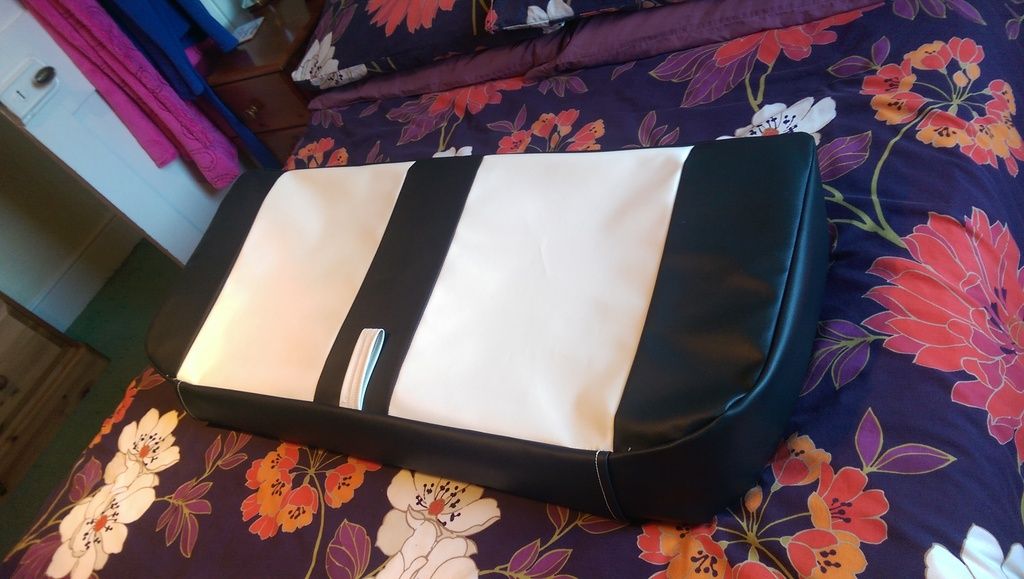
Good news though, whilst in Cornwall I picked up the Rear Seat base that my son has finished re-upholstering:


IMAG1568_zpsvaysvtwr.jpg


Sorry about the background (spare bedroom) the seat is not quite finished as it still needs fixing to the back, not sure what Glue to use or whether to use Staples in the small piece of board that runs along the front edge?


He's done a cracking job I think for a first.


#288 Ben_O

Ben_O

    Mill Road Garage

  • Paint Doctor
  • PipPipPipPipPipPipPipPipPipPip
  • 9,785 posts
  • Location: Isle of Wight

Posted 08 June 2015 - 09:01 PM

Does he do upholstering? 


#289 Hendred

Hendred

    Speeding Along Now

  • Members
  • PipPipPipPipPip
  • 484 posts
  • Location: Cleobury Mortimer Nr Ludlow, Shropshire Name: John

Posted 09 June 2015 - 05:50 AM

The seat looks really really good, well done to your son especially as it was his first go.


#290 JonnyAlpha

JonnyAlpha

    Up Into Fourth

  • Members
  • PipPipPipPipPipPipPipPipPip
  • 2,748 posts
  • Location: North Devon
  • Local Club: Exmoor Minis

Posted 09 June 2015 - 11:16 AM

Does he do upholstering? 

He's a Royal Naval Survival Equipment Specialist so textile sewing is one of the requirements of the job but he has never done upholstery before. He is seeing how it goes and may set it up as a small business.


You can find him on Instagram @williamharveyupholstery (I think) 


#291 JonnyAlpha

JonnyAlpha

    Up Into Fourth

  • Members
  • PipPipPipPipPipPipPipPipPip
  • 2,748 posts
  • Location: North Devon
  • Local Club: Exmoor Minis

Posted 09 June 2015 - 11:17 AM

The seat looks really really good, well done to your son especially as it was his first go.

Thank's Hendred, I'll pass on your praise.


#292 Coxie

Coxie

    Speeding Along Now

  • Members
  • PipPipPipPipPip
  • 461 posts
  • Location: North devon

Posted 09 June 2015 - 12:20 PM

You have 4 days to go before the beaulieu deadline.
Best get some late ones in.

#293 JonnyAlpha

JonnyAlpha

    Up Into Fourth

  • Members
  • PipPipPipPipPipPipPipPipPip
  • 2,748 posts
  • Location: North Devon
  • Local Club: Exmoor Minis

Posted 09 June 2015 - 08:14 PM

You have 4 days to go before the beaulieu deadline.
Best get some late ones in.

Coxie;


Was thinking of messaging you today funnily enough, looks like it's not gonna make it :-( need to identify another similar event in August probably.

Sorry mucker :-(


#294 Coxie

Coxie

    Speeding Along Now

  • Members
  • PipPipPipPipPip
  • 461 posts
  • Location: North devon

Posted 09 June 2015 - 08:47 PM

I'm cutting it fine too bud.Attached File  image.jpg   74.85K   4 downloads
Your getting there though, keep it up mate.

#295 JonnyAlpha

JonnyAlpha

    Up Into Fourth

  • Members
  • PipPipPipPipPipPipPipPipPip
  • 2,748 posts
  • Location: North Devon
  • Local Club: Exmoor Minis

Posted 14 June 2015 - 09:01 PM

I'm cutting it fine too bud.attachicon.gifimage.jpg
Your getting there though, keep it up mate.

Going in or out?


Did you get to Beaulieu?


#296 JonnyAlpha

JonnyAlpha

    Up Into Fourth

  • Members
  • PipPipPipPipPipPipPipPipPip
  • 2,748 posts
  • Location: North Devon
  • Local Club: Exmoor Minis

Posted 14 June 2015 - 09:25 PM

Well, as I ended up not going to Beaulieu I managed to get some work done this weekend.

The target for the weekend was to get the underside welding finished and Epoxy'd.


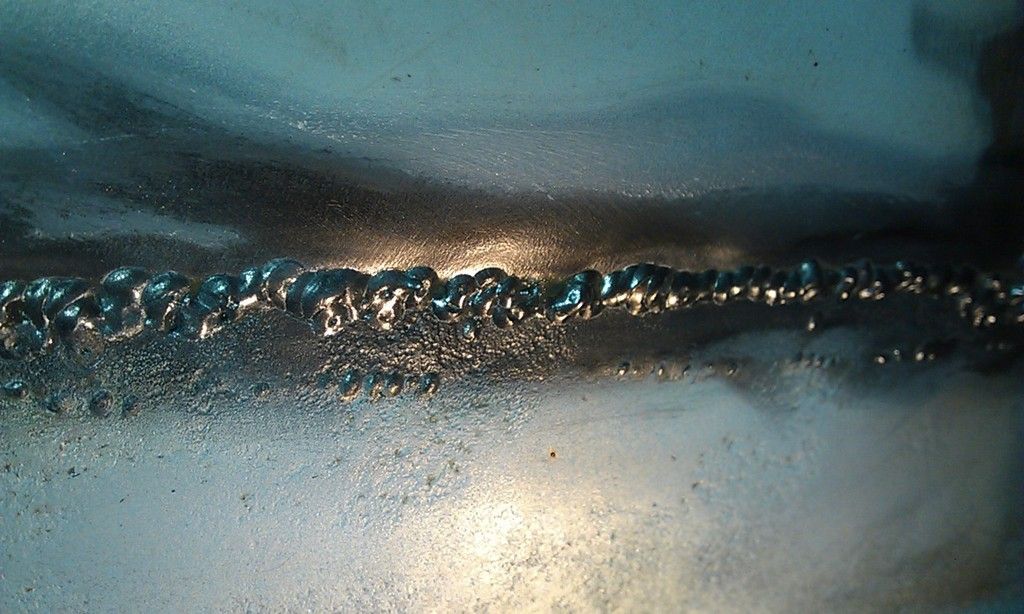
Don't have a lot of pics but here's Friday evenings welding:
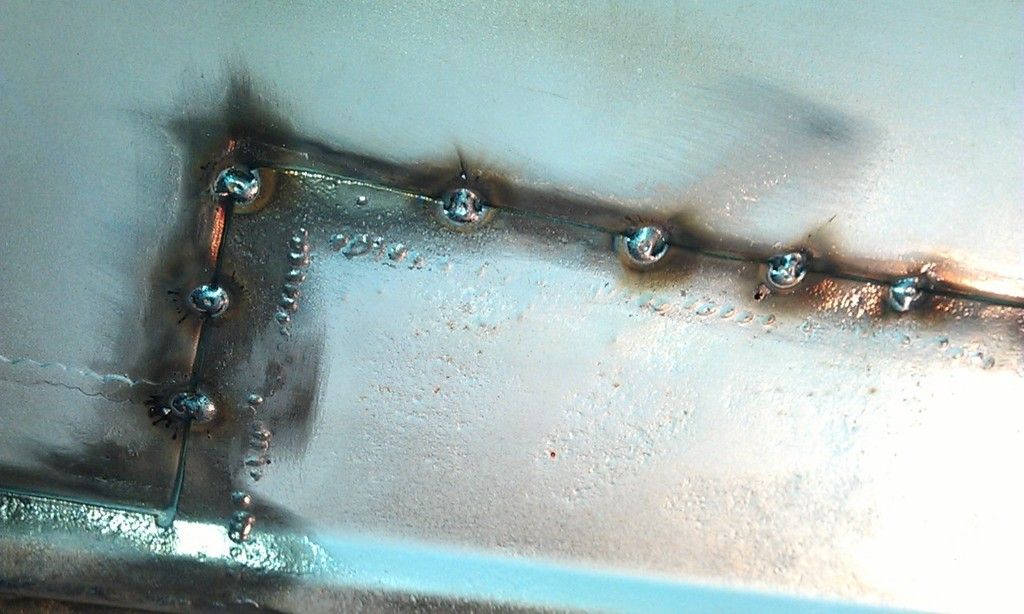
 

IMAG0528_zpsdq5w7ymw.jpg


IMAG0530_zps0r3vugyw.jpg


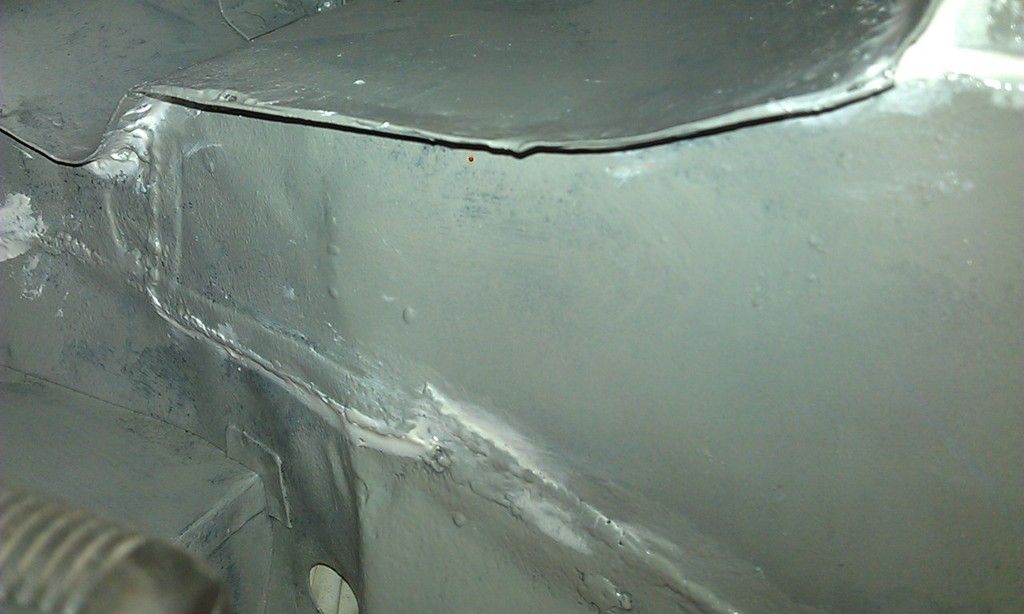
Upside down as well, can you see the rust under the Etch Primer!!! That'll have to come off.
 

IMAG0531_zpslt6jlwoy.jpg


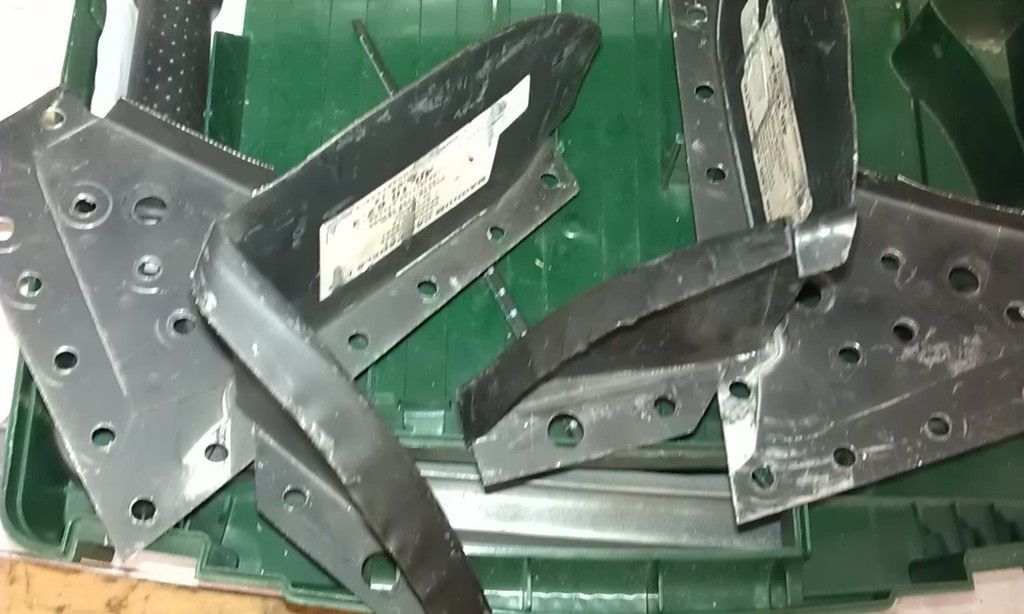
Drilled some plug weld holes in my closing panels:
 

IMAG0532_zpsp8kmspee.jpg


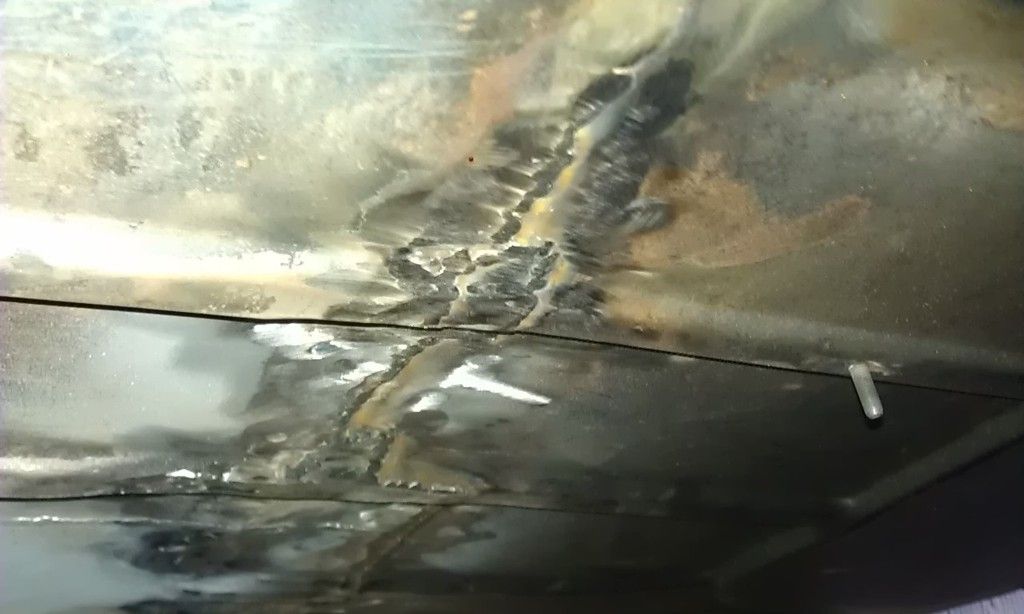
Then I started to dress down the welds, the brown stuff is from my Flap Disc and the Weld Soot:
 

IMAG0534_zpswrgiazkl.jpg


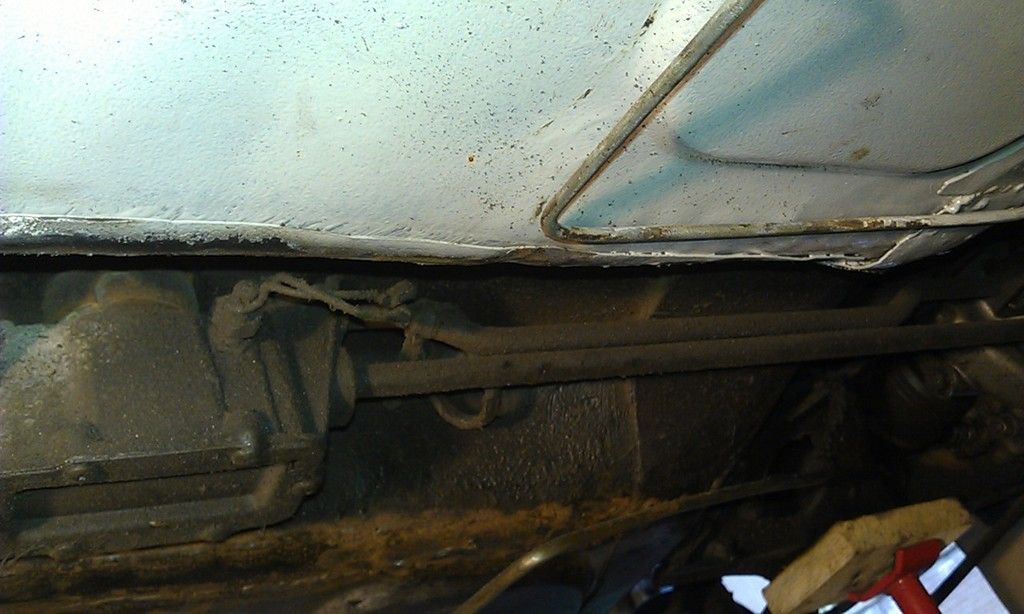
On Saturday Afternoon I ended up having to do some more welding as I found a metre run that I had missed from when I put the RH floor in, here is the flange that needed welding, no pics of the finished article I'm afraid.
 

IMAG0536_zpsqdpktdcd.jpg


Then today (Sunday) it was time to tackle the mamouth task of cleaning up the floor and get one coat of Epoxy on as soon as it was finished:
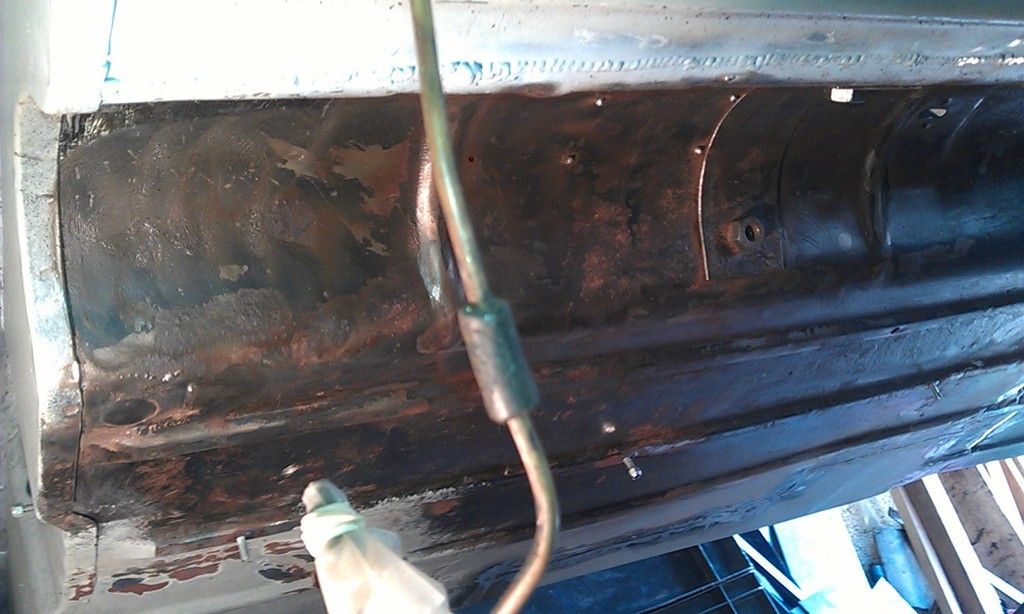
 

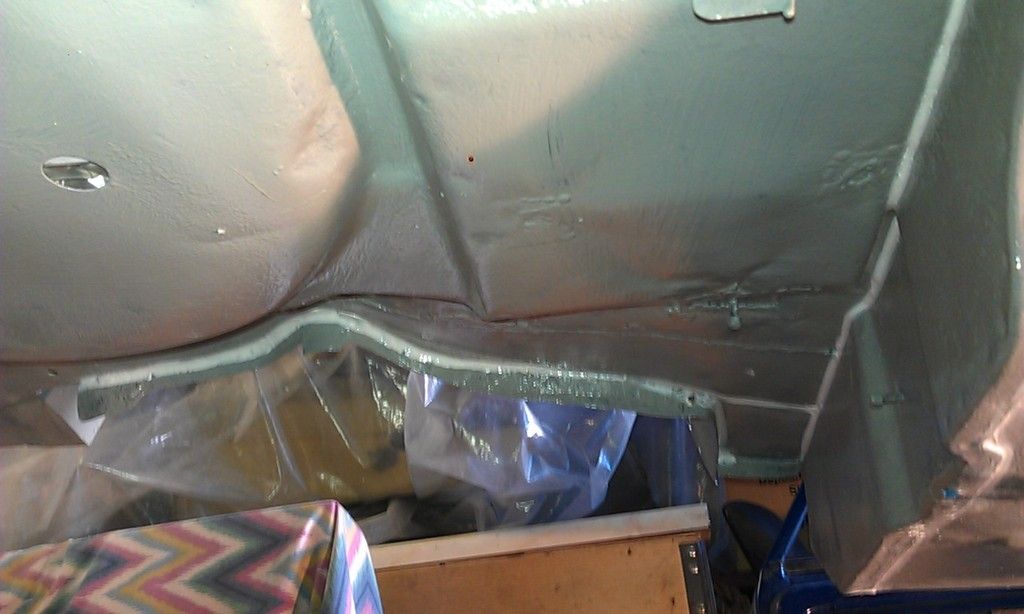
IMAG0537_zpssn2eqq1q.jpg


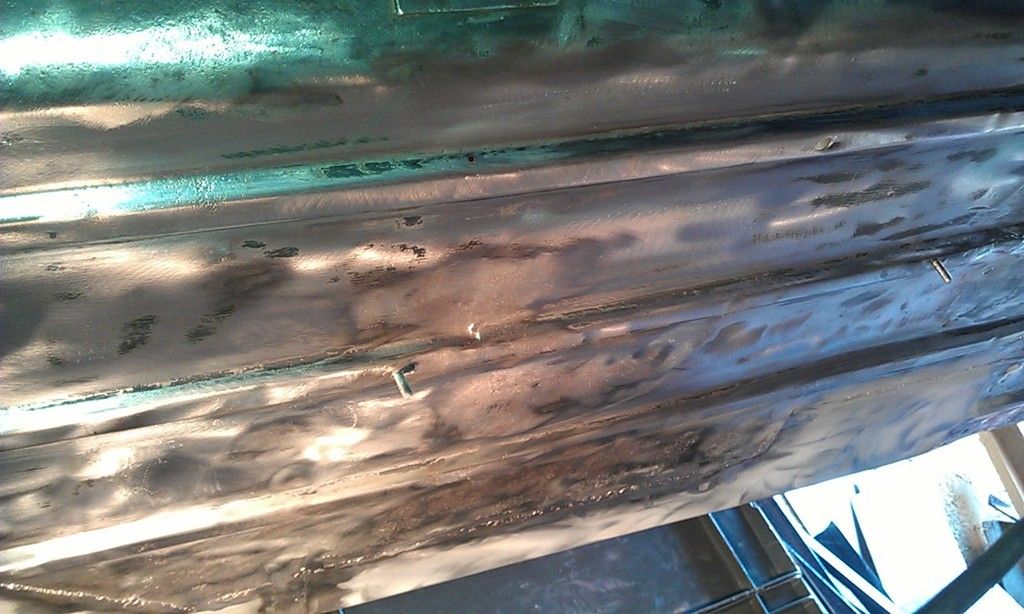
A lot of rust in the tunnel at the rear.


Here's a pic after an hour or so with a Twisted Knot and an Abracs Fleece Disc:
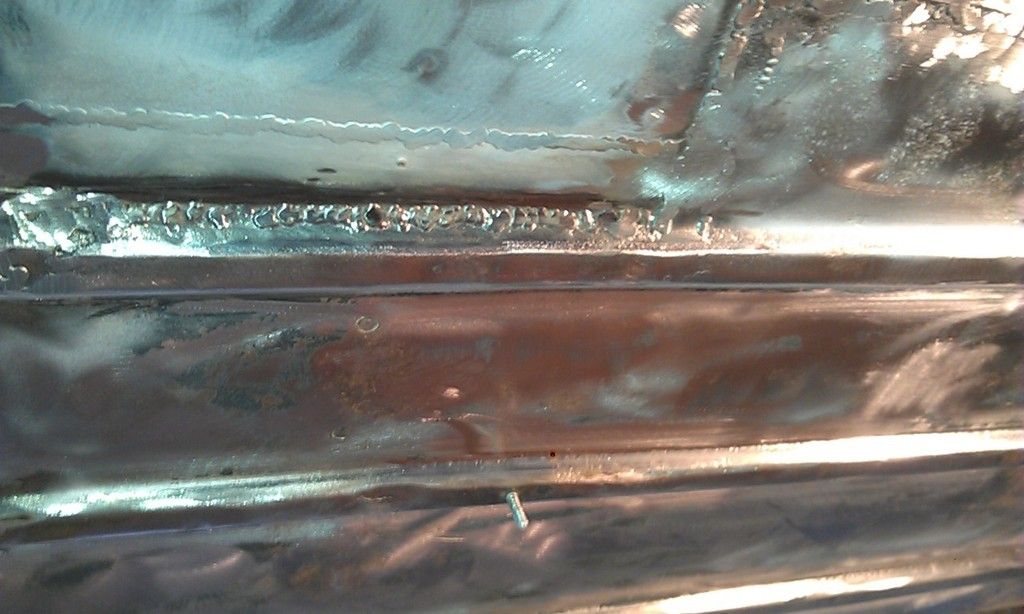
 

IMAG0538_zpsb2utxvyp.jpg


IMAG0539_zpshfhuur7c.jpg


 IMAG0540_zpsz4tjttio.jpg


IMAG0541_zps9zu8f4la.jpg


Could have done with this out of the way but hey ho:
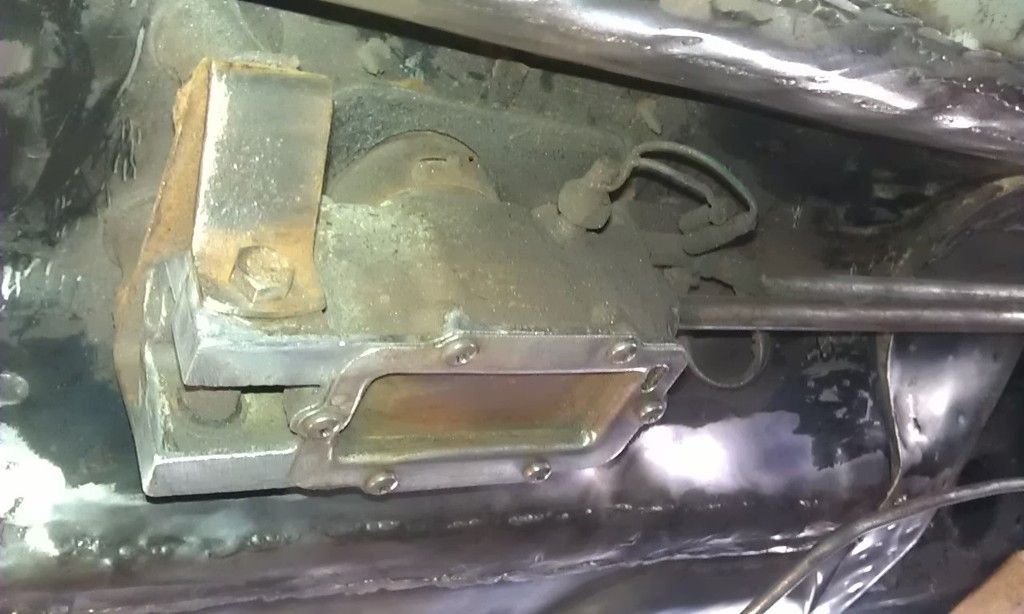
 

IMAG0542_zpsqlaltw5i.jpg


Under the tunnel I noticed some rivets that I kept trying to avoid when I was cleaning up, I realised that these were holding in the Ash Tray in the rear!!
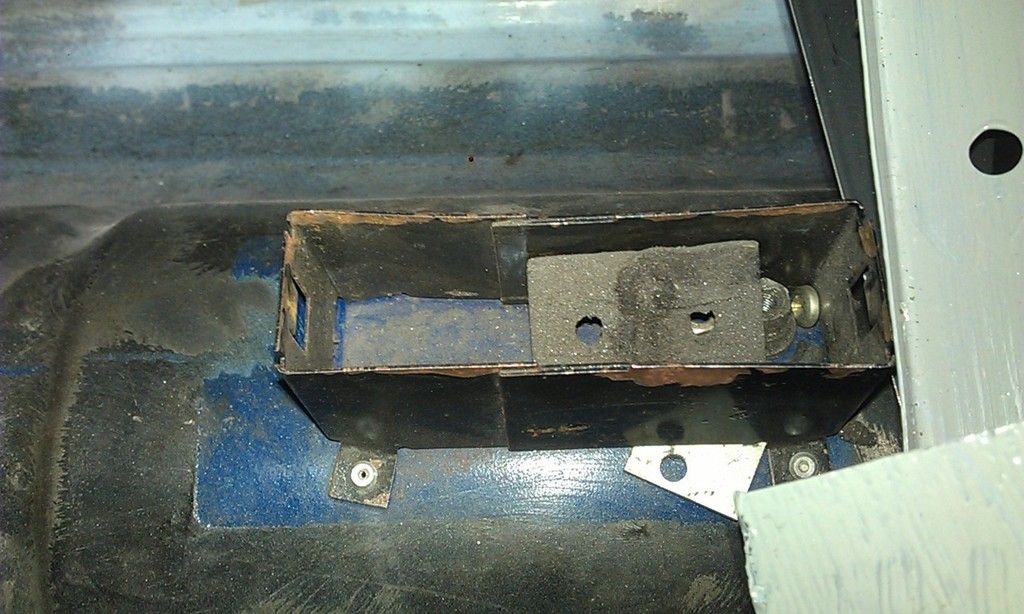
 

IMAG0543_zps0paep0rx.jpg


No smokers in this car so I drilled them out and welded up the holes:


Had to do some areas with Deox Gel and hopefully got all the rust out :-(


Anyway by 8pm I was knackered but finished (one coat of Epoxy).
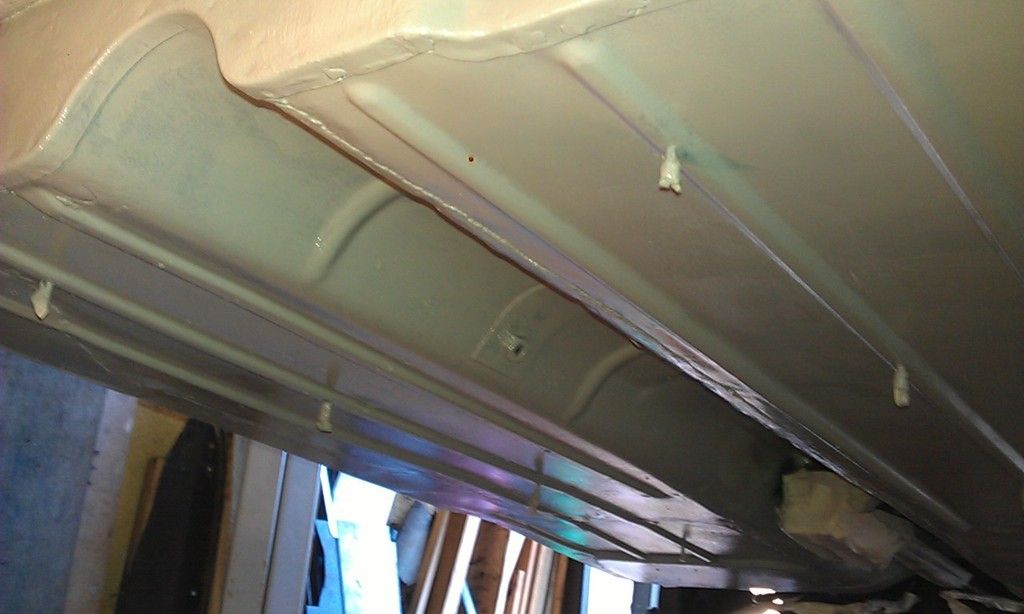
 

IMAG0544_zpsfjhtxfdv.jpg


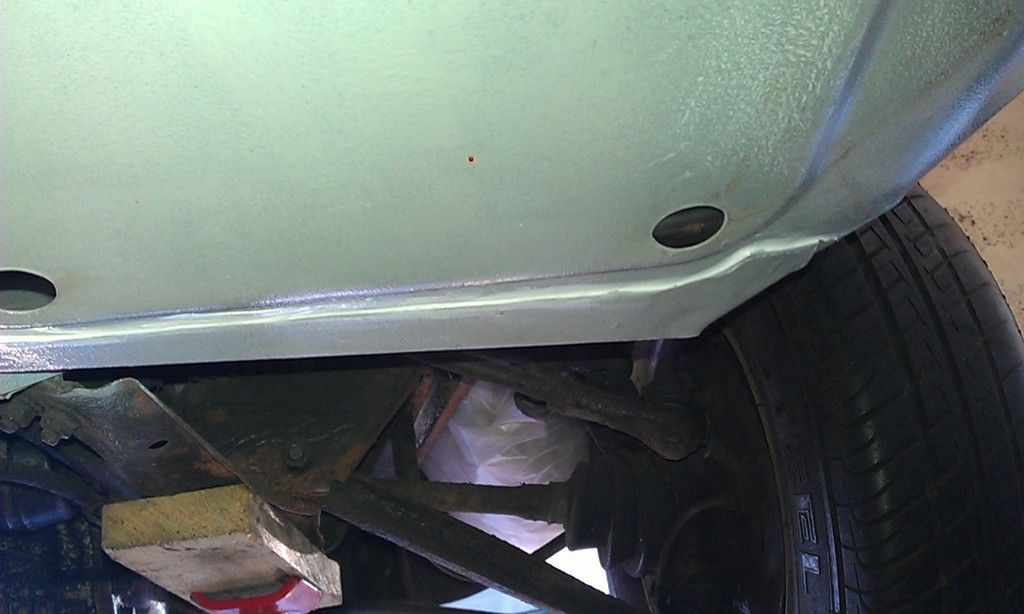
That orange spot is a fault in the camera not the paint!!


Next on the agenda:


1. Seam Seal.

2. Paint inside sills (wish I could have done that with the last lot of paint but did not have enough time).

3. Top Coat Inner Sill and Inside Sills

4. Weld on Sills and clean up.

5. Gravitex.

6. Top Coat.

7. Build and fit Subframe.


Rolling Chassis :-)


That's about 6 days work!!


#297 Coxie

Coxie

    Speeding Along Now

  • Members
  • PipPipPipPipPip
  • 461 posts
  • Location: North devon

Posted 15 June 2015 - 12:31 PM

Yeah , made it to beaulieu and back without a hitch.
Runs really well now

#298 JonnyAlpha

JonnyAlpha

    Up Into Fourth

  • Members
  • PipPipPipPipPipPipPipPipPip
  • 2,748 posts
  • Location: North Devon
  • Local Club: Exmoor Minis

Posted 15 June 2015 - 12:55 PM

Yeah , made it to beaulieu and back without a hitch.
Runs really well now

Better without missing teeth on the flywheel I guess, wish I had made it :-(


#299 JonnyAlpha

JonnyAlpha

    Up Into Fourth

  • Members
  • PipPipPipPipPipPipPipPipPip
  • 2,748 posts
  • Location: North Devon
  • Local Club: Exmoor Minis

Posted 15 June 2015 - 08:41 PM

This evening I thought I'd have a crack at the Seam Sealing.


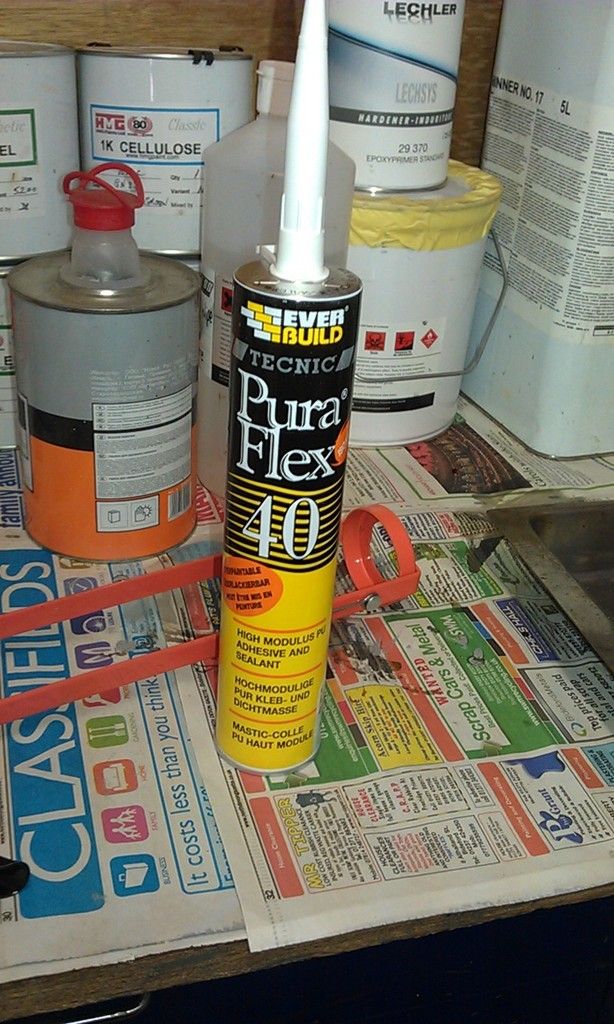
I bought this stuff a while ago, either recommended on here or the Mig Welding Forum, It's pretty good stuff, Polyurethane Automotive overpaintable sealant:


IMAG0546_zpsolghzddt.jpg


That's my COSHH area behind :-)


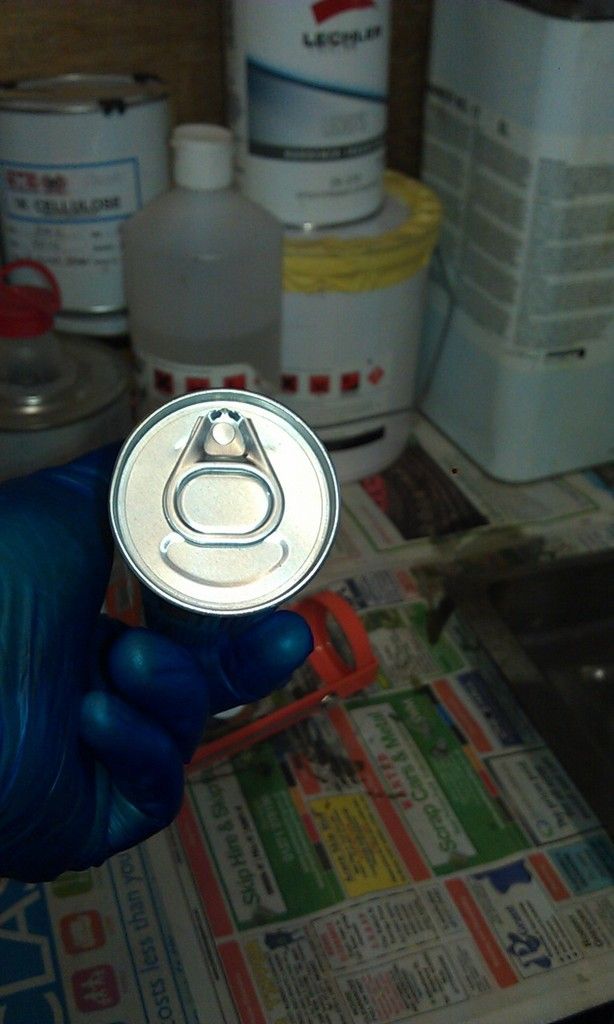
It has a ring pull on the bottom to keep it fresh, you pull this off and cut off the plastic top before sticking it in the caulk gun.


IMAG0547_zpssgpxruqm.jpg


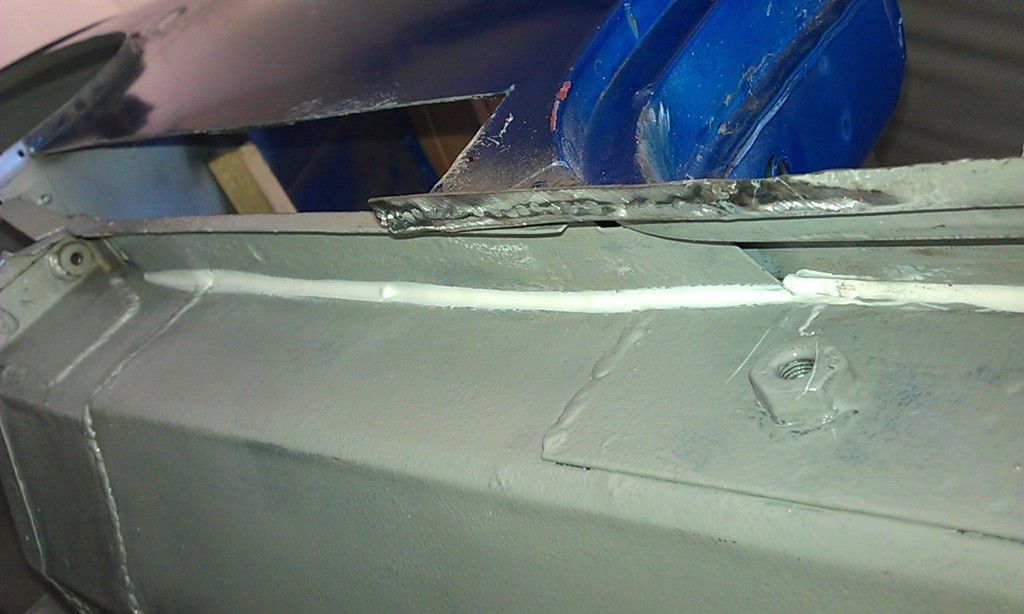
Did under the Door Steps first, smoothed and worked it in with a wet finger at first, this works ok, as does a finger dipped in Cellulose Thinners, seems even smoother. Only problem with Celly Thinners is that it melts my disposable gloves !!
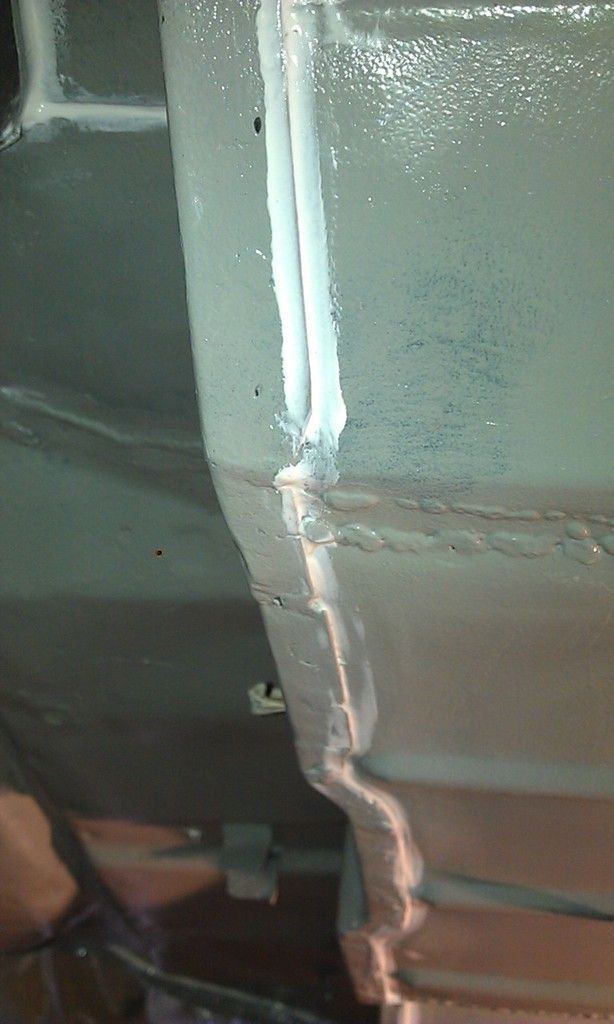
 

IMAG0549_zpsotclmuv1.jpg


Just spotted an area I forgot to paint under the Door Step Flange where the Sill will Spot Weld onto.


And at the rear of the floor where it meets the Heel Board, I thought I had wiped off the excess?


IMAG0550_zpsokfuylul.jpg


And the Heelboard area:


IMAG0551_zpsh8zjuwuh.jpg


Under the Arches:


IMAG0552_zpsykgslhsh.jpg


I also managed to do some areas where I had butt or lap welded to seal any imperfections but ran out of time, had to take the wife out to Dinner :-)


IMAG0553_zpspusdiz2z.jpg


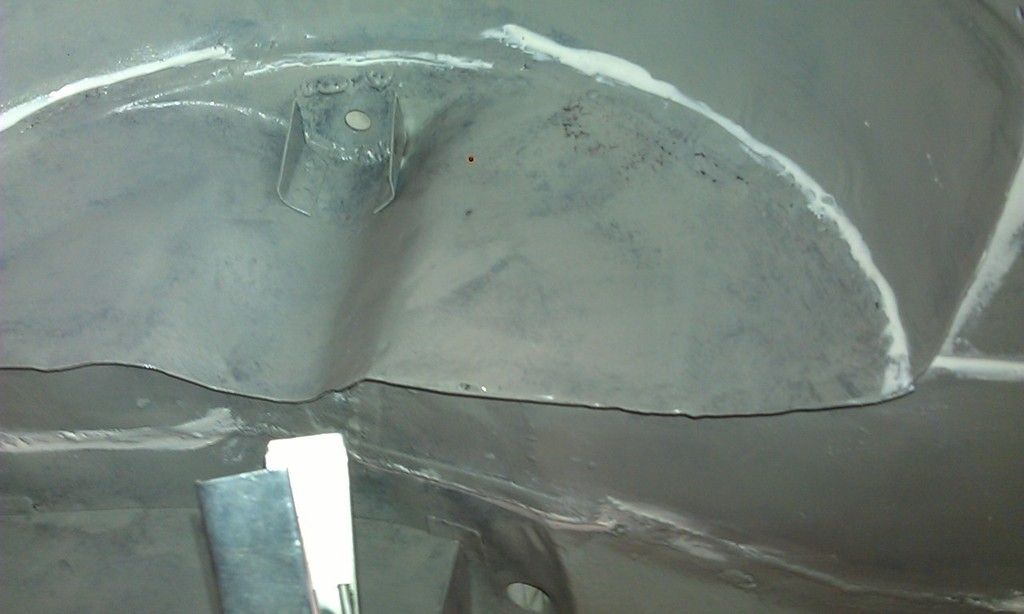
And a better view of the flange at the base of the Inner Wheel Arch:


IMAG0554_zps47qtanqm.jpg


And the front of the Floor Pans:


IMAG0555_zpsle7iiluh.jpg


I'll finish the Seam Sealing tomorrow night probably but then I wont be back at it for at least a week as I'll be in Hosi for day surgery tomorrow then off sick for two weeks :-( 


Routine Op - Gall Bladder (in case you were wondering).


Anyway two weeks rest will do me good, got a Uni assignment looming and need to update my Raspberry Pi / Robotics Project!!
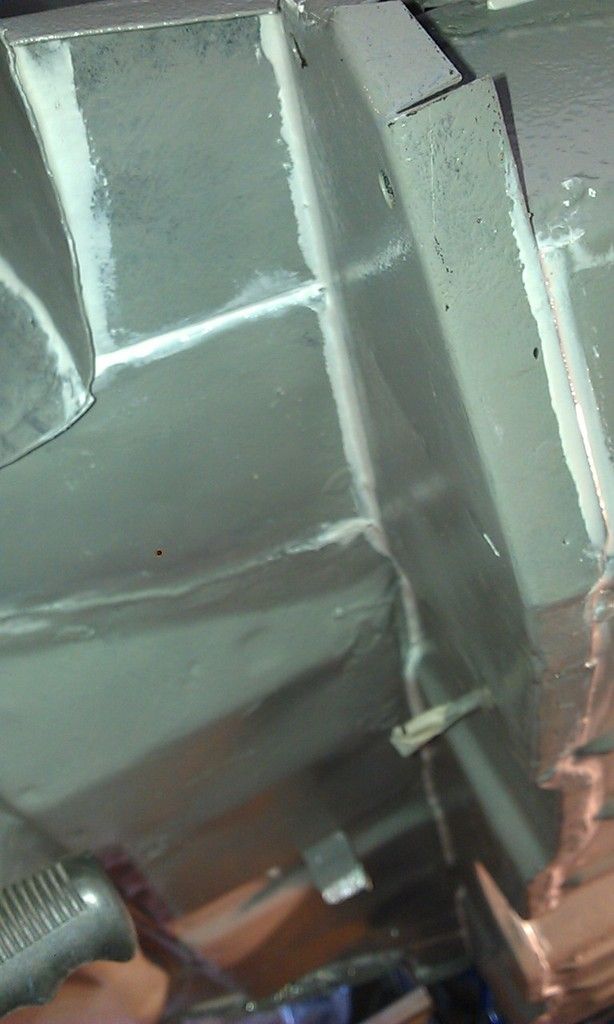
 

At least I am starting to put things together and not cut bits off (until I crack on with the front end that is), light is appearing at the end of what's been a very long, dark tunnel.


#300 Ben_O

Ben_O

    Mill Road Garage

  • Paint Doctor
  • PipPipPipPipPipPipPipPipPipPip
  • 9,785 posts
  • Location: Isle of Wight

Posted 15 June 2015 - 08:57 PM

great job with the sealing.


Do you plan to brush over with more sealer once that has cured for more protection?


Ben


2 user(s) are reading this topic

0 members, 2 guests, 0 anonymous users