Good progress.
I am sitting with a very similar rusty lip I need to replace. How did you manage to fold the lip? And so neatly?
Which lip Stefan, on the lower and upper wing. or the Door Step?
Edited by JonnyAlpha, 30 May 2015 - 11:23 AM.

Posted 30 May 2015 - 11:22 AM
Good progress.
I am sitting with a very similar rusty lip I need to replace. How did you manage to fold the lip? And so neatly?
Which lip Stefan, on the lower and upper wing. or the Door Step?
Edited by JonnyAlpha, 30 May 2015 - 11:23 AM.
Posted 30 May 2015 - 06:35 PM
Well after dropping the missus off for work (which is a regular Saturday task) I had a full day planned, weather forecast was OK as well.
As stated in yesterdays thread I set myself a load of tasks today but sadly very little got done, to be honest I was having a bad day!!!:
Weld in the Door Step Repair - Done
Clean up inside of A Post - Done (sadly ran out of time and had to use Acid Etch rather than Epoxy :-(
Locate and fit bolts for pipe work - Brake Pipes Bolts Done
Clean and Epoxy all the remaining panels - Not a chance!!!
Clean Under Rear and Under Door Step and Epoxy - Ran out of time so had to use Acid Etch
Clean up Inner Wing and Epoxy - Nope
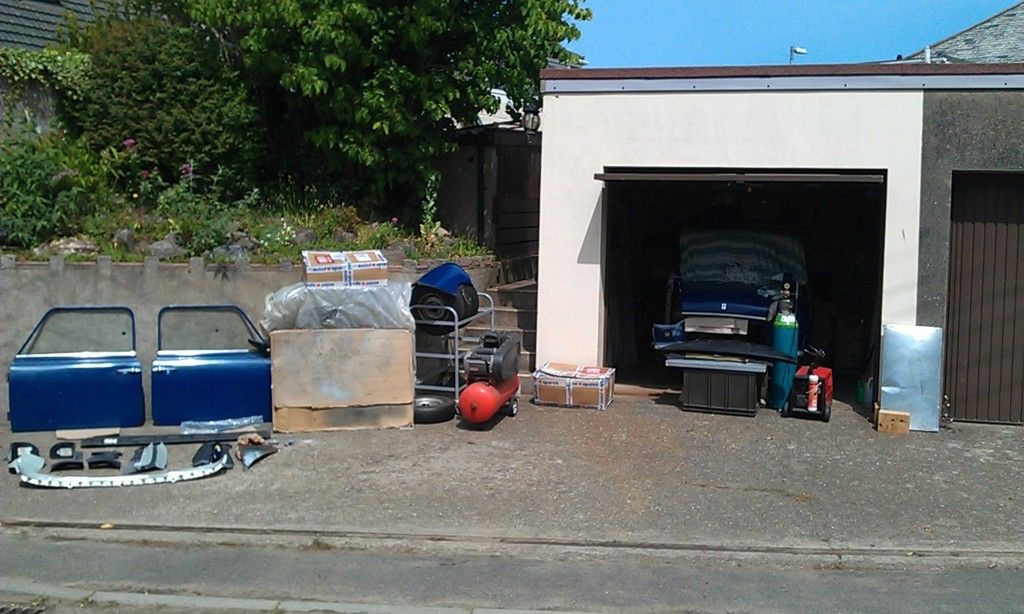
In order to get ready for todays mammoth list of tasks I had to empty the garage, good job the weather held out. What you can't see in the picture are 5 x Wheels and Subframe (Put in the Conservatory until the wife gets home ![]() )
)
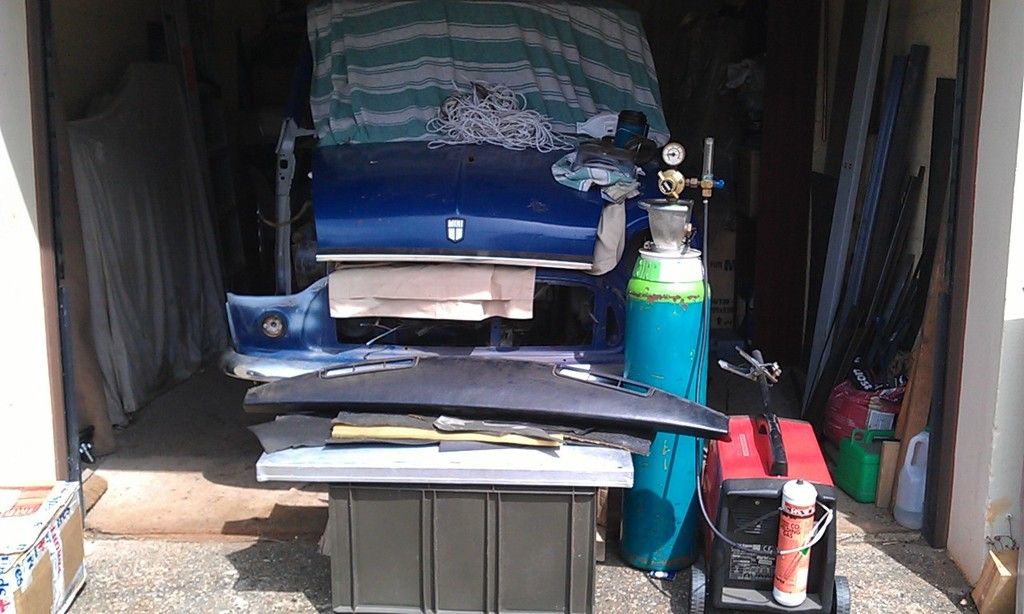
Good to have a big bottle of Gas, until you have to lug it around the garage :-(
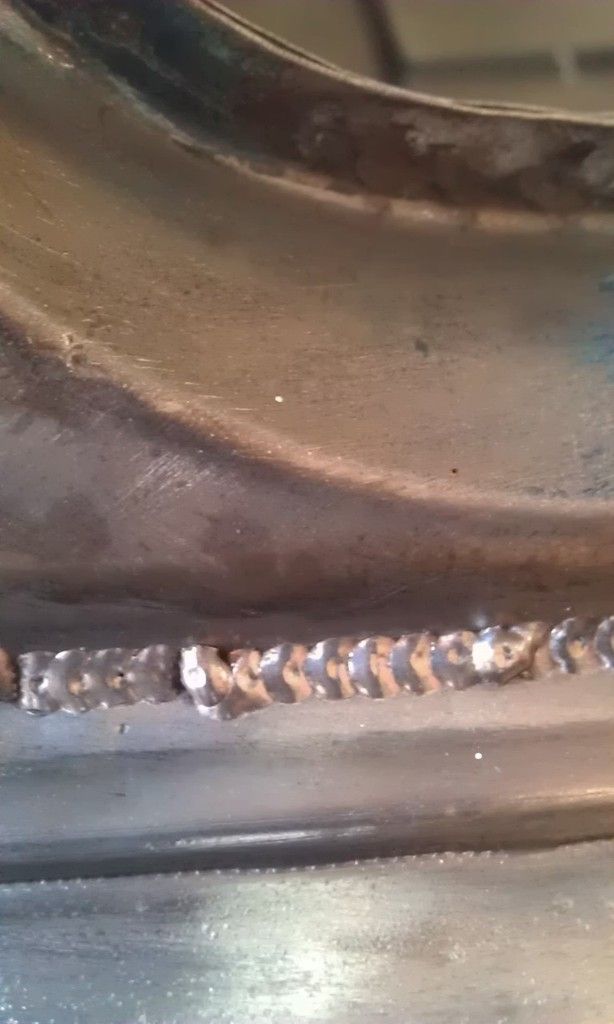
First up I welded in the Door Step Repair, sorry about the shaky pics, they looked OK on the phone:
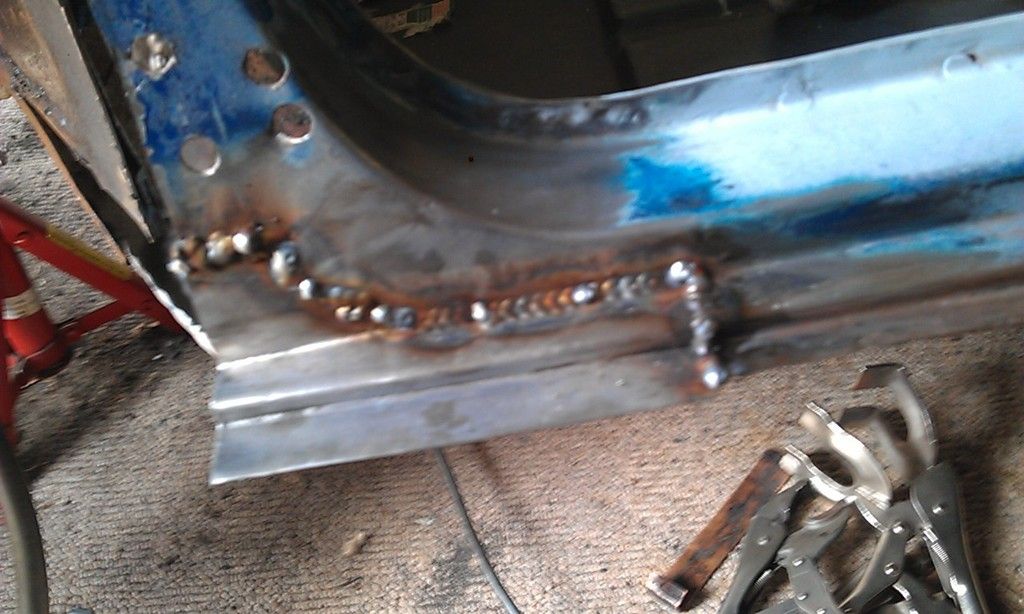
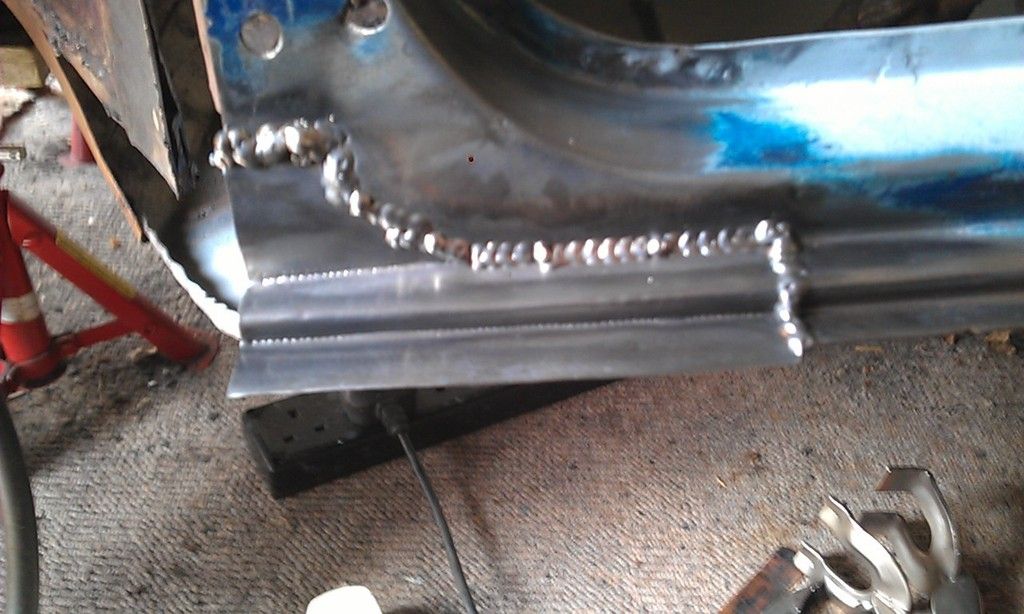
This is a better one, but a close up:
And dressed down:
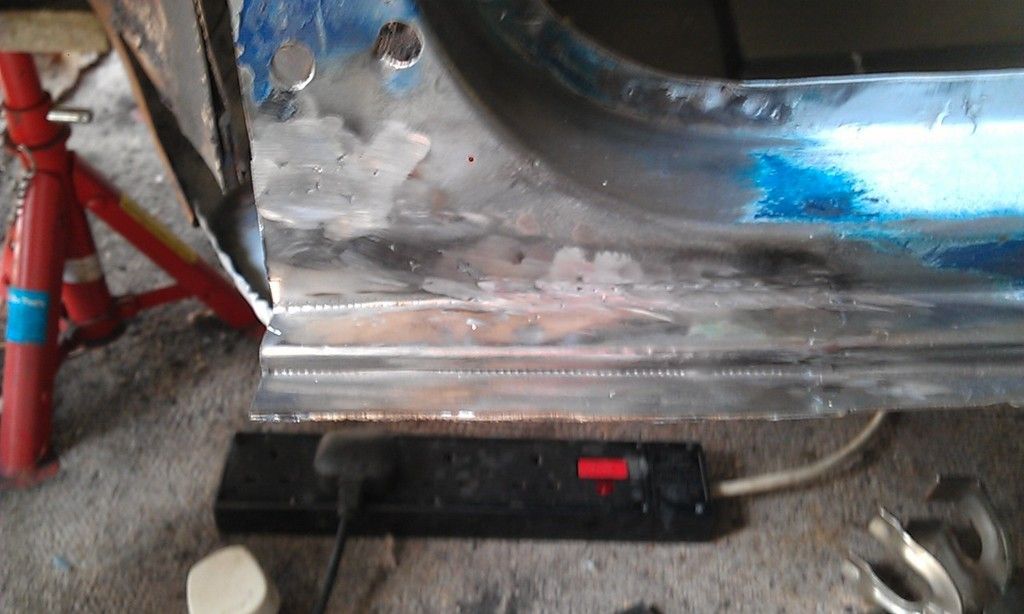
The rest of the day was spent cleaning up inside the A Post, welding in the base of the Companion Bin, cleaning up some of the welds under the floor and welding in the Brake Pipe Bolt holes, didn't get the Fuel Line bolts done.
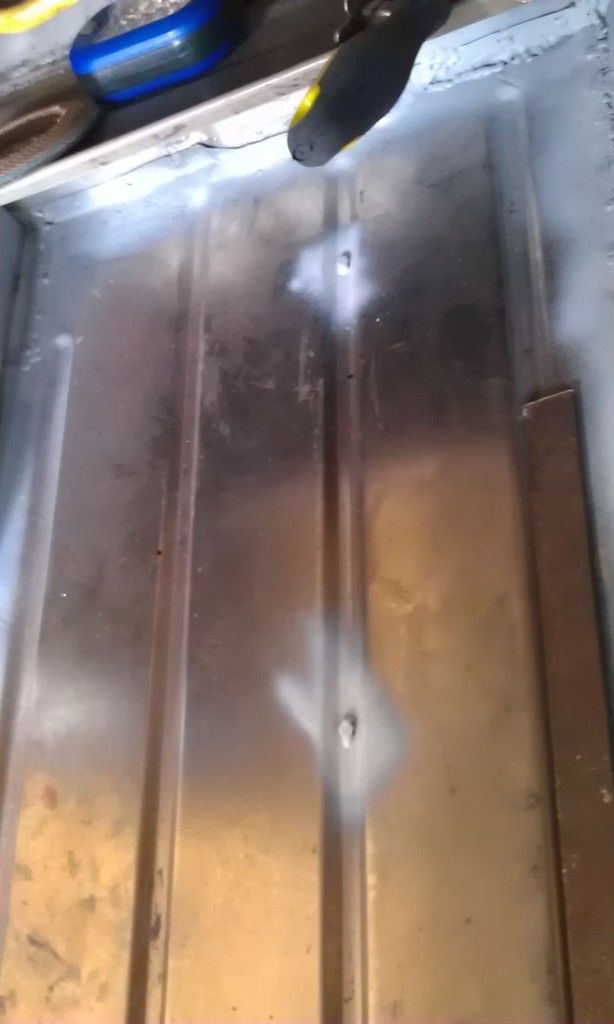
Took me ages to work out were to weld them, the main problem was I could not find the 'P' Clips that I bought last year. I emptied every box and drawer in garage but no sign of them. With a bit of an educated guess and some pics on the Internet I welded 4 bolts into the Rib, that way they will not obstruct the carpet. The P Clip can sit either way up.
After my visit to A&E a while back I always make sure I have full PPE on but even so today was accident day.
This went through my glove:
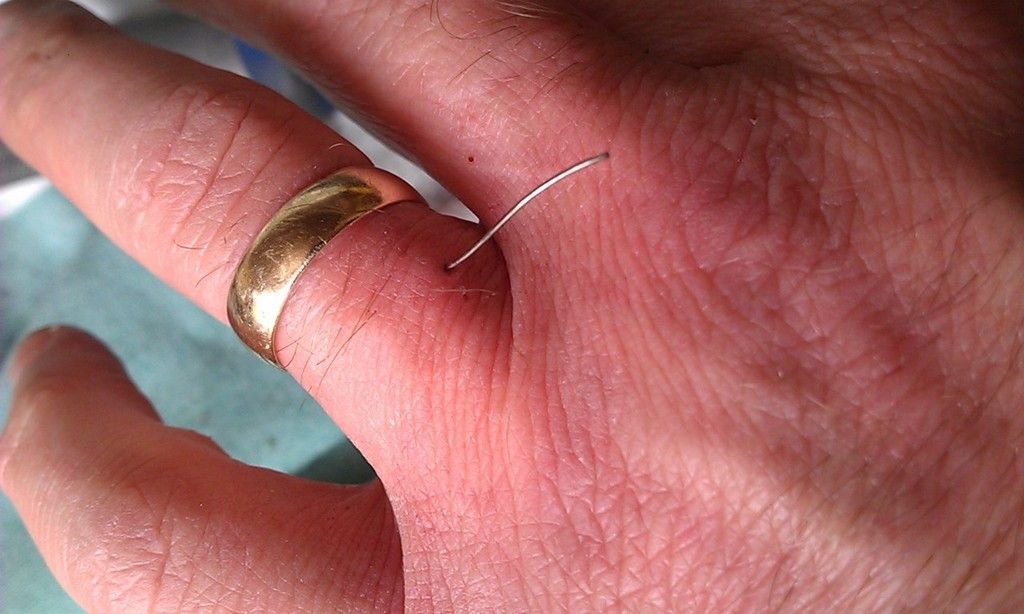
Oh and top tip, don't take your glove off and then grab a bolt that you have just welded to see if it is secure:
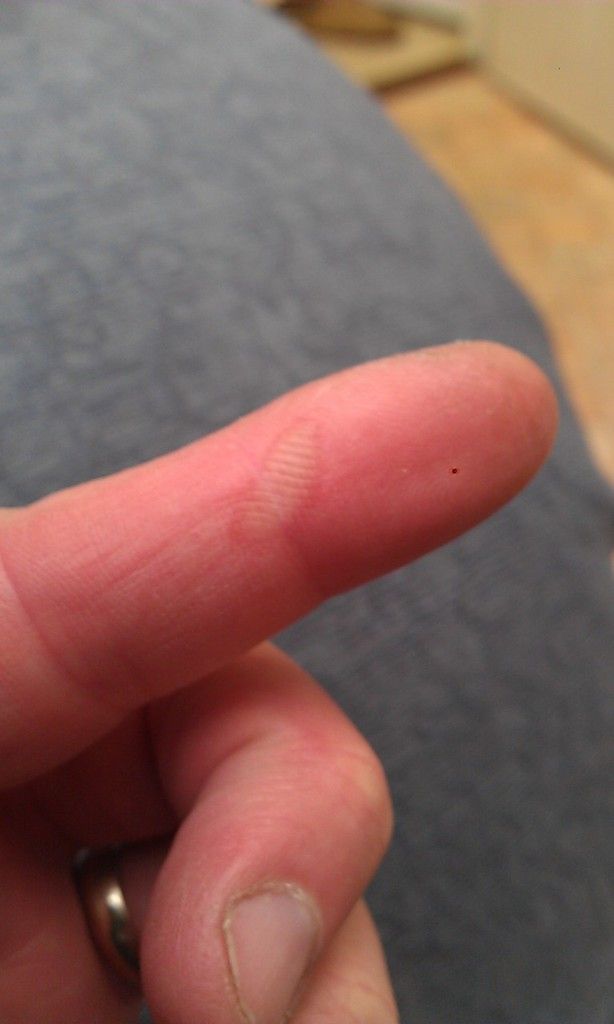
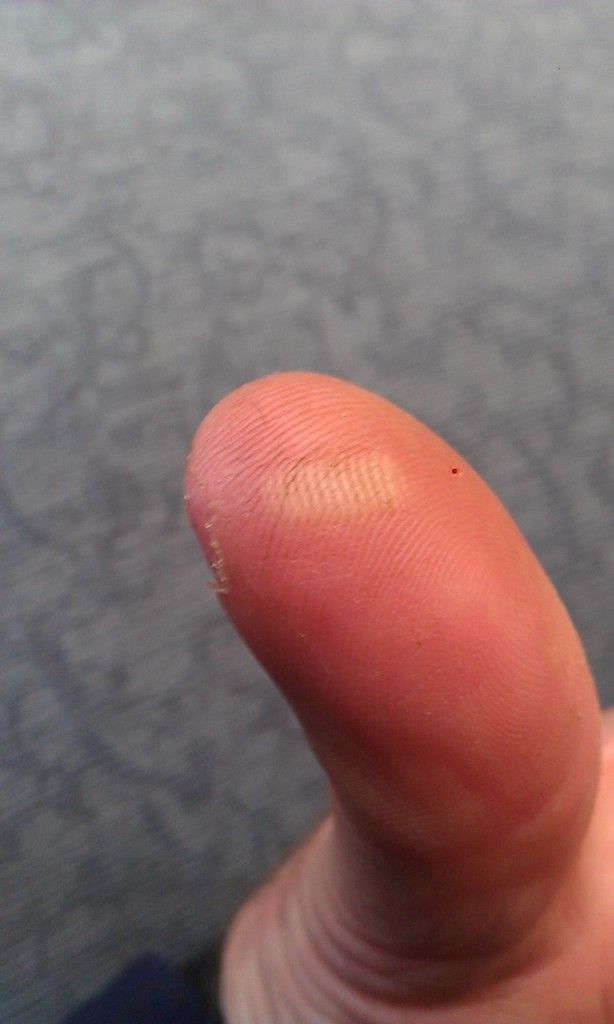
That's a 5mm thread imprint if your wondering ![]()
And I didn't even no I had done this, no sense no feeling I guess.
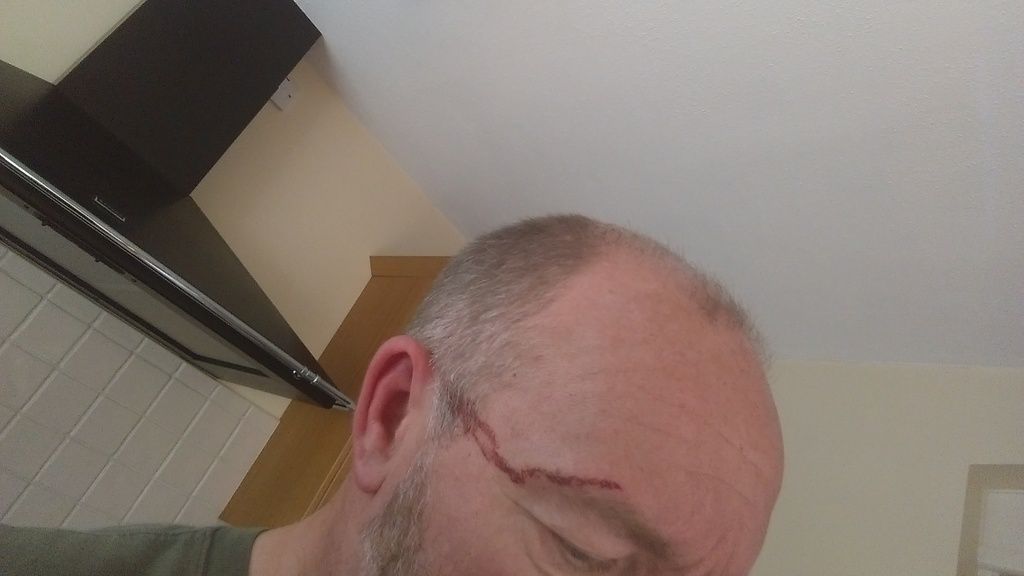
Posted 30 May 2015 - 07:26 PM
Good progress.
I am sitting with a very similar rusty lip I need to replace. How did you manage to fold the lip? And so neatly?
Which lip Stefan, on the lower and upper wing. or the Door Step?
I am interested in the door step section you made.
Stefan
Posted 30 May 2015 - 07:29 PM
Wow...
Good to see you are okay...
A&E visits tend to eat up a day of good Mini work.
Posted 30 May 2015 - 07:40 PM
Good progress.
I am sitting with a very similar rusty lip I need to replace. How did you manage to fold the lip? And so neatly?
Which lip Stefan, on the lower and upper wing. or the Door Step?
I am interested in the door step section you made.
Stefan
Show me a pic of the area you need repairing?
I have a home made bender / vice, the small fold was made using a piece of Angle Iron as a guide, maybe I can help you?
Posted 30 May 2015 - 07:45 PM
Good progress.
I am sitting with a very similar rusty lip I need to replace. How did you manage to fold the lip? And so neatly?
Which lip Stefan, on the lower and upper wing. or the Door Step?
I am interested in the door step section you made.
Stefan
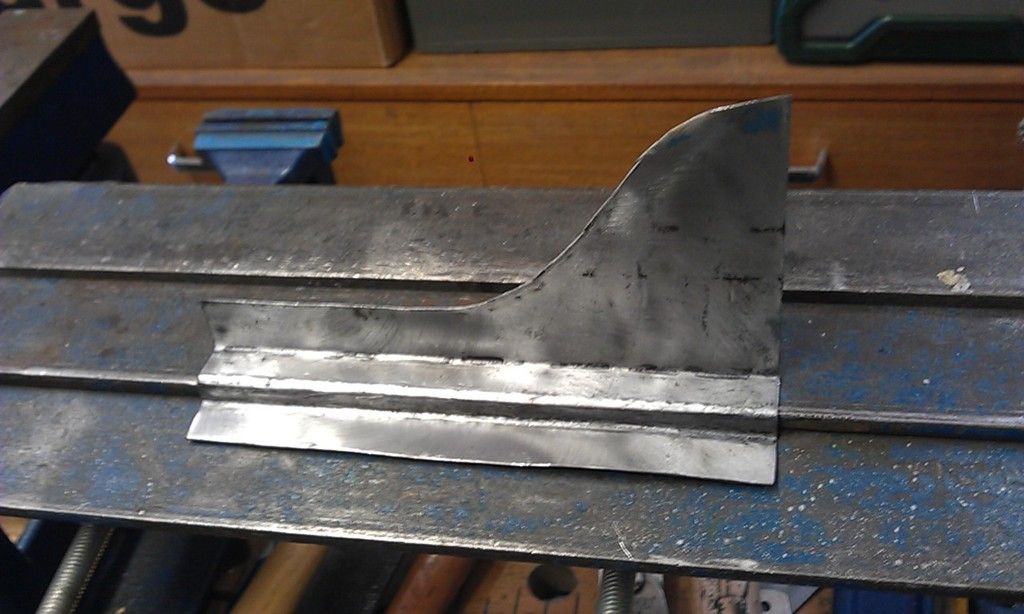
Here's the bender, the second (smaller piece was bent using a vice and a piece of flat iron as a guide for the small bend:
Posted 30 May 2015 - 07:56 PM
You're in the wars!
Posted 01 June 2015 - 08:14 PM
Loads left to do so every little bit helps.
Finished up a couple of small repairs:
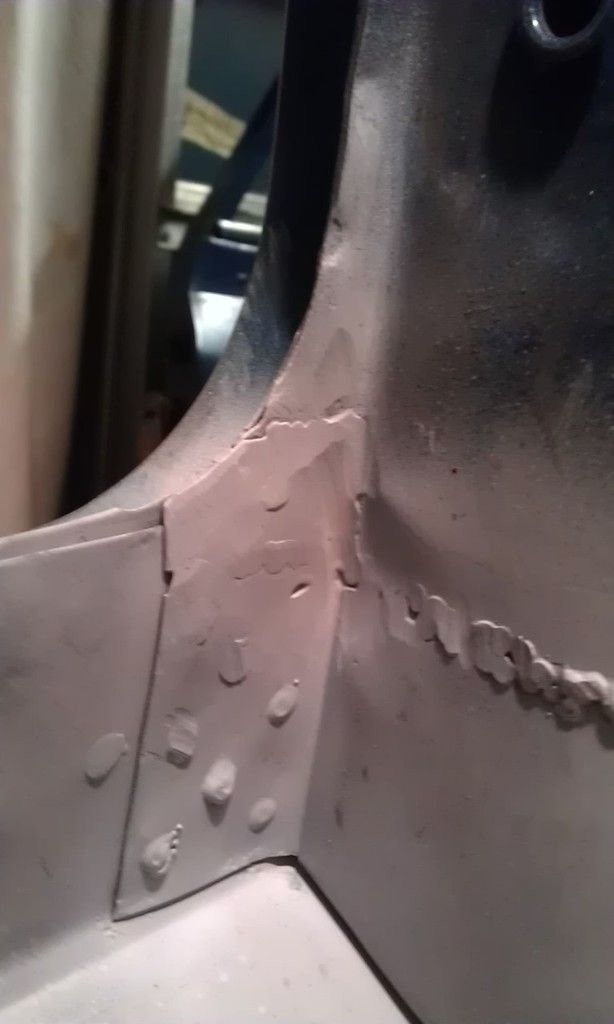
Patched up a little area where the Companion Bin meets the Inner Sill, still need to grind down all the welds:
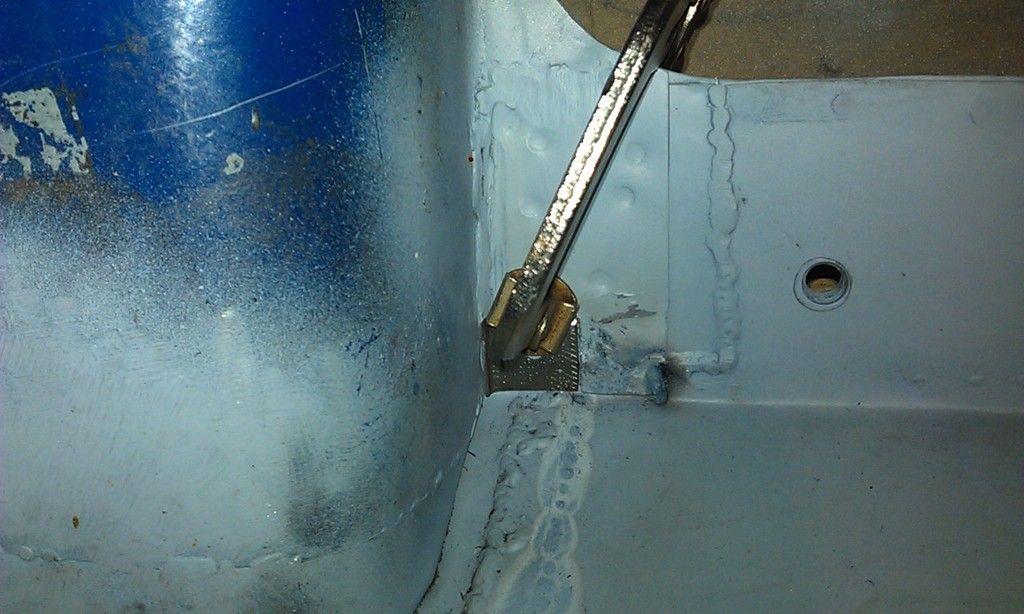
Also made another small patch on the other Companion Bin:
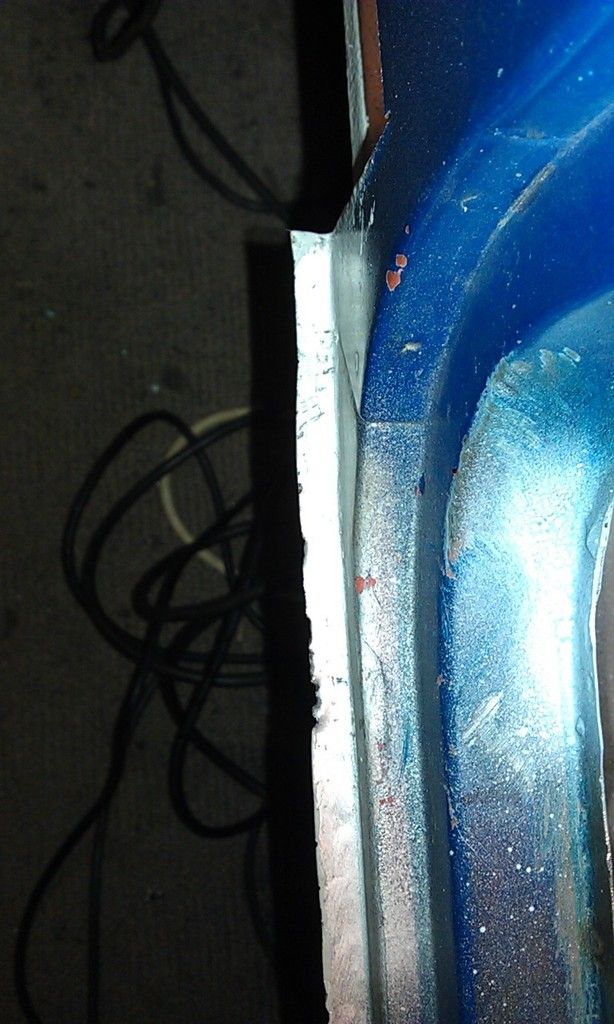
Then went about tidying up the RH Door Step Lip before I fit the Sill (Once the floor is finished)
Cut out a small area and clamped in a small piece of scrap, using a large piece of copper as a heat sink:
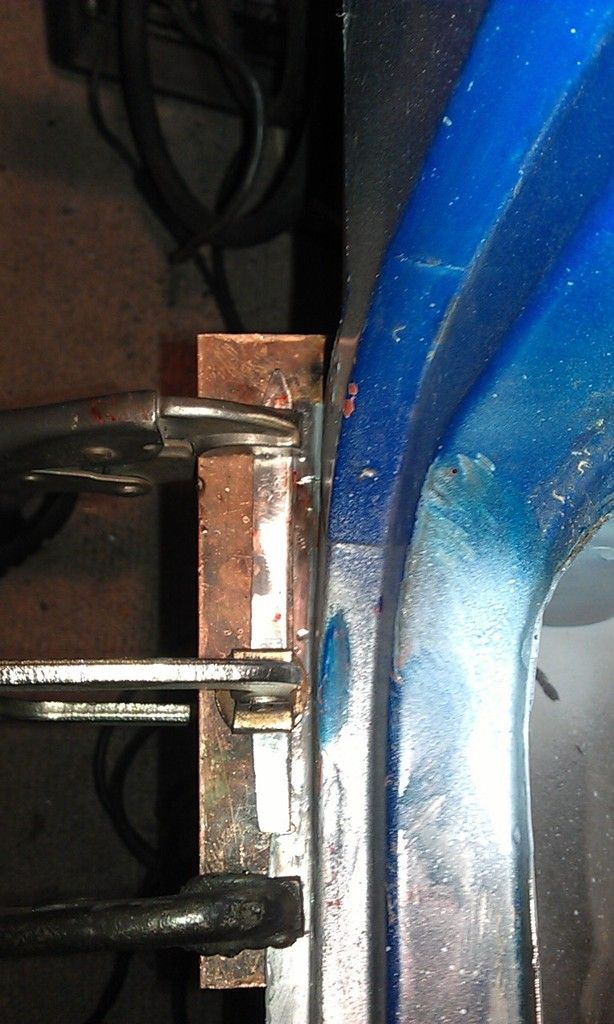
First few tacks:
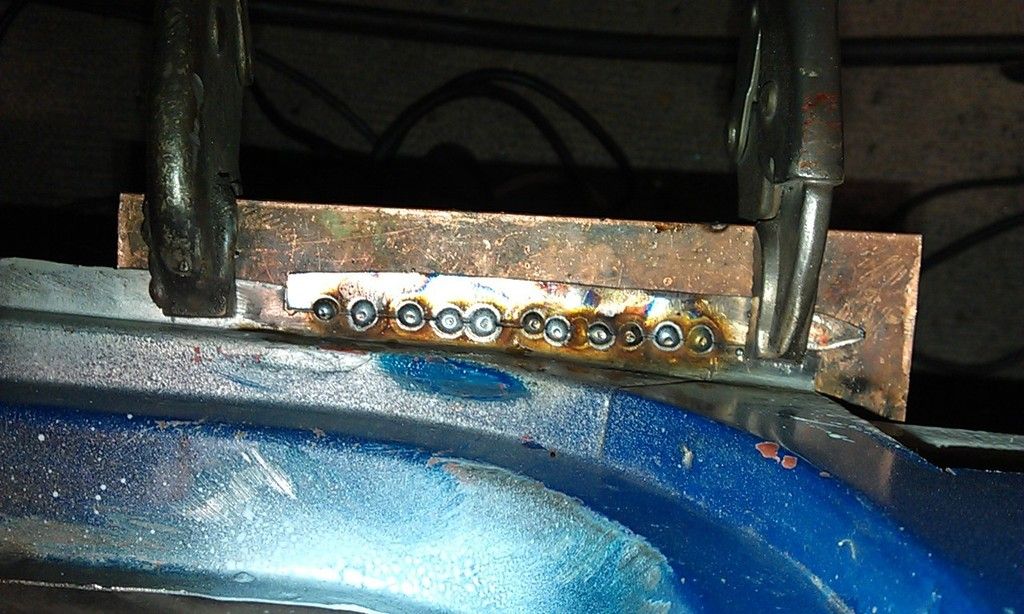
Also one other small area:
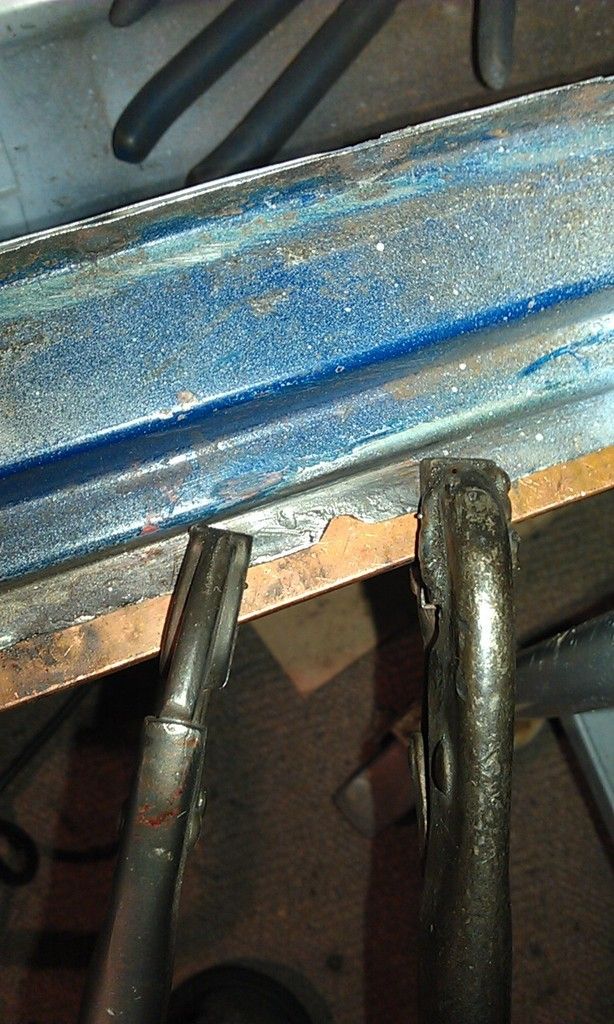
I did finish them but forgot to take photos.
More next time ![]()
Posted 01 June 2015 - 09:00 PM
Posted 02 June 2015 - 07:08 AM
Nice work and injury free!!
Posted 02 June 2015 - 07:31 PM
Squeezed another hour in after work.
Spotted a couple of small holes in the weld I did on the door step yesterday and fixed that and then dressed it down. Sorry no pics :-(
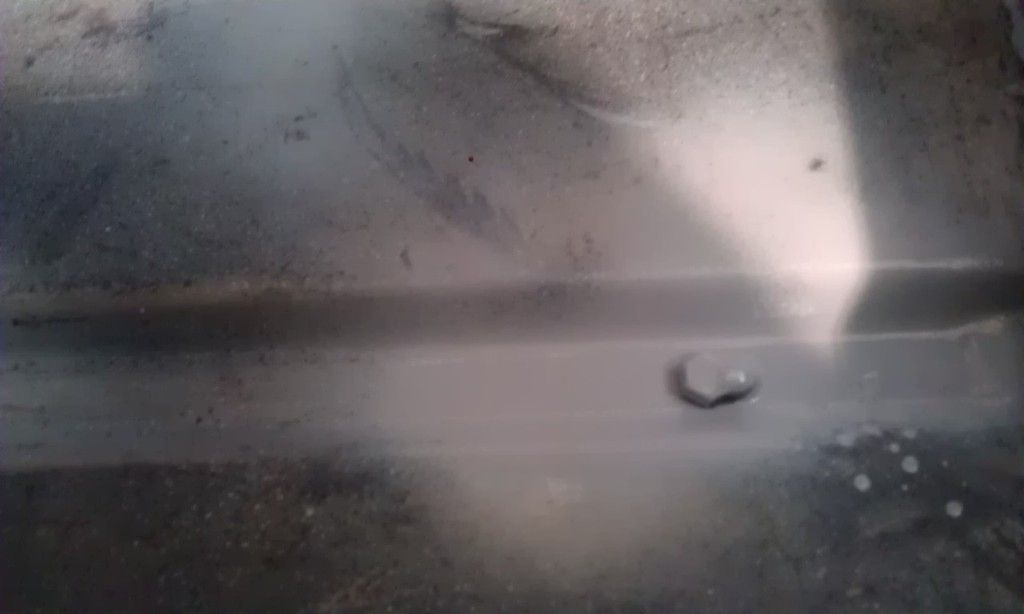
Removed the Fuel Pipe Brackets marked and drilled 4 x holes and welded in 4 x bolts for my 'P' Clips.
Here's a boring photo of one of the bolts welded in cleaned up and Etched:
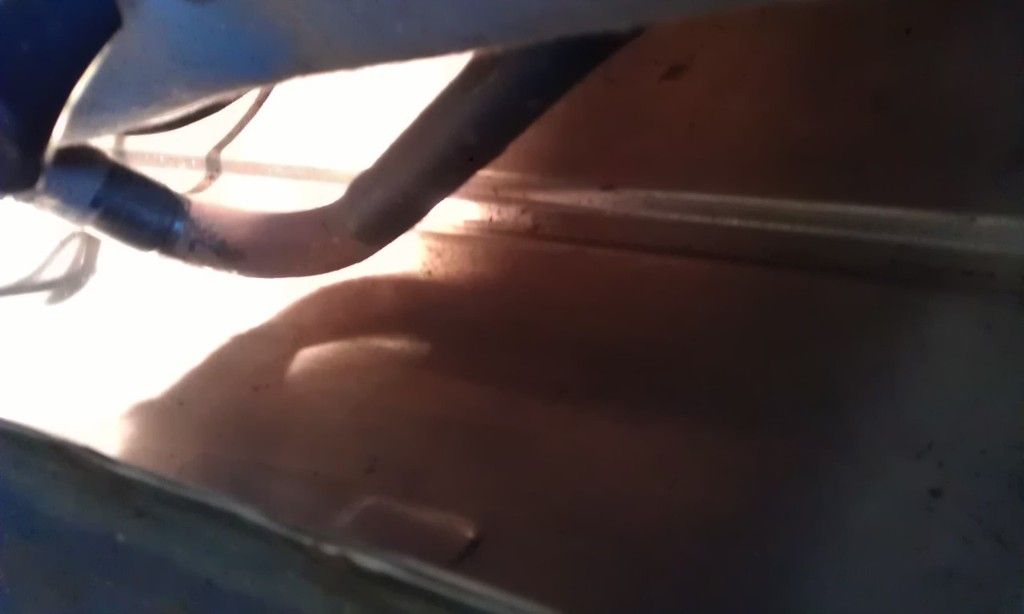
Marked the location of the Drivers Seat securing bracket and drilled two holes and test fitted the Seat, looked a little high on one side but once I put my 78Kg on it - sorted!!
Seat is only temporary but it felt good to get it in and finally sit in the drivers seat again - won't be long now, or so I keep telling myself.
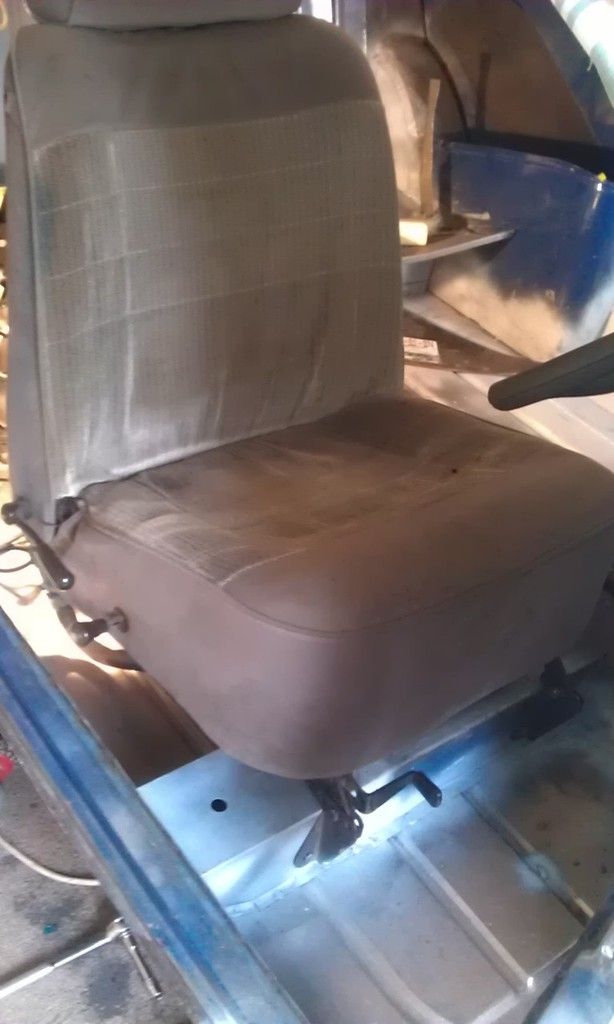
Target was 14th June, but sadly I am not going to make this, probably about 11 days work left just to get it rolling, let alone on the road :-(
I was also pleasantly surprised that I did not have to modifiy the Seat Mount that bolts to the Cross Member, back in an earlier post I mentioned that the holes where about 5mm out. Clearly there is so much play in the seat it did not matter.
I was also concerned about getting the Securing Bar in the right place but that is pretty flexible too, not exactly precision engineering ![]()
Posted 02 June 2015 - 07:37 PM
you are flying mate!
Posted 03 June 2015 - 12:34 PM
you are flying mate!
Ben, pictures can be very deceiving, still got the RH Flitch to finish, let alone the LH one. Still I intend to get it on all four wheels before continuing with the front end.
Posted 04 June 2015 - 08:57 PM
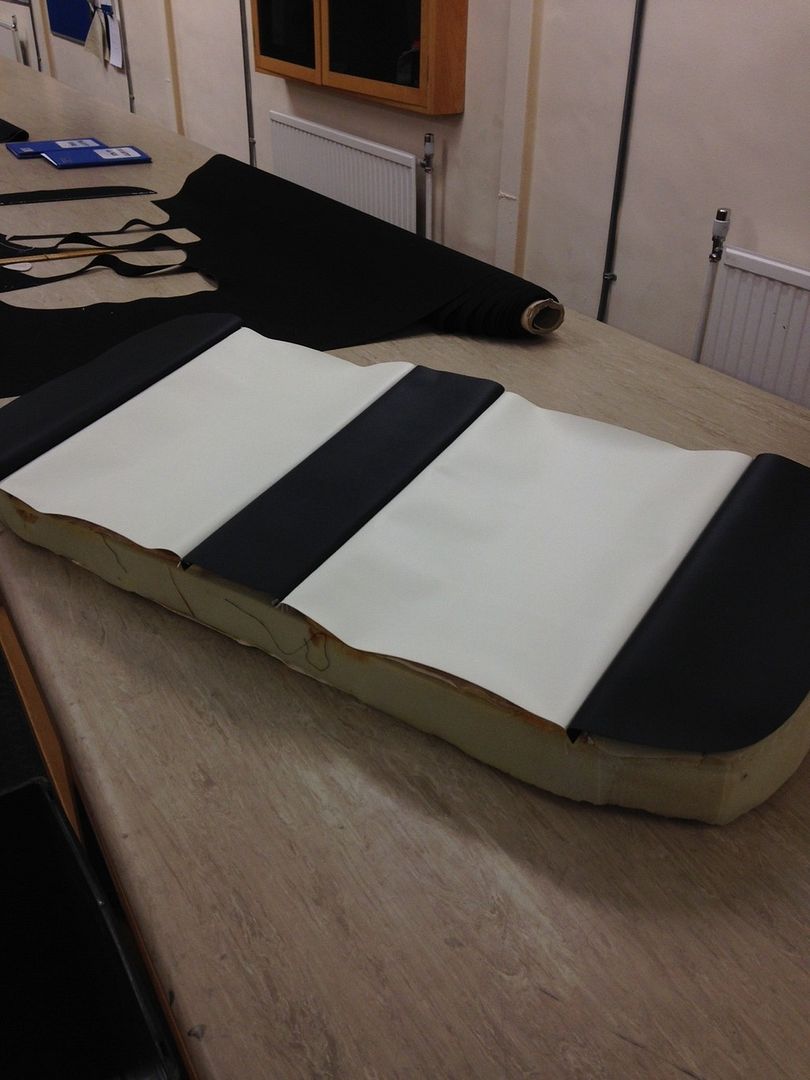
Seats are being re-upholstered by my lad, he has never done anything like this before so he's started with the Rear Seats.
Looking really good ![]()
The carpets and mats (all new bought last year at Beaulie) are black and mats have a black / white hatched edging, roof lining will be white.
Interior and outside paintwork will be Almond Green with an Old English White Roof, can't wait to see it all come together myself ![]()
Posted 05 June 2015 - 06:10 AM
Similar to Mary Quant seats
0 members, 2 guests, 0 anonymous users