Jump to content


Photo
- - - - -

1982 Austin Mini - Project Who?


  • Please log in to reply
852 replies to this topic

#241 JonnyAlpha

JonnyAlpha

    Up Into Fourth

  • Members
  • PipPipPipPipPipPipPipPipPip
  • 2,748 posts
  • Location: North Devon
  • Local Club: Exmoor Minis

Posted 04 May 2015 - 07:25 PM

Was planning a day in the garage but had to do the decent thing and go and make use of our National Trust membership and visit Arlington Court, twas a nice morning.

Anyway managed to get into the garage at about 14:30.


First job did a bit of tidying up, picked all the metal off cuts and rust off of the floor from where I was cleaning up the Inner Wing.


Next I cleaned up the Dashboard bits that I also removed last session:
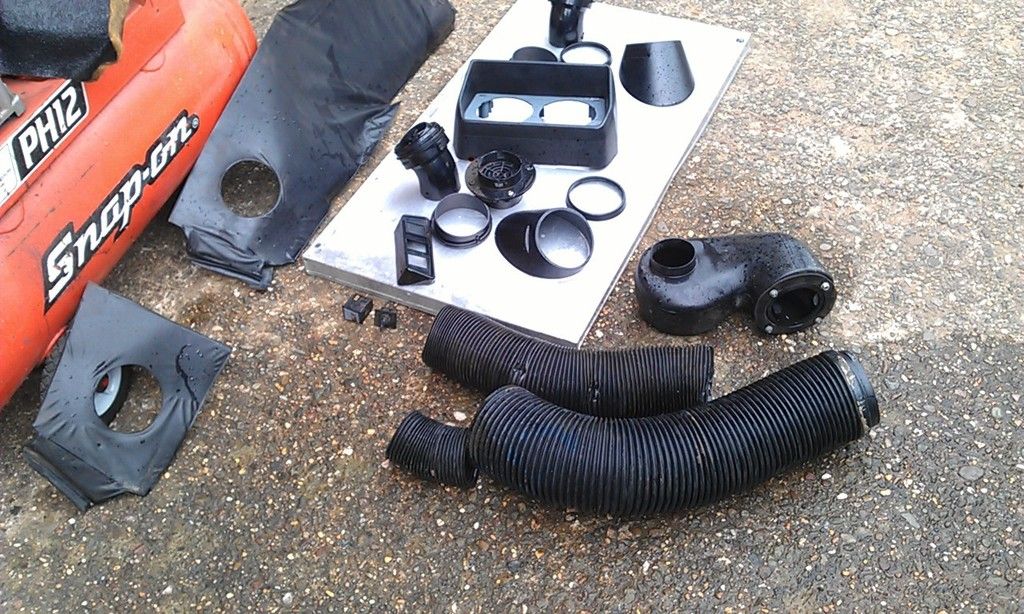
 

IMAG0357_zpsqzmkk11y.jpg


Next I banged did the final fit of the Companion Bin repair panel and the started welding it together.
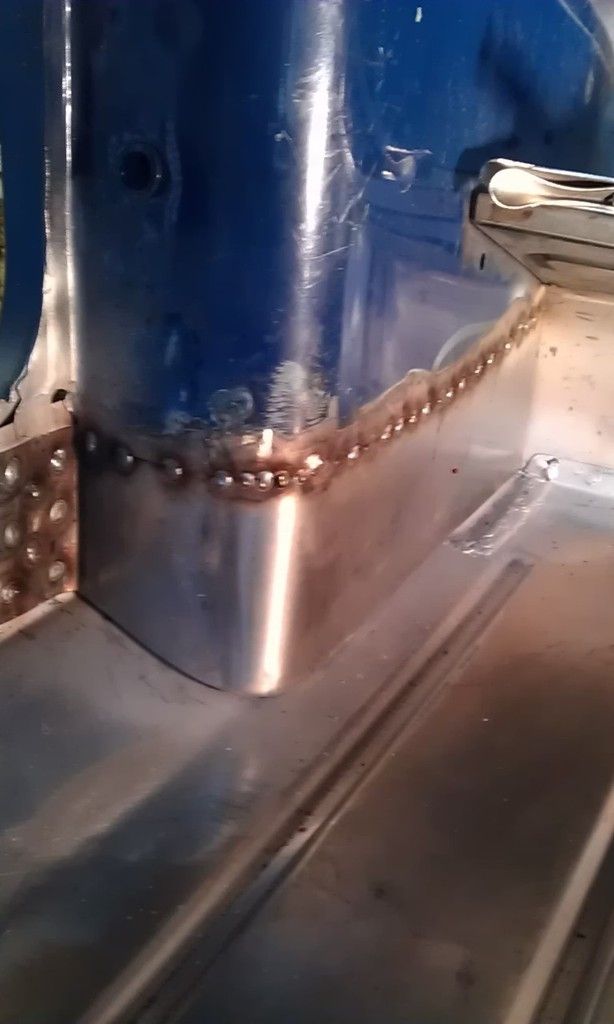
 

IMAG0358_zpss3q1l5wq.jpg


After a bit of adjusting with a hammer and large screwdriver I managed to start getting the base spot welded to the floor:
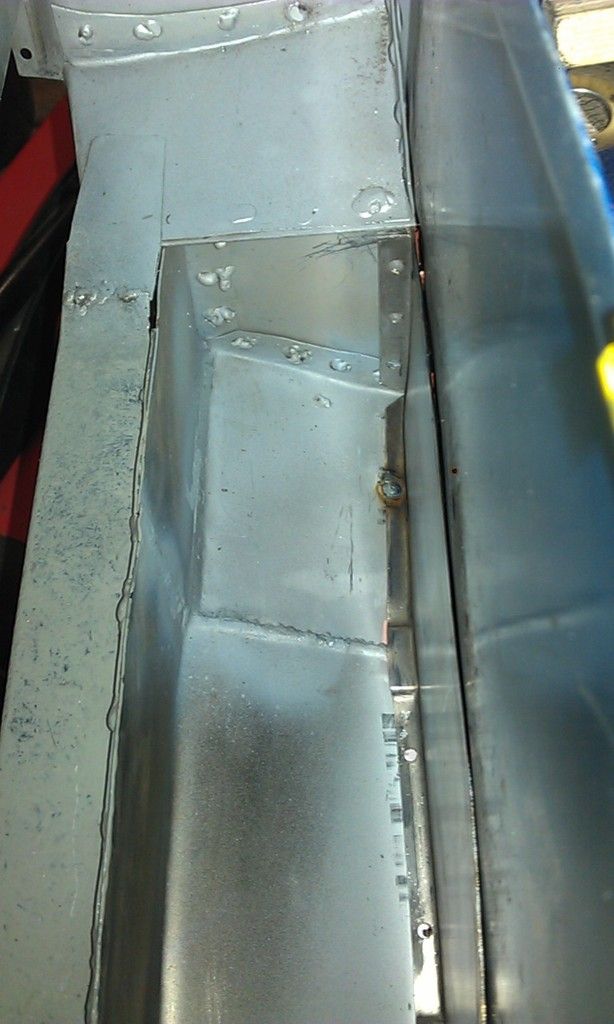
 

IMAG0359_zpskgm6xezn.jpg


The photo makes it look like there is loads of room, but believe me it was a case of getting the welding torch in place and welding blind for a 3 - 4 second burst.


With a lot of moving into contorted positions I managed to get a few decent spot welds in the floor and heel board.
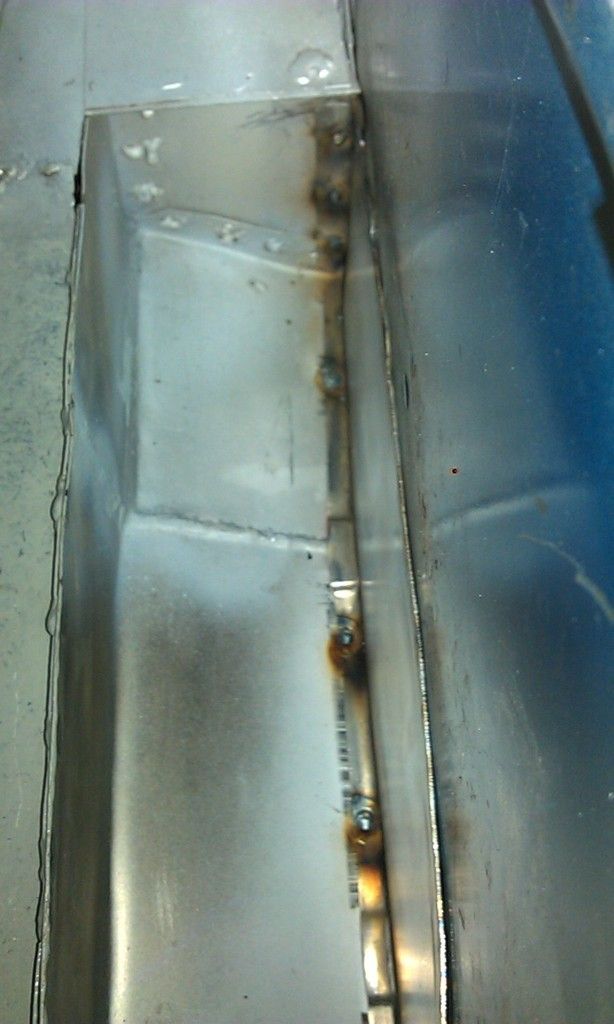
 

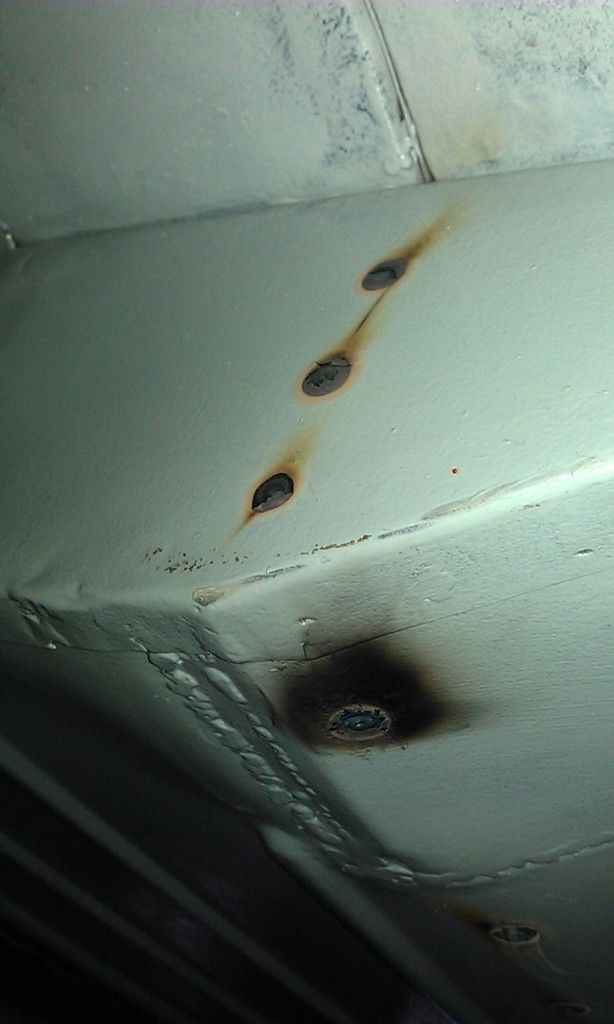
IMAG0361_zpspe3brvbs.jpg


This was the penetration on the underside:
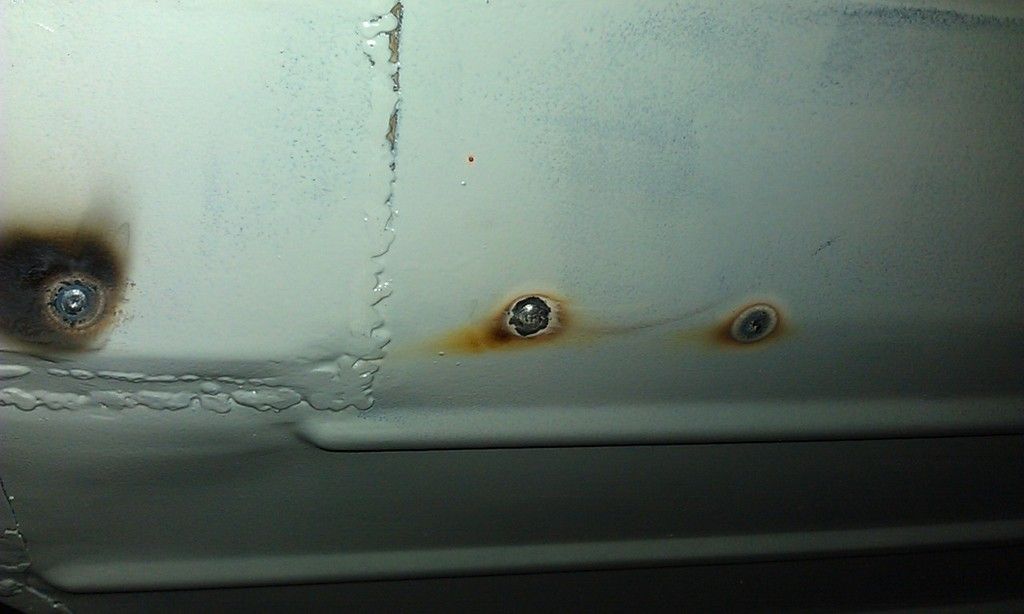
 

IMAG0364_zpshbwm6qm9.jpg


IMAG0366_zpsm10qtczo.jpg


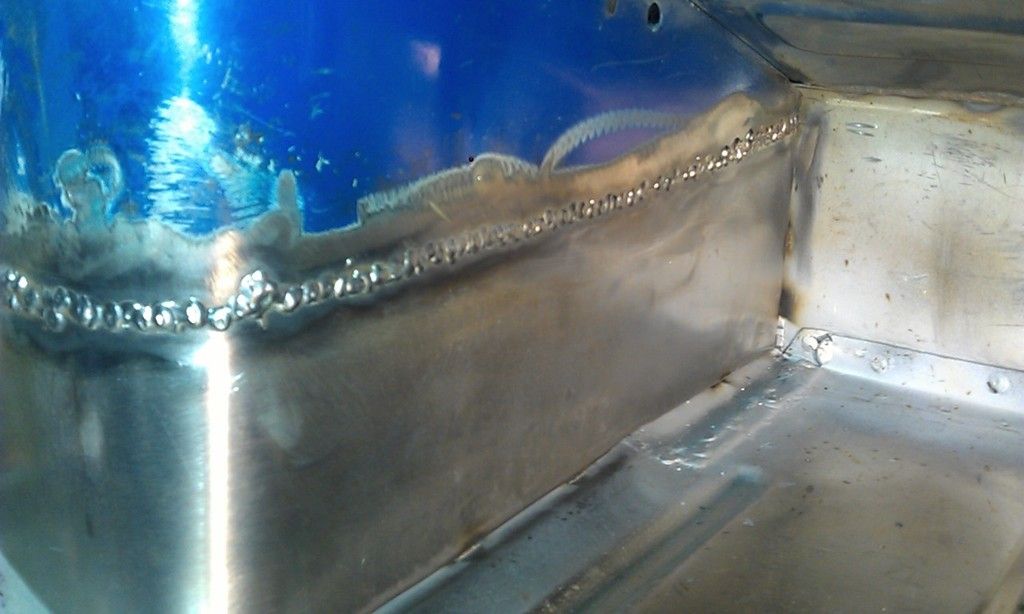
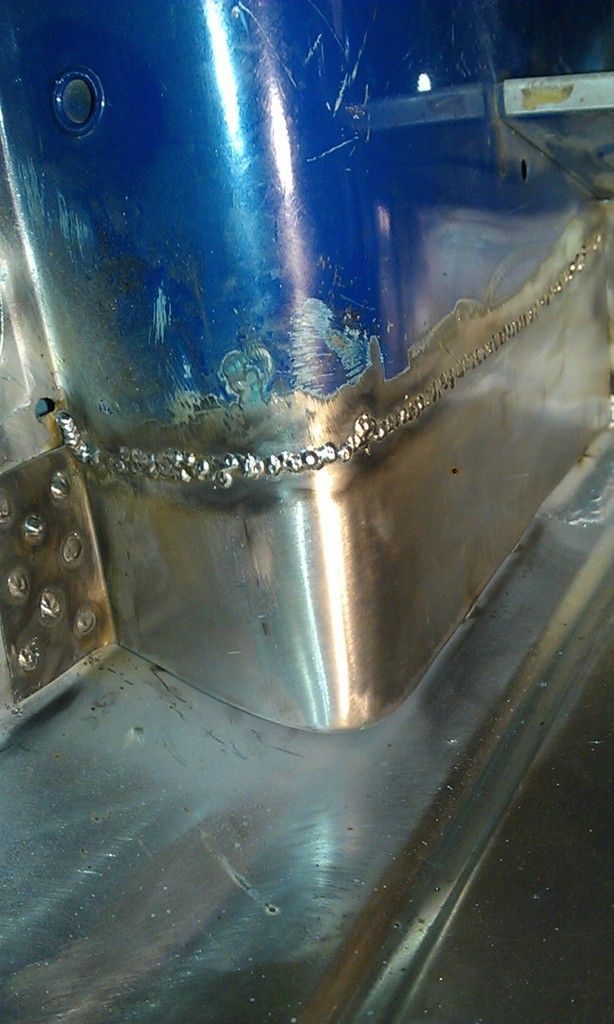
Then I finished welding up the Bin Repair and cleaned it up with a twisted knot wire brush:
 

IMAG0362_zpscewqfcyb.jpg


IMAG0363_zpslgwrz2ee.jpg


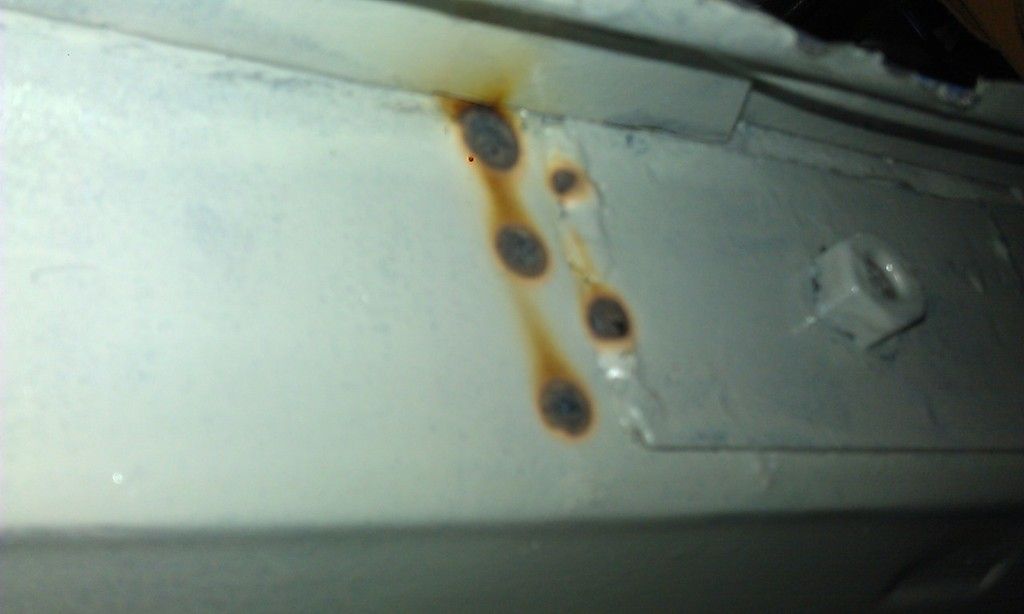
Where the Epoxy has been burnt through it will be sanded back and re-done:
 

IMAG0365_zpslhtifmzz.jpg


So that's the RH Companion Bin Finished and apart from the Outer Sill no more welding on the RH rear end (Yippee), oh apart from the Rear Valance and Closing Panel :-( 

Just need to weld the bottom of the LH companion bin to the floor and again the Outer Sill.


Seems like its going forward and not backwards anymore.


Next session in the garage i'll concentrate on the RH A Post / Flitch / Inner Wing / Scuttle etc.

First job, door step repair and Boxing Panel.


Tick tock, tick tock .......................


#242 Hendred

Hendred

    Speeding Along Now

  • Members
  • PipPipPipPipPip
  • 484 posts
  • Location: Cleobury Mortimer Nr Ludlow, Shropshire Name: John

Posted 04 May 2015 - 07:32 PM

I know what you mean about space and welding in the companion box, it s tight!


John


#243 Ben_O

Ben_O

    Mill Road Garage

  • Paint Doctor
  • PipPipPipPipPipPipPipPipPipPip
  • 9,785 posts
  • Location: Isle of Wight

Posted 05 May 2015 - 07:44 AM

You could have avoided having to weld in that tight gap by marking out and drilling your plug weld holes in the inner sill and welding from the underside of the car.
 

Oh well,fair play for getting it done from the inside :-)


Looking good


Ben


#244 JonnyAlpha

JonnyAlpha

    Up Into Fourth

  • Members
  • PipPipPipPipPipPipPipPipPip
  • 2,748 posts
  • Location: North Devon
  • Local Club: Exmoor Minis

Posted 07 May 2015 - 05:59 PM

You could have avoided having to weld in that tight gap by marking out and drilling your plug weld holes in the inner sill and welding from the underside of the car.


Oh well,fair play for getting it done from the inside :-)


Looking good


Ben


Ah yes that would have worked :-)


#245 JonnyAlpha

JonnyAlpha

    Up Into Fourth

  • Members
  • PipPipPipPipPipPipPipPipPip
  • 2,748 posts
  • Location: North Devon
  • Local Club: Exmoor Minis

Posted 07 May 2015 - 06:40 PM

Needed a bit of escapism this evening and managed two hours in the garage.


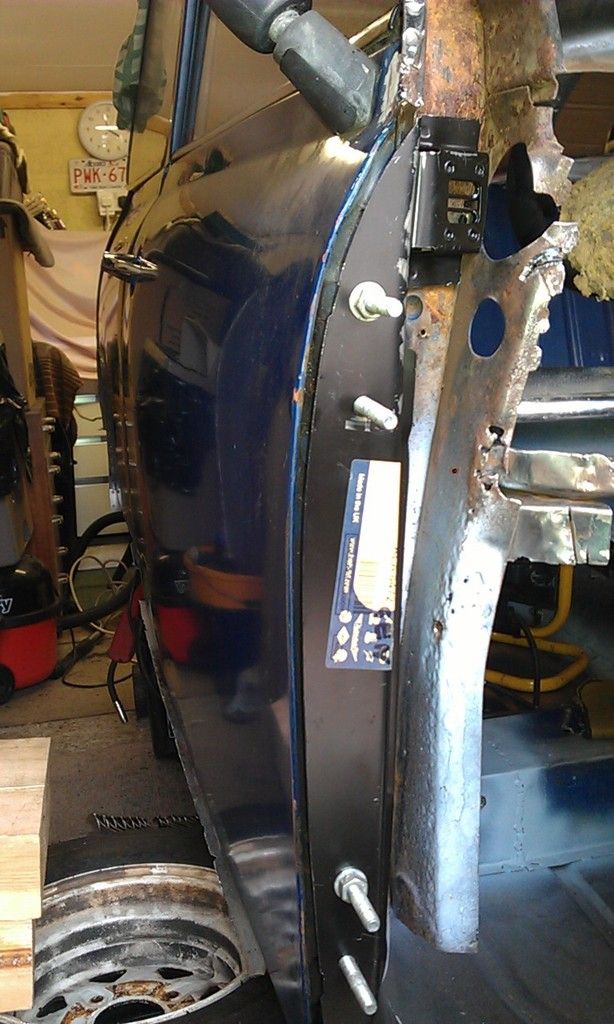
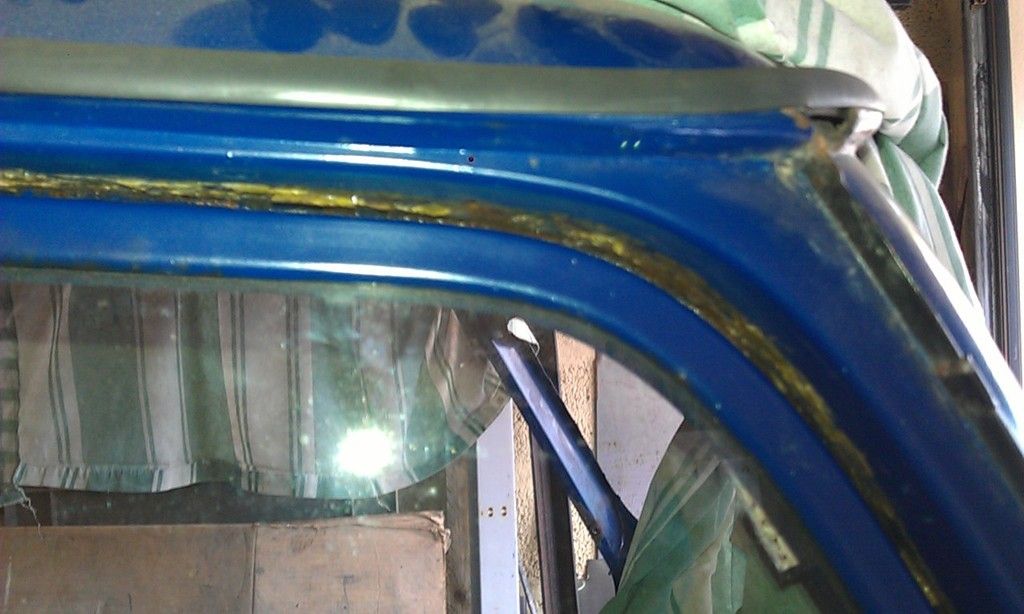
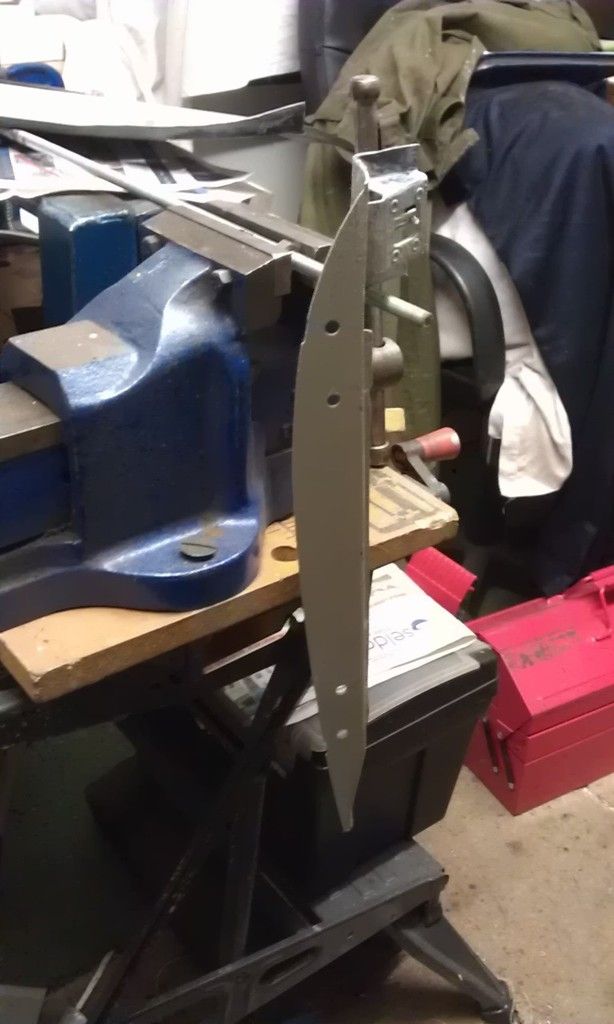
After fiddling with the Flitch and Door Check I decided that it would be best to get the Door Check and Door Lined up and the weld in the Door Check and then worry about lining up the Flitch Panel.


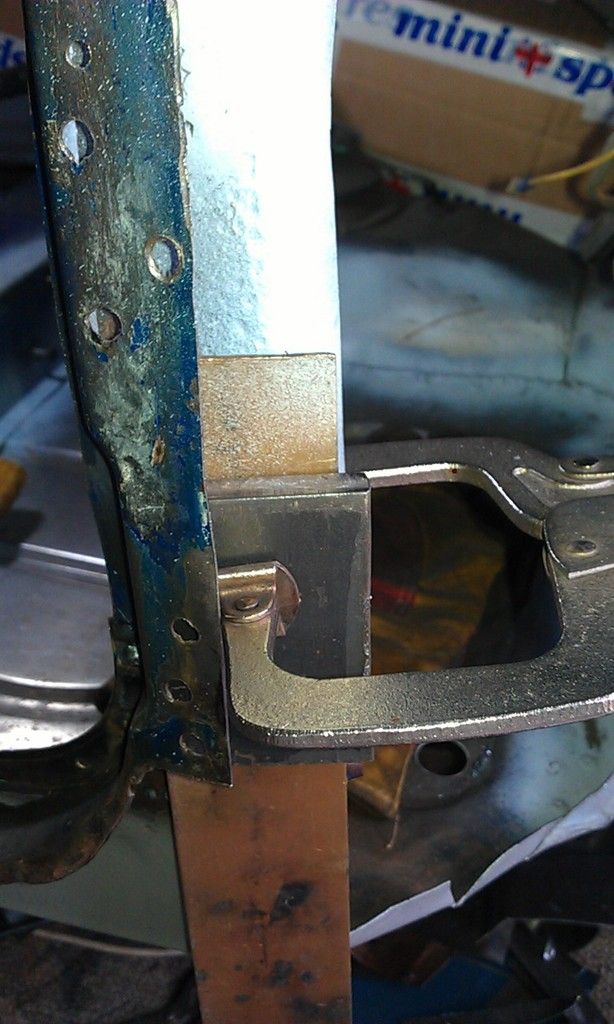
I had a bit of a mare trying to work out how to do this but in the end I managed to hold the Door Check in place with a welding C clamp and with the Door Check secure I bolted one bolt of each door hinge in place.


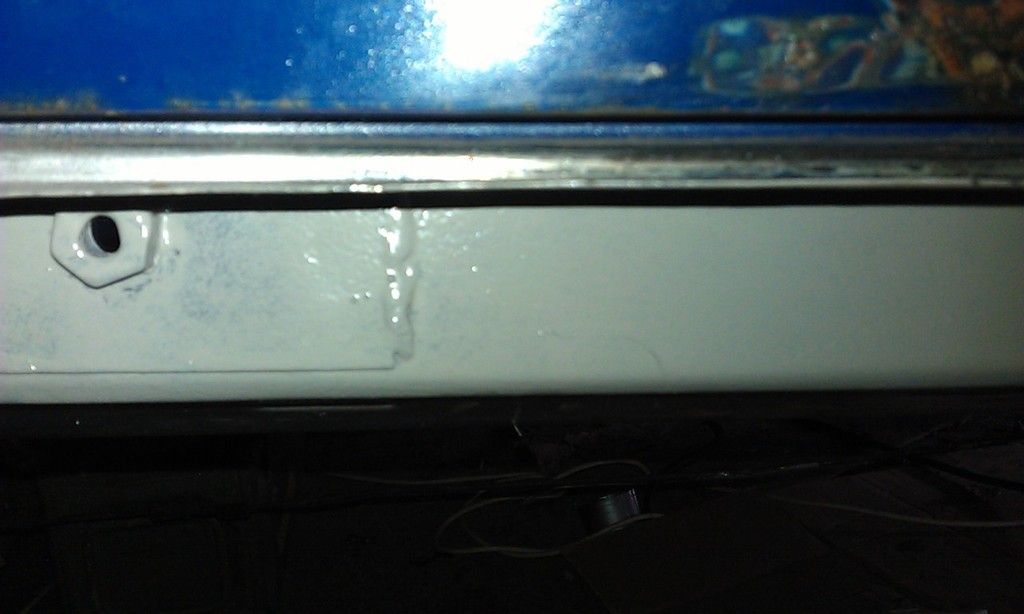
IMAG0367_zpsk878bbvo.jpg


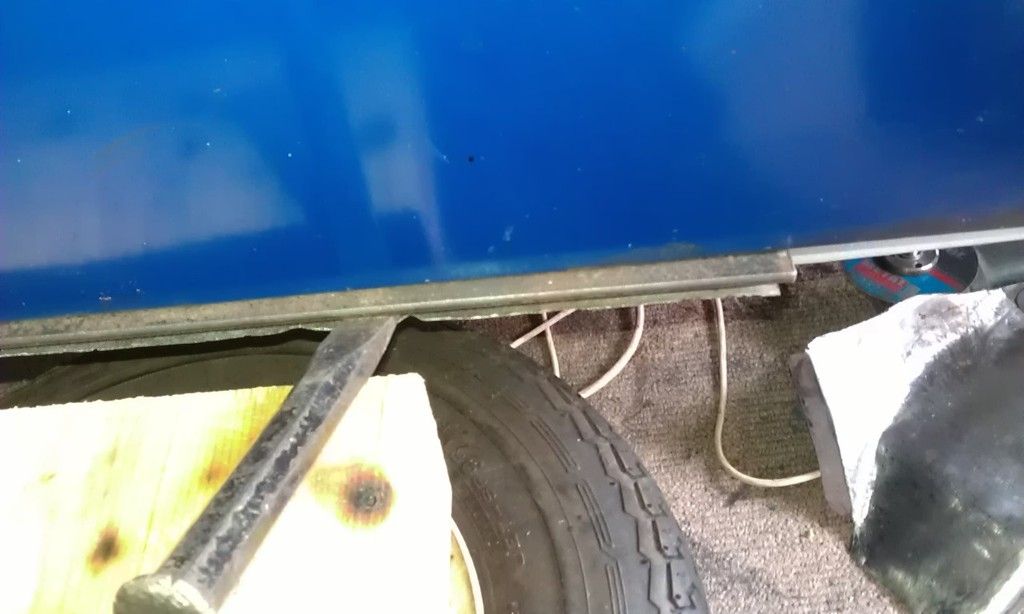
Next to try and get door I lifted the bottom of the door with a piece of metal bar and a chisel inserted under it, you can't see the gap but its about 5mm:


IMAG0374_zpsm6qltigy.jpg


Here's the gap at the bottom towards the rear:


IMAG0372_zpsfbtkm4bg.jpg


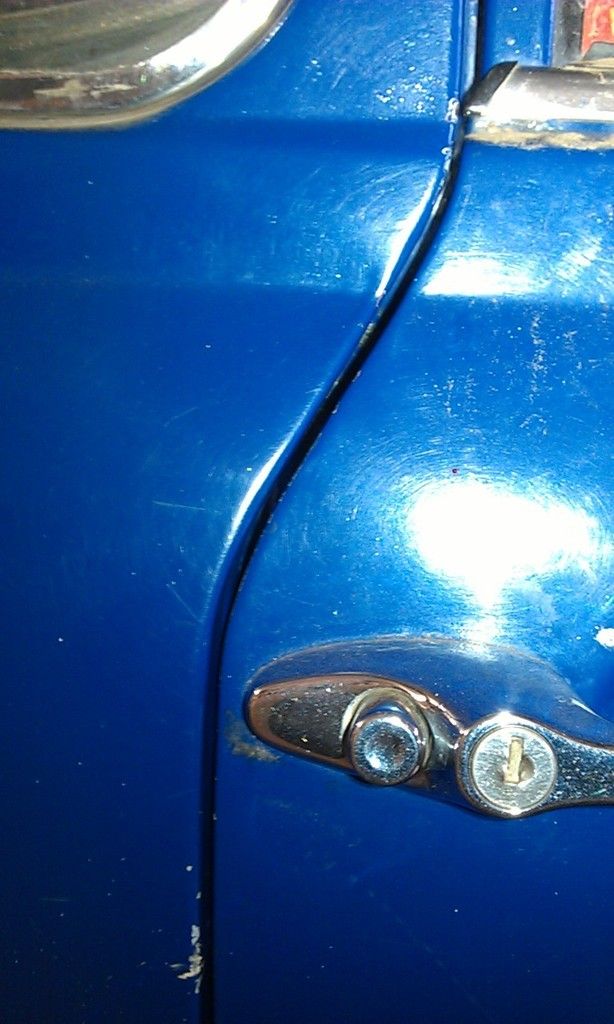
The curves around the door handle and seem lined up, as does the profile:


IMAG0370_zpshi4ndqfz.jpg


IMAG0373_zpsenrjhzqu.jpg


IMAG0375_zps7qxa5qbg.jpg


But the gap at the top seems very large?


IMAG0369_zps3waqgigi.jpg


Then again it was large before I started ?


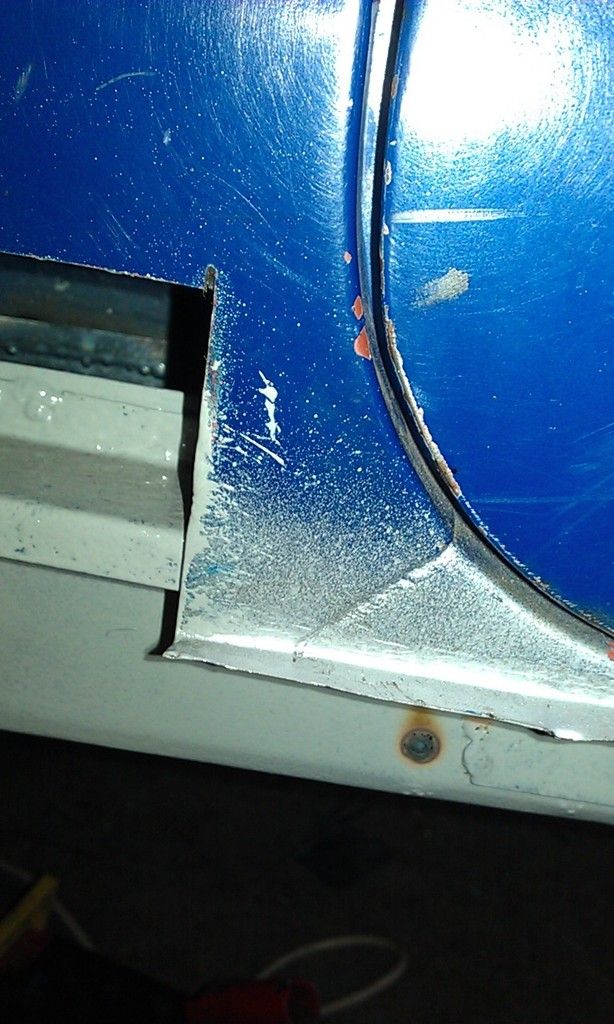
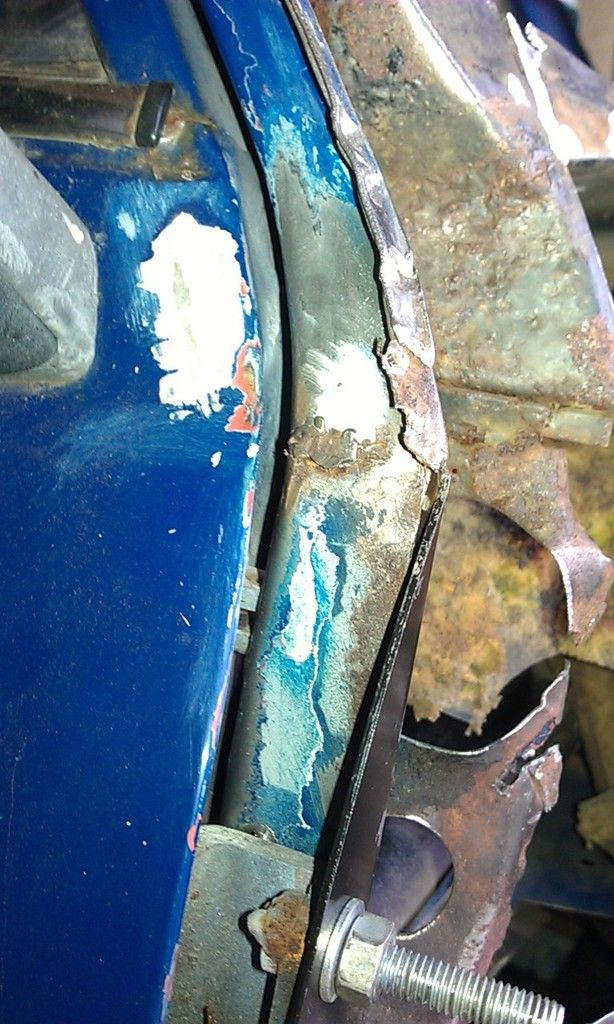
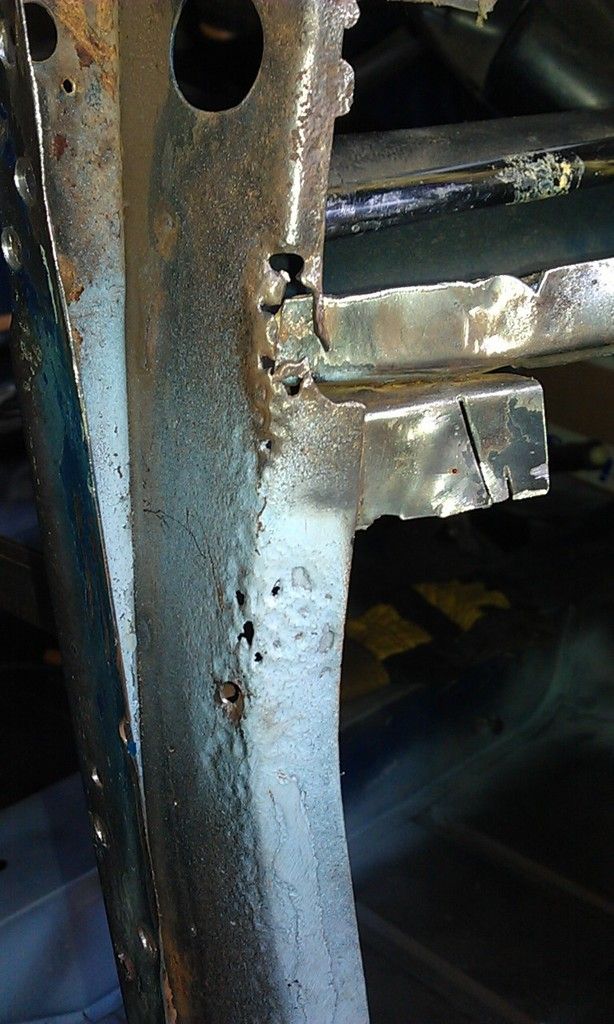
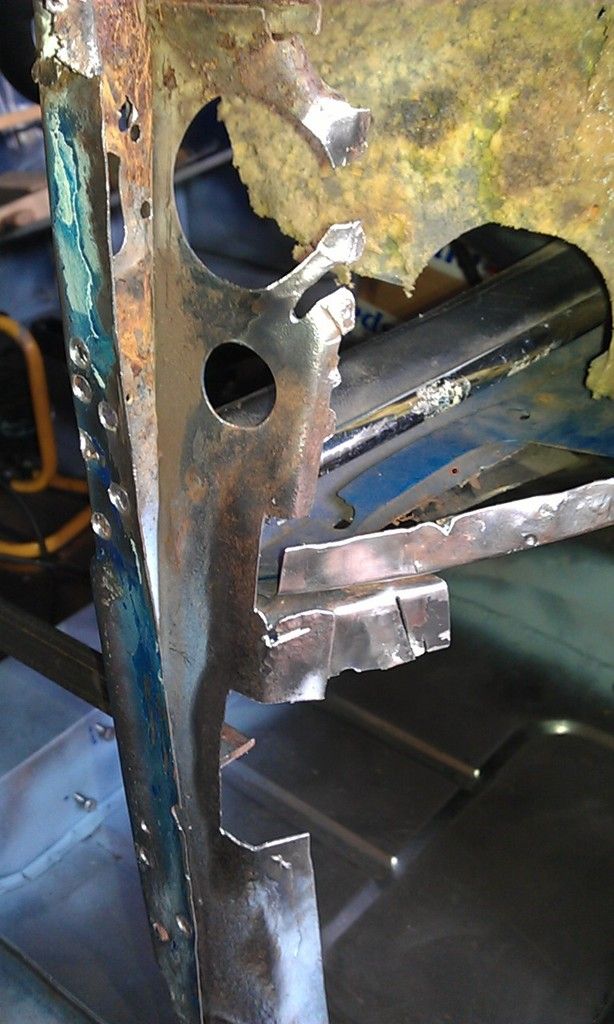
I then dismantled it all to start repairing the Box Panel:


IMAG0377_zpstg6atrkc.jpg


Cut out the crusty bits:


IMAG0378_zpstjavaqpa.jpg


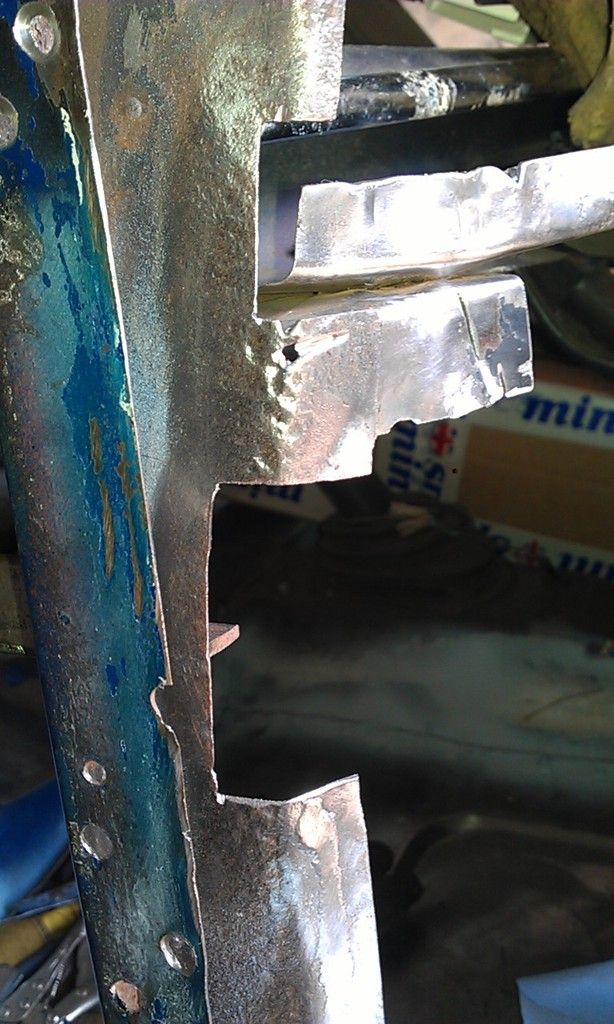
And made the first couple of patches.


Just need to make the top patch and then clean up the pitted areas with Bolt Hamber before I weld them in place. Once the patched are welded in i'll clean up the Box Panel and inside the Door Surround and paint with some Lechler Epoxy Primer and weld through where required before welding in the Door Check and Flitch.


#246 Ben_O

Ben_O

    Mill Road Garage

  • Paint Doctor
  • PipPipPipPipPipPipPipPipPipPip
  • 9,785 posts
  • Location: Isle of Wight

Posted 07 May 2015 - 06:47 PM

My door is just like that at the top. I intend to use a section of window frame from a donor door (which i have) and cut and shut a bit in to sort it out.


Ben


#247 Hendred

Hendred

    Speeding Along Now

  • Members
  • PipPipPipPipPip
  • 484 posts
  • Location: Cleobury Mortimer Nr Ludlow, Shropshire Name: John

Posted 07 May 2015 - 08:25 PM

My door is like that on my Mini HL that was restored 6 years ago by someone else, doesn't seem to leak or to have leaked in the past 6 years.  Not saying it is correct though 


#248 JonnyAlpha

JonnyAlpha

    Up Into Fourth

  • Members
  • PipPipPipPipPipPipPipPipPip
  • 2,748 posts
  • Location: North Devon
  • Local Club: Exmoor Minis

Posted 09 May 2015 - 06:14 PM

My door is just like that at the top. I intend to use a section of window frame from a donor door (which i have) and cut and shut a bit in to sort it out.


Ben


My door is like that on my Mini HL that was restored 6 years ago by someone else, doesn't seem to leak or to have leaked in the past 6 years.  Not saying it is correct though 


Thanks guys


#249 JonnyAlpha

JonnyAlpha

    Up Into Fourth

  • Members
  • PipPipPipPipPipPipPipPipPip
  • 2,748 posts
  • Location: North Devon
  • Local Club: Exmoor Minis

Posted 09 May 2015 - 06:42 PM

Managed a couple of hours this afternoon.


Before I welded the patches in to repair the boxing panel I had to de-rust the areas around the edges.


IMAG0380_zpsbv78o1fq.jpg


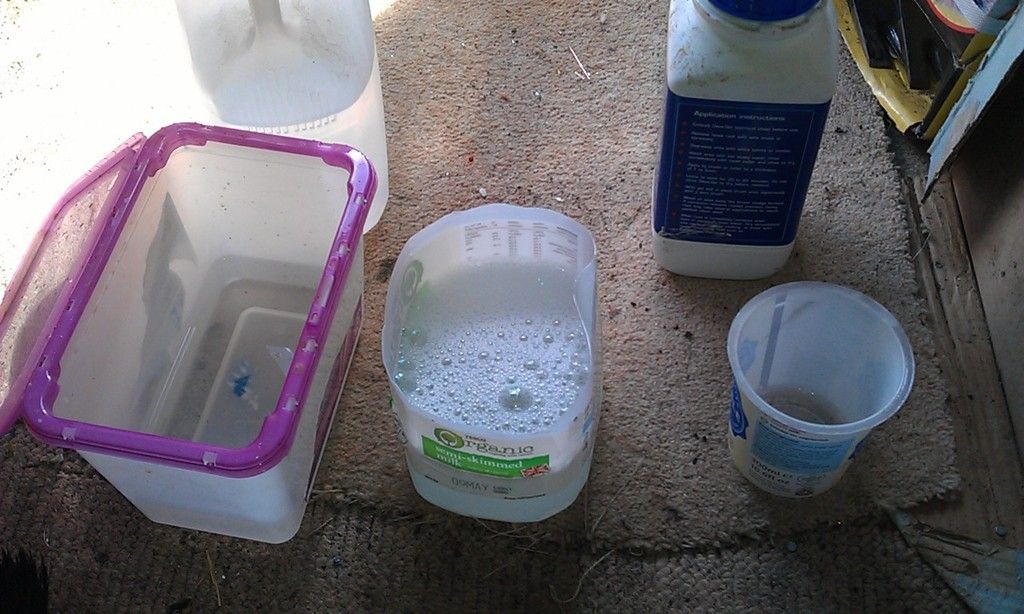
The best method of de-rusting areas that you cannot put in a bucket of Citric Acid is, IMHO, Bilt Hamber Deox Gel.

For this you need, White Spirit (or similar), Hot Soapy Water, Clean Water and a Wire Brush:


IMAG0383_zpsvmw0lm0r.jpg


Clean of the loose rust with a wire brush, clean with White Spirit, Hot Soapy Water and then clean water and dry immediately.


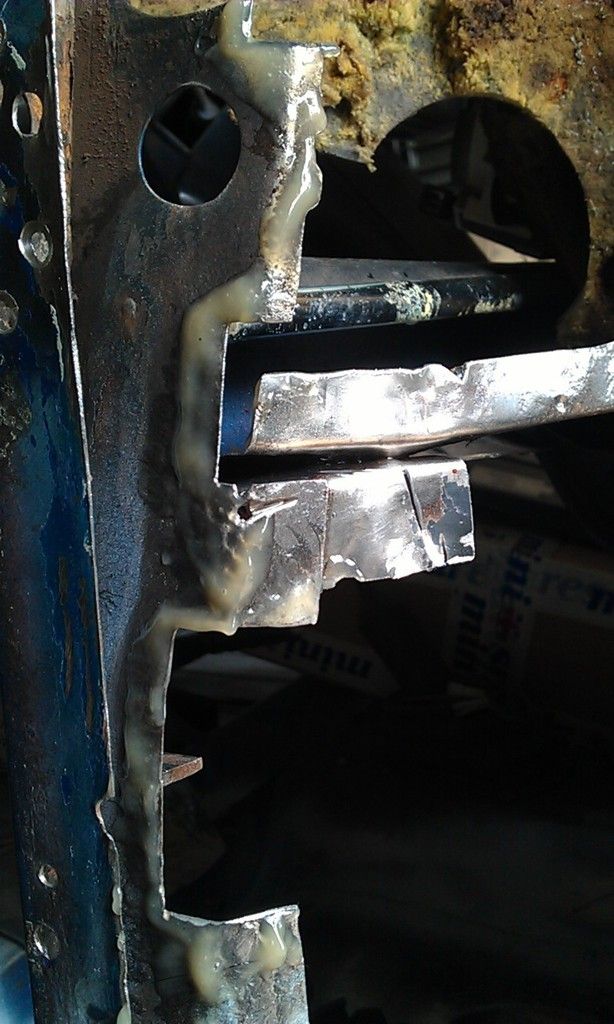
Next apply the Deox Gel liberally and let it stand for 30 - 60 minutes, don't let it dry:


IMAG0385_zpshyodxivg.jpg


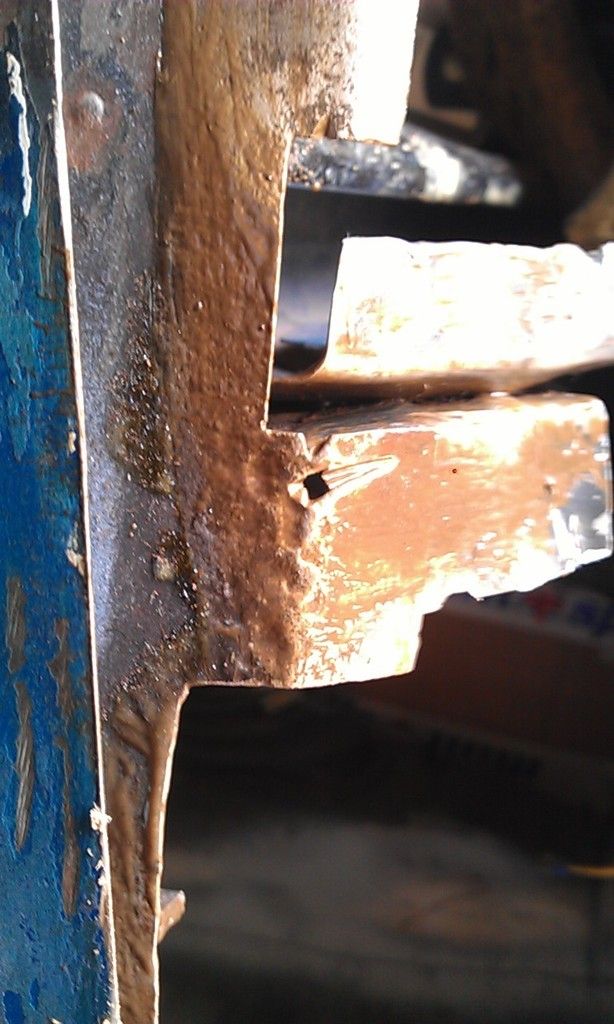
After the desired time work the gel into the metal with a wire brush:

IMAG0386_zpsh1ukwuei.jpg


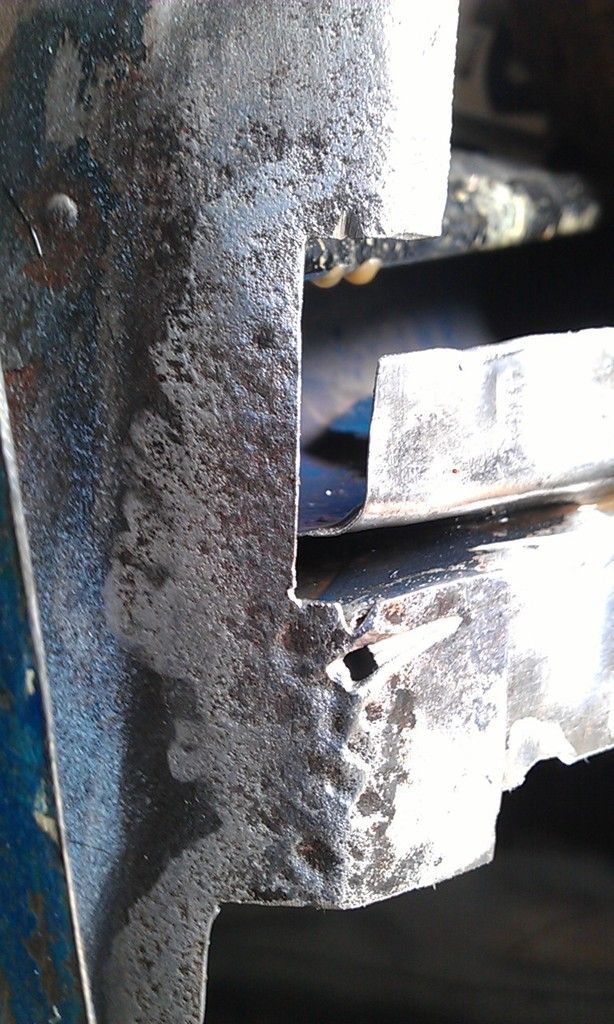
And the let it stand some more and the wipe or wash it off and dry the area:


As you can see it comes up pretty clean and gets into all the pitted areas that a wire brush never could.


IMAG0387_zpsfrpgkasu.jpg


If there is any rust left just repeat the process.


Next I started welding in the patches:


IMAG0389_zps6xvhxbl1.jpg


IMAG0391_zpsouk9wdq4.jpg


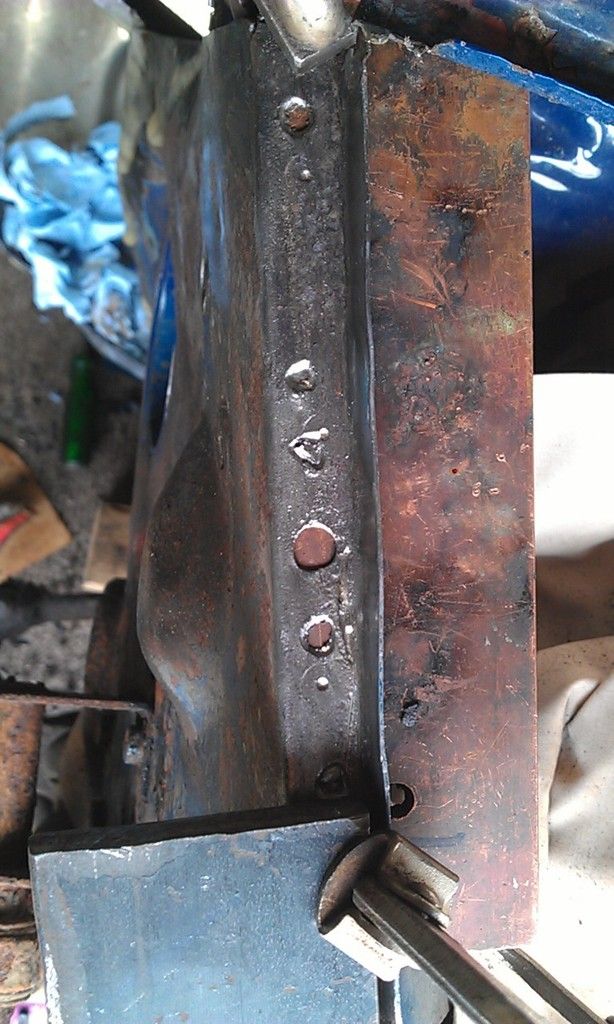
As you can see I used a piece of flattened copper pipe to stop burning through.

Here's the first patch welded and dressed. I had intended on cutting / grinding out the hole but as it won't be seen I opted against this.


IMAG0392_zpsk62ts6o5.jpg


Here's the next patch before dressing down:


IMAG0393_zpsqiovfzte.jpg


Before I welded in the next bit I sprayed the rear with Weld Through Primer and also drilled a hole and did a spot weld:


IMAG0394_zps6fopjkam.jpg


Here's the welds partially dressed down with a Grinding Disc


IMAG0395_zpsn8qz19fa.jpg


And finished off with a flap disc:


IMAG0396_zpsgexhlceh.jpg


And until I am ready to paint the whole area I sprayed the cleaned areas with acid etch:


IMAG0398_zps71h758m6.jpg


Until next time.


#250 Ben_O

Ben_O

    Mill Road Garage

  • Paint Doctor
  • PipPipPipPipPipPipPipPipPipPip
  • 9,785 posts
  • Location: Isle of Wight

Posted 09 May 2015 - 06:49 PM

That large hole that you have plated is where the check strap runs through so perhaps make sure it clears past your patch before you go too much further.

If it doesn't, then you will need to shape it back to a full circle.


Ben


#251 StefanPieter

StefanPieter

    Mini Mad

  • Noobies
  • PipPipPipPip
  • 131 posts
  • Location: Farnborough
  • Local Club: FDMC

Posted 09 May 2015 - 07:52 PM

Well done


#252 JonnyAlpha

JonnyAlpha

    Up Into Fourth

  • Members
  • PipPipPipPipPipPipPipPipPip
  • 2,748 posts
  • Location: North Devon
  • Local Club: Exmoor Minis

Posted 09 May 2015 - 08:14 PM

That large hole that you have plated is where the check strap runs through so perhaps make sure it clears past your patch before you go too much further.

If it doesn't, then you will need to shape it back to a full circle.


Ben


Thanks Ben, I'd have been cussing if i'd painted it all up, only to find I had to start cutting!!!


#253 JonnyAlpha

JonnyAlpha

    Up Into Fourth

  • Members
  • PipPipPipPipPipPipPipPipPip
  • 2,748 posts
  • Location: North Devon
  • Local Club: Exmoor Minis

Posted 11 May 2015 - 10:27 PM

Small progress this evening:


Made the last patch for the boxing panel (the floor is a little out :-()


IMAG0399_zps84fxznmb.jpg


Had to do some welding from the inside as well, a used copper to prevent burn throughs as it was all but welded.


IMAG0400_zpswy95eop8.jpg


All cleaned up:


IMAG0402_zpsykfzjhcs.jpg


Took a little time to make the patch as I had to make a matching indentation in it.


IMAG0403_zpszbxuwufb.jpg


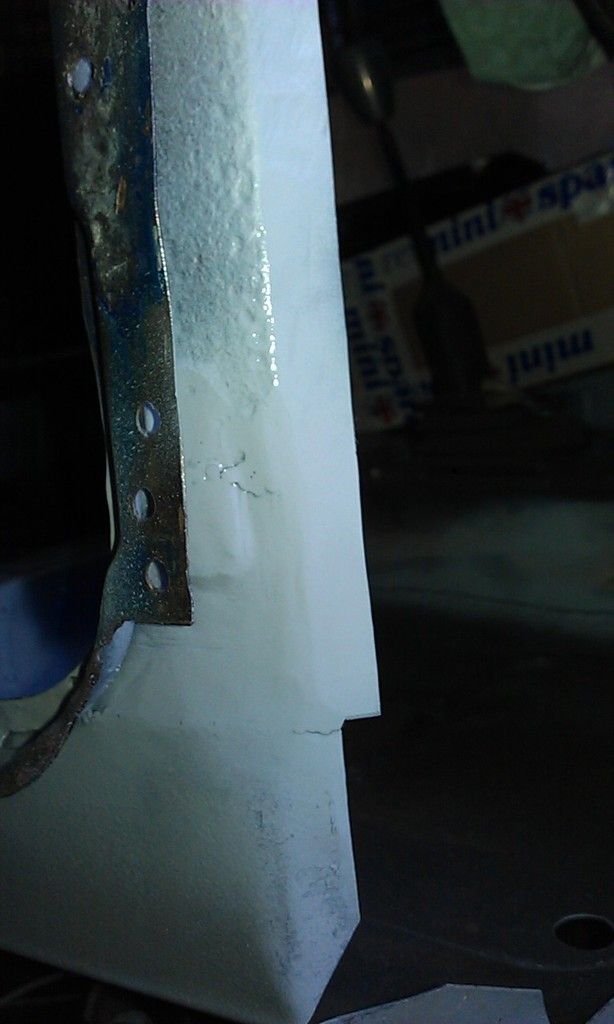
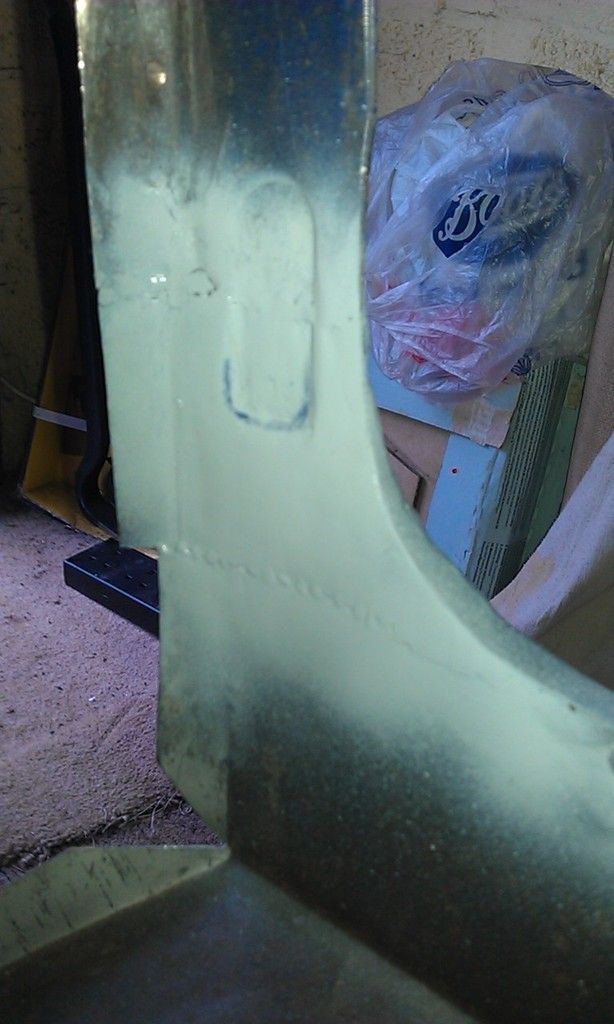
Sprayed to protect:


IMAG0406_zpsyb5obv41.jpg


IMAG0407_zps8se6flft.jpg


#254 Ben_O

Ben_O

    Mill Road Garage

  • Paint Doctor
  • PipPipPipPipPipPipPipPipPipPip
  • 9,785 posts
  • Location: Isle of Wight

Posted 12 May 2015 - 07:45 AM

It's all coming together lovely now.


Well done


Ben


#255 JonnyAlpha

JonnyAlpha

    Up Into Fourth

  • Members
  • PipPipPipPipPipPipPipPipPip
  • 2,748 posts
  • Location: North Devon
  • Local Club: Exmoor Minis

Posted 15 May 2015 - 10:45 PM

Managed a few hours today.


Before I could weld in the Door Check it needed to be de-rusted.

First I cleaned it up with a wire brush attachment:


IMAG0417_zpsrrwq4t3r.jpg


Still a lot of rust that needed to be removed, so out with the Bilt Hamber:


Here it is after leaving it on for an hour and agitating it with a wire brush:


IMAG0418_zpsc3yuf32q.jpg


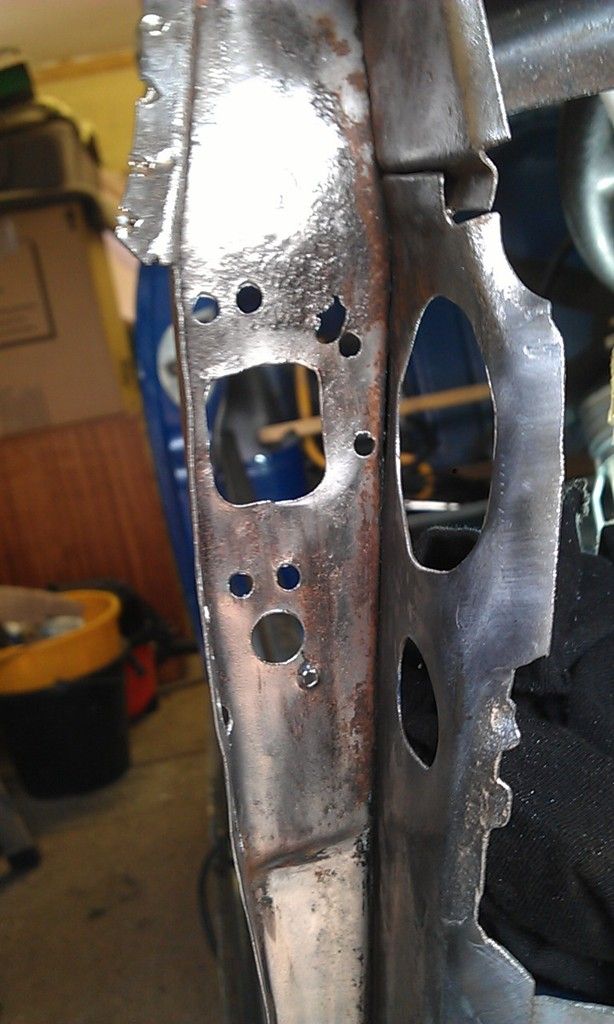
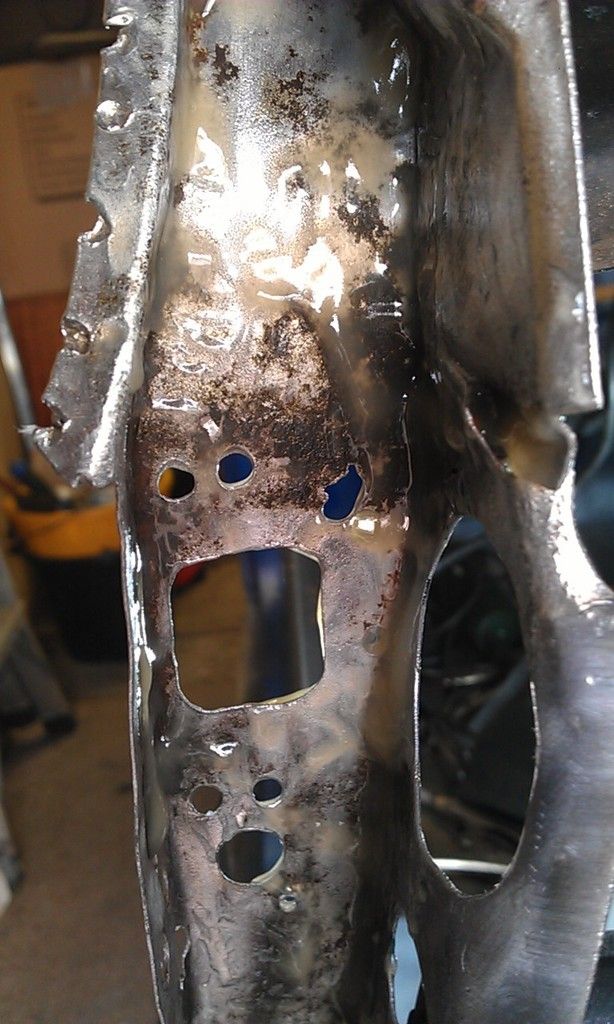
Decided to do the top of the inner wing so I could repair the damage from drilling out the spot welds:


IMAG0419_zps68poiafx.jpg


Got it to this but it needed another coating:


IMAG0425_zpsiciujyve.jpg


IMAG0427_zpsakydpz4f.jpg


Needed a little wire brushing and emery paper but got it pretty clean:


IMAG0430_zpsrioo9cbv.jpg


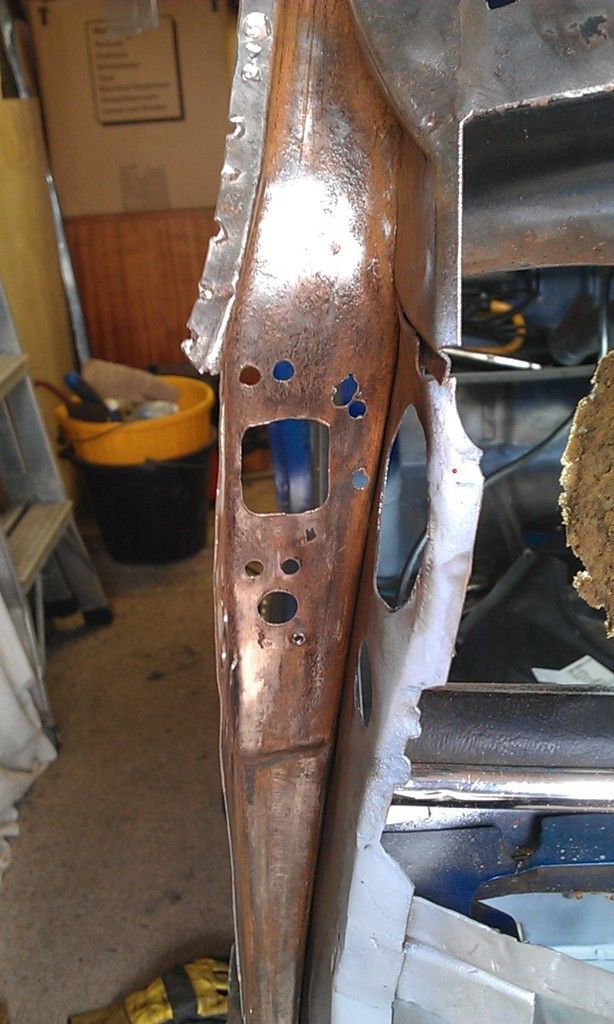
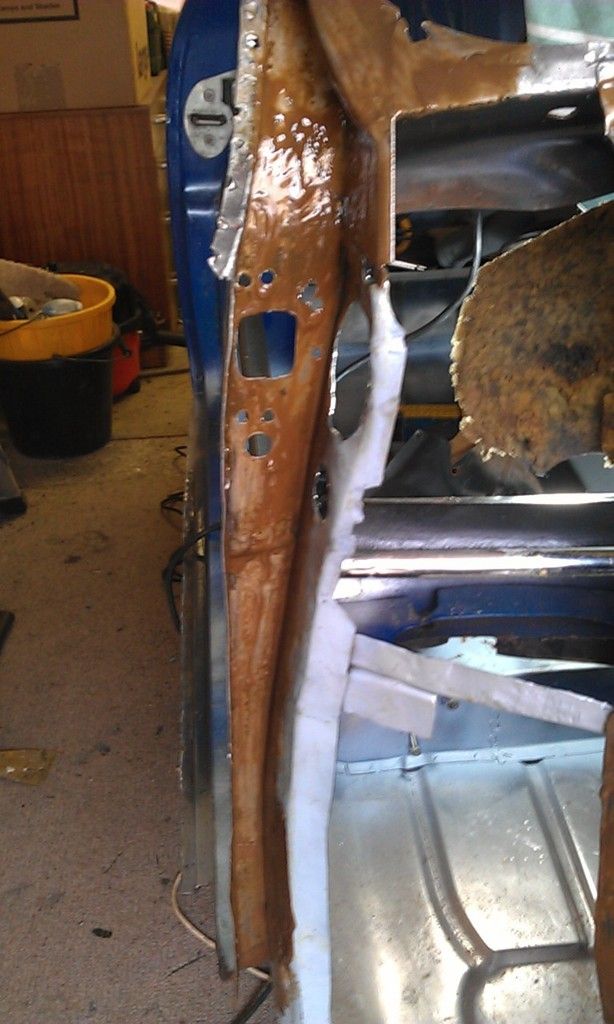
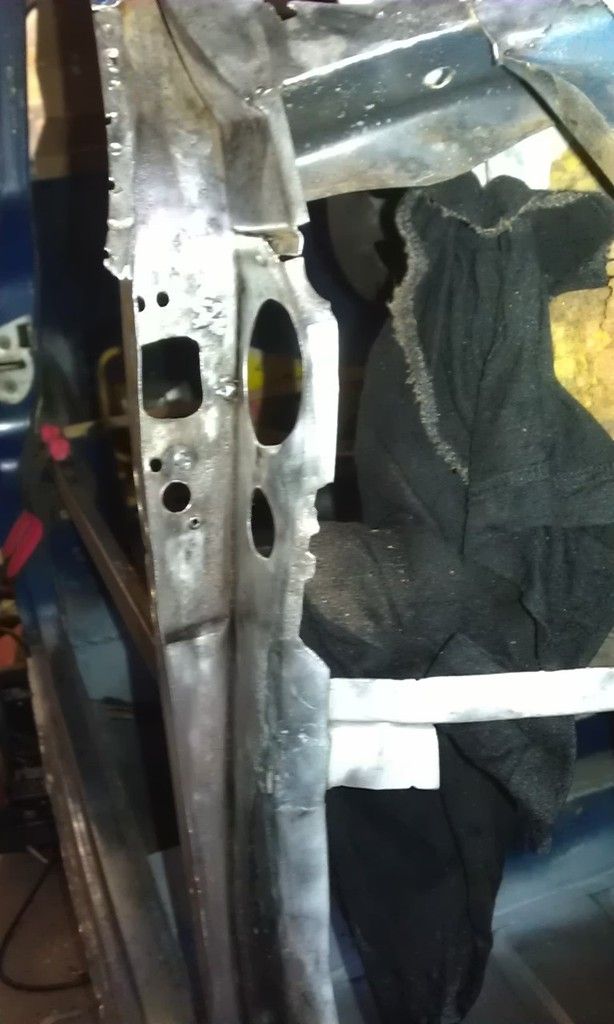
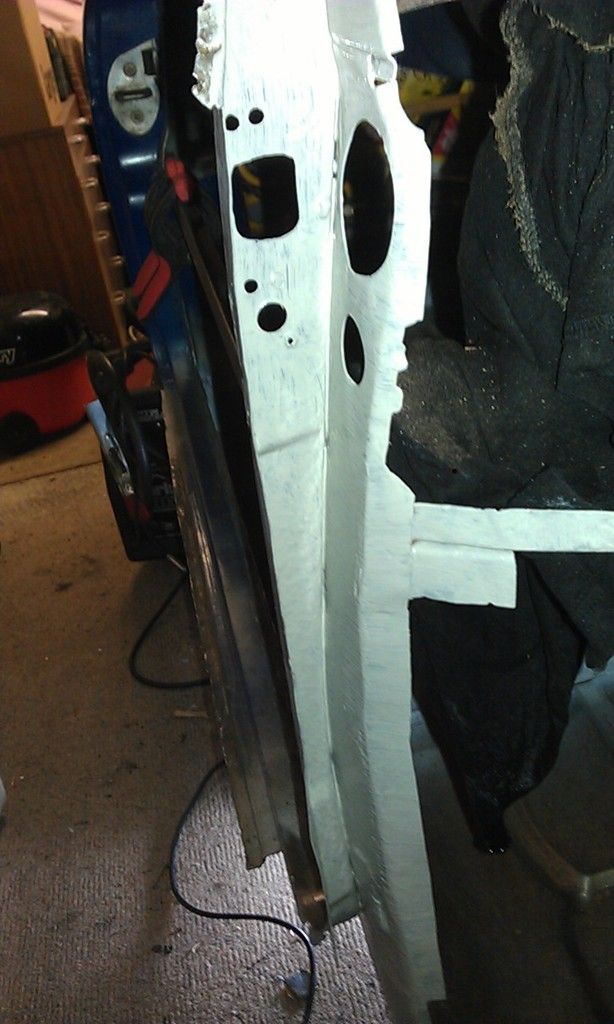
It took most of the time to get this area clean but I was desperate to apply some paint otherwise it would flash rust again by tomorrow, so I mixed up some Epoxy and painted the the inside of the boxing panel and door surround.


IMAG0431_zpsjiyz8eq2.jpg


I also rubbed down the door check and Epoxy Primed that as well:


IMAG0433_zpsr8tn0h6k.jpg


Top tip before you paint something make sure you have somewhere to hang it, I brushed past it and it fell on the floor DOH!!


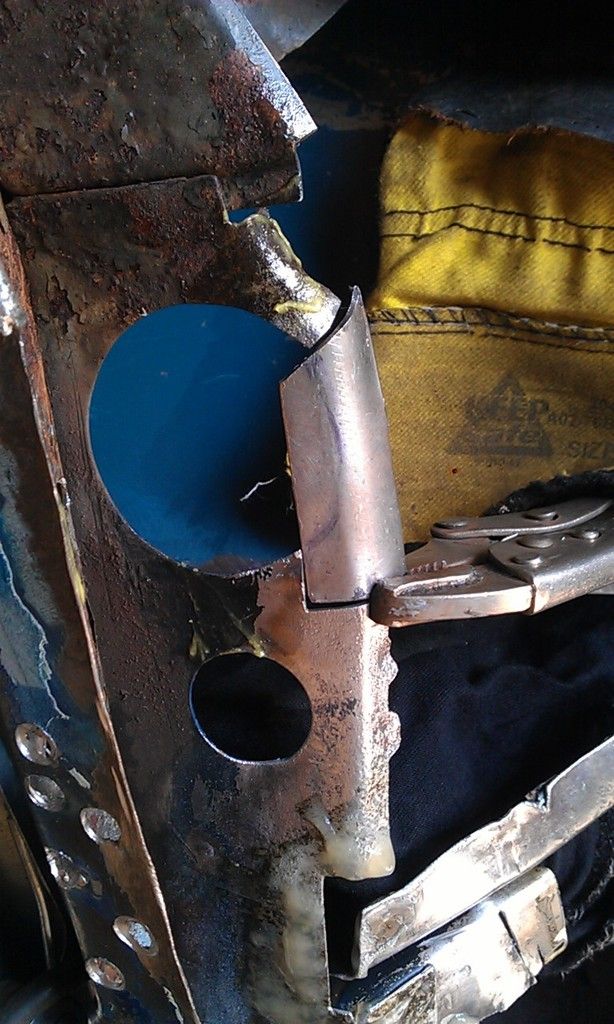
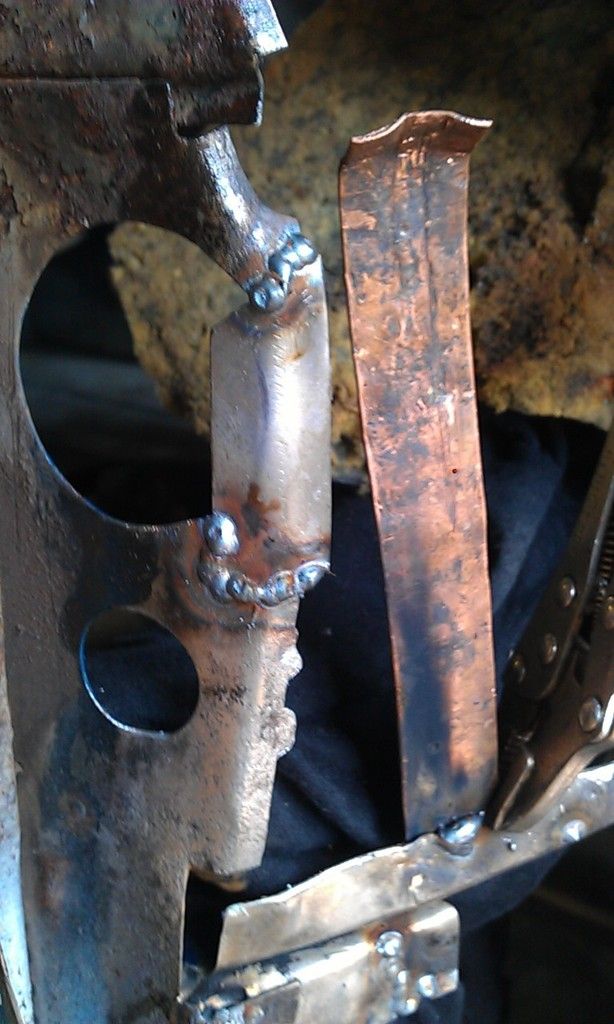
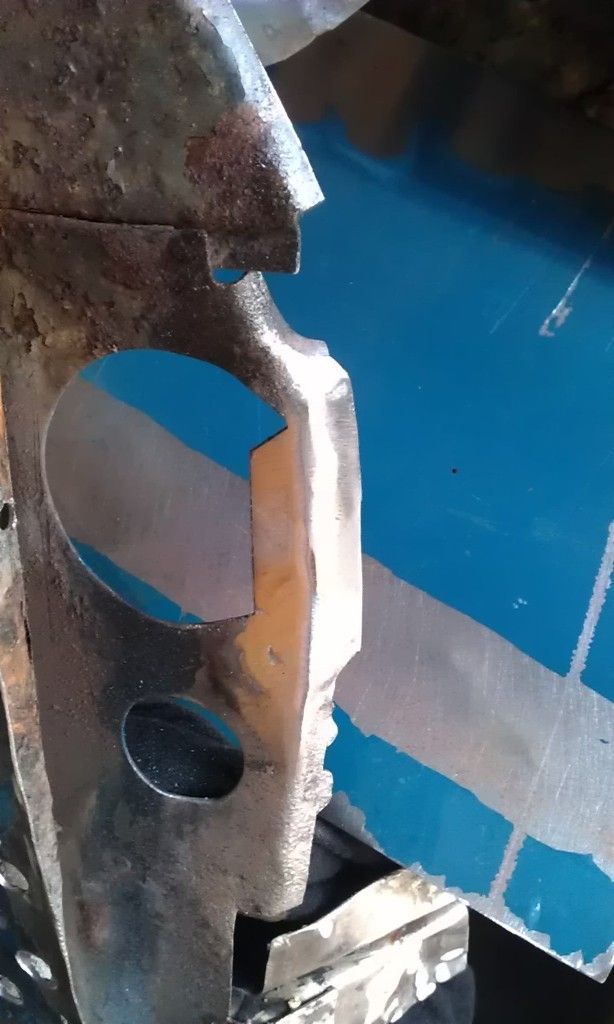
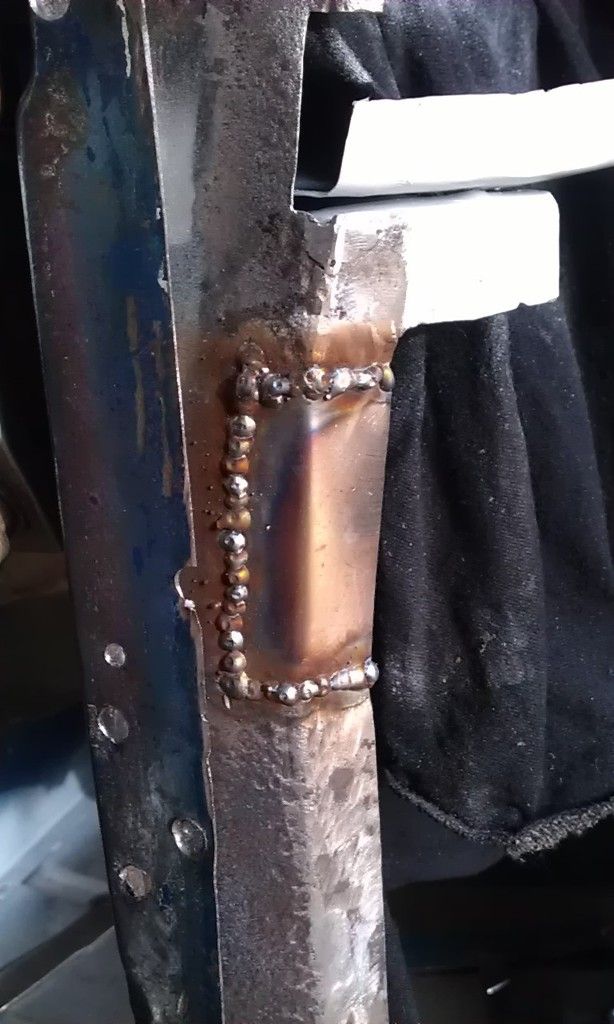
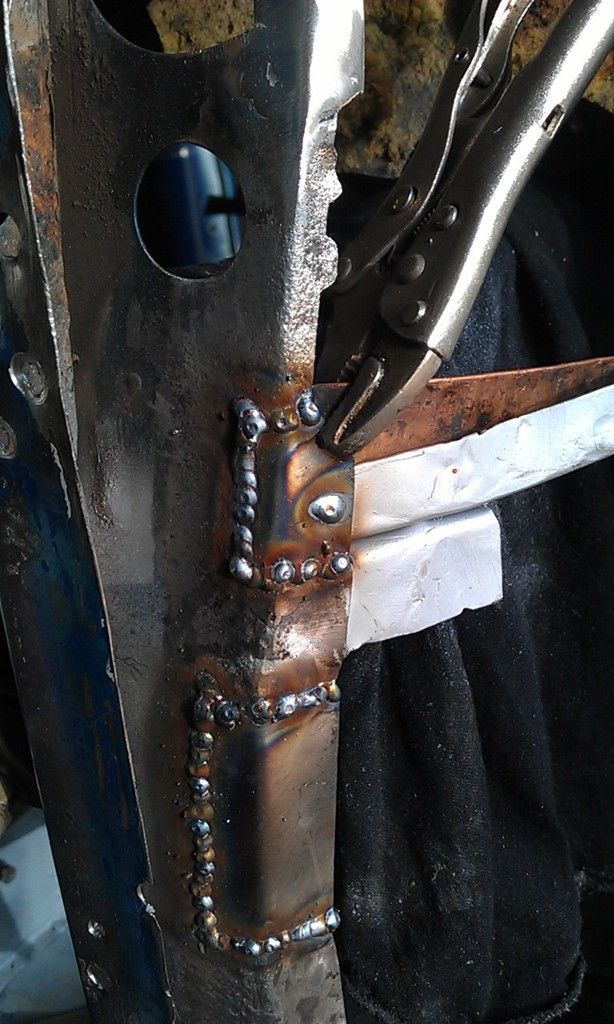
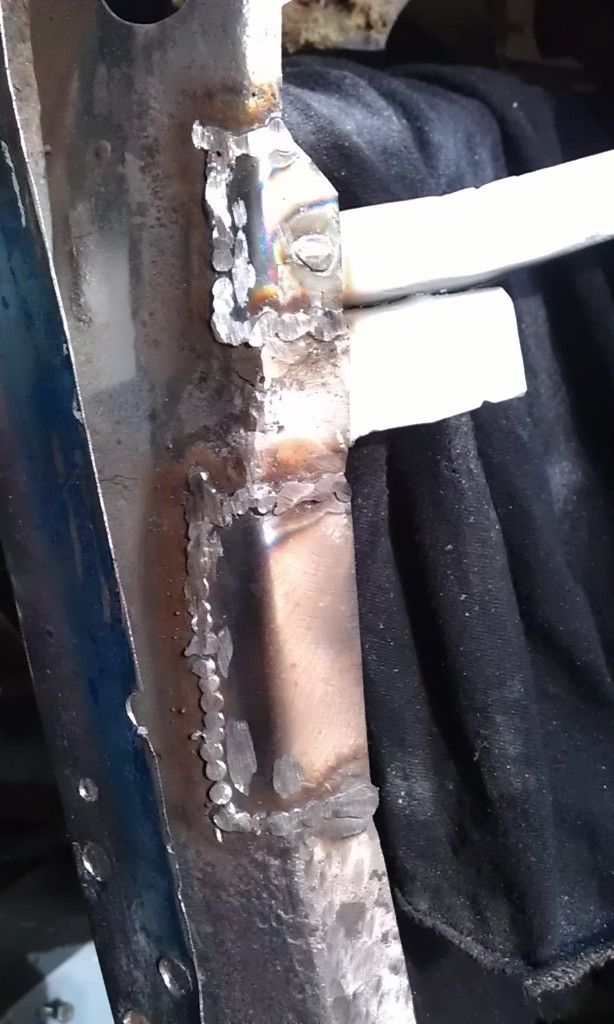
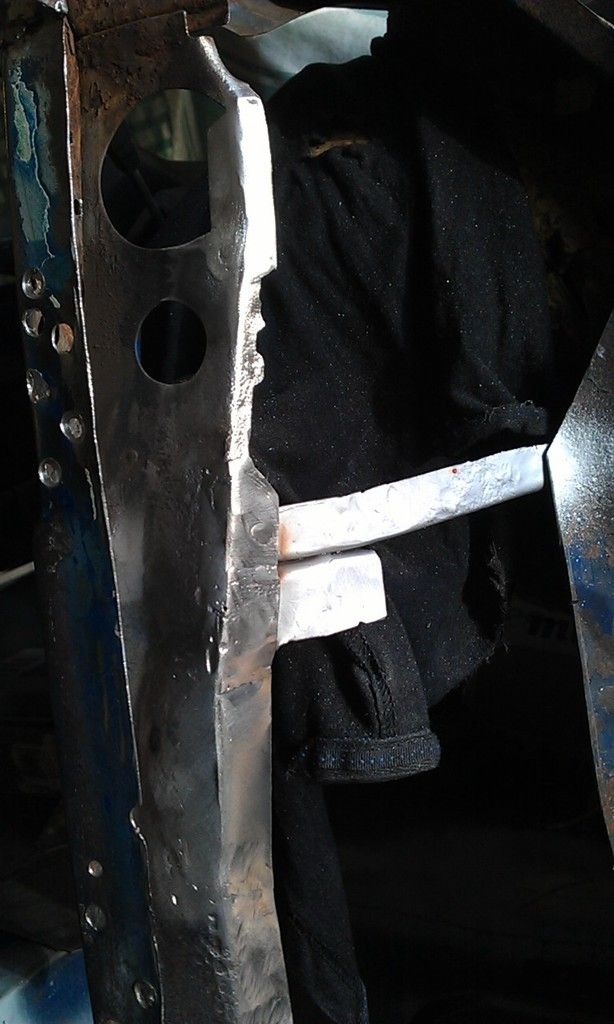
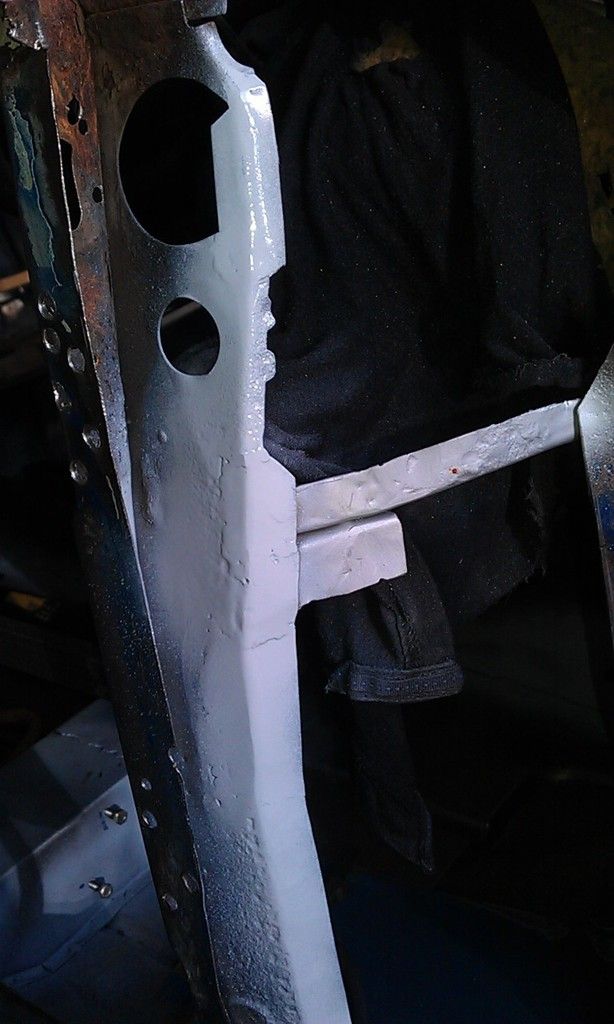
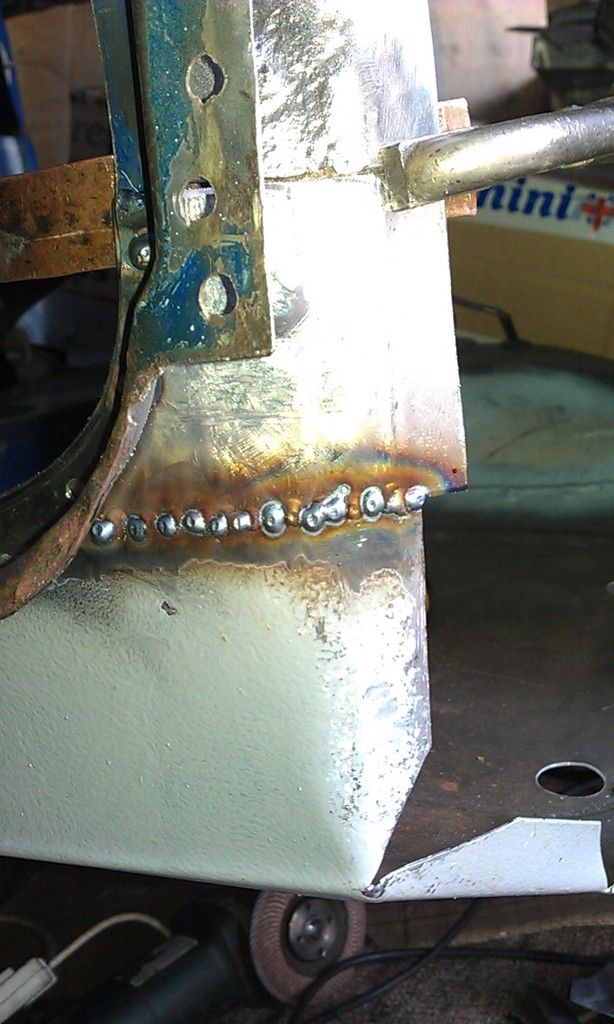
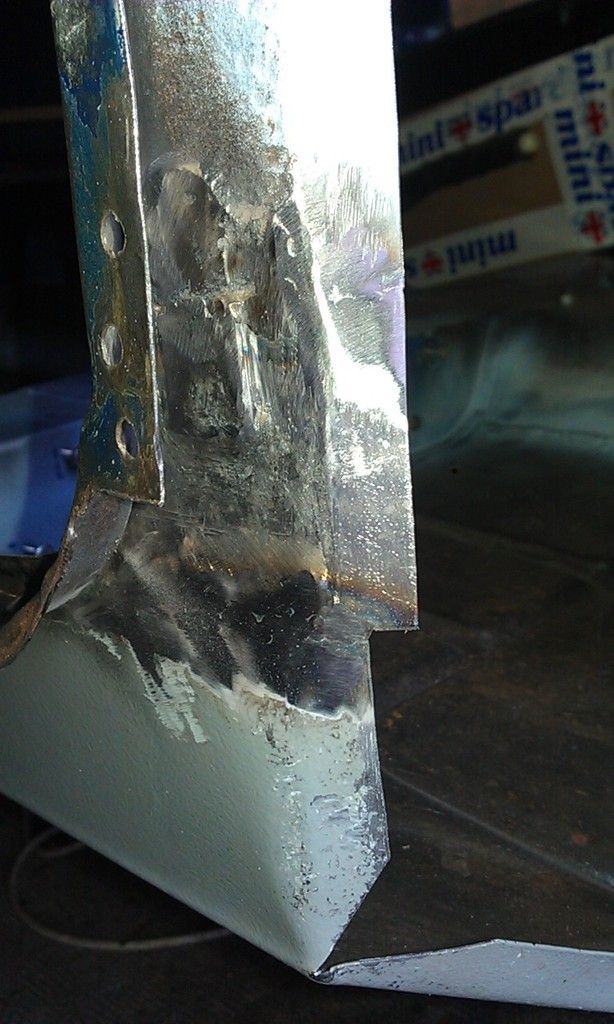
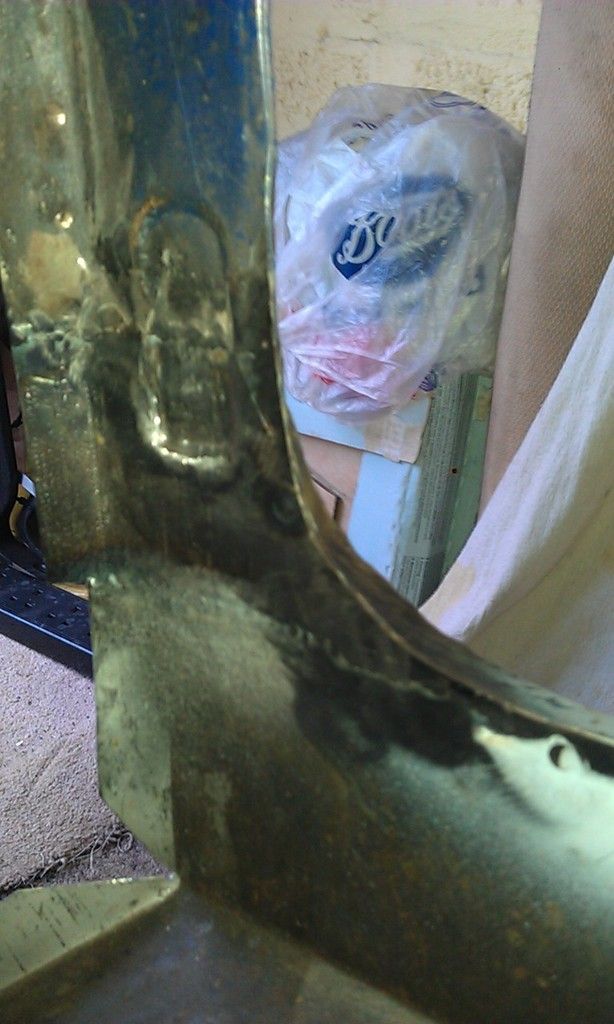
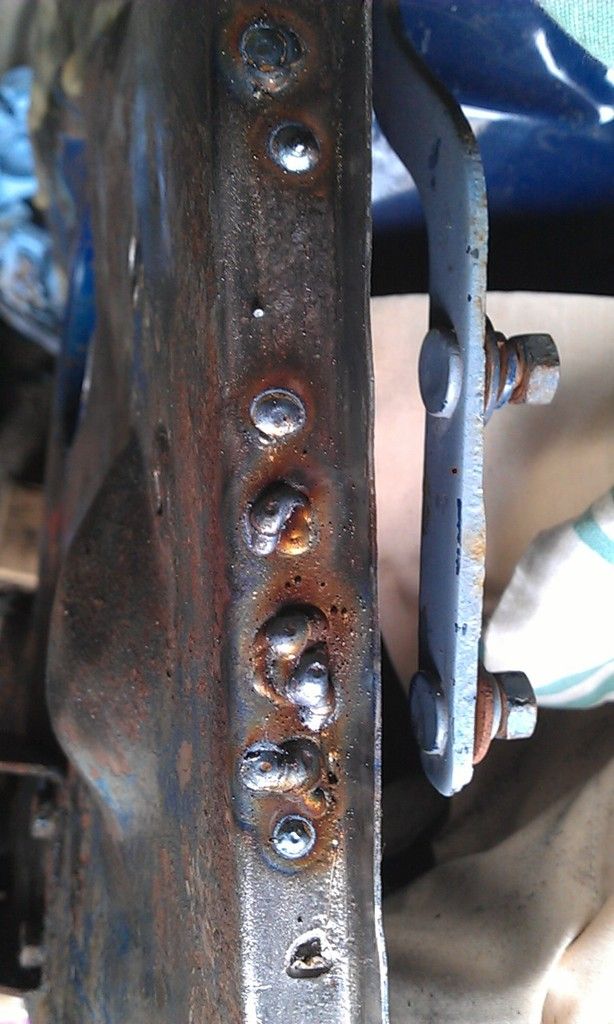
After I cleaned up the top of the wing I welded up the spot weld damage, to help I used a copper block underneath:


IMAG0428_zpst68rkenh.jpg


IMAG0429_zpssoh83qd4.jpg


More tomorrow


2 user(s) are reading this topic

0 members, 2 guests, 0 anonymous users