
1982 Austin Mini - Project Who?
#226

Posted 28 April 2015 - 05:11 PM
#229

Posted 01 May 2015 - 04:22 PM
Thanks guys for all your advice and pics on this one, I now know what to do, I guess that's one of the main battles when trying to do a resto, if the original part is rotten beyond recognition or someone has bodged it so it no longer resembles the original its makes the task somewhat difficult ![]()
#230

Posted 01 May 2015 - 04:36 PM
I'll be in the garage tomorrow to do some more work in the Mini but yesterday I tried to do some tidying up as I can't swing cat in there at the mo, and the more bits I take off the less storage space I have :-(
Also someone was throwing out a trolley as one of the wheels had come off, being a Skip Bandit I retrieved it as well as this missing wheel.
All that was wrong was that the wheel had unscrewed itself and the captive nut had fallen out and was lost. So off to my local village hardware shop to find a suitable nut.
I cleaned up the leg and the plan was to drill a couple of holes and spot weld the nut in place.
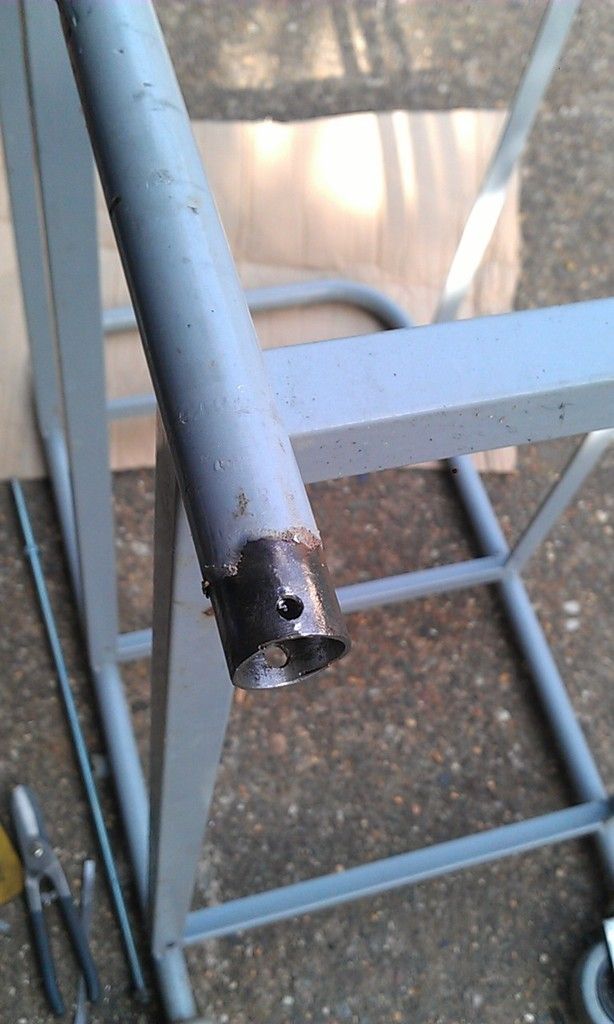
But that didn't work (too much of a gap), so I ended up with this, its a bit messy but did the trick and wont be seen:
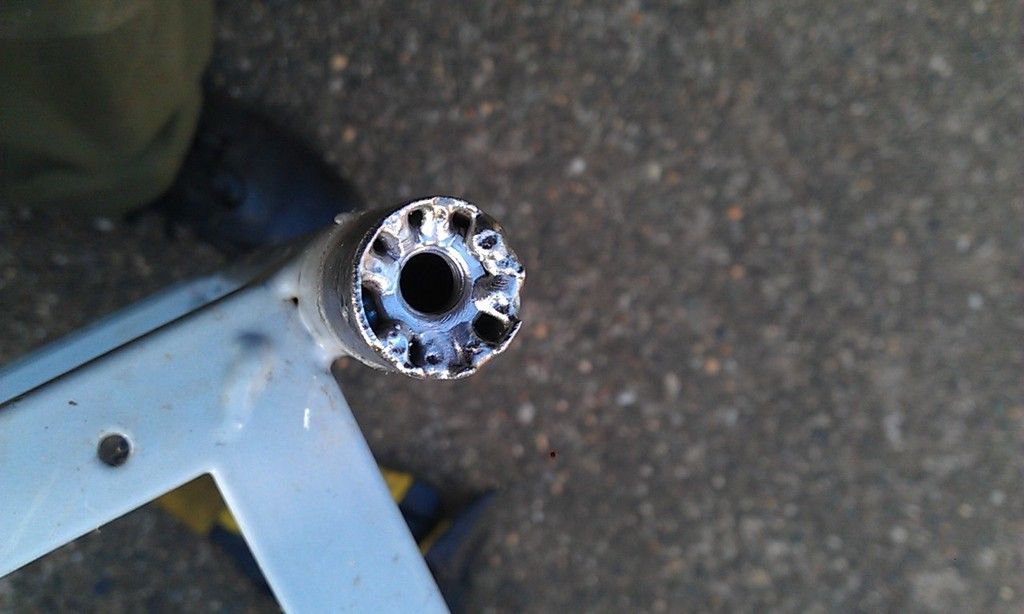
Here's the finished repair:
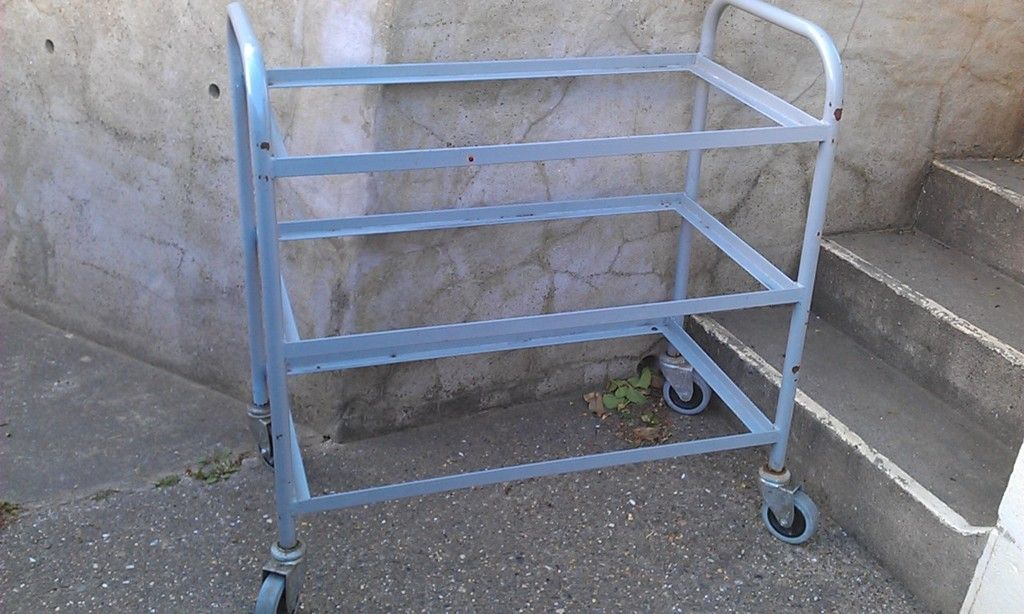
It's quite solid and I thought it would make either:
1. A welding trolley (with a little modification) cut the middle shelf out and mount my welder on the bottom with a bracket to hold the gas bottle against one of the ends? The top could have a 1/2 ply shelf covered in sheet metal and use for welding smaller bits?
2. A tool trolley?
The only problem is my damm garage is so full I can't even roll it past the Mini ![]()
I need a workshop!!!!
#231

Posted 02 May 2015 - 05:51 AM
Got stacks of room spare in my workshop.
#232

Posted 02 May 2015 - 07:18 AM
Love things like the trolley, so many things get thrown away that are still of some use. Nice repair too!
#233

Posted 02 May 2015 - 07:58 AM
That would be really helpful, I may have access to some space in another Garage but retrieving it later may be problematic. It's for things that have been removed and repaired ready to go back on. I'll box them up where I can and give you a shout.If you need to store anything to give yourself some breathing space give me a shout mate.
Got stacks of room spare in my workshop.
#234

Posted 02 May 2015 - 12:21 PM
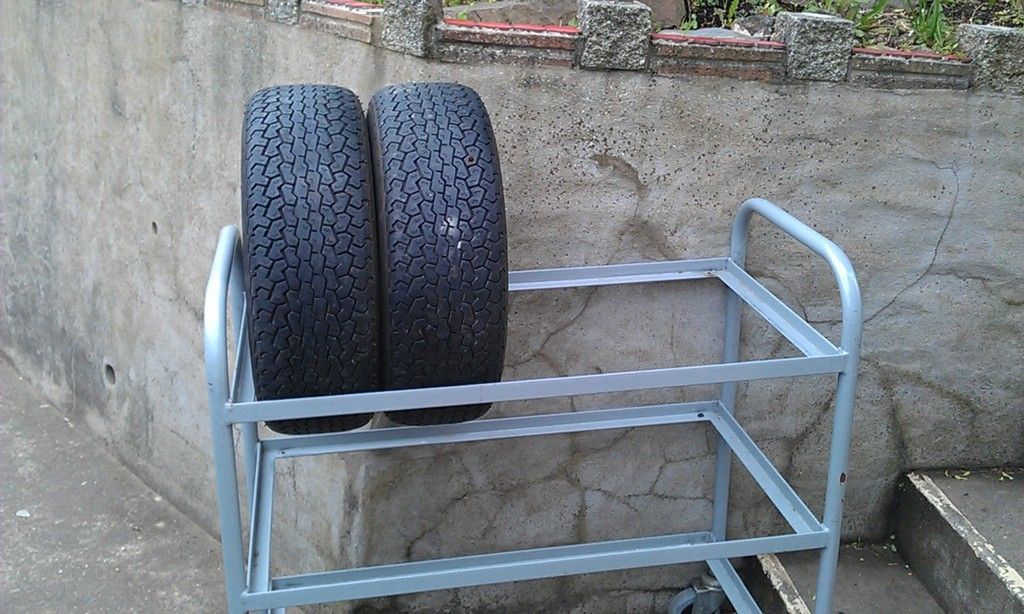
Whilst clearing the garage for todays work the trolley that I repaired yesterday made its first working appearance as a Tyre Rack ![]()
Ok first job of the day was to trim the Inner Wing around the Flitch Panel, I was trying to decide between having a joddled edge and Butt Welding but opted for a cleaner less time consuming Butt Weld so after marking around the Panel I set about cutting the Inner Wing. I also cleaned up around the A Panel Boxing Piece and Dashboard Rail, the Flitch here looks like its had a couple of repairs.
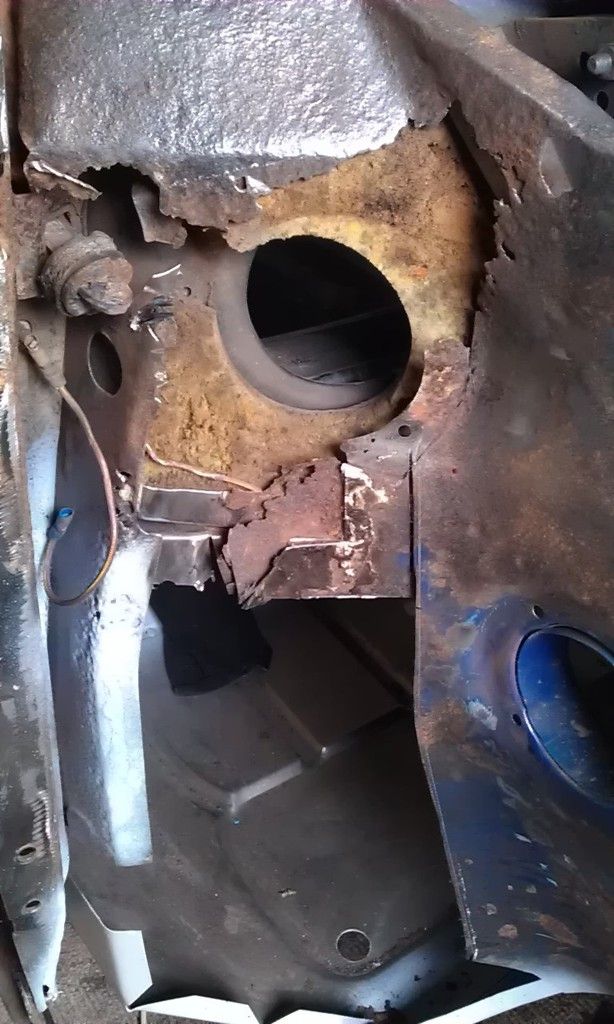
I cut it a little under and glad I did as after I cut it I
remembered that I would need to remove the additional piece of Door Check Panel that had been welded on top of the old Door Check when this was removed I thought the Flitch Panel may move a mm or so. After realising this and before cutting any more or welding in the Flitch I realised that first I needed to get the Door Check Panel in place and test fit the Flitch Panel with the Door In place to ensure everything was lined up. I marked, hole punched and started to drill out the Spot Welds in the Door Surround and then decided to cut the Door Hinge Flange off of the old Door Check, this would make splitting the seam easier.
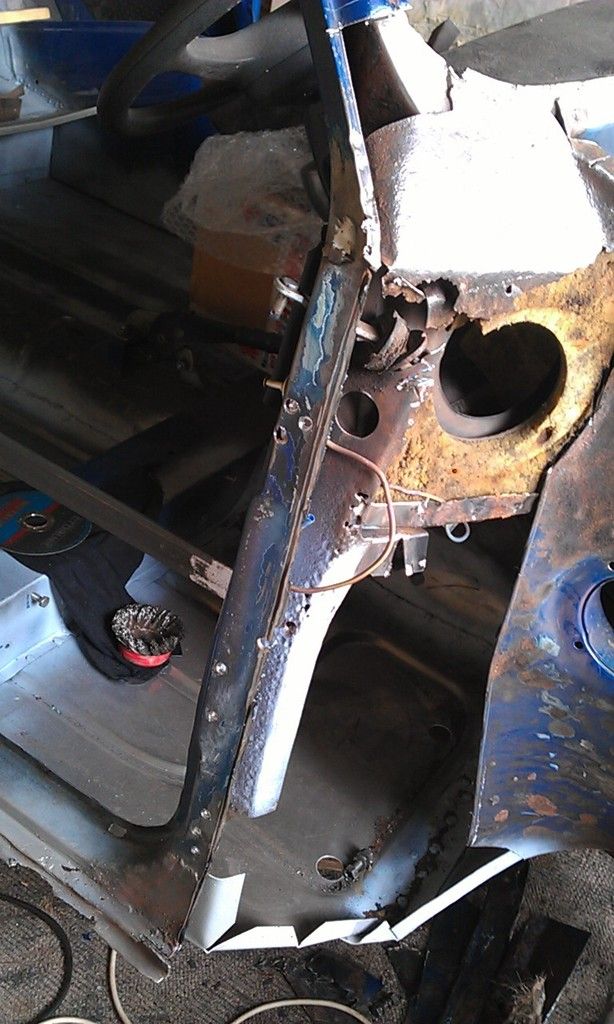
Once I had drilled out most of the Spot Welds I started using a screw driver but soon switched to a Paint / Wallpaper Scraper which is thinner and proved to be the better tool. After drilling out a few missed Spot Welds the Old Door Check sprang free.
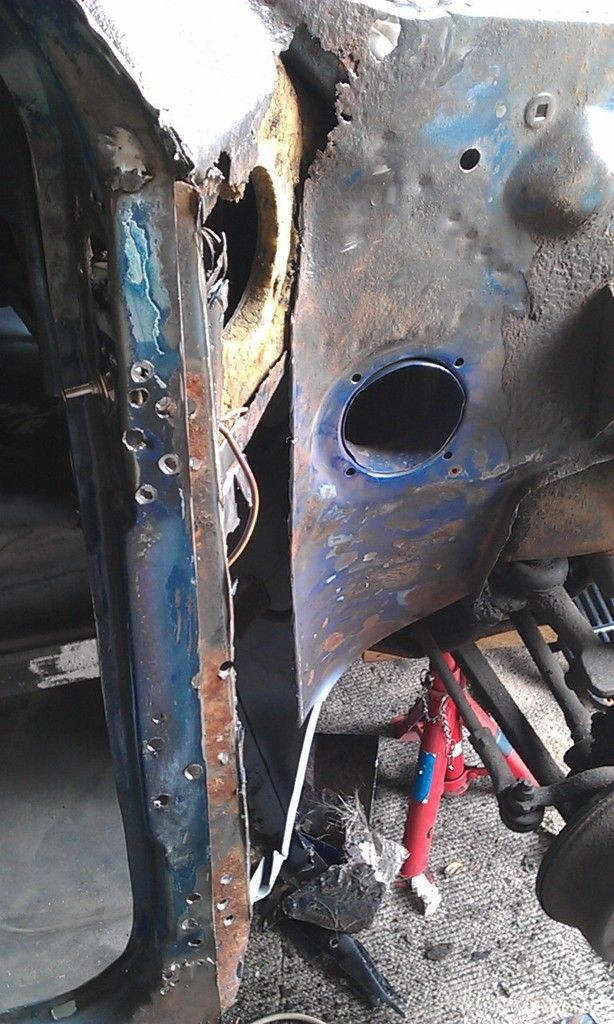
What did not help was the bad repair to the bottom corner of the Door Surround and Door Step. I cut the dodgy corner off which would help when lining up the Door Check:
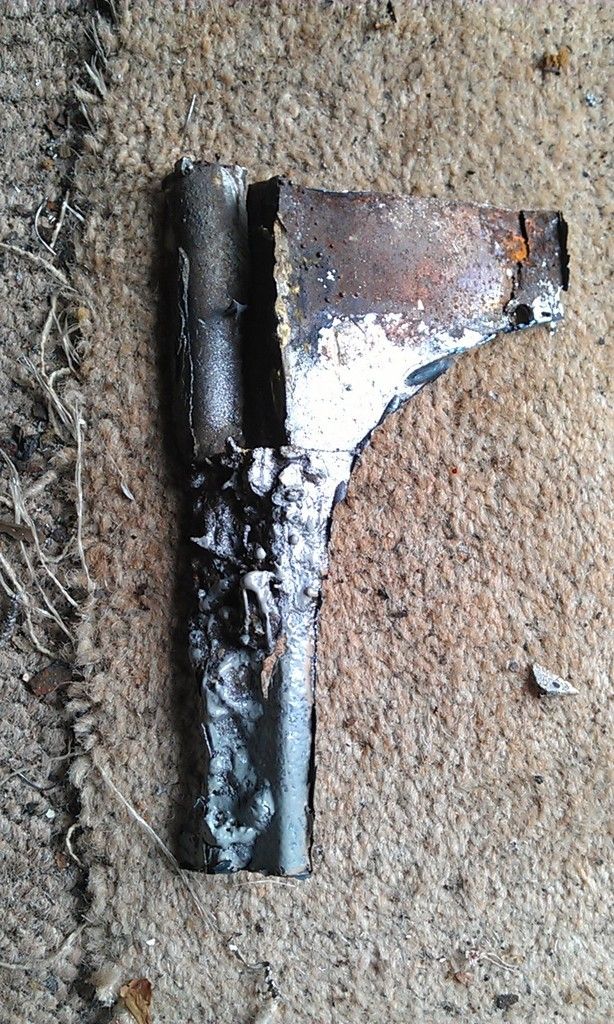
As you can see its had loads of dodgy repairs to it ![]() Next I did a test fit of the Door Check:
Next I did a test fit of the Door Check:
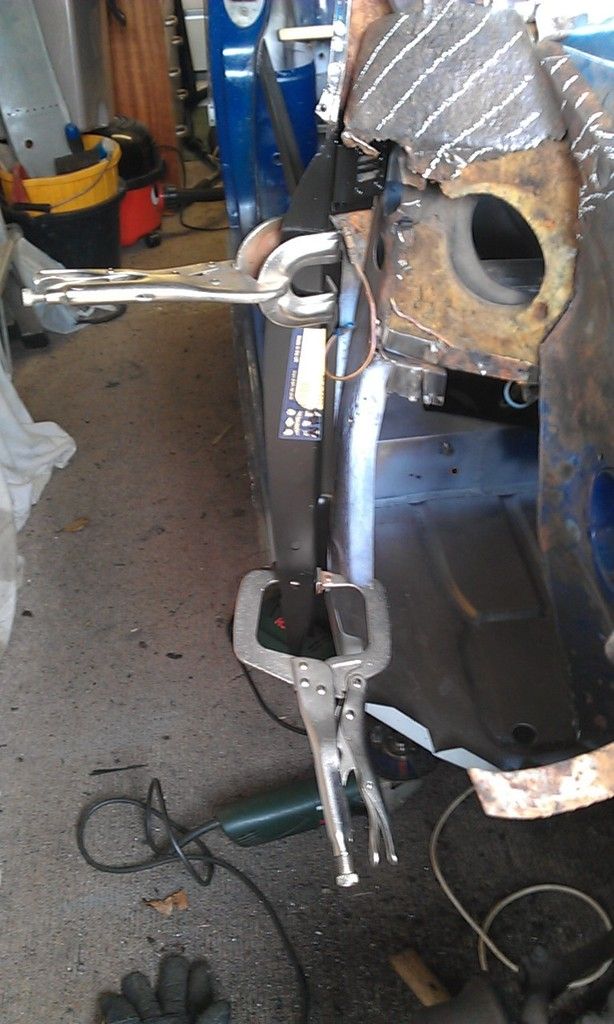
Its not a bad fit but needs pulling tight at the top because its not sitting flush to the A Post on the Inner Edge:
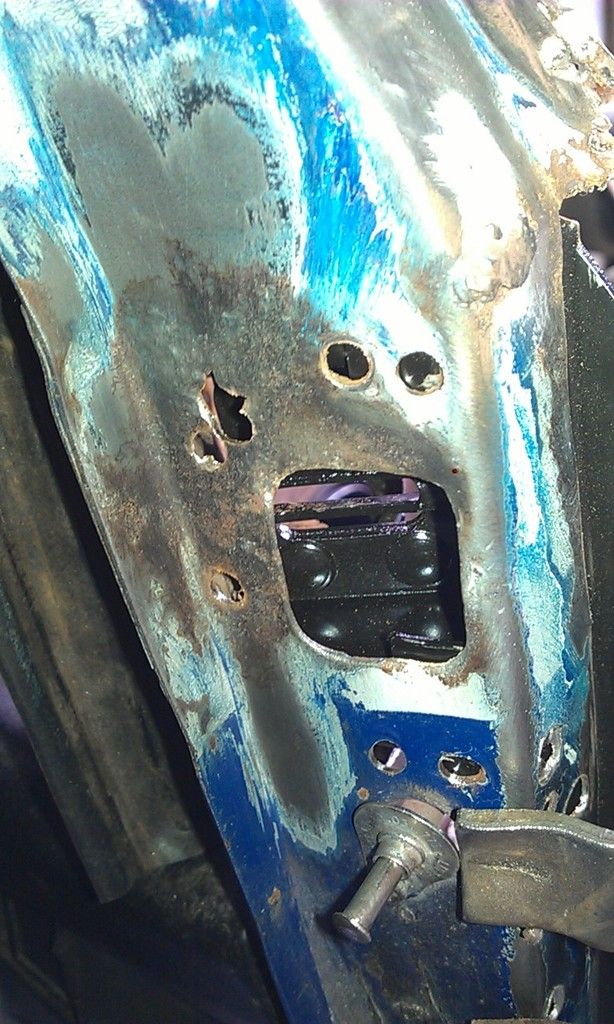
And I need to trim a small amount off of the Inner Flange which I think is stopping it sitting fully home:
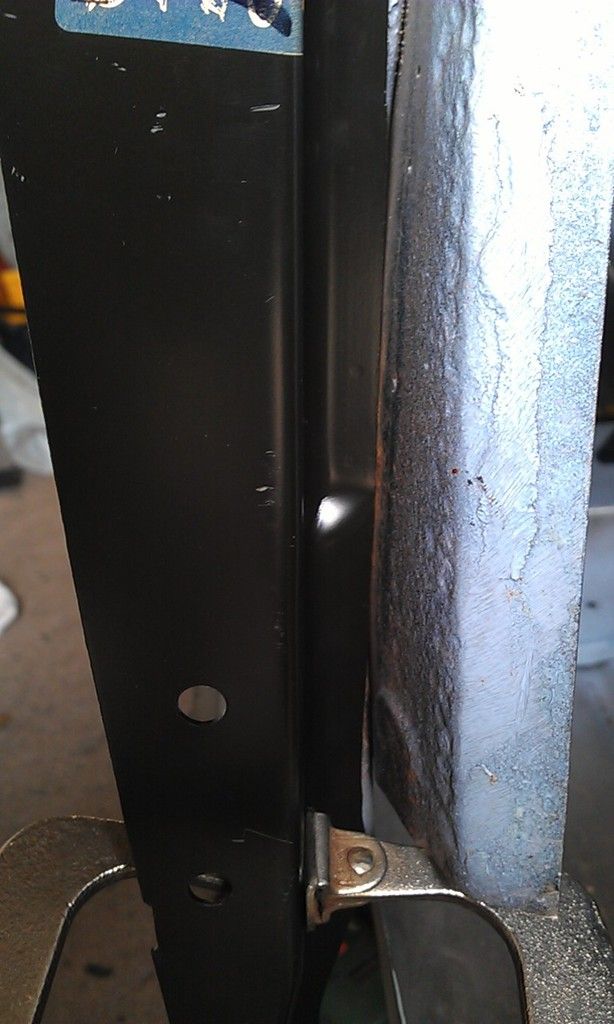
The next job I guess is to clean up inside the Door Surround and make it good where it needs it, Once this has been achieved I will bolt the Door on to hold the Door Check and Flitch Panel in place before I mark up and make the additional filler for the Inner Wing.
Because the A Panel will not be in place how much gap should there be between the edge of the Flitch Panel (The bit that the A Panel wraps around)?
Edited by JonnyAlpha, 02 May 2015 - 07:18 PM.
#235

Posted 02 May 2015 - 07:27 PM
Well I had planned (as usual) to get a lot more done today but progress is progress.
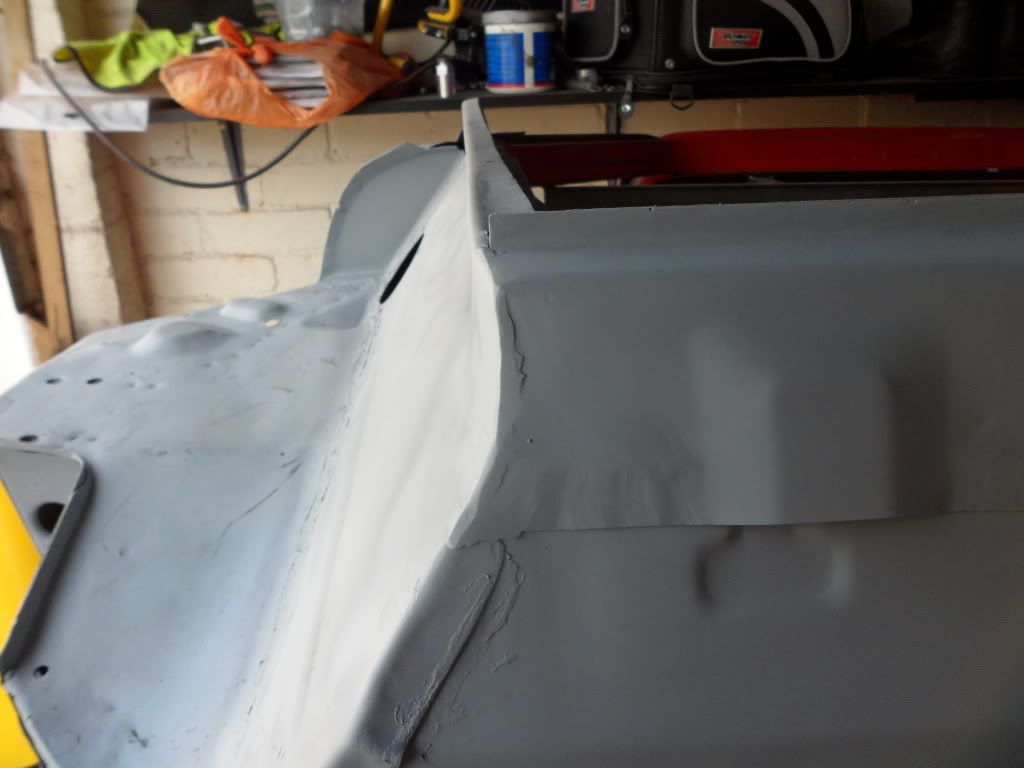
What to most of the day was making the filler piece for the Inner Wing Repair.
After a lot of measuring marking, bending and banging I managed to make this:
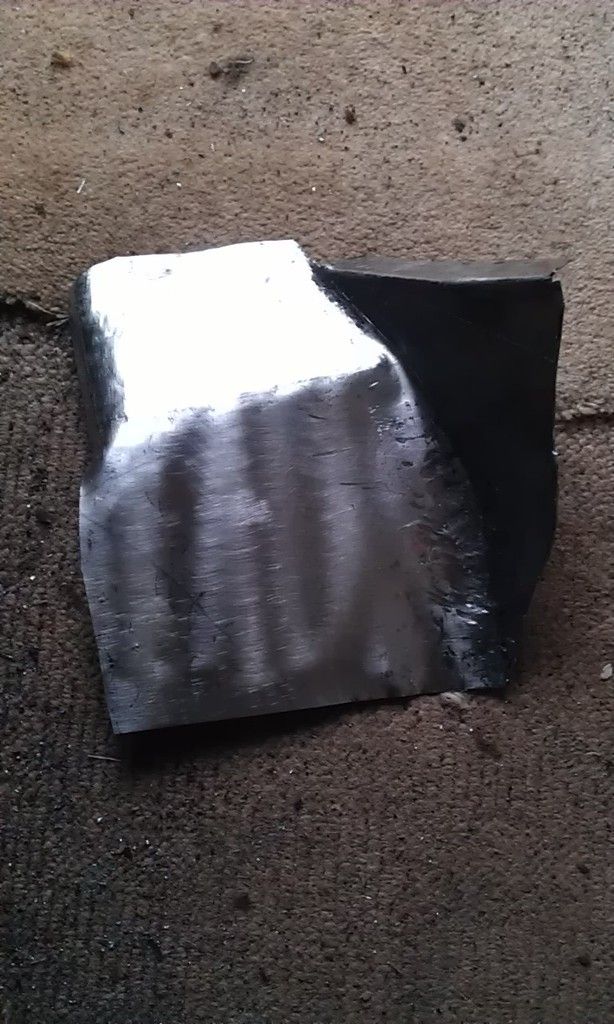
And here it is clamped in place before trimming the front edge:
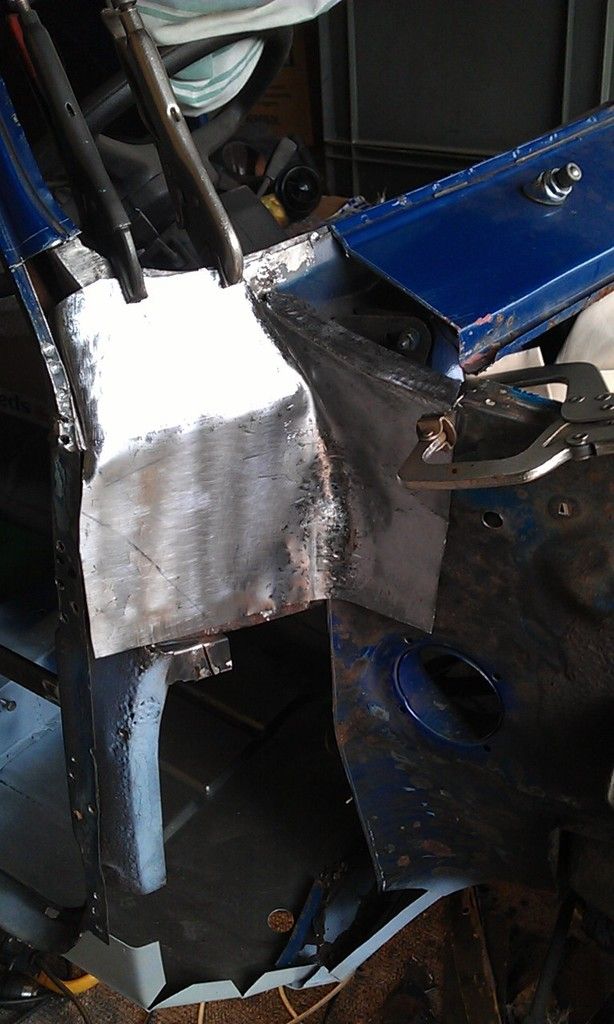
And here I have trimmed the front edge, it will also need to be cut back more once I get the Flitch Panel lined up but first the Door Check, Door and Flitch panel need bolting in place:
In this pic you can just make out the blood stains ![]()
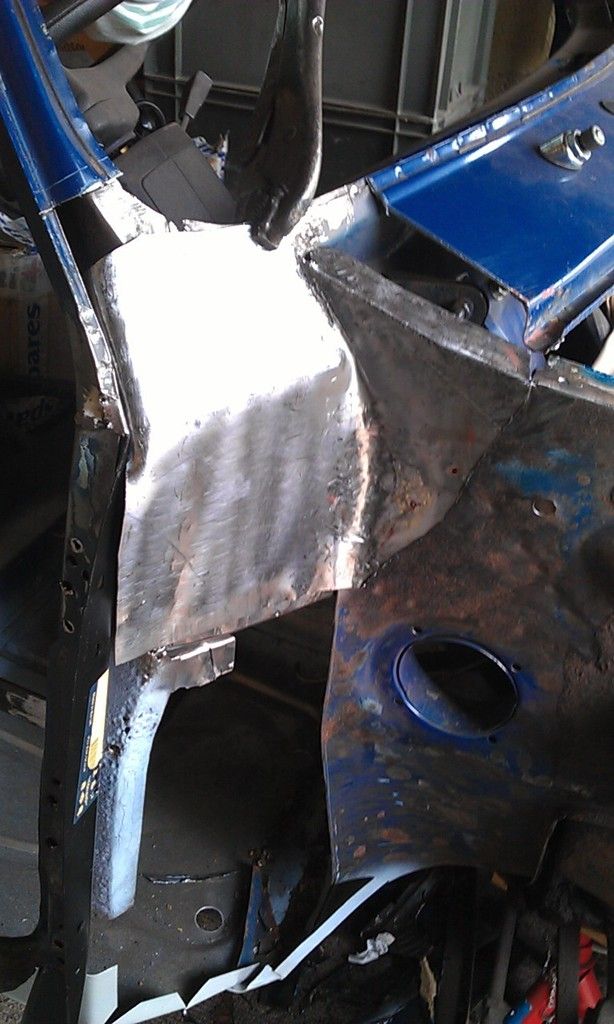
#236

Posted 02 May 2015 - 11:03 PM
Hats off to you all, your bloody amazing.
#237

Posted 03 May 2015 - 05:00 AM
Every bit you do is a bit closer to the finish. I never ceases to amaze me what you guys repair, it's quite incredable. The amount of rust that some cars there have and you say "oh it just needs a new front and rear and some sills", crikey there's nothing left except the roof......and that probably needs patching.
Hats off to you all, your bloody amazing.
Its the weather over here. Damp dark garages and rainy weather = rust. We have to fight this evil battle with rust lol. Bet they don't rust as much in Oz.
Good thread Jonnalpha, thanks for a good read.
#238
 Guest_johnylässig_*
Posted 03 May 2015 - 01:30 PM
thats gonna need some serious panels, will watching this one ![]()
#239

Posted 03 May 2015 - 04:03 PM
#240

Posted 03 May 2015 - 05:25 PM
Every bit you do is a bit closer to the finish. I never ceases to amaze me what you guys repair, it's quite incredable. The amount of rust that some cars there have and you say "oh it just needs a new front and rear and some sills", crikey there's nothing left except the roof......and that probably needs patching.
Hats off to you all, your bloody amazing.
Thanks peter-b when I look back and see what I started with and what I have done it sometimes amazes me, what was I thinking ![]()
Every bit you do is a bit closer to the finish. I never ceases to amaze me what you guys repair, it's quite incredable. The amount of rust that some cars there have and you say "oh it just needs a new front and rear and some sills", crikey there's nothing left except the roof......and that probably needs patching.
Hats off to you all, your bloody amazing.Its the weather over here. Damp dark garages and rainy weather = rust. We have to fight this evil battle with rust lol. Bet they don't rust as much in Oz.
Good thread Jonnalpha, thanks for a good read.
Thanks Hendred, rust is our enemy in the battle to restore.
thats gonna need some serious panels, will watching this one
Nah nearly finished honest ![]() Reckon the LH side is gonna be as bad, I think I'm on the homeward stretch now ?
Reckon the LH side is gonna be as bad, I think I'm on the homeward stretch now ?
Hats off to you for making the top piece of the flitch panel from one piece. Like you say, progress is progress.
Thanks evansisgreat, making these bits takes takes a long time but the self satisfaction makes up for it I guess.
That piece was particularly hard because it has some reverse folds in it so you have to slowly stretch the metal, the indentation where in the Inner WIng was also hard but that takes some beating on a Sand Filled Canvas Bag with a Ball Pein Hammer. Cut the end of the top flange short but that's an easy remedy.
I got the inspiration and a lot of the knowledge from RetroRides, there's a guy on there called TonyBMW, there's nothing he can't make!!!
Here's the thread on Making Panels, so of my panels are in here too.
Edited by JonnyAlpha, 03 May 2015 - 05:40 PM.
1 user(s) are reading this topic
0 members, 1 guests, 0 anonymous users


