Jump to content


Photo
- - - - -

1982 Austin Mini - Project Who?


  • Please log in to reply
852 replies to this topic

#181 JonnyAlpha

JonnyAlpha

    Up Into Fourth

  • Members
  • PipPipPipPipPipPipPipPipPip
  • 2,748 posts
  • Location: North Devon
  • Local Club: Exmoor Minis

Posted 20 April 2015 - 08:42 PM

Update 19 May 2015:

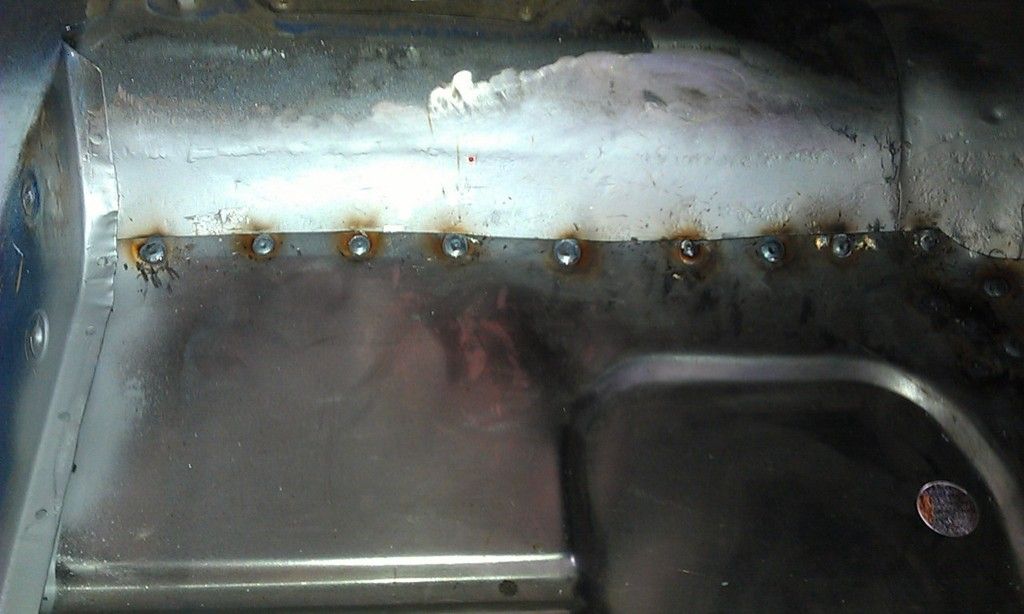
Had a productive day on Sunday, I needed to finish the brunt of the welding on the RH Half Floor Panel and at least get the underside painted.


First of all I had to finish the plug welds:


IMAG0238_zps496pknhq.jpg

IMAG0239_zpsyhbhlmwb.jpg


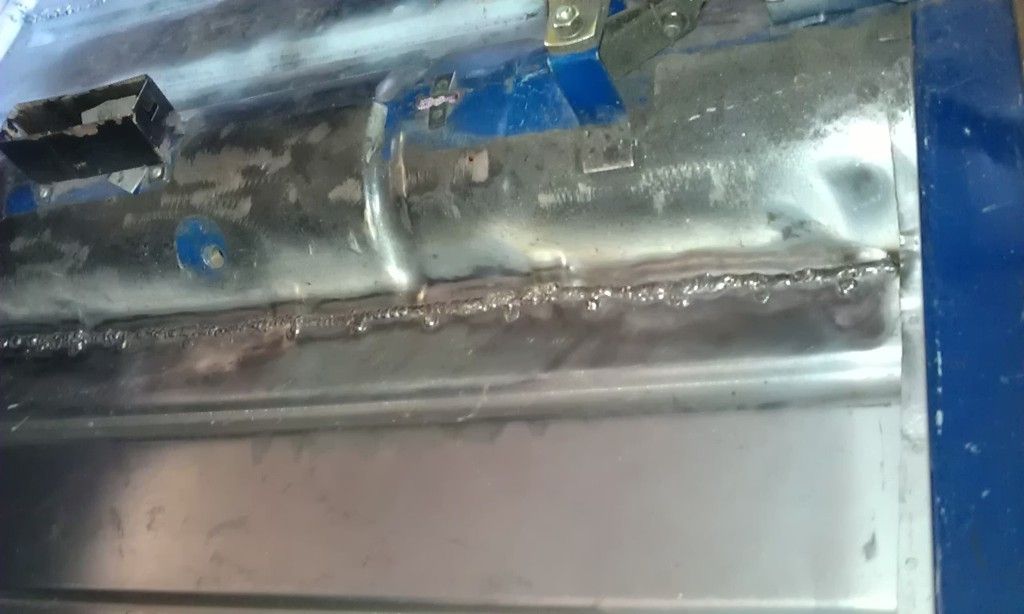
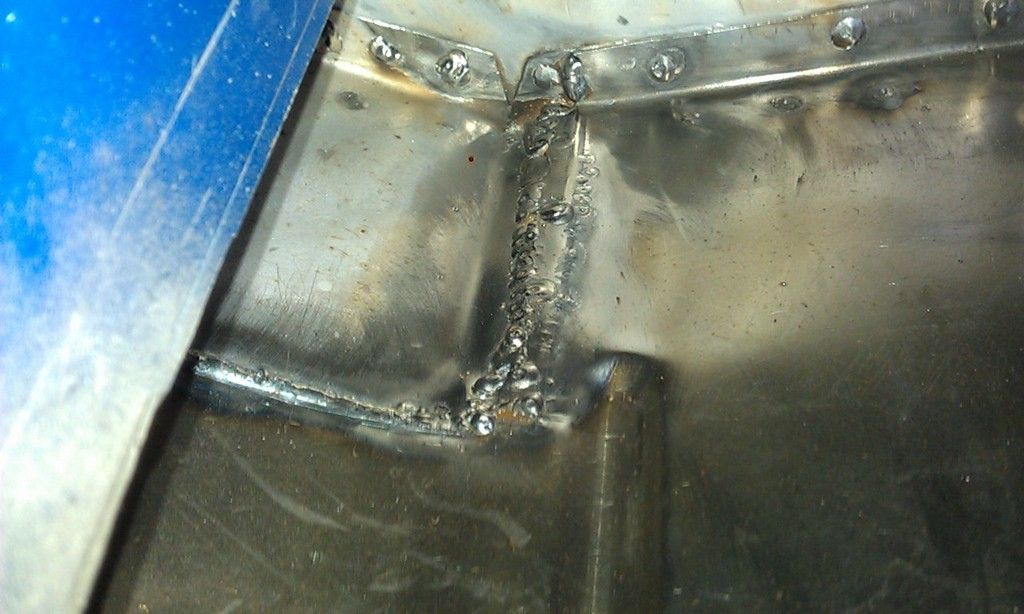
Next I had to seam weld where the floor panel overlaps the old floor along the edge of the tunnel, took ages to get the correct settings but got there in the end and did some really good welds:


IMAG0240_zpsnoxvl4v3.jpg


IMAG0241_zpsmcitwro4.jpg


And around the RH corner repair, top tip I really wish I had made the decision to go for a half or full floor from the outset (beginners take heed)!!


IMAG0242_zpsqyl5don9.jpg


#182 JonnyAlpha

JonnyAlpha

    Up Into Fourth

  • Members
  • PipPipPipPipPipPipPipPipPip
  • 2,748 posts
  • Location: North Devon
  • Local Club: Exmoor Minis

Posted 20 April 2015 - 08:52 PM

Also on Sunday 19 Apr 2015 ........... (Doing this post in stages as I have lost the Internet twice just as I finished).


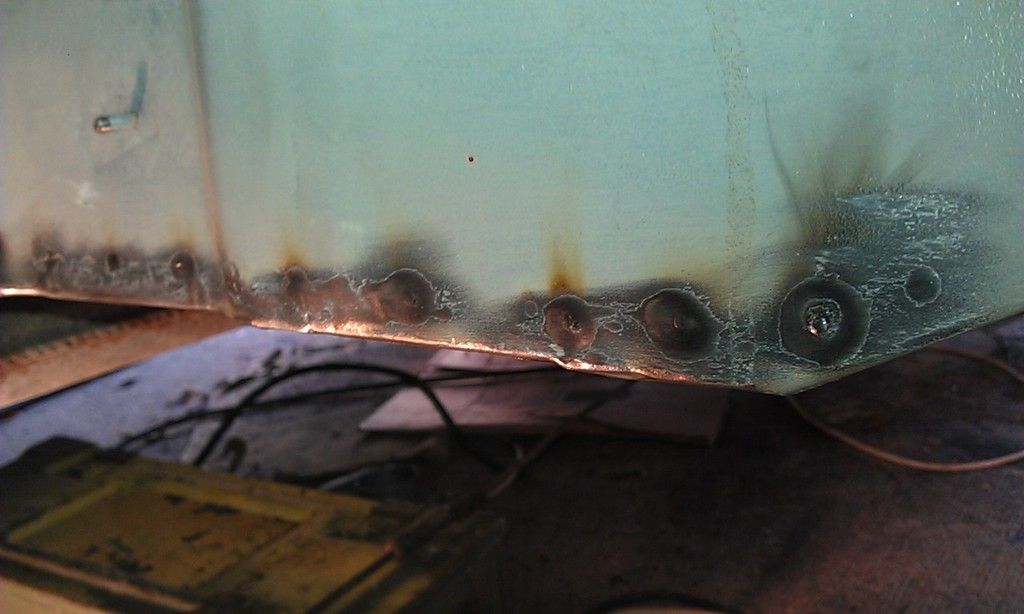
Had some penetration on the Heel Board of course, and cleaned off the paint before dressing down with a Flap Disc.


IMAG0243_zpsdxcvibmv.jpg


Also cleaned up the rest of the penetration marks and the underside of the Door Step and Heel Board to Inner Sill piece ready to paint.

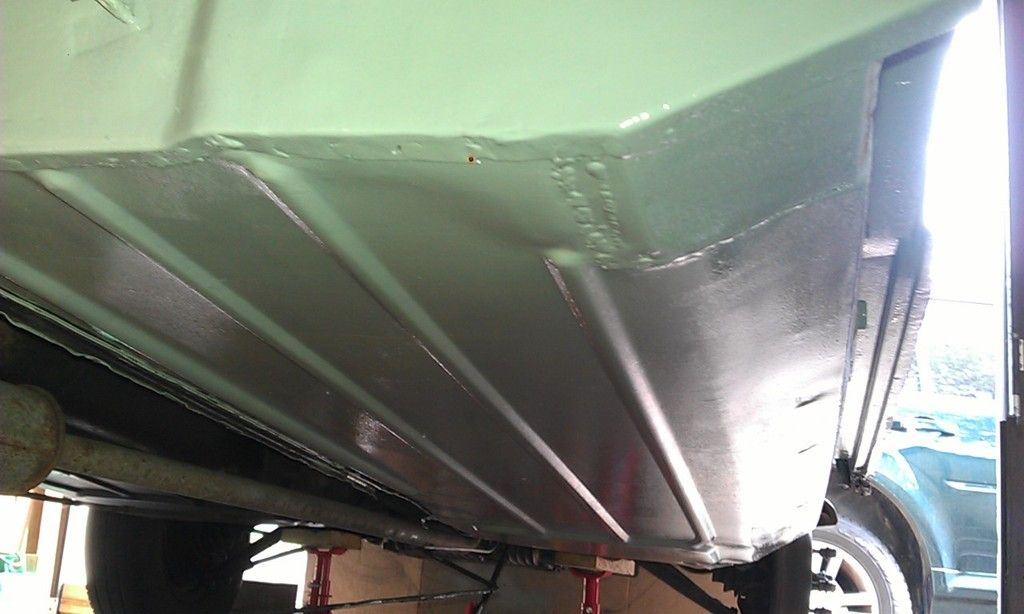
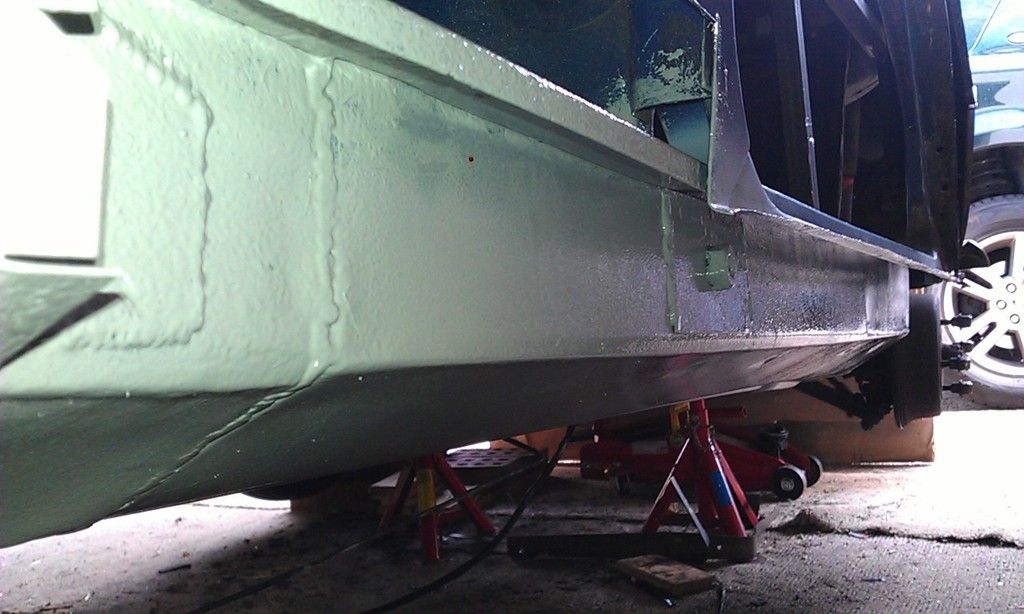
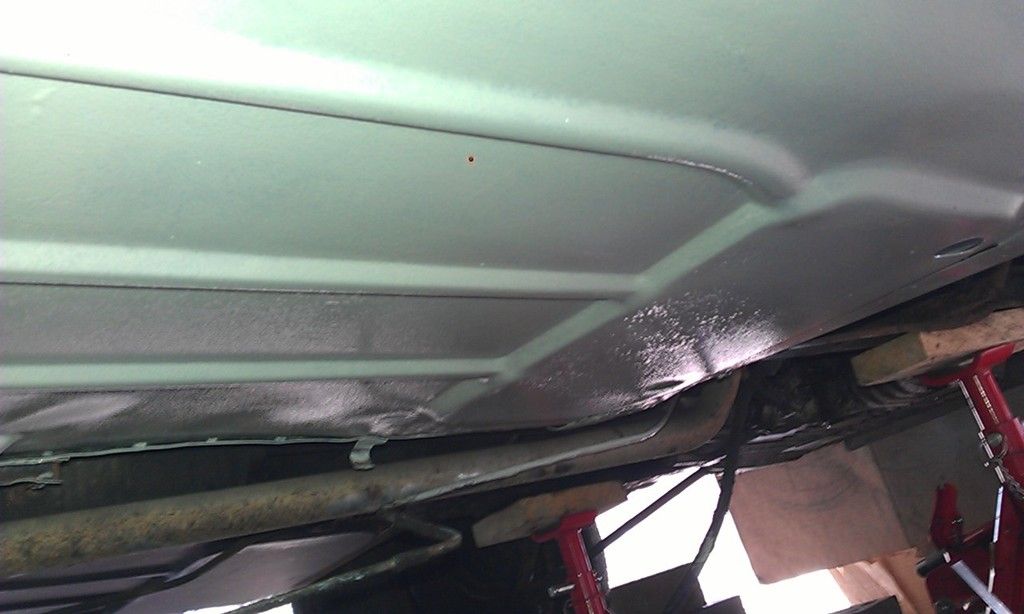
As I had prepped the majority of the floor the day before rather than slap on some Etch Primer as a temporary measure I decided to get the first proper coat on.

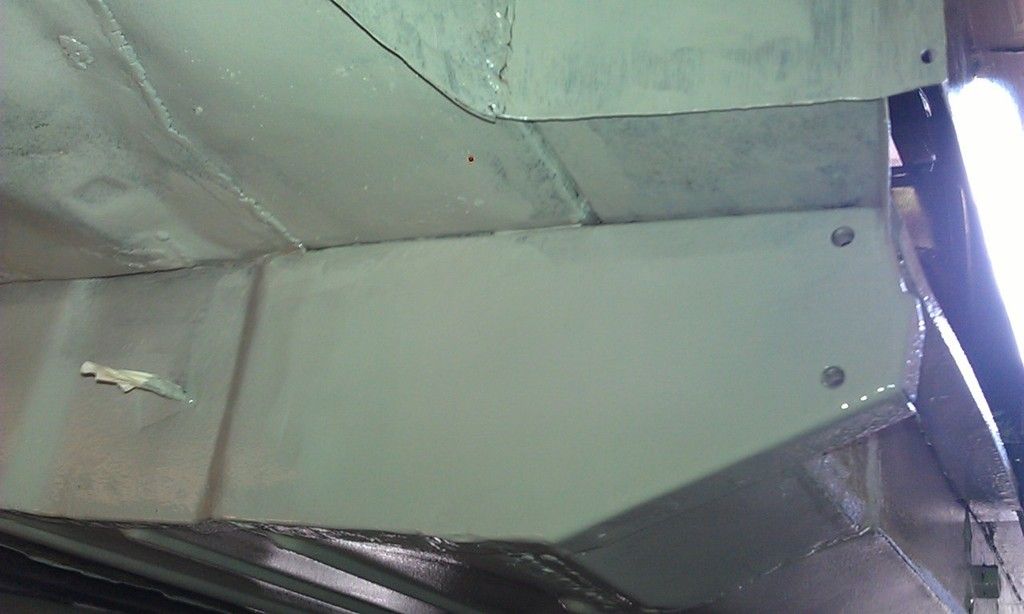
I mixed up some Jotun Jotamastic 87, brushed in the edges and recesses and then applied the rest everywhere with a Mini Foam Roller, give a good finish but will be covered with another Seam Sealer, another coat of Epoxy, Gravitex Stone Chip and Top Colour Coat.


Here's the finish after the first coat:


IMAG0244_zpsznmjmuid.jpg


IMAG0245_zpsihhzjapg.jpg


IMAG0246_zpsqunj09yb.jpg


IMAG0248_zpsl34hsw5f.jpg


#183 JonnyAlpha

JonnyAlpha

    Up Into Fourth

  • Members
  • PipPipPipPipPipPipPipPipPip
  • 2,748 posts
  • Location: North Devon
  • Local Club: Exmoor Minis

Posted 20 April 2015 - 09:00 PM

Today I managed to get a little bit done, I text fitted the Cross Member Reapir piece again but found that the seat mounting bolt holes were 5mm out!!! After much scratching of heads and contemplating having to modify the end of the panel where it meets the Inner Sill, no mean task, I had a look at the Seat Mounting Brackets.

On inspection it would appear that there is sufficient leeway to weld in the original holes and drill some more that line up with the Captive Nuts whilst still keeping the Seat Bracket in the correct location, this can also be done after the floor is finished.


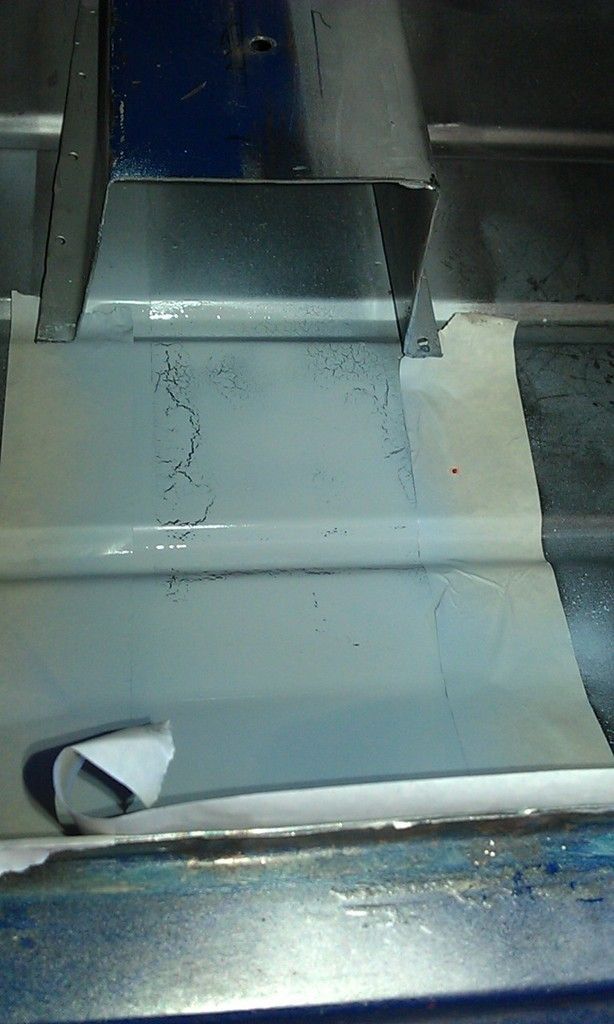
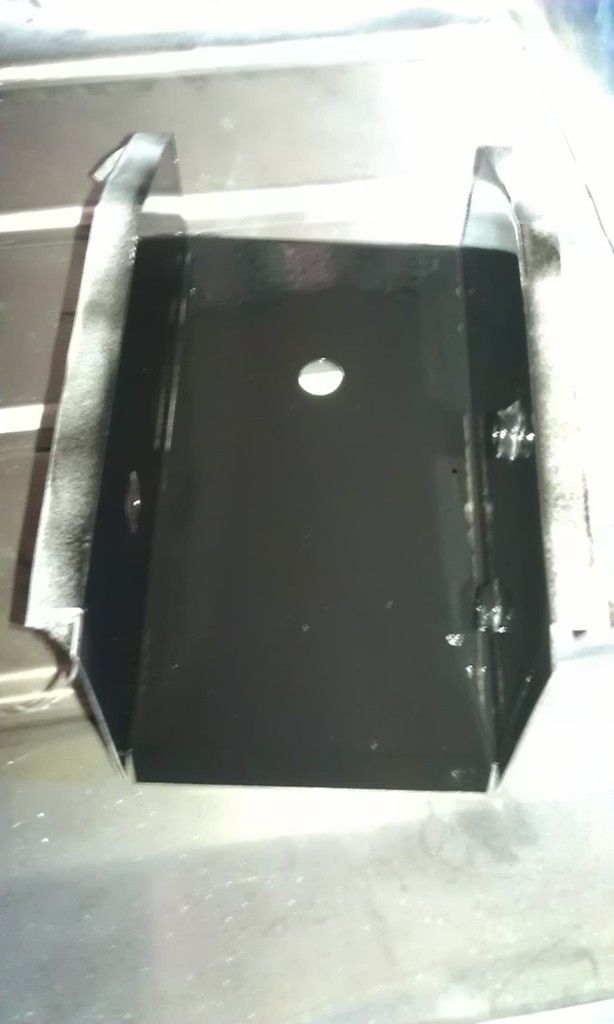
Next in preparation for welding I cleaned up the inside of the Cross Member repair and the floor that would be covered with this panel and slapped on some U-POL Acid Etch and Black Enamel Rattle Can. This is obviously not as good as the rest of the floor will end up like but will prevent any rust hopefully.


IMAG0249_zpsx8jxatew.jpg


IMAG0250_zps4r9bauht.jpg


That crazed area is where the Acid Etch was sprayed on top of an area that had already been Acid Etched and Top Coated, but will be fine.


Just need some Weld Through Primer on the Flanges and then its ready for welding.


IMAG0252_zpsuweftnmw.jpg


#184 JonnyAlpha

JonnyAlpha

    Up Into Fourth

  • Members
  • PipPipPipPipPipPipPipPipPip
  • 2,748 posts
  • Location: North Devon
  • Local Club: Exmoor Minis

Posted 20 April 2015 - 09:06 PM

Next job will be to fit and weld in the Cross Member and lower Companion Bin Repair panel and that will be the floor done :-)


Still can't put the Sills on though as the Flitches still need to be done, this involves removing the A Panels (RH off already), the wings (very carefully as I need to re-use them and the Scuttles and Scuttle Closing Panels.


I did not want to take the wings off or touch the front end but I can't do the Flitches properly without doing so. When they are off though I'll be able to clean up and paint the Inner Wings.


The clock is ticking for the National Mini Cooper Register day in Beaulieu which is the target..............................   


#185 evansisgreat

evansisgreat

    One Carb Or Two?

  • TMF+ Member
  • PipPipPipPipPipPipPip
  • 1,096 posts
  • Local Club: Not yet

Posted 20 April 2015 - 09:29 PM

That's all looking really good. Good solid weekend of work! Good luck removing all the front end panels without damage, I guess having solid panels can be a double edged sword. That's not a problem I've had to deal with :lol:


#186 JonnyAlpha

JonnyAlpha

    Up Into Fourth

  • Members
  • PipPipPipPipPipPipPipPipPip
  • 2,748 posts
  • Location: North Devon
  • Local Club: Exmoor Minis

Posted 22 April 2015 - 07:04 PM

That's all looking really good. Good solid weekend of work! Good luck removing all the front end panels without damage, I guess having solid panels can be a double edged sword. That's not a problem I've had to deal with :lol:

Thanks evanisgreat, may get some done tomorrow PM and Saturday, i'll post up some pics when I remove the wings etc and you can see how I get on.


Drilling out the spot welds where the Wing meets the Inner wing looks simple enough and I may then plug weld the holes in the Inner Wing before refitting it all together or worst case put them back together with holes in both panels and plug weld using some copper under the hole? 


Where the front wing joins the front facia under the headlight may prove difficult though?


#187 Ben_O

Ben_O

    Mill Road Garage

  • Paint Doctor
  • PipPipPipPipPipPipPipPipPipPip
  • 9,785 posts
  • Location: Isle of Wight

Posted 22 April 2015 - 08:26 PM


That's all looking really good. Good solid weekend of work! Good luck removing all the front end panels without damage, I guess having solid panels can be a double edged sword. That's not a problem I've had to deal with :lol:

Thanks evanisgreat, may get some done tomorrow PM and Saturday, i'll post up some pics when I remove the wings etc and you can see how I get on.


Drilling out the spot welds where the Wing meets the Inner wing looks simple enough and I may then plug weld the holes in the Inner Wing before refitting it all together or worst case put them back together with holes in both panels and plug weld using some copper under the hole? 


Where the front wing joins the front facia under the headlight may prove difficult though?


Use a proper spot weld drill. 


You can get a 6mm one and if you take your time and only drill through the first skin then you can simply plug weld the drill holes back to the inner wing without having to weld holes in both skins.


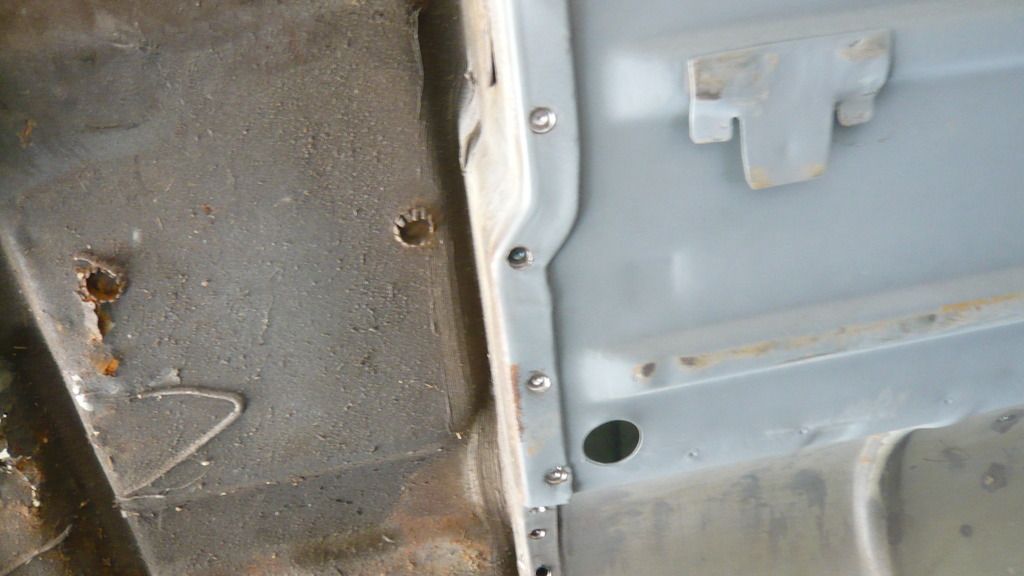
This is how a properly drilled spot weld should look


P1070320_zpsb8saqlka.jpg


Just drill far enough so that you can easily spit the panels but not so far that you end up with a deep crater which can easily blow through.


Like this


P1070321_zpstiqu7jxv.jpg


You can see where the drill has been but the flange is still intact without any holes where the spot welds were


Hope that helps


Ben


#188 lawrence

lawrence

    One Carb Or Two?

  • Members
  • PipPipPipPipPipPipPip
  • 1,330 posts

Posted 23 April 2015 - 01:14 AM

Just read all of this and it is a really good build and thread mate, I'm impressed with how your welding has all come along :) your panel beating skills are really good too and I see it's not just me who hailed to the great tony bmw on retro rides and the angle folder of awesomeness.

Keep up the great work, looking forward to the front end work too

Are you planning to paint her yourself? I see you got the compressor and have done the subframe, has it got capacity to do the car?

Lawrence

#189 JonnyAlpha

JonnyAlpha

    Up Into Fourth

  • Members
  • PipPipPipPipPipPipPipPipPip
  • 2,748 posts
  • Location: North Devon
  • Local Club: Exmoor Minis

Posted 23 April 2015 - 06:10 PM

Just read all of this and it is a really good build and thread mate, I'm impressed with how your welding has all come along :) your panel beating skills are really good too and I see it's not just me who hailed to the great tony bmw on retro rides and the angle folder of awesomeness.

Keep up the great work, looking forward to the front end work too

Are you planning to paint her yourself? I see you got the compressor and have done the subframe, has it got capacity to do the car?

Lawrence

Lawrence - thanks for the praise, ah yes Tony BMW the god of panel fabrication :-)


I am thinking of doing the car myself and when I primed the Subframe I also did 5 wheesl, the backplates and Radius Arms all at the same time, the Compressor seemed to hold out OK so it should be good enough. 


#190 JonnyAlpha

JonnyAlpha

    Up Into Fourth

  • Members
  • PipPipPipPipPipPipPipPipPip
  • 2,748 posts
  • Location: North Devon
  • Local Club: Exmoor Minis

Posted 23 April 2015 - 06:11 PM


That's all looking really good. Good solid weekend of work! Good luck removing all the front end panels without damage, I guess having solid panels can be a double edged sword. That's not a problem I've had to deal with :lol:

Thanks evanisgreat, may get some done tomorrow PM and Saturday, i'll post up some pics when I remove the wings etc and you can see how I get on.


Drilling out the spot welds where the Wing meets the Inner wing looks simple enough and I may then plug weld the holes in the Inner Wing before refitting it all together or worst case put them back together with holes in both panels and plug weld using some copper under the hole? 


Where the front wing joins the front facia under the headlight may prove difficult though?


Use a proper spot weld drill. 


You can get a 6mm one and if you take your time and only drill through the first skin then you can simply plug weld the drill holes back to the inner wing without having to weld holes in both skins.


This is how a properly drilled spot weld should look


P1070320_zpsb8saqlka.jpg


Just drill far enough so that you can easily spit the panels but not so far that you end up with a deep crater which can easily blow through.


Like this


P1070321_zpstiqu7jxv.jpg


You can see where the drill has been but the flange is still intact without any holes where the spot welds were


Hope that helps


Ben


Thanks Ben - I purchased 2 x spot weld drill bits a while back, they need sharpening but should be Ok, maybe a bit big though?


#191 Ben_O

Ben_O

    Mill Road Garage

  • Paint Doctor
  • PipPipPipPipPipPipPipPipPipPip
  • 9,785 posts
  • Location: Isle of Wight

Posted 23 April 2015 - 06:18 PM

I used an 8mm bit in those pictures but a 6mm bit is available.


I highly recommend the Wurth Zebra spot weld drills.


#192 JonnyAlpha

JonnyAlpha

    Up Into Fourth

  • Members
  • PipPipPipPipPipPipPipPipPip
  • 2,748 posts
  • Location: North Devon
  • Local Club: Exmoor Minis

Posted 23 April 2015 - 06:27 PM

Made a little more progress over the last few evenings:


Took the windscreen out:
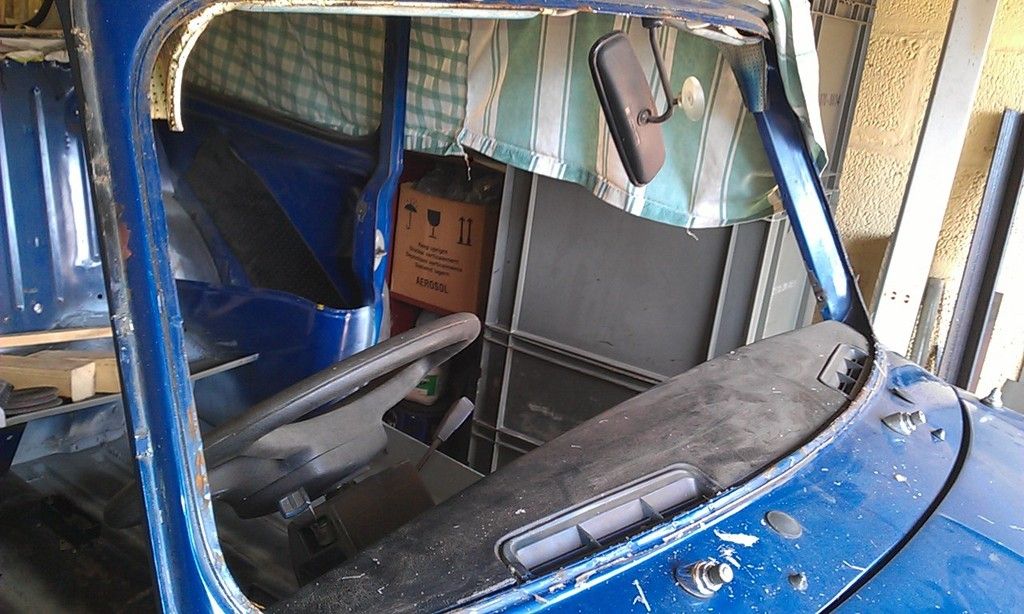
IMAG0253_zps7pgxhsrd.jpg


Need to remove the dash and the trim but haven't got a clue how to yet :-(


Sprayed some weld through primer on the flanges of the Cross Member repair, you'll remember from my previous post that the inside has been primed and top coated:
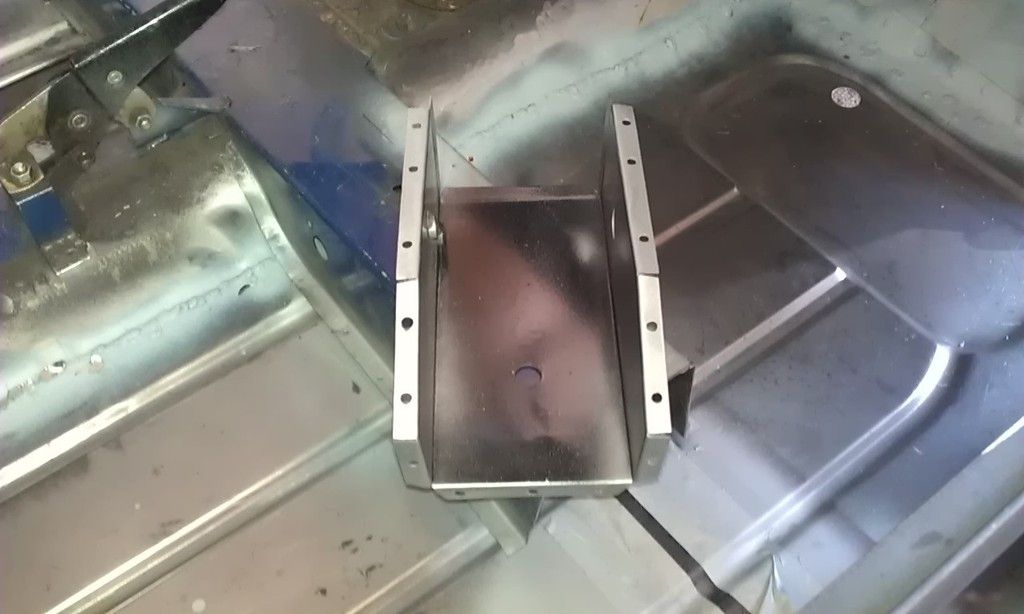
 

IMAG0254_zpshu0e2gog.jpg


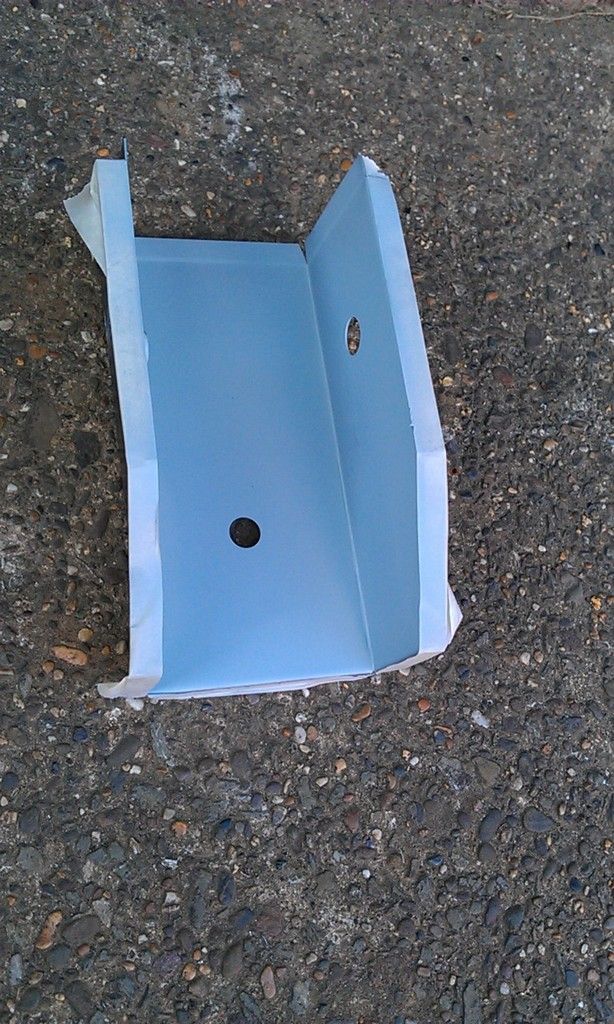
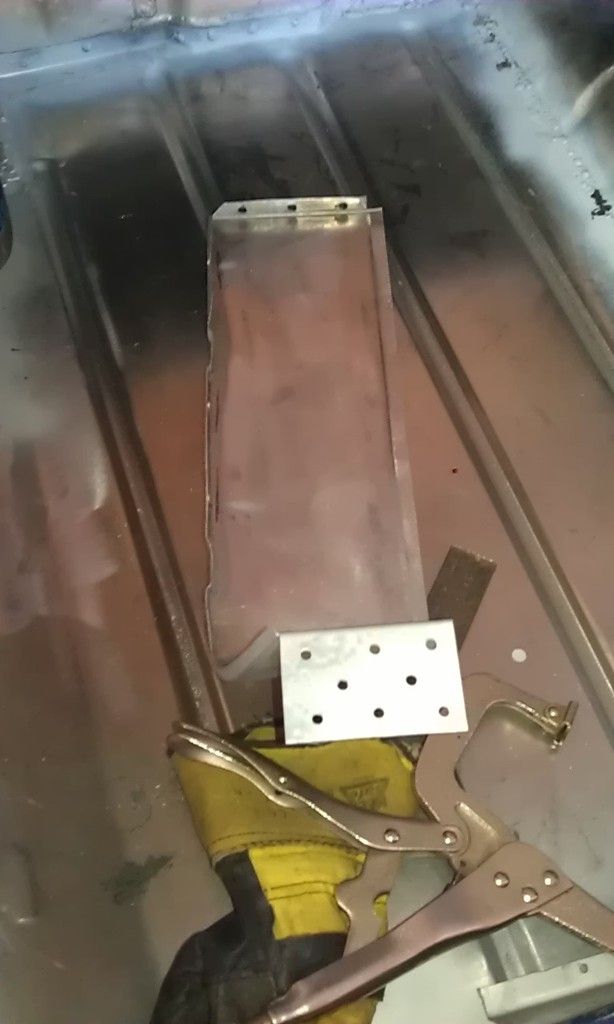
I also trimmed down, test fitted and drilled spot weld holes in the Companion Bin Repair Panel:
 

IMAG0256_zpshjdjfmbf.jpg


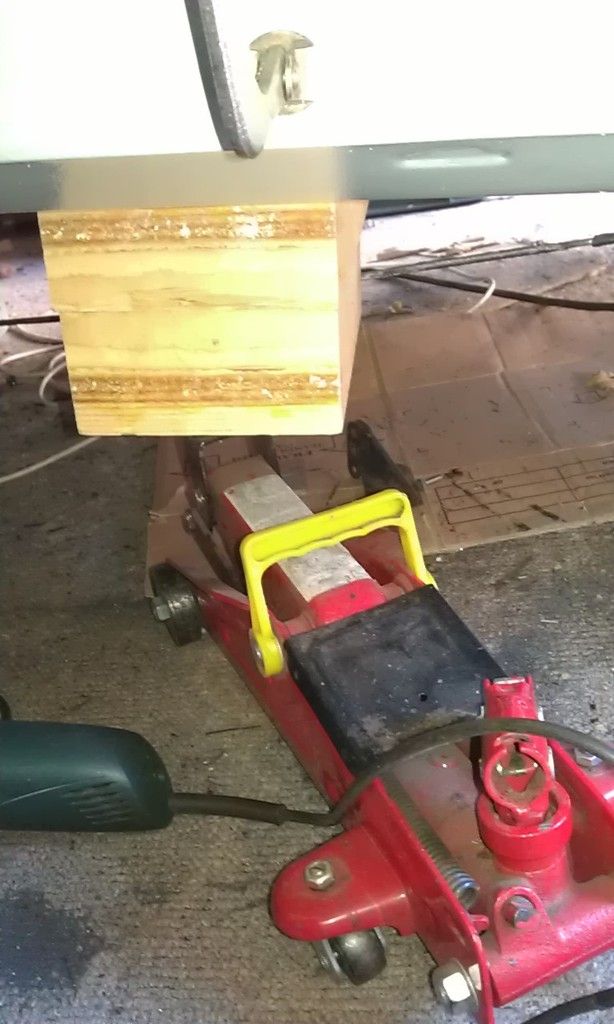
To help get the Cross Member lined up and welded to the floor I had to lift the floor with a jack and some blocks of wood, moving it as required:
 

IMAG0258_zpsxywqwulo.jpg


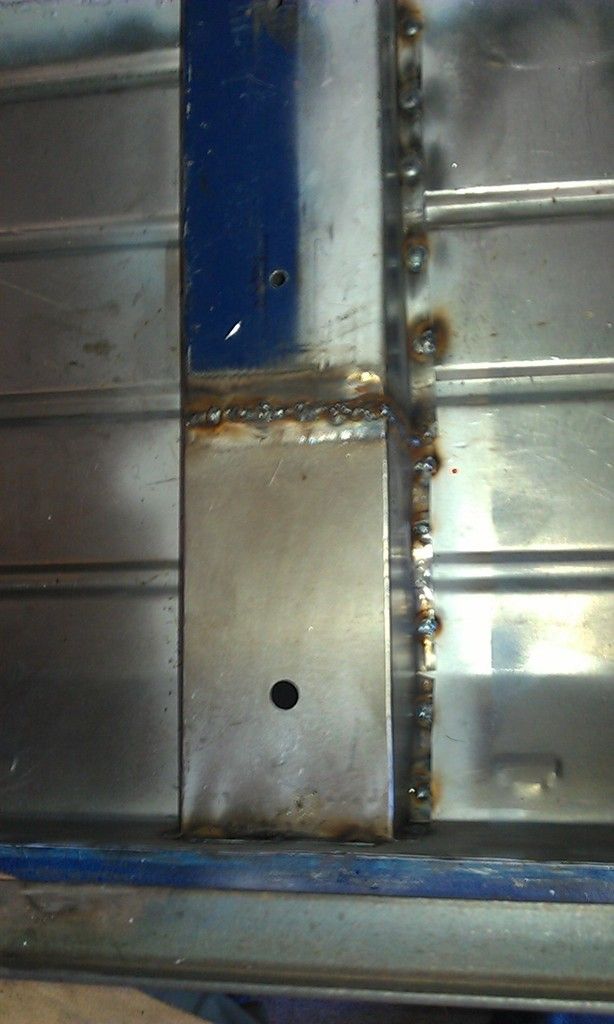
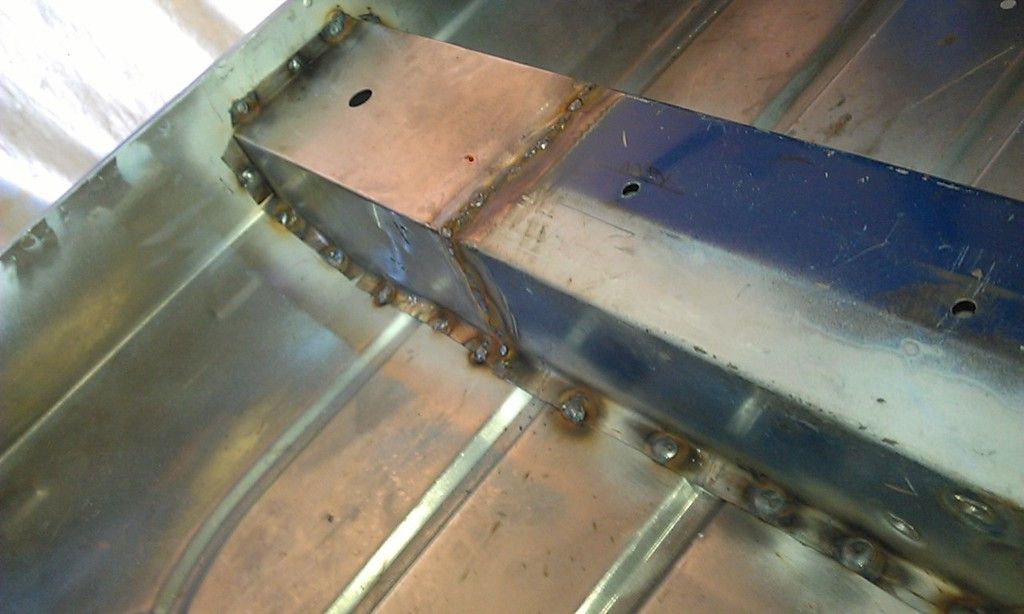
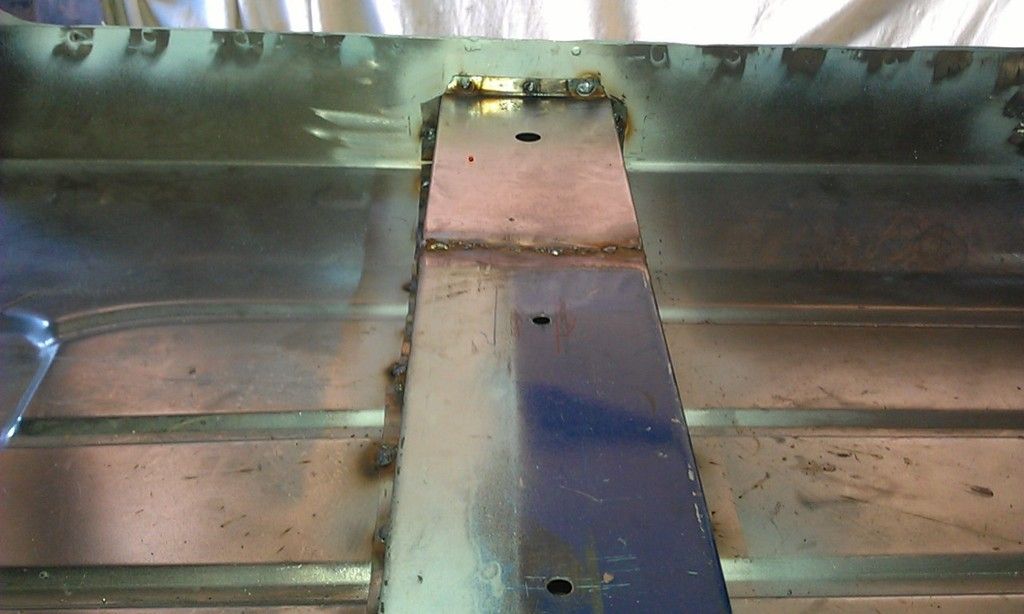
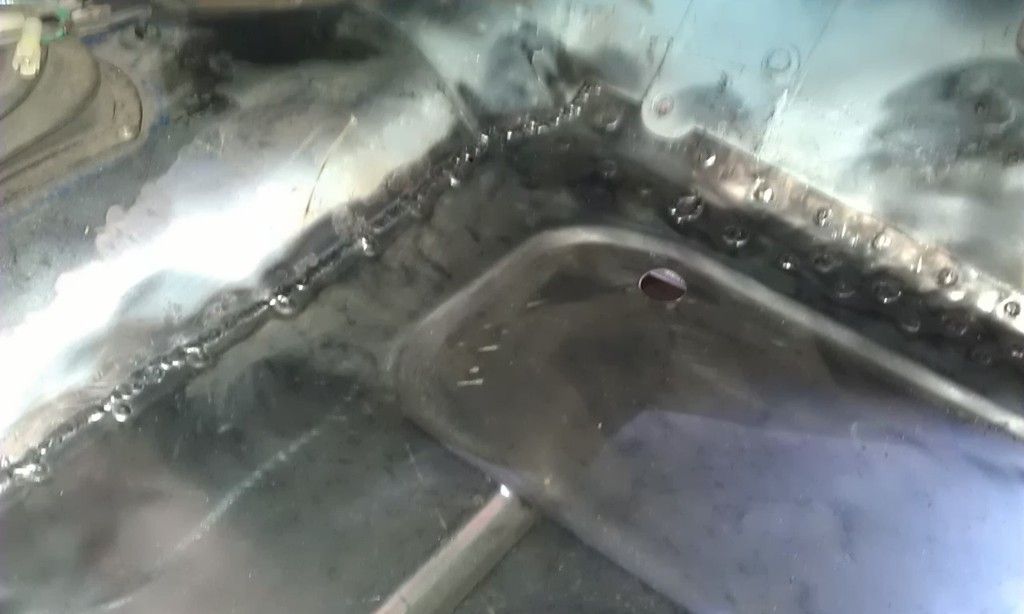
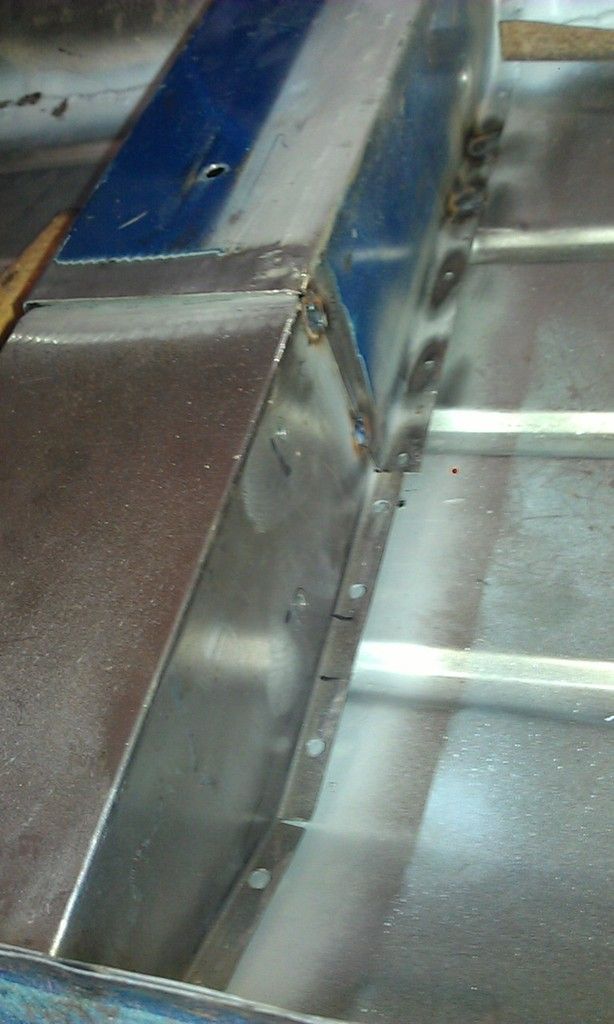
I then welded it all in starting with a couple of strategically placed spot welds, a test of position and the started from the tunnel working towards the Inner Sill.
 

IMAG0259_zpsn1y5lj3v.jpg


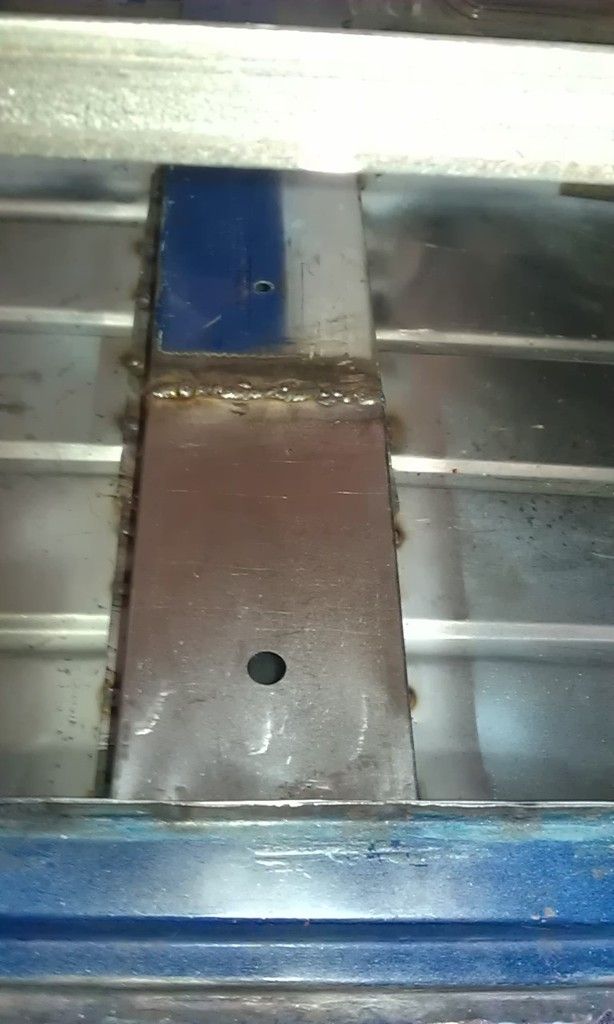
Managed to get it pretty much in line:
 

IMAG0260_zps0j3m8vni.jpg


IMAG0261_zpsrvcd1u7b.jpg


IMAG0262_zpsmtan3g7p.jpg


IMAG0264_zpss3rvge5d.jpg

After partially dressing down the welds I dusted it with some Etch Prime to avoid rusting:
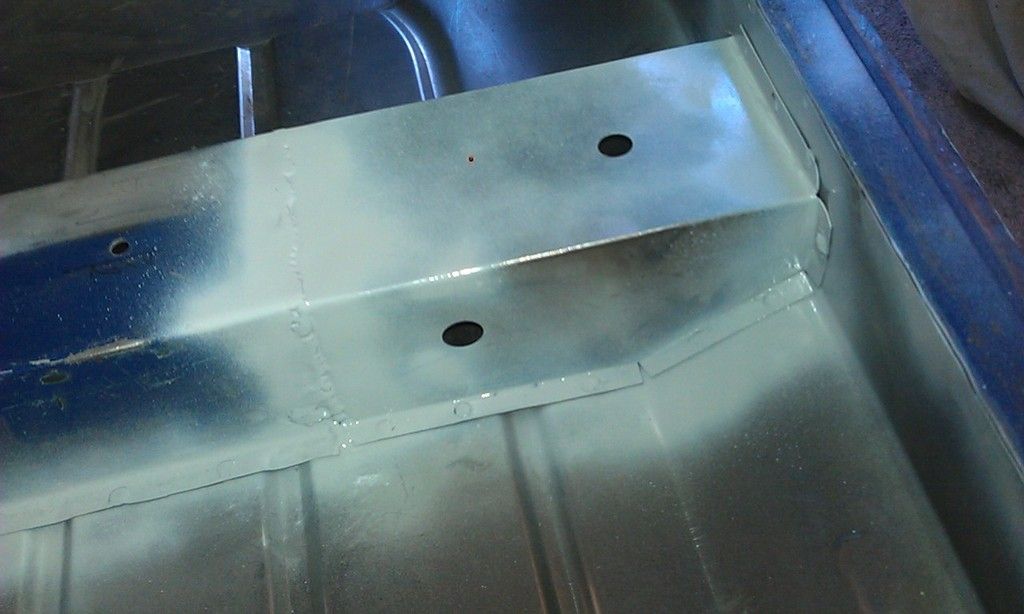
 

IMAG0266_zpsxiebu2fk.jpg


Trimmed and test fitted the Companion Bin Repair piece:
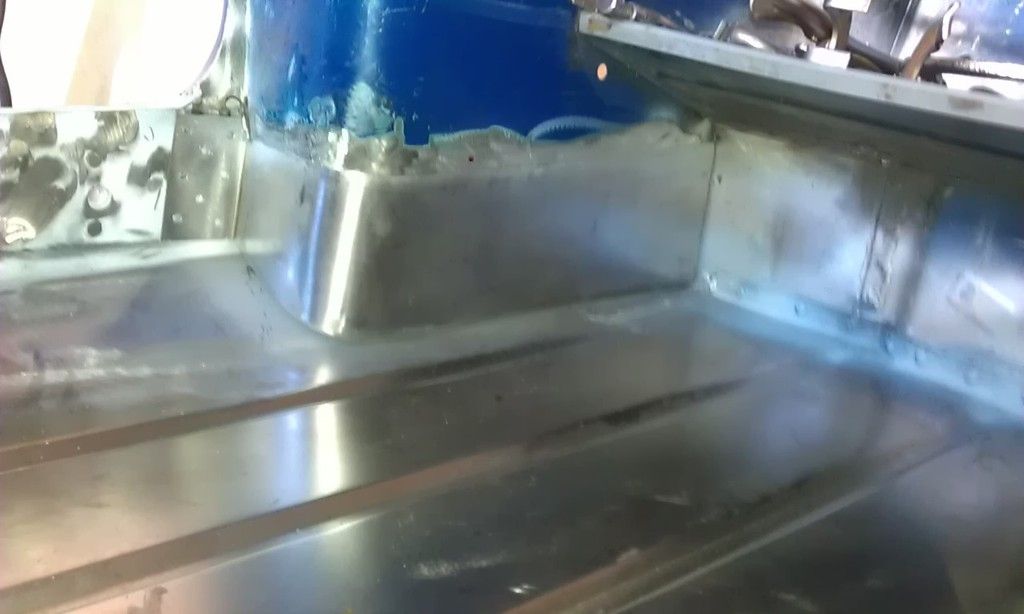
 

IMAG0265_zpsdvmrzxzc.jpg


Gradually working through this phase 'TO DO' list:
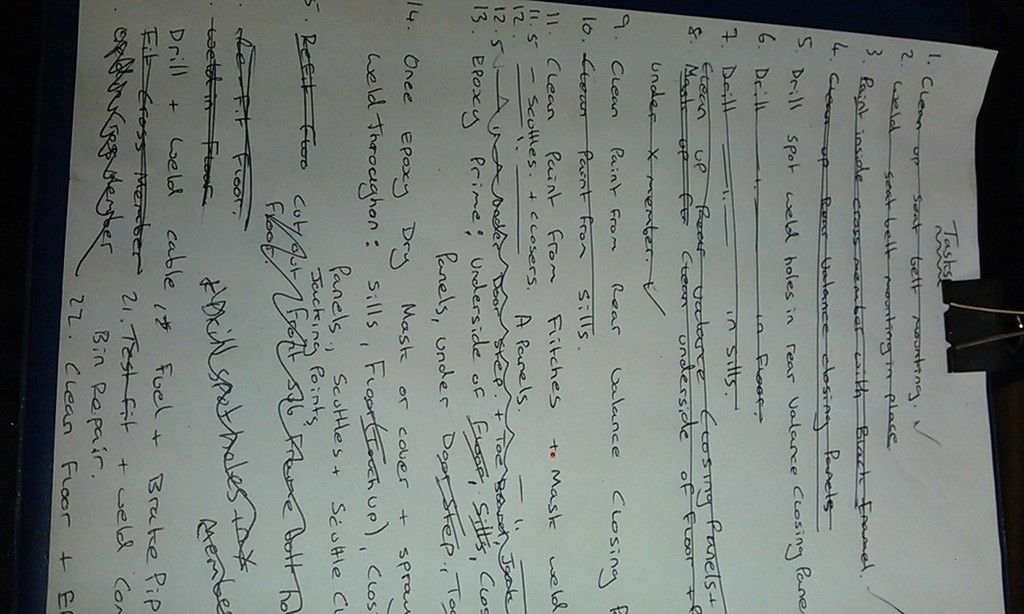
 

IMAG0267_zpsad0ubw3b.jpg


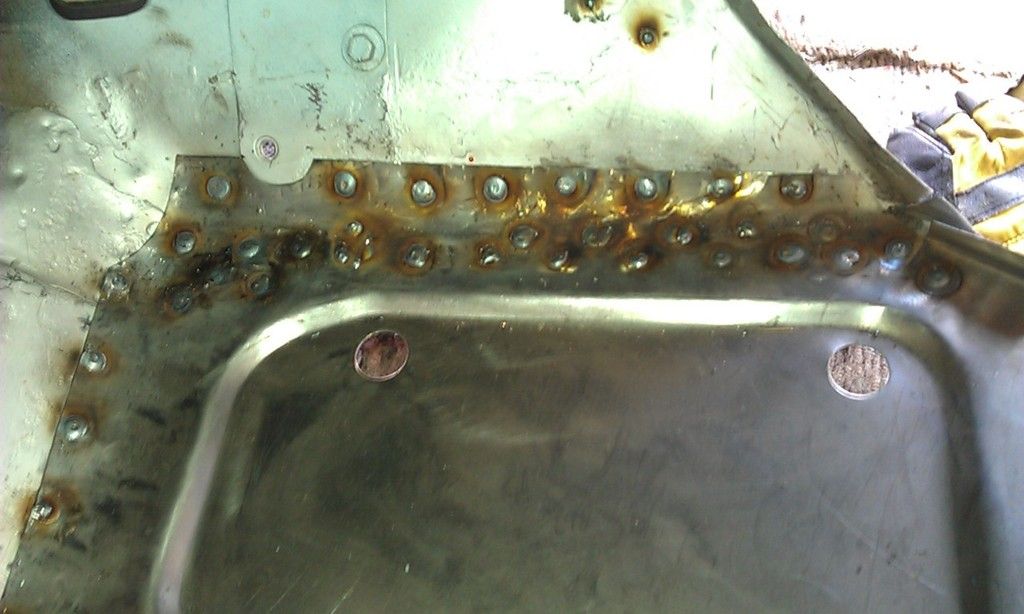
Hopefully a little more tomorrow evening and Saturday, plan is to get the Companion Bin repair welded in and do the Jacking Points? Then either clean and paint the inside floor with some Epoxy or get the Scuttles and Flitches started.

The floor does need painting but I am a bit loathed to do it before the Flitches are done because of the mess. I also need to drill and weld in some bolts that will holed the Brake Pipe, Fuel Pipe and Battery Cable in place before the floor is painted inside and out.


#193 Ben_O

Ben_O

    Mill Road Garage

  • Paint Doctor
  • PipPipPipPipPipPipPipPipPipPip
  • 9,785 posts
  • Location: Isle of Wight

Posted 23 April 2015 - 06:54 PM

The top dash rail is held in place with 3 nuts.One either end and one in the middle.


Have a look up under the top dash rail and you should see them


#194 ryan22_lgm

ryan22_lgm

    One Carb Or Two?

  • Traders
  • PipPipPipPipPipPipPip
  • 1,478 posts
  • Location: woolacombe, north devon
  • Local Club: north devon mini register

Posted 23 April 2015 - 08:59 PM

Good work going on here! :) just noticed your from braunton ! Not far from me in woolacombe !

#195 JonnyAlpha

JonnyAlpha

    Up Into Fourth

  • Members
  • PipPipPipPipPipPipPipPipPip
  • 2,748 posts
  • Location: North Devon
  • Local Club: Exmoor Minis

Posted 23 April 2015 - 10:10 PM

The top dash rail is held in place with 3 nuts.One either end and one in the middle.


Have a look up under the top dash rail and you should see them

Thanks Ben.


1 user(s) are reading this topic

0 members, 1 guests, 0 anonymous users