Jump to content


Photo
- - - - -

1982 Austin Mini - Project Who?


  • Please log in to reply
852 replies to this topic

#166 Ben_O

Ben_O

    Mill Road Garage

  • Paint Doctor
  • PipPipPipPipPipPipPipPipPipPip
  • 9,785 posts
  • Location: Isle of Wight

Posted 13 March 2015 - 05:25 AM

Don't be afraid to bend the floor a bit to get it in place. Once the right side of the heel board, you can prop it up with a block of wood to re-straighten it.


I used to have to do similar things with boot floor panels on The Vauxhall Corsa C when i was panel beating in a Vauxhall garage ;-)


Edited by Ben_O, 13 March 2015 - 05:25 AM.


#167 JonnyAlpha

JonnyAlpha

    Up Into Fourth

  • Members
  • PipPipPipPipPipPipPipPipPip
  • 2,748 posts
  • Location: North Devon
  • Local Club: Exmoor Minis

Posted 15 March 2015 - 03:02 PM

Don't be afraid to bend the floor a bit to get it in place. Once the right side of the heel board, you can prop it up with a block of wood to re-straighten it.


I used to have to do similar things with boot floor panels on The Vauxhall Corsa C when i was panel beating in a Vauxhall garage ;-)

Will do, had another test fit after removing some rot from the Toe Board and they are nearly in, problem is I need to fix the toe board first so bending it will be.


#168 JonnyAlpha

JonnyAlpha

    Up Into Fourth

  • Members
  • PipPipPipPipPipPipPipPipPip
  • 2,748 posts
  • Location: North Devon
  • Local Club: Exmoor Minis

Posted 15 March 2015 - 04:32 PM

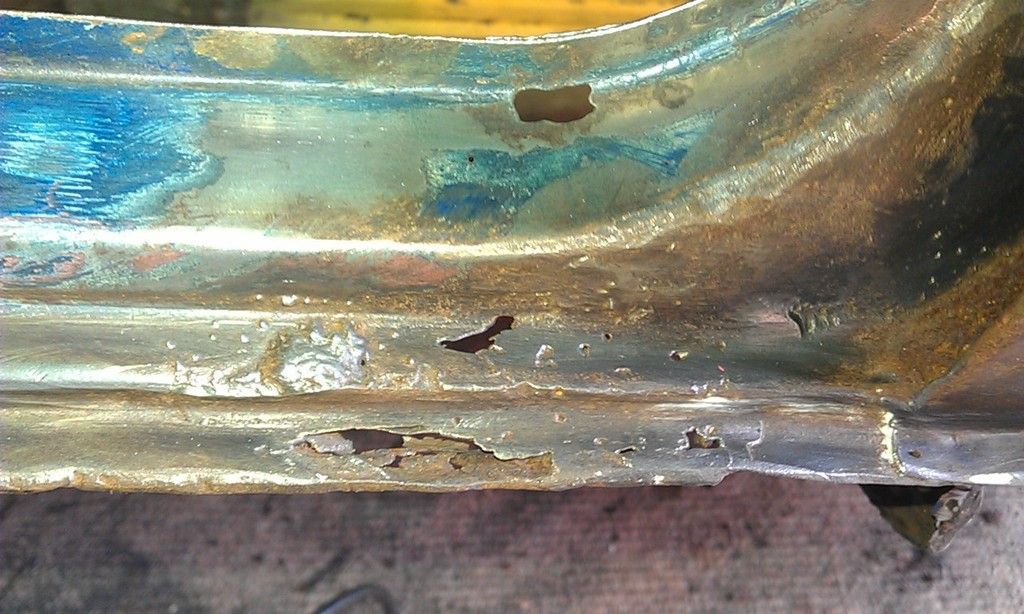
I cut some more rot out of the Toe Board, the RH side appears to be worse than the LH side of the car :-(


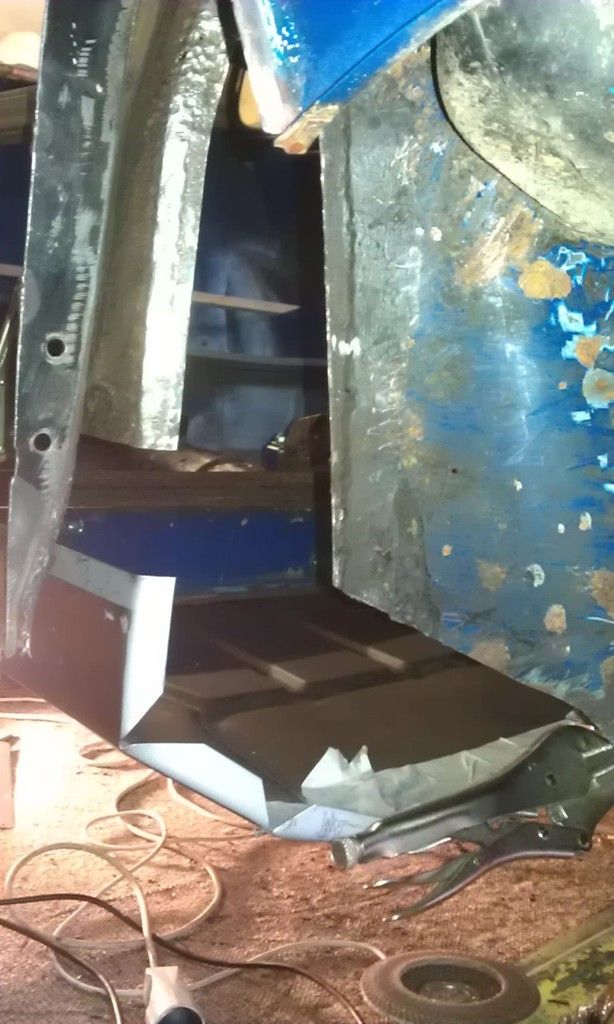
In the pic below I cut it in a downward sloping angle from just in front the small hole you can see in the Flitch to the top of the vertical cut next to the Subframe Re-inforcement plate. You can just about make out two layers of metal on the bottom end of the Toe Board below the Subframe Mounts, this is where a plate of metal has been welded under the original Toe Board. This will have to be remove.
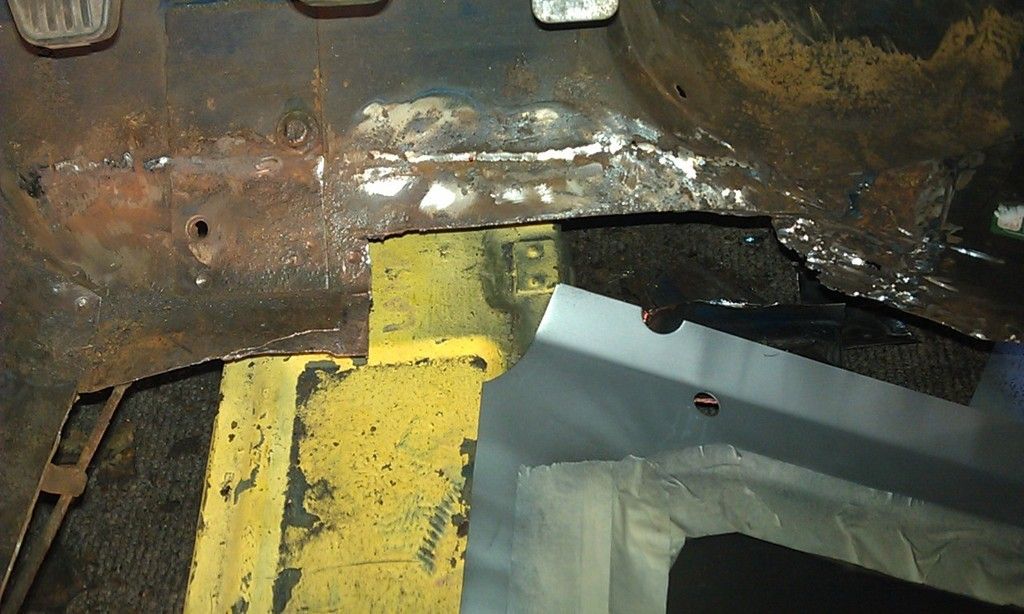
 

IMAG0123_zps9t8nsgcz.jpg


I then started to make a repair piece, I started off making it larger than I needed but then got carried away and cut it to size but then realised that I had not cleaned up all of the Toe Board to confirm its condition and when I did another hole appeared!!! 


The good news is that the metal that I had used was too thin anyway so it needed to be re-made (wasted time and effort)!!!


Here's the piece I made (which will now be ditched) :-(
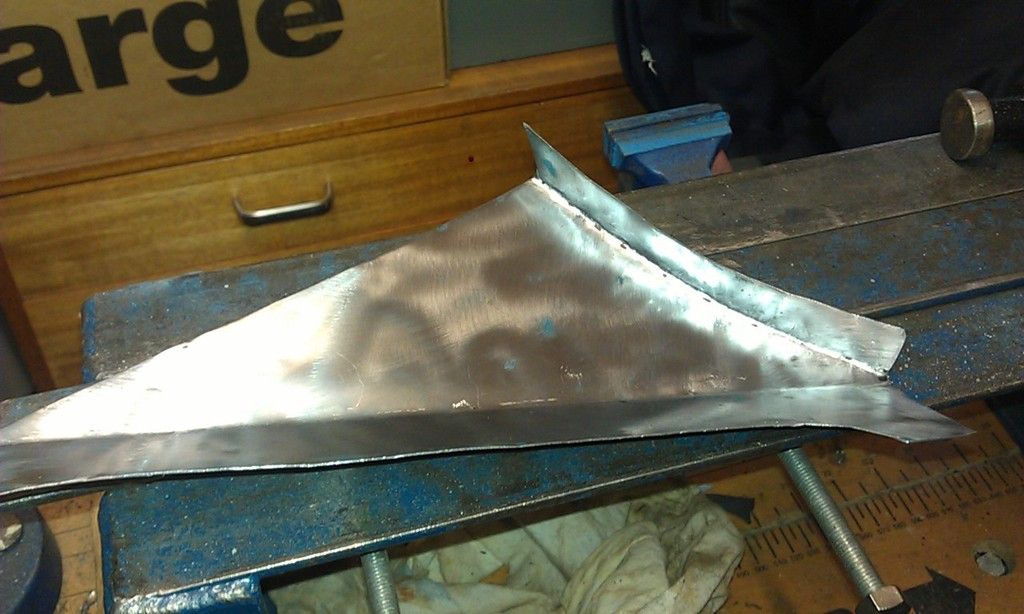
 

IMAG0131_zpstoypdq39.jpg


And here is a photo showing most of the rotten Toe Board removed:
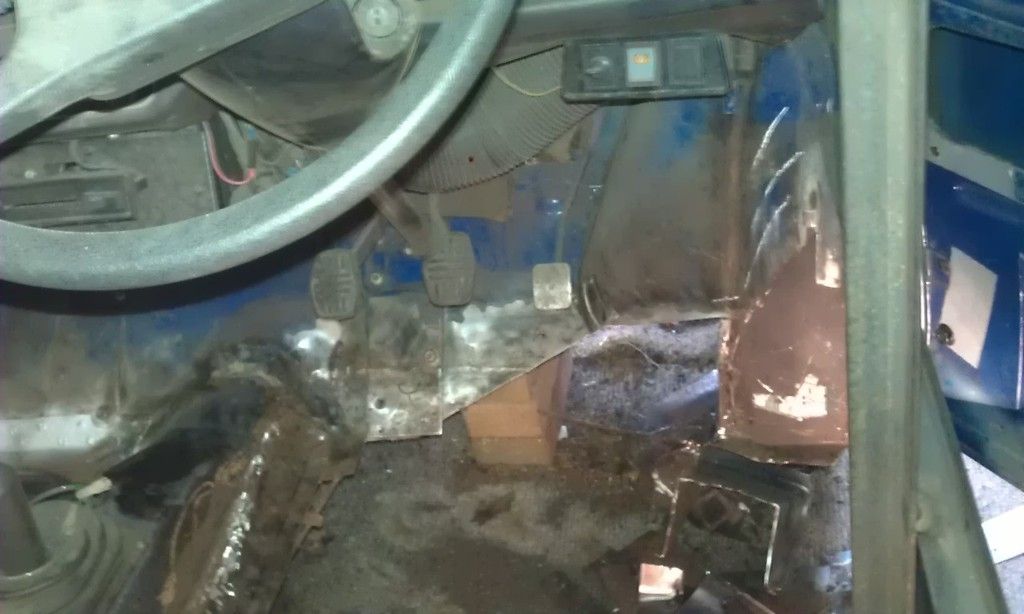
 

IMAG0132_zpsqehjxmzy.jpg


I really need to repair the Toe Board before I fit the floor as doing it the other way around, whilst possible, is going to prove difficult, but a lot the repair piece that I will make will have to be welded rather close to the Subframe Mount. The bottom section of the Subframe Mount re-inforcement plate is also very pitted so as this is a mounting point I am tempted for this reason to remove and replace the plate as well but without removing the Subframe this may prove hard to do?


I know I keep saying it but I am desperate to get the Rear Wheels on but need to finish the floor and sills and paint the rear underside before I even think about putting the shiny rear subframe on and all this front end business is slowing down the progress.


I am happy to do the Flitches after the floor once the chassis is rolling again. 


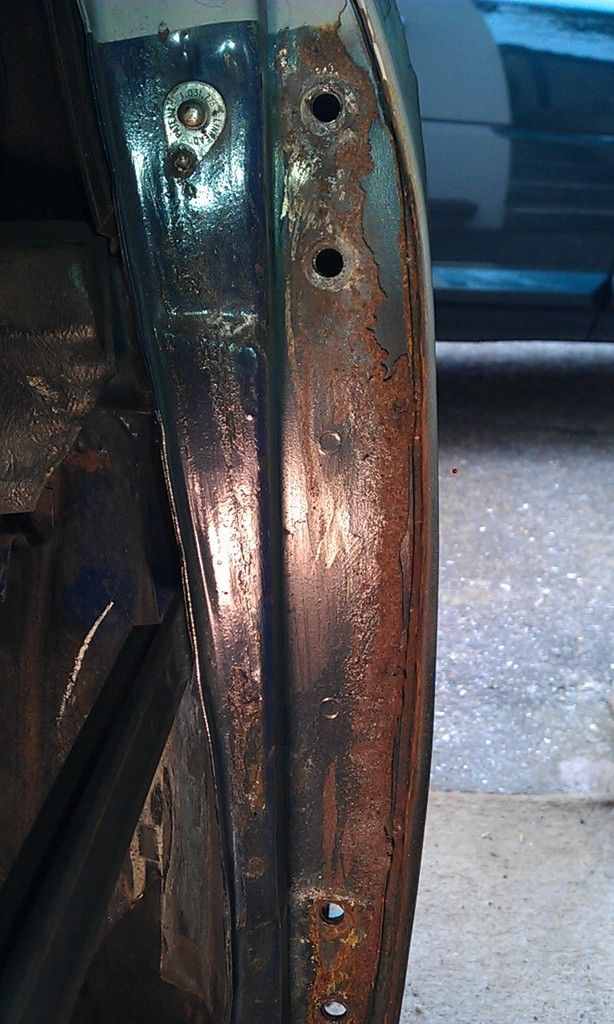
The front end of the door step needs repairing as well and again this could be done after the floor is fitted there is a lot of cleaning up and painting to do to the A Post. All that muck underneath is weld and welding wire where someone has attempted to repair it from the outside.
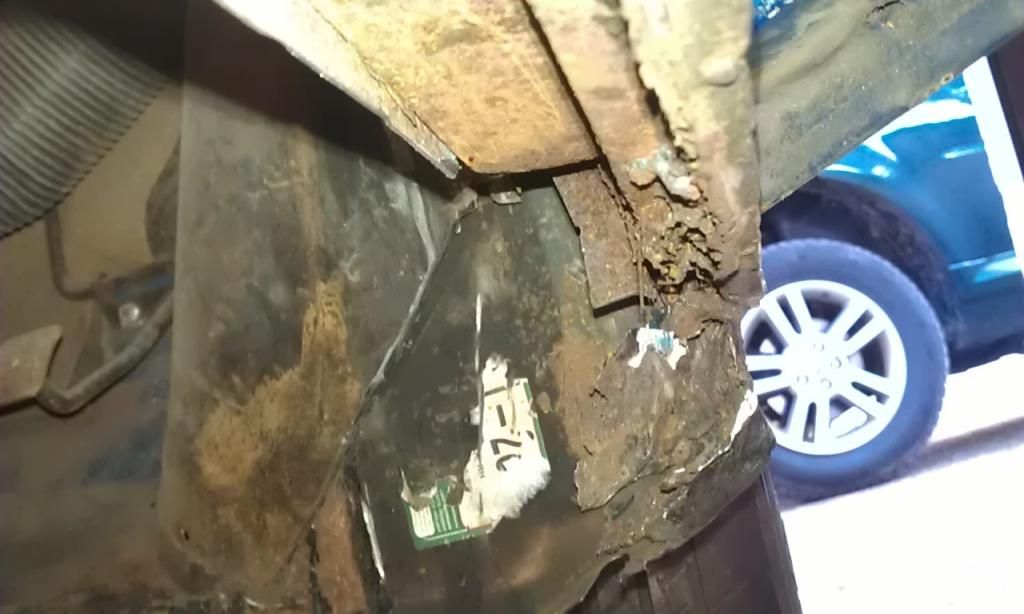
 

IMAG0108_zpsiz5dvj18.jpg


The other problem is the original Flitch repair, as mentioned earlier a Flitch repair panel was cut in half vertically and simply welded on top of the old Flitch. We also fitted an A Post Stiffener but the old A Post was not treated, some very silly mistakes :-(


I have considered cutting out the old Flitch from the inside but the further up you go the harder it is?


The last thing I want to do is make a bodge job paint the interior etc and then find that it fails an MOT and needs to be done anyway?? It will be a big shame to have to cut of and order a new A Panel and Flitch but I am not sure what else to do?


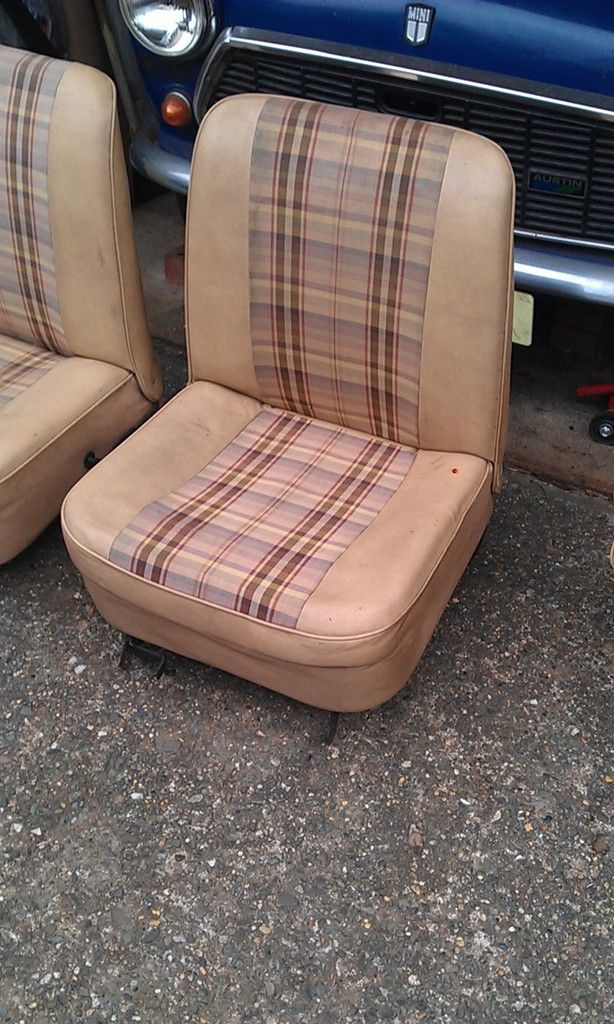
Anyway enough of the doom and gloom, this weekend my son and grandson came to stay, just before they left we got the original seats out and stripped off the covers as he is going to attempt to re-upholster them.

I was going to do I this is how we did it but after a few photos I stopped snapping :-(


Managed to get a couple though.


Here's the back seats:
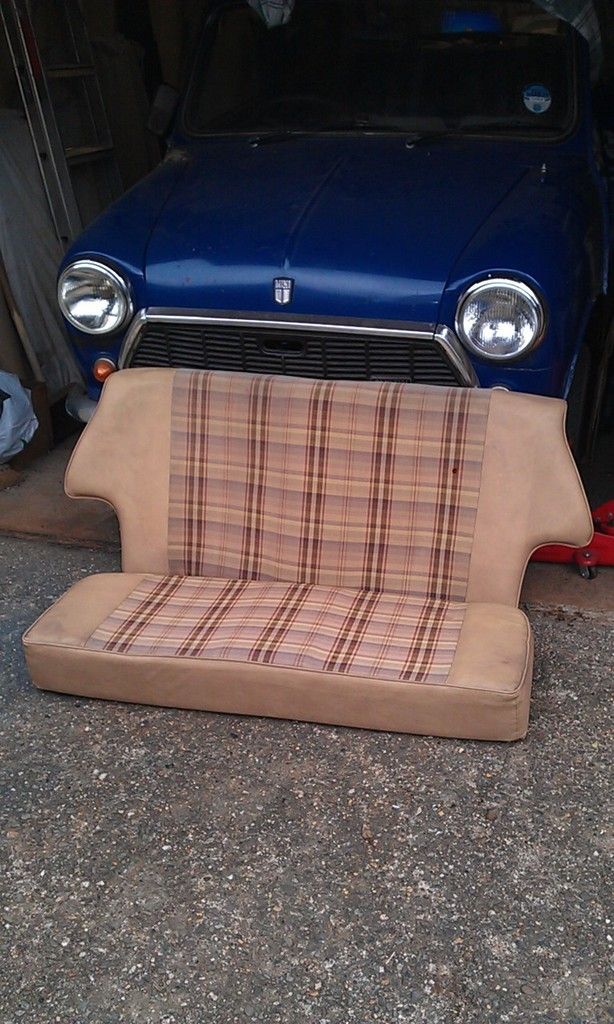
 

IMAG0133_zpstcasjrgt.jpg


And the front

IMAG0136_zpsvdy3gzhc.jpg


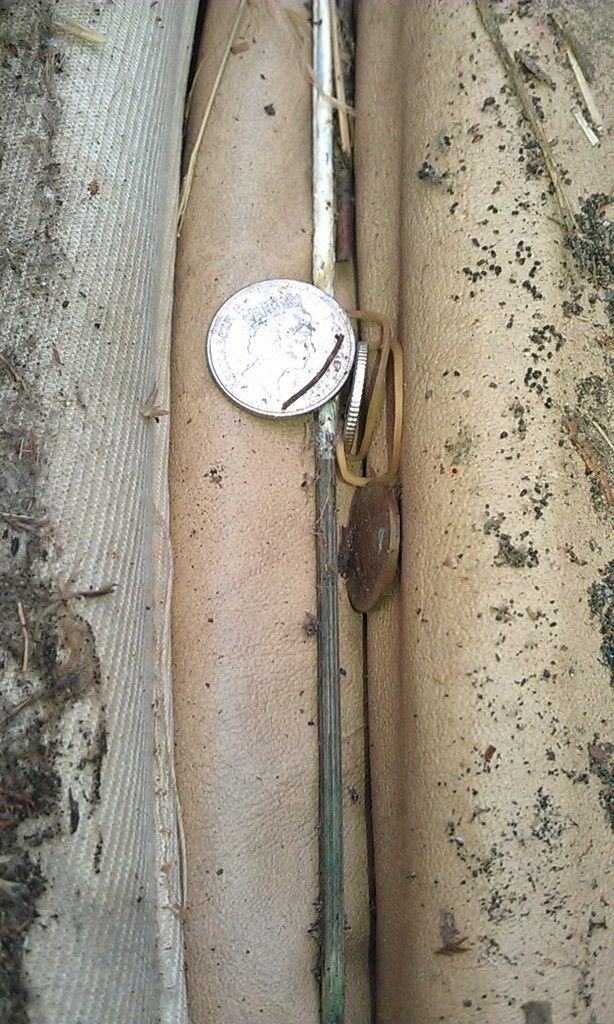
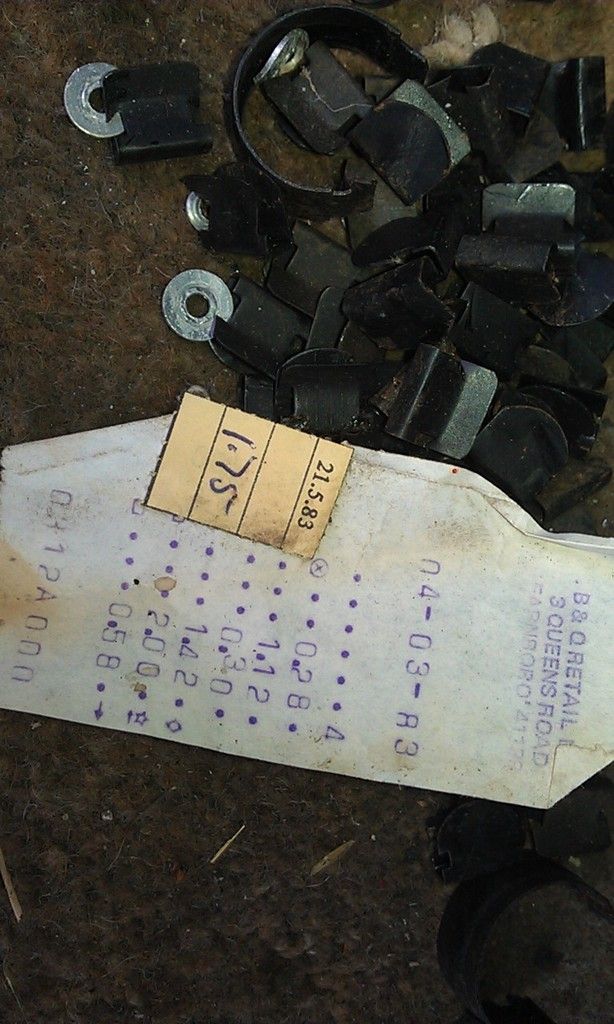
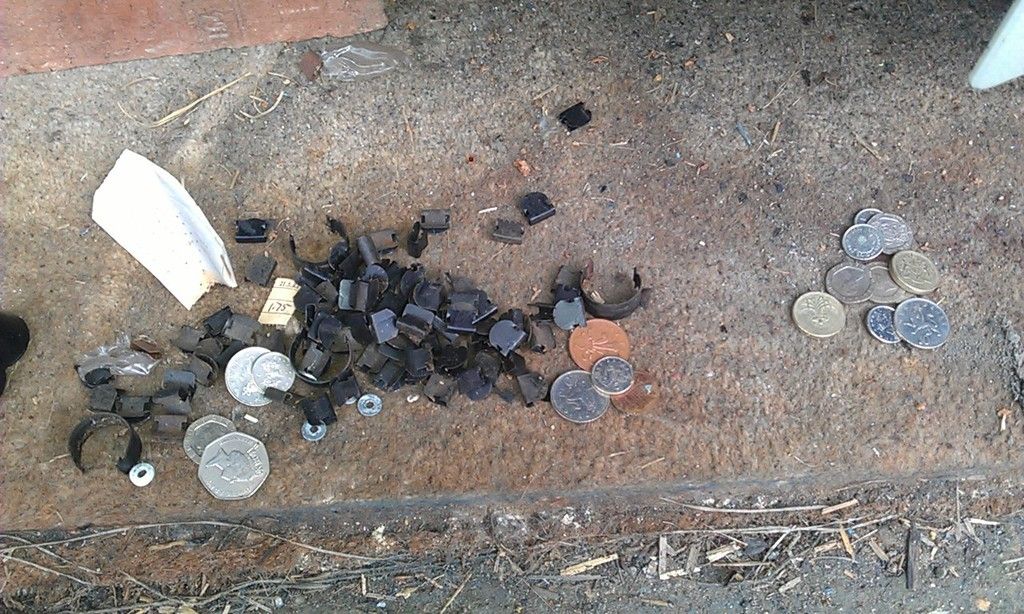
As soon as we started to lift the materiel where the back joins the base, hey hey money, a grand total of £5.09, a receipt from B&Q Farnborough, many miles from here and another small receipt dated May 1983 when the car was 1 year old :-) and a load of straw?


IMAG0138_zpsd0ffhpzq.jpg


IMAG0145_zpslbatysve.jpg


IMAG0143_zpsmdtrax3m.jpg


 Not quite a Saxon Hoard but it may pay for a new set of clips?


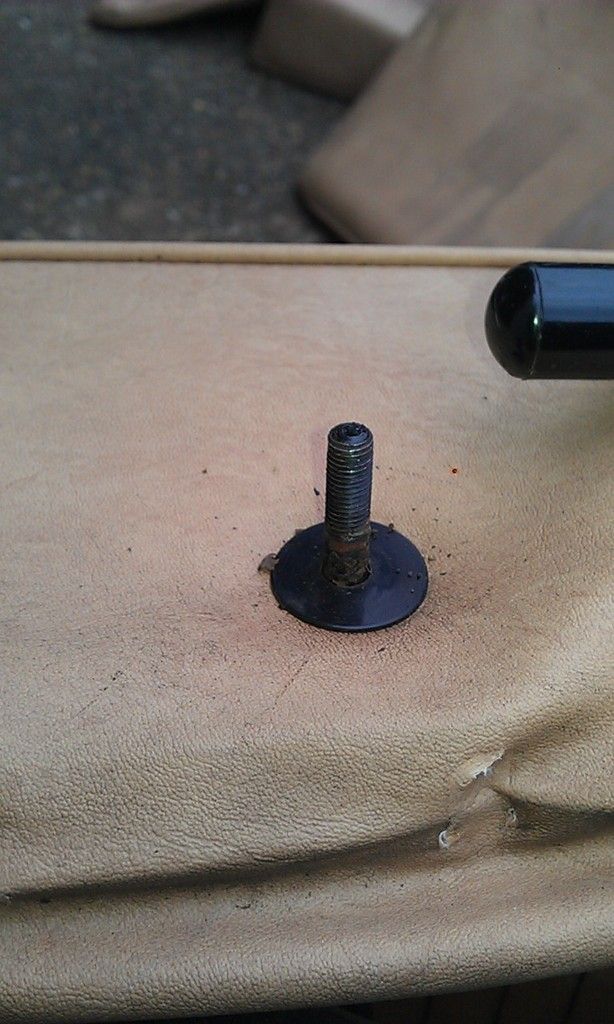
Removing the covers was simpler than I thought, getting the material off of where the seat catch fits looked like we might have to dismantle the entire mechanism but then my son suggested that the knob might be screwed on, it was :-)


IMAG0140_zpsob08n5ko.jpg


Mess up the plastic washer underneath, didn't study it enough, its turned out not to be a washer but a shroud with a retainer on the other end, it snapped coming off :-(


The part that looked tricky was where the materiel fits over the seat hinge but this turned out to be a simple rivet which was removed with a drill.
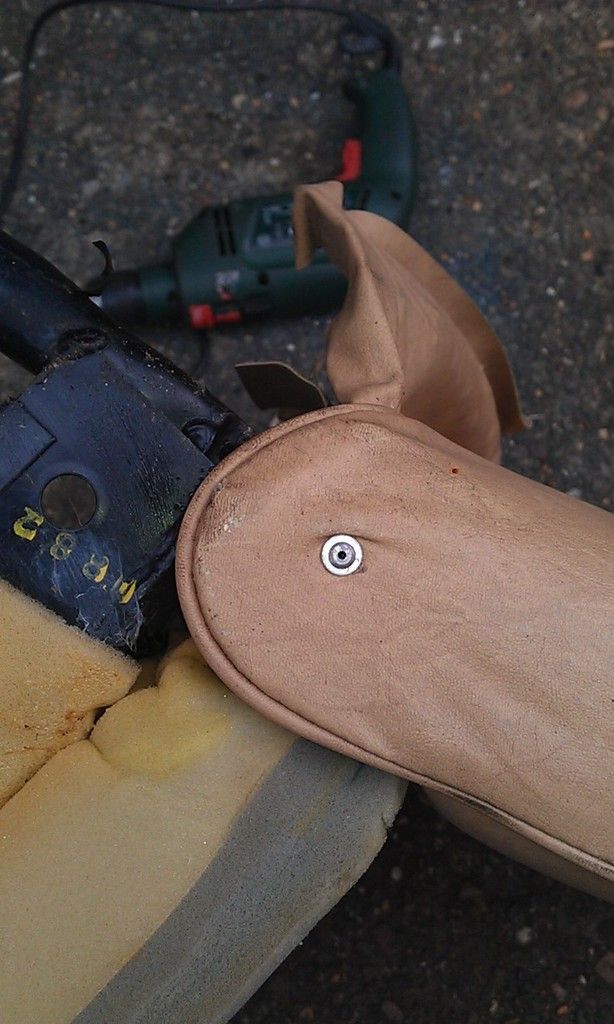
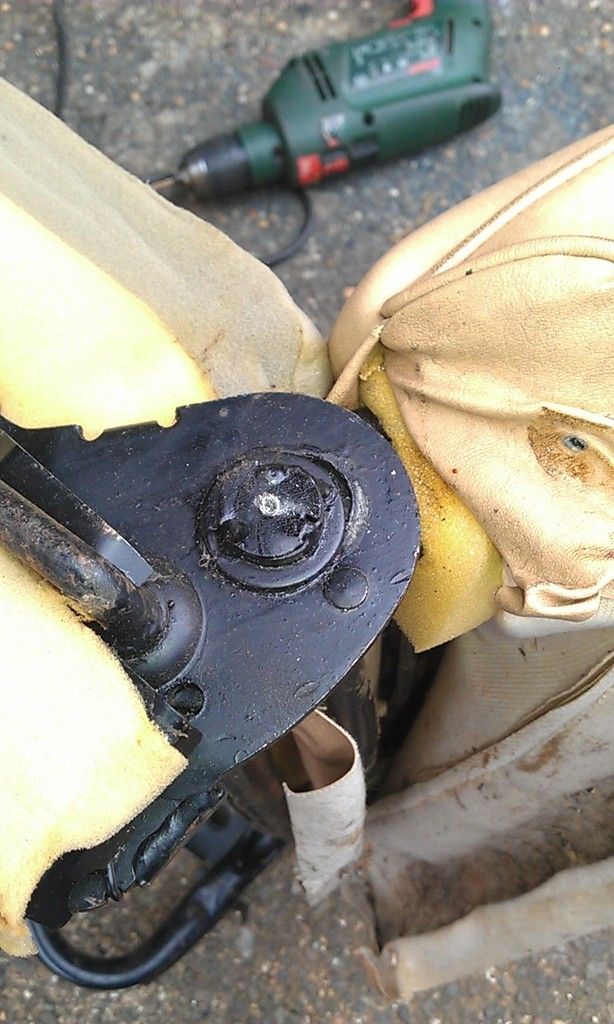
 

IMAG0142_zps1hs5xj6a.jpg

IMAG0141_zpsvzwtl1ah.jpg


We managed to get the covers off of the front seats and the rear upright without damaging the sponge to much, the rear seat looked like a bit more of an issue so my son took that with him.


He is now going to carefully split the covers and make some new ones using the old ones as patterns, sadly he could not take the seats with him so it will be all done on a wing and a prayer. WIth any luck he'll have them back for Easter.


#169 Wufo

Wufo

    Passed Test

  • Noobies
  • PipPip
  • 32 posts
  • Location: West Yorkshire

Posted 15 March 2015 - 05:24 PM

It's strange what u find in cars. When I was stripping mine down I found a whole focus point. Yes just another 2 thousand and I can get VHS player.

#170 Ben_O

Ben_O

    Mill Road Garage

  • Paint Doctor
  • PipPipPipPipPipPipPipPipPipPip
  • 9,785 posts
  • Location: Isle of Wight

Posted 15 March 2015 - 06:03 PM

I would be inclined to replace all of that flitch panel if i was doing it.


Like you say, best to do it at this stage rather than risk running into trouble down the line


Looking good though!


Ben


#171 JonnyAlpha

JonnyAlpha

    Up Into Fourth

  • Members
  • PipPipPipPipPipPipPipPipPip
  • 2,748 posts
  • Location: North Devon
  • Local Club: Exmoor Minis

Posted 15 March 2015 - 07:12 PM

I would be inclined to replace all of that flitch panel if i was doing it.


Like you say, best to do it at this stage rather than risk running into trouble down the line


Looking good though!


Ben

I knew you'd say that!!! 


I would also feel like I had done a proper job however I really don't want to take the wings off as I definitely cannot afford to do the front end as well, if I did that would be another year on the project at least!!!! A panels and Flitch it is though, I already have the LH side one waiting in a box.


#172 JonnyAlpha

JonnyAlpha

    Up Into Fourth

  • Members
  • PipPipPipPipPipPipPipPipPip
  • 2,748 posts
  • Location: North Devon
  • Local Club: Exmoor Minis

Posted 30 March 2015 - 06:57 PM

Easter holidays, two weeks off school yippeee!!! (I am a trainee teacher not a pupil by the way).


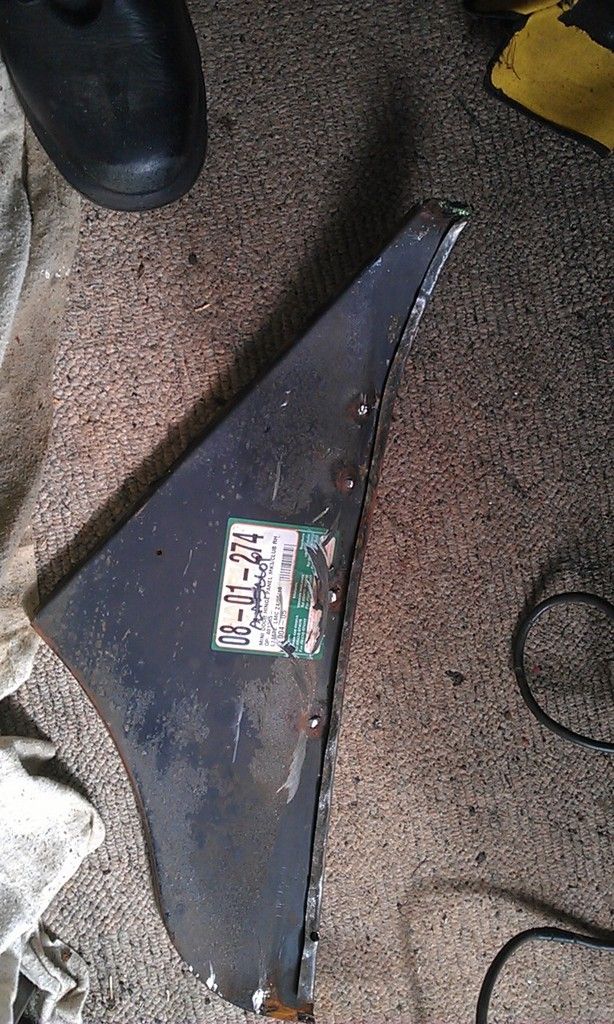
Well following the advice from this forum I decided to remove the RH A Panel and the Flitch, sadly this was the first repairs that we had done on this Mini and what a bad job it was too, so although its gonna put me back, it needs doing, read on.....


Before I started I jacked up front end and placed the Mini on axle stands, this gave me a little more space, I also took the wheels off.


Next I took the door off, the shims were rusting already so they'll get painted next time.

Once the door was off I spotted a problem that will need rectifying and I'll need some advice as to how to remedy it, more info later 


The A Panel had not been fitted particularly well, it had been tack welded inside and the top apex was welded and filled.


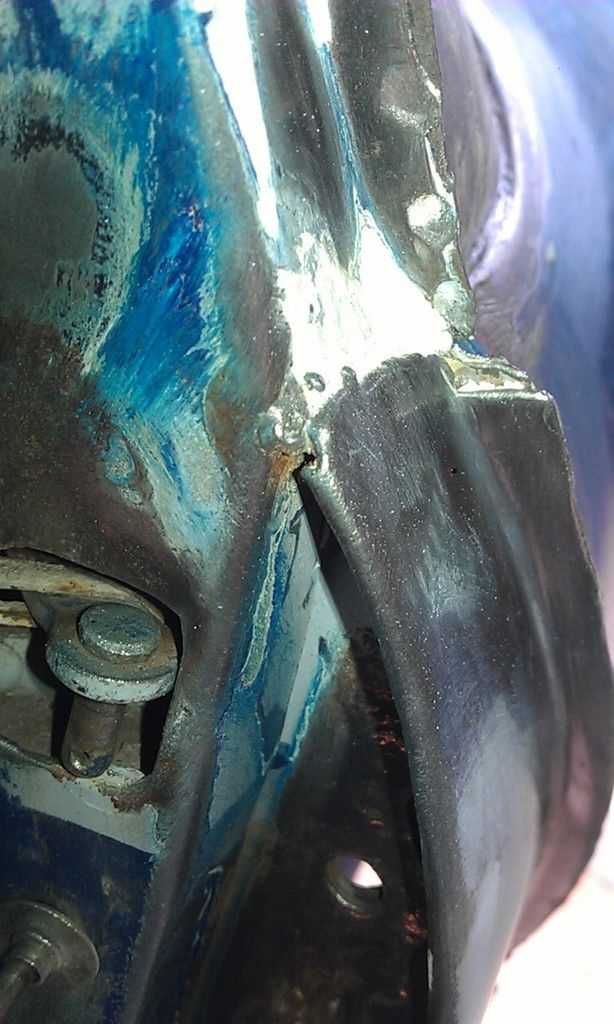
IMAG0169_zpsax3jmkz5.jpg


With a small amount of cutting down the join with the wing and at the top and bottom where it was weIded to the A post I managed to get the A Panel off. It  could be re-used but i'll probably get a new one.


IMAG0170_zpso26ed4kh.jpg


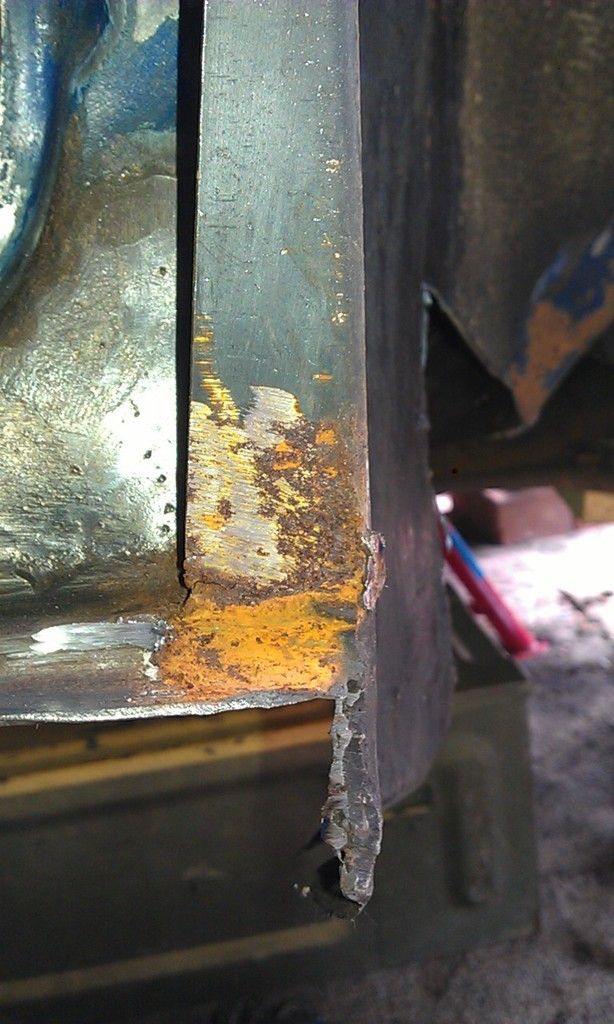
You can see that the Flitch hadn't been treated and was rusting at the bottom corner already!!

IMAG0172_zpsitmrgwpz.jpg


IMAG0171_zps9sgkd598.jpg


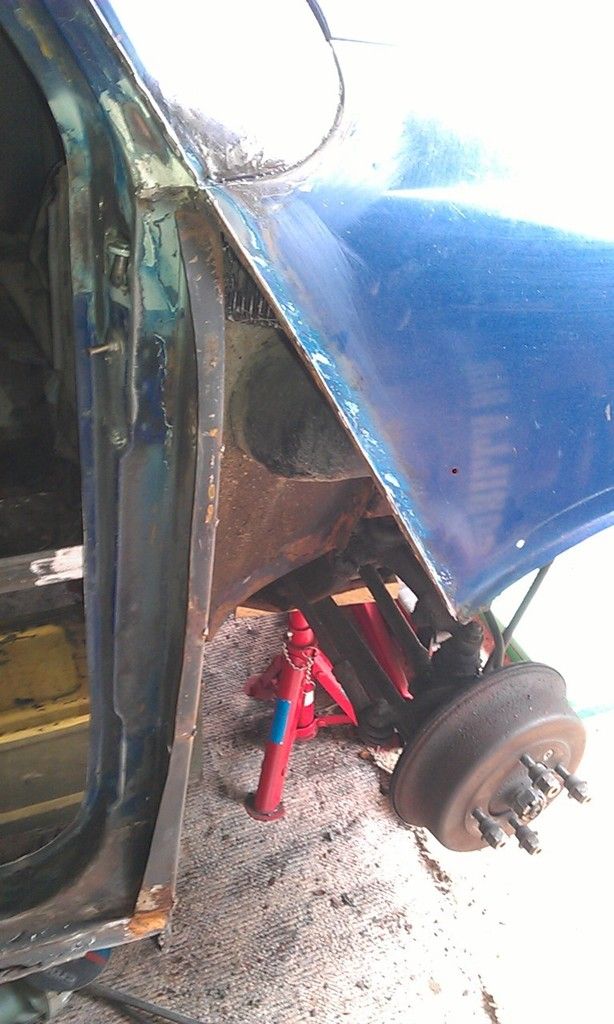
Next I started on the Flitch


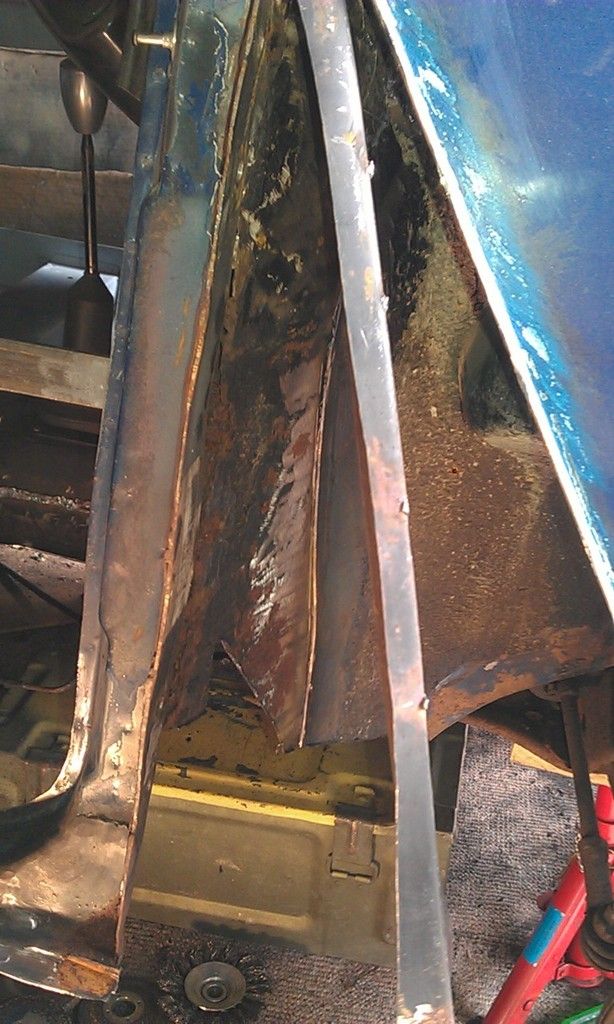
Again it wasn't being held on by much obviously I had to cut it away from the original Flitch leaving enough to enable a new Flitch to be fitted. Here's a pic of it pulled away from the A Post, you can see the original Flitch still underneath (including the rotten parts), apart from what I had already removed from the inside. 


IMAG0176_zpsugjqj3fa.jpg


I'll have to repair the front of the door step.


IMAG0167_zpsbudusyst.jpg


And here's a peek looking up towards the Scuttle Closing Panel.


IMAG0178_zps3j9ibsq4.jpg


Those hairs a Fiberglass where someone has attempted to repair the Scuttle Closing Panel!!


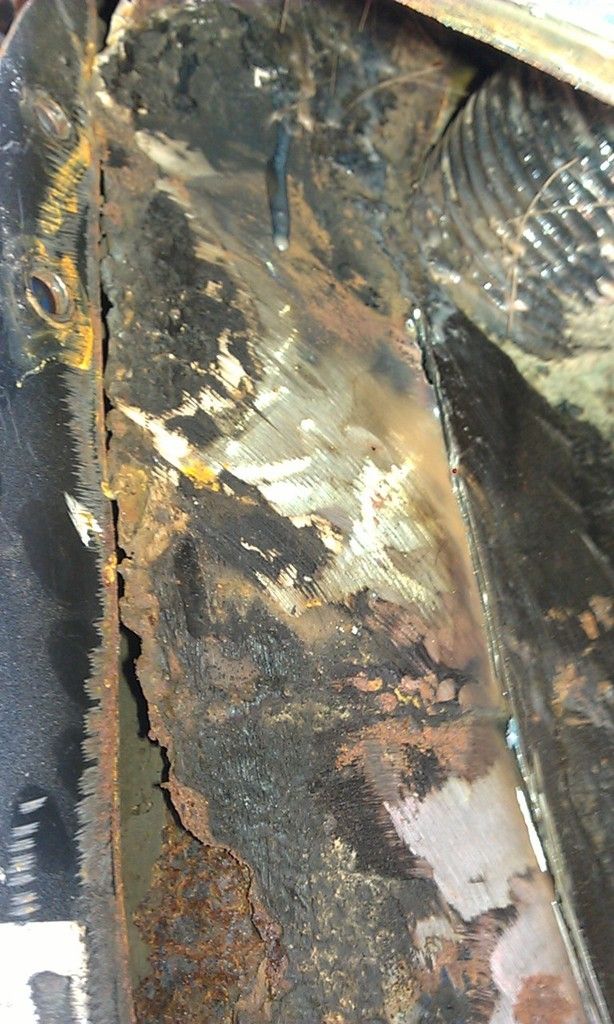
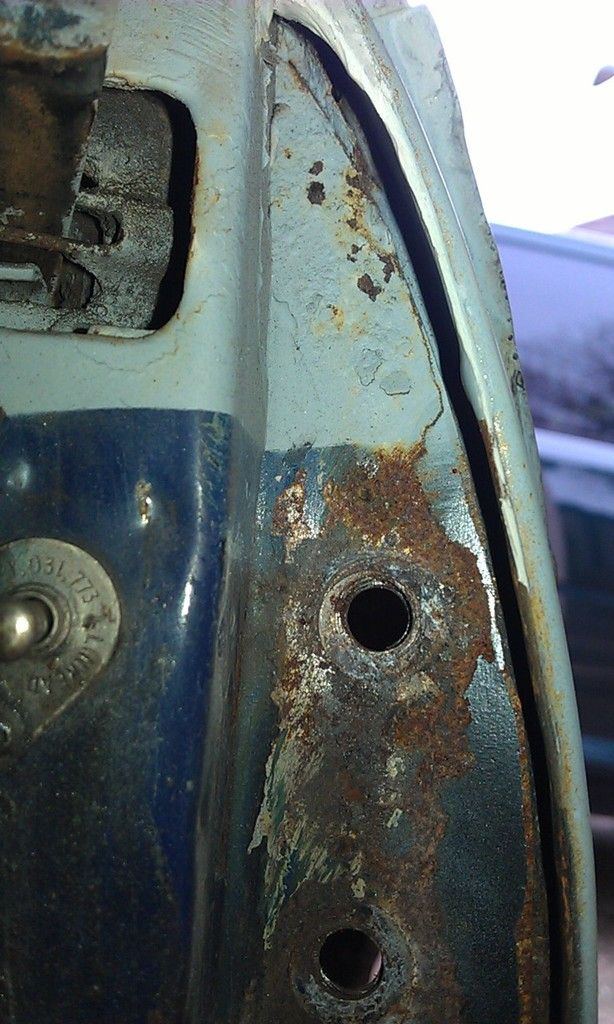
No here's where I need some help, when the A Panel and Flitch were last repaired I seem to recall that we ordered an 'A Post Stiffener' it was tack welded in place behind the existing panel with the Door Hinge holes in it (don't know what this piece is called).


Here's a couple of pics showing the rotten area with the stiffener behind (before I removed the A-Panel.


IMAG0164_zpsebfqfgsd.jpg


IMAG0162_zpsnqubjjlz.jpg


The area that is rotten appears not to be part of the A Post but an additional piece welded in behind. How do I repair this properly, the stiffener can be re-used.


After removing the Flitch etc I re-focused back to the floor.

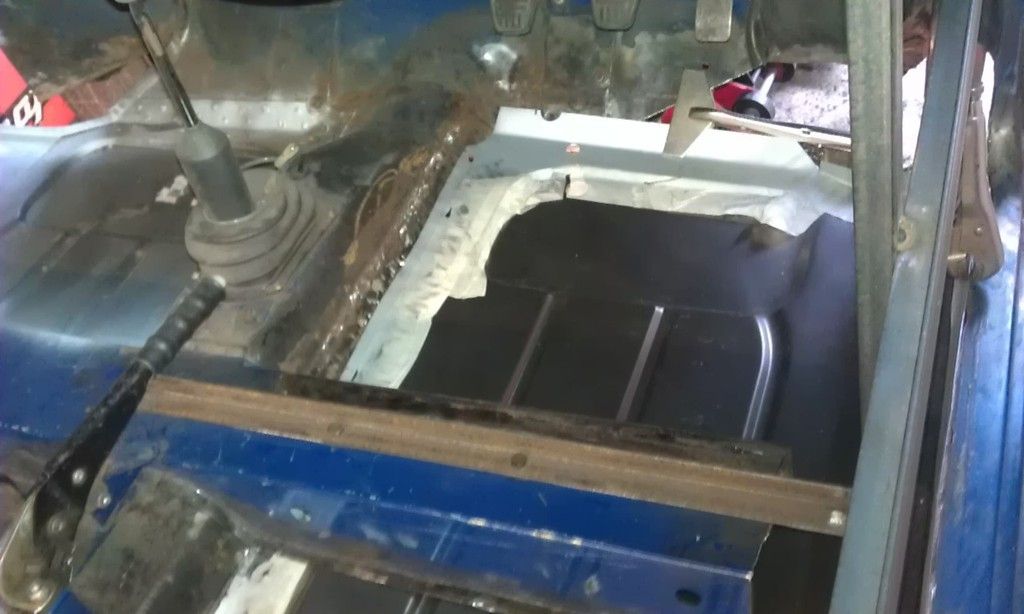
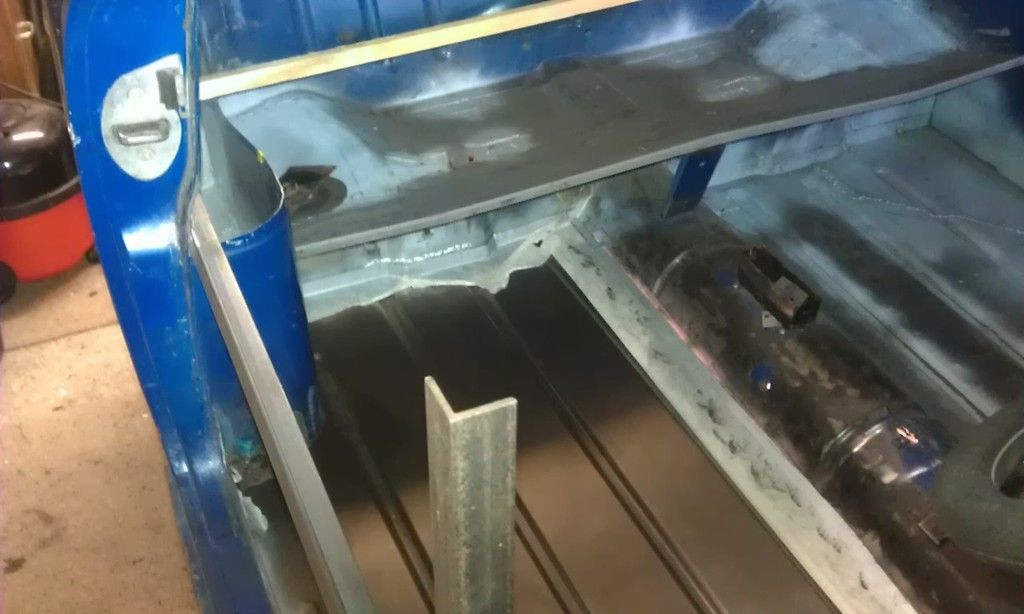
First of all it would not line up with the bottom Subframe Bolt Hole but after some trimming and more test fitting and trimming I seem to have it almost where it needs to be.


Here's a couple of pics.


IMAG0181_zpsrlm1wp7q.jpg


IMAG0185_zps8m6auwn5.jpg


IMAG0188_zpsvzd892yw.jpg

Before I weld it in though it will need a little more shaping and I also need to repair the Toe Board and the Cross Member first. I was going to do these after but I want to weld the Toe Board from above and thought that if I fitted the floor and then tried to fit the cross member end repair I would struggle to get it in. 


Well back at it tomorrow and then a few days away, back soon...........


#173 JonnyAlpha

JonnyAlpha

    Up Into Fourth

  • Members
  • PipPipPipPipPipPipPipPipPip
  • 2,748 posts
  • Location: North Devon
  • Local Club: Exmoor Minis

Posted 31 March 2015 - 07:45 PM

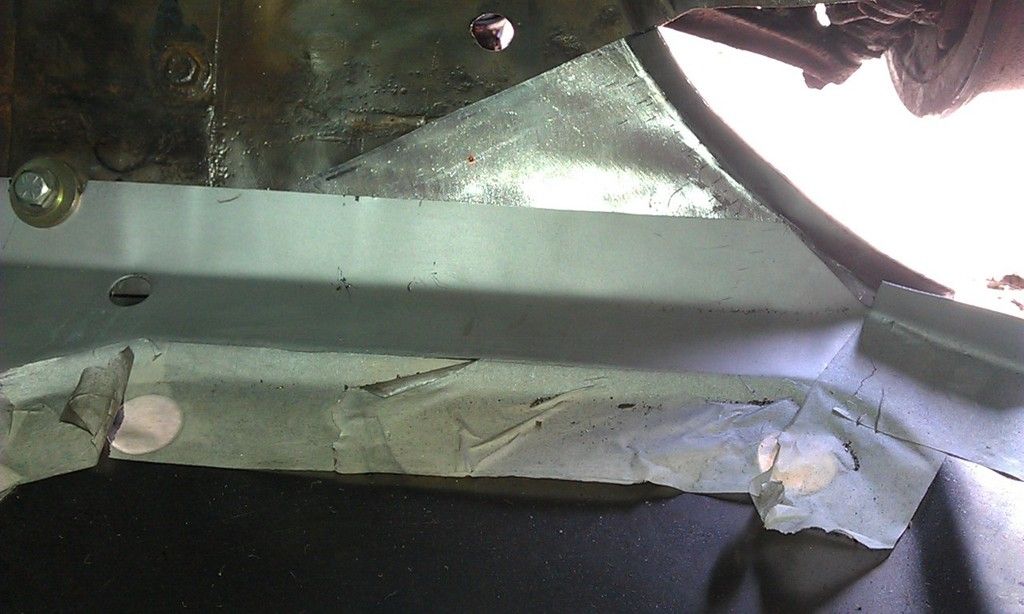
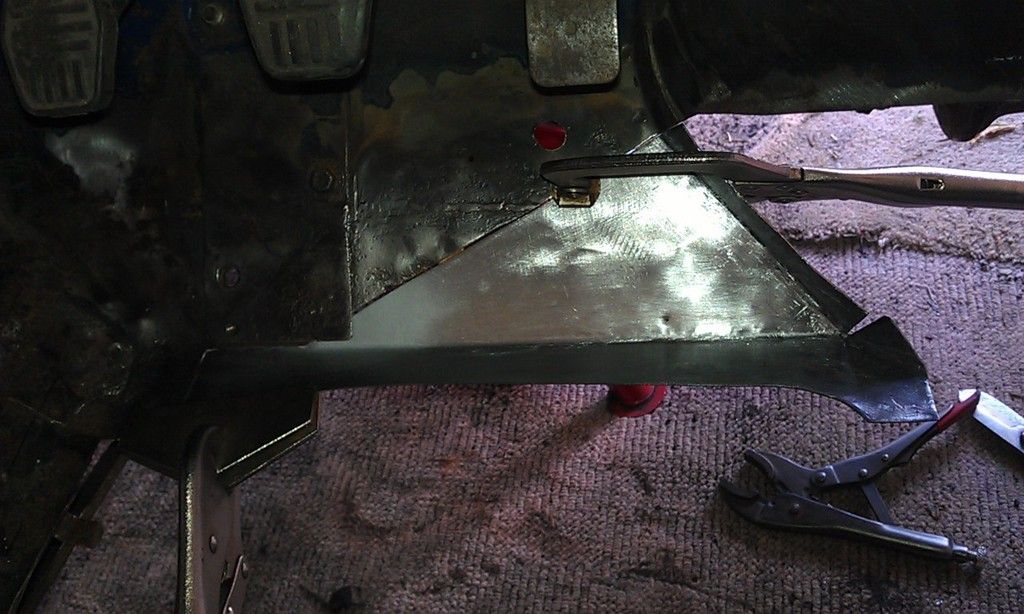
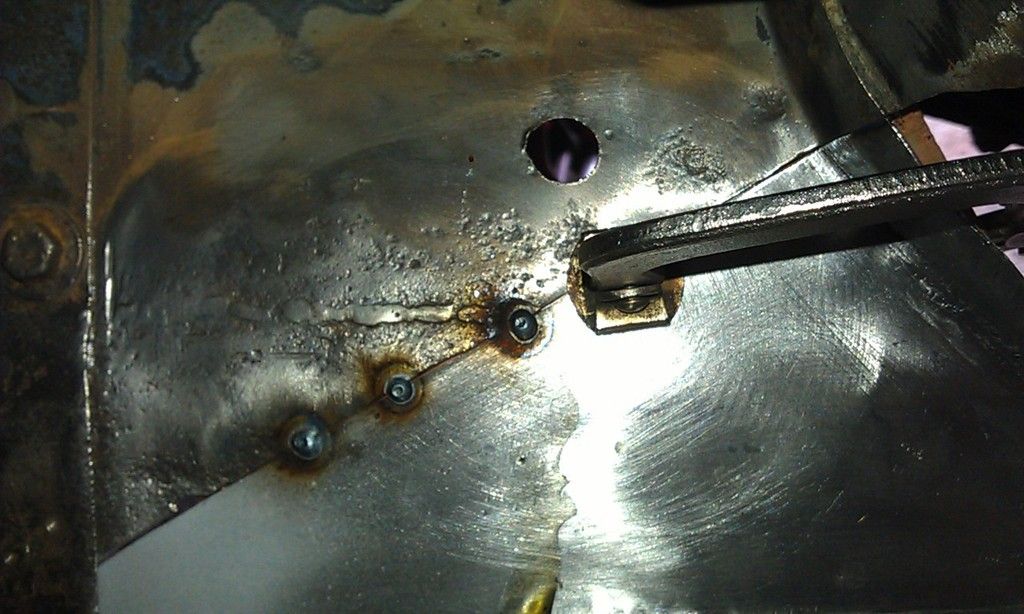
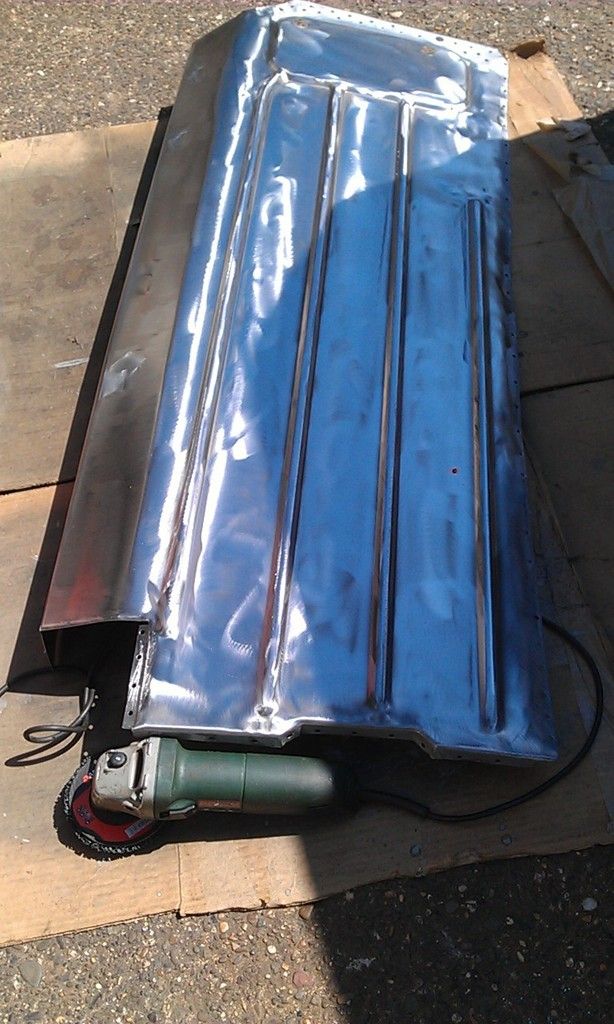
A little progress today, needed to get the toe board repaired before I weld in the floor but the repair piece I made earlier was made using bodywork steel which is too thin so using the same template I made another using 1.2mm steel.


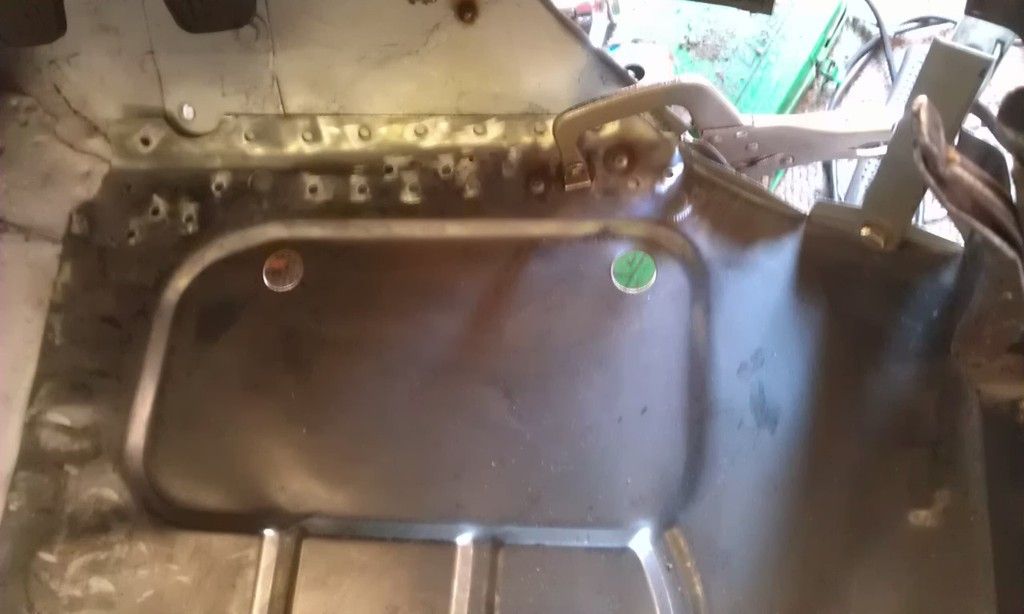
To get it in the right place I had to get the floor clamped in floor, after an age of trimming and adjusting at long last it was OK.


IMAG0190_zpsuqpzwkiu.jpg


That hole above is not standard, its a bit of tin worm that I drilled out to plug weld.

The bolt in the Subframe Mount is also temp just to hold the floor in place.


The I cleaned up the area to be welded.

IMAG0191_zps4nrktxkw.jpg


Then clamped it in place, what you cannot see in the pic is a piece of copper bar under part of the join. This will help dissipate the heat and prevent blow throughs which is an issue when butt welding.

IMAG0192_zpshknf7nqs.jpg


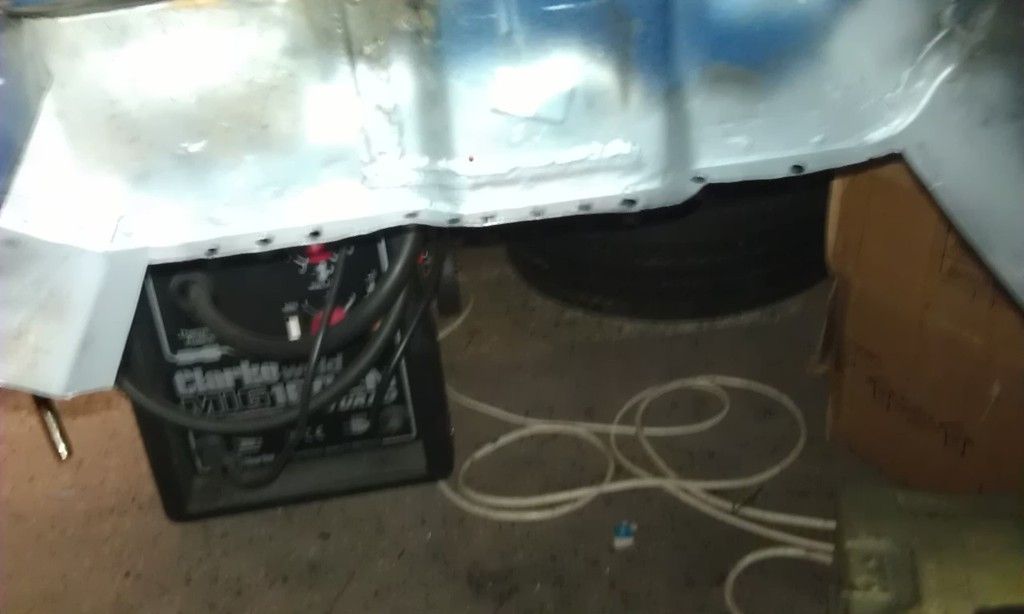
A few tacks using the lowest setting on my Clarke 150EN Mig (Min 1 Wire Speed 7).


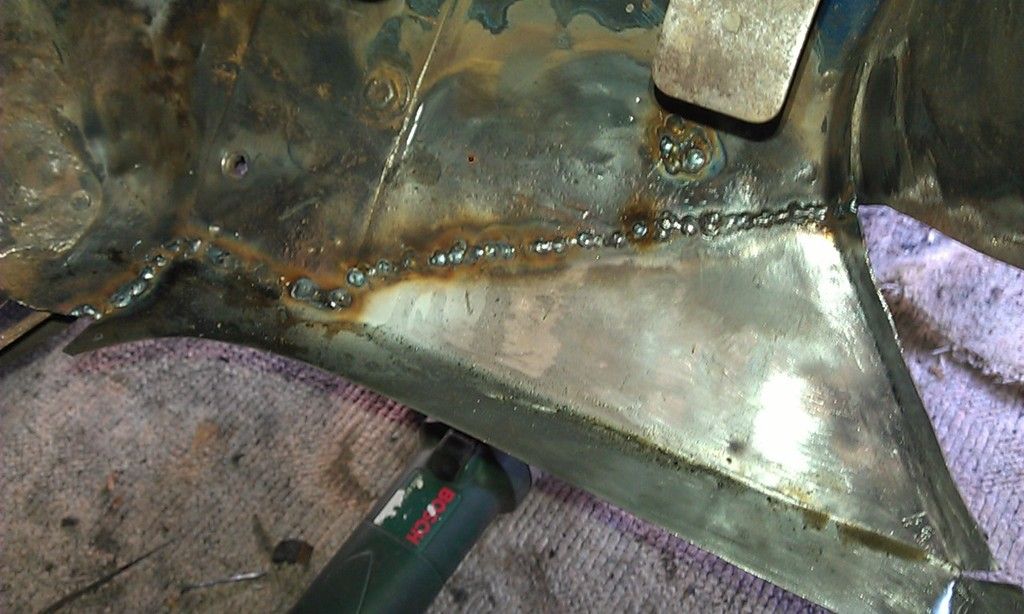
IMAG0194_zps0iohh4fv.jpg


Then join up the dots!!


IMAG0195_zpscfrtcbhg.jpg


Most of the weld was done using a higher setting (Min 2 WIre Speed 8) couple of blow throughs where I got over zealous and tried more than two in a row :-)
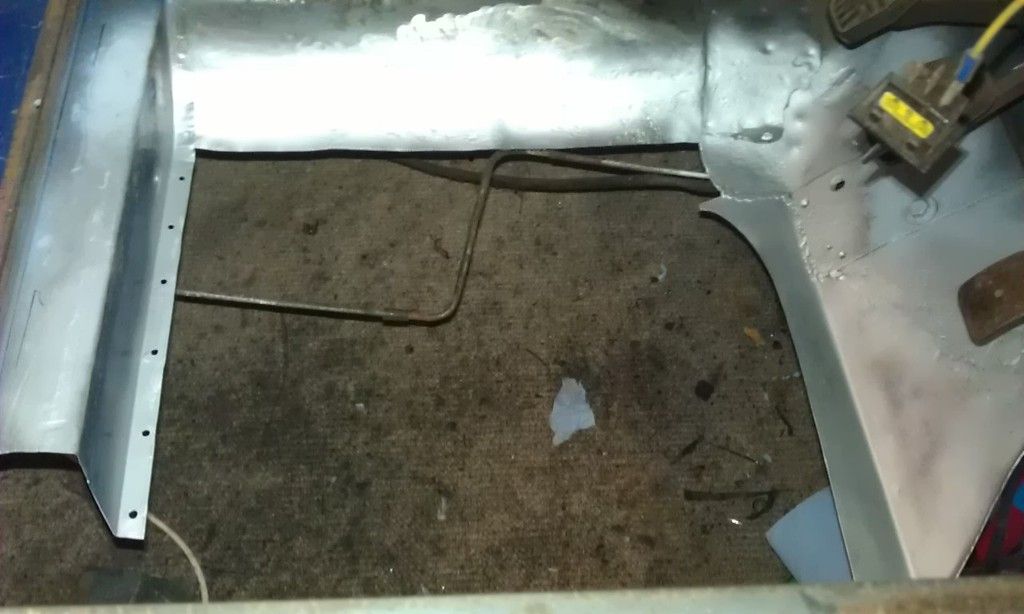
 

Even managed to plug weld the hole above. When I get some space I will need to weld a small part where the join us under the Subframe Plate.


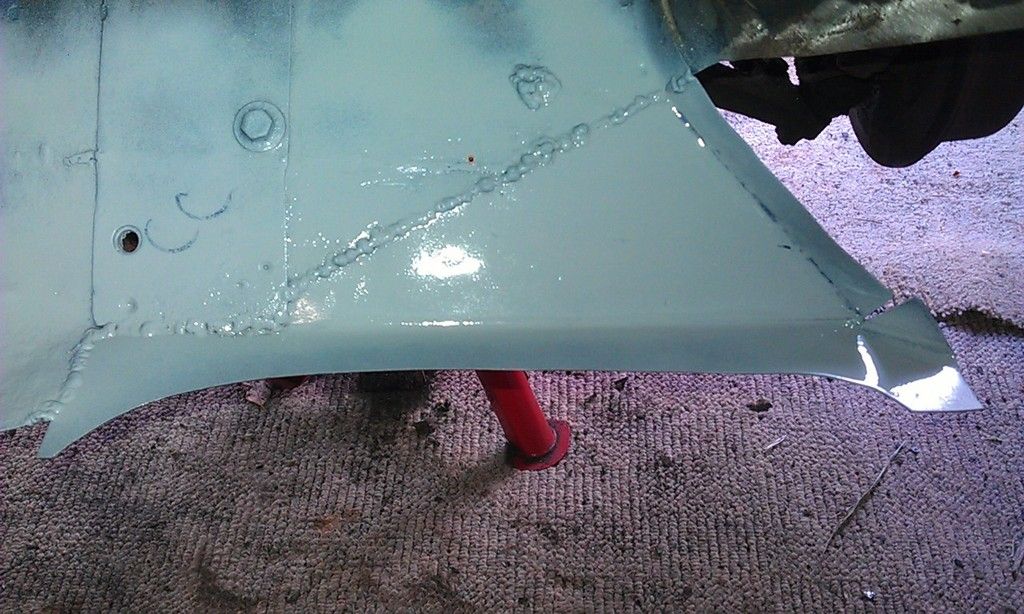
Before I packed up I cleaned it all up and gave it l a coat of Etch Prime to stop it rusting, I also need to dress down the welds but ran out of time today and wont be on it it for a few days.


IMAG0196_zpsavkigimw.jpg


No pics of the other side but the penetration was spot on. 


#174 JonnyAlpha

JonnyAlpha

    Up Into Fourth

  • Members
  • PipPipPipPipPipPipPipPipPip
  • 2,748 posts
  • Location: North Devon
  • Local Club: Exmoor Minis

Posted 16 April 2015 - 08:56 PM

Well, during the Easter holidays I had planned to get so much done, but sadly I was taken ill on Easter Monday and ended up in hospital for a week (Gall Stones)!!! 


I have been at home for a week now recovering but as I was feeling a little better I thought I'd have a crack at the Mini today.


I took things easy as it was hot and the going was real slow, I thought I would at least finally get the half floor in but I spent all day prepping reading for welding it in.


I had to get the floor in dry again to mark where spot welds would be required and make any final adjustments. The other day I had made up a sort of jig to line up the RH Cross Member End Repair, so fitted it in place before I did another test fit of the floor:


IMAG0214_zps6murd8nc.jpg


IMAG0215_zpsgr3uw1aa.jpg


When I put the floor in I found that with the Cross Member End in place I couldn't quite get the Inner Sill to line up so I took the end section out and decided I'd battle with it once the floor is in ;-) 


Once I got the floor lined up correctly I then scribed around the underneath where it overlaps the original floor surround and marked the cross member flanges in preparation for drilling spot weld holes.


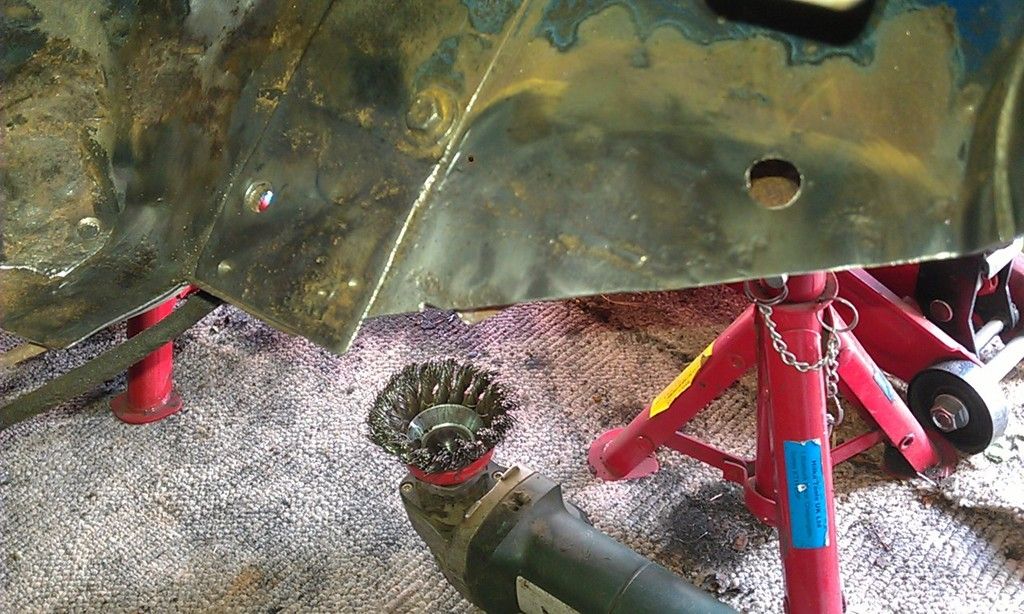
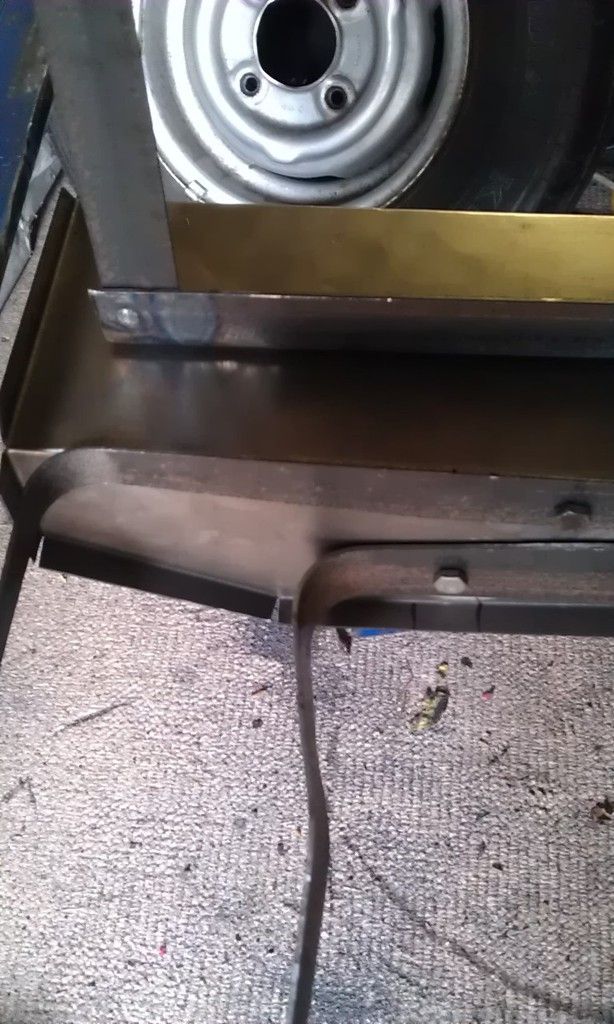
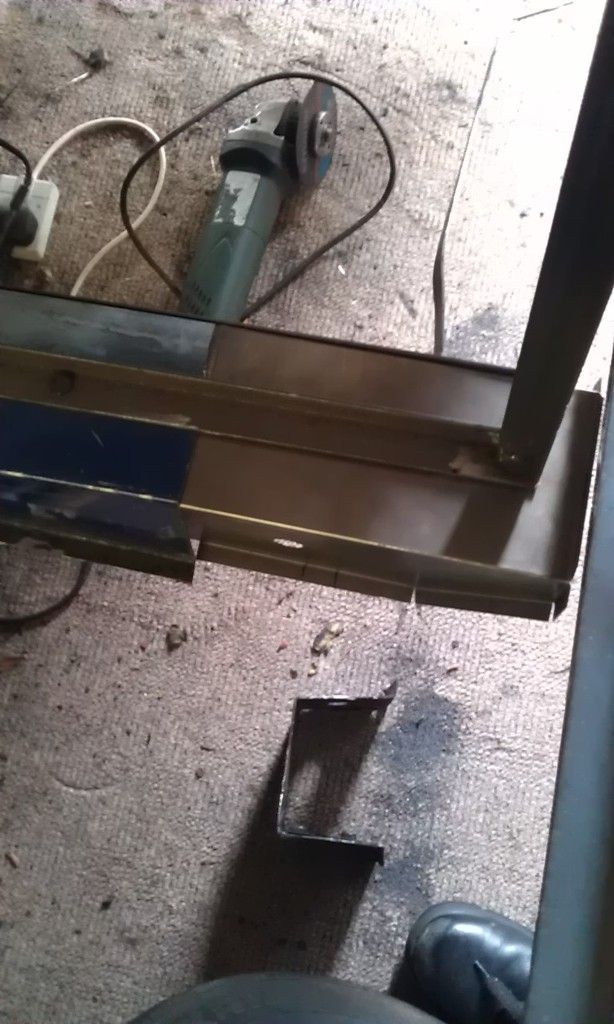
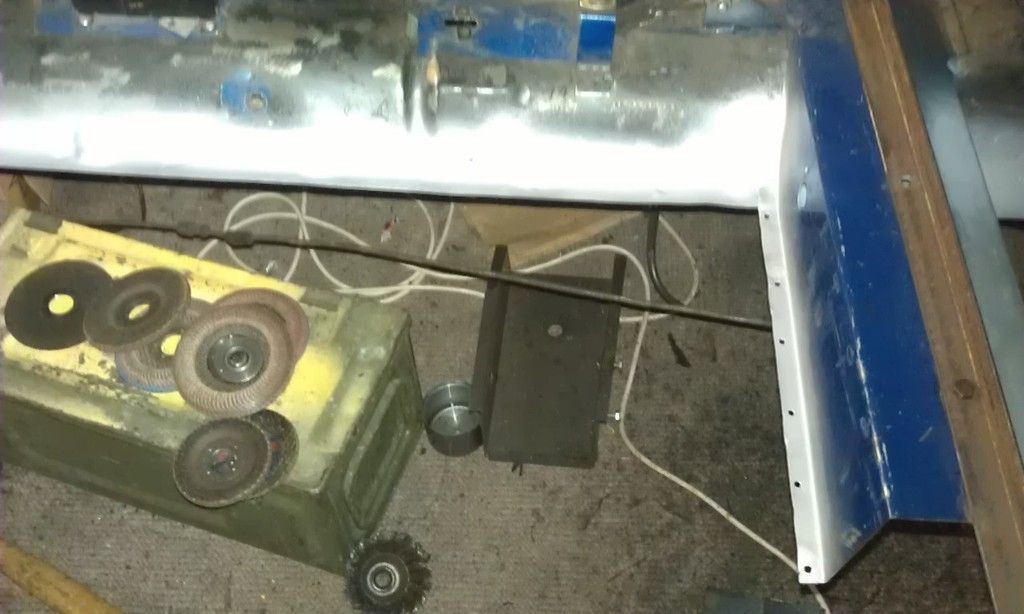
I managed to clean up the rear section of the existing floor and sprayed weld through primer around the edge but the underside of the Cross Member are the side of the front tunnel in the front foot well took for ever to de rust. I also had to do the underside of the Door Step as once the floor is in it would be difficult to get the Angle Grinder into some of the more tight spots.


First removed as much loose paint and rust with an Angle Grinder, and the treated the rusted areas with Bilt Hamber rust remover, this is the part that took forever, I had to give some of the more pitted areas three goes!! 


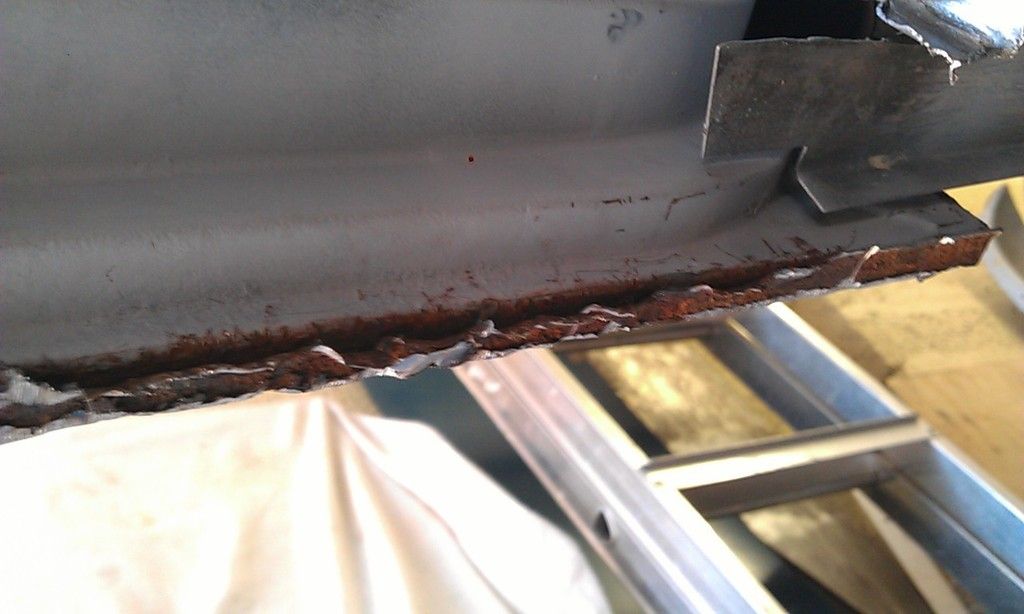
Once the Bilt Hamber had done its job I then sprayed up the appropriate areas with weld through primer and the remaining areas that had been cleaned got a coat of Etch Primer.


Here are the areas that got finished (apart from the door step as I forgot to take any pics  :-)


IMAG0217_zpscreqqxej.jpg     

IMAG0218_zpsy1sa4ras.jpg


IMAG0219_zpsgq5hqnfh.jpg


Before the floor goes in I still need to remove the remnants of the RH Outer Sill from the Door Step.

And possibly repair the front of the Door Step but I may see if it can be done with the floor in place.


#175 Hendred

Hendred

    Speeding Along Now

  • Members
  • PipPipPipPipPip
  • 484 posts
  • Location: Cleobury Mortimer Nr Ludlow, Shropshire Name: John

Posted 16 April 2015 - 09:28 PM

Hi,


Is your Mini an 1982 HL?


#176 JonnyAlpha

JonnyAlpha

    Up Into Fourth

  • Members
  • PipPipPipPipPipPipPipPipPip
  • 2,748 posts
  • Location: North Devon
  • Local Club: Exmoor Minis

Posted 17 April 2015 - 08:07 AM

Hi,


Is your Mini an 1982 HL?

I believe it is a 1982 HLE, which looking here  was only produced in 1982.


#177 Hendred

Hendred

    Speeding Along Now

  • Members
  • PipPipPipPipPip
  • 484 posts
  • Location: Cleobury Mortimer Nr Ludlow, Shropshire Name: John

Posted 17 April 2015 - 02:07 PM


Hi,


Is your Mini an 1982 HL?

I believe it is a 1982 HLE, which looking here  was only produced in 1982.


Same car as me then!


#178 JonnyAlpha

JonnyAlpha

    Up Into Fourth

  • Members
  • PipPipPipPipPipPipPipPipPip
  • 2,748 posts
  • Location: North Devon
  • Local Club: Exmoor Minis

Posted 18 April 2015 - 06:46 PM


Hi,


Is your Mini an 1982 HL?

I believe it is a 1982 HLE, which looking here  was only produced in 1982.


Same car as me then!


Is that the one in your project build ?


#179 JonnyAlpha

JonnyAlpha

    Up Into Fourth

  • Members
  • PipPipPipPipPipPipPipPipPip
  • 2,748 posts
  • Location: North Devon
  • Local Club: Exmoor Minis

Posted 18 April 2015 - 07:26 PM

Spent most of the day in the garage avoiding the glorious sunshine!!!


First job was to remove the remnants of the RH Sill from the Door Step, I recon there was an original Sill, and replacement Sill and an Oversill.


IMAG0227_zpsg6sittbt.jpg


Took forever to get through it but job done. In the process I managed to cover the passenger sid door glass in grinding sparks - that'll be that knackered then :-(


Then I cleaned up the underside of the floor as it had developed some surface rust, I was tempted to paint it but I really wanted to get it welding in and that would mean waiting another say for it to dry. It would have been easier painting it first but hey ho!!


IMAG0228_zpspuiufpjc.jpg


Oh yesterday I also marked and drilled all the spot weld holes.

I also cleaned up the weld areas and touched up the weld through where needed.


I also sprayed the area that will sit underneath the Cross Member, hit it with some Etch Prime and Enamel Top Coat, it wont be seen but at least it will be covered and protected.


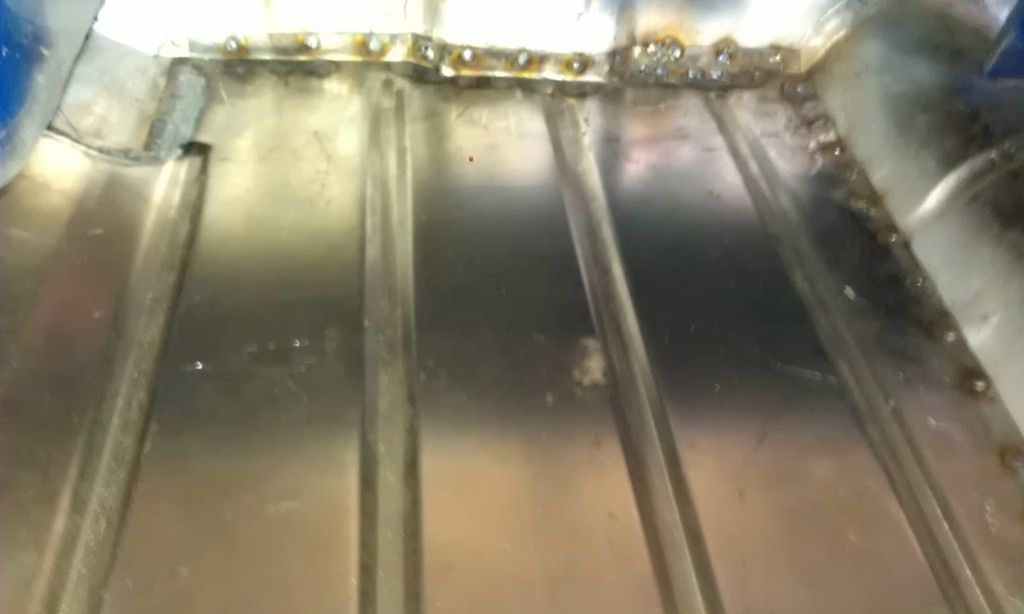
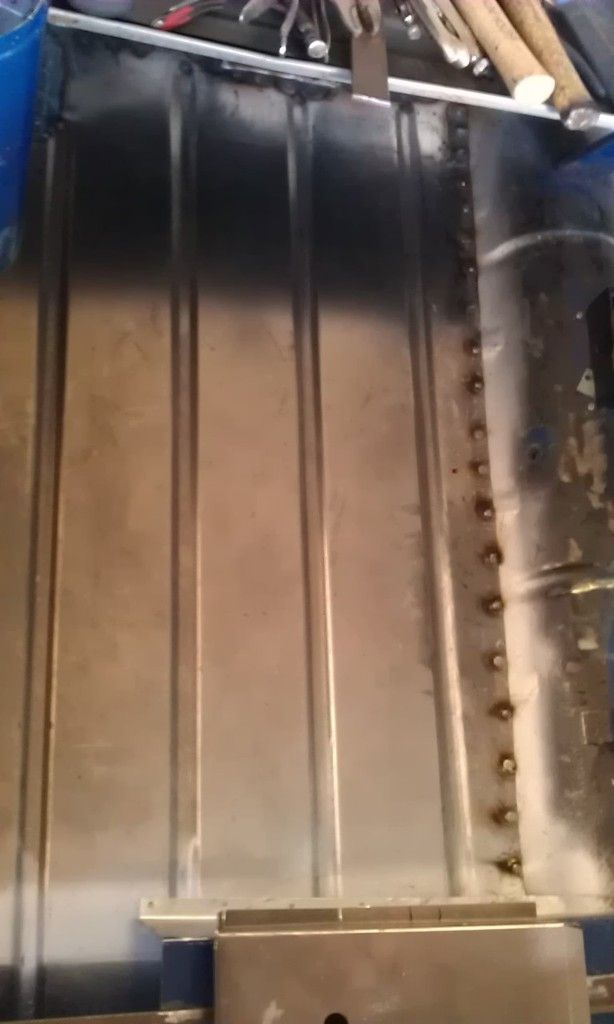
For some reason even though I had test fitted the floor what seemed like a thousand times it didn't want to fit this time. Eventually I managed to get it into position and hit a few spot welds.


IMAG0229_zpso1bcdzjf.jpg

Then came the mammoth task of welding it in place. Took forever and made a big mistake at the rear nearest the tunnel. I was sure the damm thing was sitting flat and did three fantastic plug welds only to find that the floor hand srpung up. Tried drilling them out NO JOY so I ended up cutting the flange. DAMM!! 


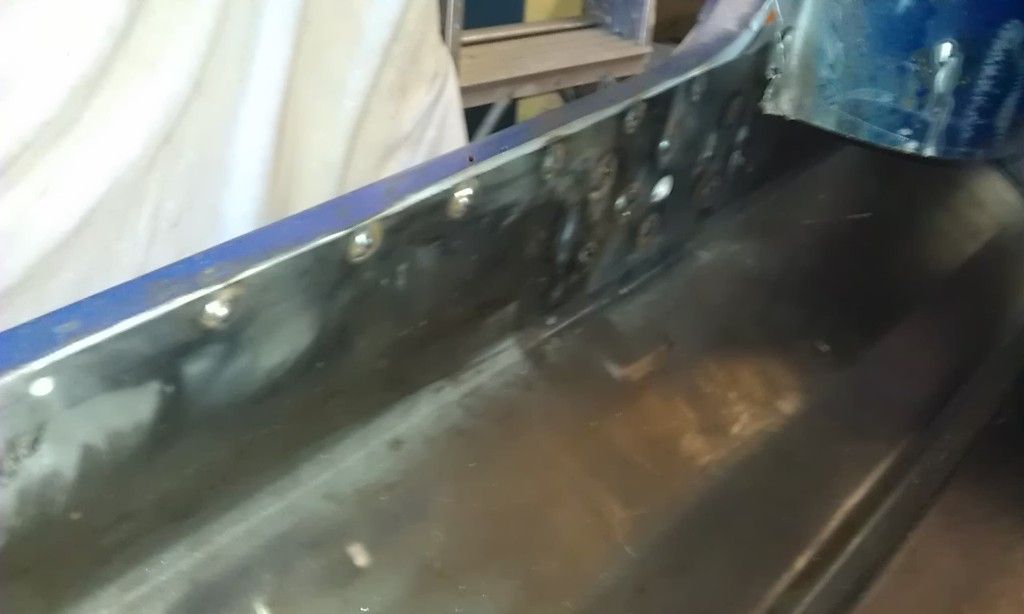
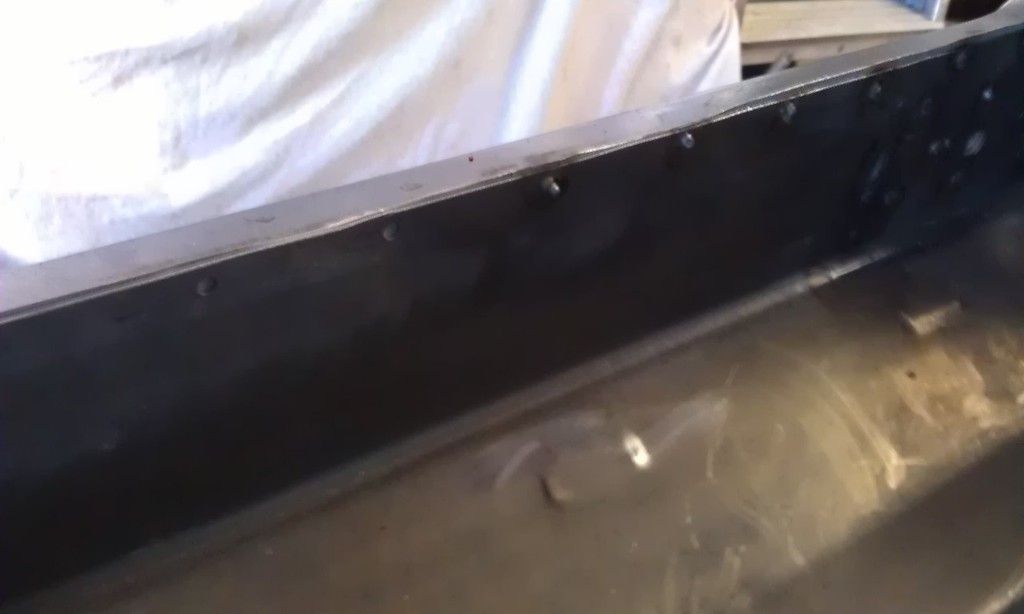
Here's the rear end, the error is fixed but looks shabby but will be covered with Seam Sealer and carpet.


IMAG0231_zpsocdvfc84.jpg


IMAG0230_zpsizcvpw1t.jpg


IMAG0233_zpsnsvzdkhf.jpg


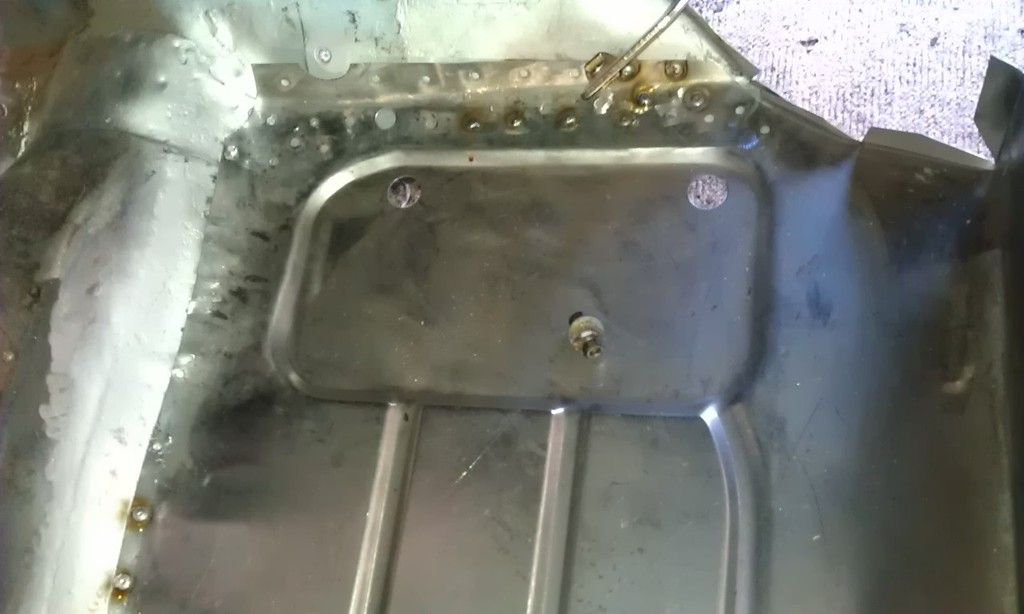
Before I fitted the floor I welded on the Seat Belt Mounting Point, that bad boy ain't going anywhere.

Seam Welded and 6 Spot Welds.


IMAG0232_zpsale39ekw.jpg


Still a few plugs to do on the Sill and the front foot well.


IMAG0234_zps5wwsjzdd.jpg


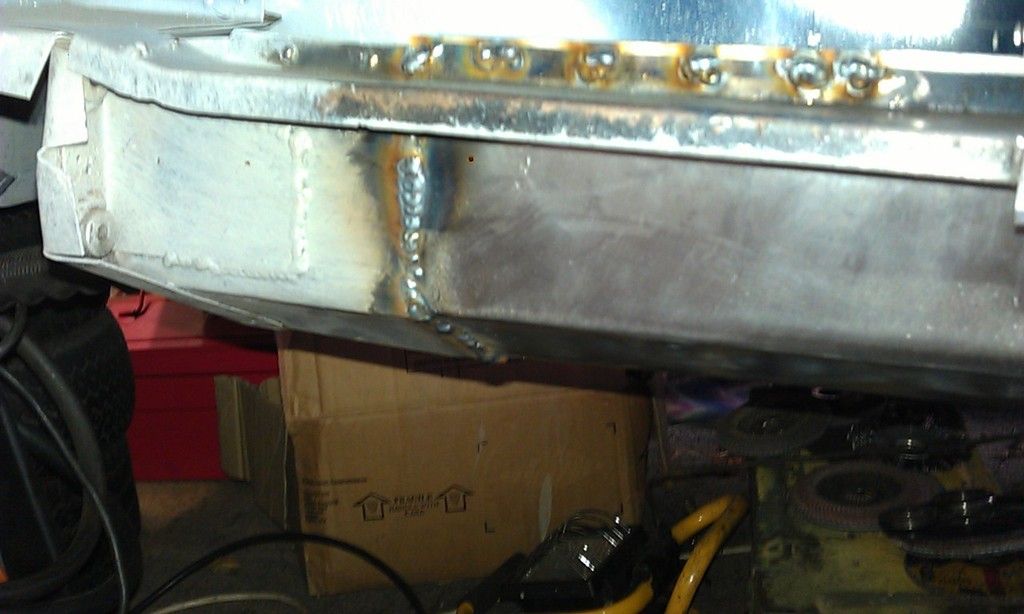
The rear corner had been cut out as I had already repaired the Heel Board and Rear Corner of the Inner Sill and I did not want to mess around with the Subframe Mount Area so the floor was joined using a mixture of Butt and Seam Welds.


IMAG0235_zpsto2zwtnm.jpg


Iv'e even perfected the upside down on your back welding technique, turn up the wire spedd a tad and keep knocking the spatter out of the shroud!!

Alright for you folks using spits grrrrrr :-)


IMAG0236_zpsggtzxrrz.jpg


IMAG0237_zpssuzu1xnz.jpg


To finish the floor I still have several spot welds then I need to Seam Weld the edge along the tunnel both on top and underneath.


I'll do the spot welds and the upper side first but then I think I slap a coat of Epoxy Primer on the underside before it rusts up again. Some of it may get hot and need re-doing along the middle edge but i'll live with that until I can get it up higher, on its side or up on ramps to finish off the welding in a better position.


I'll try and get the spot welds and painting done tomorrow?


#180 Ben_O

Ben_O

    Mill Road Garage

  • Paint Doctor
  • PipPipPipPipPipPipPipPipPipPip
  • 9,785 posts
  • Location: Isle of Wight

Posted 18 April 2015 - 08:40 PM

Glad it went in ok.


Ben


1 user(s) are reading this topic

0 members, 1 guests, 0 anonymous users