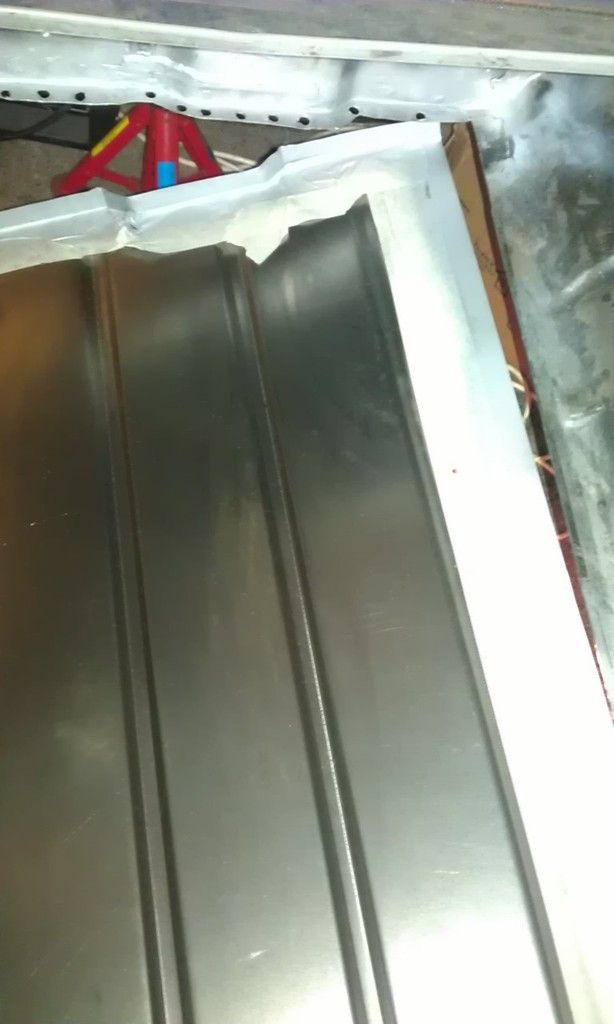
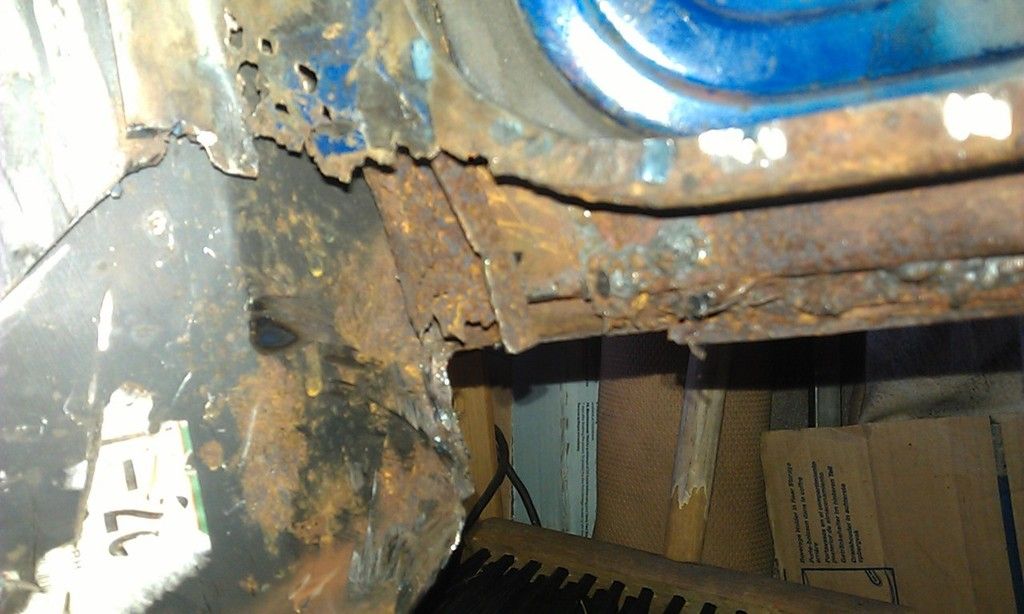
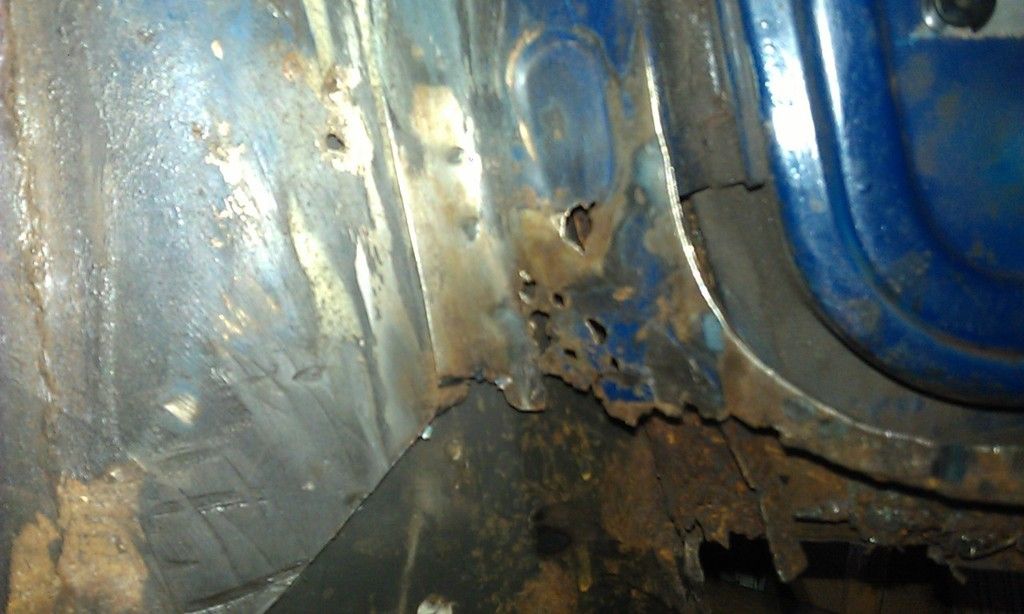
So my new RH half floor arrived (very quickly - thanks M-Machine, TMF discount too), so as the weather was nice Friday and today I thought I'd better get some garage time in.
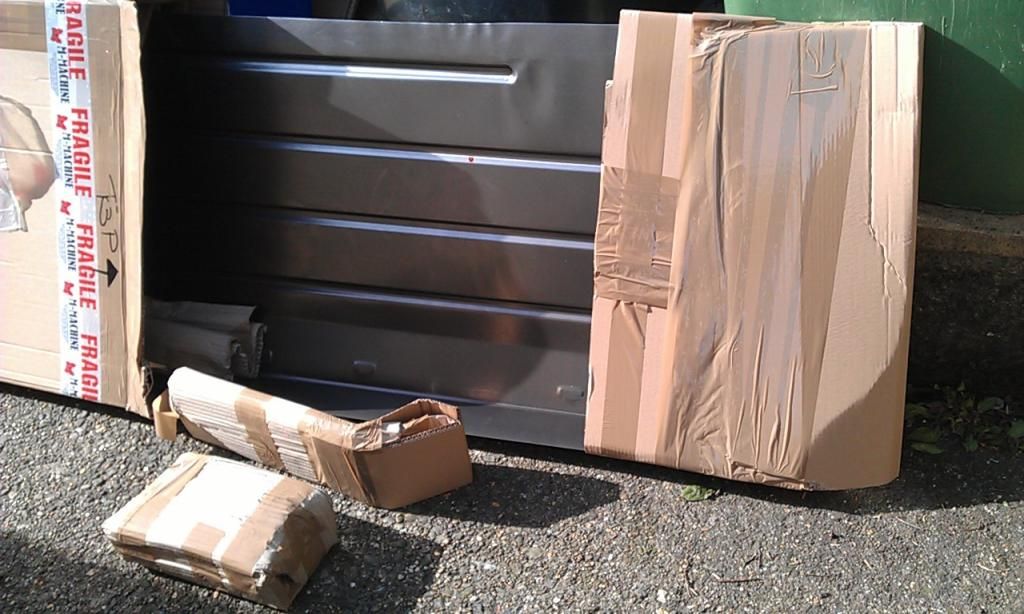
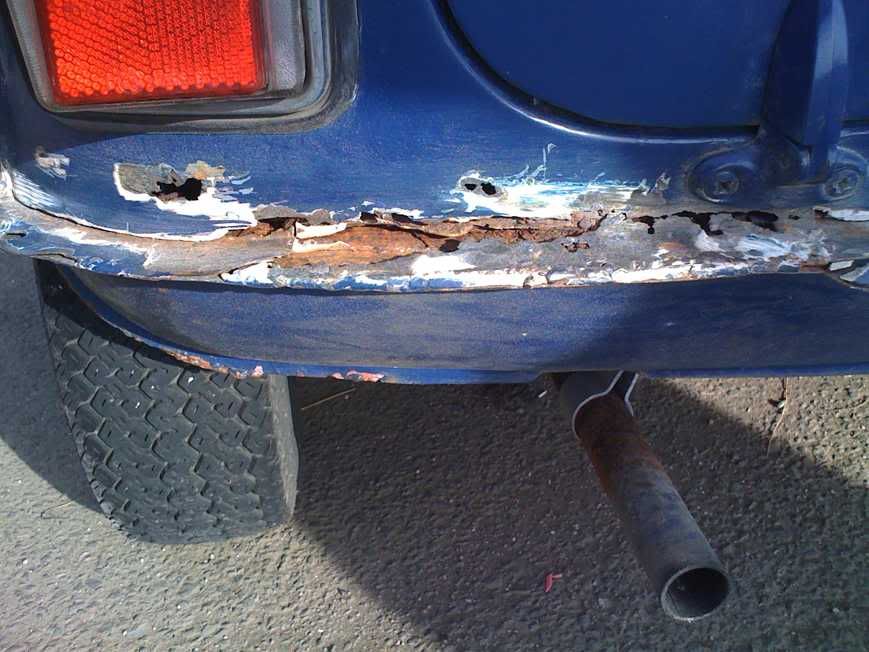
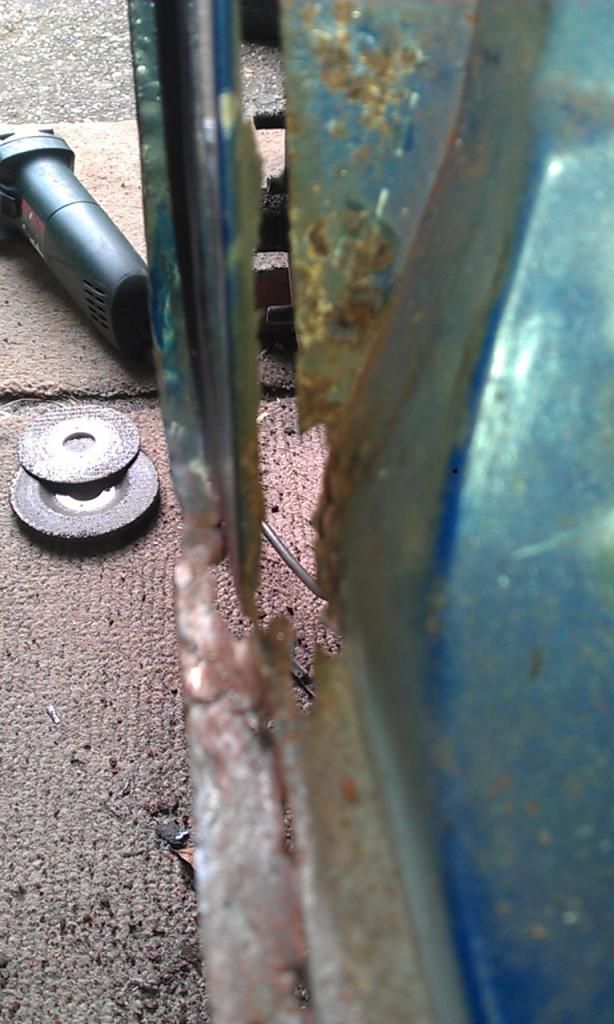
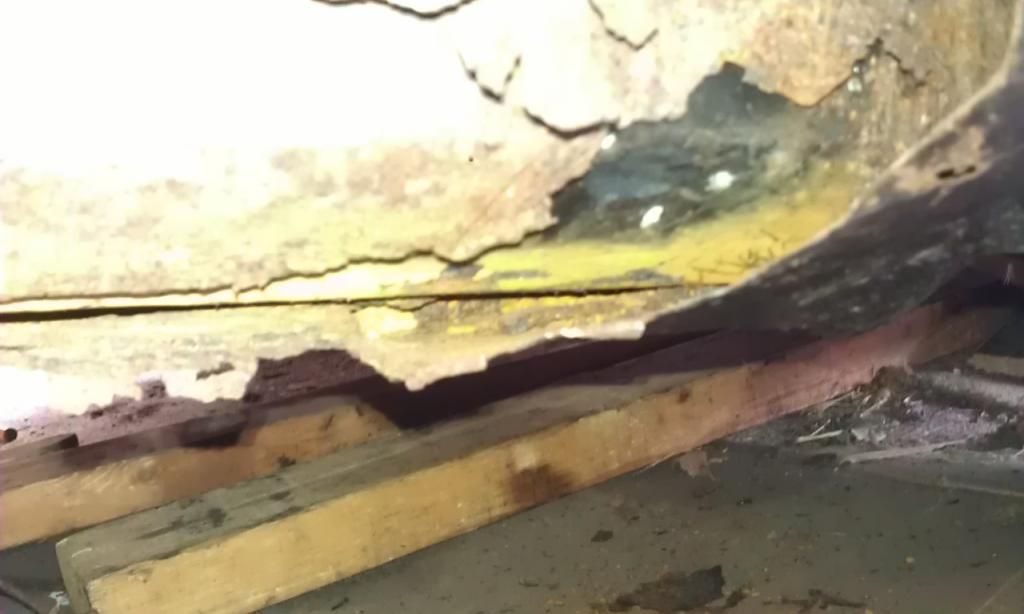
I knew cutting the floor out would be hard work but I wasn't counting on how bad it was at the front :-(
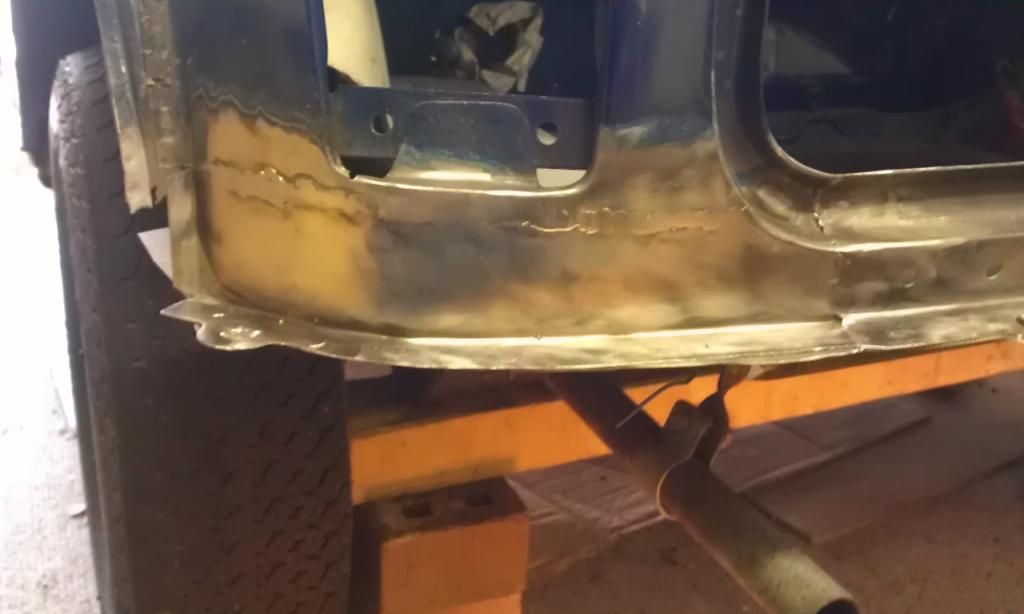
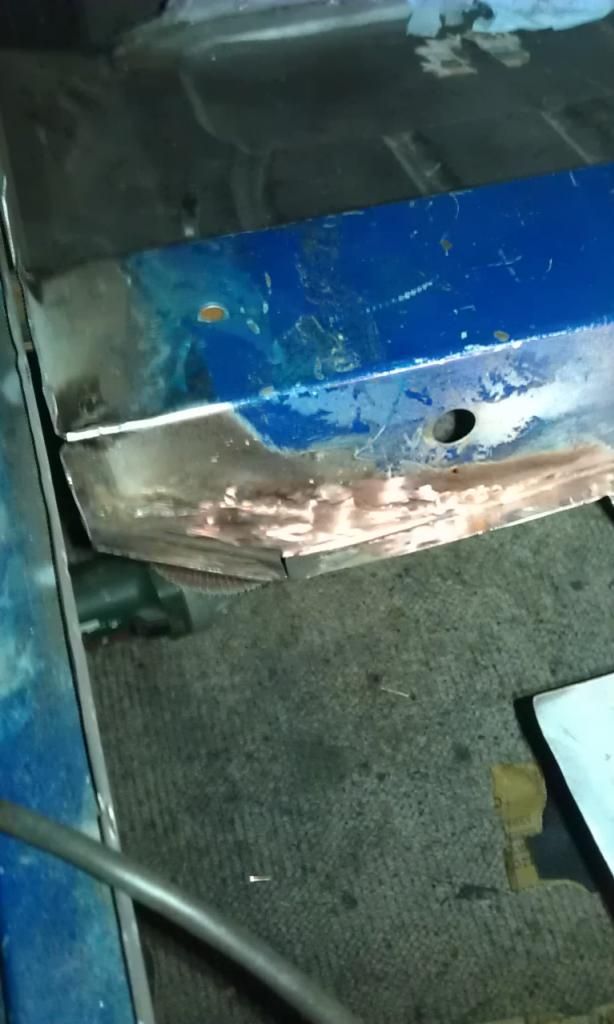
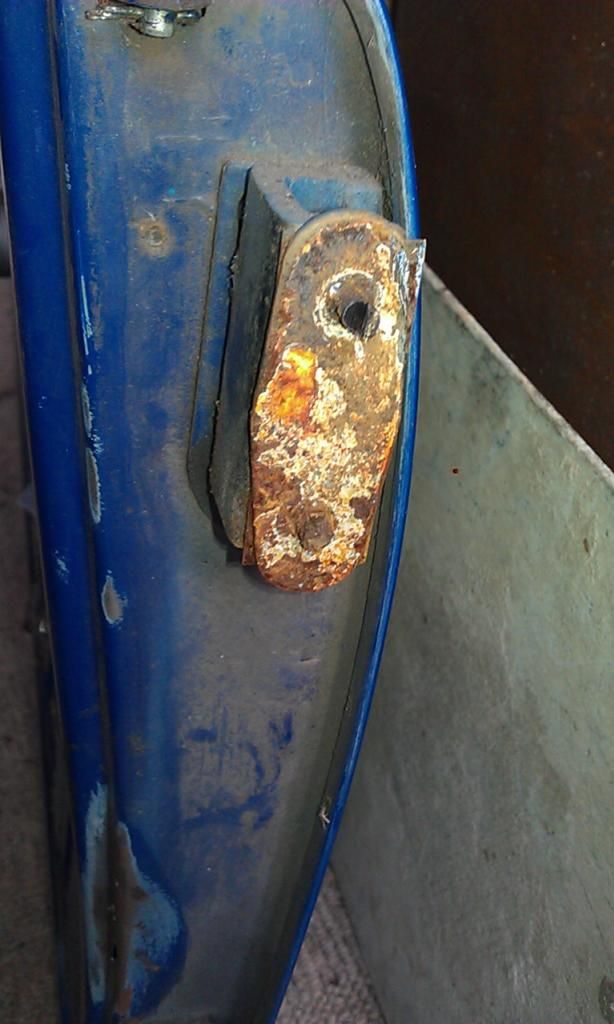
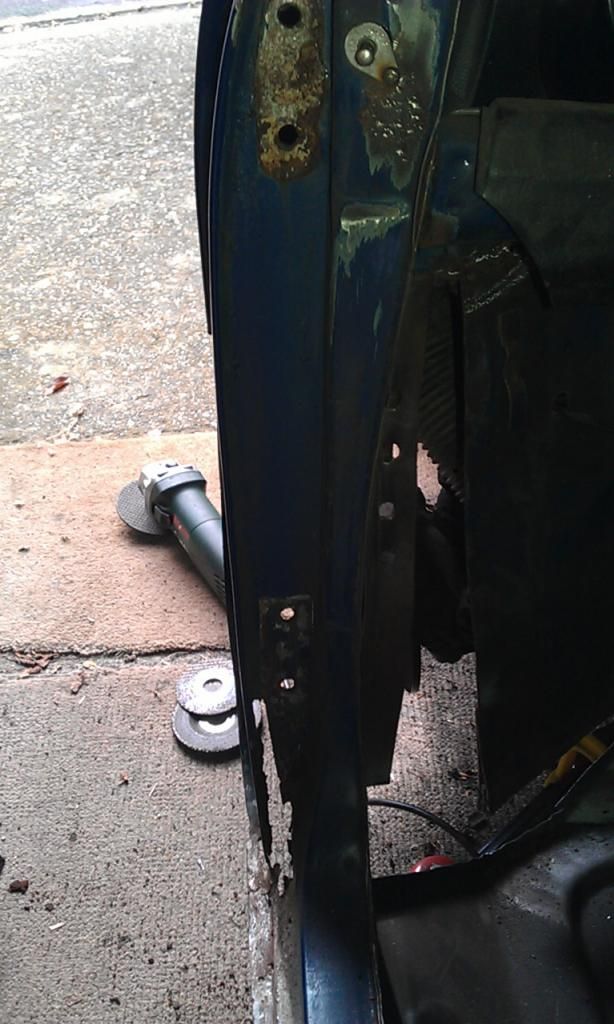
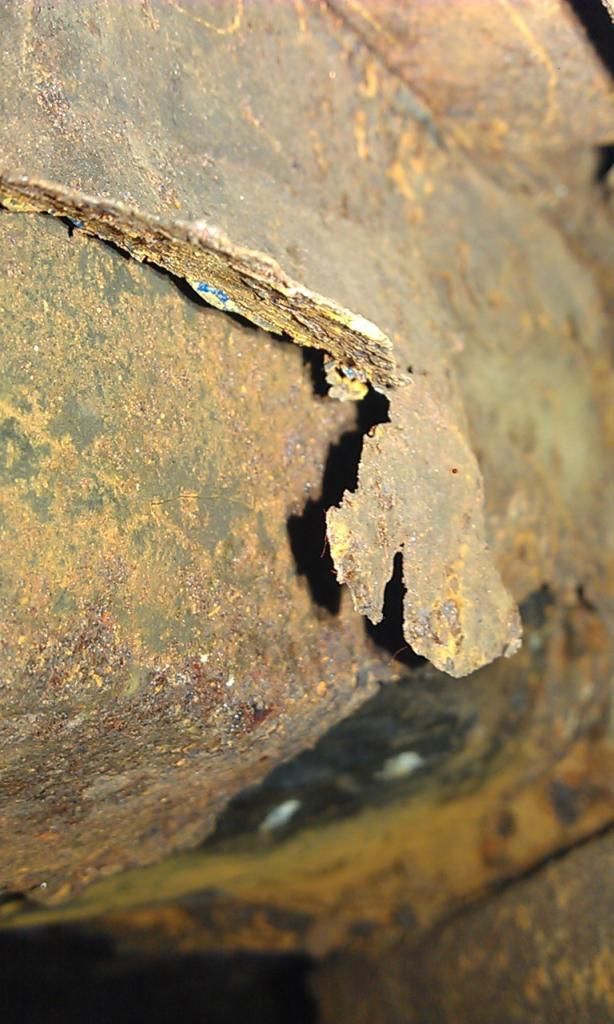
This is a view looking at the RH side of the front foot well from the outside, that's the original Inner Sill, a Foot Well repair and then the darker area to the front is the latest Foot Well repair (done before we got the Mini).
Geeze
After spending most of the day cutting out the old floor and the assessing the areas that need repairing here's the good and bad bits.
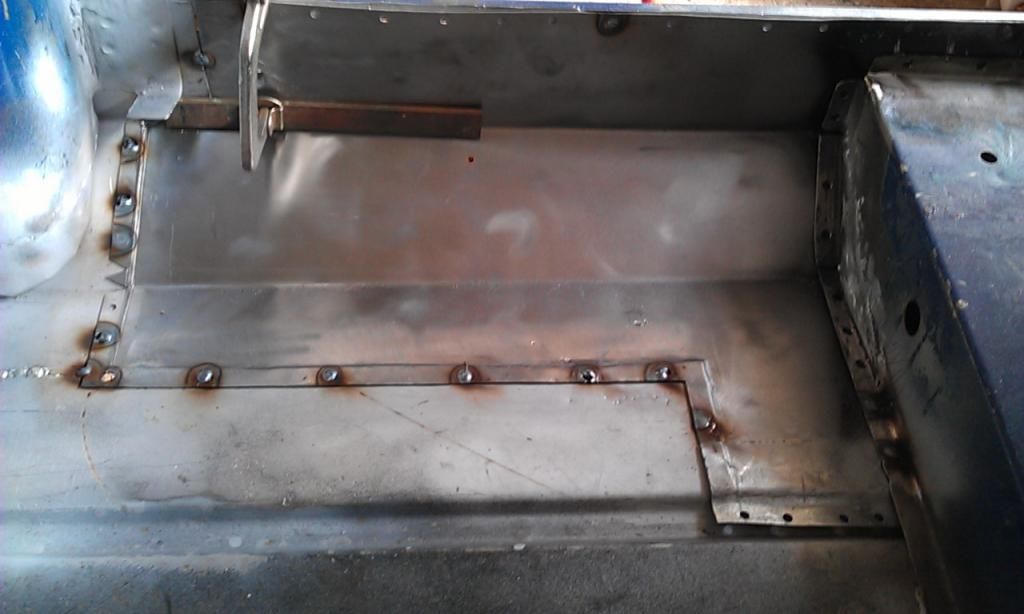
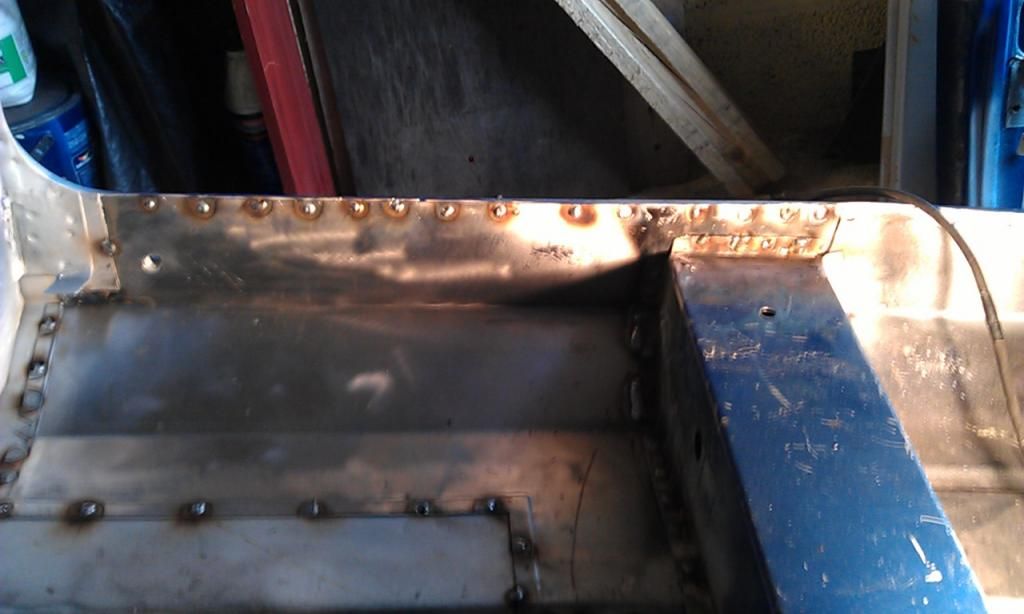
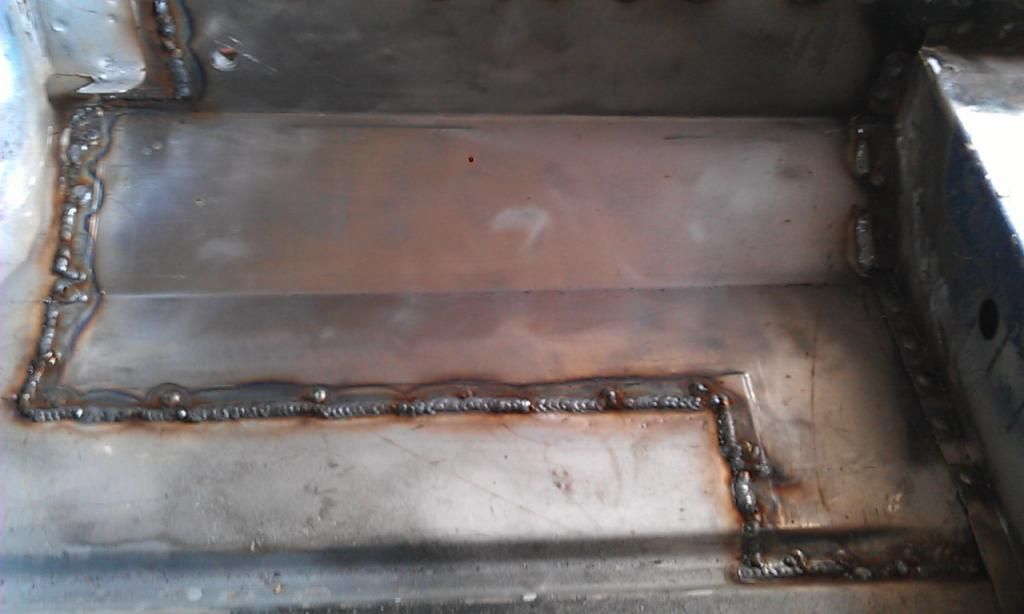
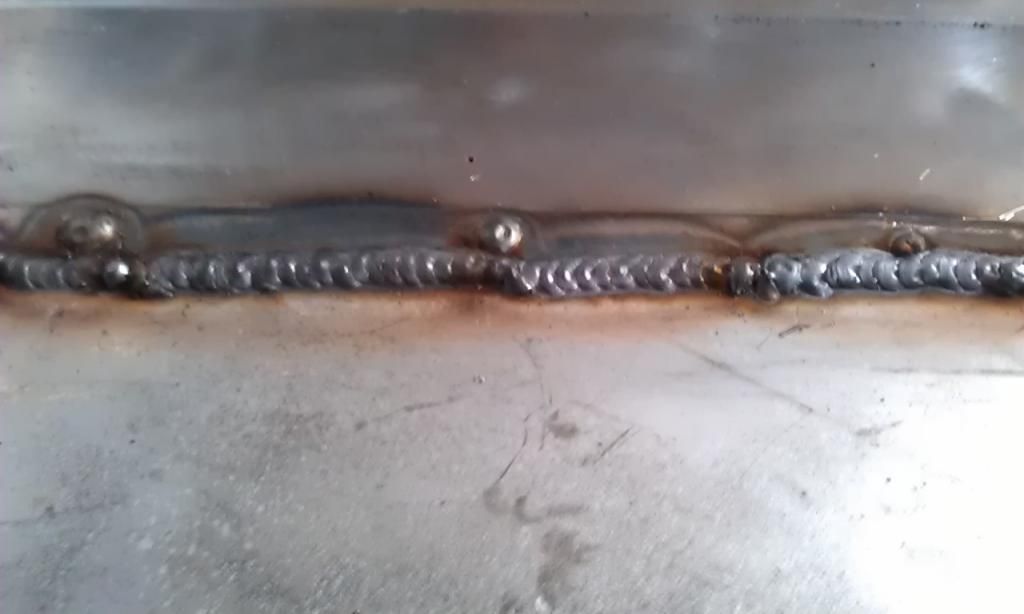
The latest foot well repair had been plonked in and welded straight over the top of the existing floor, it had been seam welded all around so I gently made a cut behind the seam weld all around:
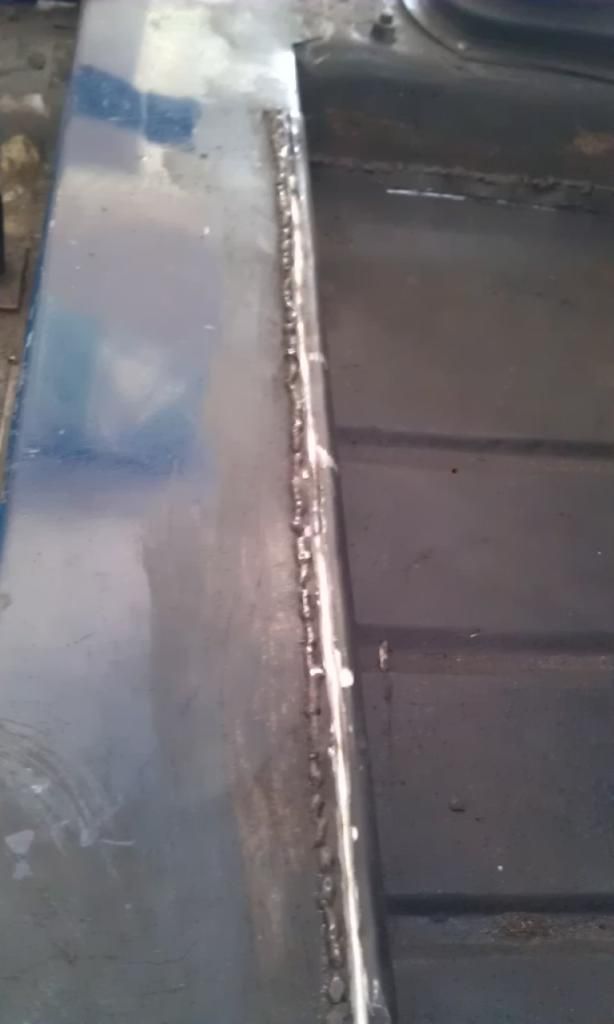
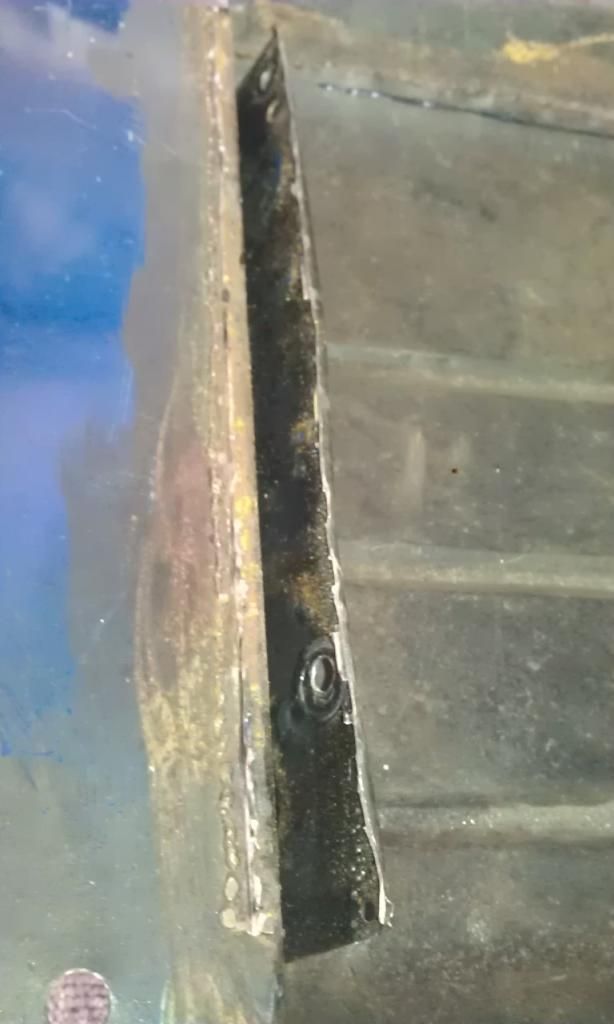
After the top repair had been removed I then cut out part of the old floor (2 layers) and ground down the Seam Weld:
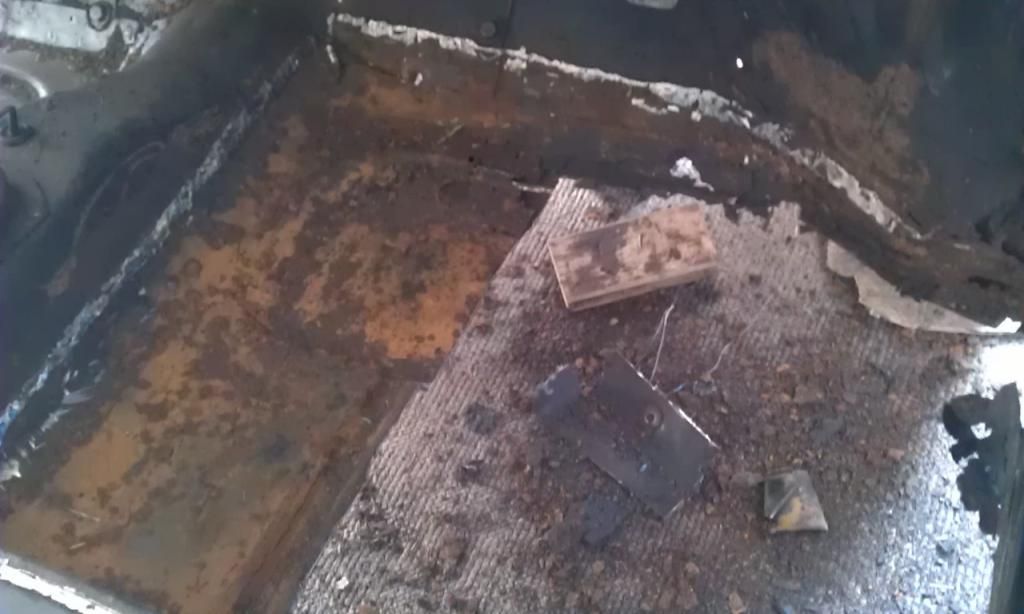
I then cut a bit more out and drilled out the spot welds:
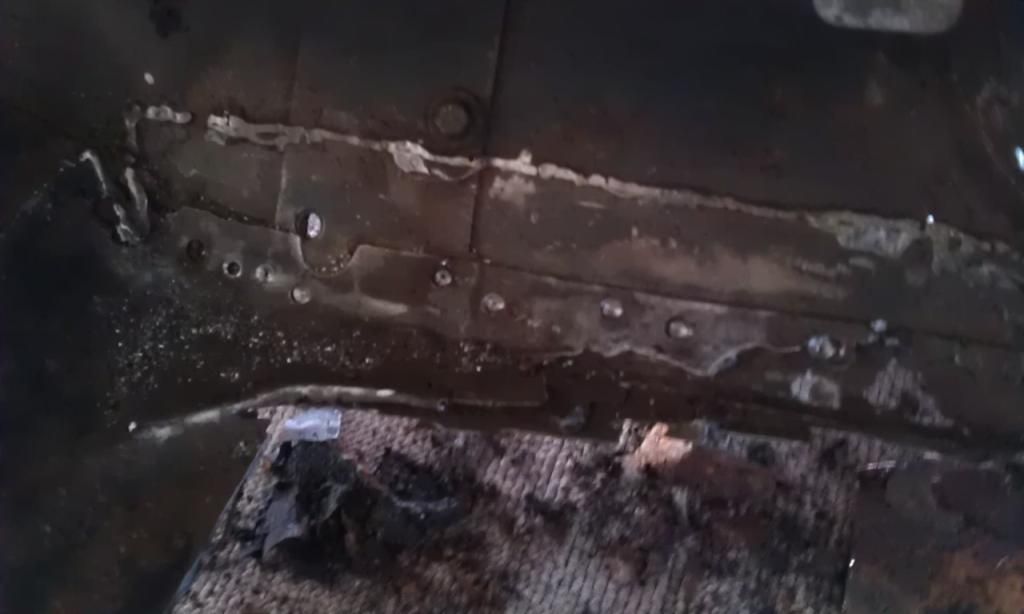
And then carefully removed the remainder of the floor, leaving some overlap by the tunnel, this will be trimmed when I know exactly where the floor is going:
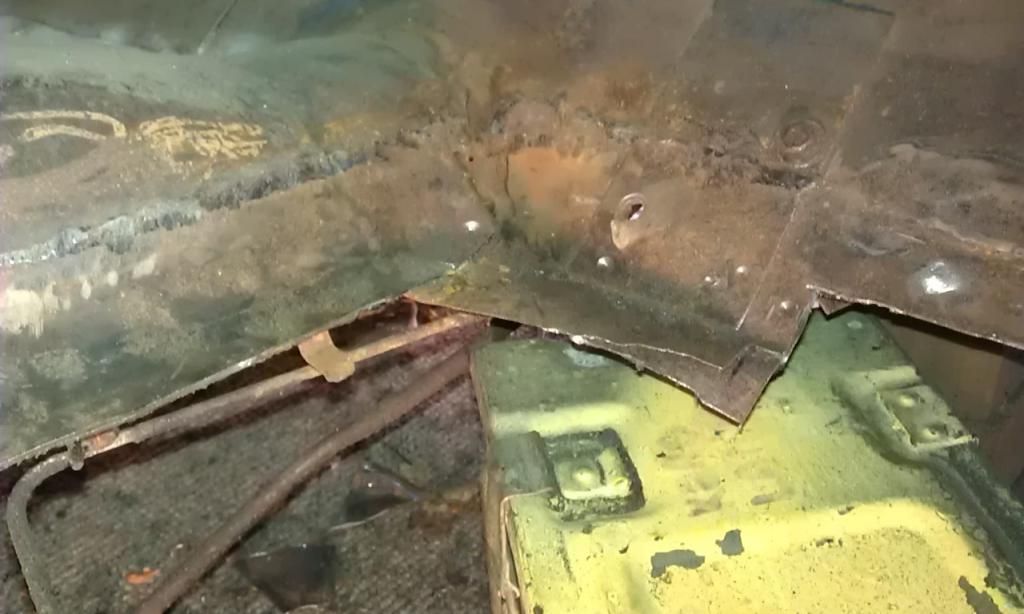
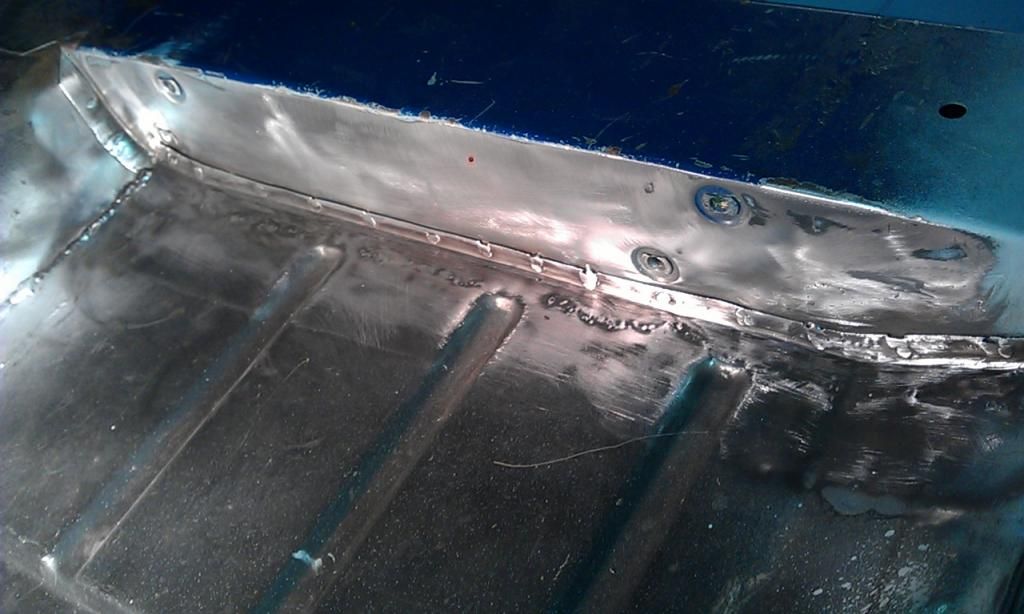
After knocking off what looked like liquid metal here is a shot of the front RH corner:
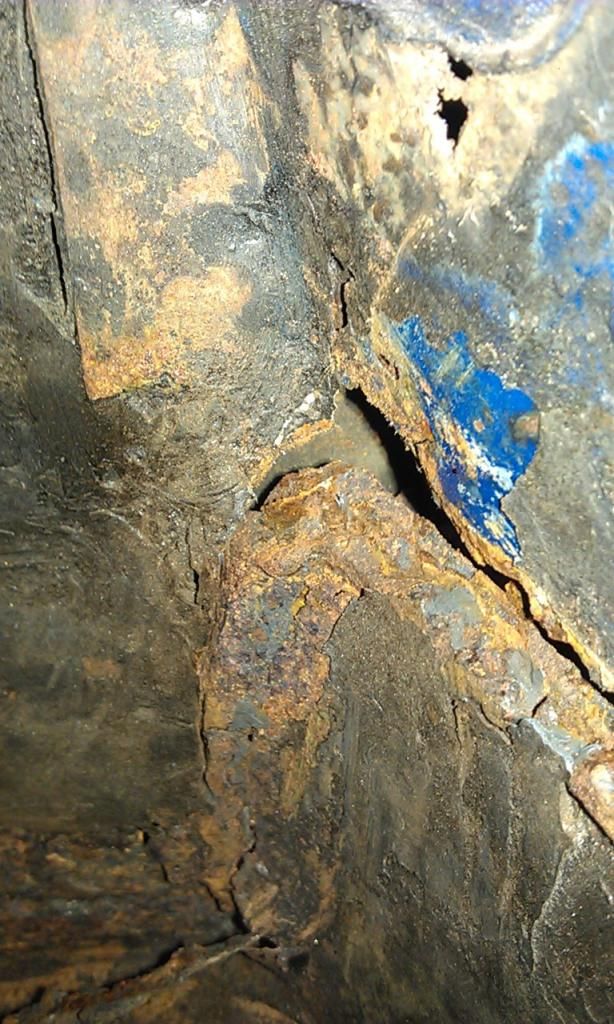
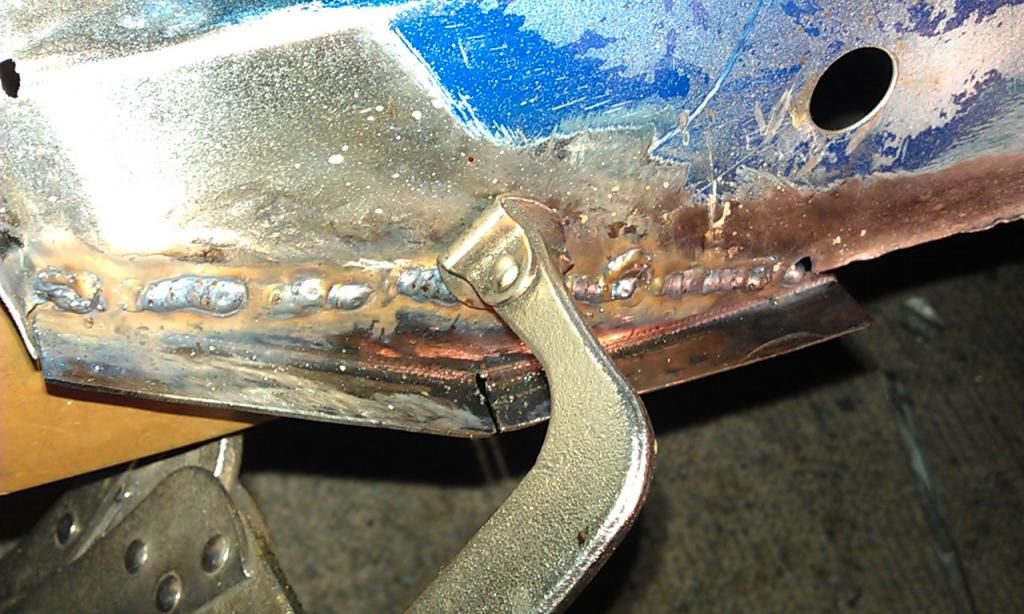
After a little poking around, under a couple of layers of metal I finally found the newest repair to the Flitch Panel, this top repair was the first repair I had done to the Mini, sadly the welder and I knew nothing about how to repair Minis. He cut off the outside of the existing Flitch and welded in a repair piece, unbeknown to us the layer underneath should have also been removed!! Looks like I'll have to do this again or at least somehow 'Make Good'.
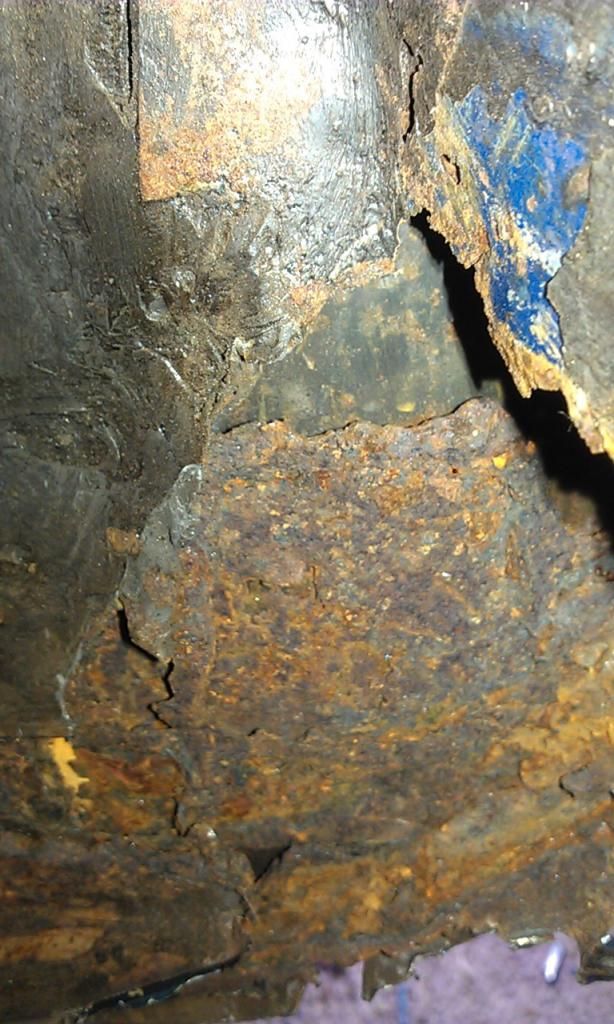
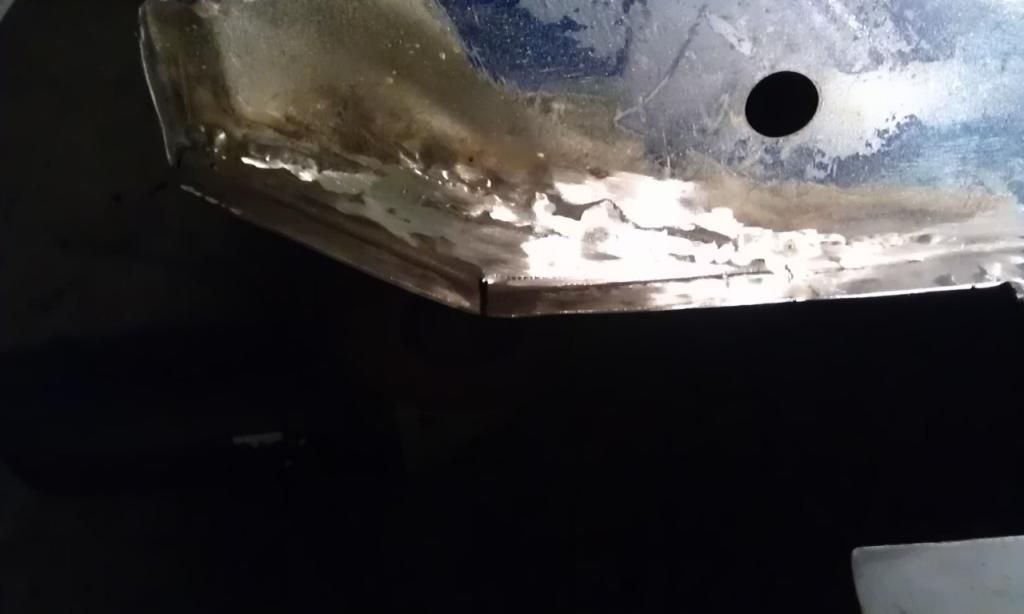
Here's what was left of the original Inner Sill, under two layers of previous repair:
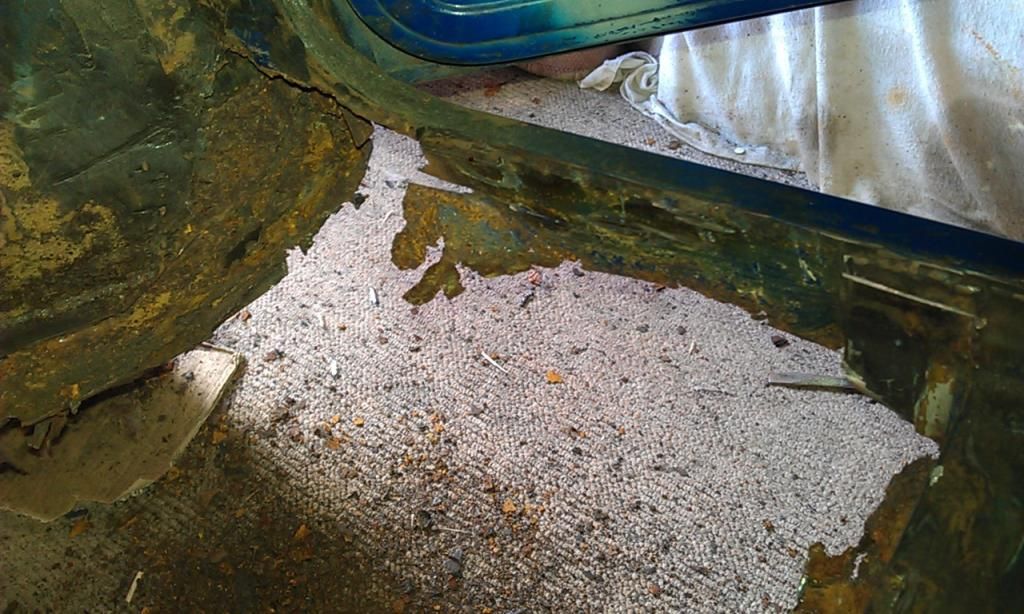
After carefully trimming away a little more of the old Flitch, the new one showed an inexperienced repair (mine too), no protective paint and you can still see the Mini Spares label 
What I may be able to do is cut away the old underside Inner Flitch (made that word up for anyone reading this as there is no such thing) to the point where it is welded and see if I can get away without removing it. Failing that it will all have to come out as it may sit too far forward to meet the floor :-(
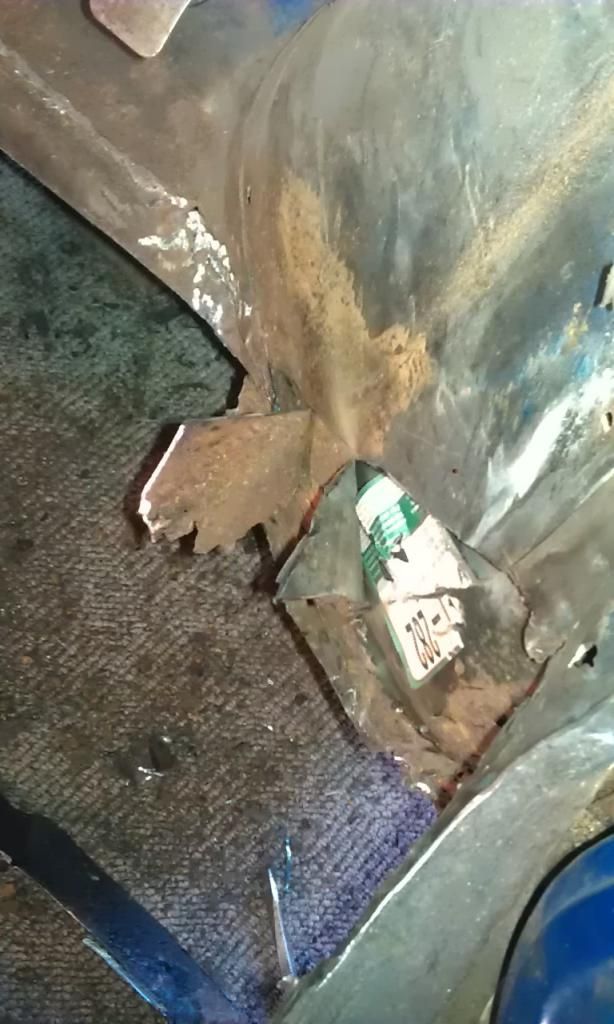
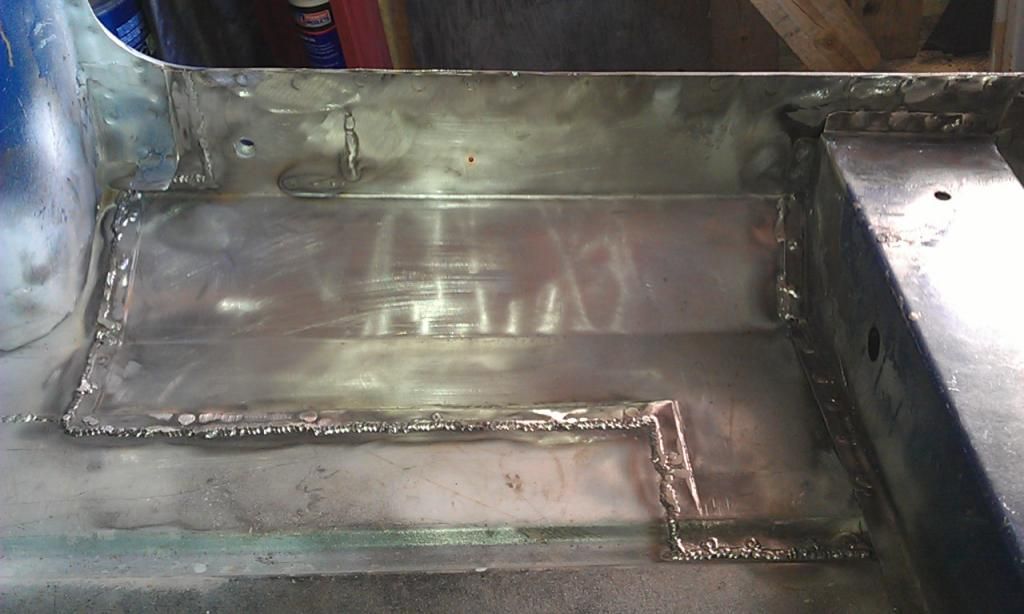
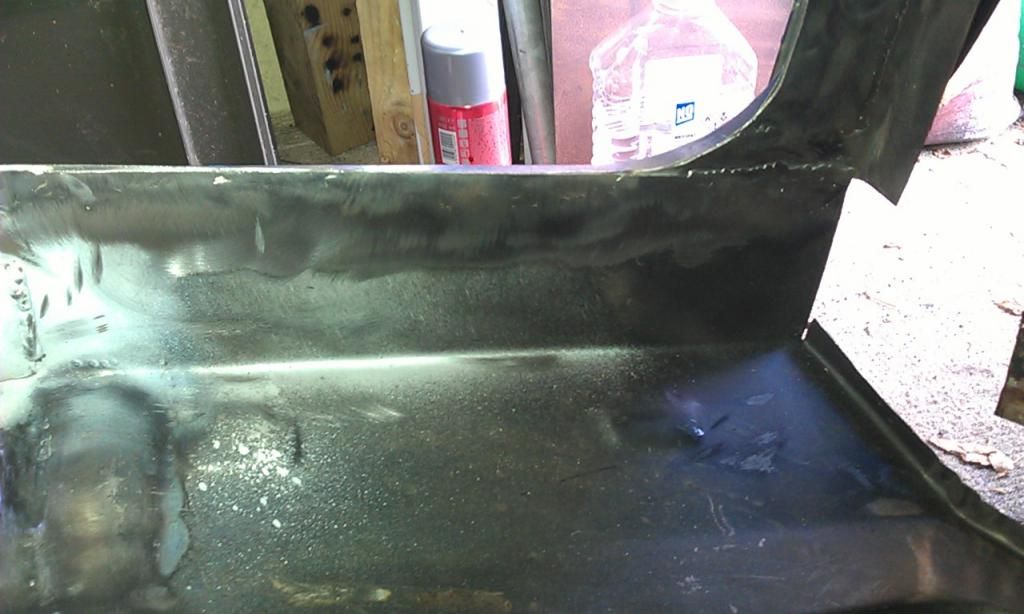
Here it is with most of the lower part cleaned up:
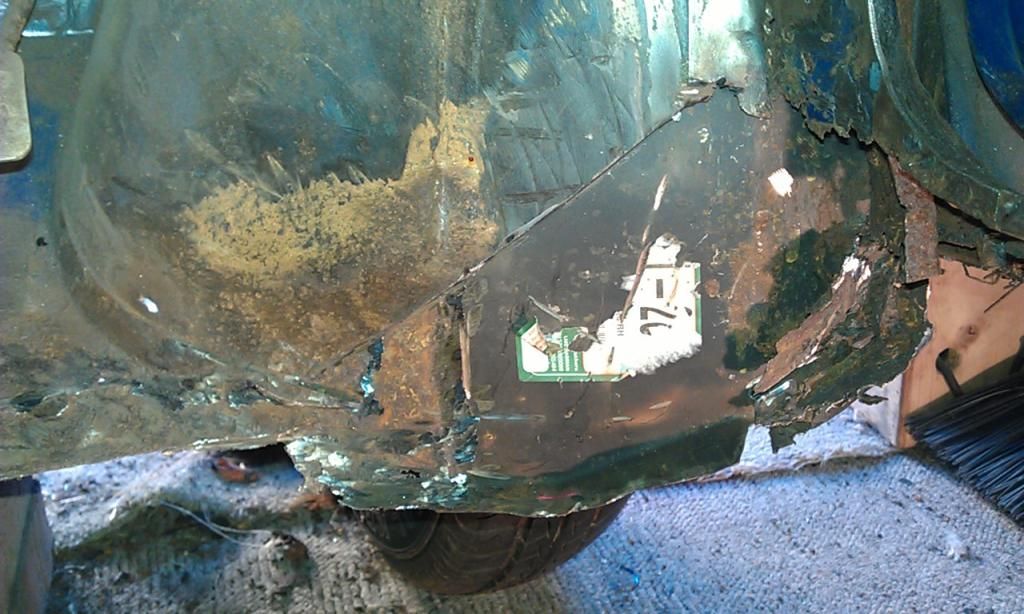
The Toe Board has been previously repaired and will need doing again.
I also cut out the rear floor, this was an area that I had already repaired part of but I had a complete half floor so why leave in weld repairs that will be prone to rust, I did leave in the the rear RH corner as I did not want to disturb the area next to the Rear Subframe Mount.
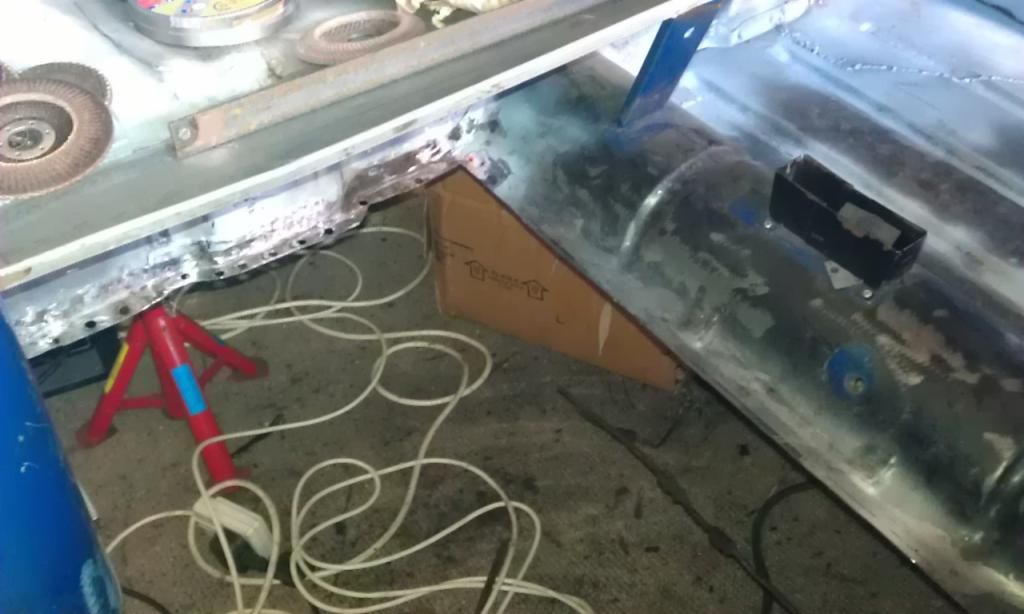
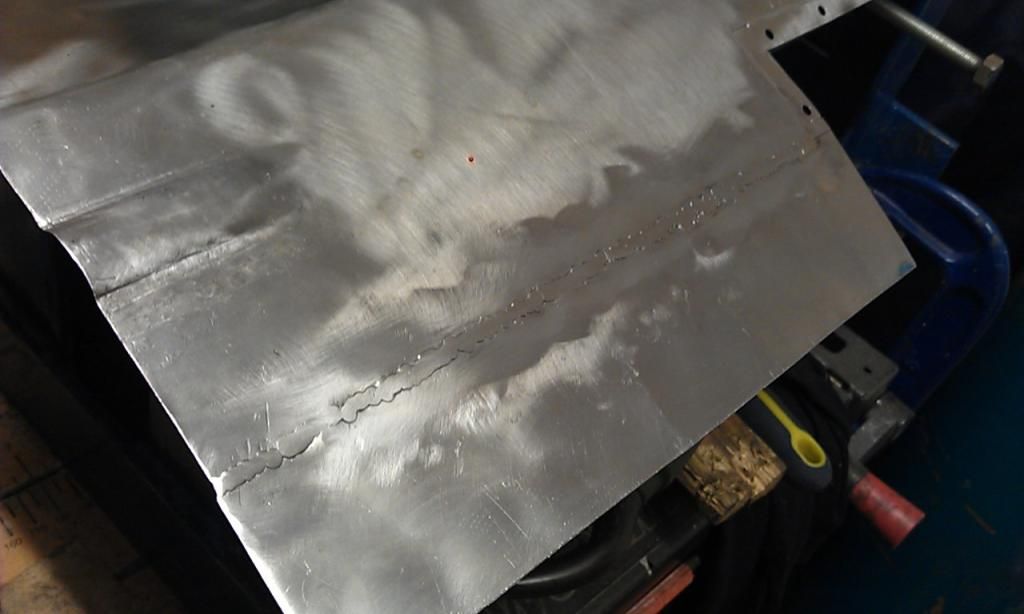
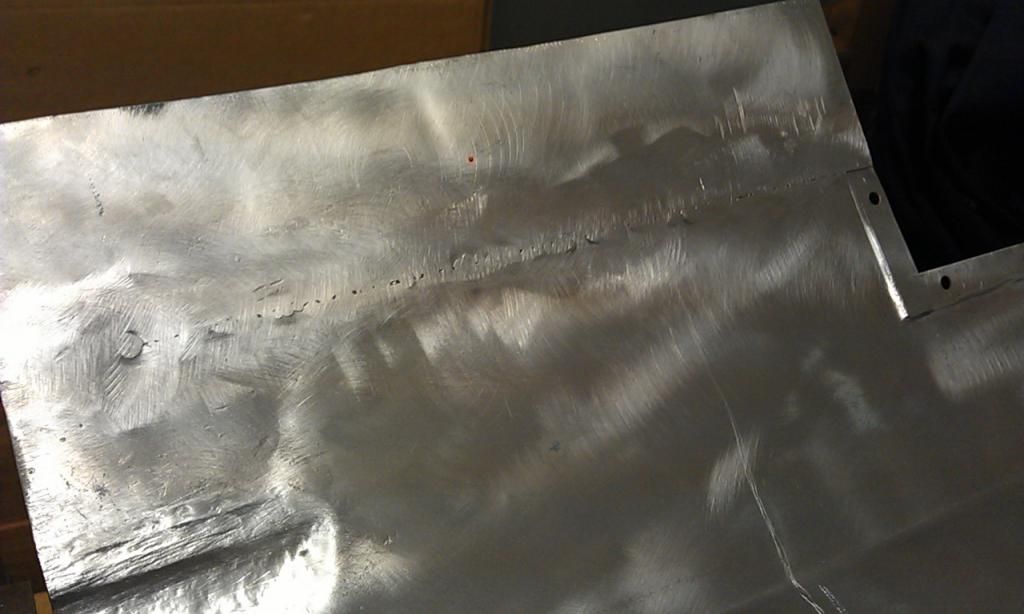
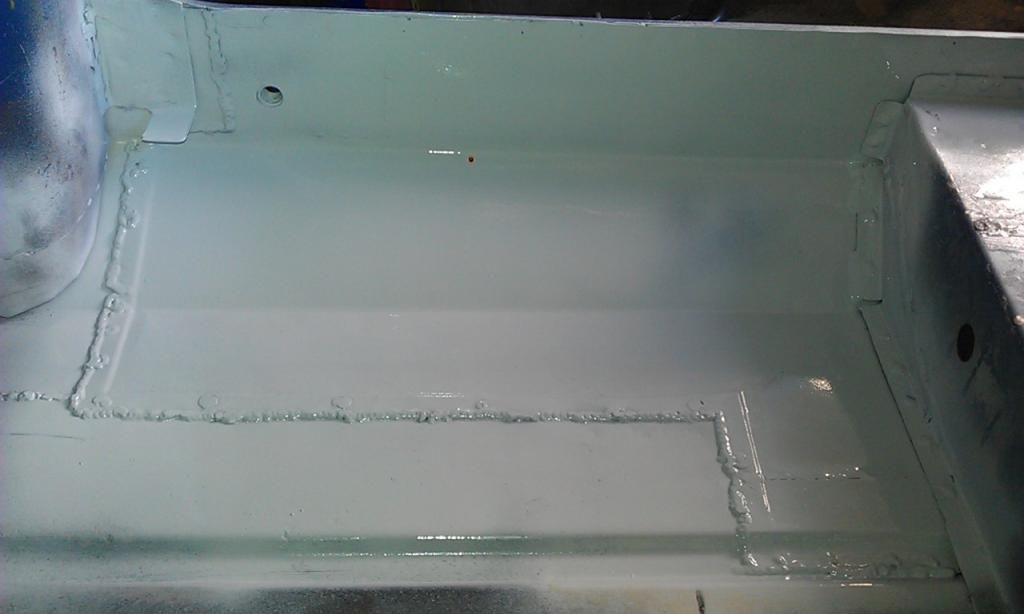
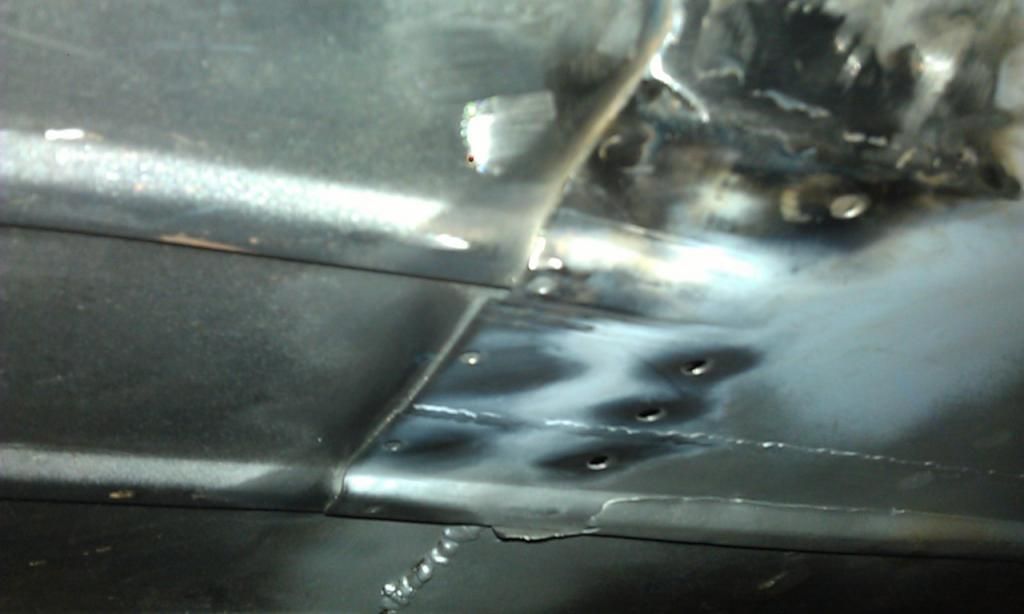
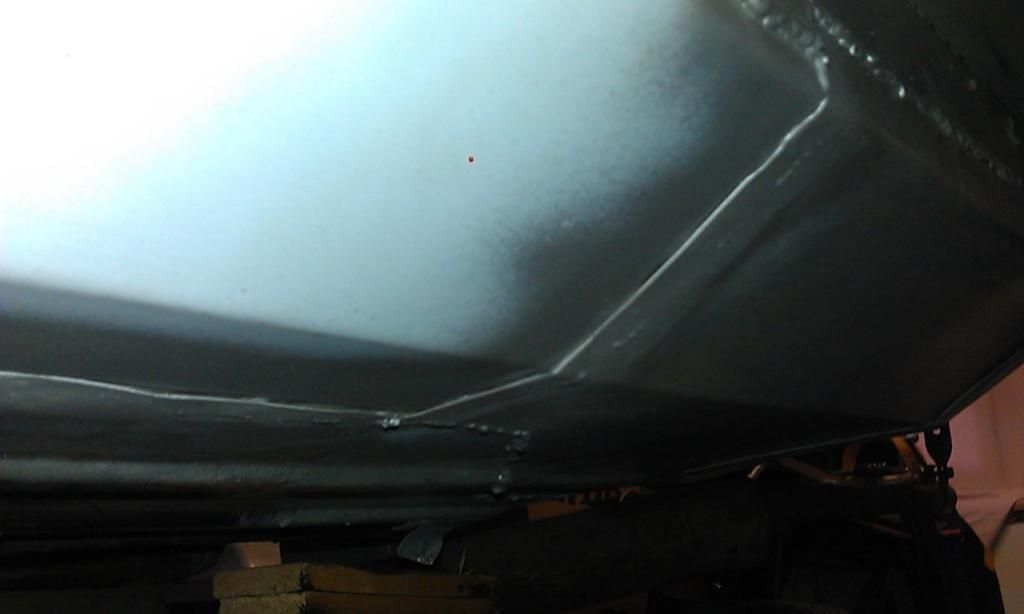
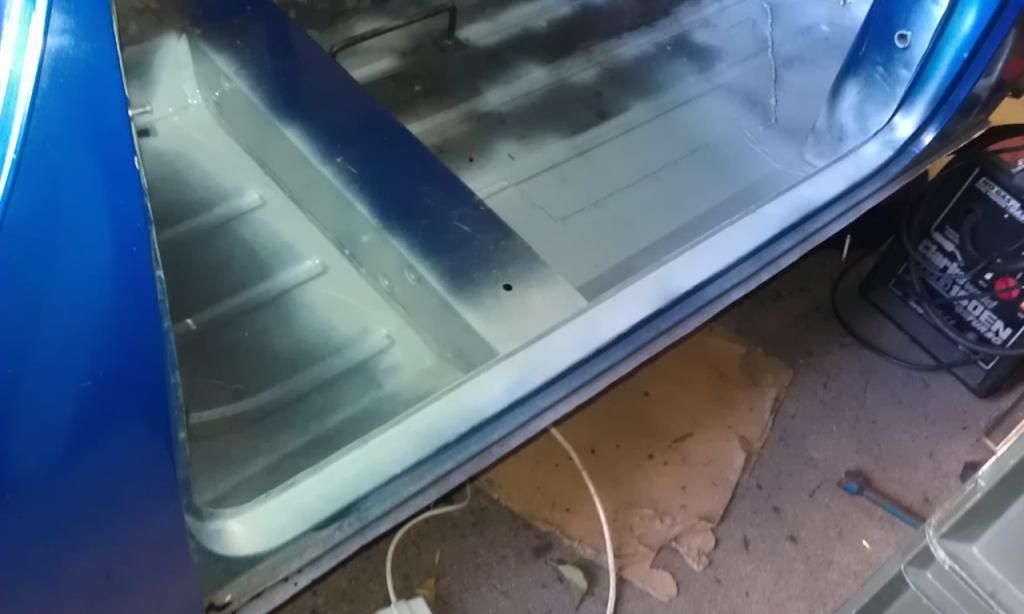
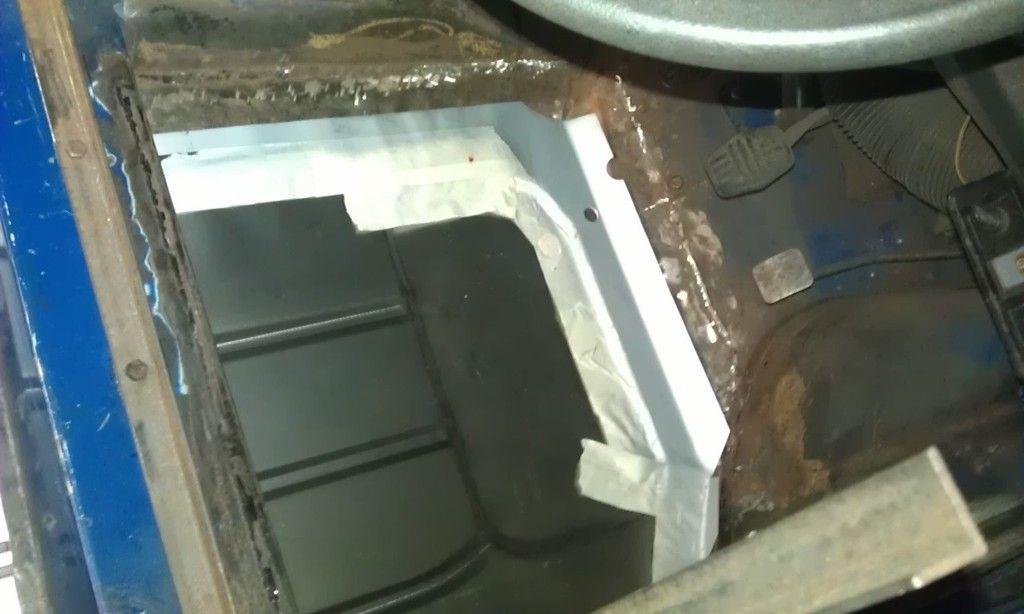
I then cleaned up the areas that were finished and sprayed in some Weld Through Primer:
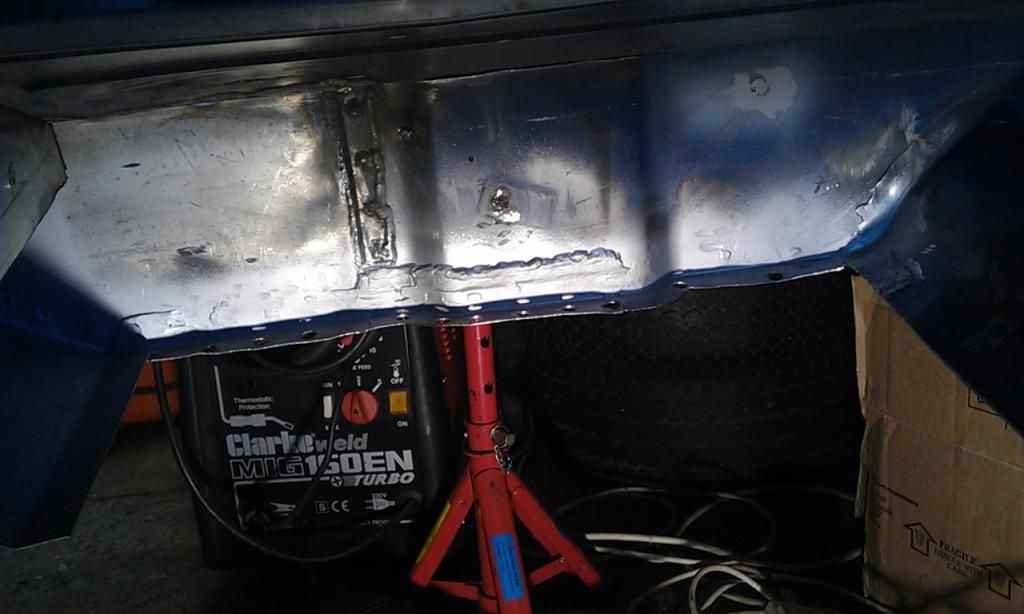
After removing the Rear part of the Inner Sill (still have a bit to do under the Companion Bin, the door step got the same treatment, managed to avoid drilling through the Door Step like I did on the LH side (must be getting better). The Seta Belt Mount is still fixed to a bit of the old Inner Sill, this may come out?
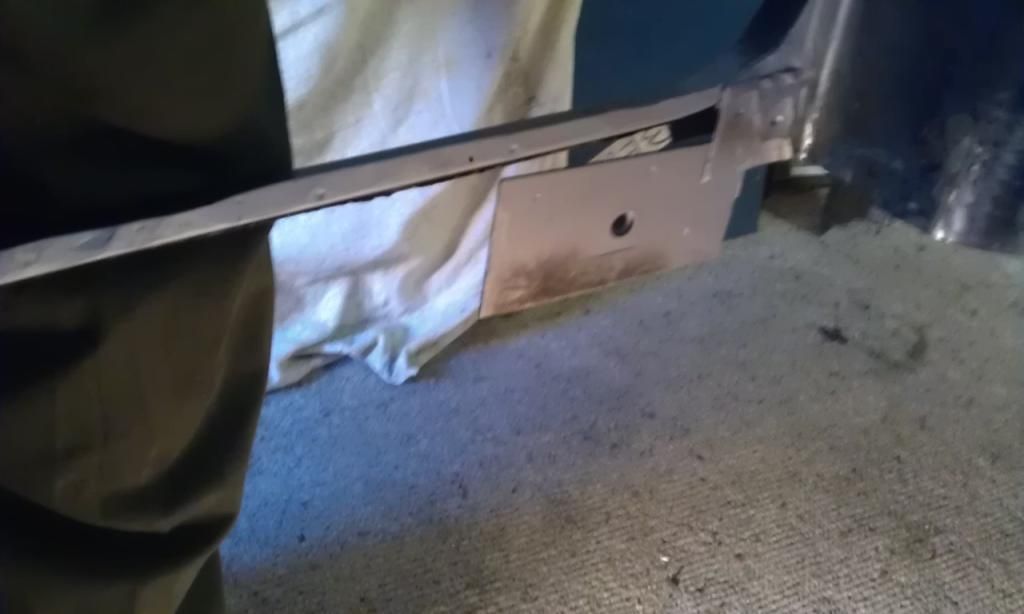
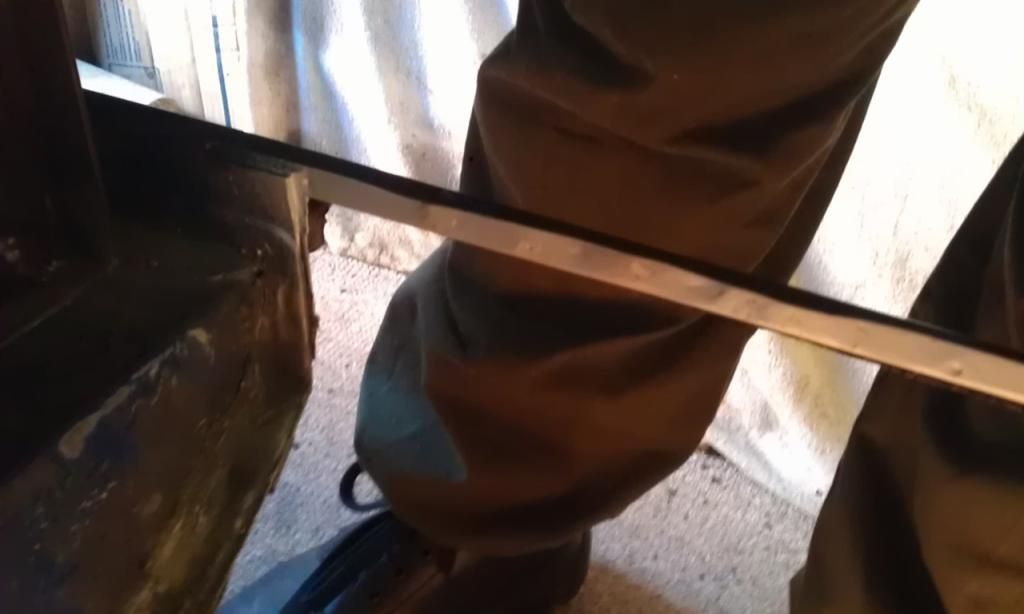
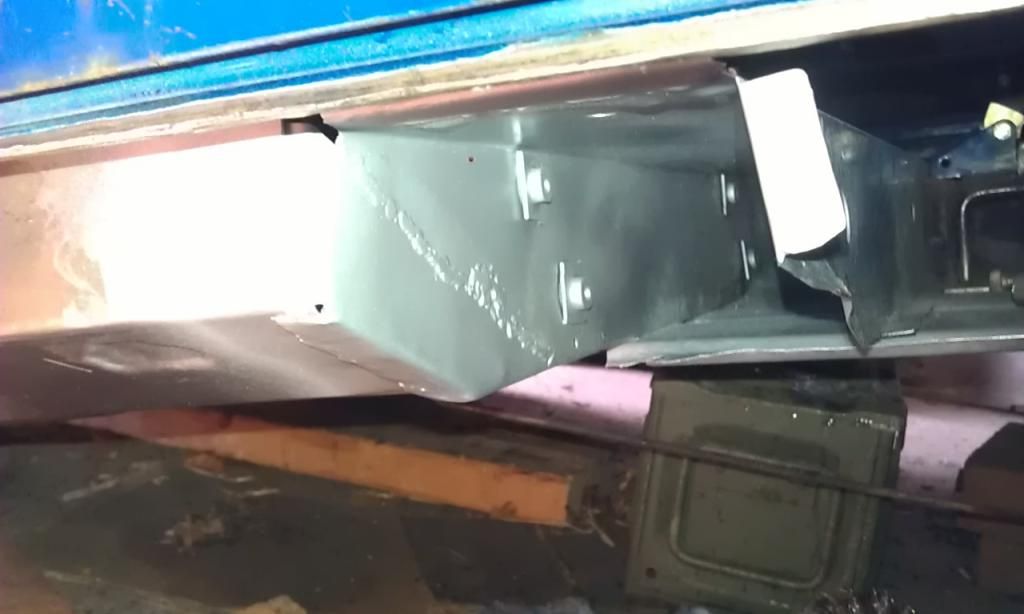
Still need to remove the end of the Cross Member, it has previously been repaired (badly), I also will be cleaning up and painting the inside of the Cross Member:
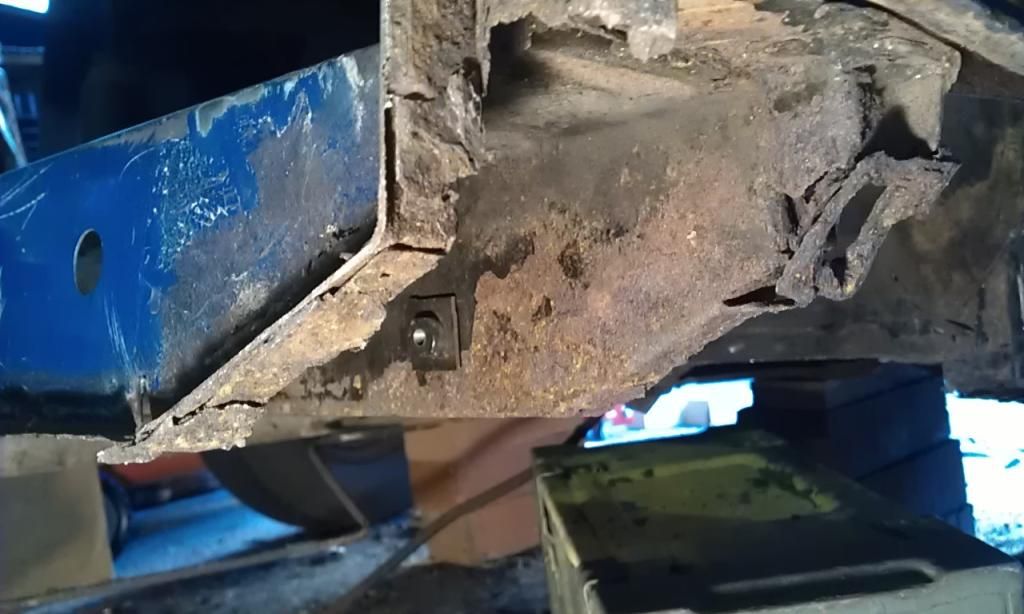
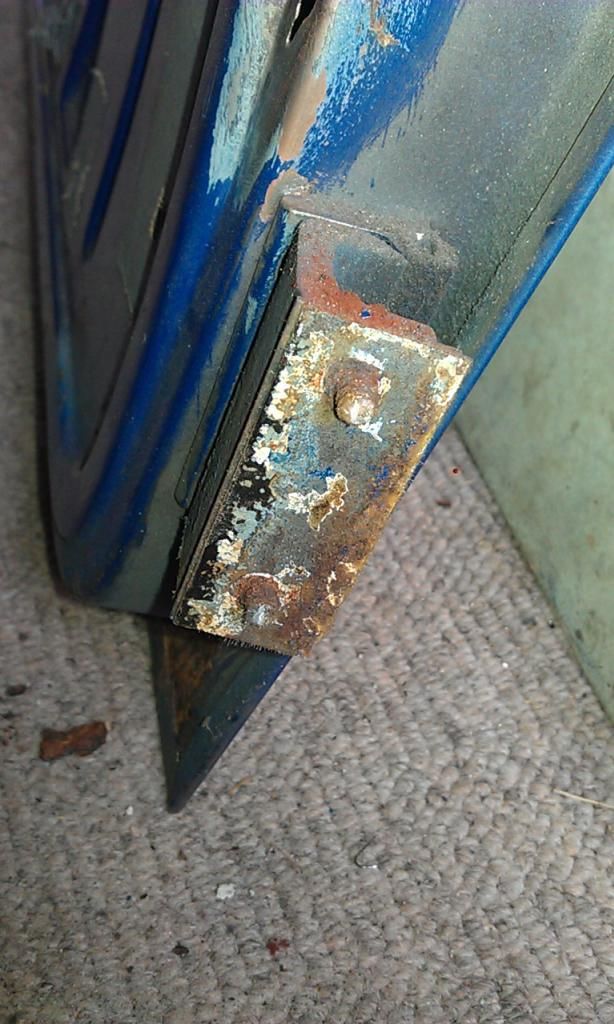
This is a view looking towards the front underside of the Door Step, the front are will need to be replaced
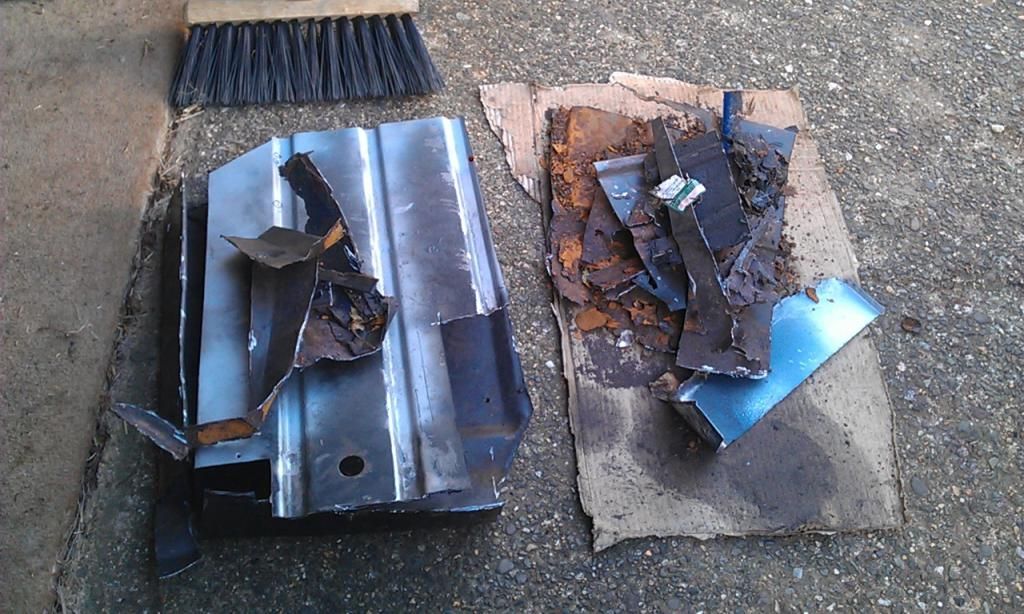
Here's some of the bits that were cut out:
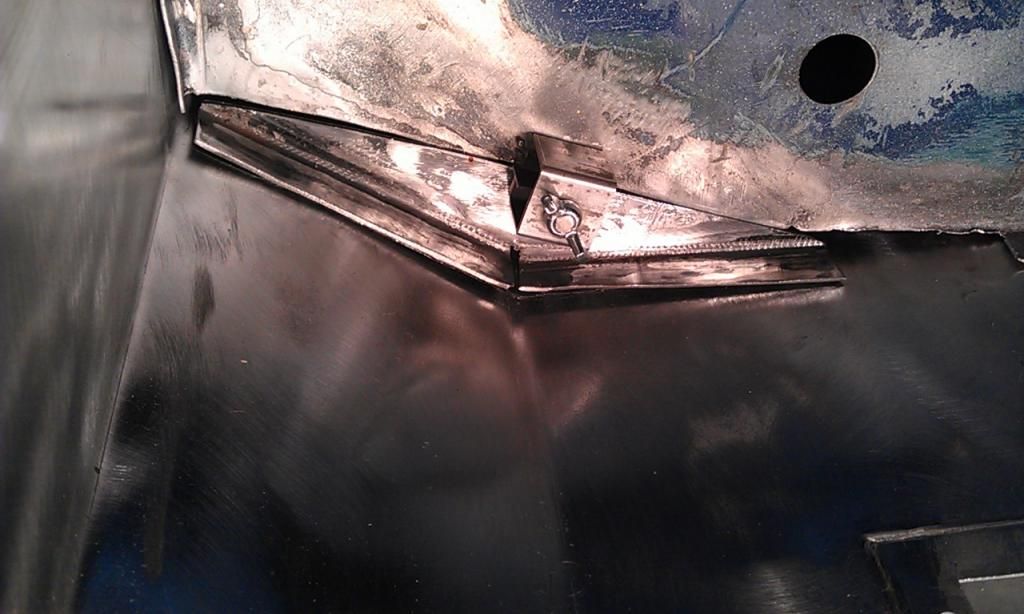
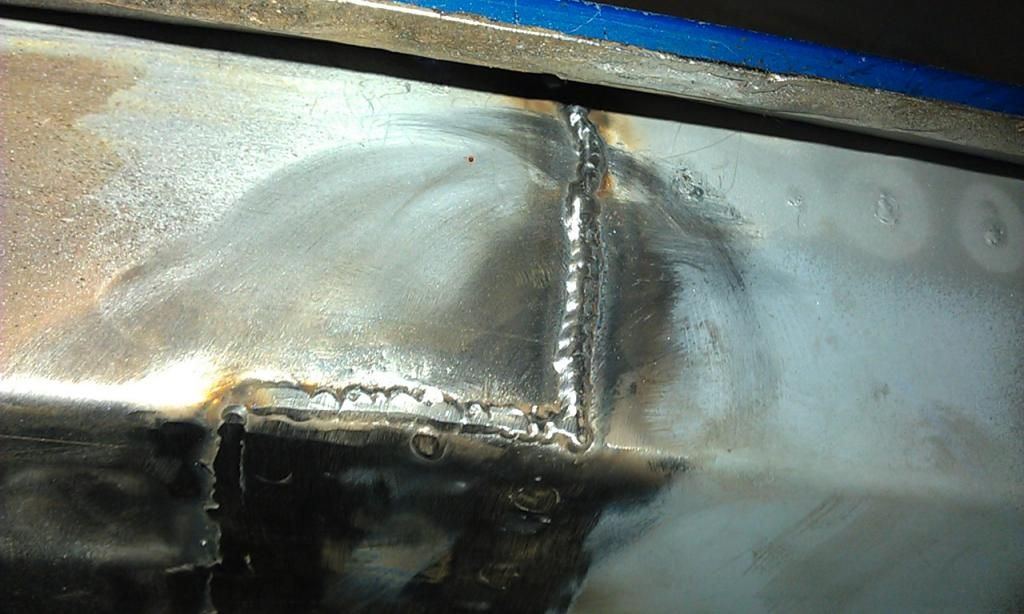
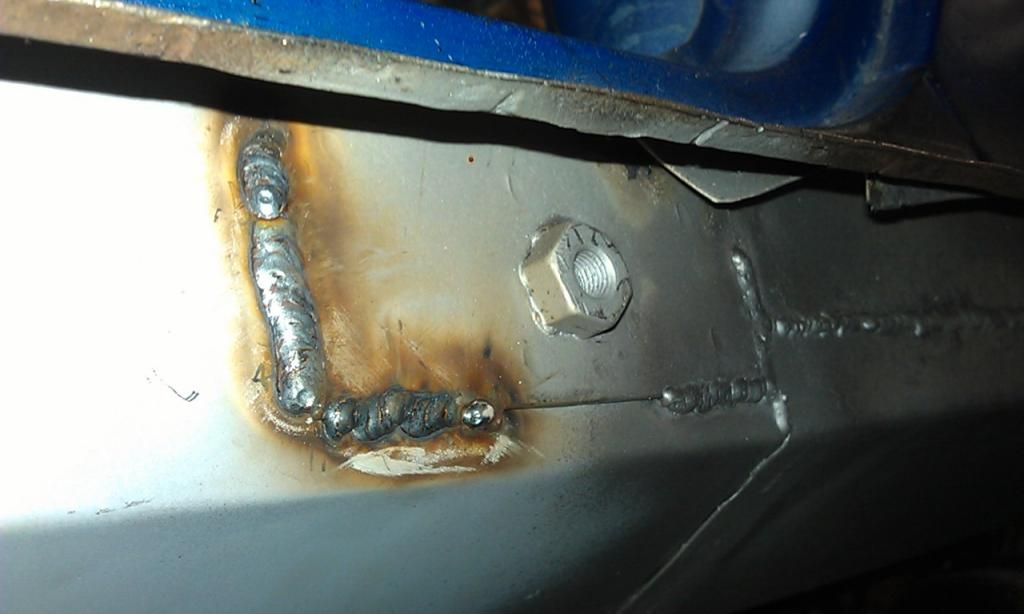
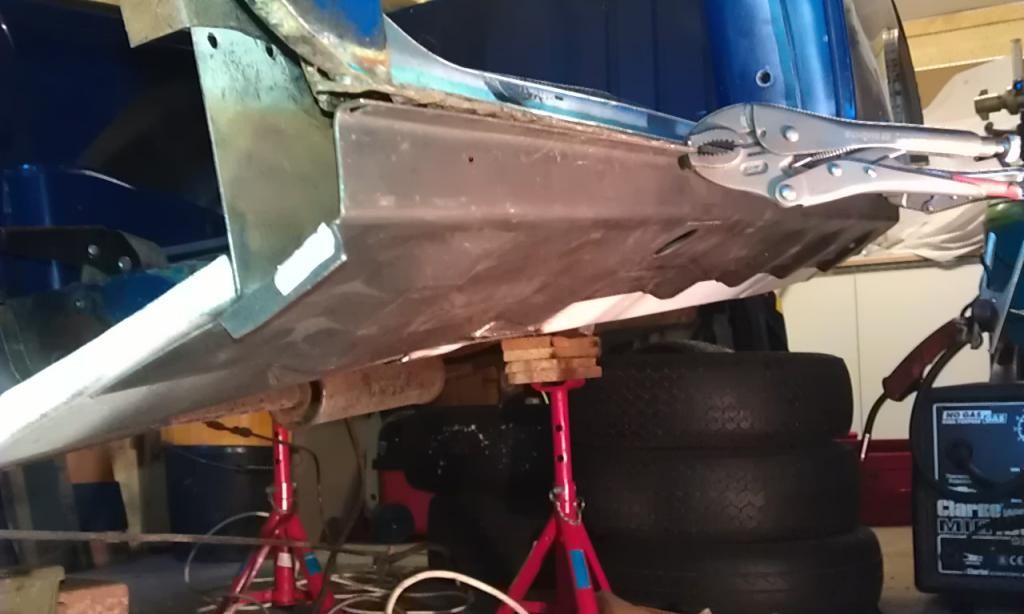
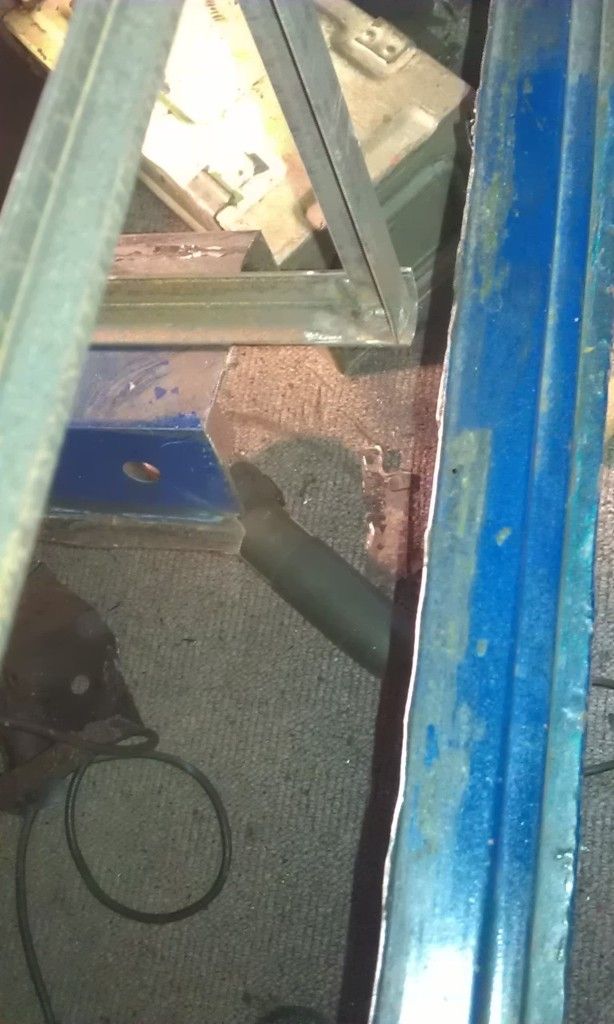
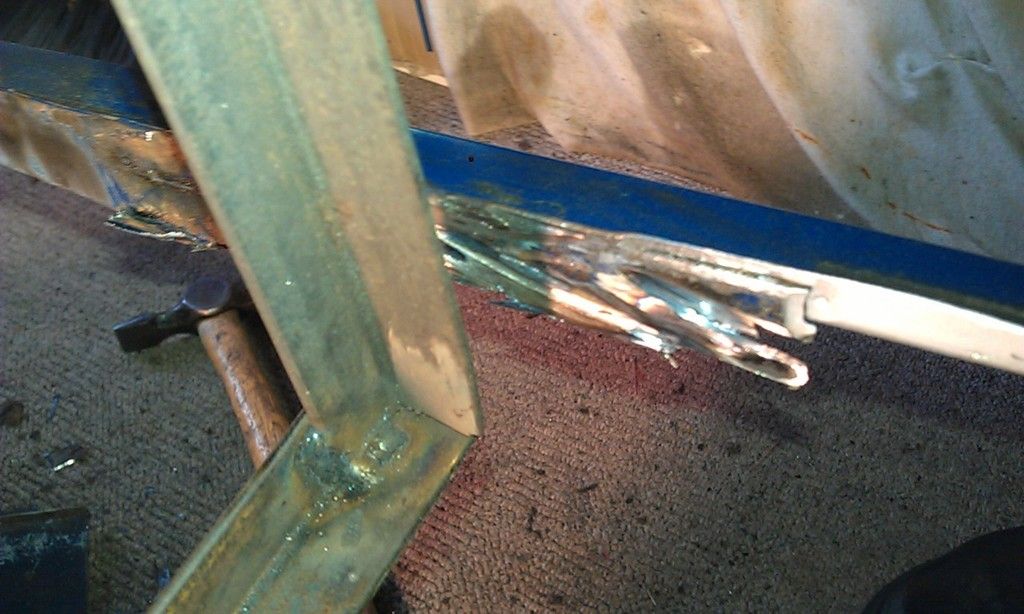
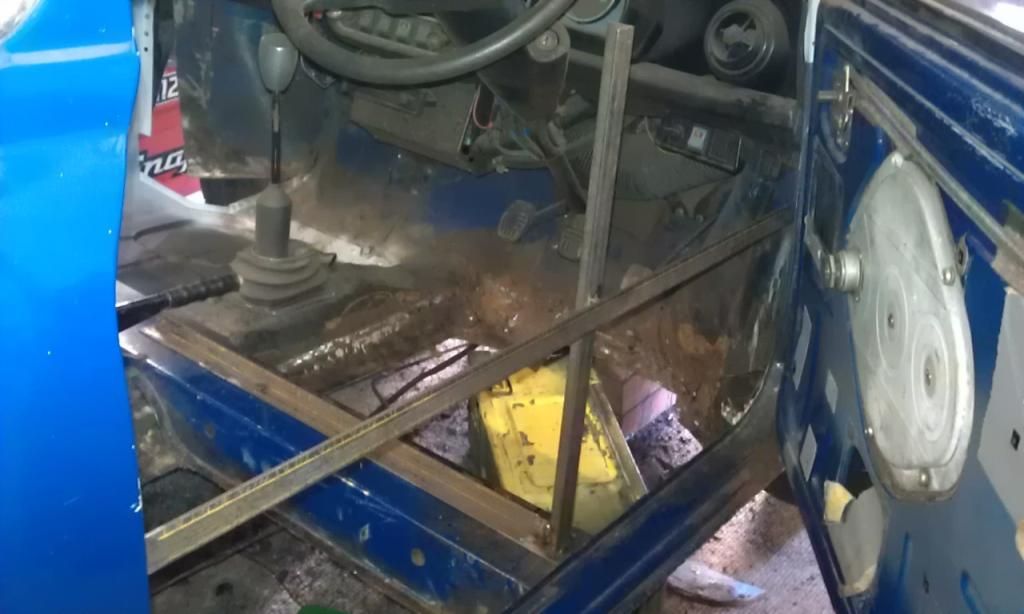
Almost forgot, following advice on this forum (from Sonnik4) along the way I also made up some bracing to prevent the door frame from shifting out of line. I needed to be able to brace the door but still allow removal of the end of the Cross Member. I placed a piece of box section across the door in line with the top of the companion bin, spot welded to the A and B Post, then I added a piece of angle iron bolted to the Cross Member and then another piece of angle iron running vertical from the angle iron on the Cross Member to the box section, this was seam welded in place:
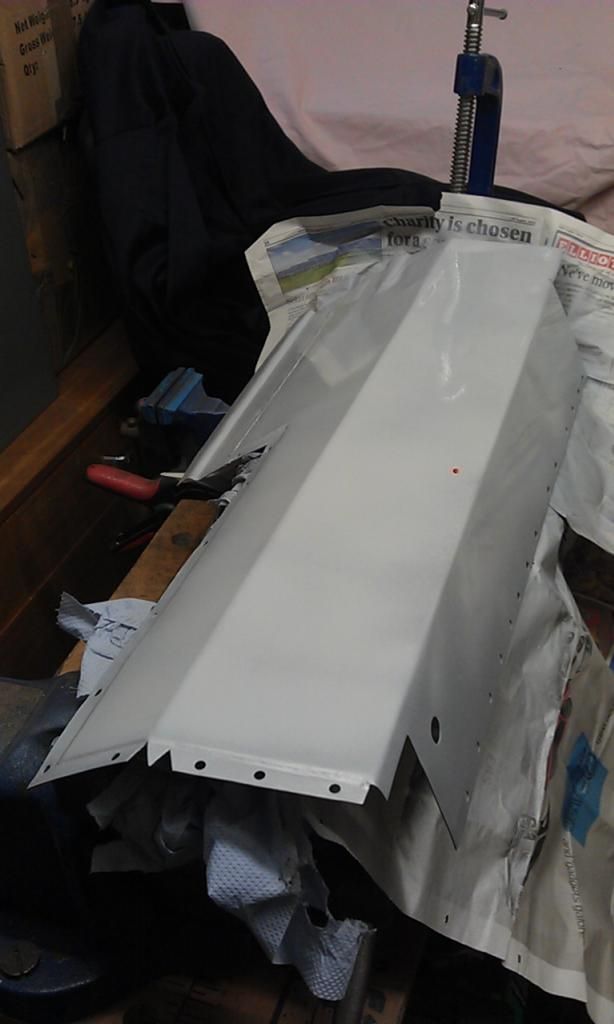
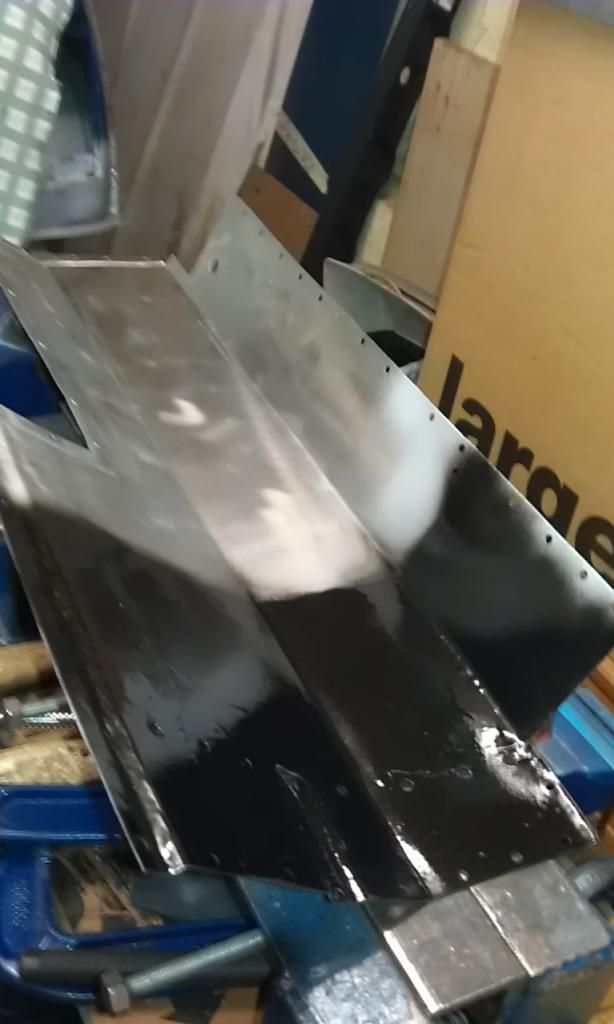
Day off today (need to get some assignment work done) I do however need to slap some Epoxy Primer onto the new panels as they come bare from M-Machine and will rust pretty quickly.
Edited by JonnyAlpha, 08 March 2015 - 12:44 PM.


