OK I was all set to get going today but last night I was up at 02:00 with stomach ache anyway absolutely knackered so didn't get up until late and only got going at 11:00am.
I was lucky with the weather today which meant I could clear out the garage an make some space, I put my refurbished Subframe and Wellers in the conservatory, hope the missus won't mind 
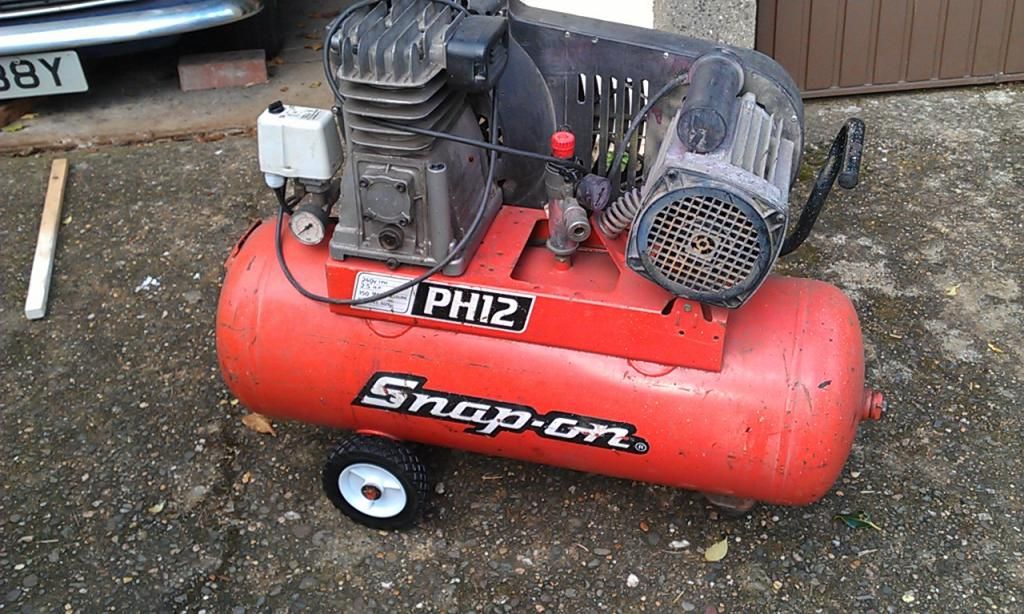
First job fit some new wheels to my compressor, not really Mini related but I am fed up with dragging it in and out of the garage on one wheel. The axles are 16mm dia and I could not find any wheels to fit. I did pick up a pair of wheels last time I passed Trago Mills, they are 13mm internal dia but enough meat to drill out.
I did't have a 16mm drill so made do with what I had.
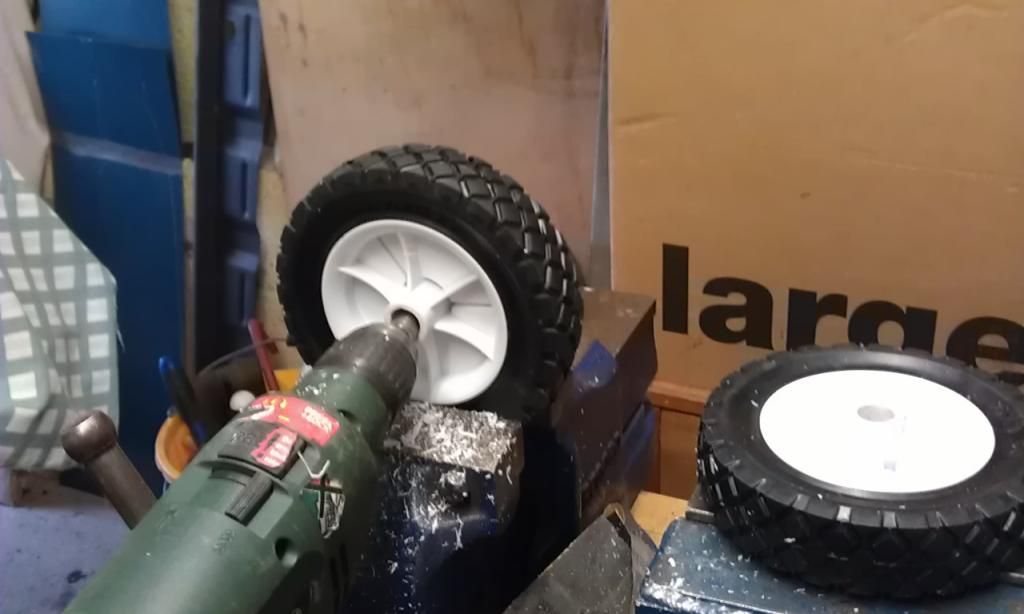
Once they where drilled out a little silicone grease for good measure and hey presto finally new wheels 
Before I restarted the Mini I reassessed what work i could achieve this week, I would really like to get the floors and sills finished so that I can re-fit the subframe but this will be pushing it.
I hadn't planned on doing the RH footwell as it had a repair panel fitted already but when I took the RH sill off it was clear that this was a complete bodge job.
The footwell repair has been slapped on top of the old floor and it actually looks like this had been done to an extent already making three layers!!! (two layers of rot and one layer of ok ish metal).
The floor on the underside is rotten so it looks like I am going to have to tackle this after all, I did have a picture of this but I appear to have deleted it :-(
Anyway after a few minutes deliberation about whether to start cutting out the RH foot well but instead I decided to instead complete the LH floor, that way physiologically it would seem like progress.
Here's the area that I would concentrate on:
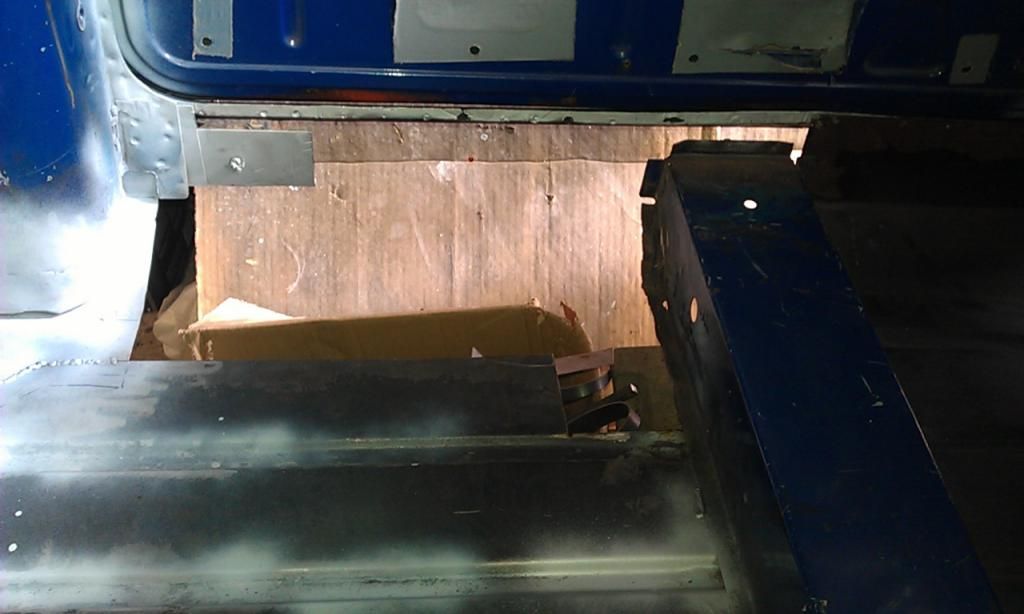
The cross member is reasonably OK:
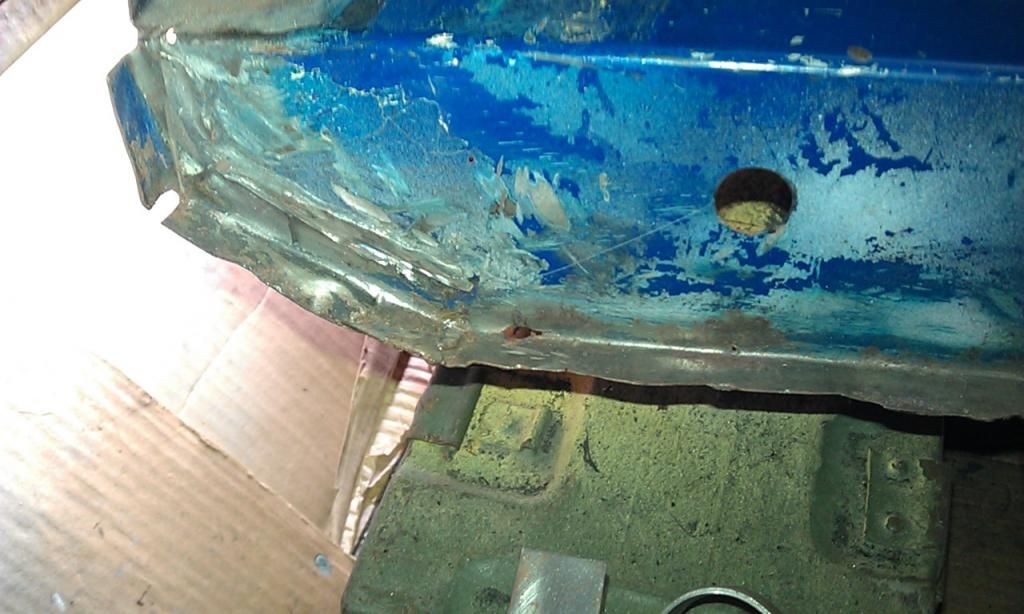
So first off I measured up the area which extends from the front of the companion bin and under the Cross Member, I have a couple of pieces of sheet metal left which would be long enough but neither are quite wide enough to fill the entire area that has been cut out.
First off I set about getting a R/A corner and a couple of straight edges to work from:
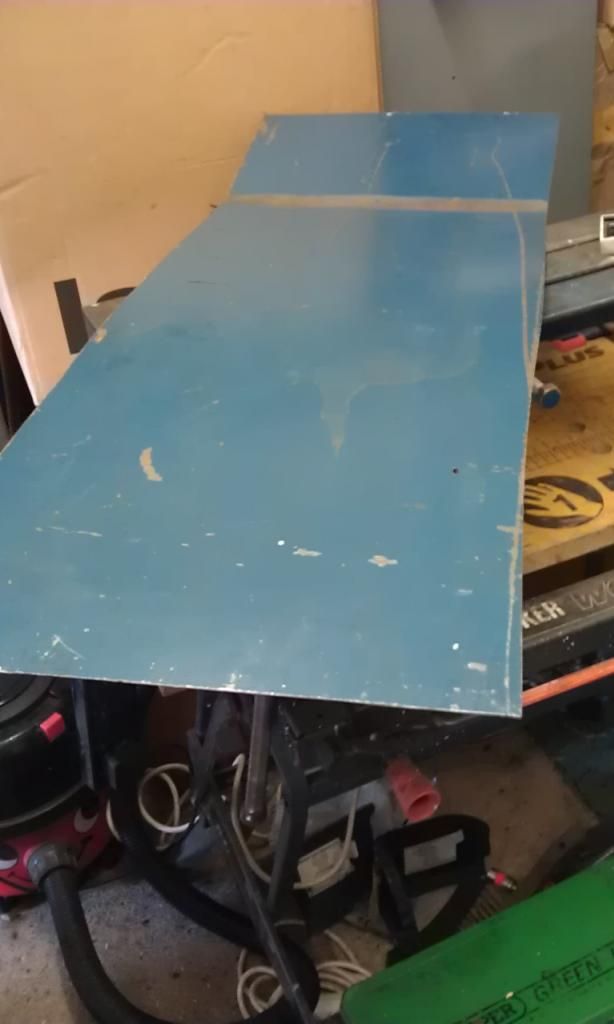
That's not my line on the RH edge!!!
After marking it - straight - I cut off the excess with my snips:
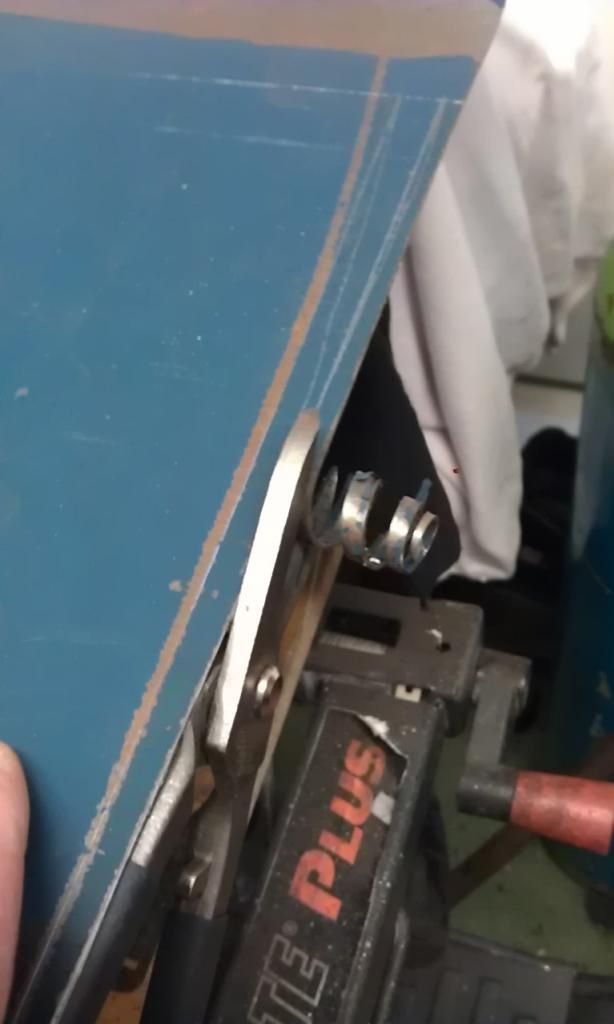
After getting the main edge square using the upper edge as a start (the top of the door step) I marked a line for the first bend but before making the fold I cleaned up the existing paint, otherwise it would be difficult to do once bent.
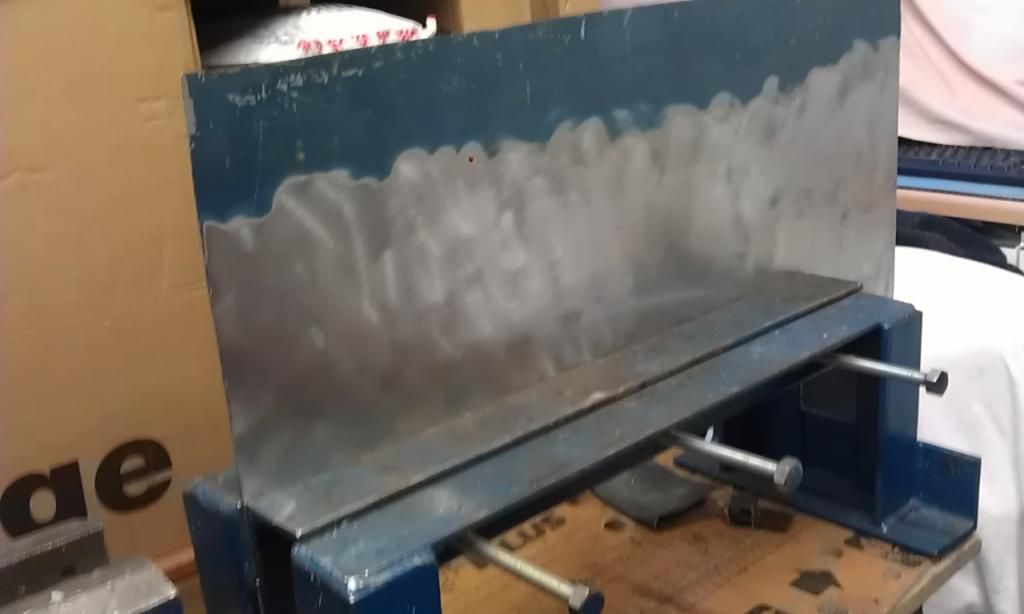
Now with the first fold done I started to measure up the front edges by overlaying the repair piece.
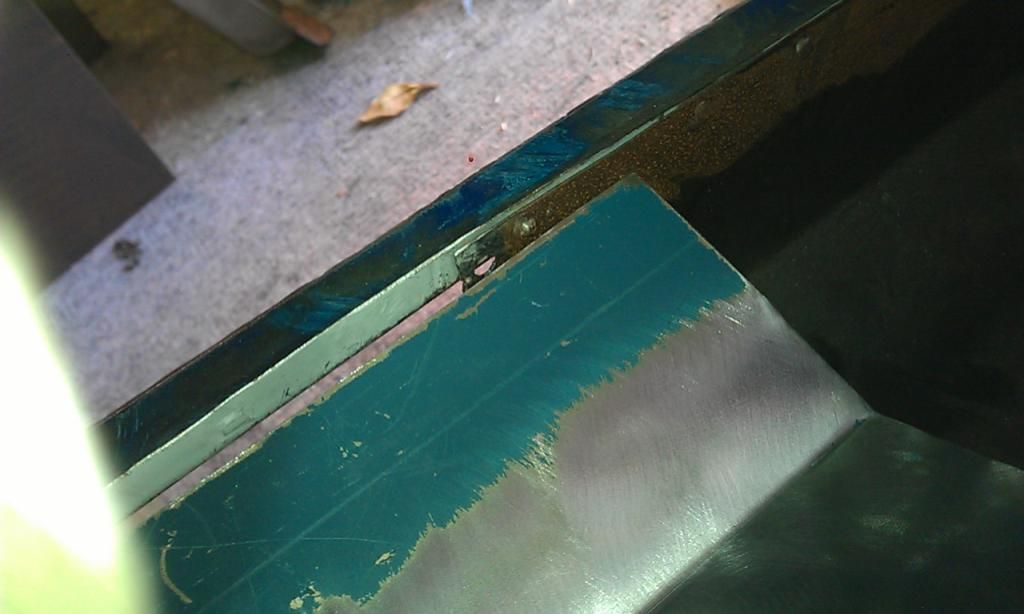
Next I marked and cut out the rear edge, I decide that the edges of the inner sill would be butt welded, the floor however would be joddled and lap welded.
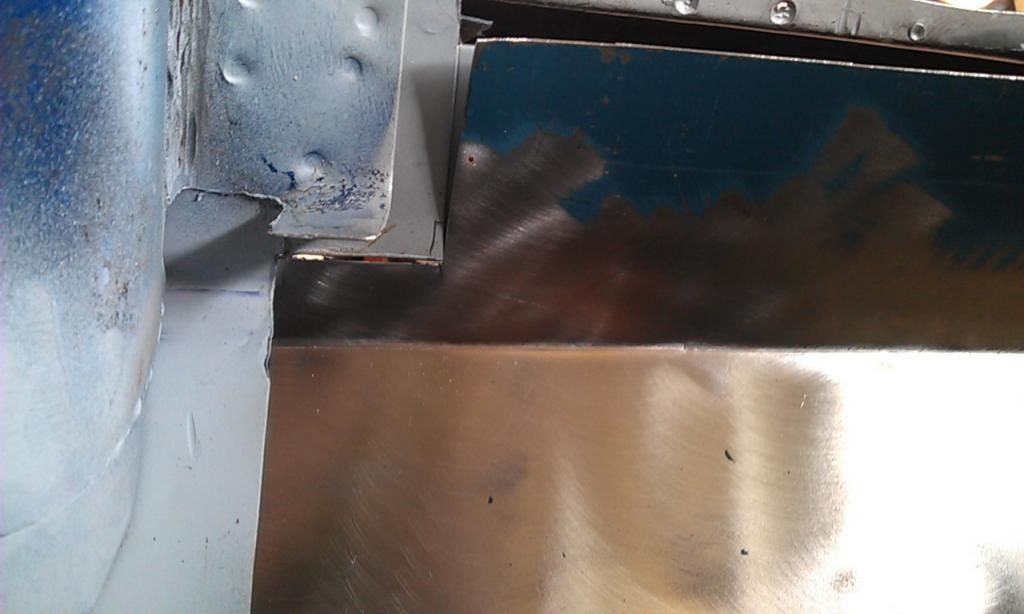
Next I joddled the rear edge and once the rear and front where lined up and in place I marked and made the last fold:
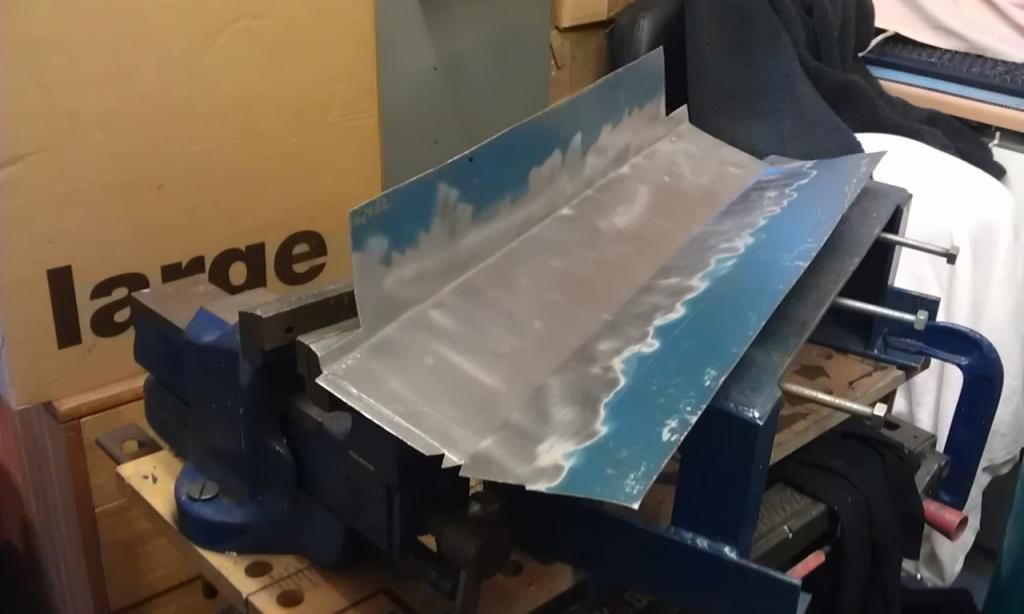
Here's the piece in place:
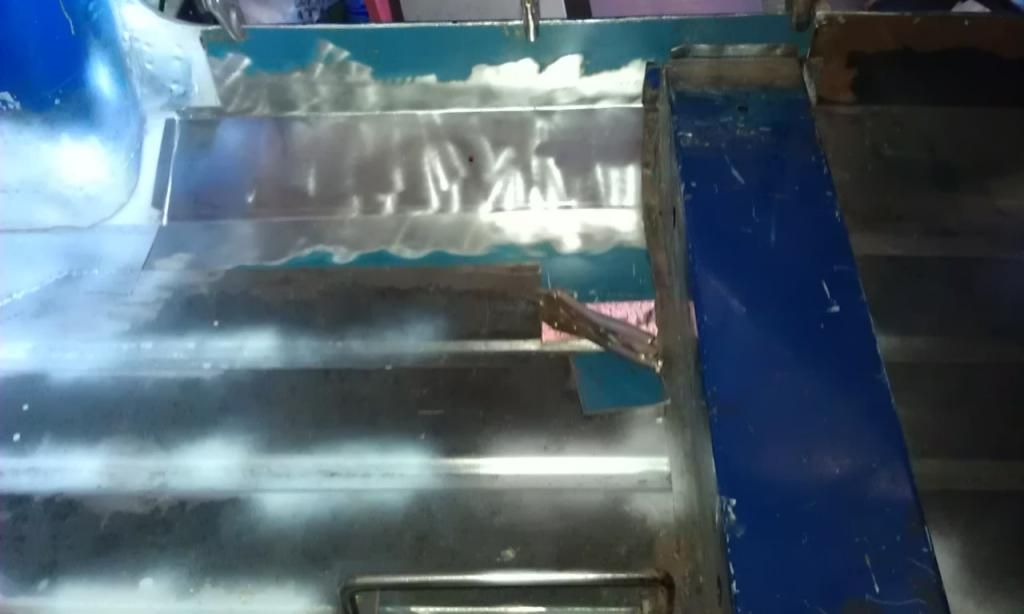
That's all I had time for today, slowly, slowly, tomorrow I'll trim and joddle the floor and weld a patch to cover the area that you can see under the small mole grips on the RH side in the picture above.
Must not forget to cut a hole in the inner sill where the rear seat belt mount fits (might have to buy a set of hole bits).
Finally its looking less like a Flinstones mobile.
Edited by JonnyAlpha, 16 February 2015 - 08:27 PM.


