
Project Paddy A Long And Slow Rebuild.
#91

Posted 11 July 2012 - 09:28 PM
#92

Posted 11 July 2012 - 09:30 PM
#93

Posted 21 July 2012 - 08:08 PM
So the rocker box came off and i was met by a sea of rust over all of the rocker gear and spring caps. GUTTED!! then there was the 1/4" of mayo in the rocker box. Bugger. So with some judicious scraping and wire brushing the majority of the rust was removed and the mayo cleaned out. A large magnet then removed all of the loose scrapings and wire strands followed by a thorough flush with white spirit.
So with everything cleaner it was time for a new filter. The old one replaced by me last year was a pig to get off but off it came. Went to put the new one on and no go. It turned out the thread had been damaged on the filter housing previously either by me (possibly) or by the previous owner. Fortunately my friend Paul has a lot of engines floating around the workshop so rescued one of those and happy days, Paddy is now clean internally.
So attention was turned back to Pauls Cooper.
I fitted a nice new shiny Scuttle
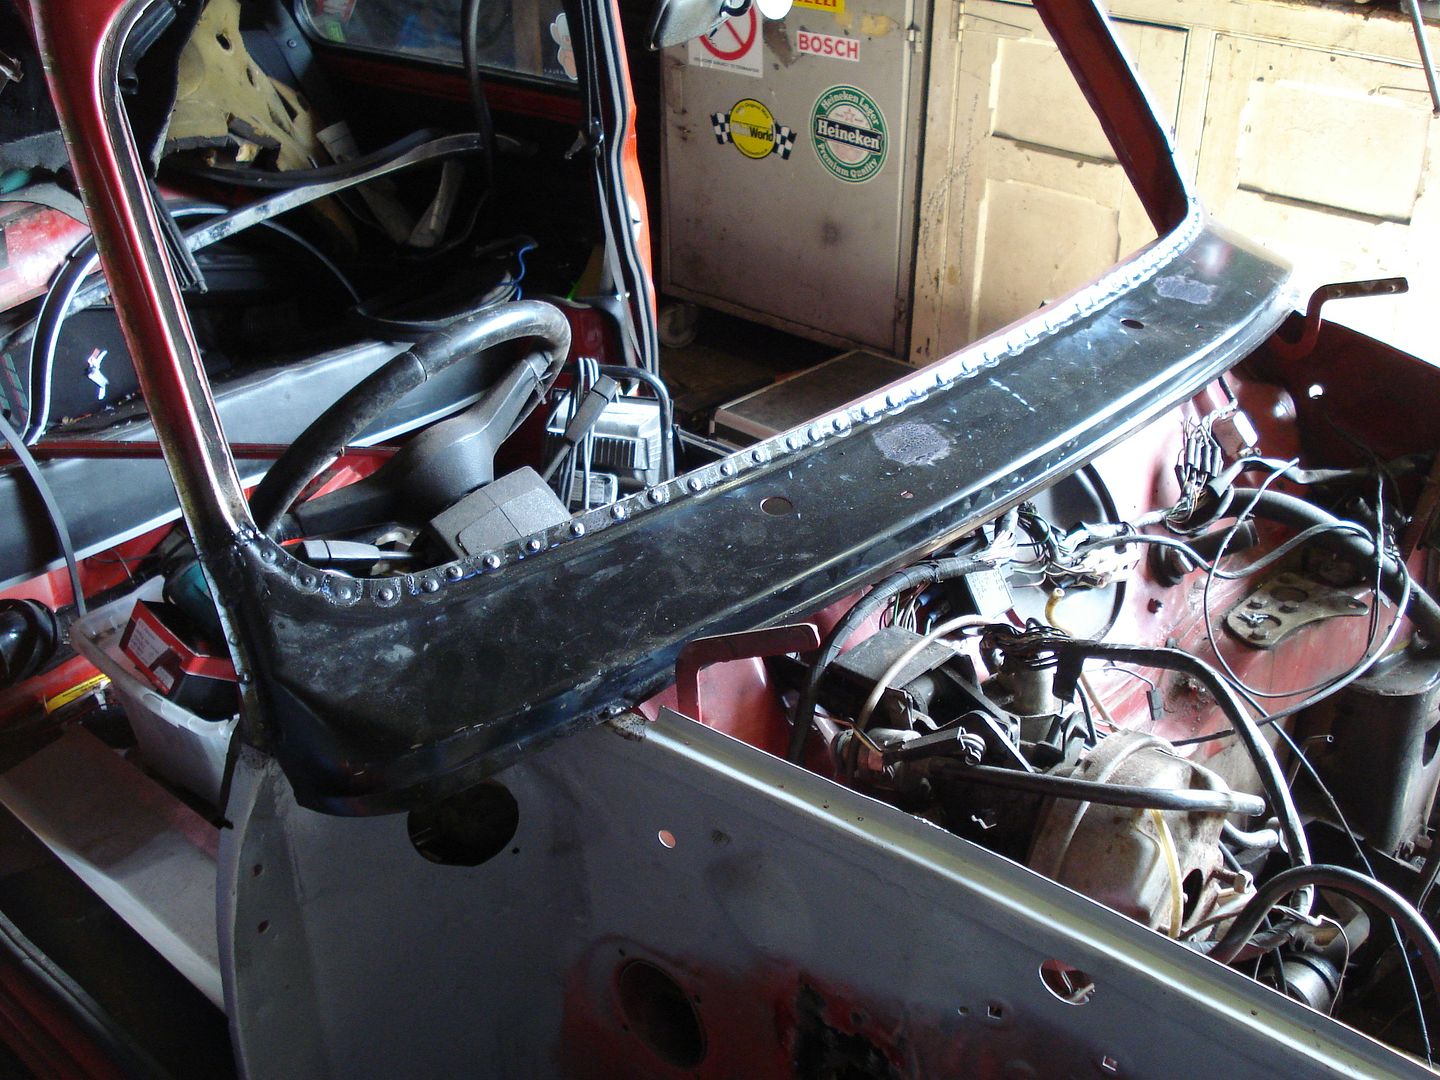
while Paul removed the shock absorber mounts to find this
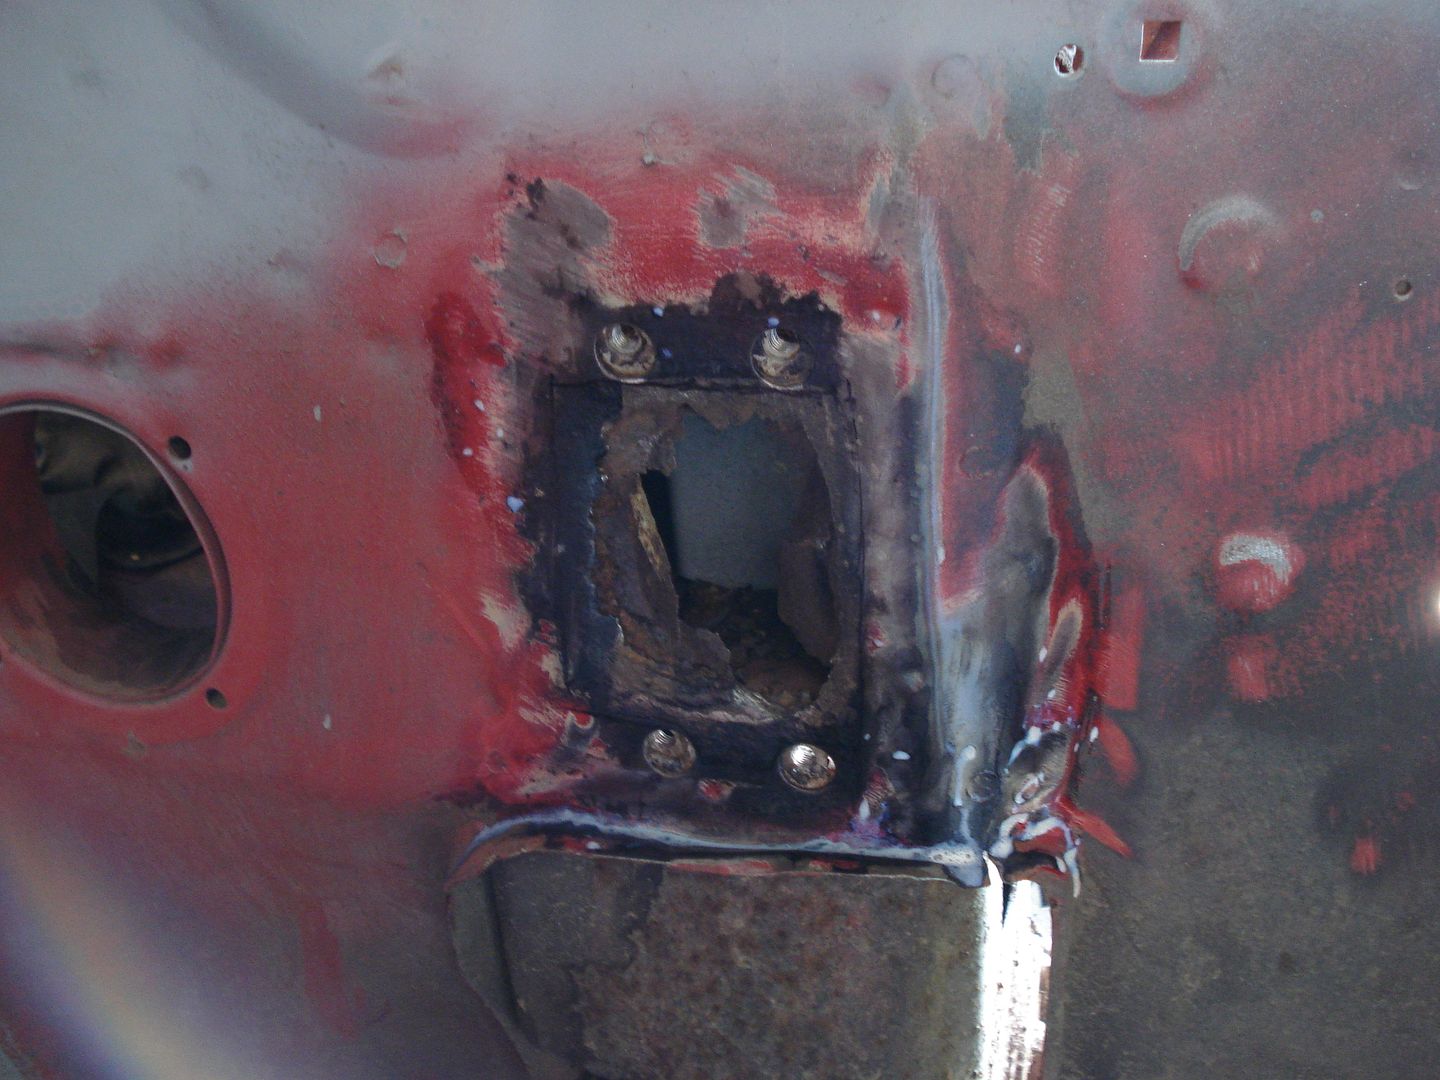
and ended up doing this
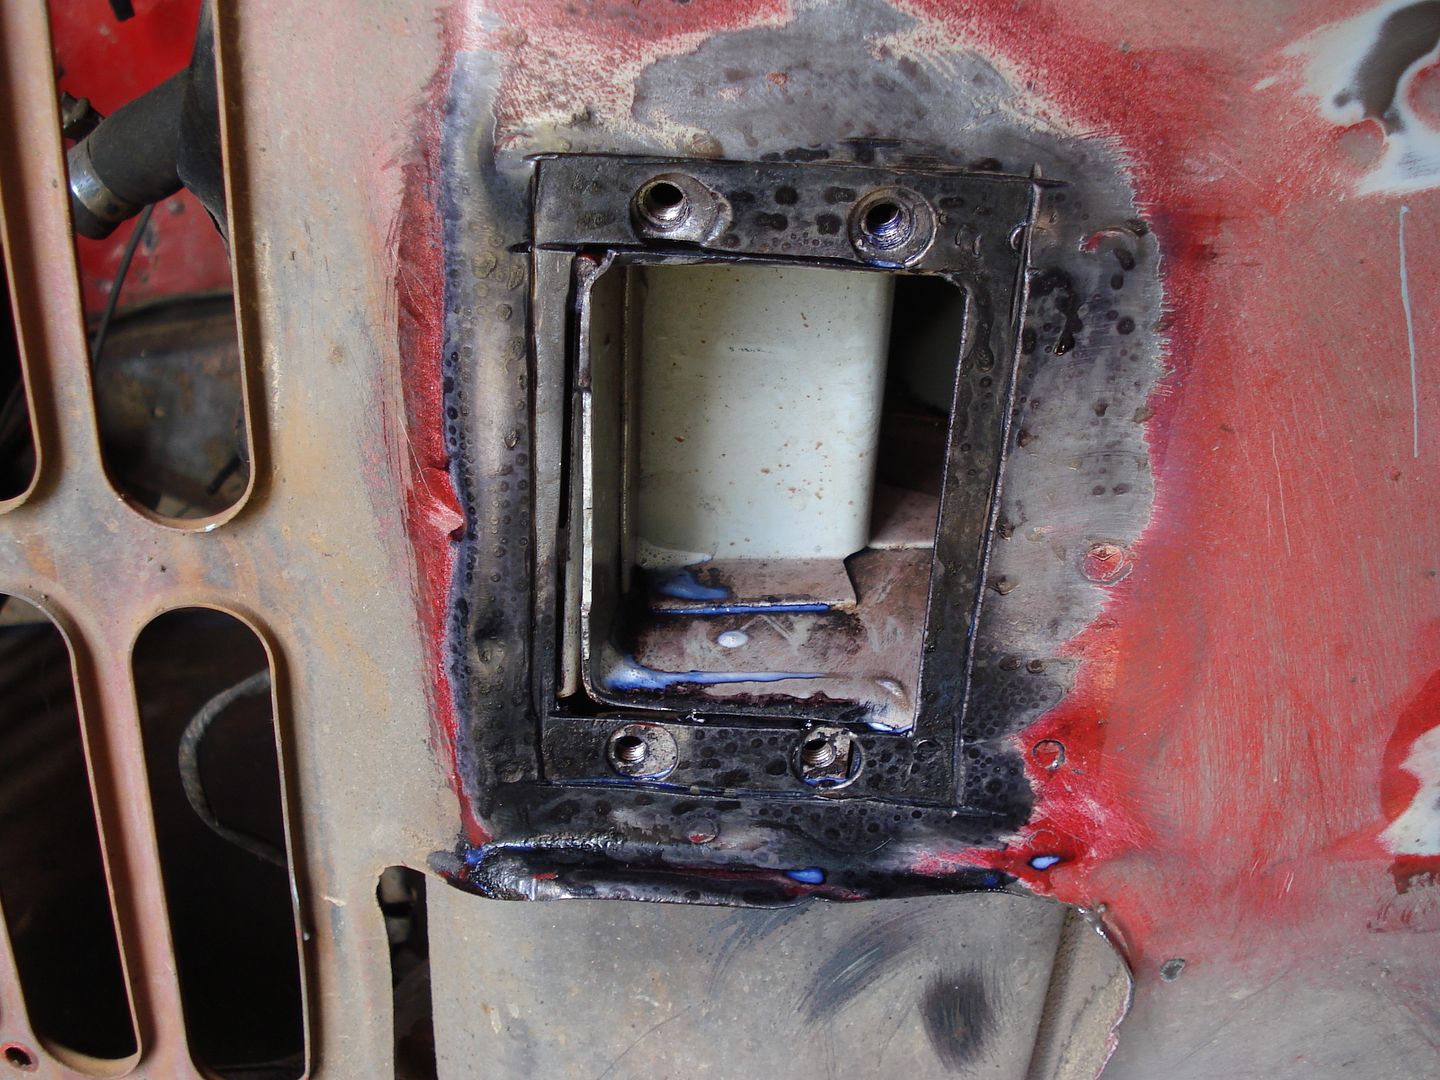
We had spent a day at the beginning of the week lining up all of the front panels with the left side coming up nicely but the right just would not go. However its nearly there so hopefully when his wings are back from being media blasted we shall get the right side sorted.
Also there had been so iffy repairs to the floors so the right side i cut out and fabricated a new repair panel for the flitch and am in the process of making one for the floor
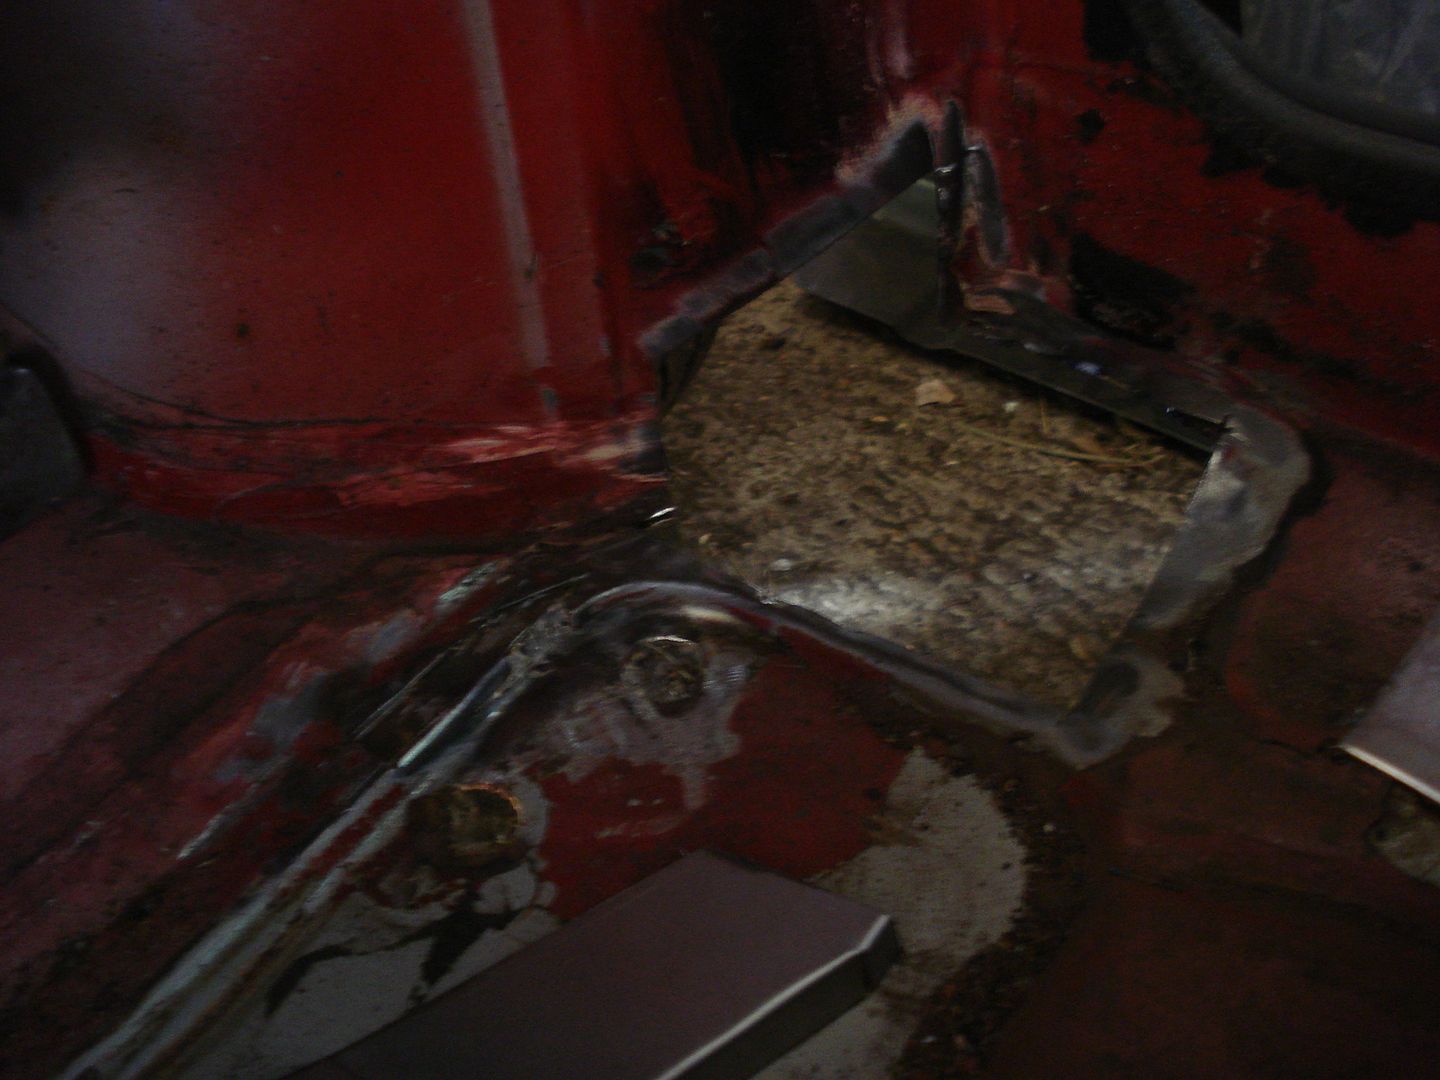
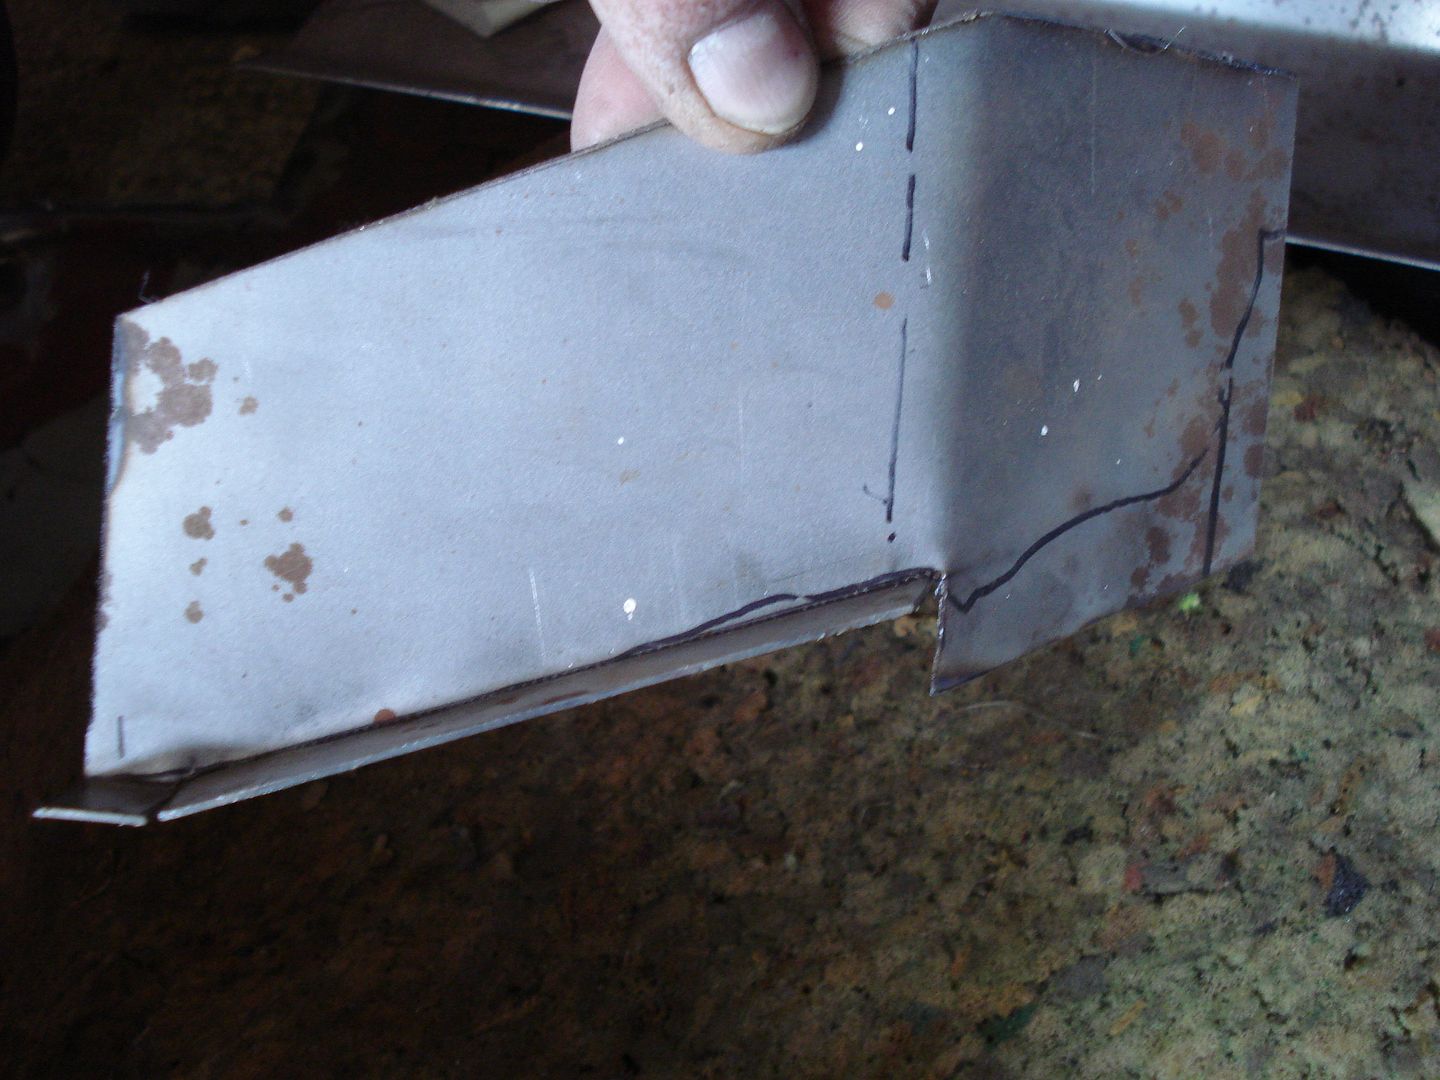
The l/h side has to be sorted yet
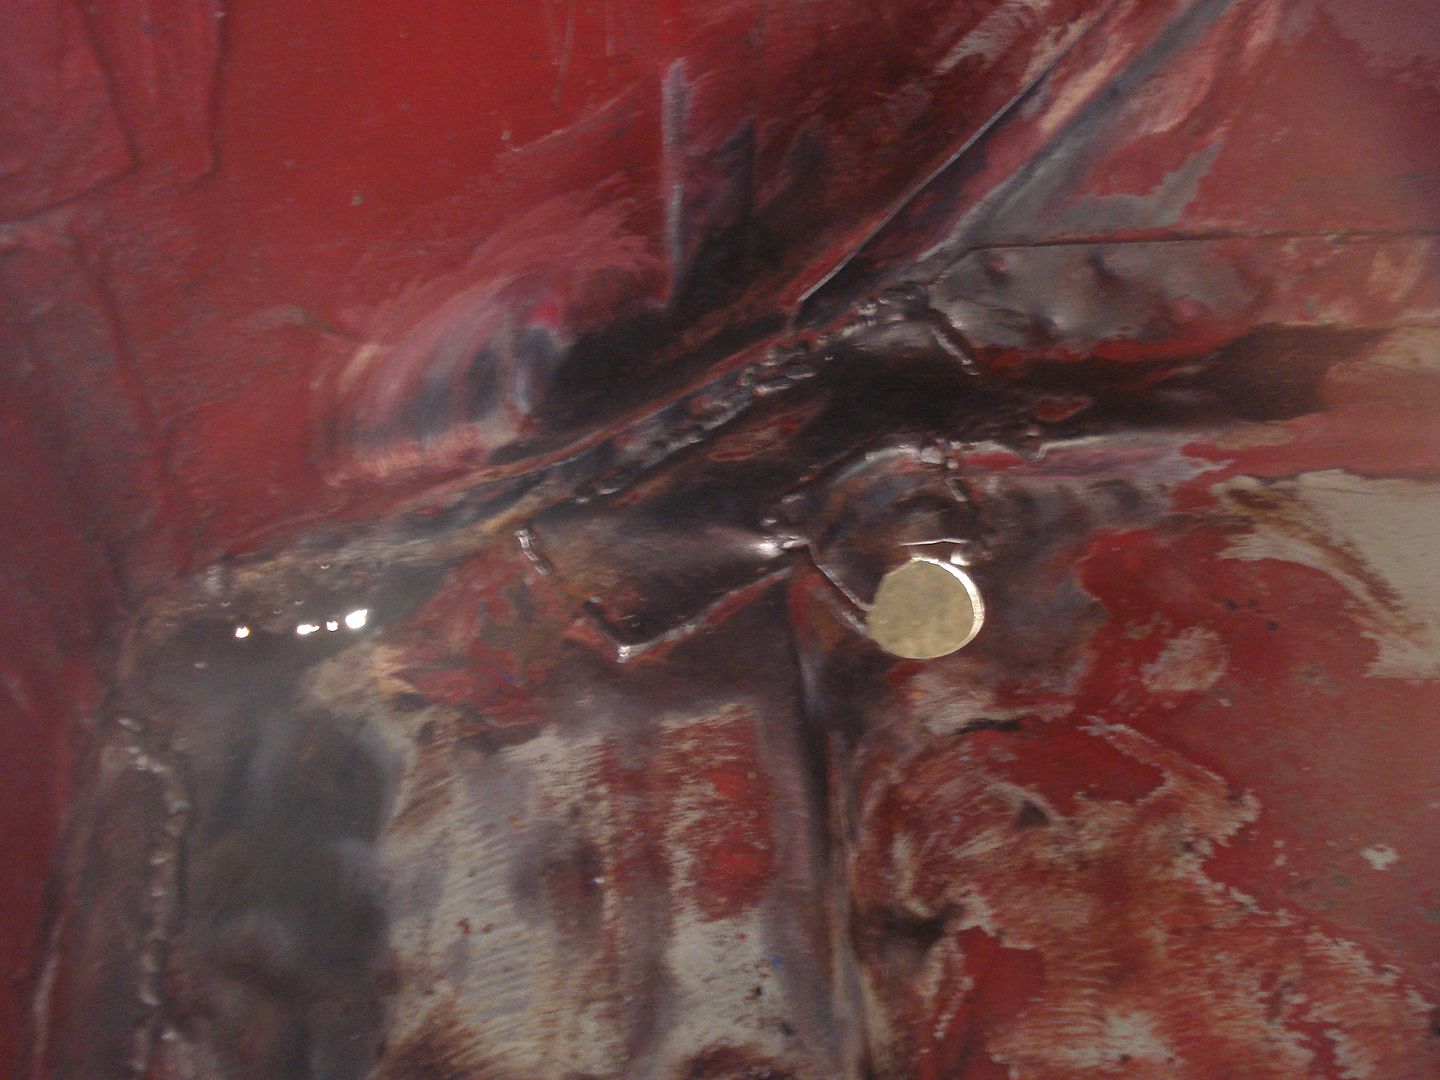
#94

Posted 21 July 2012 - 09:07 PM
#95

Posted 21 July 2012 - 09:11 PM
Hugh
#96

Posted 10 September 2012 - 04:52 PM
While i'm waiting for a floor panel so i can chop it up a bit it was time to reskin the doors on the Cooper.
Now externally it looked good but when you looked inside it was a different story. Also Paul never mentioned any issues with the door hinges but the door structure is severely cracked.


So after stripping the door the skin was whipped off

and the extent of the damage became clearer

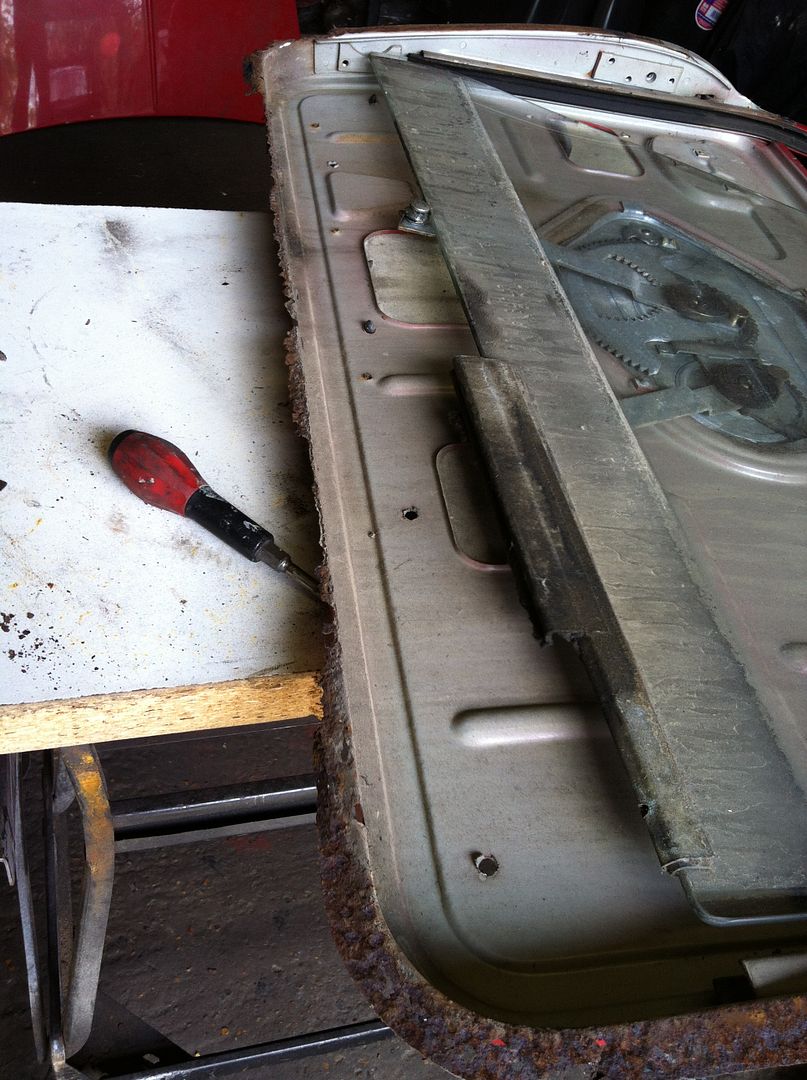
So the door frame needs new flanges all round as well as repairing all of the cracks.
Also to highlight what is talked about a lot on rust threads is the hidden rust forming under flanges. Externally the skin looked good but you can see from these pictures the rust forming under the flanges which would have eventually eaten its way out through the skin


And although i have not started on the other door i have got this to look forward to

So tomorrow will be a day of flange and crack repairs then on with the skin.
#97

Posted 10 September 2012 - 05:25 PM
#98

Posted 10 September 2012 - 06:06 PM
#99

Posted 10 September 2012 - 08:53 PM
#100

Posted 10 September 2012 - 08:56 PM
#101

Posted 11 September 2012 - 11:06 AM
#102

Posted 11 September 2012 - 06:49 PM
The bottom lip was removed

and then the new lip pulse welded in place


and then cleaned up

so on to the hinge end of the door frame

the old lip was cut off and then onto the cracked end


damage all cut out ready for cleanup and treatment of the inner support

new section welded in place and new lip added


that will get cleaned up tomorrow and then the other damage sorted
#103

Posted 11 September 2012 - 06:58 PM
#104

Posted 11 September 2012 - 07:06 PM
#105

Posted 11 September 2012 - 07:06 PM
That is some of the neatest welding I have ever seen Neil. Would almost be a shame to put the grinder to it!
That's the problem Scott but its got to go but at least i know that penetration is not going to be an issue.
1 user(s) are reading this topic
0 members, 1 guests, 0 anonymous users


