Project Paddy A Long And Slow Rebuild.
#766

Posted 30 May 2017 - 10:05 PM
#767

Posted 31 May 2017 - 12:36 PM
What's the paint stripper you're using Neil? Bonnets coming on well, you must have patience of a saint!
The paint stripper is from work and is some good stuff. As for the patience of a saint well that's getting debatable now.
#768

Posted 31 May 2017 - 01:19 PM
You have really put some effort into that bonnet be a real shame if you bin it
Looking superb as usual
Mark
#769

Posted 31 May 2017 - 07:02 PM
Well Rich was right mine is bowed but then they came like that by the looks of things as the original bonnet is the same.
Anyway its now altogether and doing my swede in.
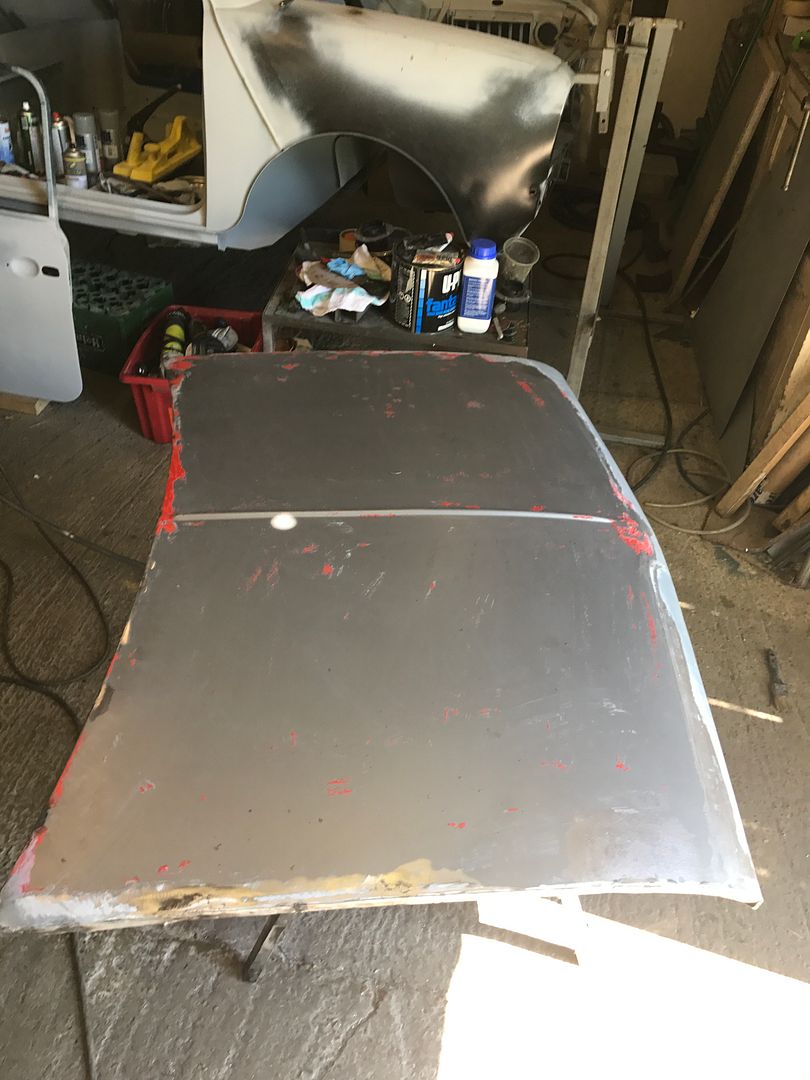
Paint stripping time
And found a load of rust spots hiding
[
[/URL]
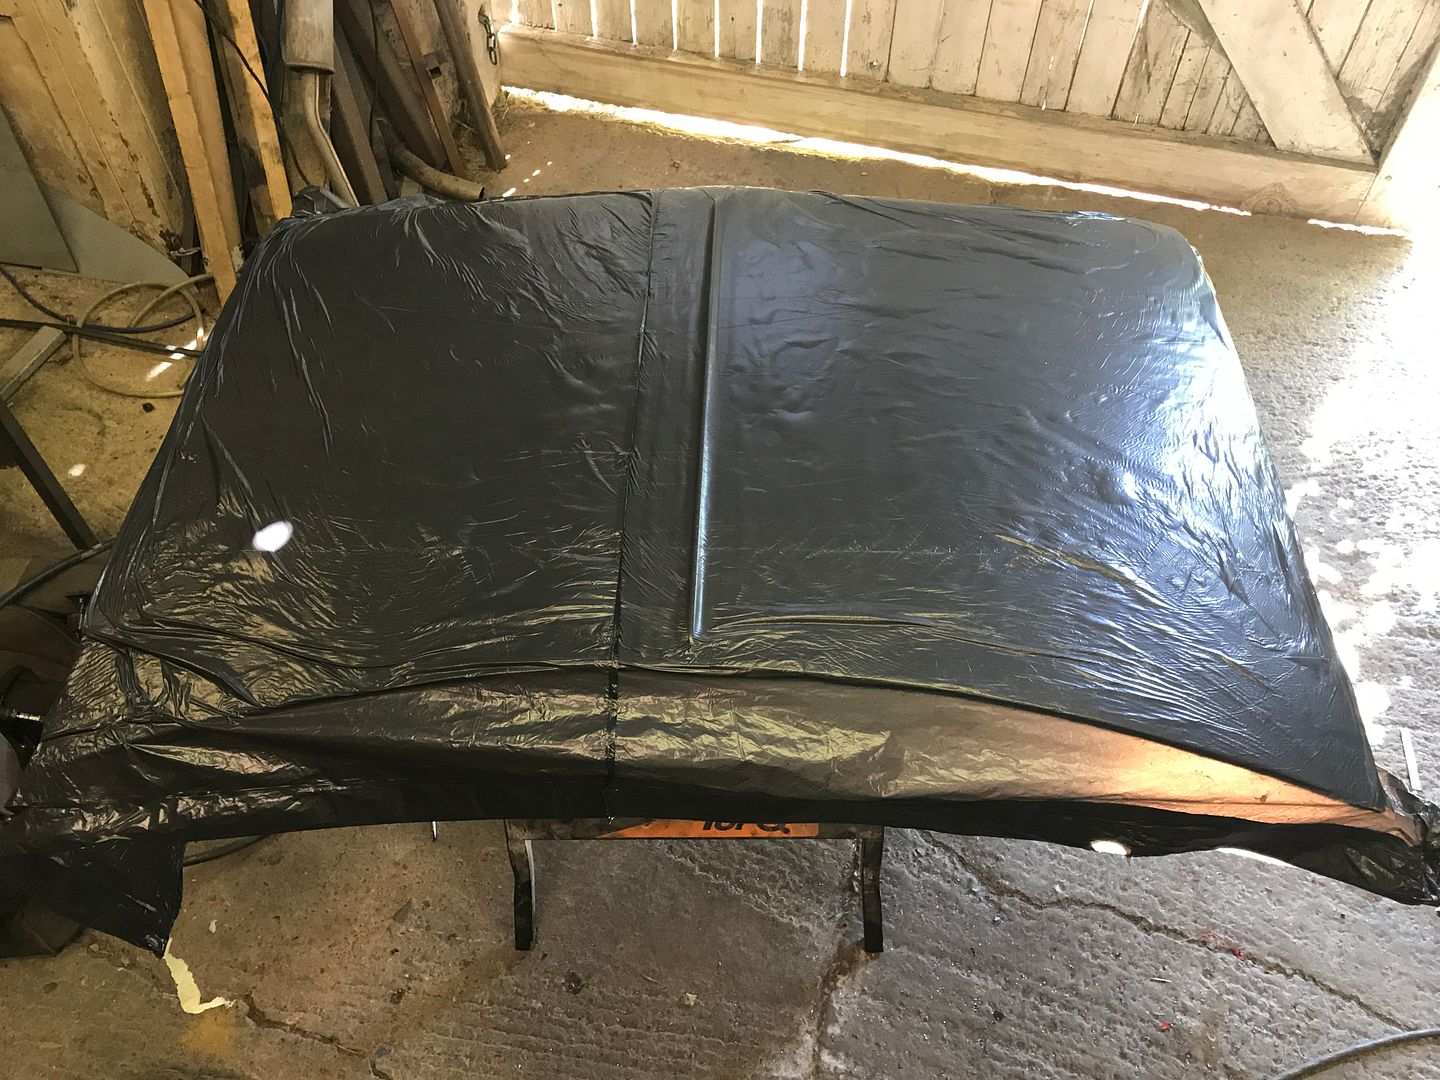
Bilt Hamber time and covered with plastic as it was too hot in the workshop
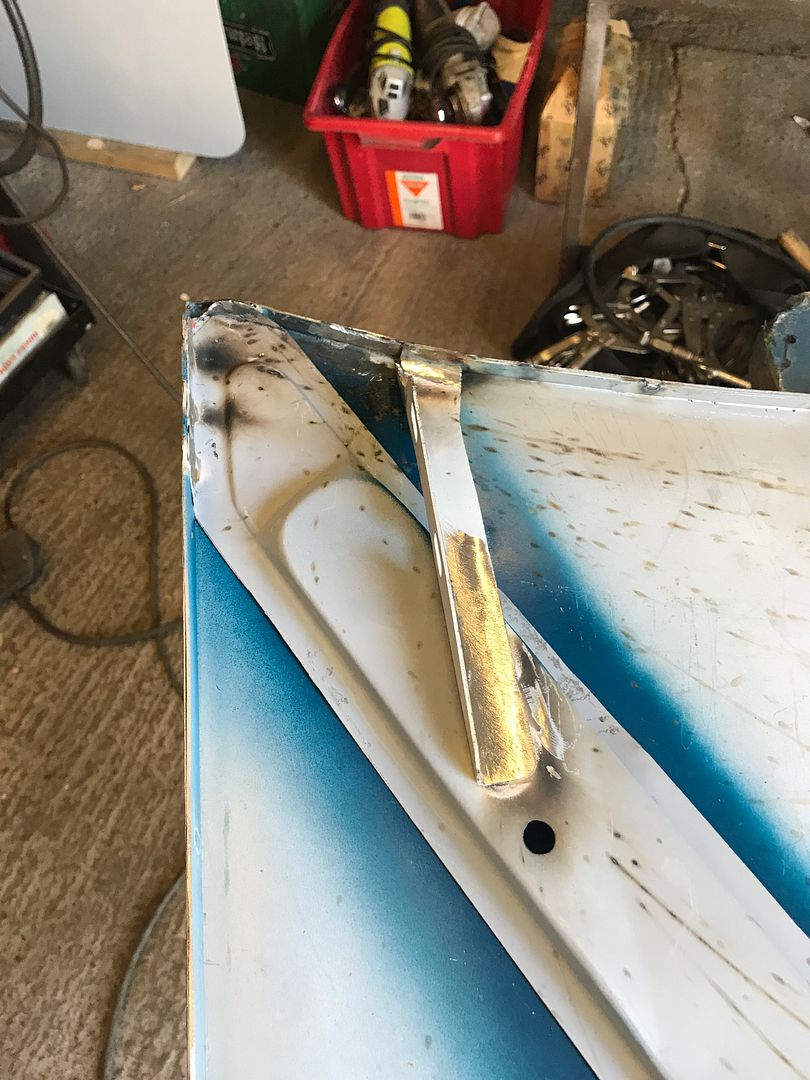
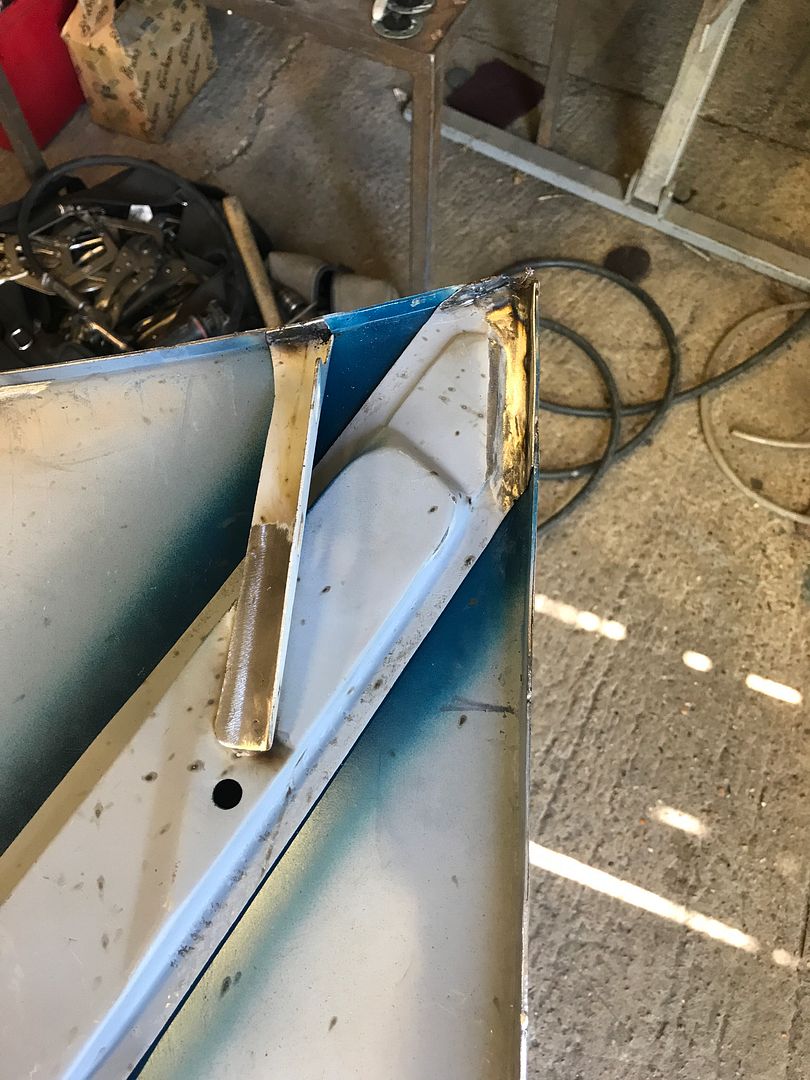
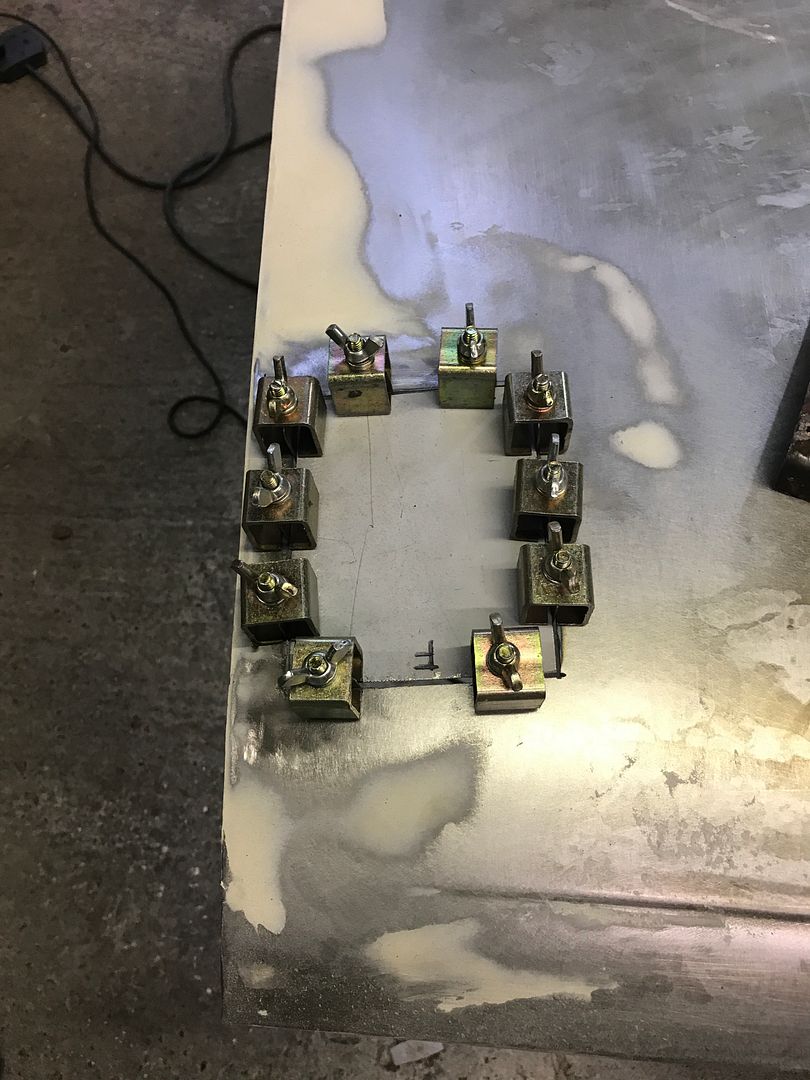
So after all of that i realised i had badly distorted the bonnet on one side. My shrinking hammer is crap so i cut the distortion out and also slotted another section for good measure
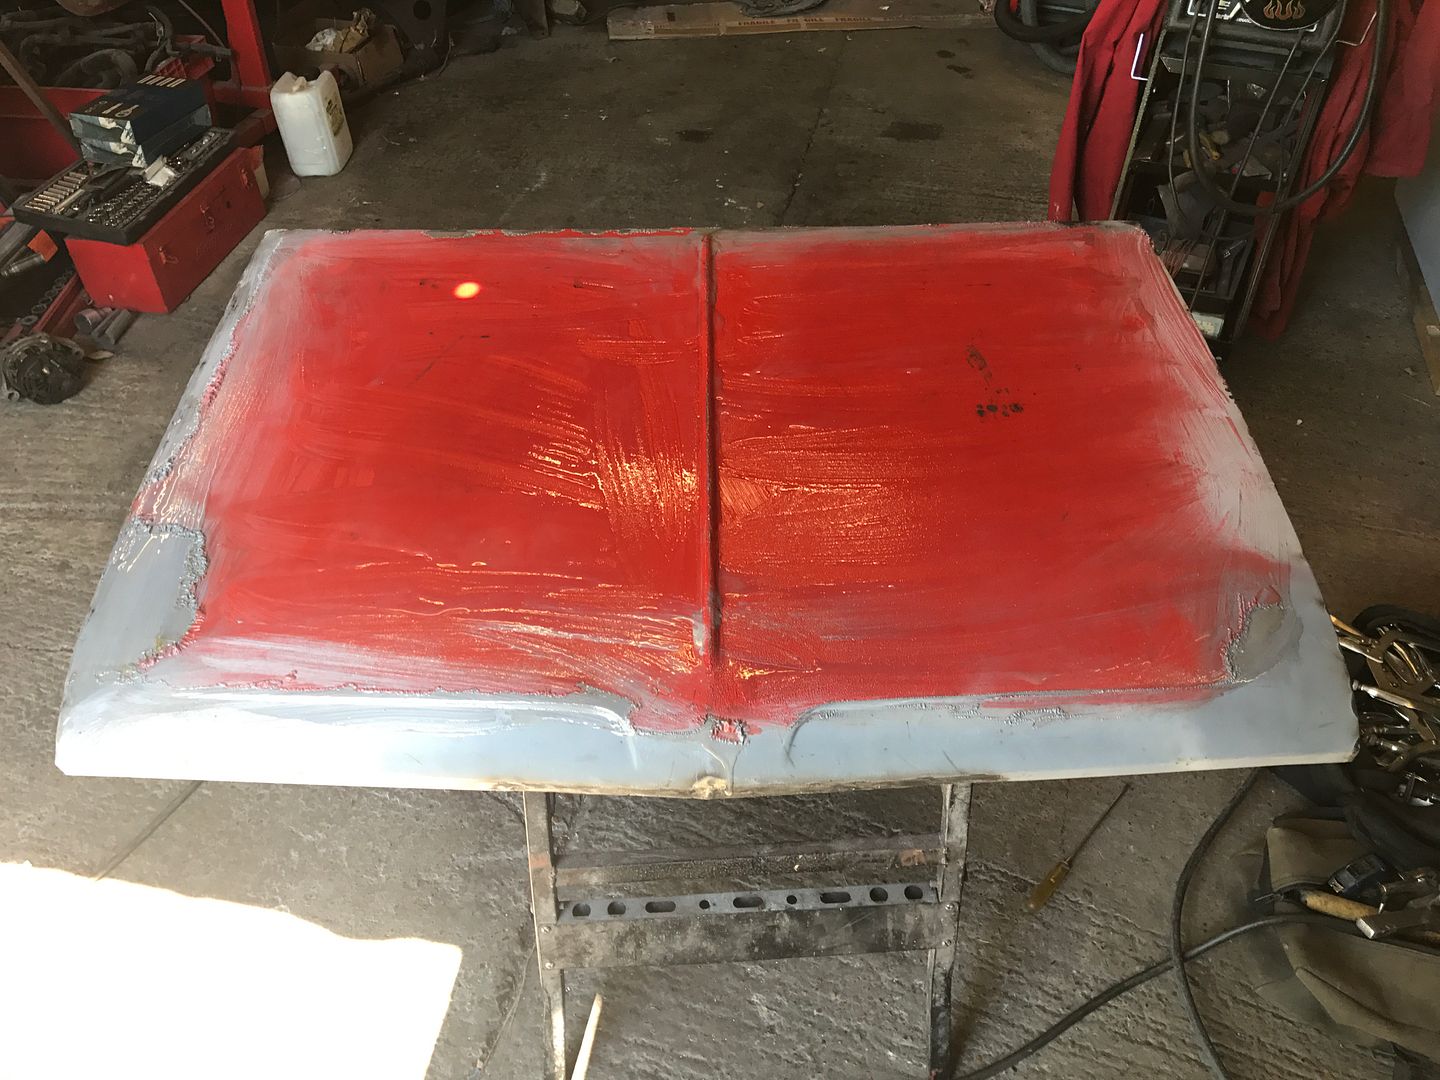
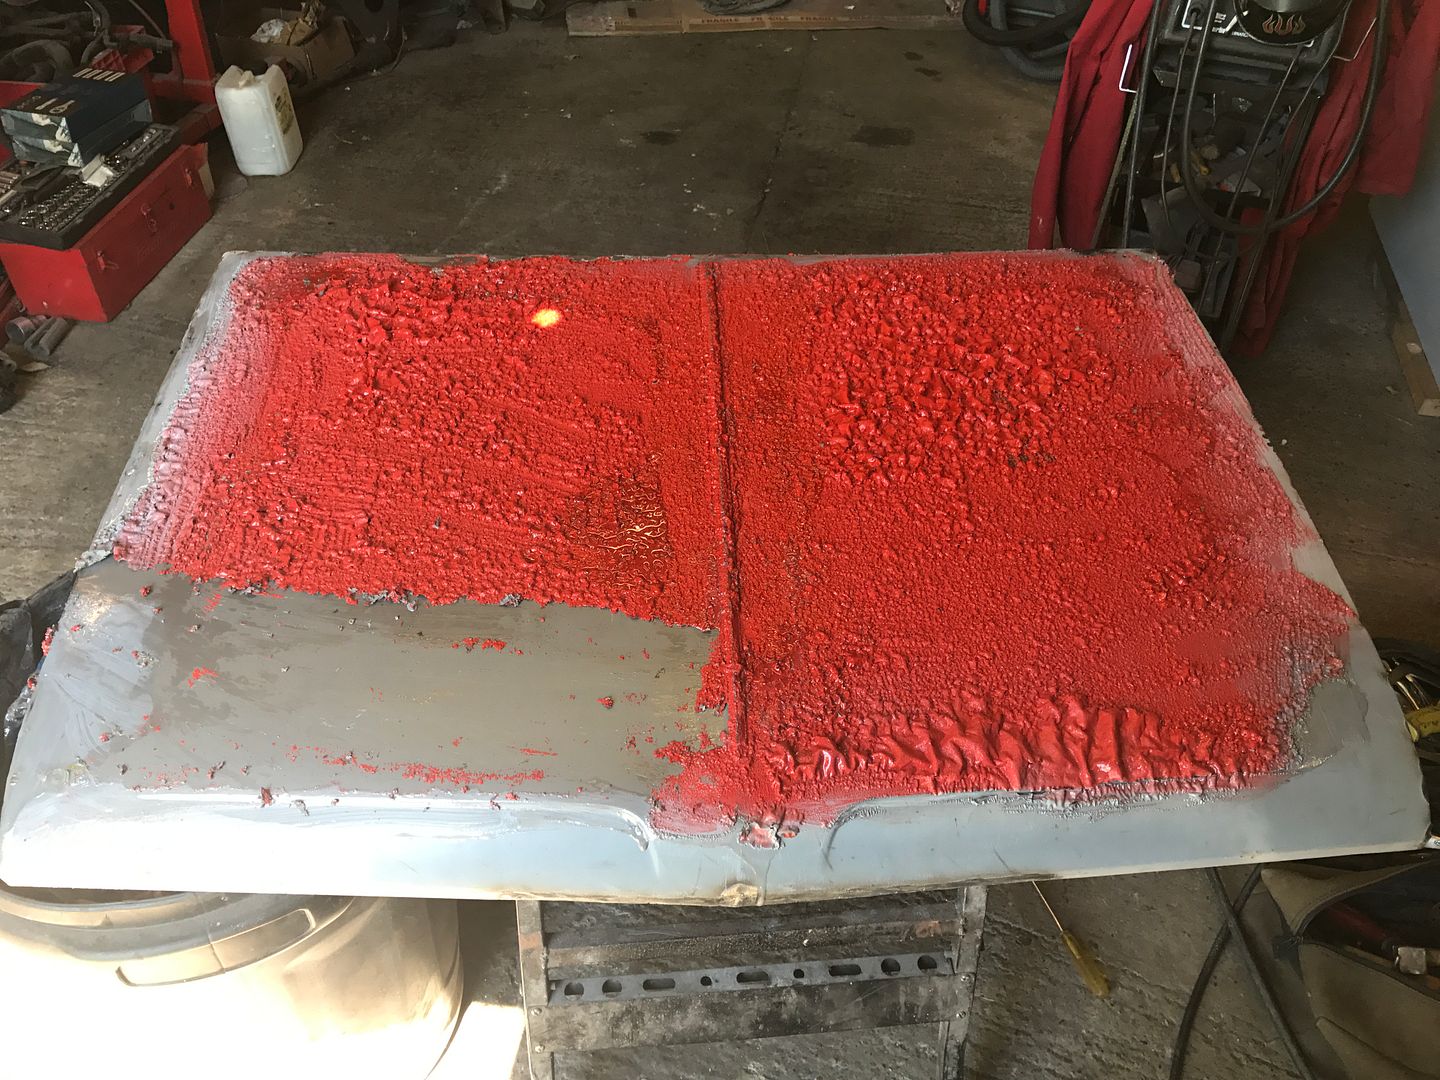
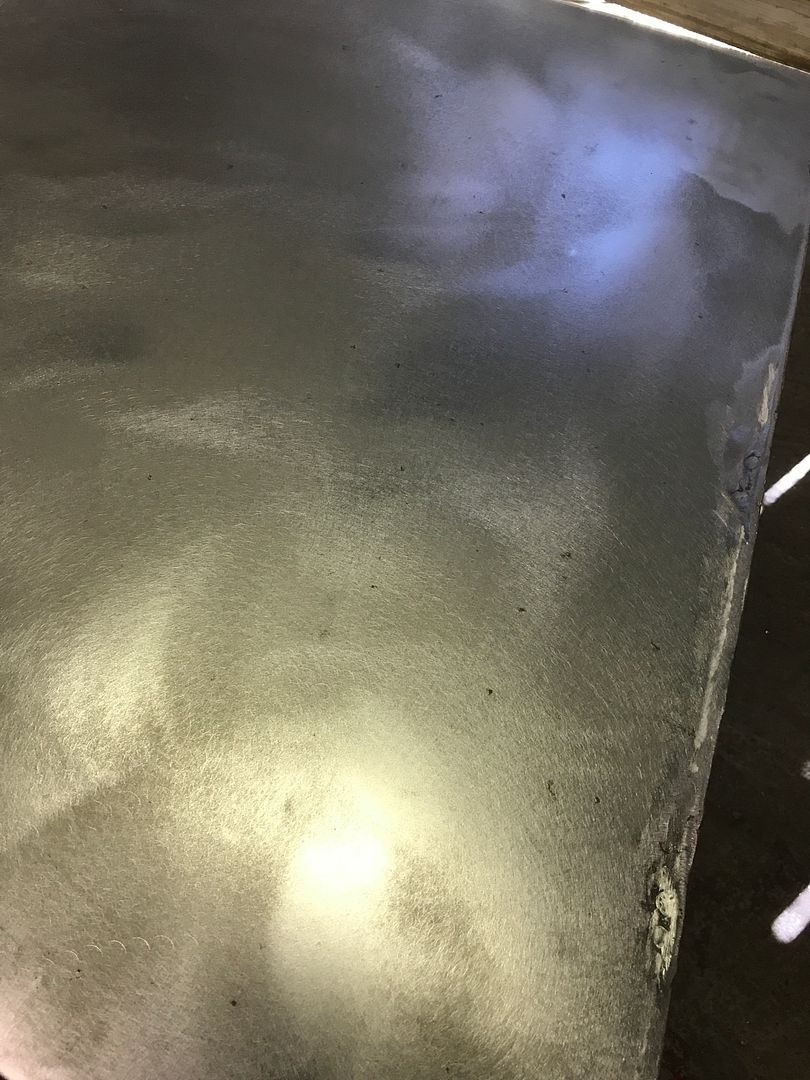
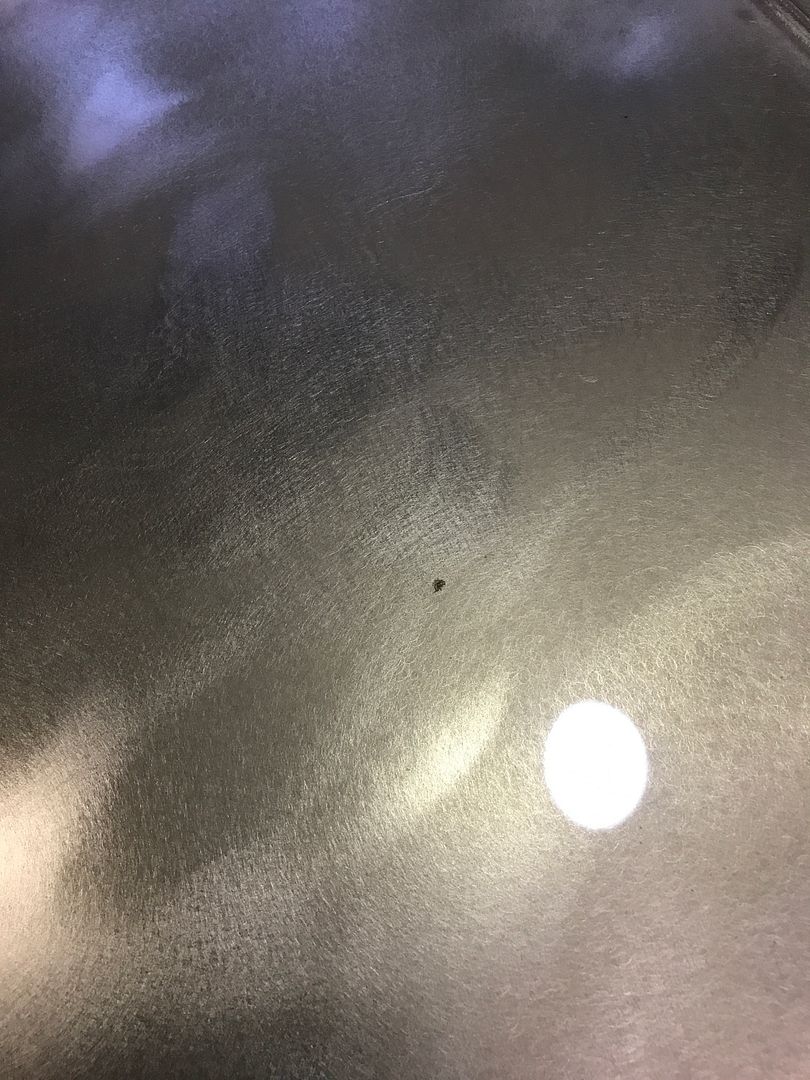
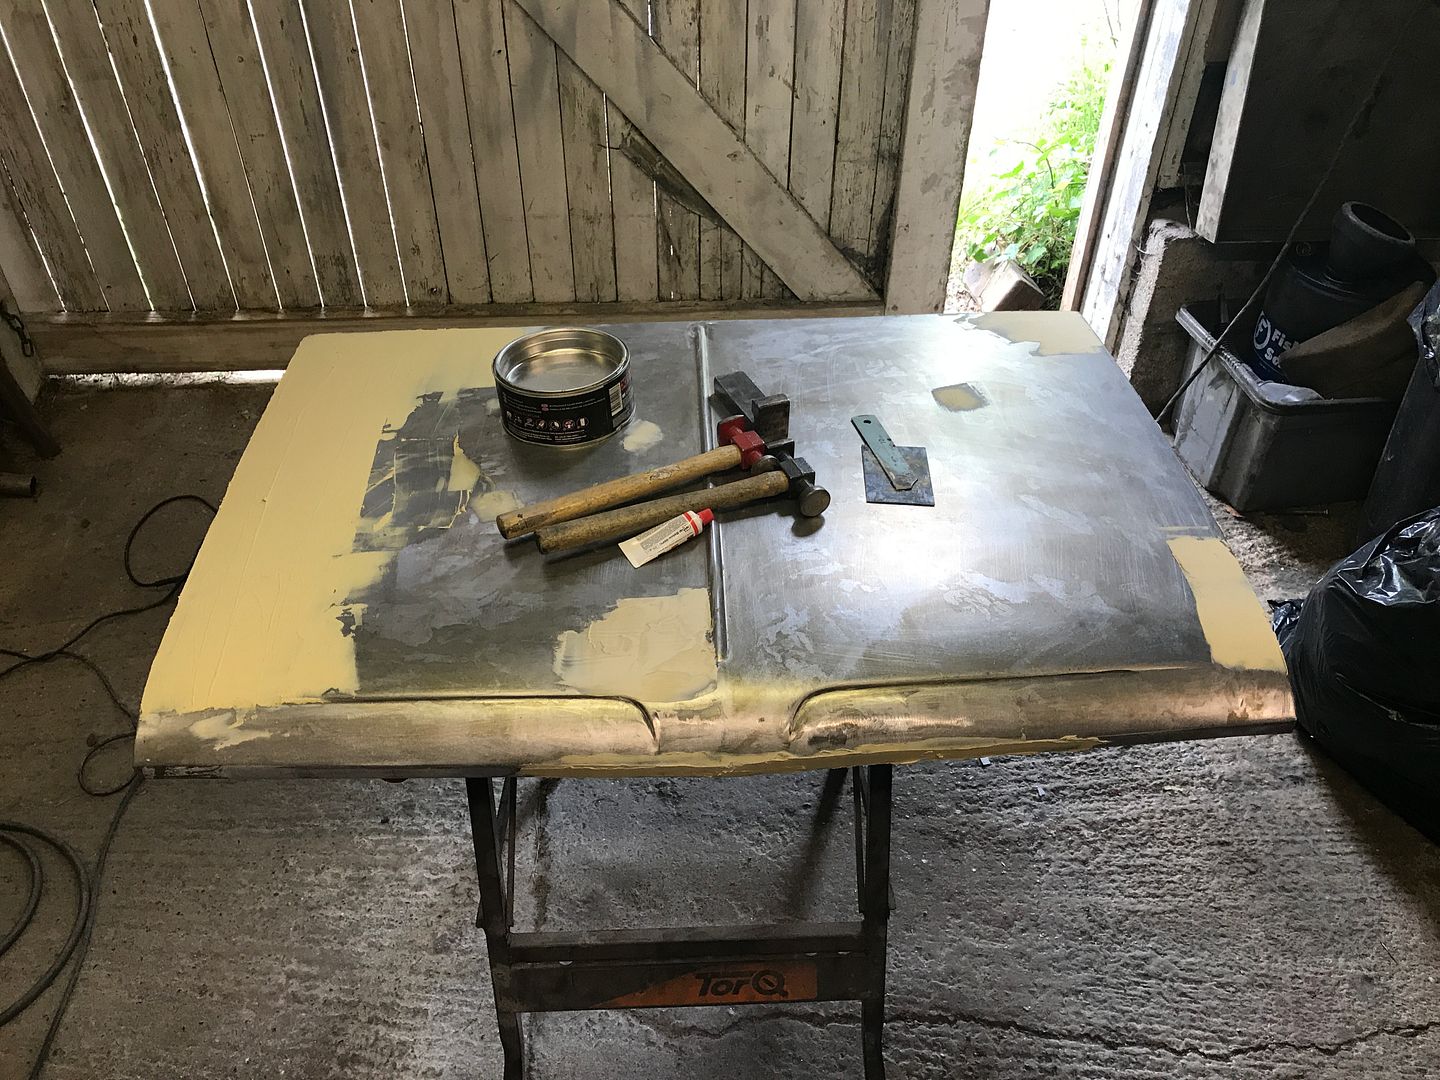
Filler time
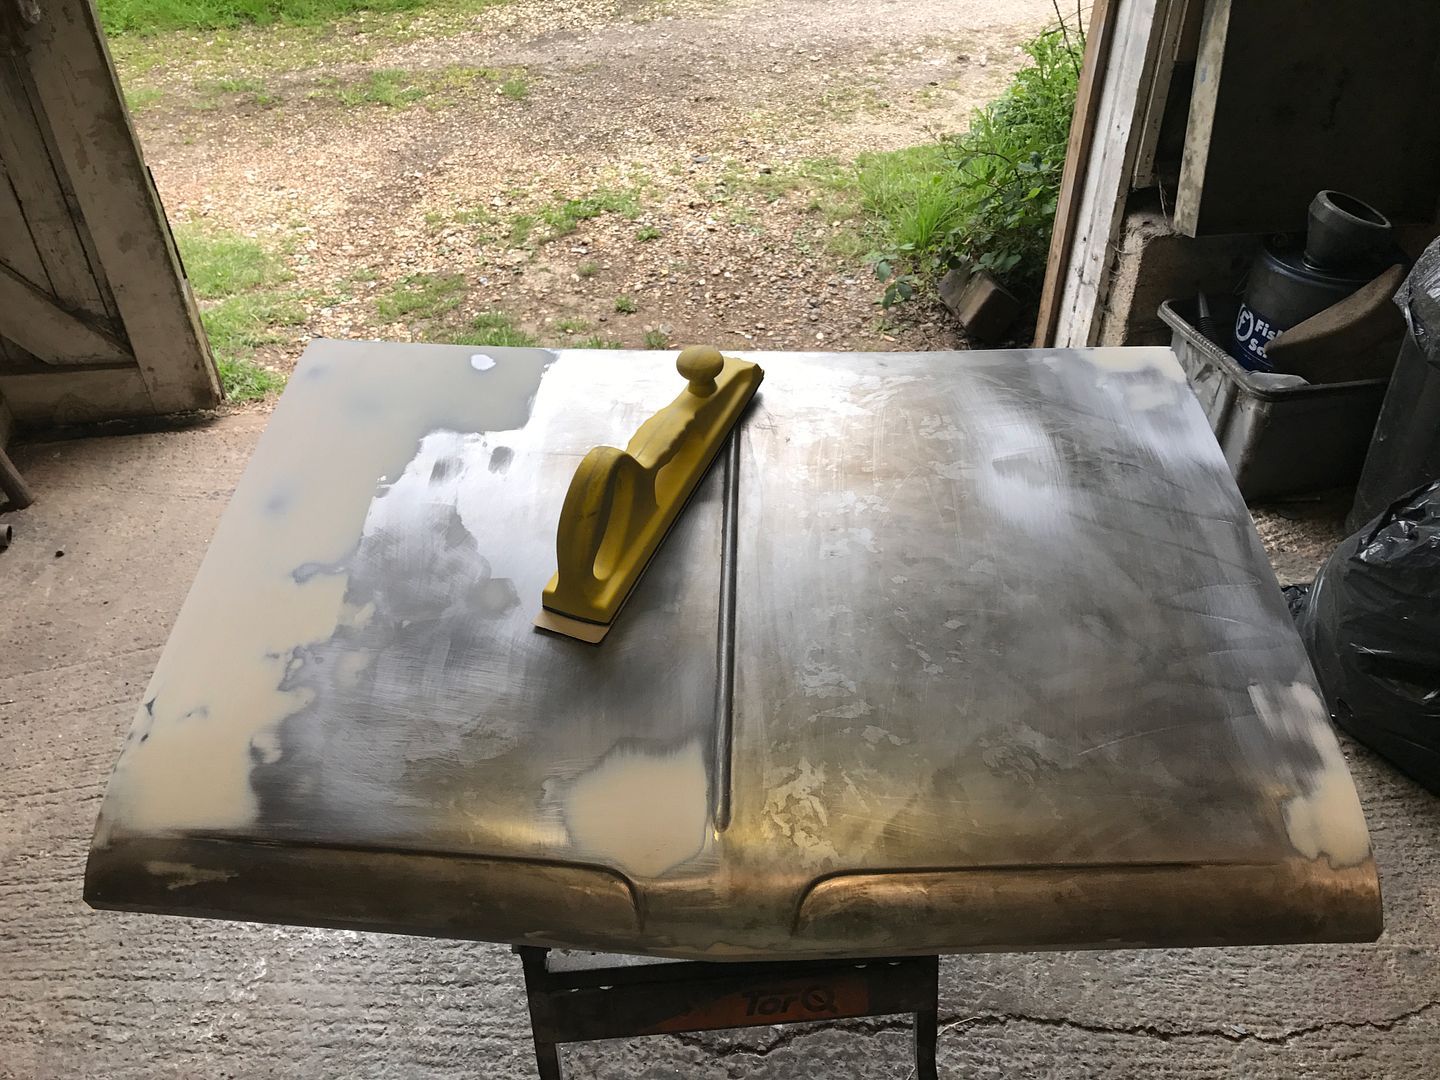
And the first pass with sanding by hand
This bonnet could still get binned yet if i cannot get it to sit right at the front edge so a brand new one may be on the cards.
Let me know what bin you throw it in
#770

Posted 31 May 2017 - 09:38 PM
Well Rich was right mine is bowed but then they came like that by the looks of things as the original bonnet is the same.
Anyway its now altogether and doing my swede in.
Paint stripping time
And found a load of rust spots hiding
[
[/URL]
Bilt Hamber time and covered with plastic as it was too hot in the workshop
So after all of that i realised i had badly distorted the bonnet on one side. My shrinking hammer is crap so i cut the distortion out and also slotted another section for good measure
Filler time
And the first pass with sanding by hand
This bonnet could still get binned yet if i cannot get it to sit right at the front edge so a brand new one may be on the cards.
Let me know what bin you throw it in
If it get binned it will be bent beyond recognition!! ![]()
![]()
![]()
![]()
![]()
#771

Posted 03 June 2017 - 09:14 PM
Well after 70 hours of mind numbing, back breaking work the bonnet has finally been sacked off, binned, sent to the bin corner. AGGHHHHHHHHHHH!!!!!!!!!!!!!!!!! ![]()
![]()
![]()
![]()
![]()
![]()
![]()
![]()
![]()
![]()
![]()
![]()
![]()
![]()
Heritage one coming next week. Sod the expense, my life is worth more than a poxy bonnet. Rant over with. And no you cannot have it
#772

Posted 03 June 2017 - 09:23 PM
No one can say you didn't give it a good try ![]()
#773

Posted 03 June 2017 - 09:46 PM
yeah that skin does look quite stretched.
Oh well, at least a new one solves that..
Ben
#774

Posted 03 June 2017 - 10:18 PM
Put it the bin!
Your work is fantastic i have to say
#775

Posted 08 June 2017 - 12:06 PM
Wow that must have been a bad bonnet! I was just thinking about how much more patience you have than myself to do all these fine repairs.
I don't think I've ever seen the bin corner!
#776

Posted 08 June 2017 - 12:56 PM
I don't think I've ever seen the bin corner!
i think it's just the bonnet!
#777

Posted 08 June 2017 - 01:19 PM
#778

Posted 08 June 2017 - 02:11 PM
After all your hard (and top quality) work on the bonnet can you not get a slitting disk on it and open the front edge slightly and then push it down and fill the gaps created with weld, or add metal to the underside front of the bonnet to close the gap up?
To be honest with you i am sick to the back teeth of faffing with this particular bonnet. Yes i will probably do something to it at a later date if i feel that way inclined but the new bonnet is now here so i will mock that up to see what needs doing then go from there.
Its not often i roll over on something but this one has just pushed my button far too many times and i need to get on with paint.
#779

Posted 09 June 2017 - 11:37 AM
After all your hard (and top quality) work on the bonnet can you not get a slitting disk on it and open the front edge slightly and then push it down and fill the gaps created with weld, or add metal to the underside front of the bonnet to close the gap up?
To be honest with you i am sick to the back teeth of faffing with this particular bonnet. Yes i will probably do something to it at a later date if i feel that way inclined but the new bonnet is now here so i will mock that up to see what needs doing then go from there.
Its not often i roll over on something but this one has just pushed my button far too many times and i need to get on with paint.
Let's hope the new one is a reasonable fit and you don't end up with loads of work on that, as you are a stickler for your panel gaps. Sometimes we just need to walk away and have a bit of breathing space. Good luck
#780

Posted 09 June 2017 - 05:20 PM
After all your hard (and top quality) work on the bonnet can you not get a slitting disk on it and open the front edge slightly and then push it down and fill the gaps created with weld, or add metal to the underside front of the bonnet to close the gap up?
To be honest with you i am sick to the back teeth of faffing with this particular bonnet. Yes i will probably do something to it at a later date if i feel that way inclined but the new bonnet is now here so i will mock that up to see what needs doing then go from there.
Its not often i roll over on something but this one has just pushed my button far too many times and i need to get on with paint.
Let's hope the new one is a reasonable fit and you don't end up with loads of work on that, as you are a stickler for your panel gaps. Sometimes we just need to walk away and have a bit of breathing space. Good luck
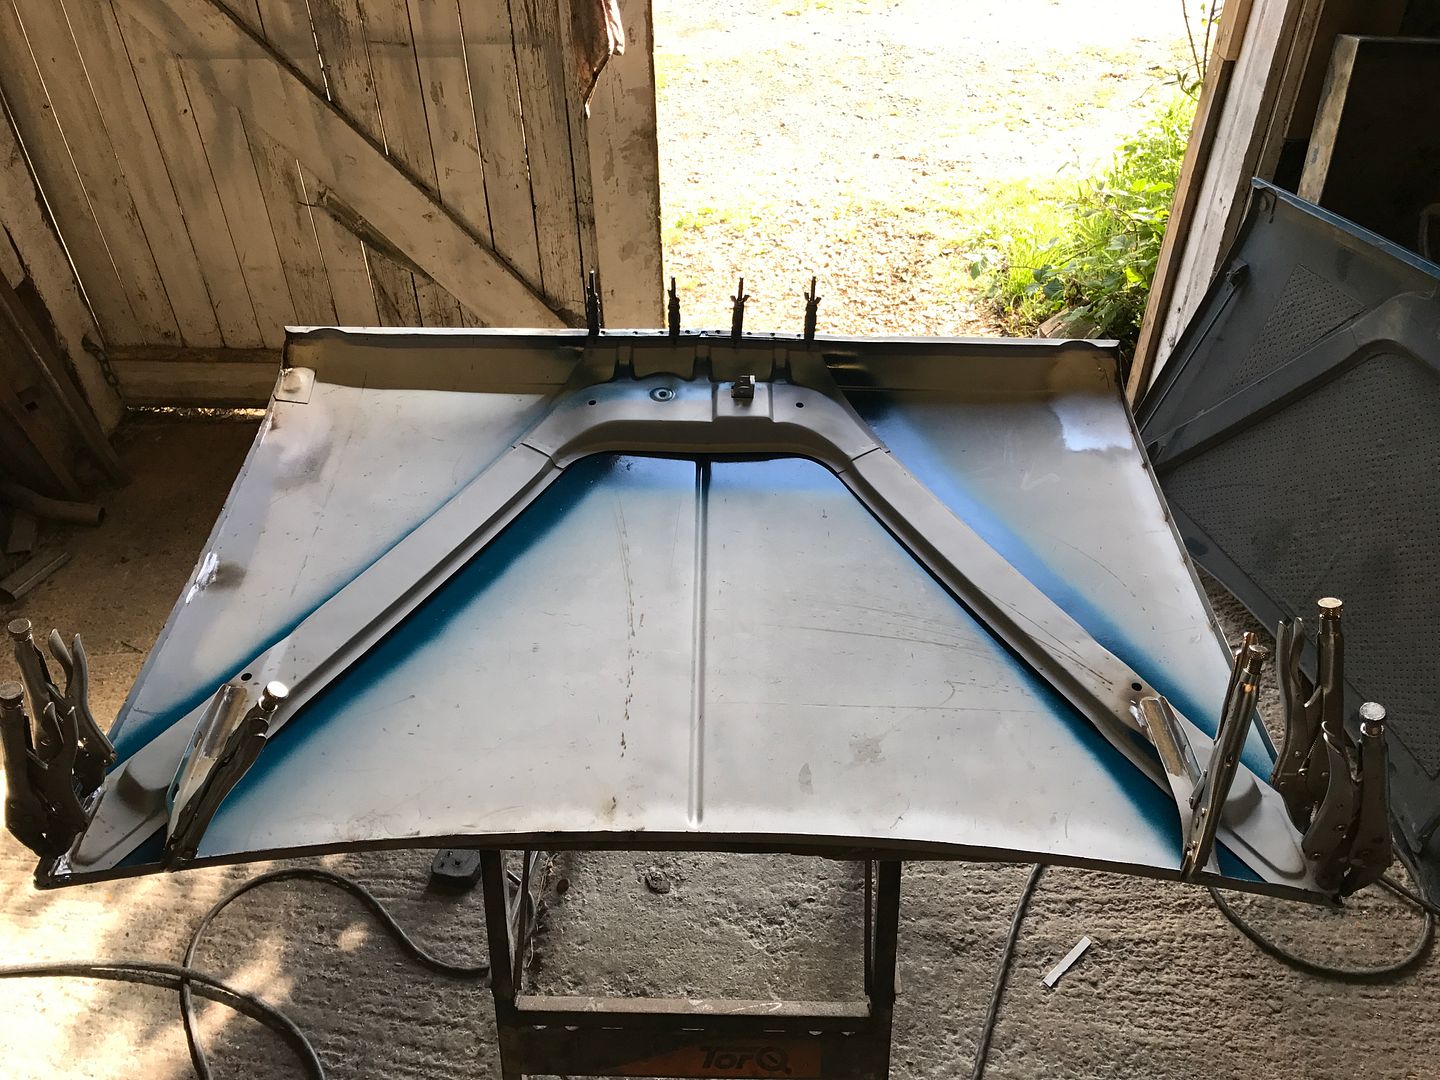
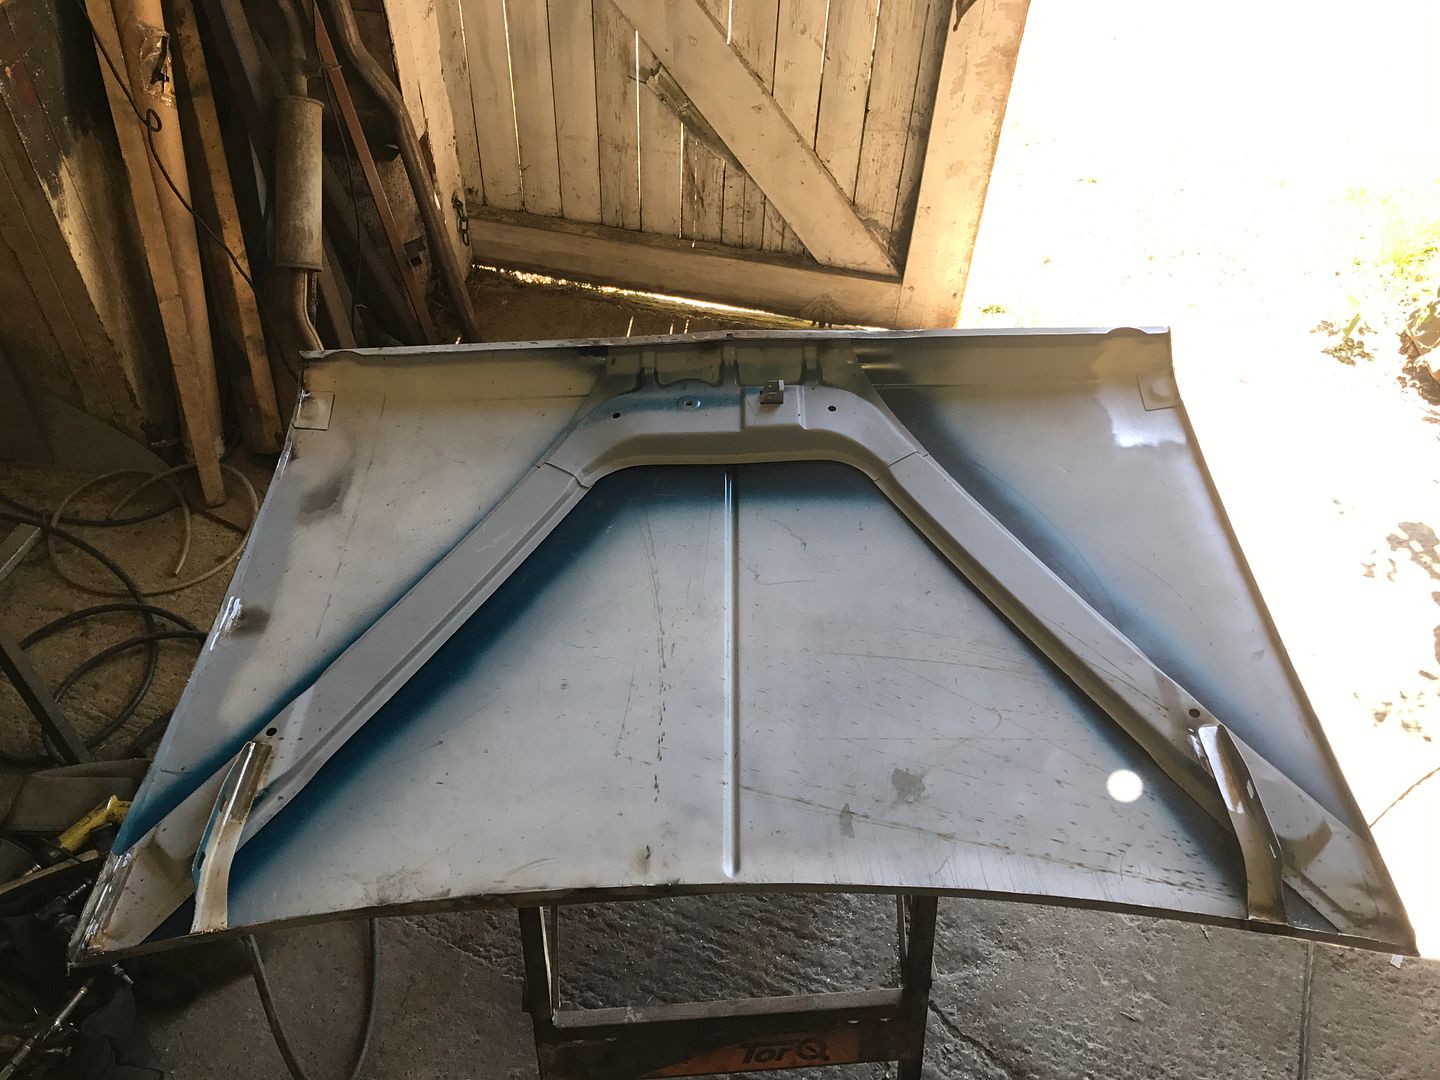
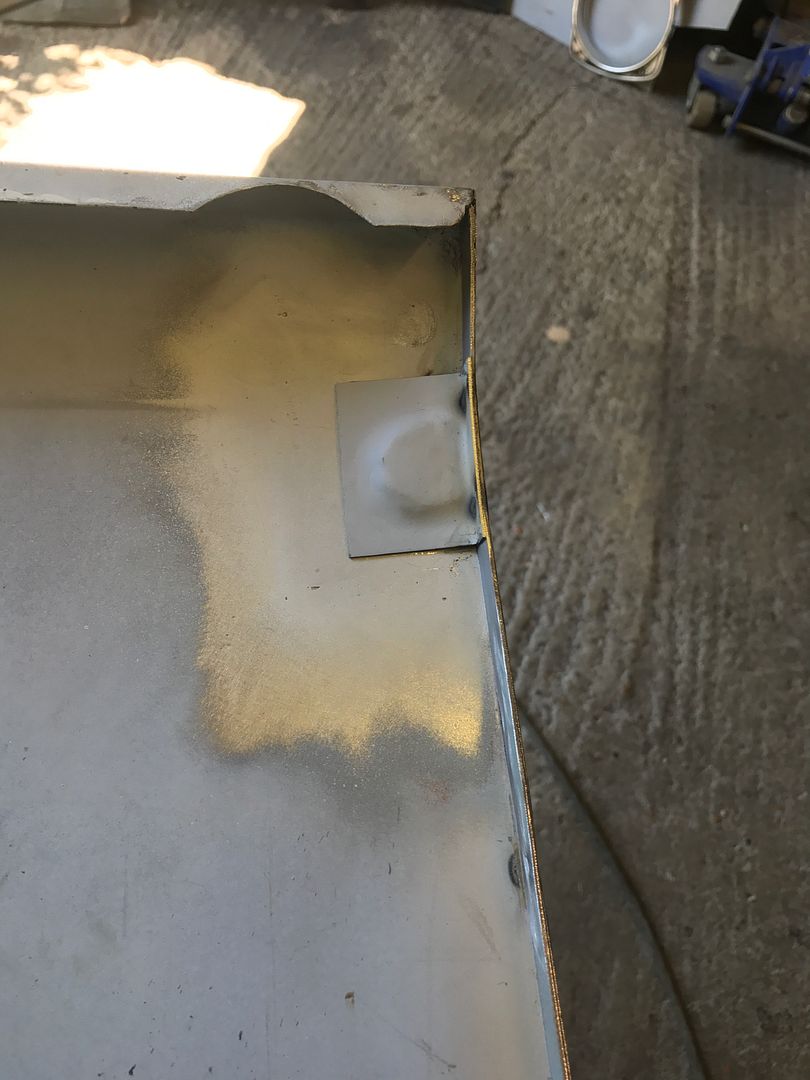
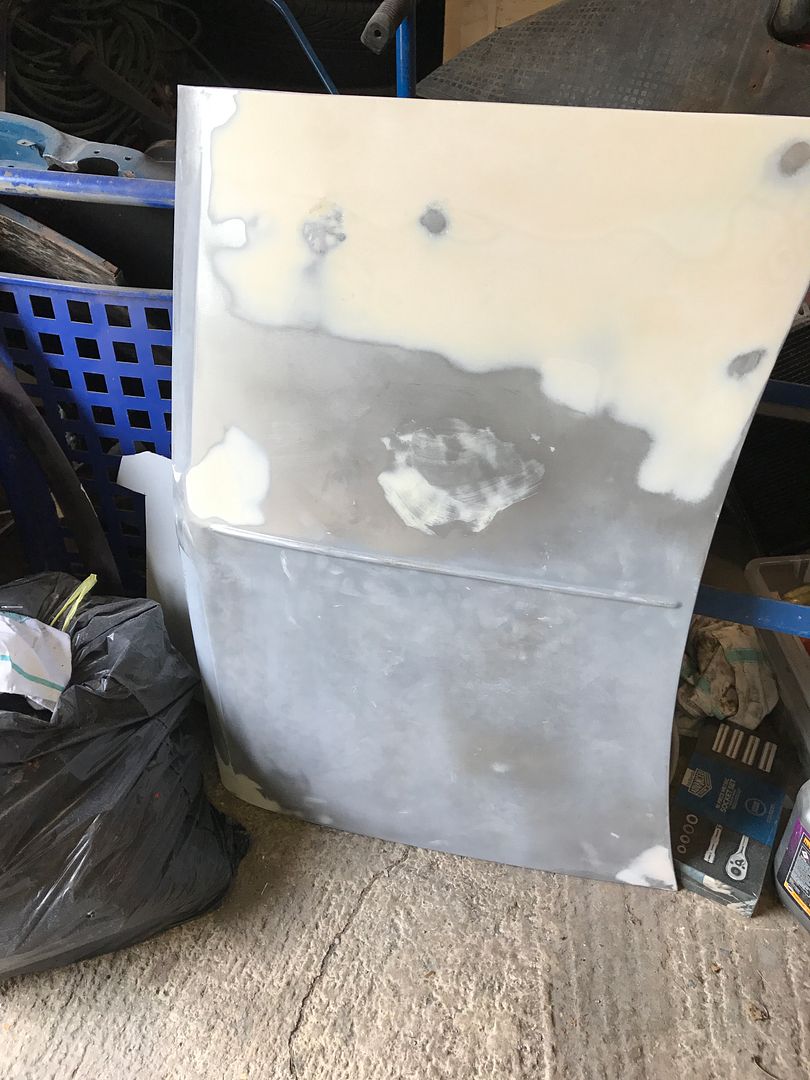
Well its arrived and does not bode well. The skin looks good, so happy days, however when i flipped it over the reinforcement on one side has been fitted wrong. So first thing will be to drill out those spot welds, reposition it correctly, weld it up. Then remove the bonnet stay bracket followed by a trial fit.
Anyway sod that, i'm off to St Lucia on sun so the whole bloody thing can boil its head for a week.
1 user(s) are reading this topic
0 members, 1 guests, 0 anonymous users


